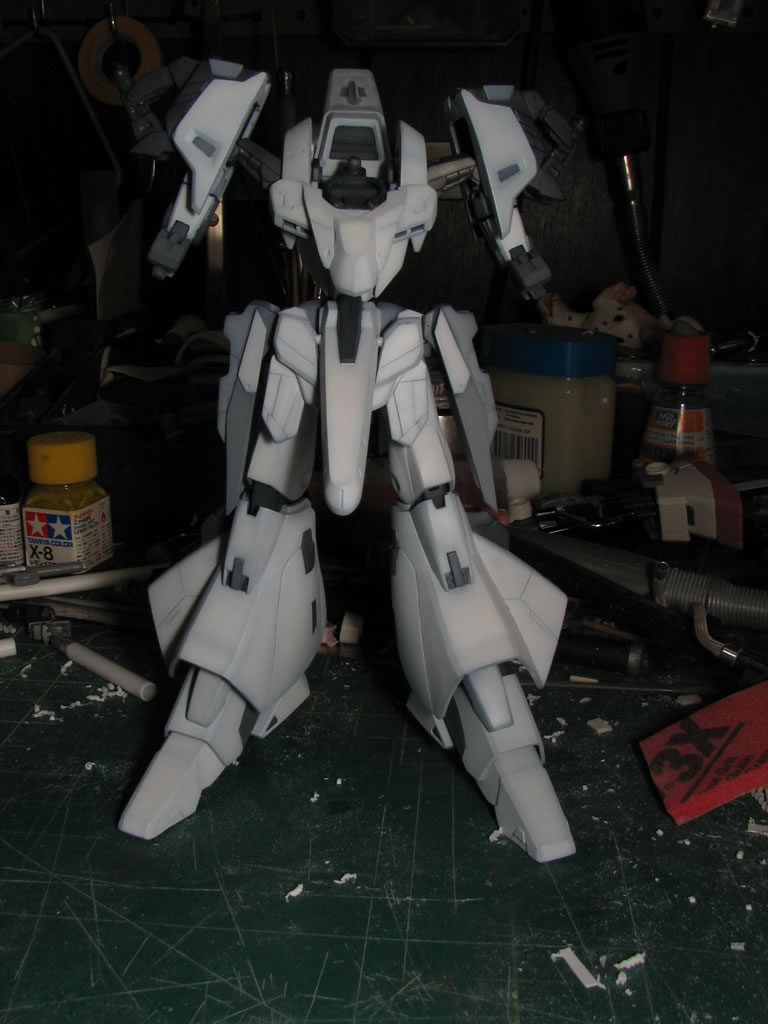
Work continues on the Sniper Custom. The tedious task of building one of the rails for the RIS and drilling out the vent holes for the floating barrel system took up most of the time. Other work included adding the stock to the rifle as well as configuring the barrel. Gtetra has been over at the house working on his gaplant, and he’s getting close to closing the chapter on this project that he started several years ago.
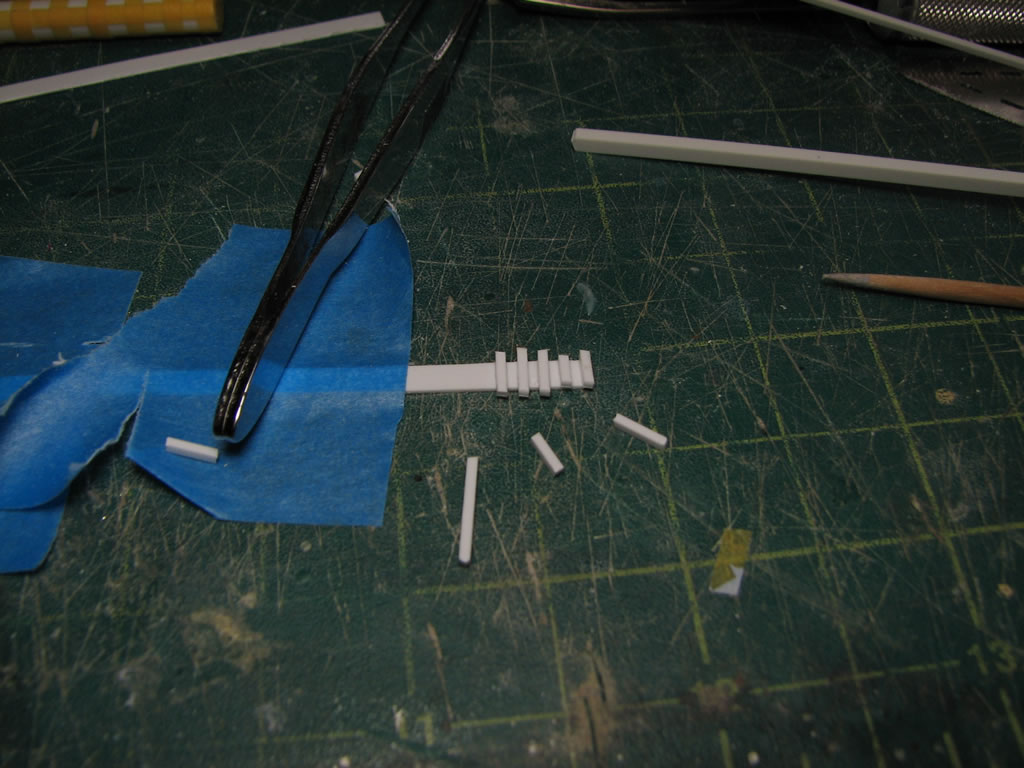
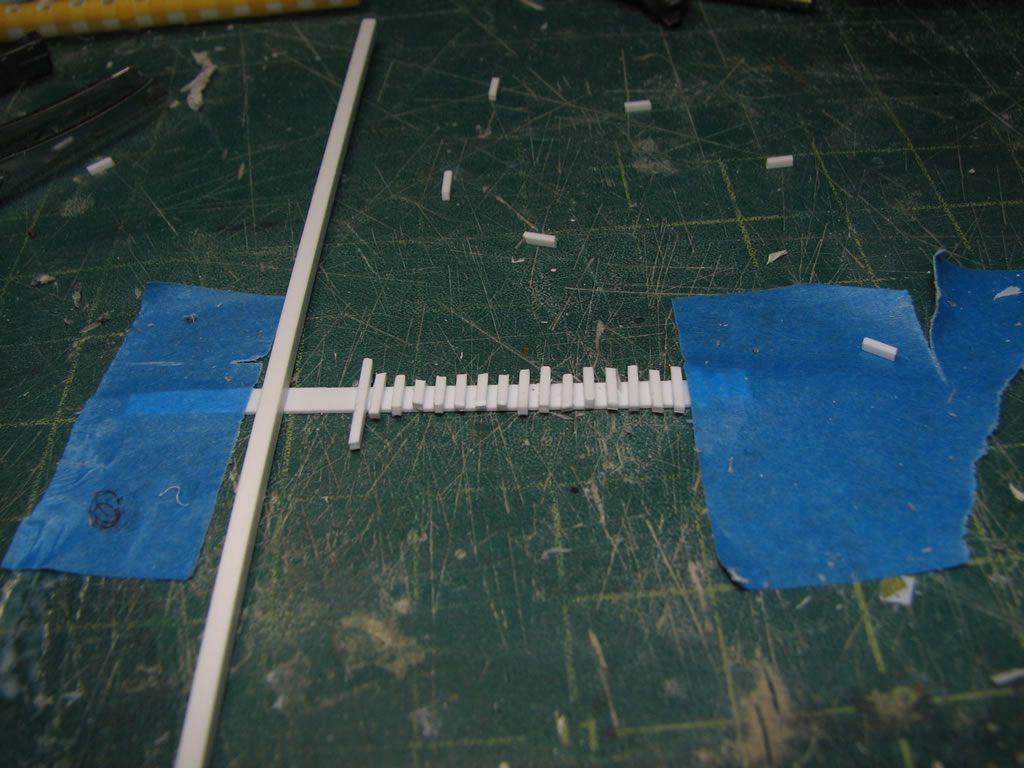
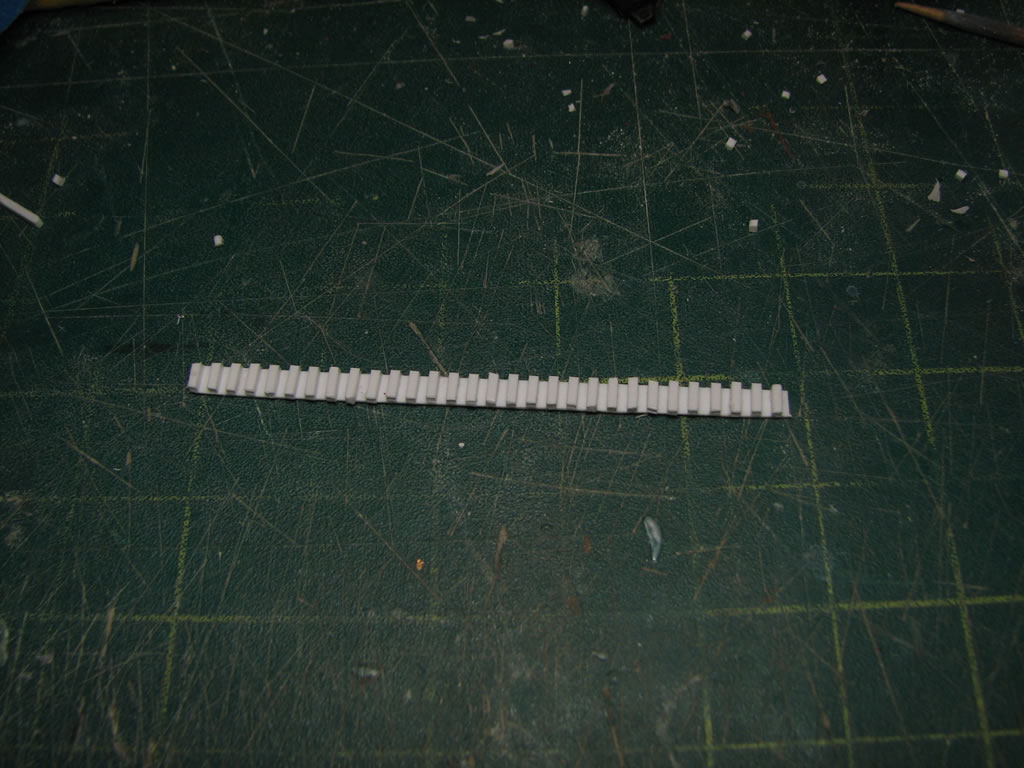
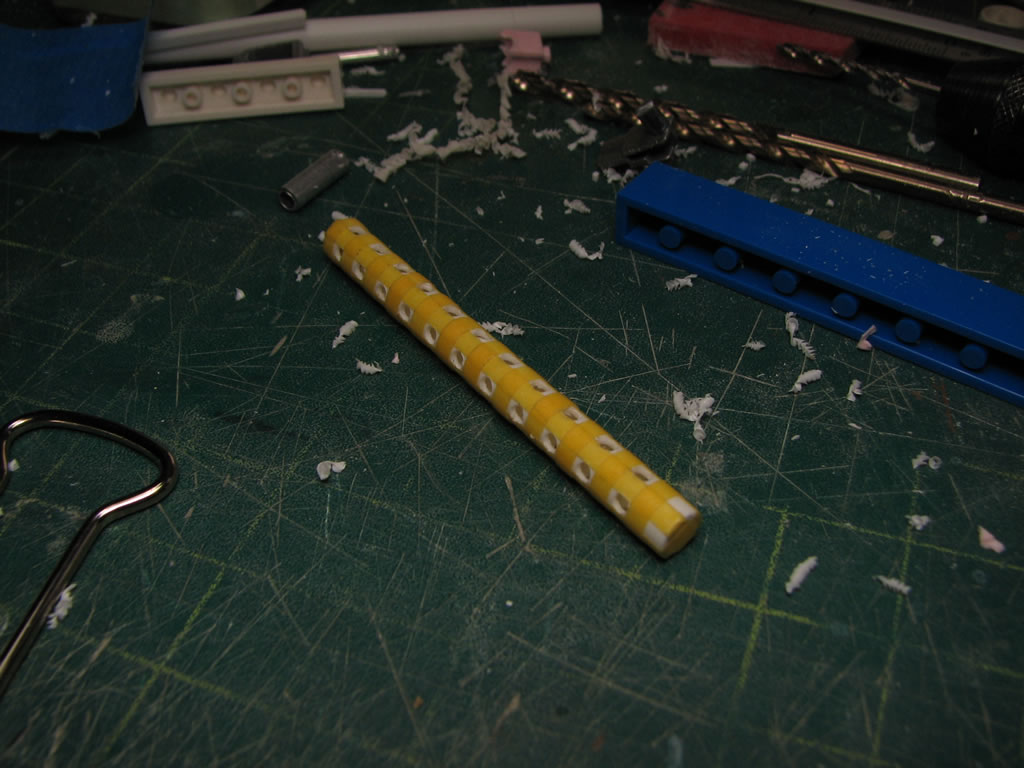
The most tedious task of the night was building a rail for the ris. I cut a strip of styrene, then using cut down styrene blocks, glued these using two styrene blocks as guides. The slow process makes sure that rails are fairly straight and spaced out correctly. Once done, the excess is trimmed and I have one rail. Only 3 more to go.
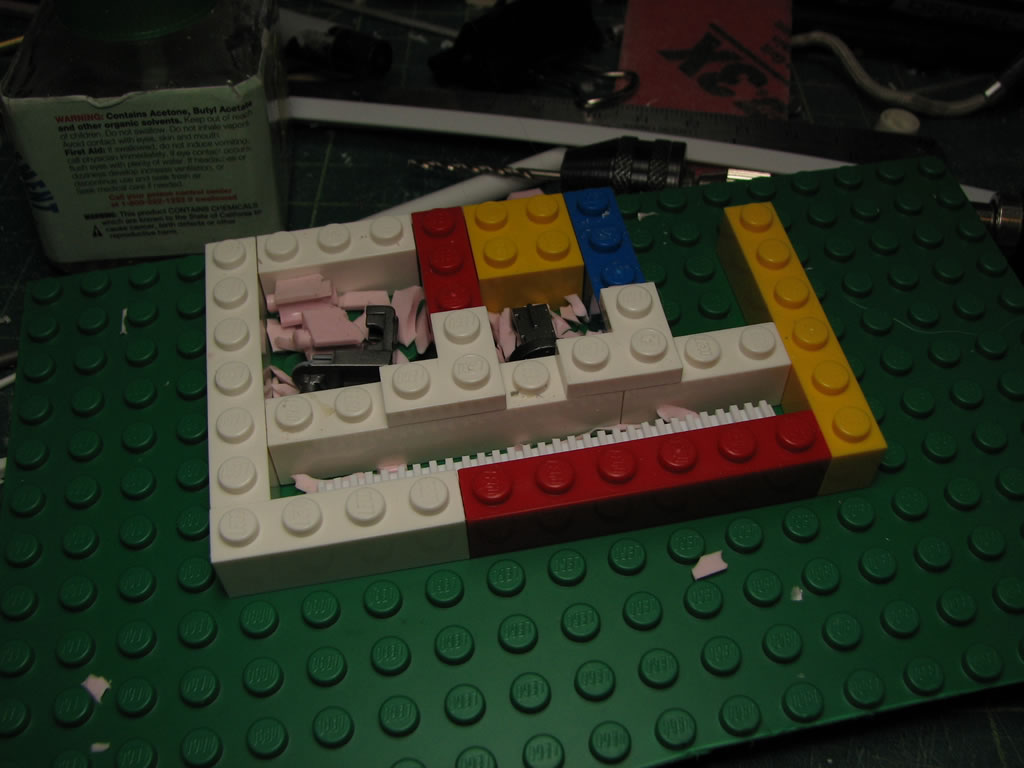
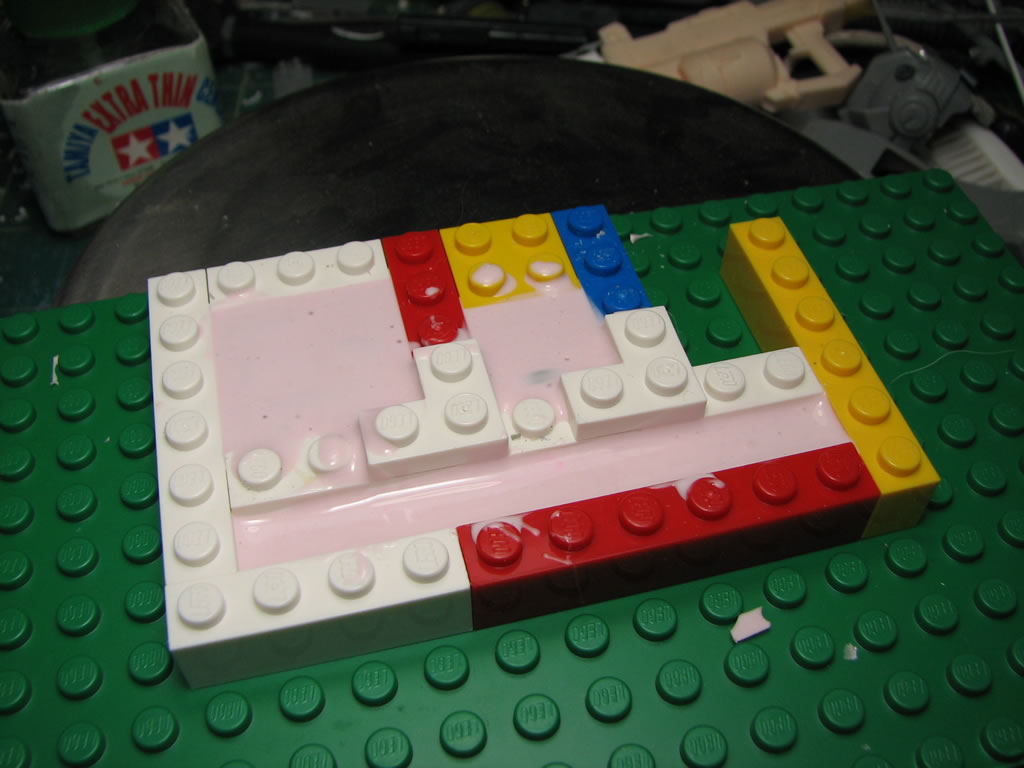
Well, since the last time I built a RIS system out of styrene, I’ve learned how to cast resin. And what better way to have multiple copies of the exact part than making a mold of the part and just casting copies. There is an added benefit that the resin copies will be much stronger than the glued together styrene rail. Also making a copy for the shot gun holder that I pulled off another kit. I didn’t like the one I used the previous day, and to scratch build something that I already had is just an exercise in futility. So a copy is going to be made.
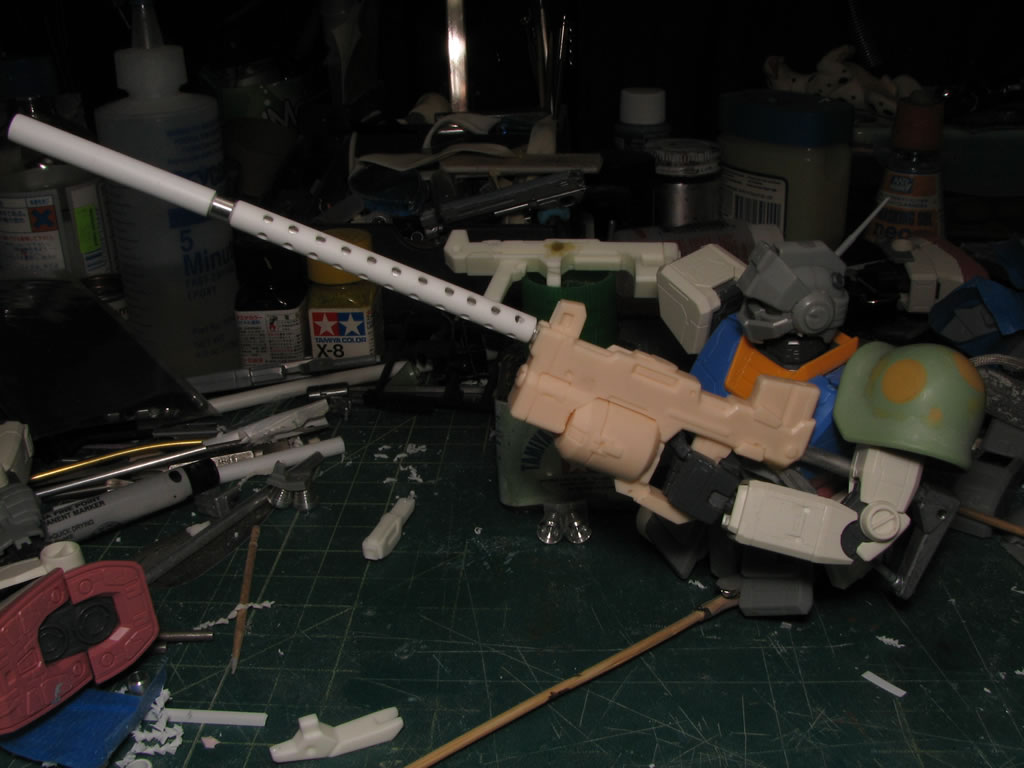
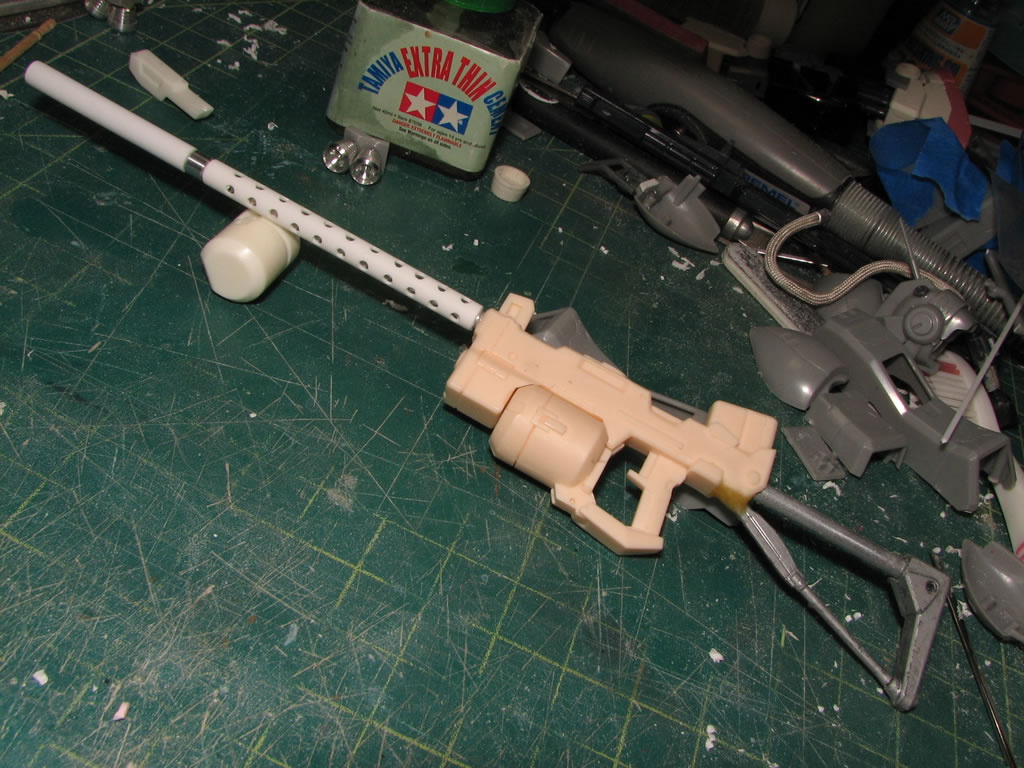
The barrel sees more work as I finish drilling out the vent holes. Not entirely straight, but with the rails in place, it’s not too noticeable unless pointed out. Times like these I wish I had a 3d printing system, then I can just draw the thing up in CAD and have it printed. But what fun would that be? With the holes drilled out, I glued together a silencer attachment that attaches to the end of the vented outer barrel. A ring at the end of the gun is glued to attach the outer barrel. A stock is added using a piece from the Kampfer’s shot gun stock as secondary pieces to an aluminum pipe I attached to the back of the rifle. At least now it’s starting to look like a decent rifle. Another quick mock up shot. Hopefully I’ll cast some rail pieces tomorrow and have those attached.
Another thing I added was an SMG to the rear skirt. The rear skirt has a hole with a polycap meant for bazooka or the standard RX-78 beam rifle to attach. So why not use what’s there. With the exception that I glued in magnets into another Ore Gun and in the space between the polycap and the plastic end. Next up I will build up a hard point attachment detail and glue this to the rear skirt’s center piece so that the ore gun smg looks like it actually attaches somewhere as opposed to just sticking there and spinning on the axis of the magnetic connection.

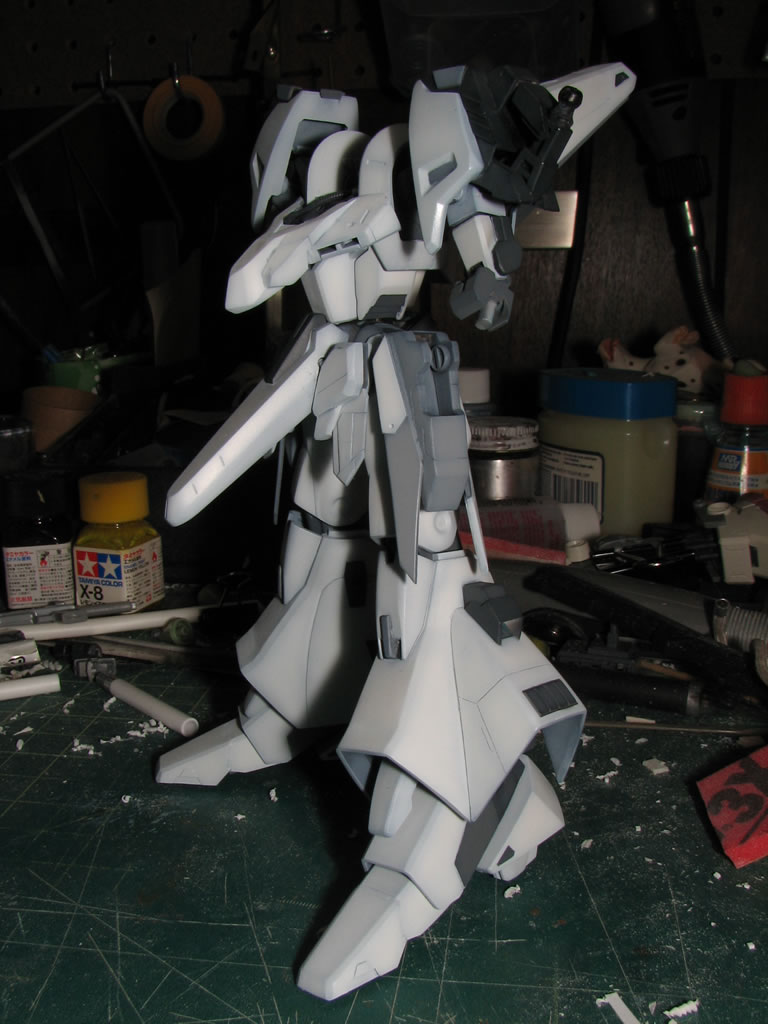
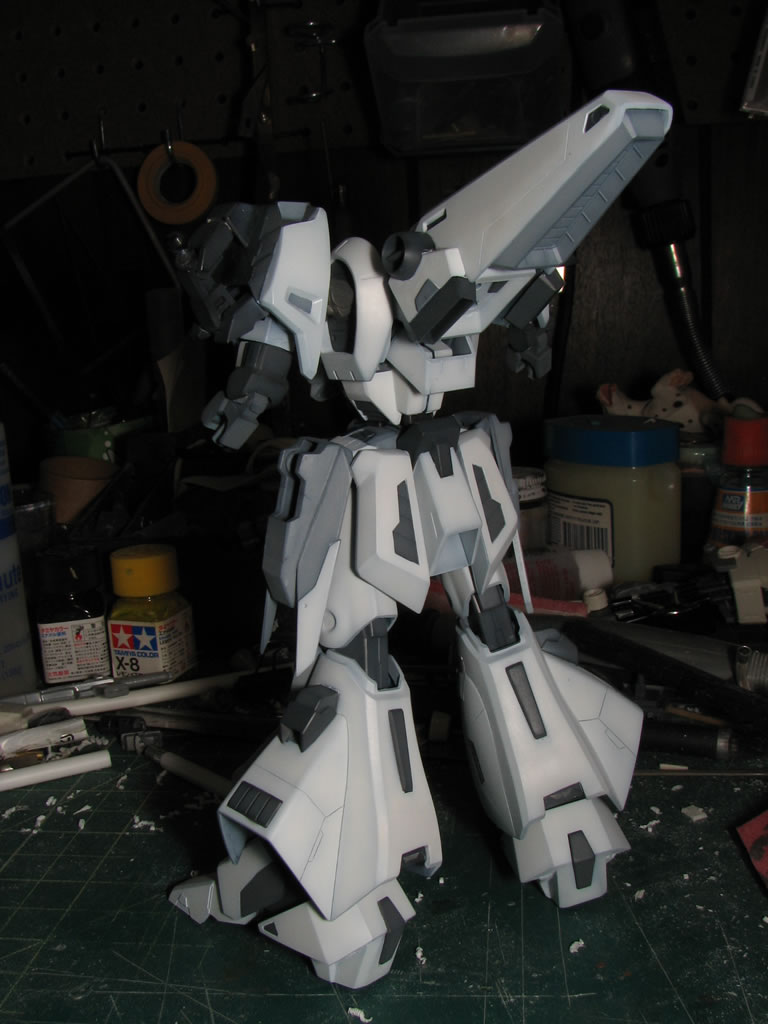
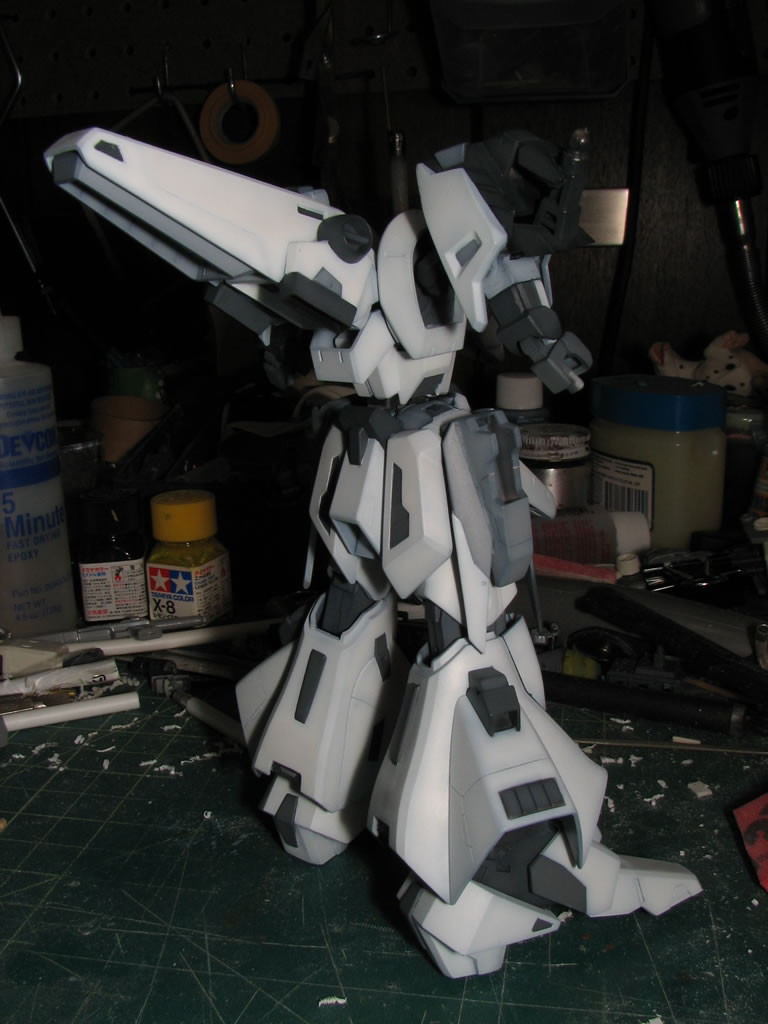
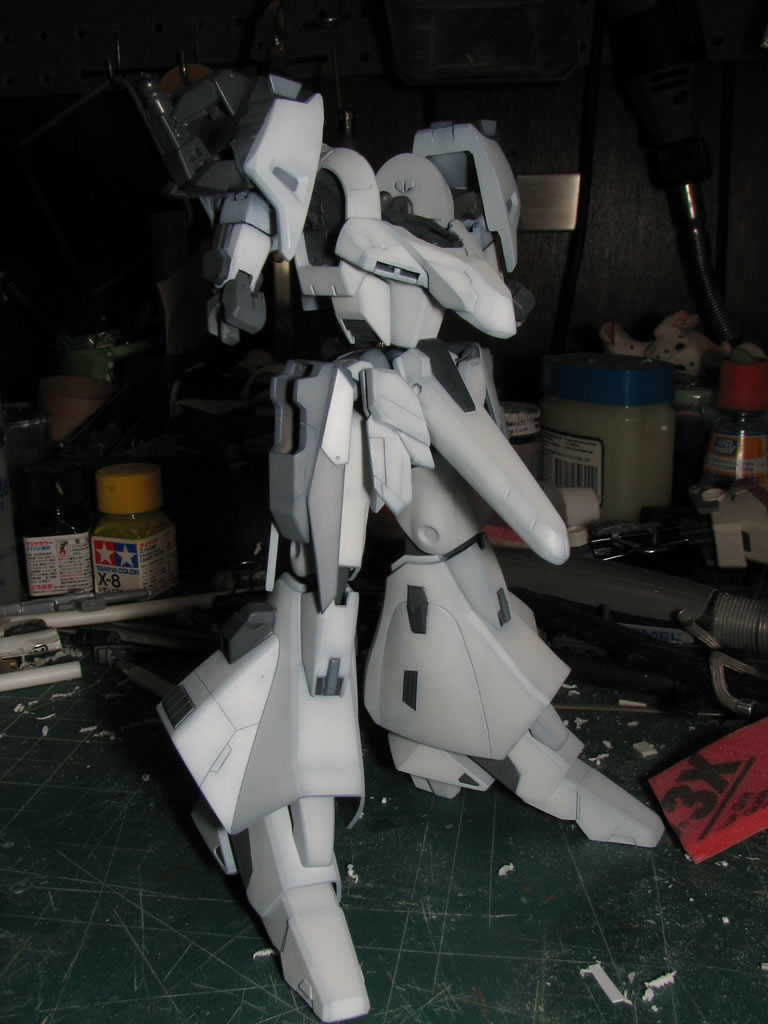
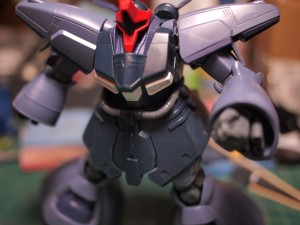
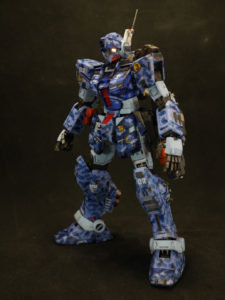
Gtetra has been working on this Gaplant for several years. Building, shelving the project, returning to it, and just cycling almost endlessly. He’s been at the house painting for the past few nights and around 1AM last night, he fitted these parts together for some quick shots. The light at the end of the tunnel is getting ever brighter as each day of work on the kit passes. Soon it will be done, soon.