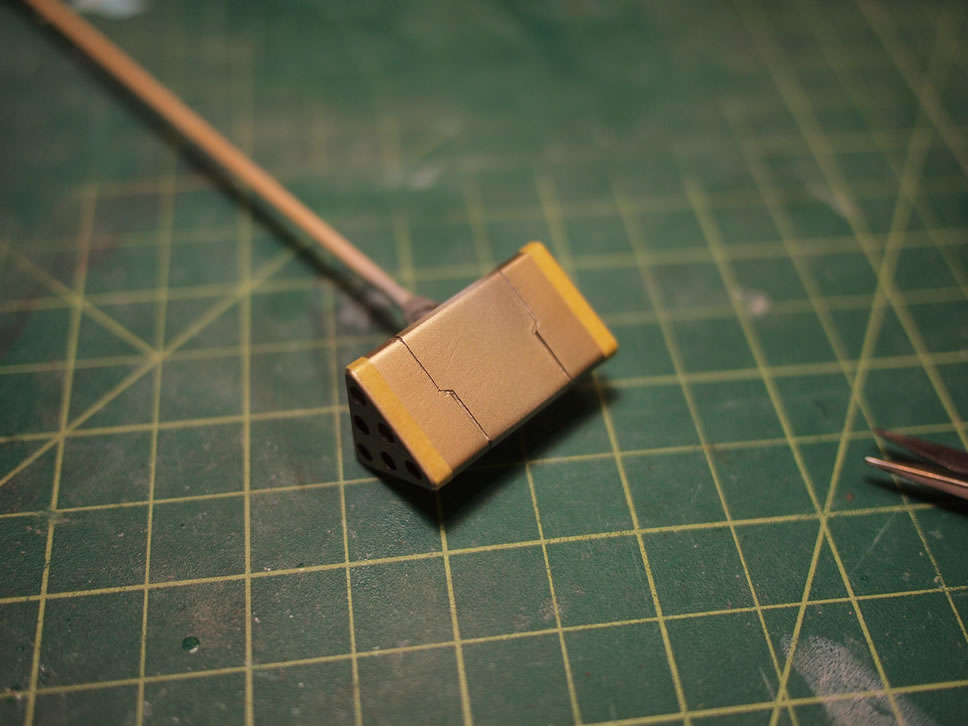
The past few days has seen the conclusion to the painting. The main armor is painted, then masked, then highlighted. But I’ll start off with the gold parts painted a few days ago. These parts have had that time to cure so on goes the masking. Using some thin yellow model masking tape, the gold areas are masked then the parts are painted with the base black and then a dark gray. About an hour after painting the masking is removed. I did some masking and detail painting for the exposed upper thigh internal piping. Similar process – masked, black base, then alclad polished aluminum – more masking, black base, and then alclad polished brass.

Progress continues after the jump.
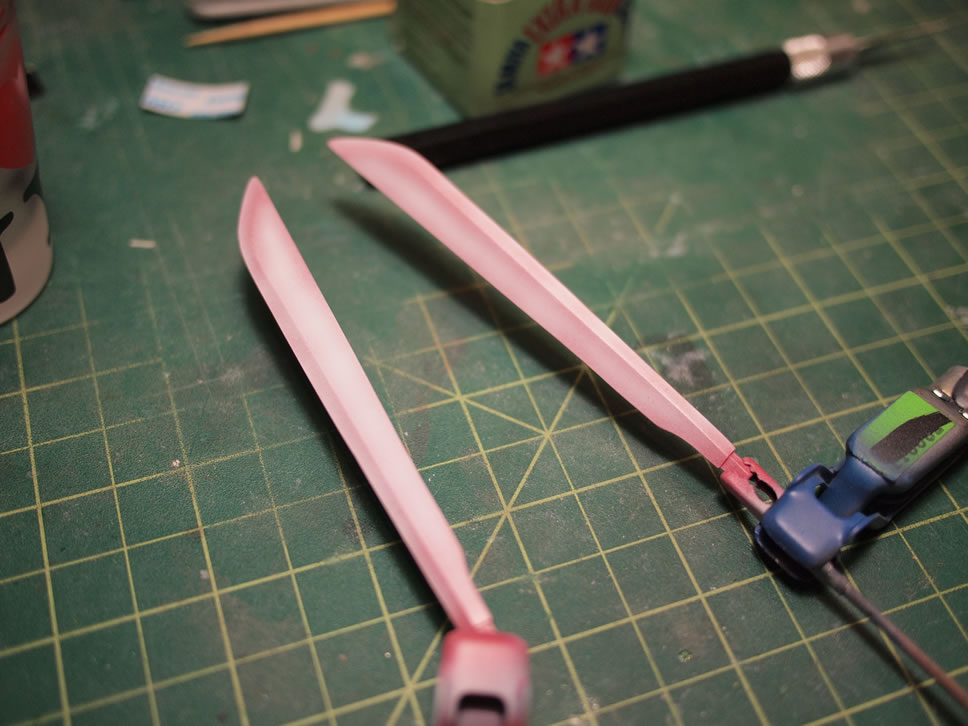
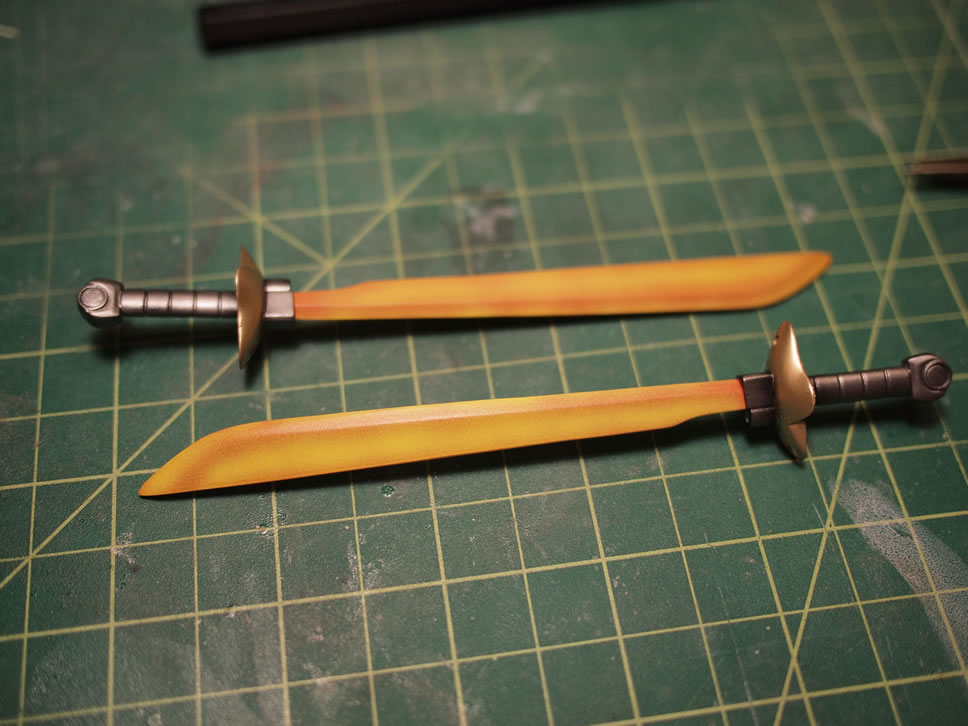
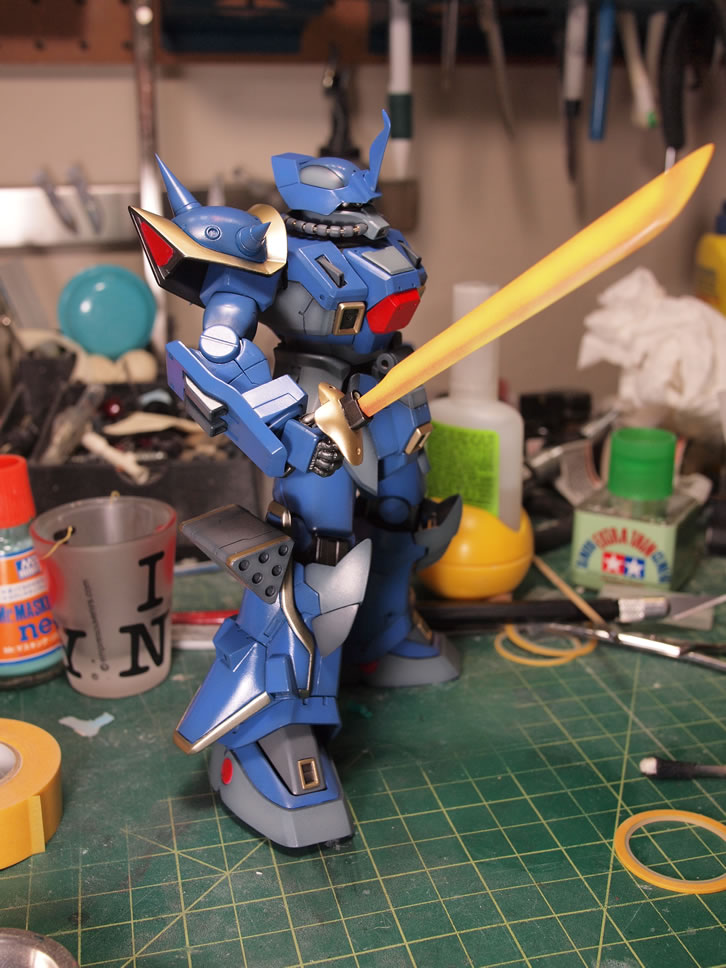
In the previous update, I painted the saber blades red as a base coat. The basic idea I’m using is a technique called color lift. It’s basically preshading, but using different colors over one another to achieve a specific effect. So sprayed over the red, is Finisher’s pure white keeping the red as a fairly stark the shading tone. The blades now have a pink tone. With the white paint dry, I spray on a layer of clear yellow. This allows for the red tones to show up as an almost orange shading tone. A flat clear is sprayed over the blades to finish them off. This is a similar method to how I painted the Gouf Custom head saber, but using clear orange in that case. I think it brings a certain level of depth to the sabers. I want to pose the Efreet holding the blades, so effectively, they should be “on” at that point. If I wanted to display the sword sheathed, I would have opted for some sort of a metallic finish.
I did a color test for the main armor pieces earlier in the week, and seen in the previous post. I had missed painting the leg’s internals so the rest of the armor pieces needed to wait for these parts to catch up. The leg internal parts needed to be painted with metallics then masked off, hence the lag. But with all the parts caught up, the rest of the main armor parts are painted with Finisher’s Lavender as the main color over the wulf blue.
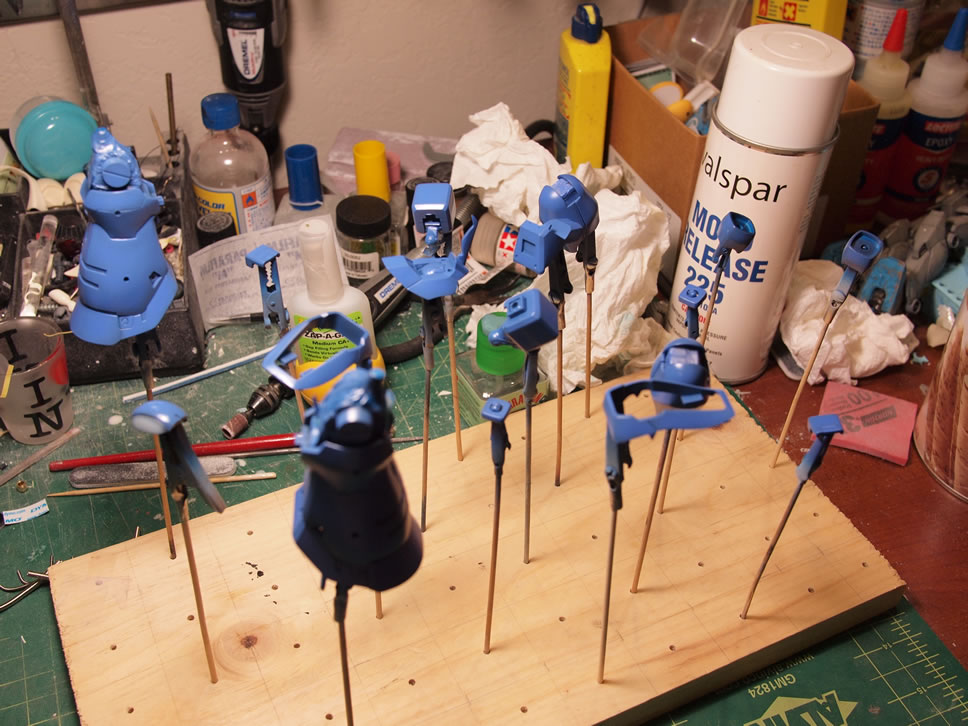
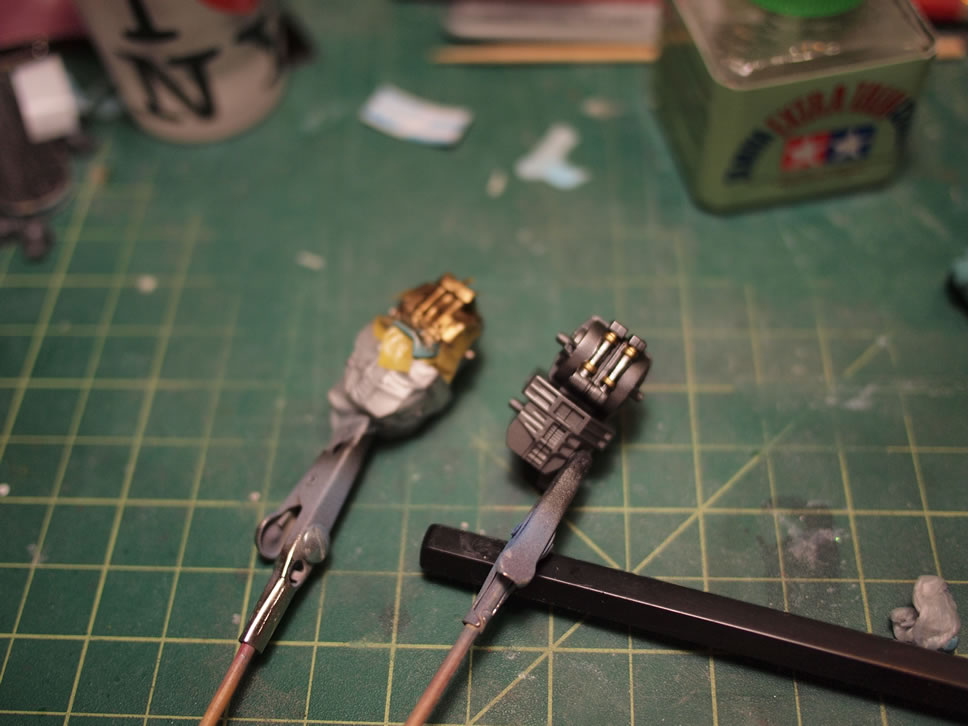
With the armor pieces done, a select number of the armor need additional mask and painting such as the chest, outer leg armor, arms and backpack, so those were left on skewers to cure up. The rest of the parts were ready for some assembly. The main legs, feet, waist, parts of the upper body, then the head. The cabling for the head is just a pain in the ass. Akocreation included several packs of metal parts and the cabling for the head and waist are all metal. The only benefit for me is that I didn’t have to sand each individual cable piece. While trying to assemble the head cable, I ended up loosing one of the painted cables. Learning from this, I glued each cable piece to the spring. Normally, I would have just strung it up and attached the two cable ends. But there was some slack in the spring which allowed the cables to move around some and it just looked uneven, so gluing the cables to the spring ensures an evenly spaced look. When I get to the waist cables, I will have to do the same there, glue them to the spring itself and evenly space them out. It works to show off the inner metal spring nicely.
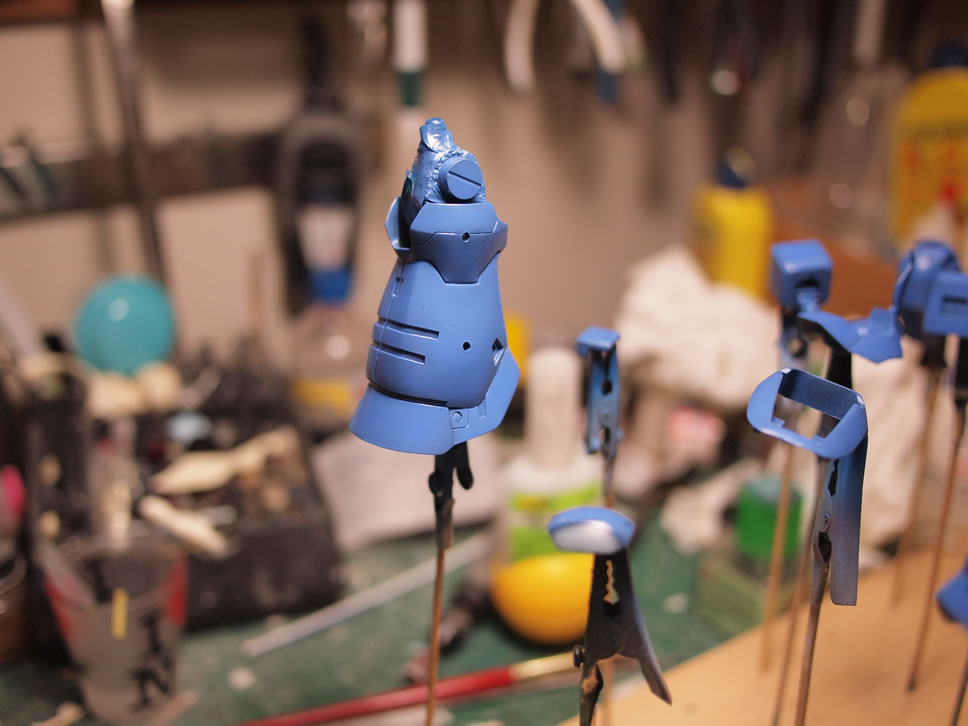
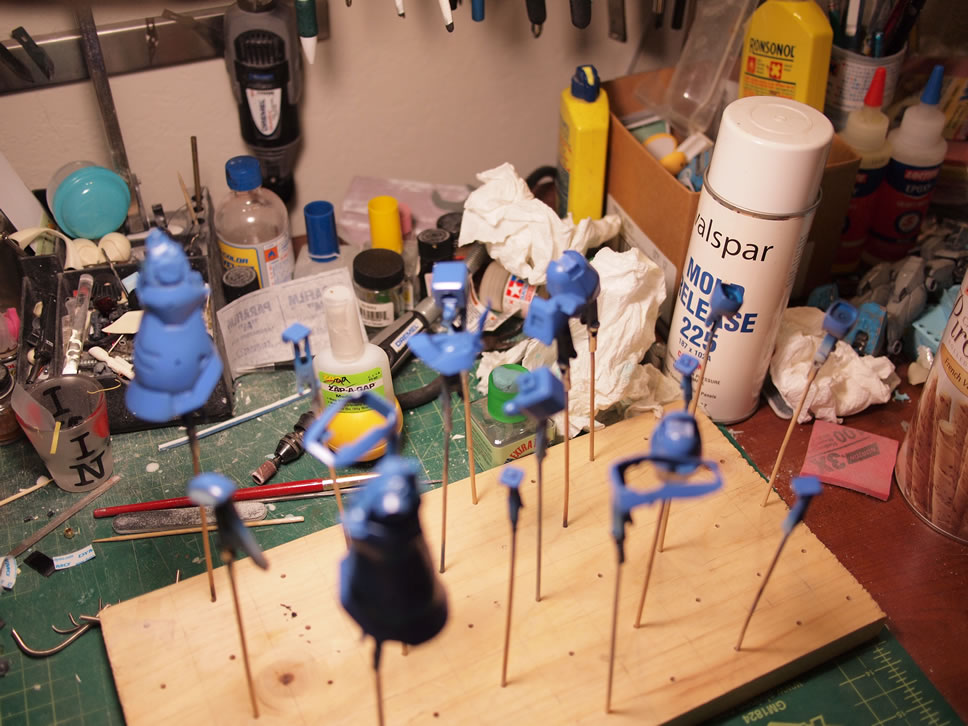
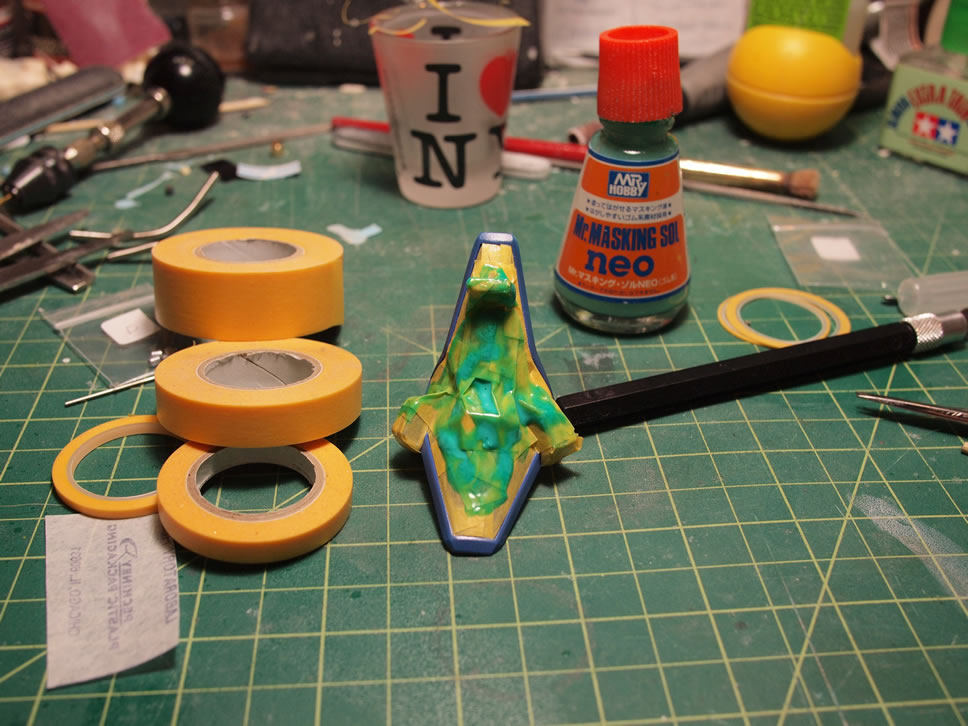
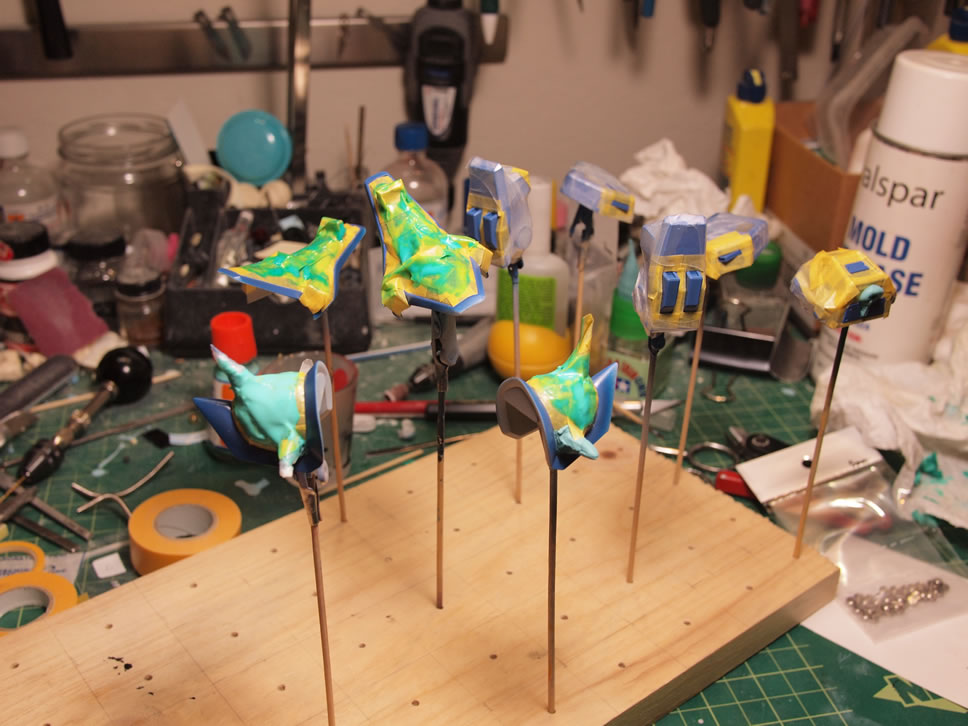
Last night, I spent most of the evening masking off the exterior armor pieces to paint detail areas. The backpack, arm, and chest pieces got dark gray highlighting. The exterior leg armor and shoulders were masked off for gold highlights. For the masking, I start off with the standard yellow model masking tape placed along the hard edges between the paint colors. Larger areas are masked off with parafilm. Hard to tape areas are masked off with sticky tack. Then an over all liquid mask is applied to all the overlapping areas just to ensure cover the tape areas that don’t completely overlap. The worst thing in the world is to spend all this time masking, the quick 5 minutes for painting, and then peel away the masking to discover a small sliver of unwanted paint in the middle of an area that should have been masked off.
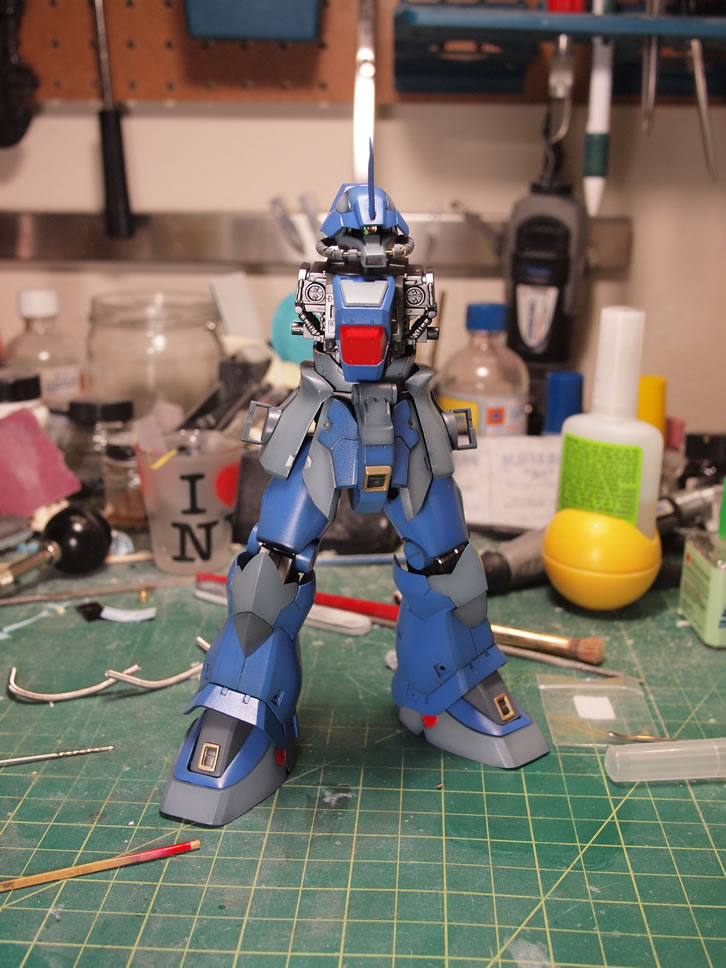
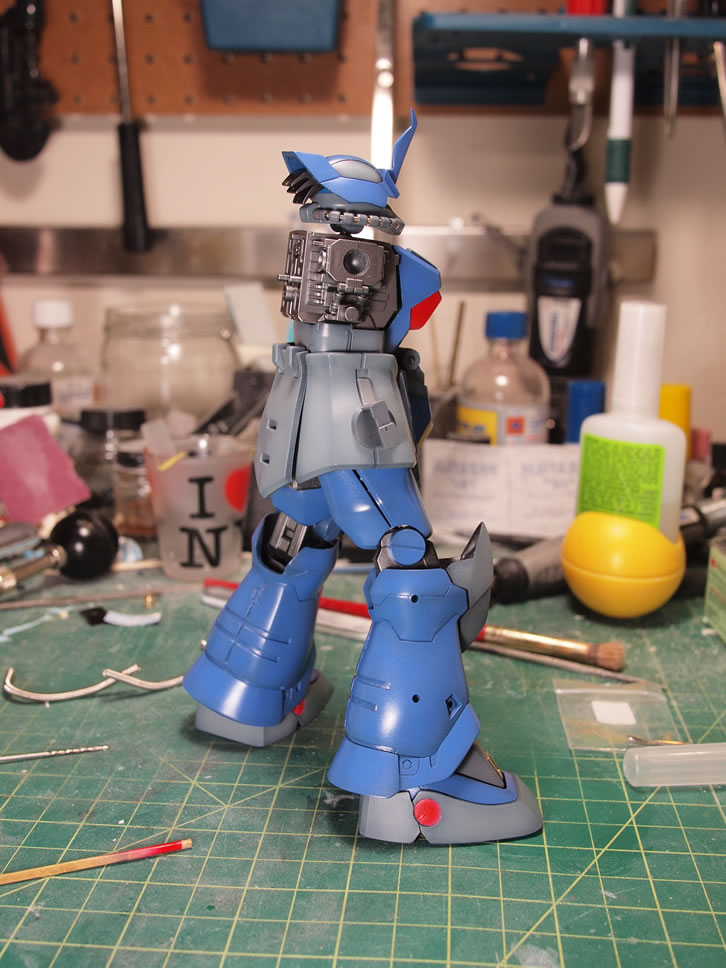
The benefits of using lacquer paints is that it dries and cures so very fast. It dries quickly, and after a day of so, is about fully cured. So with care, and feeding my impatience for visual appeasement, I assembled the right side, leg, shoulder, arm and chest for the sake of the following picture.
With all the major painting done, the whole build process slows to a trickle with barely noticeable updates. The glosses, the decals, the panel lines, and flat. I’m still on the fence if I want to apply a slight bit of weathering to the suit. I’m starting lean towards that direction as it adds some dynamics and gives a bit of realism to the suit. Nothing in the way of damages, but just some dust, oil marks, rust here and there – just enough weathering to show that the suit has seen some usage.