This year’s resin figure build: Revy

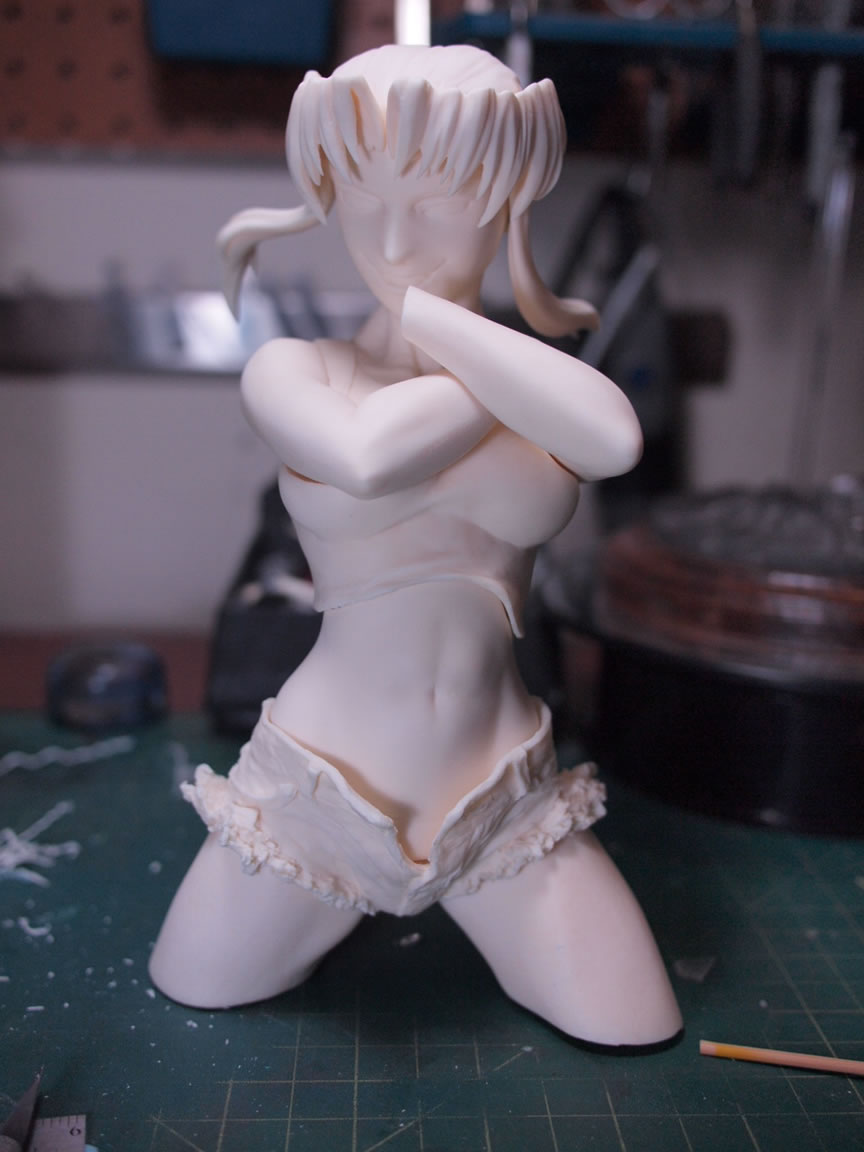
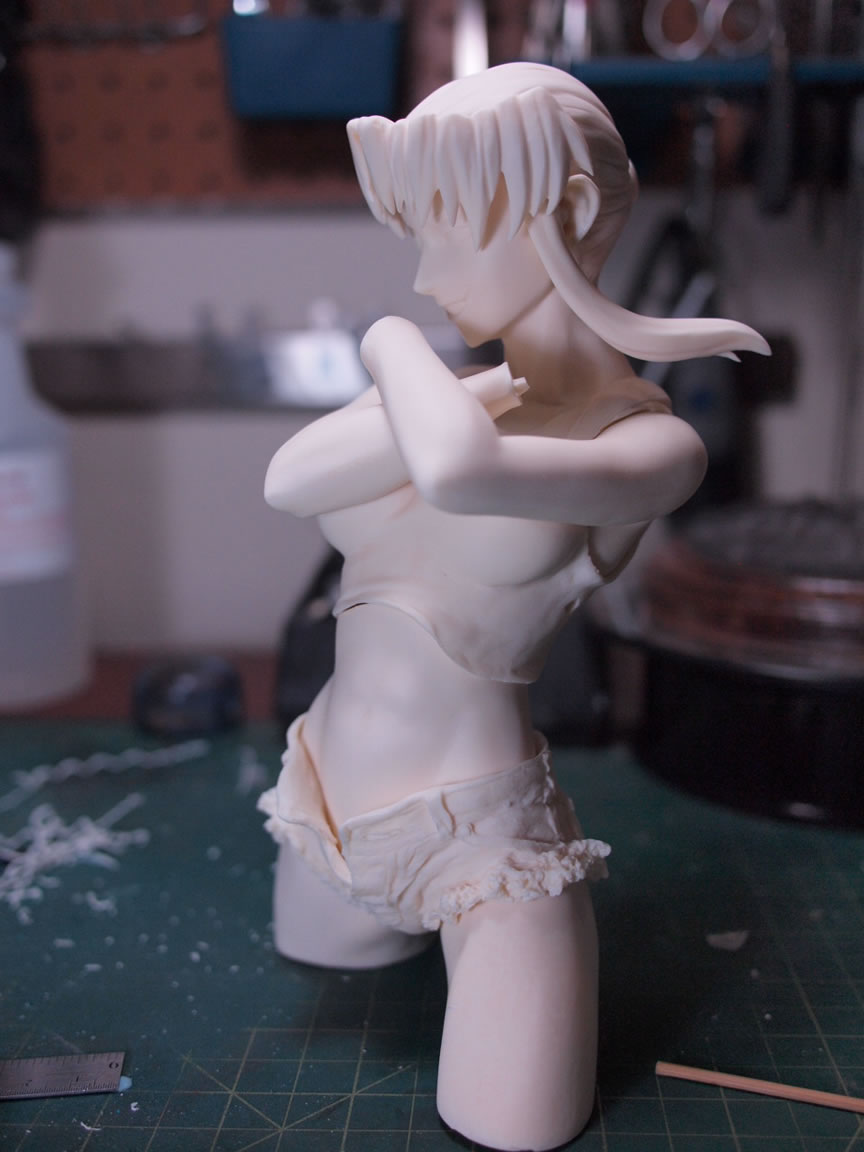
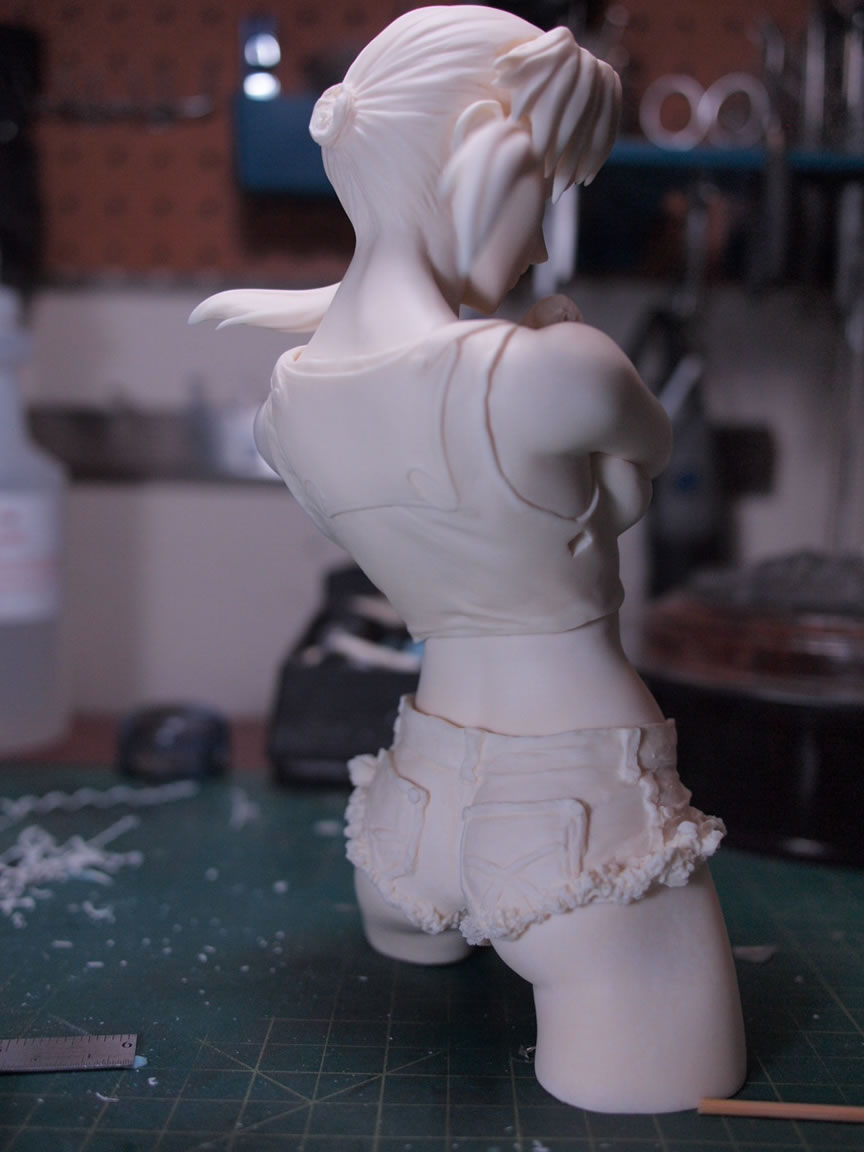
Several weeks ago, it occurred to me that I had yet to build a resin figure this year. I’ve been building fewer projects over the course of a year, but so far I’ve completed the resin conversion Efreet Custom and my little Nu project. Yes, the Efreet is mostly resin, but it is definitely not a figure kit; so picking through my pile, I narrowed down a few during the August build gathering. The Dutch and Revy kit pulled to me, and looking at the quick fit of things, I decided on the Revy which looks like it’s about a 1/4 scale bust kit.

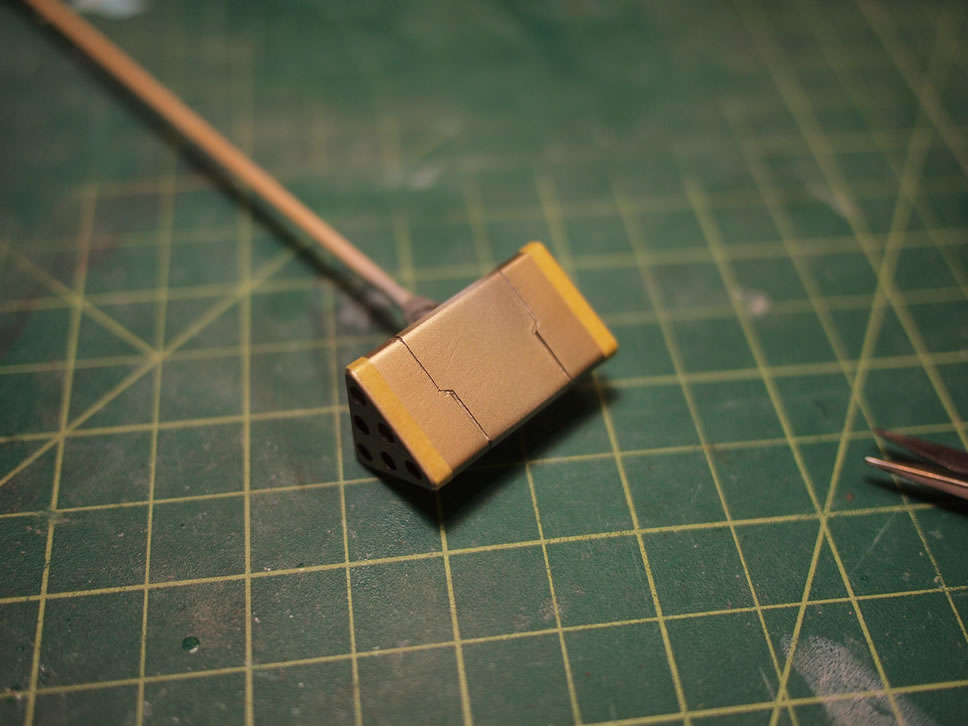
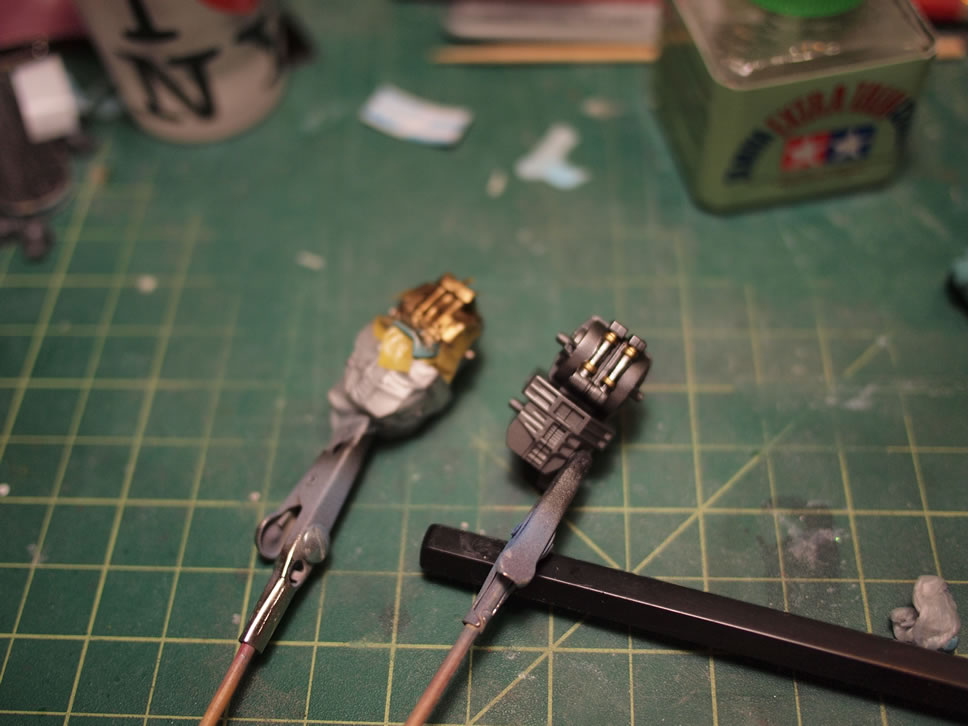
So we begin, with Step 1: Basic building and pinning. I actually quite enjoy this step, the rough excess resin tabs are cut and the kit comes together in unpainted resin pureness. One of the build guys, Manuel, lent me his jeweler’s saw, which cuts through the resin like butter, and reduces the chance of resin chipping from using clippers. However, there is a real possibility of slipping and cutting into the resin parts other than just the excess resin, so care needs to be taken – especially since these saws can take off skin and bone just as easily.

Excess resin is removed here and there while the parts are test fitted, making sure parts are snug and aligned. Once this is done, some of the parts are carefully pinned trying to keep true to the alignment. Here I can see what pieces need reshaping or realignment.

(more…)

Continue ReadingThis year’s resin figure build: Revy

Efreet Custom – painting concludes

The past few days has seen the conclusion to the painting. The main armor is painted, then masked, then highlighted. But I’ll start off with the gold parts painted a few days ago. These parts have had that time to cure so on goes the masking. Using some thin yellow model masking tape, the gold areas are masked then the parts are painted with the base black and then a dark gray. About an hour after painting the masking is removed. I did some masking and detail painting for the exposed upper thigh internal piping. Similar process – masked, black base, then alclad polished aluminum – more masking, black base, and then alclad polished brass.

Progress continues after the jump.

(more…)

Continue ReadingEfreet Custom – painting concludes

All your base are belong to us

Since the last update, the past several days has been spent focused on the base as the Jegan is completed. The process is fairly time consuming as each step takes about a day to fully dry and cure up, if I’m lucky. Depending on the humidity, temperature and thickness of the stuff applied to the surface; the celluclay (Papier-mâché) may take anywhere from one to 5 days to completely dry. Last night, I applied the celluclay to the base and here’s a comparison of the base from the start of the build to now. The light at the end of the tunnel is much brighter now, and this is the last component of the build. Once the celluclay dries, all that is left is the painting and weathering for the base which are some very quick steps in the overall scope of the project.

Aside from the added electronics and surface details, the basic build technique I use for dioramas or bases:

  • Styrene sheets, rods, strips are used for structural details
  • A basic surface of styrofoam, wood blocks, or in this case, a resin asteroid base is used for the main surface dynamics, the basic landscape for the base
  • Plaster cloth is used to encompass everything as well as give a solid surface for the next layer
  • Celluclay is used as the final texture or covering surface over the dried plaster cloth
  • The final steps are paint, weathering, and any sort of ground works such as grass, sand, dirt, rocks, etc.

On to the build progression for this project’s base.

(more…)

Continue ReadingAll your base are belong to us