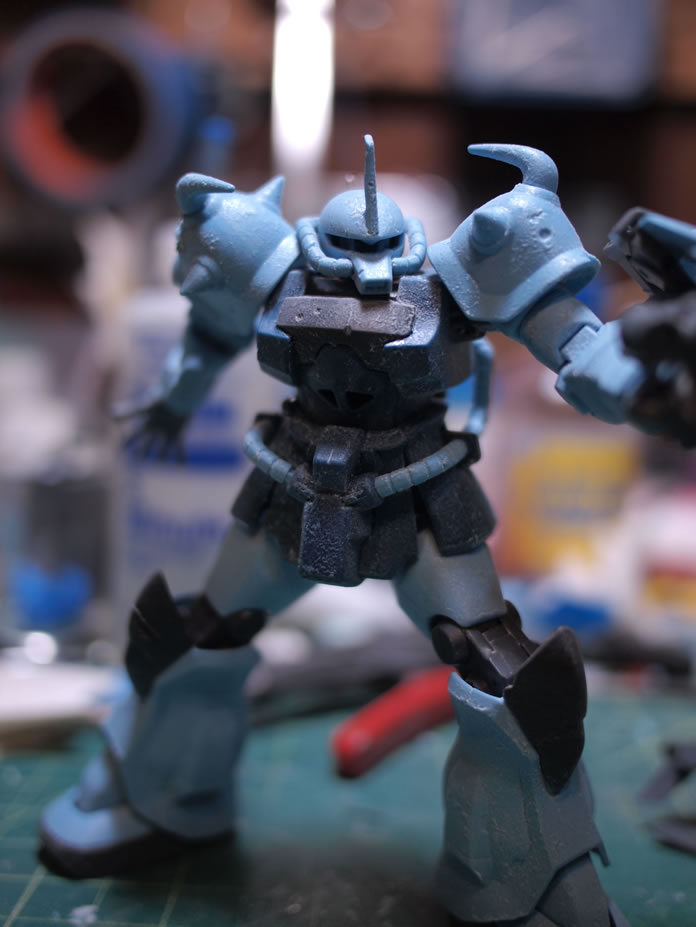
At the last build gathering, I worked on snapping and sanding a few GMs for a little diorama. To add to the story, I also added in an HGUC Gouf Custom. So being the zeonic fan I am, I spent a bit of time working on the little bugger since the April build gathering.
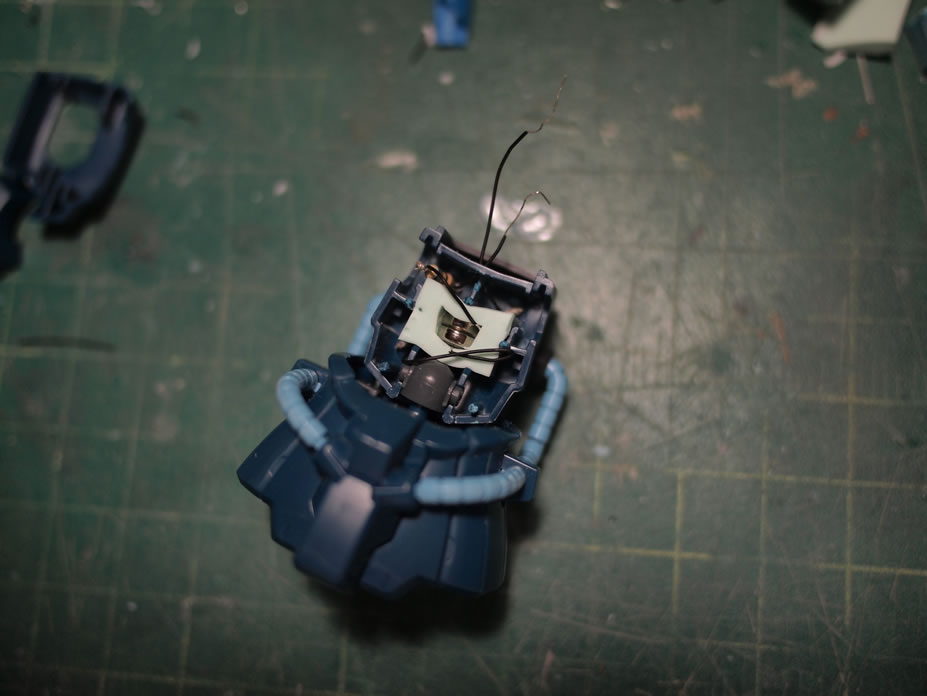
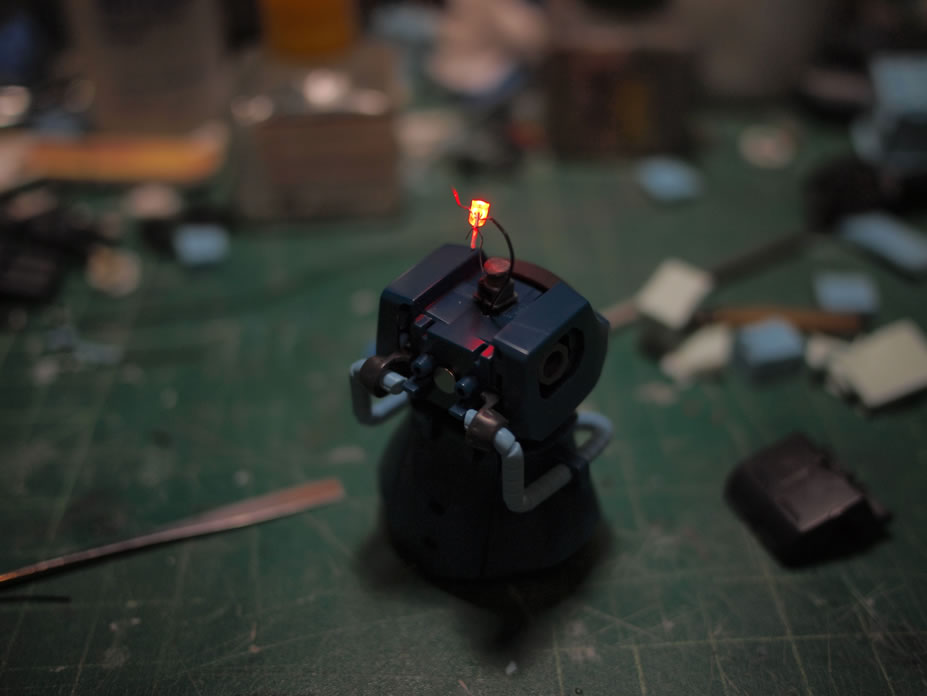
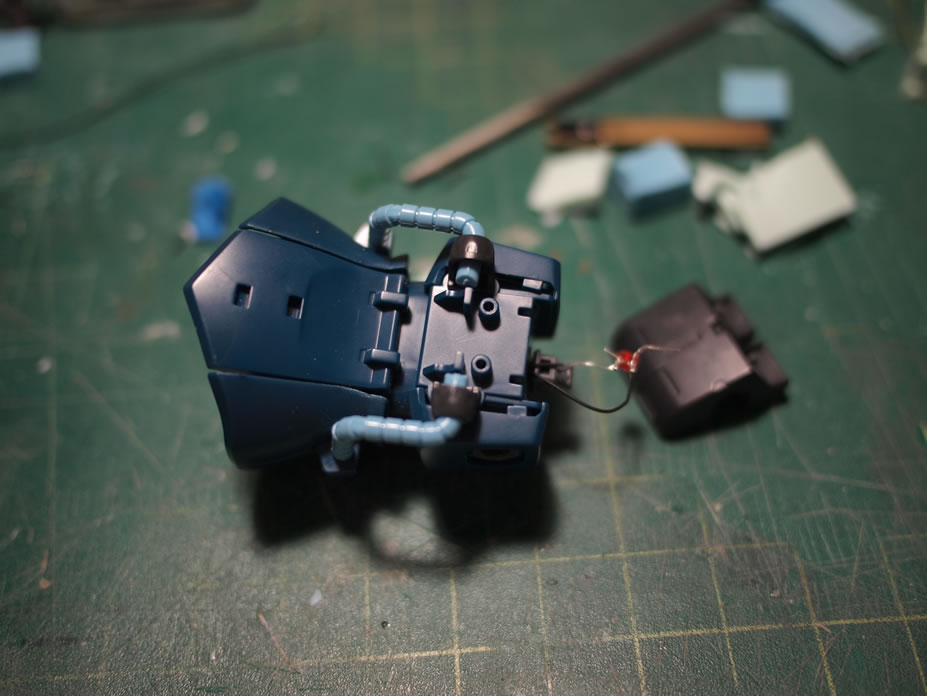
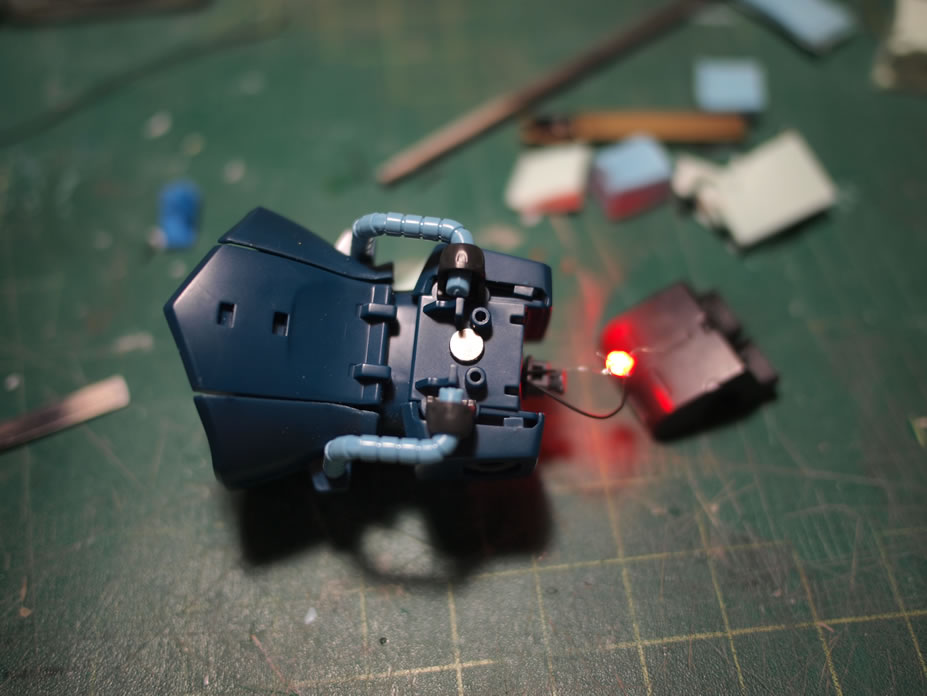
The first thing done is a small modification to the chest internals. Adding in a battery unit, a resistor, a reed switch, and wires running through a small hole drilled at the top of the chest block connecting to the head. An old piece of silicone mold is cut to hold the battery unit as well as hold the wires in place. The reed switch is placed at the back of the chest block so that a magnet attached to the back and under the backpack cover can activate the system. It’s a very quick and dirty method to lighting the mono eye and keeping all the electronics inside the kit.
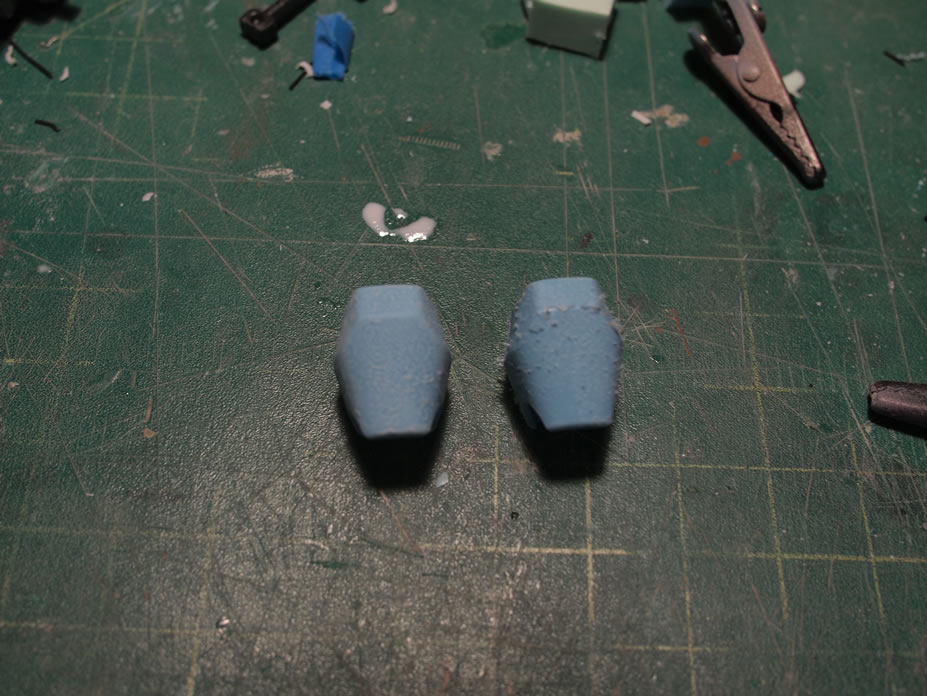
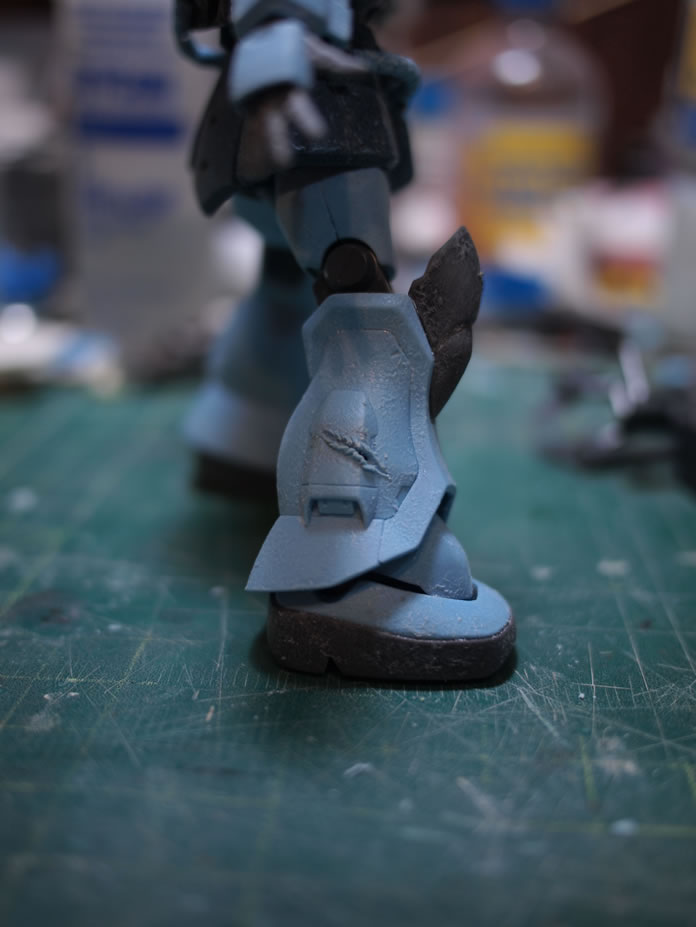
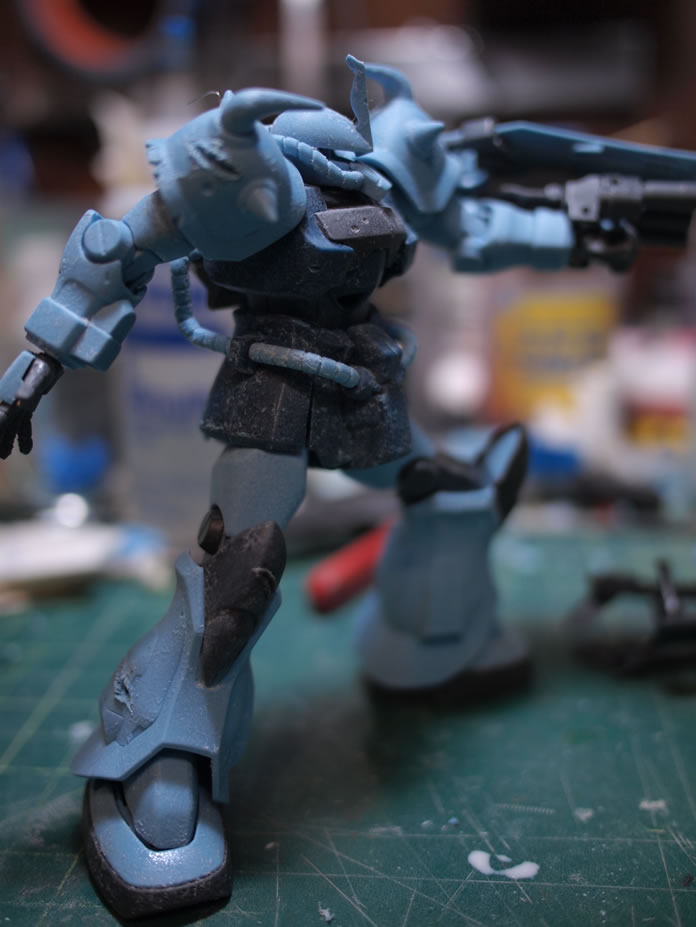
The next thing done was texturing the surface of the kit. A tutorial over at ThoseGundamGuys.org shows the process for the technique I used. With the glue dried, the surface is sanded with a medium grit sanding pad and then the kit is put back together for the next phase, damages.

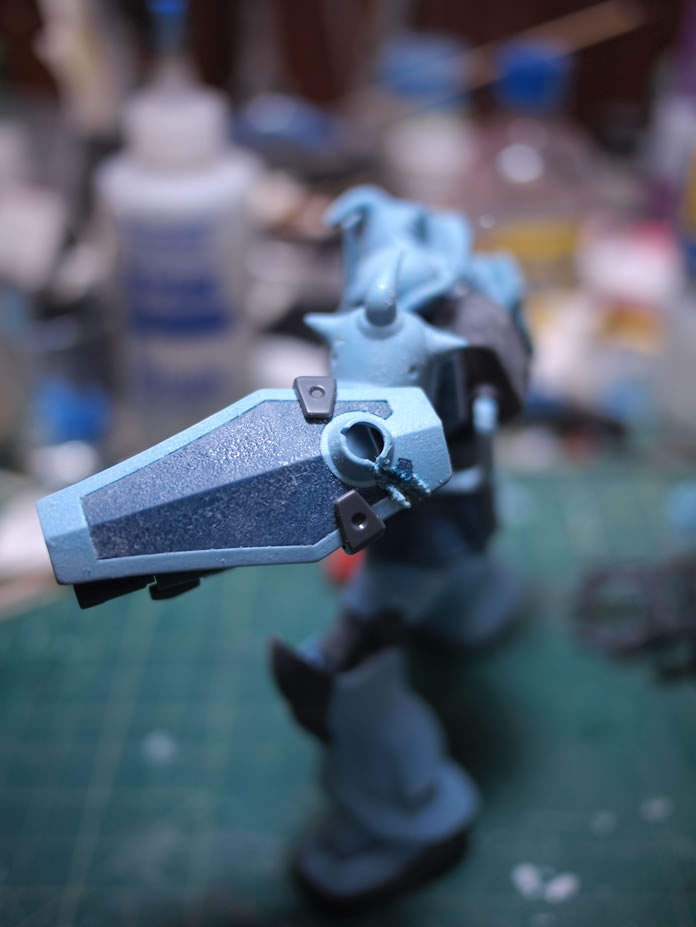
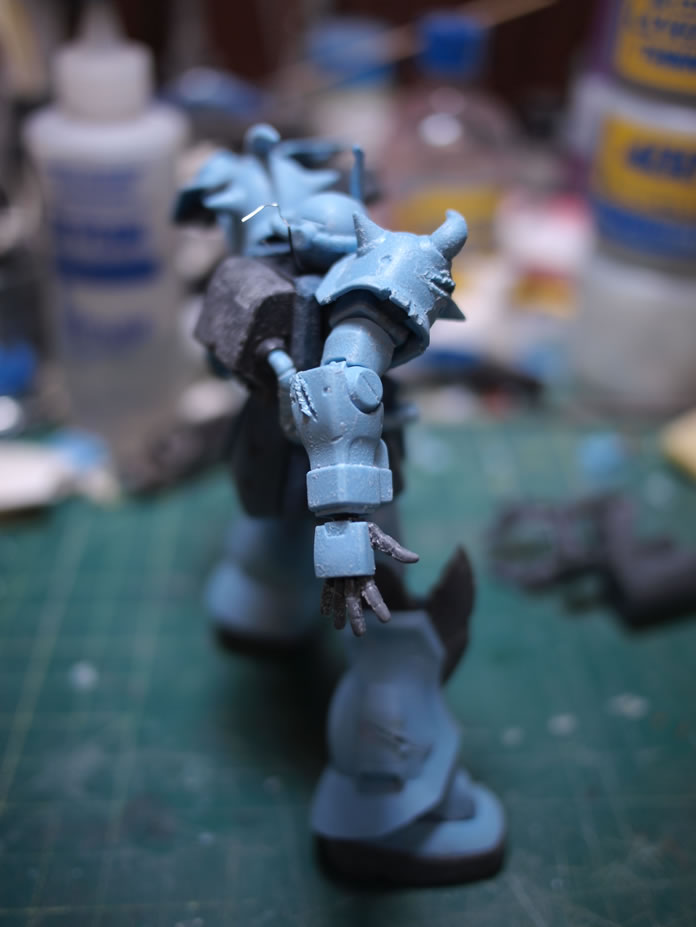
With the kit back together, it is easier to look for areas to add little bits and sections of damage. A soldering gun was used to apply small scratches. This was done very carefully. The melted area is sanded to smooth out some of the rough areas and straighten the damage. Styrene glue is applied to the damaged areas and then a hobby knife is used to add notches. Some bullet holes are added here and there as well as some armor chips. I’m not going to go overboard with the damage as the unit needs look like it’s used and seen combat, but not completely destroyed.
Next update should have some primer and possibly some planning on how the GMs and Gouf will lay out.