Last week, I cleaned up my workshop and while doing so, I dusted off and looked at the Hi-v project that I had shelved about a year and a half ago. The kit was placed back onto the shelves while I finished cleaning up my workshop. With the workshop cleaned up, I brought the kit back off the shelves and laid out the parts on my work table to make sure I had all the parts. After all, the kit was sitting idle for 18 months. The only thing missing was the instruction manual for the conversion kit, but I had already done the test fit, pinning and I have the pictures from the previous updates for reference. Satisfied with all the parts present and accounted for, I started back on the kit a few days ago.
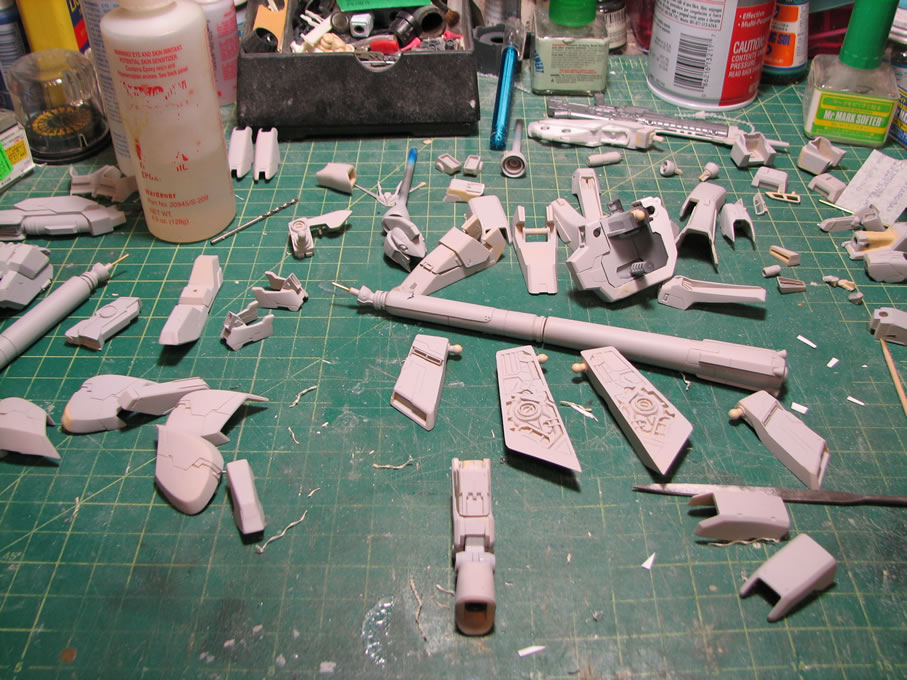

Returning to my last update on the kit; I had just gotten the initial primer layer sprayed and was already filling surface defects with light curing putty. Only a few pieces were re-sanded, so I spent time working on that process. So a good number of the parts with surface defects were fixed and additional defects were addressed with light curing putty.
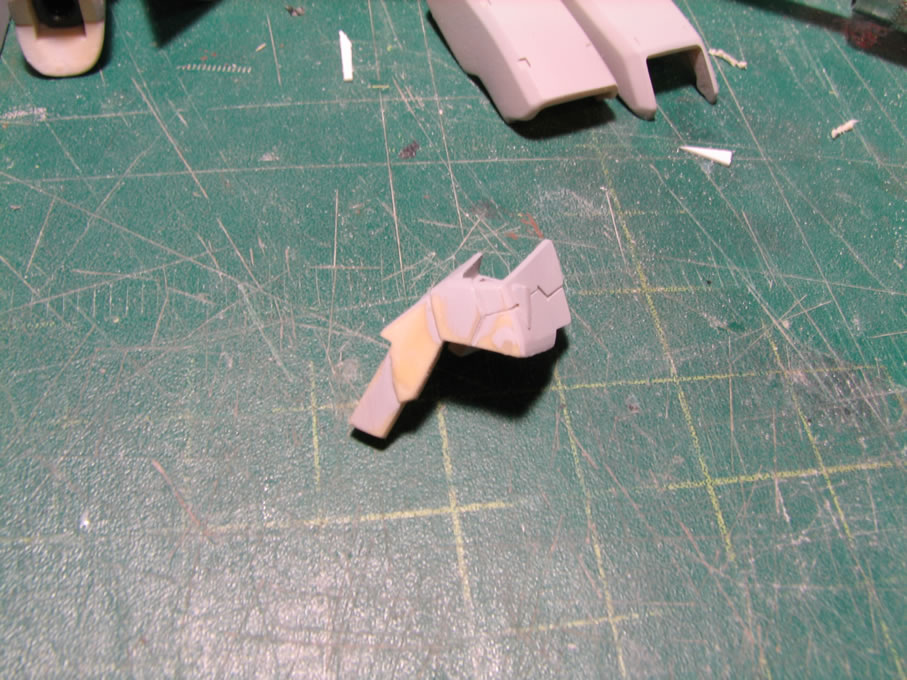
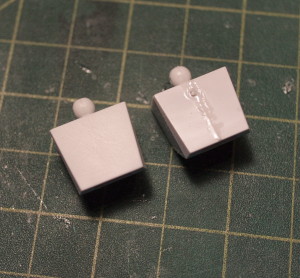
The shield parts didn’t fit quite right on the original plastic shield frame. Again, because I was missing my manual for the conversion, I went and cut the shield frame and removed a chunk of the frame. Once cut, the two resin pieces fit nicely over the two frame pieces. The two shield chunks were then glued together using epoxy glue for maximum strength. I’m not a fan of the cut design so this will be filled.
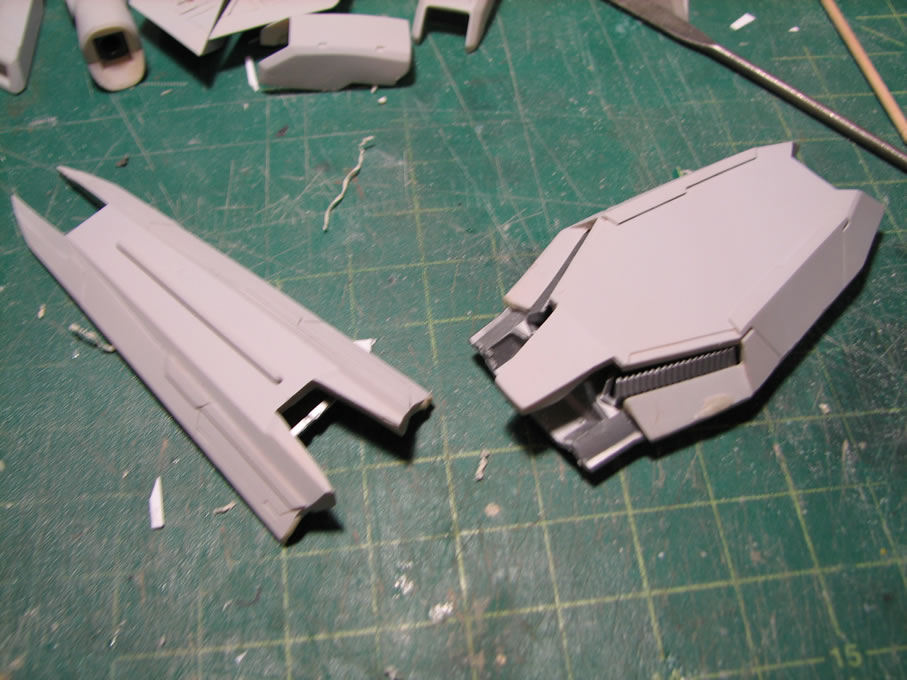
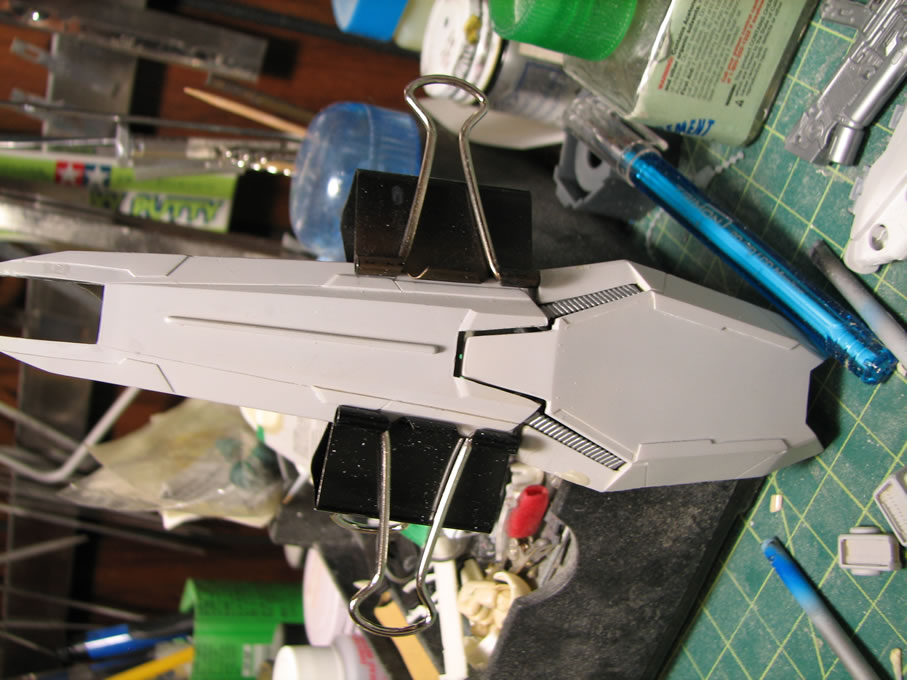
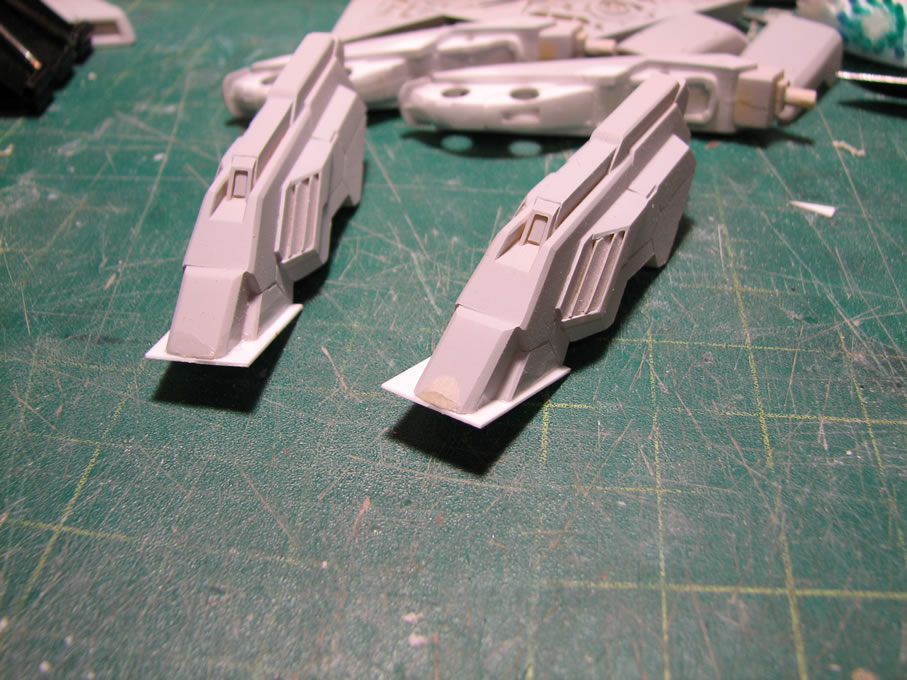
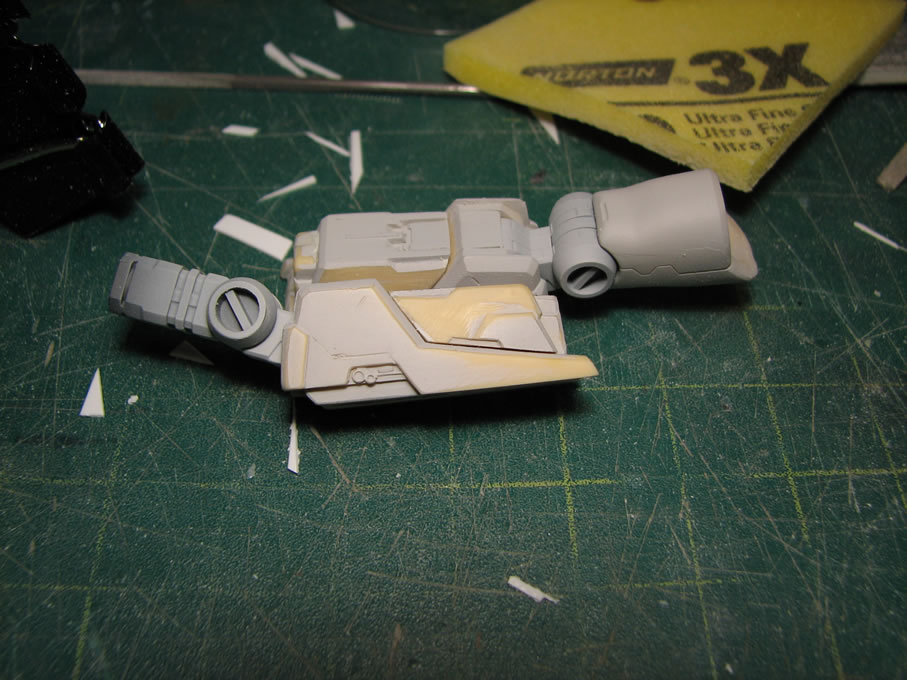
I also went back and test fitted a few pieces. Some areas have a bit of a gap, so I used styrene strips and glued them to the resin using styrene glue to melt the strips onto the resin. I have found that this method for filling sizable gaps works better than the uneven glopping of putty. It is a much more precise method for fixing gaps. In the following two pictures, the top of the funnel mount’s system has styrene strips glued. The picture after that is from the forearm. Looking closely, the bottom edge of the part has a small amount of white that can be seen. This is the sanded down styrene strip.
For the rest of the parts, I’m still working on sanding and preparing the kit for the second primer session. As a bit of a sanity check, I’m also building the sub assemblies together. Priming the parts in sub assemblies will also help speed up the priming session. My build process has evolved since I last worked on the kit. Gotta love the fuel tanks on this sucker.

Last but not least is the potential paint scheme. Part of the reason for shelving the kit was the lack of any inspiration for painting the kit. I didn’t want to do the standard white and blue scheme for the Hi-v and the salmon flavored scheme worn off me as well. So a slight variation of the standard Hi-v scheme follows.

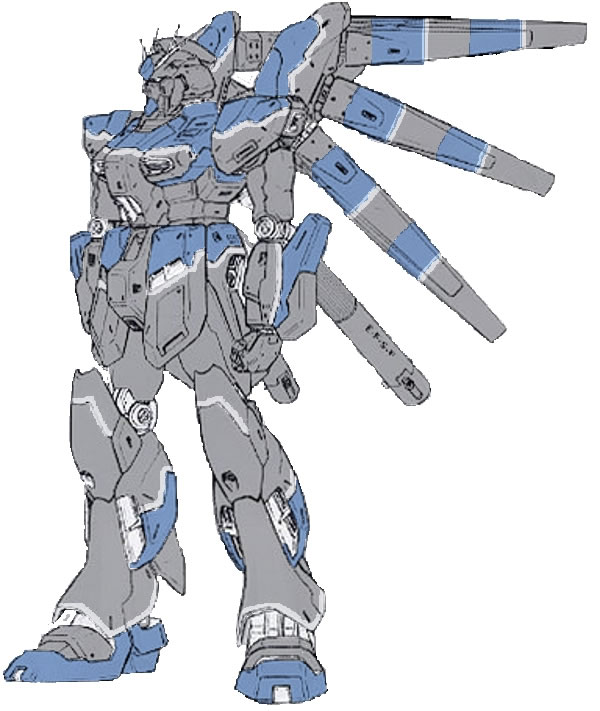
The red accented version works to break up a possibly monotonous scheme, but I do have an idea that coupled with the second theme, should work just as well to add a little flair to the final project. Hopefully the inspiration continues and this project will finally see some light.
very much looking forward to this. looks like its going to be really beautiful!