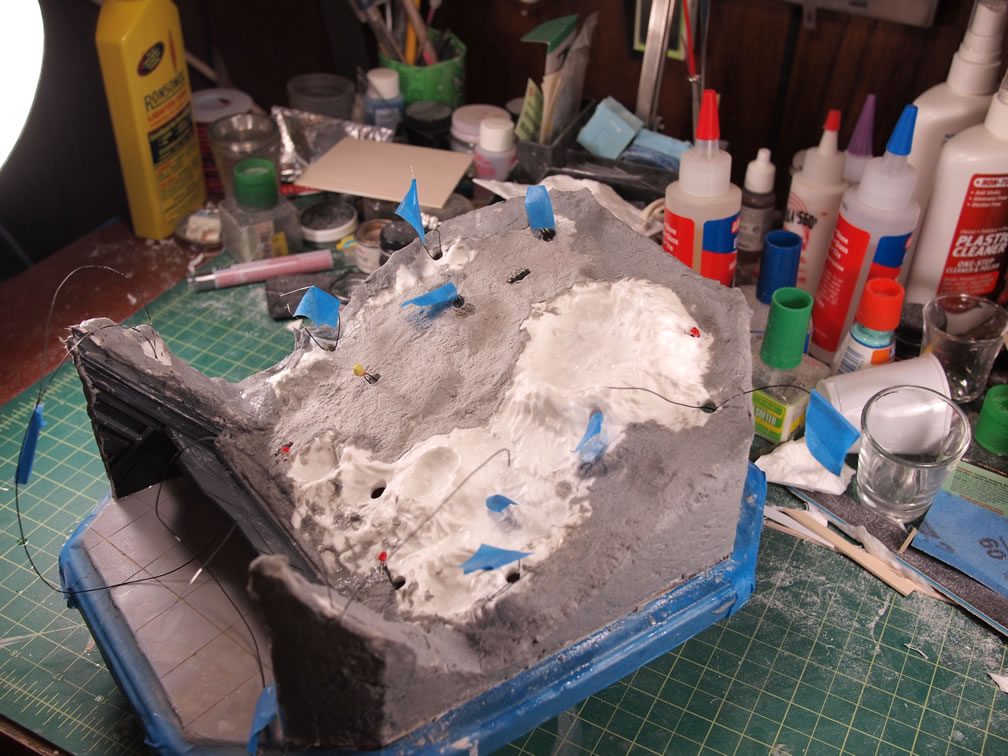
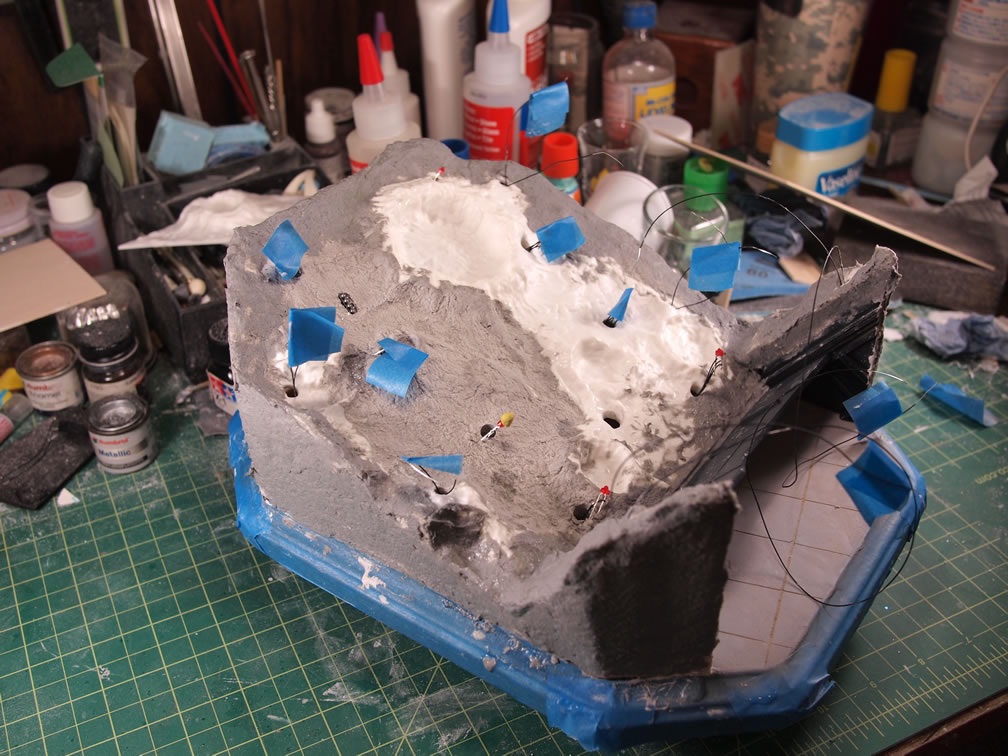
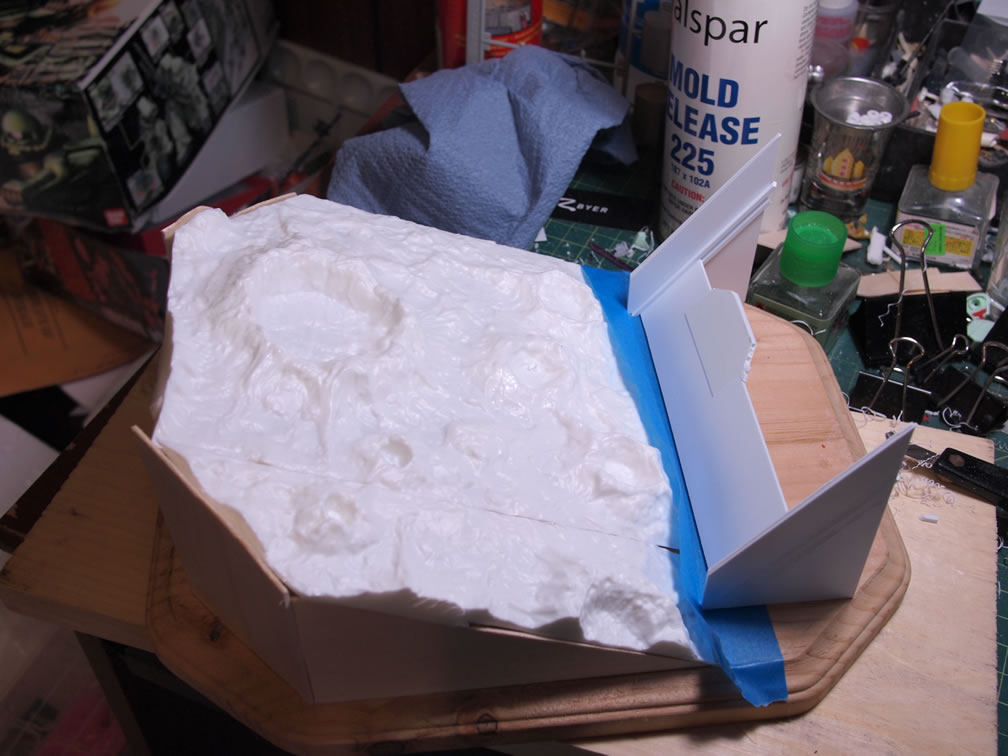
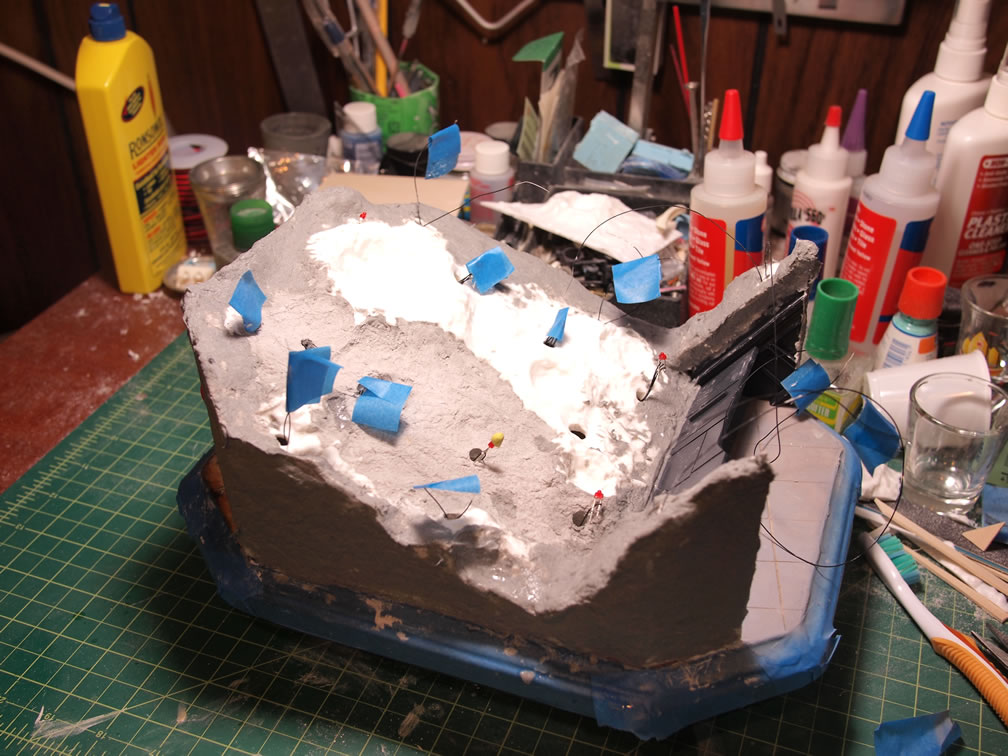
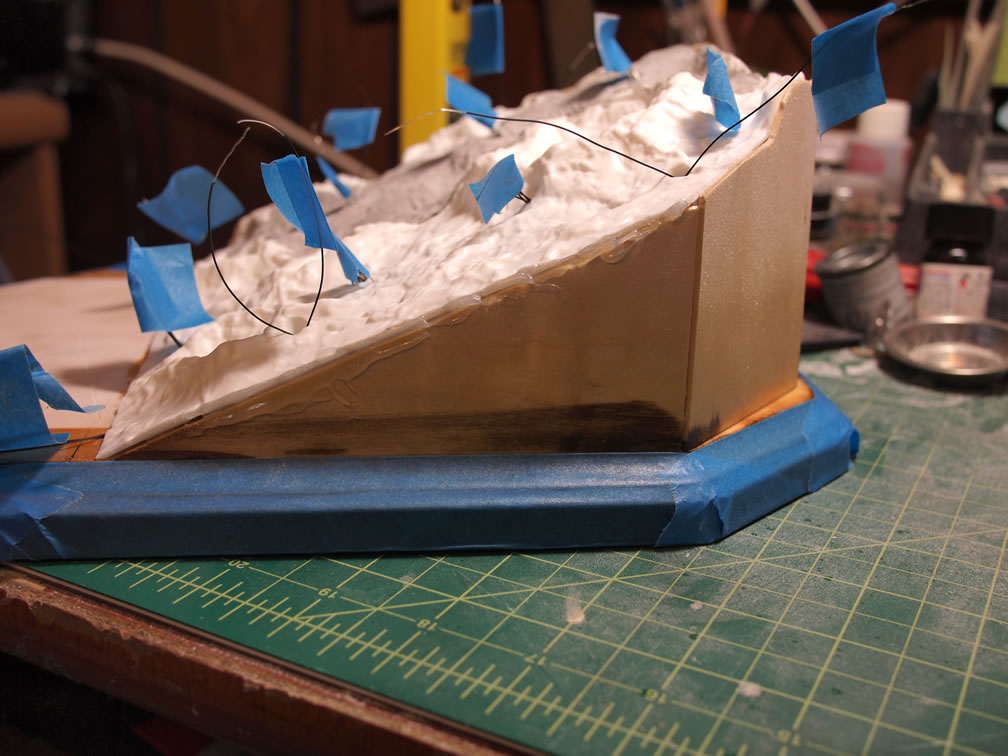
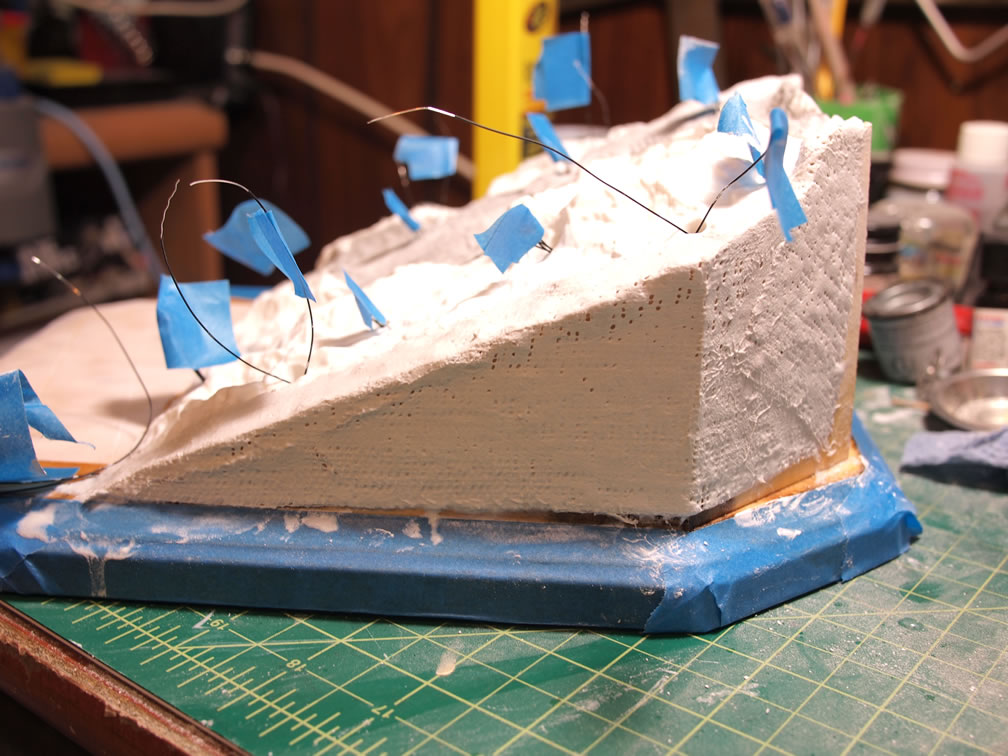
Since the last update, the past several days has been spent focused on the base as the Jegan is completed. The process is fairly time consuming as each step takes about a day to fully dry and cure up, if I’m lucky. Depending on the humidity, temperature and thickness of the stuff applied to the surface; the celluclay (Papier-mâché) may take anywhere from one to 5 days to completely dry. Last night, I applied the celluclay to the base and here’s a comparison of the base from the start of the build to now. The light at the end of the tunnel is much brighter now, and this is the last component of the build. Once the celluclay dries, all that is left is the painting and weathering for the base which are some very quick steps in the overall scope of the project.
Aside from the added electronics and surface details, the basic build technique I use for dioramas or bases:
- Styrene sheets, rods, strips are used for structural details
- A basic surface of styrofoam, wood blocks, or in this case, a resin asteroid base is used for the main surface dynamics, the basic landscape for the base
- Plaster cloth is used to encompass everything as well as give a solid surface for the next layer
- Celluclay is used as the final texture or covering surface over the dried plaster cloth
- The final steps are paint, weathering, and any sort of ground works such as grass, sand, dirt, rocks, etc.
On to the build progression for this project’s base.
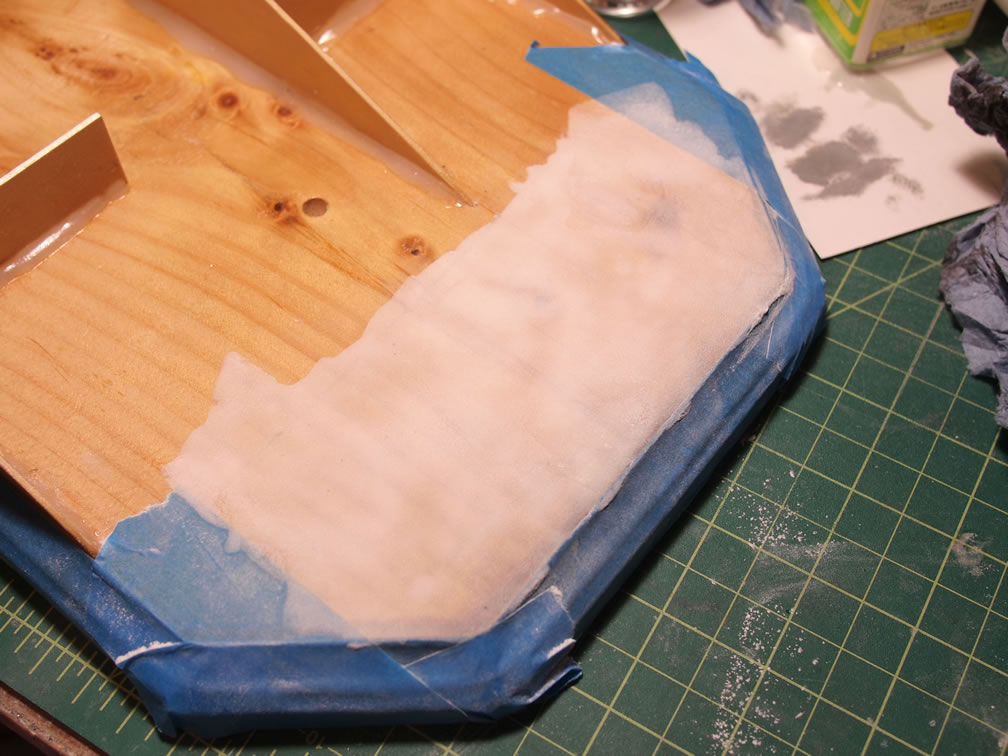
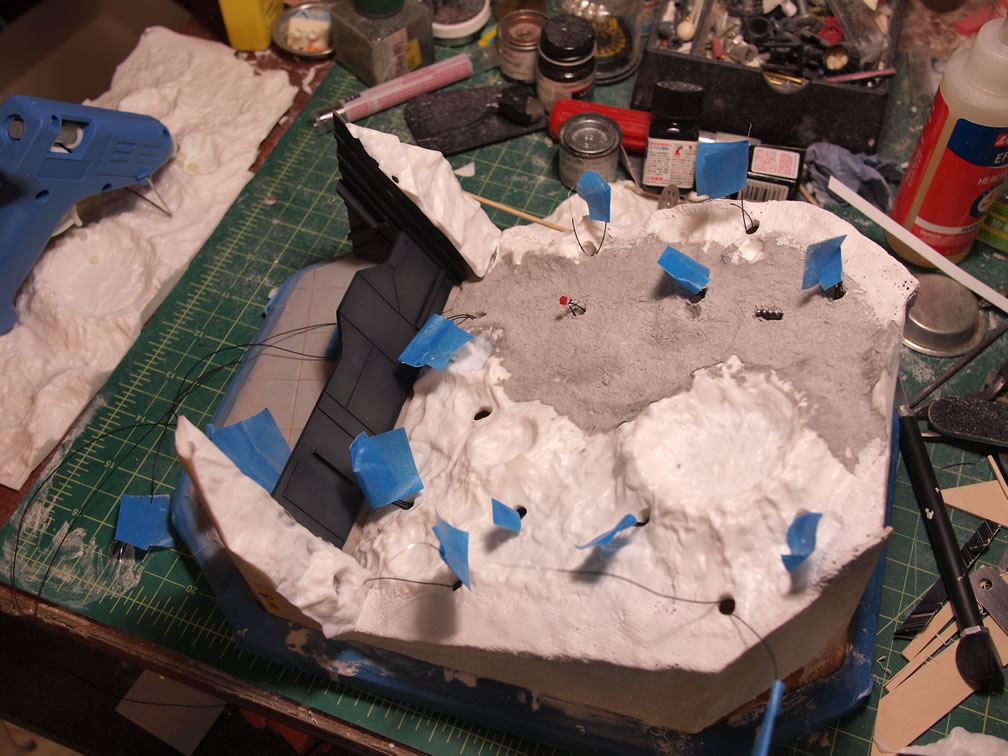
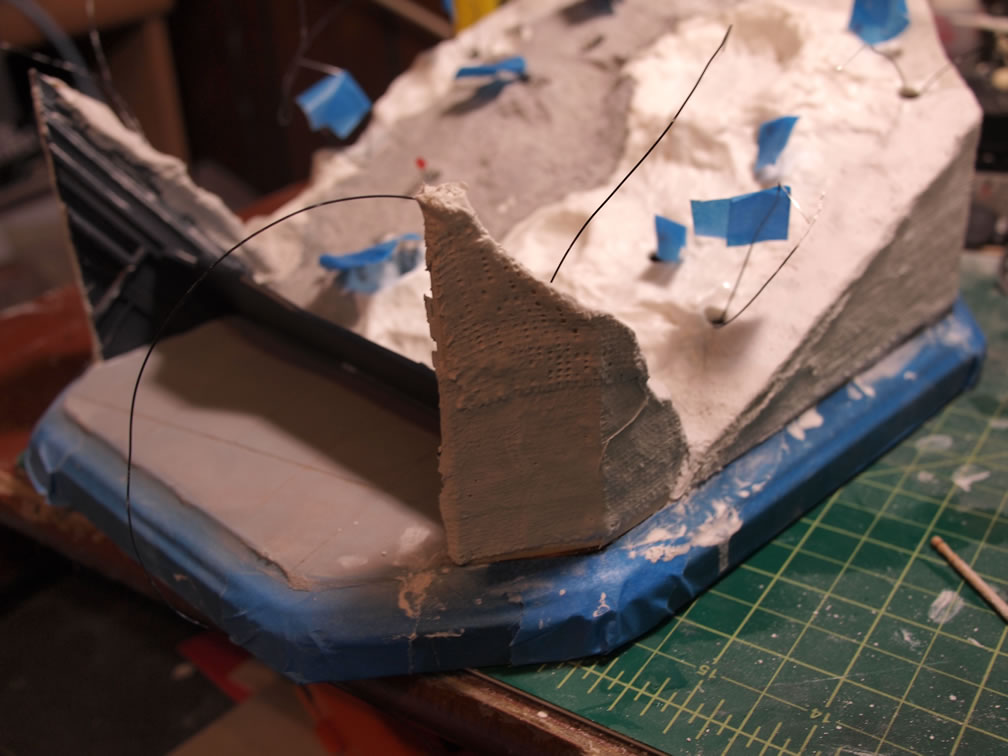
Last we left you, I had been working on the gate side of the base, applying baking soda over an acrylic medium as the first steps for a tarmac surface. The gate side’s clear acrylic and baking soda has dried, so the excess baking soda is removed and the surface is lightly sanded to level out some of the rough and some uneven areas.
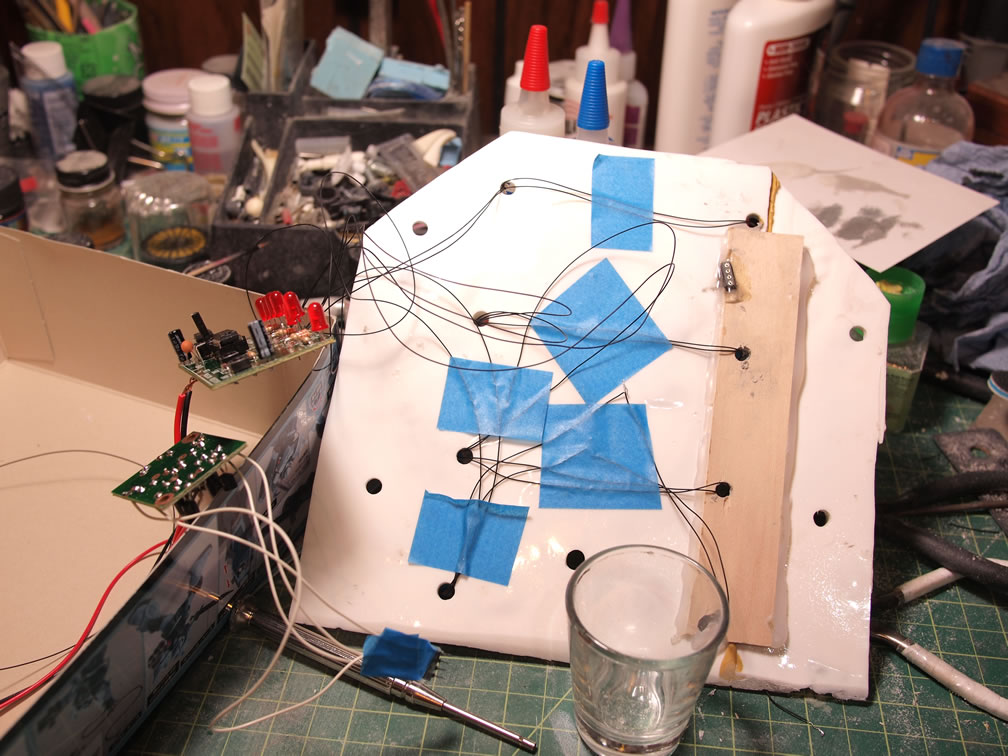
The electronic components are threaded through the previously drilled holes and the lights are masked off. Some surface lines are scribed into the tarmac area and then the surface is painted with Mr Surfacer 1000. Excess wiring is taped to the bottom side of the resin base. The electronics will be accessible via a little door at the back of the base. The resin piece is now ready for glue.
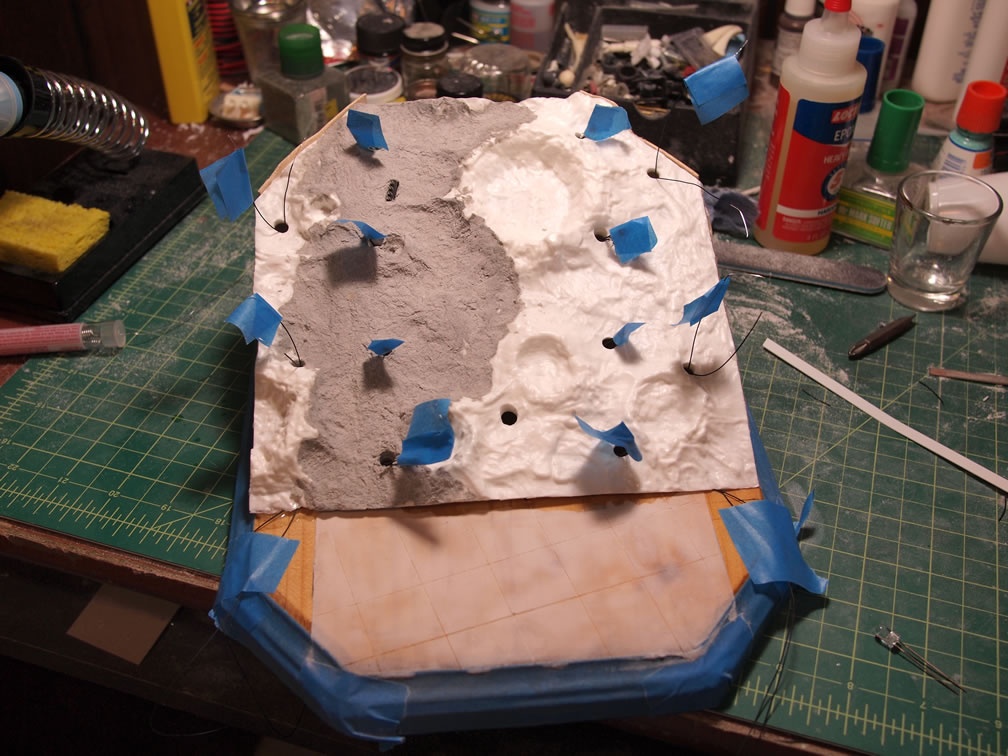

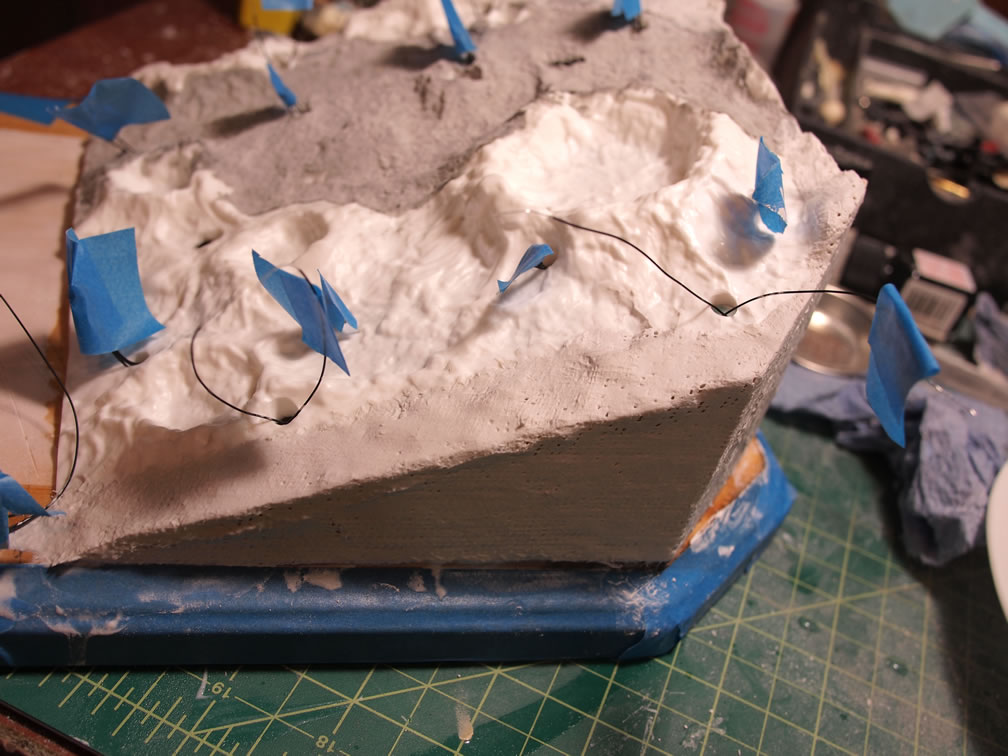
The resin assembly is glued onto the balsa wood supports to permanently attach it to the base – hence the wiring before all this as it would have been rather difficult to thread the wires and lights after it’s been attached. Once the glue is dry, some strips of plaster cloth is applied to the sides of the base sealing in the glued areas as well as making it into one solid base. Once the plaster cloth completely dries, the base will have a solid surface for the celluclay.
The gate is glued to the base and some extra strips of resin base and some balsa wood supports fill in the rest of the gate side. With everything glued together, plaster cloth strips are applied to encompass everything.

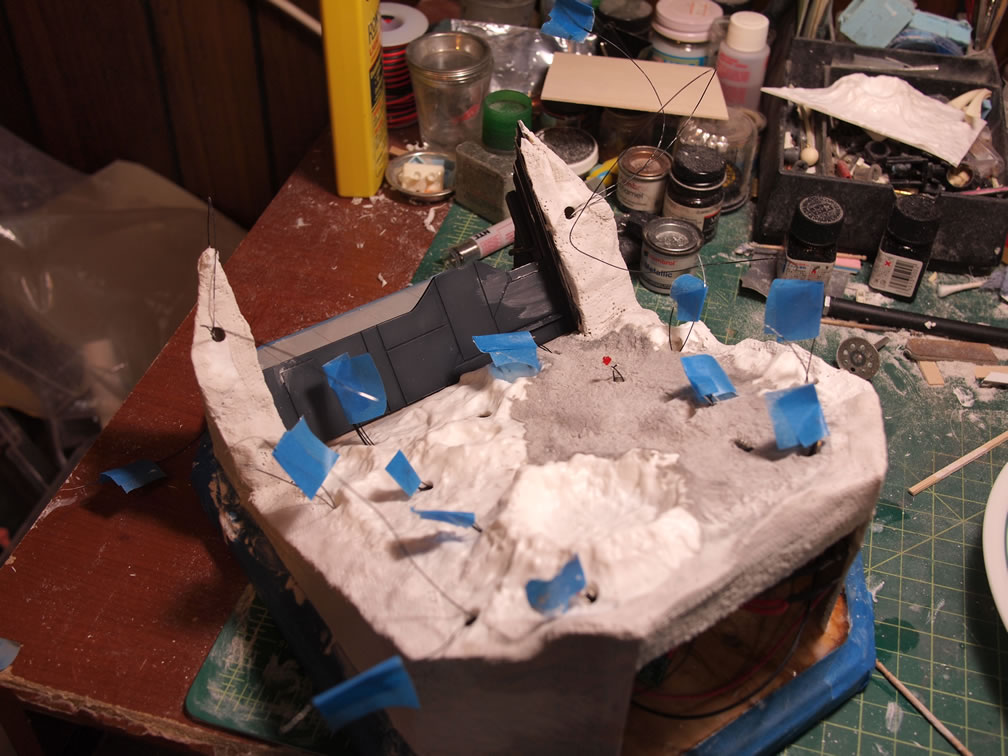
Last night, celluclay was applied to the dried plaster cloth areas to fill in the final gaps and all the holes in the plaster cloth. Once this dries, the base can then be painted. The only issue is when the celluclay will fully dry/cure. There could be a couple of days worth of drying before work can continue.