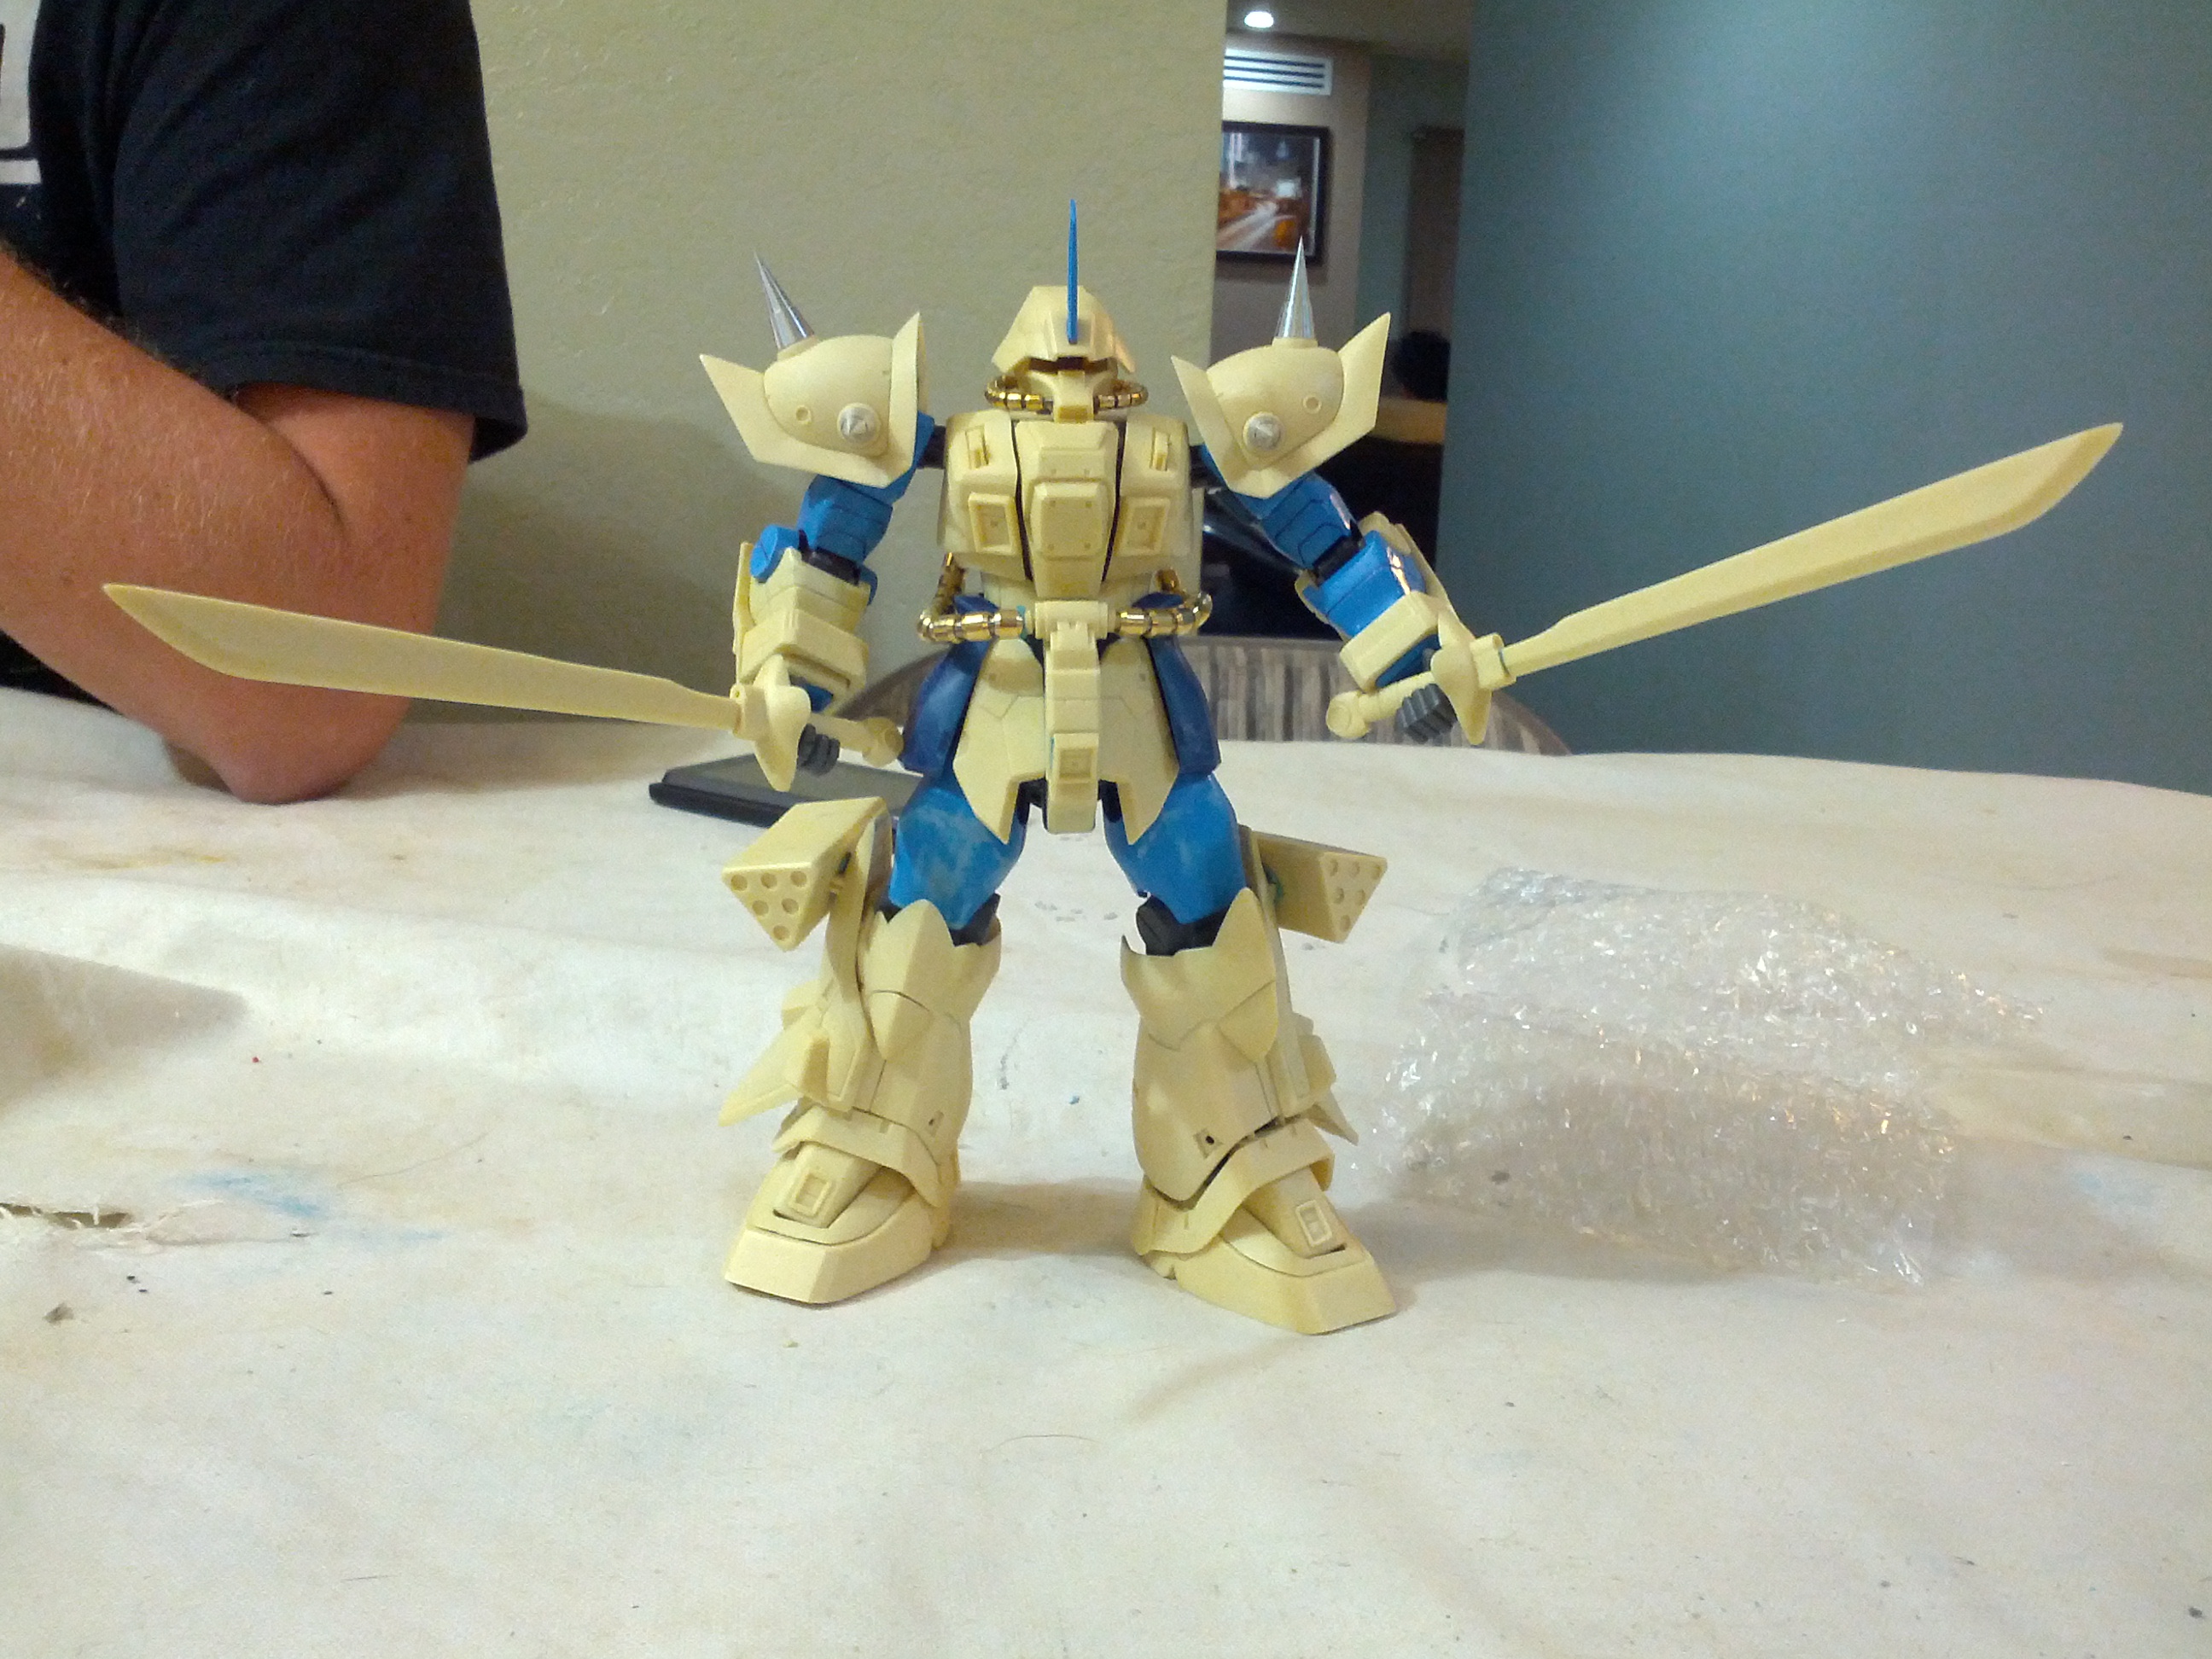
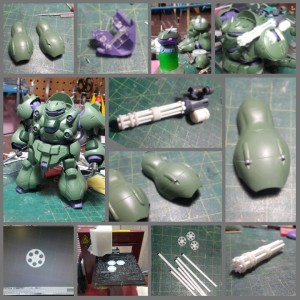
This project begins at the build gathering since I didn’t have any motivation on the ν project so seeing Angel break out his Efreet conversion kit and a suggestion of a challenge, I pulled my Efreet Custom kit from the shelves. After finding the correct frame parts using an MG Gouf Custom that was long cannibalized for parts the kit was roughly sanded and test fitted with super glue as quick tack points and sticky tack to hold other parts together. I finished putting the thing together by the end of the build gathering and snapped a few quick shots with the camera phone.
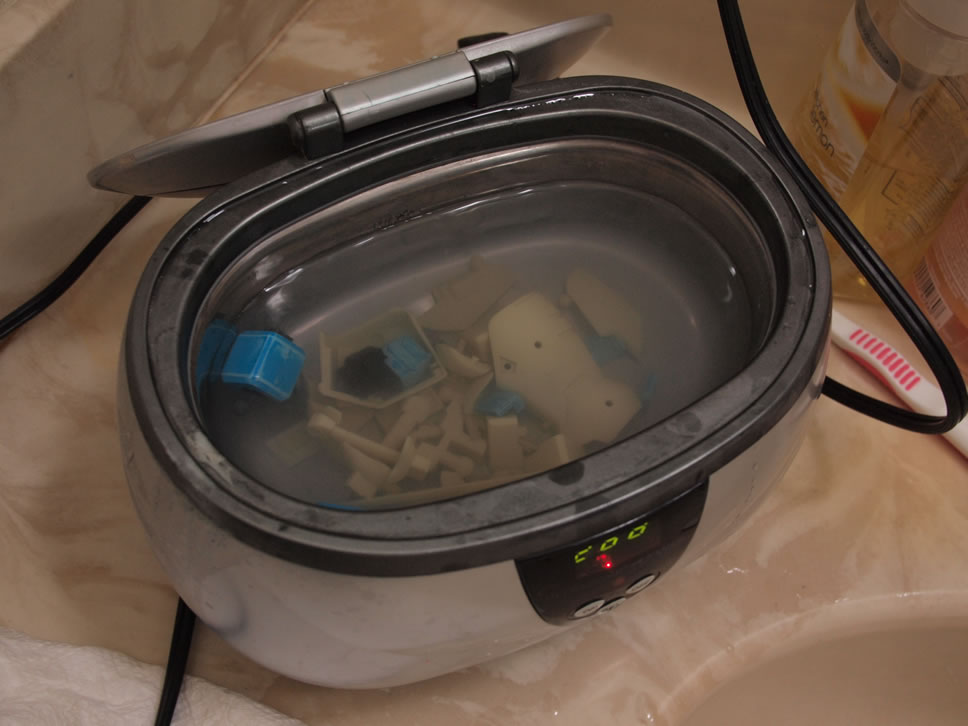
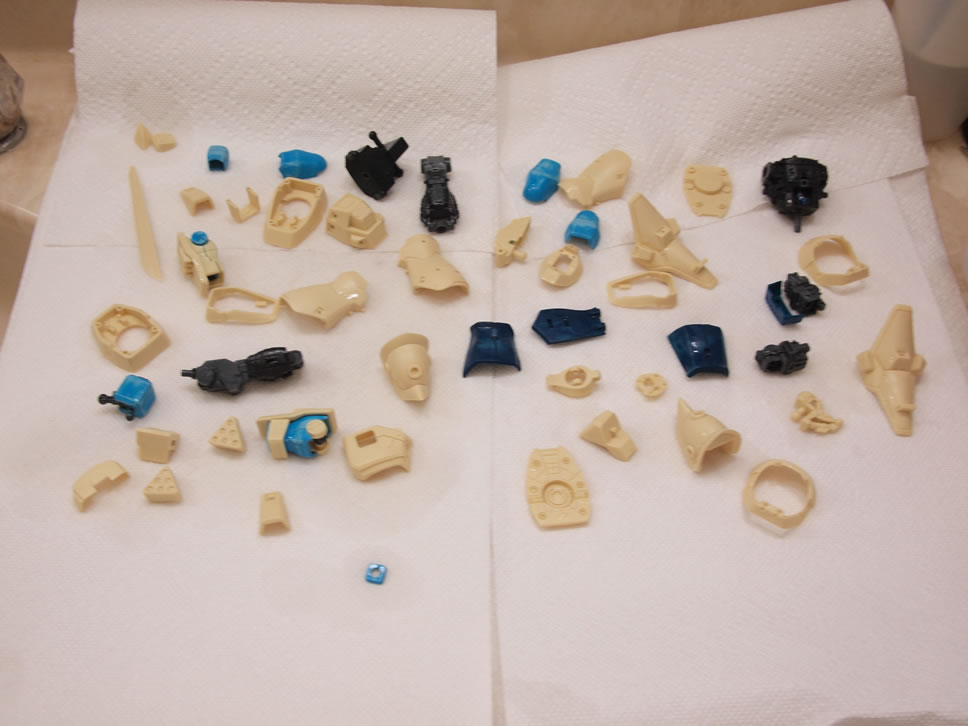
The day after the build gathering, the parts are dismantled and more sanding is done before being thrown into purple power for cleansing. The parts are soaked over for several days then run through the ultrasonic cleaner then placed on a paper towel to dry.
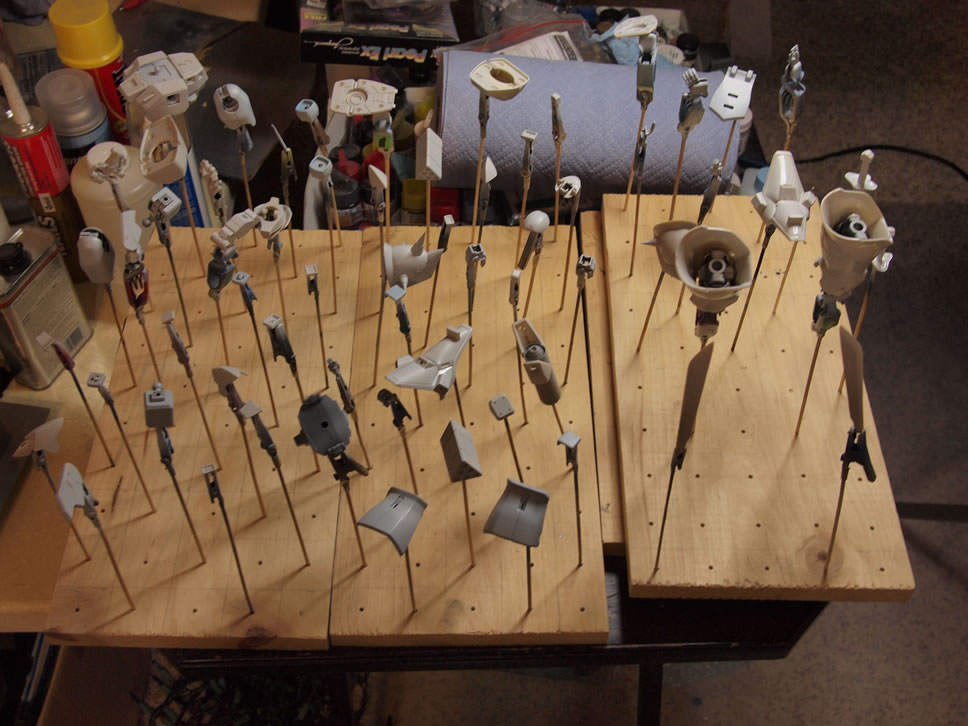
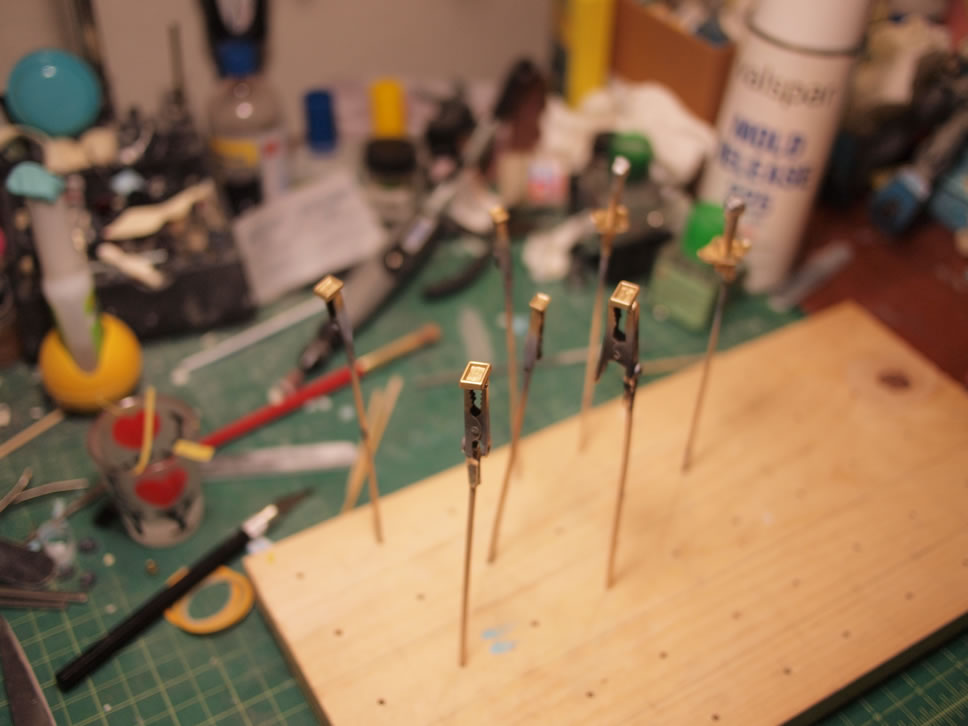
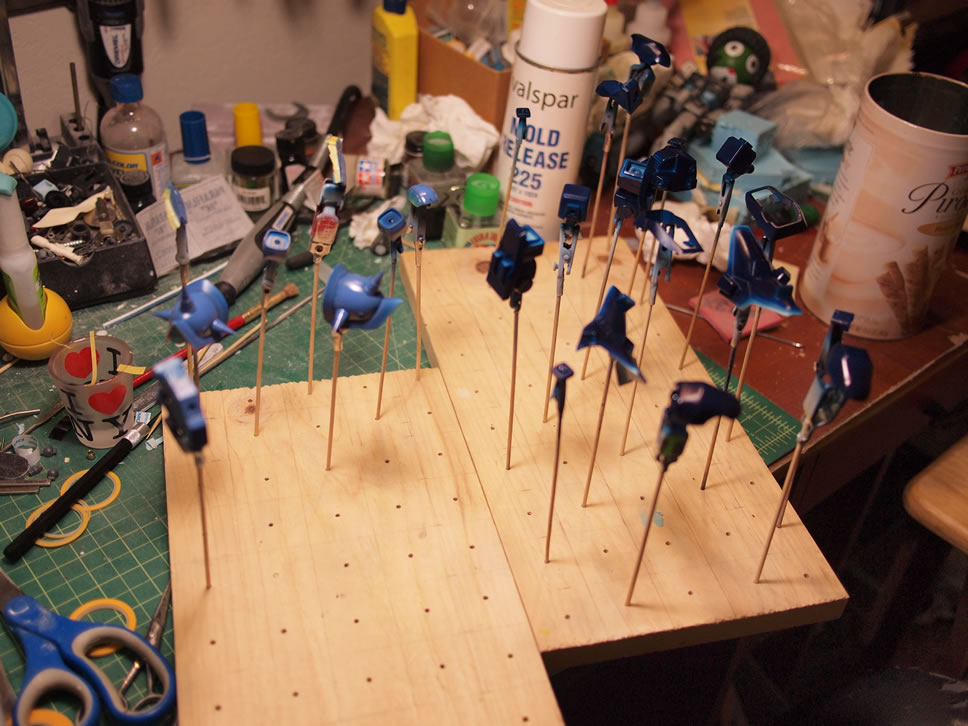
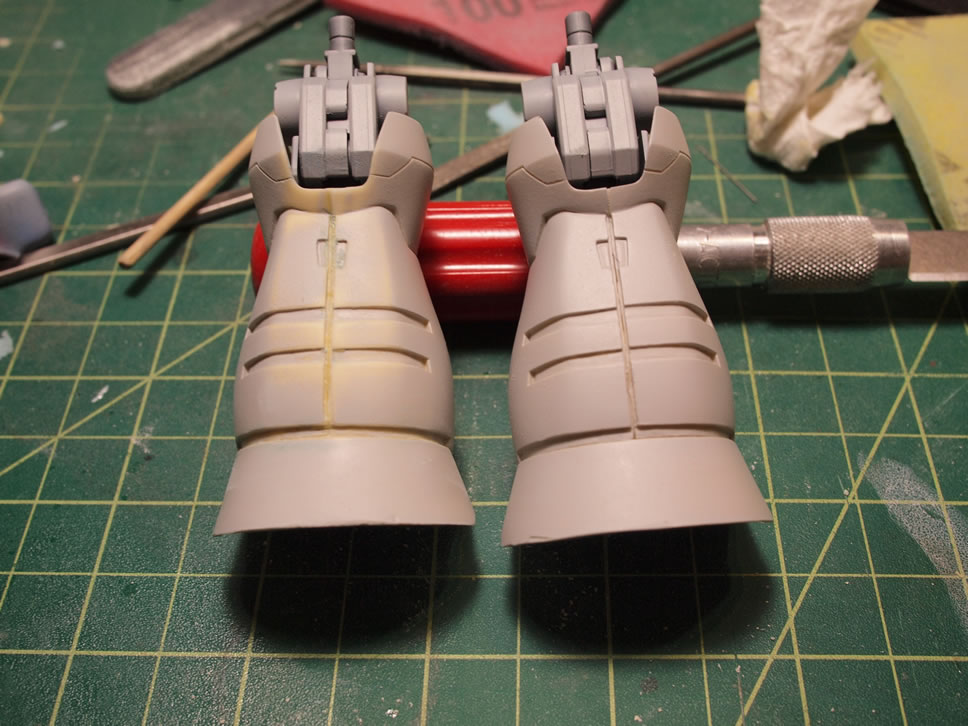
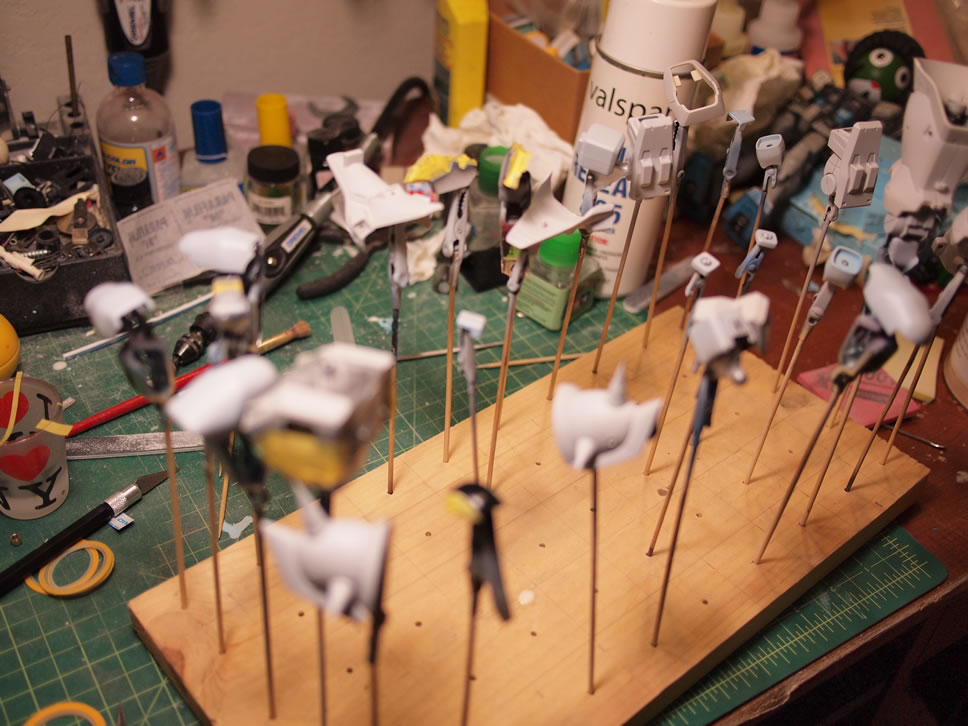
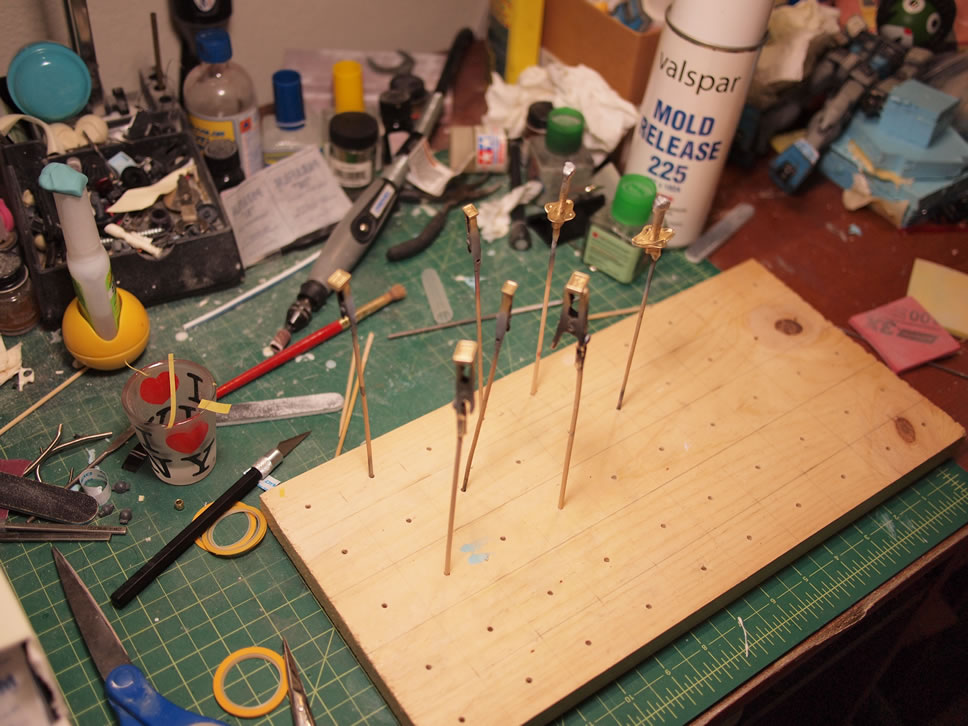
The next day, the parts are then put on skewers and the first layer of primer is sprayed. This brings out all the little missed sanding area, surface defects, bubbles in the surface, and other defects.
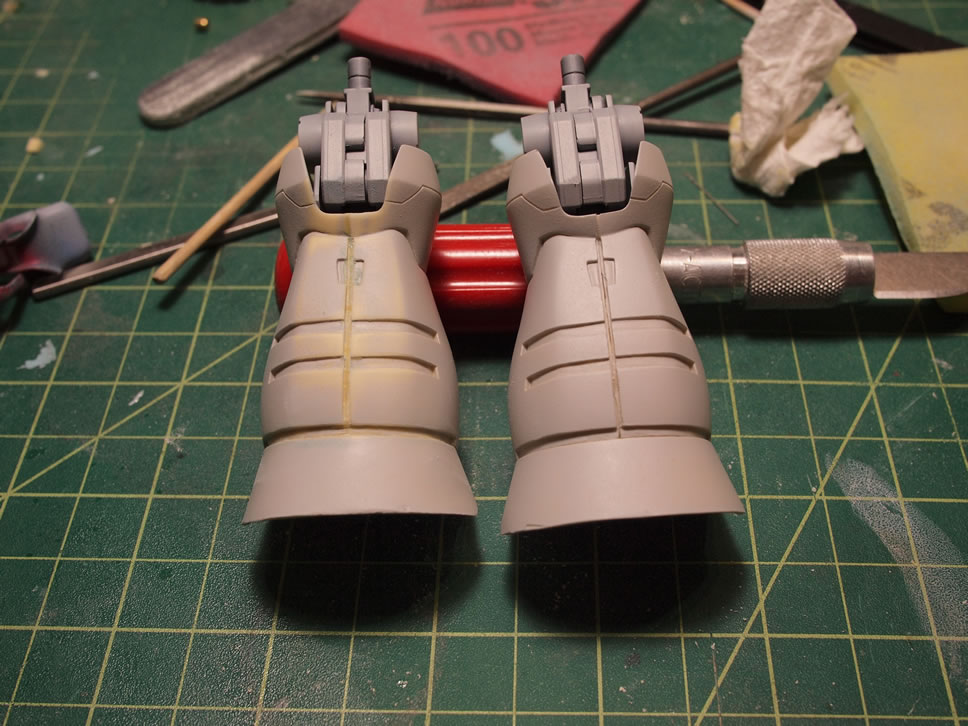
Defects such as bubbles and the seam lines between the leg pieces are filled with light curing putty. For the legs, when the putty cured, I used one of my scribing tools to clean out and level the excess putty hiding the seam between the two pieces. The surface defects are sanded and fixed and another layer of primer is sprayed.
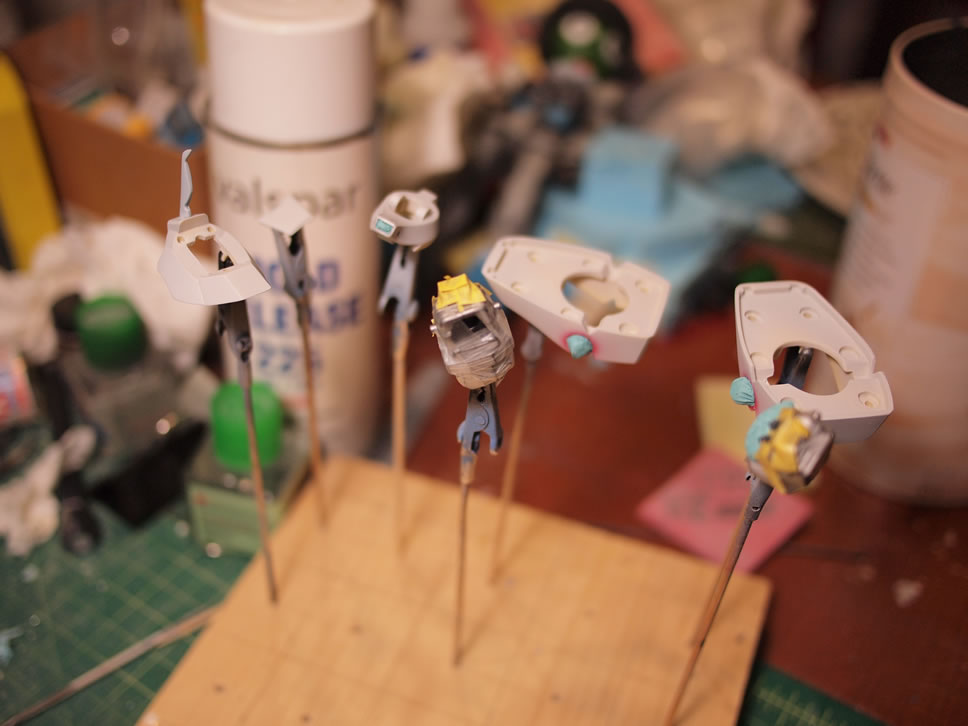
Some of the already fixed primed pieces are painted with a base black. These are mostly frame and vent pieces that will be painted in metallics. A dark gray is sprayed on some highlight pieces as well as the waist and head cables and other parts such as the skirts and middle area of the chest piece are sprayed in a lighter blueish gray. Small parts are painted with red as a detail part.
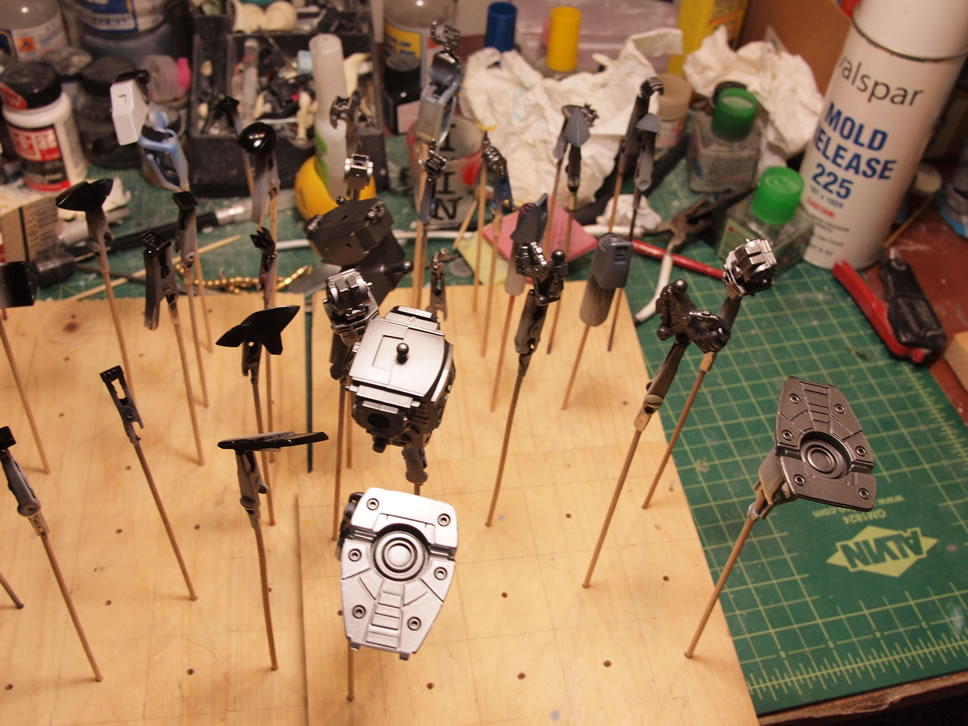
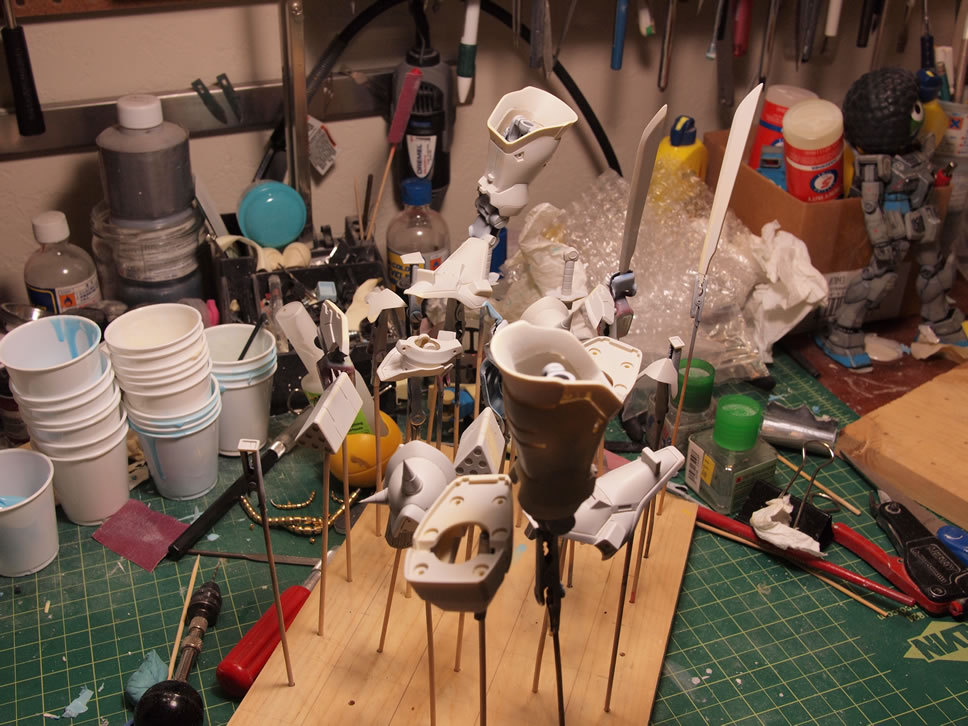
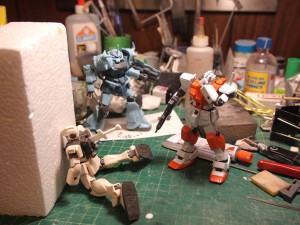
Putting together some of the finished parts, I get a better view of the paint scheme coming together.
There wasn’t any work on the project over the weekend as some time was spent hanging out with friends as well as reorganizing my garage and my workshop with shelving units. I removed the two person couch from my workshop and placed a metal shelving unit there to hold the models sitting inside the closet. Two more shelving units are built and placed inside the clean out closet. My paints are now organized into plastic containers and a great deal of consolidation from my boxes of spare parts. So because of the reorganization, the project was placed on hold for a few days.
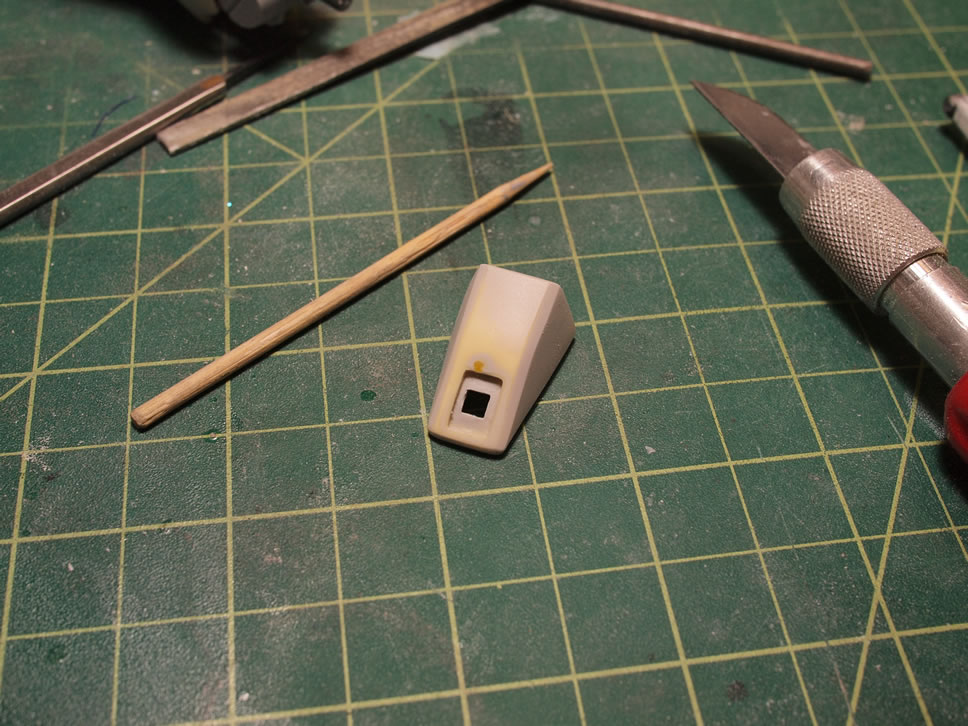
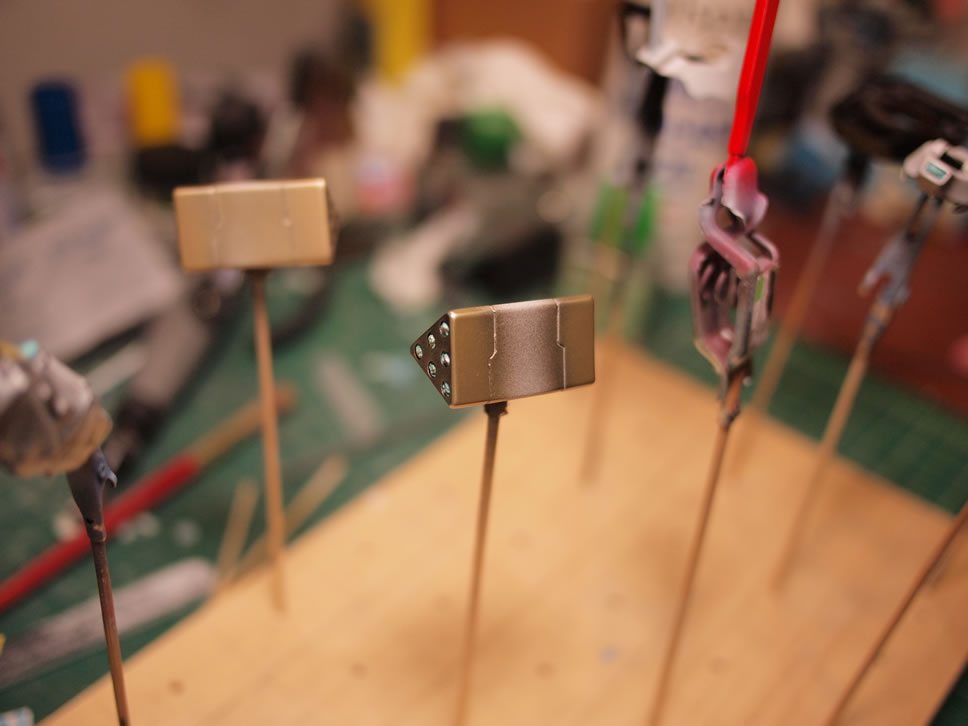
Returning to the project yesterday, the first layer of masking goes on over the some of the vent parts and the rocket launcher then painted with Mr Color Super Metallic Gold.
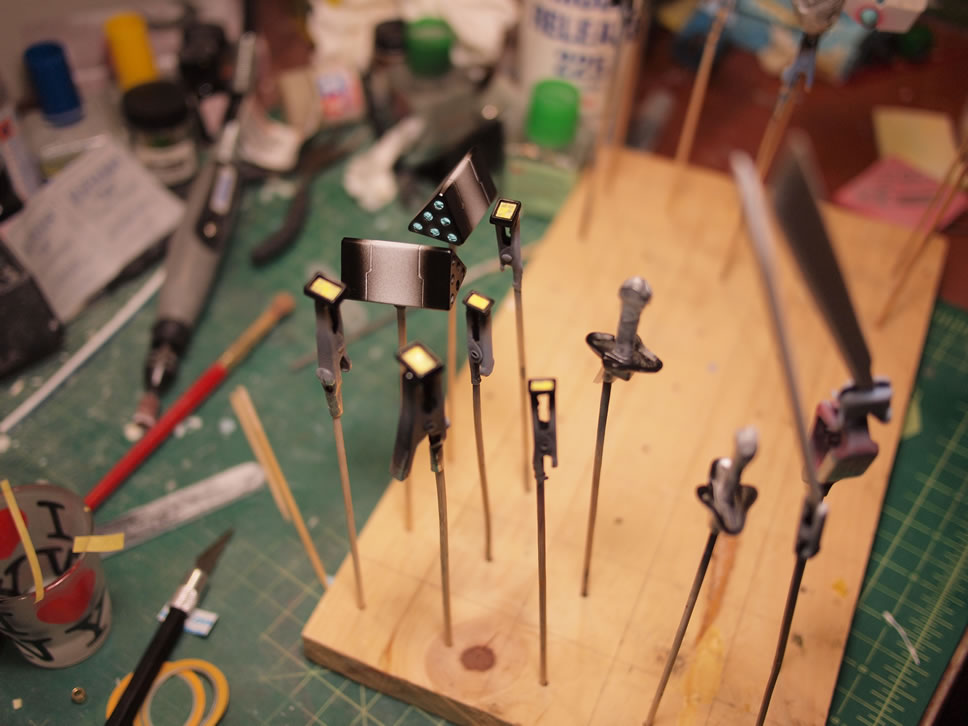
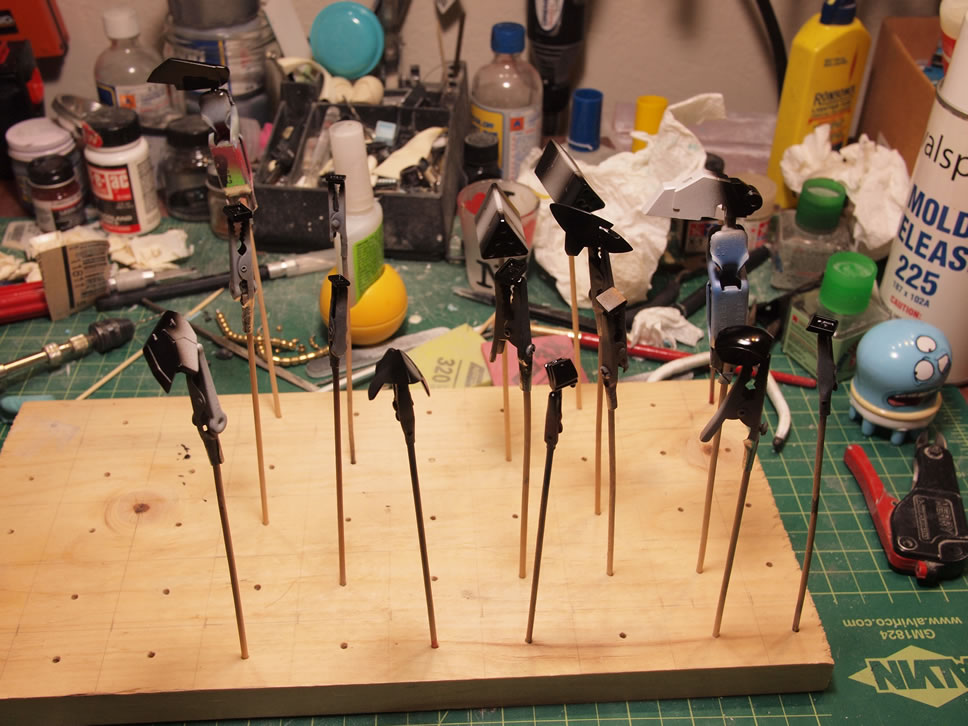
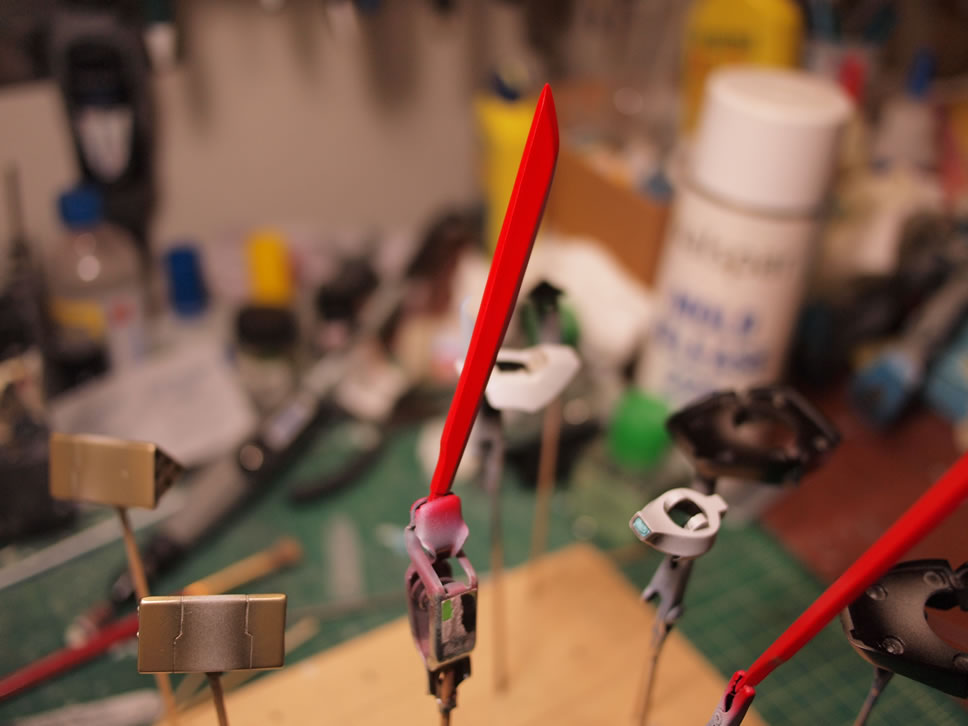
The rest of the parts are masked and prepare for painting. The sabers are painted with red as the base color.
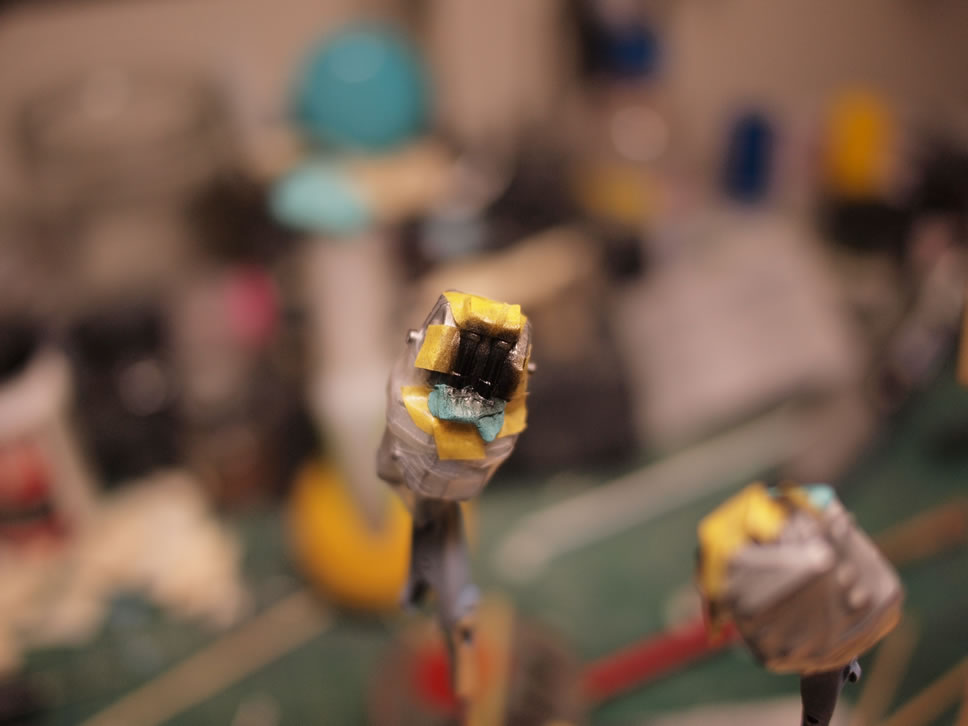
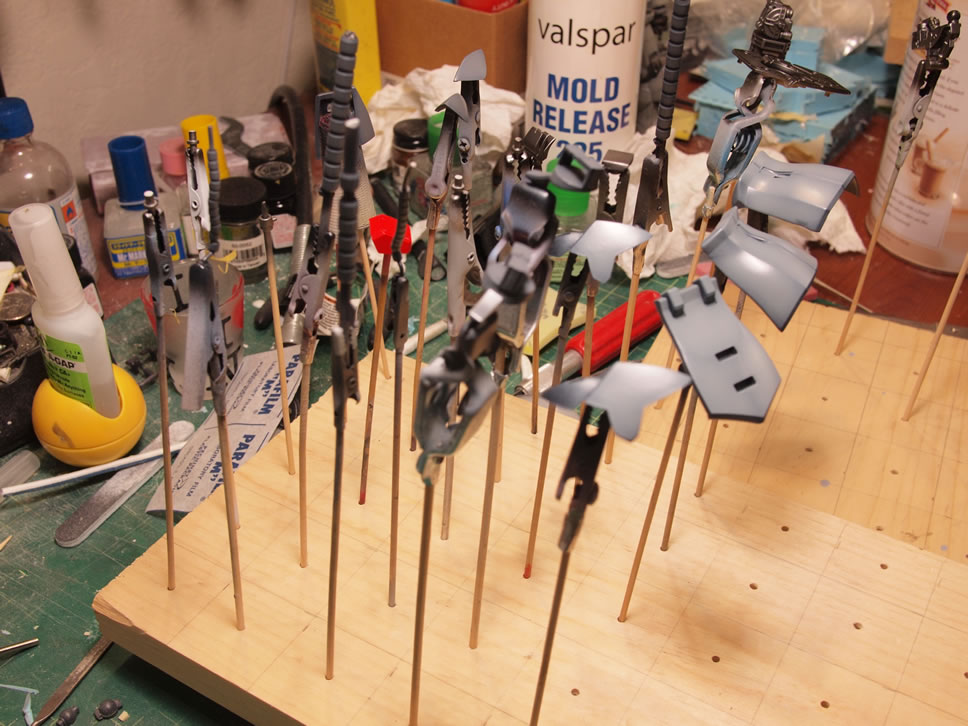
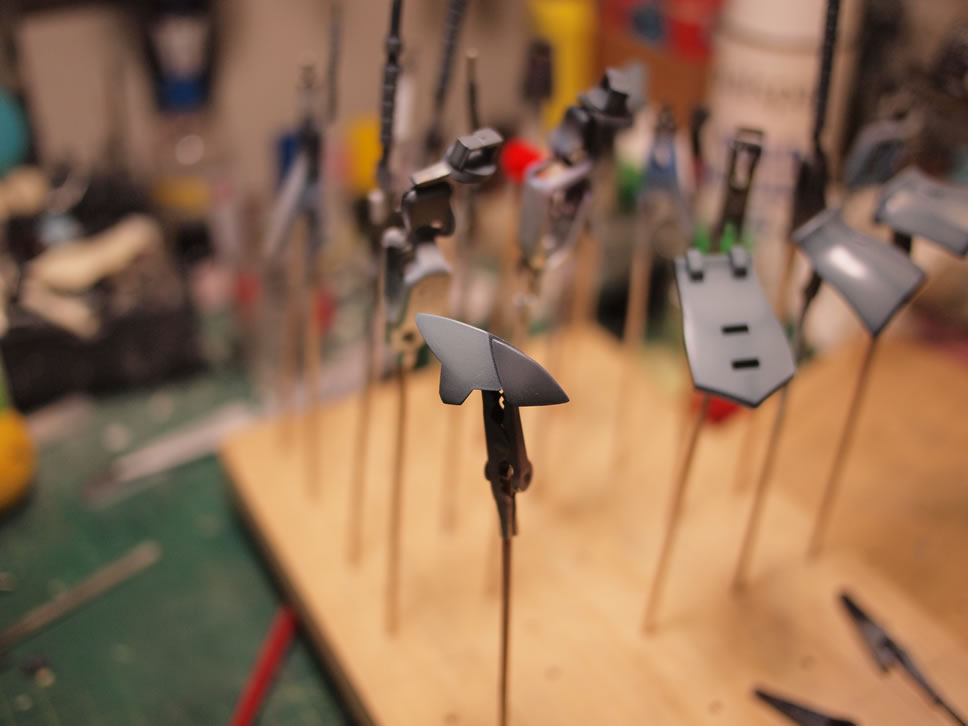
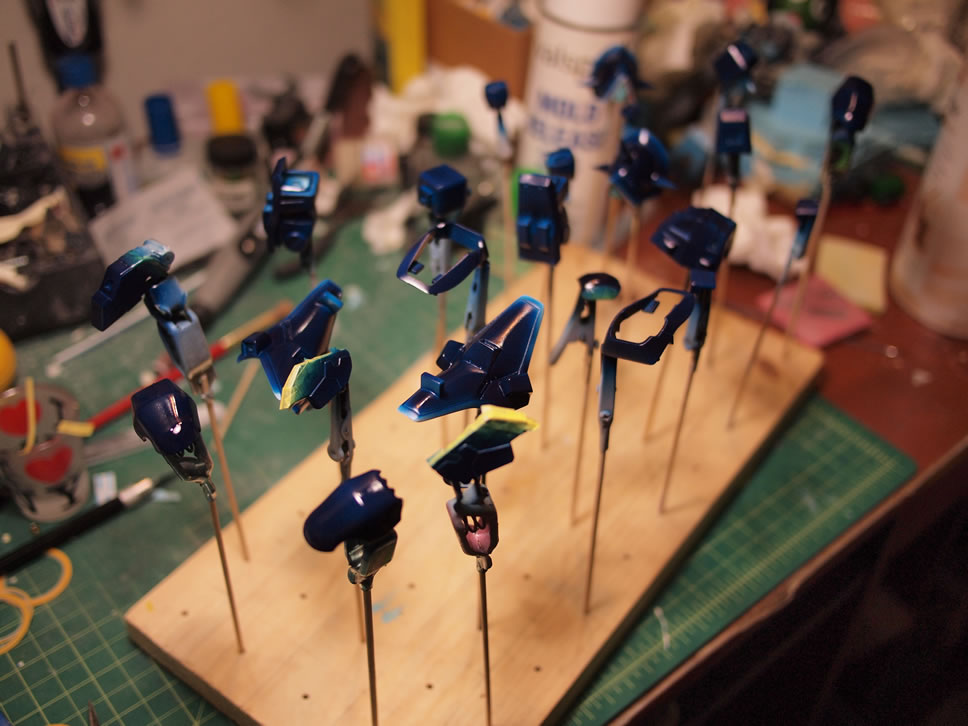
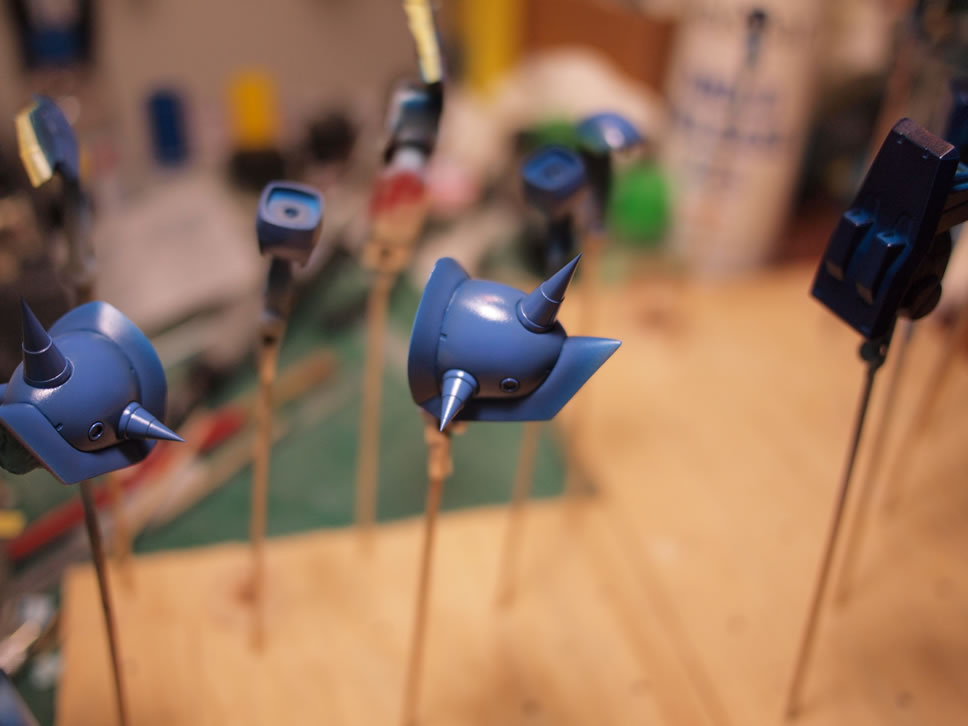
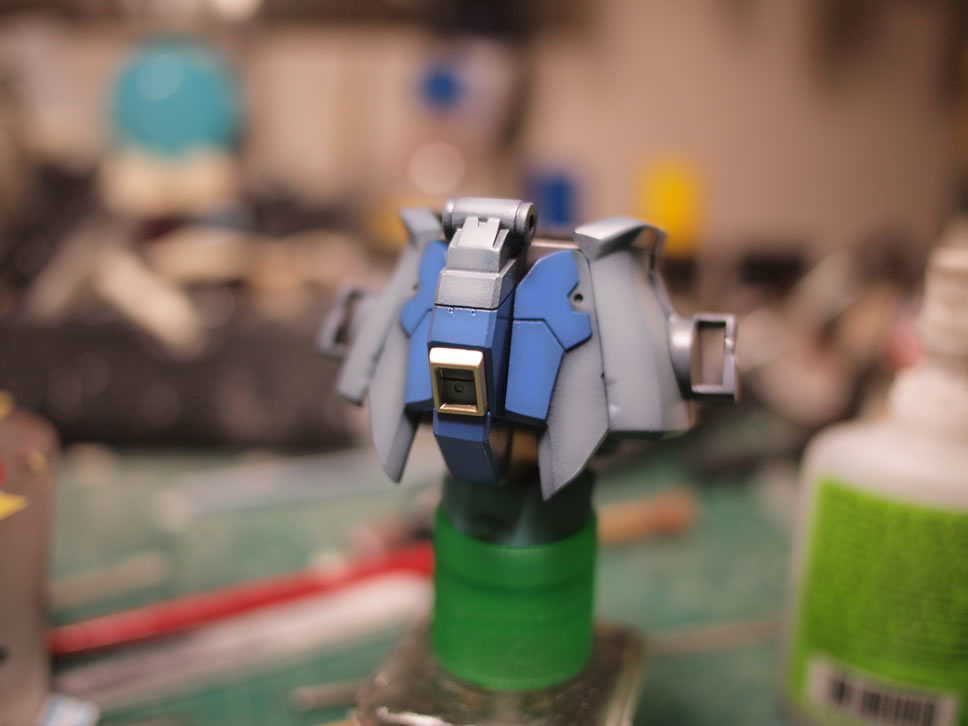
The main armor pieces are painted with the base color of wulf blue. Doing a quick color test, I painted a few parts with the Finisher’s Lavender over the dark blue areas.
A quick removal of some of the masking, the skirt pieces are put together for a quick look at the progressing paint scheme.
At this point, the project is progressing at a good pace and I’m pretty sure I’ll make the deadline that’s set for April 20, 2013. I’m still currently debating if I want to add some slight weathering, or leave it as a clean build. Thoughts?
Im so jealous of you. I’d love too get my hands on a efreet custom conversion. what ratio of purple power too water do you use when cleaning parts?
I just use pure skin destroying purple power. But I’ve been using the same tub of purple power for years. I keep it in a plastic tub that my parts get thrown into, then fished out and thrown into some water then onto the ultrasonic cleaner. I guess it would be safer for me to dilute it, but I just don’t find the need as I don’t much waste the purple power – it seems to be just as strong as it was when I first poured the stuff for use from the bottle.
just to let you know; really appreciate that you make the effort to list out the steps and throw in those photos. keep at it!
Do you use the ultrasonic cleaner on resin parts only, or do you use it on everything? I have several resin projects ahead of me, so I was wondering what brand of Ultrasonic Cleaner you might recommend and do you feel it is worth the price to a dedicated modeler???? Great work and thanks in advance!