Back to work on the ∞ Justice, as the holidays were fairly busy for me hosting things and just dealing with typical holiday season fun. I guess if I wasn’t such a social douchbag, I could probably just lock myself in and do nothing but work on kits… but hell, I have a life. I’m not much of an atypical model building I guess. Anyways, now back to the daily grind. Below are a few pictures of the mold making process using silicon RTV. I need to make resin casts of the joints that broke on the kit.
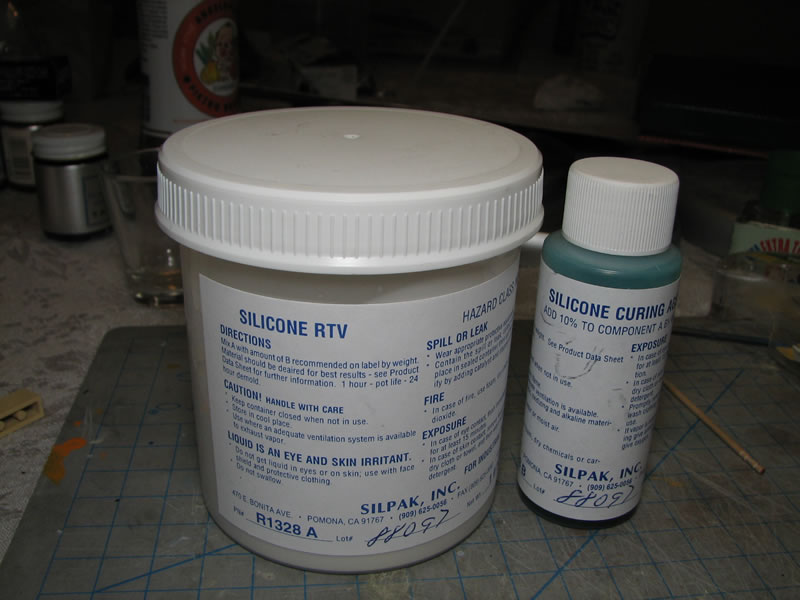
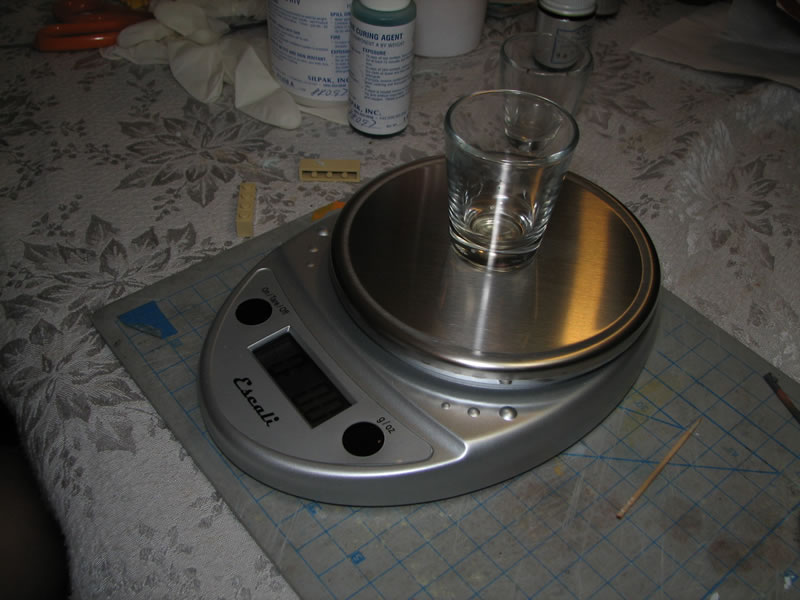
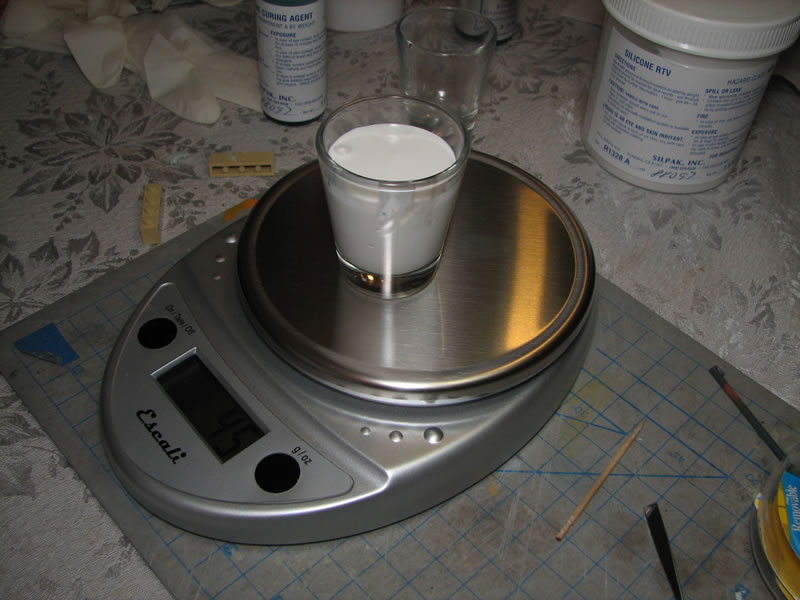
Starting with the RTV, the stuff is two parts, the gel like silicon and a curing agent that when added will harden the gel. Measuring is done by weight, so I picked up a digital kitchen scale. I’ve been meaning to grab one of these for baking purposes, so a multi-use tool is always a good thing. I’m using my trusty shot glasses to mix in as it’ll be very easy to remove the cured rubber and I can reuse the glass. The scale is zeroed with the glass, and the silicon is poured in.
The curing agent is added by weight. The amount of curing agent, according to the instructions is 10% of the weight of the silicon. This is fairly easy to do on the digital scale. With the curing agent poured, the mixture is slowly stirred to thoroughly mix everything. A slow stir will help reduce the amount of air bubbles in the mixture. Allowing the mixture to sit for a few minutes before pouring will also help with the out gassing of the bubbles.
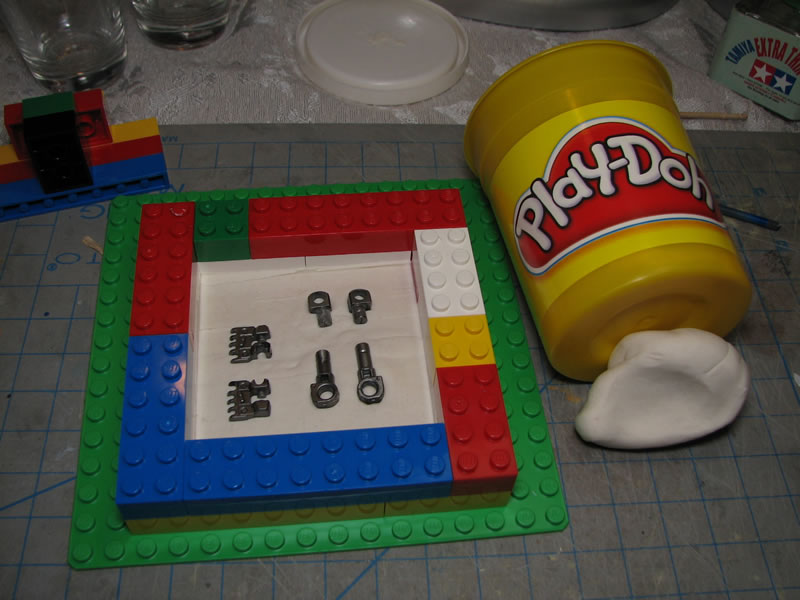
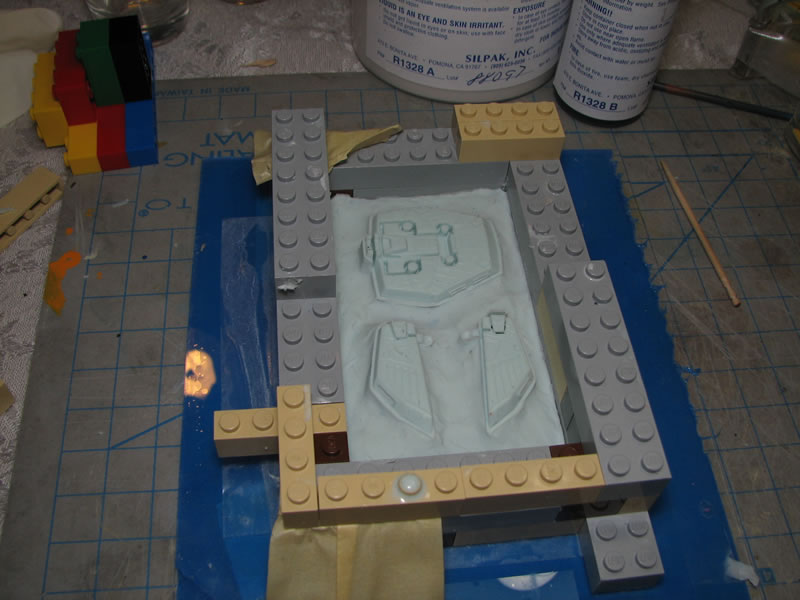
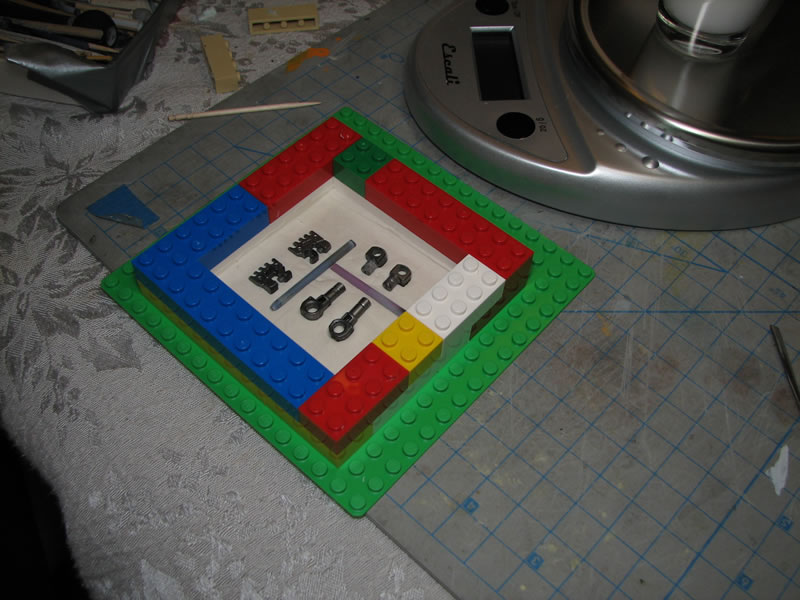
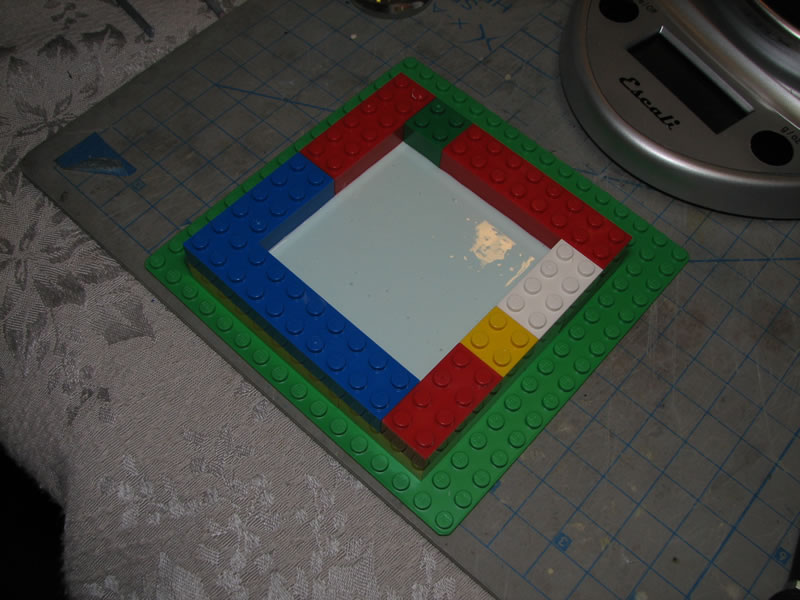
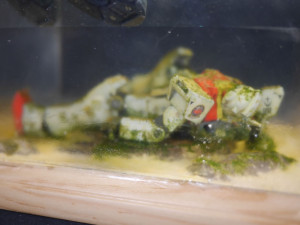
While the silicon is resting, I can work on building the bottom half of the mold. For this, I create a box using legos. The bottom of the box is filled with a thin layer of playdoh. The playdoh is flatten out and the joint pieces are placed onto the playdoh. With everything set, I can then pour in the mixed silicon. The silicon is poured slowly to keep the amount of air bubbles to a minimum. More bubbles will make their way to the surface to gas out. The set set up is left to sit for a couple of days while the mold fully cures.
Next up is a personal project. I started this a little while ago in between downtimes during the holiday season. I’ve been working on commissions nonstop for the past couple of months, and I really just want to build a mecha kit for my own personal collection. And this sorta keeps my sanity in check, especially with the frustrations I’m having with the bloody ∞ Justice’s piss poor joint system.
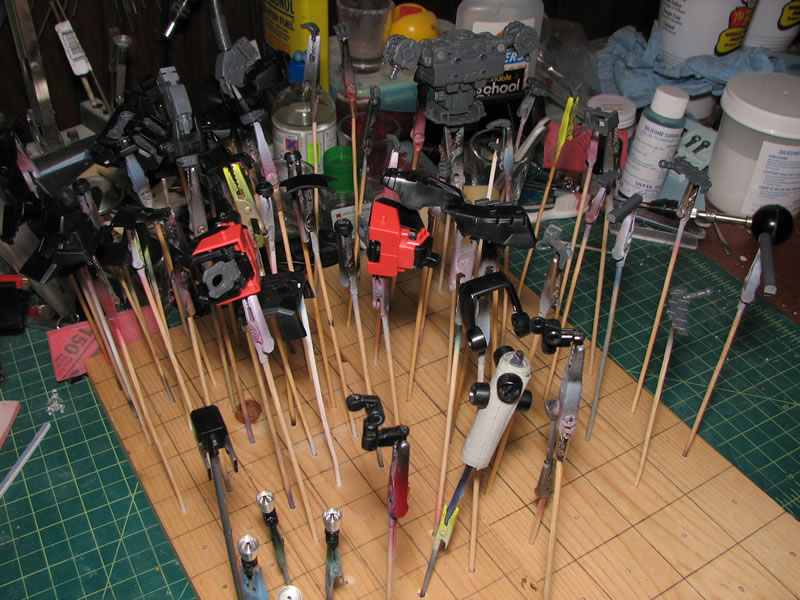
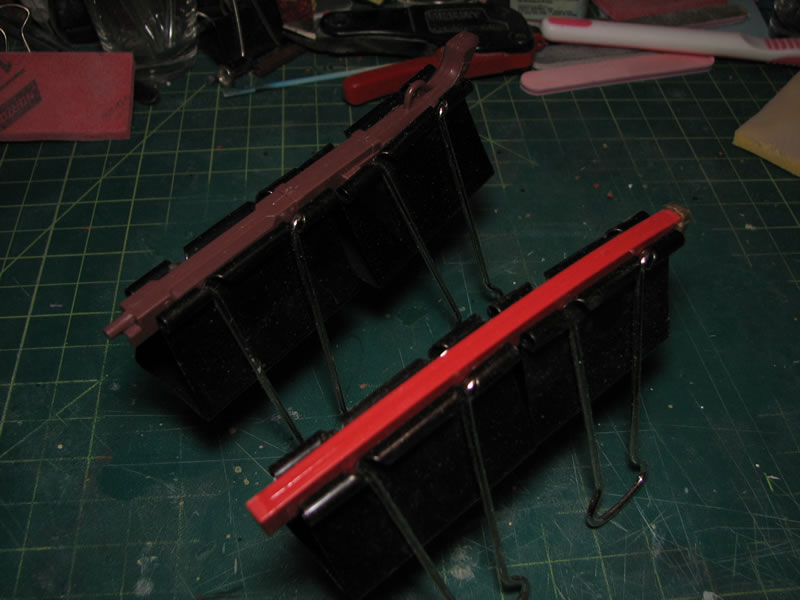
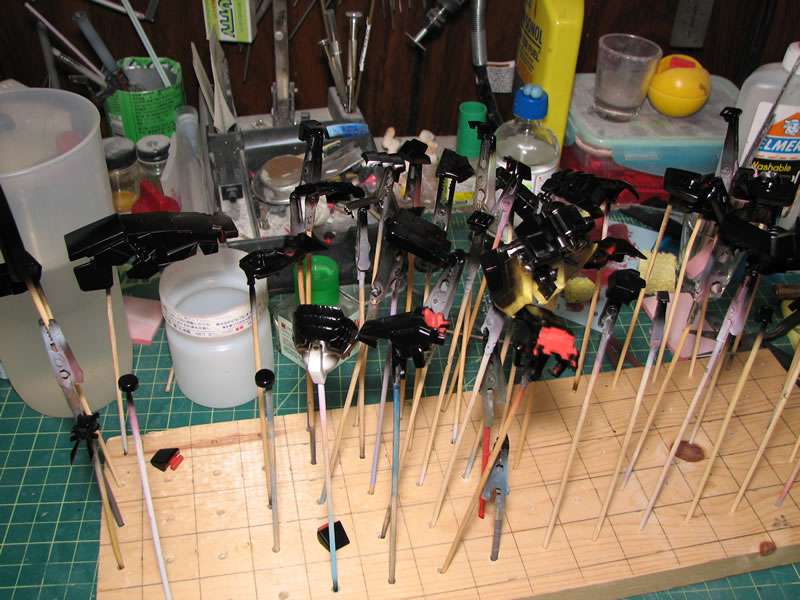
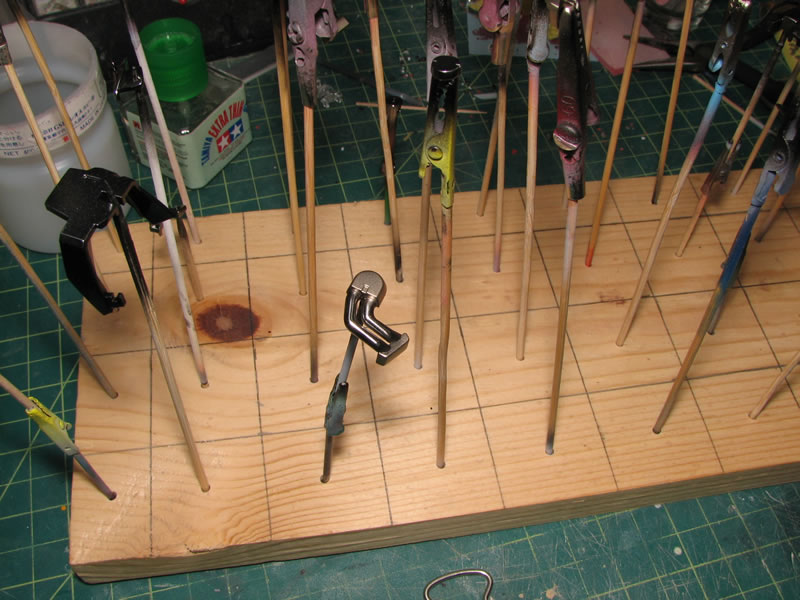
I’m looking for a quick and dirty oob build of this sucker, so all I did was sand and put the parts onto skewer or clips for painting. I completely skipped the full test fit phase. I almost dislike building MGs now because of all the parts involved. I’m starting to turn more towards resins because of the lower parts count. I had to separate the parts into sections and paint them in sessions because i do not have enough skewers/clips nor do I have enough space in the form of holding blocks. Damn partsy kits.
The nice thing about these newer MGs are the limited number of seams that need to be addressed. There are seams on the shoulder, the gun, and the sword’s sheath. This was easily addressed.
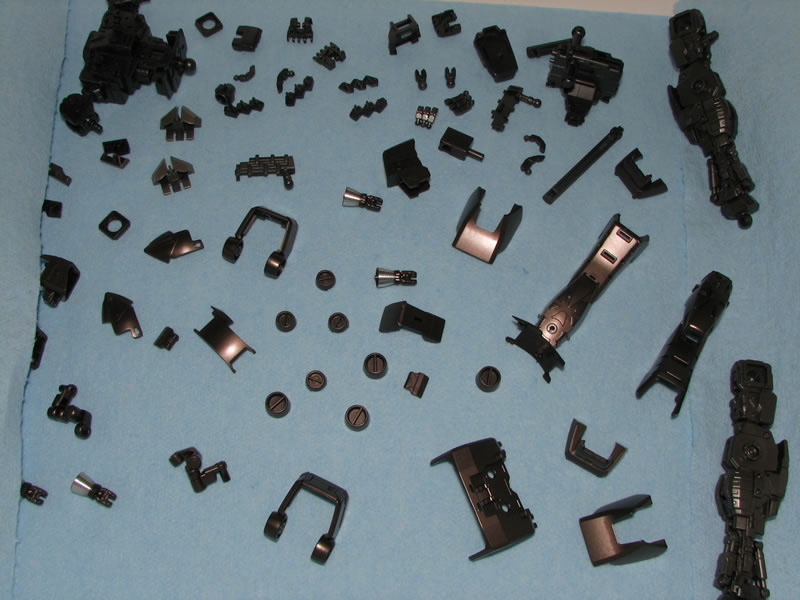
With everything sanded and ready for paint, the main body armor and gold pieces were all painted with finisher’s gloss black.
Last night I got to the gold pieces. I painted the parts with alclad stainless steel. Detail areas around the pipes were painted with alclad burnt metal for a different metallic tone that I think will look fairly good when finally put together. The burnt metal was sprayed free hand. Masking certain alclad paint finishes takes away from the finish, so I opted not to mask and do everything free hand.
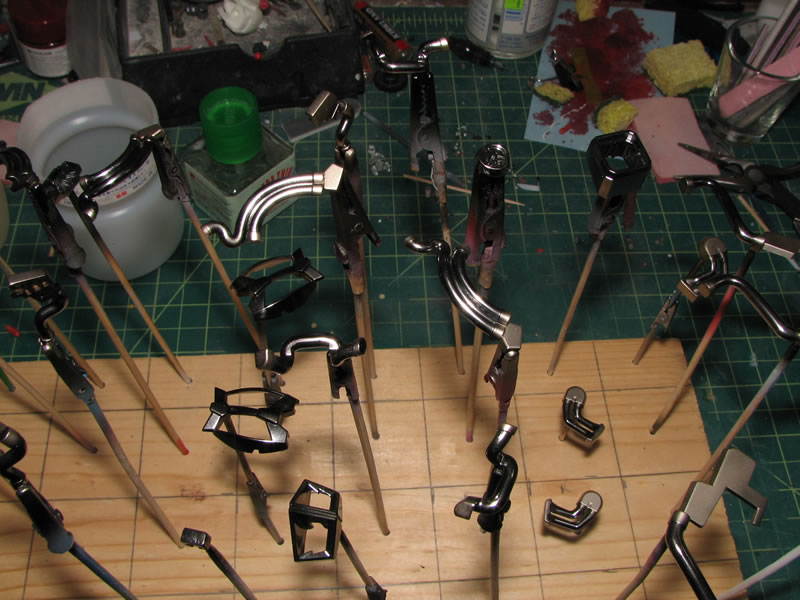
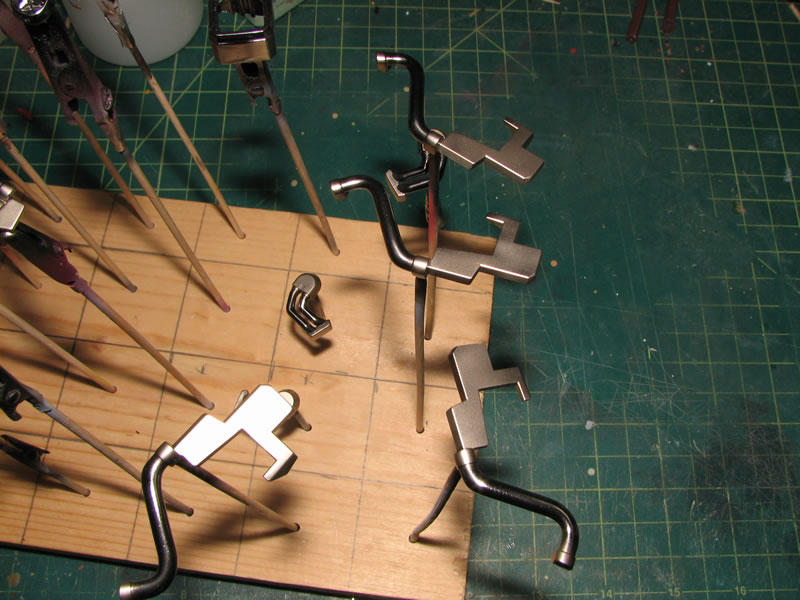
The internals for the kit were painted with alclad steel, and the black pieces of the kit were painted using alclad jet exhaust. Black is a little too stark a contrast for what I want on those parts; and the jet exhaust works with the metallic feel I’m going for on the kit. I also swapped out the backpack thrusters with AkoHobby’s metallic thrusters. The insides of the thruster bells were painted with alclad jet exhaust.
Man!
You’re building a Shin Musha!
When I get back to building Gundams, this will be my next kit!
Good luck! (Although you don’t need…)
Haha, we have the same scale. I bought mine for baking cheesecakes. I’m starting to tackle recasting now, but I gotta get my hands on some lego first. Do you think play doh works better than clay? It’s probably an easier clean up.