So you broke a V-Fin?

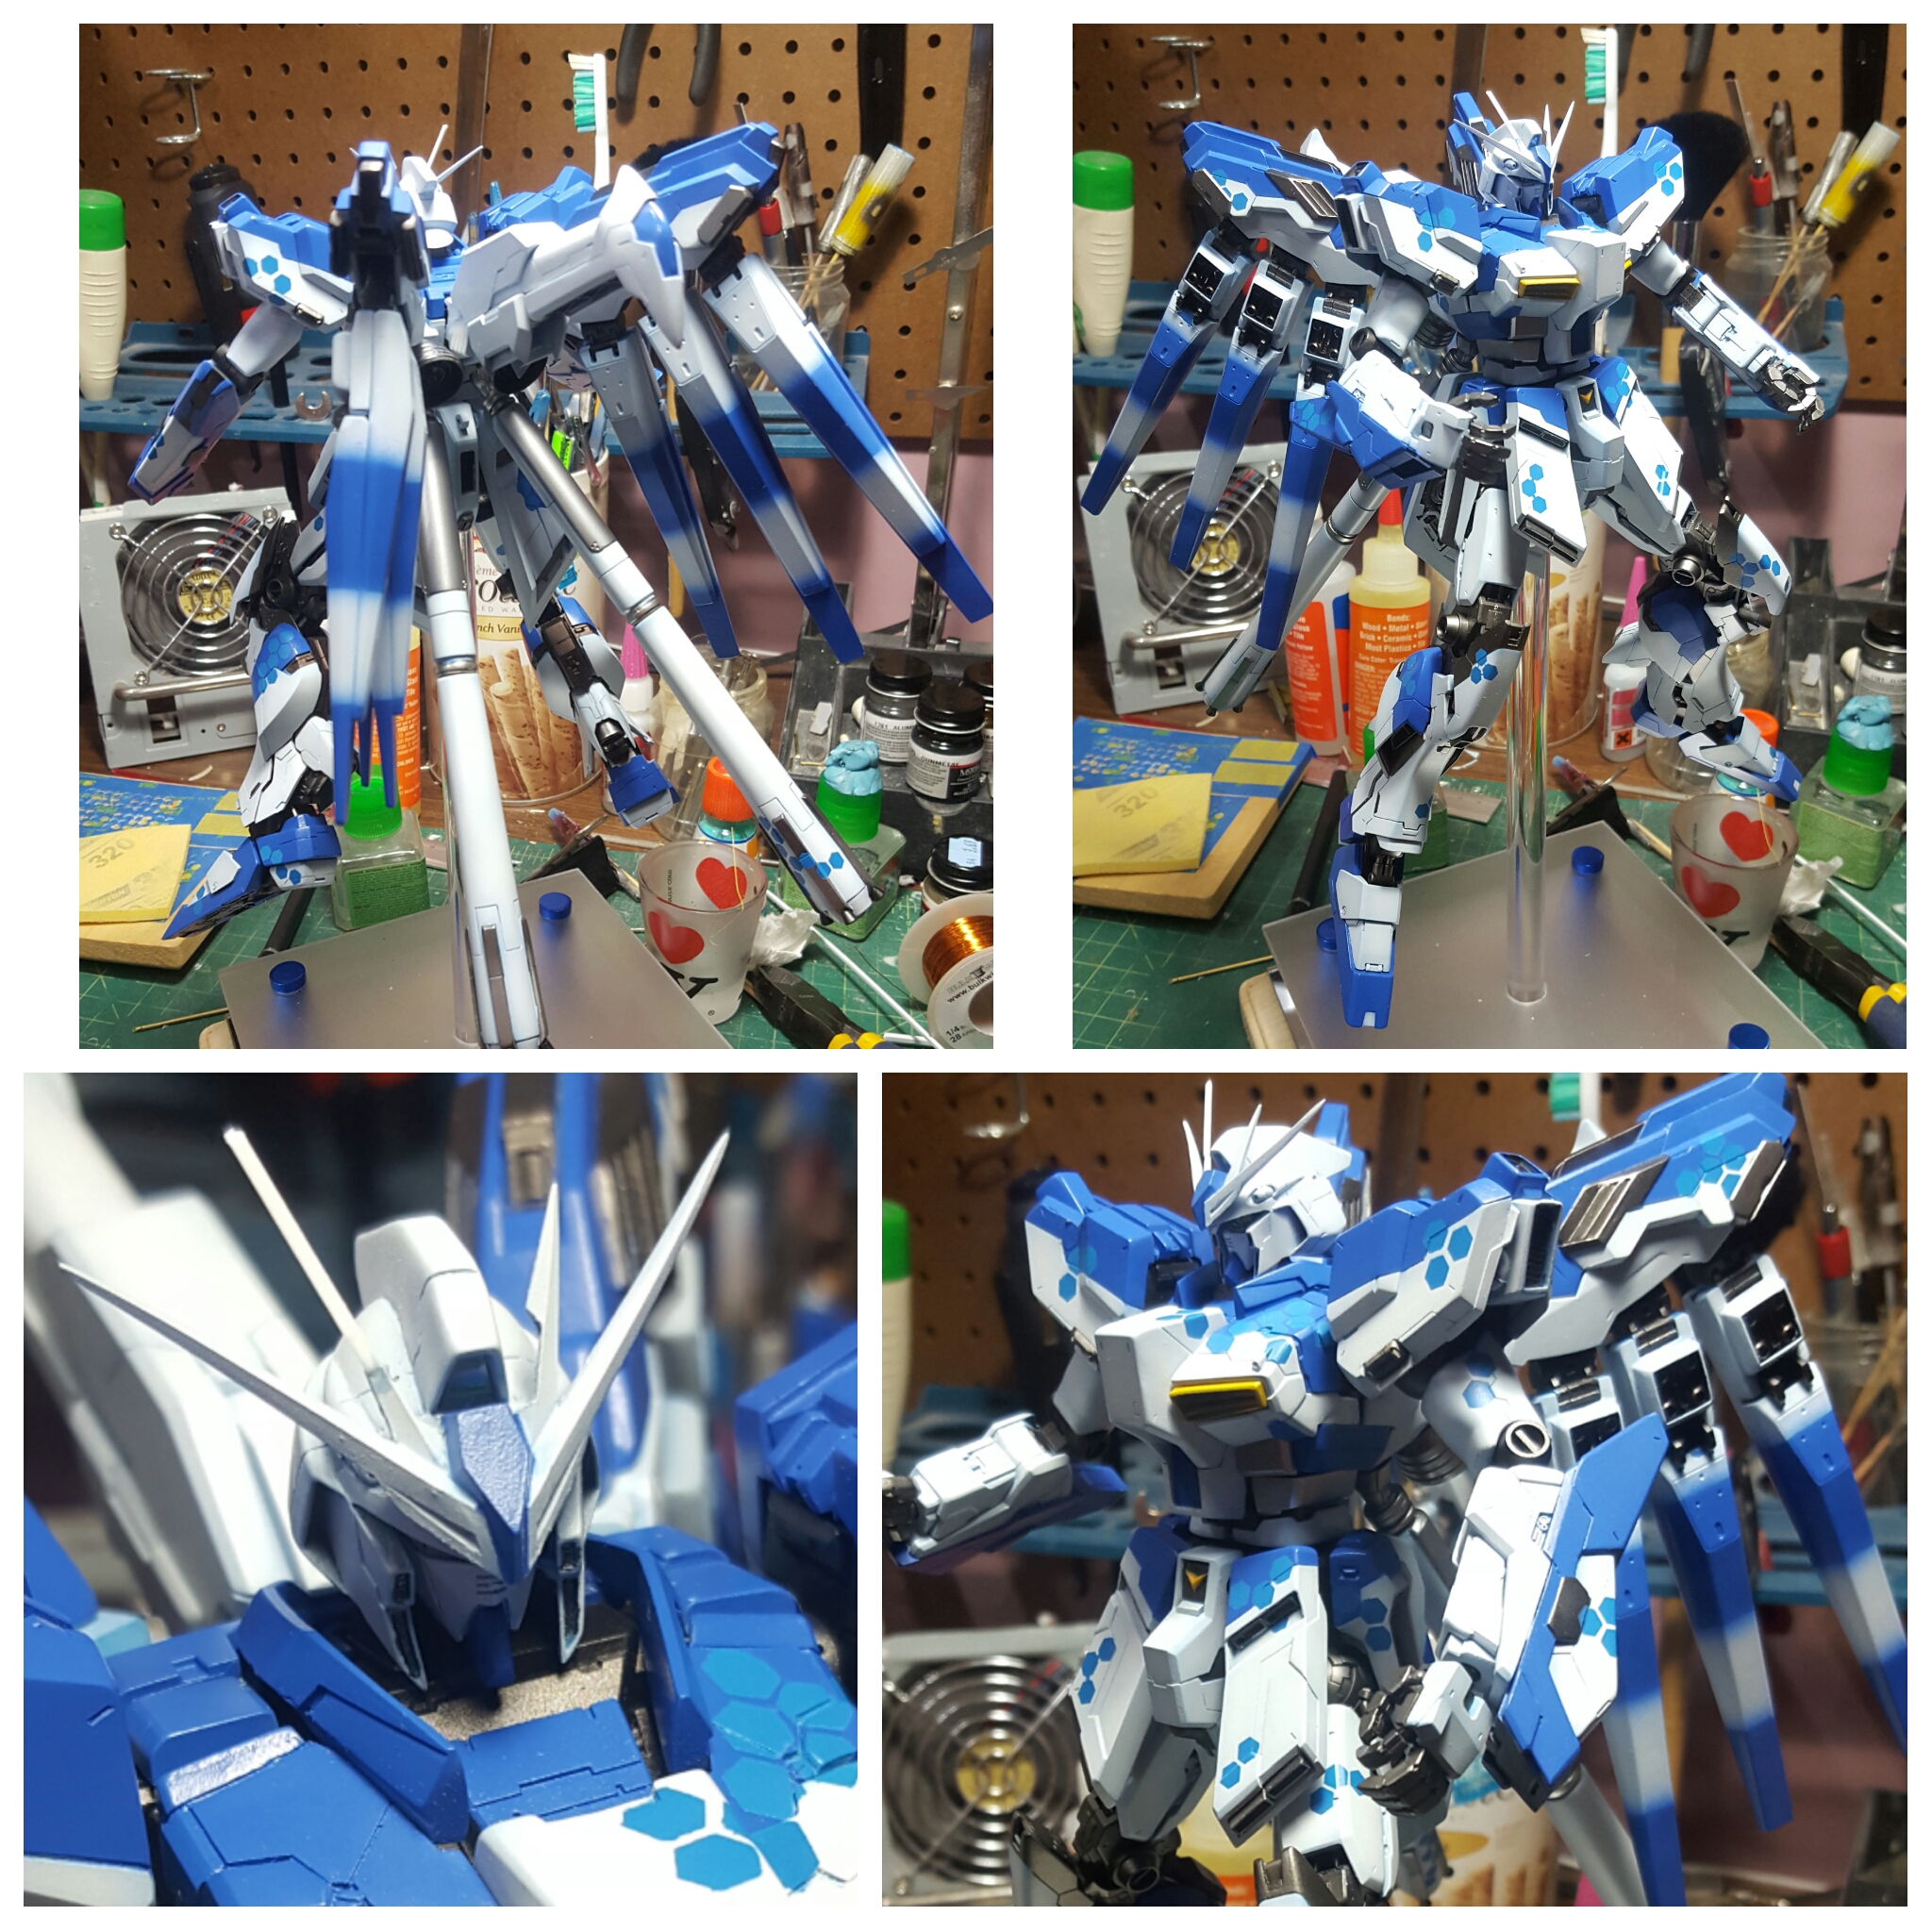
So you broke a v-fin? It happens. It happens at the worst time possible. Is there actually a good time for breaking a V-fin? Possibly, when cutting it up to create a super saiyan v-fin. But most of the time, we scream obscenities when this happens. And this happened to me a few nights ago when I had just got done with all the principal painting for the VP Hi Nu kit I’ve diligently picked back up. What better way to kill the momentum, then snapping a part that has survived multiple boxing and unboxing, moves from one workshop to another, from one build gathering location to another, etc. The back of the damn Hi Nu is horribly imbalanced due to the amount of solid resin pieces added by the conversion kit. My original stand that held the kit didn’t hold and the kit fell backwards. As it did this, the V-fin, already glued to the head piece snagged on one my fat sausage like finger and, *snap* the inner piece of the fin goes flying to who knows where. Carpet probably ate it.

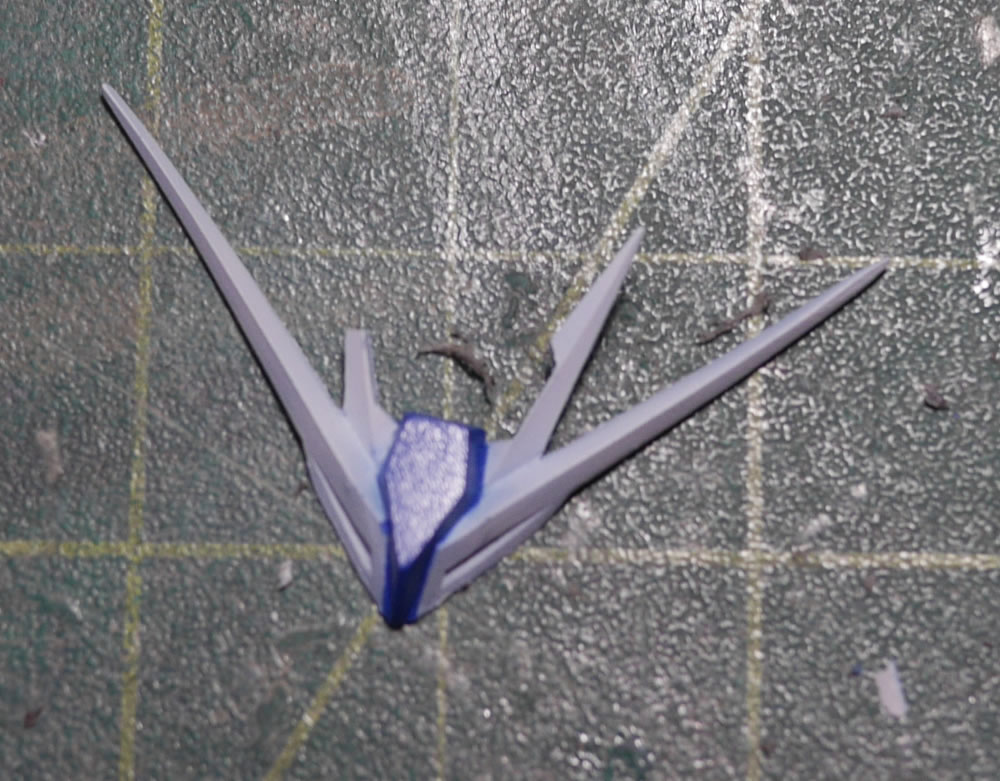
It’s resin, but the process to fix this is the same as any other bandai V-fin out there.

(more…)

Continue ReadingSo you broke a V-Fin?

A simple, yet fairly elegant display base

A few days ago, I was reading through some threads on reddit/r/gunpla and came across a thread asking about where to buy a specific type of display base. One of the users responded with a few links on how to build your own, and from this link in particular, I was inspired to search out some local suppliers and do my own version. The basic premise to the base are a few sheets of acrylic and some metal standoffs. The plastic pieces are easy, I’ve been grabbing scrap acrylic from local shops for a while and I dropped by one near my work and they sell the scrap by the pound. I picked up about 4 pounds of scrap plastic; gloss black, clear, and white and in different thicknesses. The next item was a little harder to find, the metal standoffs. There are plenty of sources online (amazon, eBay, online retailers, etc) But I wanted to see these in person before I picked some out; so I found a local sign shop supplier that was a wholesaler. The guy there hooked me up for a small sale since I wasn’t a sign shop (they only sell to sign shops)

So I picked up some metal standoffs seen in the above picture. Metallic black, chrome, and satin aluminum in the 13mm x 13mm size. They didn’t have the red and blue metallic ones in that size so I ended up with 13mm x 19mm, they’re a little taller. They sell individually for about 1.50 – $2 a piece, so I ended up spending about $42 or so for the 5 sets of 4.

(more…)

Continue ReadingA simple, yet fairly elegant display base

Wiring the 1/144 Heat Hawk

A few days ago, I posted about making clear resin heat hawk by making a mold of the existing heat hawk, then throwing in a string of LEDs in the mold when I poured the clear resin. The resin has had some time to cure and I’ve had some time to ponder the next great question. “How the hell am I going to power this damn thing up?” One of the TGG folks not so innocently asked the question. For which I honestly answered that I had no idea and that I would solve that problem eventually. I already had a few ideas, I could replace the upper handle of the axe and run some wires through there and then through the hands, through the body, and have the battery and switch assembly somewhere on the base of the project. That seemed a little too much work. Laziness is the mother of invention. I decided to completely self contain the power source as well as the switching assembly. Here’s a video of that through process and how it all works out:

After the jump, I go through the pictorial and more wordy version of what I did in the shot 6 minute long video.

(more…)

Continue ReadingWiring the 1/144 Heat Hawk