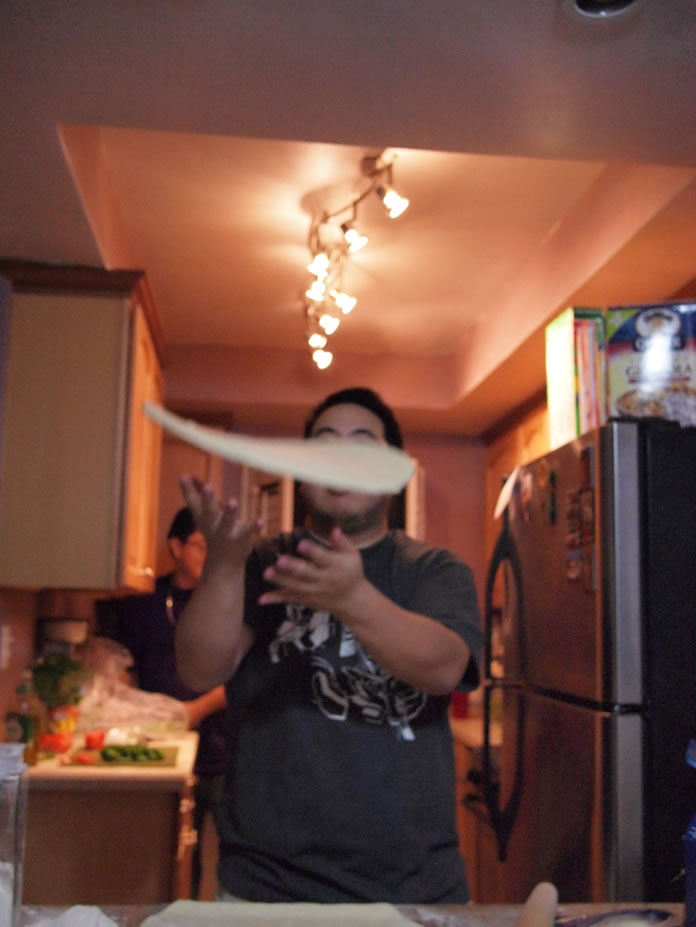
I ended up spending quite a bit of time Thursday night working on the bloody Saz. I started after dinner and didn’t finish until about 5 am Friday morning. At one time early Friday morning, I was at a decent stopping point, but continued to plow through. As a result, very little was done on the kit Friday and through the weekend. Friday evening, Yuki and I went over to Angel and Nicky’s place, Angel was going to make pizzas; and naturally, I couldn’t help myself with some doughy fun.
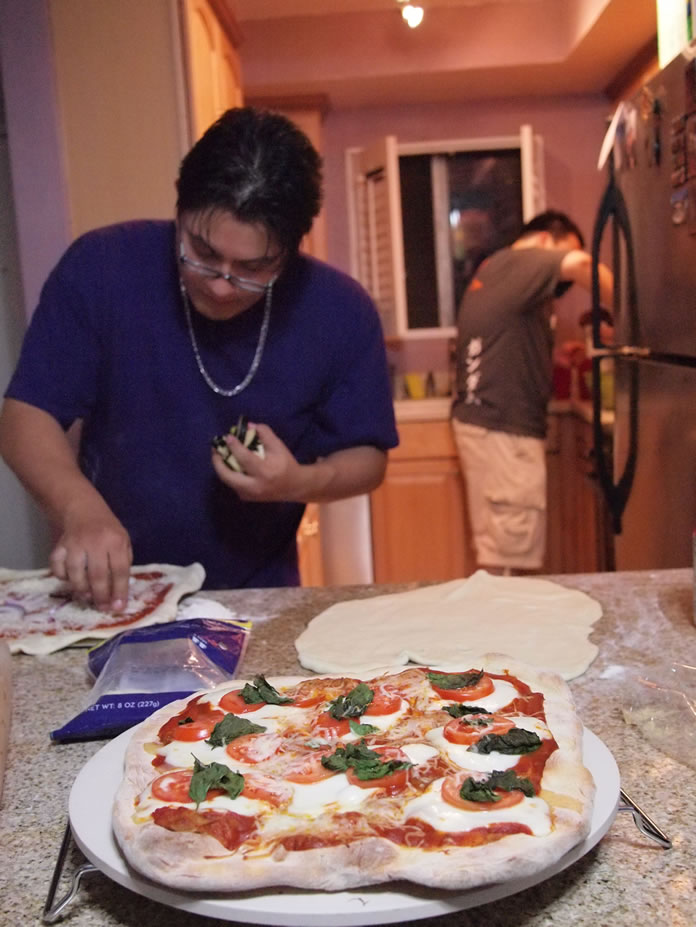
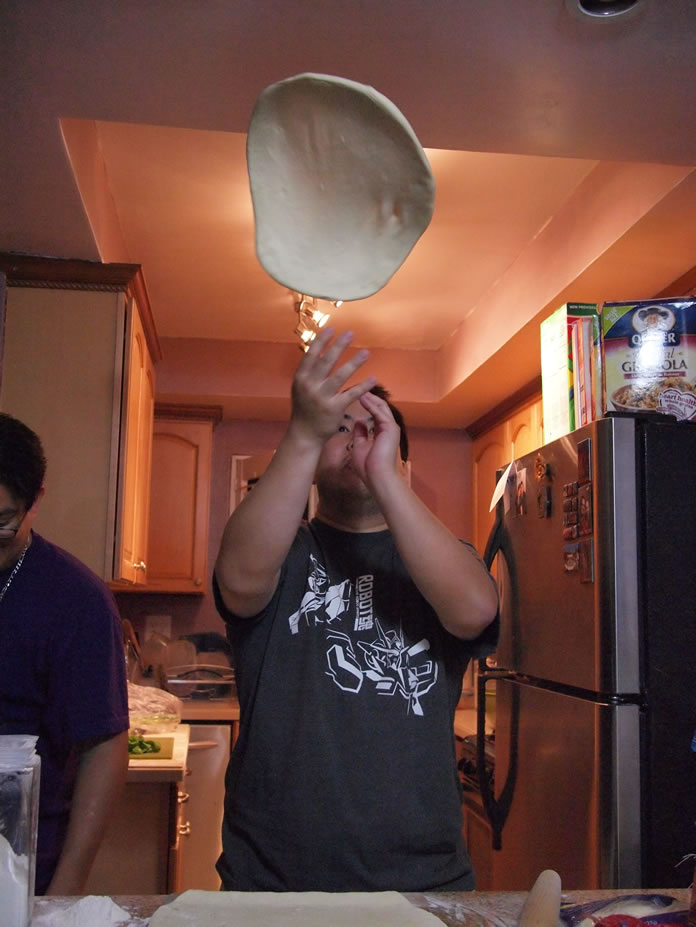
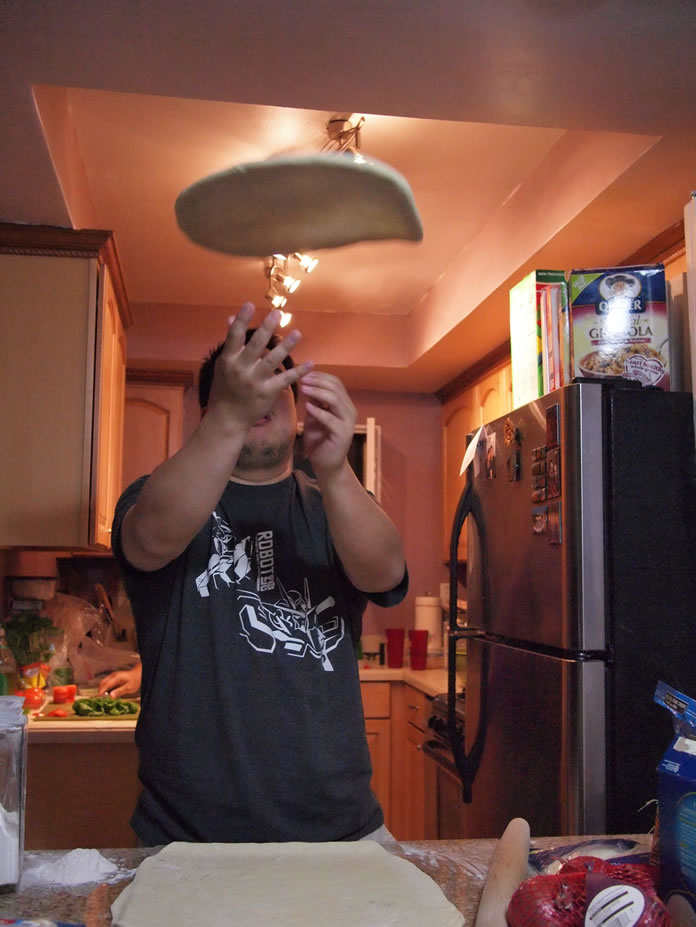
Ok, a quick blurb about the pizzas and we’ll move on to the Saz update. Nicky’s boss recommended packaged uncooked pizza dough from Fresh and Easy. All that was needed was to flatten out the dough and load it up with toppings and then throwing it into the oven. Earlier that day, I received a new 20mm lens for my camera so we’re testing it out while I play with the dough. This is my first time tossing pizza dough, not too difficult, and kinda fun to do.
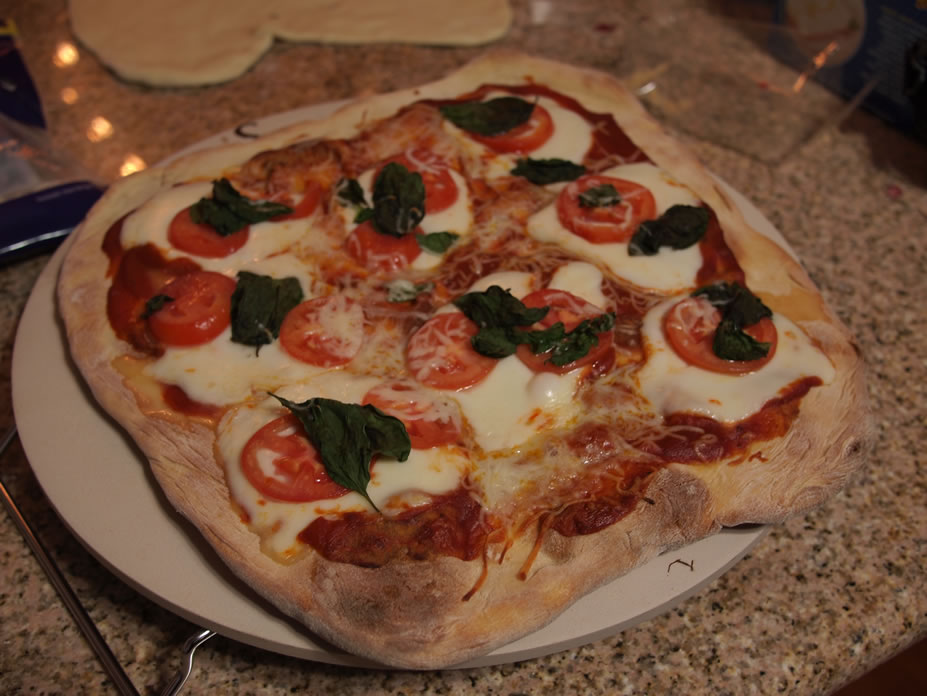
Angel did most of the work on adding the toppings. They had a pizza stone they received a while ago but had never used. We ended up making 3 pizzas. A mozzarella tomato, a vegetarian, and a bbq chicken pizza. Damn good stuff. I’ll definitely need to grab this dough at another time to make my own home made pizzas. Digiorno can suck it.

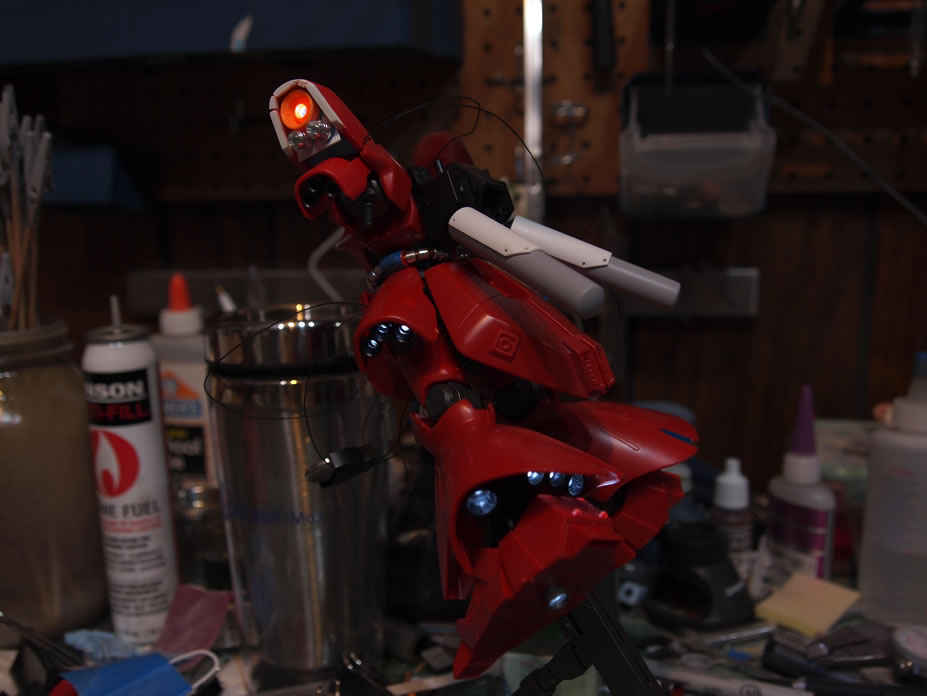
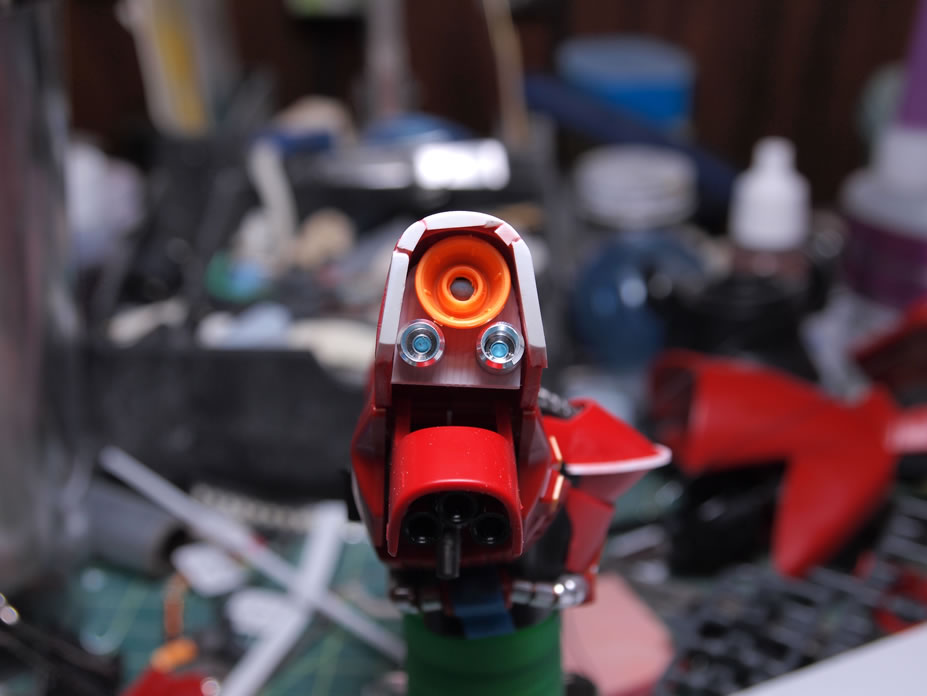
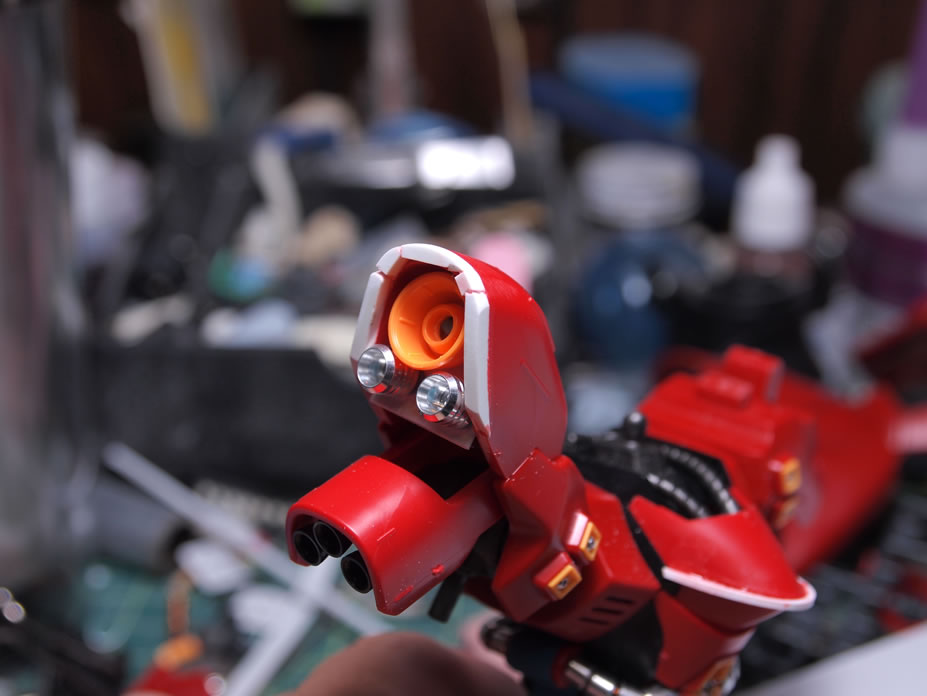
Sazabi Progression
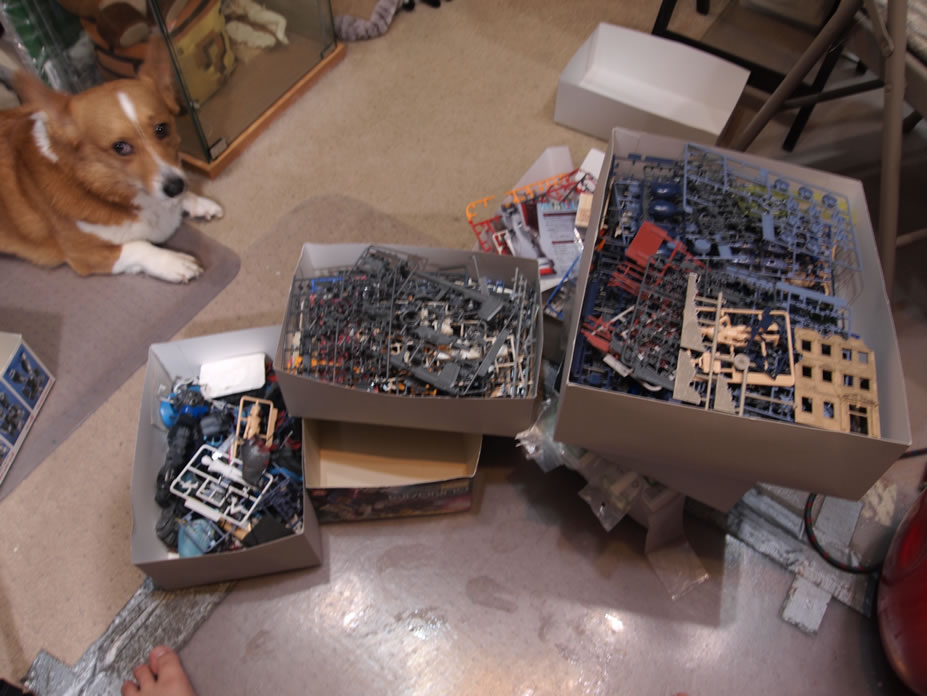
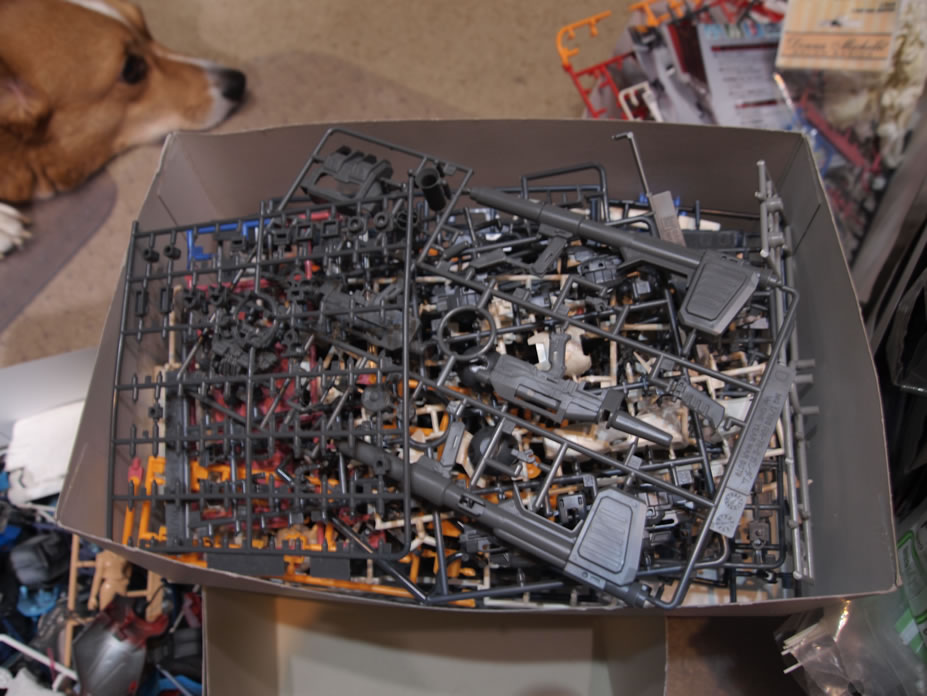
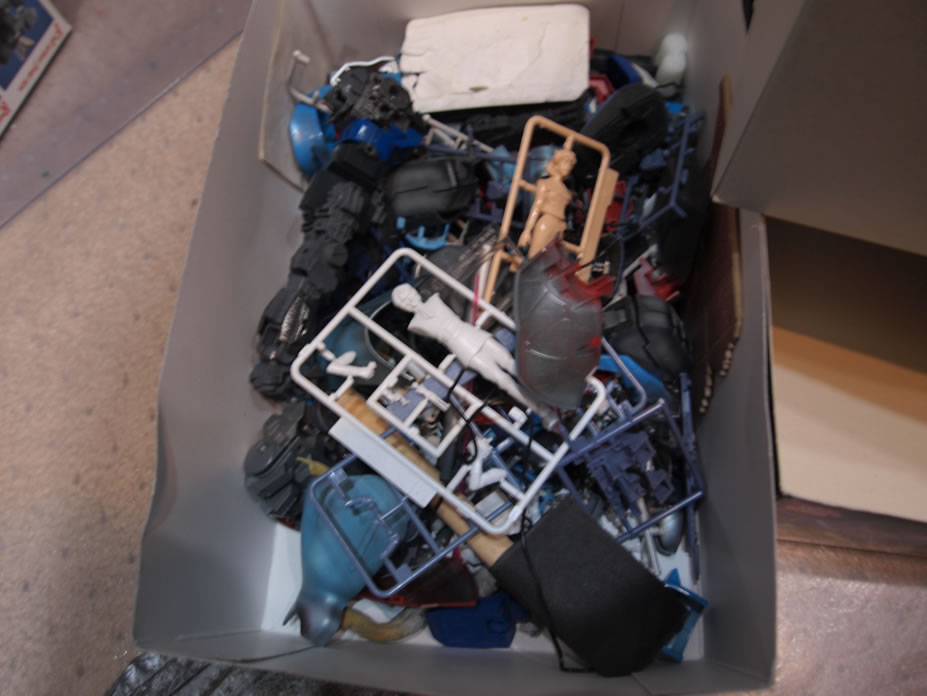
Ok, back to the Saz. The early parts of Thursday evening was spent looking for detail parts. So I pulled out my boxes of spare parts. I mean, why reinvent the wheel. I have a few boxes filled with runners of parts and a few boxes of old kits taken apart, or pieces from kits redone with a conversion kit. There are a few parts that have been cut up and used in various kits I’ve built. I consolidated the parts into three boxes. This should explain one of the pictures at the start of this post…

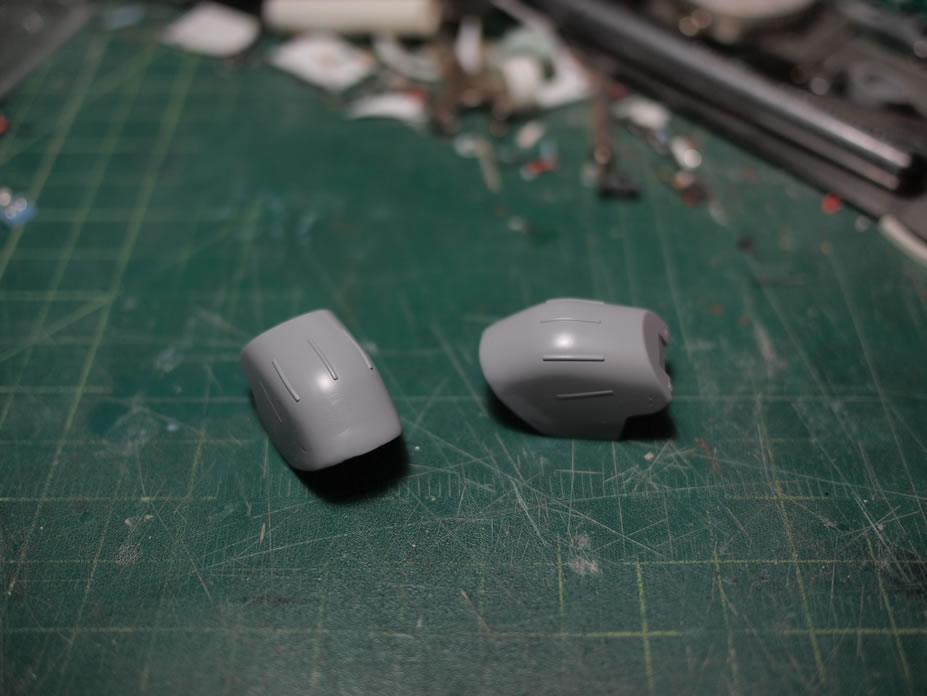
The Saz’s shoulders have a big empty space that just begs for some detailing, so after picking out some parts from my boxes of spare runners, I started working on ideas for interior shoulder details. After a few tests with different parts, and getting feedback from Yuki, I settled on the one big, two small, thruster design. Using some styrene sheet and a styrene cylinder, I created a structure that will hold the thrusters. Inside the lower section of the shoulders, while looking in, you can see the male and female peg connections for the two shoulder pieces. I added a rectangular vernier to this area to cover up that area.
With the shoulders figured out, I went back to the LED fun. I threaded the other leg and assembled the feet. Looking at the bottom of the foot, I decided to drill out the center and add a thruster to this area. And on top of this, I added another LED to light the thruster that I added to the foot. With the backpack light and 5 lights in each leg, the LED count is up to 11.
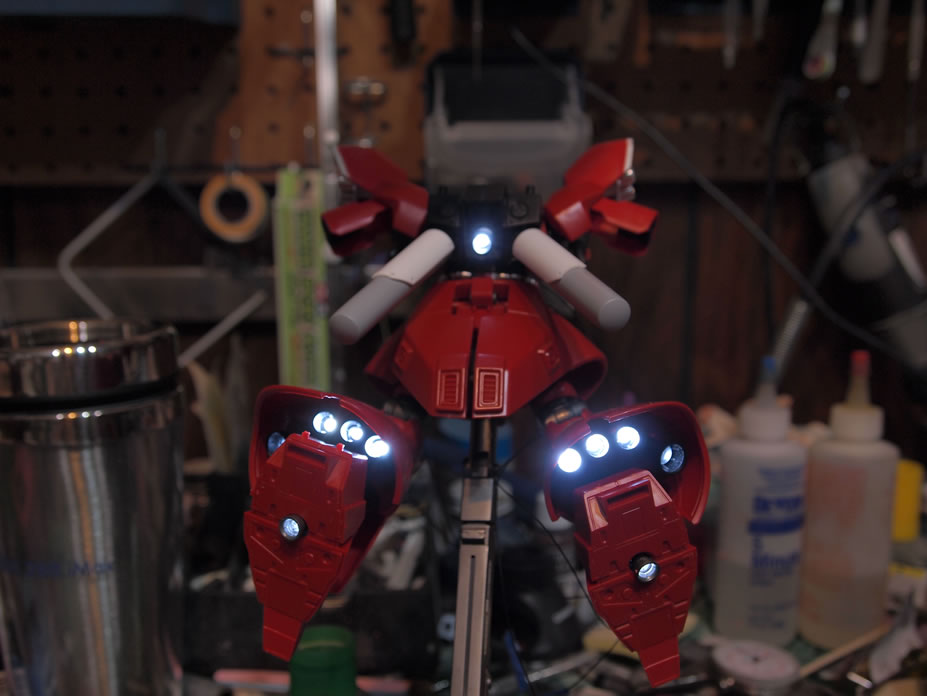
At this point, it was about 2:40AM and I was at a decent stopping point. But my goal to get 99% of my lighting ideas implemented, my brief pause to contemplate sleep passed and I started drilling out the thrusters mounted on the side skirts. Some cutting, filing, and sanding went into the thrusters and skirt piece so that everything fit together, then the LEDs were wired together to finish lighting the skirt mounted thrusters. Both skirts were modified then lighted with the rest of the kit bringing the LED count to 17.
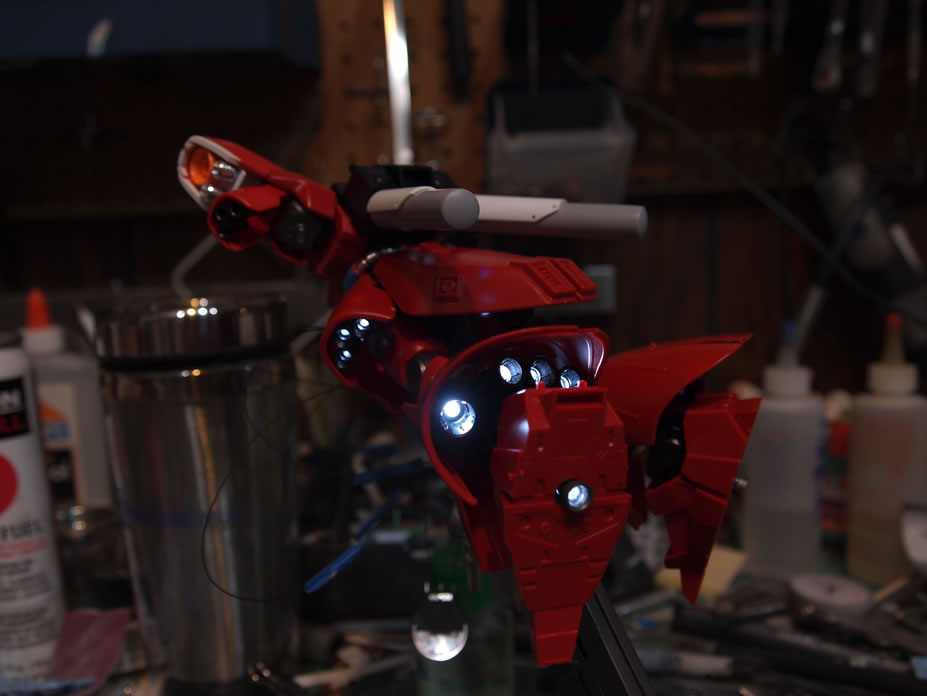
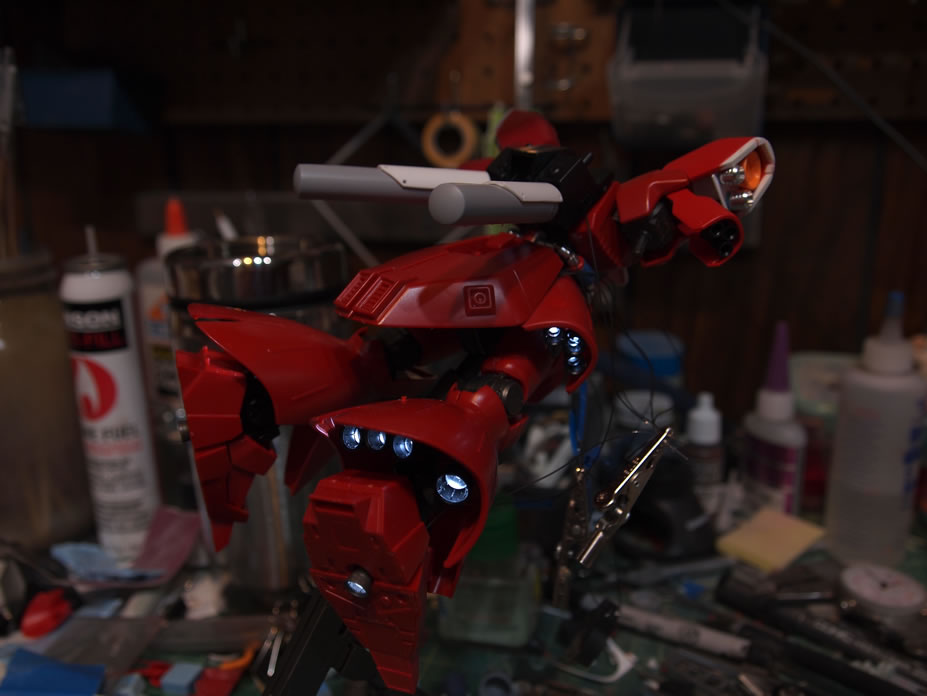
Next up, I added an LED to the large thruster detail placed inside each of the shoulders. The LED count is now 19. I still have more LEDs to add, but at about 5 in the morning, my brain started to turn to mush so after hooking up the wires to my test power source and powering up all the LEDs for a few quick pictures; I crashed out.
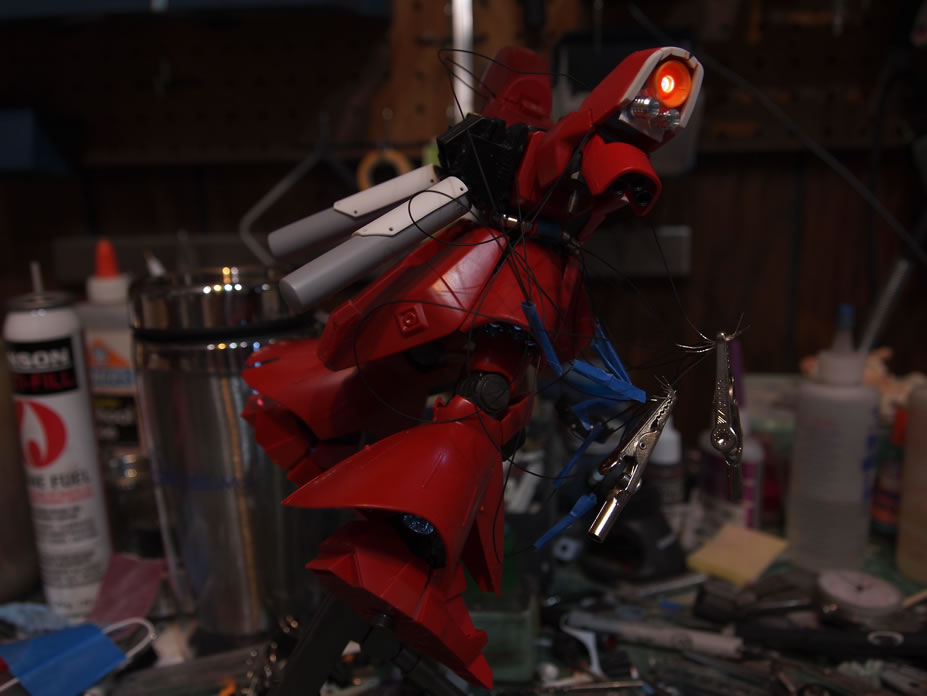
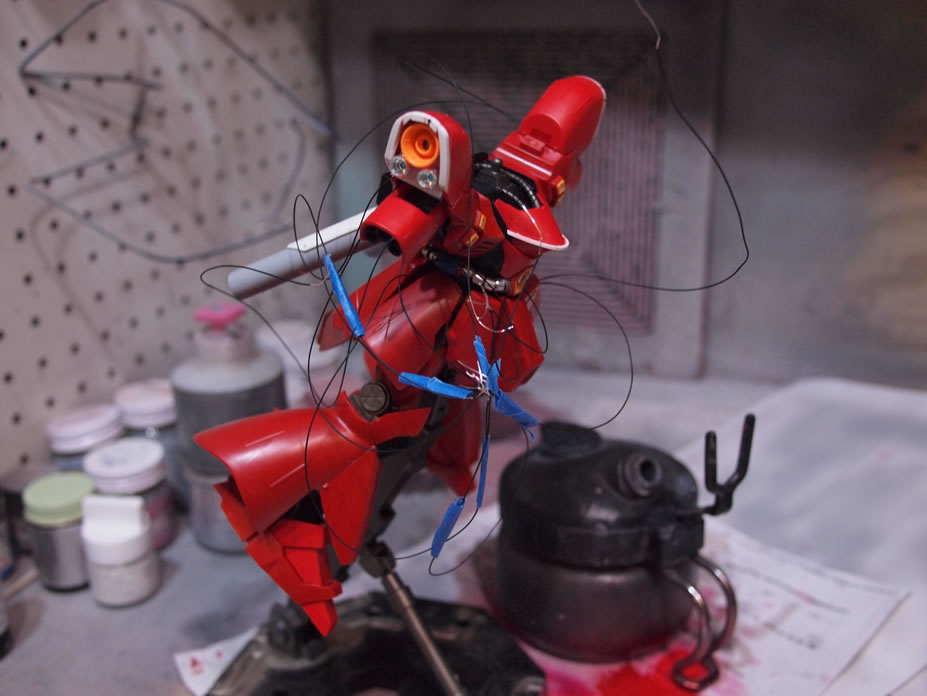
The kit is now a wiring mess.

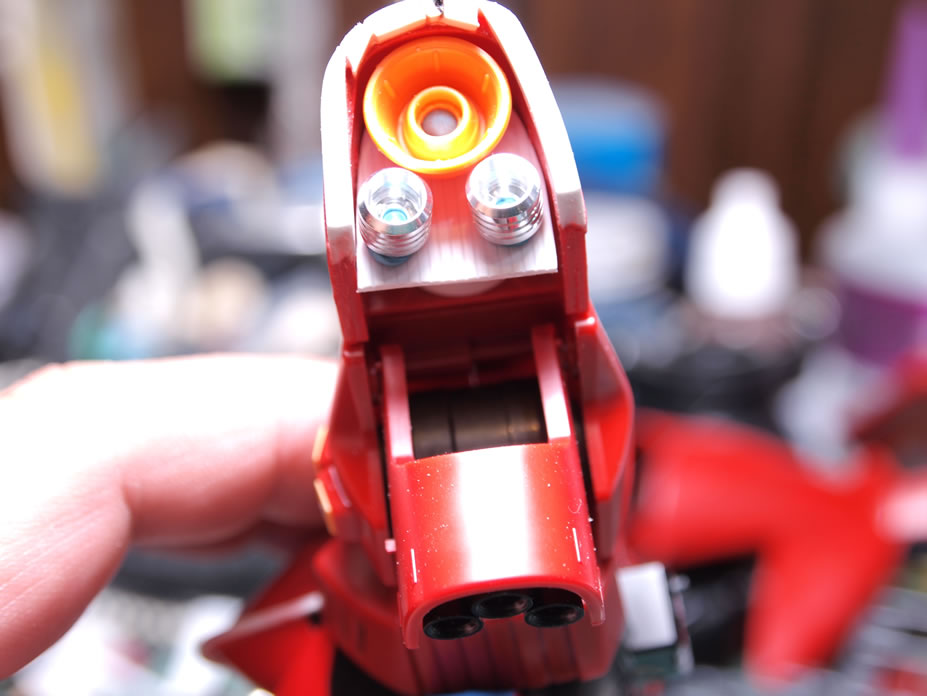
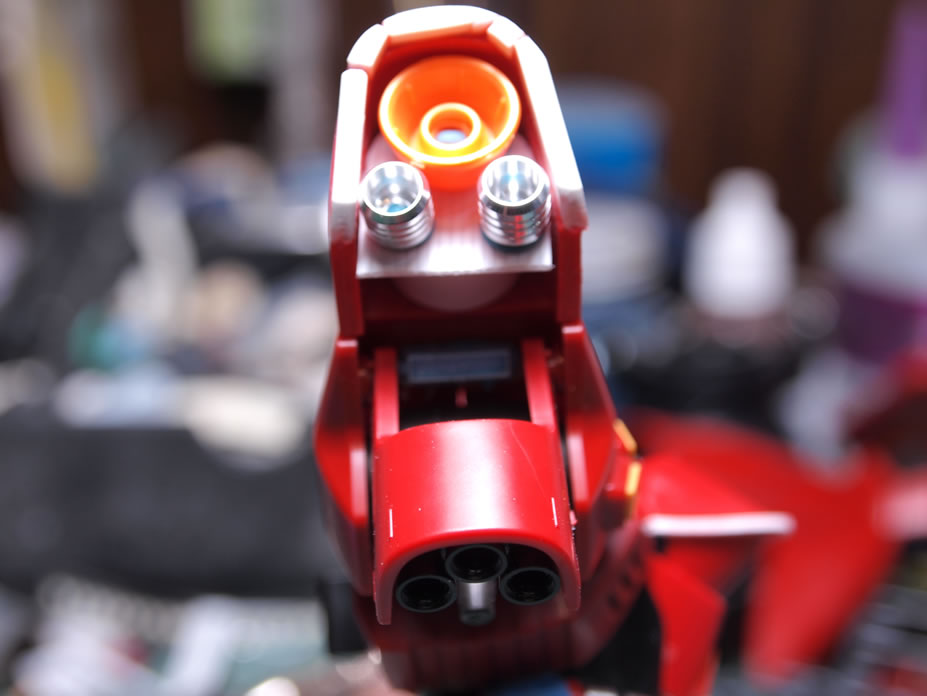
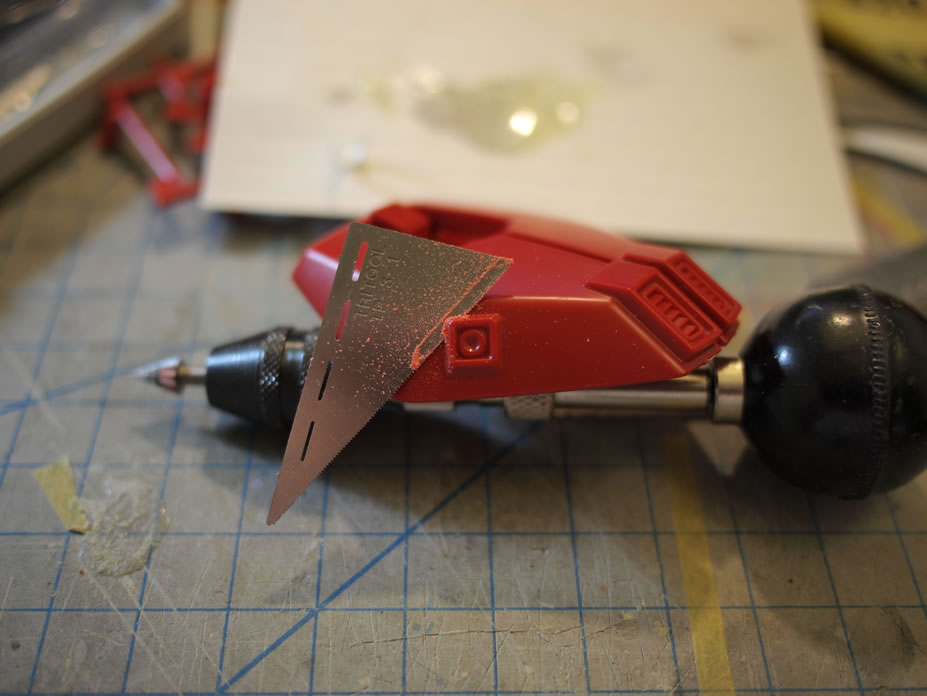
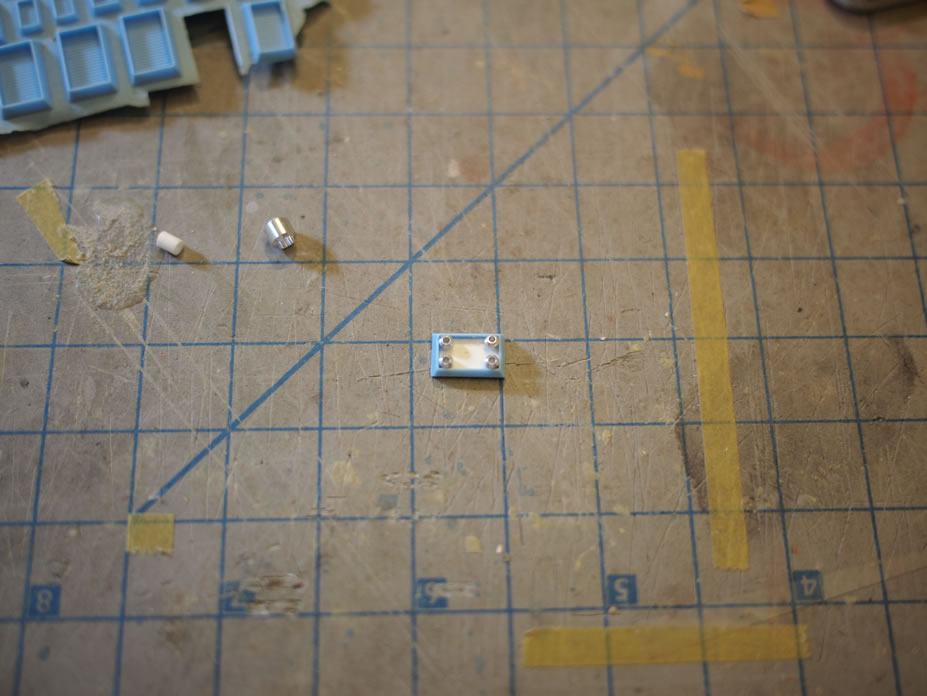
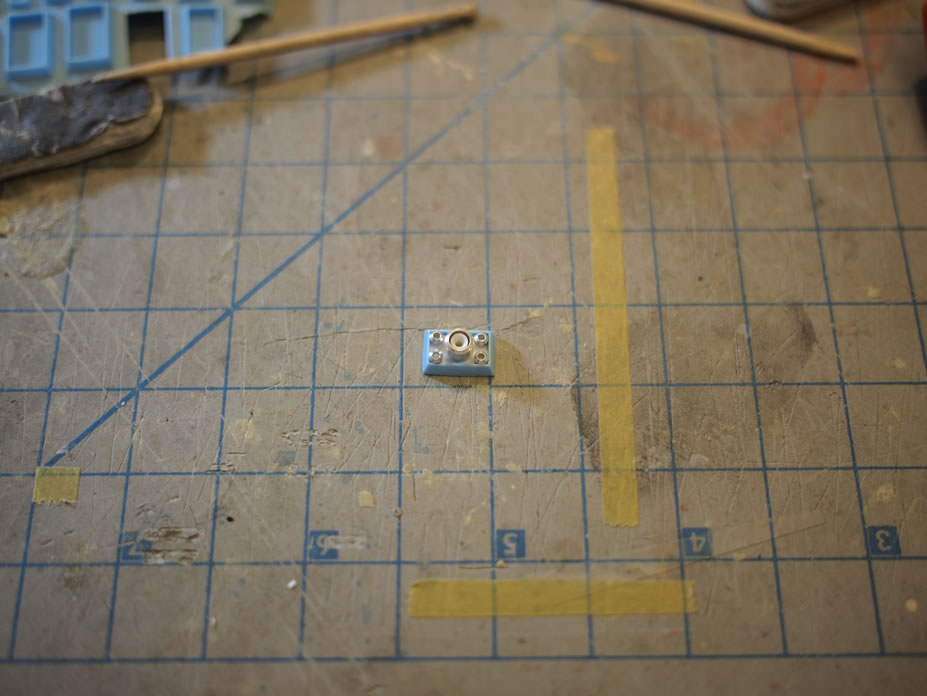
This past Saturday was spent at Yuki’s house cleaning out her garage and finally un-boxing all the stuff from when she moved into the place. Now I actually have a parking space. After clearing the garage, Yuki set to put everything where she wanted, and since I couldn’t really be of much help, I set down and got a little work on the Sazabi while she cleared out the items in the living room that once resided in the garage. The back skirt armor has a little thruster detail that I just don’t care much for; so using a small hobby saw, off it came.
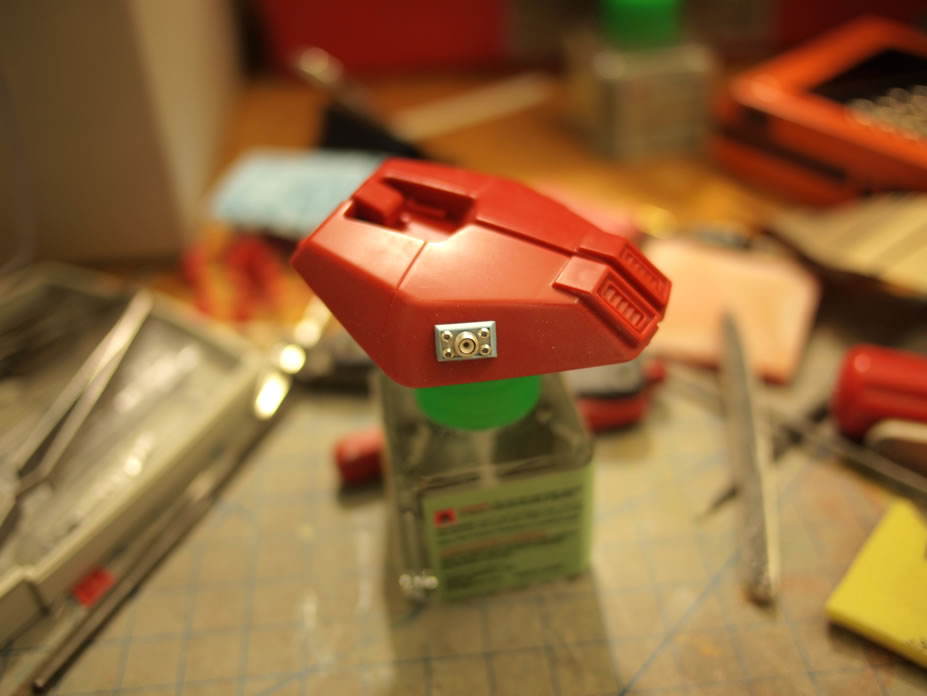
In it’s place, I built a little thruster detail using metal collars, a resin piece, and some styrene. It’s a pretty simple mod and I’ll be duplicating the part in resin so as to save on the metal collars. The metal collars are only tacked into place with super glue, so once I make copies, I can disassemble the master. With teh master completed, I just used some sticky tack to do a quick little mock up against the rear skirt.
Sunday saw a small amount of work as I continued to refine the shoulder details. I added a styrene rod to frame the interior shoulder detail. The shoulders were then puttied, sanded, and primed. At least one additional putty/sand/prime session will be needed to get the shoulder pieces ready for paint.