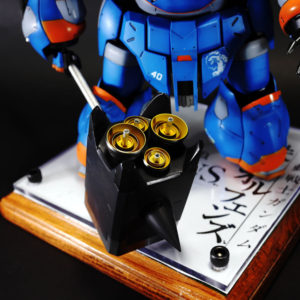
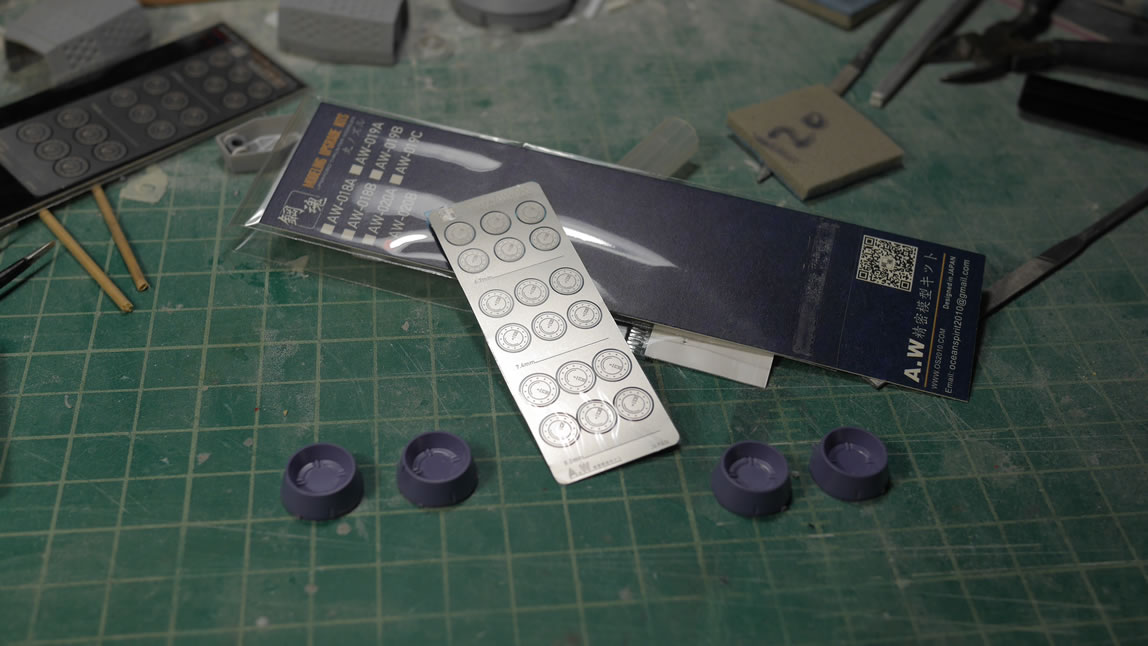
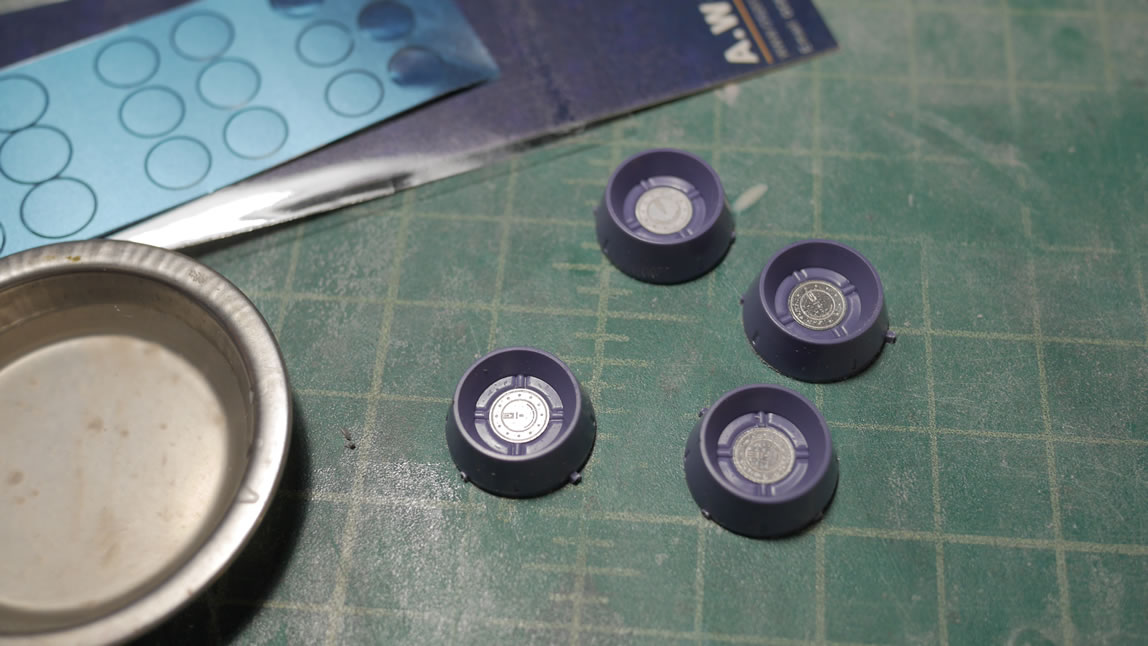
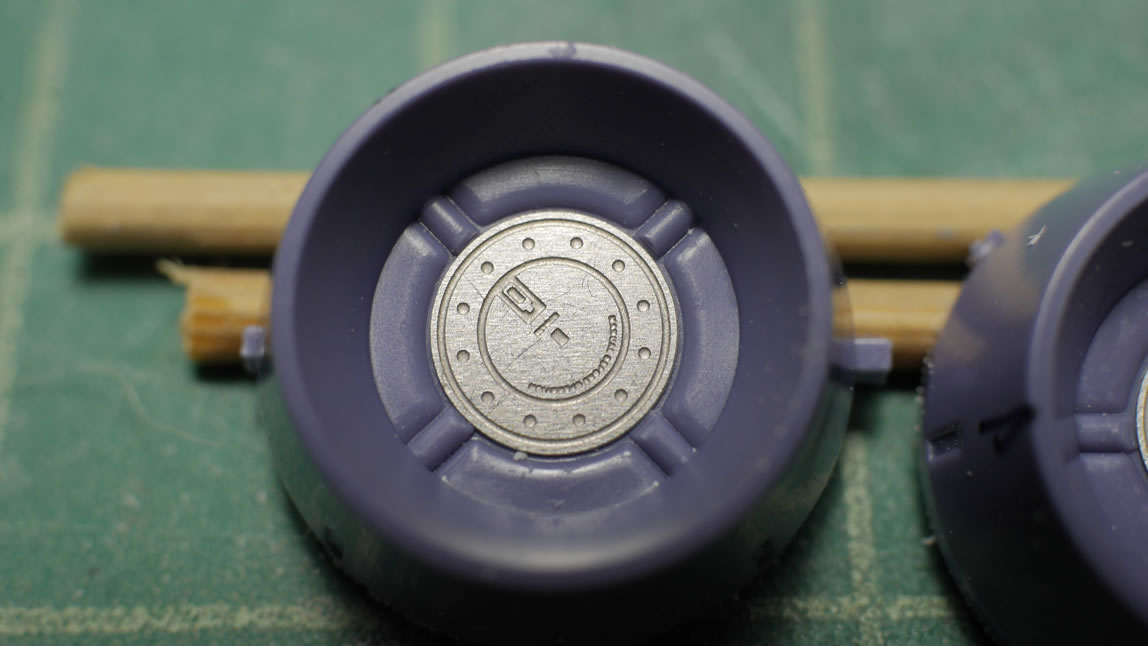
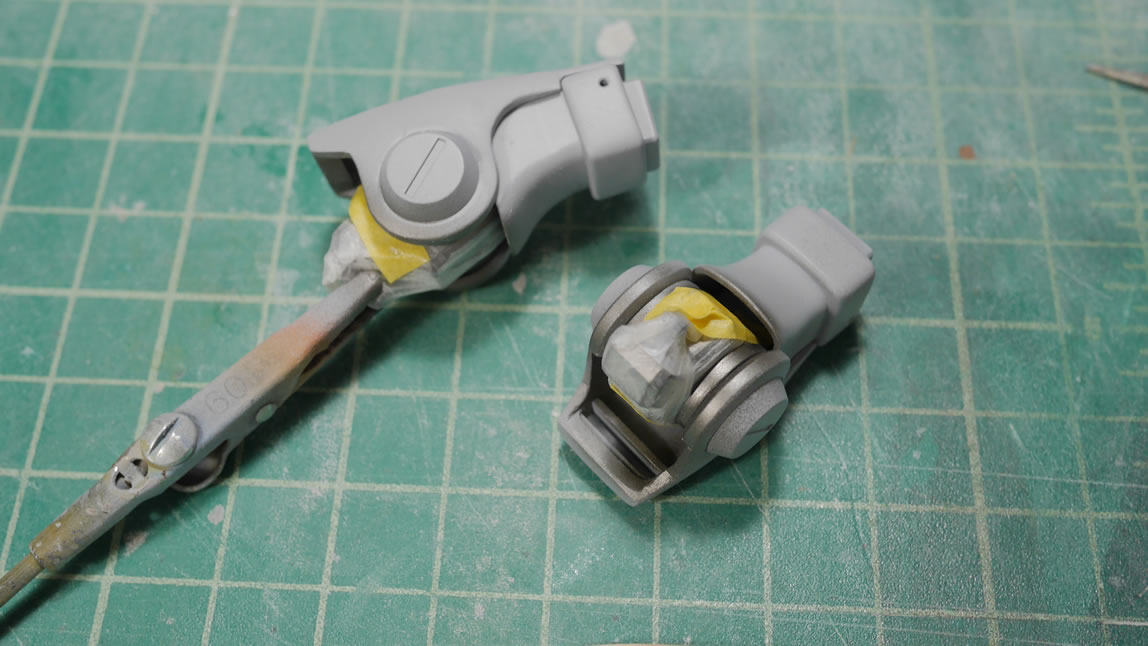
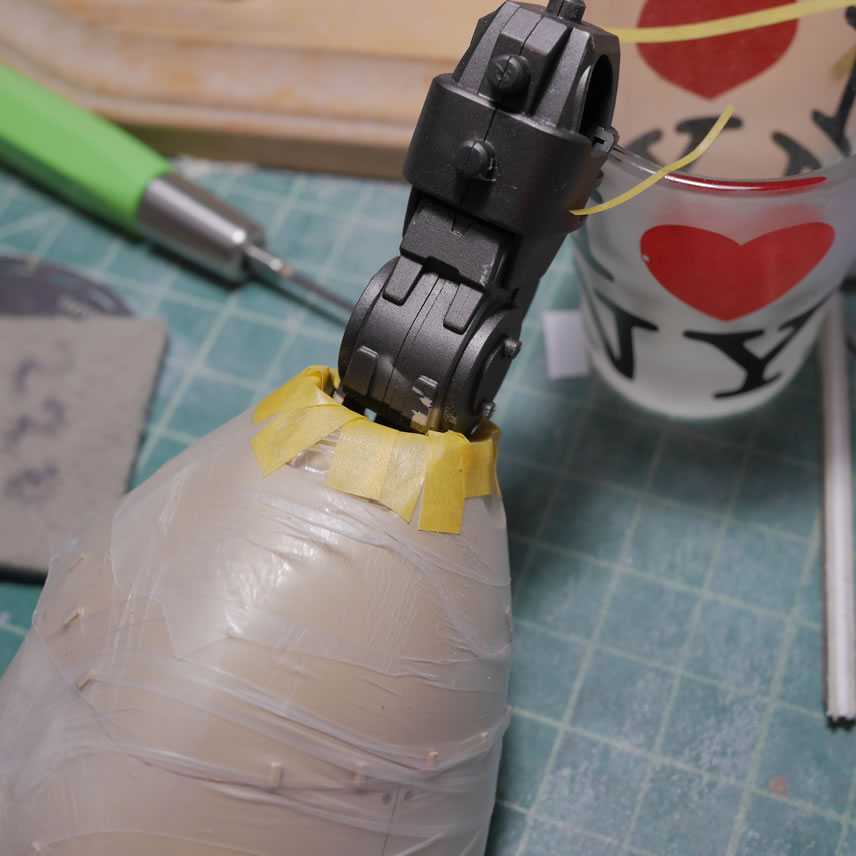
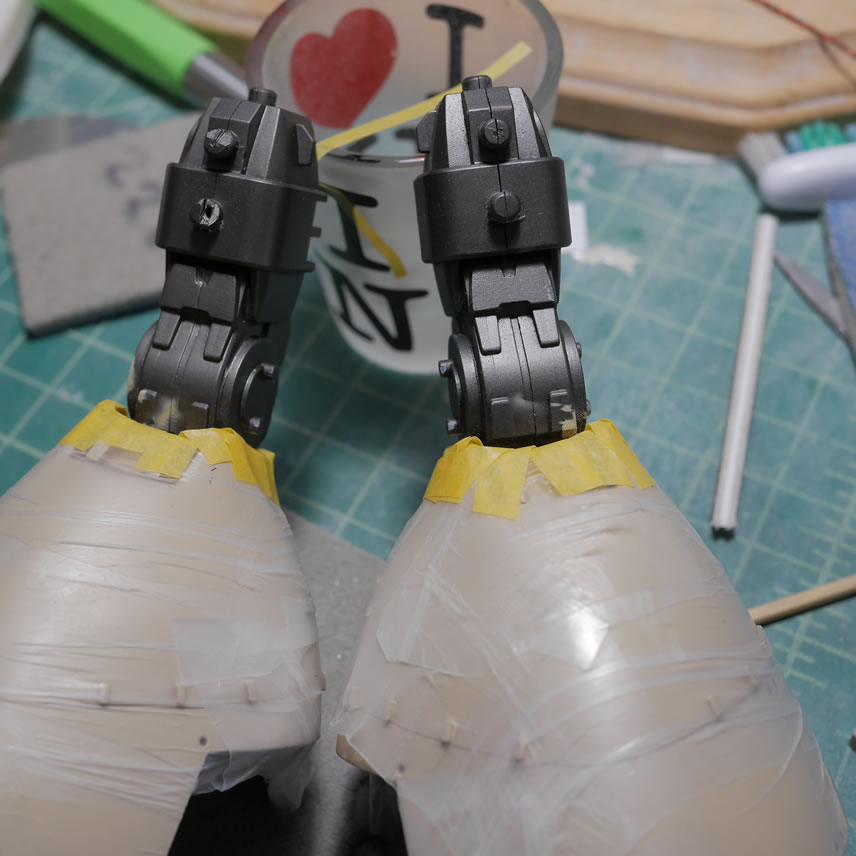
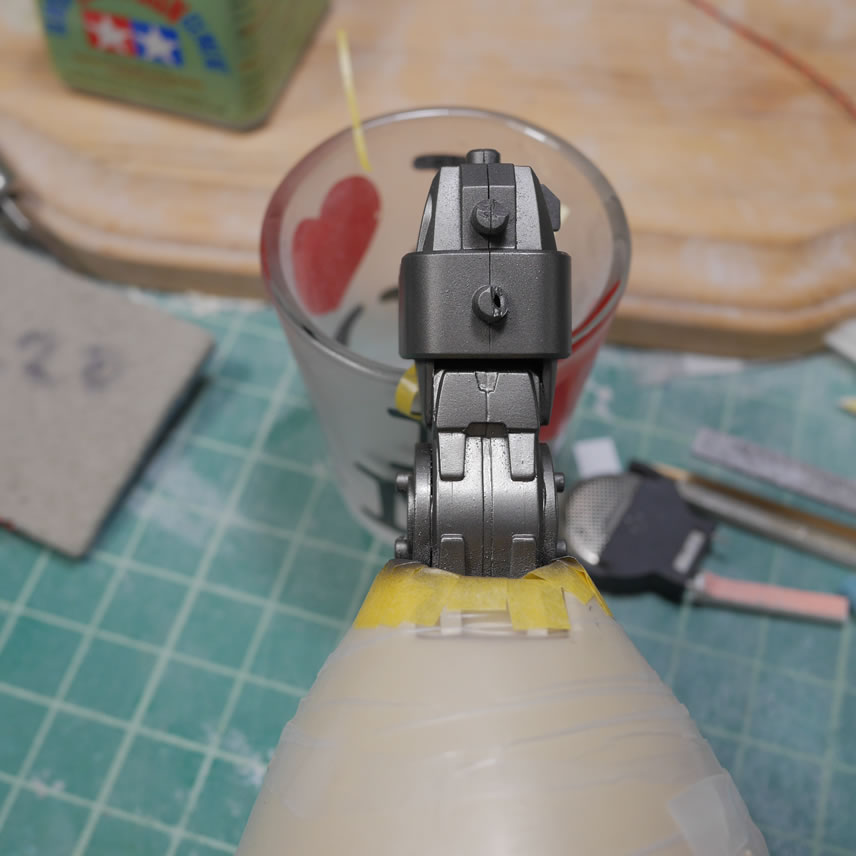
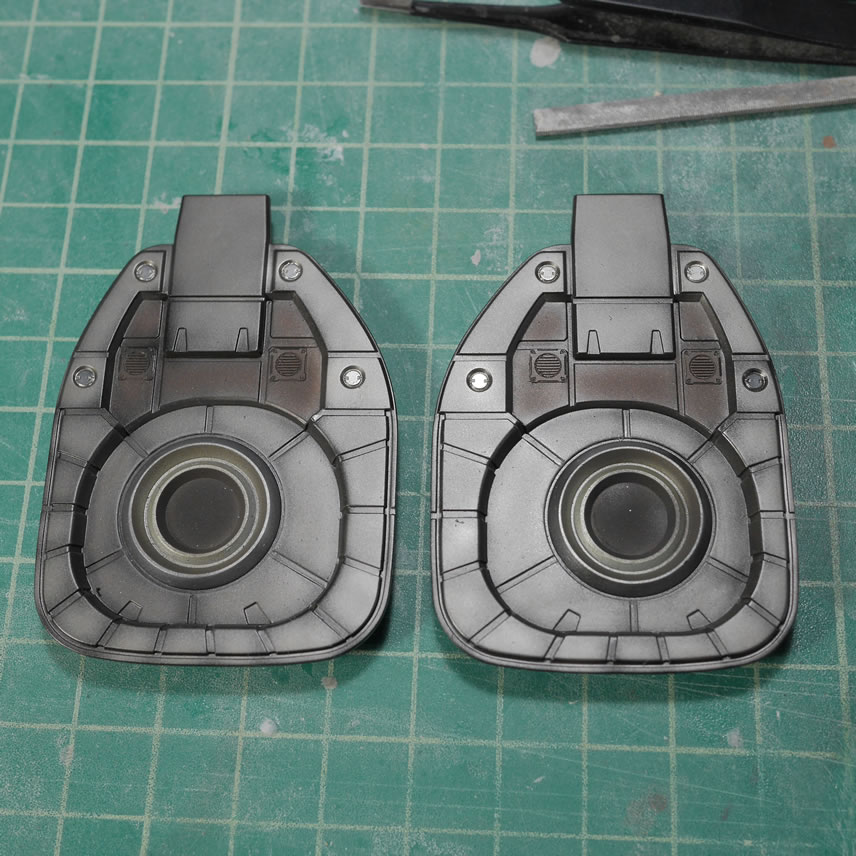
The week 4 update is here. And so much to go over for a short post. I’ve gone full blown painting now, but there are still some bits and pieces that need clean up and build work. Namely the rear skirt, ammo drum, ammo belt, and gatling gun. But as of this post, everything is almost done with principal painting. But let’s rewind to earlier this week and since the last update. I was still doing minor detail work. The last update introduced some photoetch addon details. Continuing with that, I added some of these detail bits to the knee joint circular covers. I did have to make a slight modification to the part so that the detail bit would sit flush. There are four plastic details that extend slightly towards the center of the round and those needed to be chiseled away. I did a video while I was working on these but I haven’t had the time to edit and upload it. I’m pushing pretty hard on the kit so I’ll probably get that video up once I’m done with the project.
More detailing and getting down with the paint after the jump.
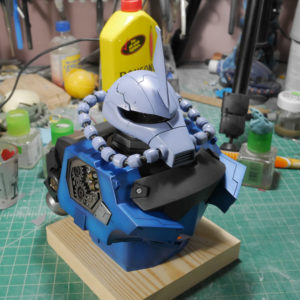
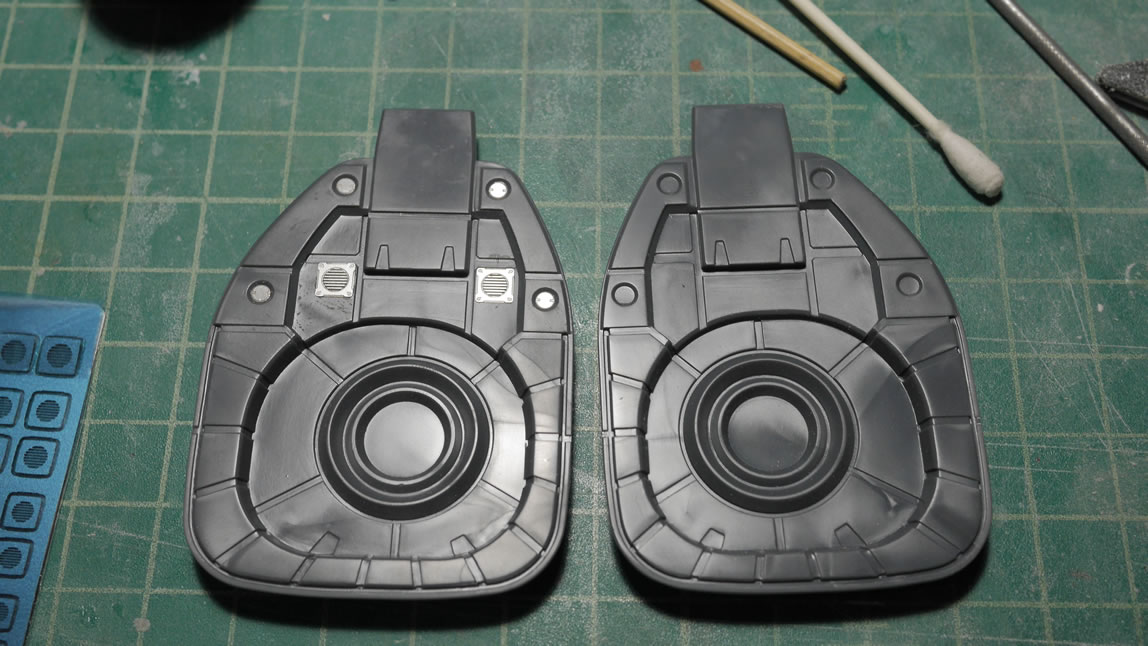
The bottom of the feet as well as the sides of the ammo drum get some of the photoetch details glued into place with your everyday, child eating, elmer’s glue. Once the glue sets, I’ll prime and paint these parts.

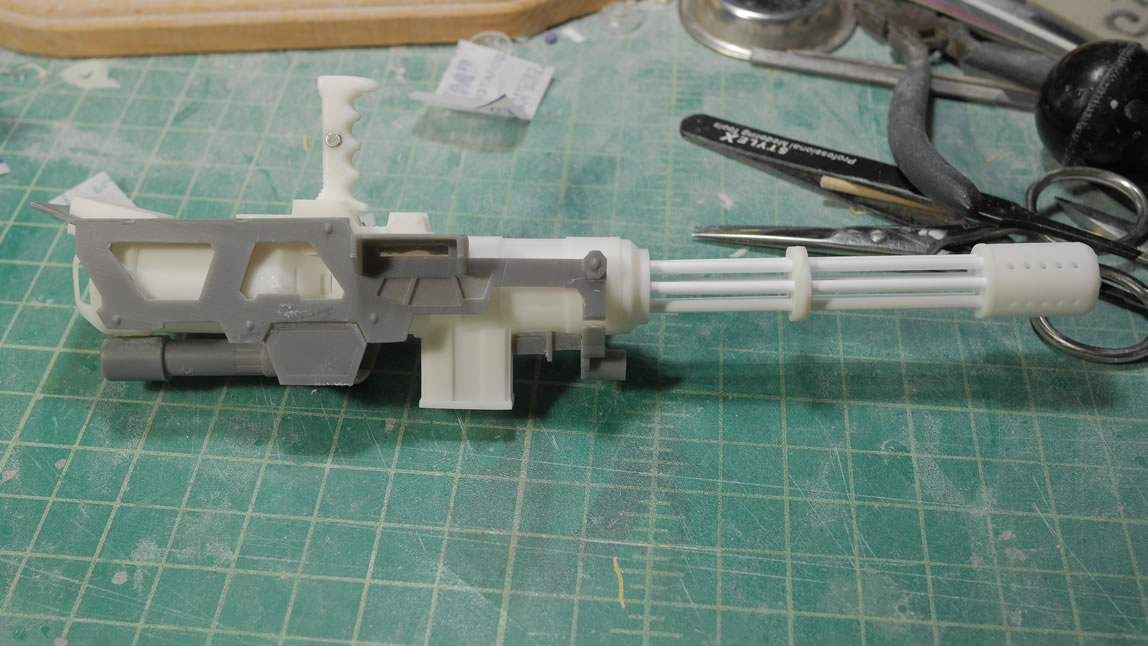
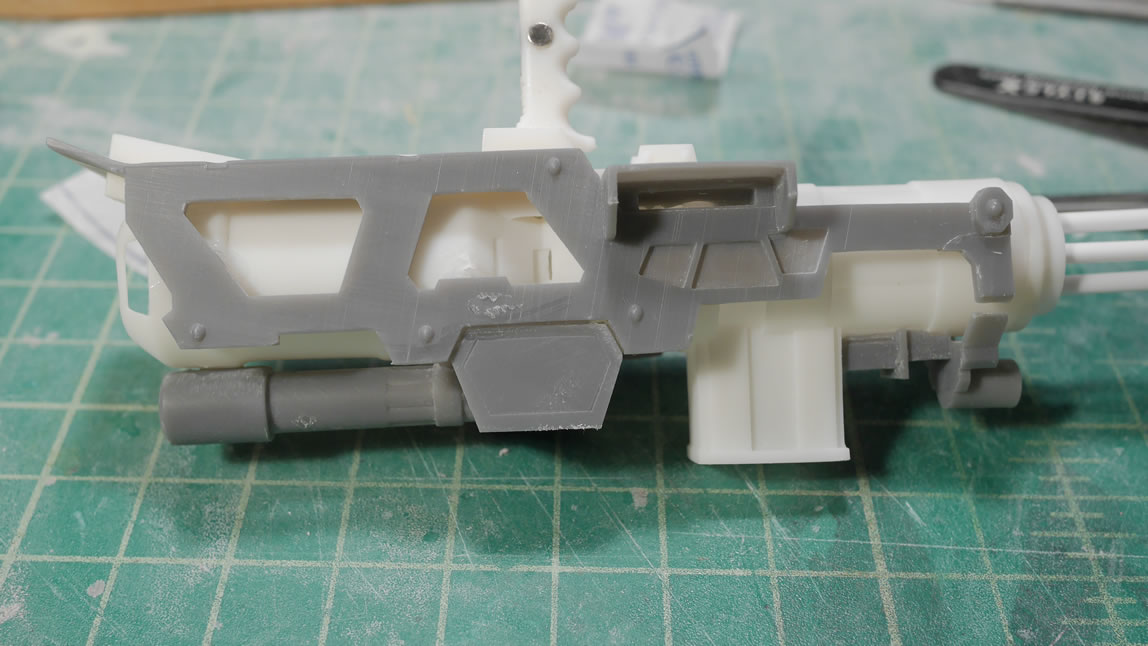
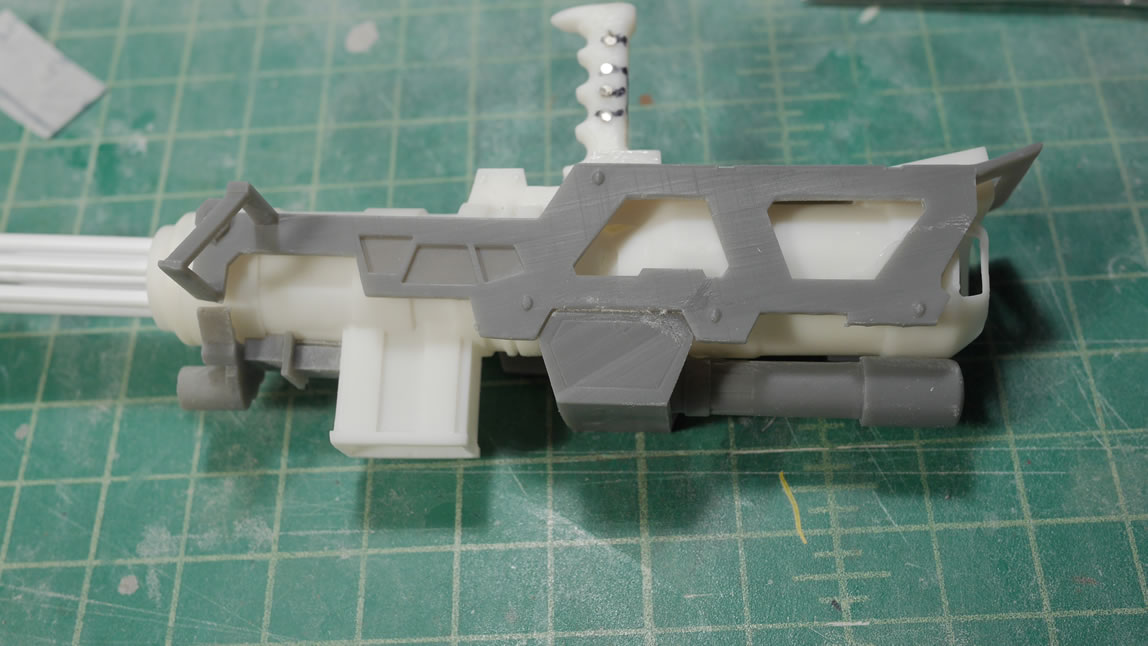
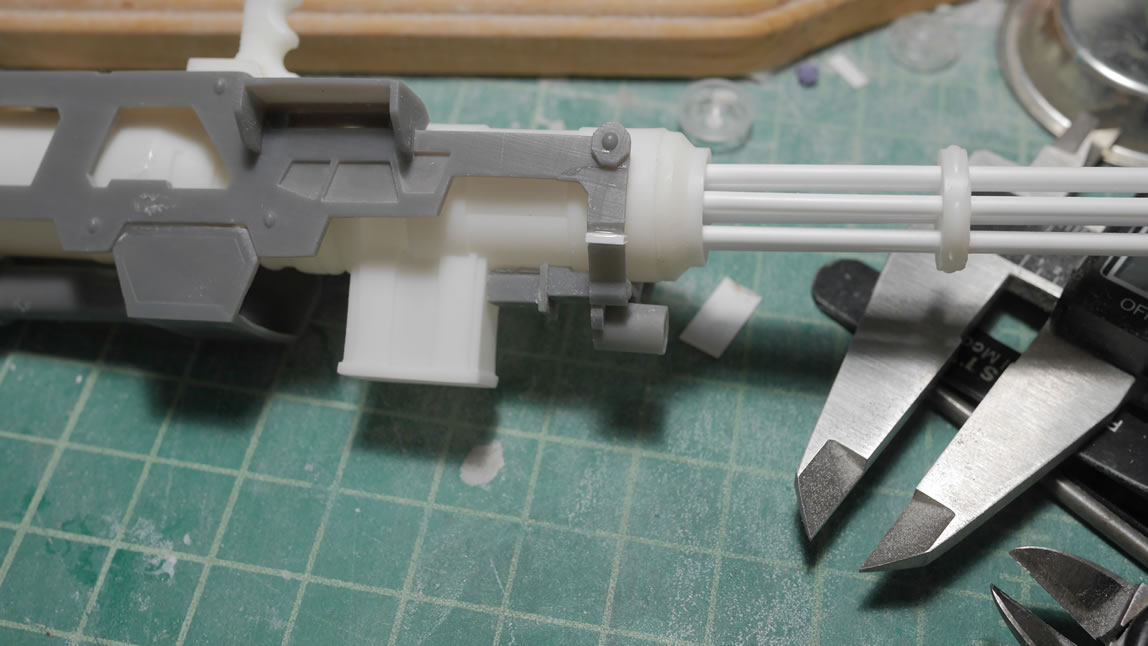
While things are being painted and drying, I return to the gatling gun and get to cleaning it up and just gluing the parts together. The frame is glued to the main gun body and the lower sections of the frame are also glued in and the front bottom detail piece. The alignment of the part isn’t the greatest so I needed to glue in some plastic styrene for some of the gaps in the front of the frame piece where it attaches to the bottom detail bit. Next up for the gun is the sanding work.
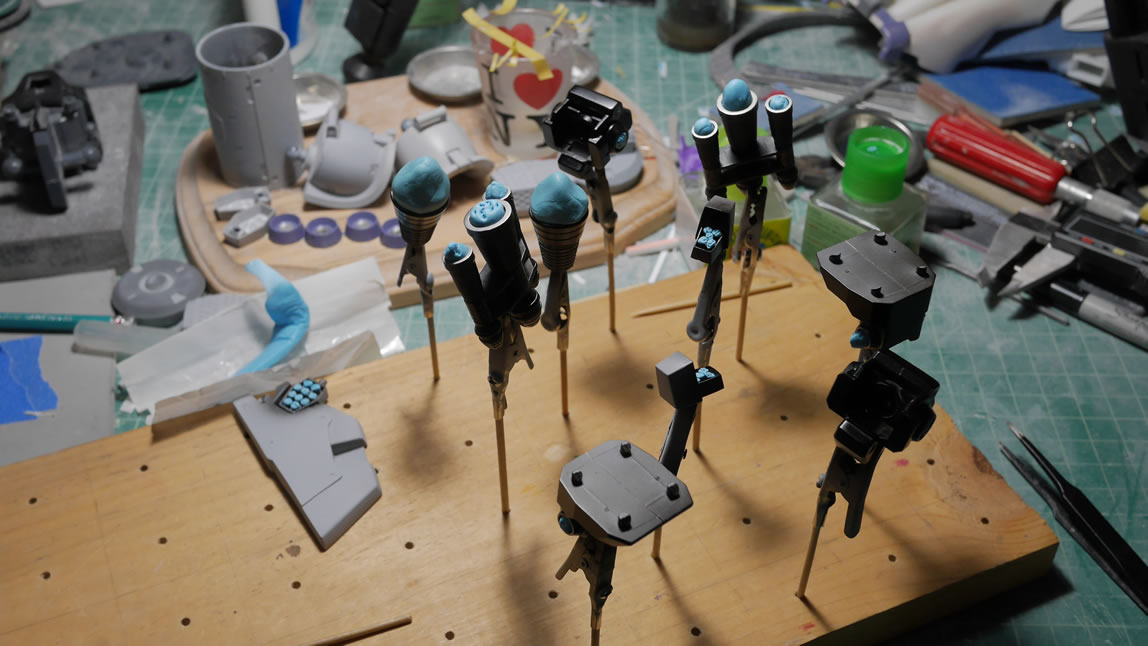
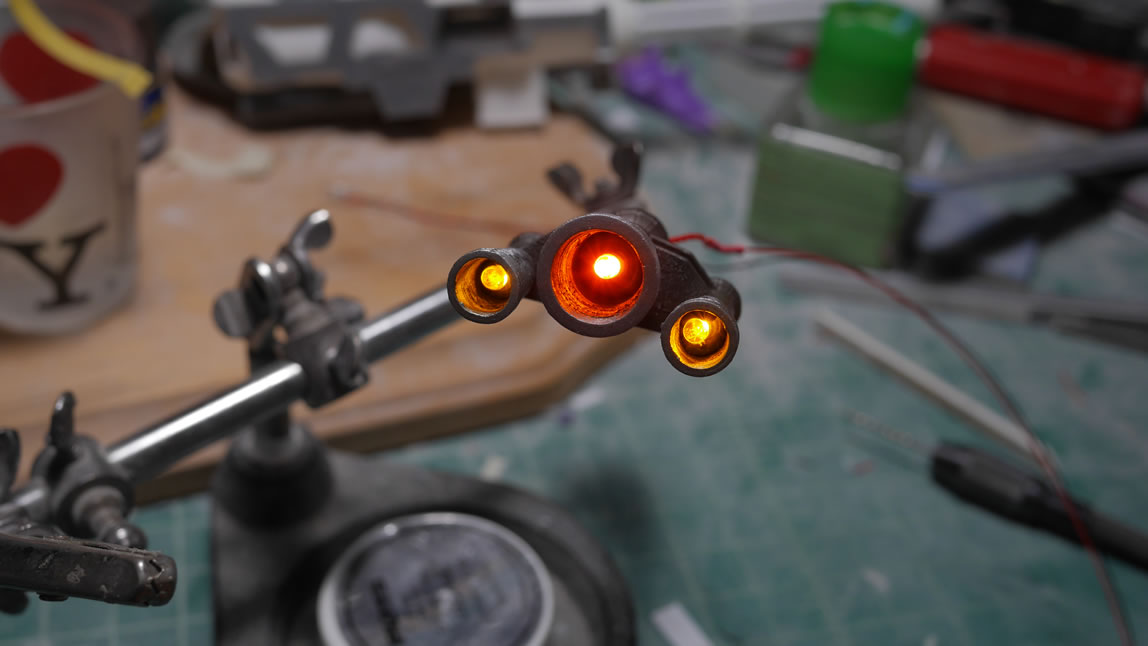
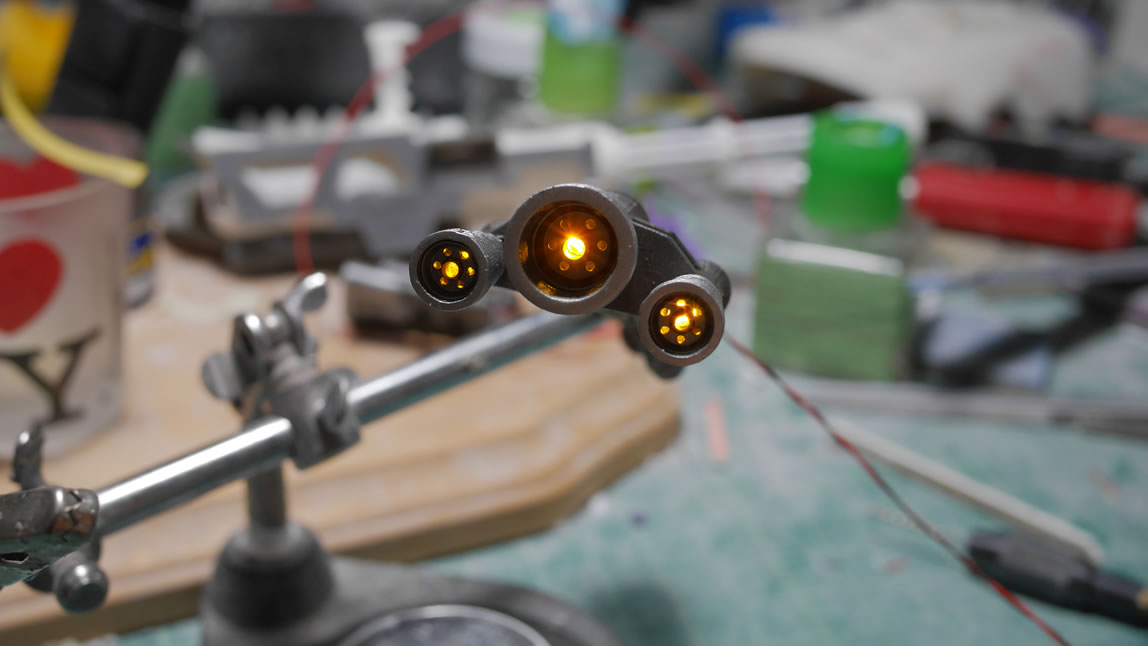
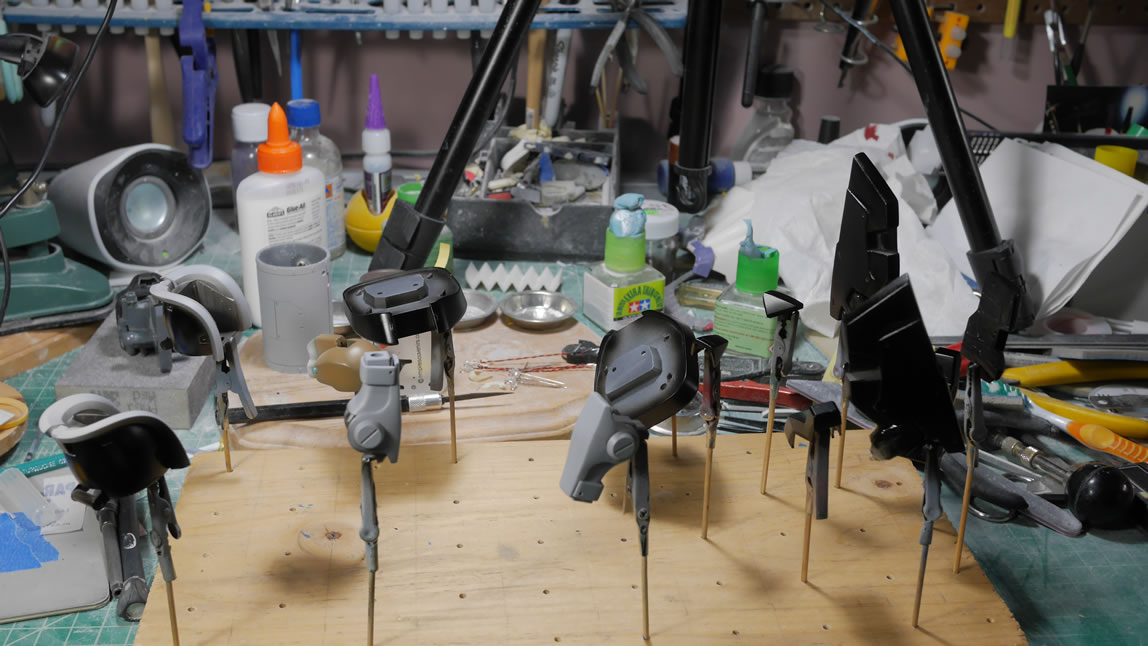
Actual paint is sprayed now. I typically paint the insides or underbellies first, then the outside. So here are some internals getting black based coated then painted with some metallics. I painted up the thrusters then added in some LEDs. Typically, I stop here and move on to the next part. But having the LED just inside the thruster bell felt like just shoving a lightbulb inside. So for something different, I casted some thruster details and glued them into place after painting and with the LEDs lit up, the light is more subdued and I get a more interesting light effect coming through the details. It is a slight change from my usual LED thruster work.

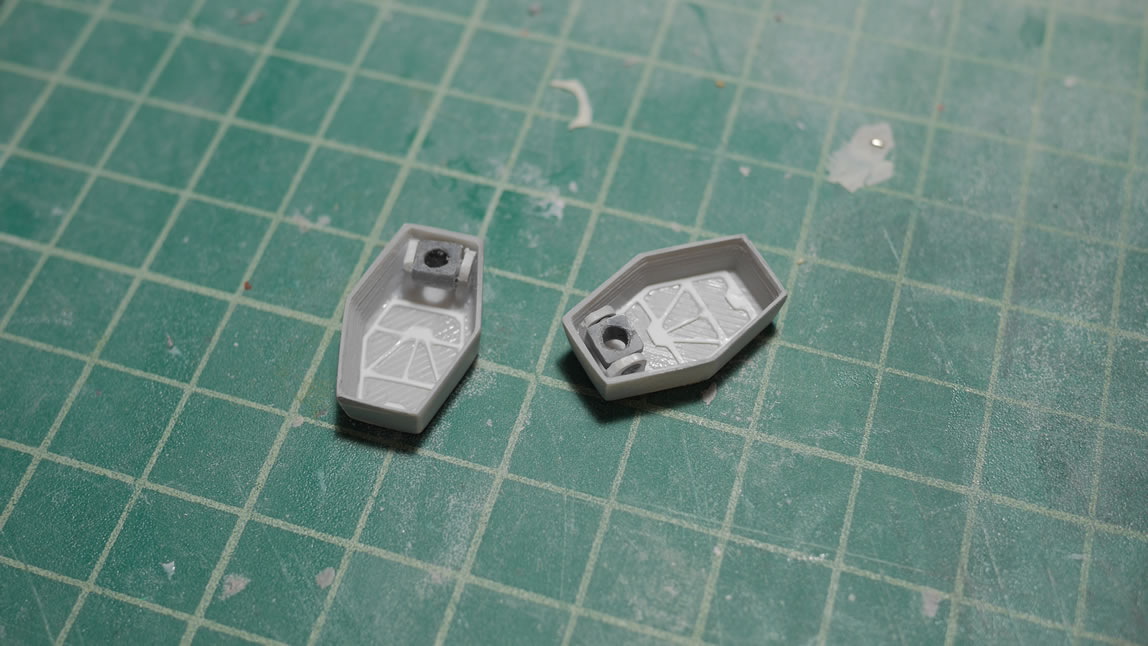
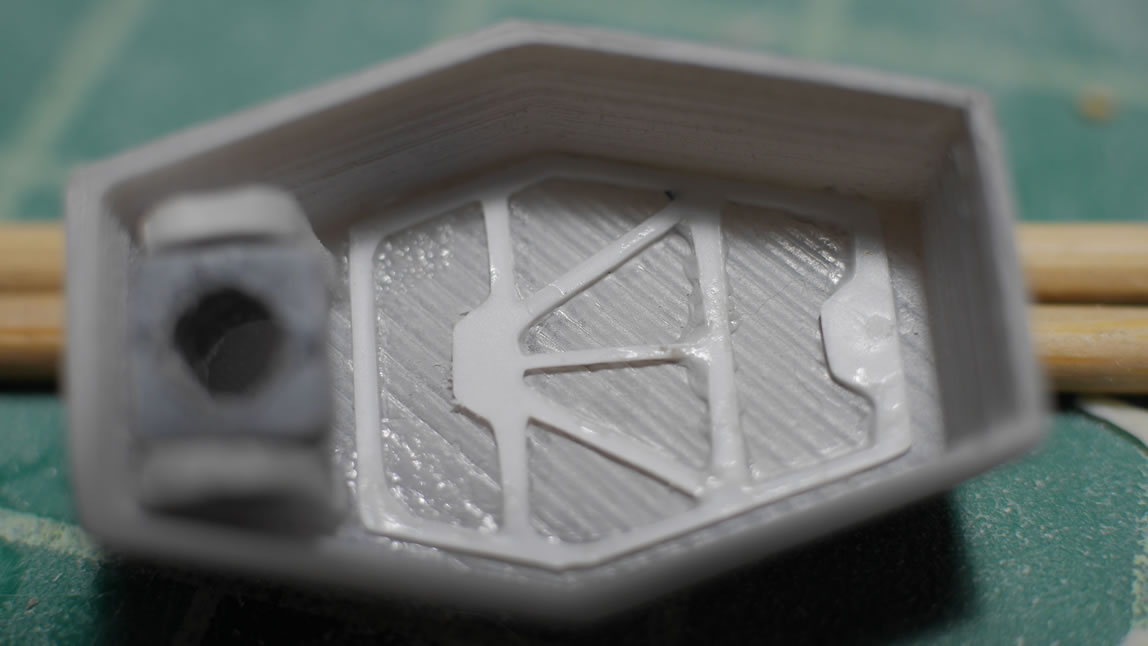
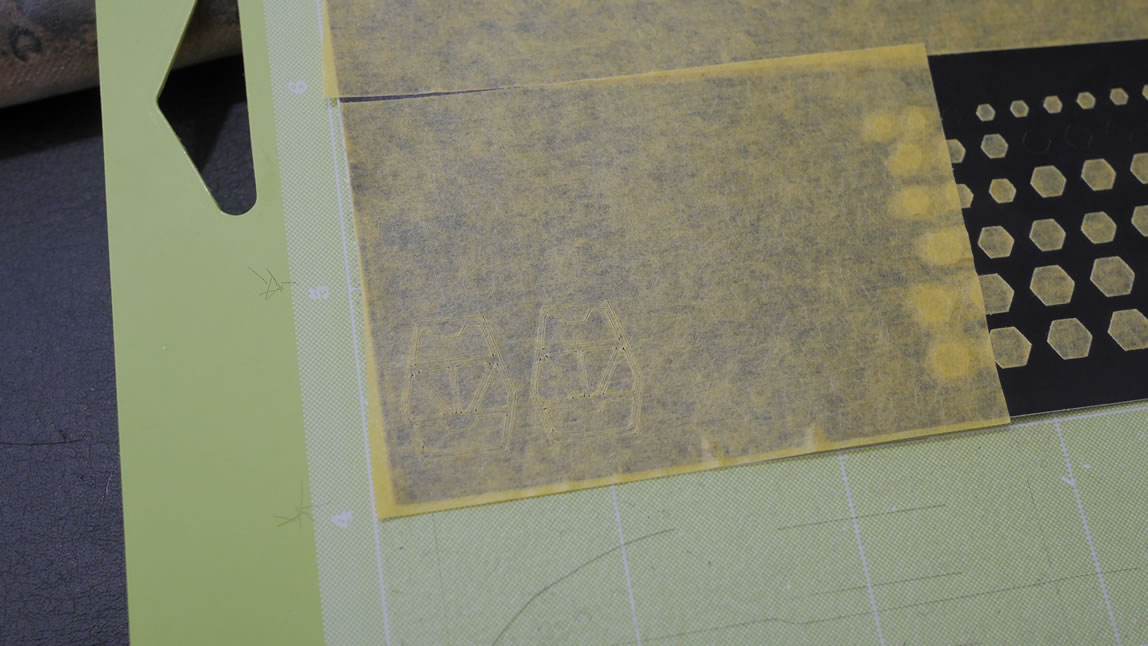
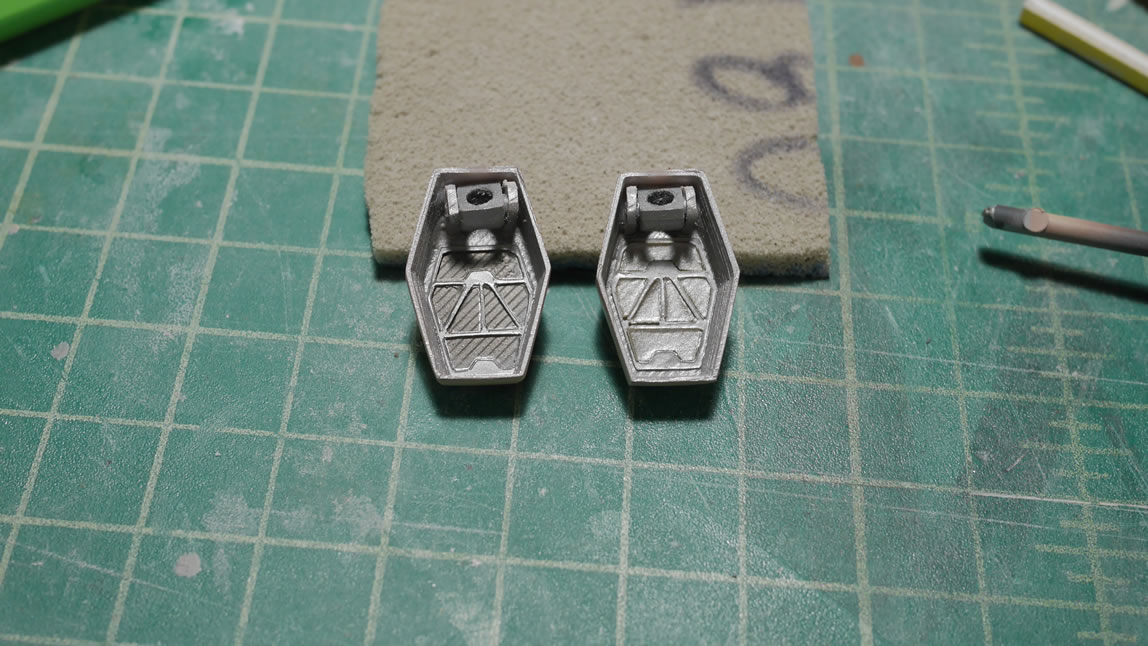
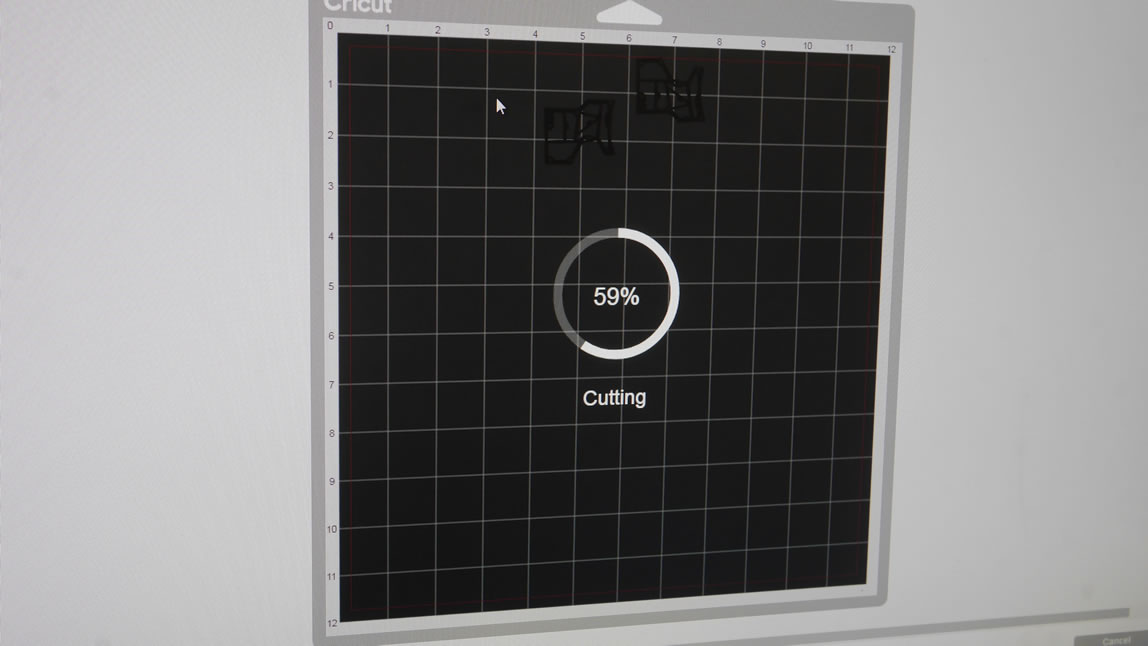
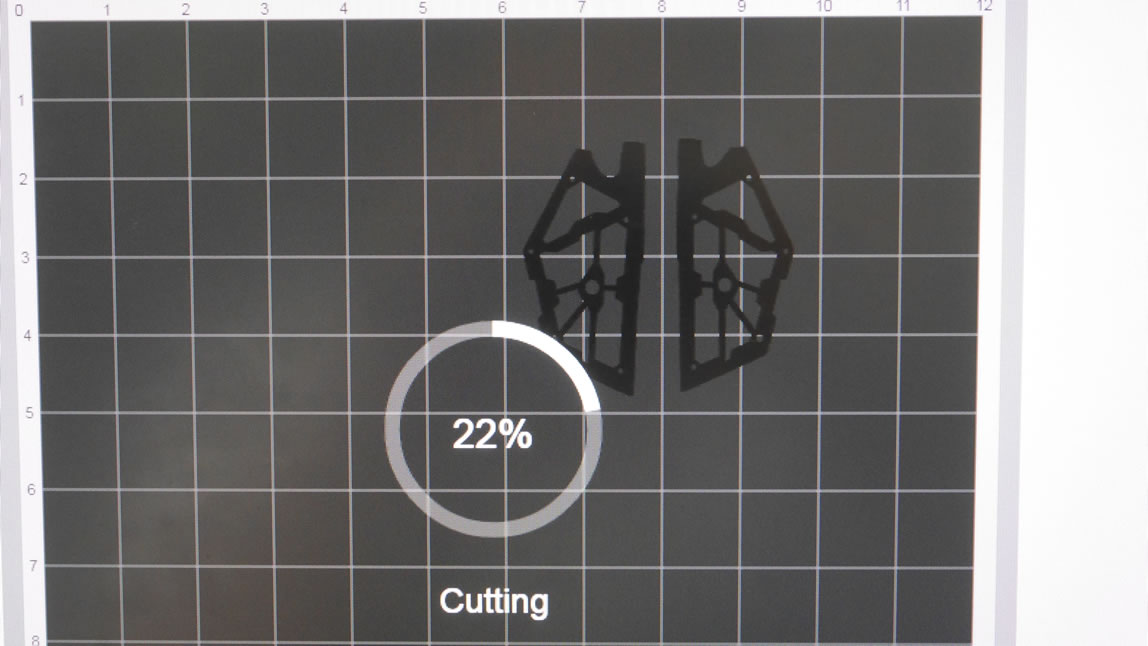
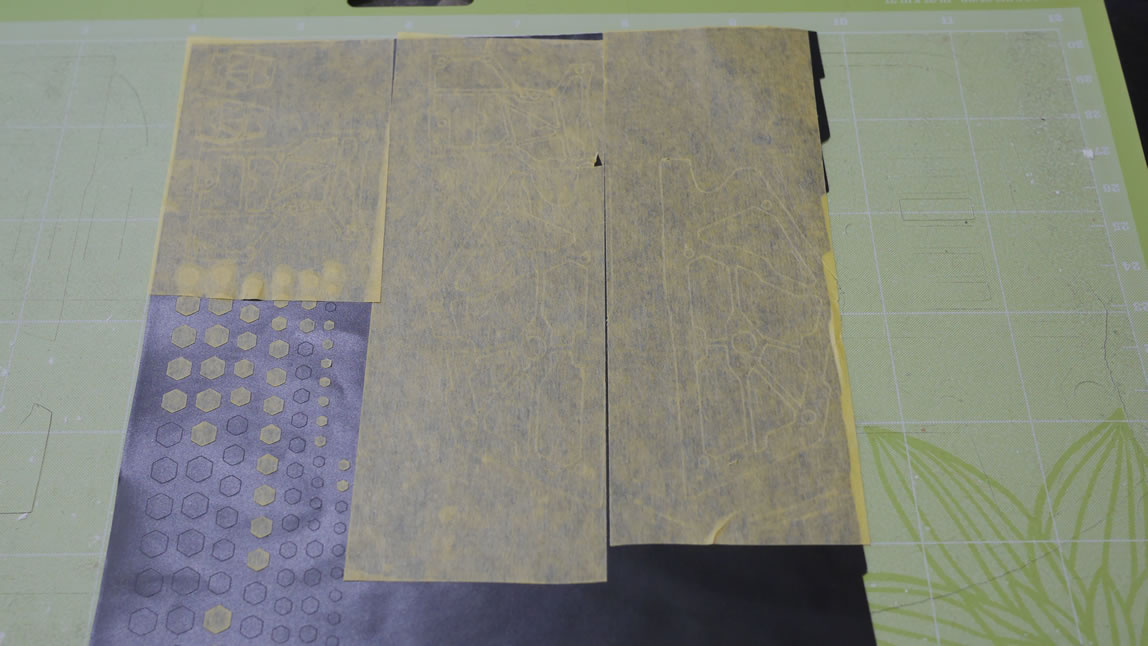
I wanted to add a slight bit of detail inside the missile pods so time to test out the precision of the cricut. I drew out a frame piece and had it cut with the cricut, it worked amazingly. The fit was perfect and since I had the frame piece already designed and measured, I just needed to use the same design with some masking tape attached to a sheet of vinyl sticker and run the machine again with different material settings. The backing on the cricut cutting board is sticky, so sticking masking tape to a sticky surface isn’t the best thing to do. The vinyl tape works perfectly for easy removal of the masking tape after the cut. So with the frame design run through the cricut and instead of cutting plastic, I cut the masking tape, I have a perfect masking templates for the part. The internals were painted with alclad magnesium, masked off, then painted with alclad dark aluminum, and done. It is a VERY small bit of detail and only visible when the bays are open so I’m not too worried about cleaning up the rough edges.
Back to the cricut, more masks are made for the side and front skirts.
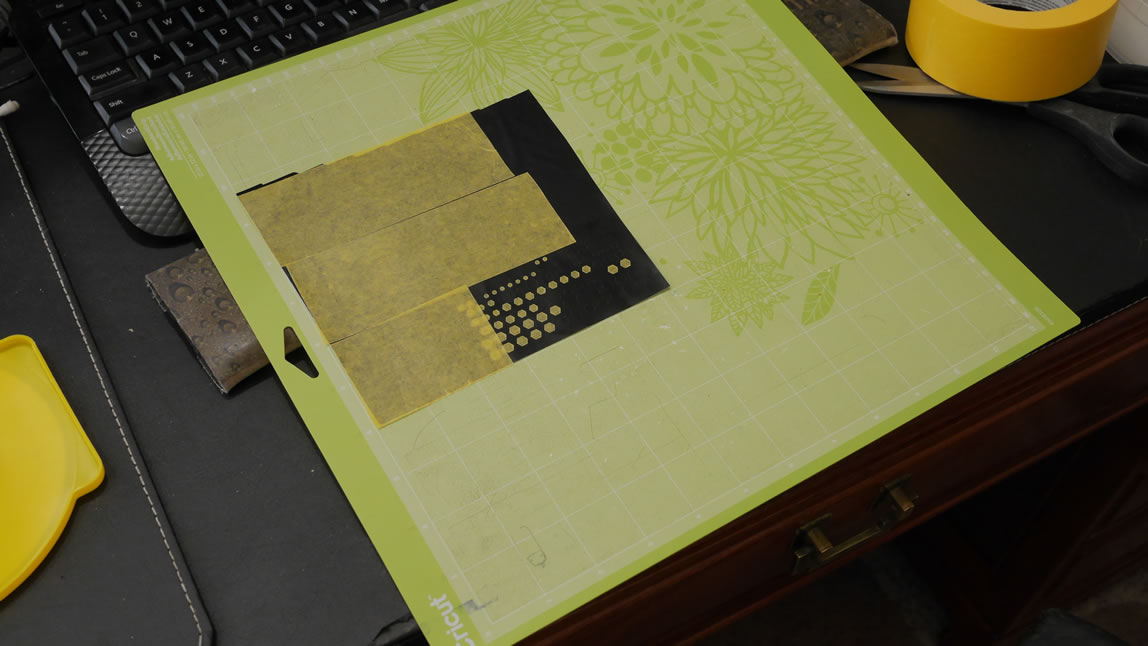
Just cut and apply the mask then paint. That’s really all she wrote on the subject.
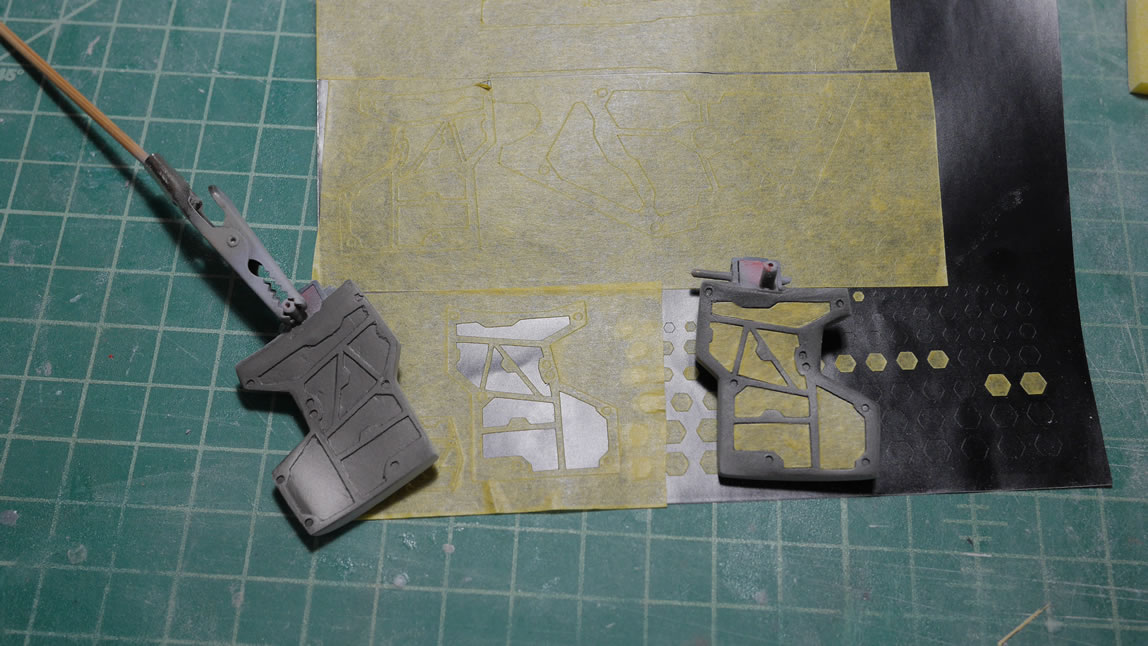
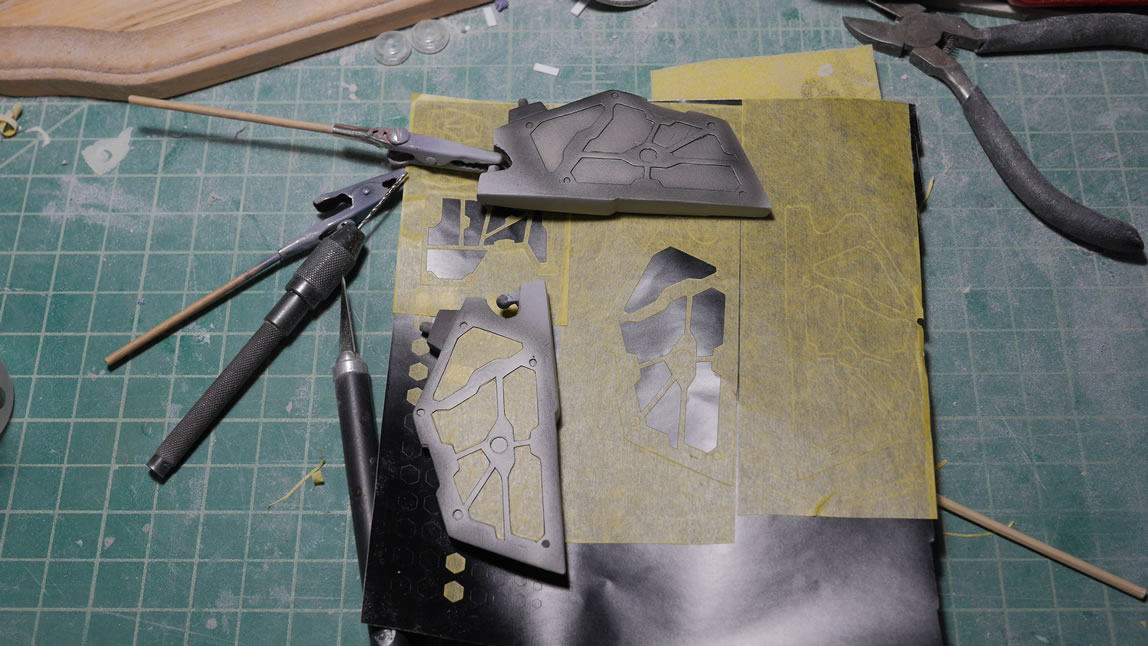

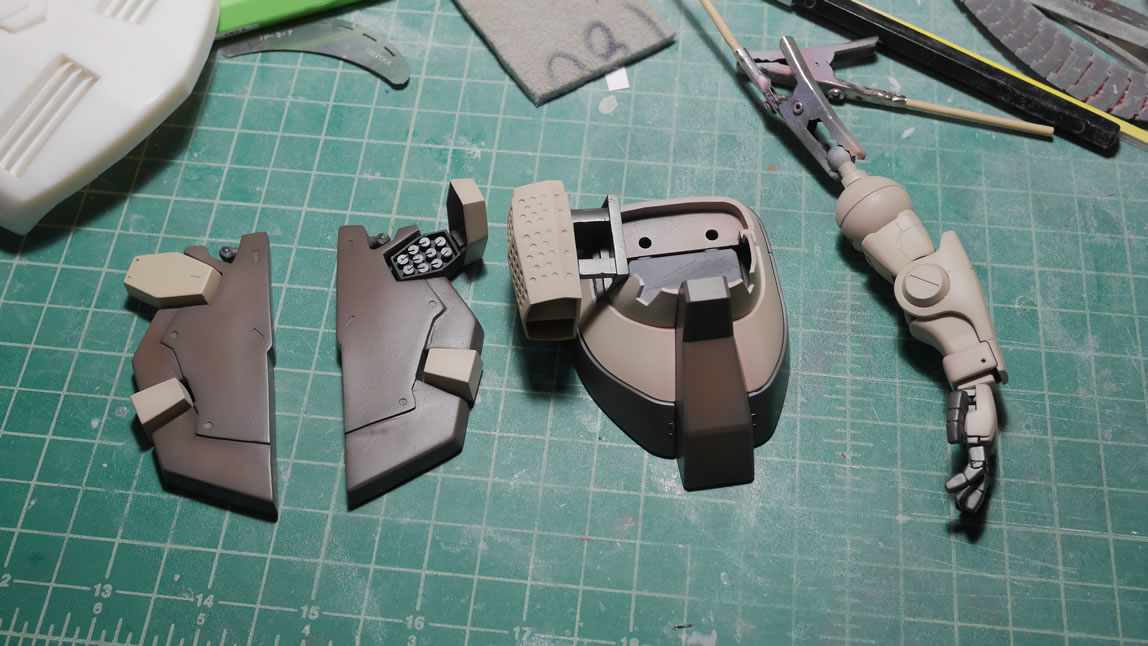
Now onto the exterior armor pieces. Again, I paint inside first then out. Since some of the parts are glued, I painted the internal frames first then glued the exterior armor to fix seams around the painted frames. These frames are then masked off so that the exterior armor can be painted.
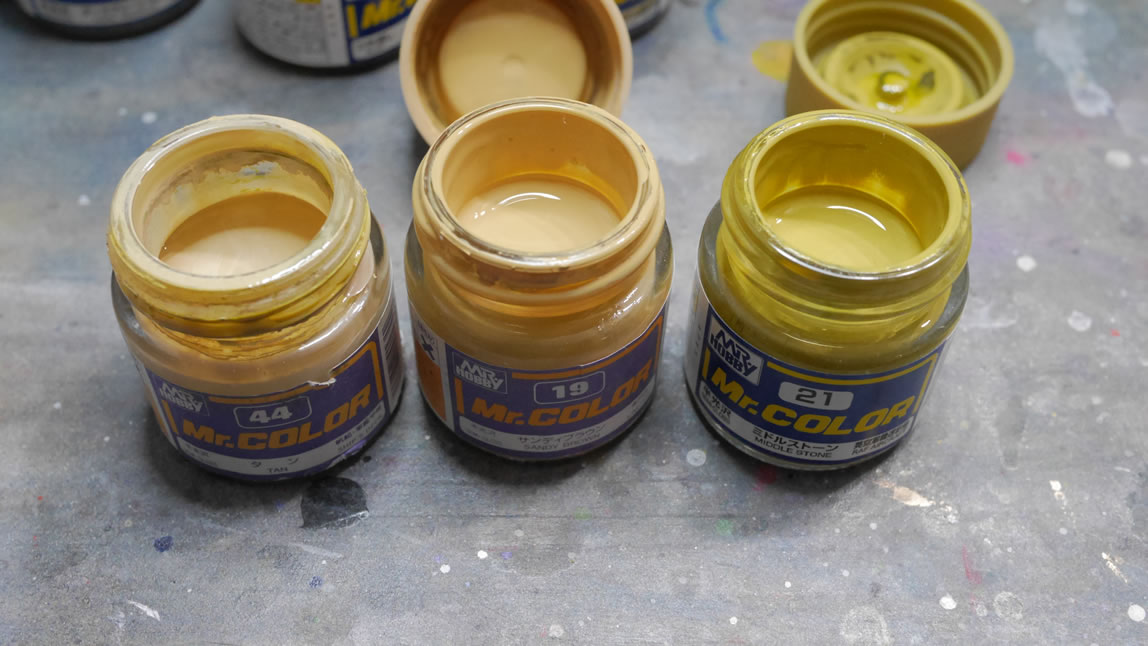
Color choices. I’m going default color scheme so I grabbed some more screenshots from the game and tried to match the colors as best I could. Below are the paints I had. I then went and bought a bunch more paint after researching and comparing the colors more.
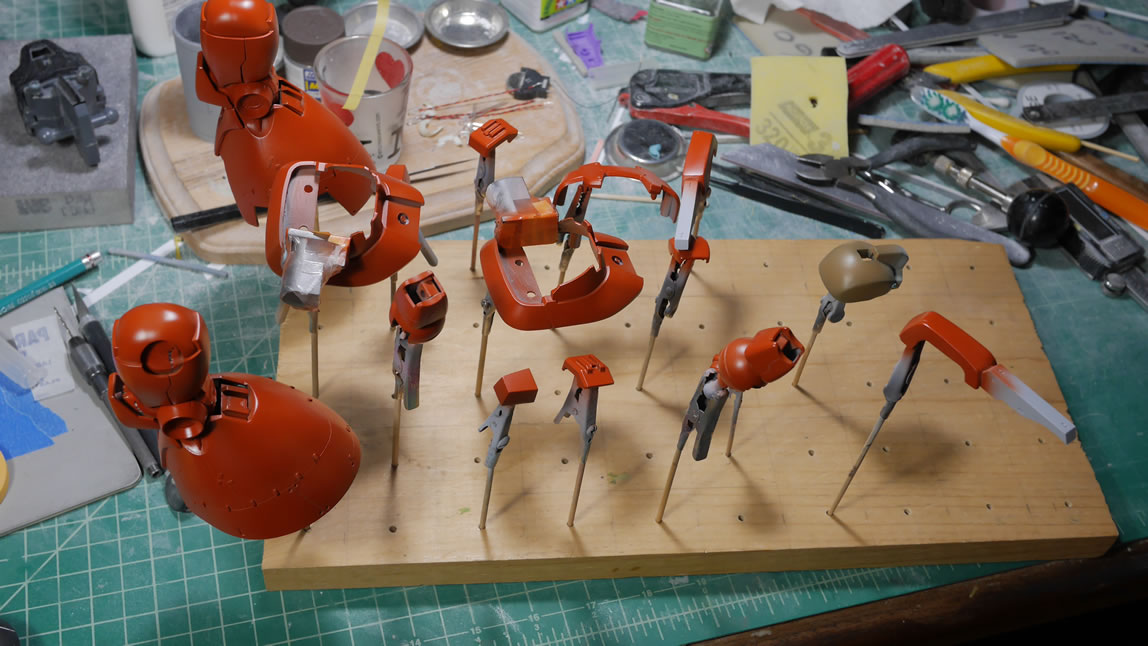
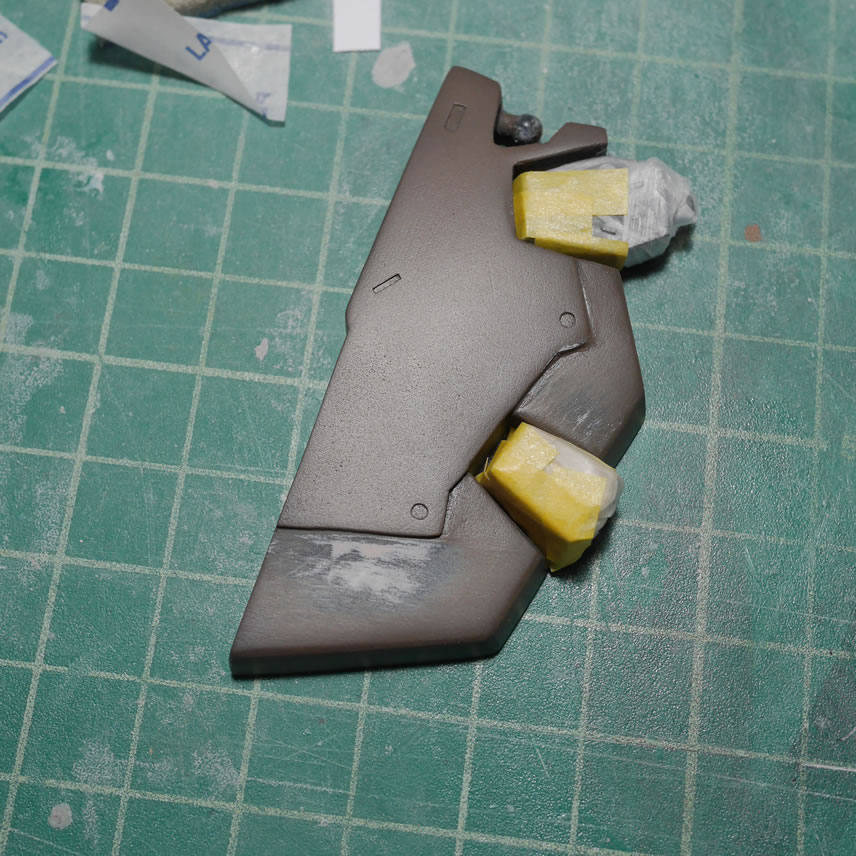
THe paint process I use is straight forward. Over the primed surface, I have the base color. Over the base color, I spray on white with fairly stark shadows. After this, the main colors are sprayed. For the arms, legs, missile pod covers and belt pieces, I started with Mr Color Brown (#7). White is then sprayed to create brown shaded armor pieces. The skirts and part of the foot are based coated in black followed by the white to shade it. The different colors give a different tonal effect to the final color. I also do this to create a color lift effect instead of just a stark dark tone under the final color. The top color effectively blends things together and I get a subtle shading effect.
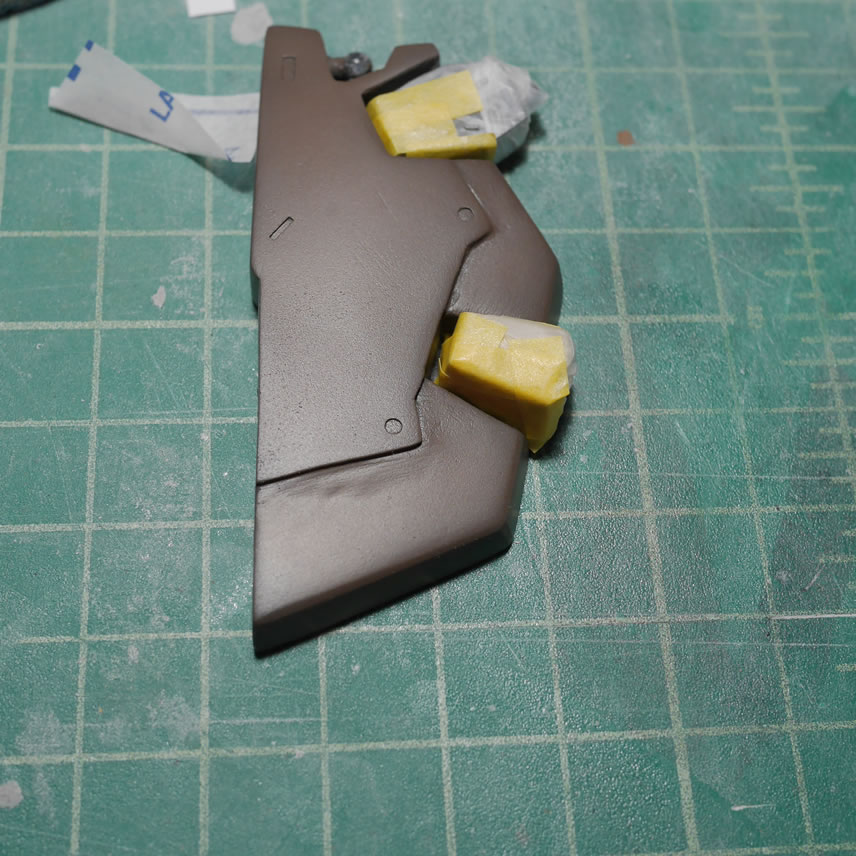
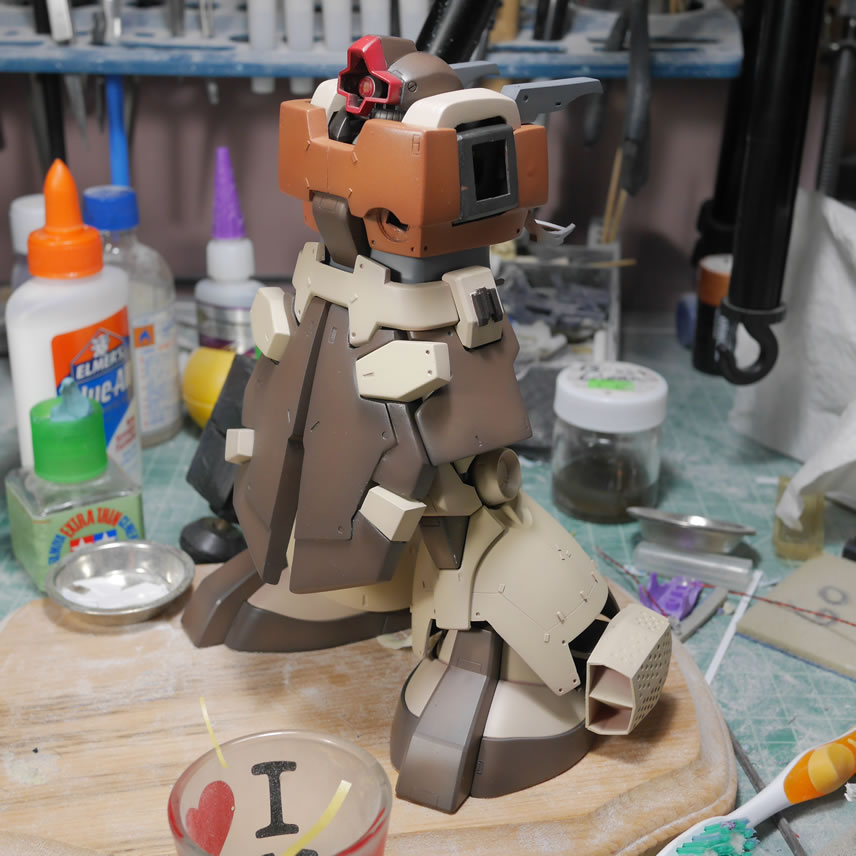
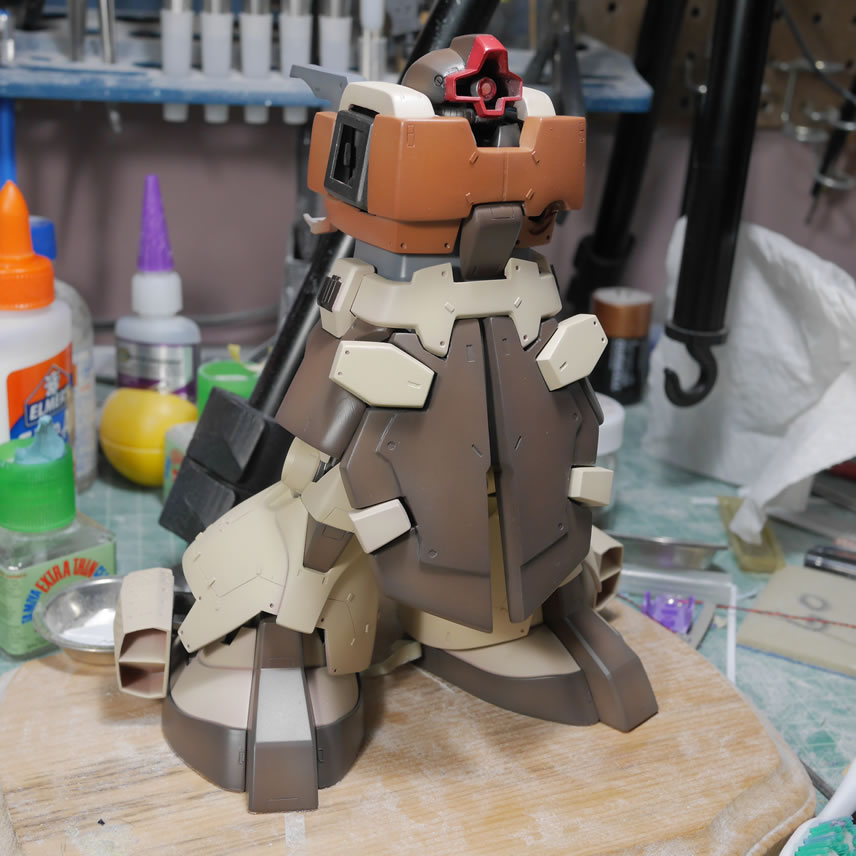
The top layers of colors are sprayed and here’s the result. And with that, I noticed a problem in the left front skirt piece. There’s an uneven surface from the CA glue I used to attach the front skirt detail to the main skirt. CA glue is difficult to sand because it dries rock solid and is much harder than plastic, bondo, resin, etc. Do I fix this? Yes, I kind of have to.
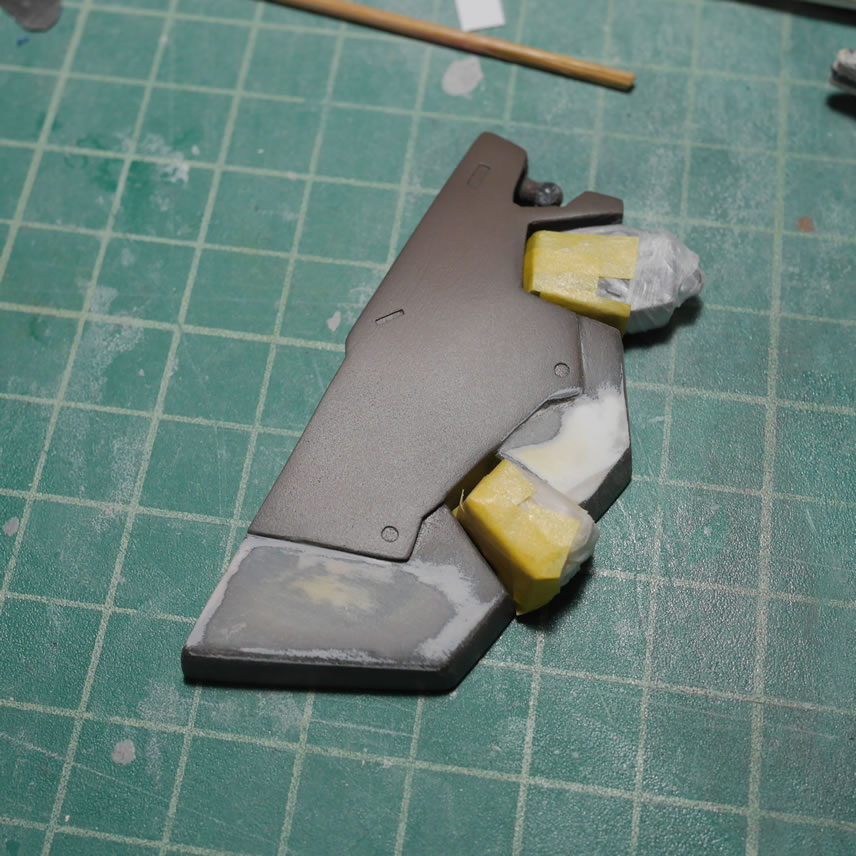
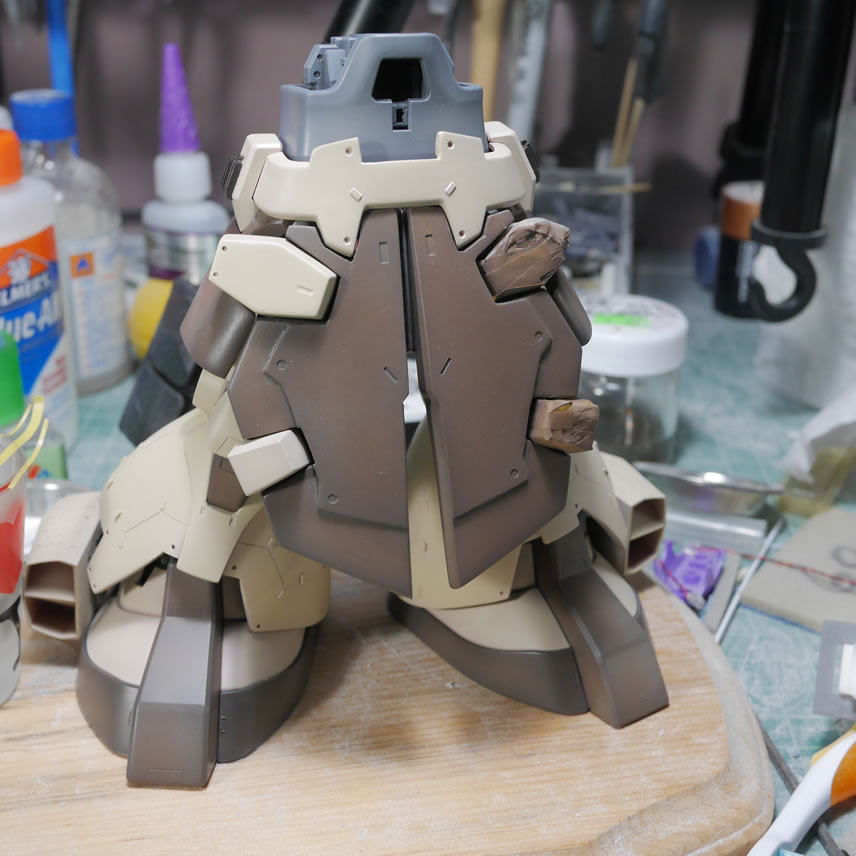
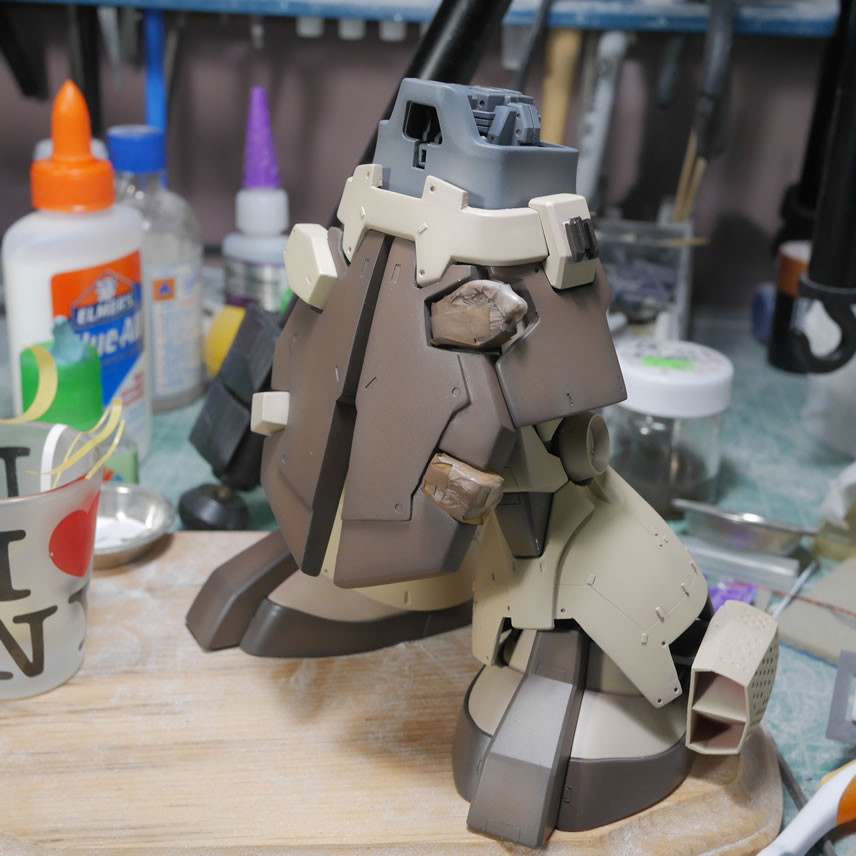
The process to fix the issue is pretty simple. Starting with the part, I lightly sand the surface to give it a rough edge. Then light curing putty is applied with a putty knife to get a smooth surface. I’m basically building up the area around the hardened CA glue. Now, I could have gone the sanding method and just tried to level out the CA glue with a sanding stick or metal files. But sanding CA glue is like sanding a damn rock. So I thought it was less work to putty over it and then sand the surface smooth to remove the bump visual. With everything, there are multiple ways to do basically the same things; so it is only a matter of preference – or the easy way vs the hard way.

A quick sanding session to smooth things out, a primer session and a paint session. And done right?
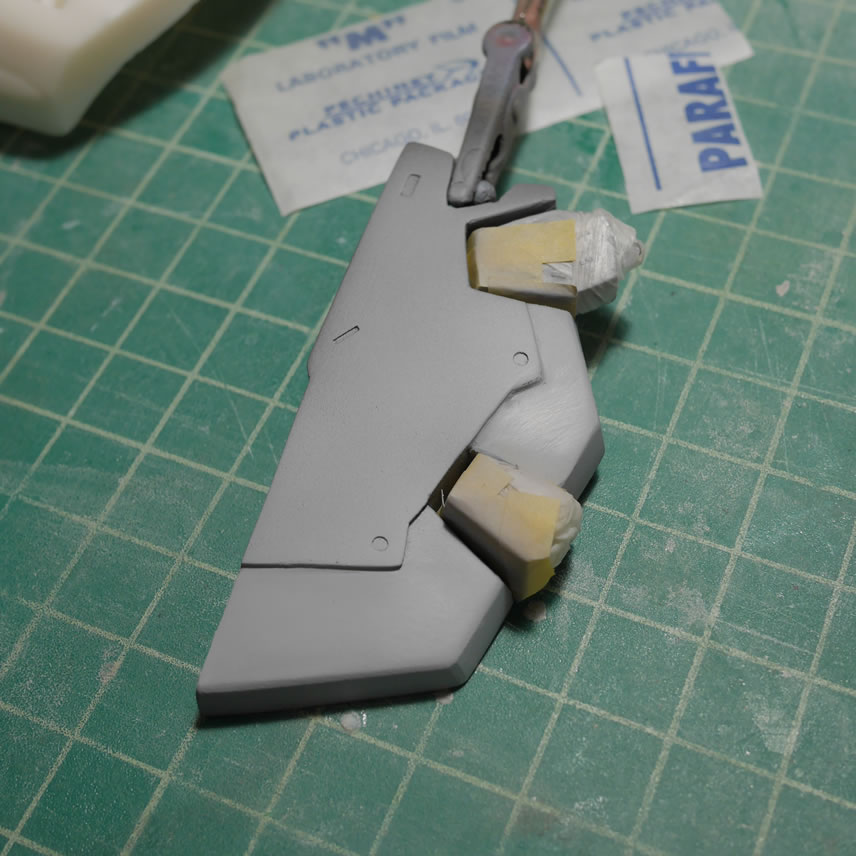
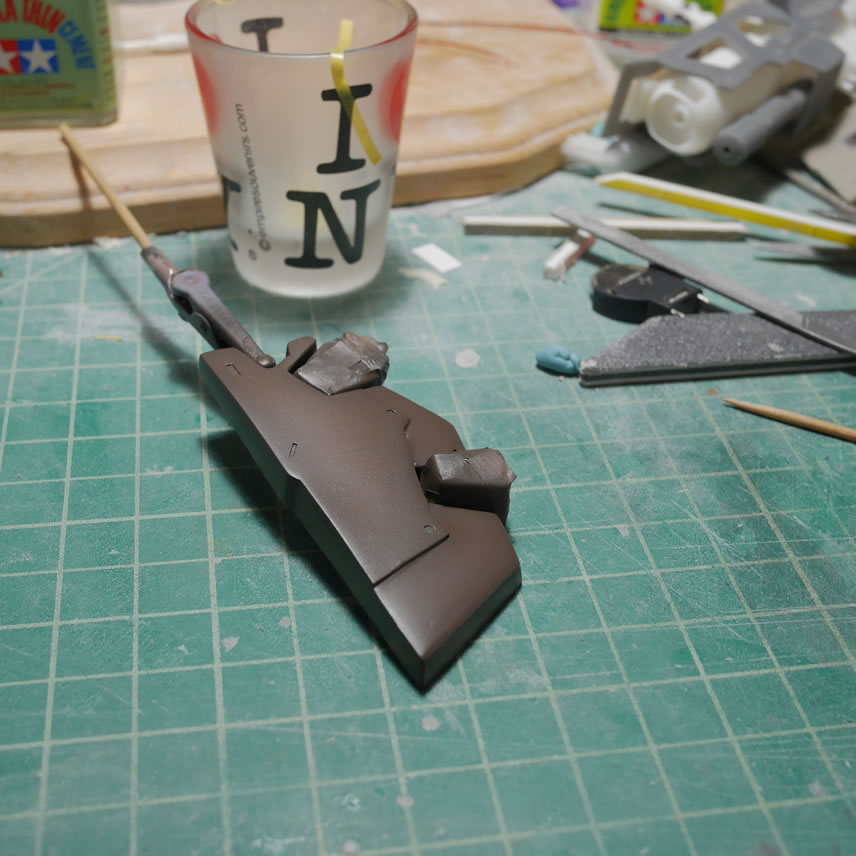
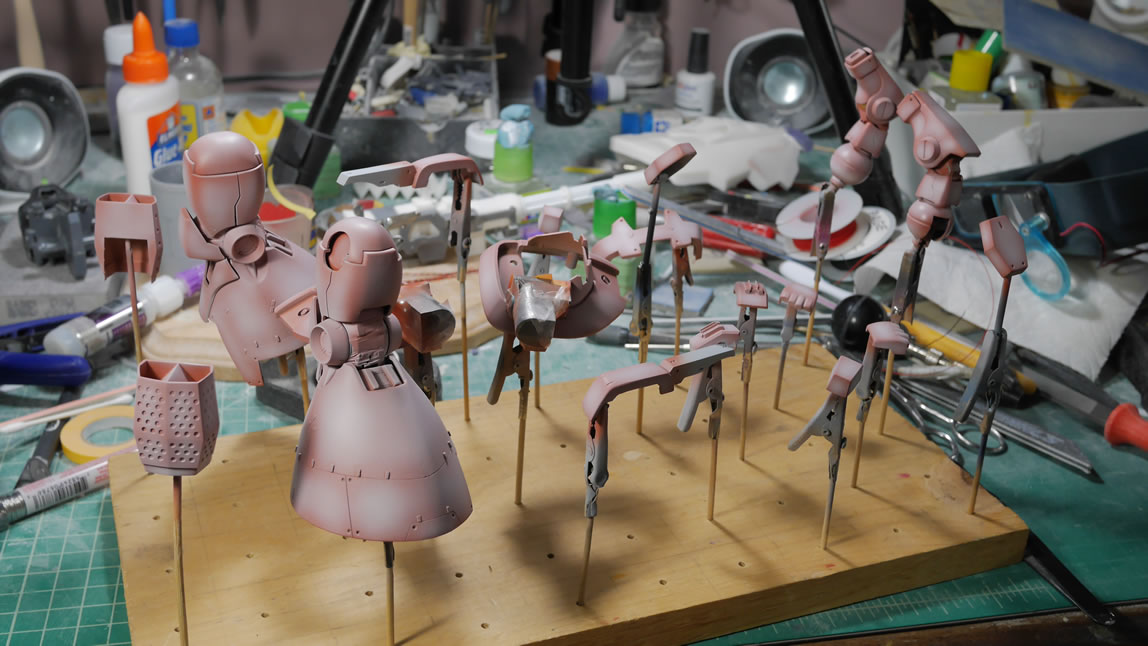
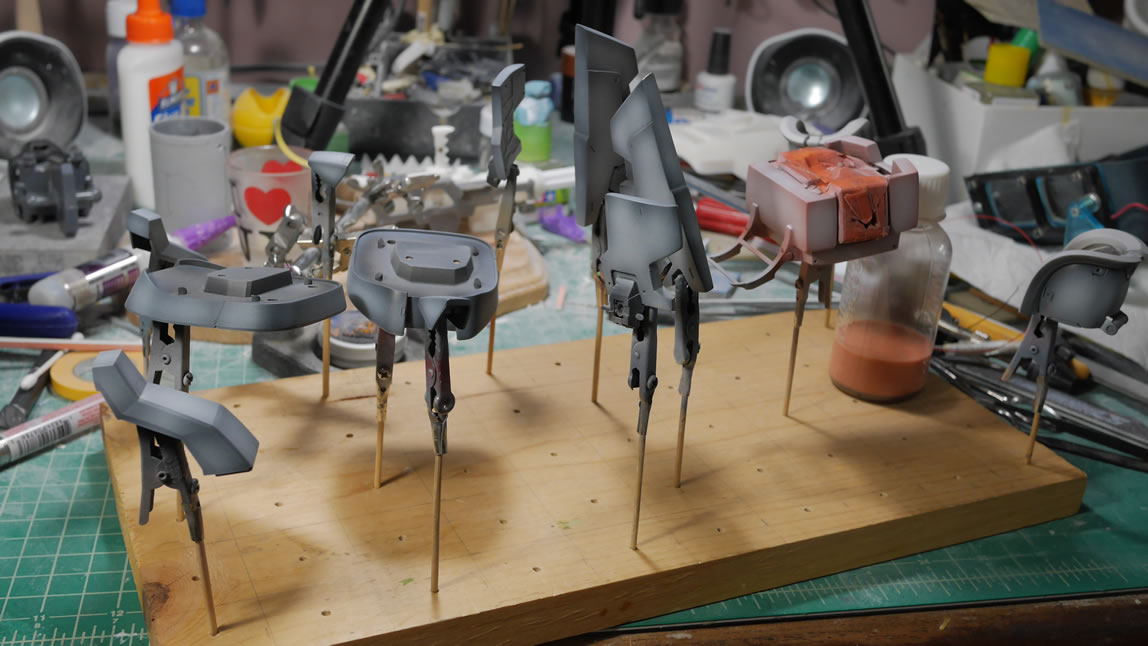
Here’s a mock up of the parts. Notice that the left skirt (one I fixed above) is now darker in tone. The is an inherent problem with airbrush shading. It is VERY easy to spray too much paint over a part and get different tones. It is also why I tend to paint in major subsections like the arm, the leg, etc. So this will need to be fixed. The missile pods are glued into position so they need to be masked and for this fix, I just sprayed on some white to reshade the part white and painted over the white with the brown I had created for the skirts. This time, I sprayed slowly and constantly compared the part to the other skirt piece with each pass of paint so I could match the tone as best I could. The tone also slightly changes as it dries too.
I think I got pretty close. I have some pretty bright lights shining so every little defect can be seen. In regular everyday lighting, this should look decent.
Mistakes are everywhere. Especially when masking; you will miss spots, you will tear the mask. So accept this and just fix it. I remasked the back of the legs and painted in the metallics for the frame pieces that got painted with the exterior armor; and done.
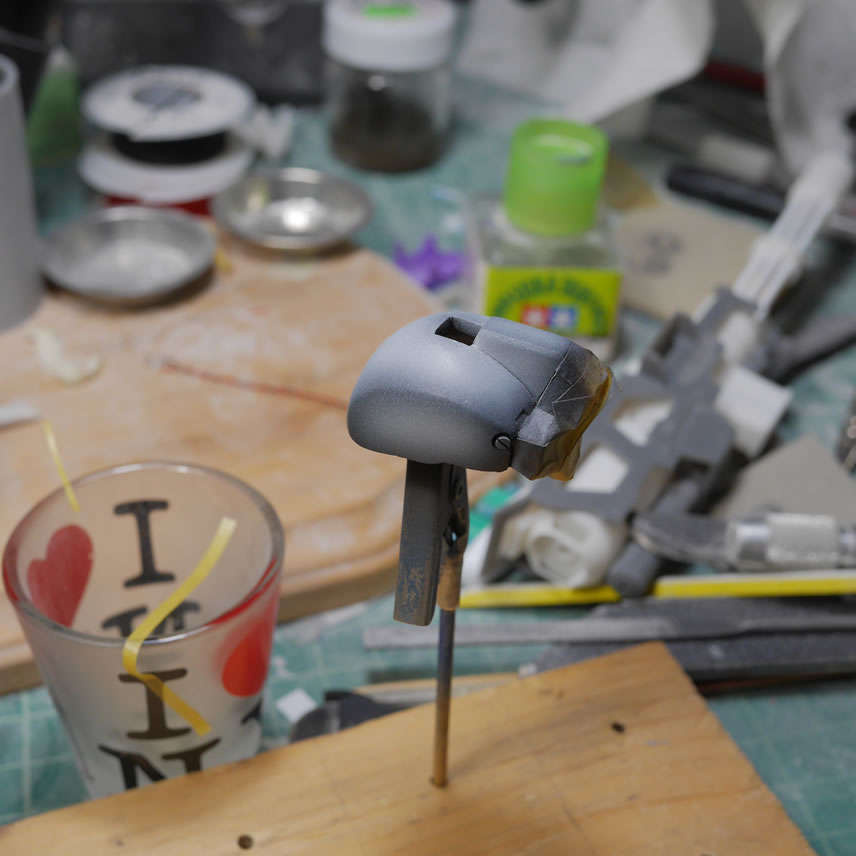
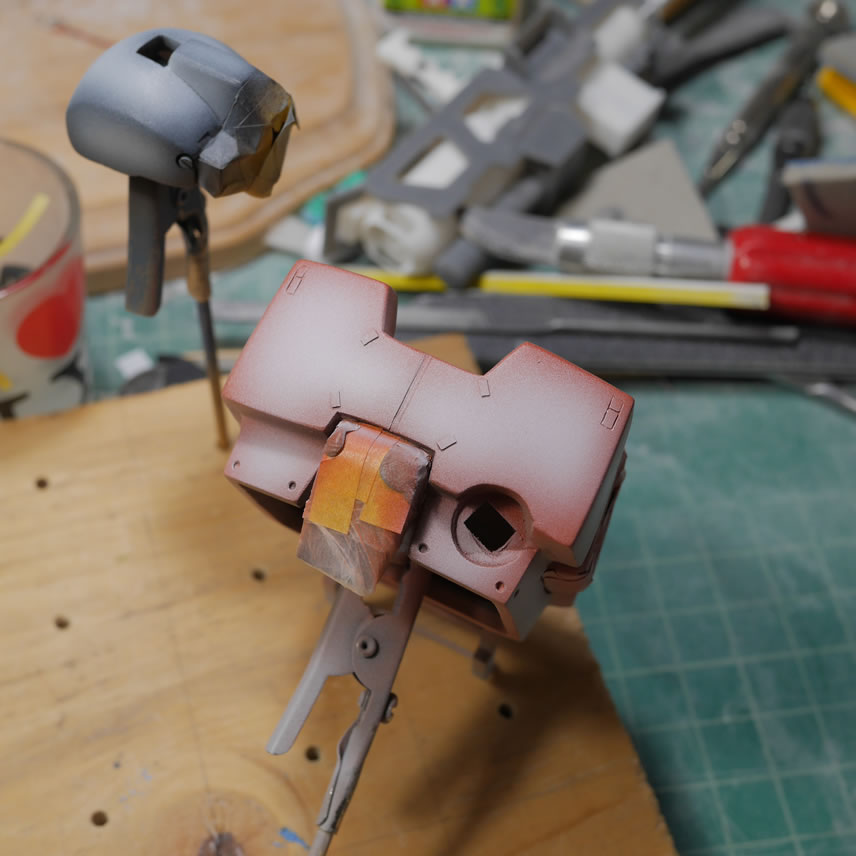
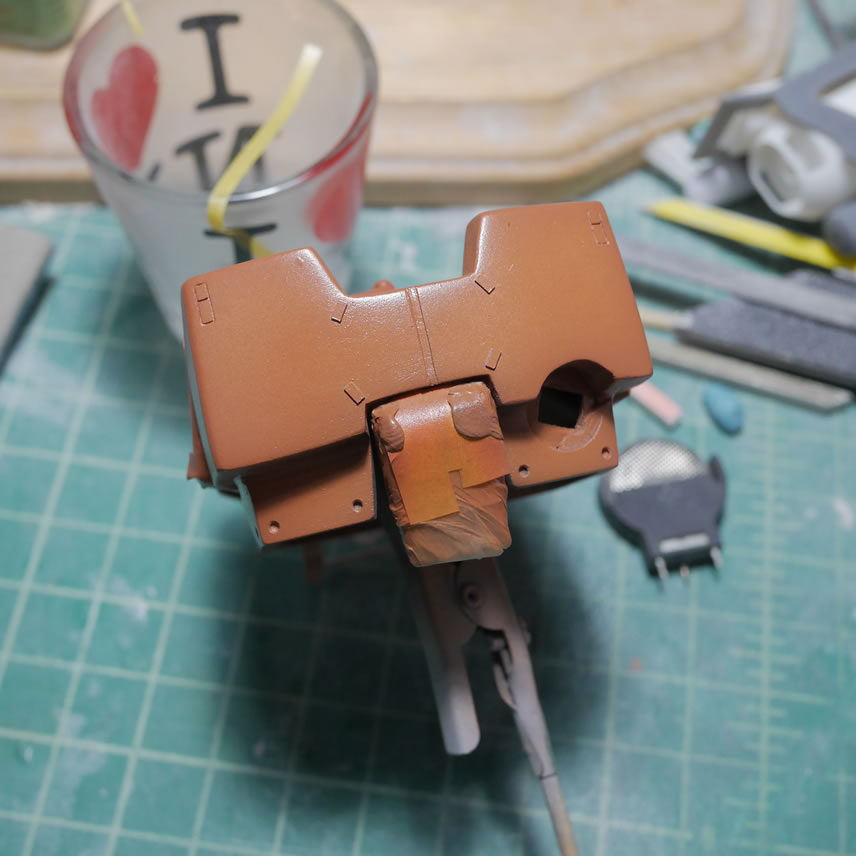
The head was repainted with the correct color scheme; early in the progress for the project, I finished the head first and got it all painted up. The problem was that I used a reference from pictures with an altered paint scheme so I wasn’t using the default scheme I reference now. So the head gets a repaint. The chest is base coated with Mr Color #7 brown and then sprayed with white. The cockpit hatch is the same color as the skirts, so that was painted first, and then masked off to paint the rest of the chest.
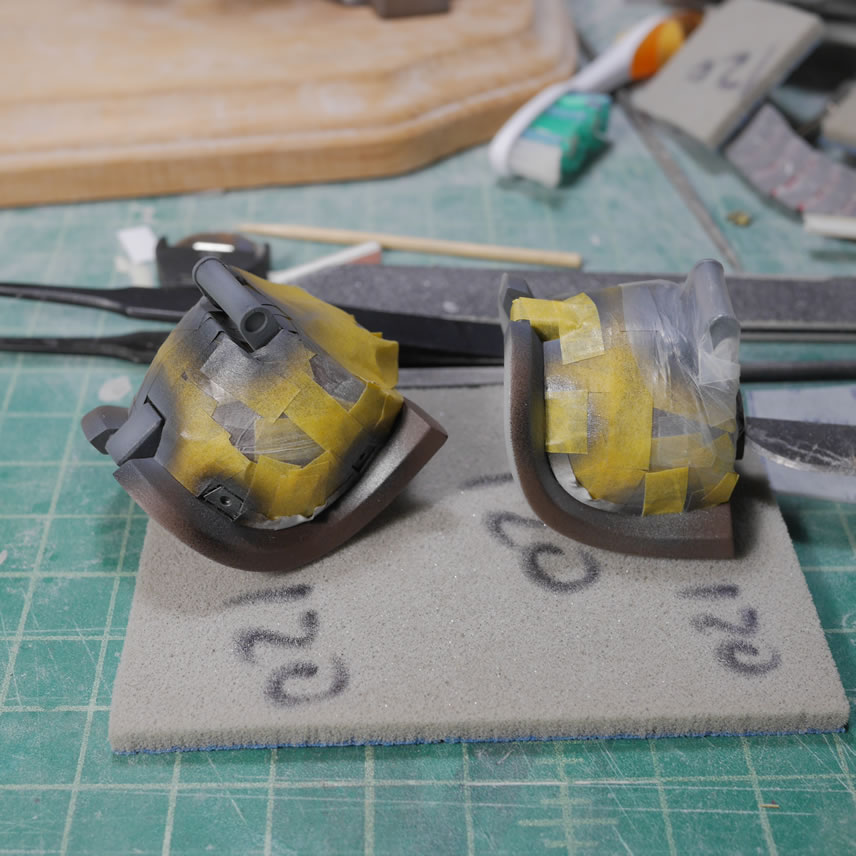
The last bit of work this weekend went to the bottoms of the feet. I added some photo etch details at the start of this post, so it makes for a nice bookend to this update that I finish with them. The round details were painted with alclad stainless steel over a gloss black base. The main thruster piece was painted with alclad burnt metal. That was masked off as well as the stainless steel rounds and the rest was painted free hand using alclad magnesium for the outer ring, alclad manifold exhaust for the first layer down, then the bottom layer and middle top sections were done with alclad steel. The thruster exterior is painted with alclad dark aluminum. At low pressure and spraying close, the airbrush can be quite precise and with practice, overspray can be minimized. The masking on the main thruster is removed and the center area was painted with alclad burnt iron. Some of the alclad colors have a very slight tonal variation which is what I was going for. I will definitely need to display this on a raise mirror base to show off some of these details. I didn’t bother painting the round vent details a different color as I think it works well in with the rest of that area. A panel line wash should help the details pop a little better. But I still have a ways before I get to that. The last bit of work was painting the shoulders. There are 5 colors for the shoulders which mean at least 4 layers of masking. So I’m in the middle of that process as I write this post.
The project is coming along and the light at the end of the tunnel is getting much brighter now.