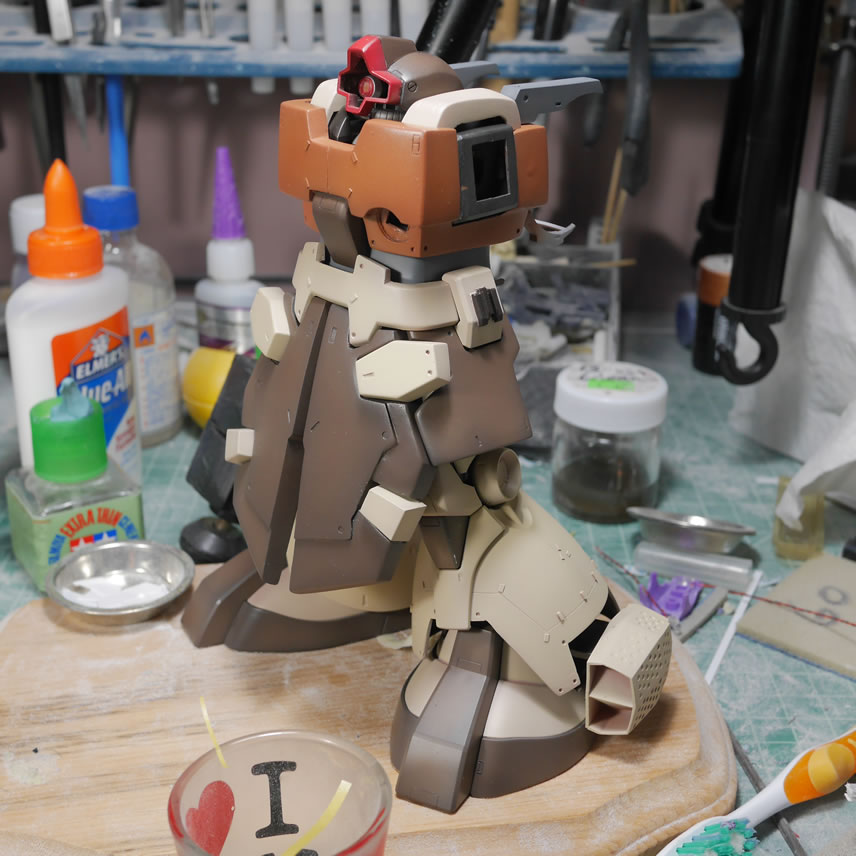
Dom Barrage, last progress post and it’s DONE!
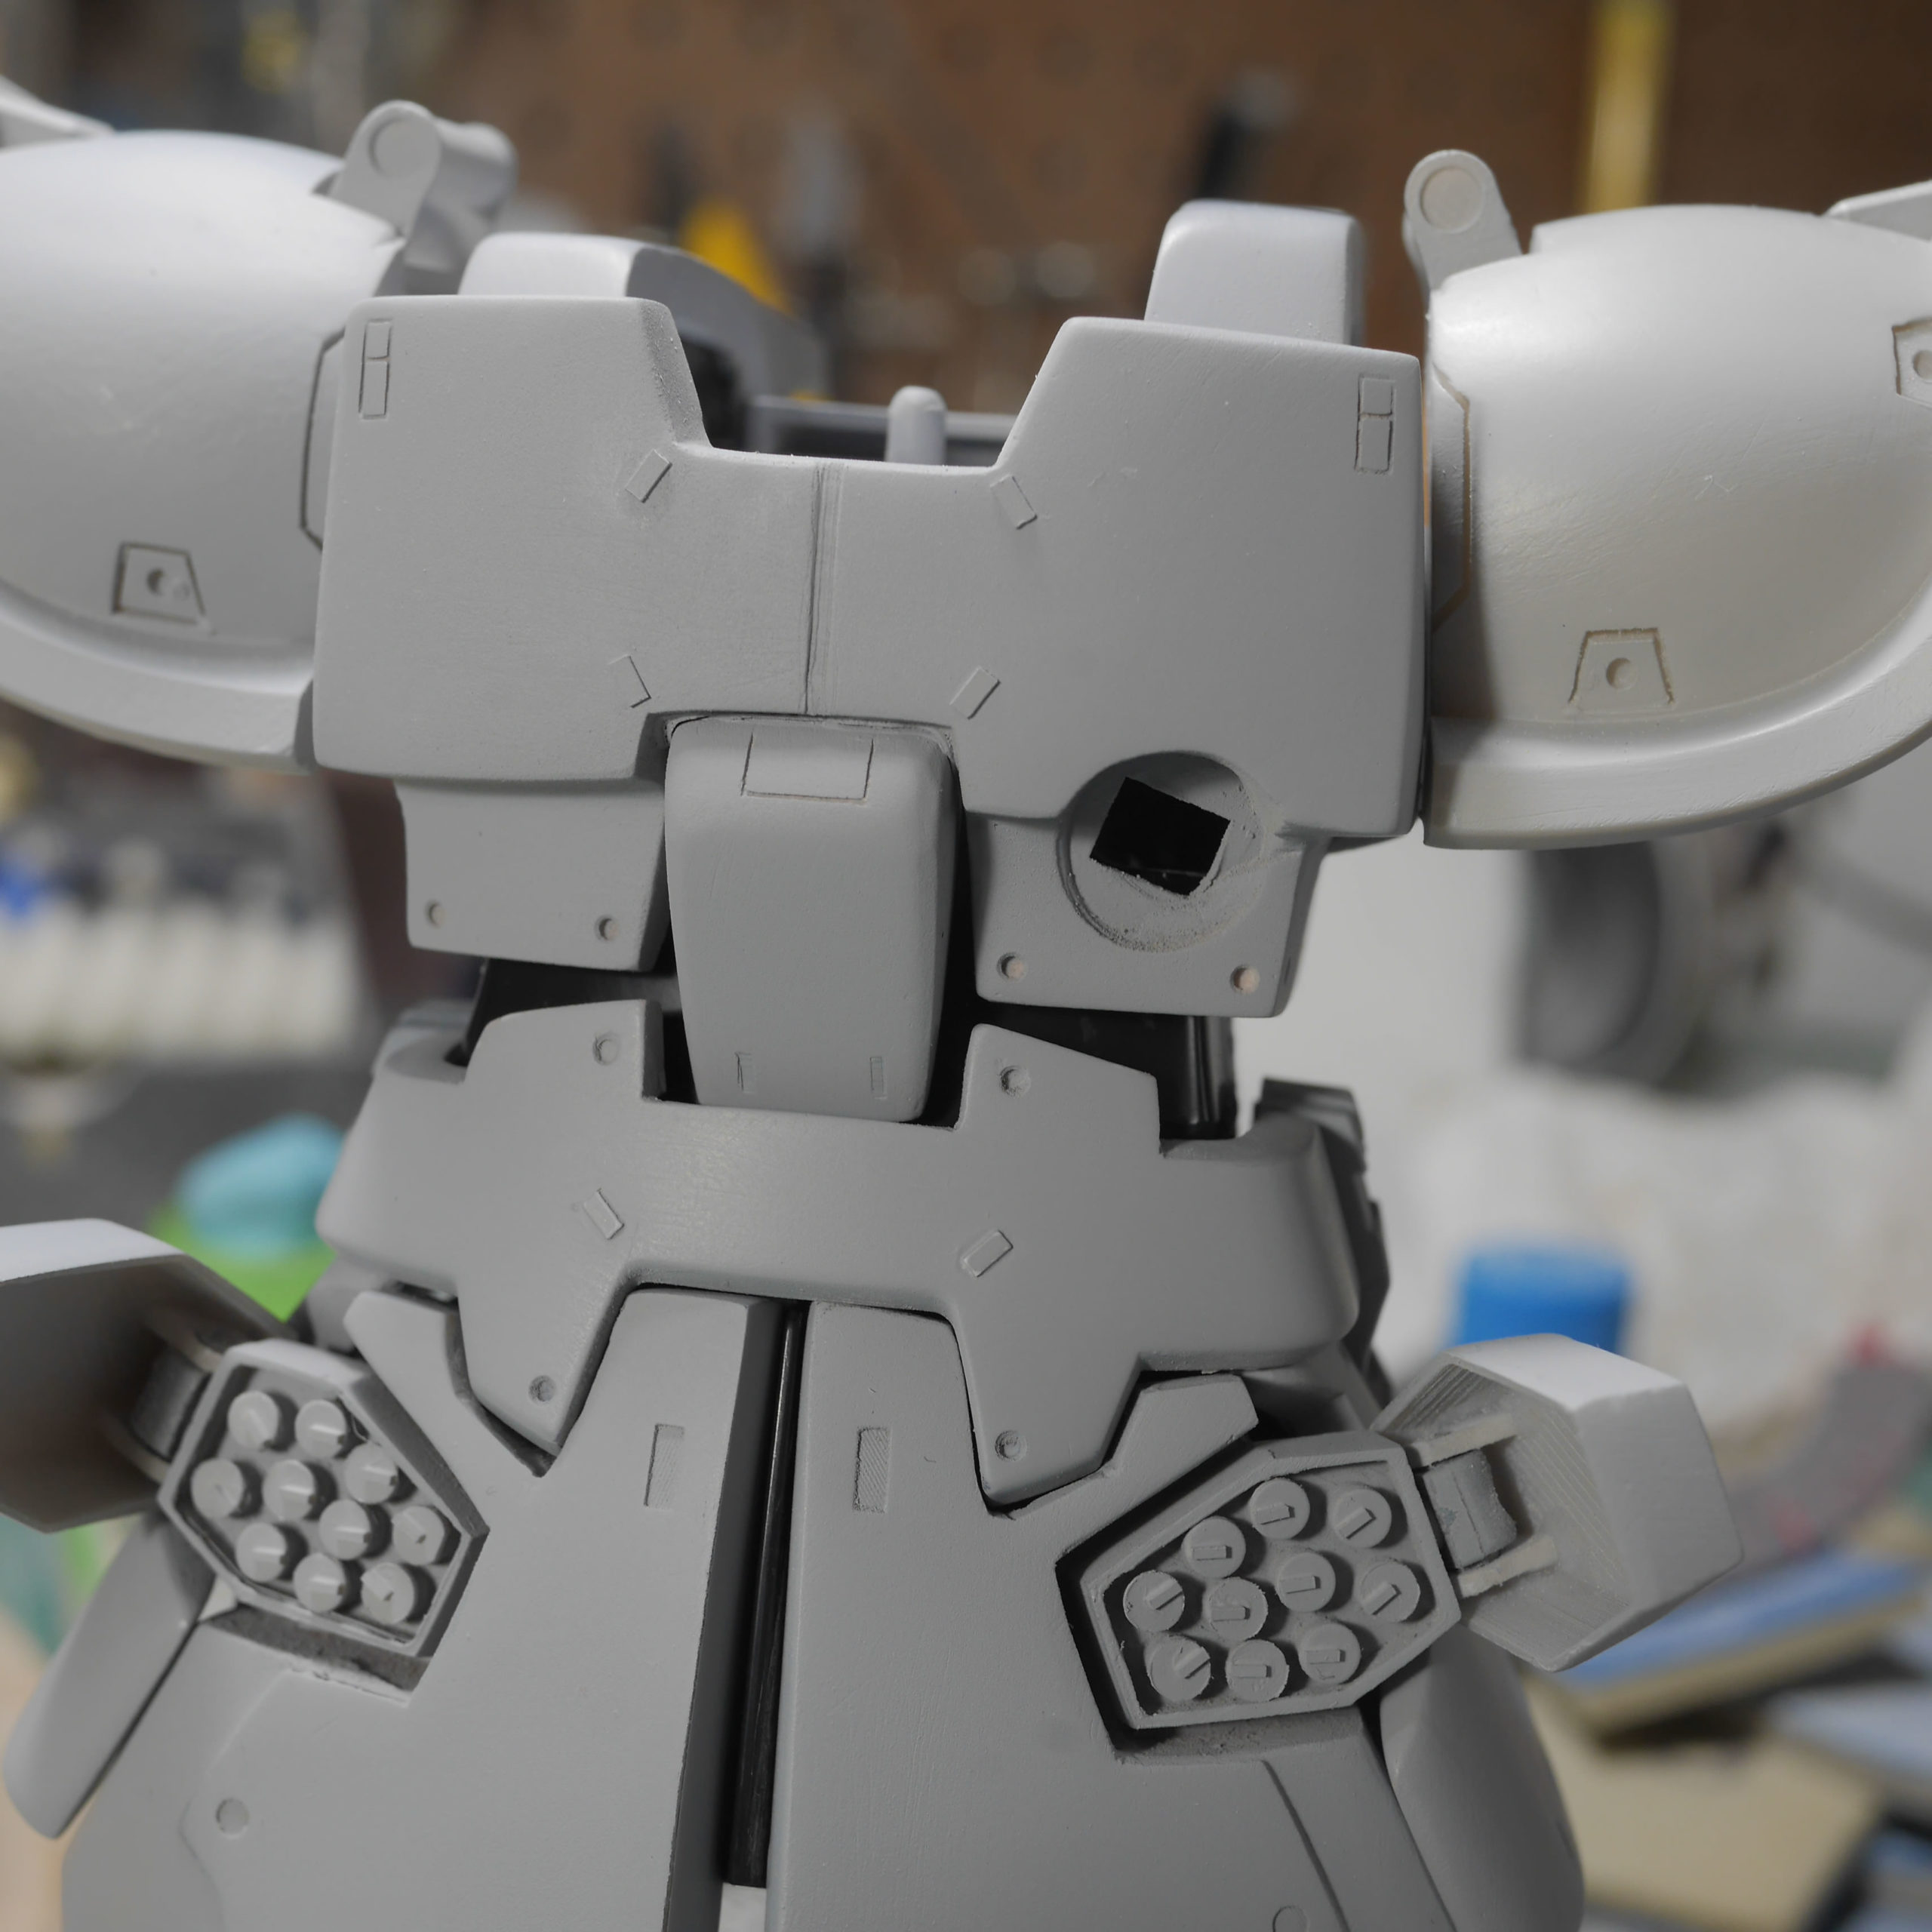
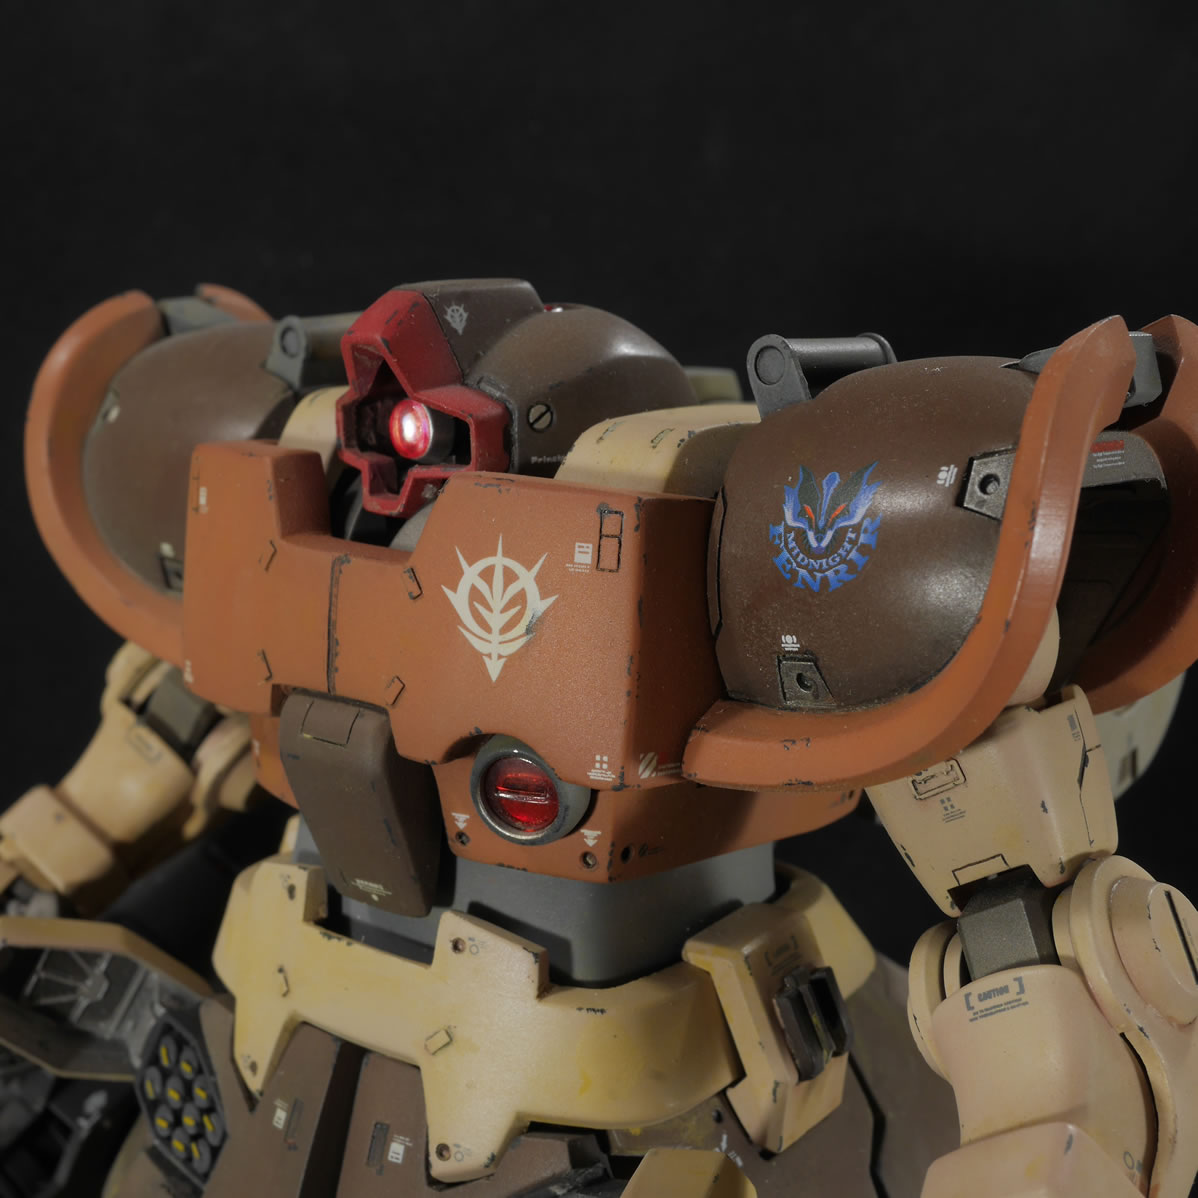
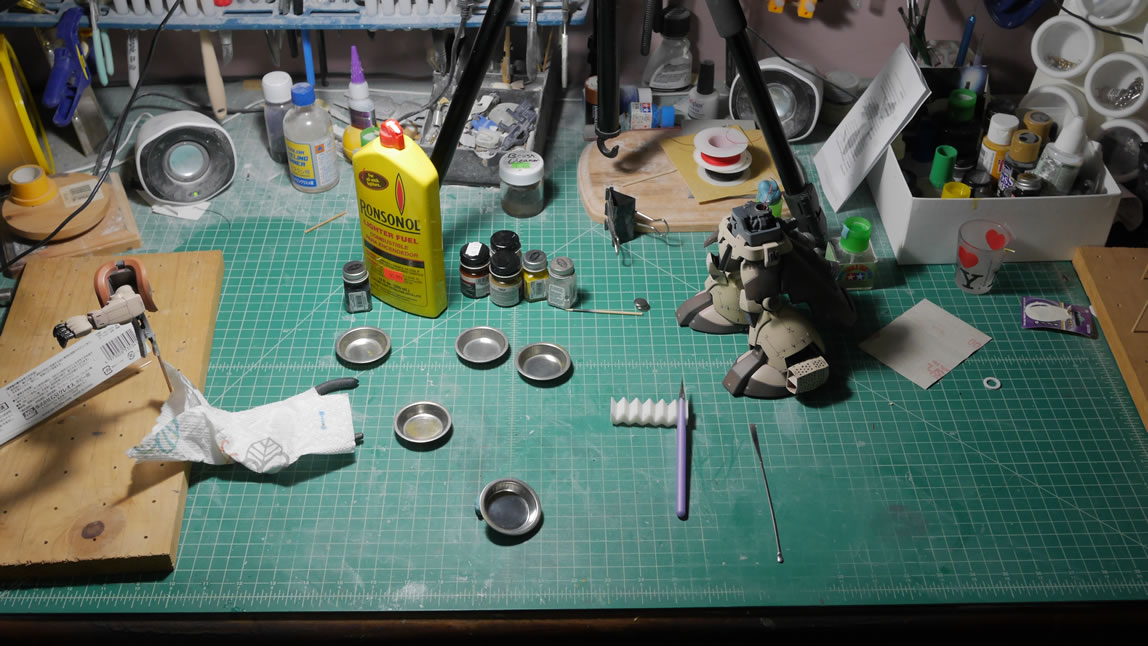
As promised, there were only a few last steps for this project. The kit has been broken down into major subsections. Some subsections bigger than others. And I start off with applying some paint chipping using an enamel based metallic grey. A very small brush is used and I just slowly and carefully apply some chips here and there. I don’t want to go overboard, I just want to see that the suit has seen “some” use.
The rest of the final weathering steps as well as the final pictures for the kit after the jump.
(more…)