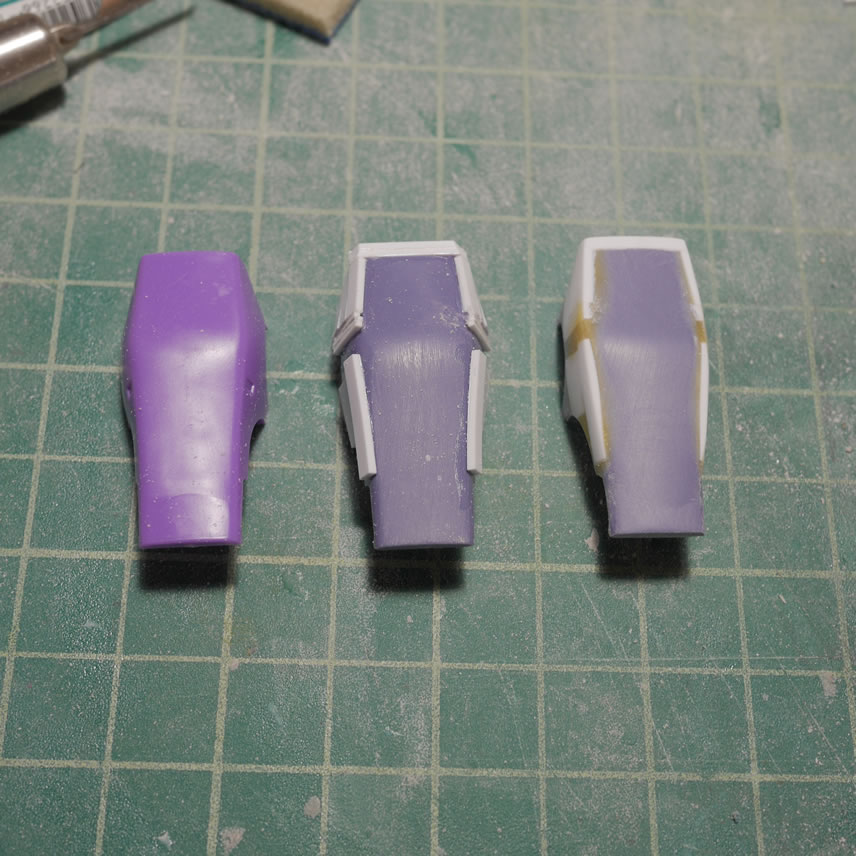
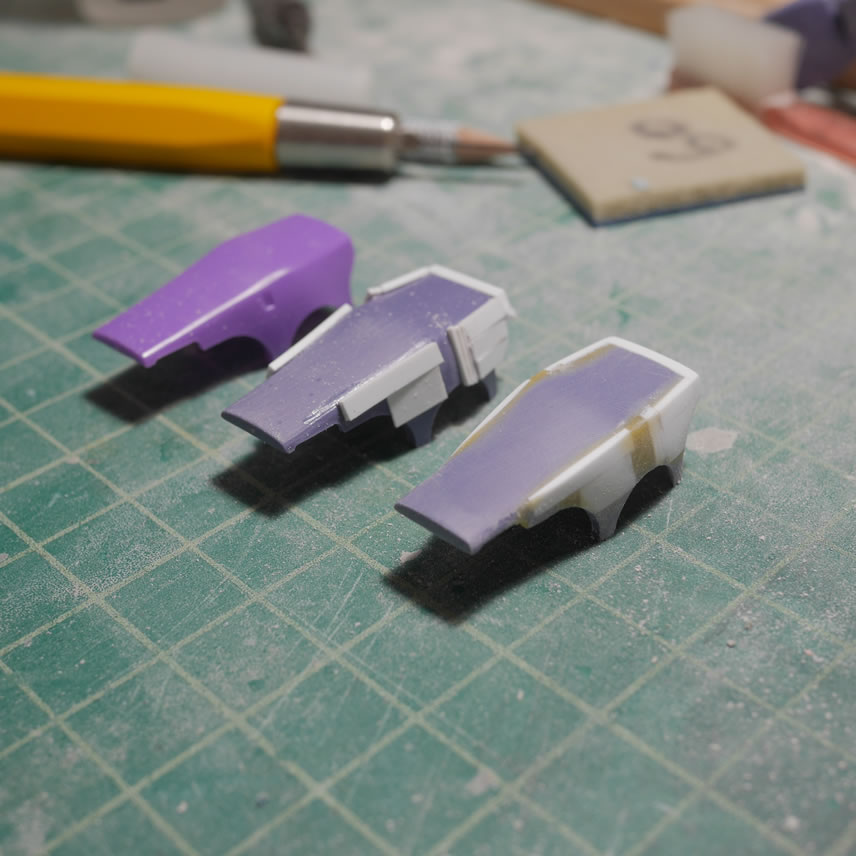
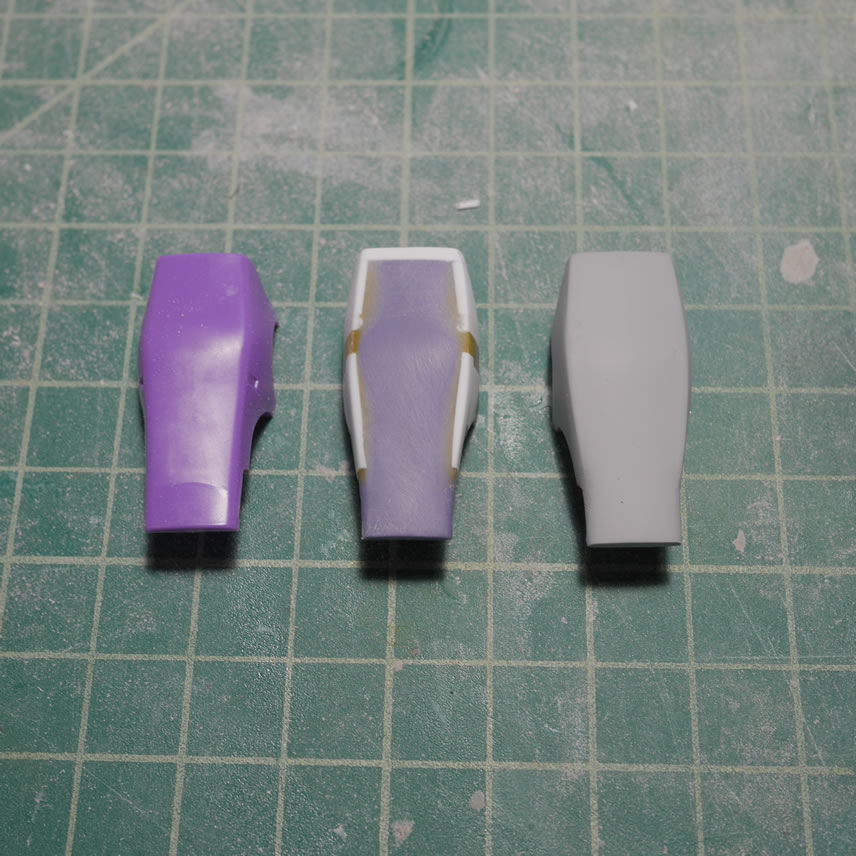
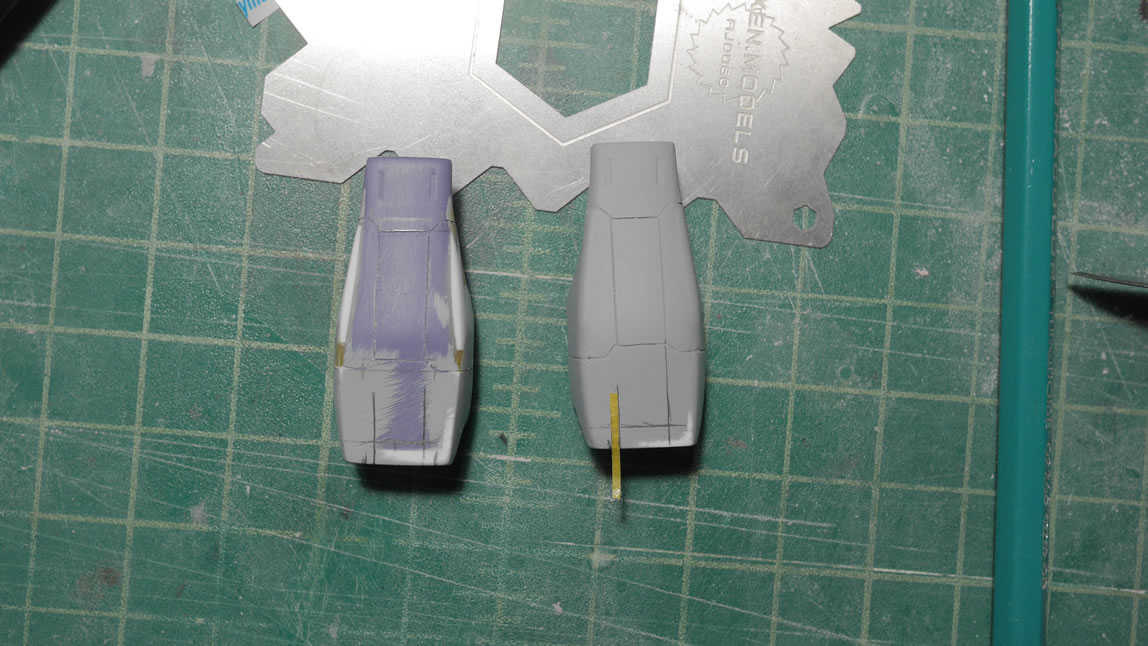
Holy crap, holy crap… I’m finally getting into actual paint that isn’t primer! This is a small update, but only because things are slowing down with the build and I’ve been doing more detail work since the big blocking and building. This post starts with the arms. Looking at the reference pictures, the arms are more boxy than the standard Dom, so I started gluing plastic strips to the arms. Once that cured, I added some putty to fill in gaps and sanded and shaped the part. Then a layer of primer to check the modification. The process for beefing up and squaring up the arm piece is pretty straight forward. Styrene for blocking, putty for gaps and filling in missed areas, then sanding the thing to shape it out.
The arms are pretty plain for now, but the detailing comes next after the jump.
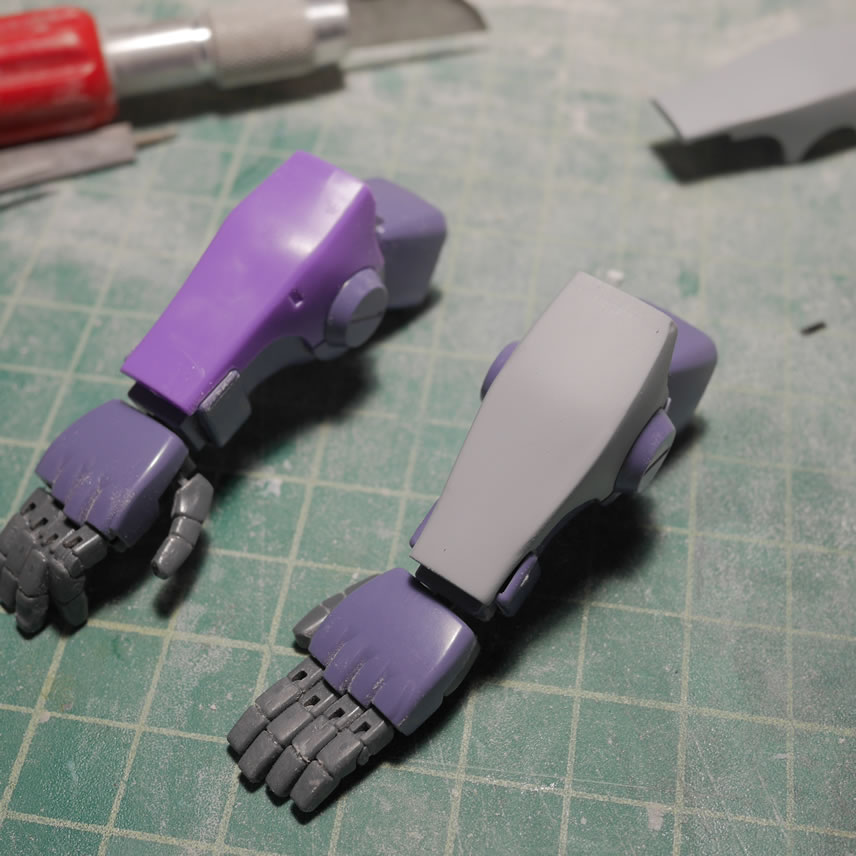
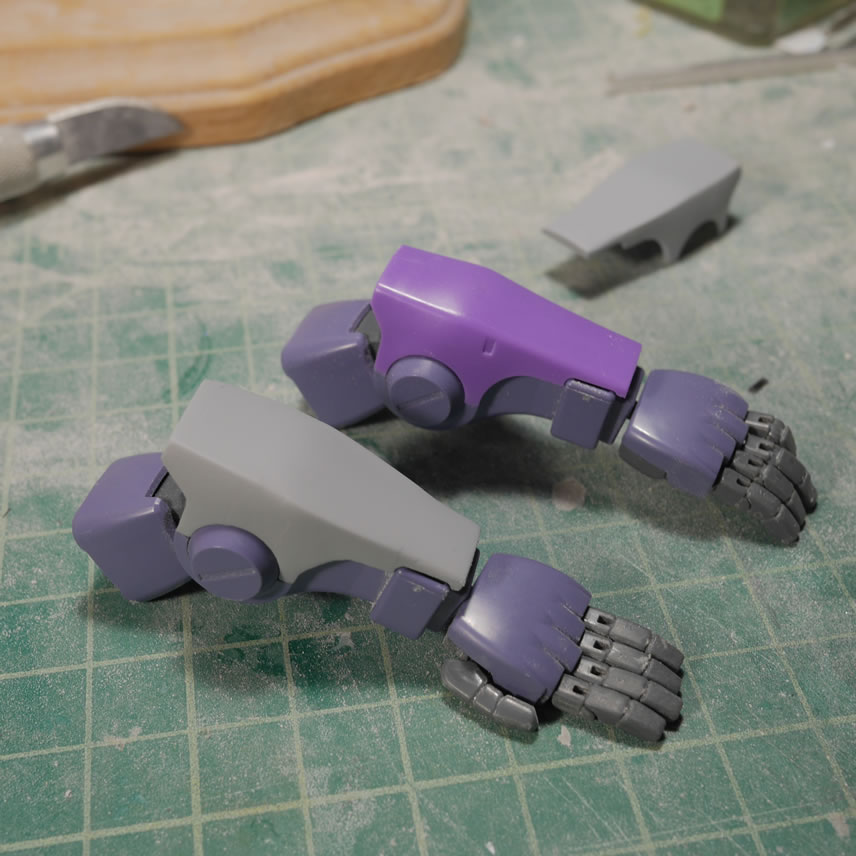
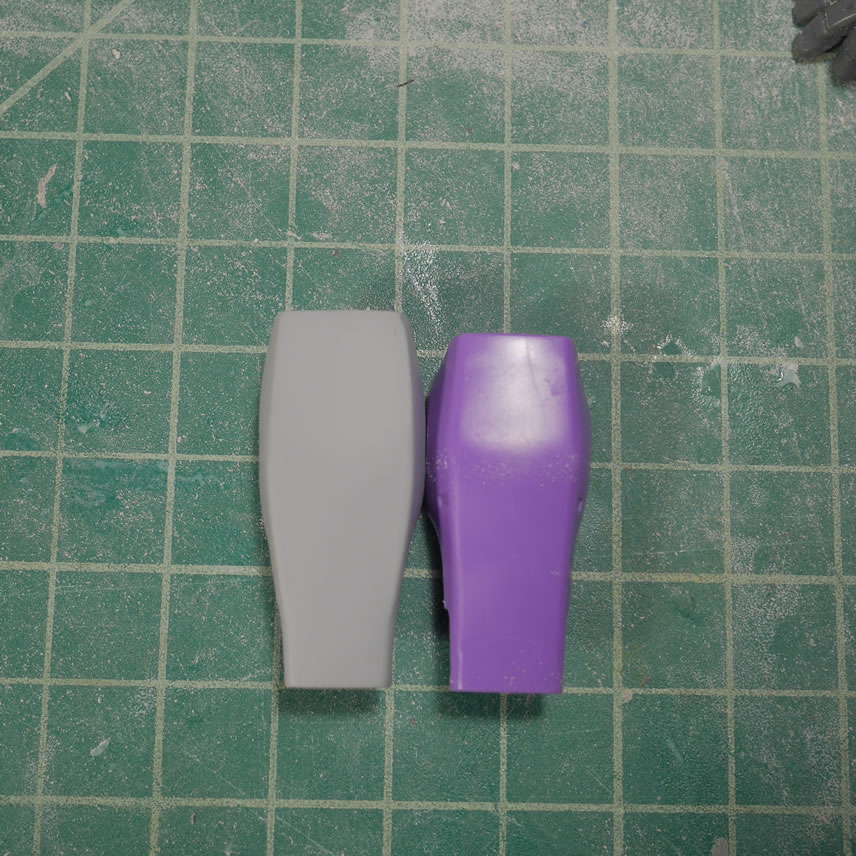
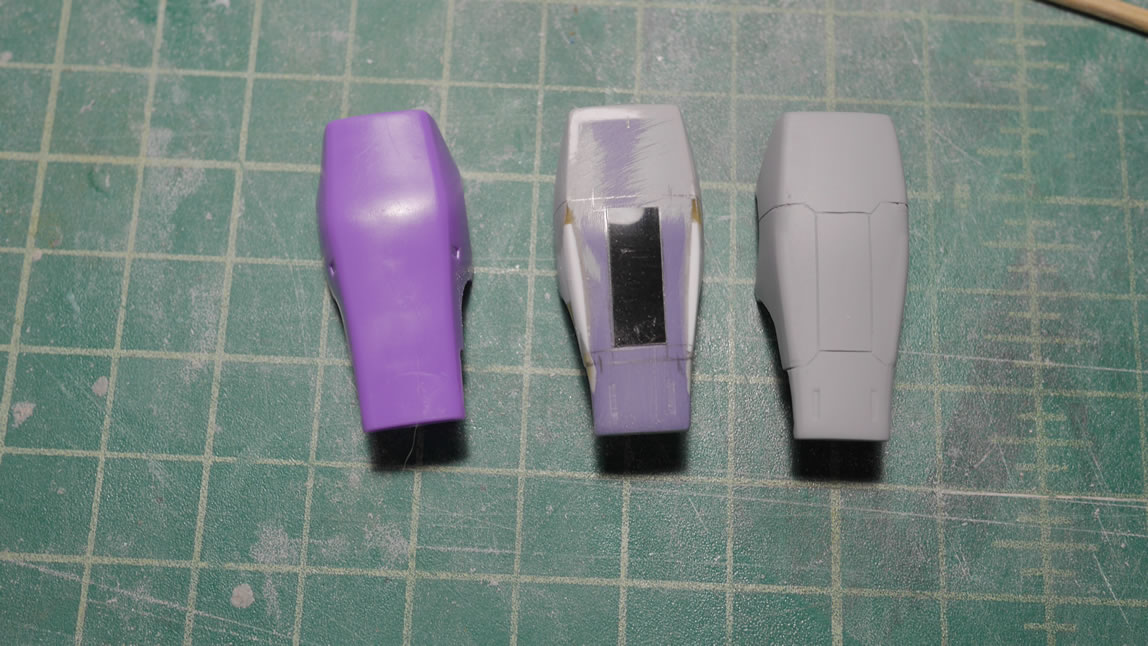
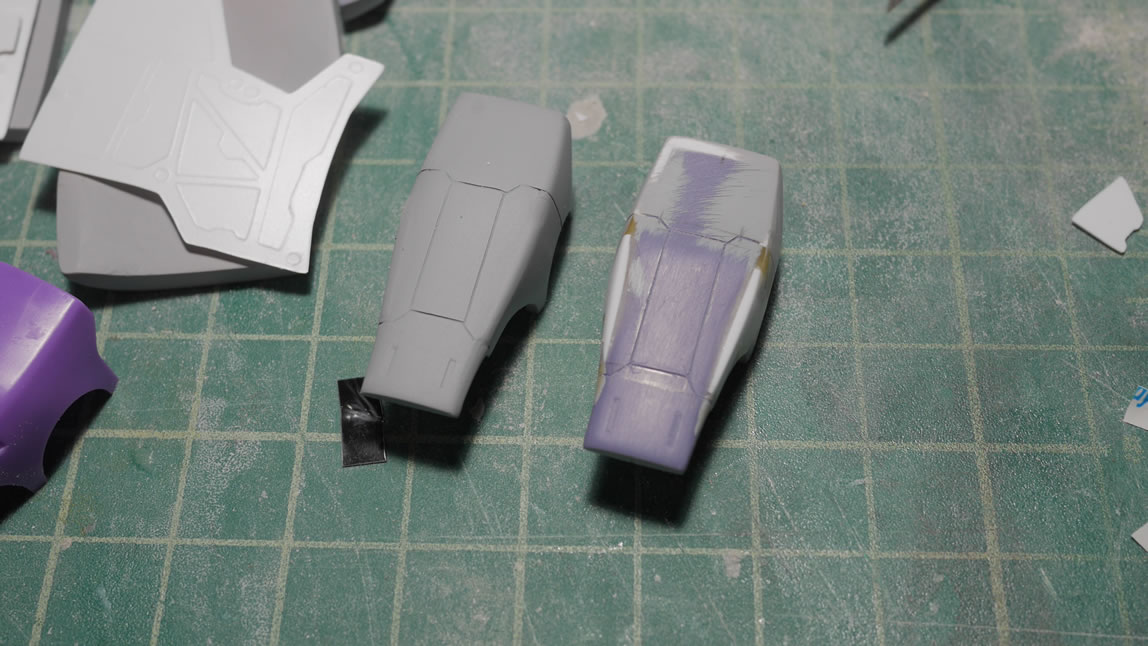
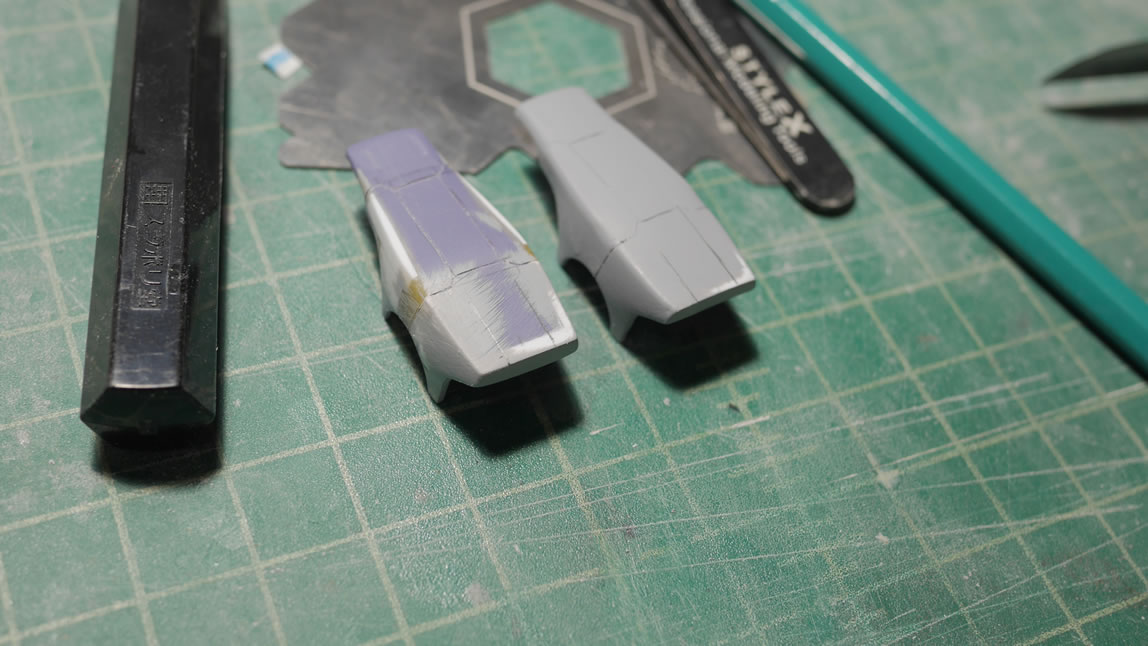
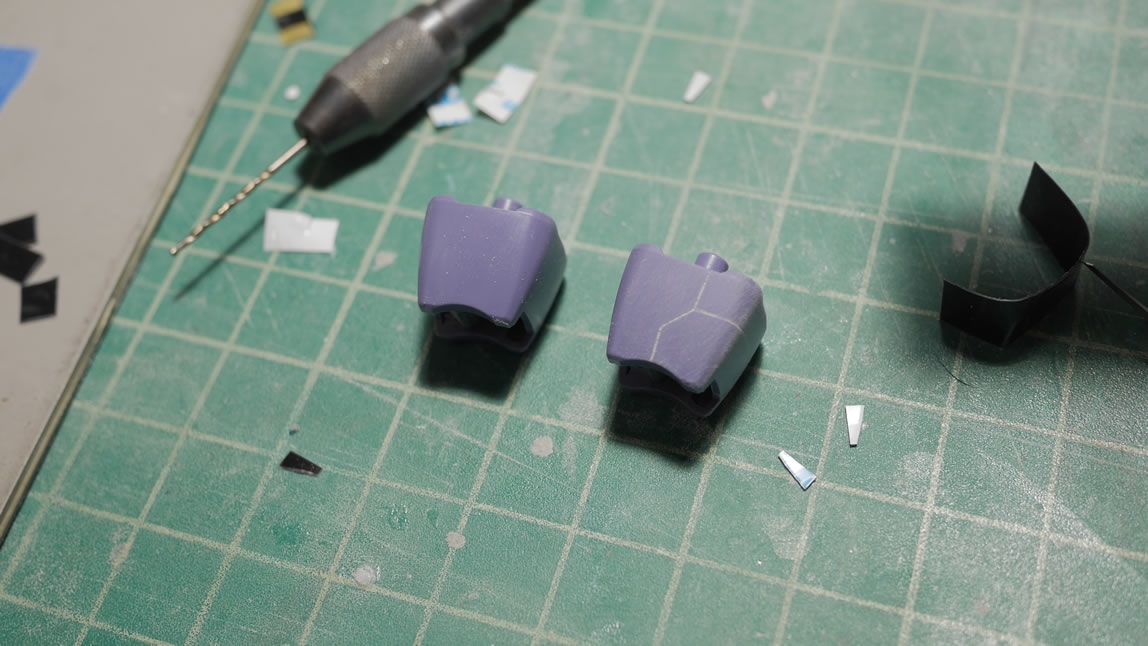
I did a quick test fit with the whole arms for a before and after. The arm piece has been extended slightly and the sides are less round and beefed up a bit. The top of the arm piece is a little flatter now. There is still a high point in middle back of the part but it isn’t as pronounced. The last picture in the set below is the top down to see how the sides and the length are different. It is a very slight mod, but the difference is pretty visual.
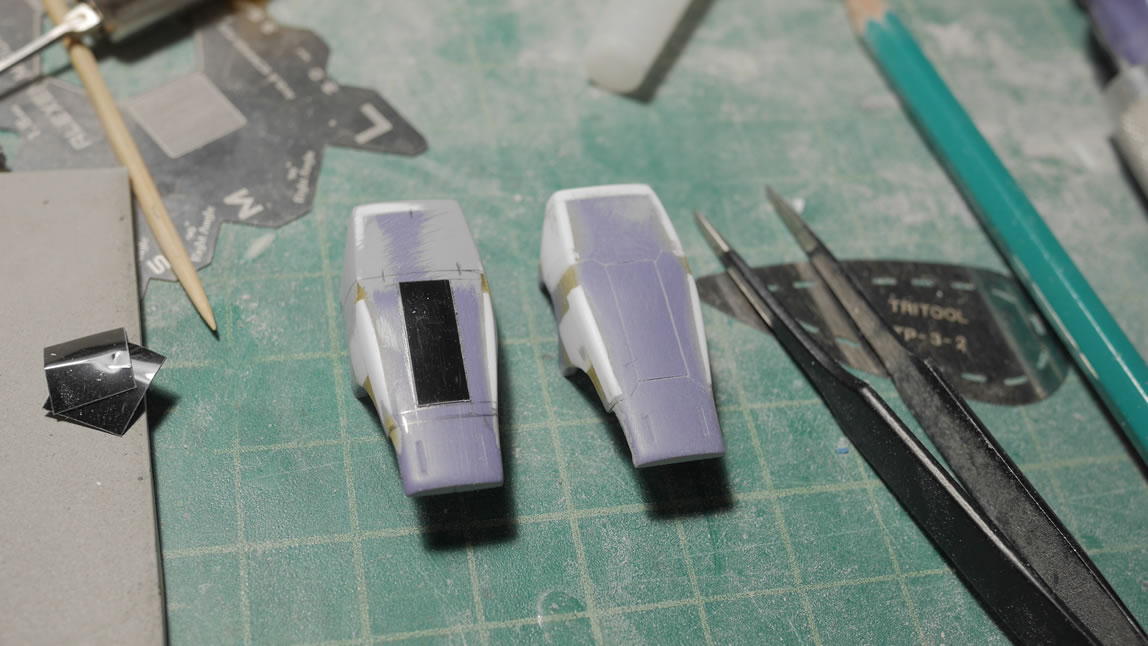
Not pictured are the several cycles of priming and sanding to fine tune the cosmetics. But once that was done, I can get down to drawing out some new detail lines and scribing. The process is pretty simple. I use masking tape of different thicknesses to measure out the area I want the details. The masking tape acts as a guide for some pencil lines. Once the lines are drawn, the masking tape is removed and dymo tape is employed as the guide for the BMC chisels. I’m using the .2mm chisel. The scribing process is just a light drag of the chisel across the plastic along the edges of the tape. I tend to count the number of passes so that when I do the other side, I get a similar depth. Each pass of the chisel will scrape a thin layer of plastic. Do not press down and try to gouge out the line in one pass. This requires patience and your results will be much better if done slowly. Once the scribing is complete, some light sanding to remove any excess burrs or by products of the scribing process and then a layer of primer to check on mistakes or get surprised that it came out well.
While doing the above, I live streamed the process for about 2.5 hours. You can check out the video here:
The scribing is done in sections. I did the front area first. Then moved onto the middle area. then on to the back. For me, it is easier to do this so that when I make a mistake, I can easily fix it first, then move on to the next area. I also applied a bevel to the edges with the beveling tool.
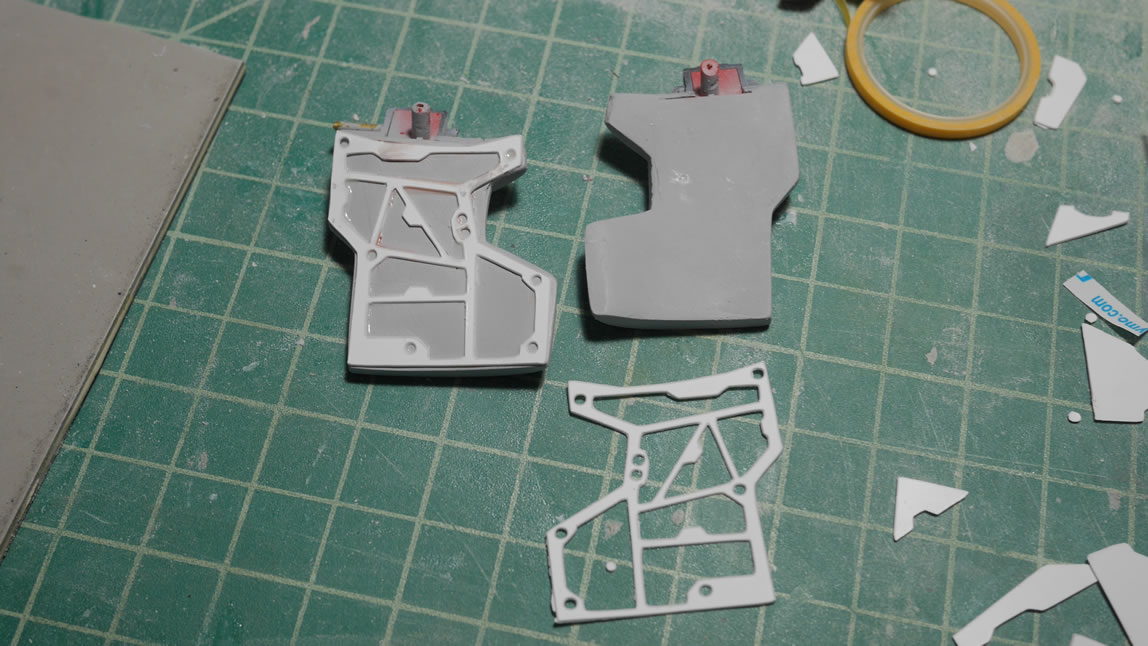
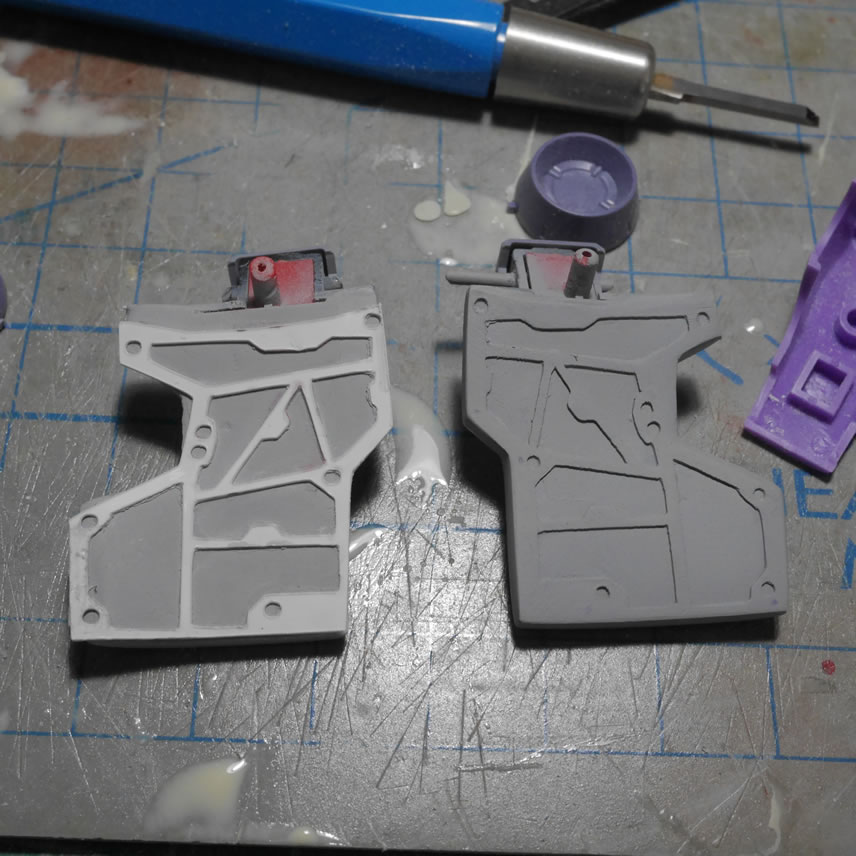
Moving back to the side skirts; I designed and cut out internal frames for them. This is another piece of detail that will never be seen unless upskirting the Dom. I didn’t want to leave the area completely bare, so this was a quick cut, glue, putty, sand, and prime session. With light curing putty, the process was very quickly done. Here’s a comparison between the glued frame and the puttied/primed frame. Note that since I know that this is a throw away detail that is difficult to see; I didn’t spent a great deal of time making it look good. I wanted something there, but I didn’t want to spend an obsessive amount of time making it look good at a close distance. Since it will be hard to see at a close distance. This is cutting corners, but I also want this thing done!
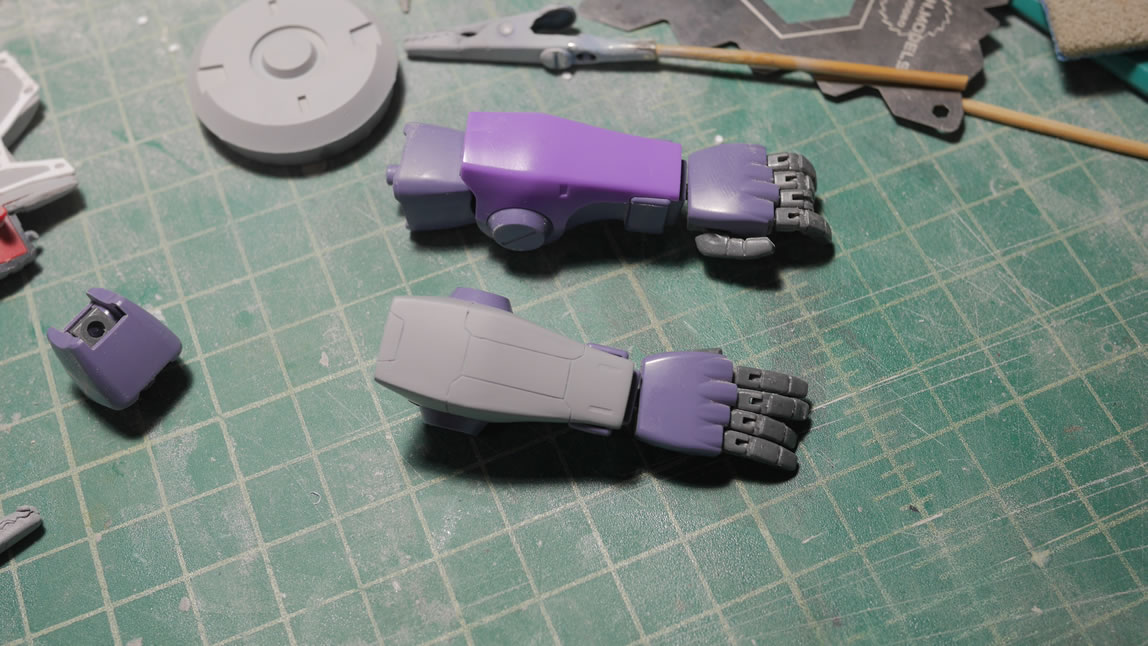
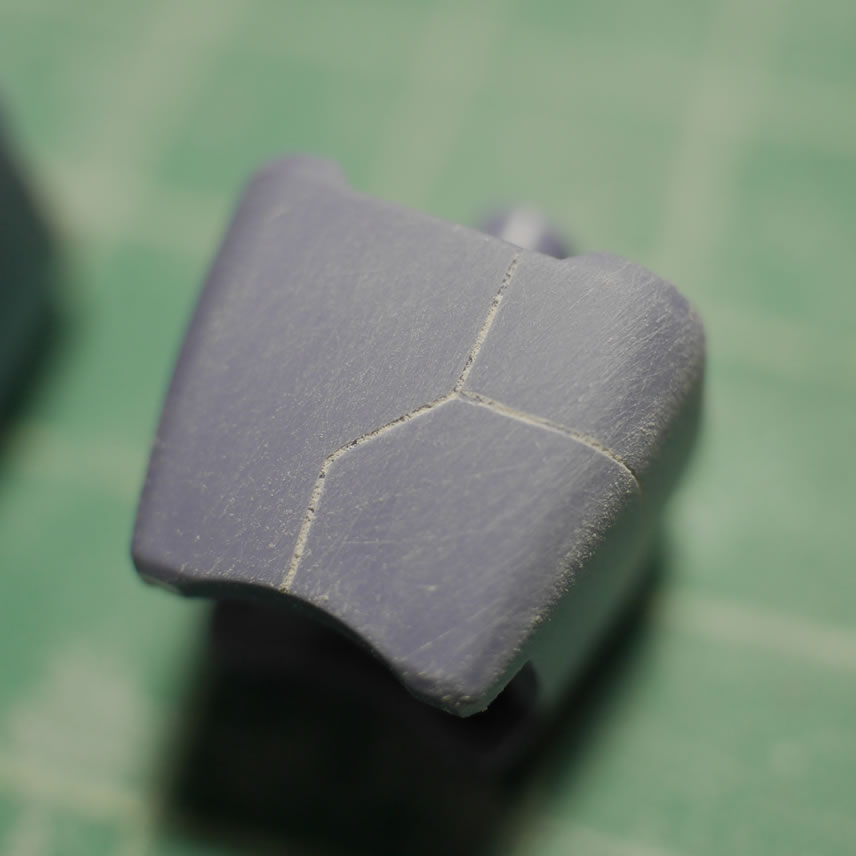
Back to the arms (upper arm piece) for more detail scribing here and there. I got a macro extension tube for my camera and tested it out with the upper arm piece. This part was scribed and sanded down. The plastic dust in the scribed lines work to show the lines before priming. I have an old toothbrush on my work desk to clean parts like this before getting them ready for primer.
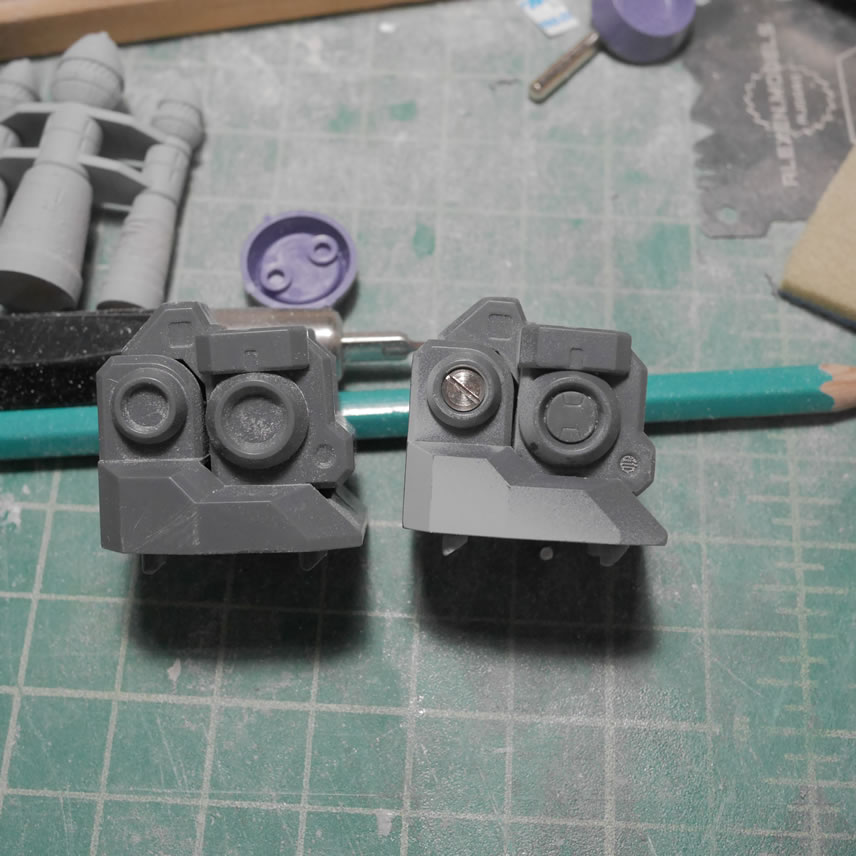
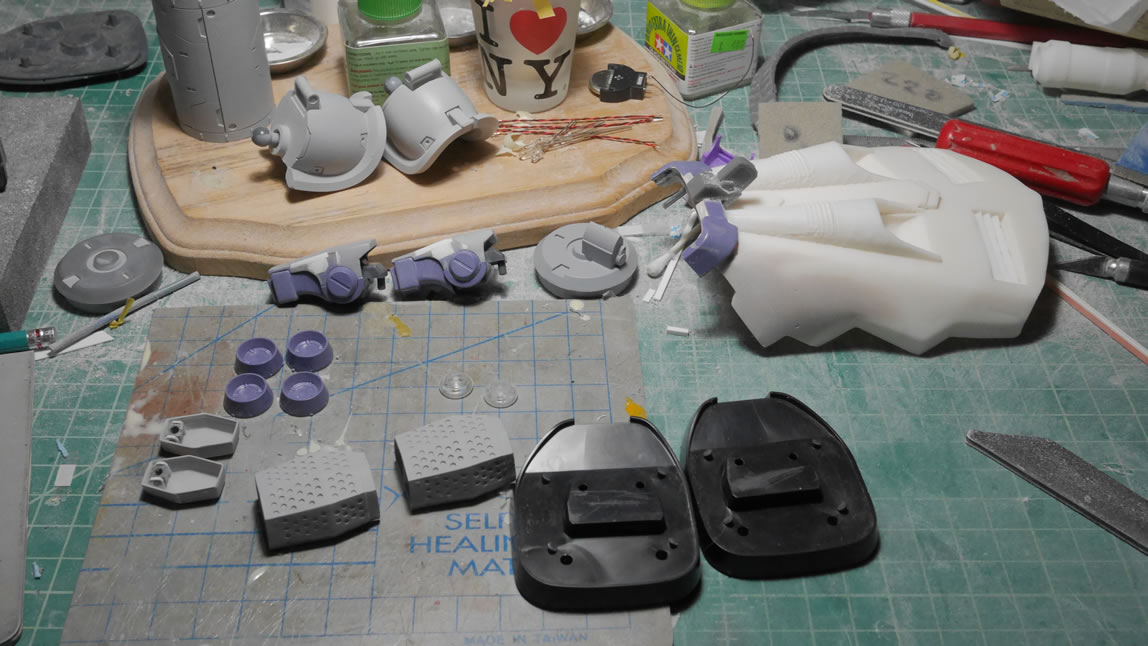
Continuing with the addition of details that will rarely see the light of day, the feet internals looked like a great candidate for such details. Left to right, I added a metal minus mold detail; a koto plastic detail round, and the tiny detail in the last round is a photo etch piece. I picked up the photo etch part from NewTypeHQ There are a bunch of these to pick from. They are amazingly designed as the detail bits are sandwiched between two sheets of tape. They’re completely precut so for those that have used photoetch in the past, there’s no need to clean up after cutting them from runners.
The koto plastic bit was glued into position with regular tamiya extra thin cement. The metal part and this small photo etch detail is glued with regular elmer’s white glue. CA glue (super glue) has a tendency to frost or attack any oils that may be on the parts. And CA glue cures way to fast for positioning the detail bit. White glue is a slow cure and I can position the part correctly then let it set up for a few minutes. Once it has started setting up, I can take a damp q-tip or even a paint brush with some water can clean up any excess glue. The part is left to sit overnight and it is glued very securely. A priming session ties everything together. The photo etch detail adds a great deal of 3 dimensional detail to the part. Here is a before and after comparison as well as the primed part.
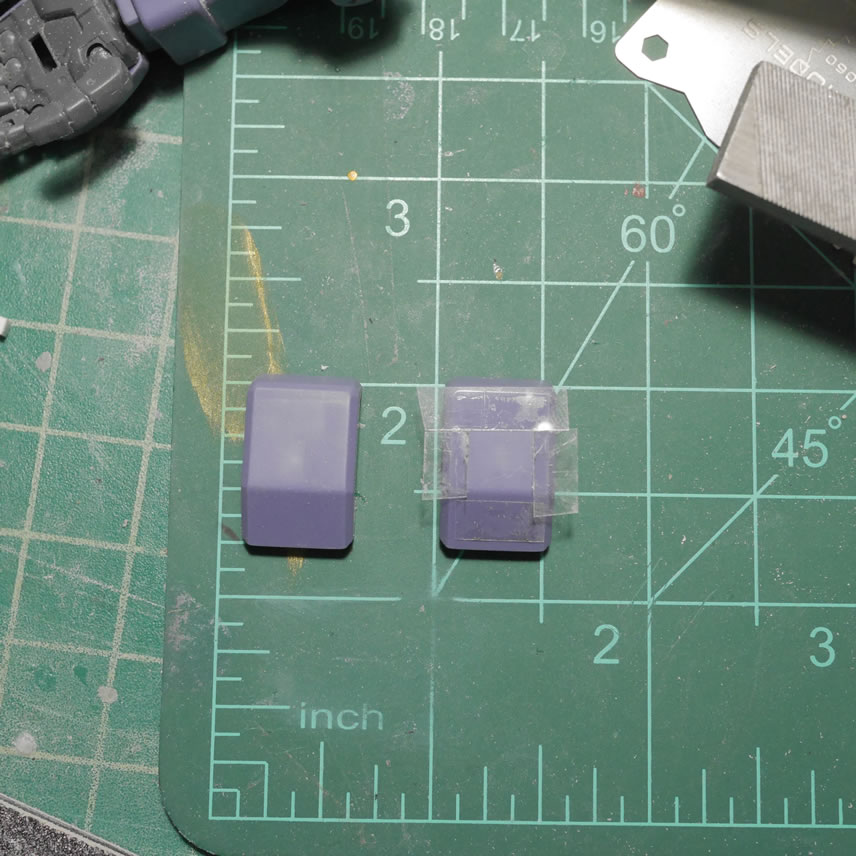
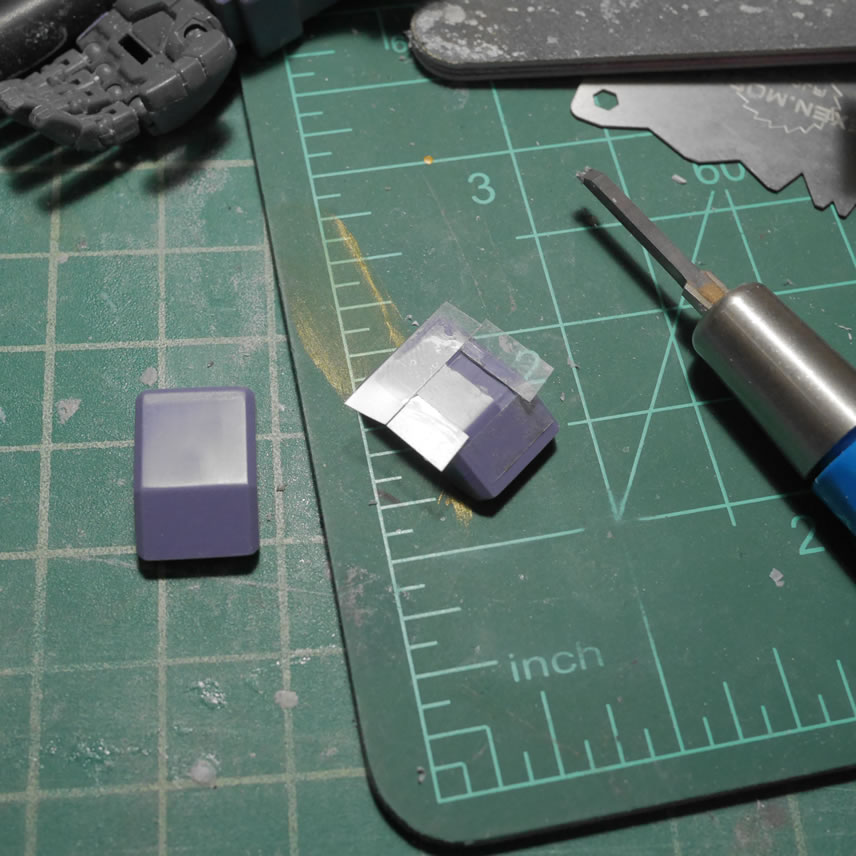
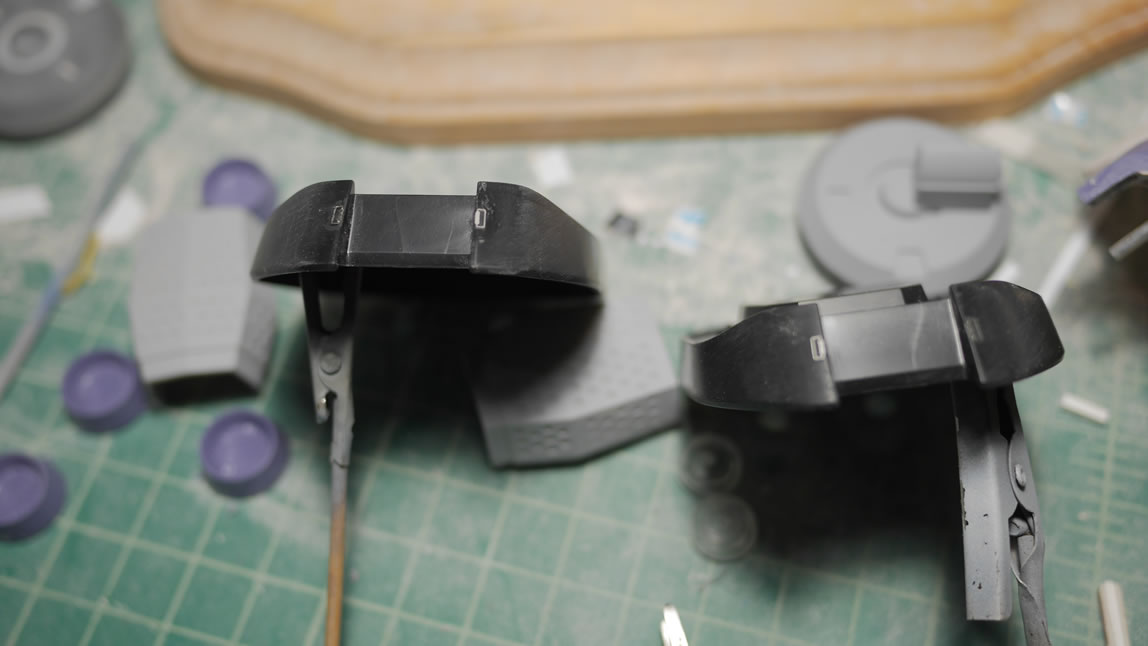
Next up, I debated on how to detail the belt piece of the side skirts – something 3 dimensional or scribing. The reference photos show a little detail here other than just the plain belt; so time to get working on that. Similar to scribing, I measured out the area with masking tape and pencil lined the area I wanted to detail. I laid down some madworks carving tape as the guides. From here on out; madworks carving tape replaces the dymo tape. They are just so much better than using the dymo tape in that they’re clear and semi reusable over the one time use solid colored label tape.
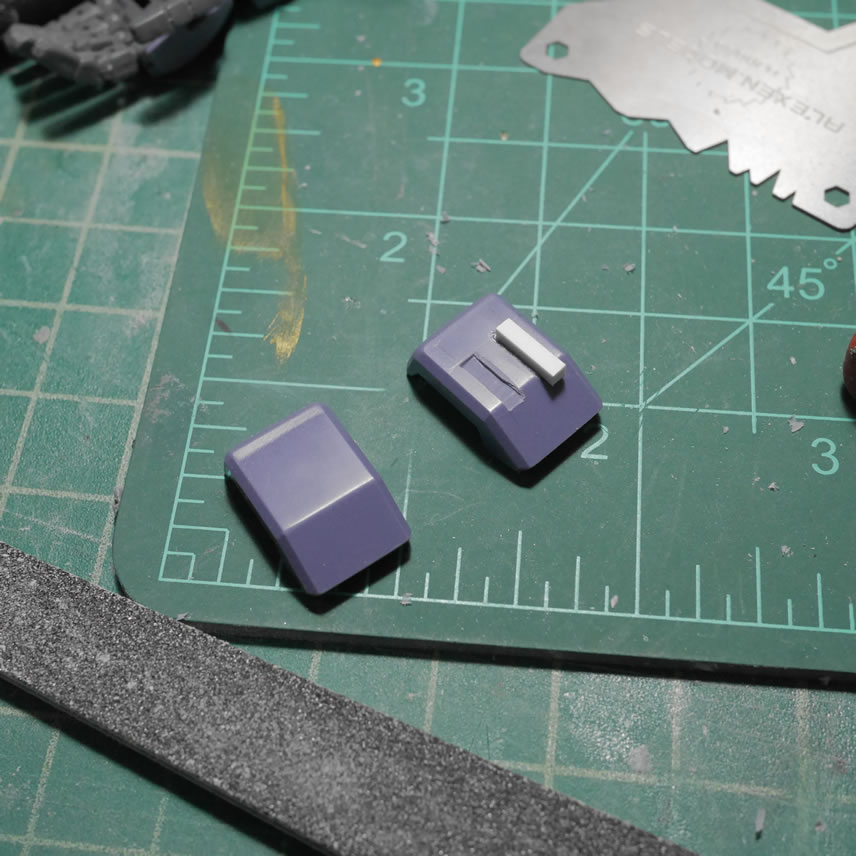
I cut in a channel into the part and glued in some styrene strips. The detail is just built up styrene strips. Once cured, I did some sanding work to finalize the shape and add some bevels and then primed the part. I think this looks better than the plain undetailed surface. I wanted something more than just scribing, so plastic plates help give some depth to the details.
More scribing with the madworks tape and the BMC .2mm chisel for the foot piece. Again, masking tape for guildes and drawing the lines, then the guide tape and chisel to scrape out the detail lines. I don’t want to go overboard with scribed lines, but a little here and there adds enough detail without looking too busy. Personal tastes.
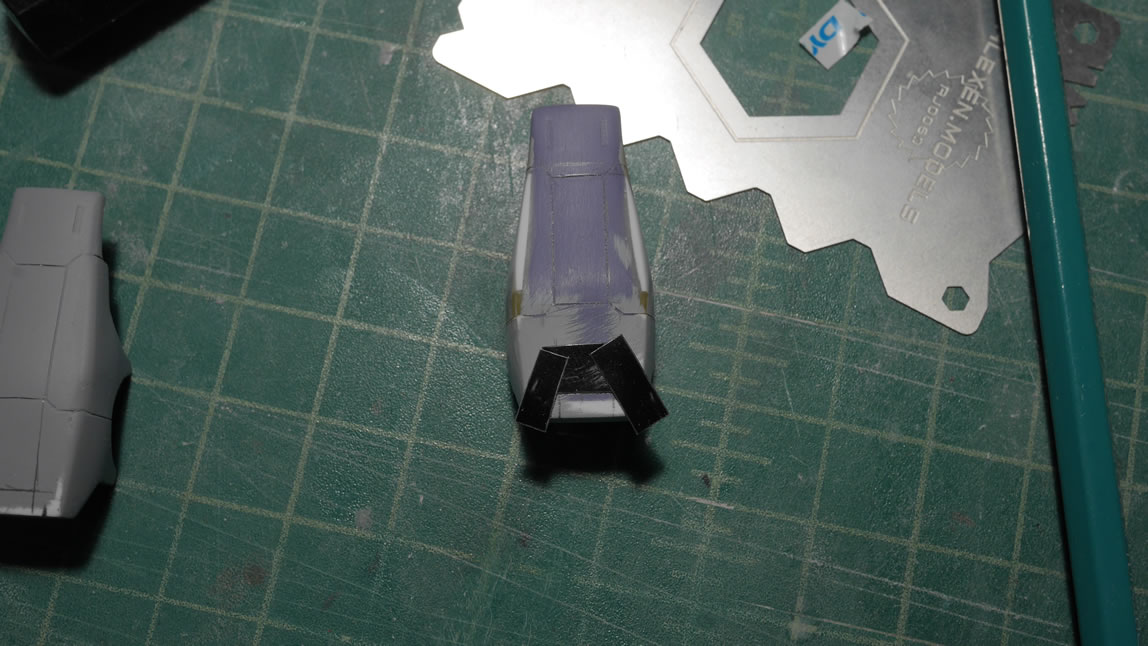
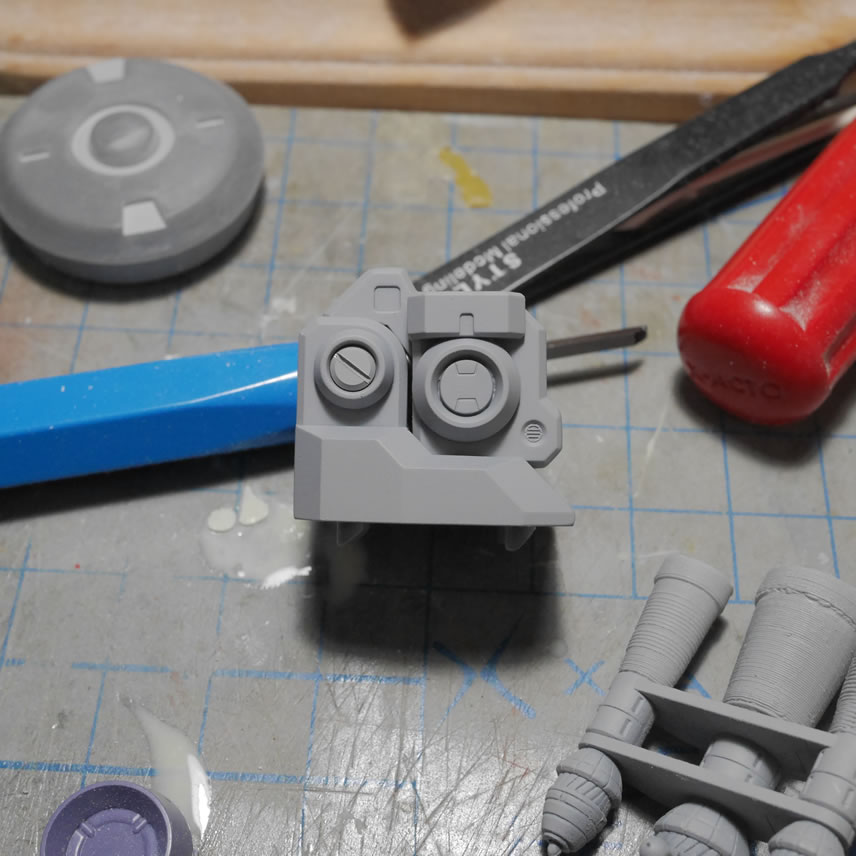
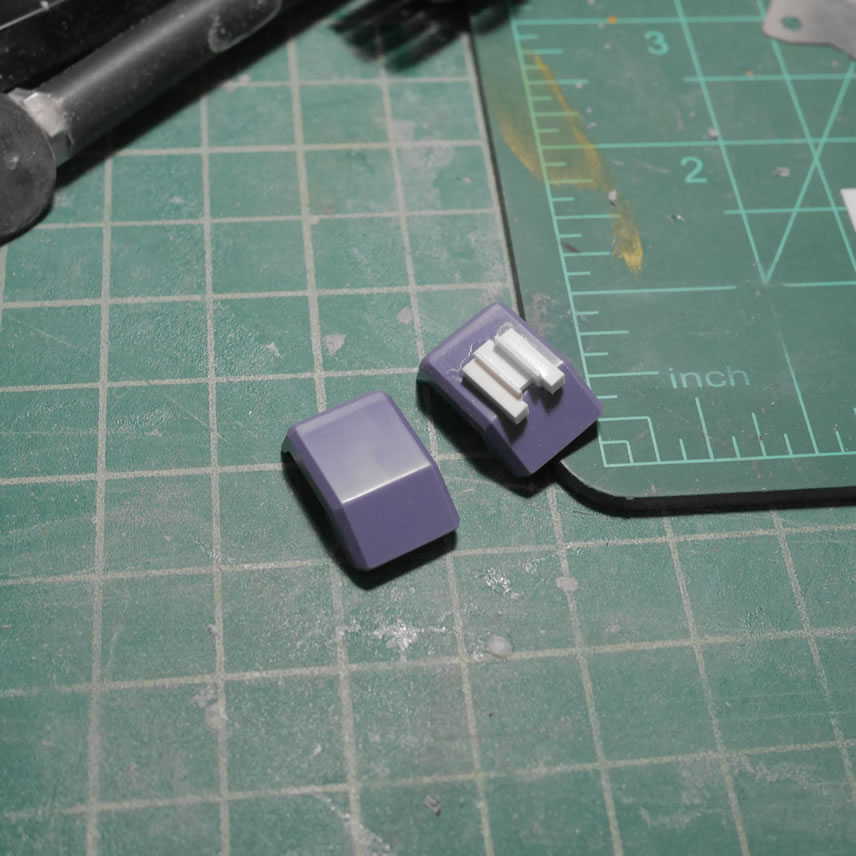
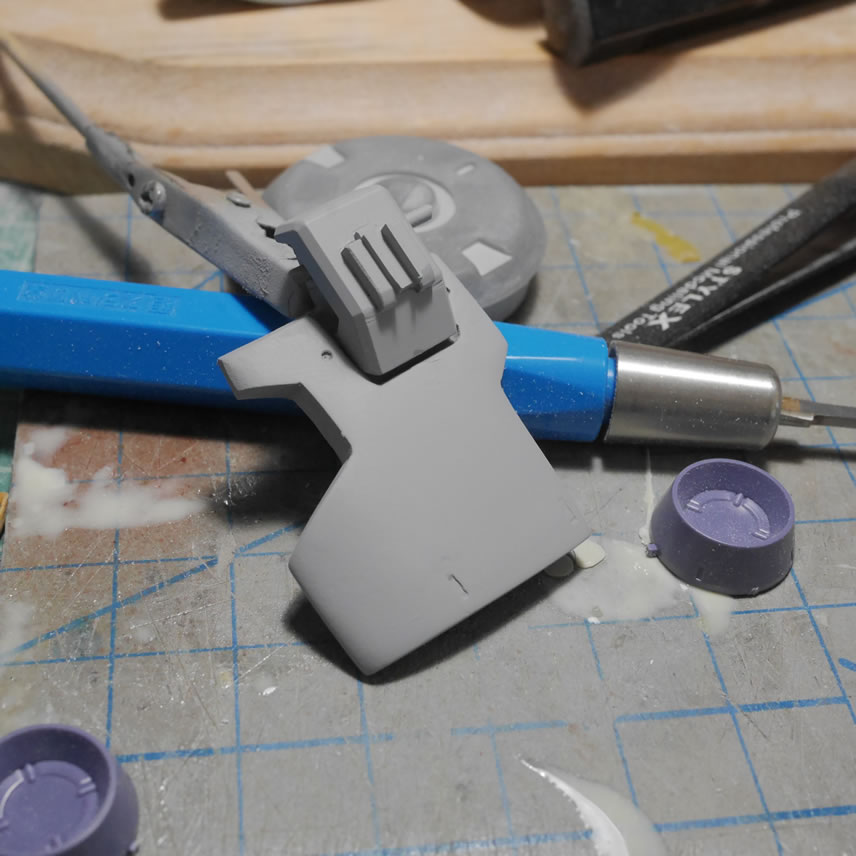
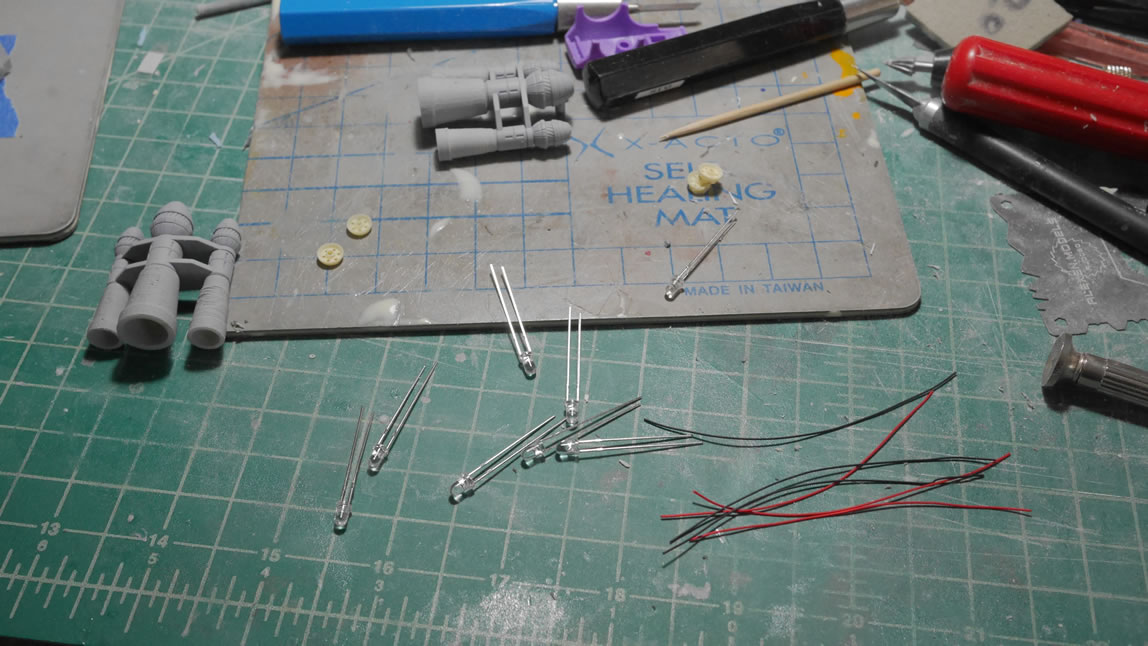
I’m starting to work on the electronics. The thrusters will get some LED lighting, so here are the beginnings for those detail areas. LEDs laid out, wires ready for stripping and wrapping, and the test fitting with the thruster pieces.
Another photo etch detail session for the feet. Paint on some white glue, position the photo etch detail, and done.
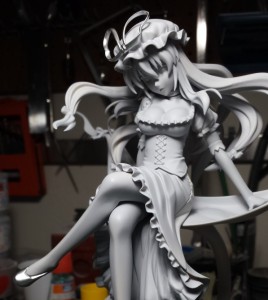
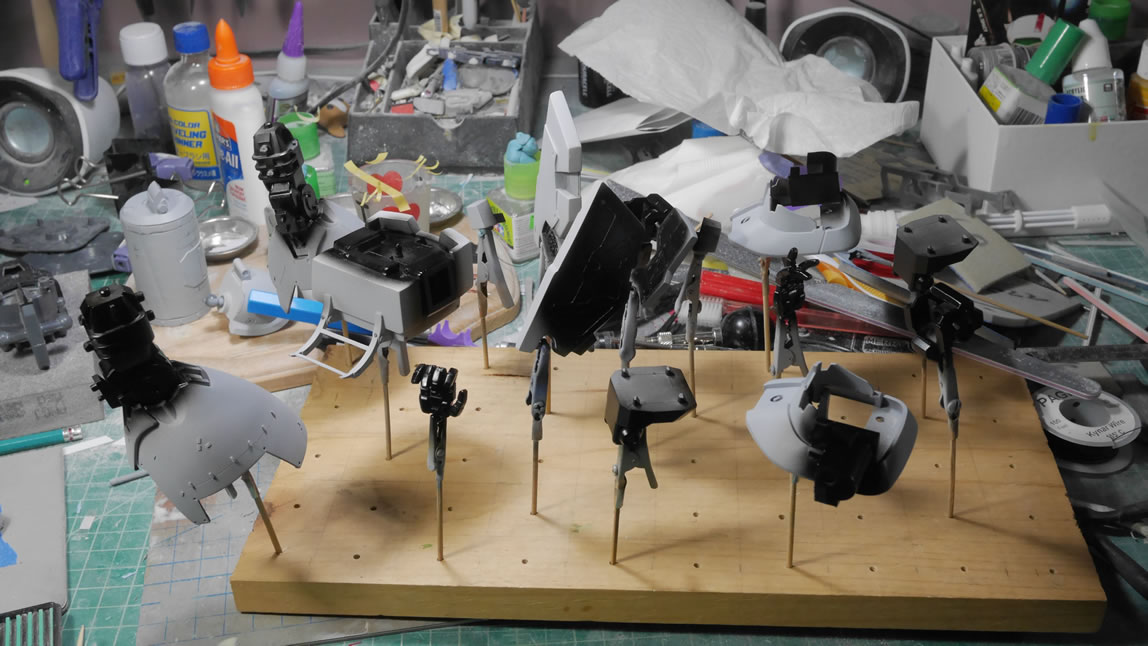
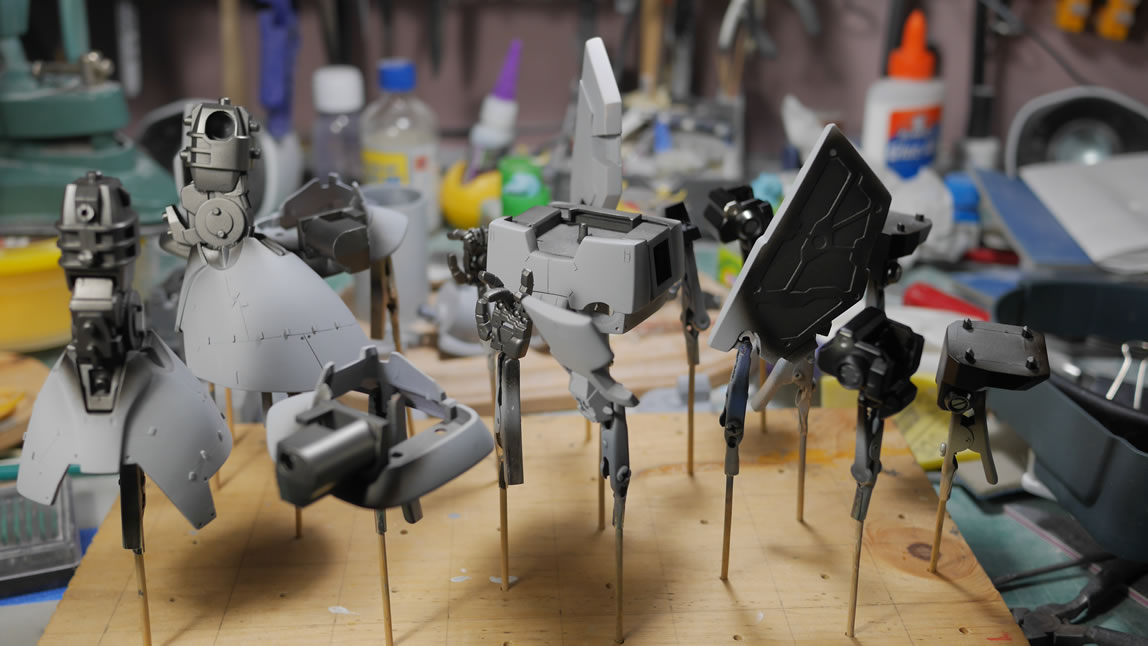
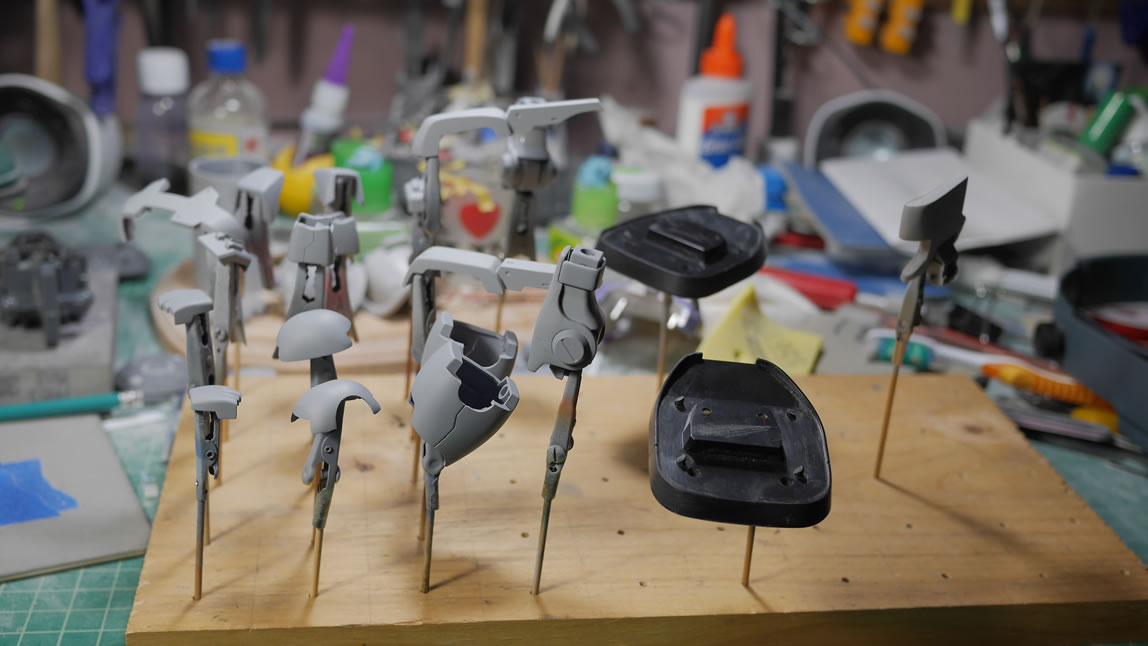
The amount of parts left for detail and clean up work is winding down to a handful. This means the rest of the parts are all skewered and headed for various stages of paint that isn’t just primer.
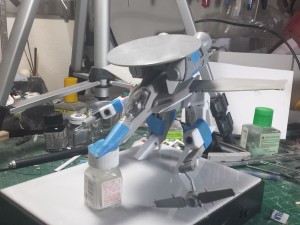
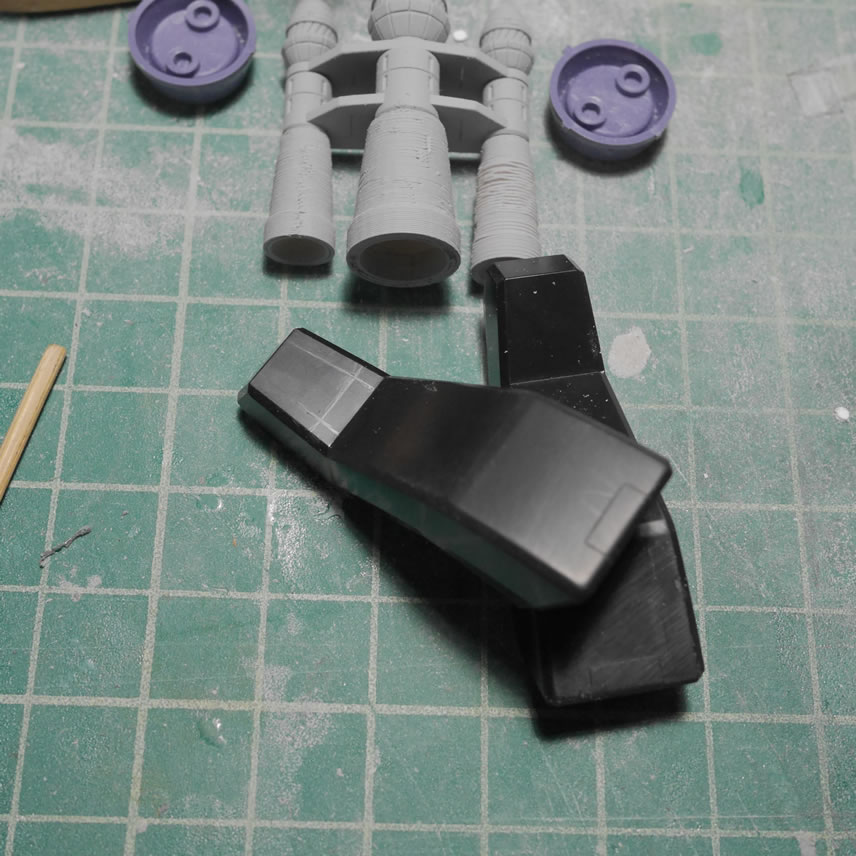
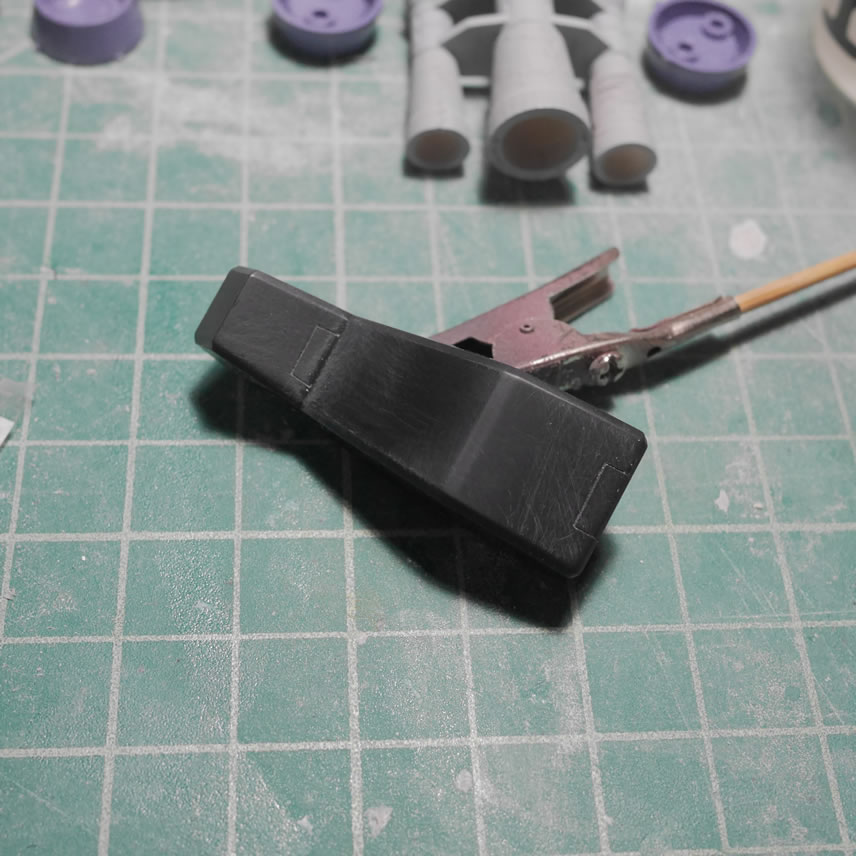
And here we go. Finally some paint. Black base coats for the metallics and some metallic sprays, and another set just primed and waiting for the first base layer of paint.
The next update should be interesting once I start getting more paint down.