I had a pretty productive weekend for the project. This is mostly cleanup work; but there was a small bit of leg detailing that I didn’t quite complete before my last update. I also want to ramp up the progress since I want to be finished by the end of the month. Who knows if that’ll happen. But goals. I’m going to do shorter walls of text, but try to do weekly updates from here on out. Famous last words.
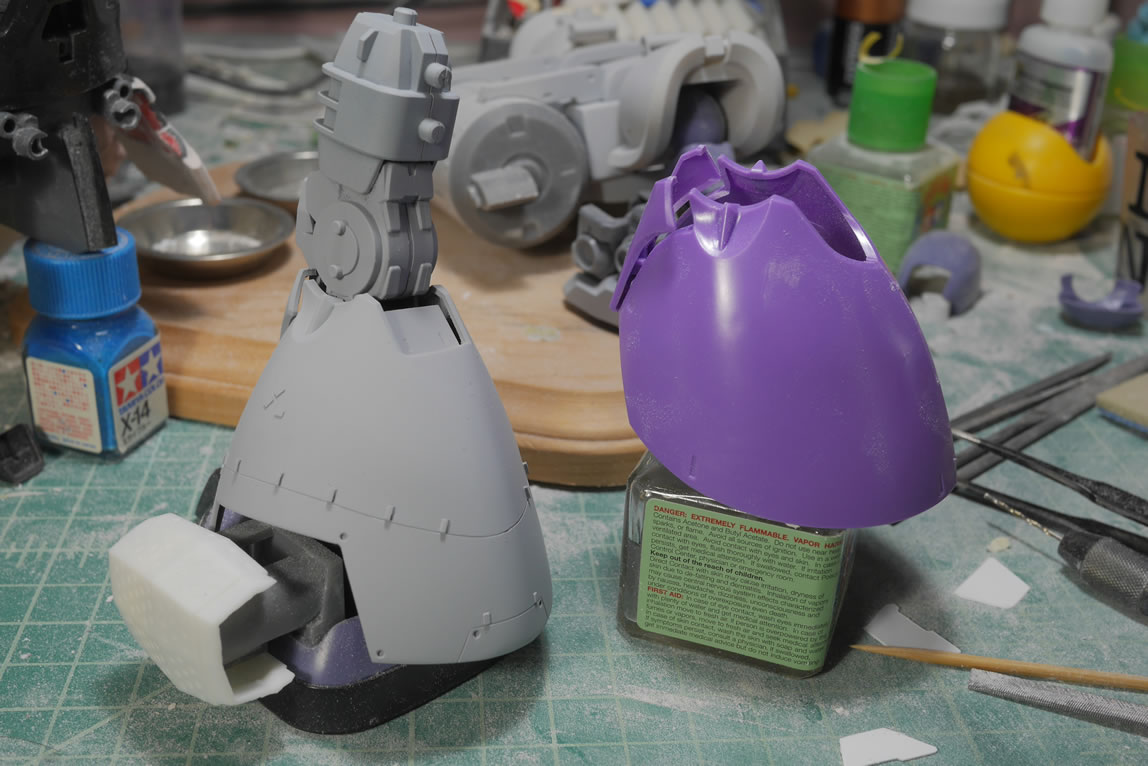
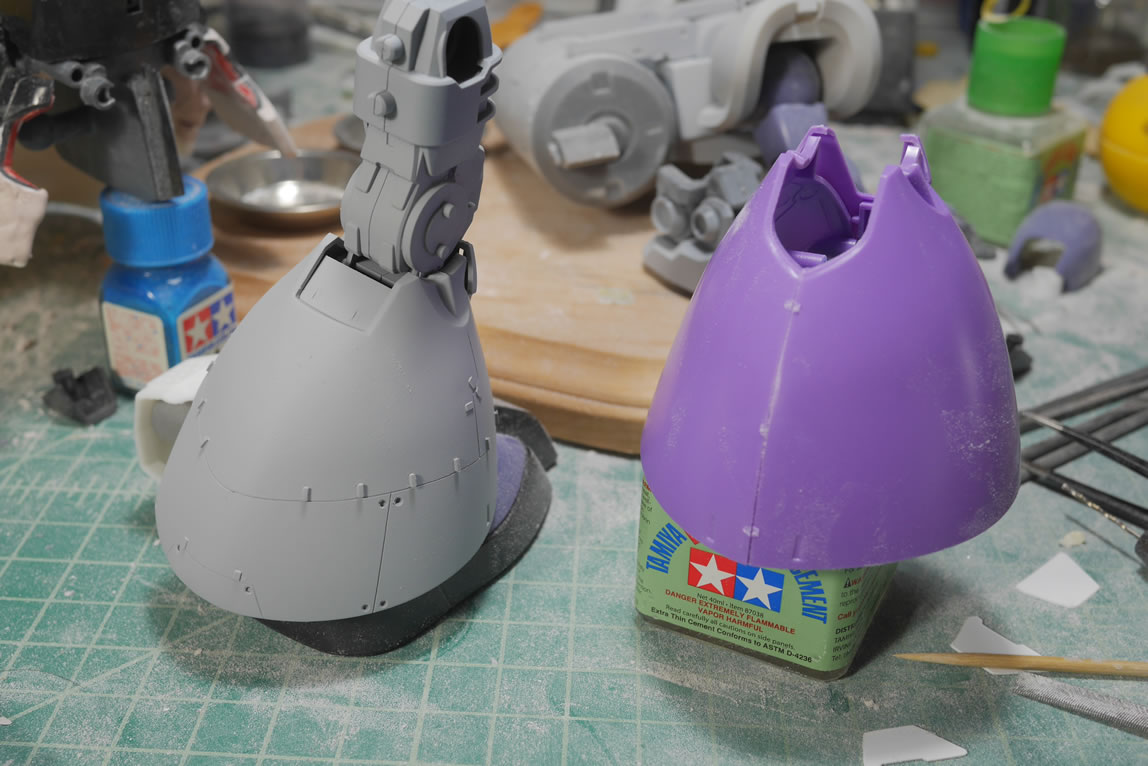
Returning to the leg, last week I glued in a piece of plastic as a structure base for more bondo. Here I have the bondo added to the back of the legs. I’m also reshaping the back legs to get rid of the small point from the OG Dom’s leg See the last picture in this set for comparison. This meant rescribing the detail line as well as sanding away plastic details that I had already added. This happens when you make mods. You change your mind and have to start erasing or sanding it away only to add it back… it’s all plastic in the end. The putty cured overnight and the legs got sanded. Lines rescribed, and some light curing putty is used to help fill in mistakes here and there. A piece of plastic was cut and scribed(really hard to see until I prime it) but this new plastic piece is the new back leg cover. I filled in the detail marks at the bottom of the legs. Another line is scribed on the inside part of the leg and detail holes were drilled.

More about this weekend’s work after the jump.
I puttied over the detail insets on the back of the legs as I wanted to add in some scribed detail. I cut some dyno labeling tape measured for length and angles. A pencil line marks the measured height of this detail. Tape is placed and a .3mm BMC chisel scribes the lines. Another two drilled out detail bits and some extra plastic plate I had cut from the previous update is glued to the surface. One leg done, now for the other.


Notice that there is a white plastic bit on this leg piece (near the hole on the right side). I had made a mistake when drilling the hole, so I needed to fill it. I used styrene glue and a plastic rod and a little bit of white putty. Once that cured, it was sanded down and the detail drilled hole was attempted again. Once that looked correct, the plastic details were glued and this leg is ready for primer. Mistakes will happen, it’s part of building process. It’s only plastic, fill it back and try again, and again, and again until you go insane or get it right – there are only two options here.

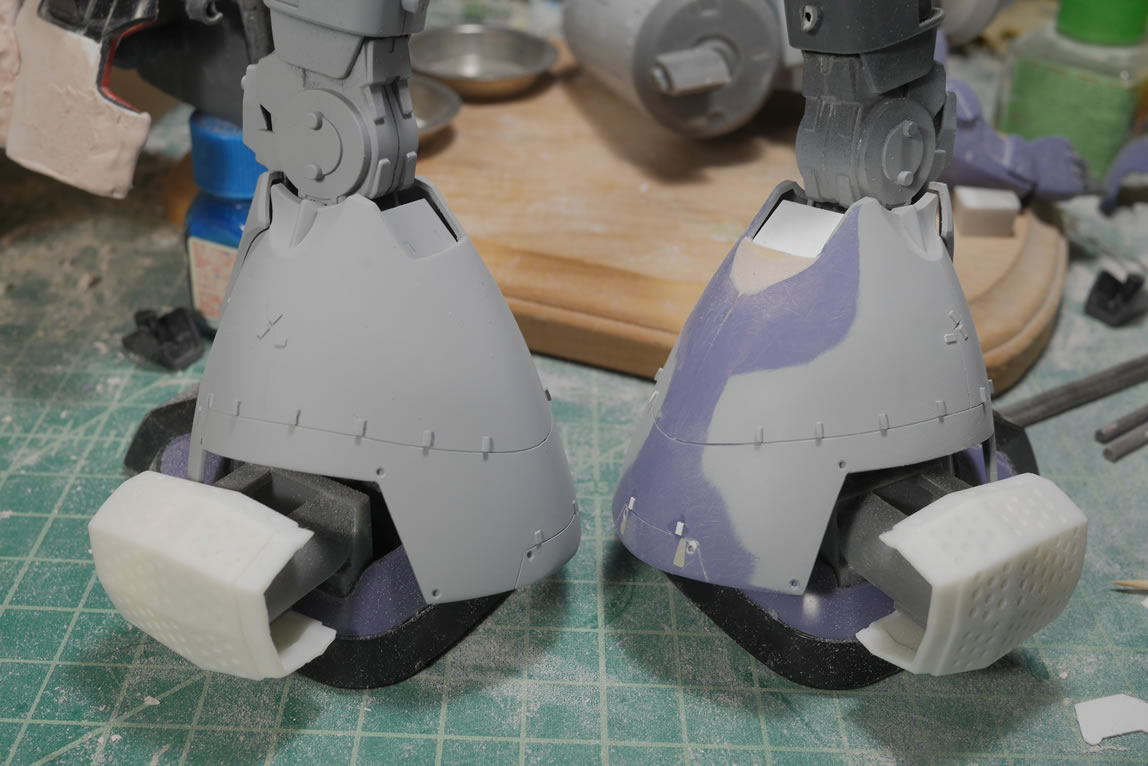
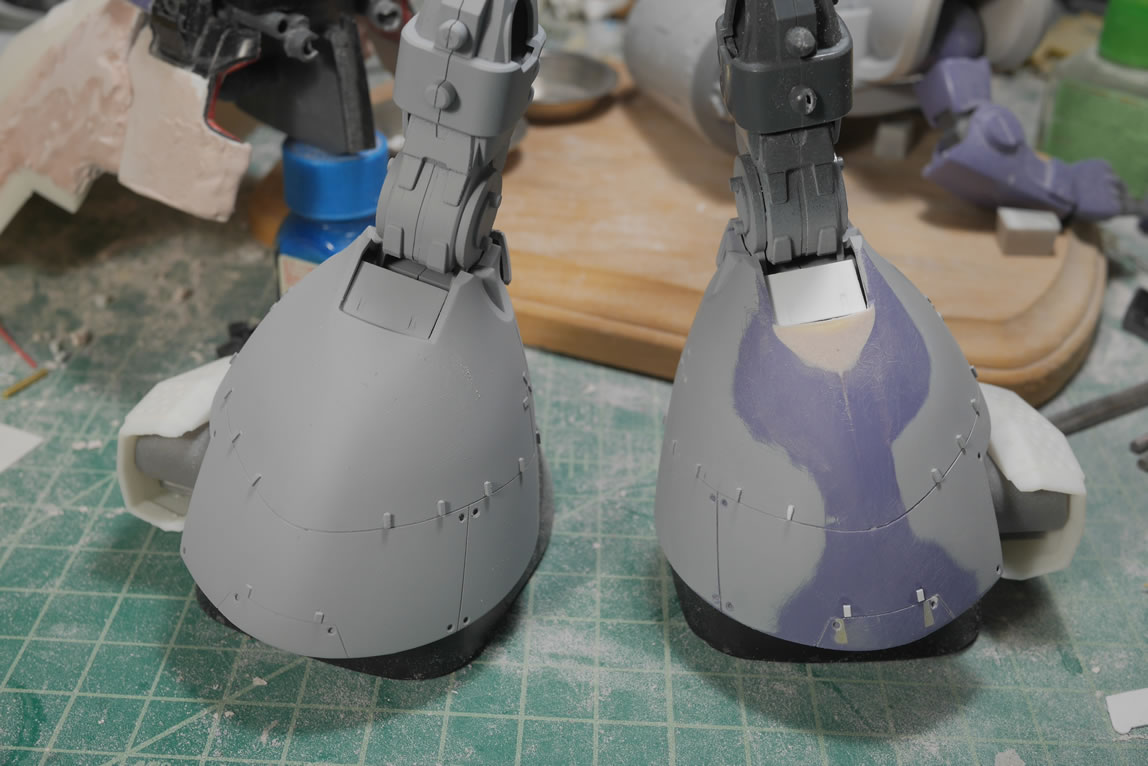
Once primed, all the details start to pop better and a comparison shot with the original leg piece shows how much has changed. And realistically, not much was done. Just a little sanding and cutting and the whole look of the leg completely changes. The legs were primed at different times because I had to wait for the plastic and putty on the mistake to cure. Which worked out as I can show the difference between the primed part and the modified multi-putty-plastic-colored look of it all.
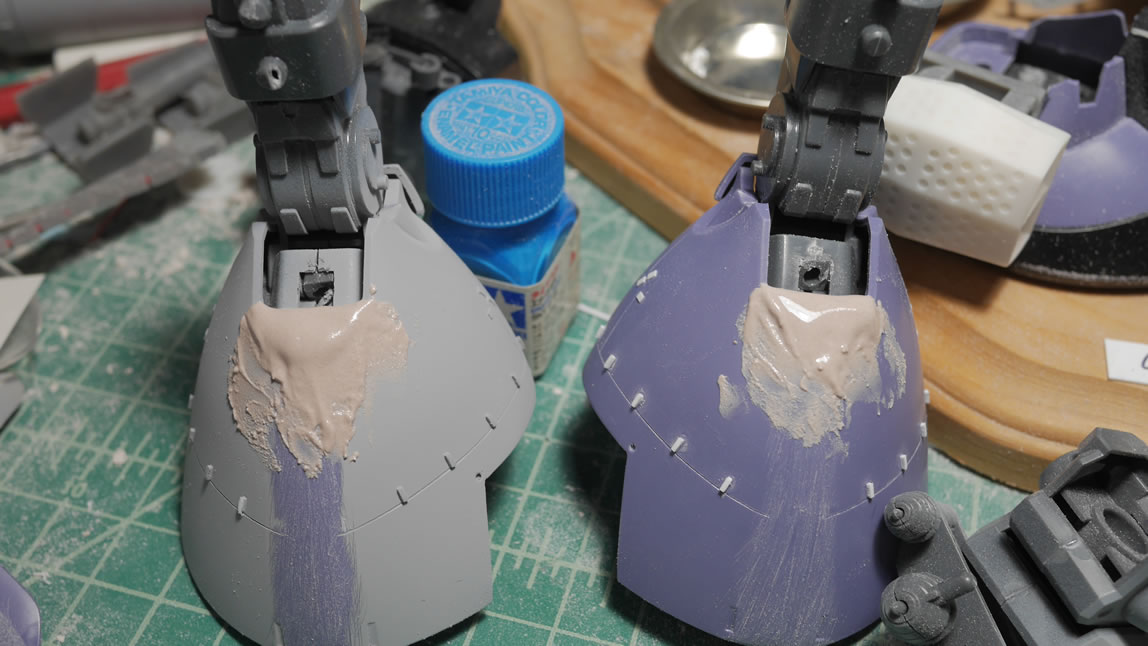
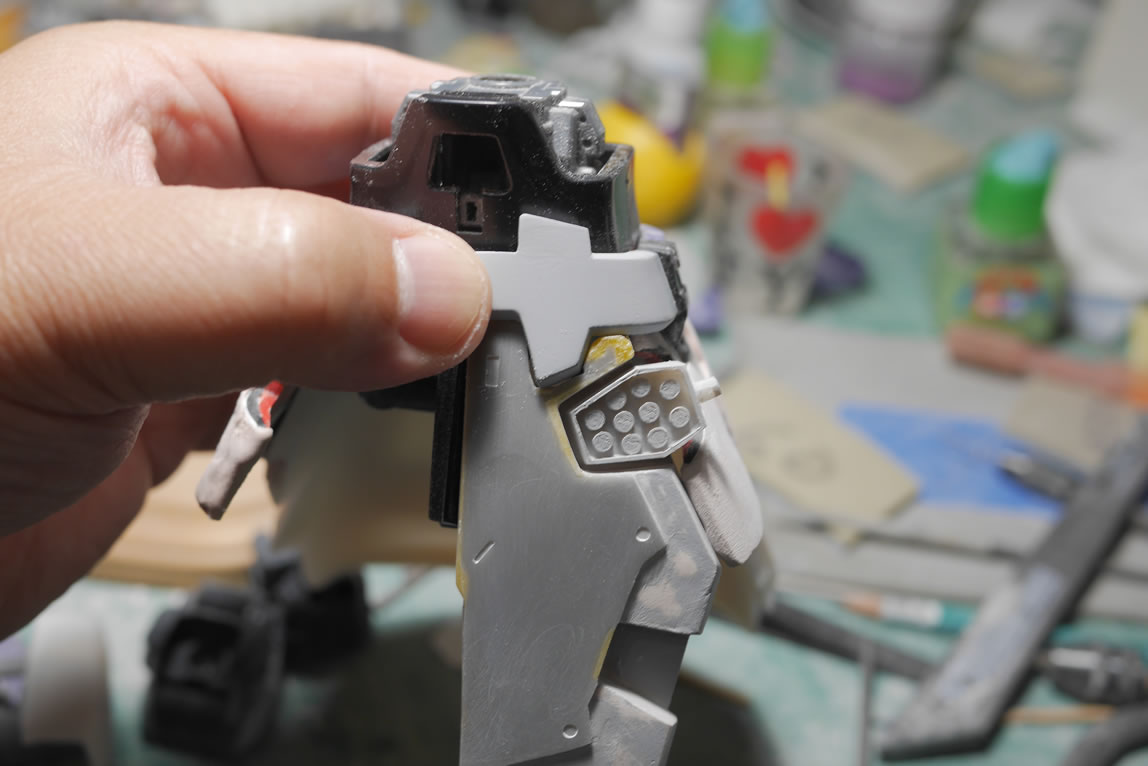
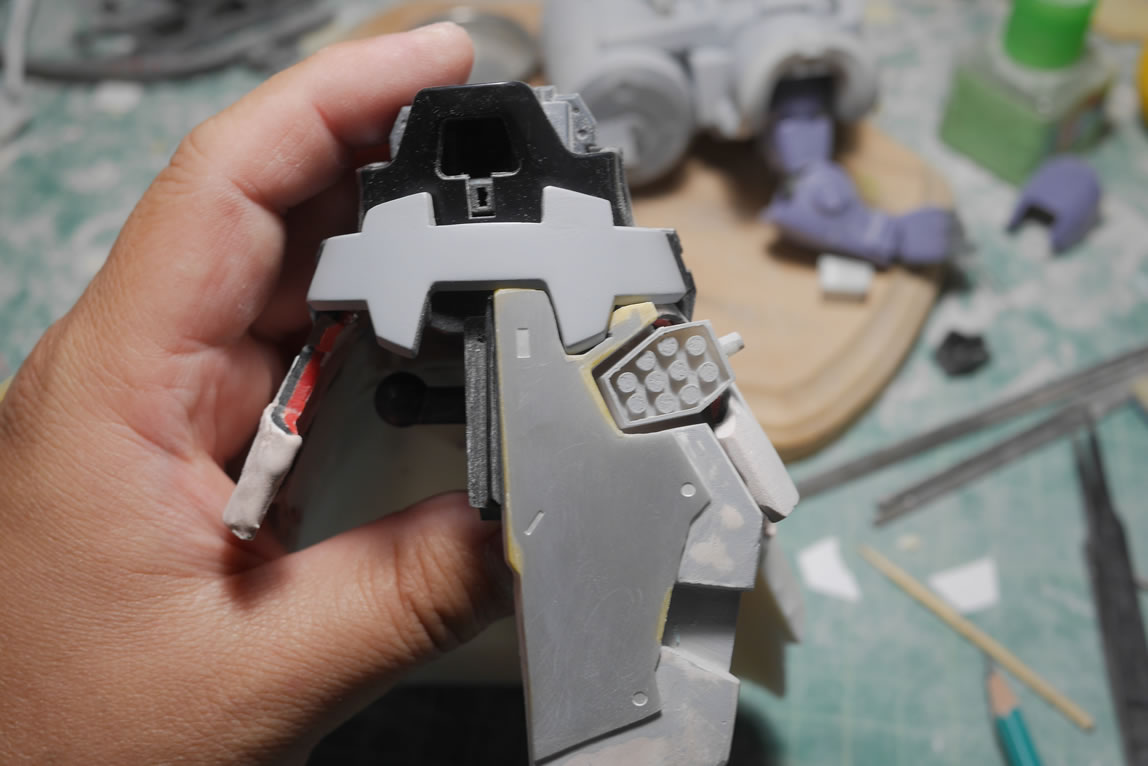
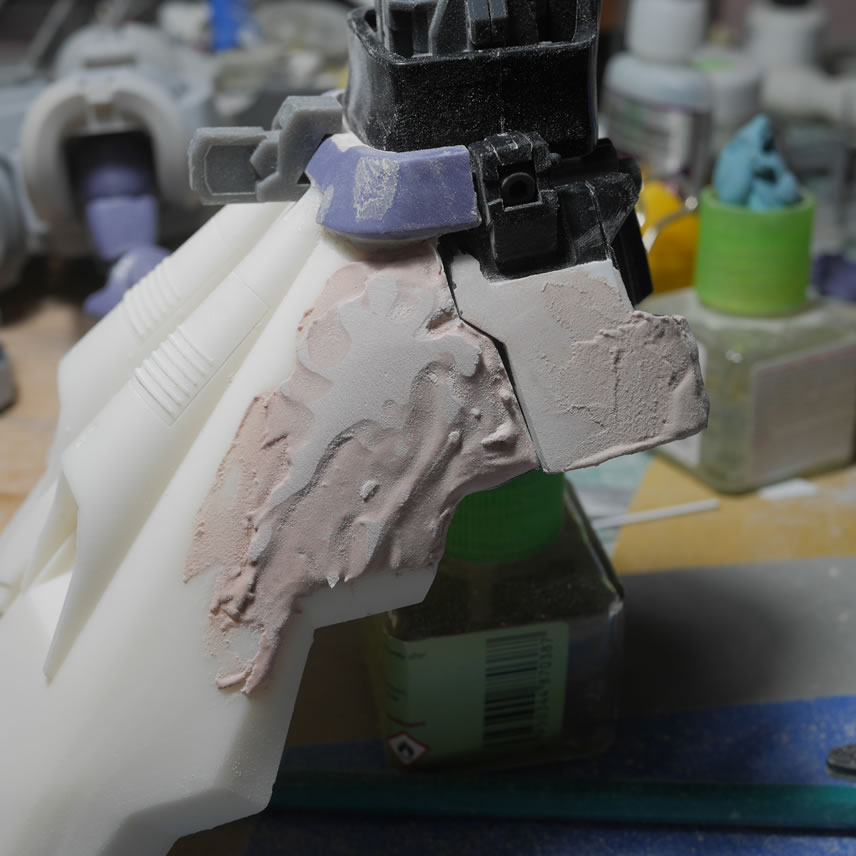
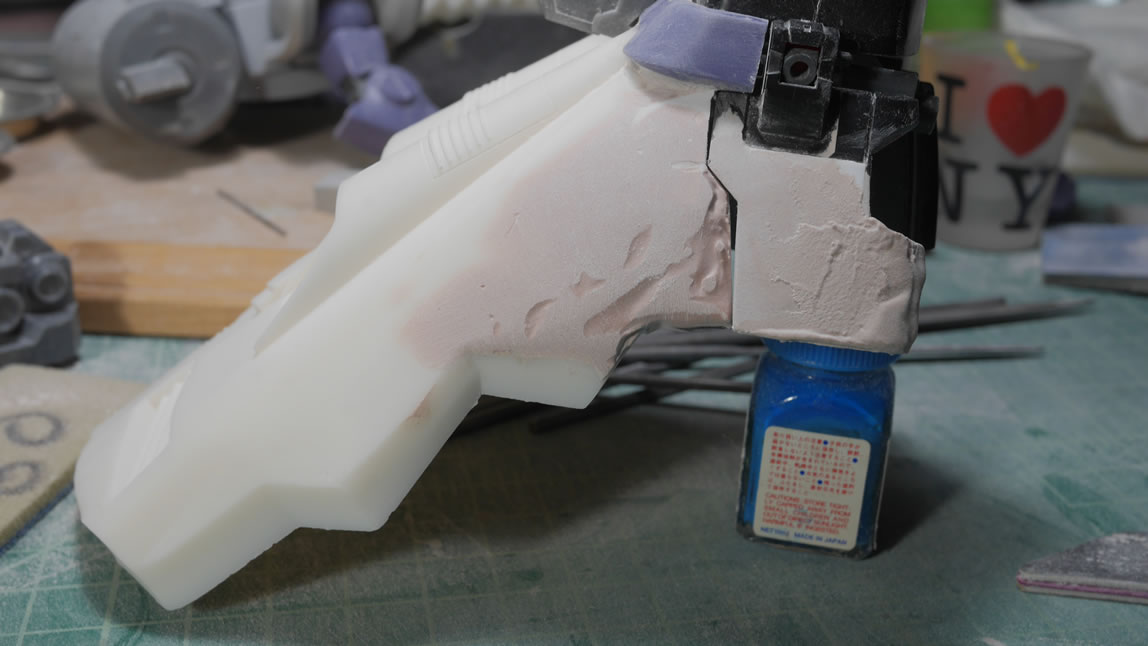
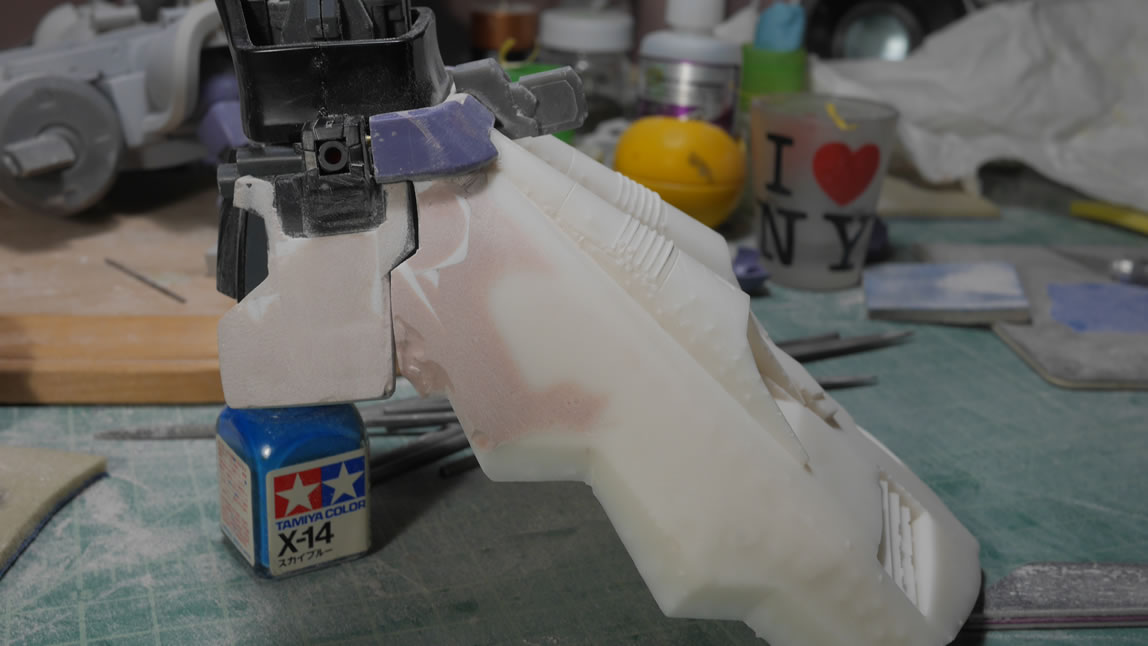
Done with the legs I move to the front skirts. There is a crap ton of work for the front skirts. I had printed out a detail plate that I glued over the top of the scratch built skirt. The marriage of the two pieces is not perfect, so there is a decent amount of clean up and putty work. Light curing putty really speeds up this process and I was able to finish one of the skirts Saturday night. The yellow areas are the light curing putty.
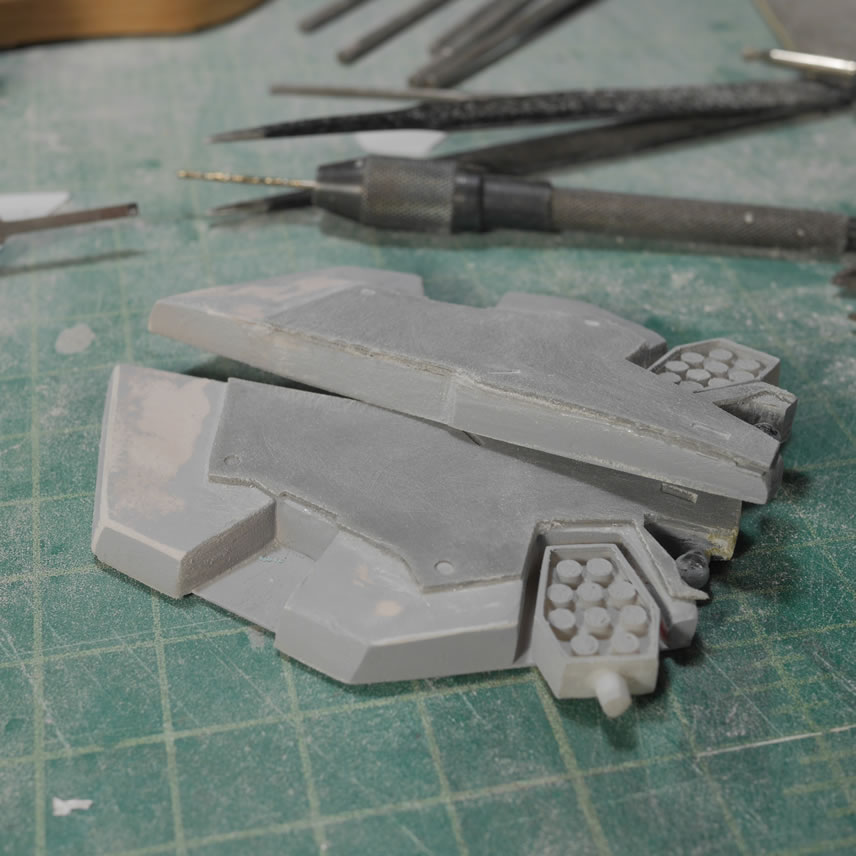
As I slowly progress, I have the other skirt piece left alone for a before and after photo.
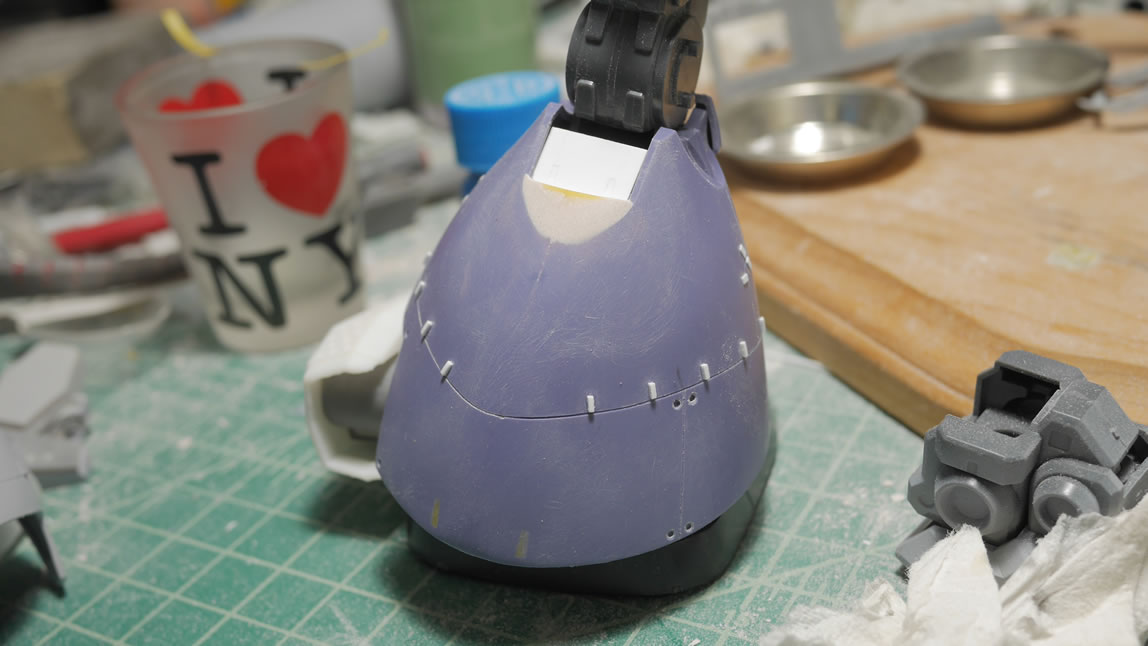
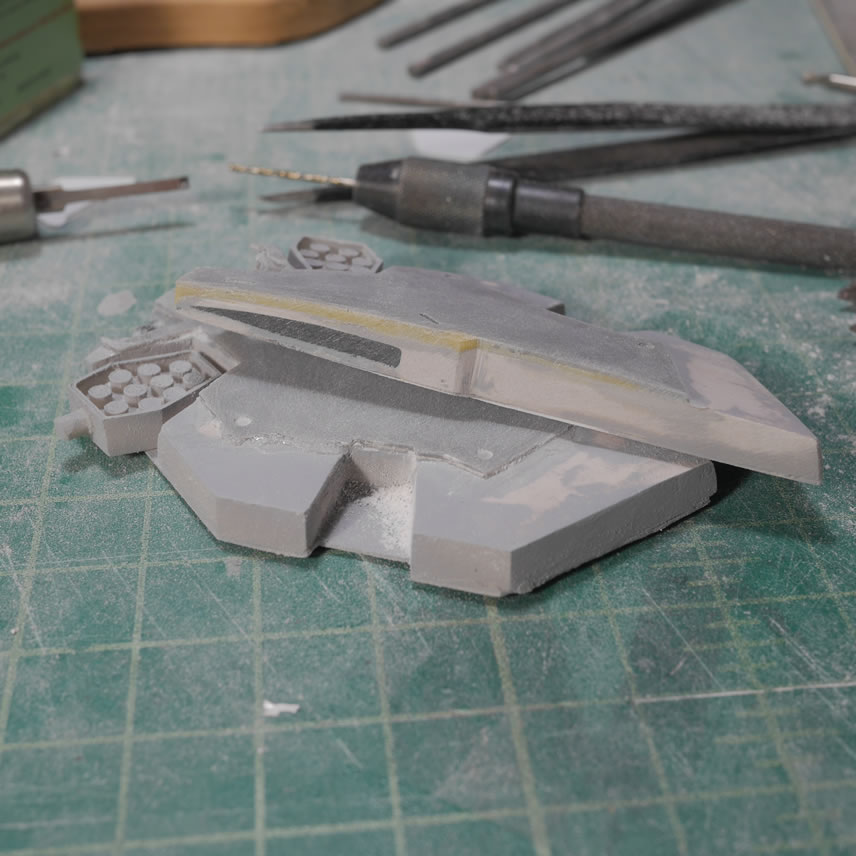
Test fit! Testing with the other armor pieces shows the areas I need to fill and build up. Once I start puttying and sanding, I keep going back to checking on the fit to make sure it a: fits, and b: looks correct. You should be able to clearly see the filled in light curing putty areas. It is just putty and sanding. Just lots of it. And as we progress, the working skirt is being built up and cleaned up. There is a bunch of CA glue residue to sand down (which is a bitch and a half to sand btw). I had done a quick print for this detail piece so the resolution lines needed to be sanded away as well. The last thing I did before going to bed was prime the piece.
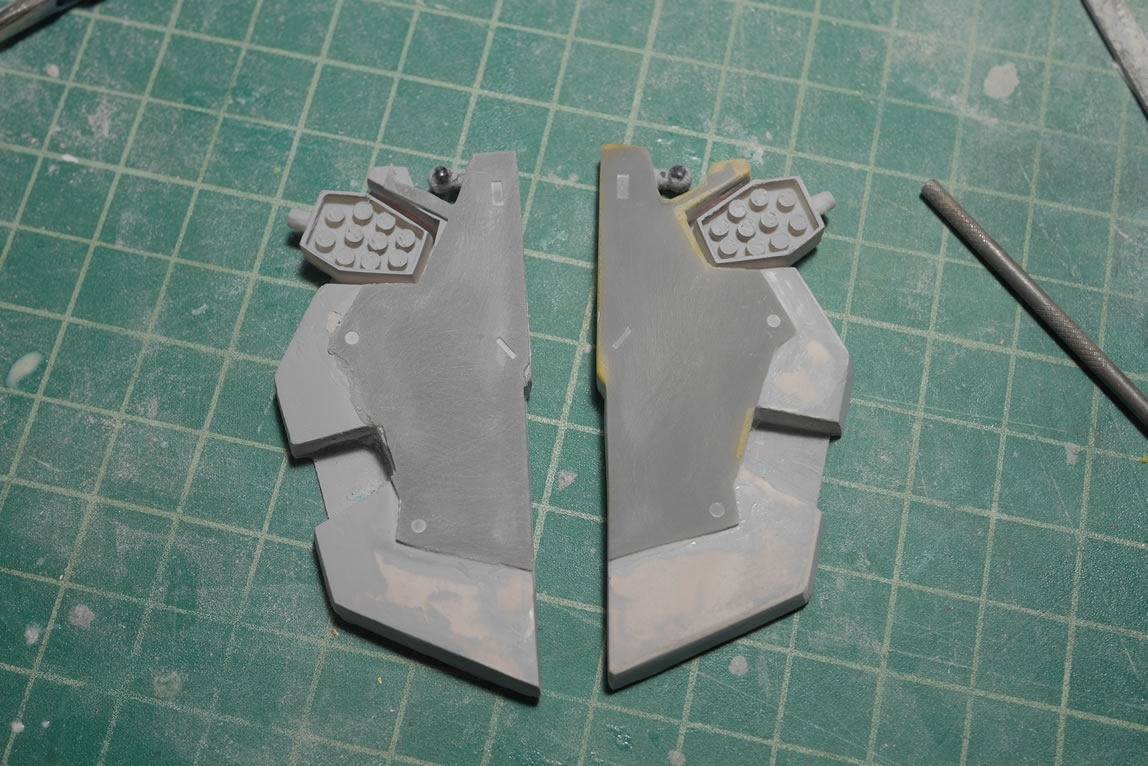
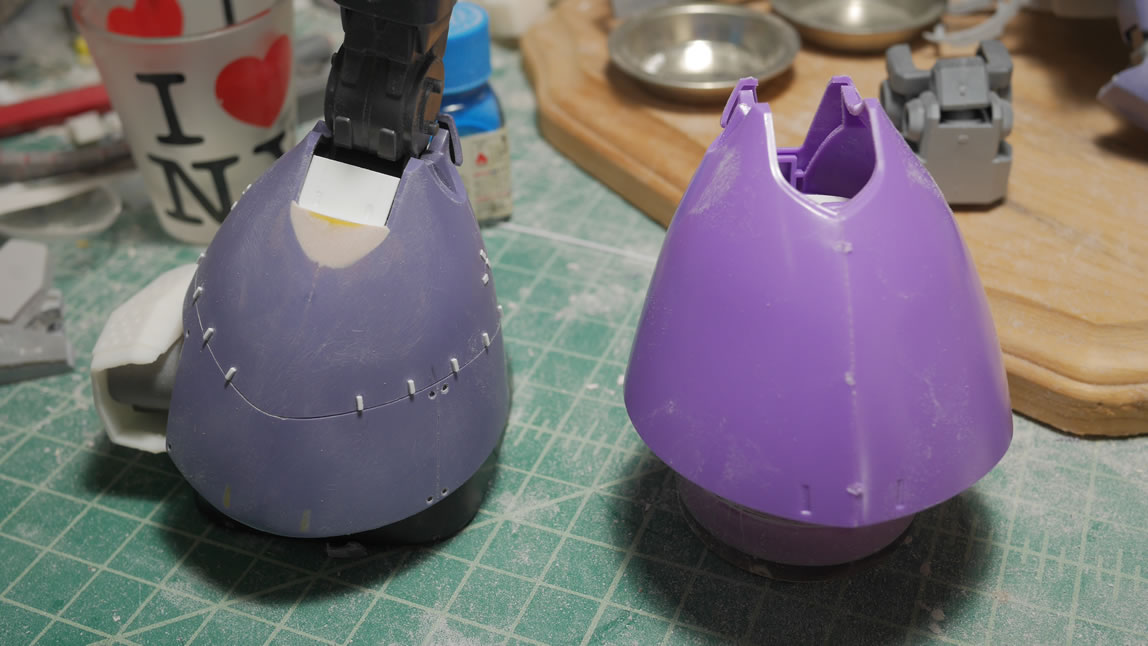
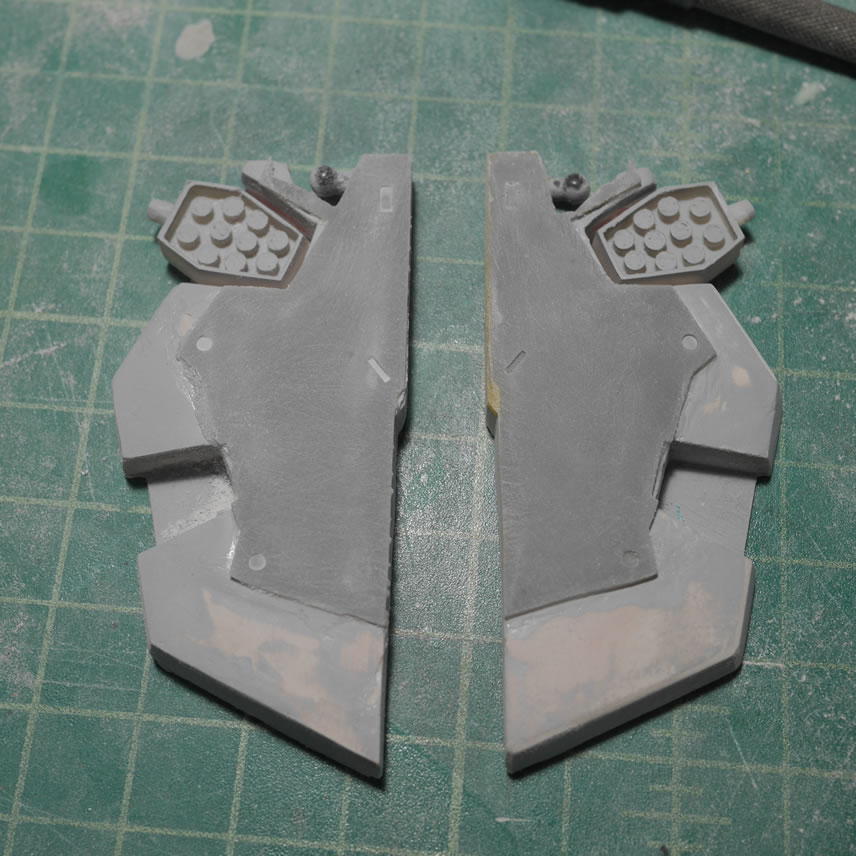
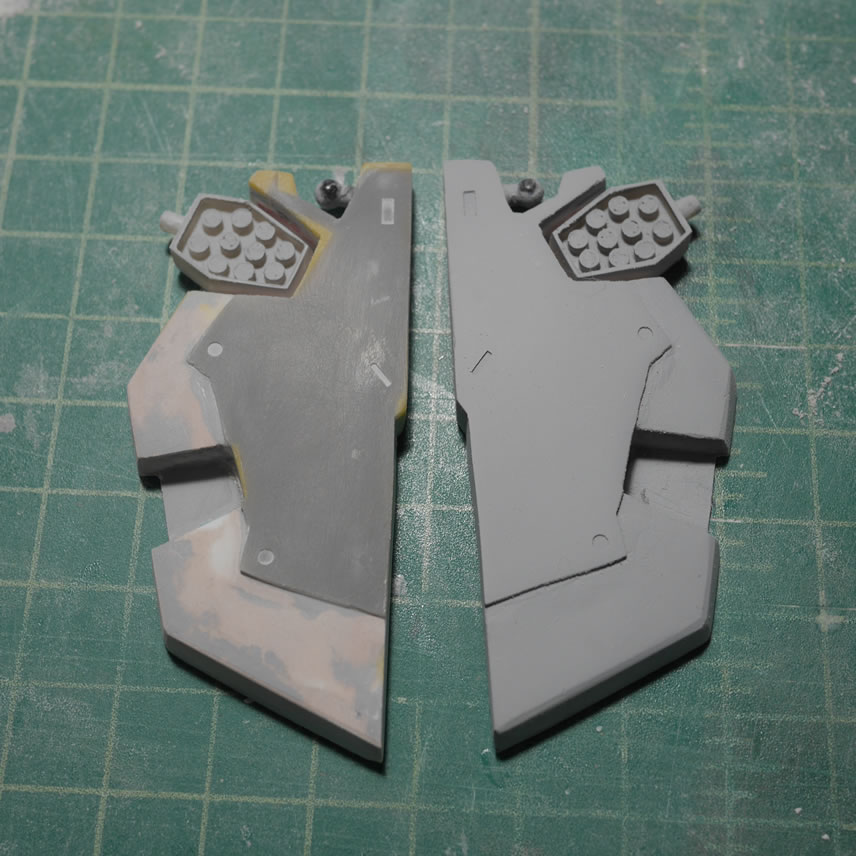
Here is the comparison of the primed piece and the other skirt piece. And as always, test fit, and you should clearly see the differences in fit and the numerous gaps for the before and the after. Happy with the one side of the skirt, time to work on building up and cleaning the second skirt piece.
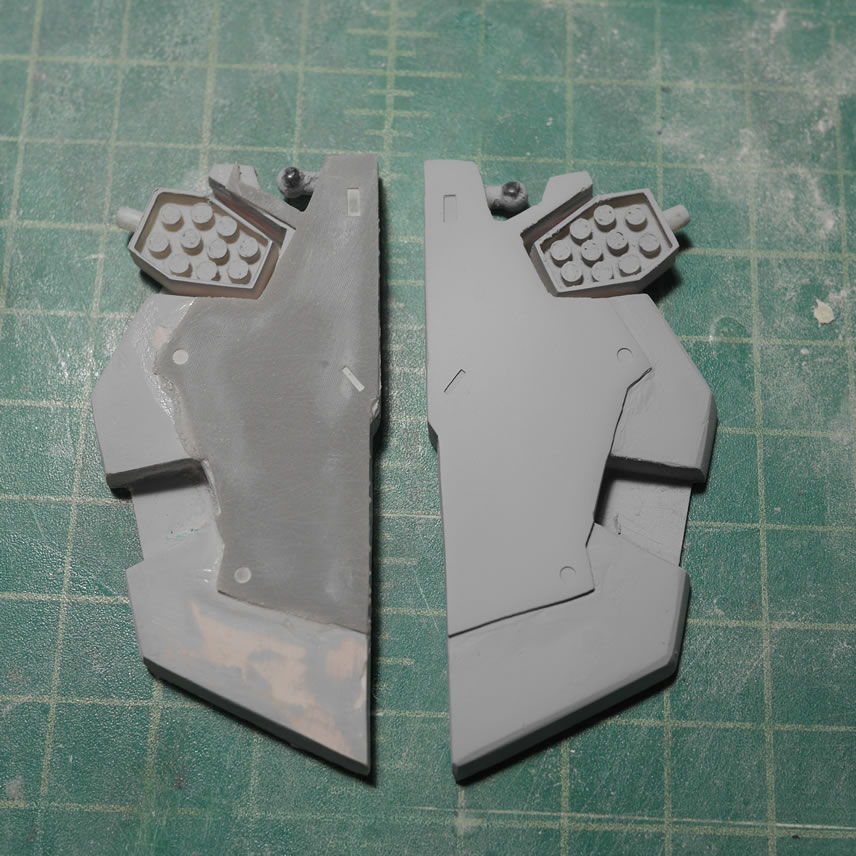
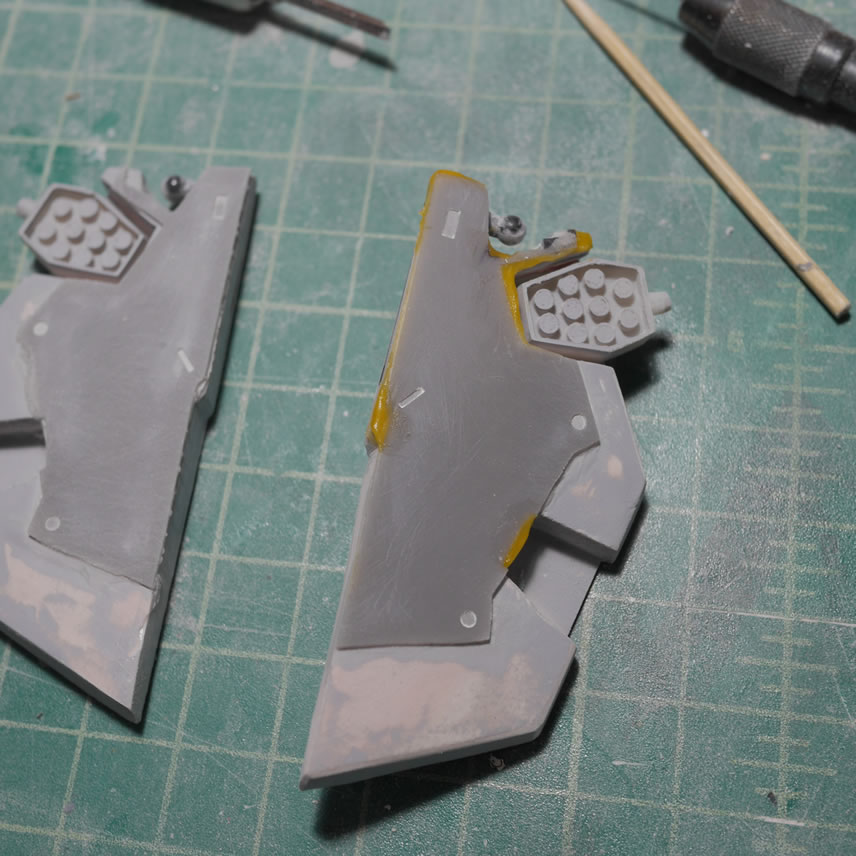
No progress of that other skirt piece because it would be redundant. Just mirror image the above in your mind and there you have it. Time to move to the rear skirts and work on some more sanding and shaping to fit it with the waist as well as get the correct look with the side skirt alignment. I still have more filling and sanding, but the end of the weekend crept in and I’m done for the night.
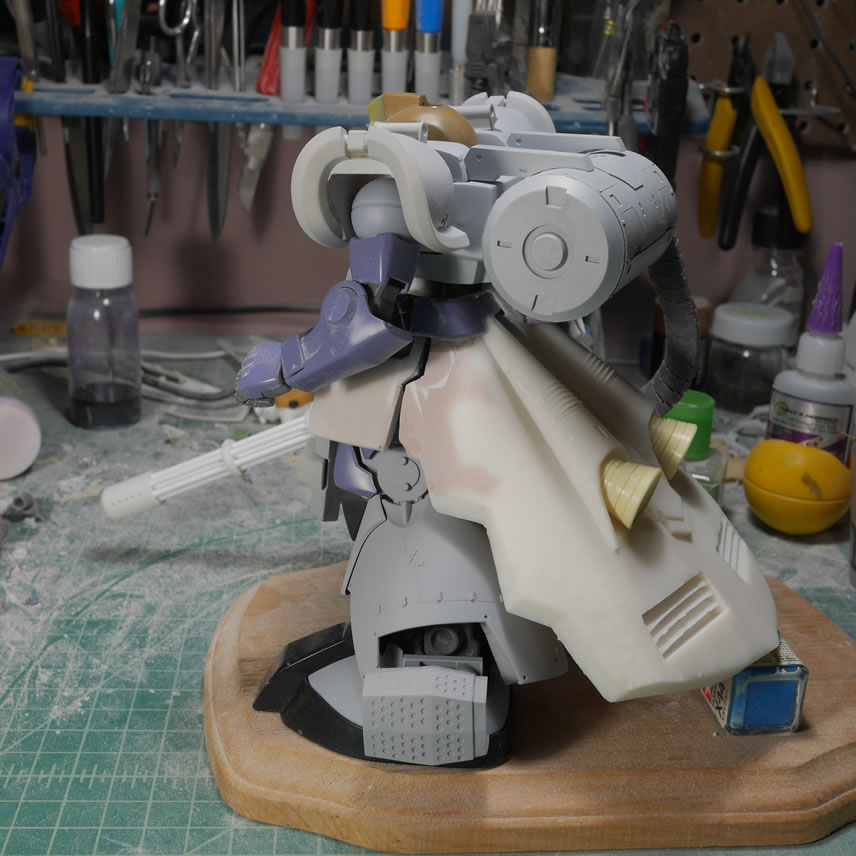
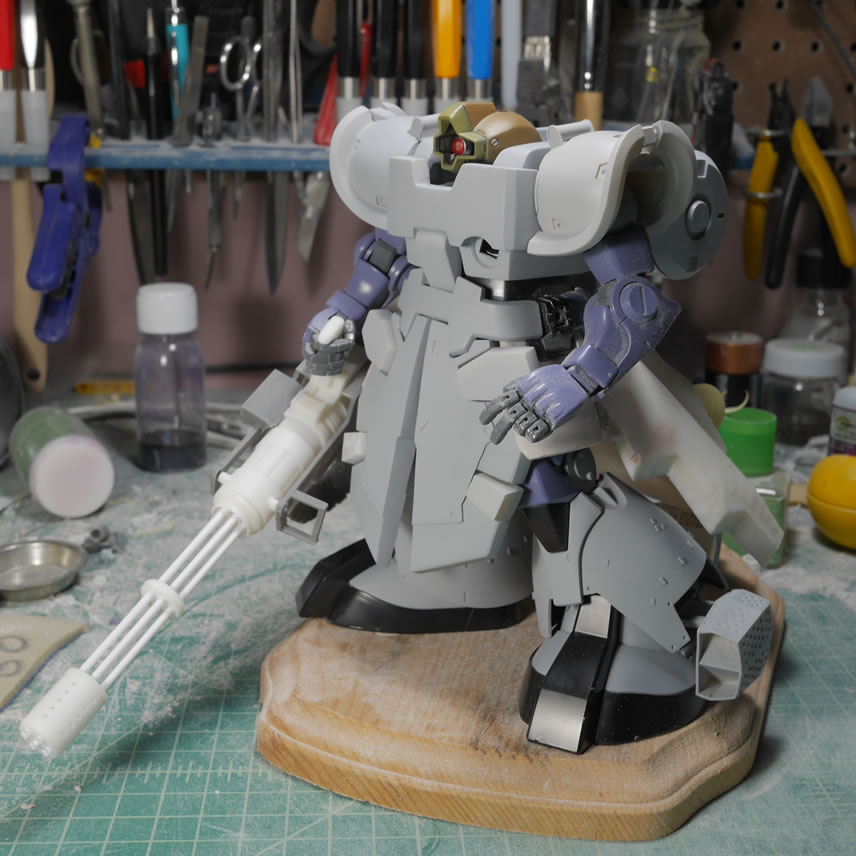
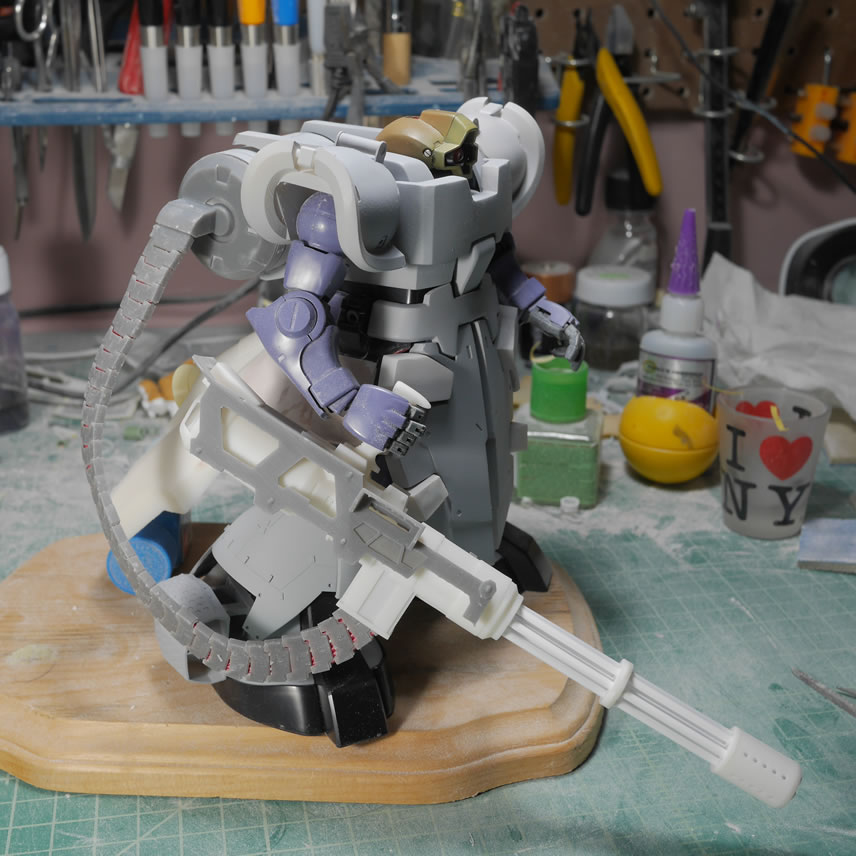
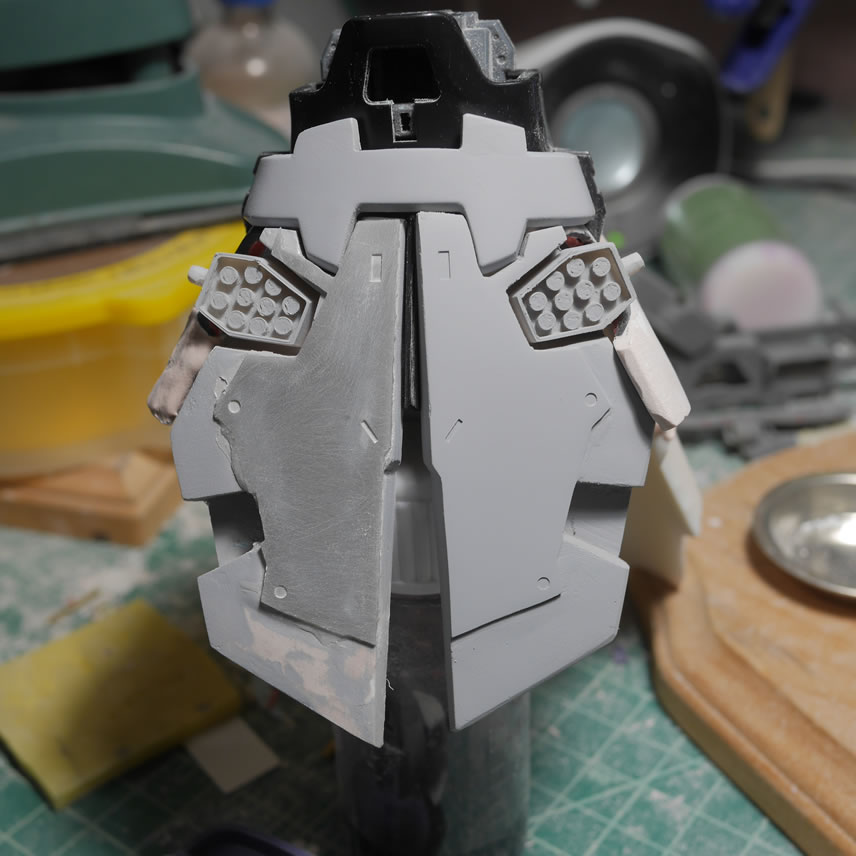
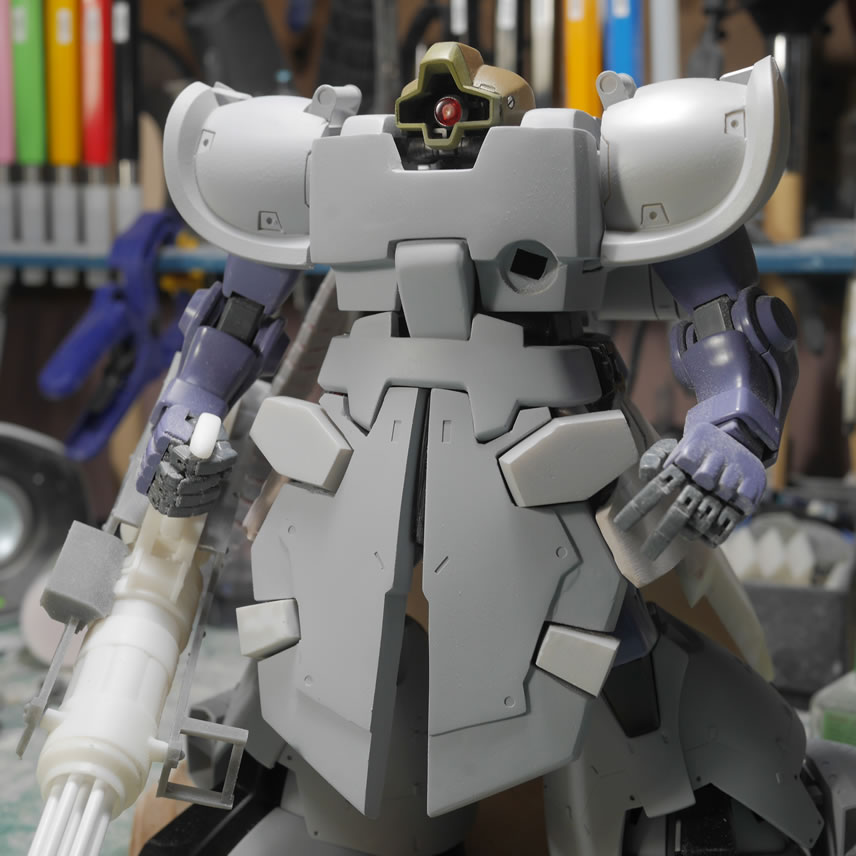
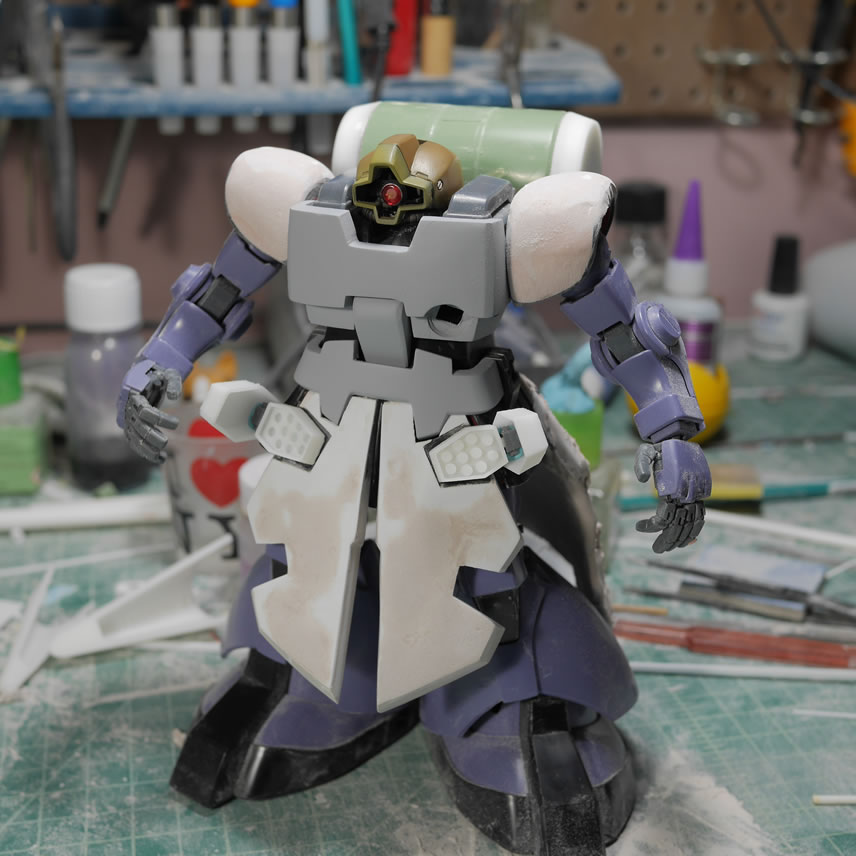
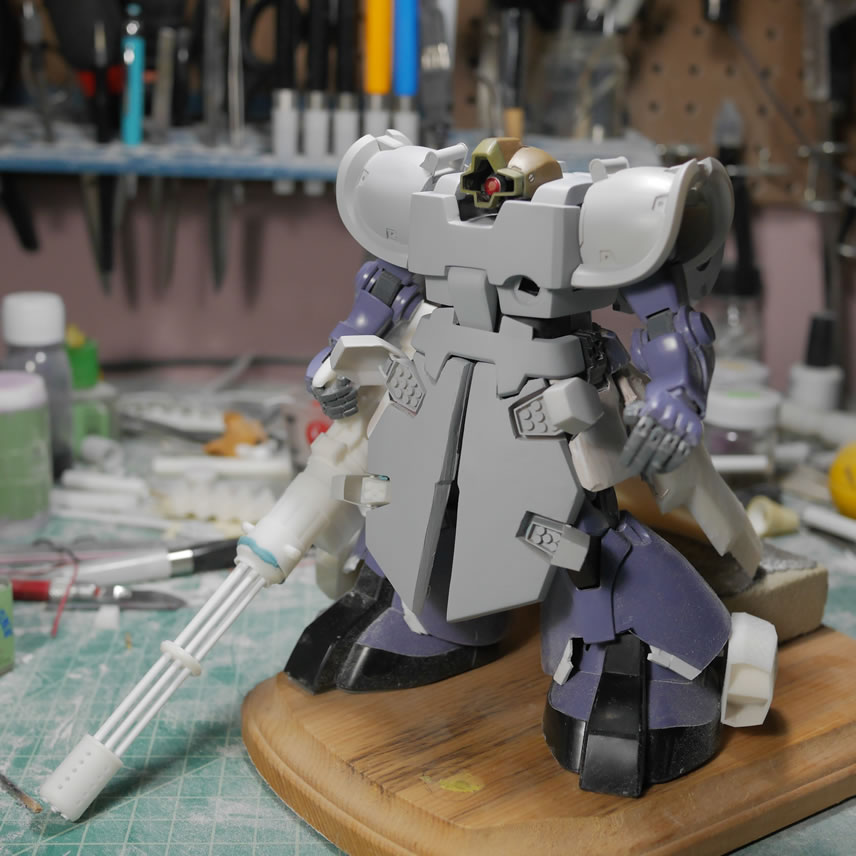
I primed more than just the skirts, I also finished priming both legs as well as the top of the feet and the vent detail. There is quite a bit of cleanup for those areas, but more primed pieces gives me a sense of accomplishment. Even more so when it’s time for another full dress rehearsal. I snapped everything I had together for some pictures. This also works to check that all the small detail work for each small subsection still work in the big picture of everything. This is getting exciting, things are really starting to come together.
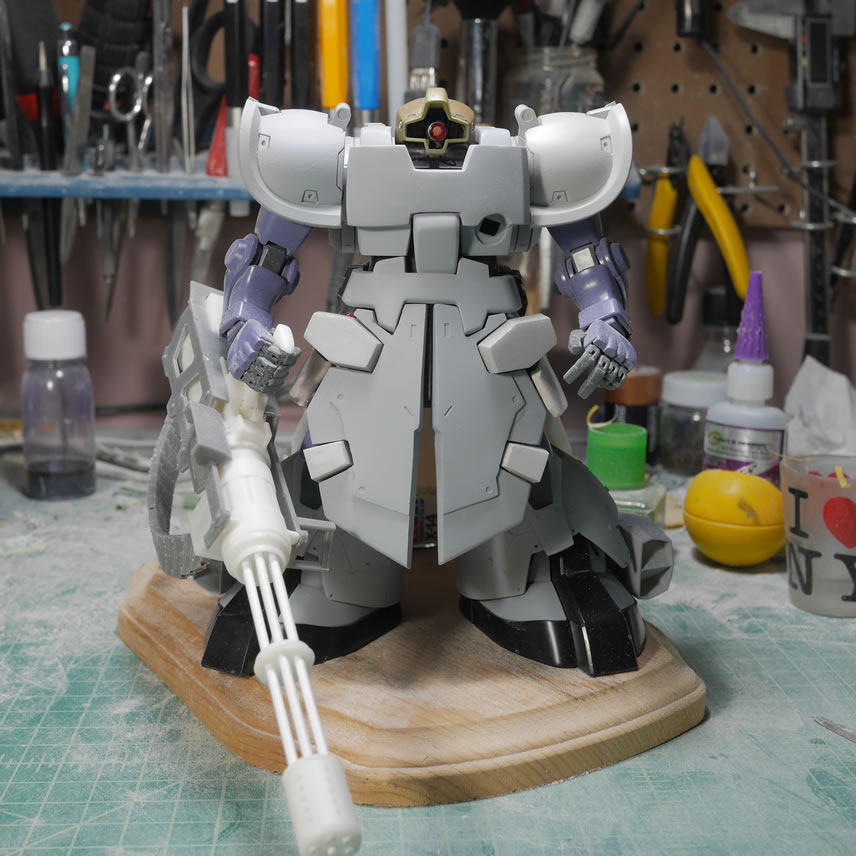
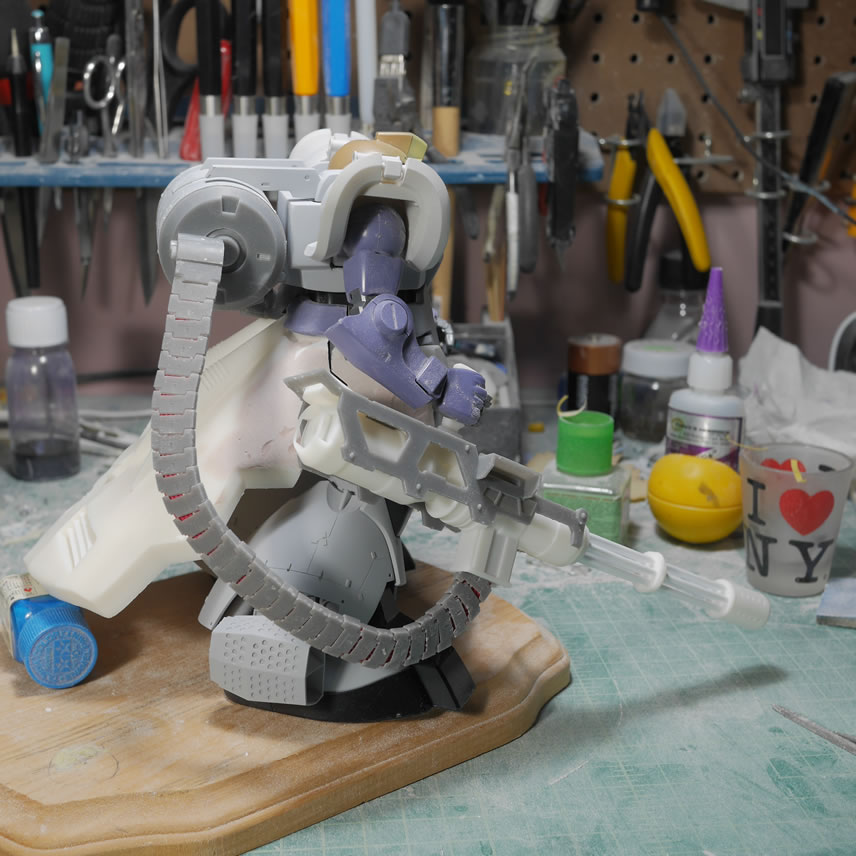
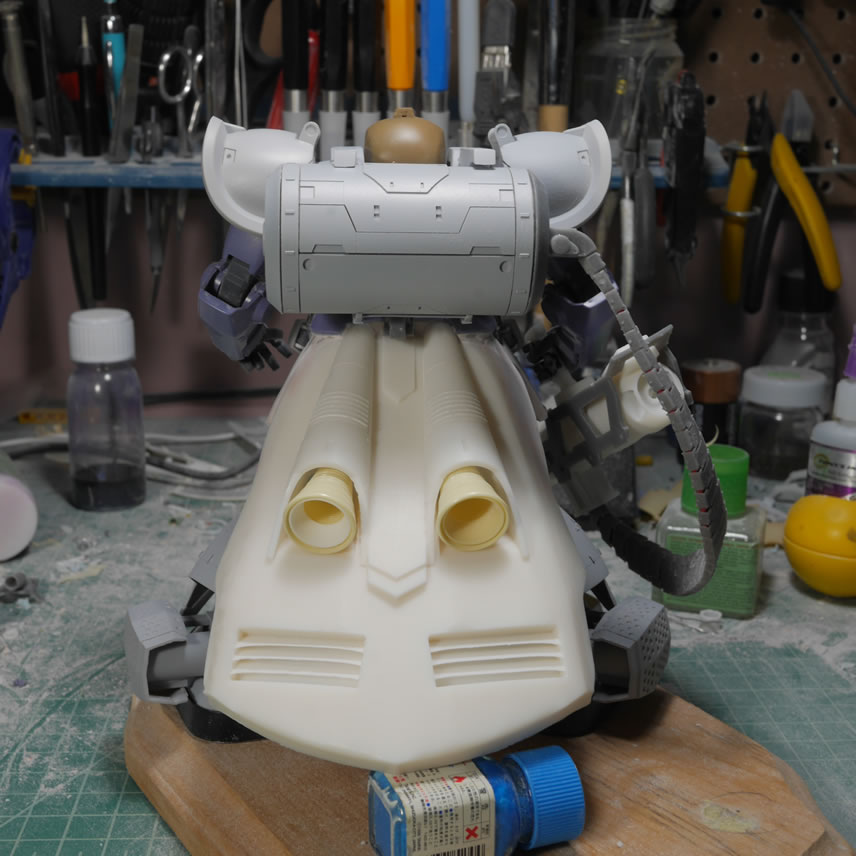
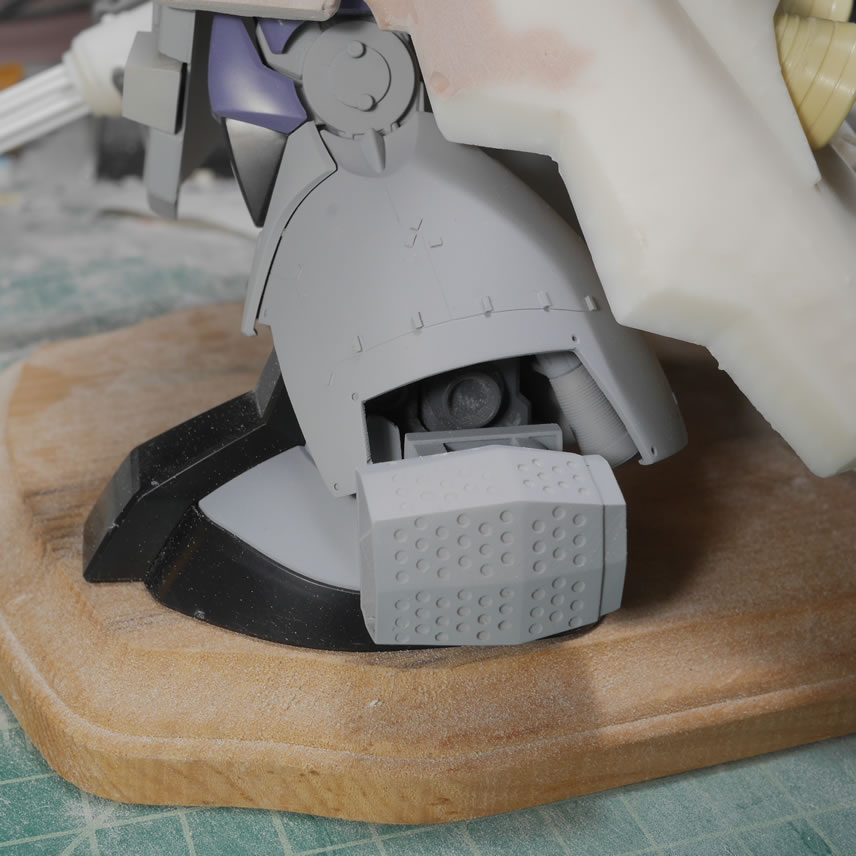
The rear skirt pretty much covers the rear leg details. But for anyone looking under it’s skirt, that’s there for ya; ya damn perv. The internal leg motor and thrusters can be seen which is pretty cool. The thrusters are modified from the original to lengthen and just beef them up.
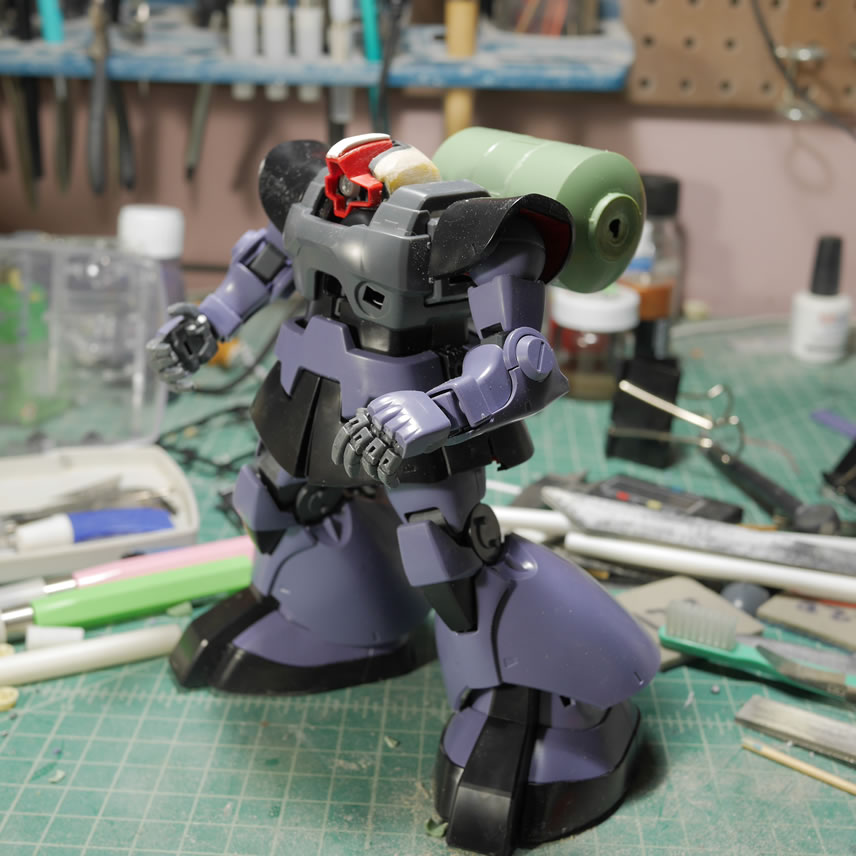
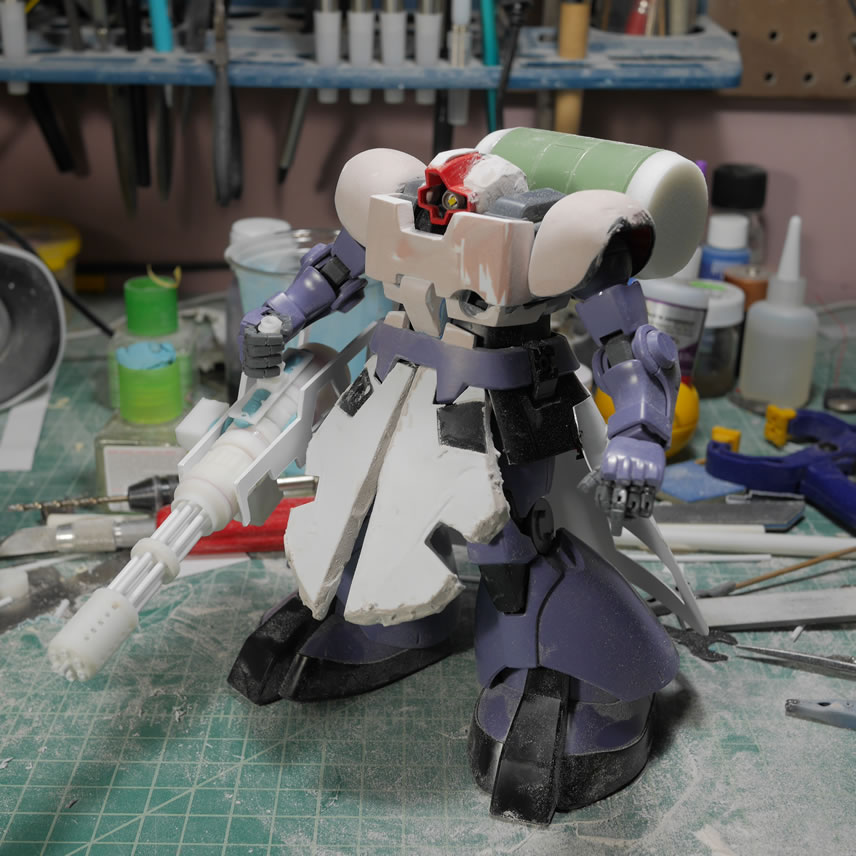
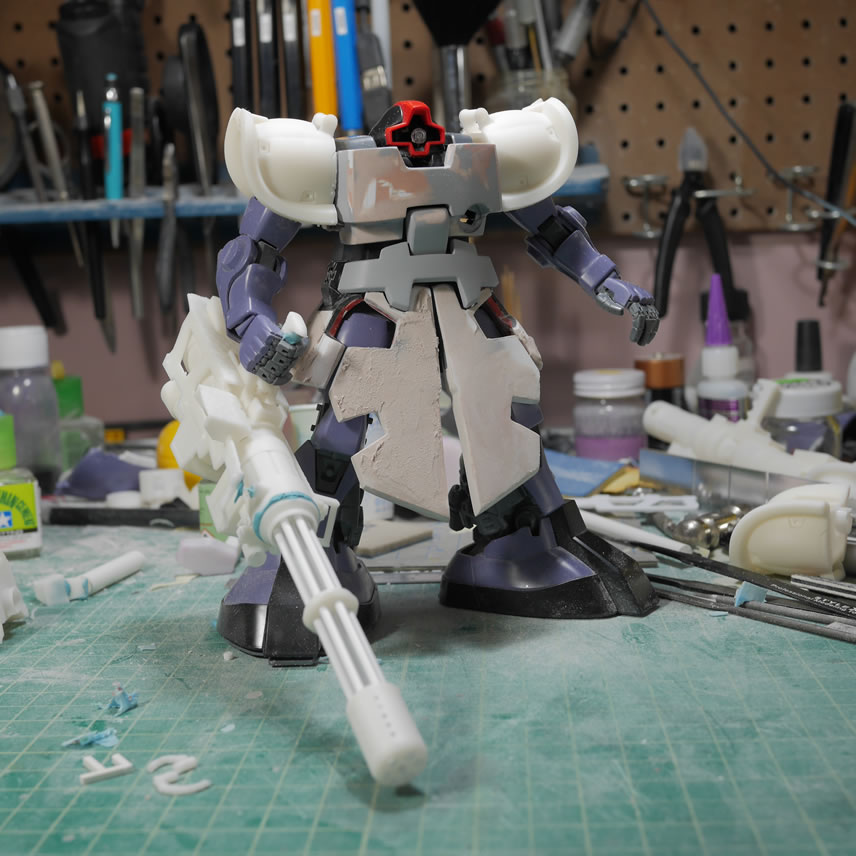
As far as the build, I believe I have the gun and the rear skirt to finish building and soon we’ll have a fully primed project.
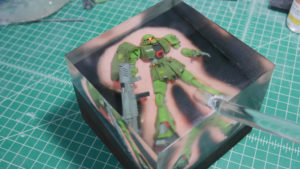
For shits and giggles, here are some pictures of the progression/evolution of this project from day one to now.
From the above to below (so far)