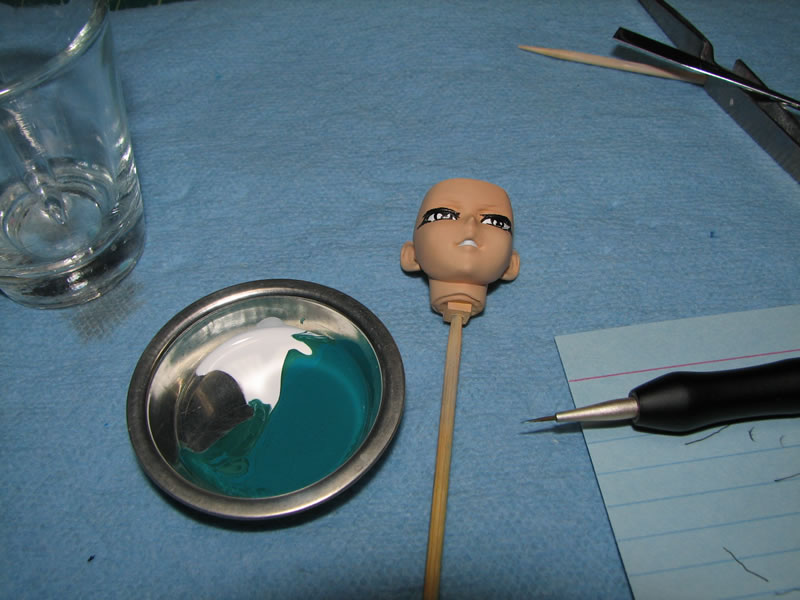
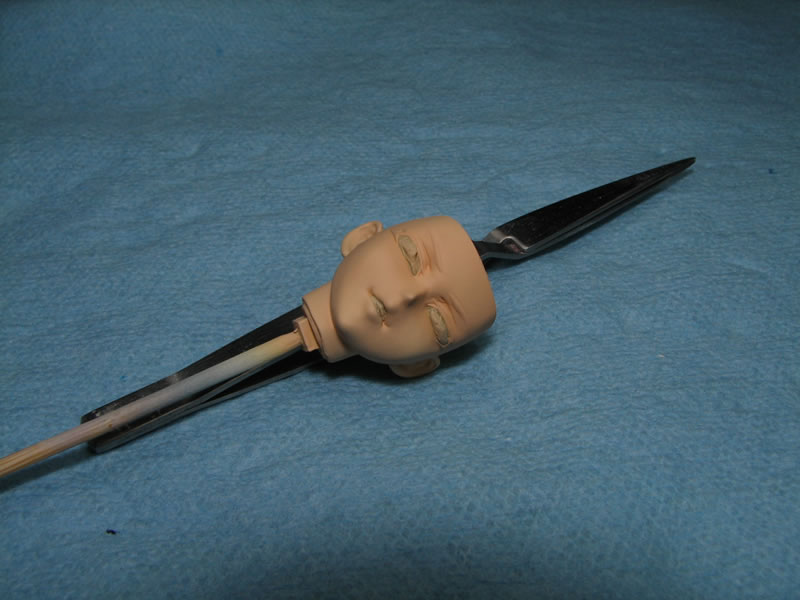
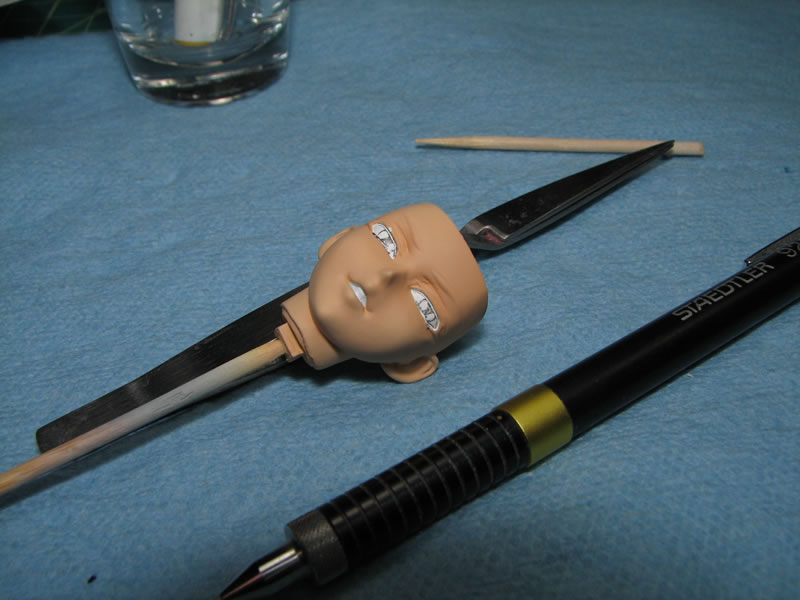
Not much of an update since I wanted the allow the flat coat on the skin parts as well as the clear purple on the appendages cure for a few days before masking them off and continuing with the painting. So I opted for painting the eyes and face details for Asagi last night. Below is the basic start and end points.

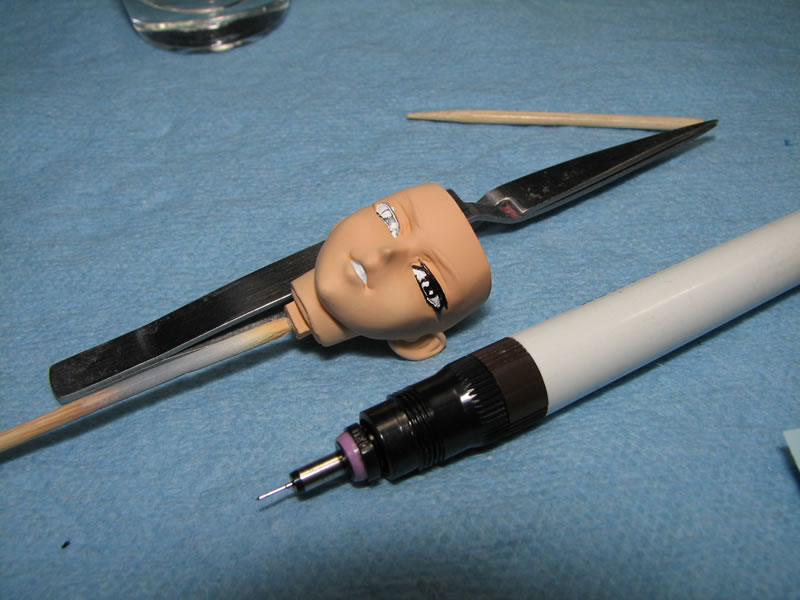
Removing the sticky tak I used as a masking implement, the eyes we get the first picture above. Once removed, the eyes are drawn in using a .3 mm mechanical pencil. If a mistake is made, the eyes can be erased and then redrawn numerous times until satisfied. So in the second picture below, the eyes have been drawn.
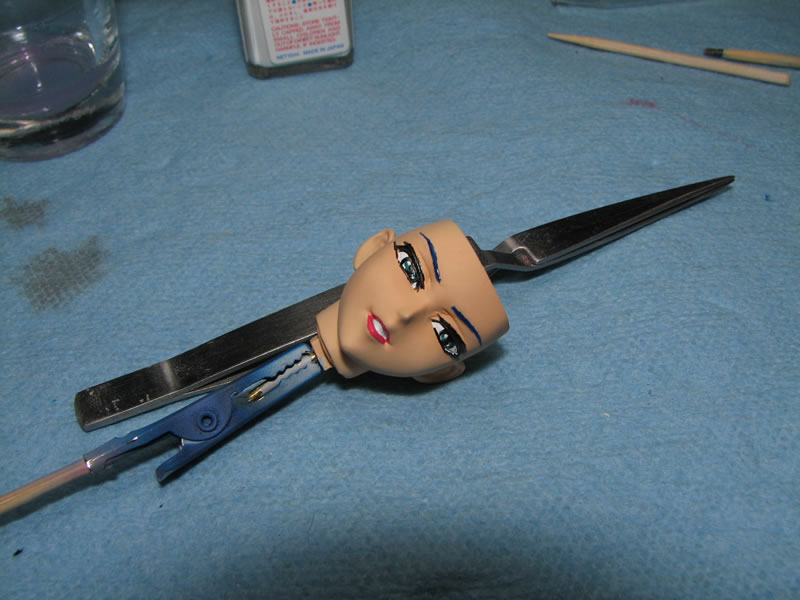
With the eyes drawn in pencil, a .13 mm tip rapidograph technical pen filled with india ink is used to ink the eyes. The technical pen, for me, is much more precise an instrument than a paint brush for doing the eyes. Once the eyes are inked, they are allowed to dry for about an hour before paint is applied to color in the eyes.
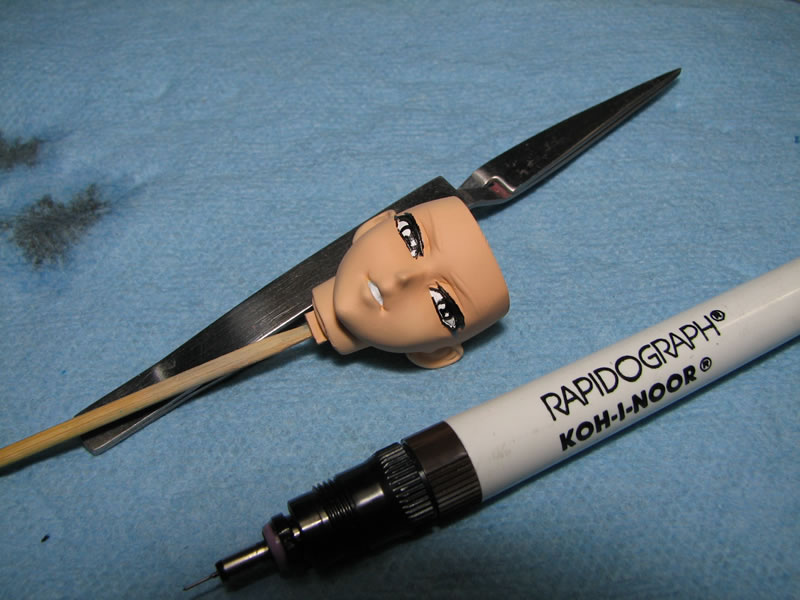
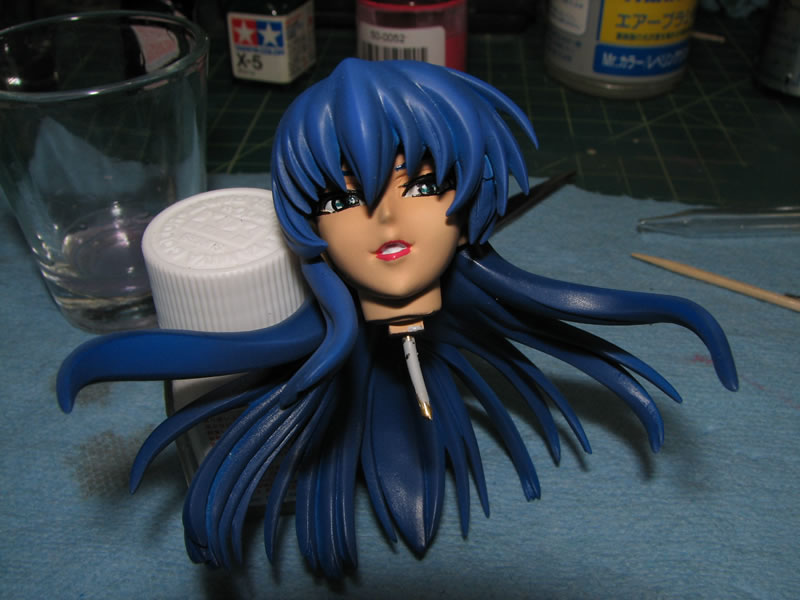
Enamel paints are used for the eyes as they are slow drying and blending is an easy task. A mixture of green, sky blue, and white is used for Asagi’s eyes. With the eyes done, the eyebrows and lips are then painted to finish off the rest of the face details. I need to let the eyes to dry and cure for a little before I can spray on a couple of final coats of clear gloss to give the eyes some added depth and the look of “wet” eyes.