Since the last update, I’ve been slowly working on cleaning up the resin block. I started with some wet sanding and got rid of most of the rough edges. The surface of the resin needed to be cleaned off because there was some mold release from the acrylic box sides. Once I got that cleaned up, I found a few air bubbles that needed to be filled.
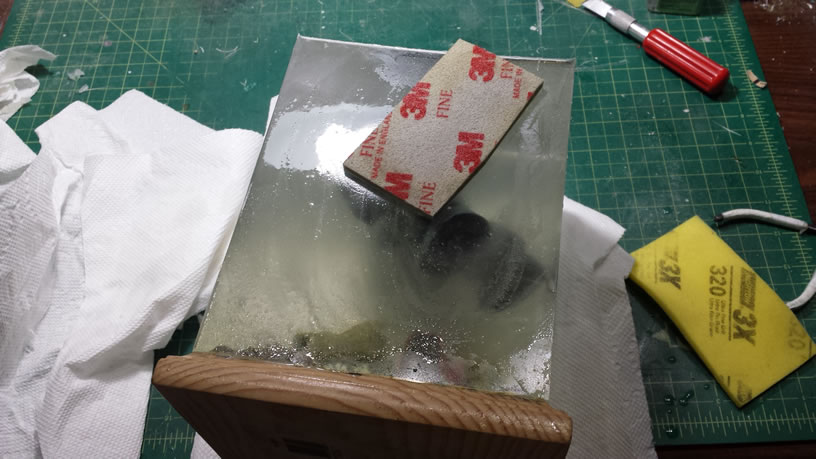
Using a quicker setting resin, I fill in the holes and just ended up pouring the resin over the surface of the block faces. This filled in the bubbles nicely, but there was some overflow and I needed to sand away the excess dried clear resin and then went to clear coat it. When I clear coated, I discovered that the resin I poured over the top had tiny bubbles. This resin cures much faster than the resin I used for the majority of the block, so once I clear coated the surface, I could see swirls of bubbles. Screaming bloody murder for a little while, I calm down and get to work on fixing this.

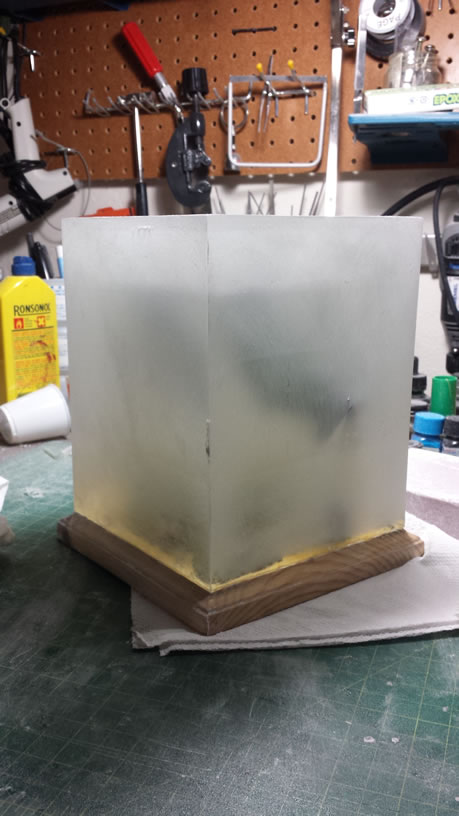
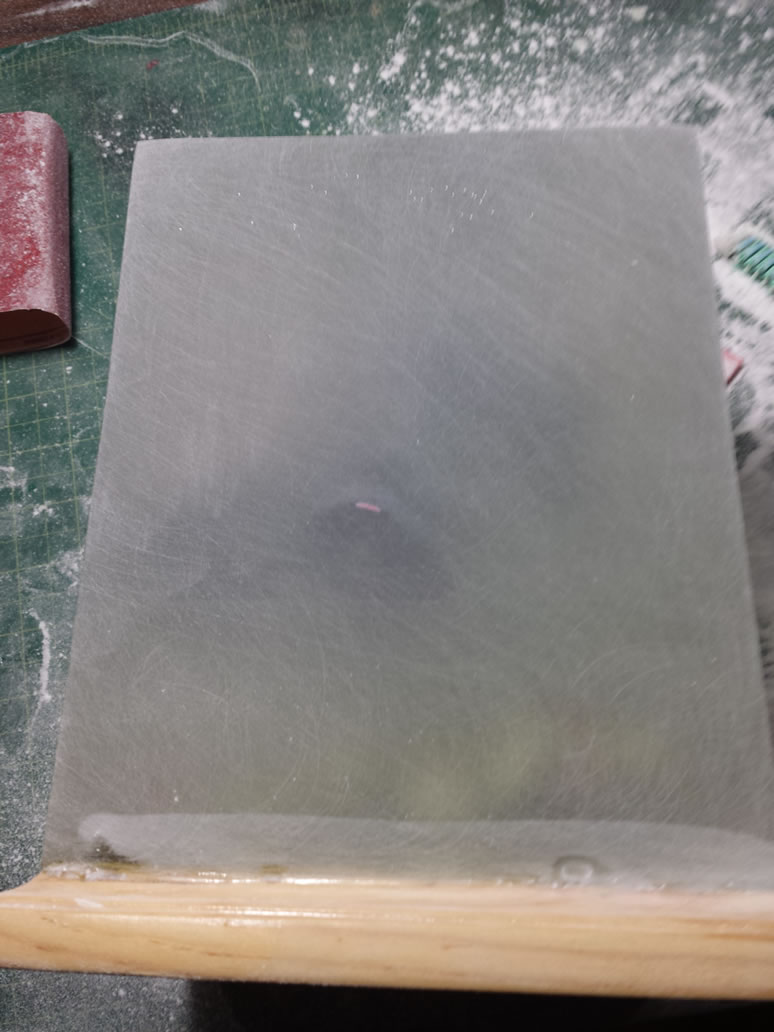
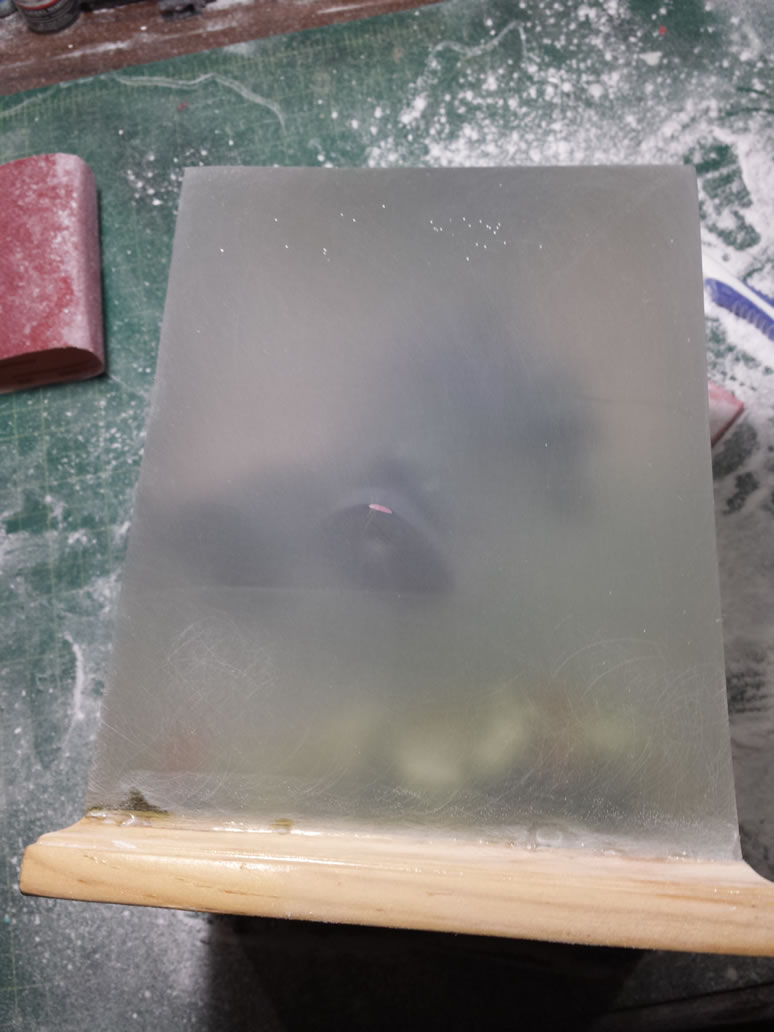
I ended up grabbing some 80 grit sand paper and wrapped my sanding block with it, and just went to town on the first side. From the pictures below, you should easily see the difference between the original clear resin and the added on clear resin. In hindsight, I should have just filled the small pockets of air bubbles only. With this mistake, I just had to take the time and sand down the excess layer that I poured. This process took about 3 hours per side to sand down. But eventually, the extra layer of clear resin is removed and only the filled in bubble areas remain.
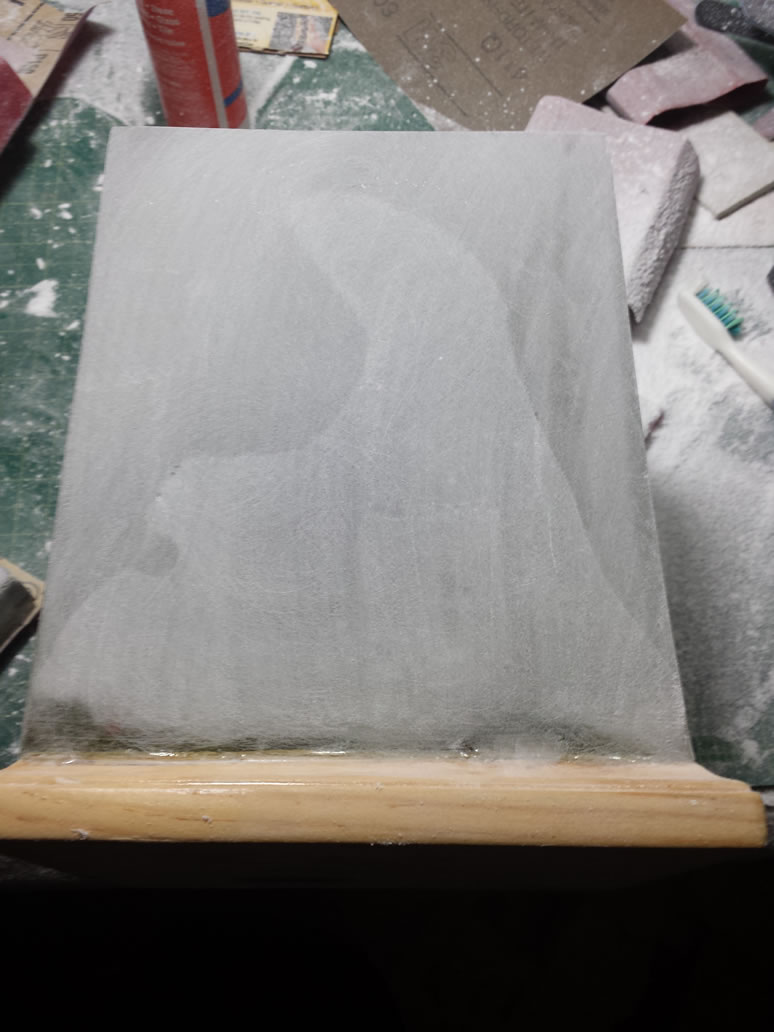
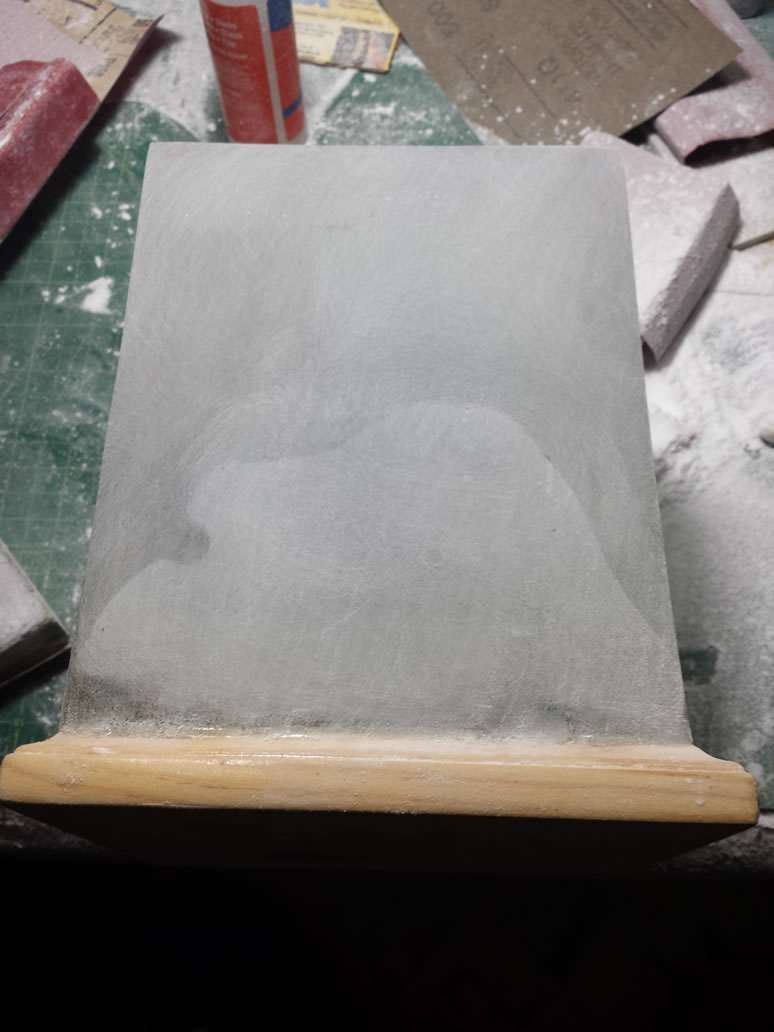
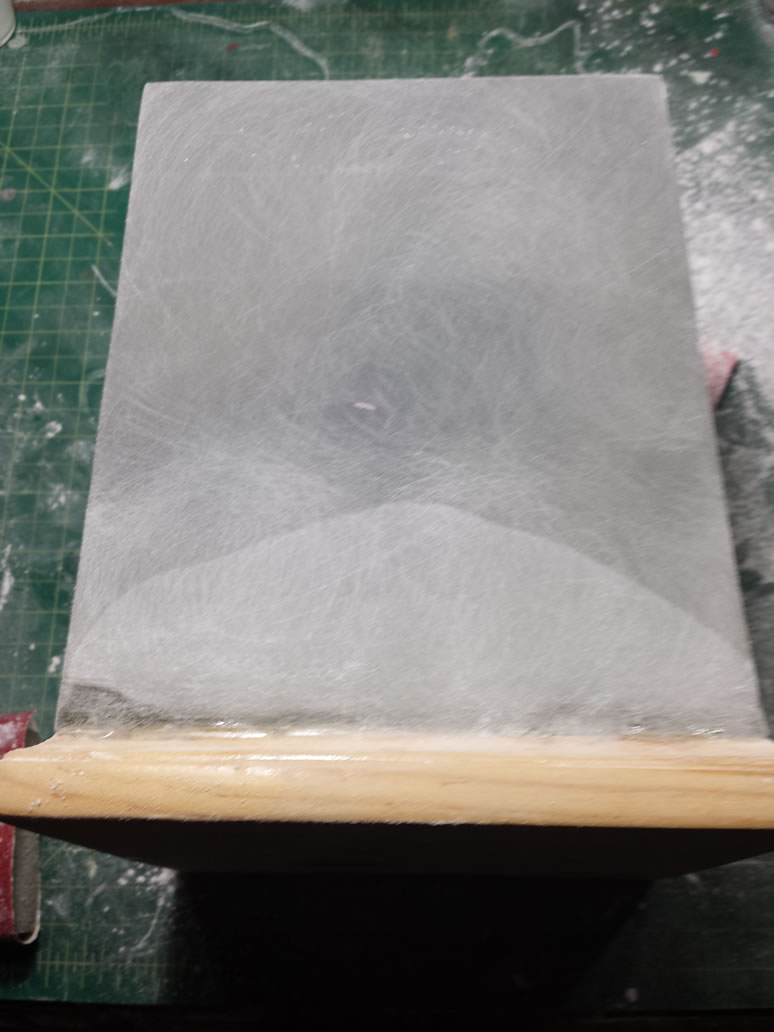
The 80 grit worked as the main tool to remove the resin. Once I got the excess layer removed, I used the 120 grit to smooth out the surface. Then followed this with a 400 grit sand paper. And finally, the surface is polished with a 600 grit sanding session.
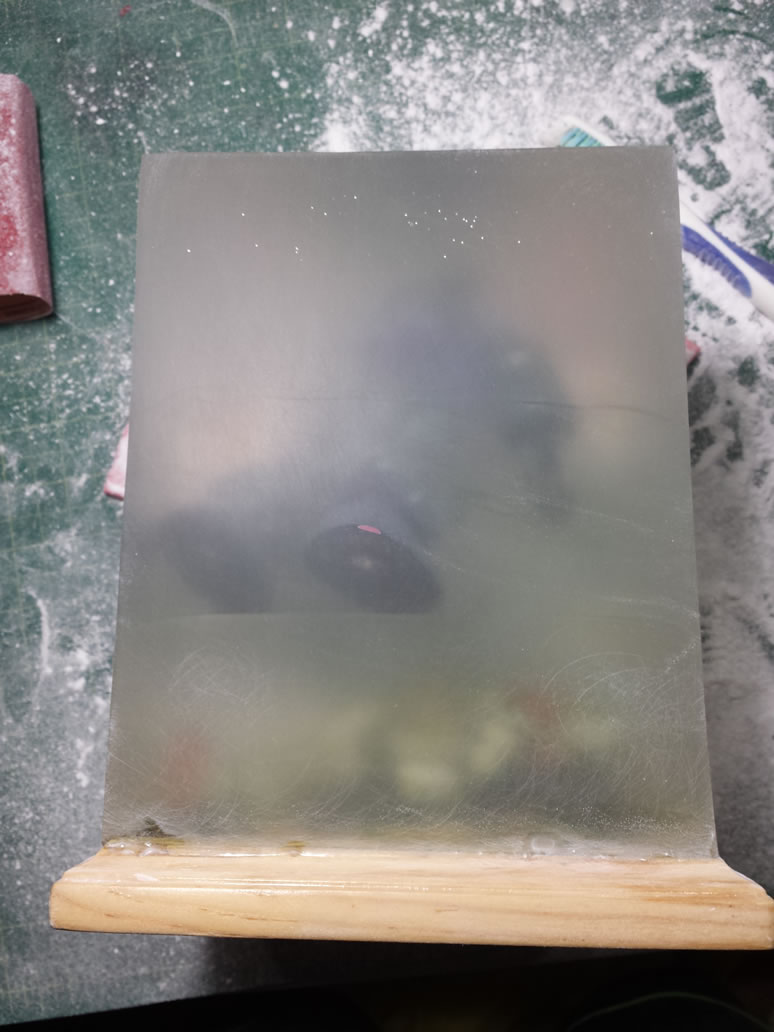
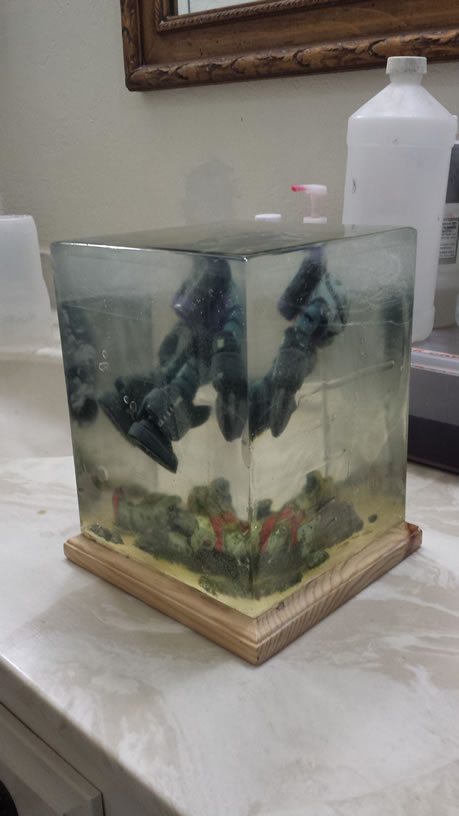
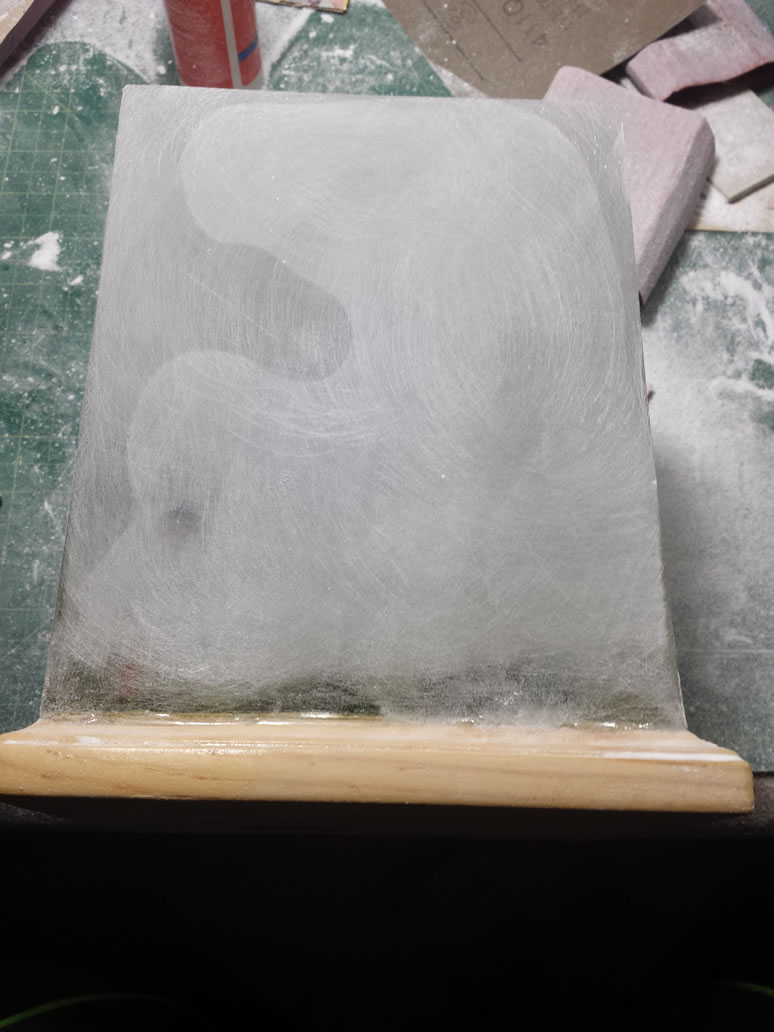
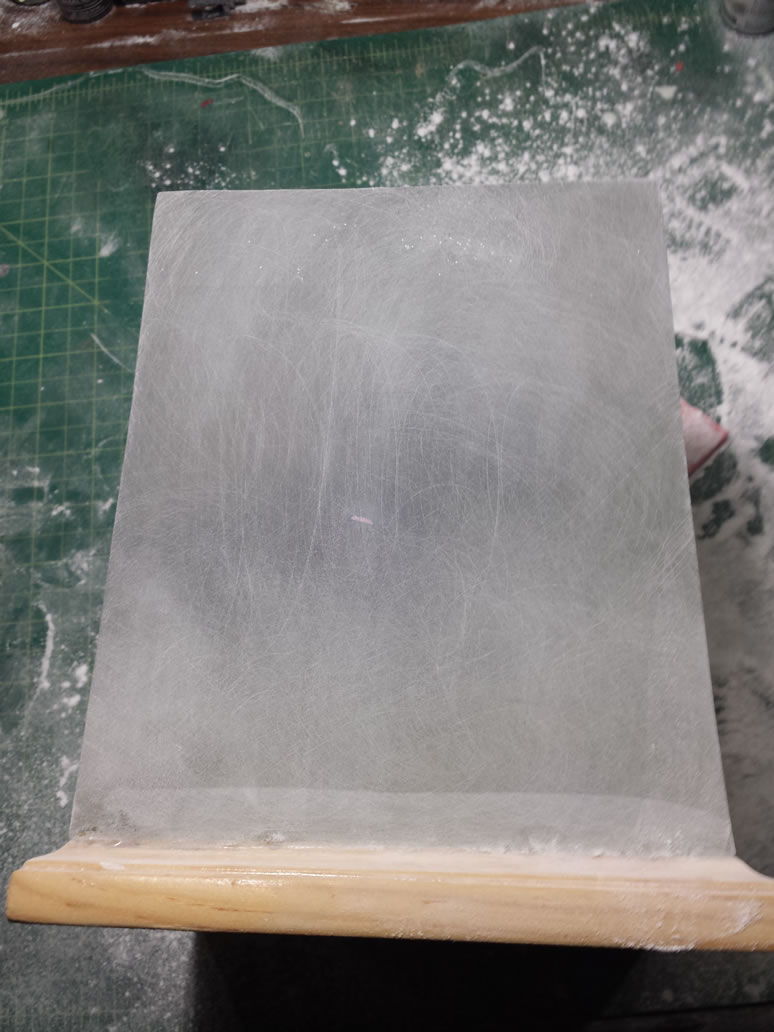
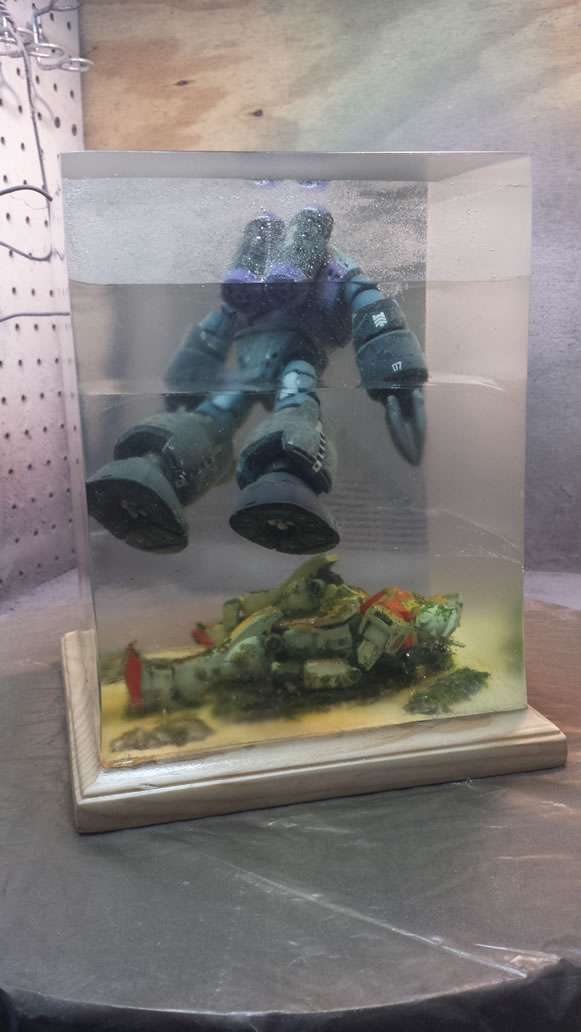
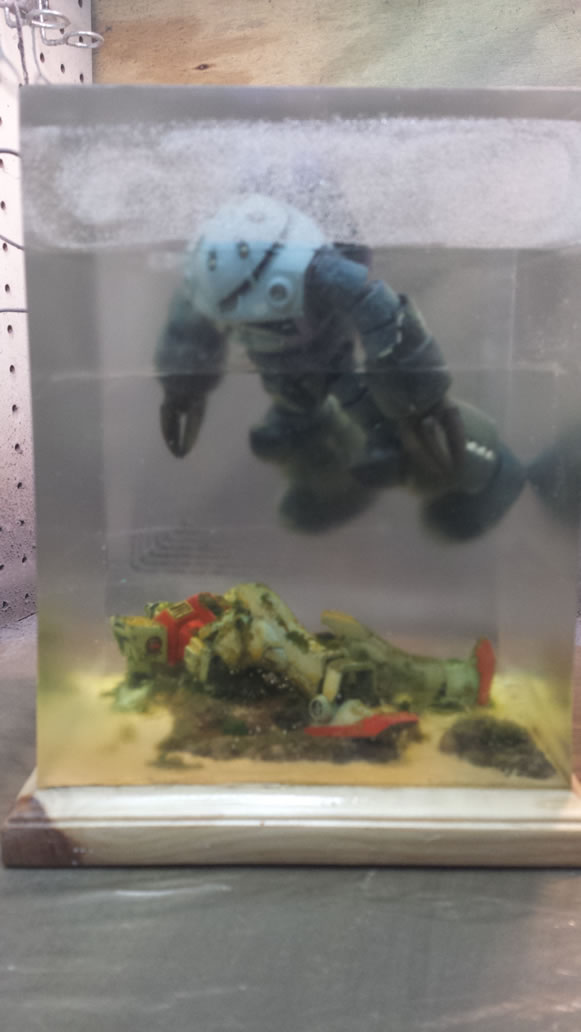
Doing this over the past couple of days; I finally got all 5 sides of the damn thing polished. I’m sure I Could probably polish it enough that it starts to become clear, but the transparency returns with each higher grit of sand paper. After the 600 grit, the surface still has tiny little scratches that work to refract light, making the block cloudy. The fix for this is to spray a clear gloss. Making sure the surface is clean, I heated up a can of Mr Super Clear Gloss, and sprayed the block.
Check out this short 5 minute long video of this process.
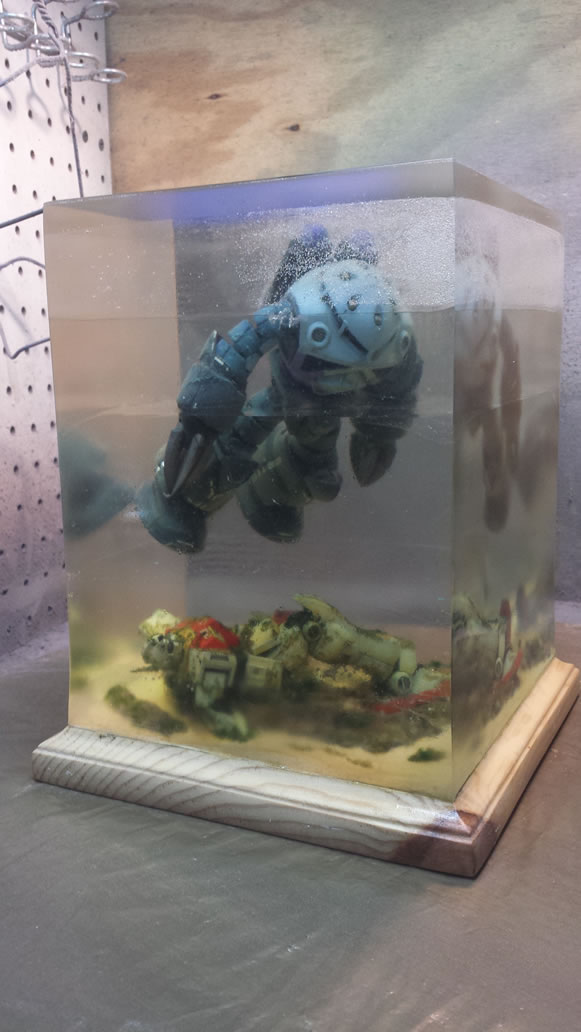
You can clearly see the surface of the resin block go from cloudy to clear. Now, using this method, when sanding solid color parts, going from low grit to medium to high grit, you can easily remove any trace of sanding with an application of clear gloss or flat. The clear coat fills in thesmall little surface scratches making it look like it’s never been sanded.

Hi great idea and amazing work.i have a questione:i didn t understand how you have zone The block of resin.nave you used a bi componenti resin water effect?why in your video have you user a topcoat gloss spray?thanks my friend…
After polishing, the surface still has small scratches and the resin isn’t completely clear. The clear gloss spray will fill in the small little scratches and give the resin a clear view.
Nice idea and great result. I wonder if you can drill holes from the top and pour in the bubbly resin to creat bubbles streams