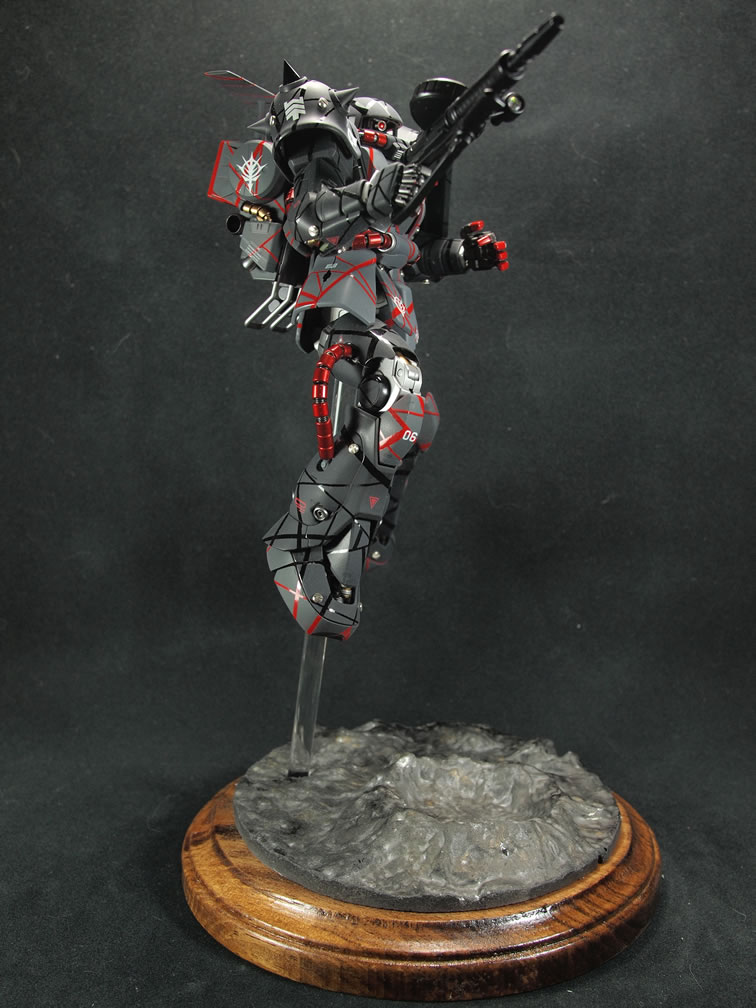
I’ve been working on the kit daily since the previous update. Progression slows down quite a bit towards the end of the builds are allowance for things to cure is always a good thing. I also didn’t take many pictures of the actual kit’s progression as most of the time was spent dealing with clear coats, decals, and more masking. I did however take step by step processes for the display base. The title says 97% since I’m still painting the last bit to the kit, the Heat Hawk, so it will be another couple of days, and at the time of this posting, I’ve also cut about an inch off of the acrylic rod to shorten the distance between the kit and the base.
Next stop: The Southern California Gundam Model Competition (SCGMC) – Saturday, November 17, 2012
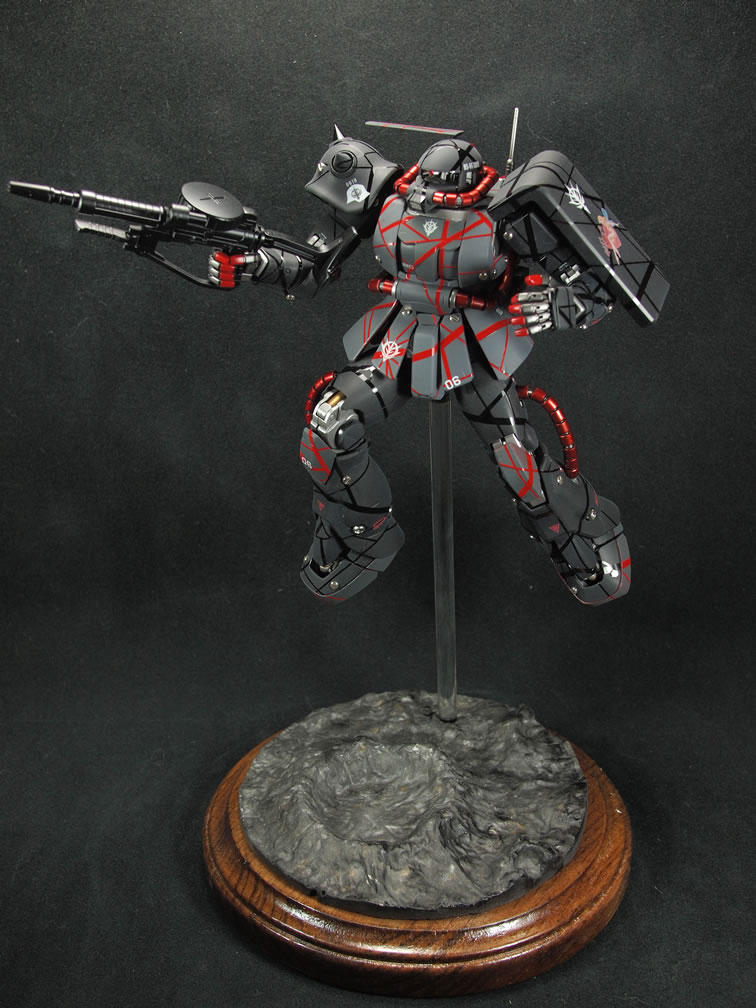
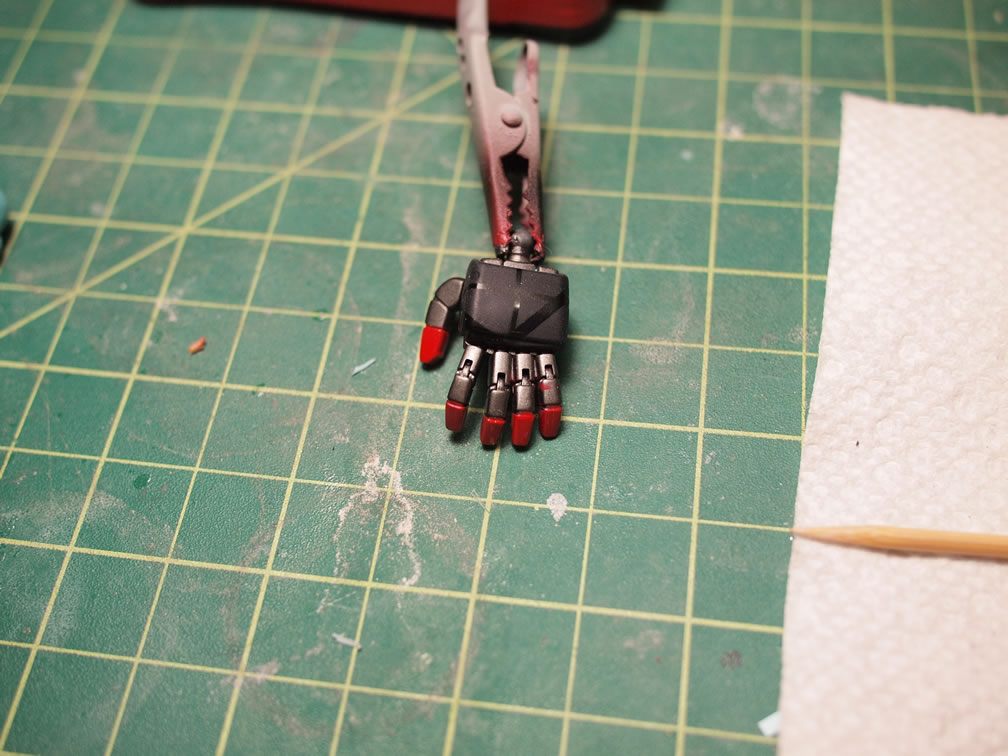
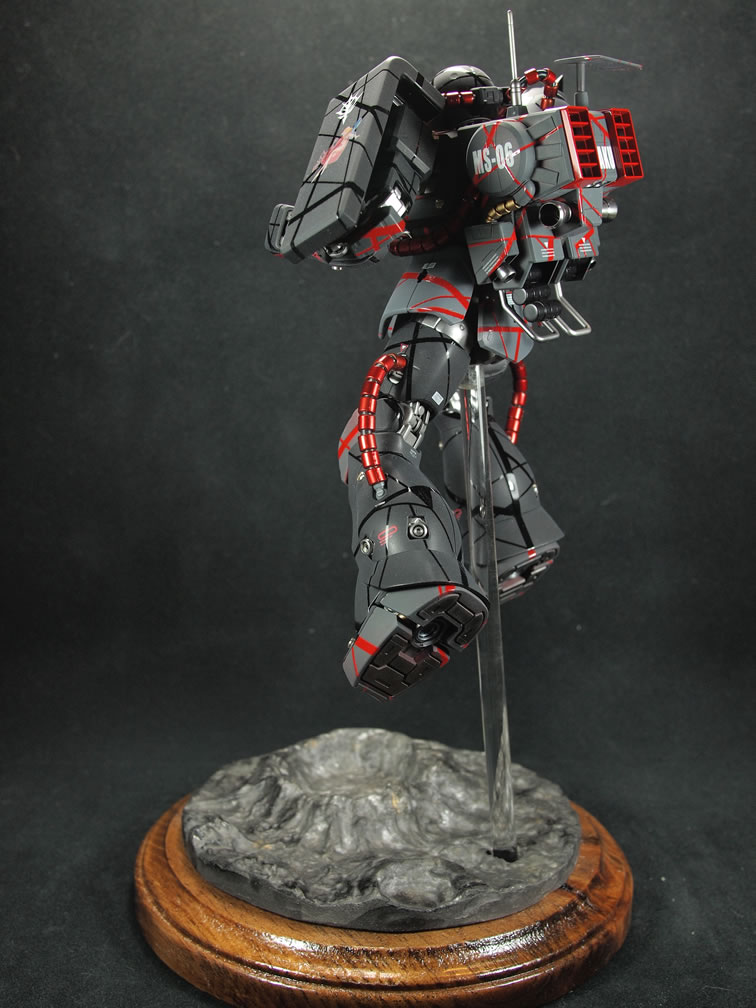
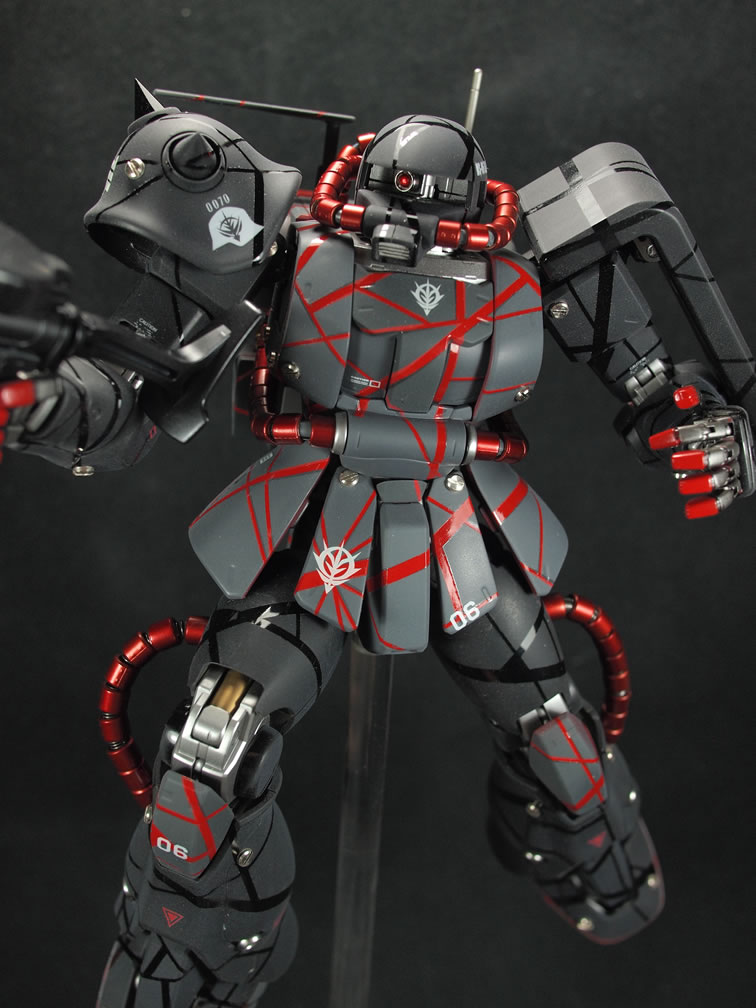
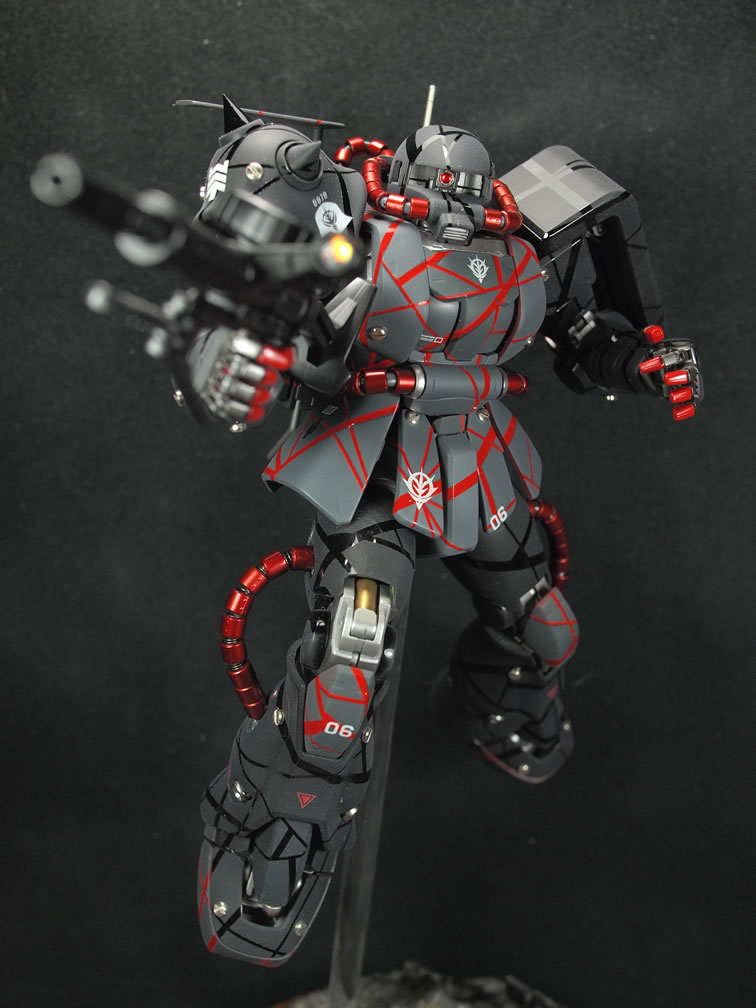
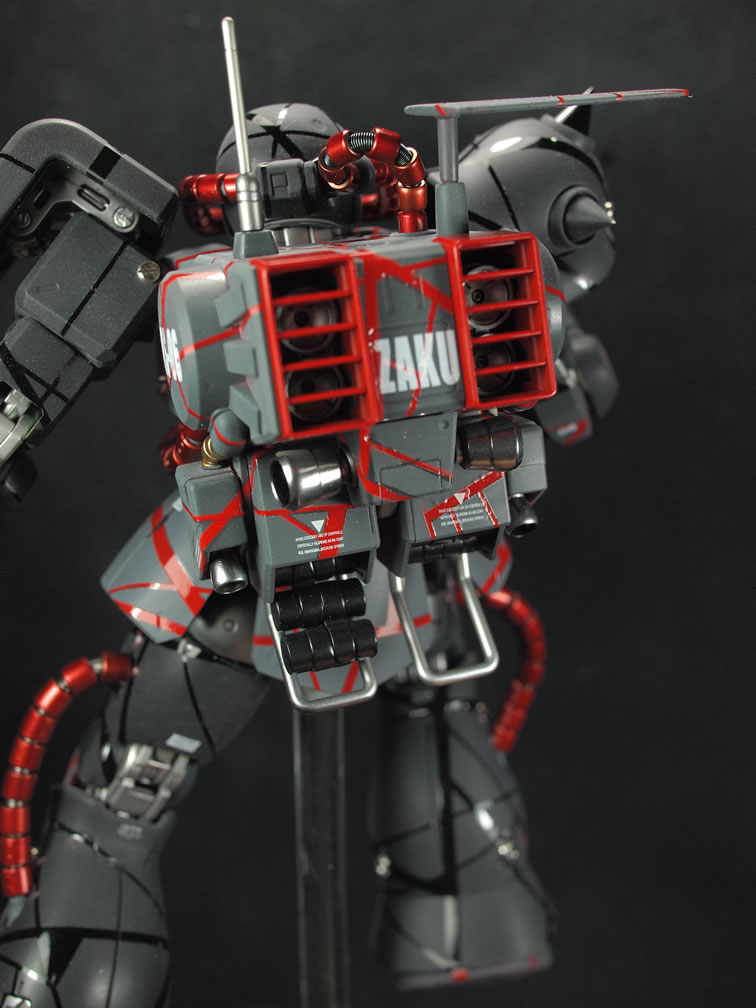
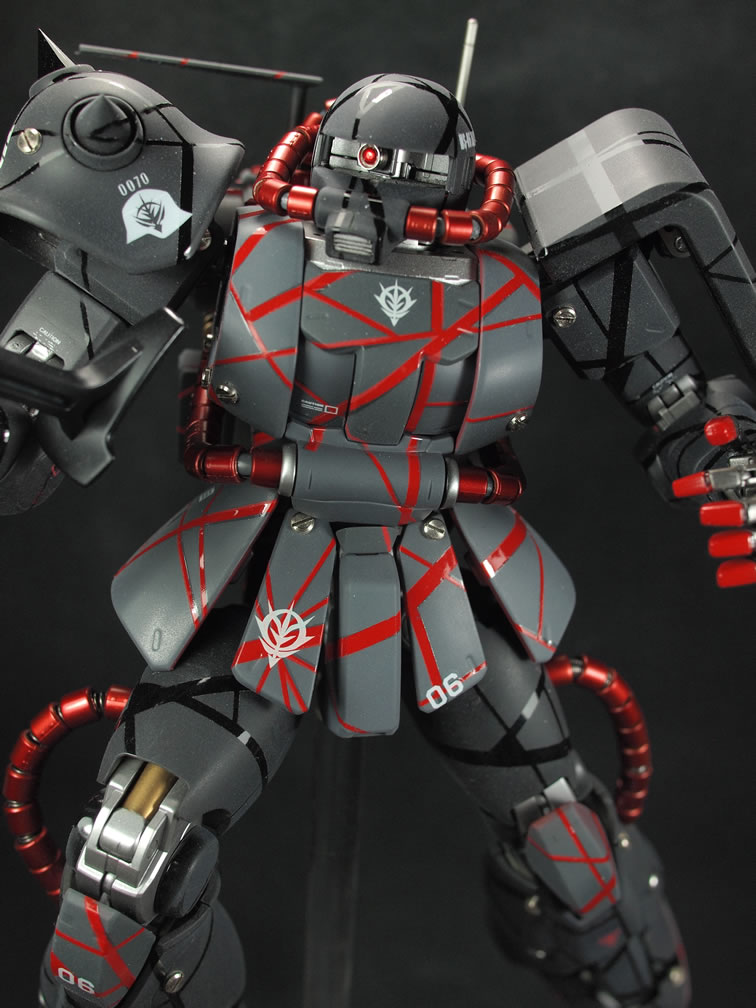
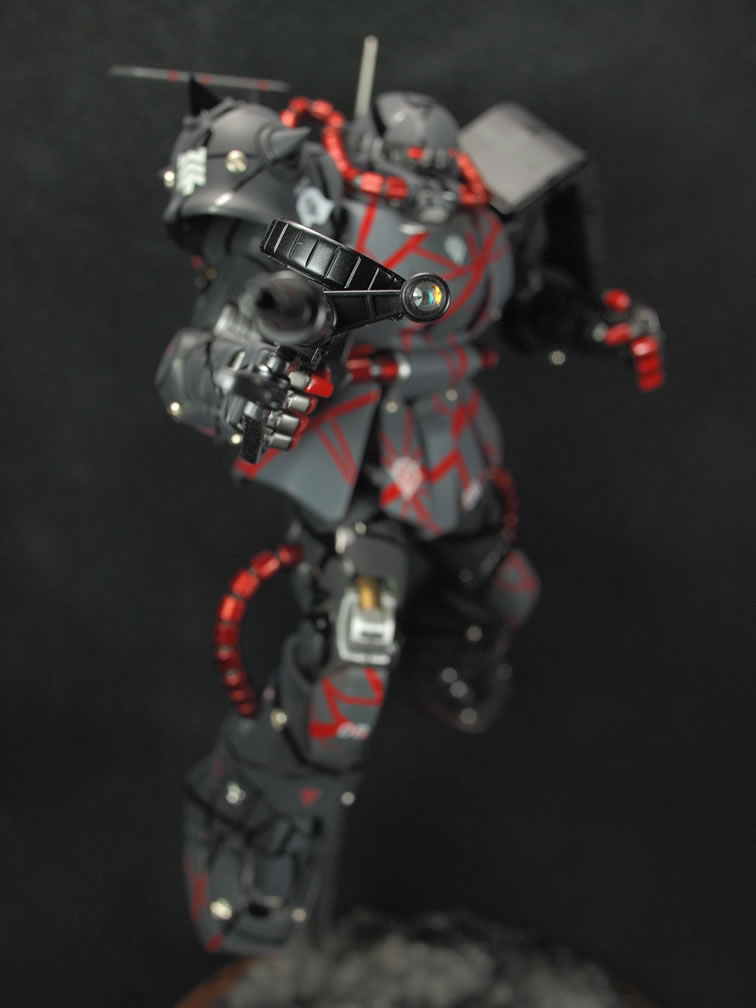
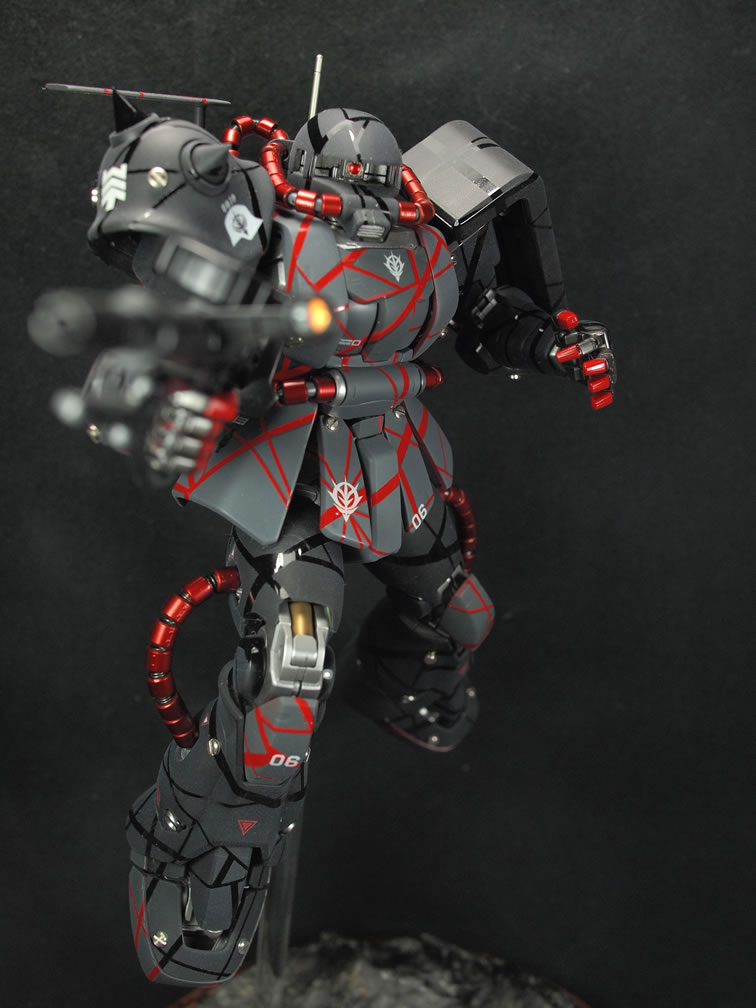
There was quite a bit of masking involved in this project. Skipping past all the masking for the gloss/flat black effect, the hands were painted then masked for the red finger tips. I figured I was already doing the artsy paint style, why not add the red accents to the finger tips. I think it balances things a little.
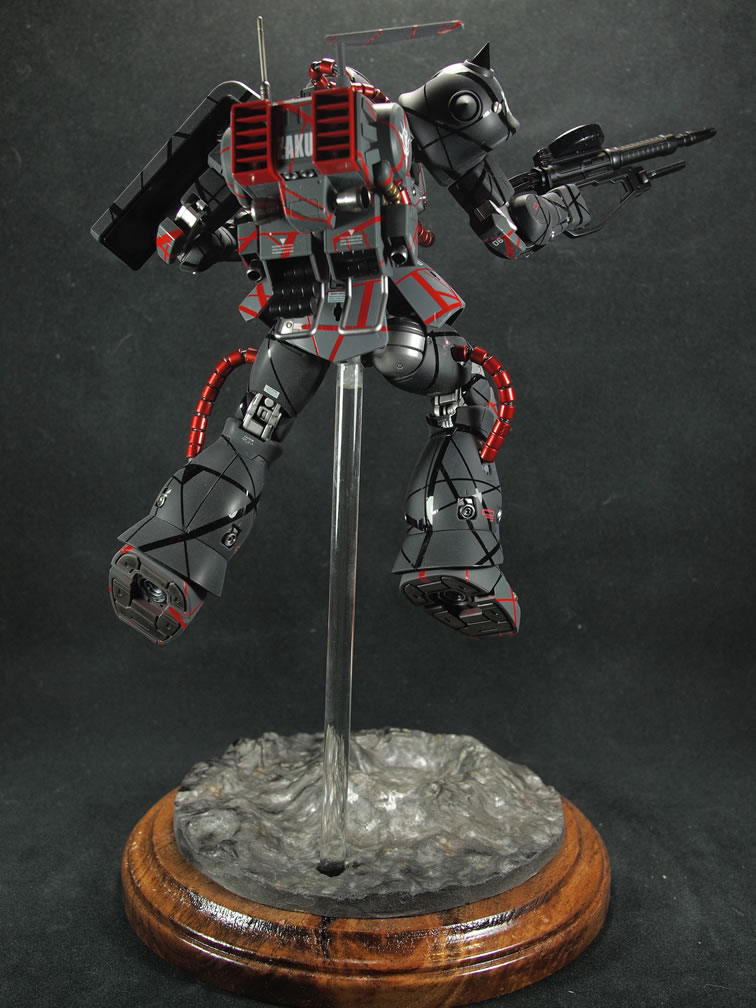
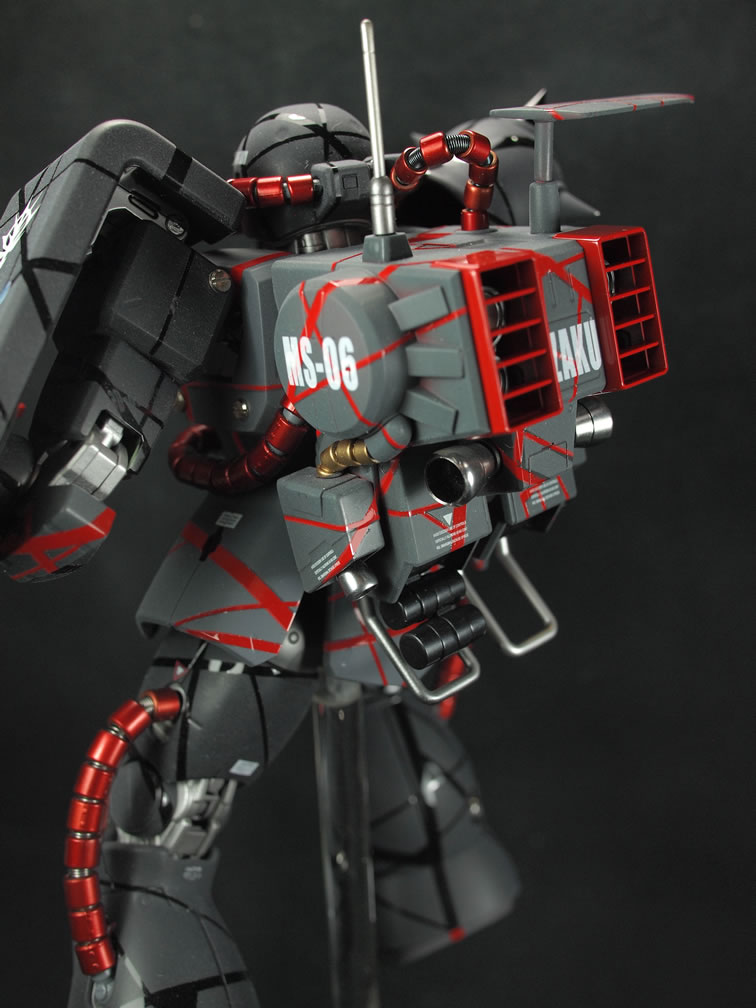
For the rest of the suit, the chest, skirt, and backpack areas were last seen in Finisher’s silk red with varying thicknesses of masking tape crisscrossing here and there. I used two grey tones. The knee, elbow, center chest piece and backpack got Mr Color Tire Black, and I used Mr Color Dark Sea Grey for the main body and skirts. Early last week, Angel came over as we carpool to our respective jobs every morning; noticed that the dark sea grey used didn’t fully cover the red, and the silk red was bleeding through. I’m red-green color blind, so this is pretty much news to me. If I concentrated enough, I think I could see it; but regardless, I acquiesced as I knew that the dark sea grey I used was a bit on the thin side as I was running low and the pigmentation was definitely not at full strength to completely cover the red. A trip to Robot4Less after work found a color one number higher than the dark sea grey, Extra Dark Sea Grey. So I grabbed this and then had to re mask all the red that was masked off previously. With this done, the following day had clear gloss sprayed over everything to prepare the surfaces for decals. Decals were placed over the weekend with a final clear gloss sandwiching the decals.
The thought of just spraying a clear flat over the main body passed through my brain; but since the main idea of this paint scheme was a gloss striping against a matte surface; the thought left as quietly as it came. The chest, skirt, and backpack are masked again (third time for the chest and skirt pieces for those of you counting) and then sprayed with the flat coat leaving the red stripes glossy.
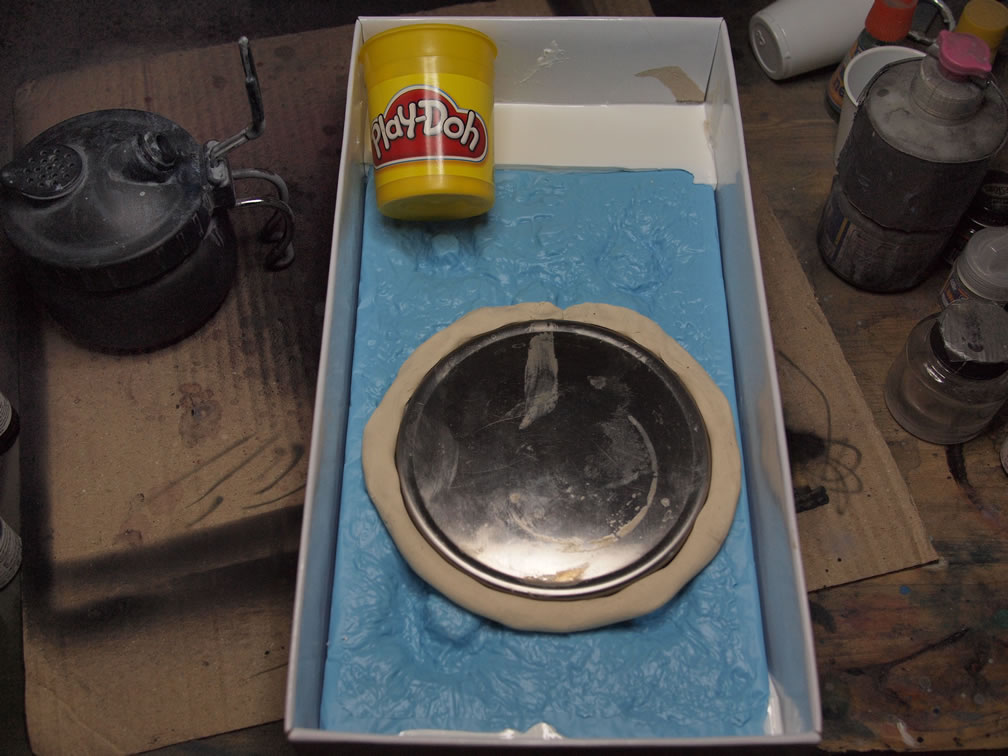
Towards the tail end of the above process, I started work on the stand. It’s a very simple, wood base and acrylic rod stand. To add some dynamics, I wanted to create an asteroid like surface. The first search brought up some left over resin from the Sazabi base build. Cutting the resin would be a chore and I wanted something more precise to fit onto the small circular base. Looking around my workshop, I found a little aluminum cover for my digital scale. Picking that up and measure it against the wood base, it looked like a perfect fit.
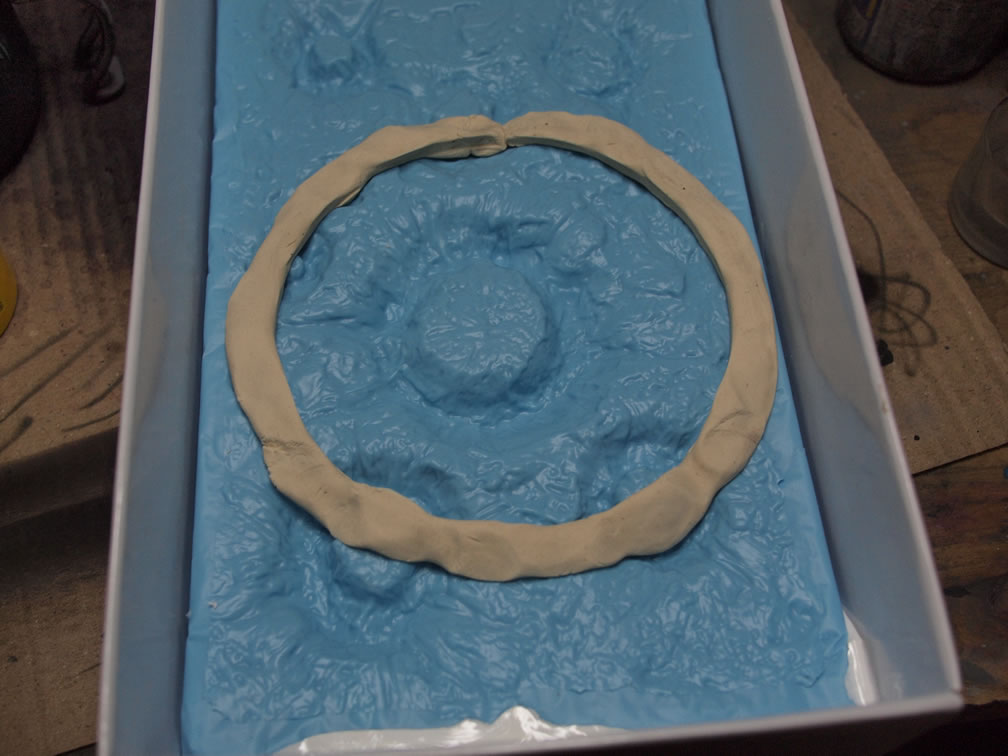
And so begins the adventure. Starting off with the silicone mold that I made late last year, the metal cover is placed over the mold. Next up, I rolled out some play dough and made a ring using the metal cover as a template.
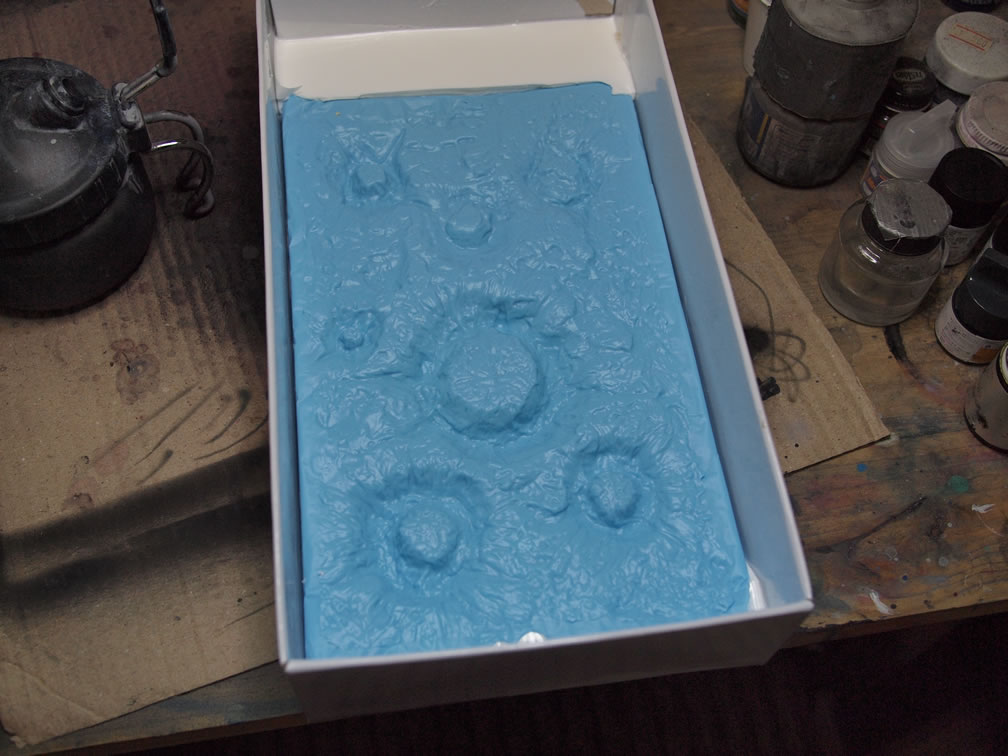
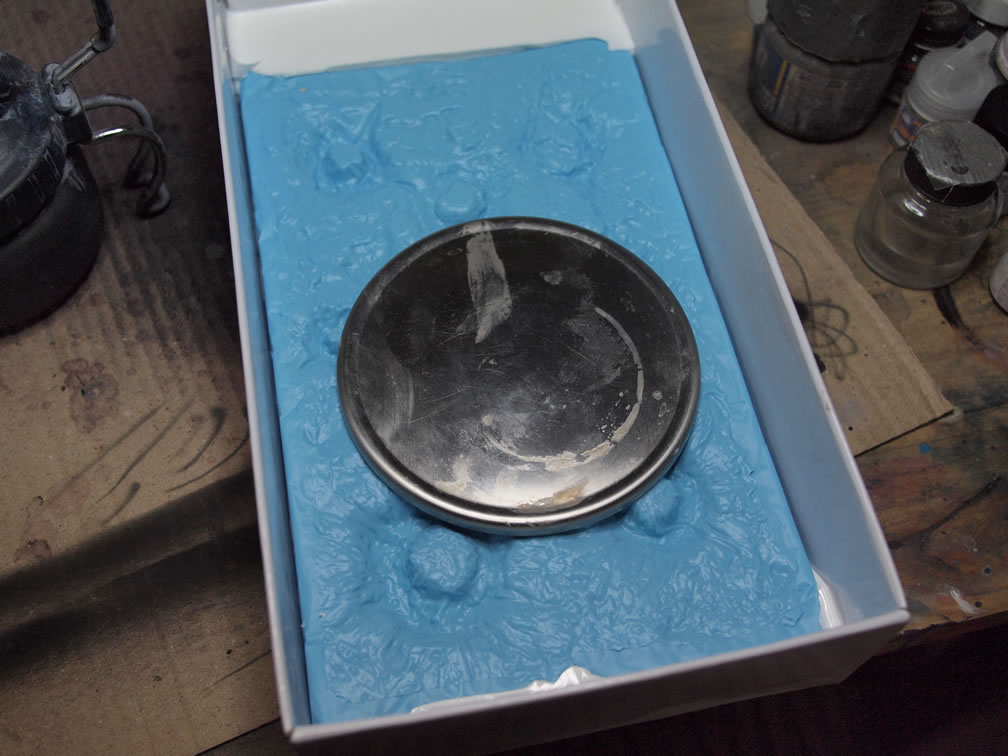
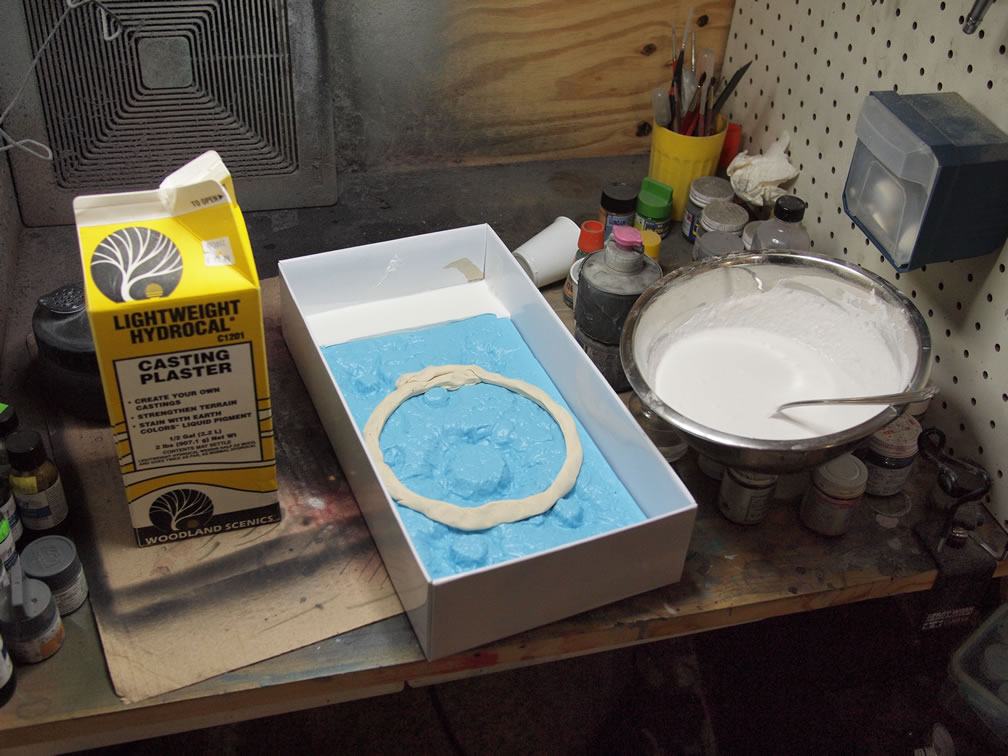
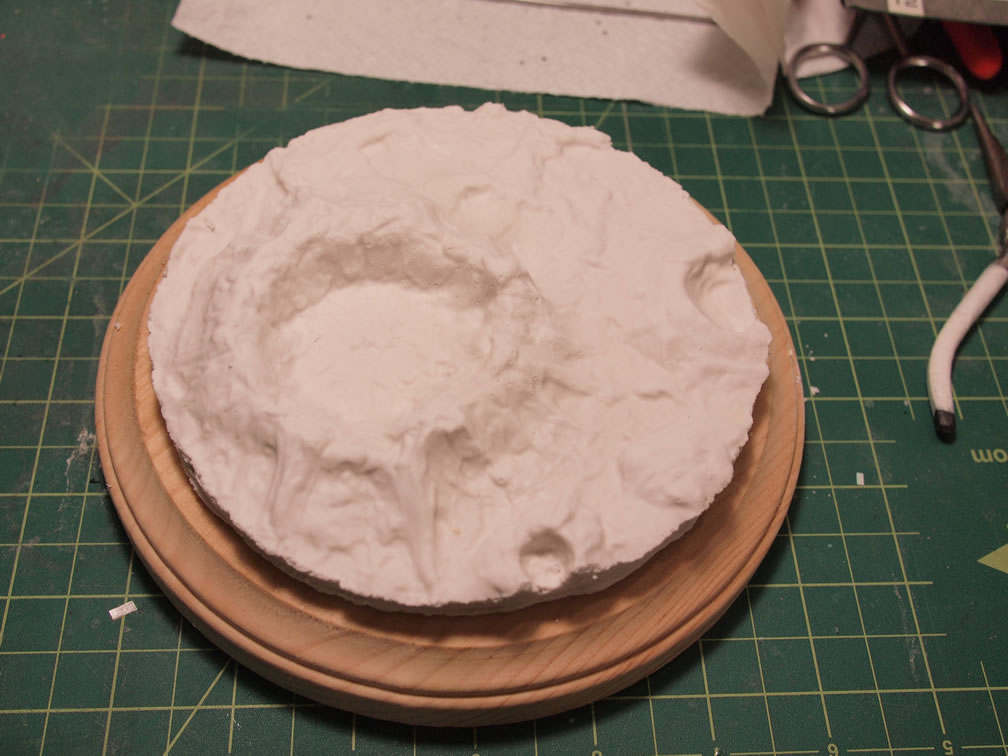
With the ring over a satisfactory location, the metal cover is removed. I then mixed some hydrocal and poured the mixture into the mold and let it sit over night to cure.
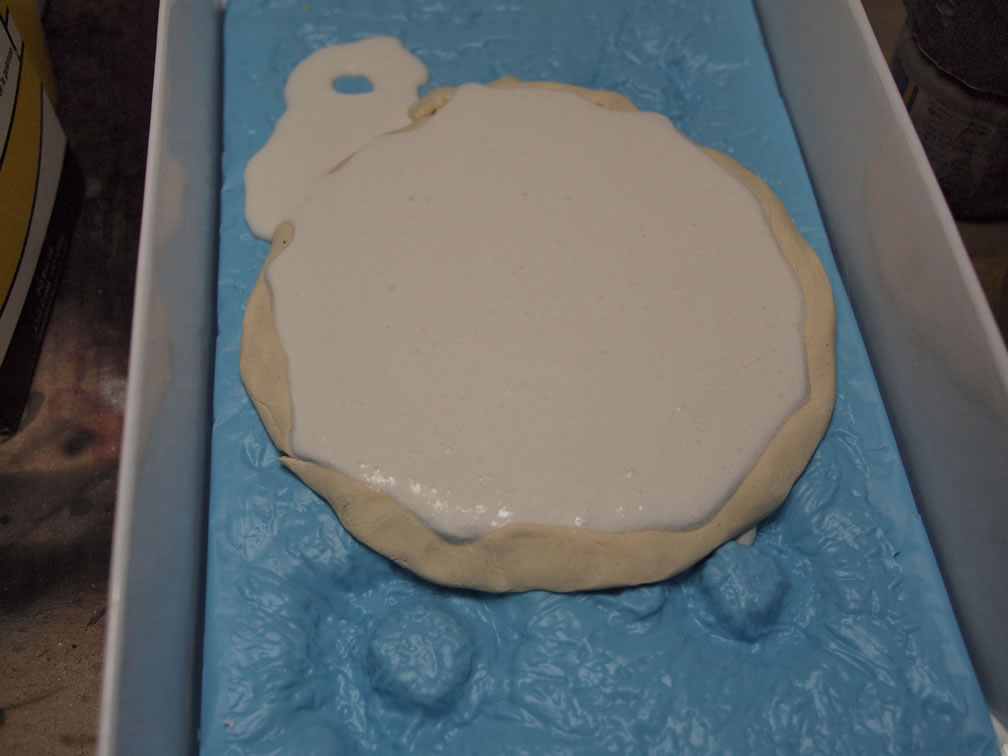
It didn’t quite fully cure until a few days later; but was cured enough for safe handling. And with that, a quick test fit over the wood base. Perfect.

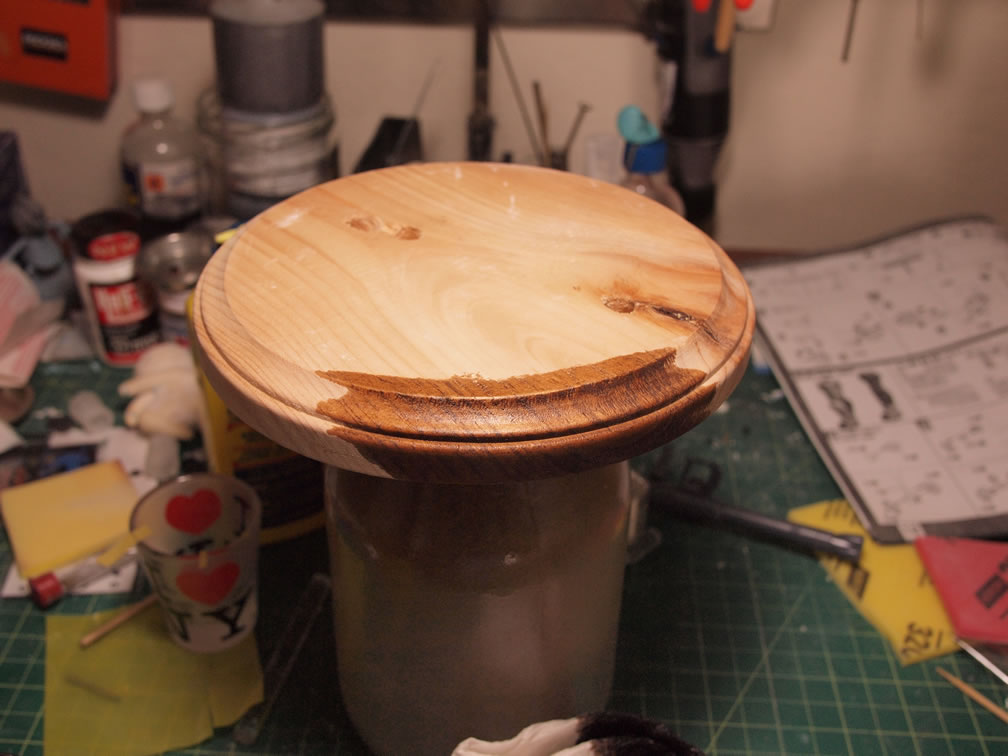
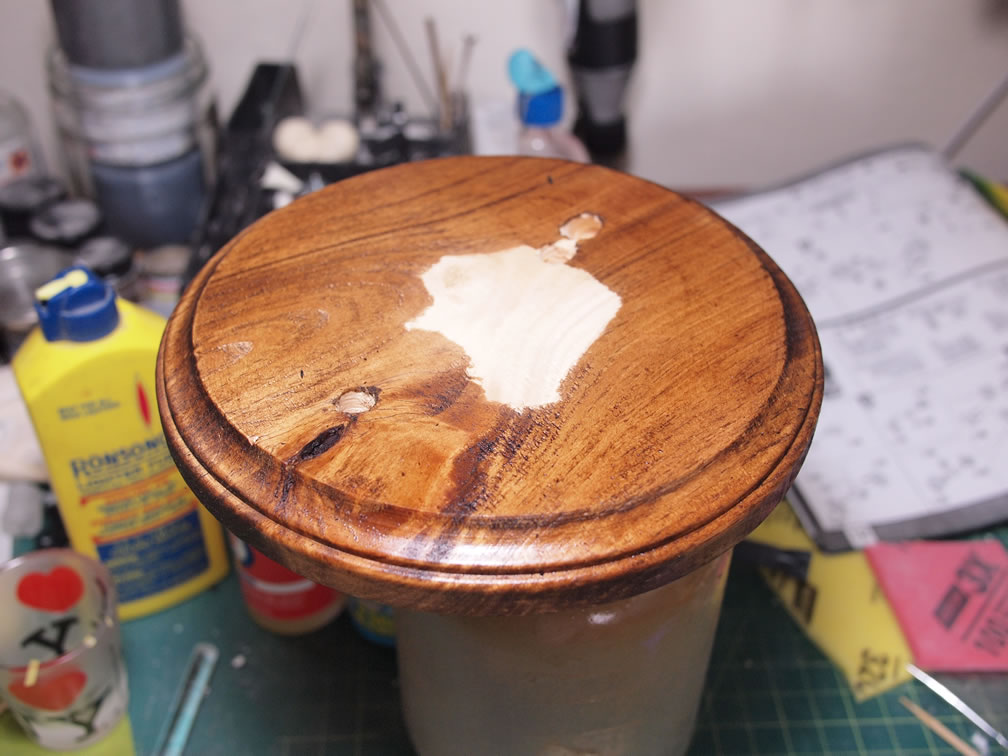
The next step was to focus on the wood base itself. The base was sanded, cleaned, then stained with a medium tone stain. This brings out the grain details in the wood and adds to that finished look. After the stain dries, several coats of clear gloss is sprayed. The wood is quite absorbent, so it will take several layers of clear gloss to build up the glossy finish. Several days later, another test fit with the unfinished asteroid piece.
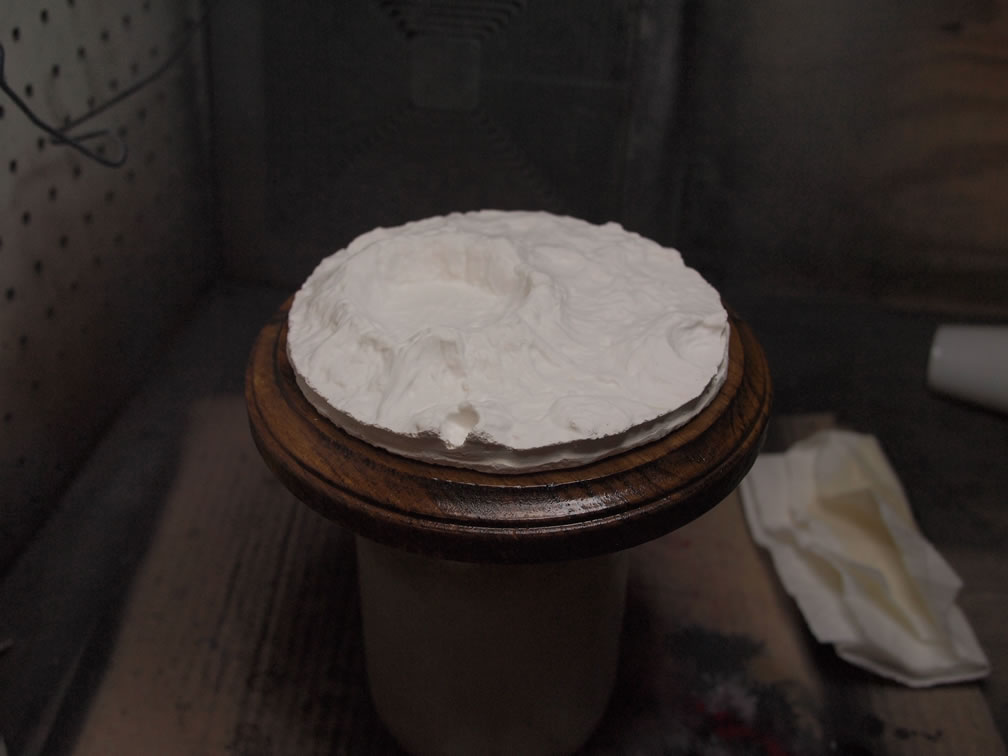
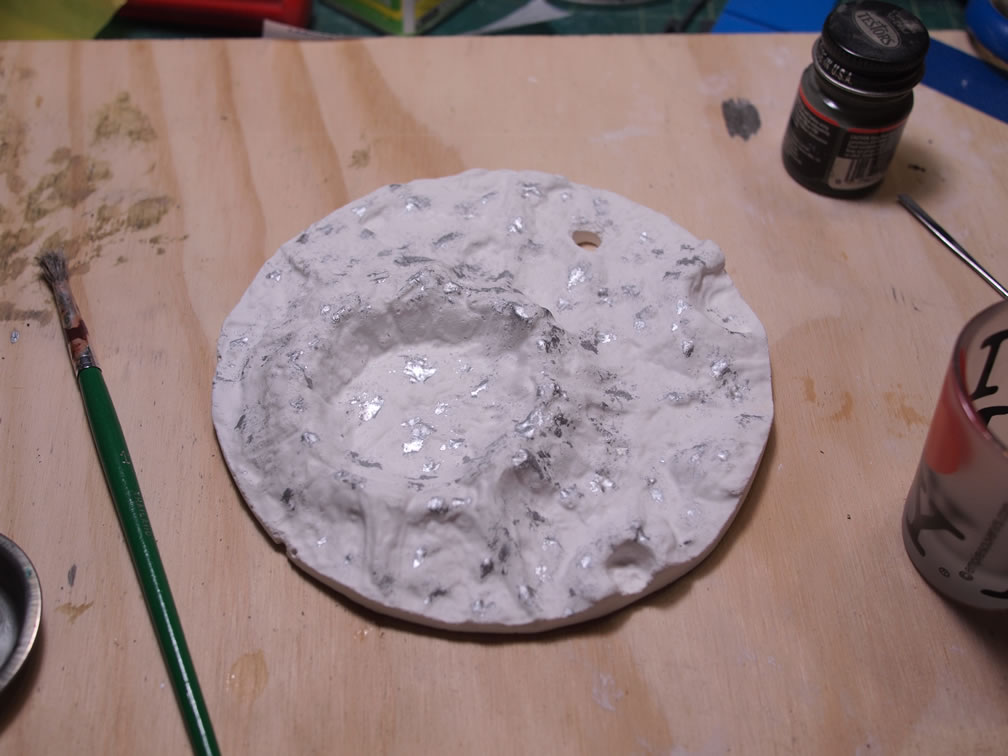
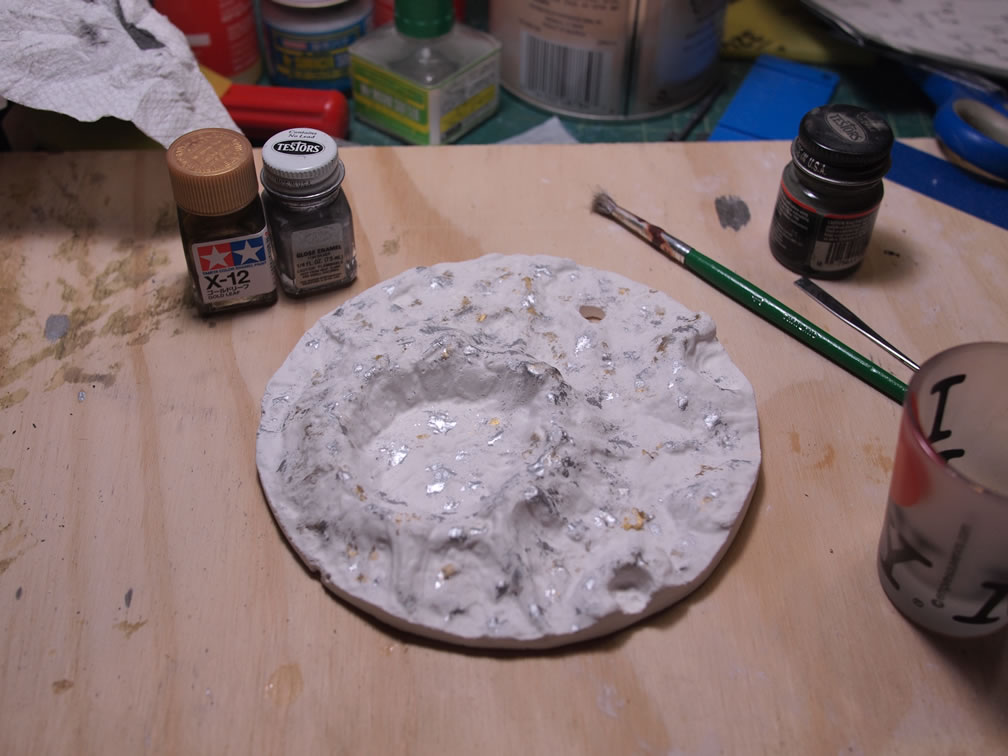
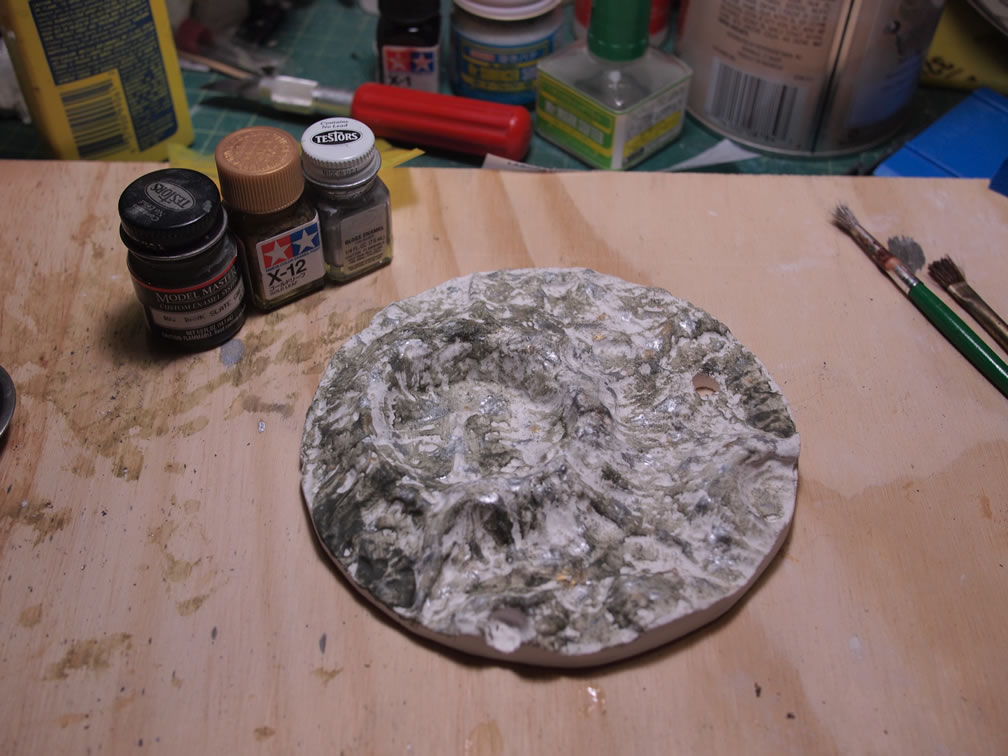
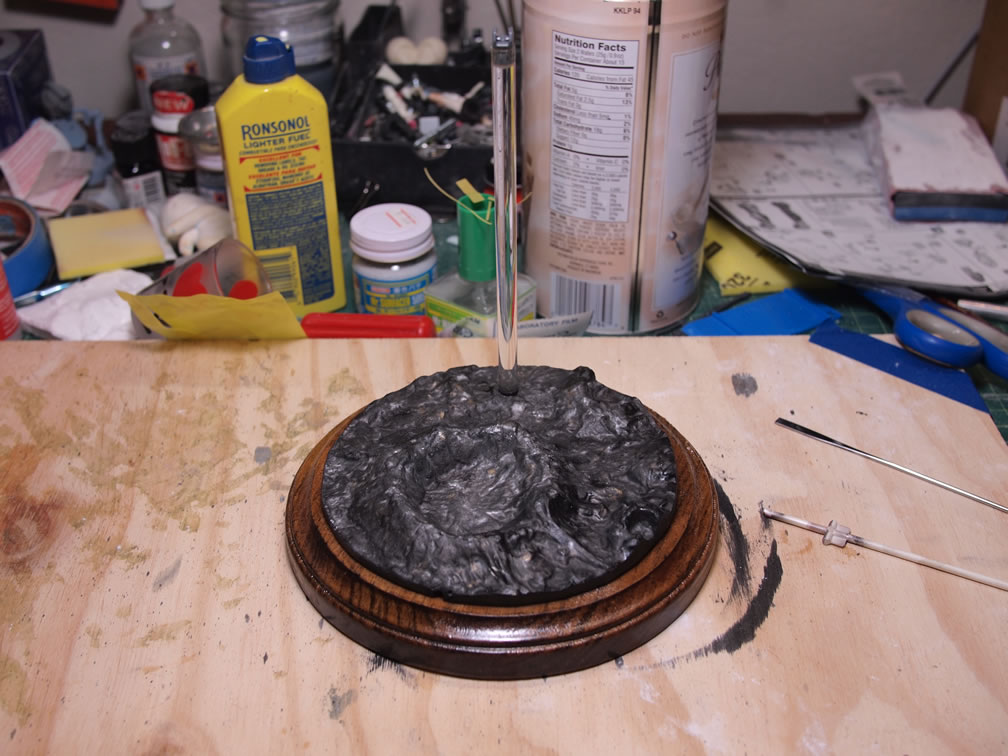
The final step is to sand down and drill a hole for the acrylic rod on the formed hydrocal part and paint it. Sanding is quite easy as it is very similar to plaster. The only issue is the dust particles that result from the sanding process. Wet sanding is just a mess, so I recommend doing this outside with good ventilation. Once sanded, the part is dusted off and painted using enamel washes. The hydrocal is quite porous so it takes washes very easily. The first step was some dry brushing with silver, followed by gold, followed by a quick wash with dark earth. The final wash was done with black to tie everything together.
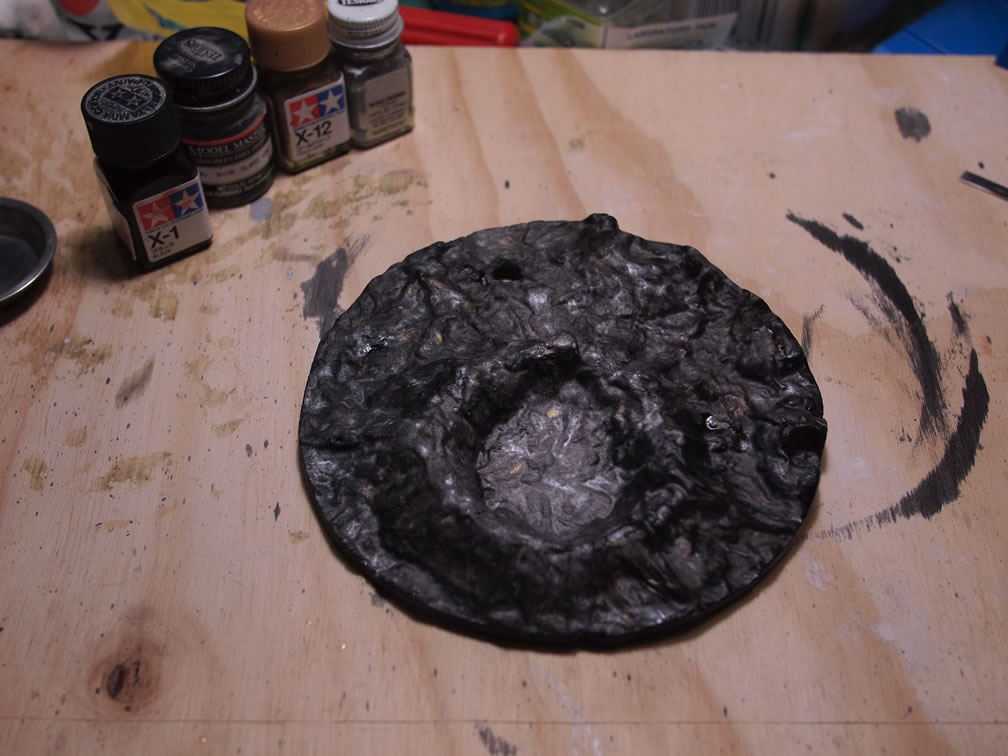
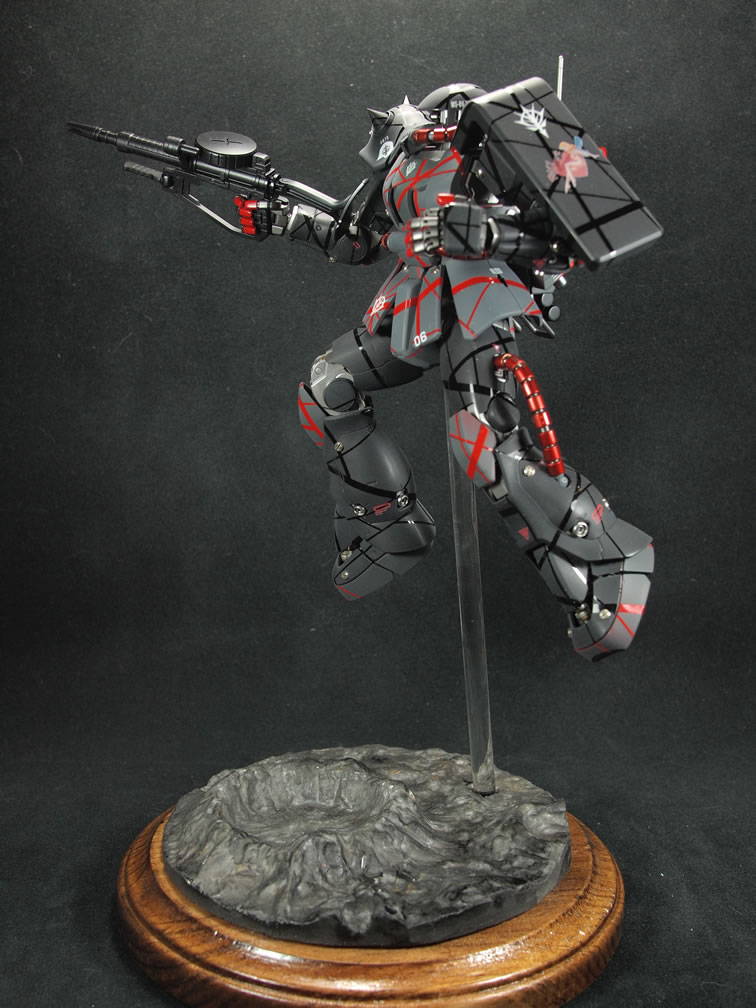
The finished asteroid piece is then glued to the surface of the wood block and the acrylic rod is inserted. With that, I have a simple stand that was very easy to build and helps accent the finished Zaku.
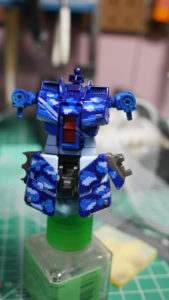
And with that done, here’s the 97% complete Midnight Zaku. I will probably take a few quick snaps when I have the Heat Hawk finished along with the shortened acrylic rod.
|
|
|
|
|
|
|
|
|
|

|
|
|
|

Looks pretty sweet dude!