November 17, 2011: So I was recently told that my mirrored base, albeit elegant, was a little simplistic for the Sazabi. So I’m back to working on creating a suitable base for it. When I first started on the project, I had a fairly elaborate design for the base, but the entire process for building the Saz pretty much burnt out the little ambitions I had for the base; which resulted in the mirrored base it now resides over. It has been several months since I finished the Saz and there’s renewed interest in getting a more elaborate base to show off the kit. What I now envision in my mind is a simplified version of what I originally wanted to accomplish. Nothing too fancy that takes away from the main focus, the Saz; but more of something that enhances it, I hope.
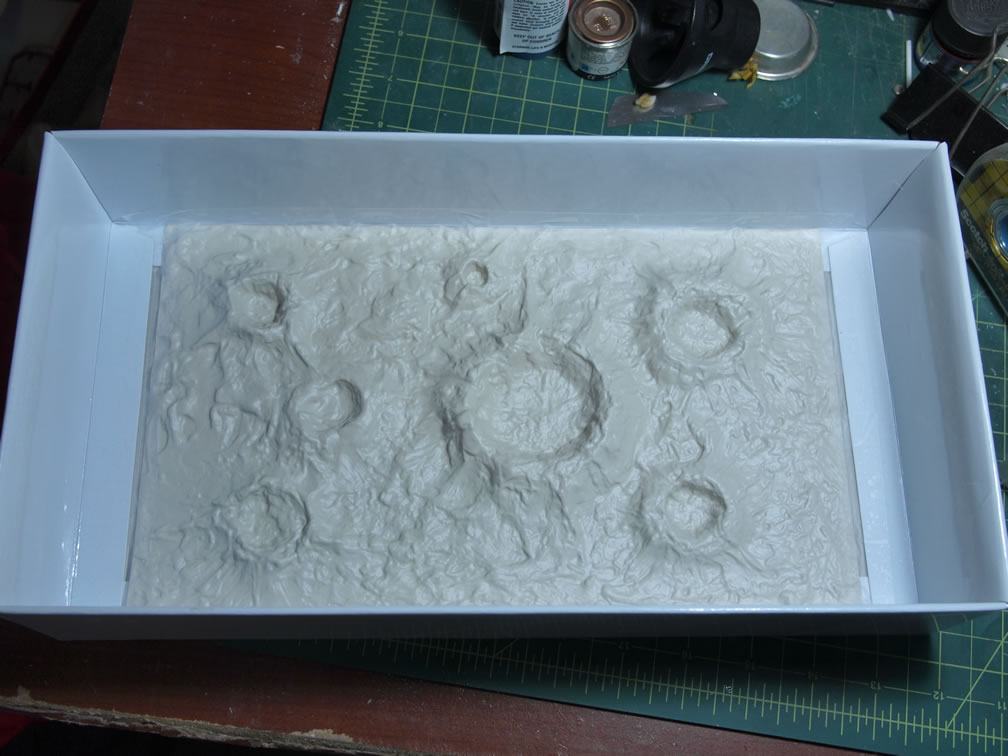
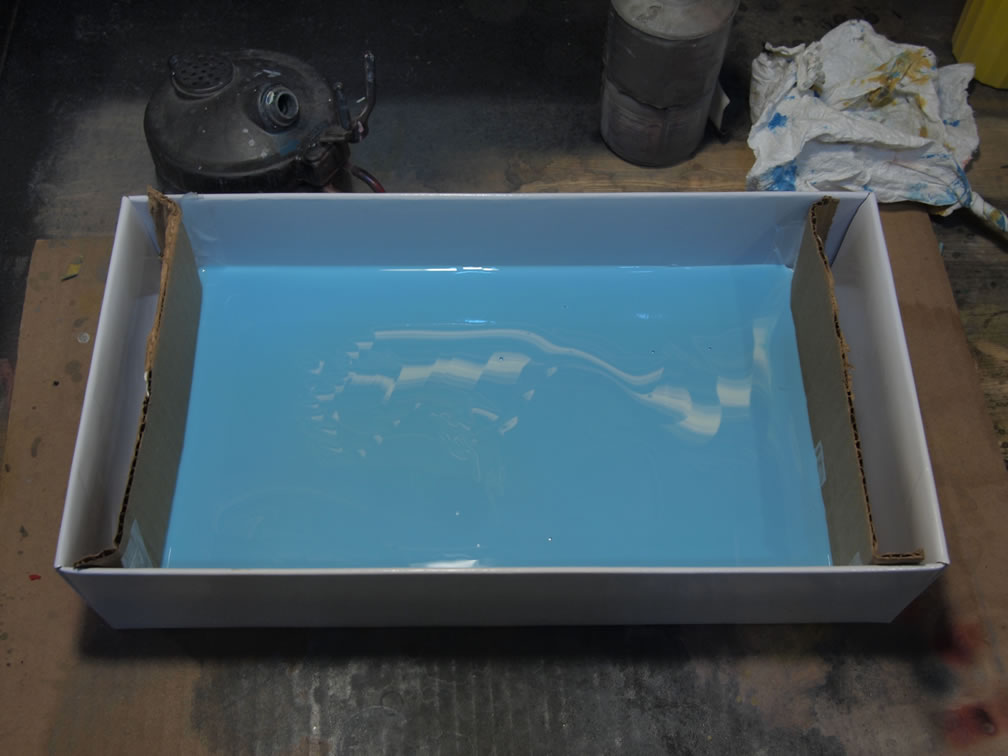
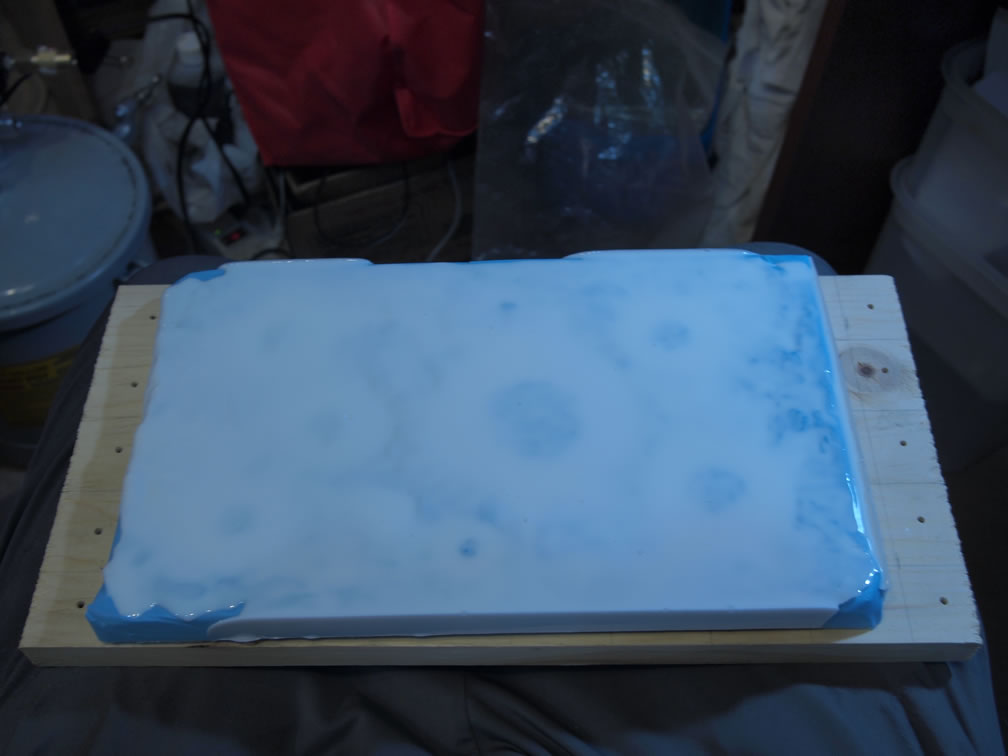
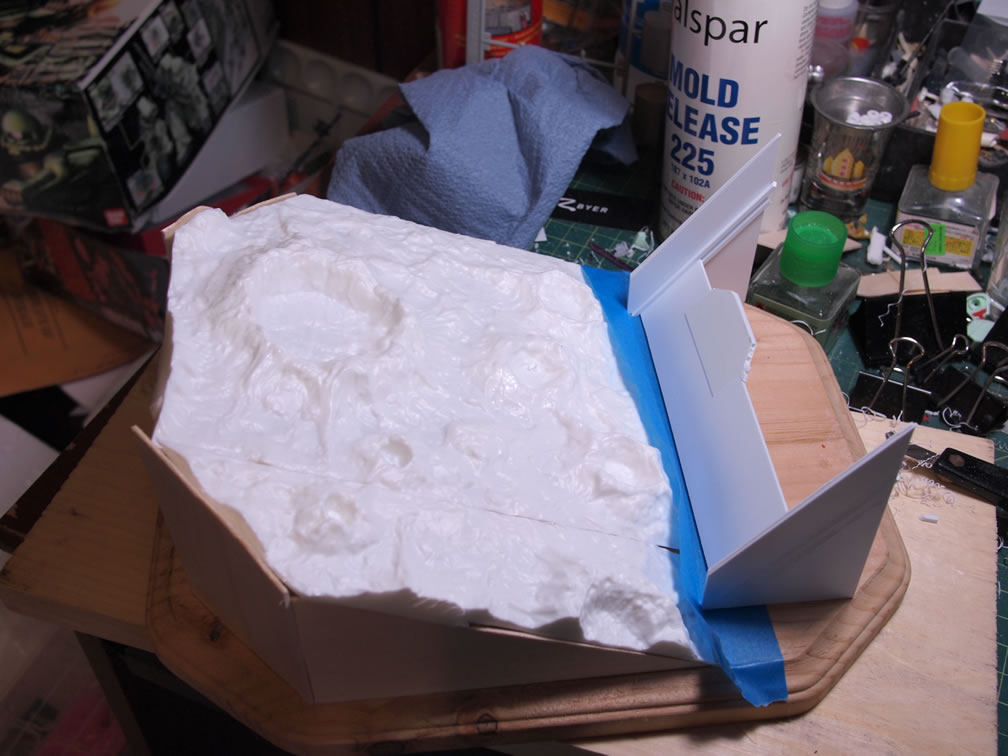
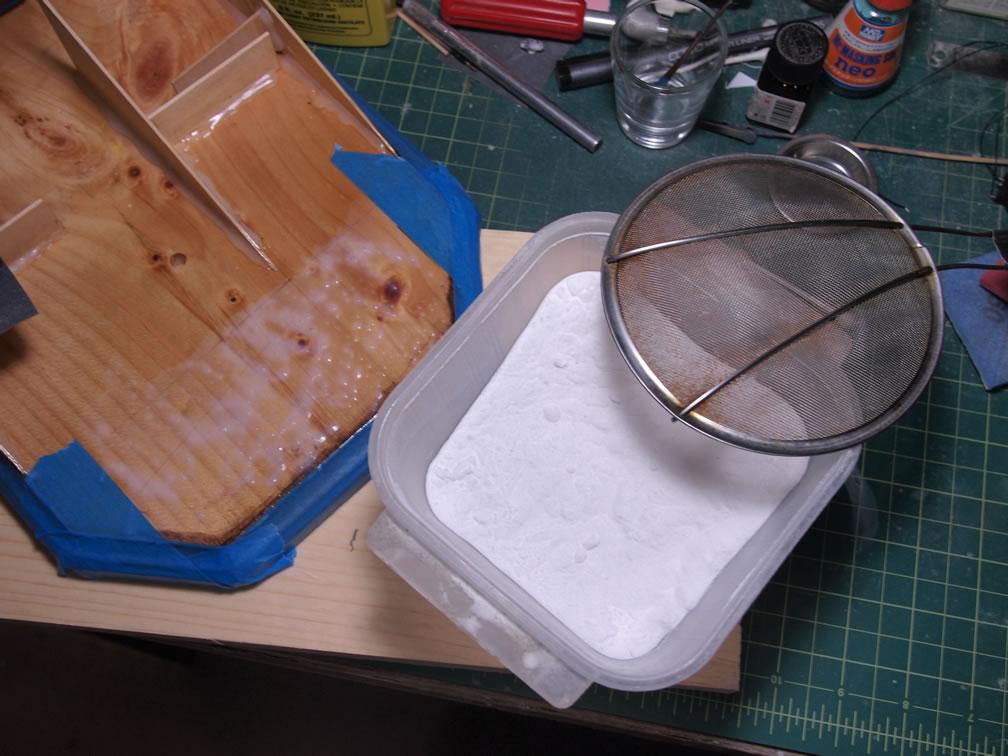
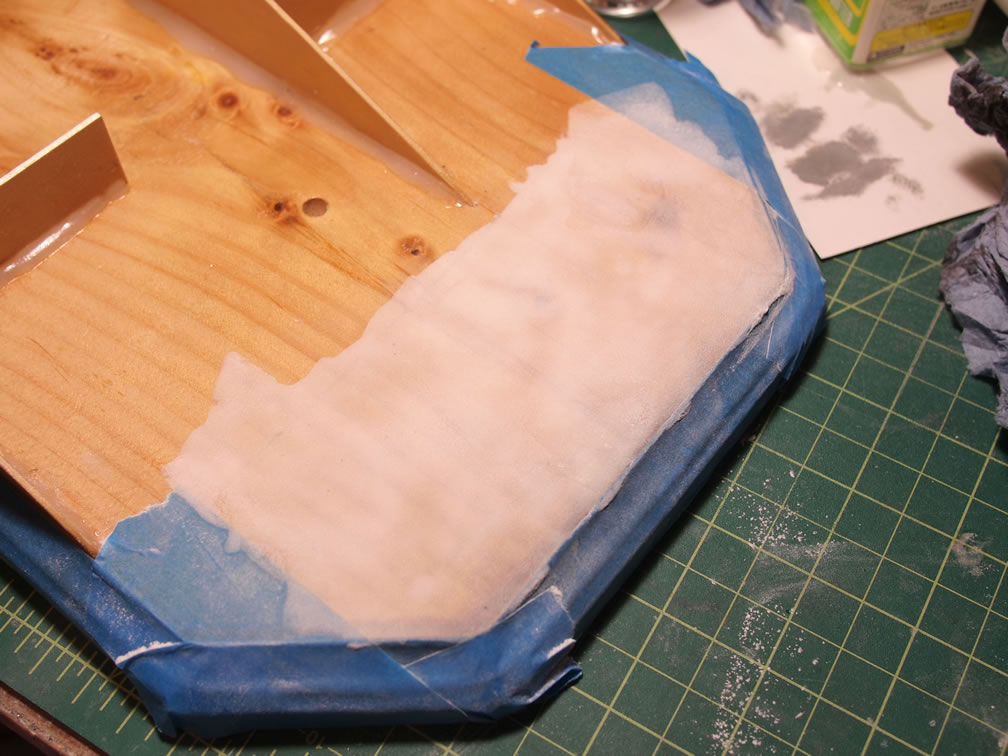
When I was in Hong Kong this past October, one of the things I picked up from the local hobby shops was a asteroid like plastic surface. It would be perfect for the many spacnoid gunpla scenes, so I picked up the sheet. I figured I could always make a mold and have endless asteroid bases. Little did I know that I would put it to use so soon. So, first step was to put the sheet into a box then tape up the edges so that it sits perfectly on the bottom of a box and doesn’t shift during the molding process. The excess space in the box is sealed up with some cardboard and more tape. Silicone is mixed and poured. I used quite a bit of the stuff, so I’ll need to head to the local shop and pick up more this week. The mold cured in a day and the master was pulled and I had a nice little negative rubber mold.

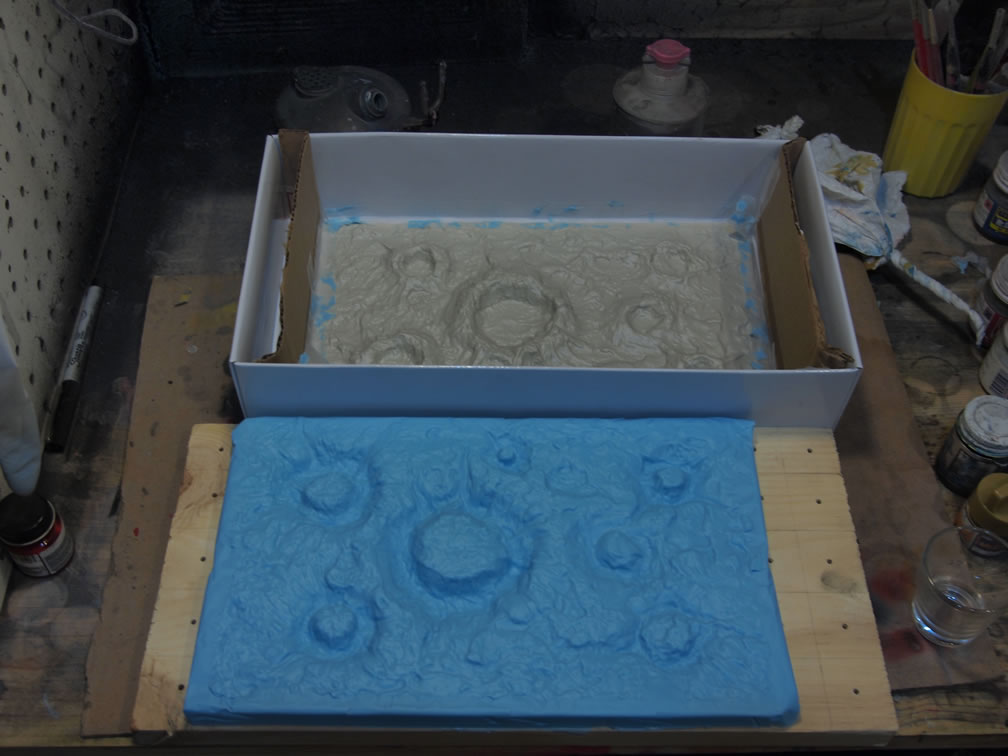
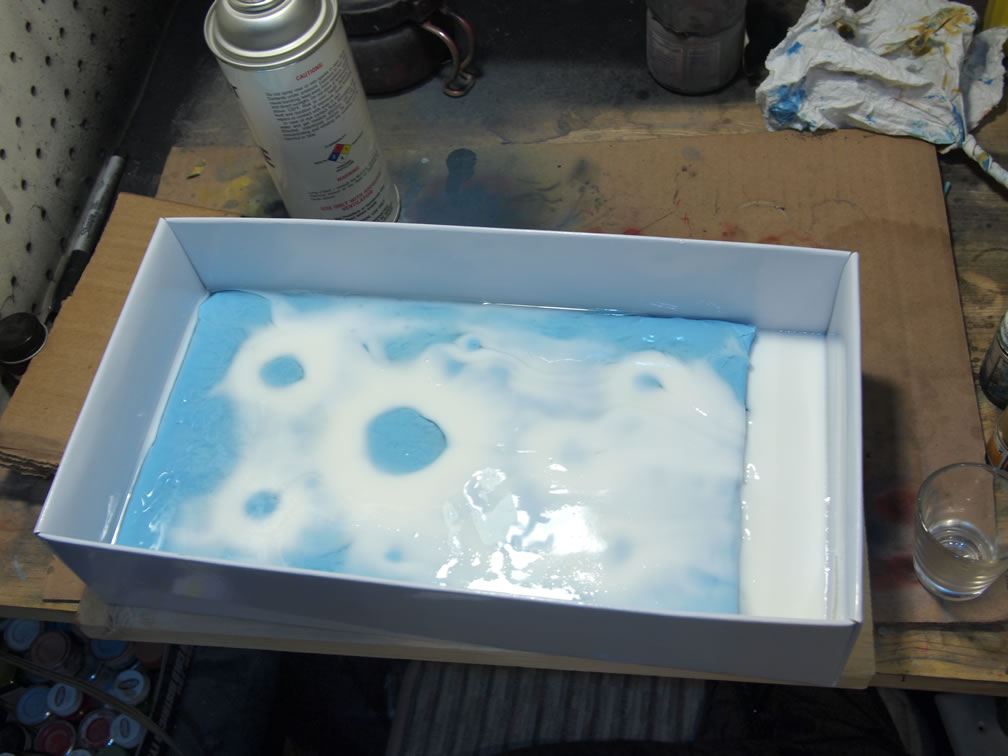
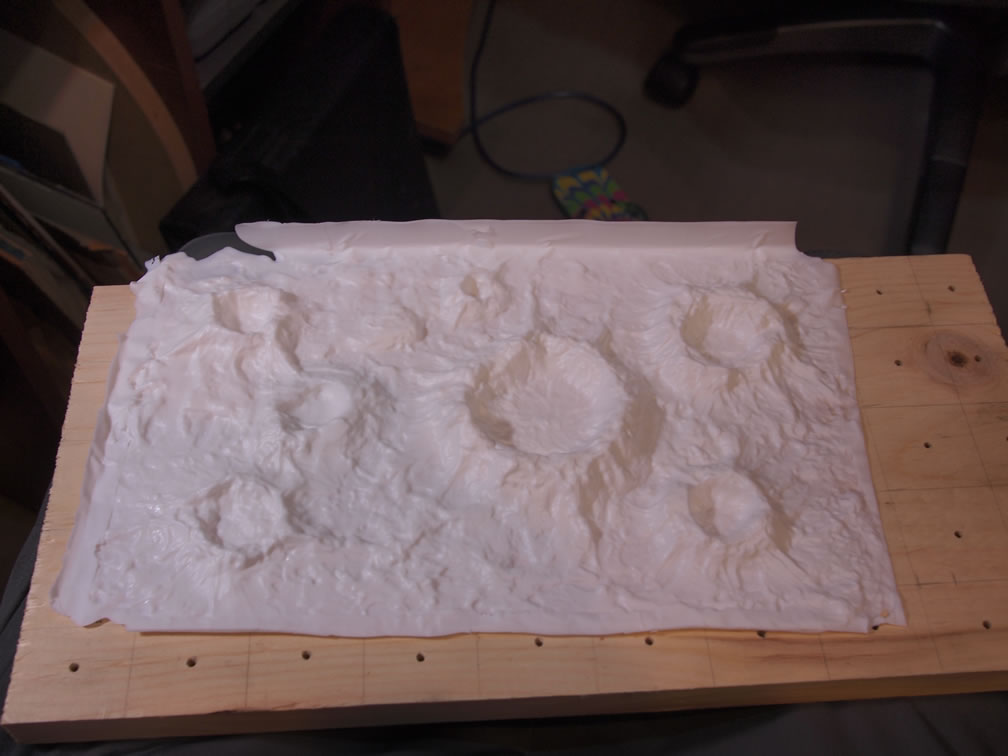
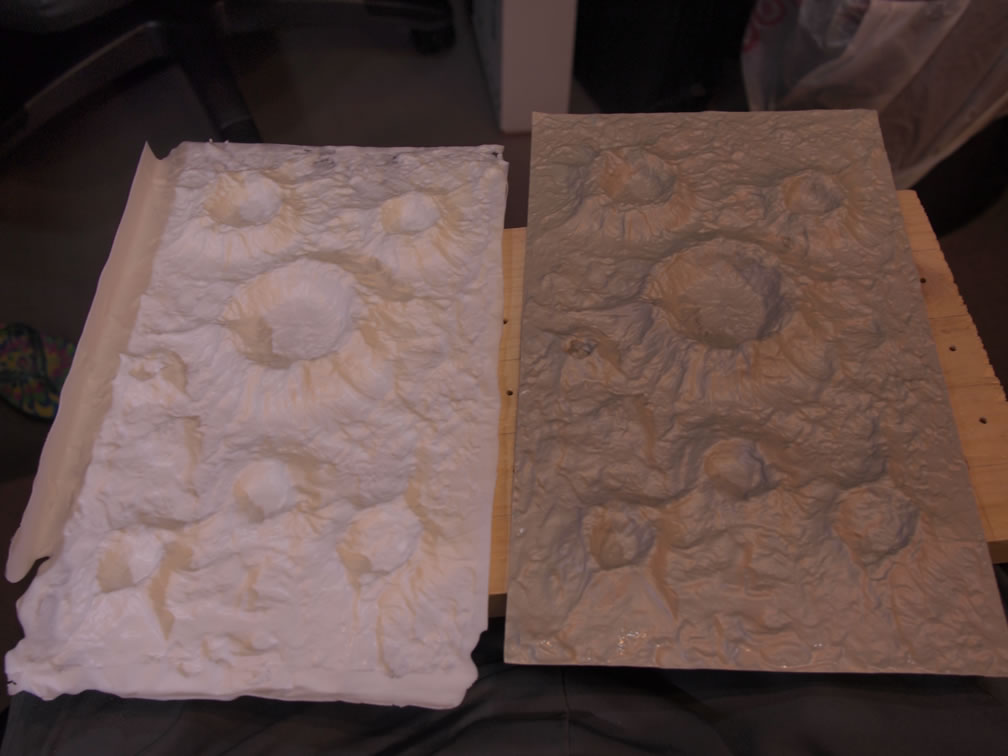
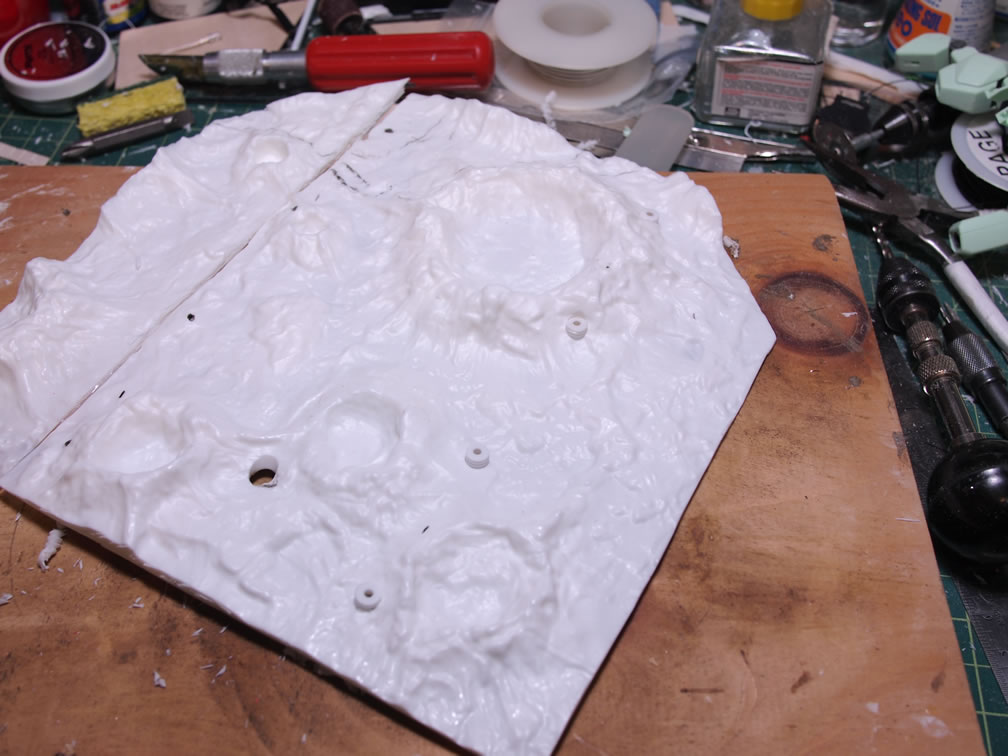
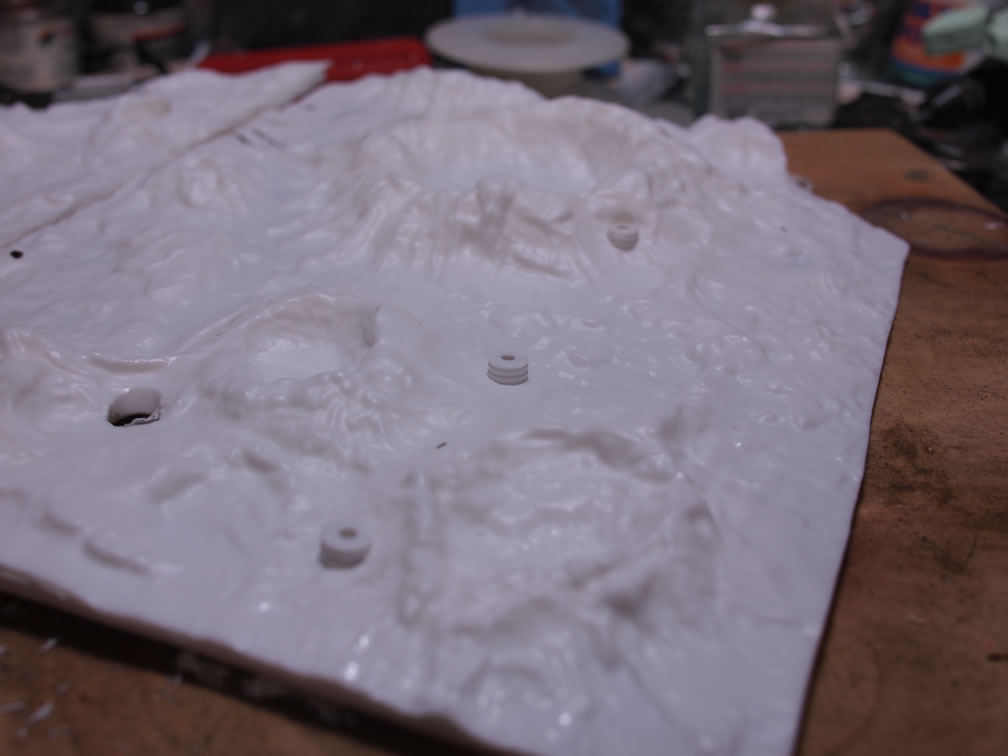
Resin was mixed and poured into the mold and I snapped a few pictures while I slowly solidified and turned white. Once fairly solid, I pulled the resin copy from the mold and snapped a picture next to the original. Just perfect, now I have an endless supply of these to use as base building materials.
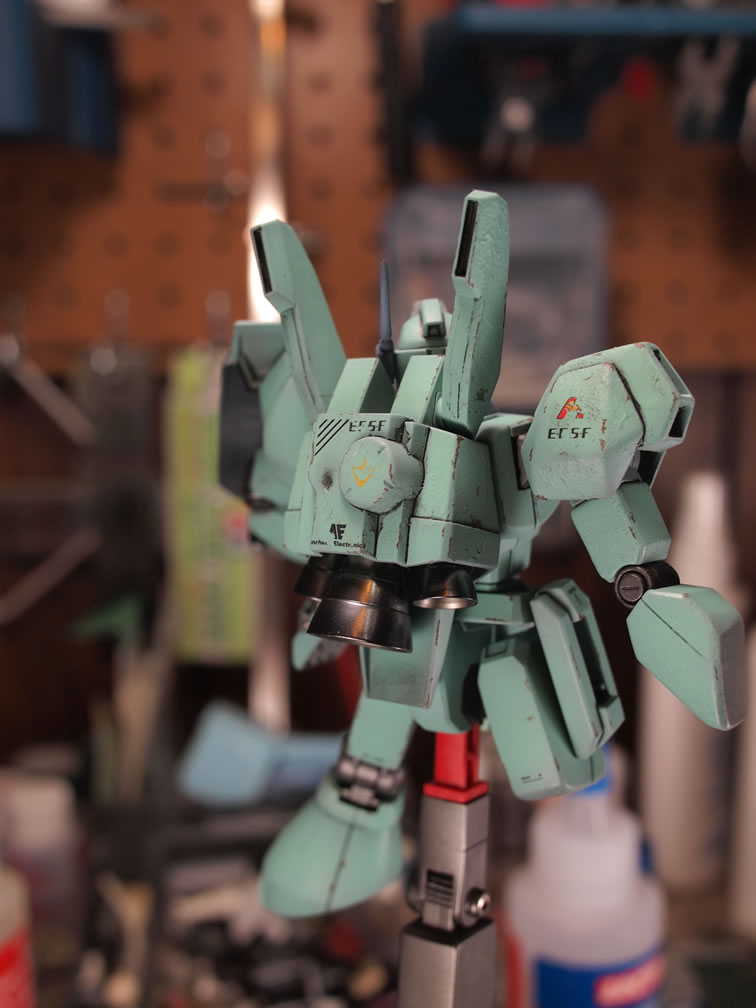
Returning to the original base idea, I picked up an HGUC Jegan for just this purpose. It’s been sitting in the box for several months along with a bunch of other kits that I hope to some day get through. It got pulled and snapped and only a few areas required seaming. Originally, this was going to be part of the background, just a freshly dead/dying Feddy kit who had just almost made it into the Axis’s base doors.
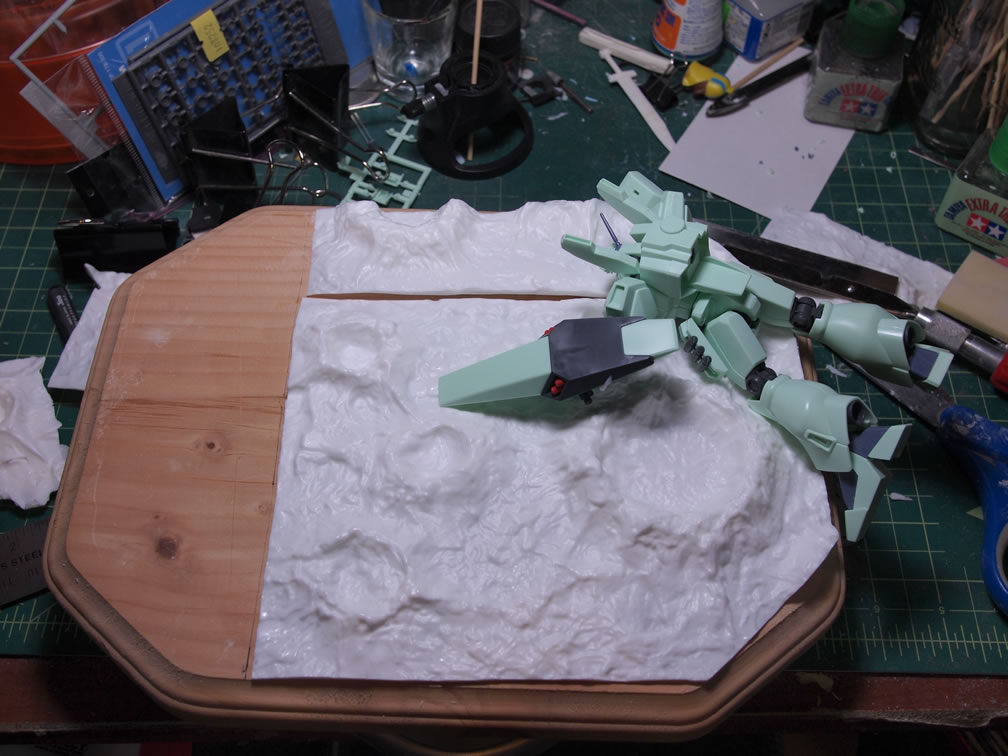
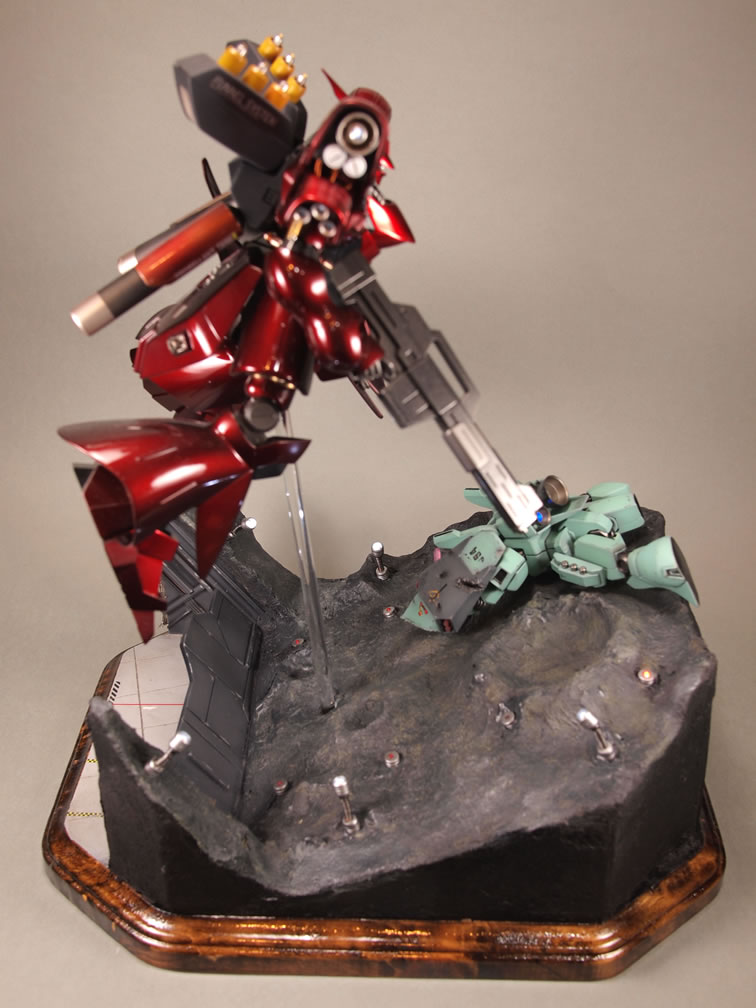
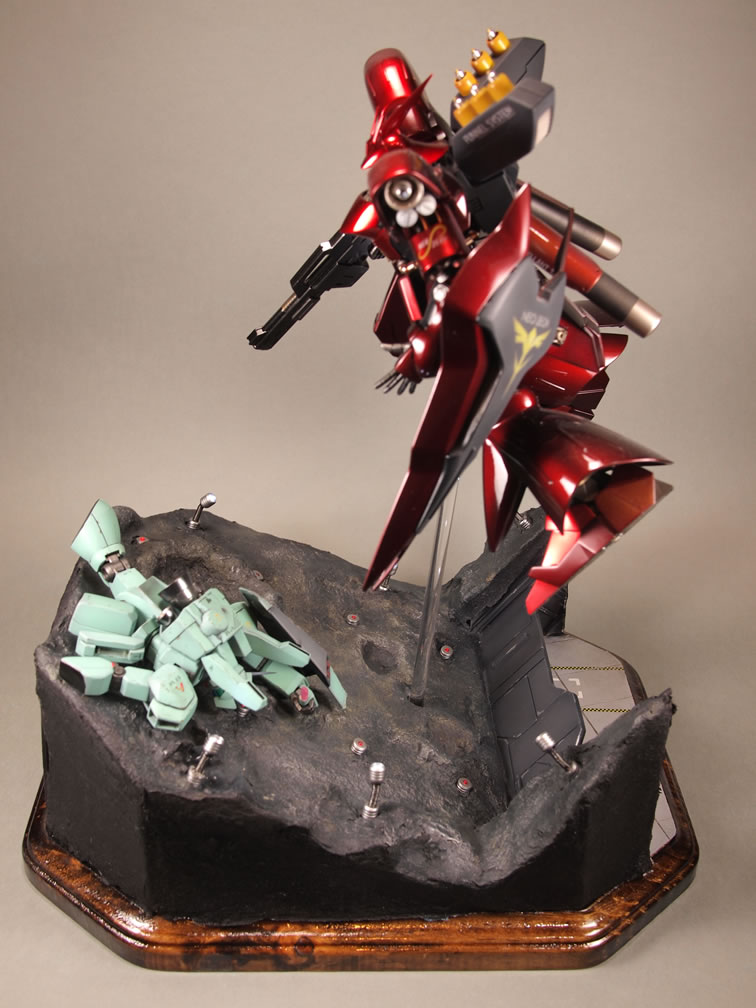
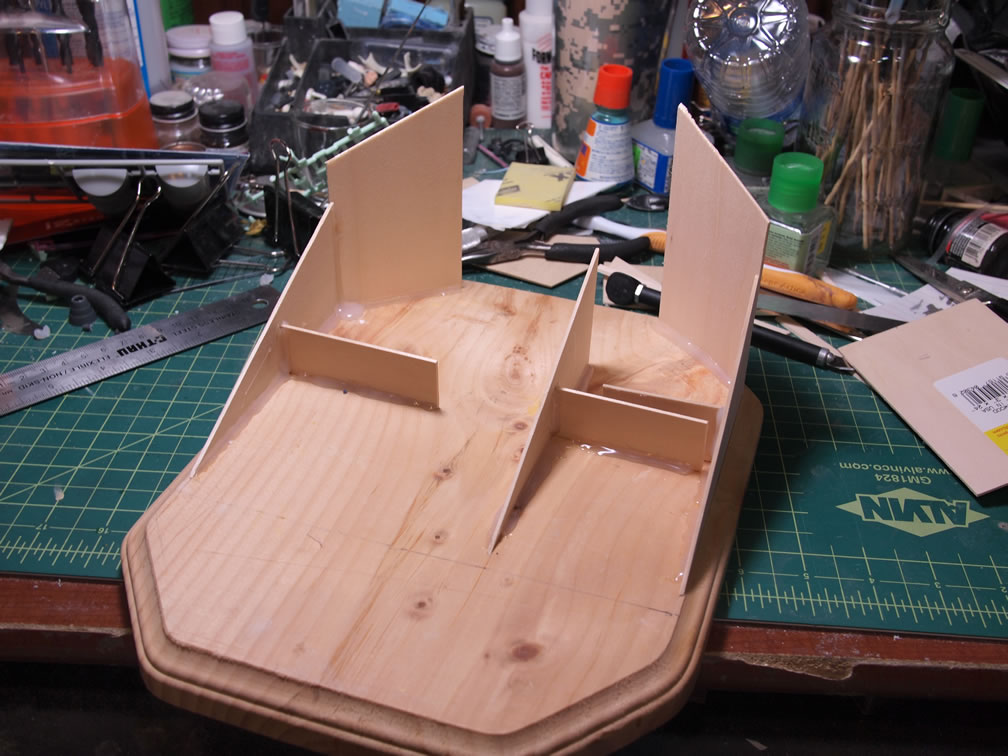
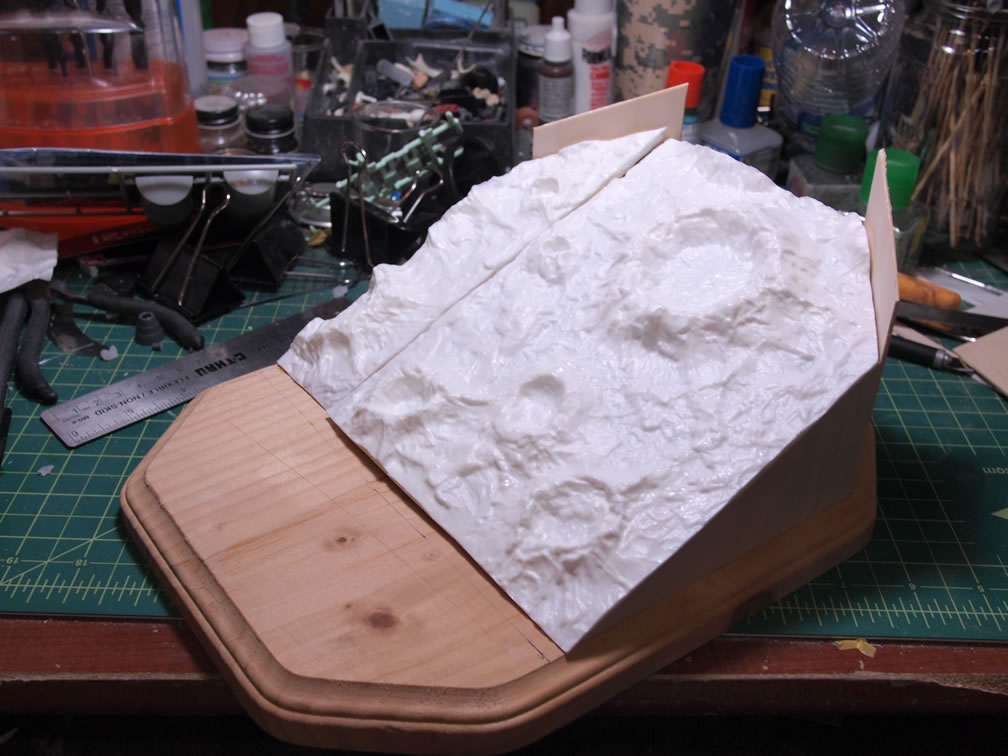
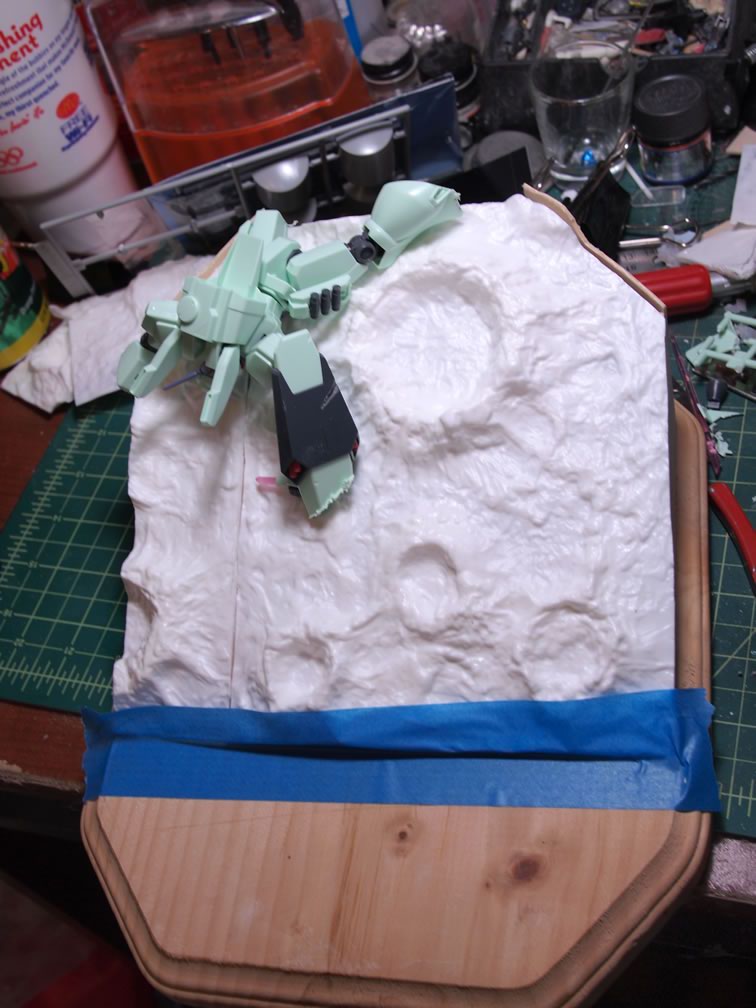
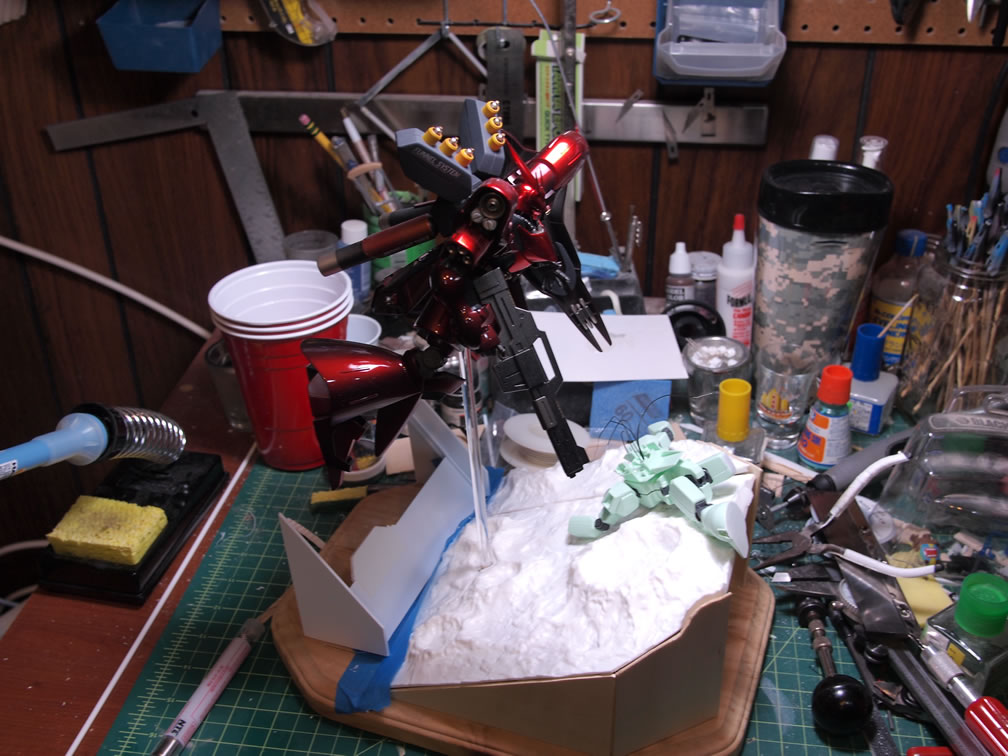
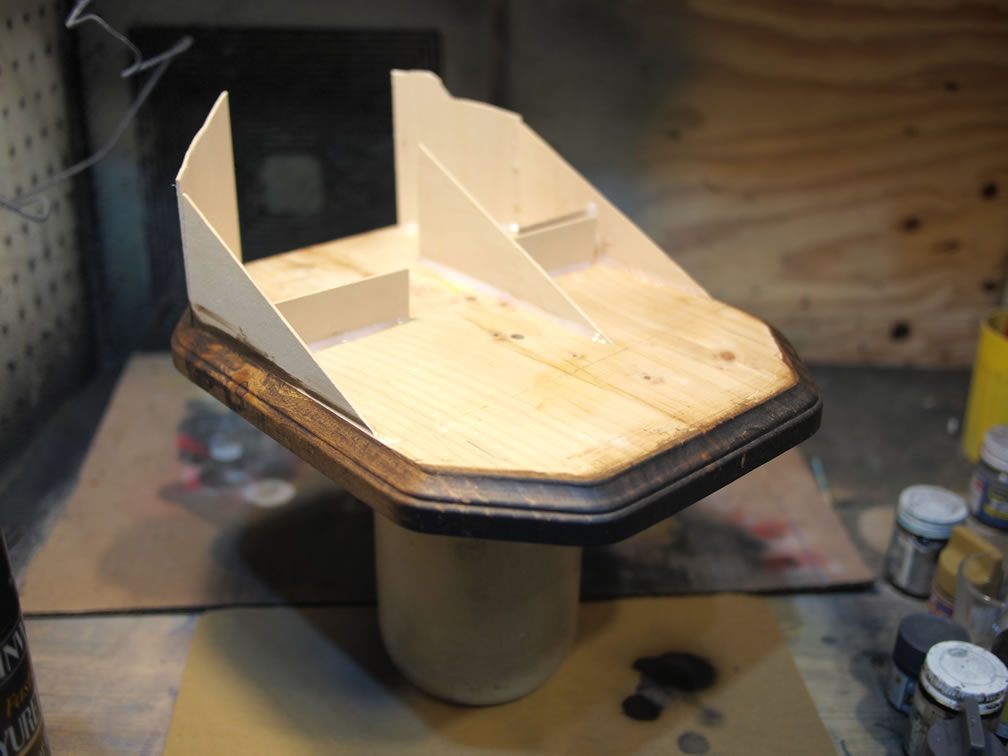
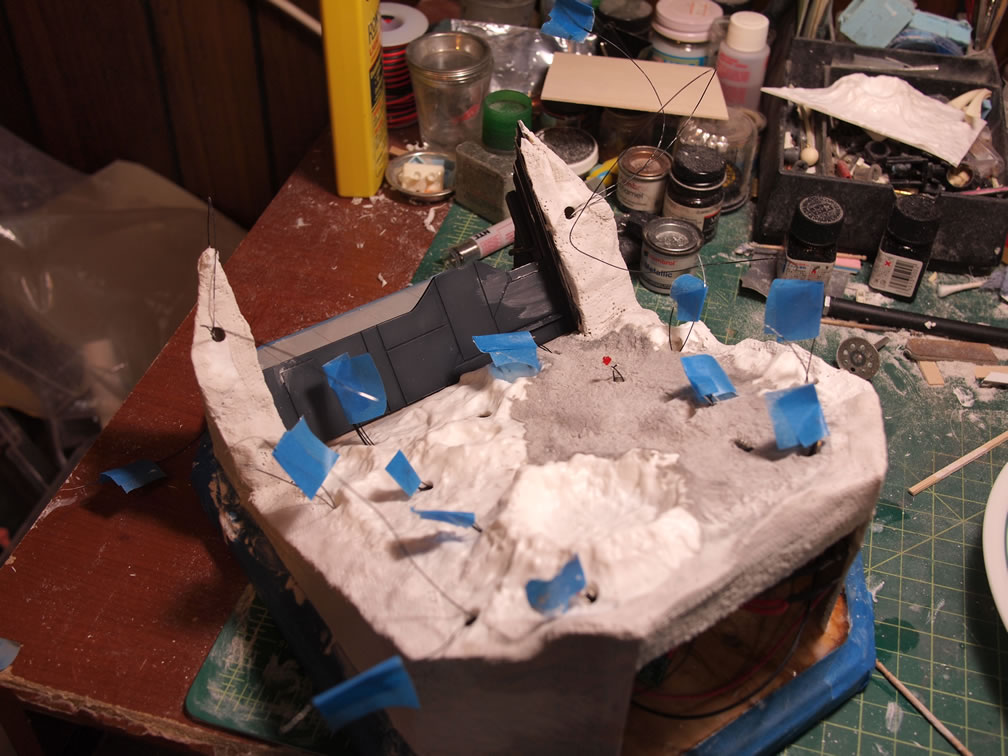
Also keeping with the original idea is to angle the asteroid piece so that it’s not just sitting flat on the surface. I want some dynamic with the base, I want movement, and with static object, the best way to do so was to angle the base. That way, when I have the Saz sticking out from the middle of the base on an acrylic rod, the idea is that it’s flying out from the base just in time to join the on going battle. Balsa wood is measured and cut, then glued to the wood base with a hot glue gun. Enough of the asteroid base is cut and fitted into position.
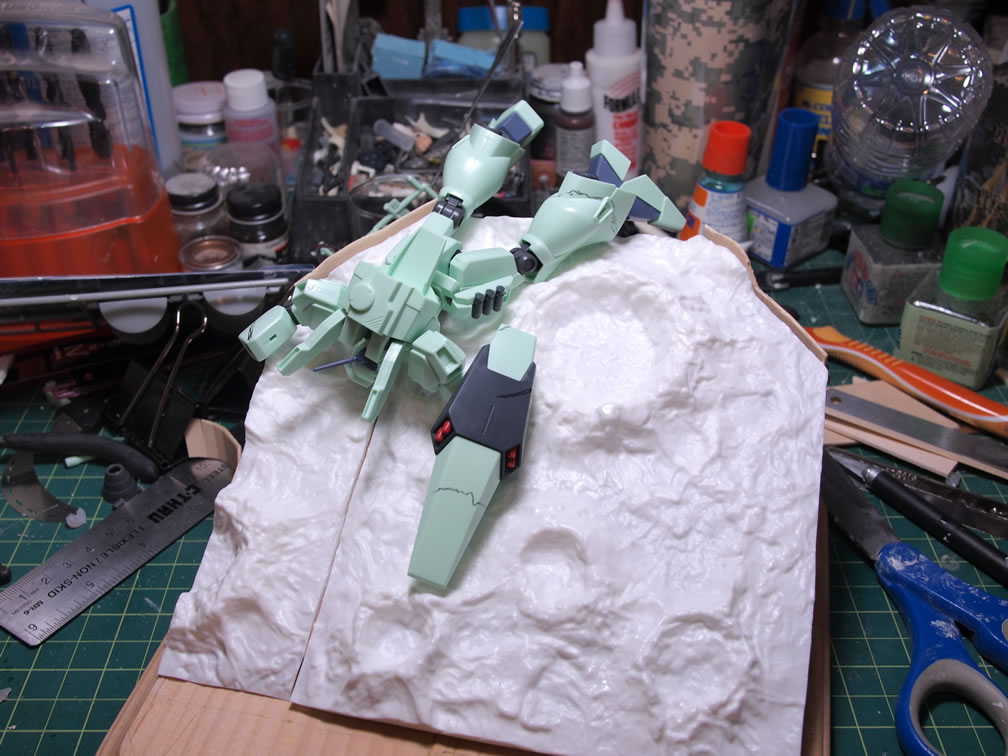
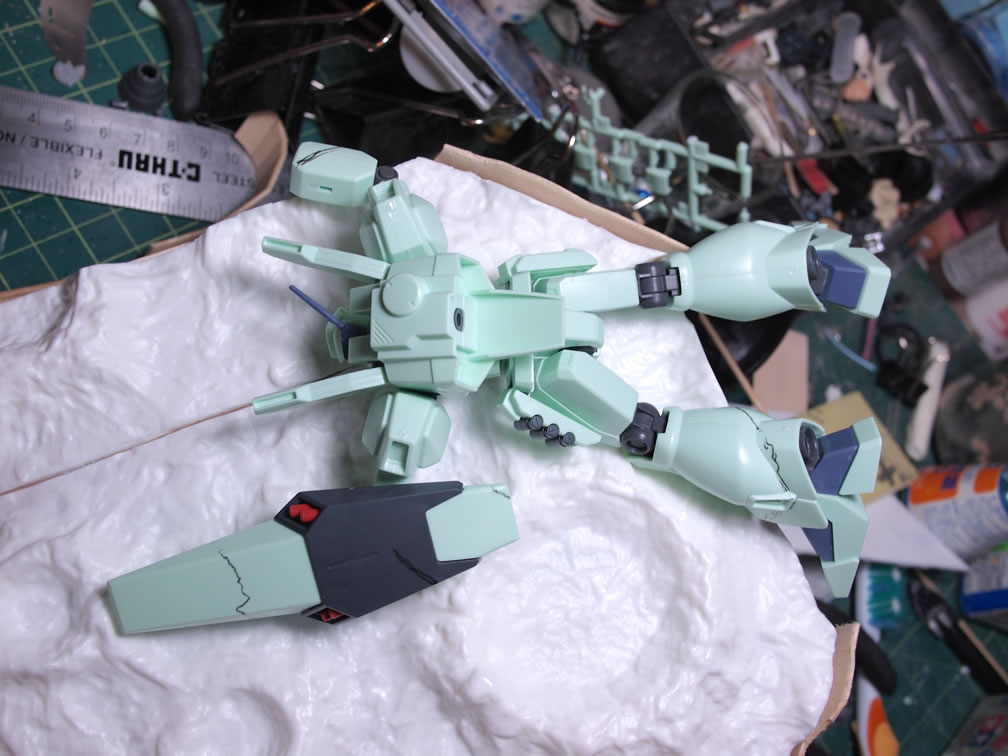
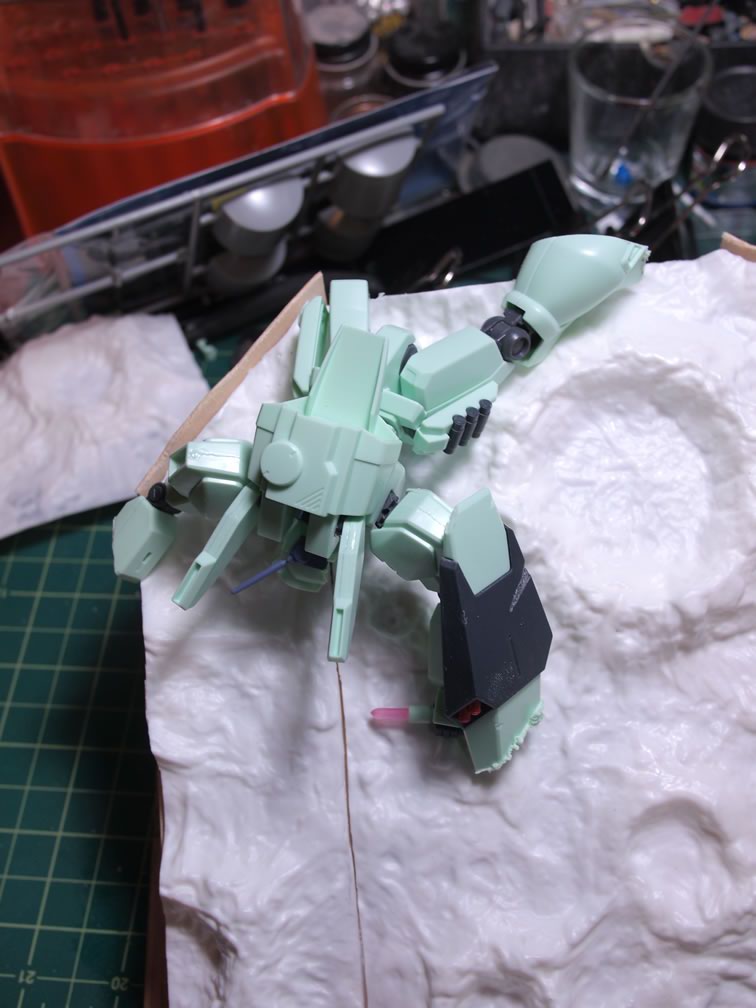
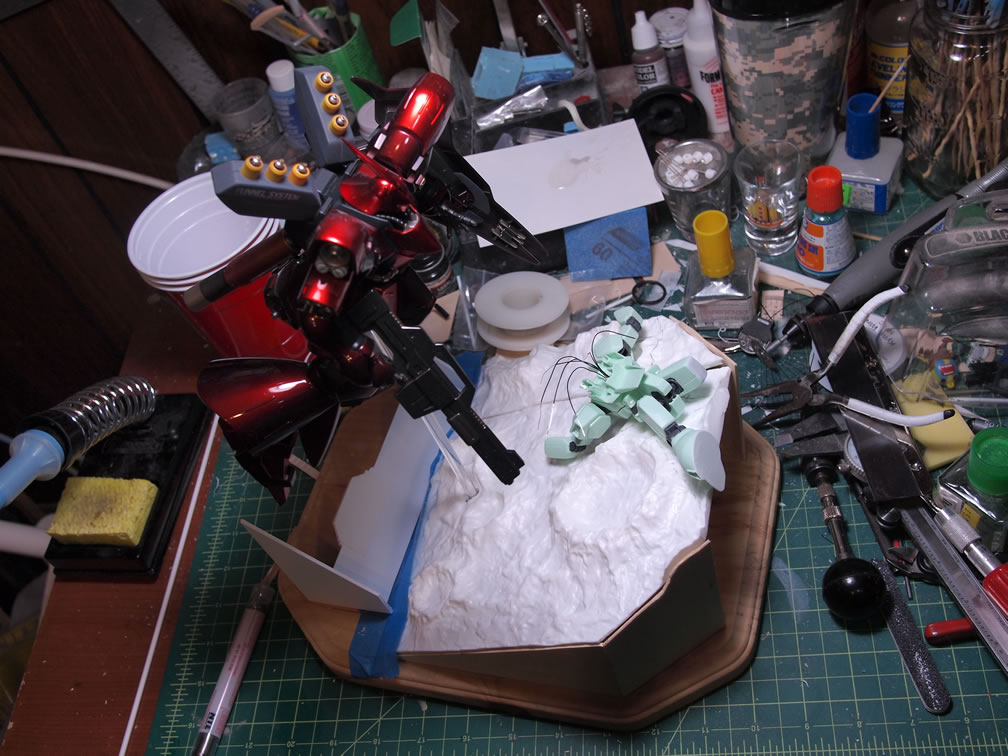
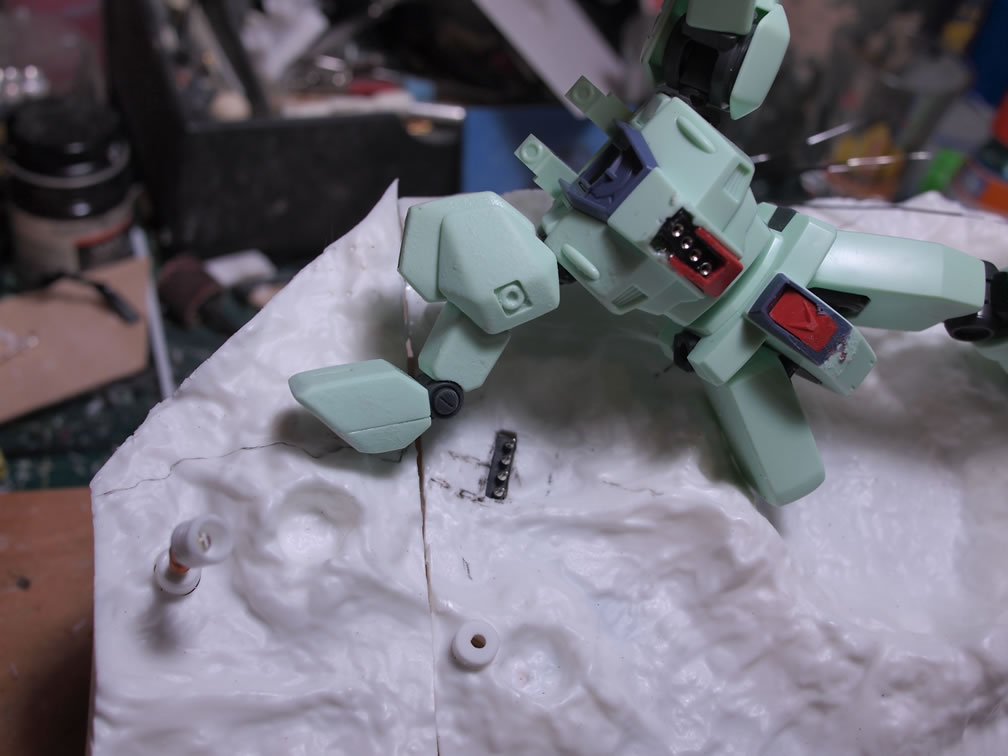
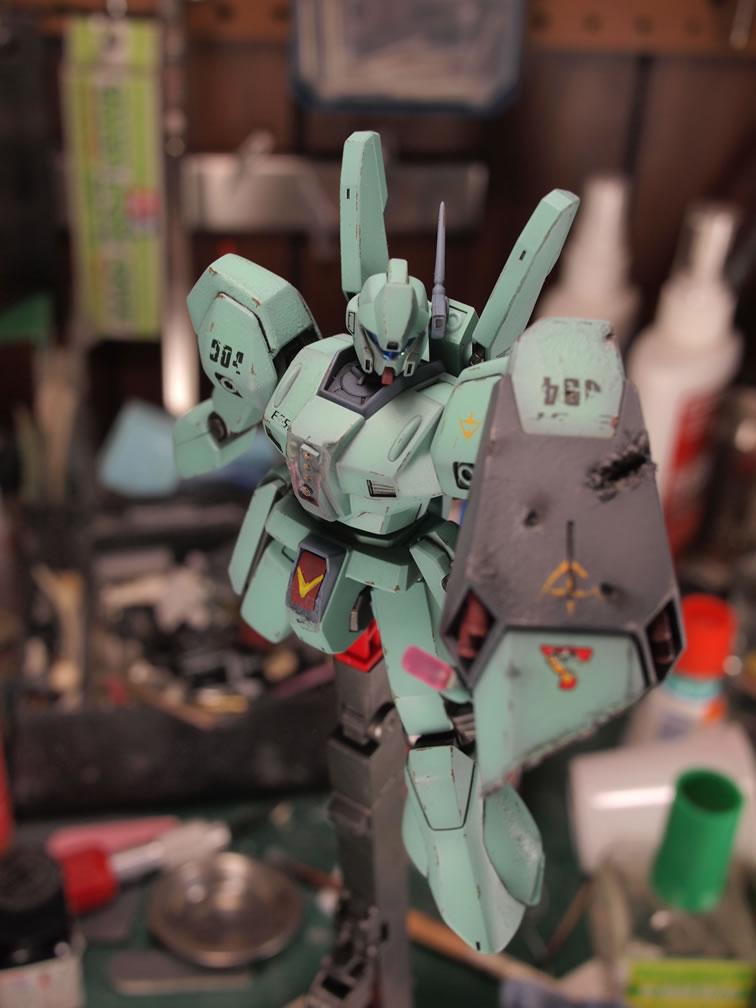
The Jegan is lying on the corner, and since I’m shrinking my original idea, I marked off areas on the Jegan that I want cut as well as damage areas on the shield that I want done. Out came the saw and the extra bits were lopped off. Now the Jegan fits neatly within the confines of the base. The idea is that the legs and arms are still there, but because the base is only so big, those areas cannot be seen. The shield however, is cut up and damages are applied. I also cut down the beam saber to a sliver of power as the unit is in the process of dying, hence the waning saber.
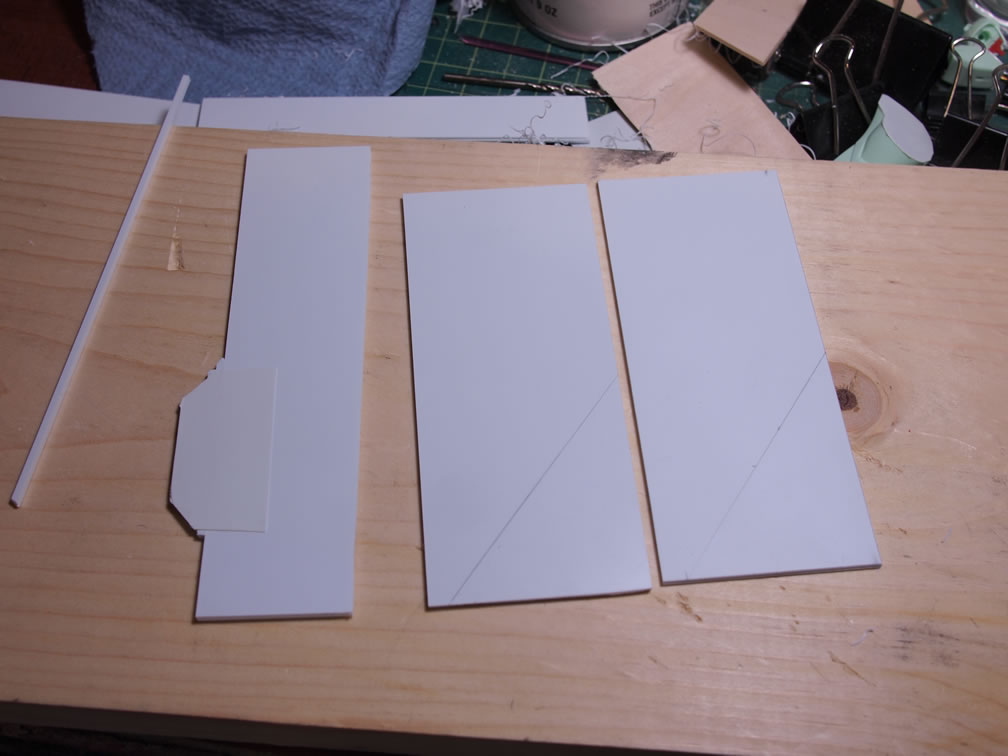
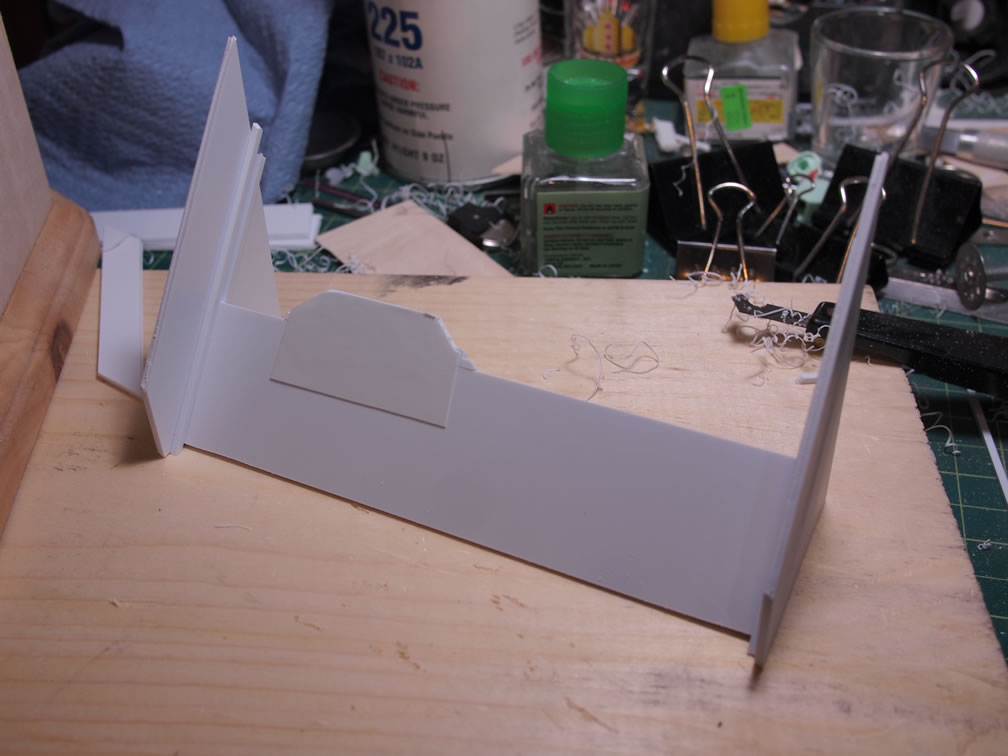
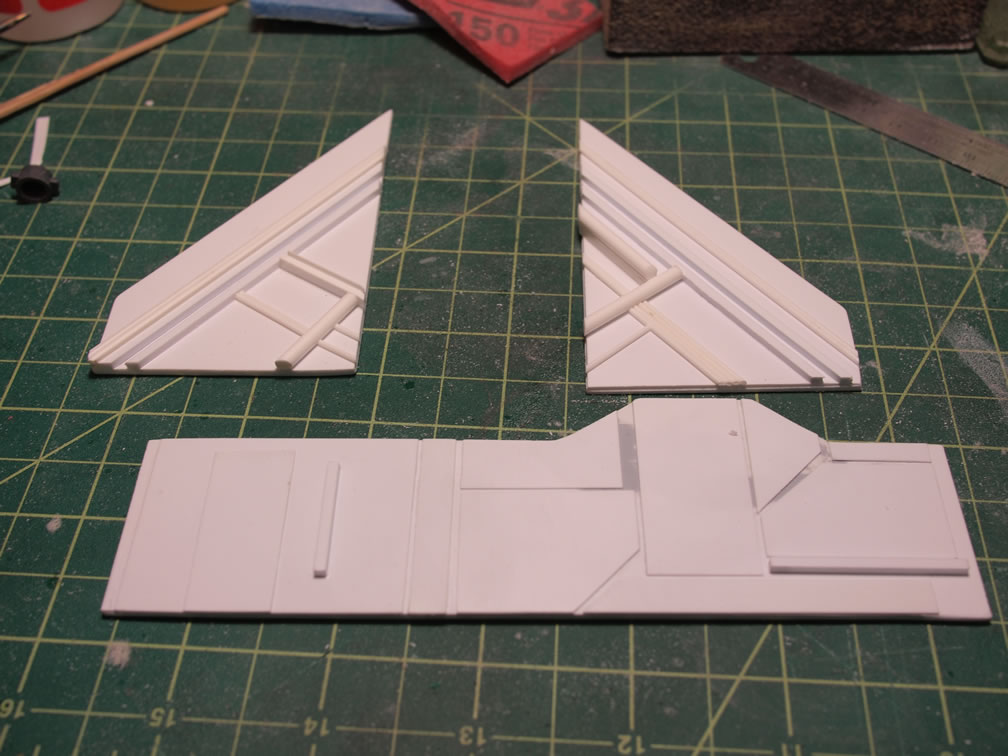
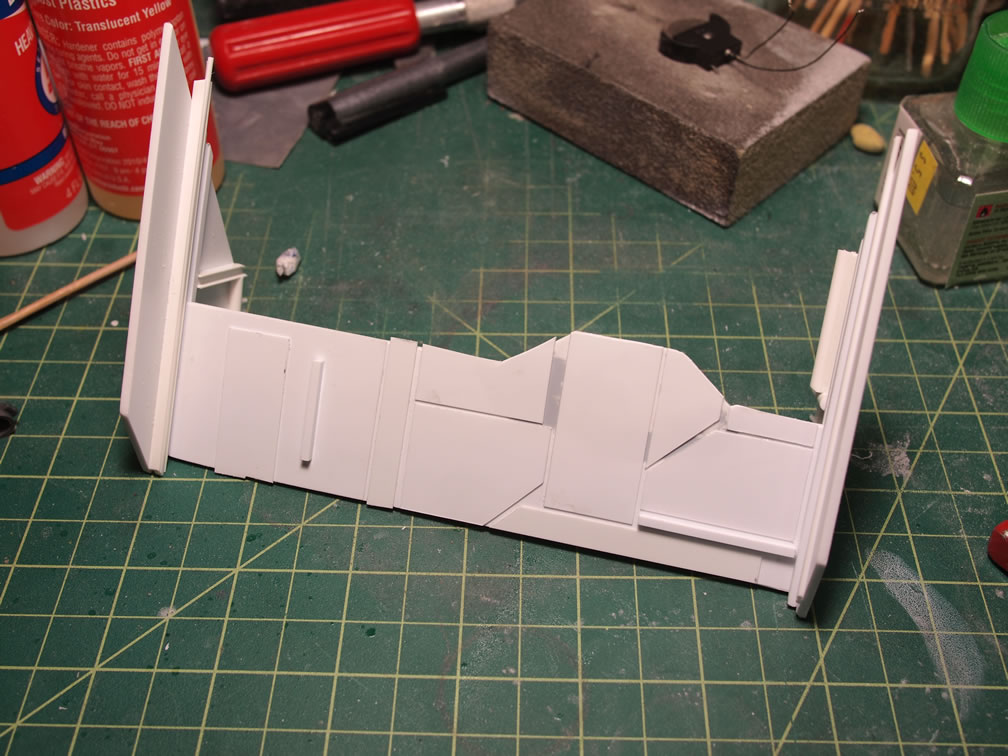
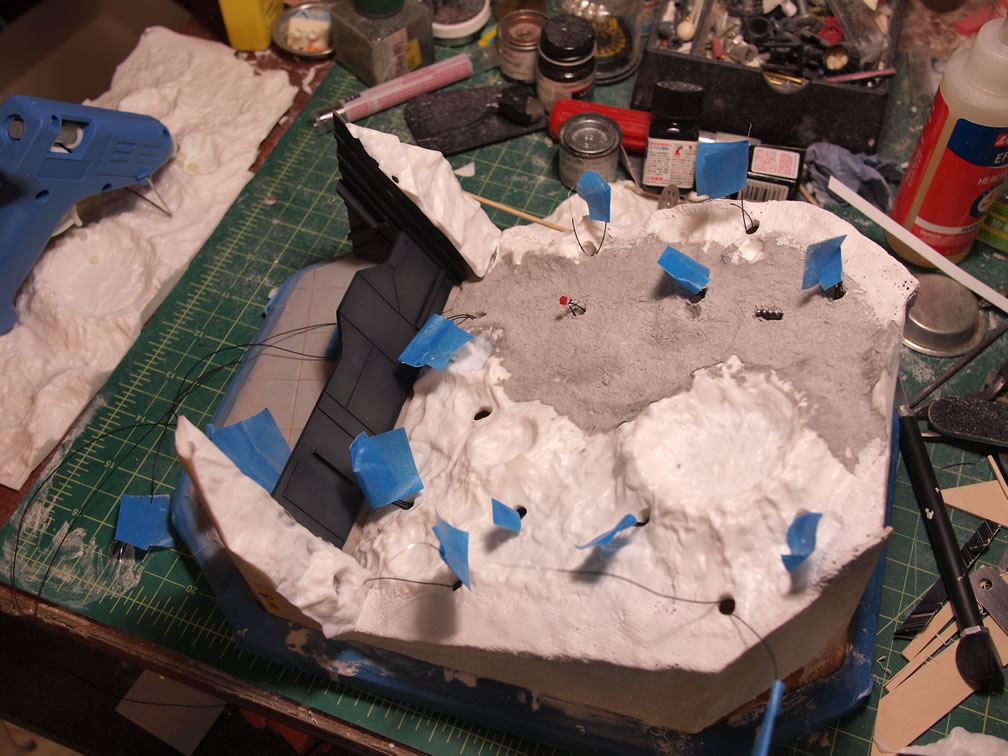
November 20, 2011: I’ve been consistently working on this project nightly. Using styrene sheets, I made the opened gate and gate sides. I still have quite a bit of work, but the basic structure is there.
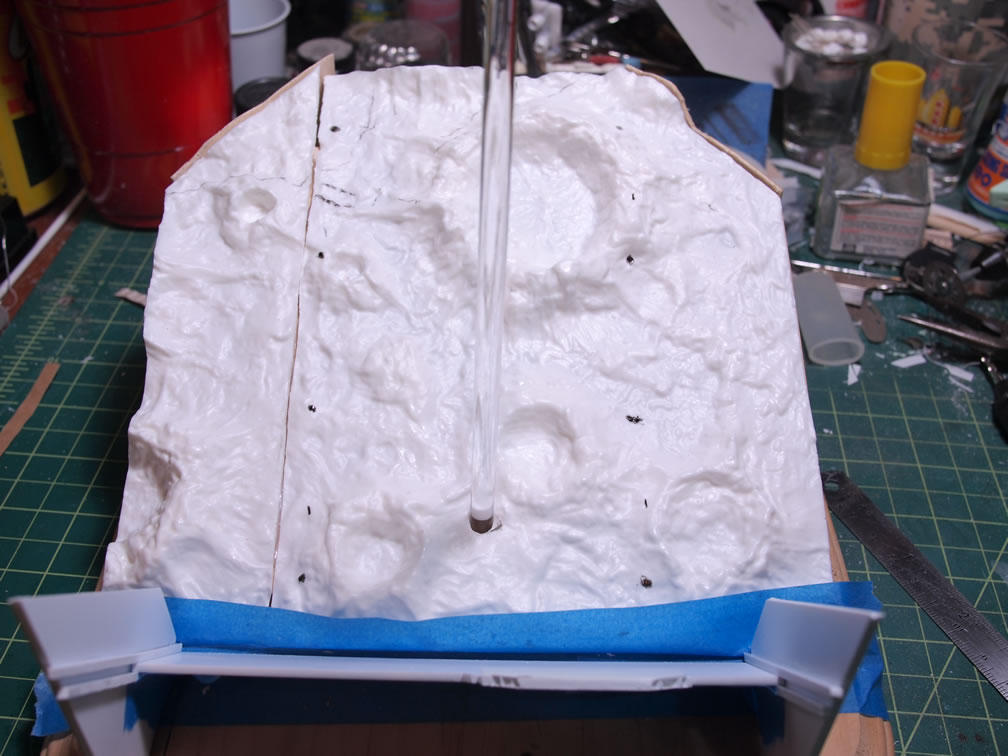
Using an acrylic rod and a 1/8″ aluminum tube, the Saz is attached to the base for a quick little balance check. This also works to see how the new base fits around the kit. The gate is a little on the small end, but only a small portion of it is shown and the rest of the gate is left to the viewer’s imagination.
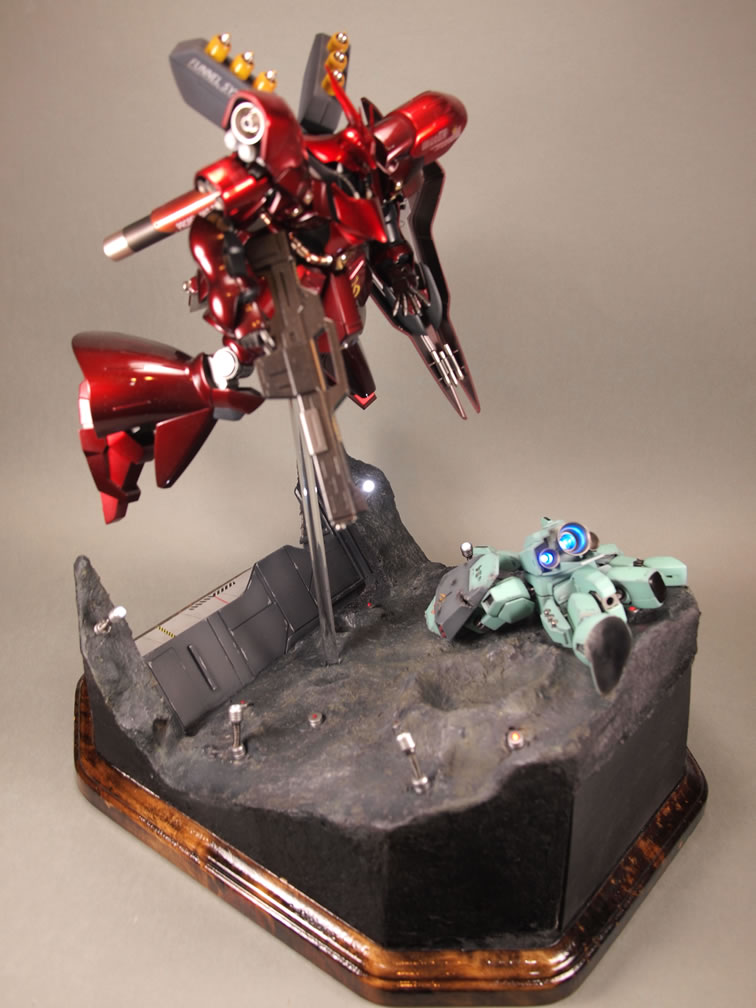
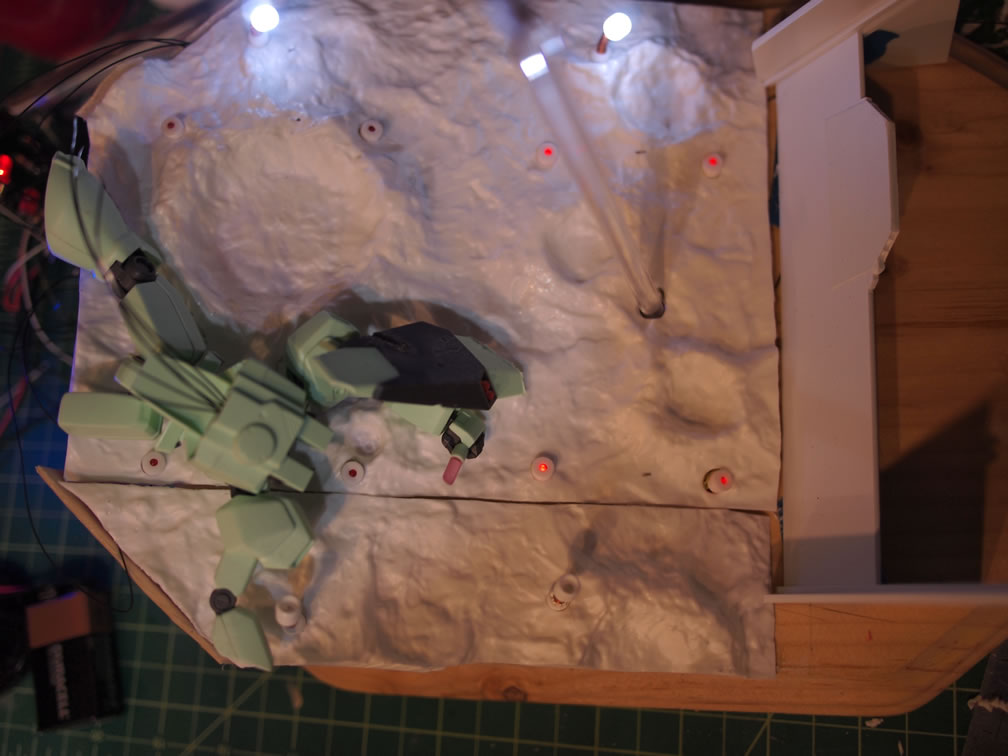
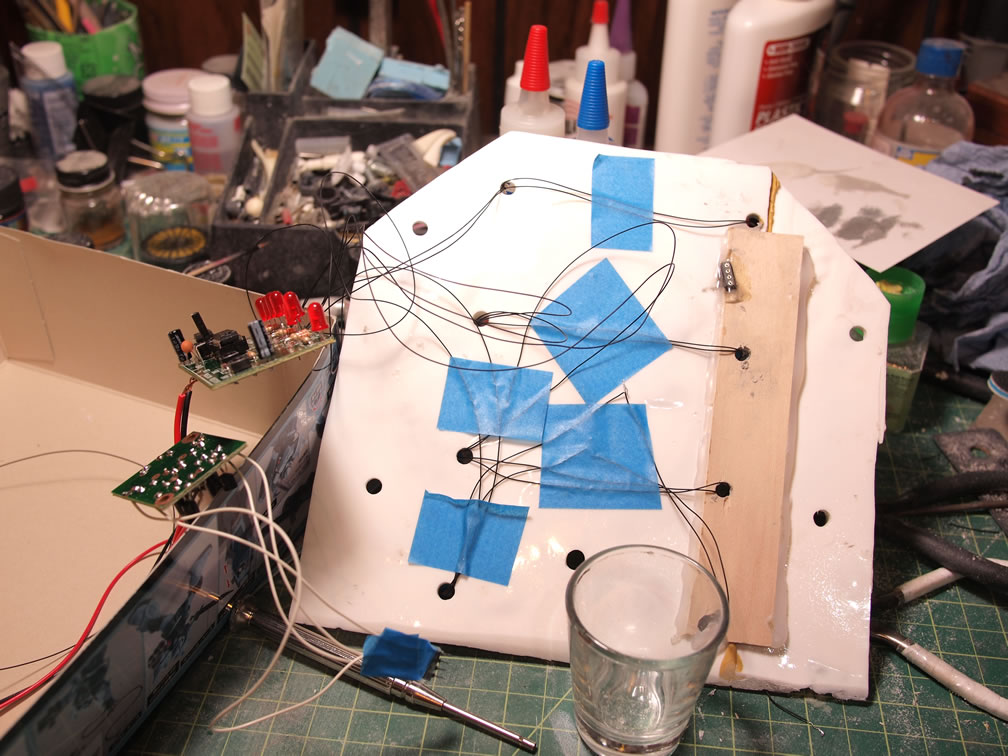
I grabbed a little LED lighting circuit to get some synchronized flashing. Using some resin casts of a the metal soup can thrusters; I made a bunch of copies to use as the lighting terminals for the base. Small 1.8mm red LEDs are used as the base launching/landing lights. Some white LEDs are use as spotlights dotted around the base.

The last bit of lighting is for the Jegan’s backpack thrusters. As the Jegan is dying, the flashing circuit will work to show that the thrusters are flickering. The final picture is a quick test with one row of the white LED spotlights and the base launch/landing lights.
November 27, 2011: Thanksgiving weekend update. Quite a bit of work has been done since the last update. I’ve been going pretty much non stop and now things are slowing down considerably since I’m done with the build stage and on to the actual painting and diorama base building stages which requires a great deal of patience since most of the following steps require cure/dry times.
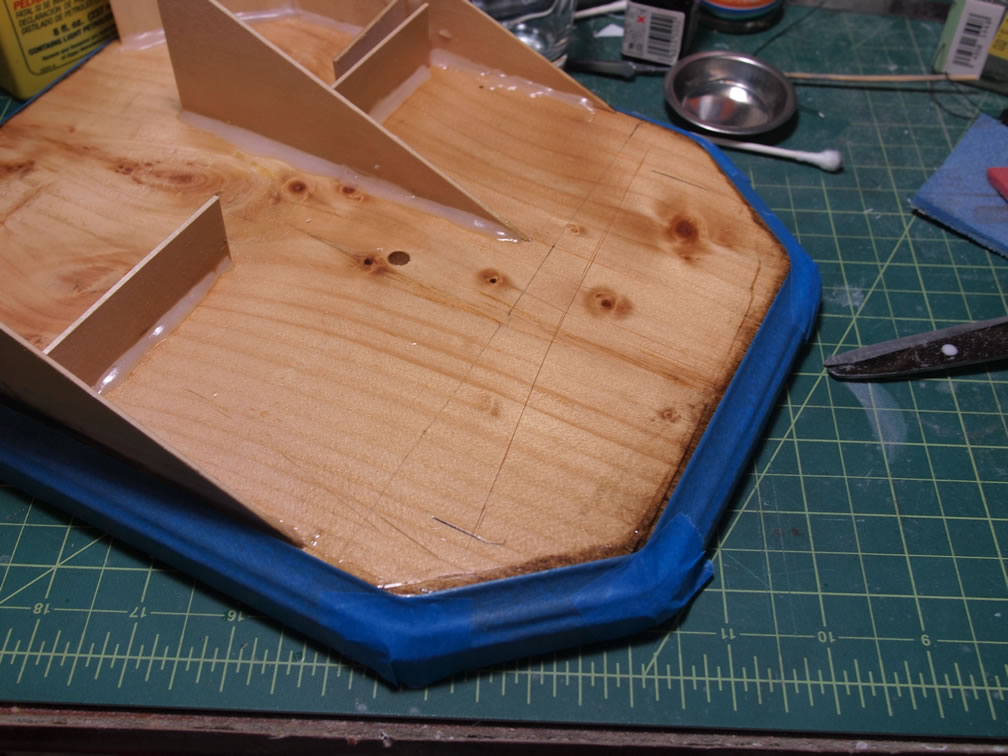
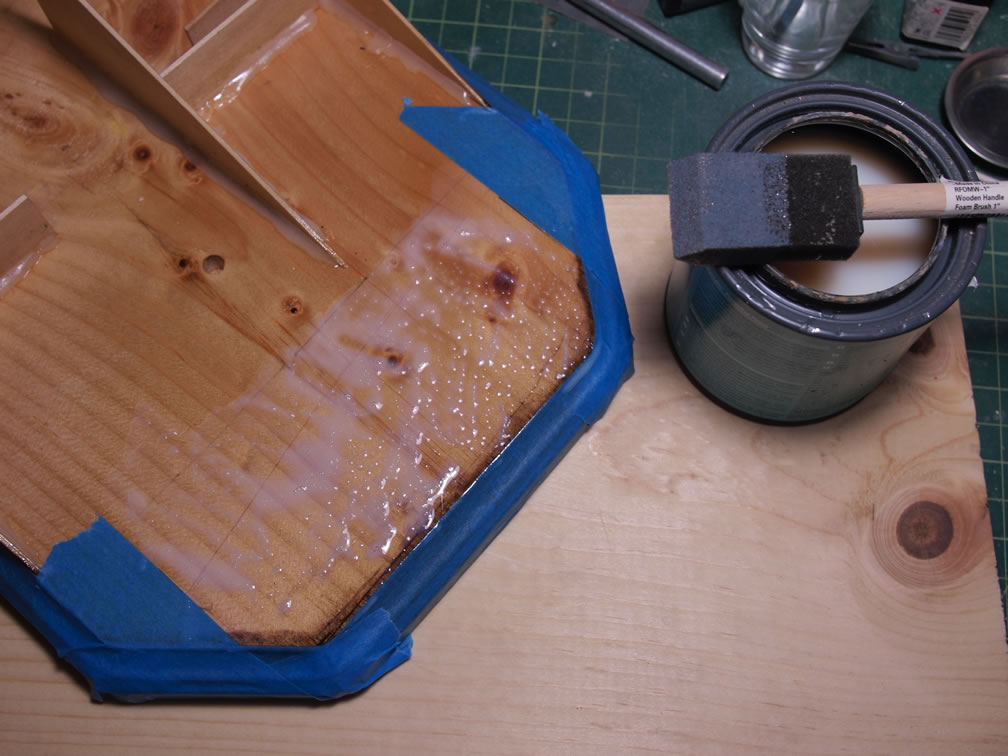
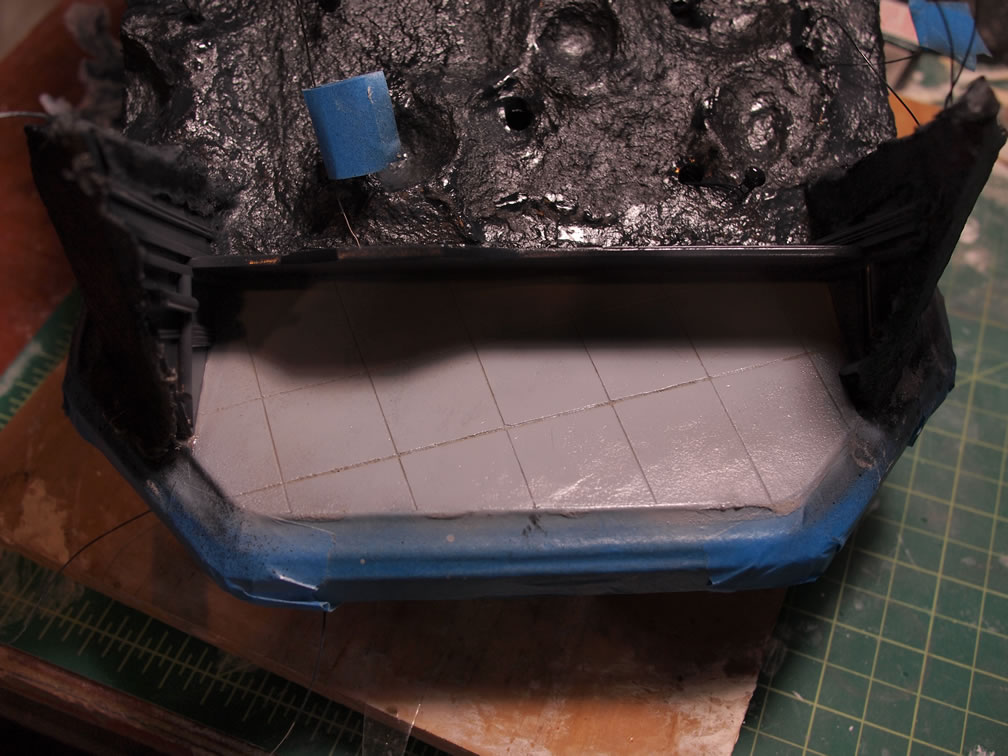
Earlier in the week, I stained the beveled edges of the wood base, then over the week, applied several coats of clear gloss to give the surface a nice shiny finish. Once the gloss cured for a good several days, this area was masked off some clear acrylic medium was applied to the back end of the base.
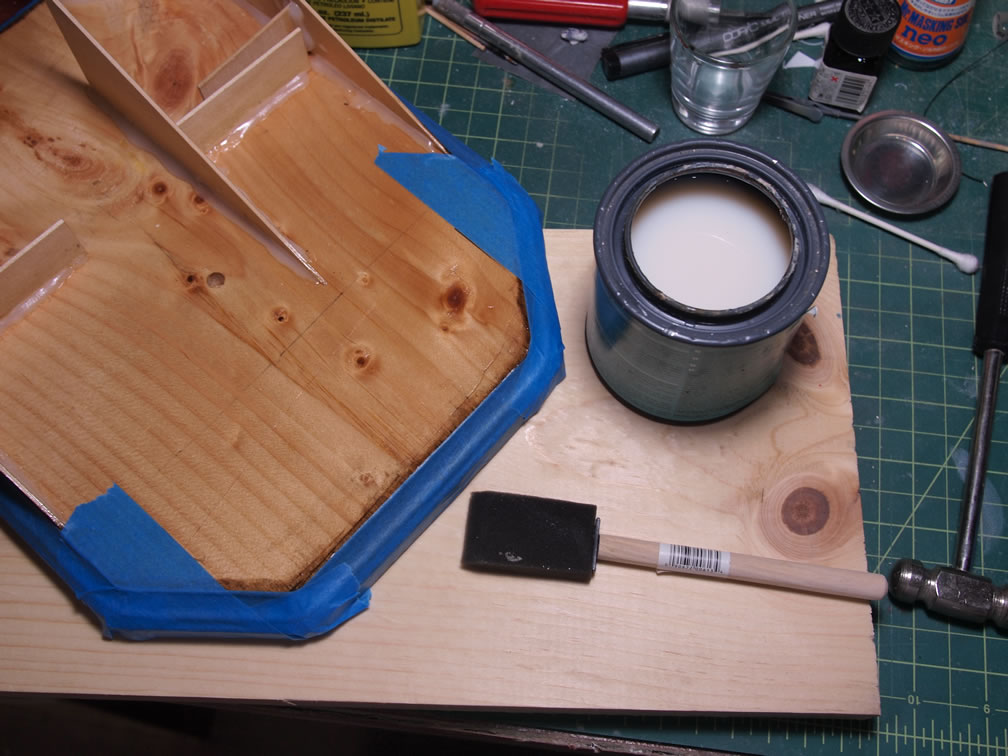
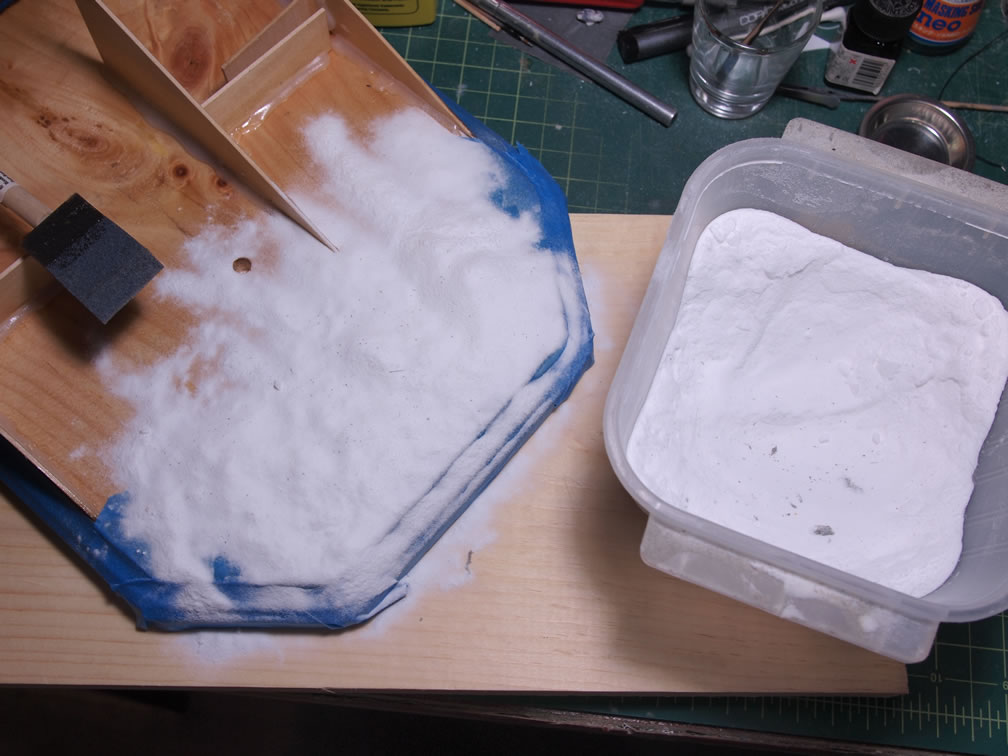
With the acrylic clear medium applied, baking soda is shifted onto the surface. This is the first few steps to creating a tarmac like surface.
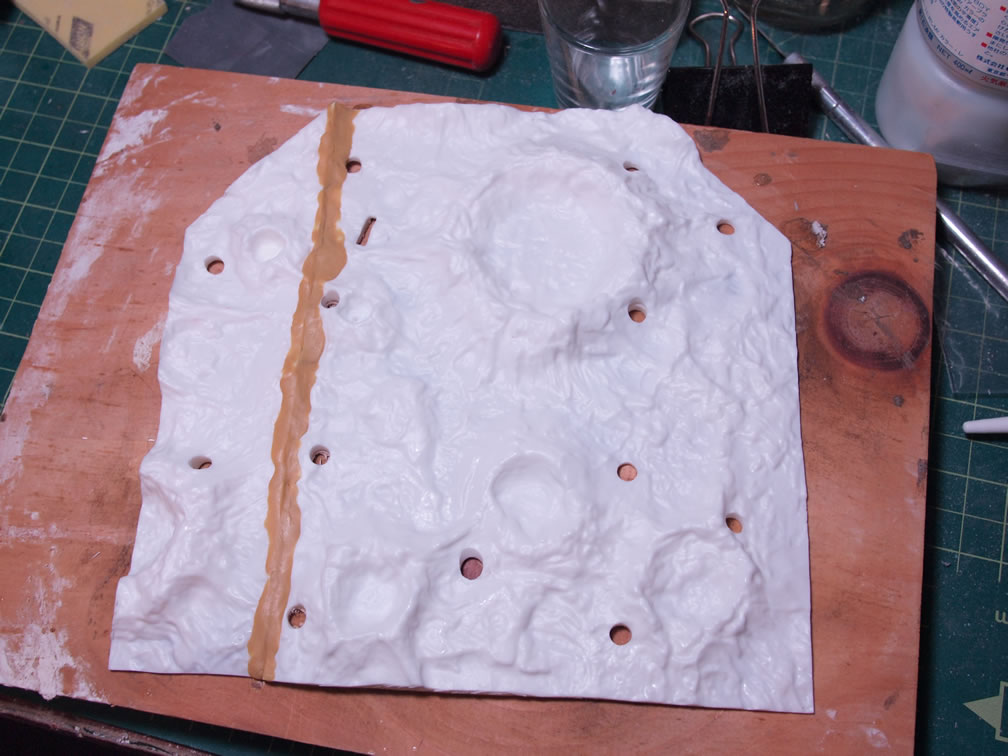
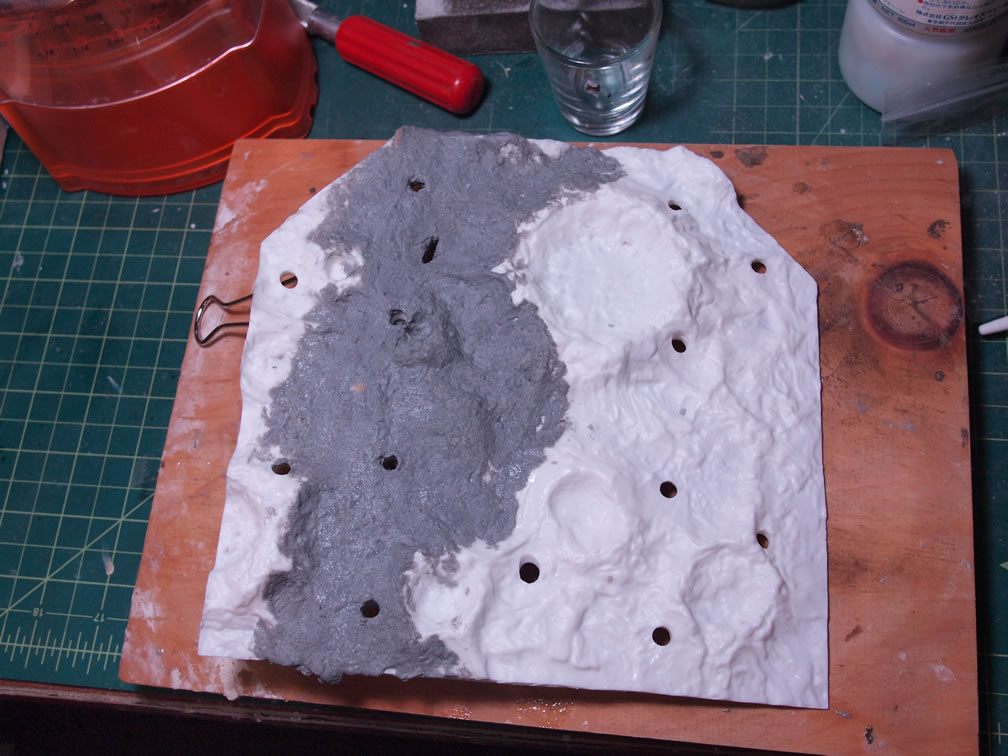
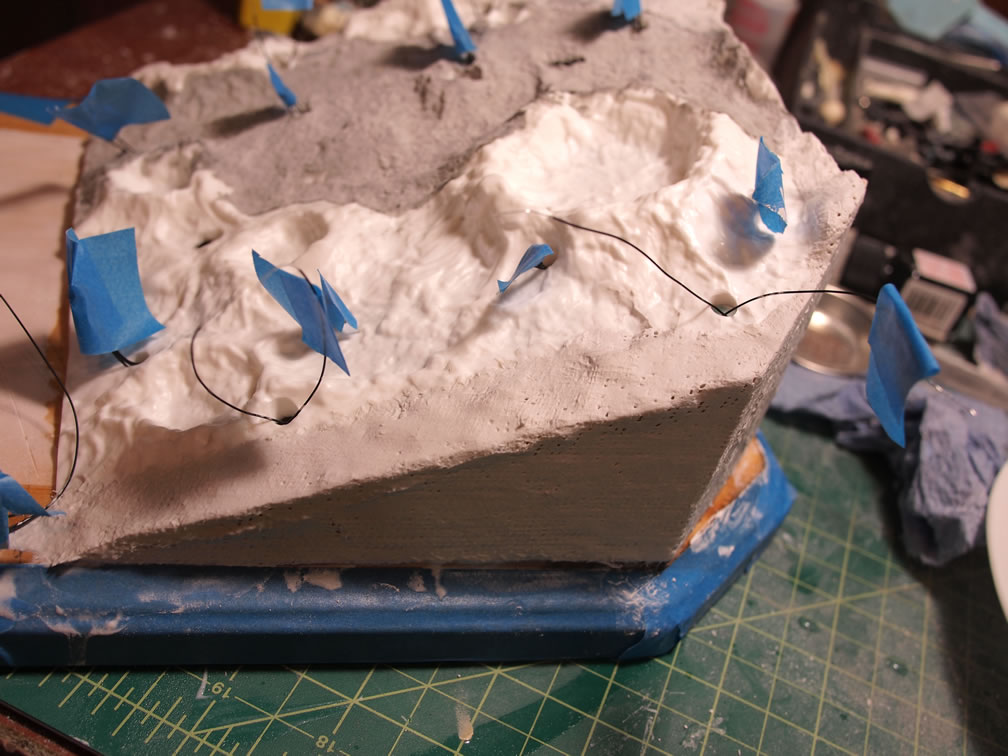
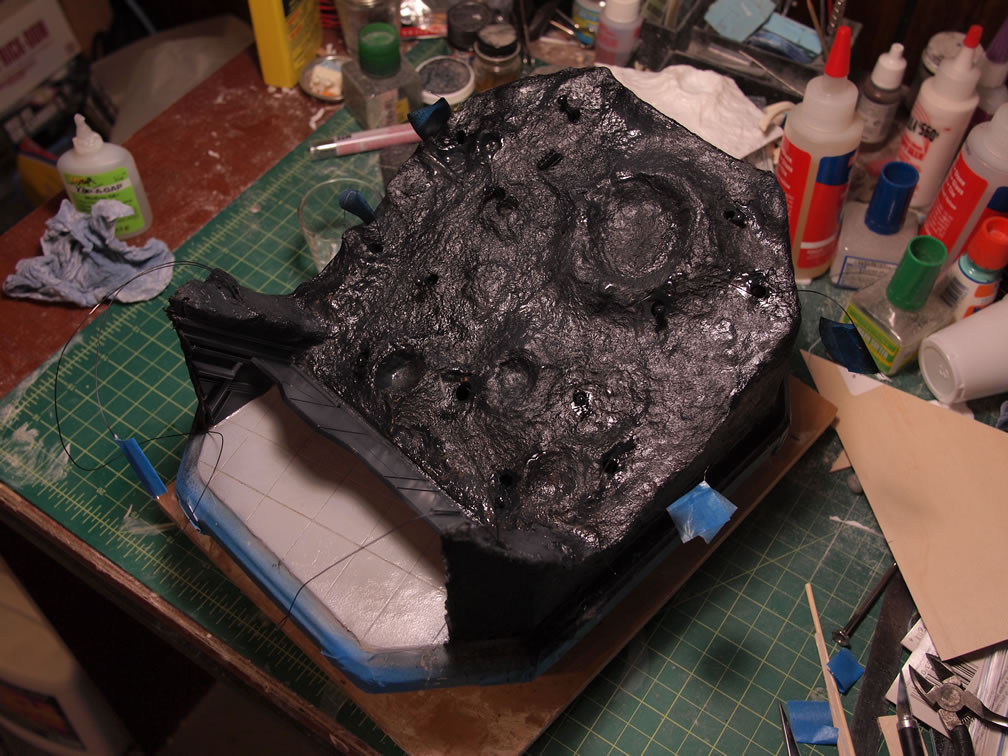
The two pieces of resin that make up the main piece of the asteroid section of the base is puttied together and then a layer of celluclay is applied to the surface. This was done earlier in the week and still hasn’t fully dried/cured. The cold temperature and humidity are part of the reason for the slow cure.
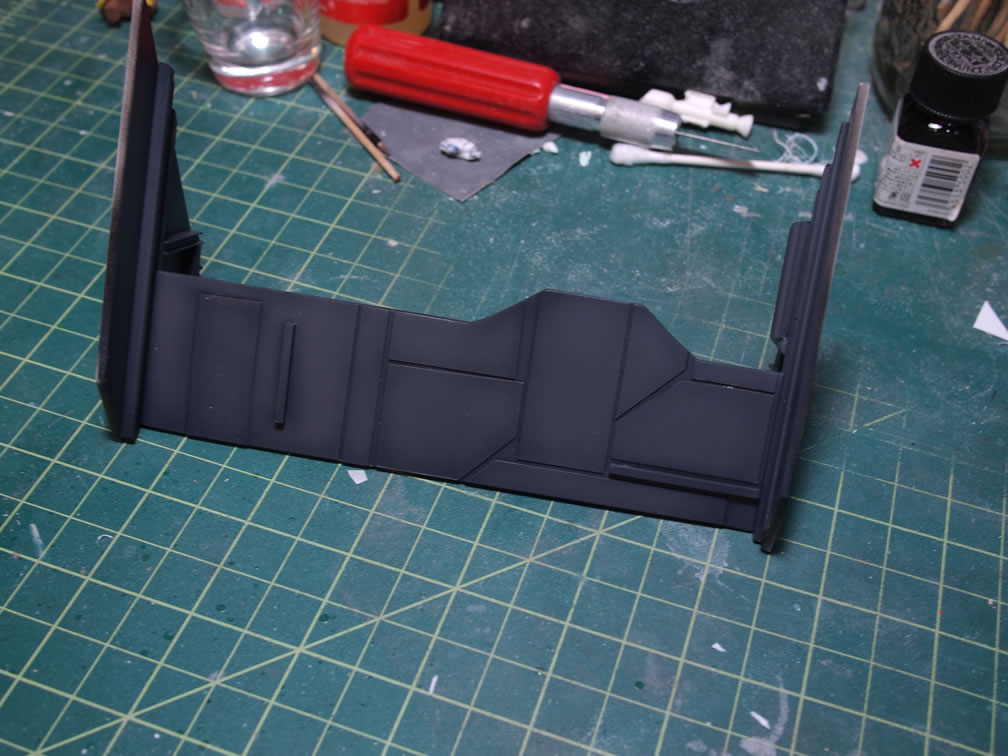
Next up is to focus on building the opened gate and the base gate sides. This was done with sheets, rods, and strips of styrene. This was pretty fun to do, as it was fairly creative and really easy. It is just styrene and glue, you cannot get any simpler than this. Once the gate is glued together and everything is set and sanded down, a layer of gloss black is sprayed. Over this was a gray to use as the main color for the gate.

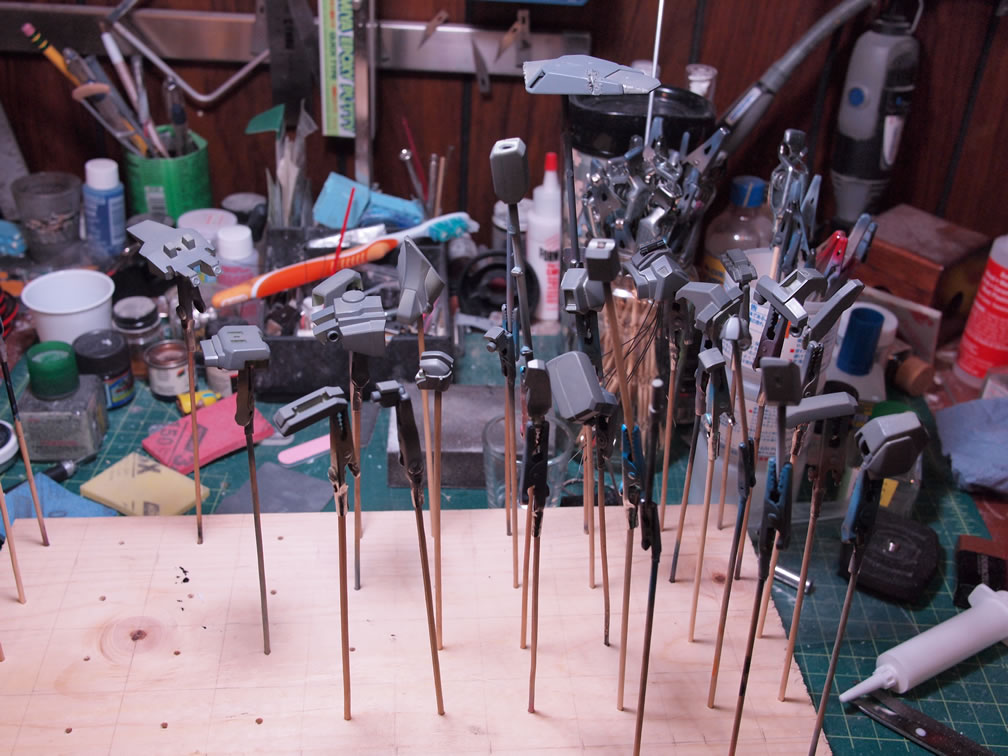
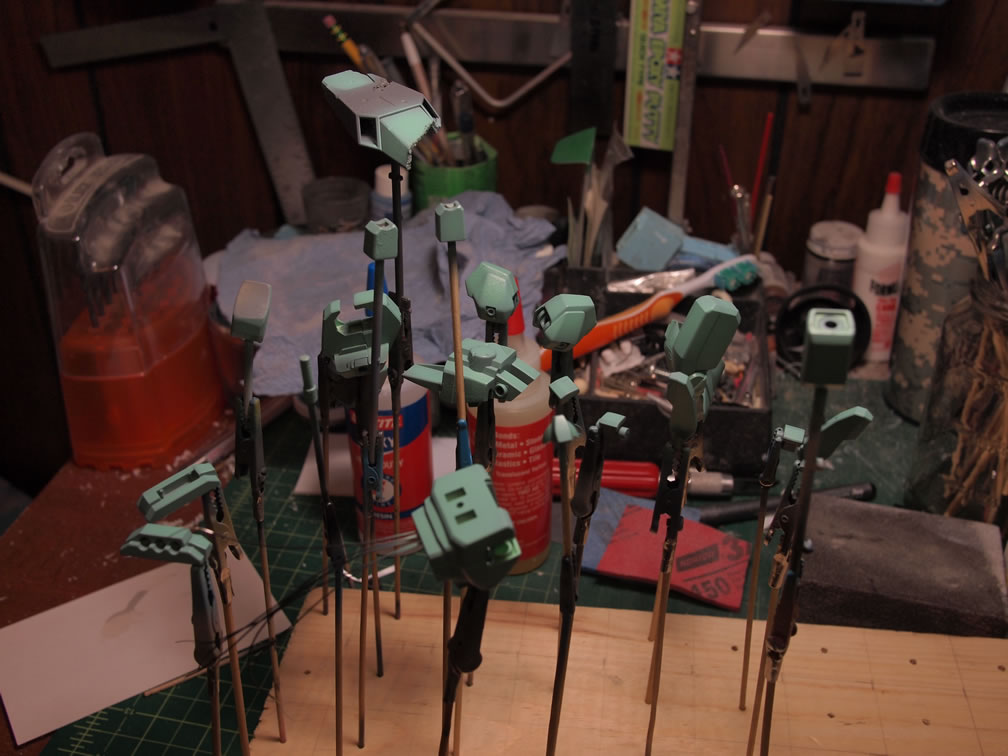
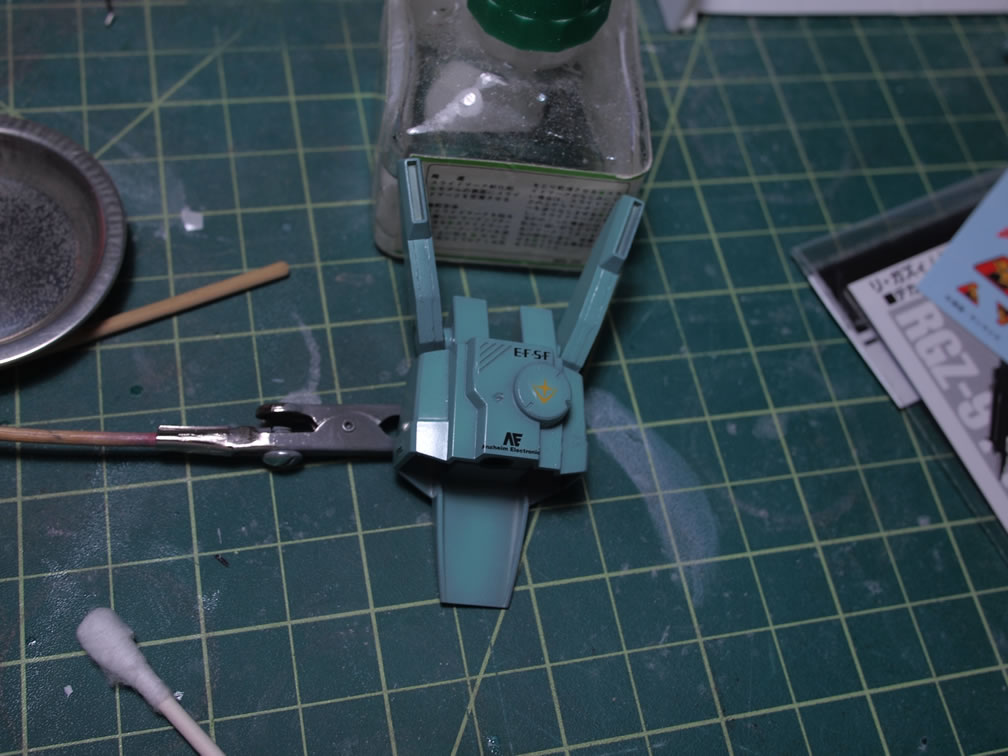
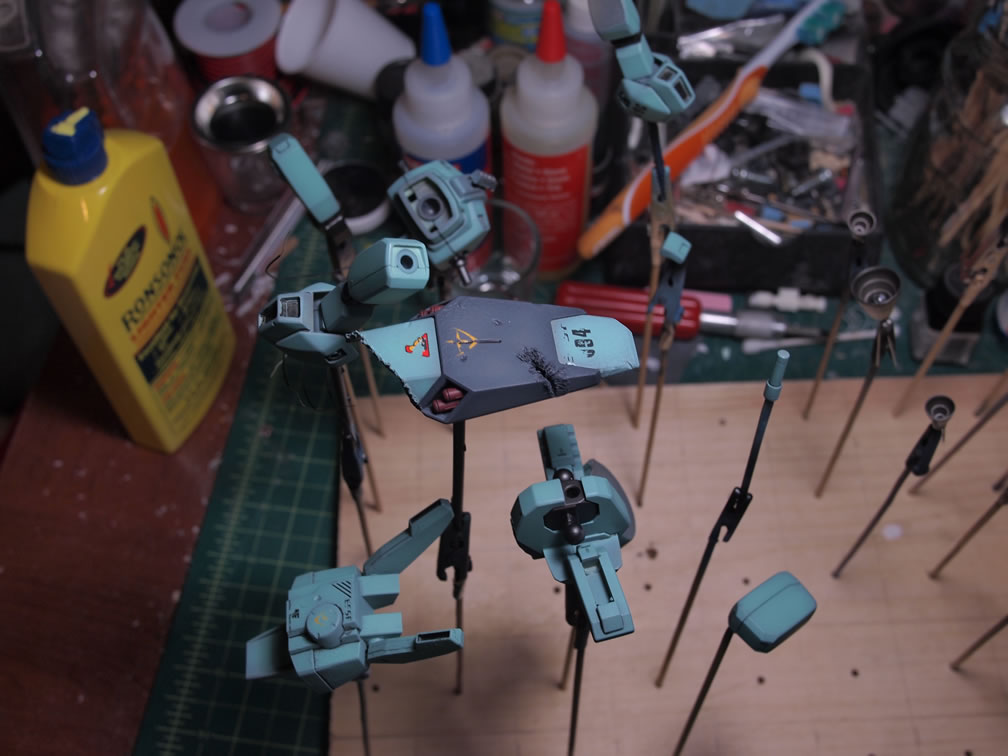
At the same time as the above was going on, the Jegan was worked on, starting with base coating the internals and metallic pieces with gloss black and priming the armor pieces. Mixing up a close version of Jegan’s colors, the armor pieces were pre-shaded.
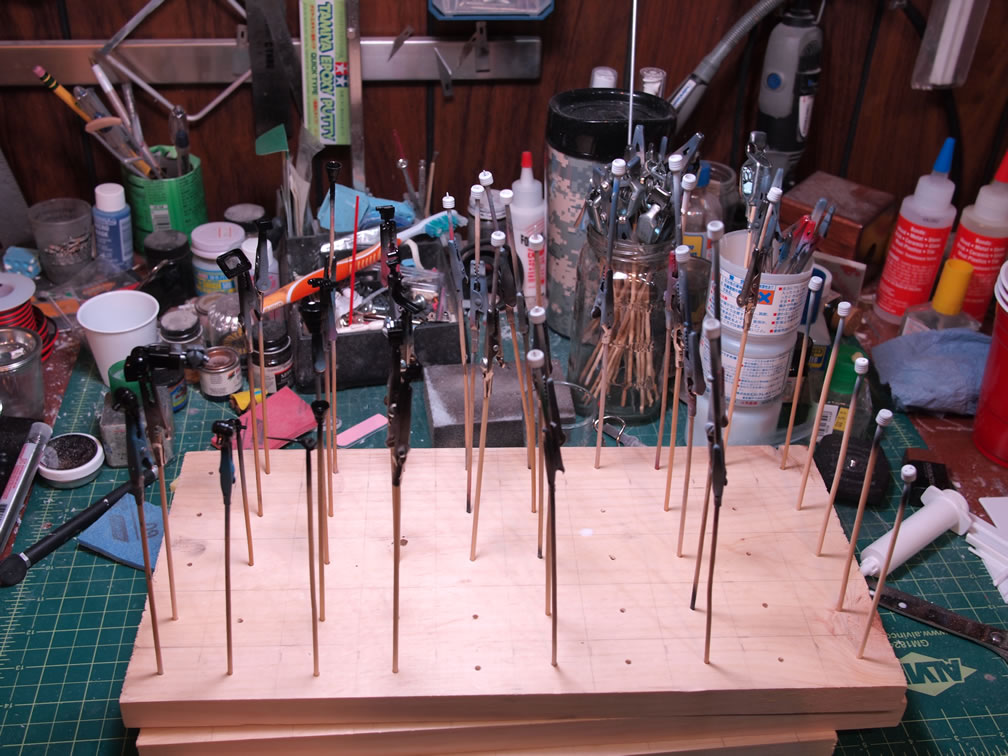
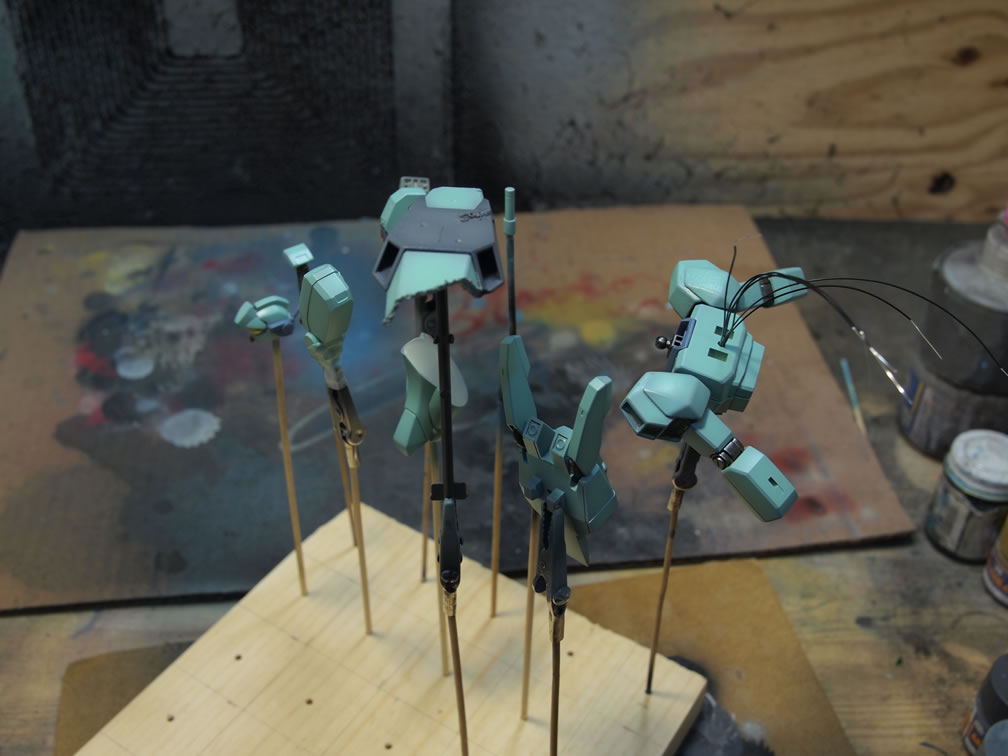
After a few pieces were masked off to finish some detail painting, the parts were clear coated in a gloss to prep the surface for some decals.

I ran over to Robot4Less to look for some decals, and as luck would have it, I found a nice little water slide set from Bandai for the 1/144 scale Char’s Counter Attack series. The decals were applied, set with Mr Decal Softer, dried for a day, then weathered, and a clear gloss was sprayed over everything to seal in the decals.
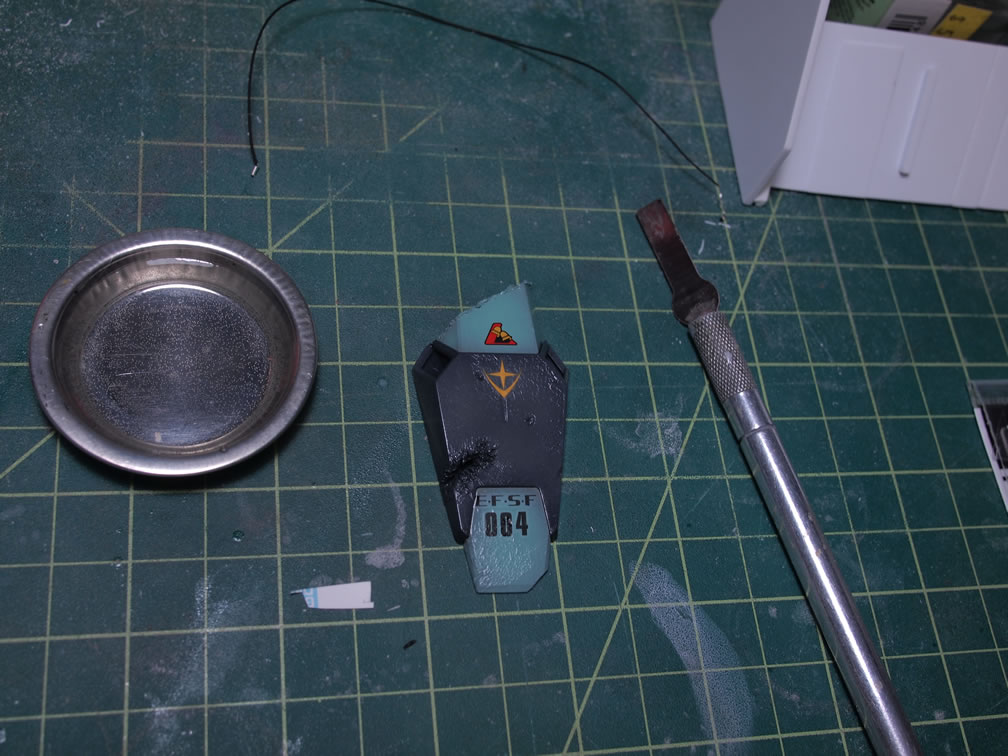
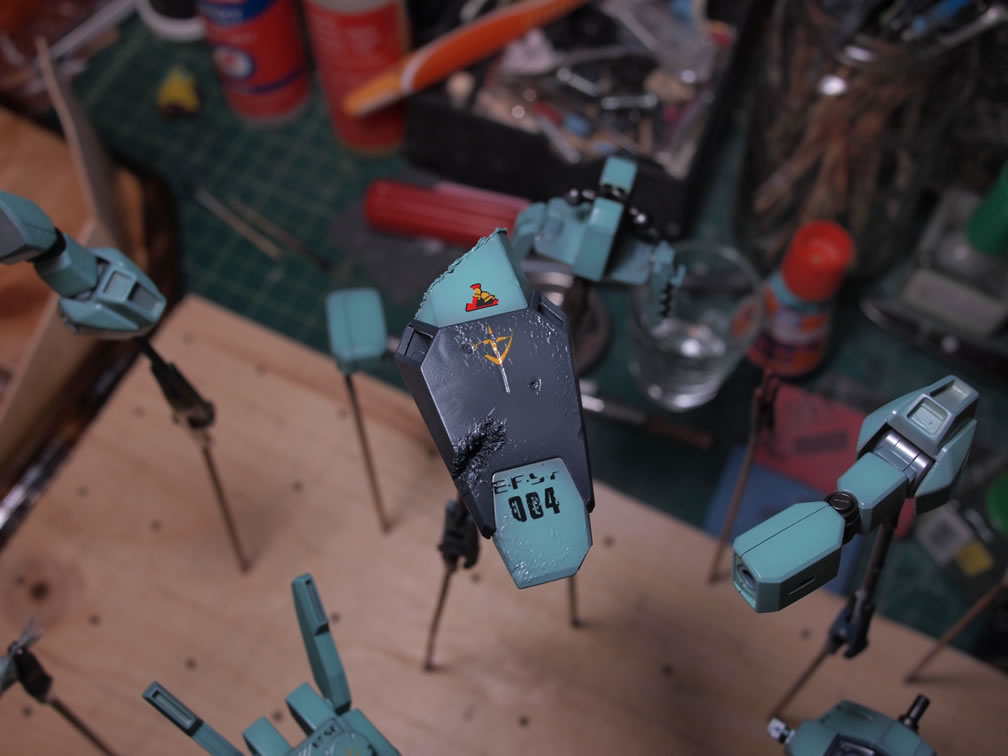
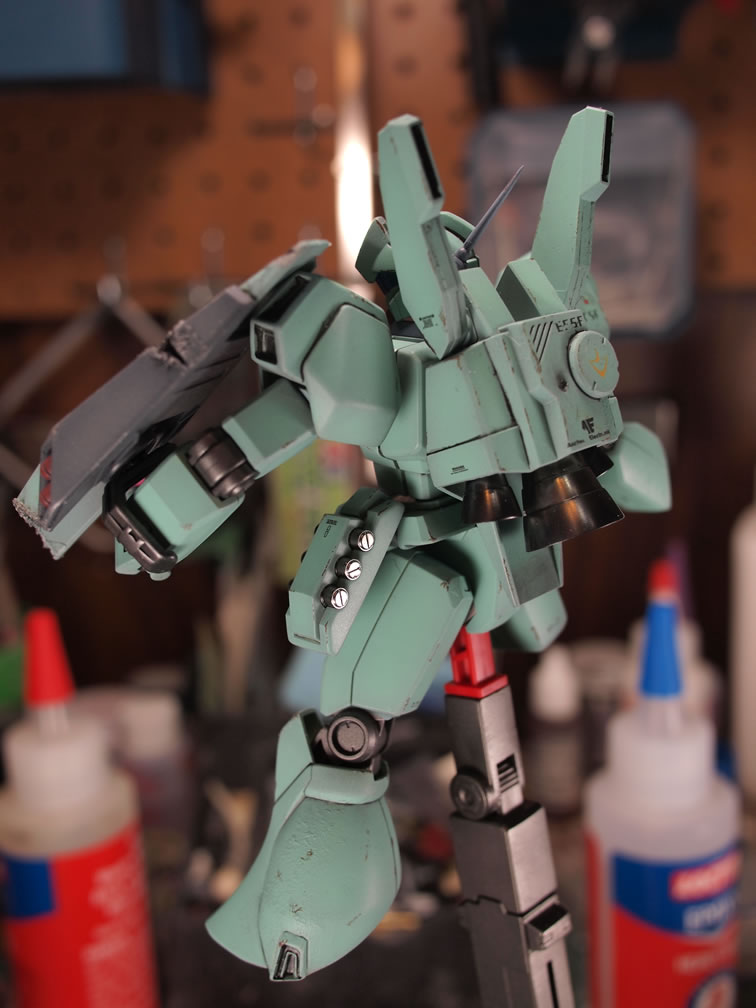
The enamel panel line wash was applied to the still glossy surface and allowed to dry for several hours, then the excess was removed with a paper towel and lighter fluid.
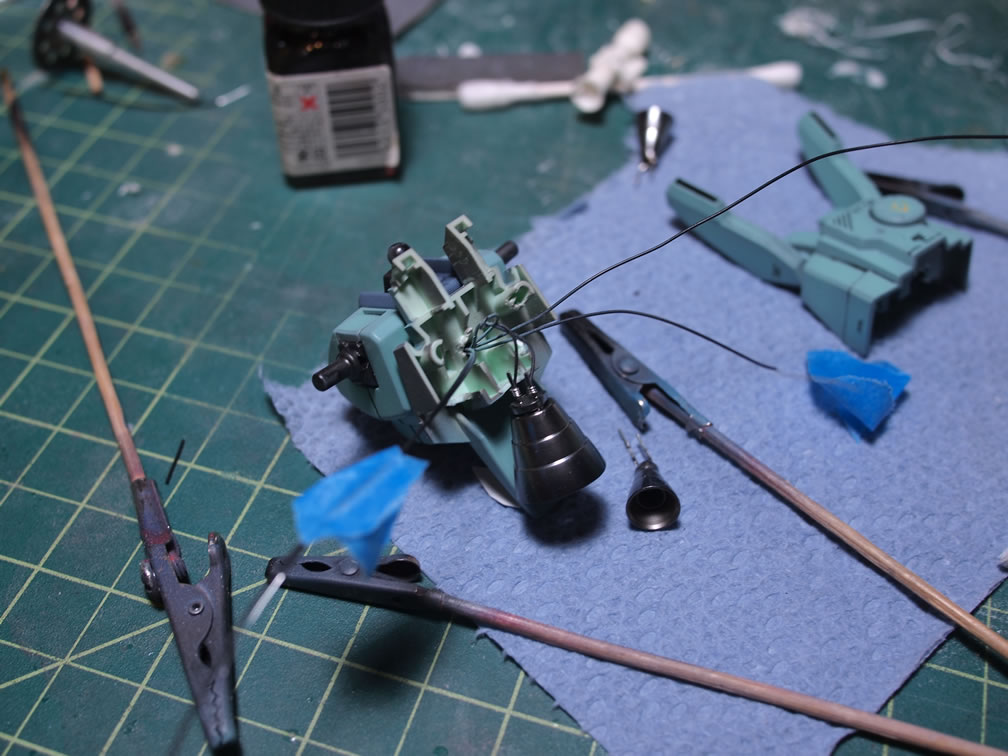
Earlier this afternoon, I assembled the electronic component for the backpack thrusters to wire them to the plug I have sitting in the chest of the Jegan. Testing everything as I went along, the thrusters were wired and glued into position.


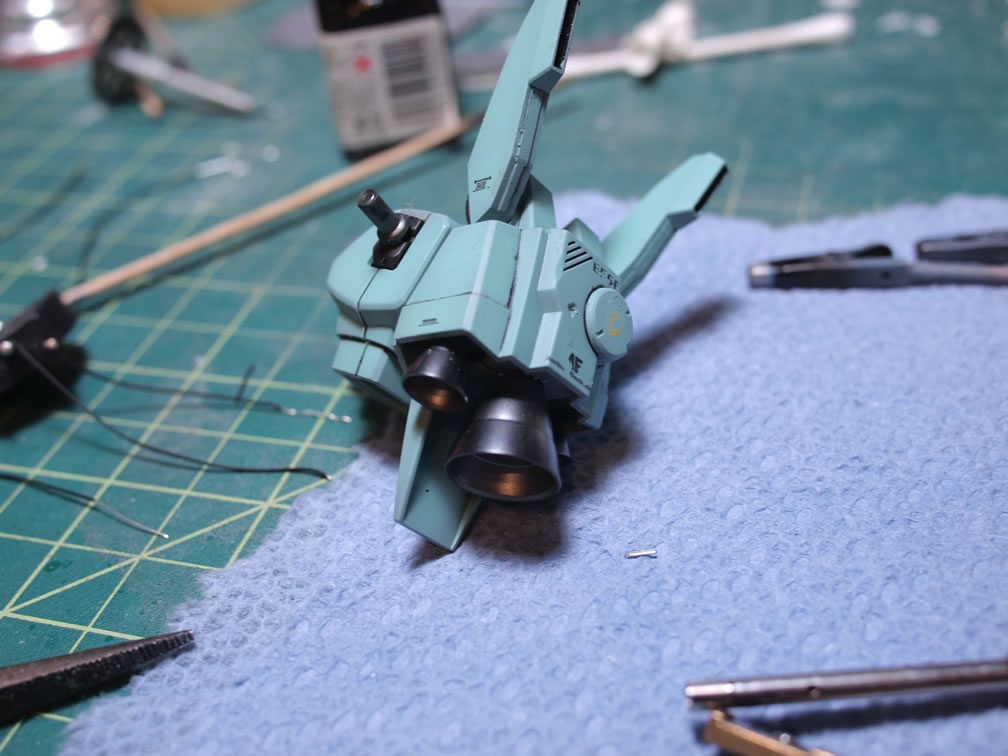
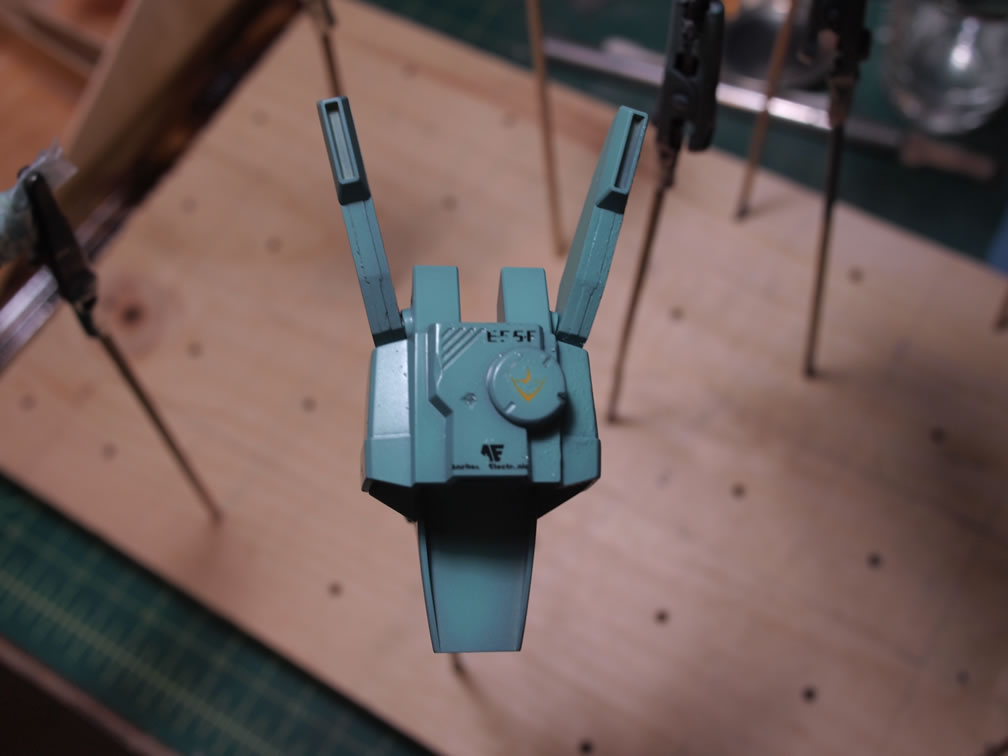
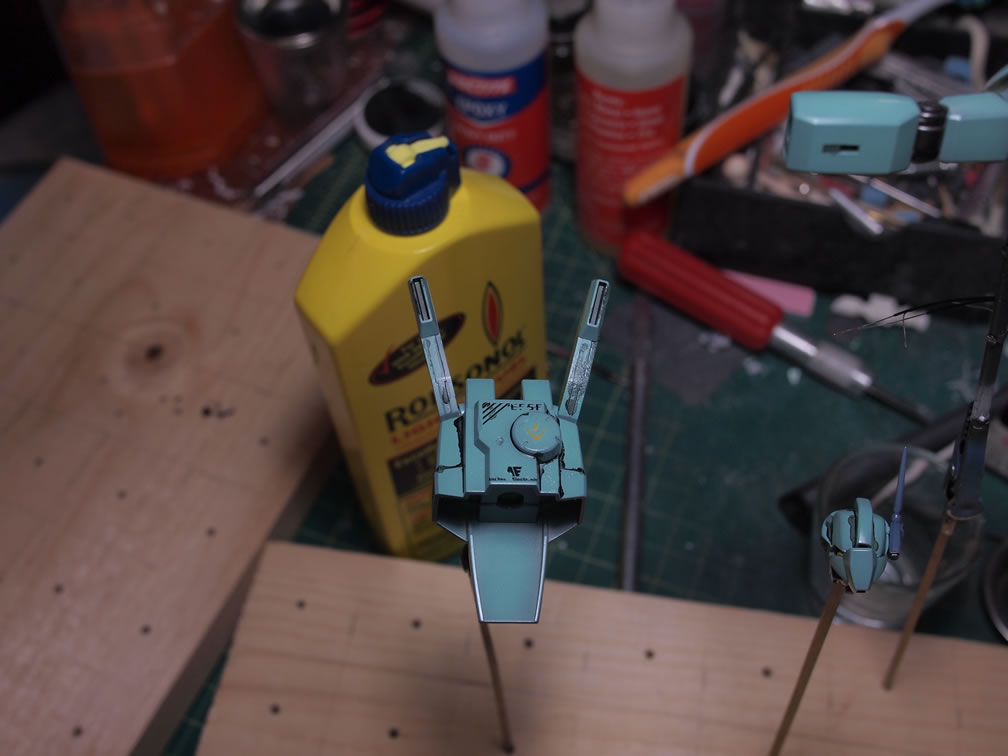
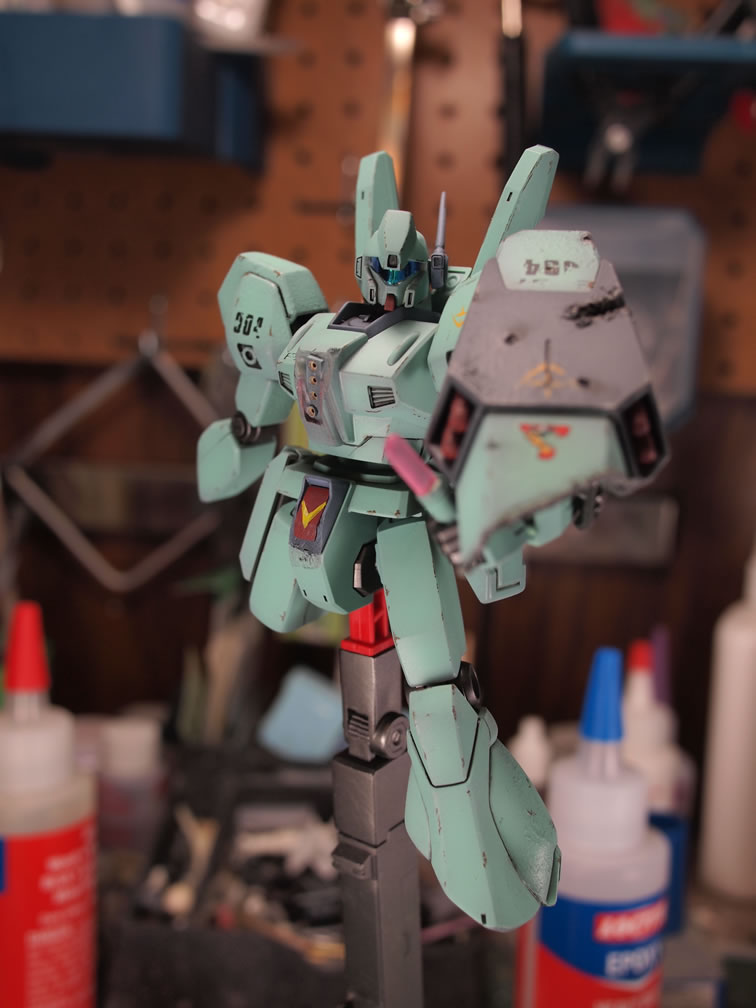
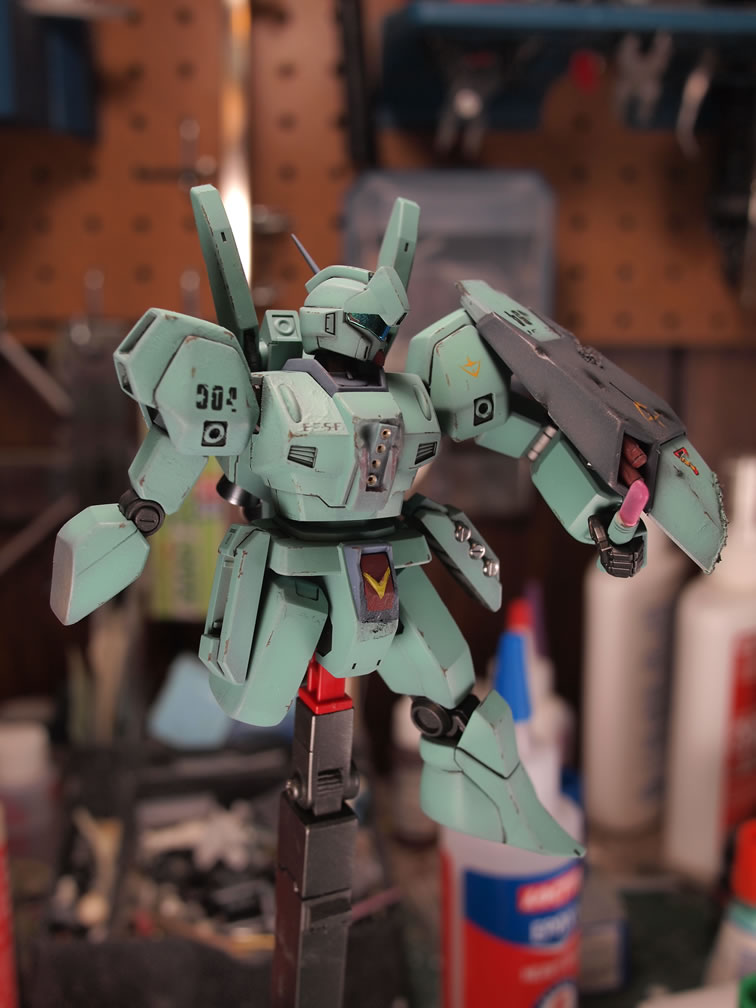
The Jegan is almost done, I still have a quick weathering session that will apply a small amount of weathering.
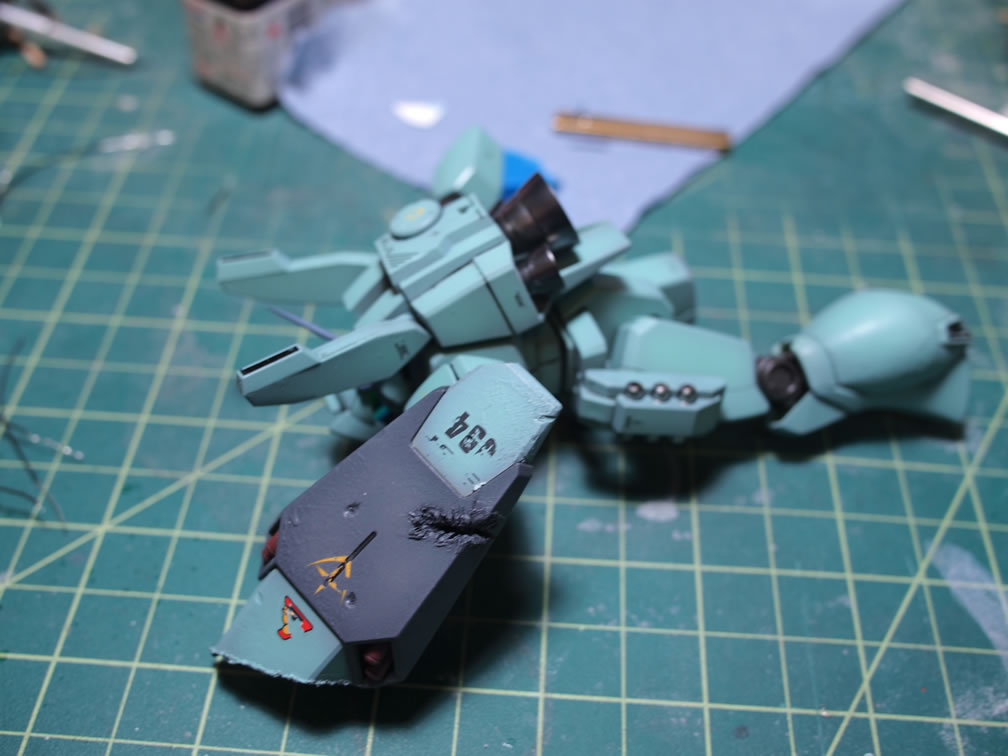
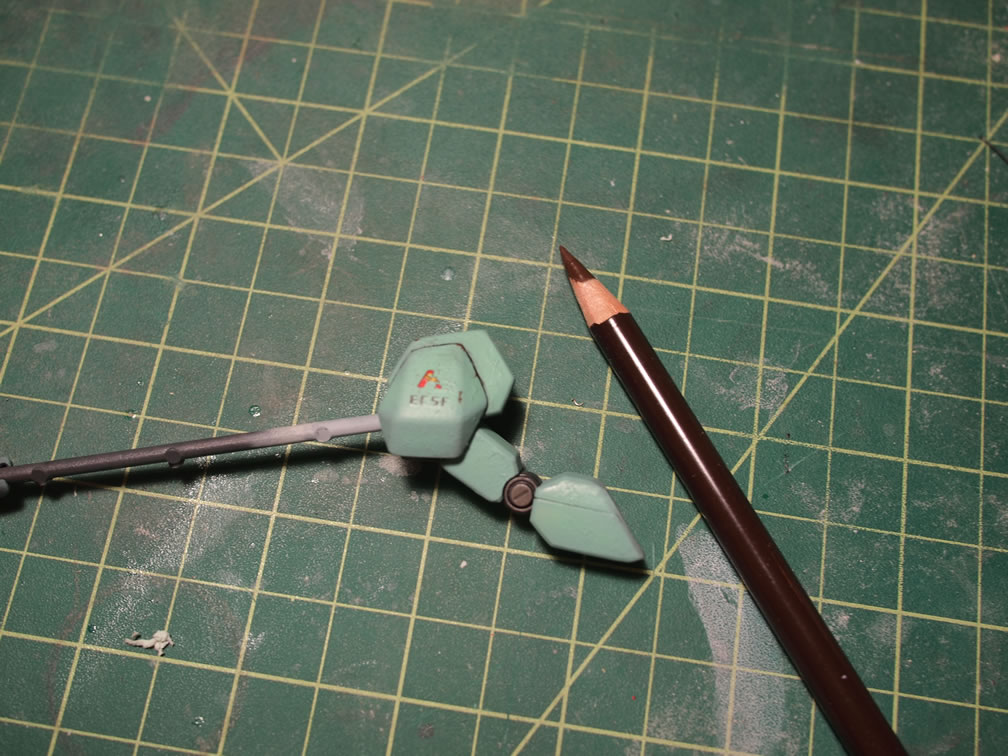
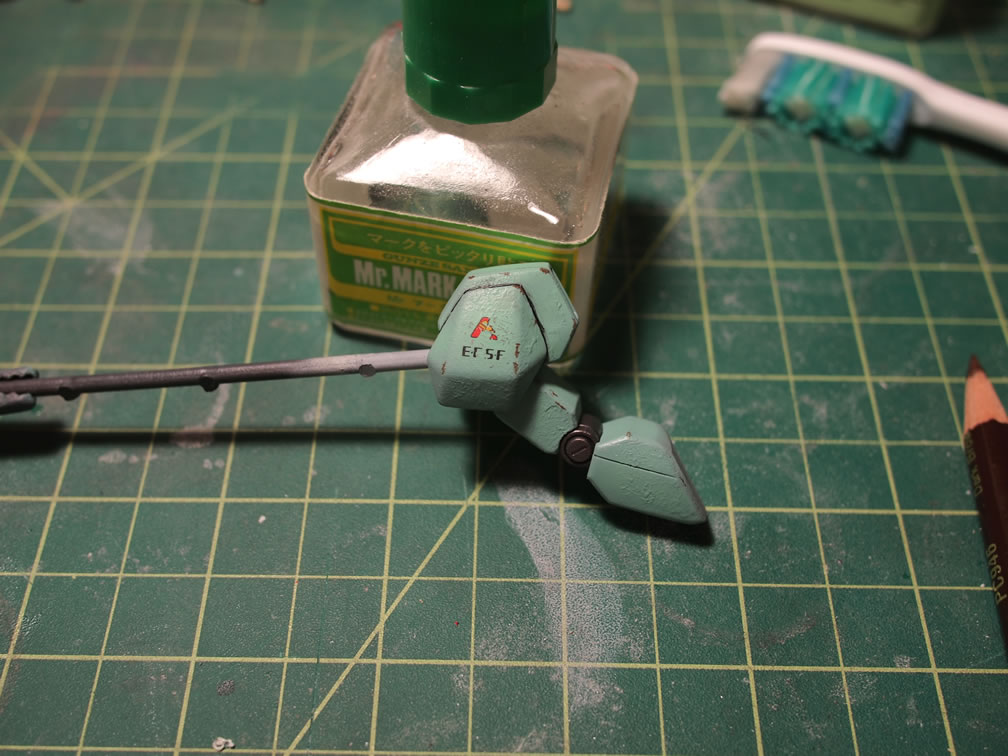
Dan (Funaka) showed me a really cool way to do some quick paint chipping that he learned from aircraft modelers – the colored pencil. Instead of using a fine brush and paint, the process just uses a colored pencil to draw in the paint chips. Very quick and easy.
And as of tonight, well technically, 2 in the morning on the 27th, the Jegan is done. Now to just focus on getting the actual base piece completed.

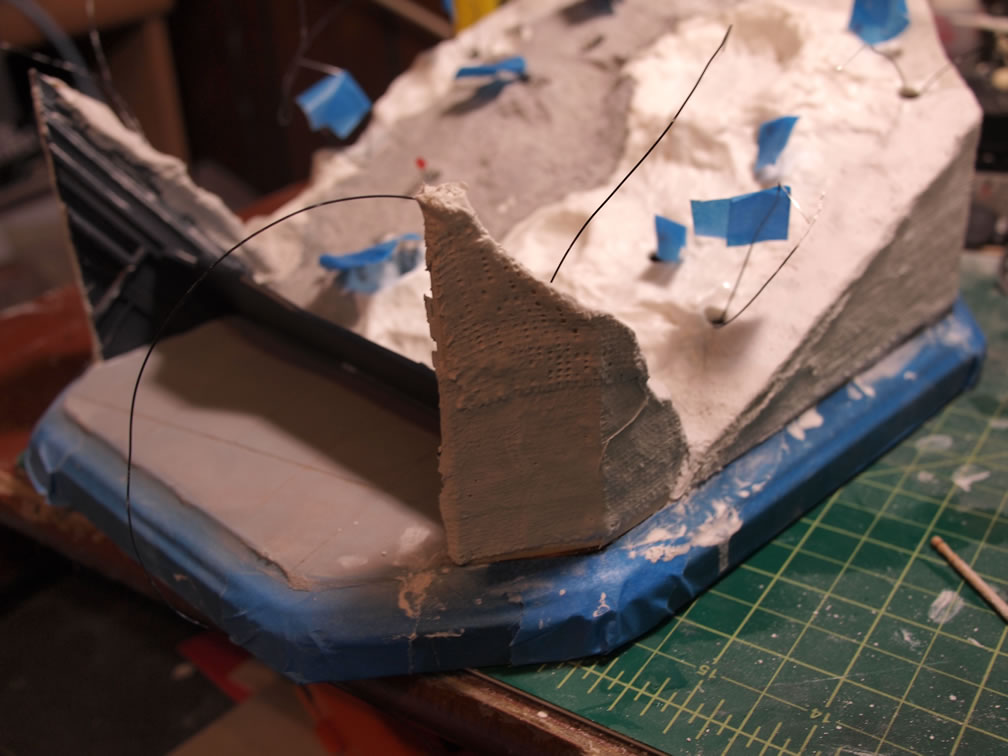
November 29, 2011: Back to the base. The gate side’s clear acrylic and baking soda has dried, so the excess baking soda is removed and some lines are scribed into the area.
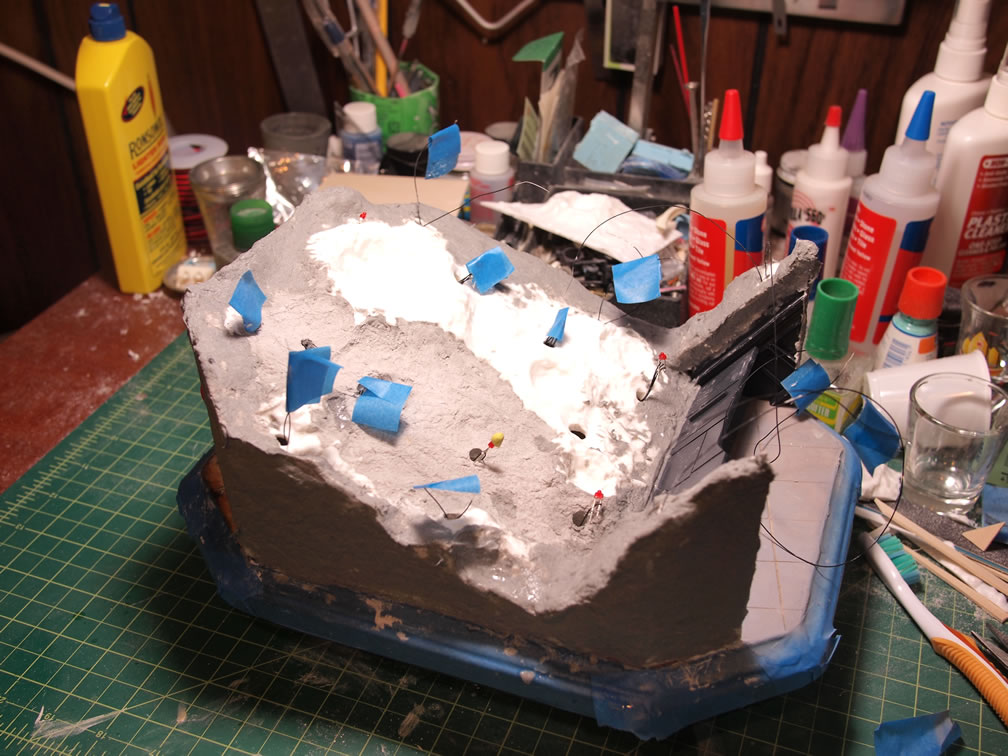
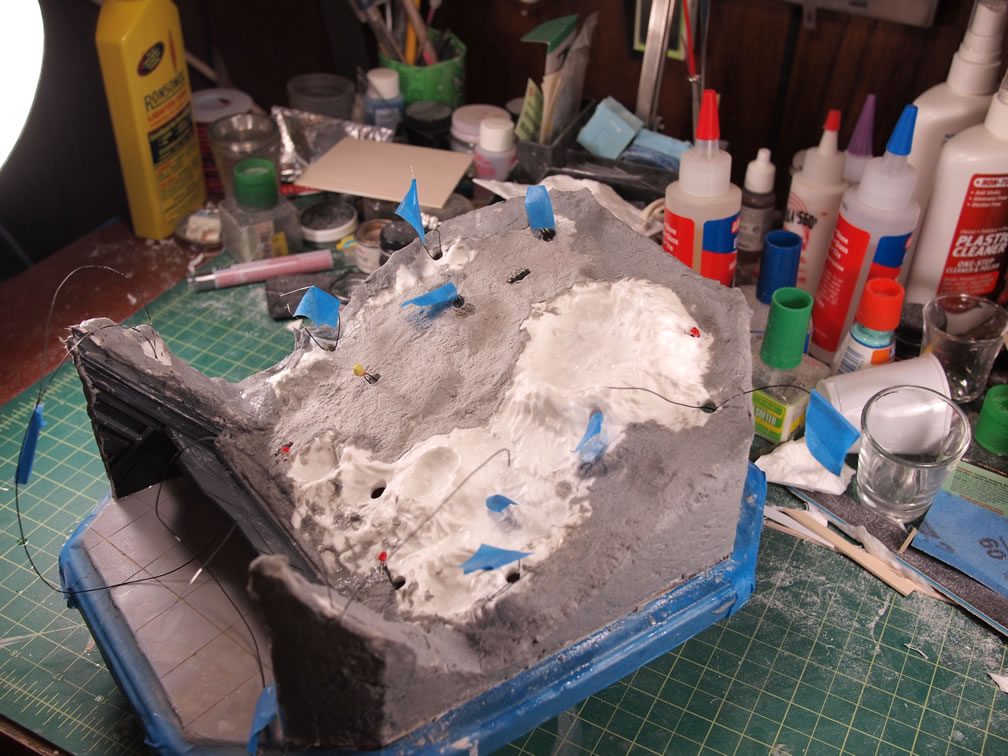
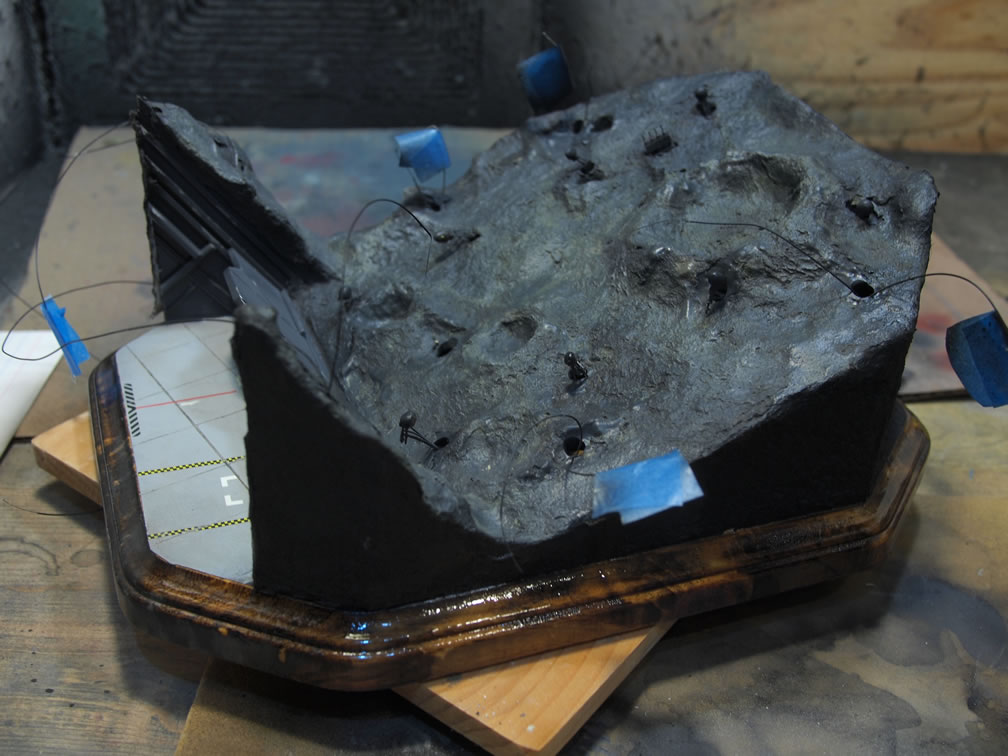
The electronic components are threaded through the previously drilled holes and the lights are masked off. Excess wiring is taped to the bottom side of the resin base. The electronics will be accessible via a little door at the back of the base.
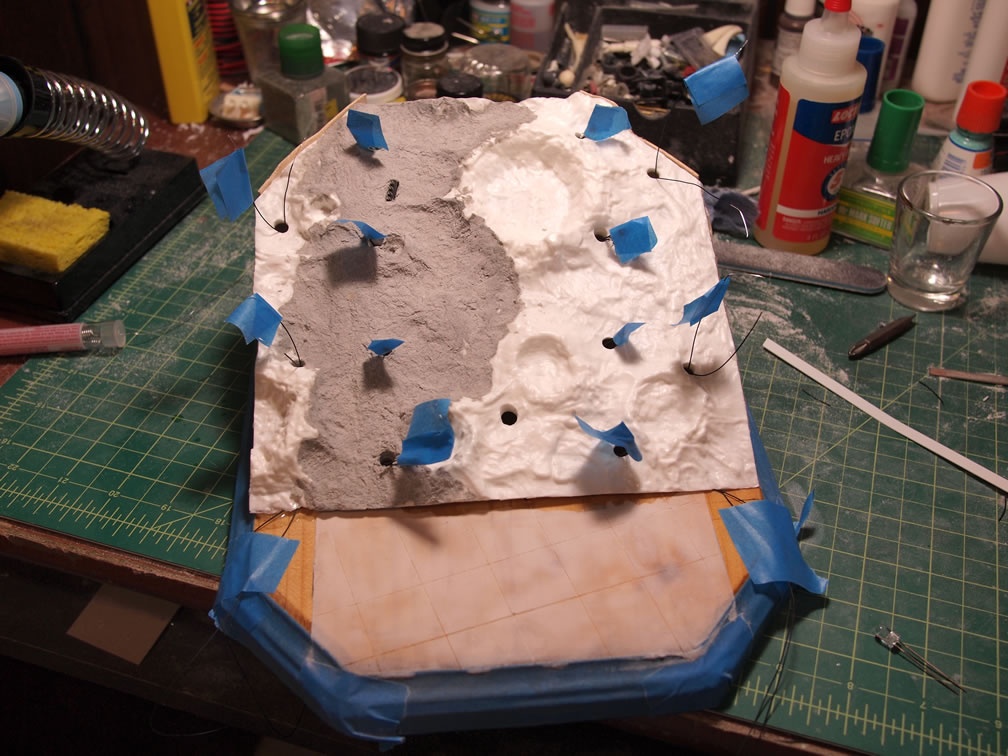

The resin assembly is then glued onto the balsa wood supports to permanently attach it to the base – hence the wiring before all this as it would have been rather difficult to thread the wires and lights after it’s been attached. Once the glue dried, some strips of plaster cloth is applied to the sides of the base sealing in the glued areas as well as making it into one solid base.
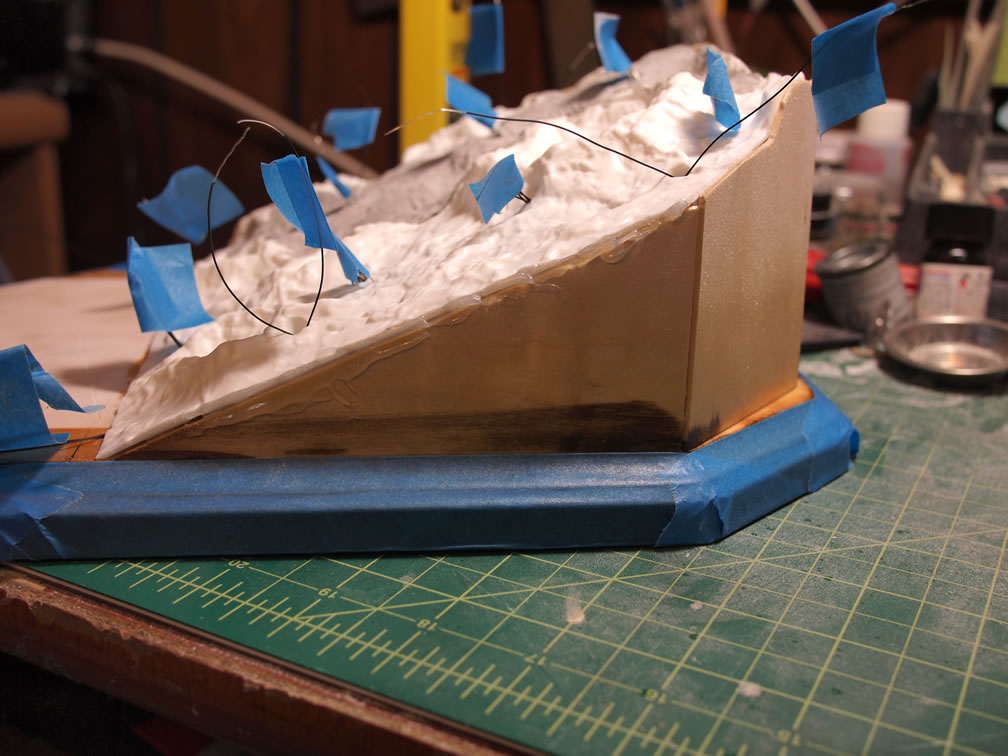
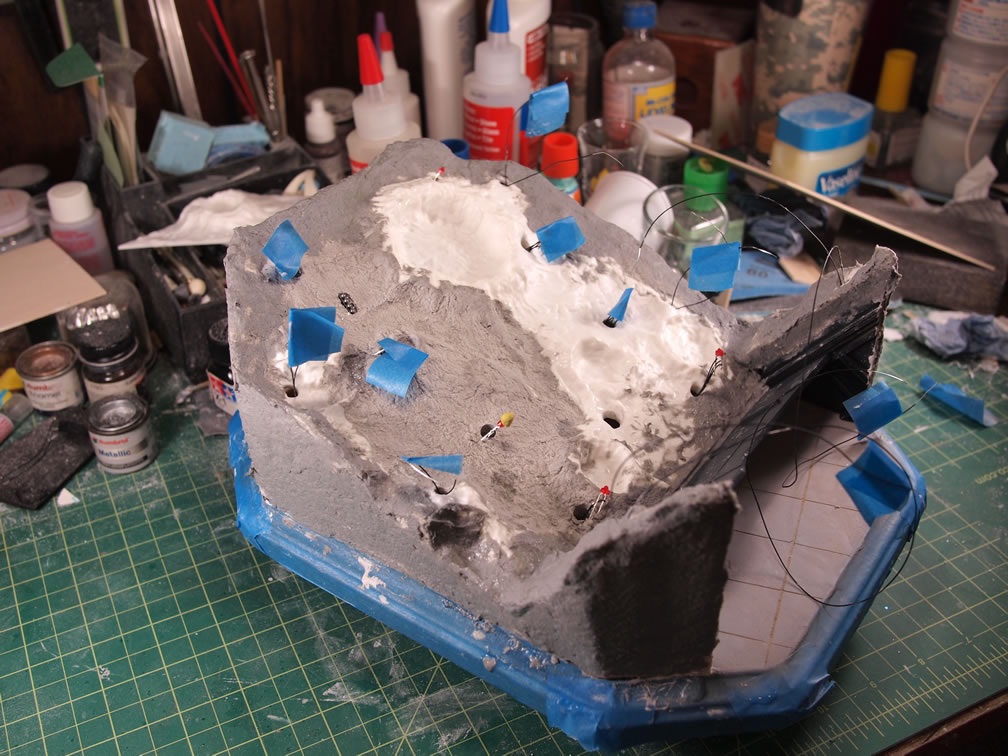
The gate side is attached to the base and some extra strips of resin base and some balsa wood supports fill in the rest of the gate side. The balsa wood is glued onto the base and then the gate is glued, then the resin strips are glued on top. As with the other side, some plaster cloth strips are placed to fill and encompass everything.

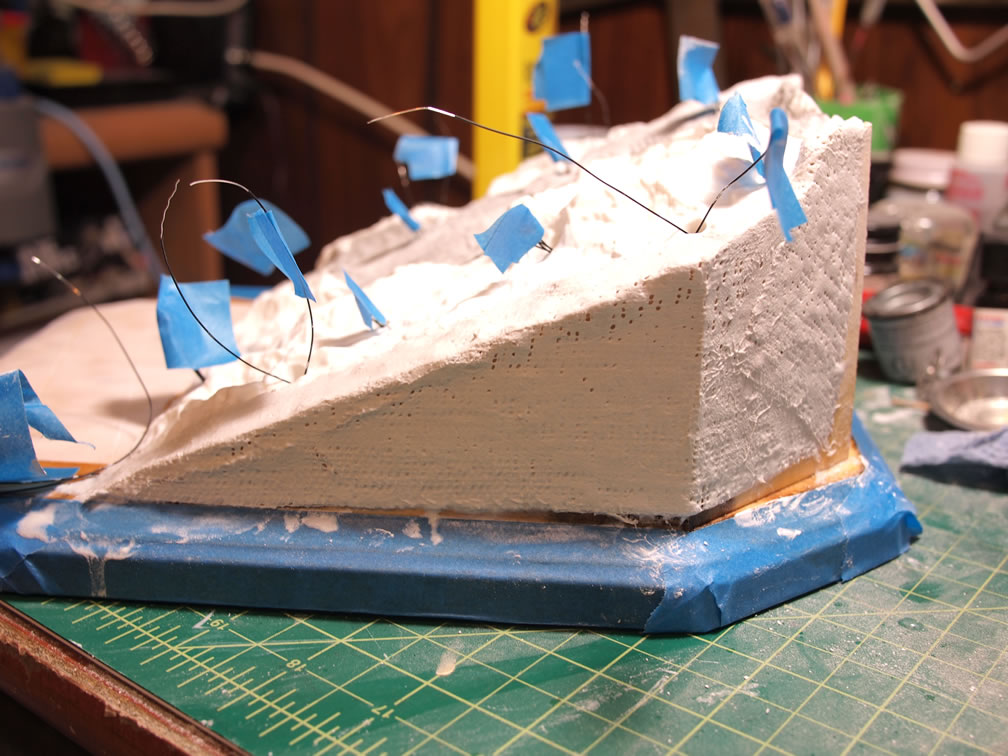
Tonight, celluclay is applied to the dried plaster cloth areas to fill in the final gaps and all the holes in the plaster cloth. Once this dries, the base can then be painted. The only issue is when the celluclay will fully dry/cure. There could be a couple of days worth of drying before work can continue.
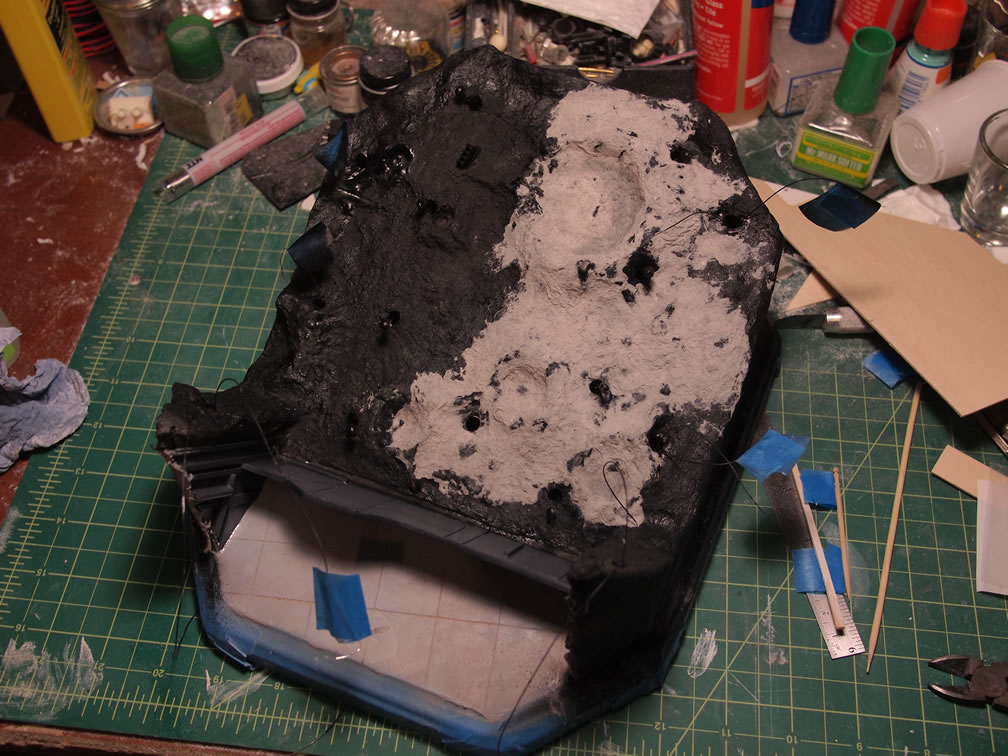
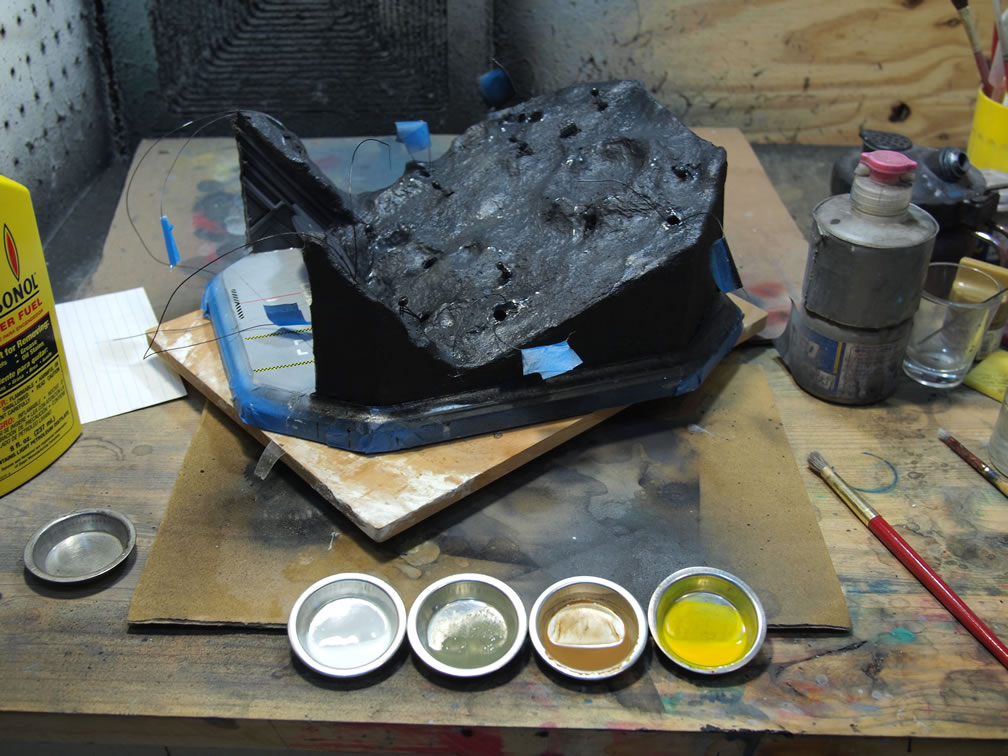
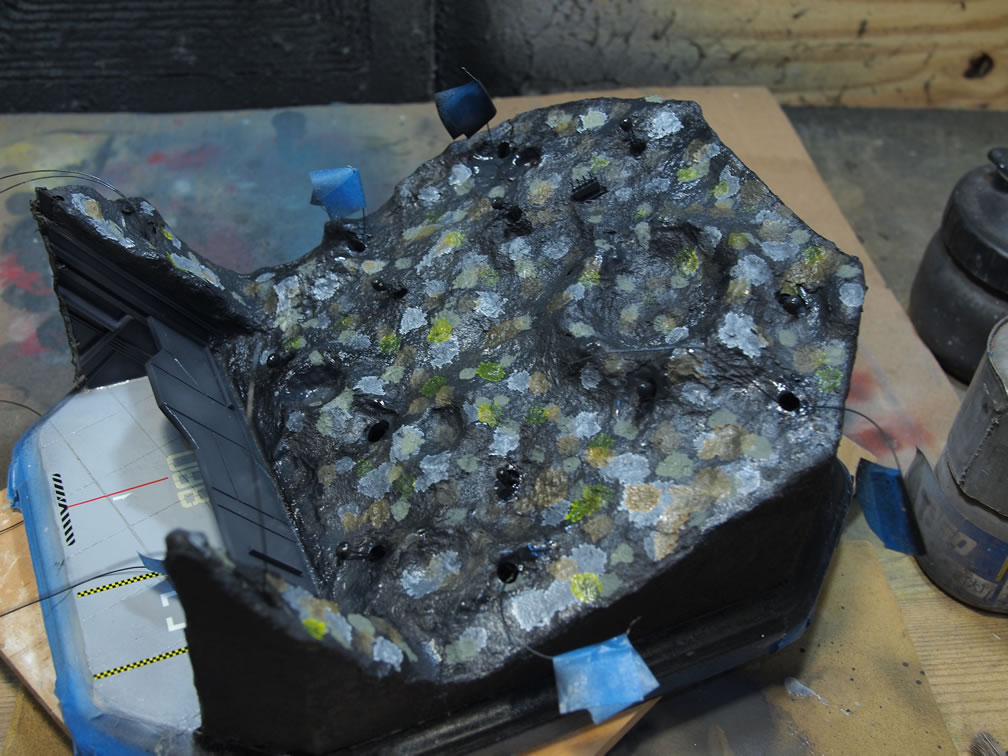
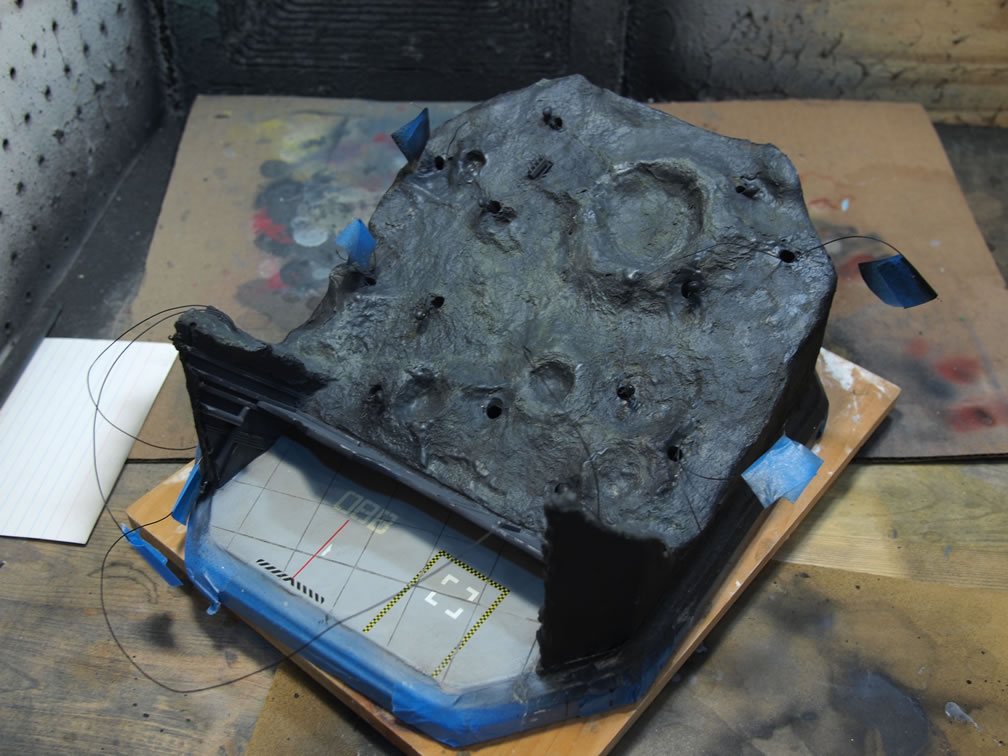
December 2, 2011: Last update for the base. I had placed celluclay on only selective areas of the base, but after spraying a gloss black base, the difference between the two sections was too drastic, so some more celluclay is applied. Once the celluclay dried, more black base is sprayed.
The other side of the base is clear coated in gloss then some decals applied.
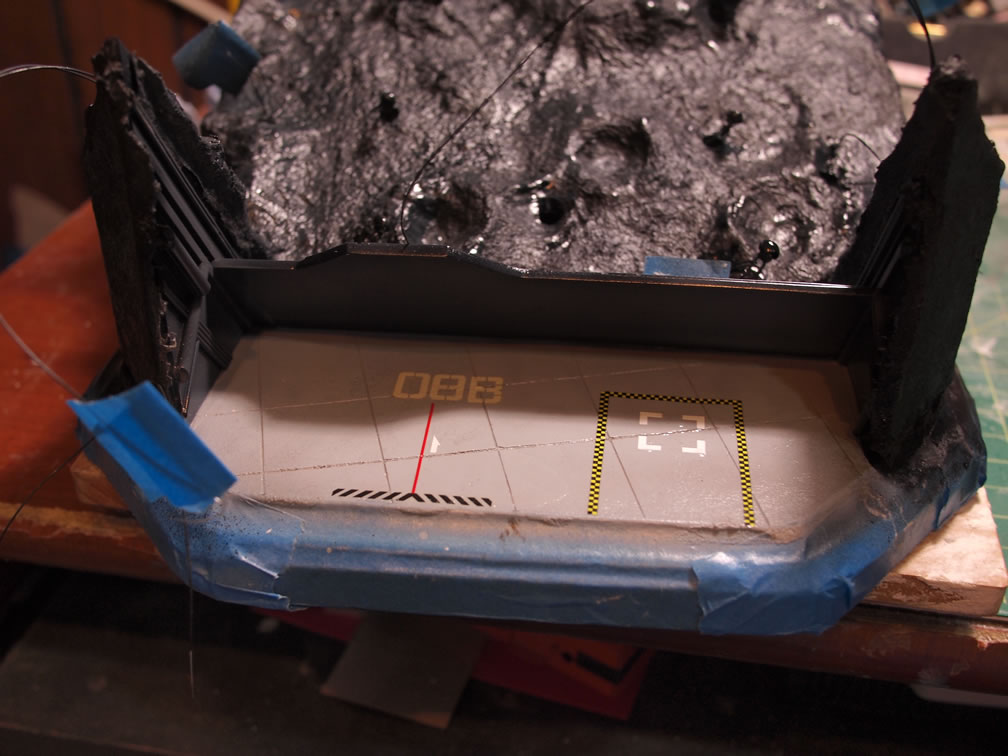
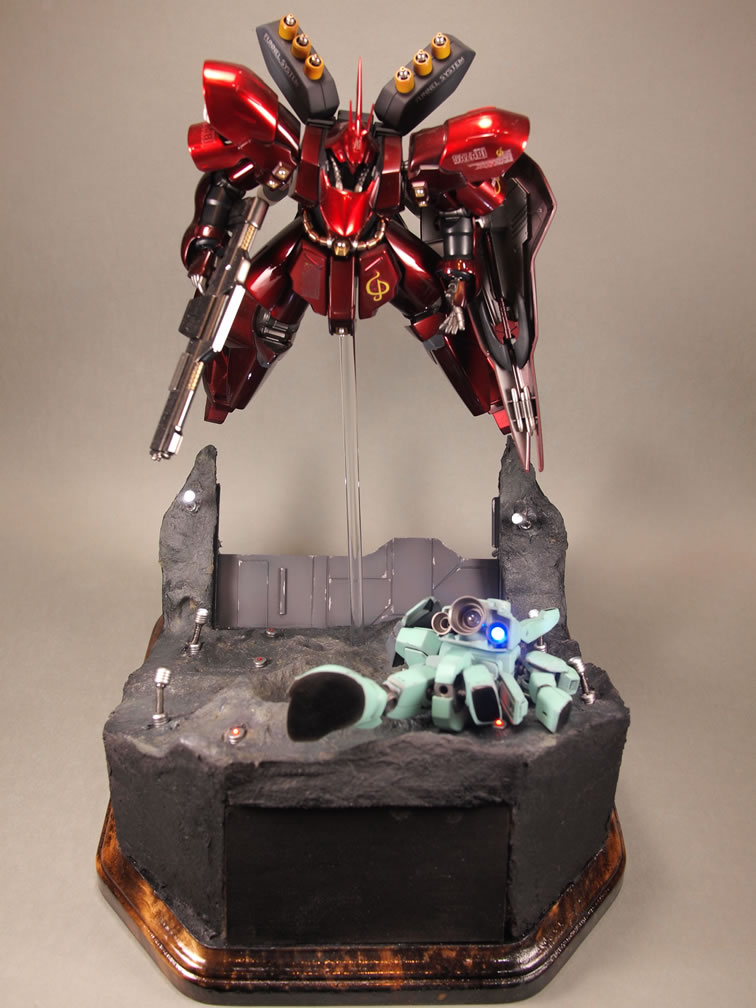
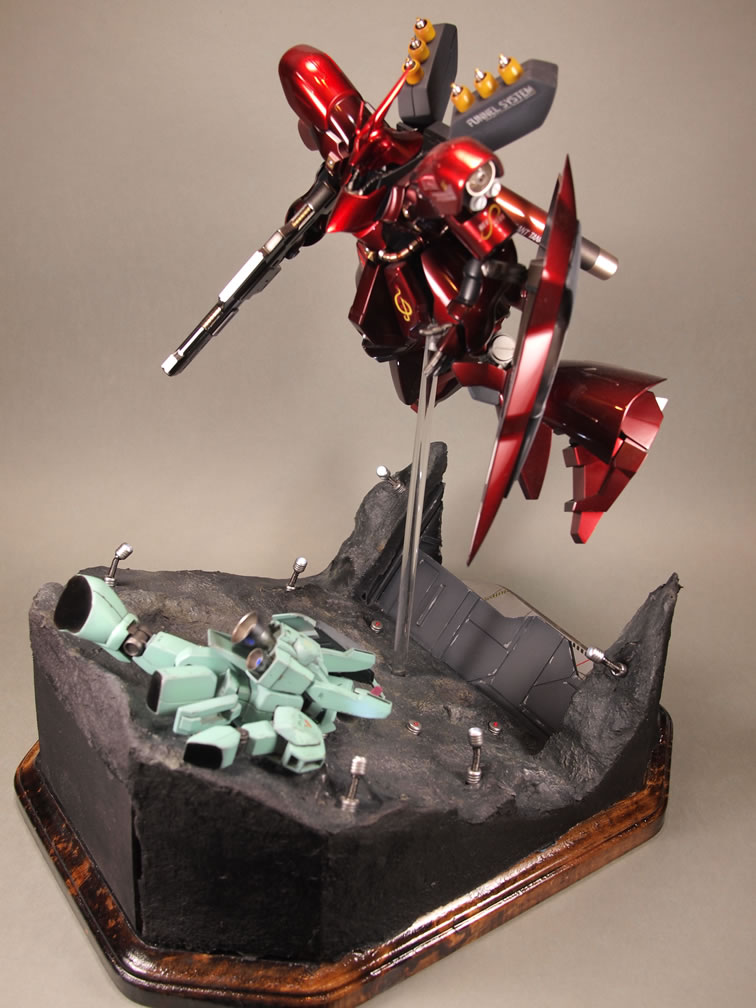
The base was clear coated in gloss and left to cure overnight. A little fade is applied to give some dynamics to the base’s tones. The same is done to the the tarmac side. And a final clear flat is sprayed.
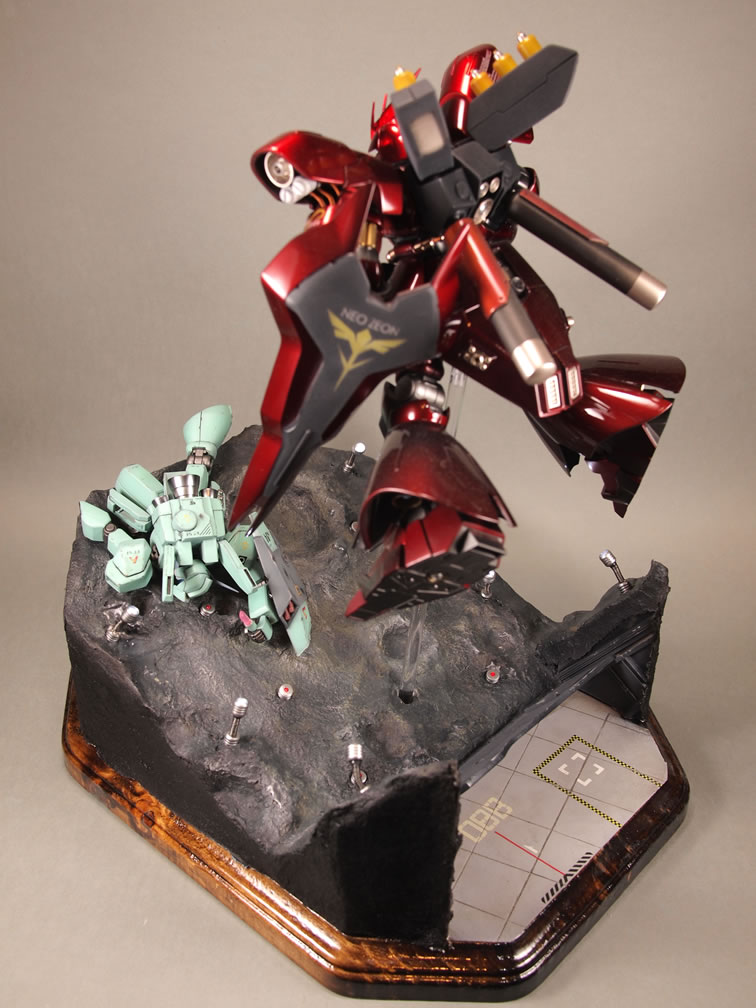
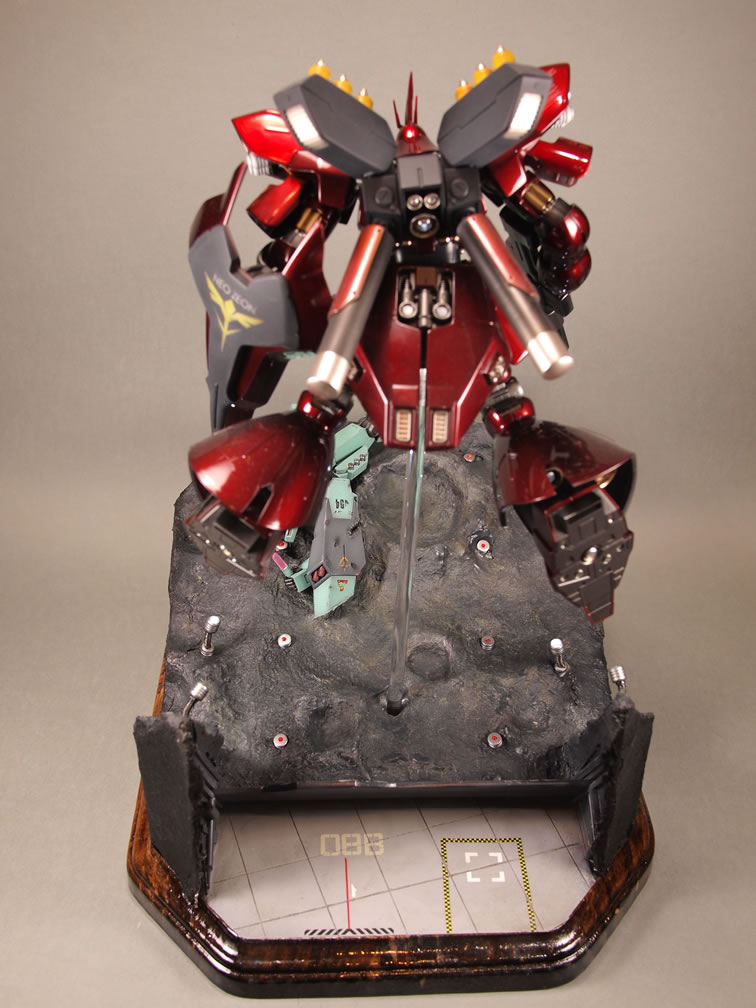
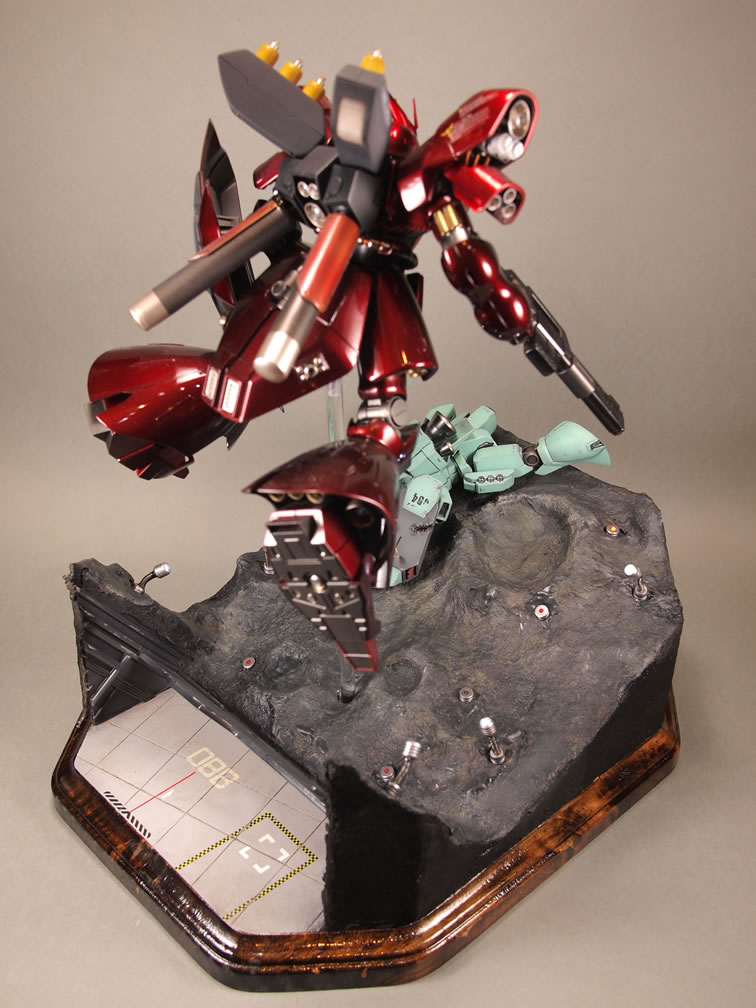
Once the base is dry, the lights are wired together and the final pieces are glued into place. Add the Jegan and then add the Sazabi, and done.