GM Sniper Project: The display base

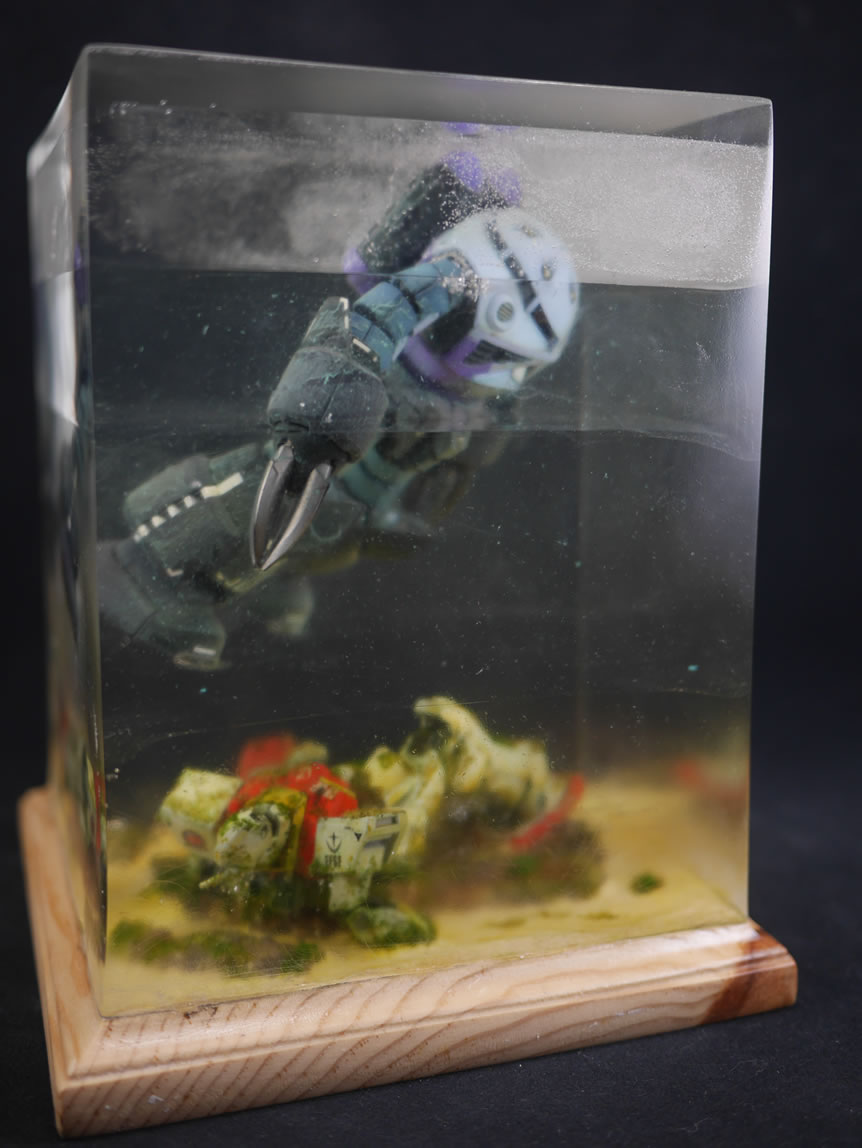
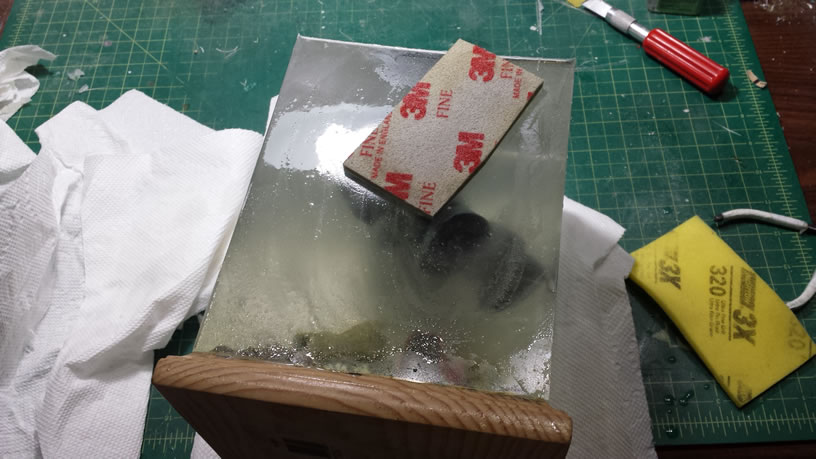
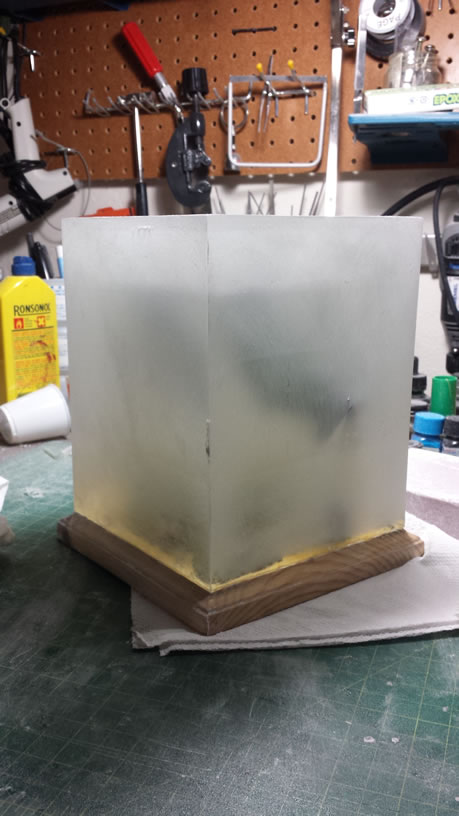
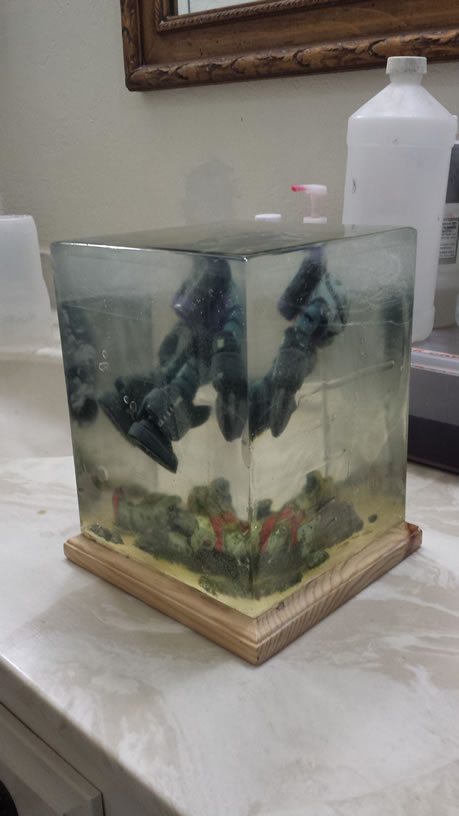
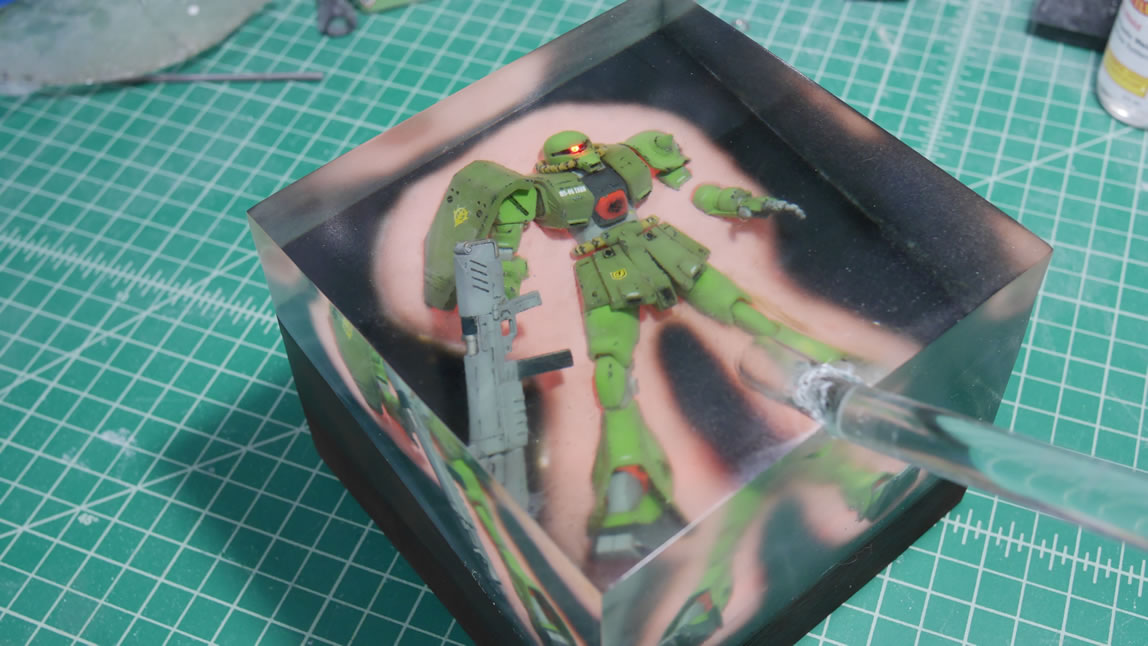
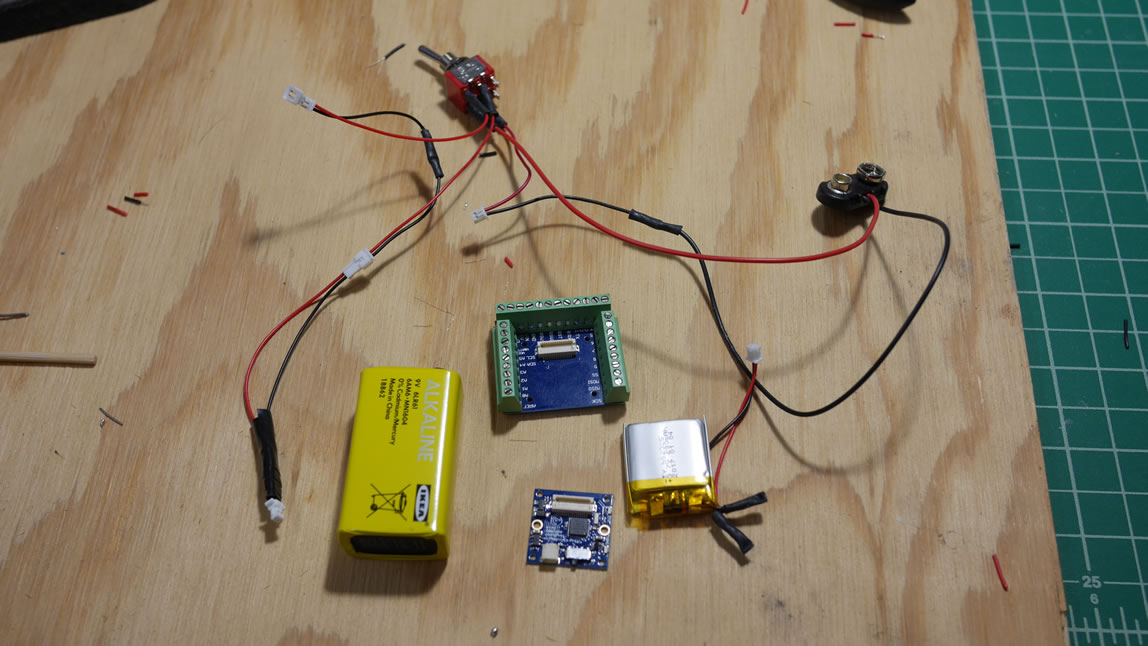
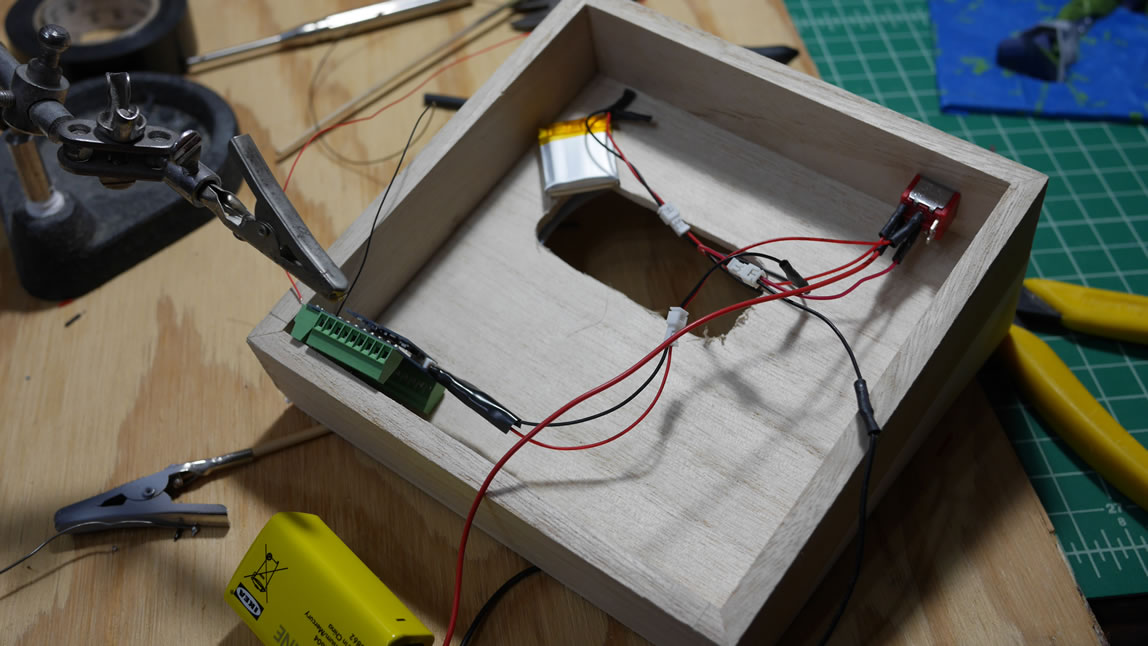
This last bit of work has been ongoing since I finished the Sniper. This is the display base. I got the idea to do an relief style display when I was up at Tatsu Hobby’s Blue and Yellow Ball event a few months back. I saw a display that had half a figure projecting out of a wall piece and thought that would be a really cool effect to try with a kit. So I want to start small first, then possibly do something bigger in the future. A more wall mount piece in the future, but here we go. I had been working on the Zaku bit for a while and only touched a little on the wood base in a previous update. I have some electronics involved here too. Previously, I had a ring light attached at the bottom of the box with some angled styrene sides. Aside from that, I also have the electronics that will drive the mono eye. I’m using some tinyduino boards to power and run the mono eye.

Here is a quick video of ths base.

(more…)

Continue ReadingGM Sniper Project: The display base

Grimoire Painting and Clear Resin Cast Part Copy

I got the parts cleaned up and washed. Then onto some skewers and the priming starts. Once the primer is dry, the parts are checked for mistakes and parts that need attention are sanded, puttied, resanded, then reprimed. Once everything looks good, the first layers of paint will go onto the parts.

Also in this post, because the Grim’s clear “eye” piece is done in a clear pink, that clashes with the color scheme I have planned, so I decided to make a silicone mold of the original part, and make a clear resin copy of the part that I can then tint with a clear paint that matches the overall color scheme.

Here’s a video of the entire process just briefly touched on by the above slide show.

More details on the paint progress after the jump

(more…)

Continue ReadingGrimoire Painting and Clear Resin Cast Part Copy

GM’s Can’t Swim

This is an experiment that didn’t go too badly. I learned a great deal from this experience, granted the end result isn’t all that great, it’s not that bad. It is however, a 1 lb resin paper weight now. The next time I try something similar, it will definitely be in a much smaller size and the planning should be vastly improved. But I do like the final result. This is something I’ve not see too much, so I wanted to try it. I had finished this right before Orangecon 2014 and like everything else, just haven’t had the time to snap some final pictures.

Full gallery after the jump.

(more…)

Continue ReadingGM’s Can’t Swim

Polishing a clear resin block

Since the last update, I’ve been slowly working on cleaning up the resin block. I started with some wet sanding and got rid of most of the rough edges. The surface of the resin needed to be cleaned off because there was some mold release from the acrylic box sides. Once I got that cleaned up, I found a few air bubbles that needed to be filled.

Using a quicker setting resin, I fill in the holes and just ended up pouring the resin over the surface of the block faces. This filled in the bubbles nicely, but there was some overflow and I needed to sand away the excess dried clear resin and then went to clear coat it. When I clear coated, I discovered that the resin I poured over the top had tiny bubbles. This resin cures much faster than the resin I used for the majority of the block, so once I clear coated the surface, I could see swirls of bubbles. Screaming bloody murder for a little while, I calm down and get to work on fixing this.

(more…)

Continue ReadingPolishing a clear resin block