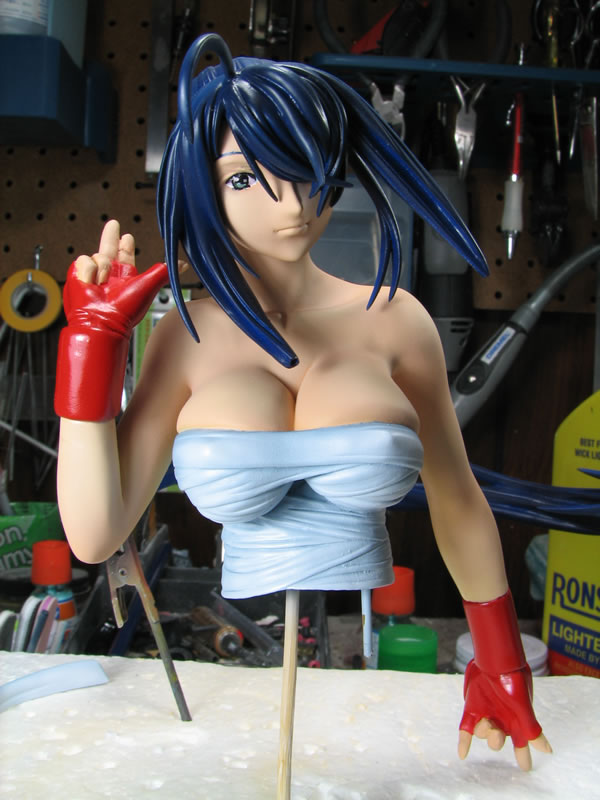
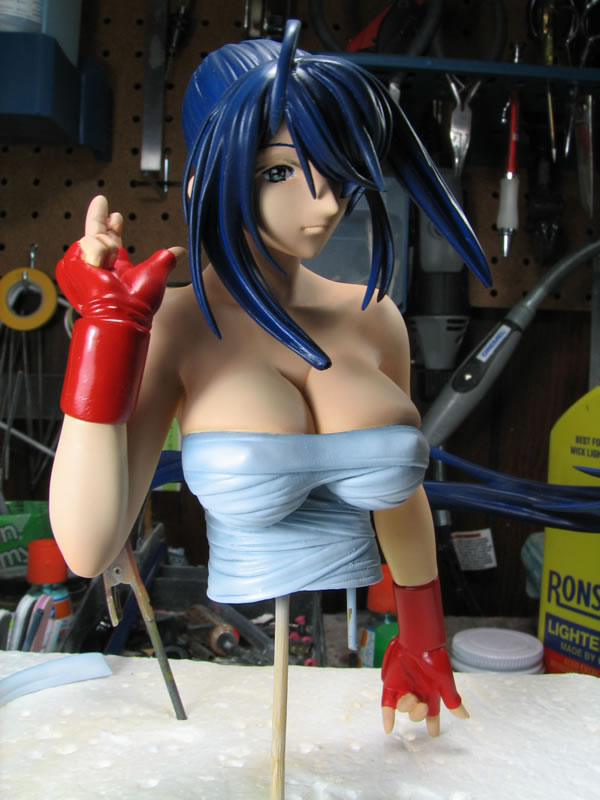
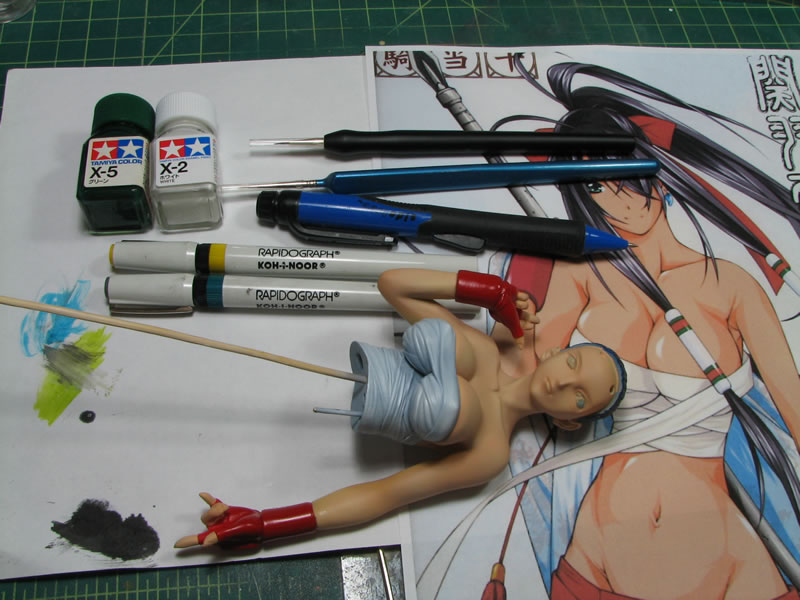
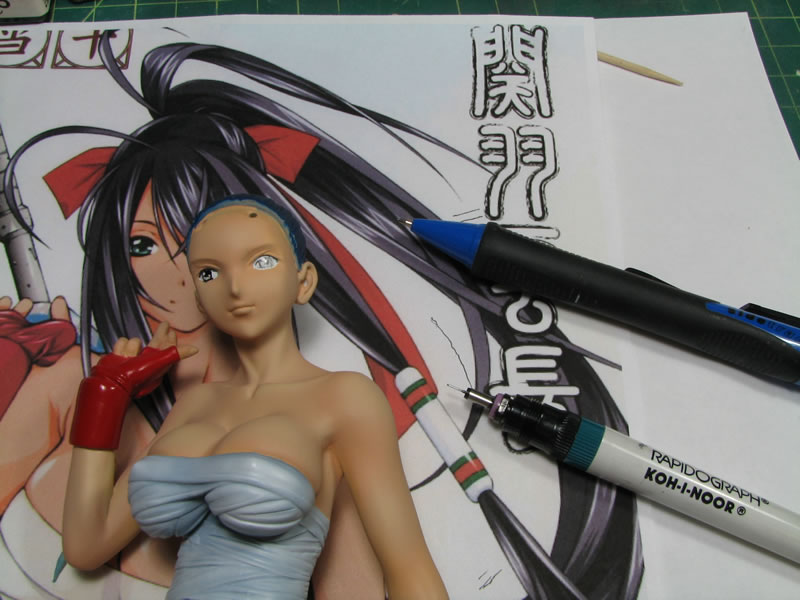
For eye painting, I use several items, a rapidograph technical pen that has a .13mm tip, your standard mechanical pencil, enamel paints, lighter fluid for thinning, a reference picture, and a blank sheet of paper. Following all the steps after the jump and all the videos, the final result is this:
To begin, I practice drawing the eye from the reference on the blank sheet of paper. Getting my hands used to the motion of drawing the eyes helps relax and helps the hands learn the motions for drawing a decent eye. Once I have practiced enough, I move on to the kit.
Get the Flash Player to see this player.
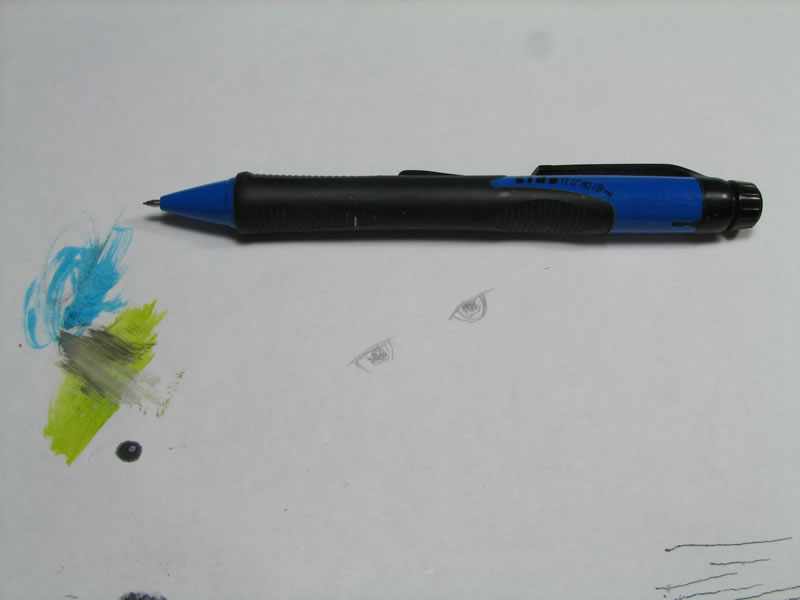
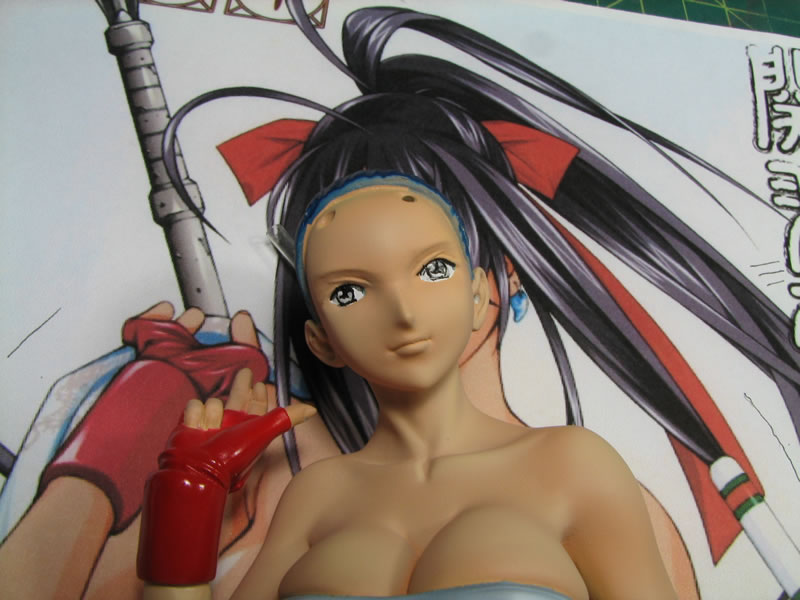
On the kit I draw out the eye using the mechanical pencil. If I make any mistakes, I can simply erase the drawn eye and start over.
Get the Flash Player to see this player.
Once I am satisfied with the eye drawing, I trace that out using the technical pen. The eye ball, white highlight areas, and eye color areas are drawn negatively, meaning I just draw around those areas and leave those areas white to be addressed later.
Get the Flash Player to see this player.
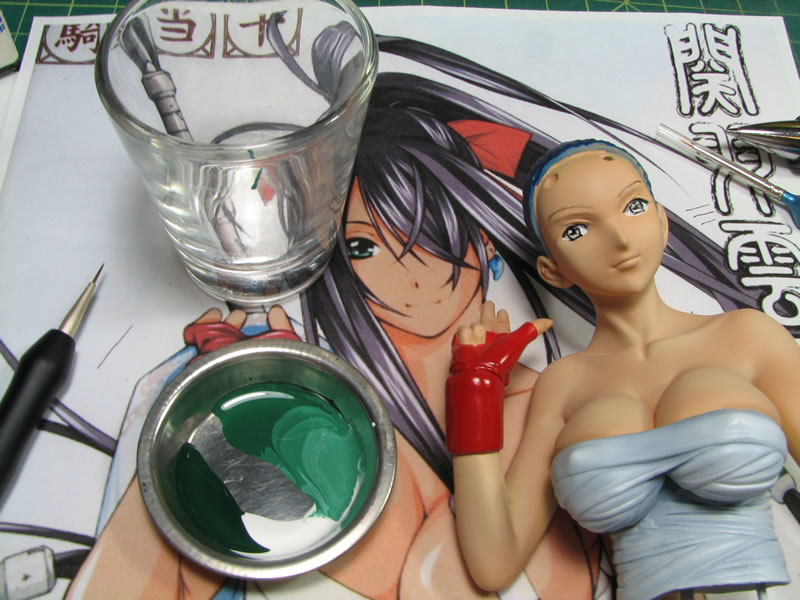
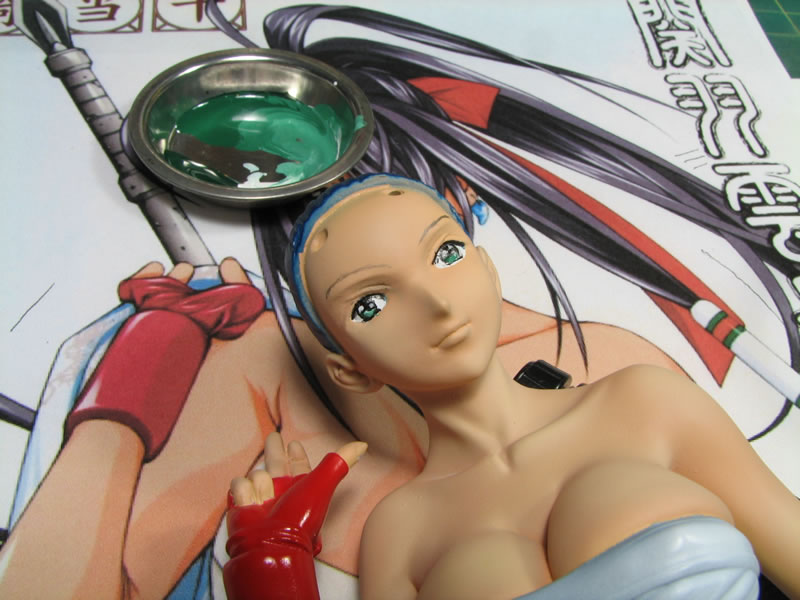
Next up is the first color for her eyes. Running off the reference picture, I mixed several shades of a green eye color that I will be using for the main eye color and highlight areas. And using a 000 sized brush, I paint the darker iris color.
Get the Flash Player to see this player.
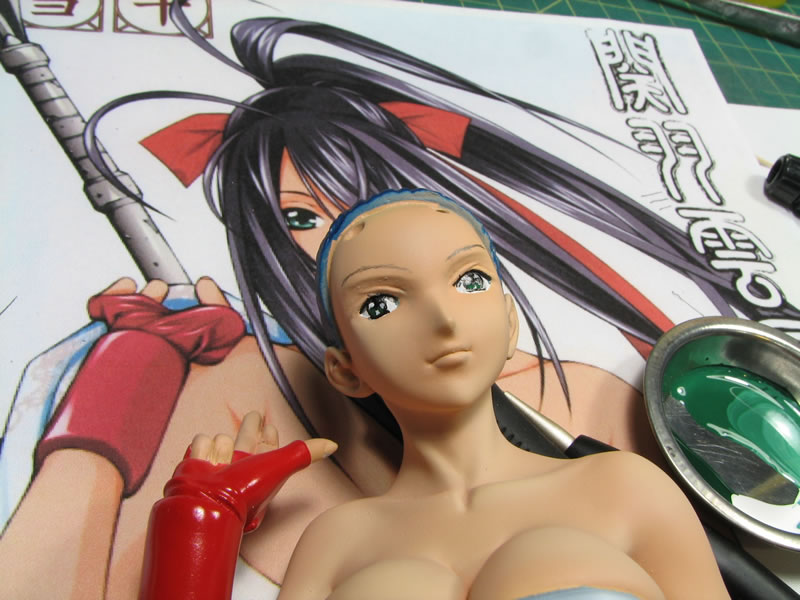
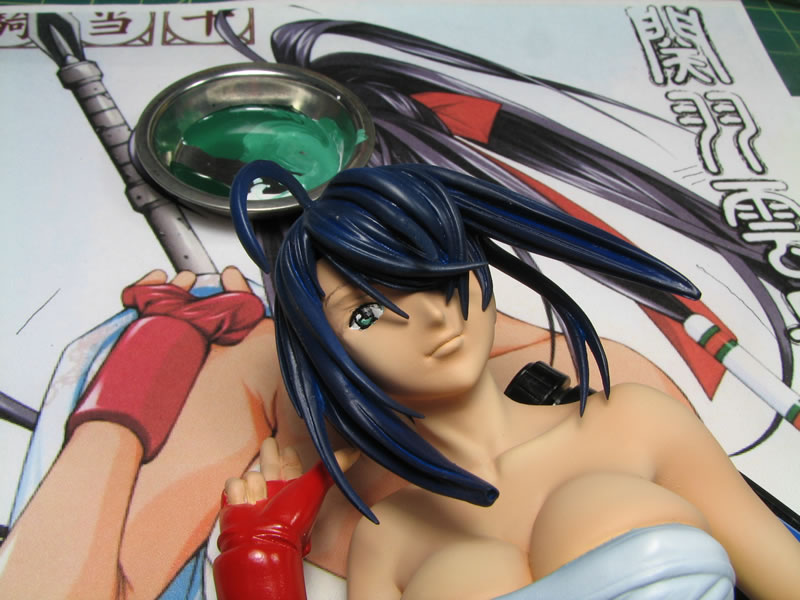
The wonderful thing about enamels is the slow dry time, so this makes it easy to blend colors. A lighter shade of the green is applied and blended in from the darker shade. First the right eye:
Get the Flash Player to see this player.
Then the left eye:
Get the Flash Player to see this player.
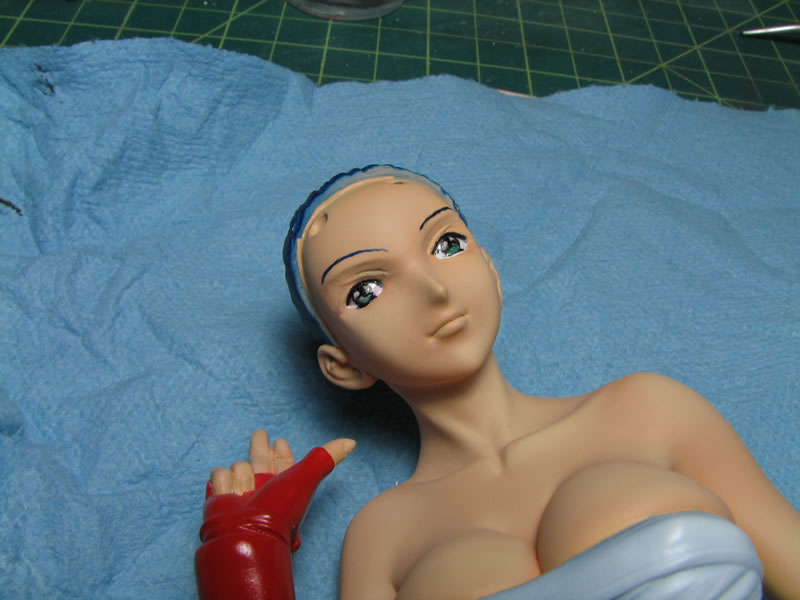
With the eyes painted, and allowing the enamel paint to dry for a couple of hours, I spray a light coat of clear gloss to give the eyes a wet look to them.
Click here for bigger versions of the above videos on the Eye Painting Tutorial page.

wow, I know I asked you already about it, but seeing the process illustrated and in a movie format REALLY helps out alot. Where do you get the rapidograph pens? I’m assuming at art stores.
Very nice tutorial.
Normally, I use a mechanical pencil to draw in the outlines and then use acrylic paints over and enamel base to build up the eyes using layers.
I never thought about using a rapidograph pen to ink the black areas to leave small bits for colouring…
The main flaw in my technique is that I can’t blend the colours, they are distinctly layered instead. Maybe I’ll try a few changes in my next project to see how it goes.
Yeah, let me know how that works out for you. I just figured it was the easiest way for me to paint. I used to do layers as well, but found that the layered effect gave a little too much of a bumpy look. I look forward to your experiences as it should help improve my method :D