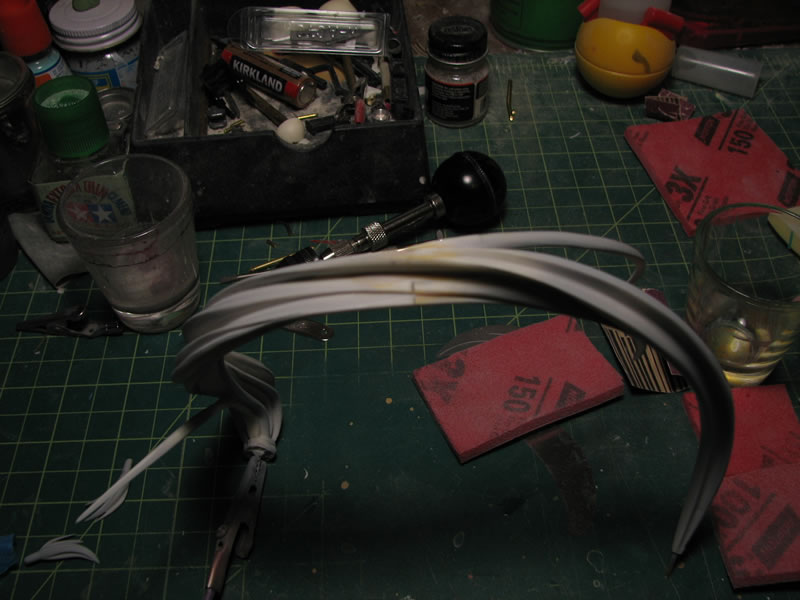
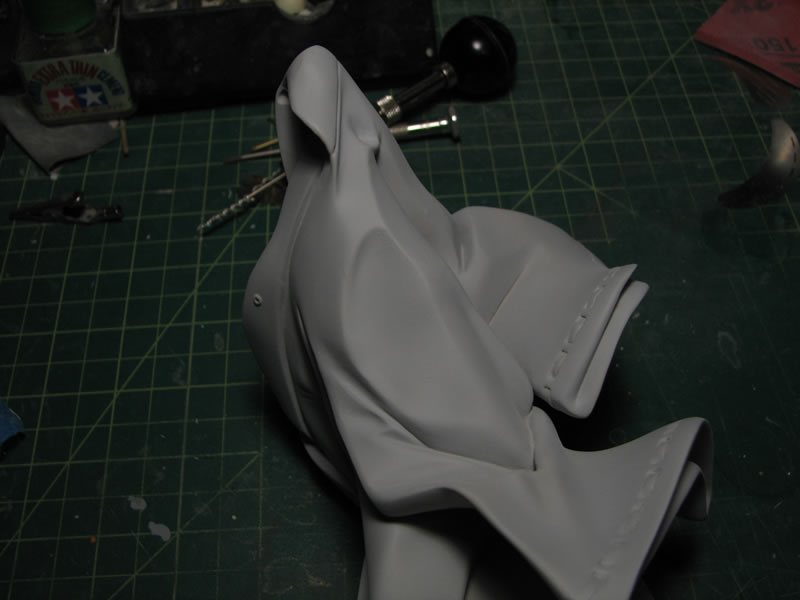
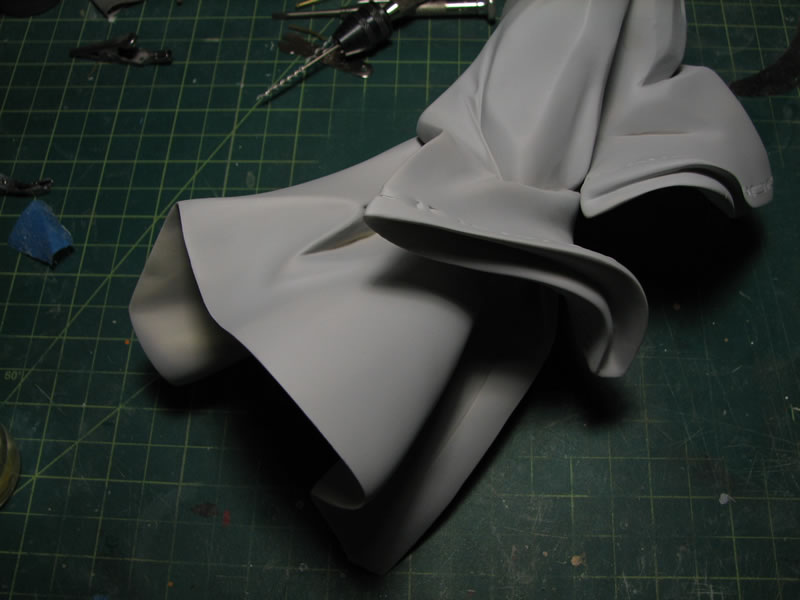
Putty, sand, prime, repeat. This is tedious because sanding as a process is tedious. Add in the need to fill seams, fill gaps, fill surface imperfections, sanding on top of that, then primer to check if the fixed areas are truly fixed, the process can repeat itself. And depending on how anal retentive you are, one can spend weeks on the process. Below is a comparison between the initially primed hair and the same part after work was done to clean it up, fix the seam between one of the small hair pieces that came separate; and filling some of the holes caused by the pinning session. There is a small amount of clean up, but the part in the second picture is a leap ahead of the first in terms of surface prep and readiness for paint.

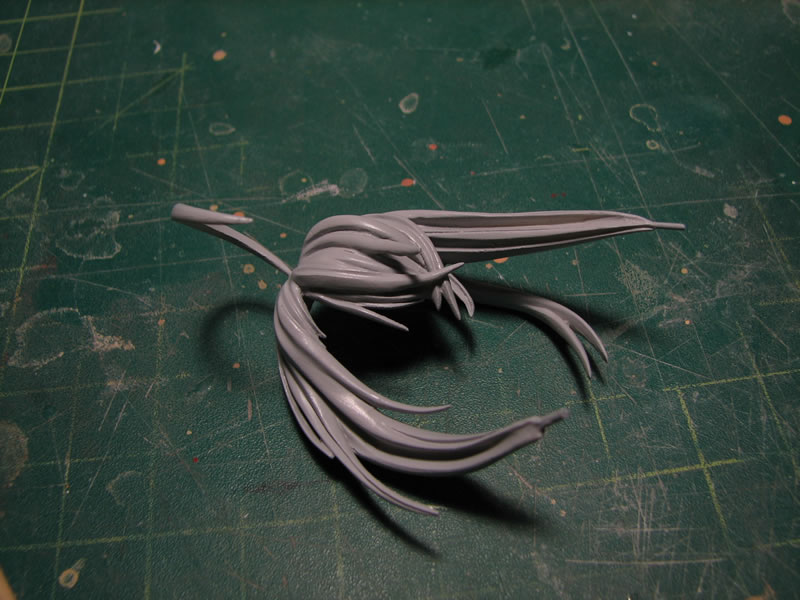
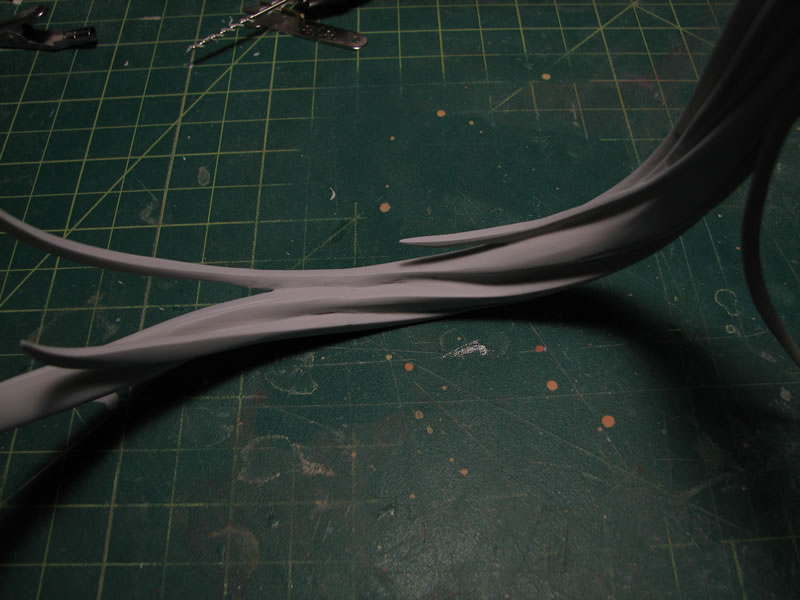
What I find the most difficult and daunting a task on figure kits is hair. Especially in the case of complex flowing hair. Such pieces are fairly delicate and great care must be taken with sanding. The process become much more painful when there are several pieces to the hair that need to be glued and filled such that they look like one flowing piece. Below are first pictures of the main hair piece glued and filled with putty followed by a picture of the primed piece. Granted a bit of clean up is necessary to fix some of the rough sanding spots and a few other surface imperfections, but for all intents and purposes, the hair looks to be a single flowing piece.
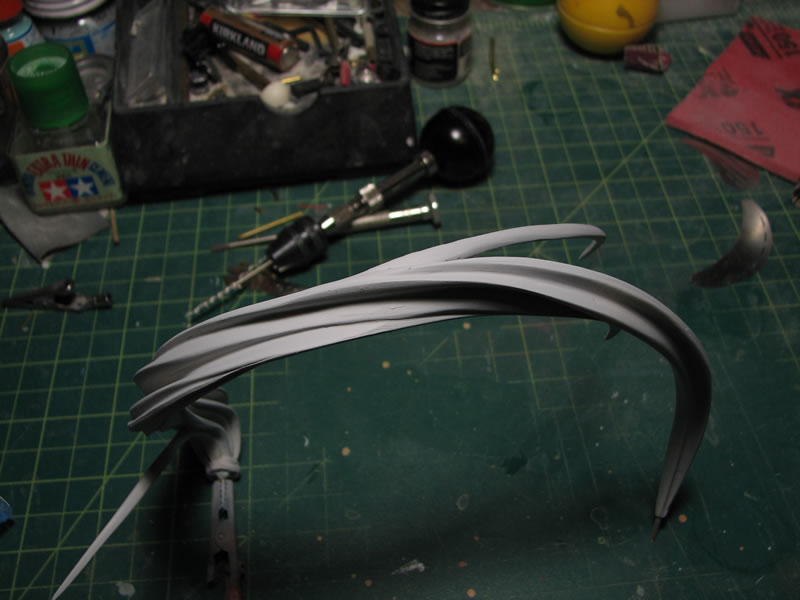
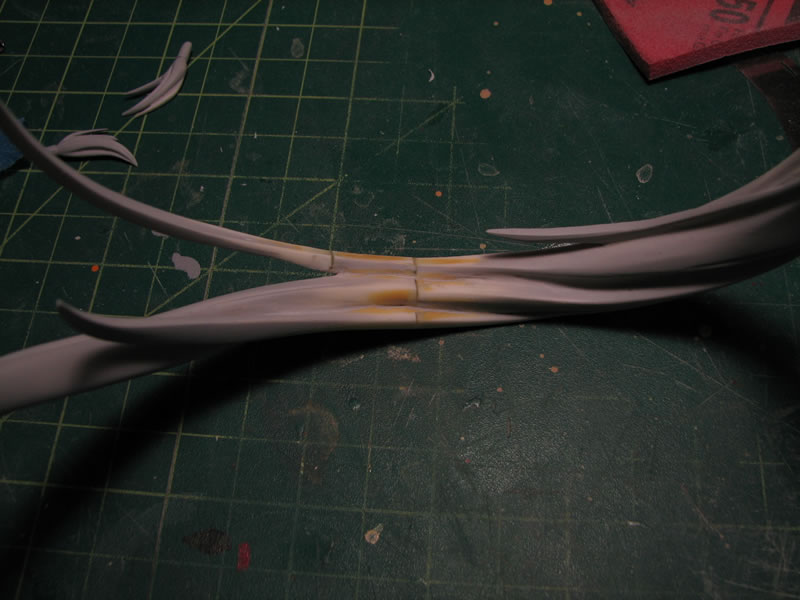
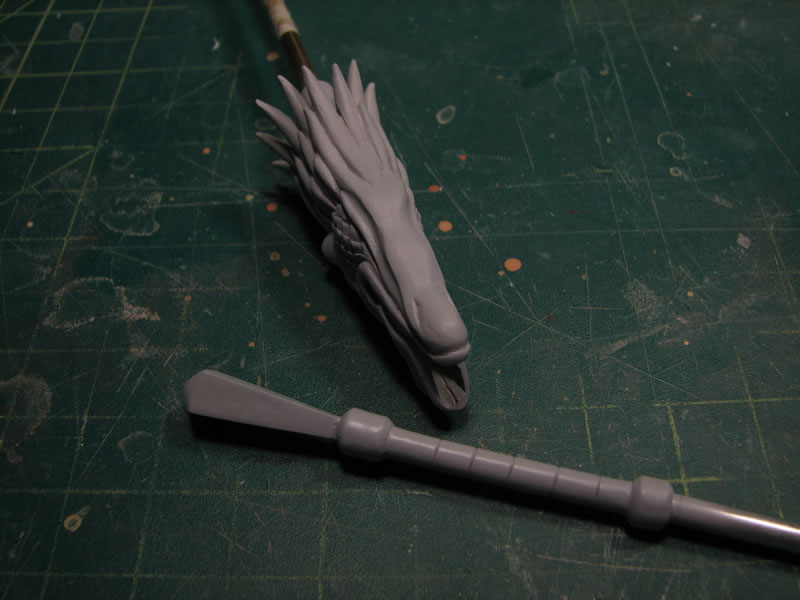
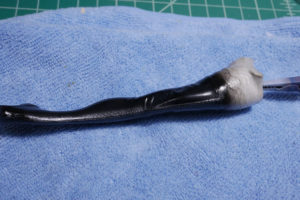
Here is another example. This is the dragon head part of her lance. It came in two parts. After the initial sanding session, the seam was still visible on the dragon’s snout, so I used some light curing putty, sanded it down, then reprimed.

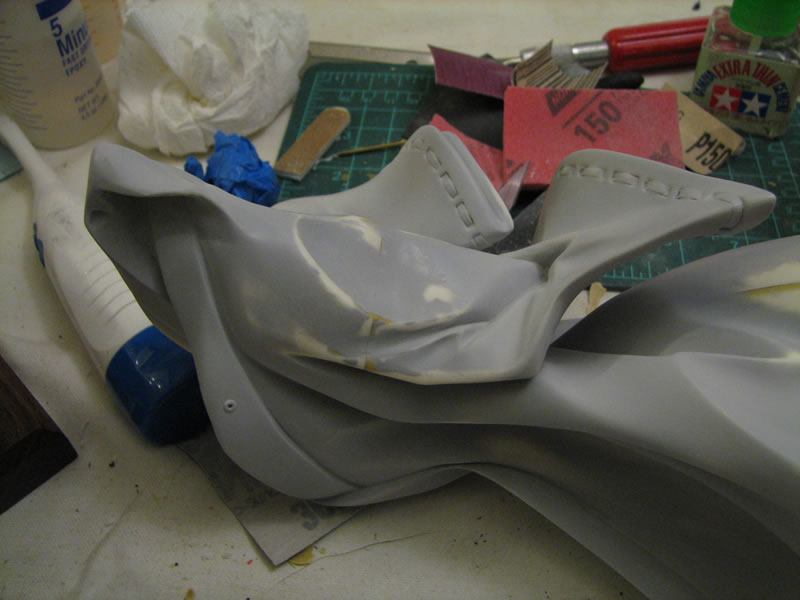
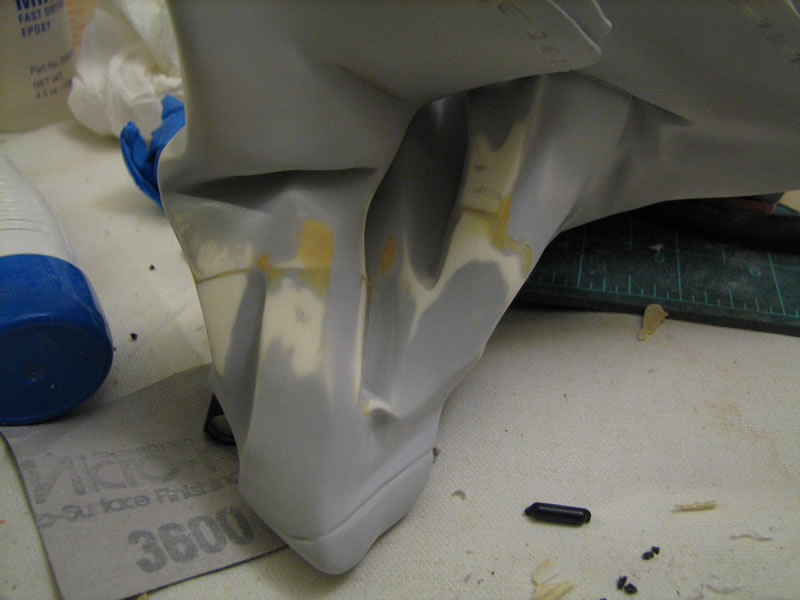
Now below is a lesson that I’m still failing at. In my previous post regarding this kit, I wrote that the earthquake caused a break in one of the glued parts of her robe. And I also wrote that I used CA glue as the main adhesive. The thought did occur to me to use the epoxy glue, but I got lazy, because the damn epoxy glue was in the other room. So, after fixing the problem with CA glue, sanding, and then re-priming to show that the issue was fixed; I broke the part again. I was just handling it to sand another area and that small amount of stress (or large amount, I’m retarded and don’t know my strength sometimes) snapped the area. CA glue is brittle. For most of my resin kits, I only use epoxy glue since it has strength against shearing forces. So as a result of my own laziness and stupidty (because I knew better). I get to start from square one a few days ago. I use epoxy glue and fix the problem, sand then re-prime it. This additional cycle of fill, sand, prime, could have been avoided had I used the correct technique in the first place. Moral of the story, there are no short cuts.
Sooooooooooooooo true. I got lazy on my 1/72 MK III and started to paint only to find a bunch of little areas the bugged me. So I am also starting fro square one and sanding and re-priming . This time I am sanding and priming each piece one at a time. It may take a little longer but at the end of a session I can look at those primed pieces and feel like I have gotten some where. I look forward to more sanding video conferences with Clem and Brian . See you guys later