A little update from the work done over the past few days. With the parts all sanded and ready for paint, I sprayed on some primer over everything to check for sanding mistakes and check the putty mistakes. After fixing those mistakes, a fresh coat of primer and on to painting.
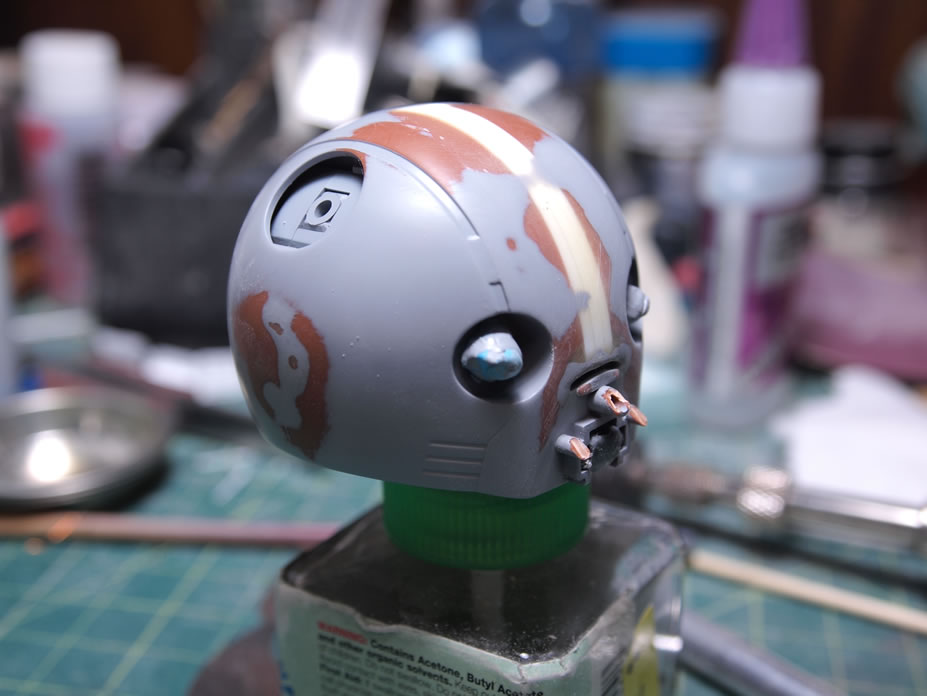
The small amount of carbon black I have painted on the head should be clues enough as to the paint scheme I’ll be going with for this kit. I know that there are a ton of Pandabearguys already done by various modelers, but hell, this is my take of that idea.
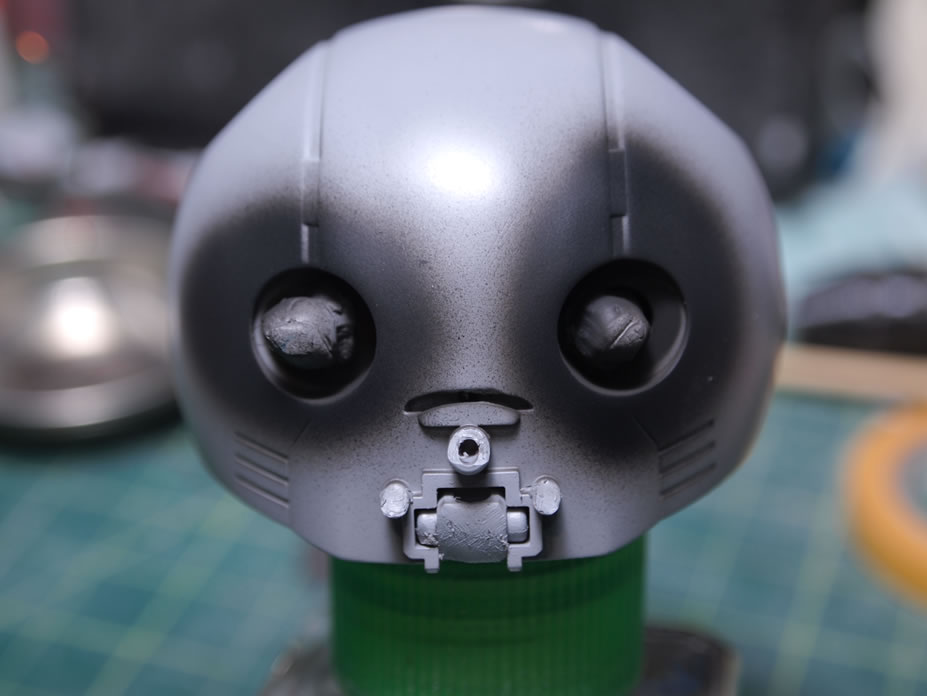
Starting off with the fill I did to the head. After the initial priming session, small defects in the surface are much more visible such as little holes and rough sanding spots.

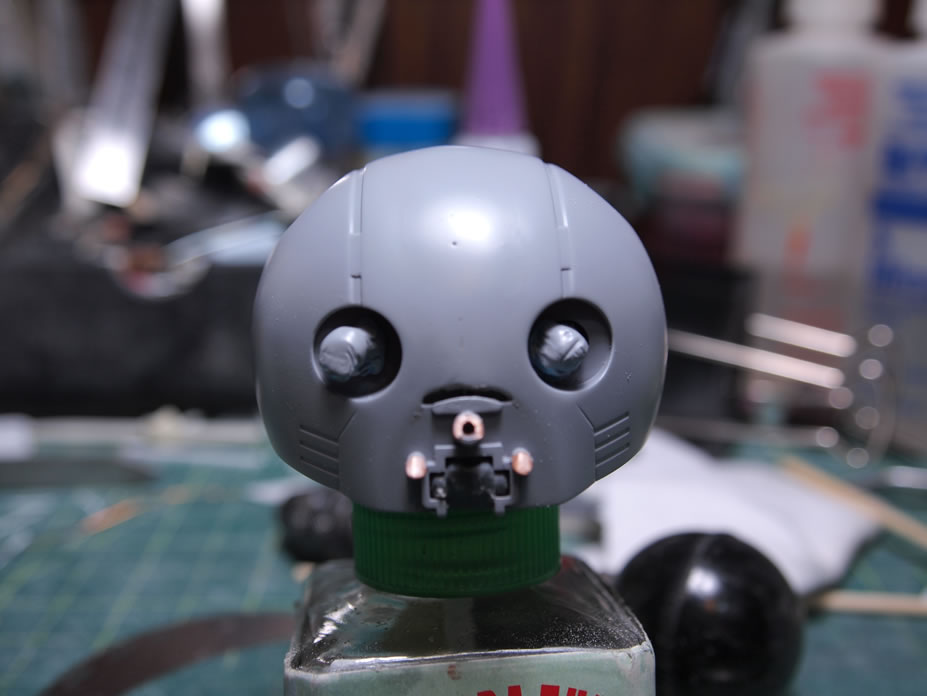
The holes found were cut open with a hobby knife so that there is more surface area that the putty can grip against. I use light curing putty and filled in the areas and let this cure for a couple of minutes under the lights.
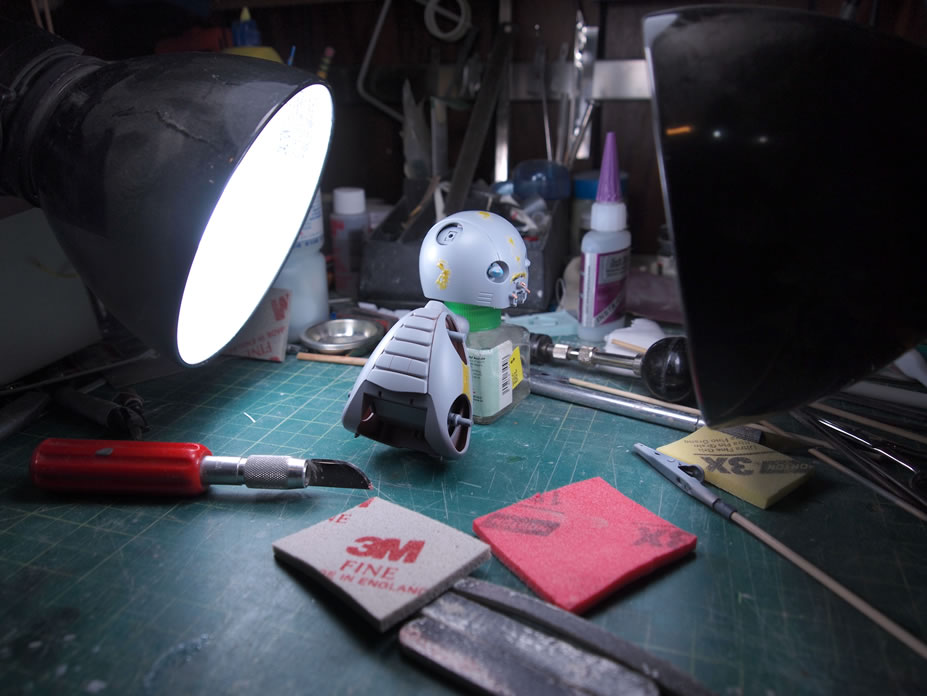
Next the cured putty areas were sanded down, cleaned with a moist paper towel, then hit with another primer session. Once the primer was dry, the surface is inspected again to ensure that all areas are fixed.

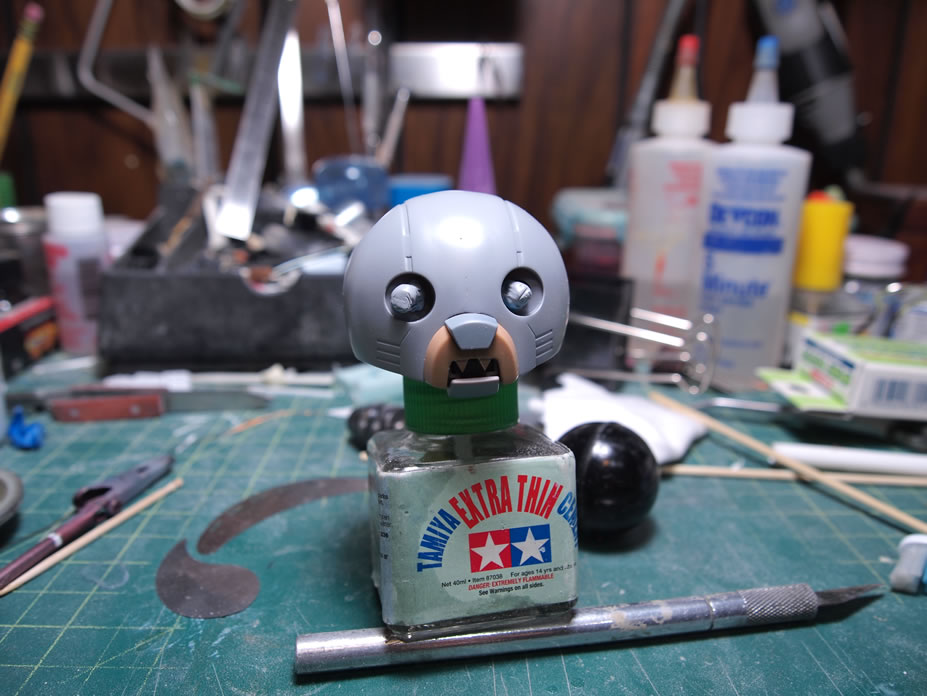
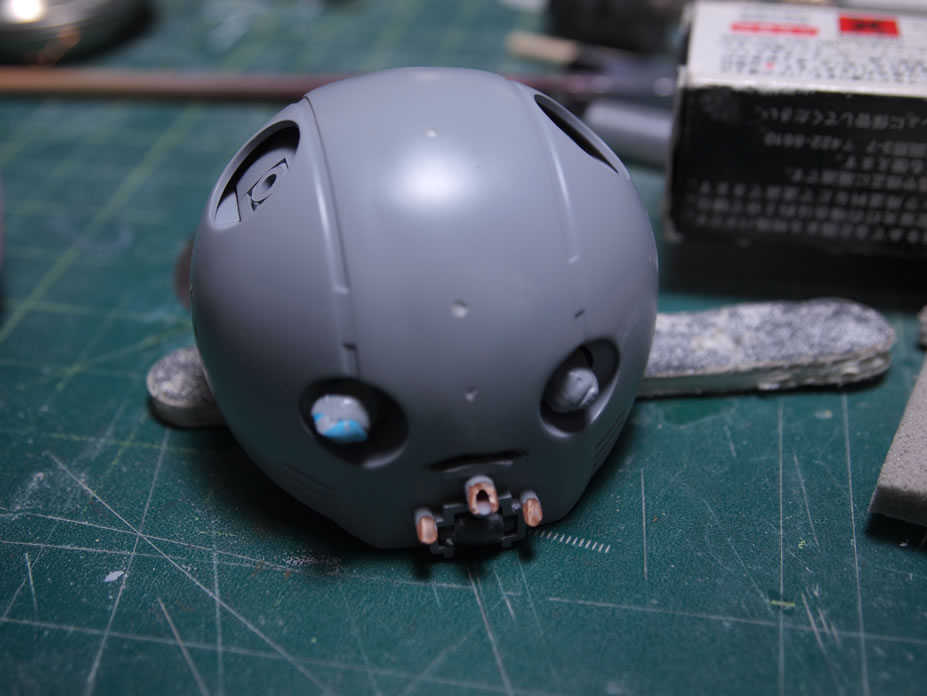
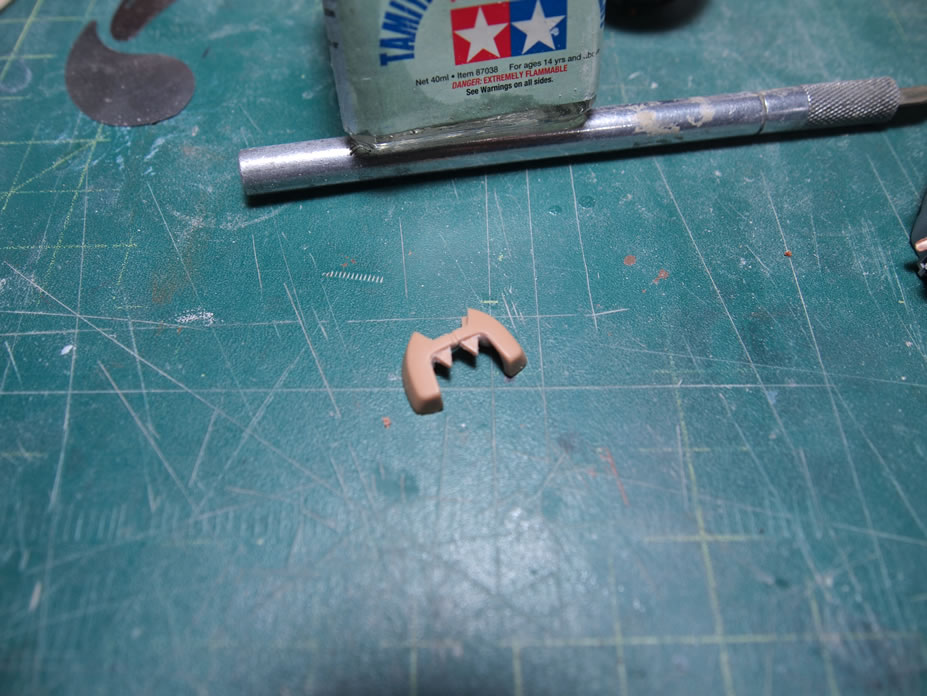
While the primer fully cures up over night, I went to fiddling with the mouth of the kit. Not being overly thrilled with the idea of masking the mouth area off to paint it as well as the small little teeth, I decided to cut into the mouth area and create a new set of fangs for the beast. A hobby saw was used to cut away the excess mount plastic as well as to cut out rough shapes of the new fangs. Then a set of precise files were used to sand down the edges of the mouth and do the final shaping for the teeth. The small original teeth were sanded out to complete the small cosmetic modification. I think this improves the overall look to the kit.
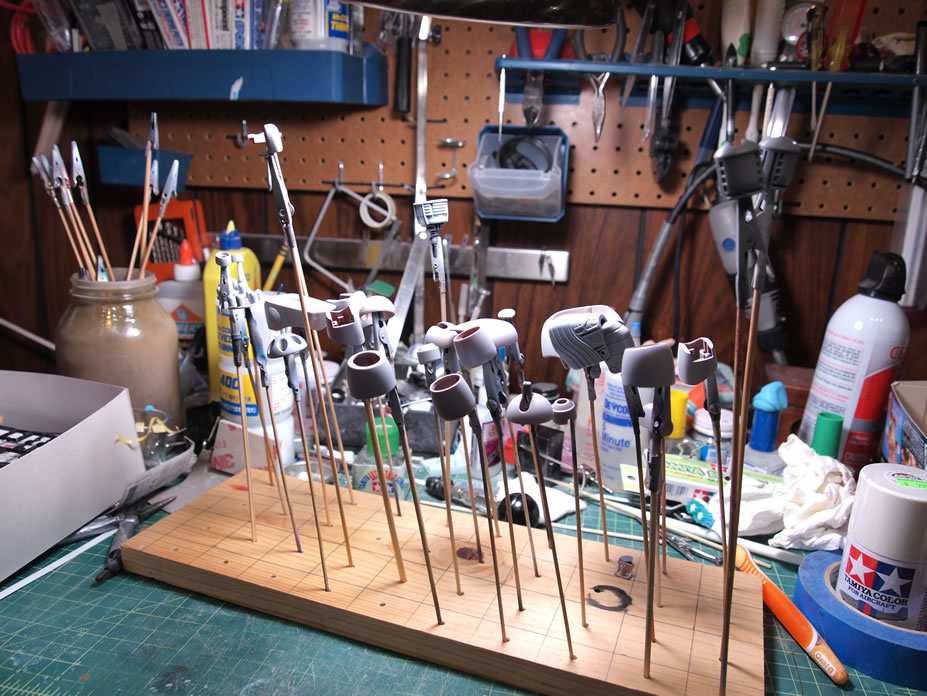
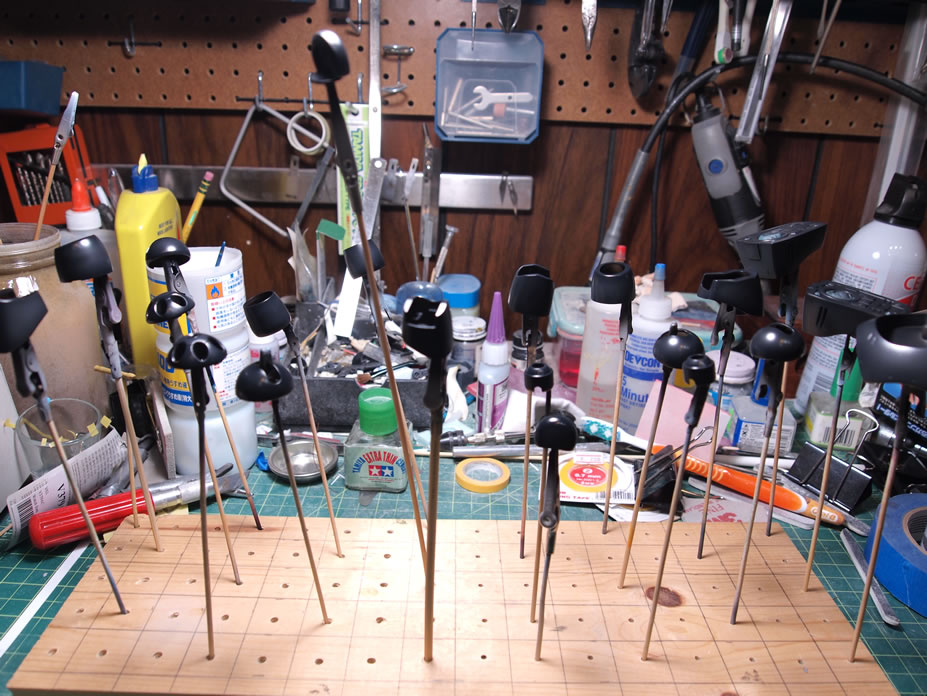
The rest of the parts were primed. Seam fixes were check and there were a few spots that needed additional attention and putty. With those fix in, the base coat of gloss black is sprayed onto the arms, legs, ears, eyes and internals.
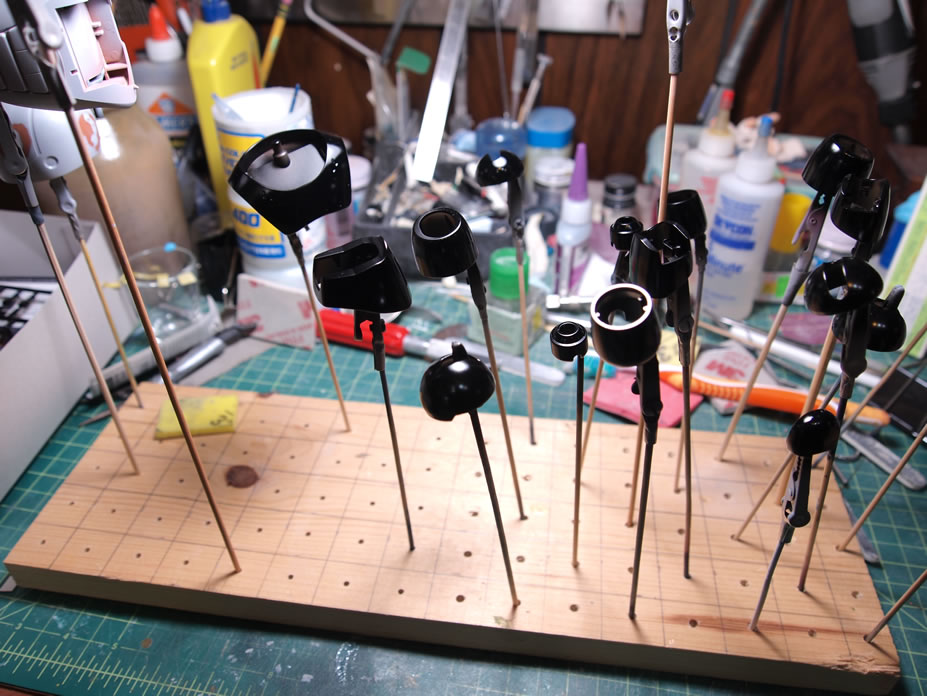
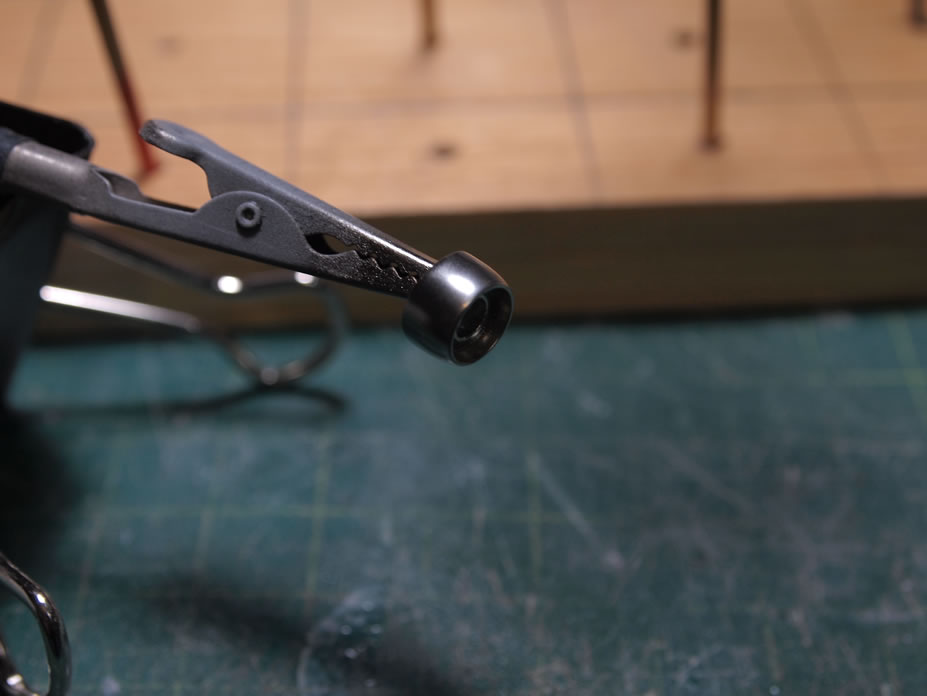
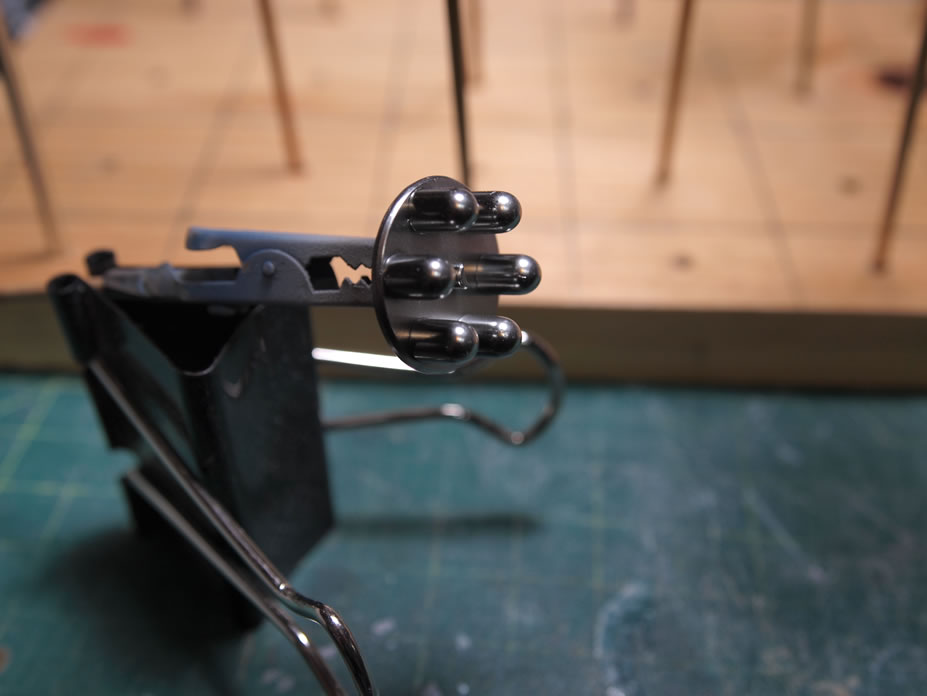
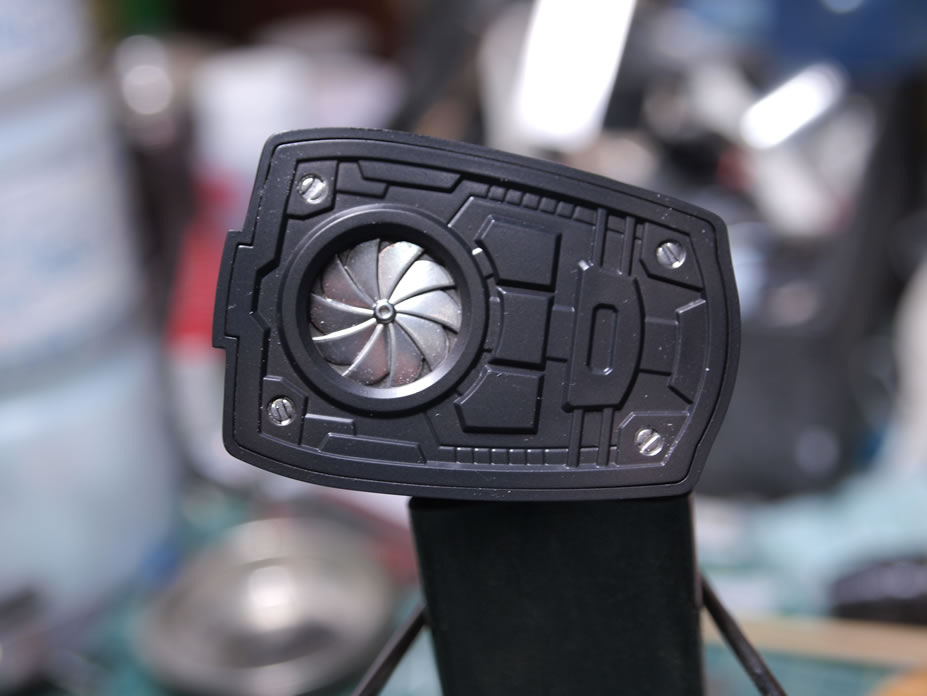
After a day of curing, the internals were sprayed with alclad burnt metal. The eyes and hand missiles were sprayed with alclad stainless steel.
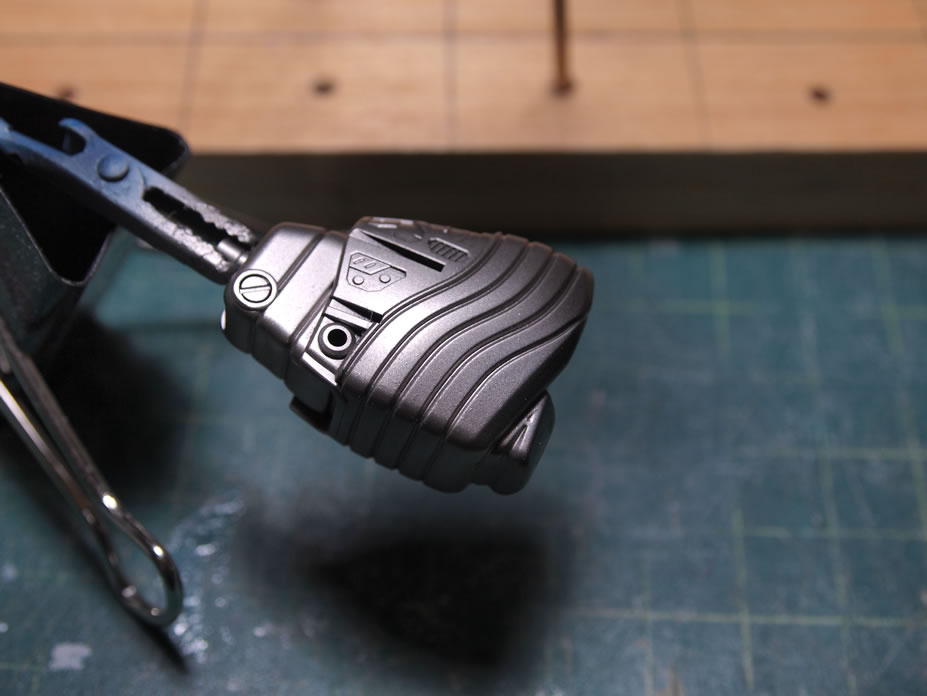
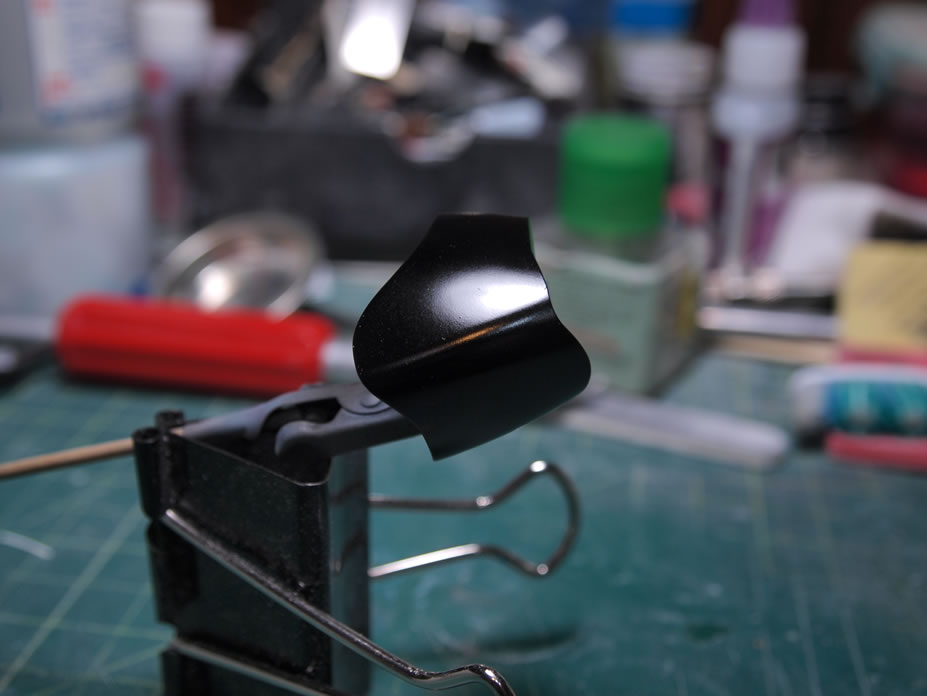
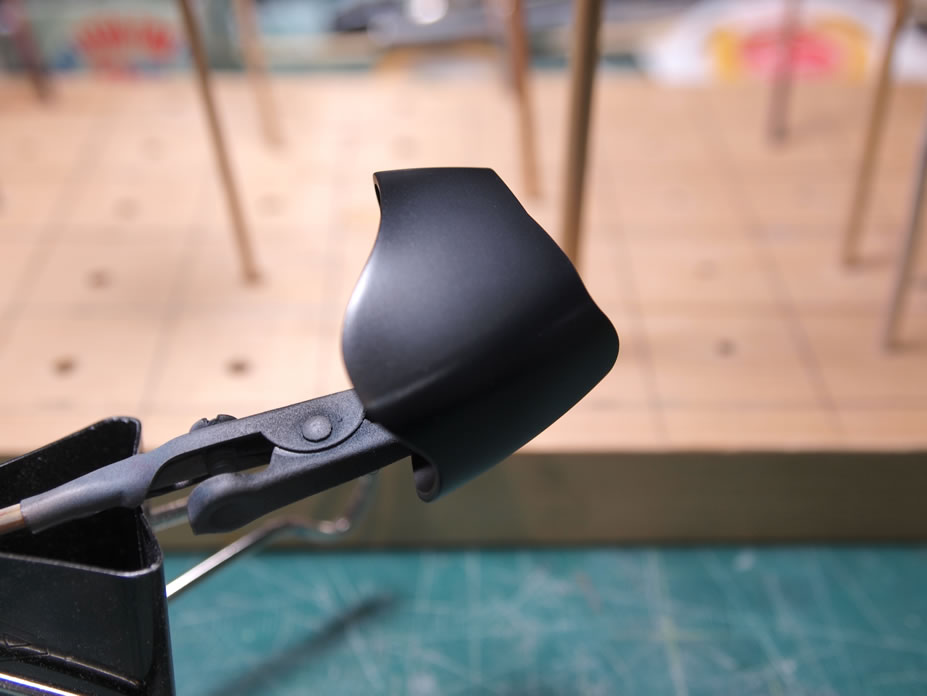
The arms, legs, and ear pieces are sprayed with Finisher’s carbon black over the gloss black base. The carbon black is closer to a charcoal color and works well over the black base to create a slightly shaded look. In my opinion, a truly dark black isn’t the best choice for painting large solid black areas on a kit. There’s no tonal variance, especially if the kit is eventually flat coated. I do like a deep dark black if the final finish is going to be an ultra gloss, or if the black is used as accents as opposed to a main color.
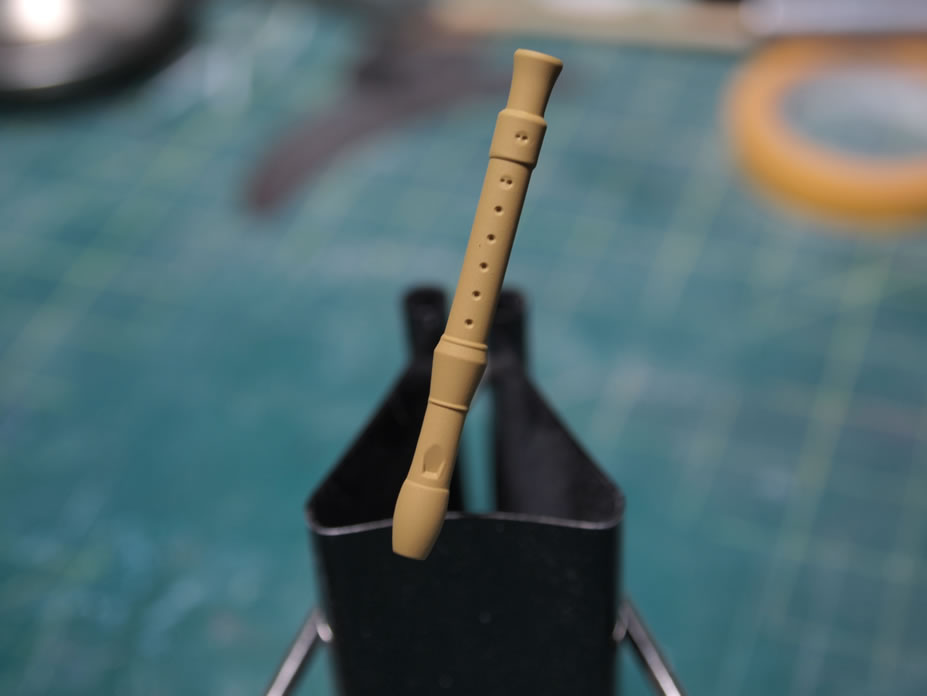
The recorder is painted with a sand yellow to get as close to a neutral wood tone. This is the base from which I will be adding in a wood grain effect.
The bottom of the feet were detailed first by spraying alclad stainless steel over selected areas. Once these areas cured over night, they were masked with some sticky tack and the carbon black was sprayed over the entire foot. The sticky tack is fairly harmless to the alclad and comes off without any damage to the painted surface.
Progress is coming along nicely with this kit. The appeal of 1/144 kits is the simplicity of parts count and relative size for paint. With a fairly simple paint scheme, these make for very nice quick and fun projects.