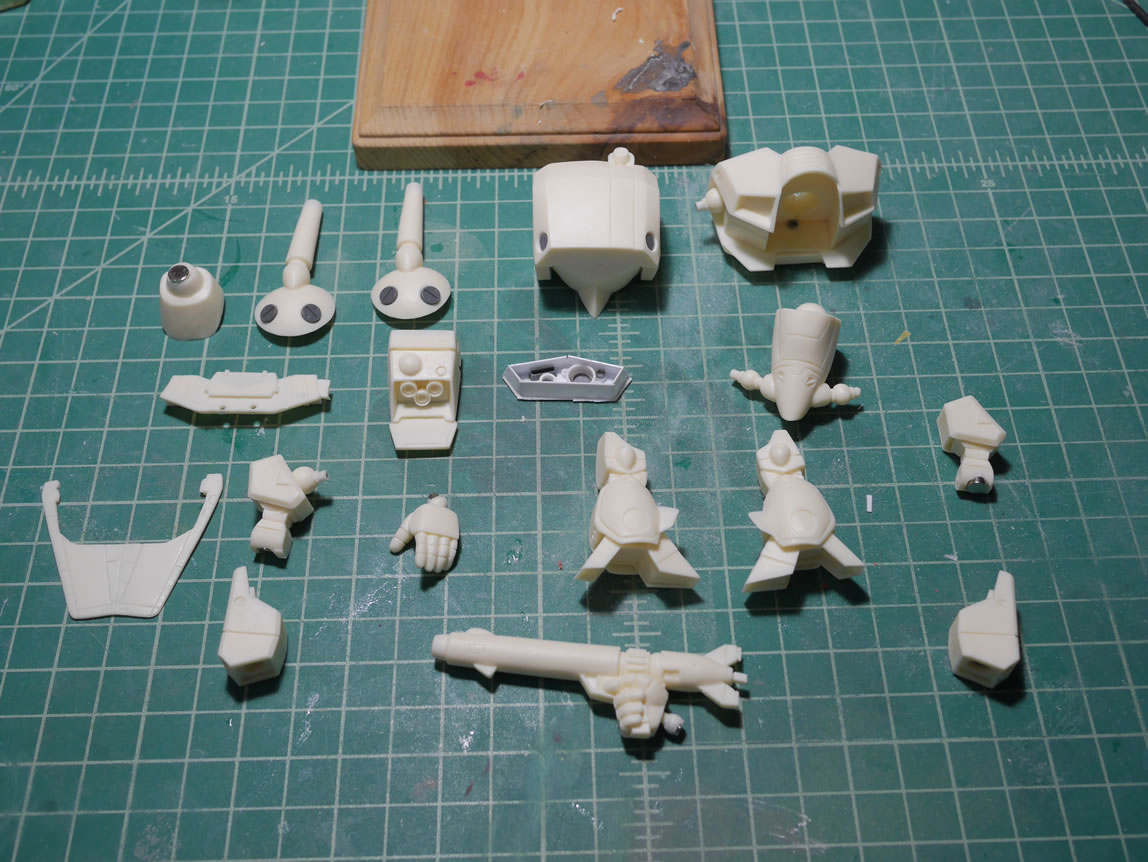
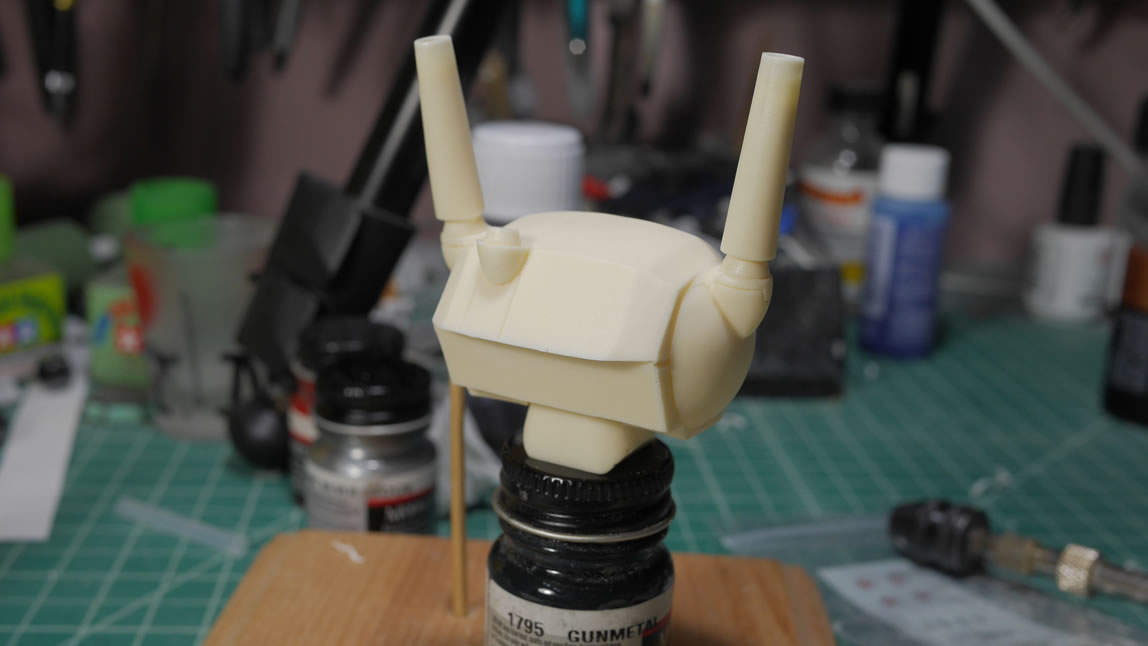
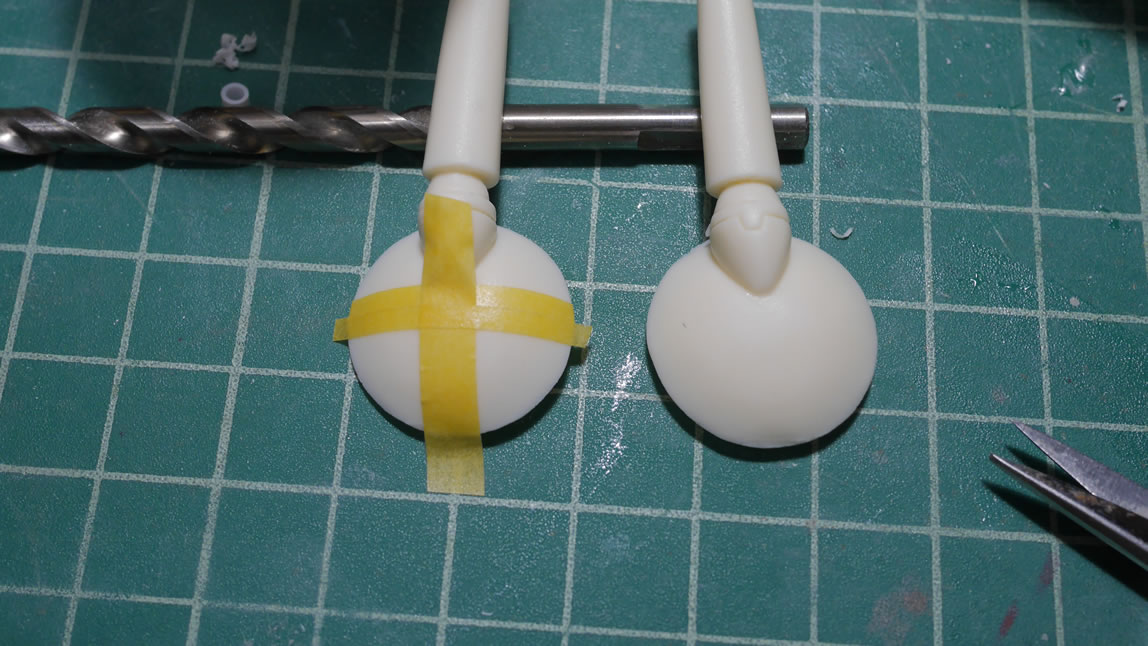
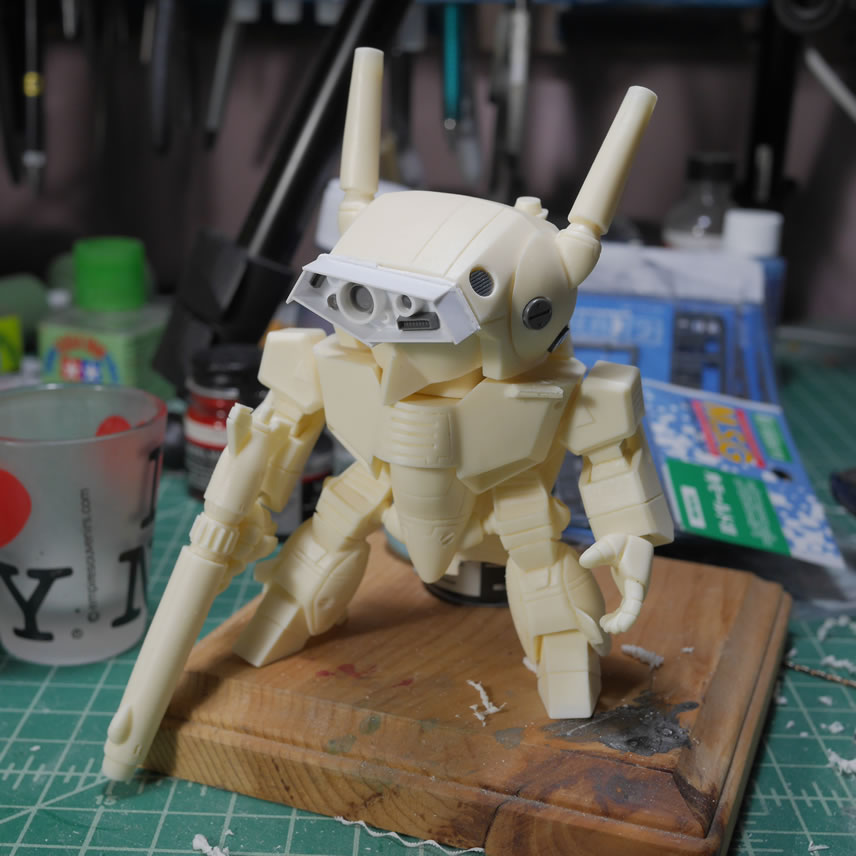
The group of us had a TGG Live broadcast two Saturday’s ago and I was in the midst of finishing the Death kit so I really didn’t have anything to work on, so I cracked open this little kit I picked up from Hong Kong the last time I went back. It is a recast of a set of SD kits from Metal Box. I had previously build the SD Officer’s pod so the break down of these kits are pretty nice. I also started on the SD Monster that is in partial paint stages. But interest on that beast waned so here we go with this. Instead of pins, I optioned magnets as the connection points for the joint/sockets for all the parts. Some quick clips of the flash, drill a hole here, add glue there, stick a magnet noting the correct polarity, and done. It’s standing fairly well on it’s own. Ok, maybe the skewer behind is giving some emotional support. But here’s the kit after the broadcast on Saturday.
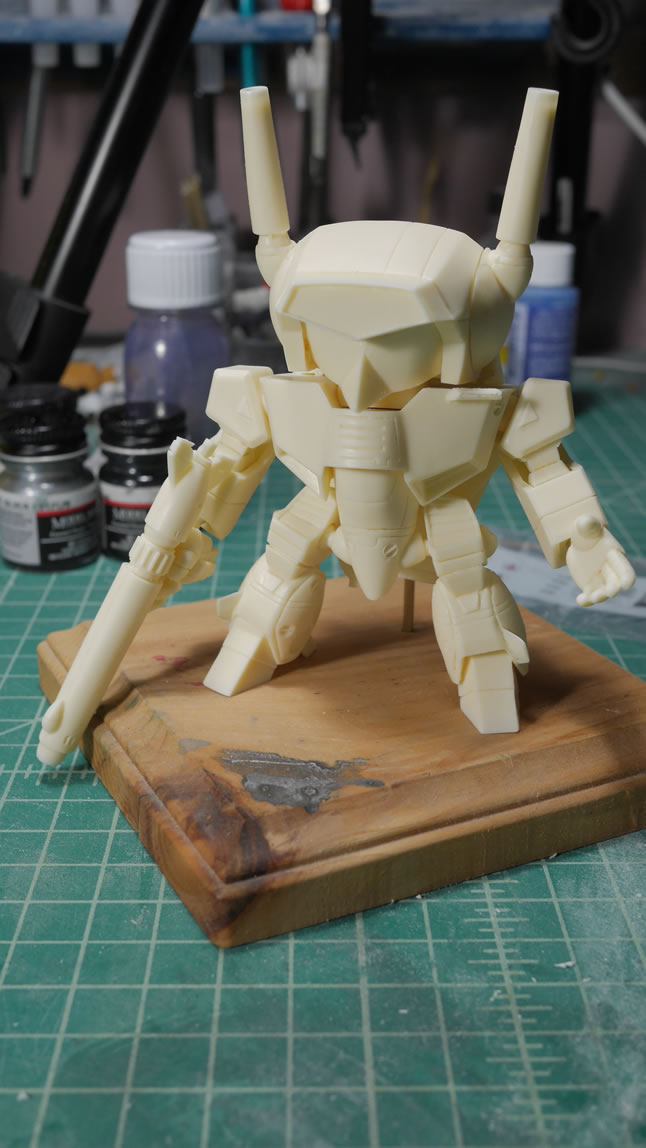
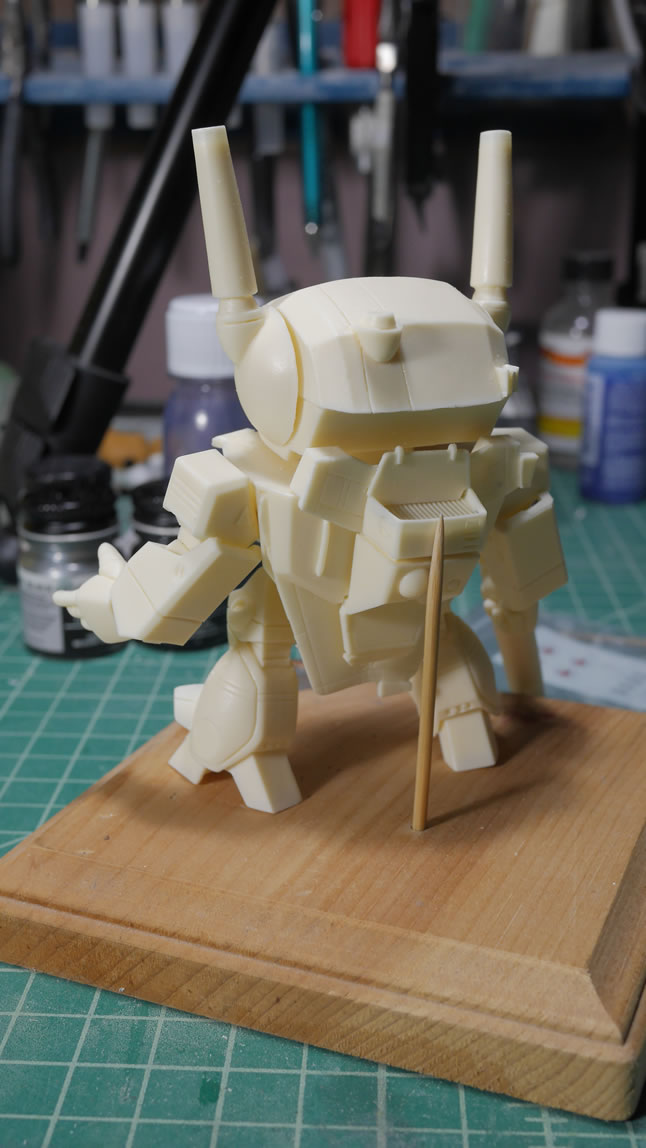
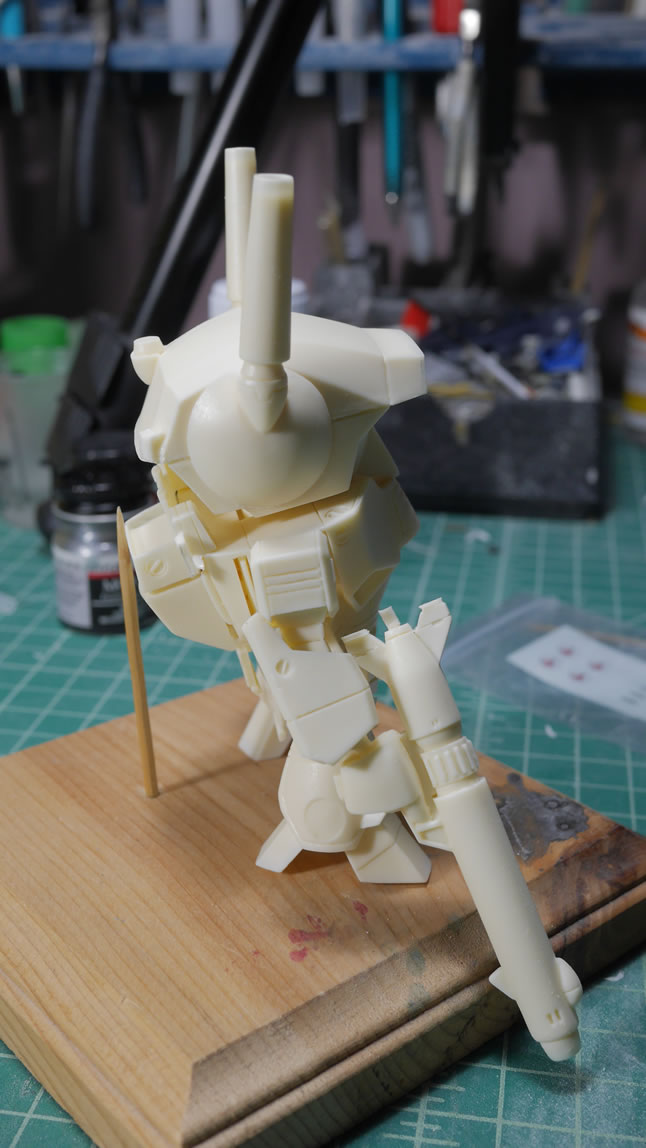
After the broadcast, I started looking up some reference pictures for the “Veritech VF-aJ”. And this is where things start to go down hill. I started to realize how plain the head looked. The art online from various toys and drawings had much more details. Especially within the visor which is a solid piece of resin as part of the head assembly.
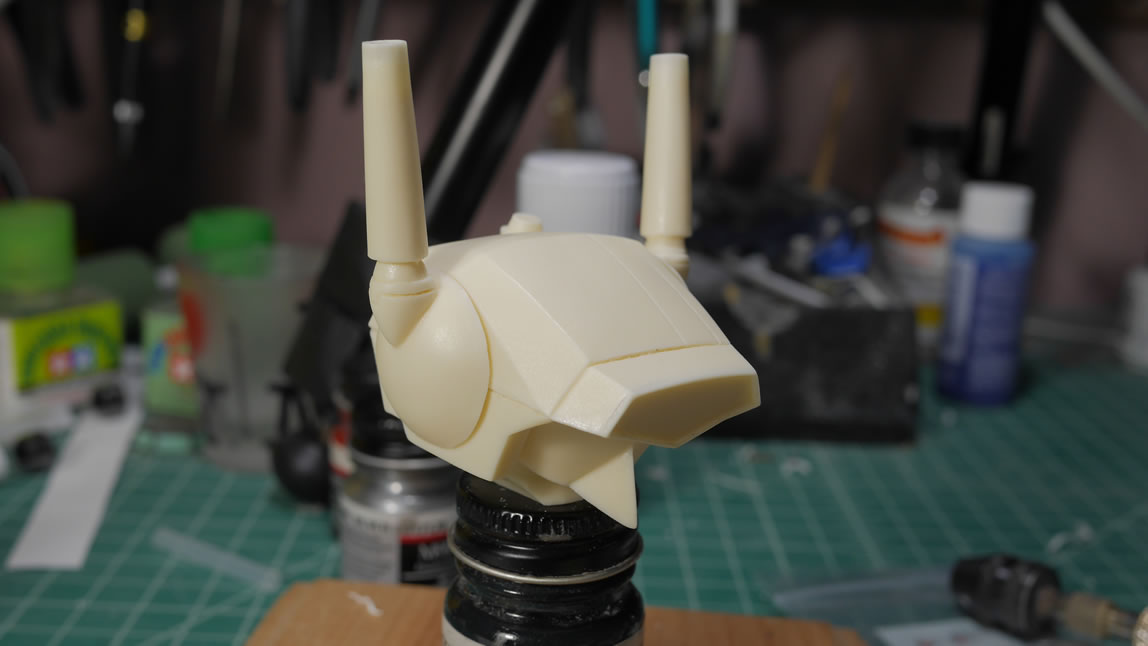
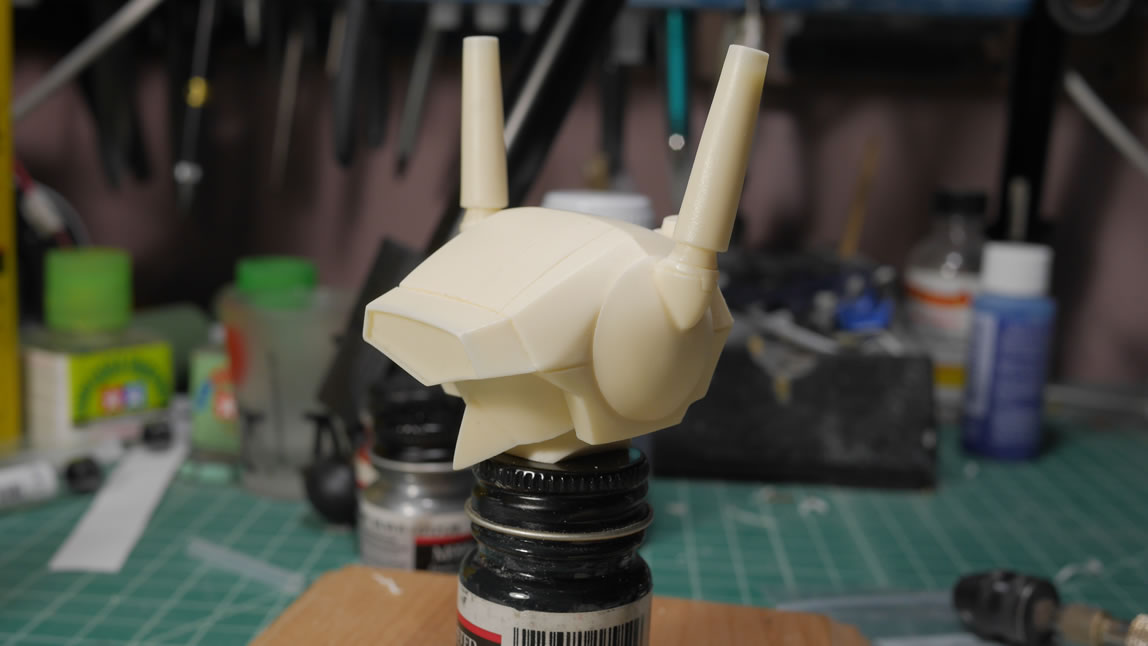
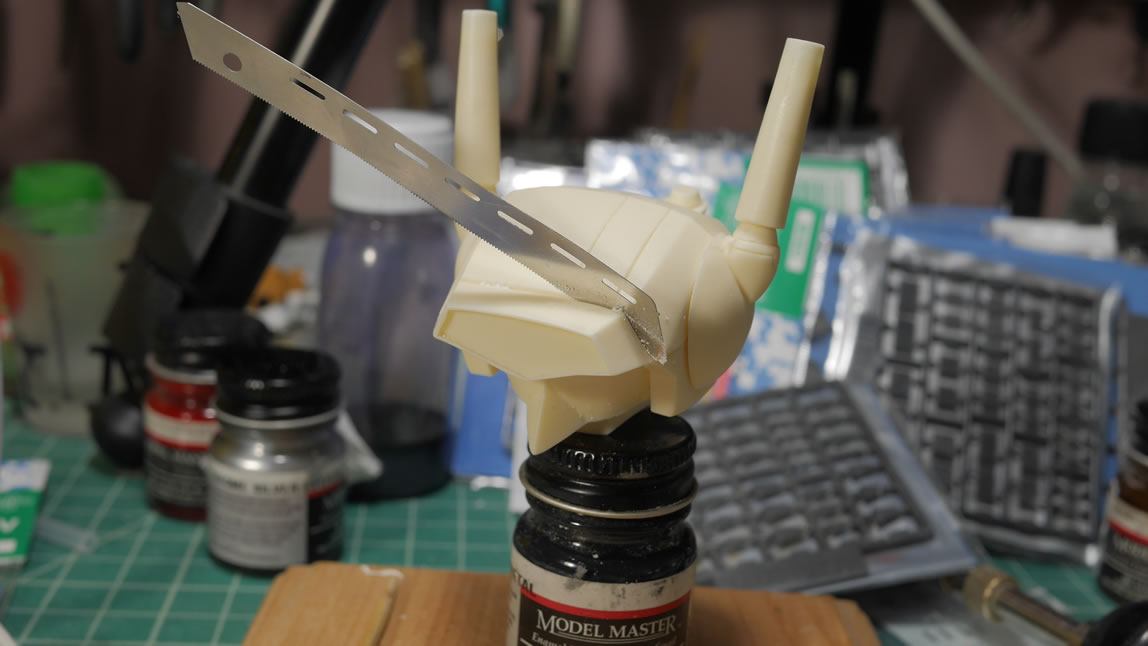
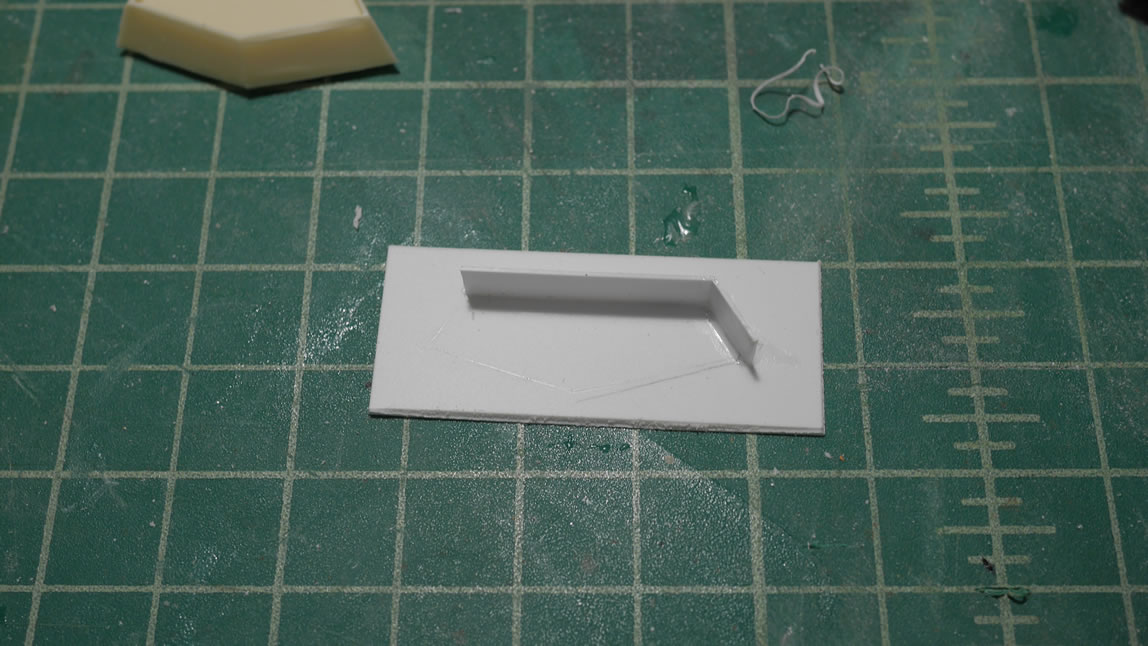
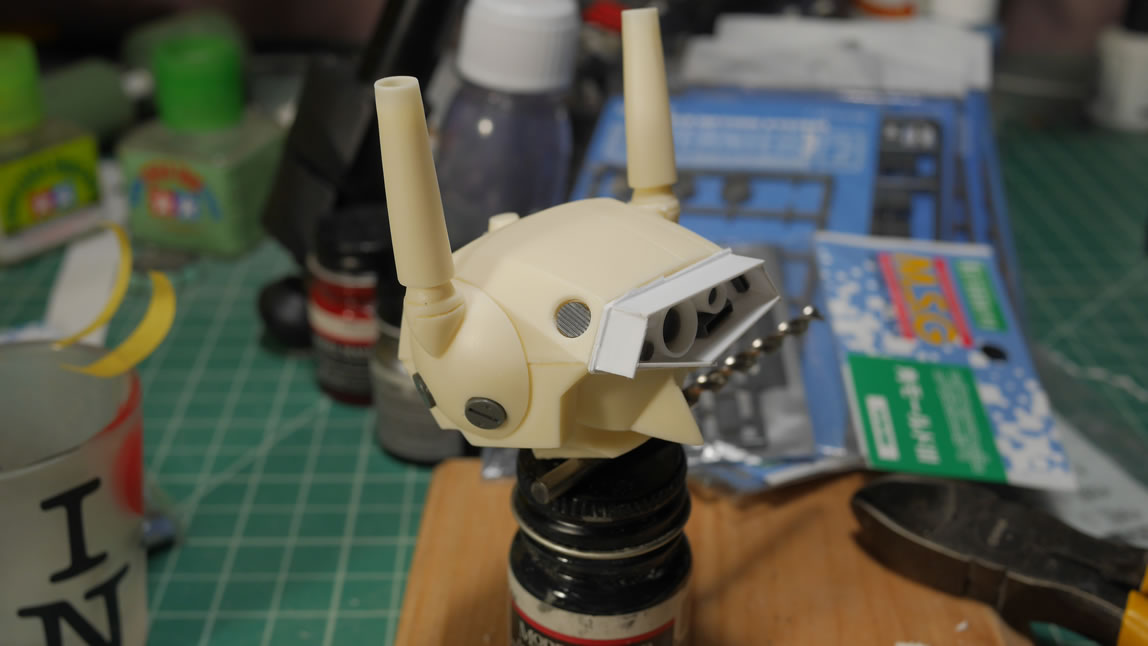
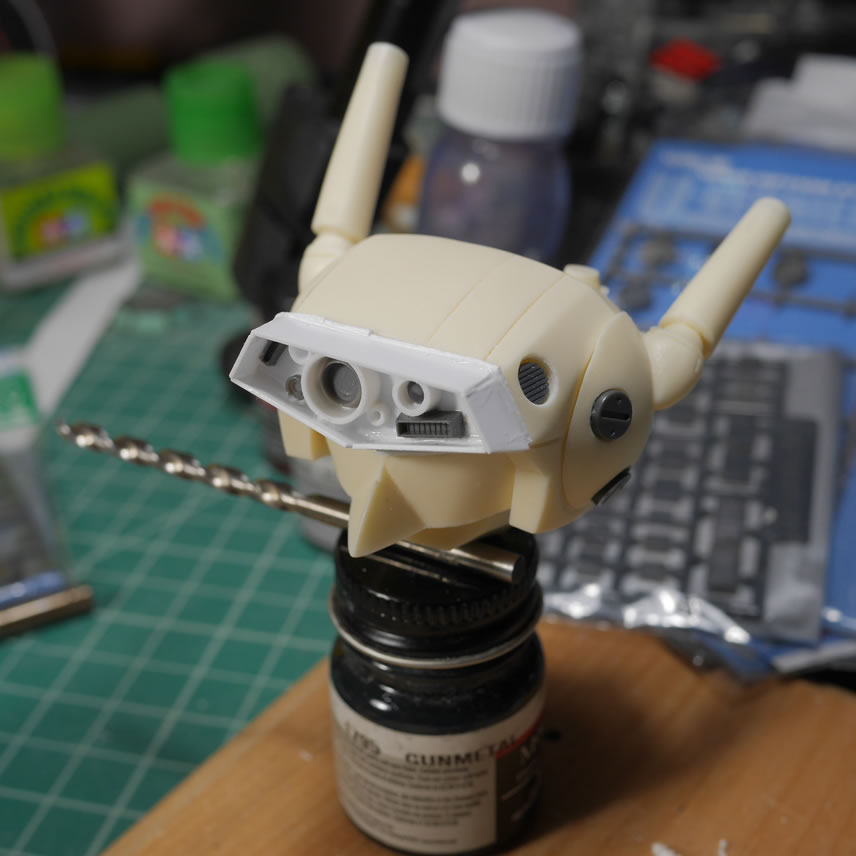
Saw blades out, I trace along the panel line and just slowly saw to remove the visor from the rest of the head. Once done, I grab a sheet of styrene and draw out the shape of the visor using the cut out visor as a template.
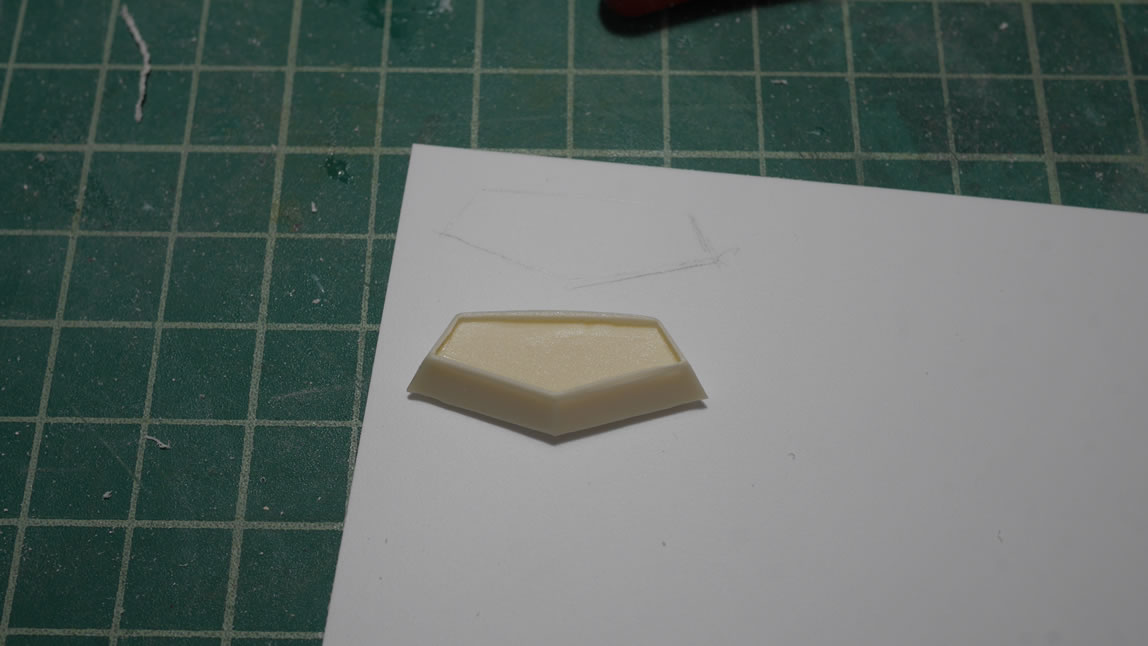
Using the dran guides, I measure out some plastic strips and just cut out strips and glued this to the drawn out template. Once I had the visor walls done, I just started adding in styrene tubes and circle parts form koto and wave.
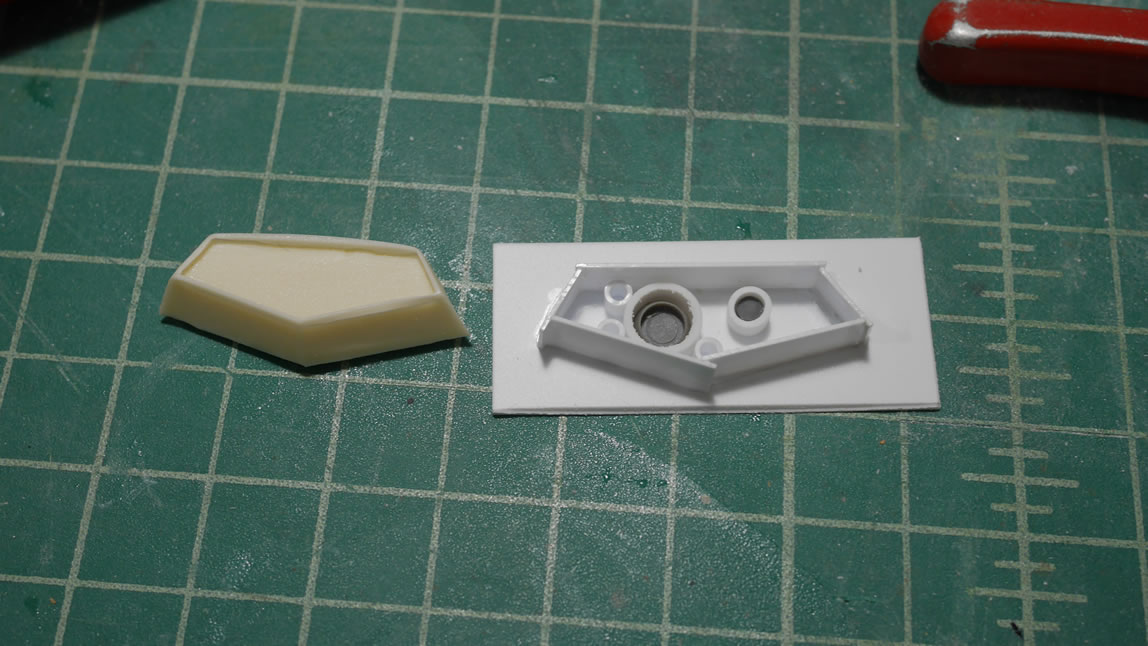
A few rectangular vents here and there, and we have a visor. This will definitely require some more sanding and shaping to finish things.
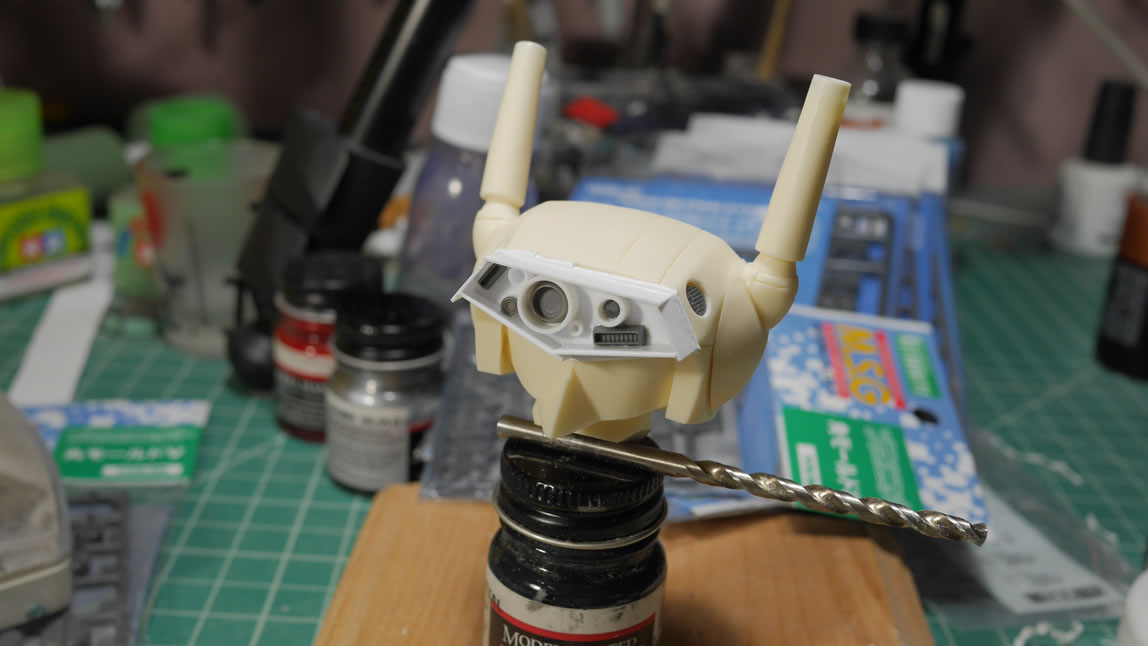
Moving on the the head vulcans. I used some masking tape as guides and drilled out some holes for detail bits. Koto detail MSG detail bits pop right in and add some detail to these guns.
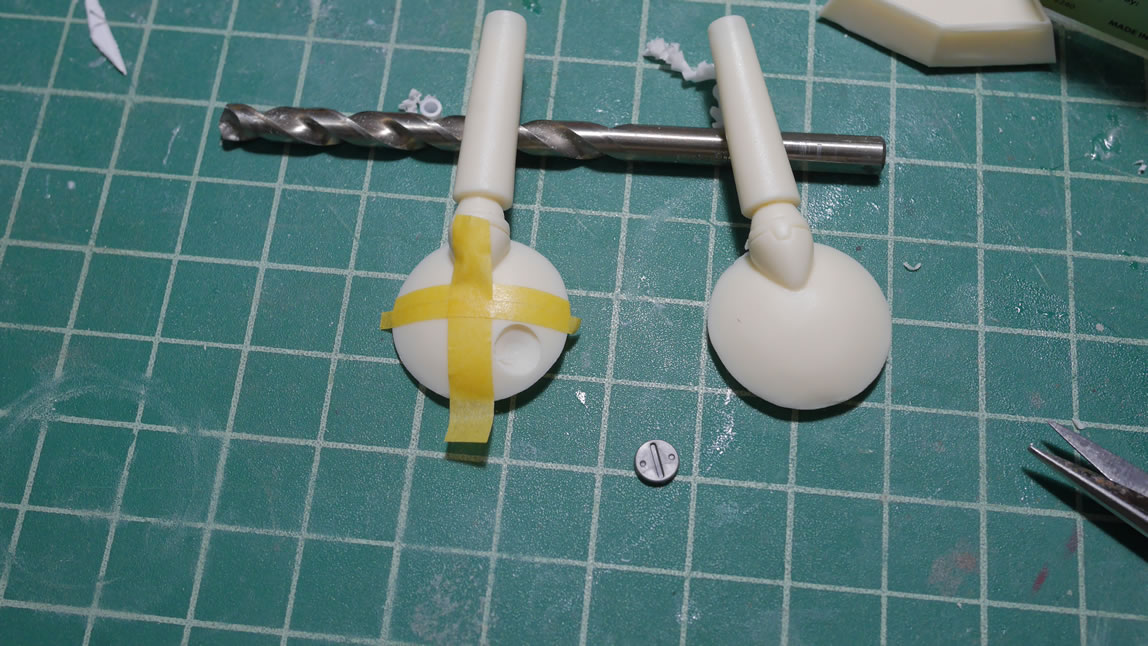
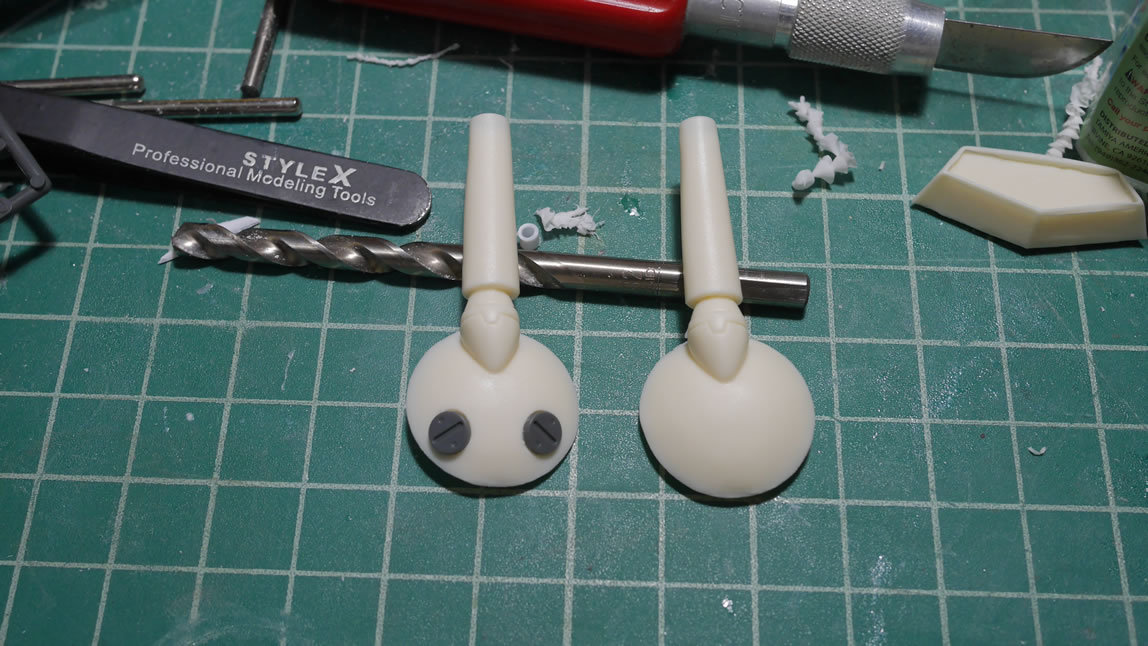
I also drilled out a small hole behind the visor on the head piece for a circular vent piece. And that pretty much completed my work on the project for the night. I snapped some pictures and went to sleep. At 7:30 the next morning, I get a text from a fellow builder who really loves Robotech, asking if I would accept a suggestion. Before I am awake to respond, I get second text that is way beyond the 250 word character limit describing the technique I should have used to create the visor walls.
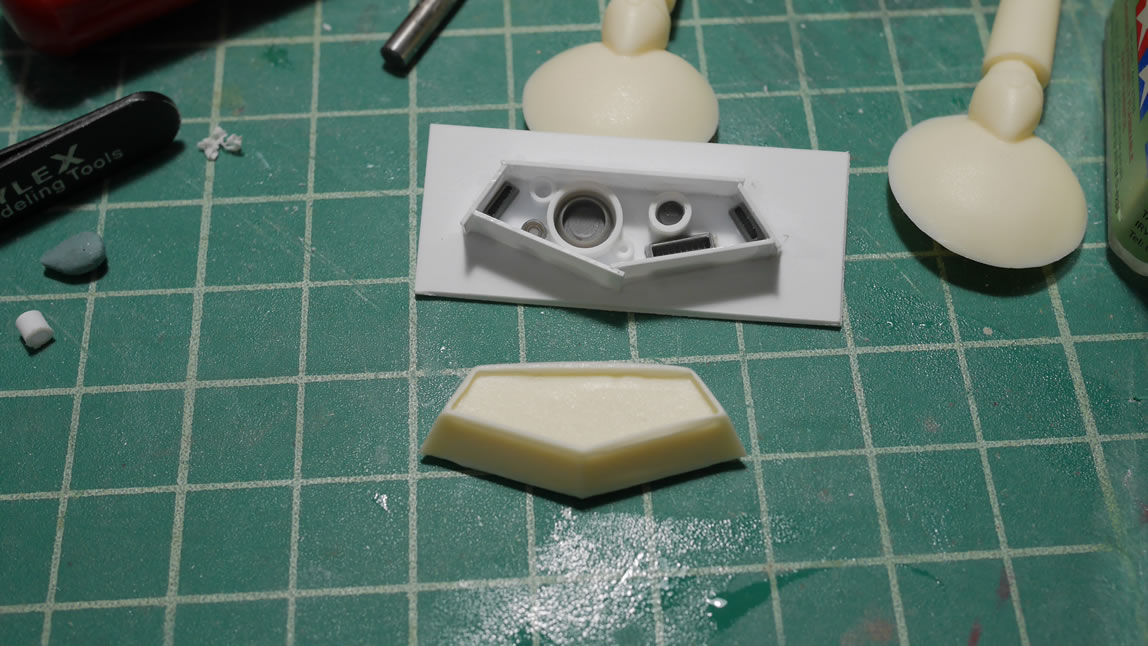
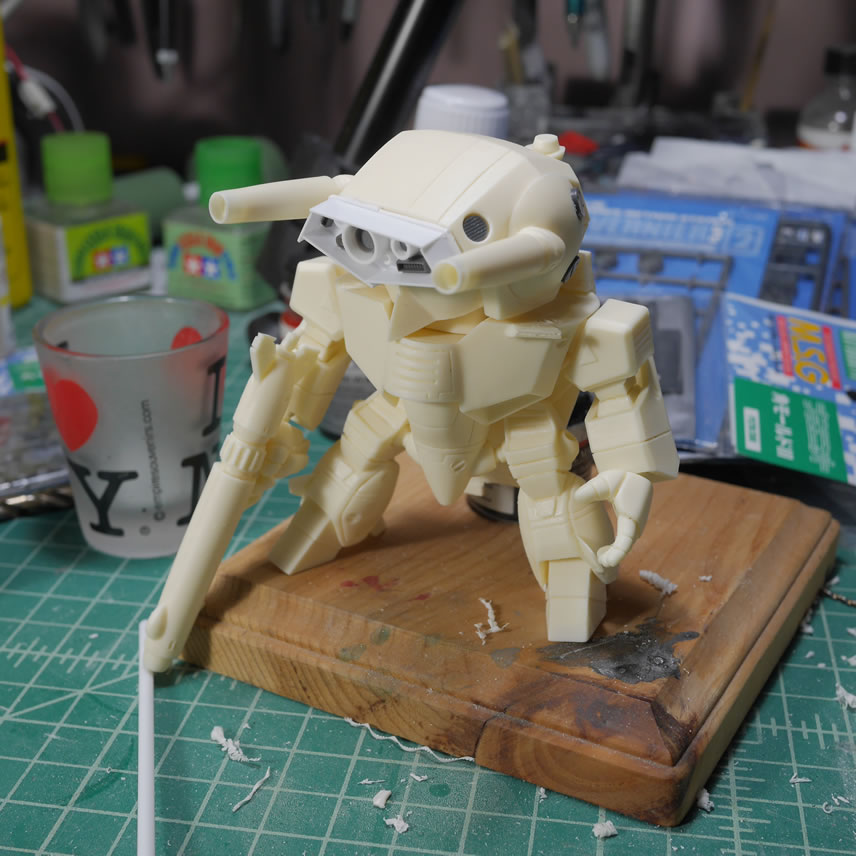
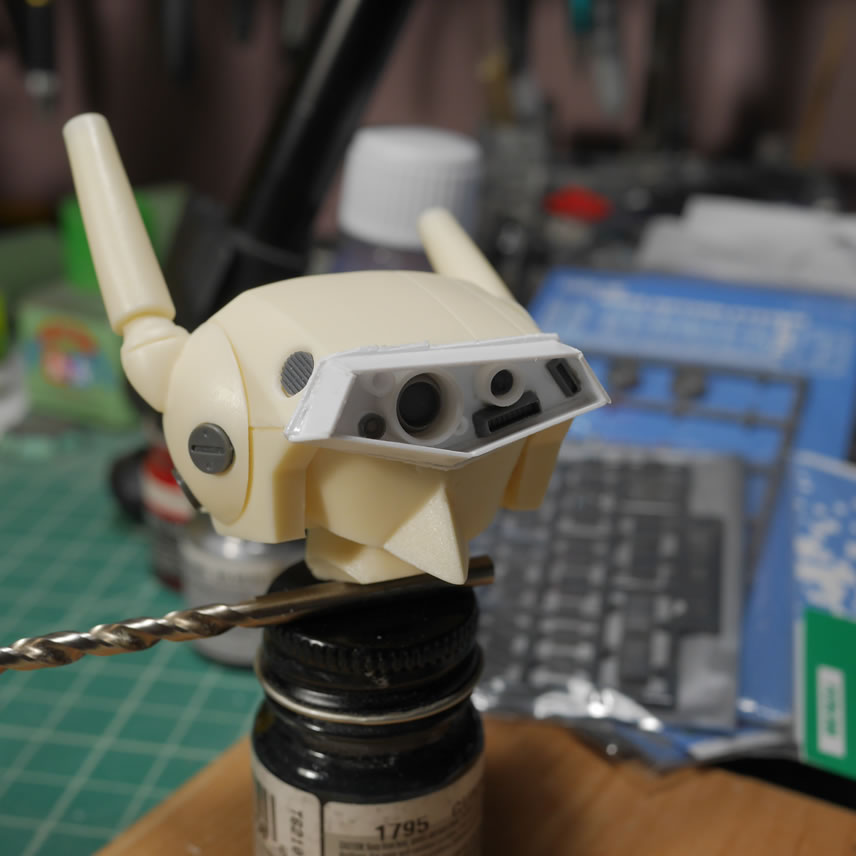
My friend is absolutely correct, I have seriously wrong him with my imprecise means to replicate the cut out visor. The better way to approach this is to use masking tape. Tape along the sides of the original piece’s visor and cut. This will give a piece of masking tape the correct length AND correct angles for the sides. Laying the tape templates down on the plastic strips as guides, the strips are now cut to the correct length and angles. Waking up and reading the texts, this process took about 15 minutes to get done and below is the result. The visor walls have the correct camber and positions.
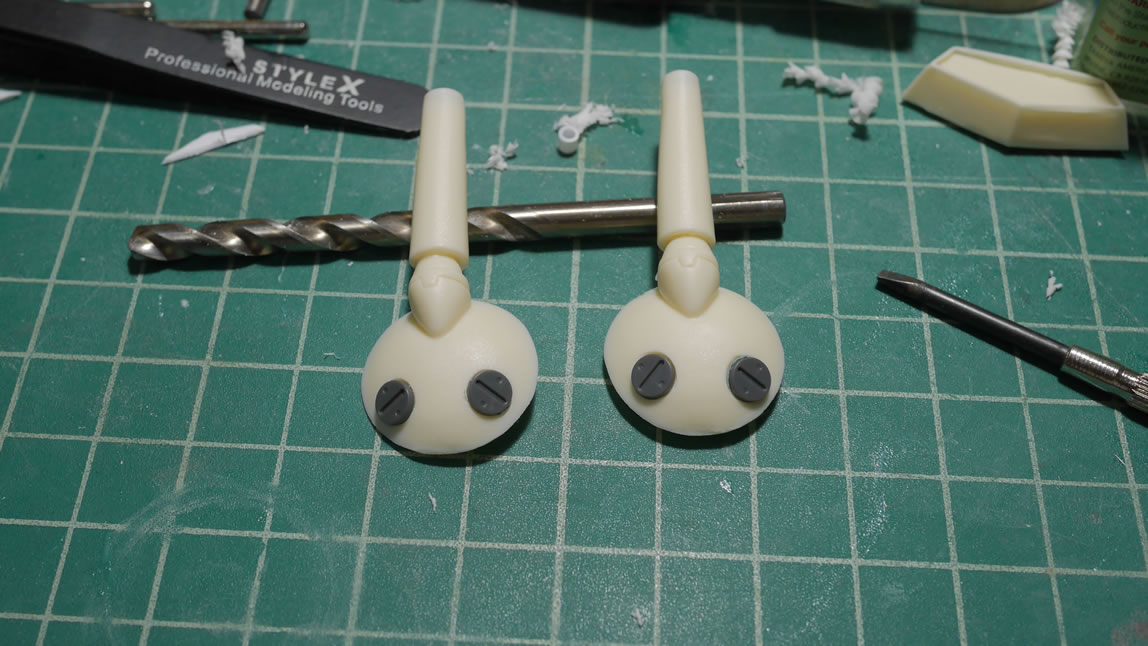
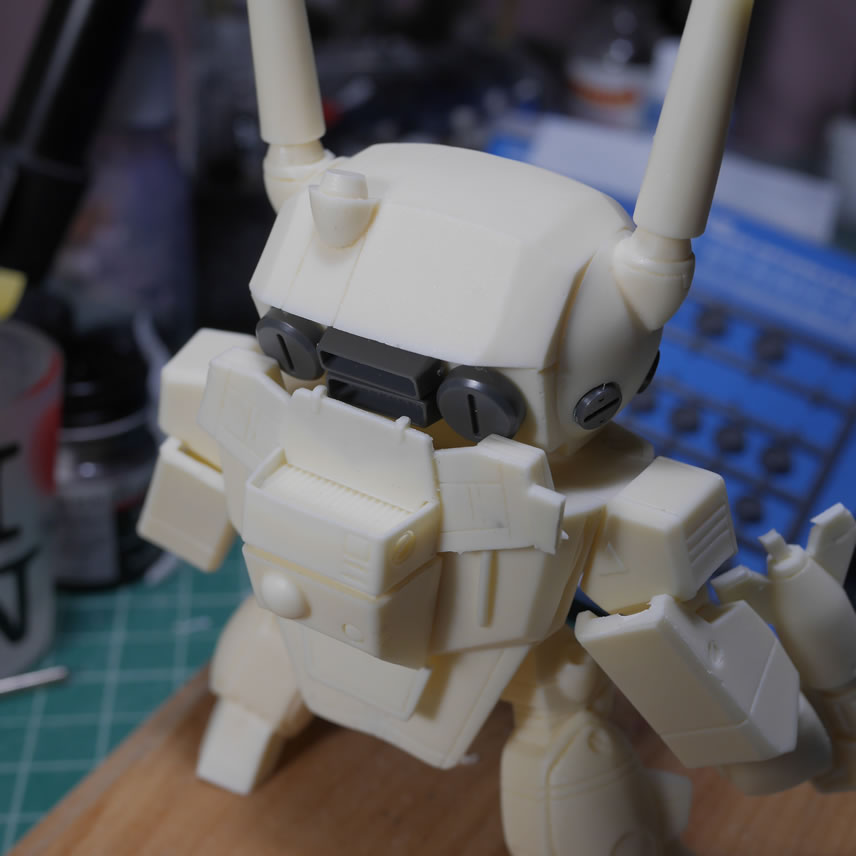
Returning to the guns of the Valk 1J. The connection point for the vulcans was perfect for magnetic technology. This also allows these guns to be moved so that the kit can be displayed in all manners of moods.
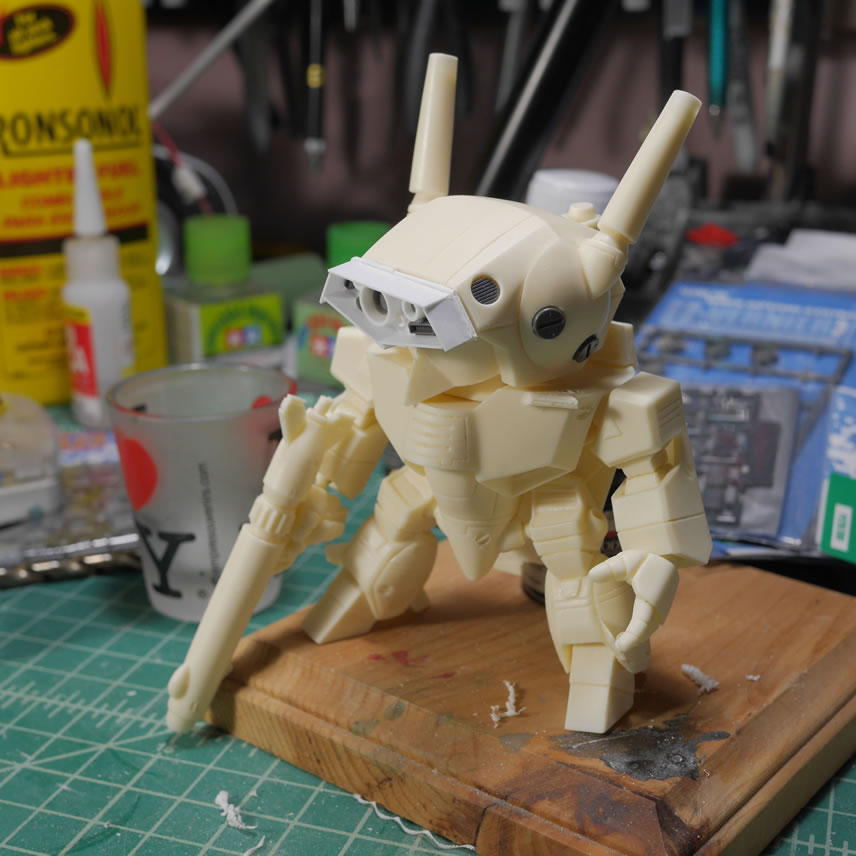
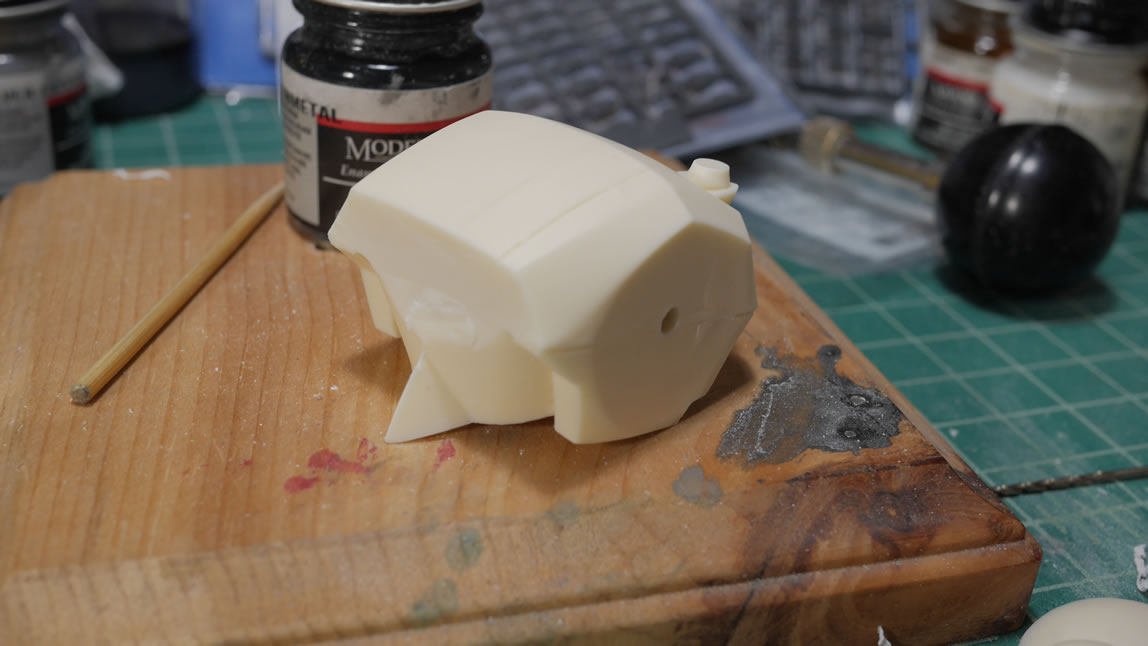
Now that the front of the head is done; slapping random plastic pieces together with glue. I can get to adding some details to the back of the head. It’s rather plain there too, so a few koto parts and I have some details.
As I was building the kit during the impromptu Saturday night lonely boy’s building session; I noticed that I had some extra parts and at first glance, the main extra piece looked like the officer pod’s main body. So I dismissed it. Again, thanks to the social media posting for the progress, I was informed that it was the head for the 1A variant. And then it all made sense.. I had a visor piece, the head, and the head cannon. Putting this all together for the sake of a photograph, then putting the extra head away because I wasn’t going to build/paint both heads. I guess I still can, but at the time, I was considering finishing the project for SCGMC. Now that the show is over, I guess I can revisit that decision. Here’s what that head looks like. And if I had paid attention to the instruction sheet with the pictures, the kit states, Valkyrie VF-1A/J. Oops. I still like the J variant head better.
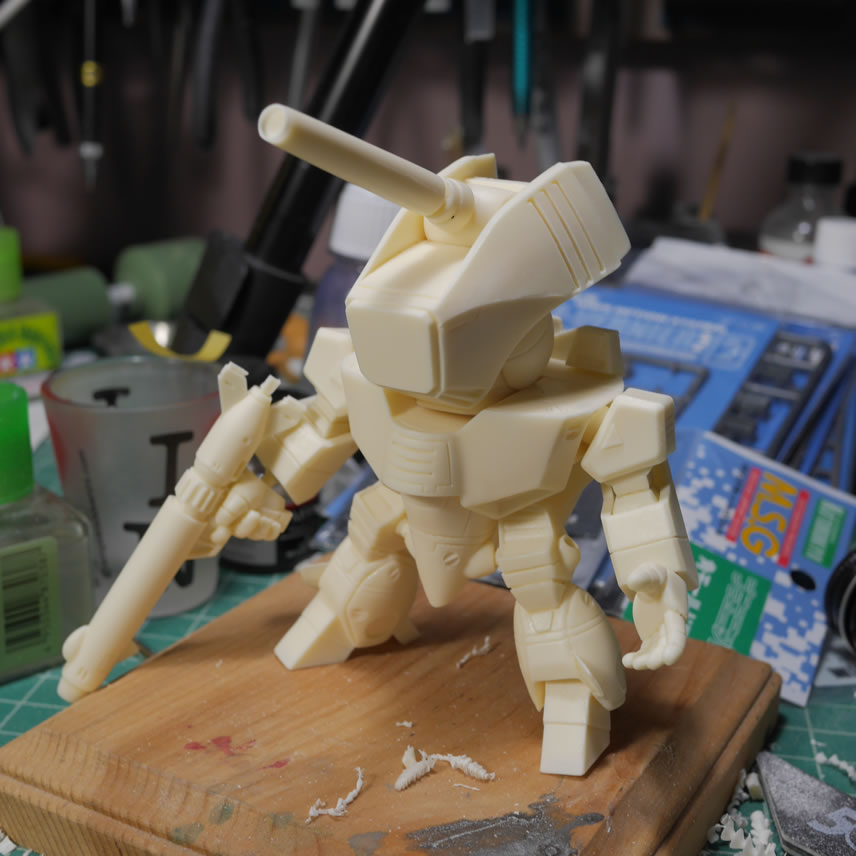
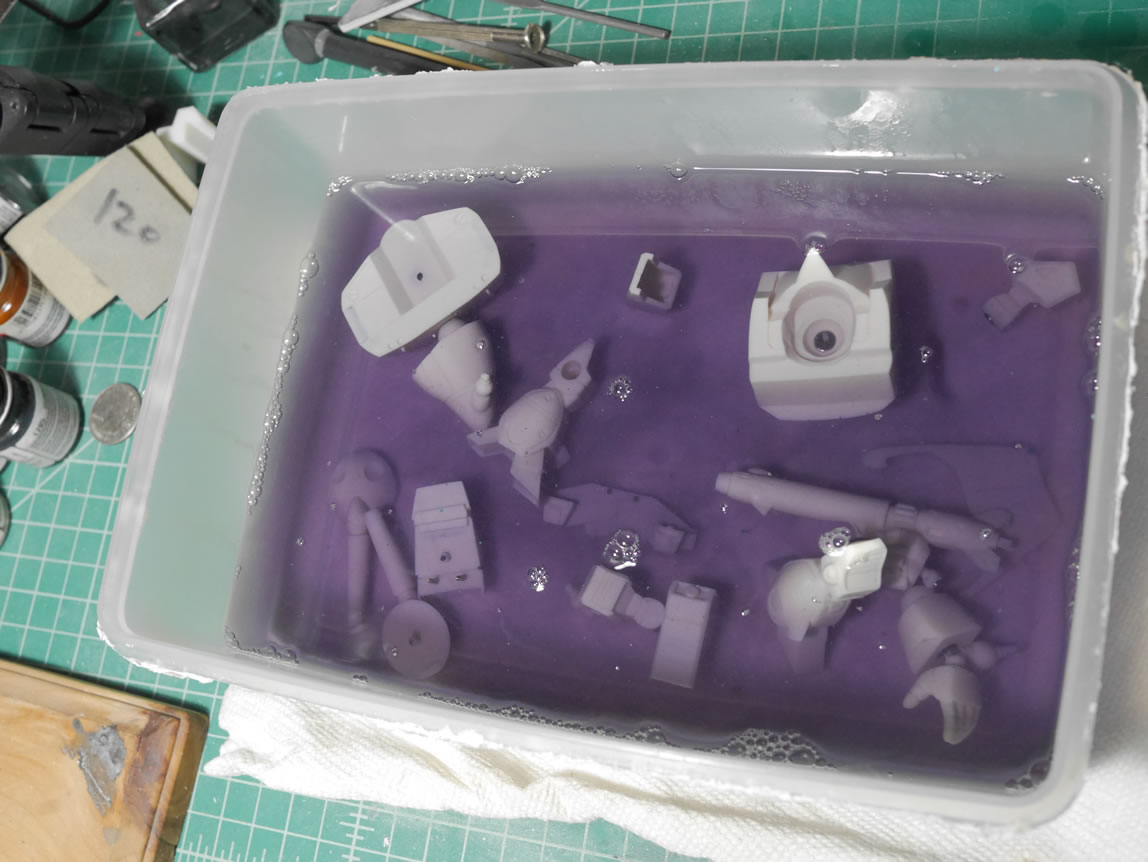
The plastic bits were taken off and the resin was dumped into some industrial strength cleaner to dissolve any remaining mold release. And the real fun of the build begins, sanding/priming/putty/repeat…