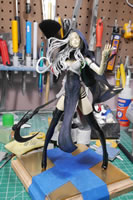
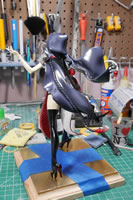
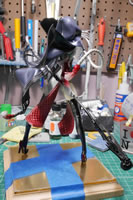
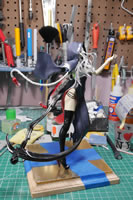
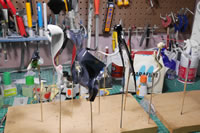
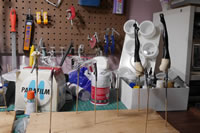
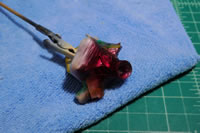
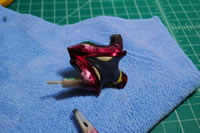
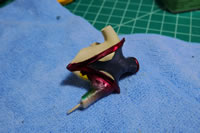
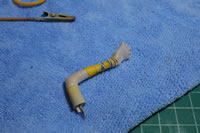
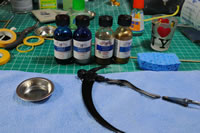
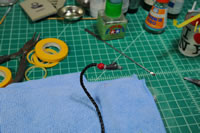
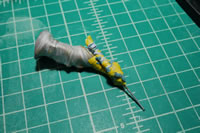
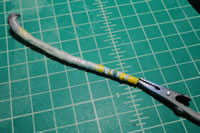
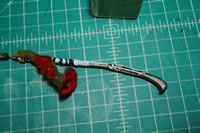
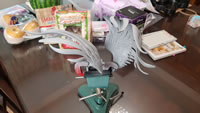
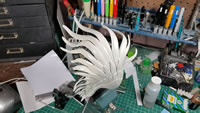
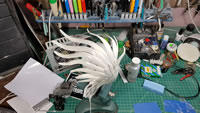
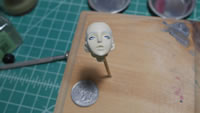
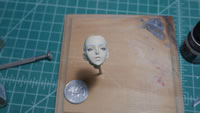
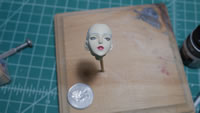
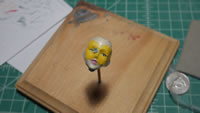
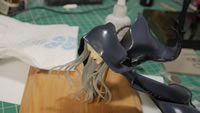
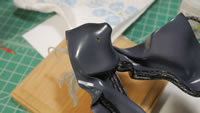
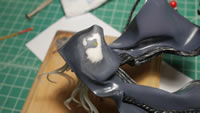
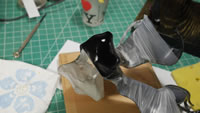
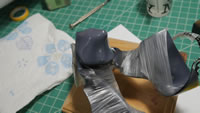
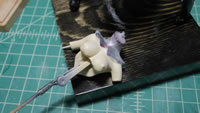
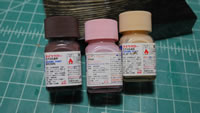
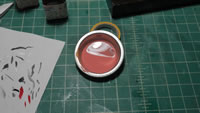
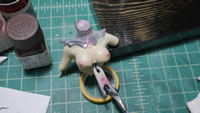
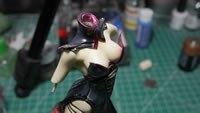
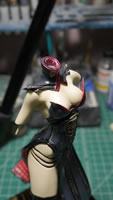
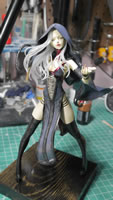
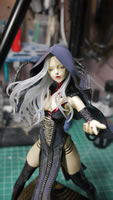
Seven months after my last post on the subject; it is time to get around to finishing the damn project. So let us catch up. Here is a mockup of Death right about the end of March as I continued working on masking and painting. I had pictures and progress in the can when I switched gears in the middle of April to start work on the Bear Guy project. The purple is painted over the main cape and note that at the head, there’s a hole where I have a pin that holds the hoodie/cape in place on her head since it is a fairly large piece of resin, I need something load bearing to help with the balance.
Things are back on skewers to continue the paint mask paint mask process.
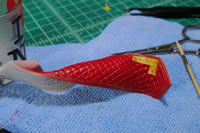
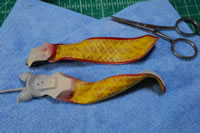
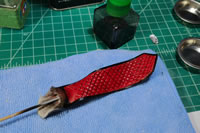
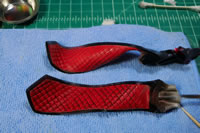
The two pieces of her lower dress are masked off to paint the edges. The front side is masked off to paint the detail lines.
The process is repetitive, mask, paint, mask, layer by layer.
Once the last layer of a part is done, all the masking can come off and I get to see areas I need to touch up. A wash and some hand brushing fixes most of these issues.
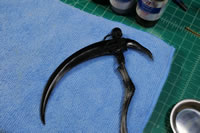
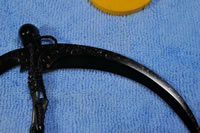
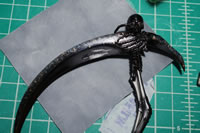
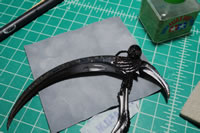
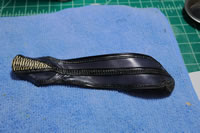
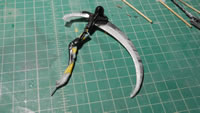
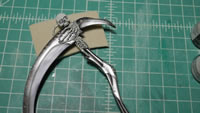
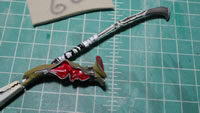
Death’s scythe work begins with a base coat of black. I use a sponge and some color metallic paints to get some textures.
The tassels are masked and painted as well as the left arm and scythe handle. I wanted to do the skeleton bits in a bone color so I mixed up a custom off white and painted that over the black to get a bone like look.
The other side of the skirt is masked and painted.
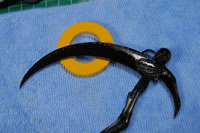
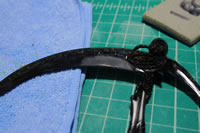
Returning to the scythe, I screwed up with the clear so I needed to sanded it down and repaint. This stuff happens and you just deal with it.
Left arm glove got more masking to paint in the belt details. And the zipper is hand painted with enamel silver.
The front and back skirts are done and everything is unmasked. The red could use with a wash, so a black enamel wash was done; you can see a comparison with the unwashed and washed. The wash really brings out some depth to the details. At this point, the kit was 90% done and just sat on a shelf collecting dust while all my focus went to the Bear Guy project. The date for that last picture in this set is April 7; then all worked pretty much ended.
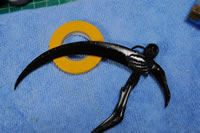
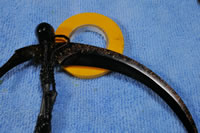
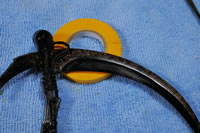
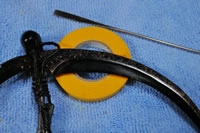
Returning to the project, 10/20, 6 and a half months later. I get to masking the scythe and just start working. I finished the Bear Guy in July, but ended up just playing Gundam Battle Operation 2, going to events and finishing up a commission project to fix some broken wings on a Holy Bell kit from Volks.
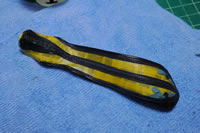
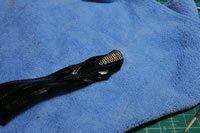
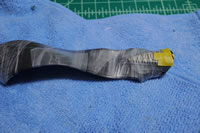
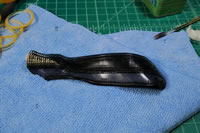
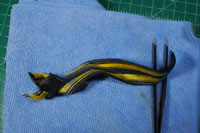
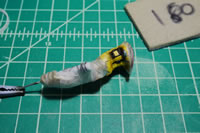
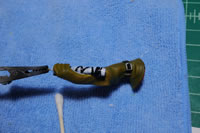
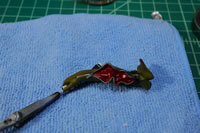
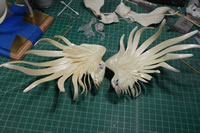
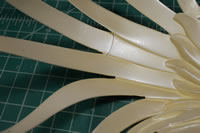
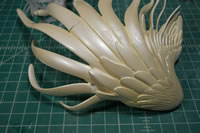
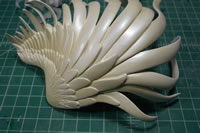
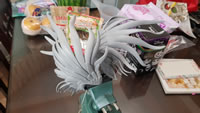
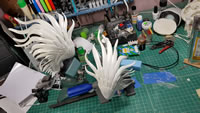
So here’s a quick little intermission for the Holy Bell repair project. The parts were yellowed and the wings looked off colored from one another. My guess is sunlight damange. And there were some broken wing bits. You can see in the first picture that this Death project was already underway.
The fix was set with glue and putties and primed.
A new white was painted a layer of clear and micro pearl powders to give a sparkly effect to the wings. Then another layer of pearl white was sprayed over everything to blend everything together. And this short intermission was started in the middle of Death, through the Bear Guy project and completed before I started back on Death.
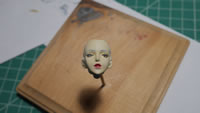
Back to Death; the ever fun eye painting part. Oh do I dread this part of the build. I’ve been spoiled by the past few figure builds being from Volks that come with eye decals. Not this time. And the head is the size of a quarter. My fear in doing the eyes also helped drag this project out so long. I could have done them months ago, but nope. I had even picked up some nice Windsor & Newton Series 7 0, 00, and 000 brushes. These are some damn fine brushes. Coupled with a 10X magnifying omnivisor, the eye painting wasn’t as difficult as I had built up in my head. All the painting for the eyes are done with enamels to allow for blending and better work times. I didn’t use a black but a gun metal to draw out the eye and some of the lining. Black was done for the eye lashes. A grey was done for the eye brows and iris color. The the head was left alone to cure for a day. Next, the pupils were done with the gun metal. Some eye liner and a small amount of zinc for the iris near the pupils. The omnivisor at 10x mag and the 000 brush really help get in details that cannot be seen by the naked eye.
The lips were done and also the teeth inside her open mouth. A mix of red, pink, and flesh tone created this lipstick color. Everything was left to cure for another day and then everything is masked off so that the eyes can get a coat of clear gloss to make them look wet. After a few layers of gloss, the masking is removed and the eyes now have a bit more depth to them with the layers of gloss.
Earlier I had noted that there was a hole in the hoodie for the pin to the head. Here’s where all that comes together. Once I get the hair painted and the face painted, the whole head is glued together and left to set up. The two halves of the cape are glued together. If you look carefully, you should notice that the two pieces of the cape have different color tones where they meet up. This happens more often when you paint adjoining pieces separately. But since I was already planning on repainting this area anyways, I didn’t really bother. I really wanted the majority of the part painted before I got here. Since I’m now here. I added in the pin, glued everything together, then puttied the hole and sanded everything. After a layer of primer, and paint, the hood part has a solid tone between the two pieces and this part is almost done.
While doing test fit with the 95% completed parts, I noticed that at the perv angles, you can get a glimpse of some side nipples. So, using some enamel paints, I mixed up a light pink flesh tone and airbrushed some areolas. I used enamels so that if I screwed up, which I did, I can wipe the layer of paint away without harming the skin tone already there and start fresh. I had to do this a few times to get this close enough.
So here without the head and hair in the way, the perv angle is clear and you can see a hint of nip.
This brings us up to date and she’s about 99% done. The main figure and head are done.
The last two pieces got an ink wash to bring out some details and this wash needs a day or so to cure up. Then I can spray a protective layer of clear gloss and continue with a filter I have planned to change up the tones for the scythe and scythe handle.
A week out before SCGMC, this should be done by then and will be entered into the Anime Figure category for the show this year!
