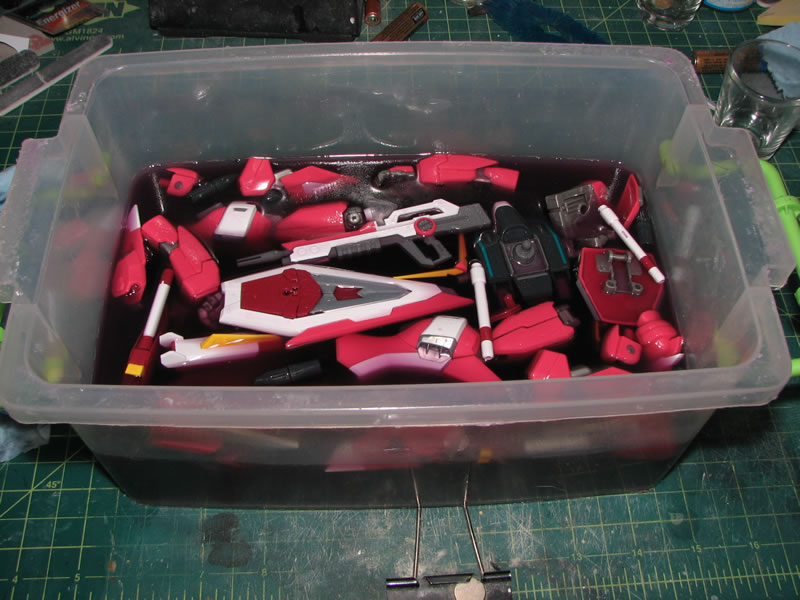
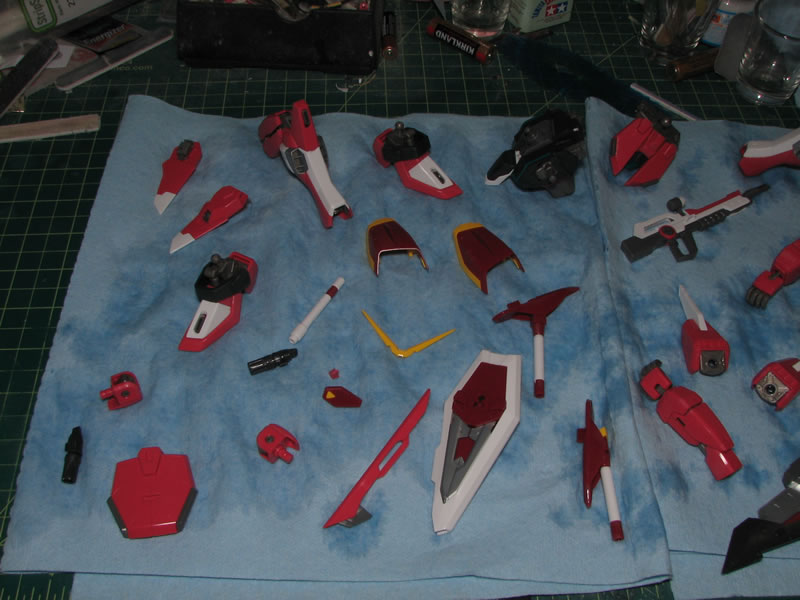
With everything sanded and ready for paint, the major subsections are broken down and then thrown into a bath of the purple power soup for about 20-30 minutes. I admit that this is overkill in terms of preparing the kit for paint; however, there is a reason for my insanity. In the past, I have run into problems of small dirt particles, oils from my fingers, and other random anti paint sticking surface problems. So to save myself from the potential rework of paint lifting off the surface, I just soak the parts in some industrial strength cleaner for a short period and go through a fairly quick and painless cleaning process.

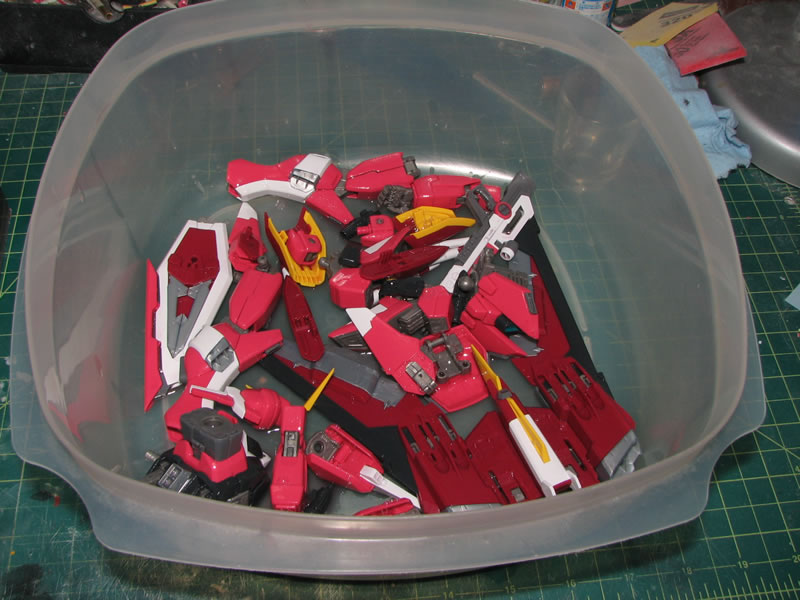
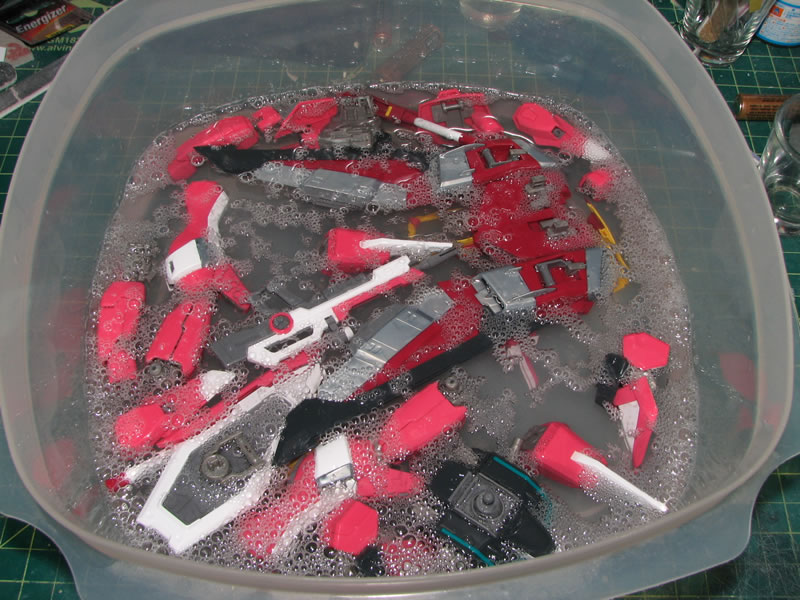
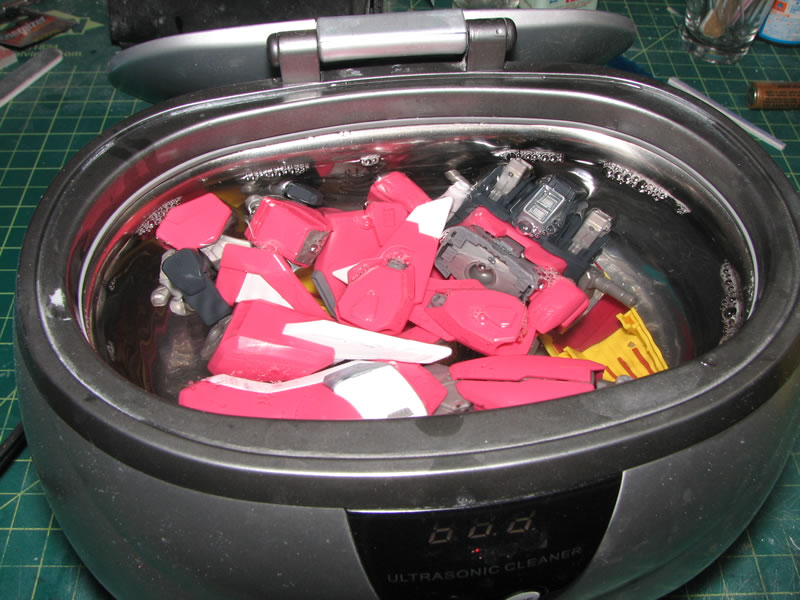
After soaking in the purple soup for a short period of time, the parts are taken out, and placed in a large plastic tub. The tub is filled with regular water to rinse off the industrial strength cleaner. It should be noted that while handling the parts in the industrial strength cleaner, gloves should be worn, as the stuff will wreak havoc on your skin. With the parts rinsed, they are then thrown into the ultrasonic cleaner for a quick scrubbing. And after, the parts are taken out and laid out to dry for a full day. I’m entirely too lazy to get a scrubbing device such as an old toothbrush or old paint brush and scrub the individual parts, so the ultrasonic cleaner works very nicely. The only physical labor I have to do is move the parts from one phase to the next. And the parts are perfectly clean and ready for paint after this process.
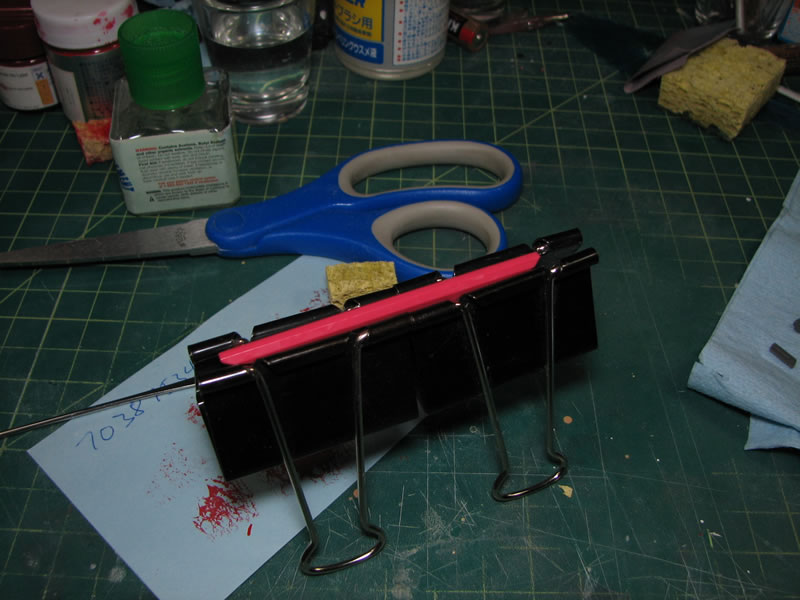
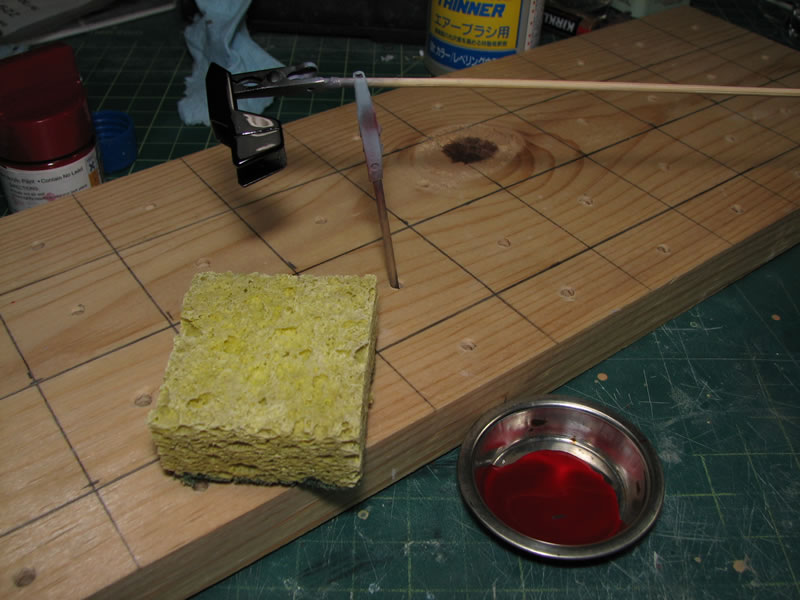
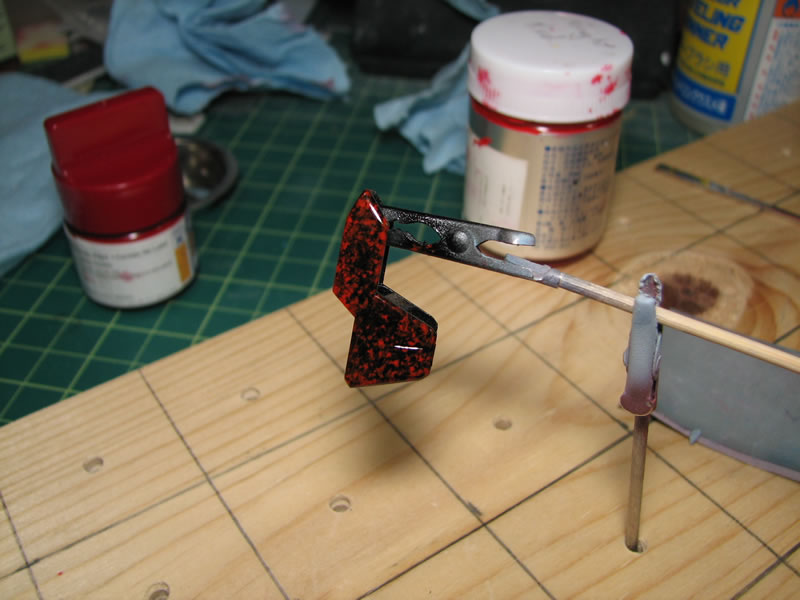
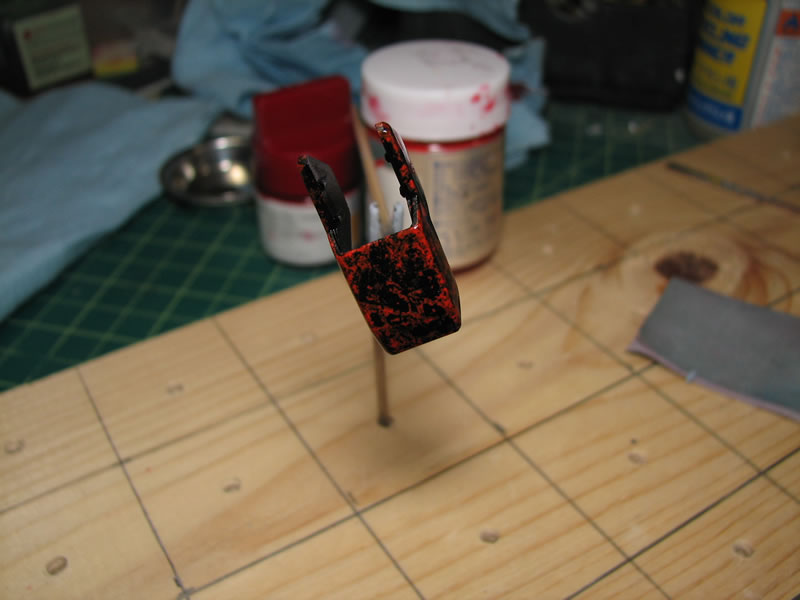
For the paint scheme, I saw a page for a modeler’s MG Shin Musha Gundam; and I’ve always wanted to use a marble paint effect. I think this effect would be great on the IJ. But, I first need to figure out the technique for creating the effect, so with my trusty test piece in hand, I first spray on a gloss black base and allow that to fully cure before moving on to the next step. With the paint cured, I started with Mr Color Wine Red, an old sponge, and almost like dry brushing, applied the paint. The Wine Red was too dark in contrast to the black, so I grabbed some Finisher’s Bright Red to test. This worked better. I may go with a slightly darker red than the Bright Red for the IJ kit; but I do like the contrast and the black showing through darkens the tone.
Once the red dried, I lightly wet sanded the surface with a 6,000 grit sanding mesh to smooth out any rough areas from the sponging. To finish off the experiment, I spray on a heavy coat of clear gloss to give the paint some depth. What I may end up doing is sponging the bright red, then sponge on the wine red over the cured bright red, and that should create a much more dynamic marble finish. This should make this IJ kit stand out in the potential sea of IJ kits that folks will build.

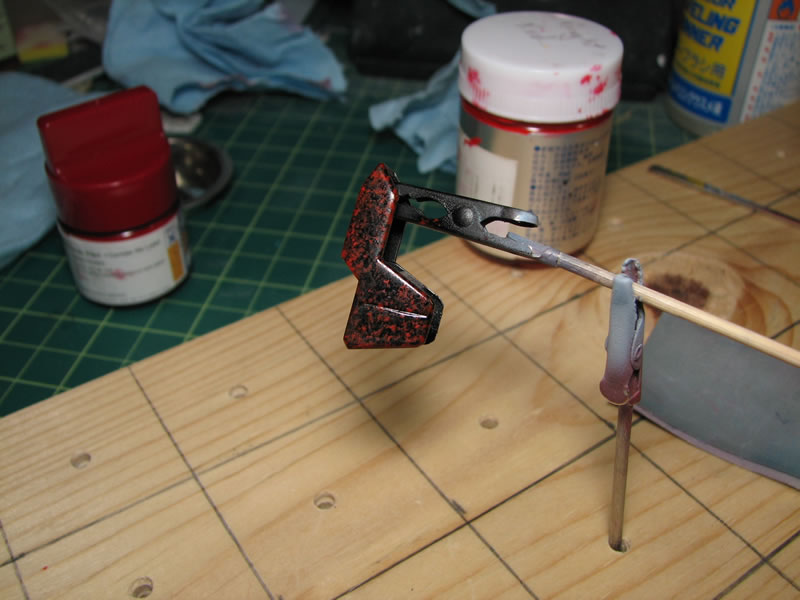
Here are the pictures of the part after the gloss coat.
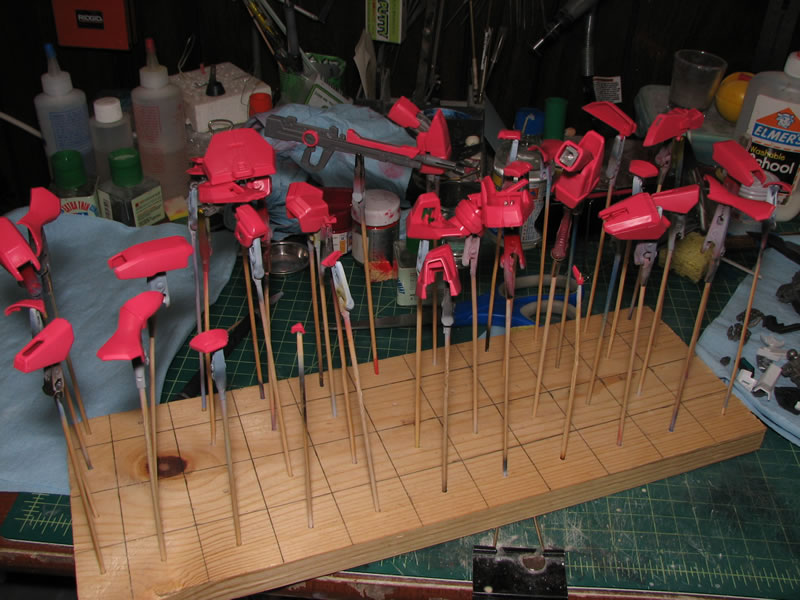
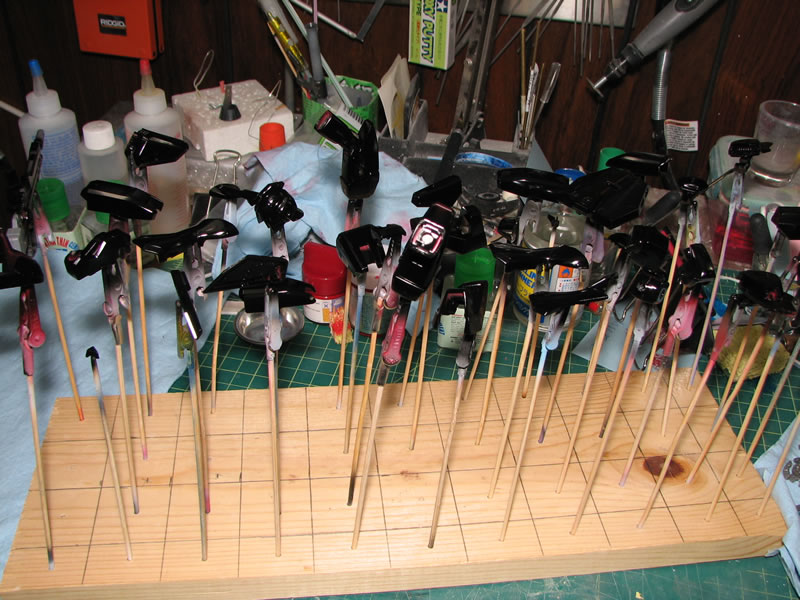
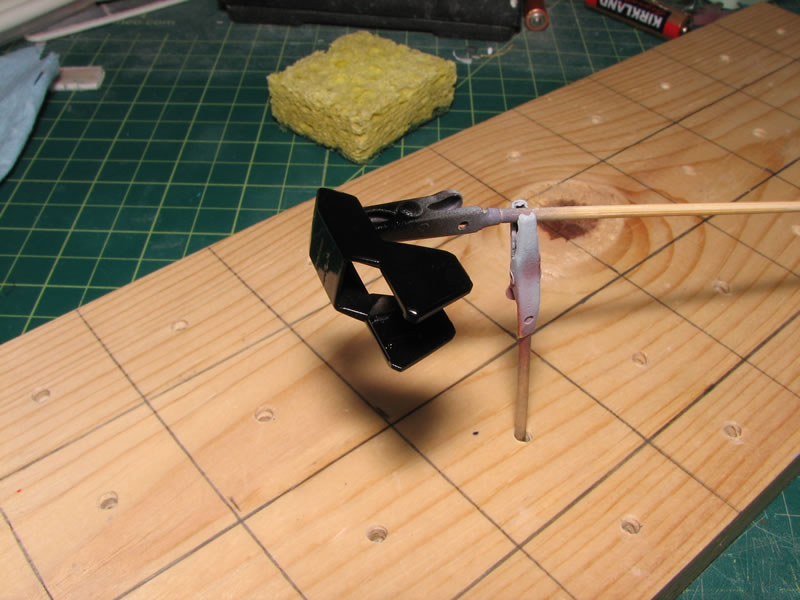
With the testing done, it was on to putting the parts onto holders for the initial gloss black base coat. In the set of pictures, I have a picture of one of the few seam lines that need attention. There are a few other seamlines, but those are on the backpack. The pink parts are skewered and painted gloss black.