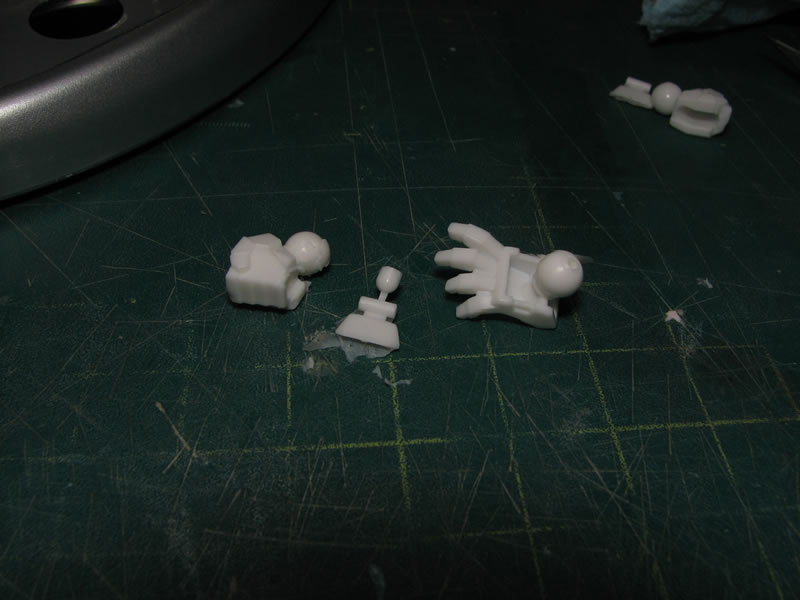
Mold making:
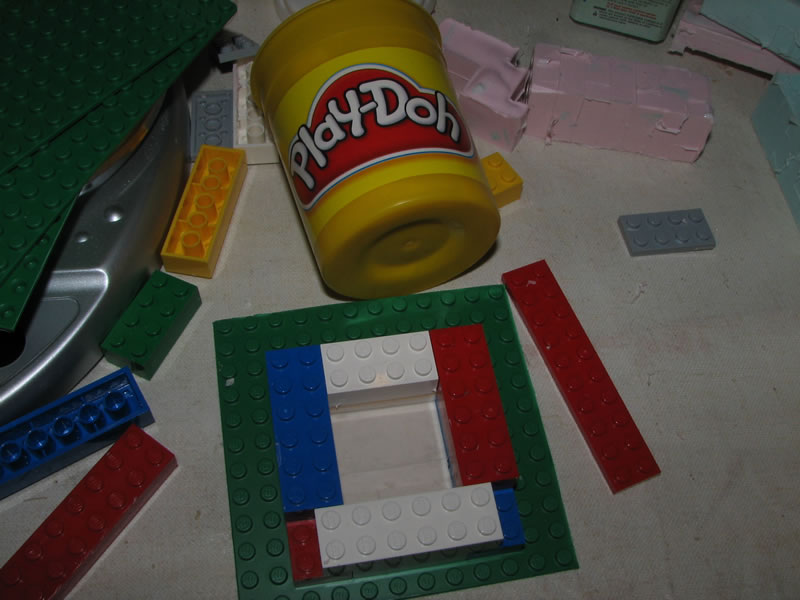
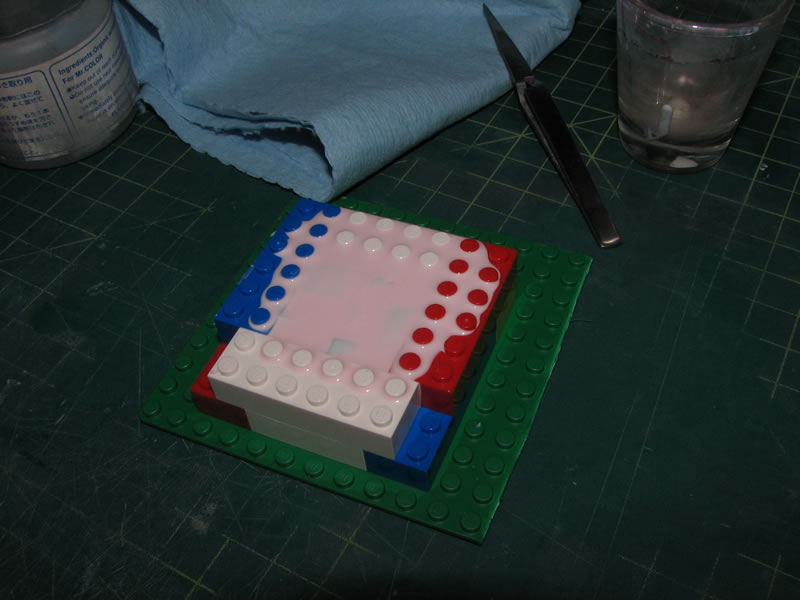
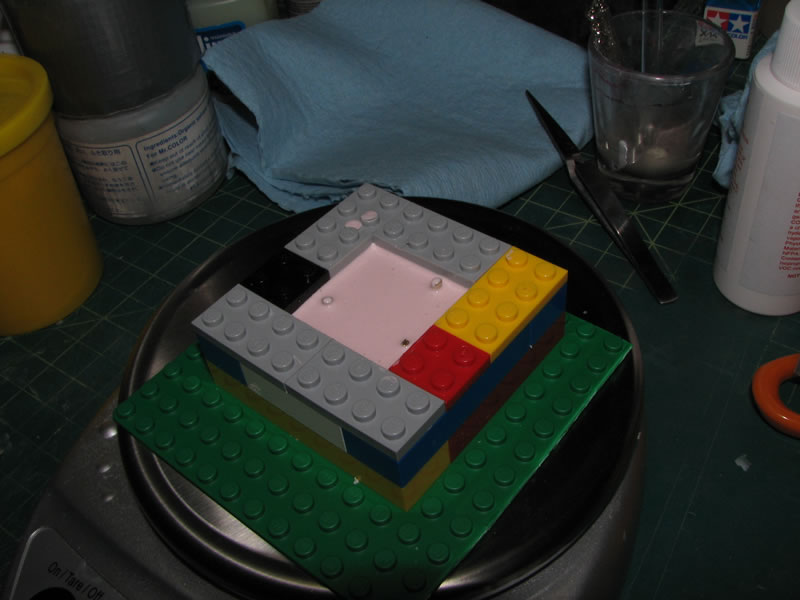
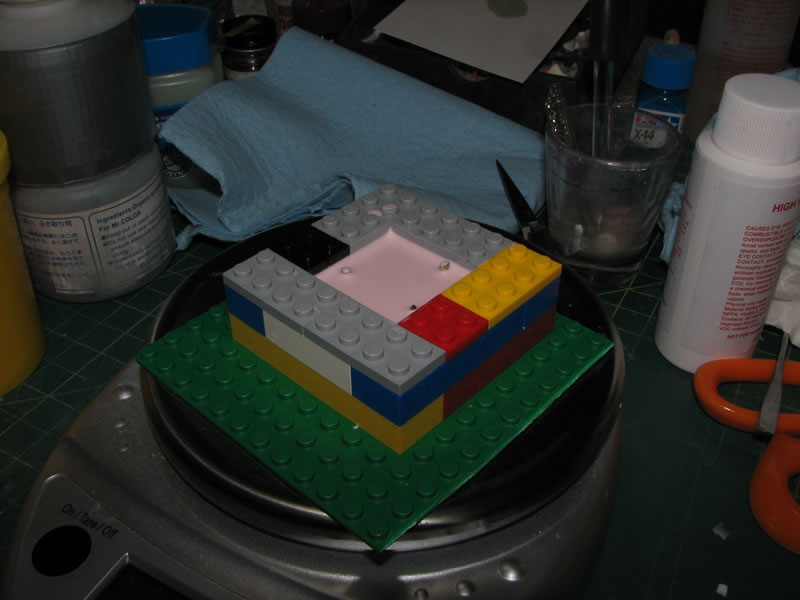
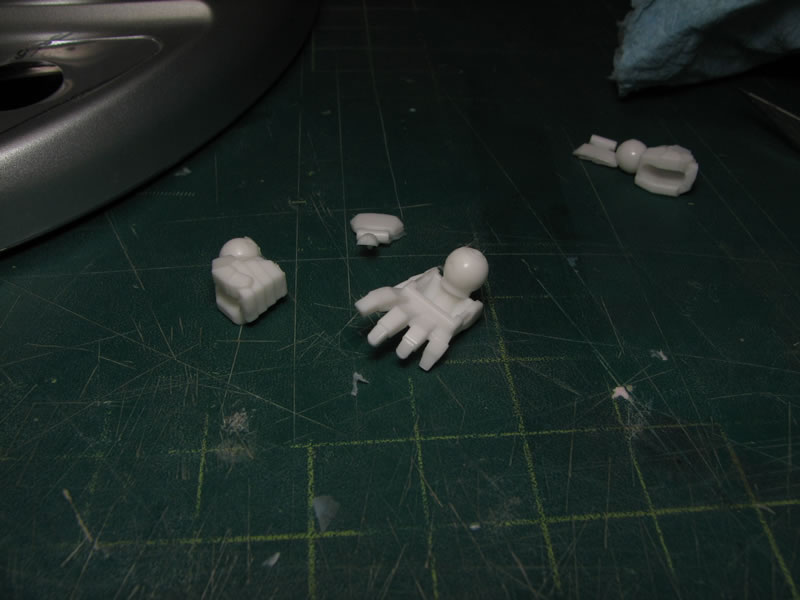
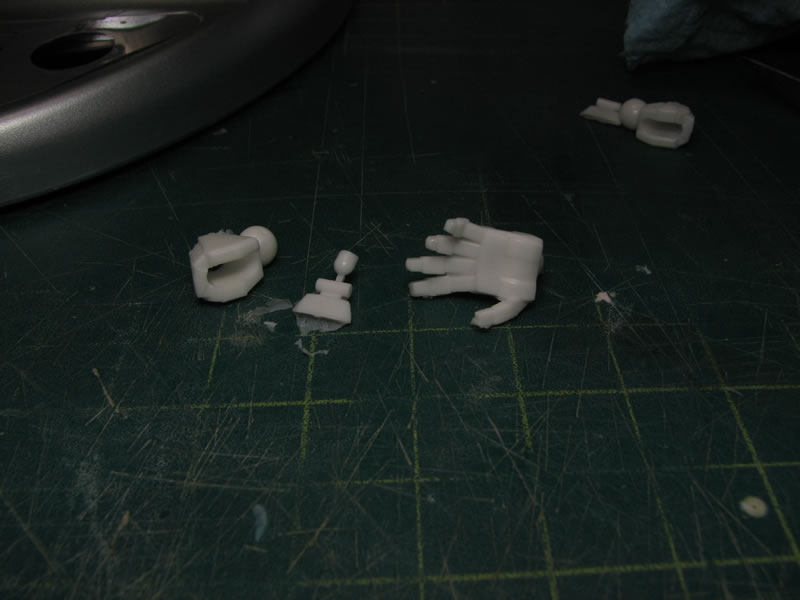
Planning out the mold. Using legos, a box is made as the mold enclosure. The parts are placed into the box to plan out the eventual layout. Having a well planned out layout will reduce the amount of silicon rubber needed; reducing waste.

First part of the mold:
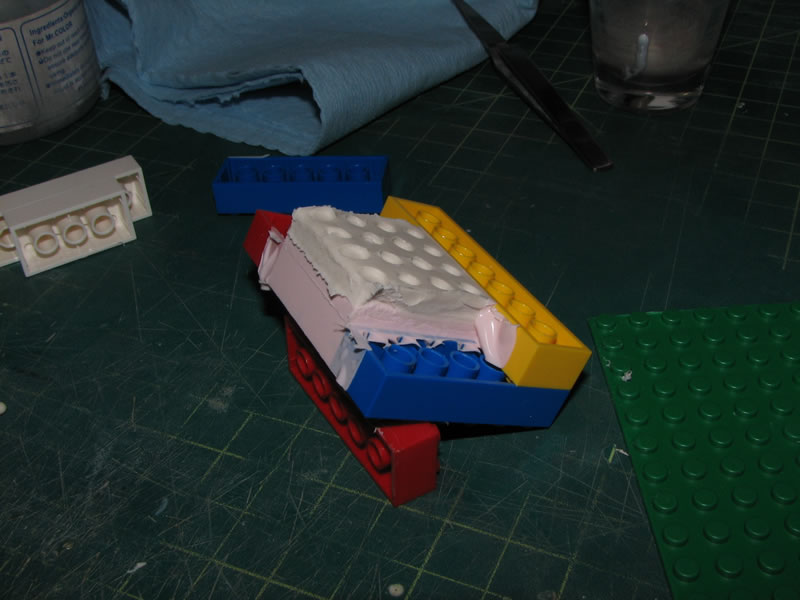
The mold I am making here will be a two part mold, so the original parts are removed from the box and a thin layer of playdoh is placed into the box and flattened. The parts are placed into the playdoh and pressed down slightly to secure them. Once the parts are placed into the box, the empty spaces are filled with cut up pieces of silicon from old molds that I have from previous casts. This is just filler to help reduce the amount of silicon to pour. Silicon bonds perfectly with itself, so the filler material will just become part of the mold once the poured silicon cures.

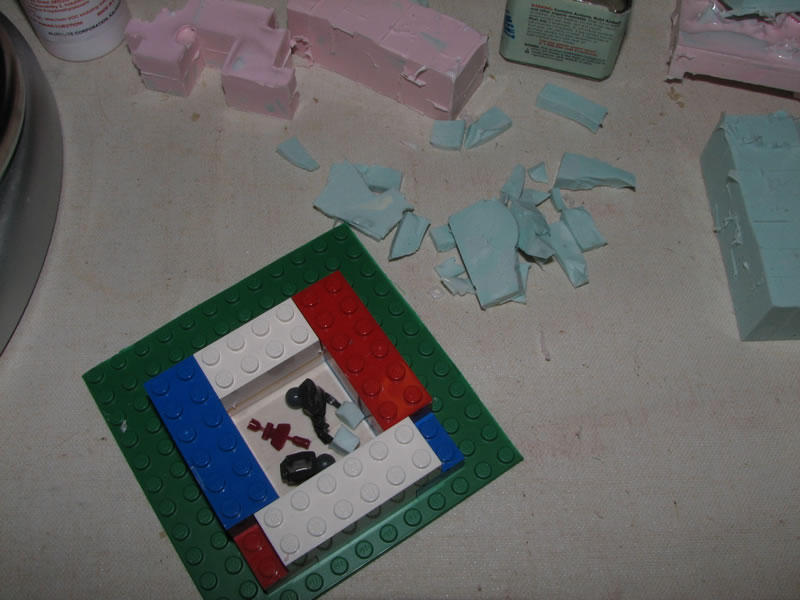
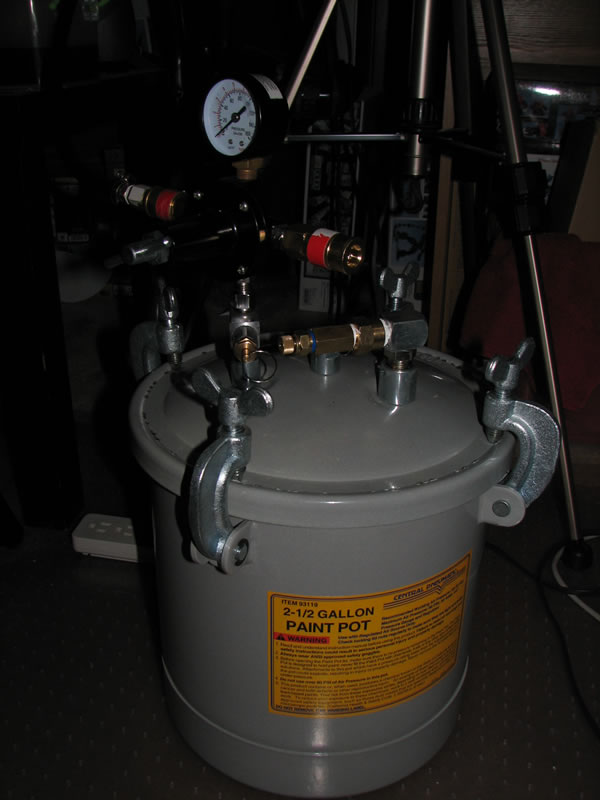
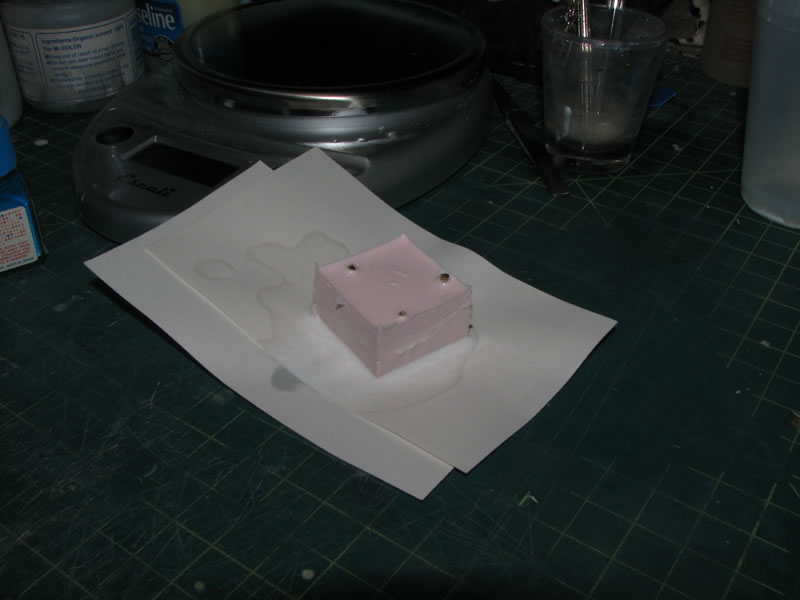
With this set, I can mix the silicon and pour it. The silicon I’m using is alumilite high strength 2 set. The silicon is mixed by weight, so using a digital scale, I measure out the proper mix ratio according to the instructions. The silicon is mixed with the activator until it is a consistent color. Once mixed, the silicon rubber is poured into the mold. I’m not too worried about bubbles right now as I’ll be placing the uncured mold into a pressure pot for the curing process. In the following picture, you can see that there are a few bubbles on the surface. The mold is then placed into a pressure pot. My compressor is connected to the pressure pot and a constant pressure of 40 psi is applied and the mold is allowed to cure over night, or according to the instructions.

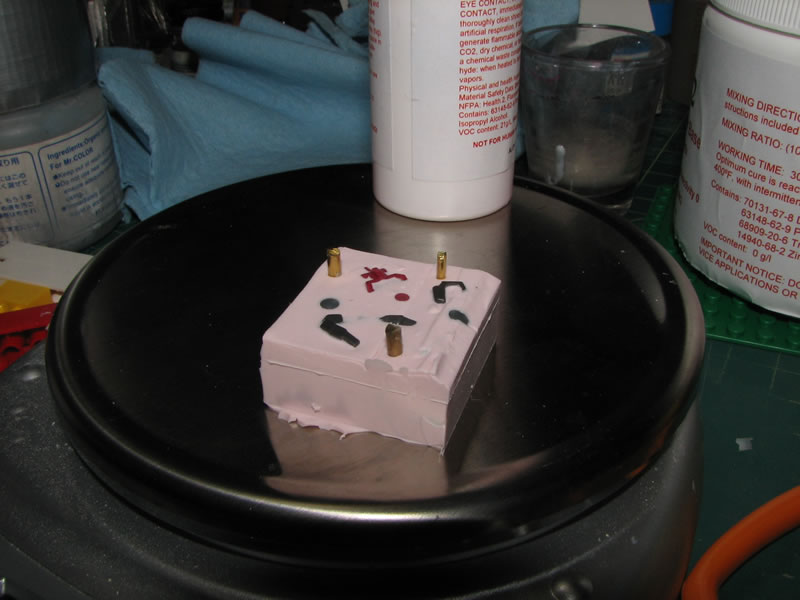
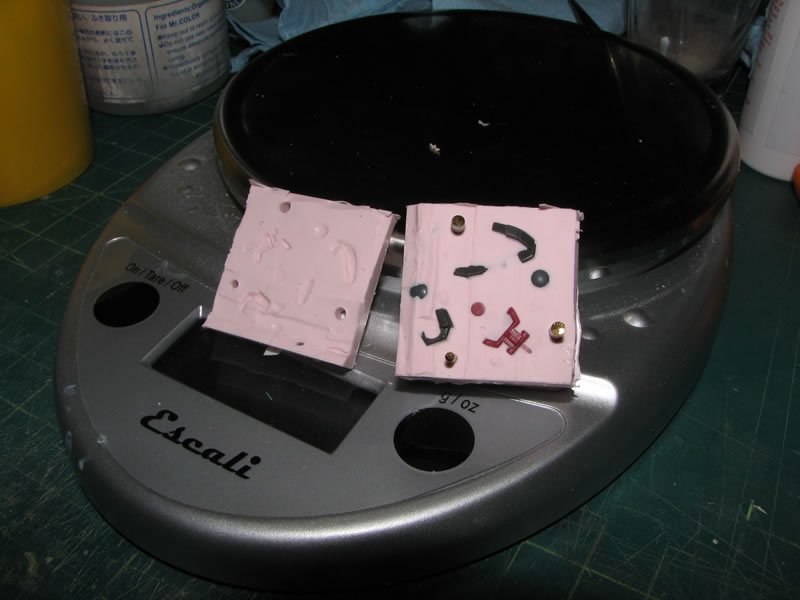
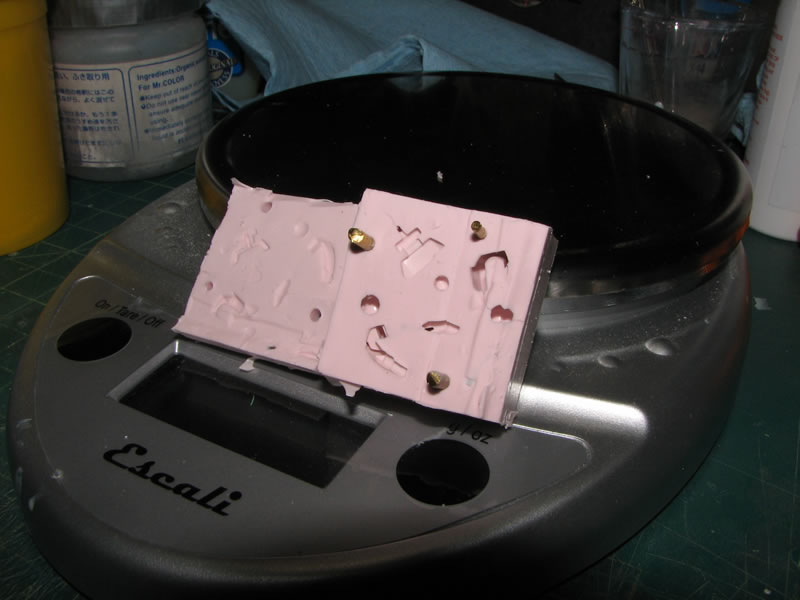
Once cured, the mold is removed from the pressure pot. The bubbles in the mold while it was uncured should have been removed with the process of pressurizing the mold making process. With the mold cured, the legos are removed, followed by removing the playdoh. The playdoh is washed off and the bottom part of the mold is dried completely. A few holes are drilled and brass rods are inserted into these holes.
Second part of the mold:
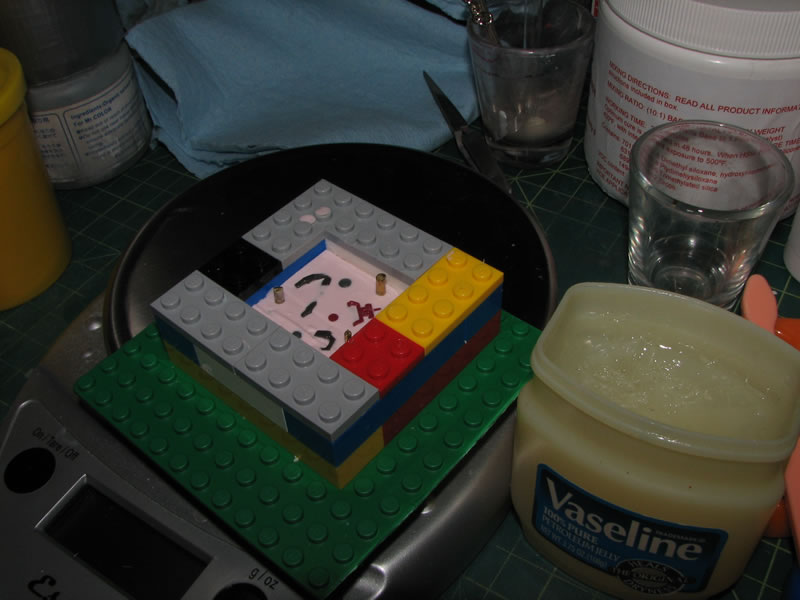
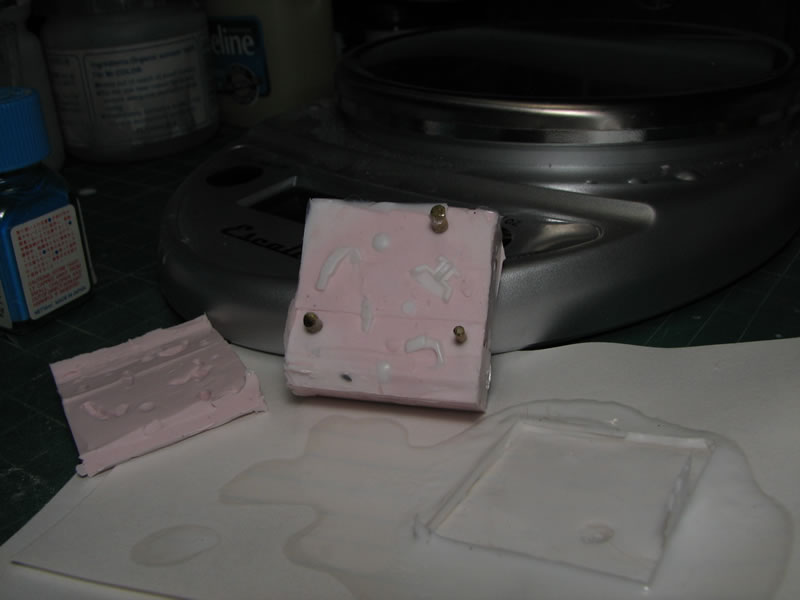
The mold is now ready for making the second half of the two part mold. The lego box is rebuilt and the mold is now placed into the box. Since silicon will bond perfectly to itself, to ensure that the mold will be in two distinct pieces, a layer of Vaseline is used to keep the two pieces of the mold from sticking. With the Vaseline applied, a new mixture of silicon is poured and the mold is returned to the pressure pot for curing.

After a full day of curing, the mold is ready to be separated. Once cured, the original parts can be removed from the bottom half of the mold. The parts are carefully removed from the mold, and in some instances, the rubber needs to be cut so that the original parts can be easily removed.
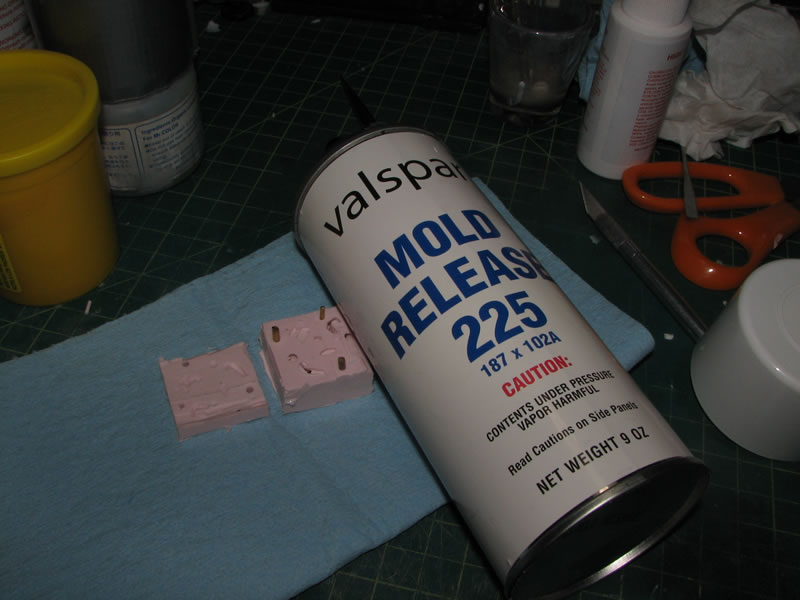
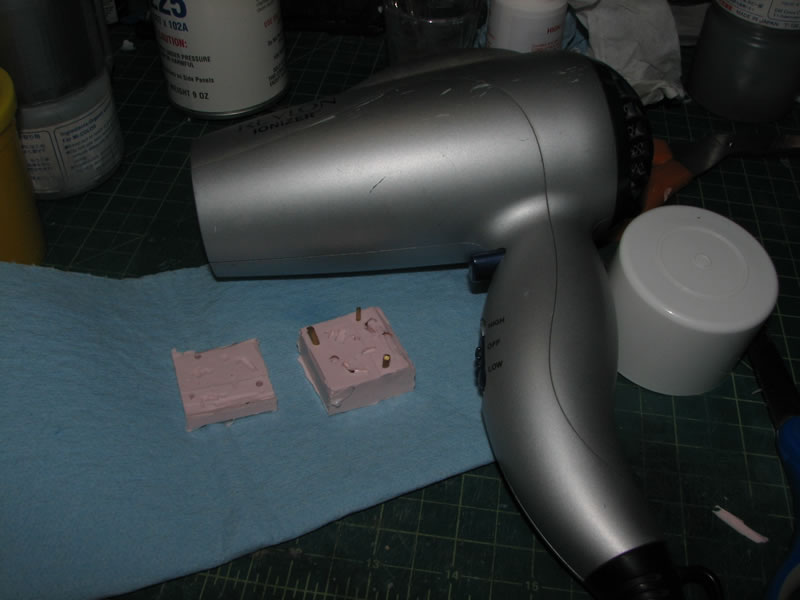
Mold prep for casting:
With the original parts removed, a mold release is sprayed onto the two halves of the mold and allowed to dry. A blow dryer is used to heat up the mold. This works to activate the mold release as well as expands the mold slightly for the casting process.
Resin casting:
The resin is mixed by weight, 1:1. A clean disposable cup is best. The resin starts to activate very quickly, so after mixing the two parts of resin for a few seconds to make sure it is fully incorporated; the resin is then slowly poured into the bottom mold. Excess resin is poured on top and then the top piece of the mold is placed onto the mold. A weight is placed on top of the combined two part mold and then the entire assembly is placed into the pressure pot.
The resin will fully set up after a couple of hours. For a solid cure, the mold is left in the pressure pot over night. However, the parts can be removed from the mold after about an hour of setting – the parts will just be a bit pliable. With the mold removed from the pot, the top piece of the mold is removed. The resin casted parts are then carefully removed from the mold. Once removed the parts are allowed to sit for another few days to fully cure and harden. Again, with only an hour of setting up, the parts will still be soft and pliable until allowed to fully cure.
Can you keep re-using the mold over and over or does it break down after using it more than once?
Using the mold release helps preserve the life of the mold, and it can probably be reused up to 30-50 times before the mold wears down from the casting process. This also depends on the type of silicon used for the mold, some are more formulated for more mold pulls than others.
Very helpful tutorial. I did not realize play-doh was useable as a clay base for it, that’ll definitely save me some money. I’m venturing into pressure casting now and already picked up my HF pressure paint pot, would you happen to have any links or will you be putting up any tutorials on how to set up the pressure pot? It seems to be a huge project in and of itself to get it to work just right.
Hmm.. I’ll take some pictures and add it to the pile and update the post.
The harbour freight pressure pot has a few “holes” in it; but the good thing is that these holes can be plugged up. I found things around my house to use. One was a bleed valve that I added, the problem I found here was that the hole exiting the paint tube was bigger than the standard 1/4 inch fittings. So I needed to get an adapter that went from 3/8 in to 1/4, then attached the bleed valve. The two ends of the pressure gauge had quick connect couplers attached, and that sealed everything up.
Under the lid of the pressure pot, there is a tube that runs down to the bottom of the canister. As the pot is made for paint, this tube is for sucking up paint to be sprayed out. I have a pipe cutting tool that cut through the tube very quickly. Since I will not be using the pot for painting purposes, the tube is utterly useless to me.
But I’ll take some pictures and edit this post to reflect the set up to the pressure pot.
Thanks, your comments already have proven a help to me as to what I’m dealing with, finally had a chance to unpack it today and was thinking what I’d end up doing with the tube. Don’t have a pipe cutter but I’m sure my dremel will do the job.
great idea with the legos!
Heyo Gammy-chan!
I’m trying to hook up my brand-new Pressure Paint Pot for resin casting. I’d love to know how you did it.
As you mentioned, there are two holes atop of the pot. It seems as though one is meant for incoming pressure from the Compressor, the other is for ‘atomization’-something-something. I assume that this goes to the paint gun. I need to plug this hole up with some kind of valve, I suppose, to ensure that I can release the pressure after casting safely. There is a third hole, the one for the rod. It seems as though I may be able to unscrew the rod altogether. But I should have to block this exit off, too – right?
If I set my compressor to release 125 PSI into ITS tank, and if I set the regulator for the pressure-pot to say, 60 PSI …. I should be okay, right?
Hm. Thanks for the images!
Yea, one hole is for the air, the other is for the paint. The other has a tube that goes down the pot. I just ended up cutting this tube and plugging the exit end of the top (on top of the pot) with a release valve. I tried unscrewing the tube from the lid, and when I had the thing off, i was unable to remove the tube from the rest of the assembly, so I just put it back into the pot lid and cut the tube with a tube cutter.
My compressor only pushes out 40 psi, so I’m not regulating air into the pot, but I’m guessing that should work. My only concerns are the recommended pressures against the pot. Since I picked up my pot from harbour freight, I know it’s a Chinese knockoff of a legit design so I’m making sure I stay well under the recommended pressure.
Alot of sites I’ve seen mention to run the pot at a much lower psi level then what the manufacturer suggests. I think they say that 60 psi is fine but from reports of pots “blowing up” online, many people suggest a max of 40 and generally average from 30-40 psi. I’ve yet to set my pressure pot casting setup and am waiting till school is completely out, but when I do, I plan to take the utmost precautions as seeing the damage of what those things can do can really make you think twice and check and double check your setup. GameraBaenre, do you have links to how to set up the HF pressure paint pot? I’ve searched countless forums and threads but many of the ones I’ve seen do not discuss anything about how to set it up. If anything I’d like a “working” system reference as to not take my chances with a faulty setup.
Can you cure without using a pressure pot or will that ruin the mold, because of chance of bubbles forming ?
I’m looking for methods to make some extra fin funnels for the HGUC Hi Nu that I got a week ago. This looks like the best option, besides buying 2 extra kits >.<
Yeah, you can definitely make molds and cast parts without a pressure pot. The pressure pot just makes the mold/casts more bubble free.
Nice tutorial. What resin are you using?
The resin is I believe a white urethane resin. I picked it up from http://www.silpak.com Silcast II is the product name from this site: http://silpak.com/urethane-plastics/53-urethane-plastics/147-performance-urethane-plastics
Sorry for all the questions but is there any extra steps to get rid of bubbles that we have to go through if we are not using a pressure pot?
I have not found any additional steps that would help get rid of bubbles, it’s why I ended up just buying a pressure pot. The local harbour freight is fairly cheap, and the amount of mold making and resin casting have pretty much had the pot pay for itself.
If I learn of any steps to lessen bubbles, I will post them up here. I’ve been to some resin casting seminars and they all promote the use of a vacuum or a pressure pot.
Hi sir, very helpful tutorial you got there, it got me thinking. Can you make a part that has a different back and front? I was thinking of making resin parts of the MG freedom armor that can fit into the MG Unicorn frame, kinda like an interchangeable armor for the inner frame.
Yes, this is possible. But just making a mold of one side of an armor piece, then using the other side of another armor piece would not necessarily match up because of size differences and other design differences. But for very similar models, yes I don’t see why it isn’t possible to do that.