This is a 1/7 Hustler kit from Orchid Seed that came out in limited production numbers at the end of last year’s HobbyComplex. I had the kit pinned at the last build gathering. I have yet to take pictures of the magnets, but I have magnets embedded into the edge of the pool table where she sits and a corresponding magnet in her butt. The kit is broken down very nicely, and it should be fairly easy to build and paint. The vest is broken down along a natural seam. The kit also comes with optional parts for building her with an open or closed shirt. Now this is where the casting comes into play. To take advantage of how well the kit breaks down, I’m planning on building three versions of the shirt, closed, half open, and fully opened. And for this, I need to make casts of the collar and extra shirt pieces.

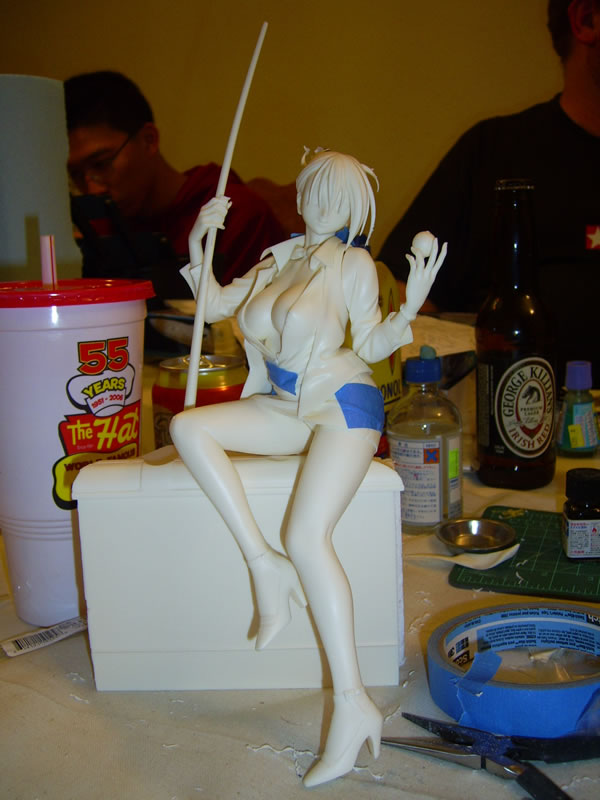
Granted I could get away with just using the shirt pieces and mixing and matching them, but the seam between the shirt and the collar will bug me, so the remedy is to build three complete shirts. Starting with the collar piece, I make the first part of a two piece mold.

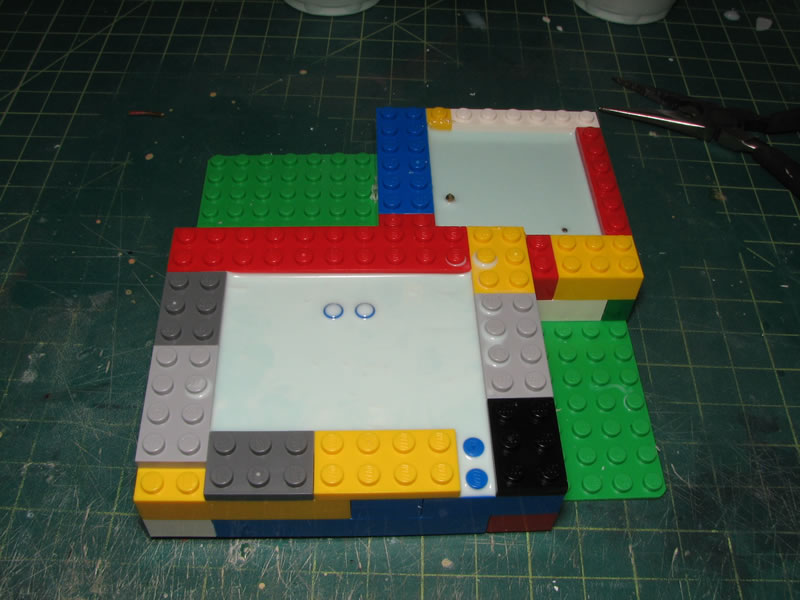
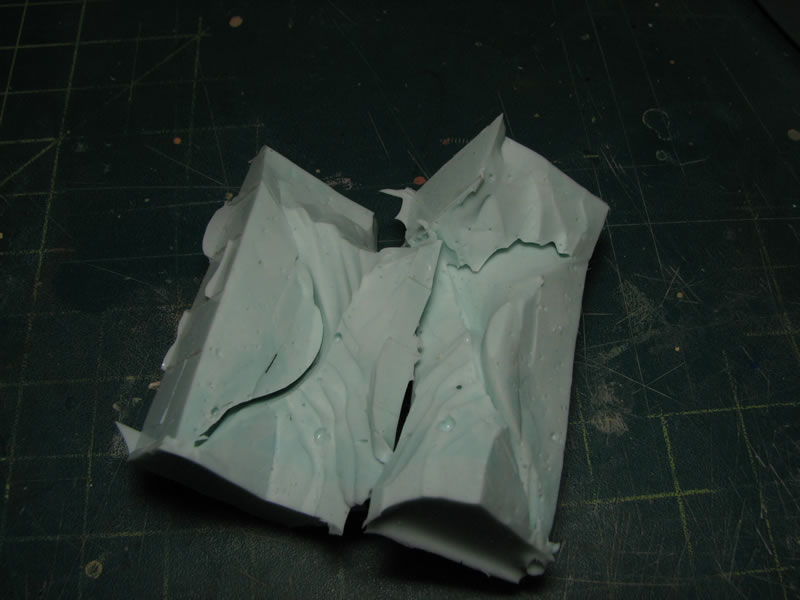
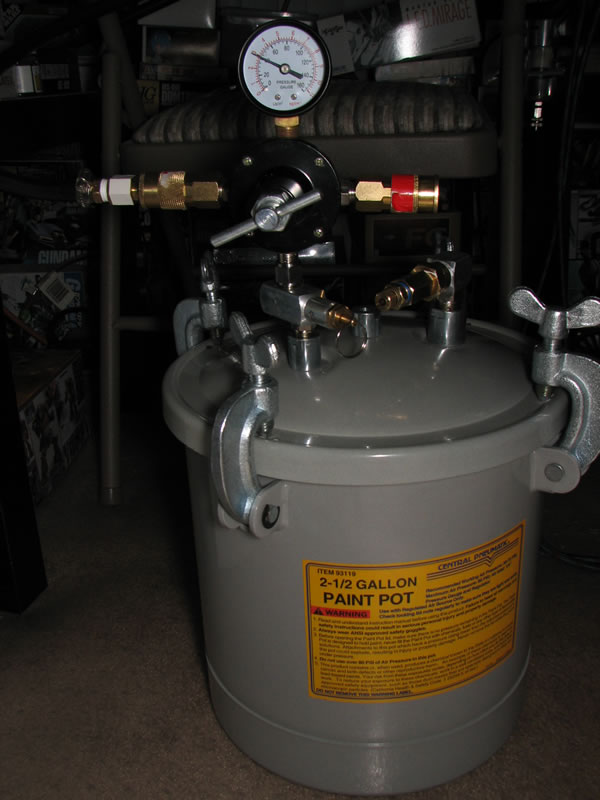
I was toying with the casting, and I’m a novice at this. In the following pictures set, the first picture is a mold I made during the build gathering. Cutting it open, you can see that it is riddled with bubbles, most small, but there are a few large bubbles. This past weekend, I went and picked up a pressure pot from the local Harbor Freight shop. Now, you get what you pay for with Harbor Freight, so you have been warned. (They sell mostly reversed engineered knockoffs, which is why their prices are so low – so with that, there are quality issues, again, you have been warned). The price is right, and the operating pressure I’ll be working with is 40 PSI which is what my Iwata Smart Jet puts out; and this is well below the max 70 PSI rating for the pot. I should be safe. I redid the mold earlier this week, and cutting it open, the differences are night and day.
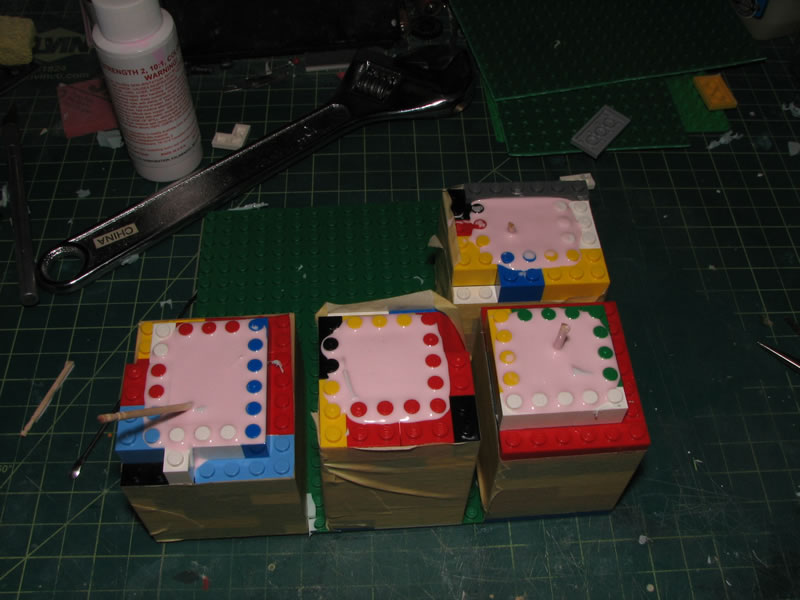
I made the molds for the shirt parts. I accidentally molded shirt parts that I don’t need. But it works out as an example mold to make comparisons with the previous molds. I only really need two shirt pieces casted to complete the three versions of the shirt I want. With the molds done, the originals were pulled and resin was mixed and poured in, then placed into the pressure pot. The resin I have sets up VERY quickly, so it was interesting to get the process of filling the mold and placing the mold into the pressure pot, then filling the pot to 40 psi before the resin started to set up.
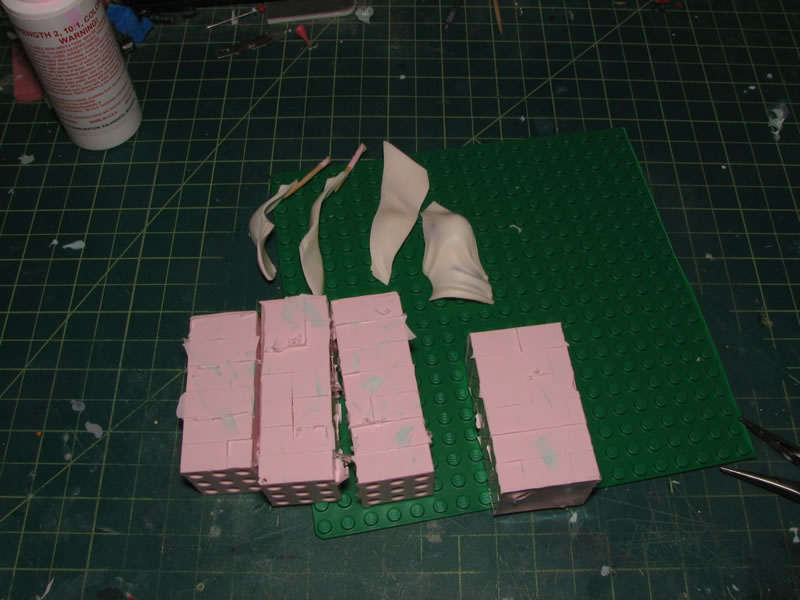
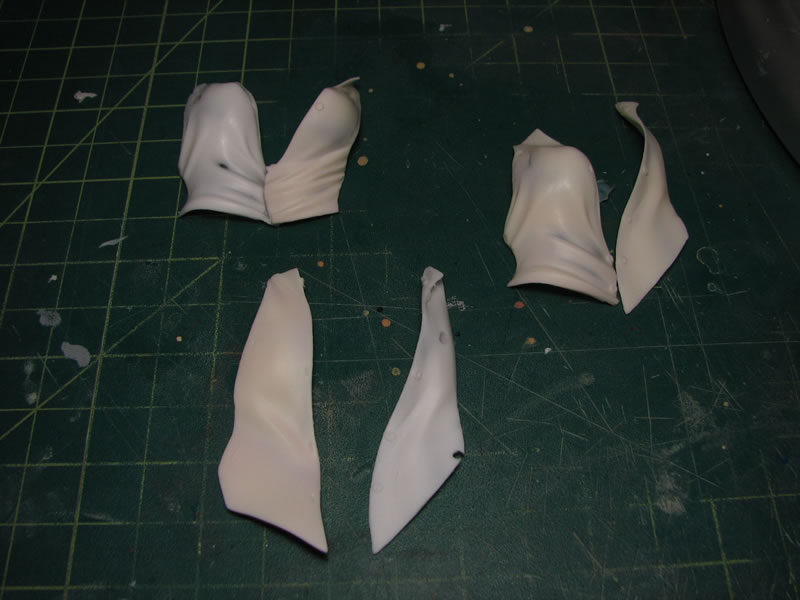
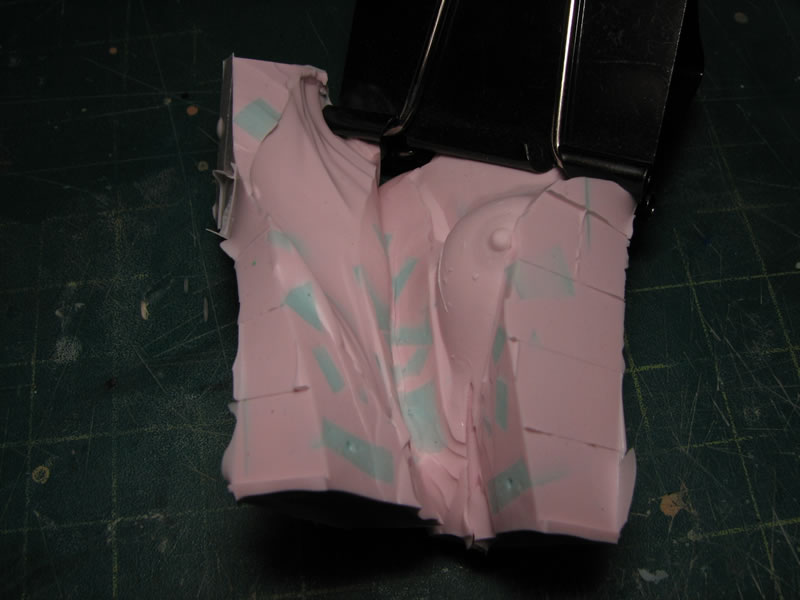
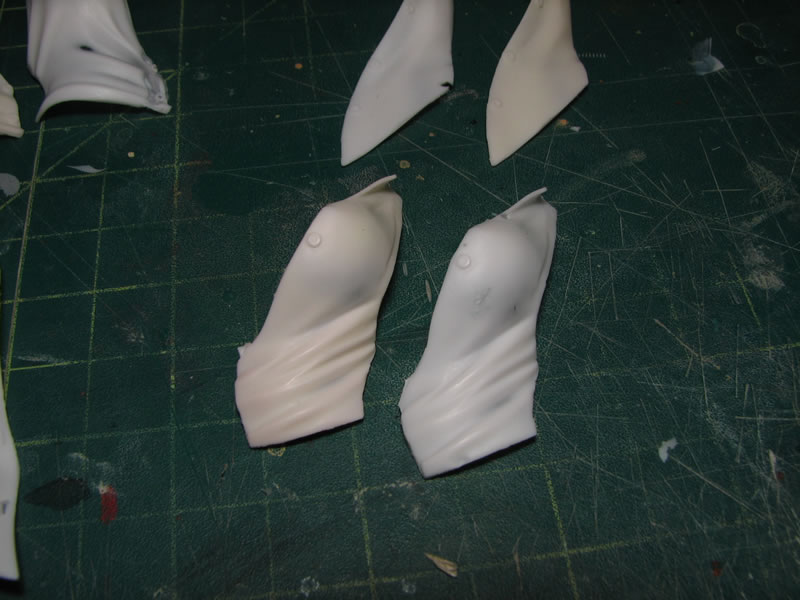
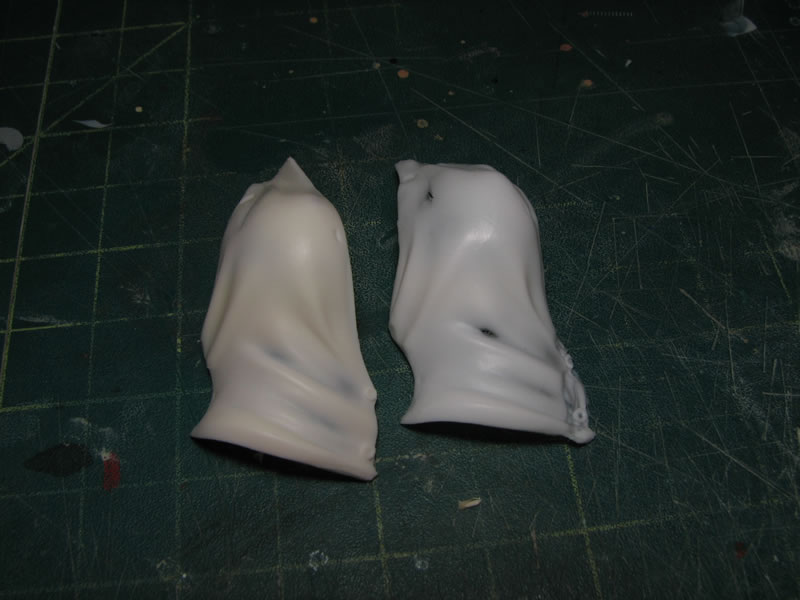
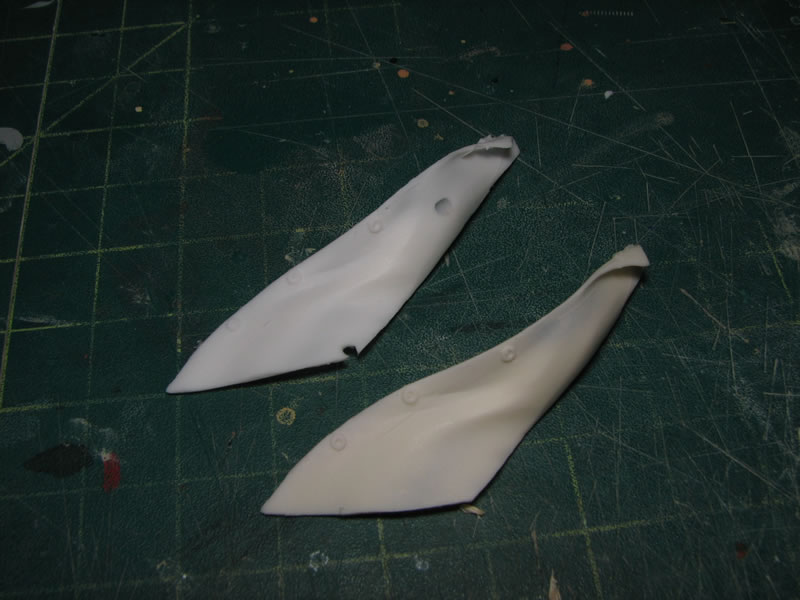
For my first foray into casting, I think I did a decent job. I will make more casts of the parts tonight to see if I can get a better product armed with what I learned from the previous attempt. Here are pictures of the casted parts next to the originals – the casted parts are in white while the originals are off white. Aside from larger bubbles, there are no small bubbles and the details are fairly crisp.

And finally, the second part of the collar mold was made and placed into the pressure pot. If it’s cured enough, I should be able to make casts of the collar piece tonight.

An additional note, the silicon RTV used is from Silpak Silicon Tin R1828 for the first set of molds, then Aluminite High Strength 2. The resin is also from Silpak.