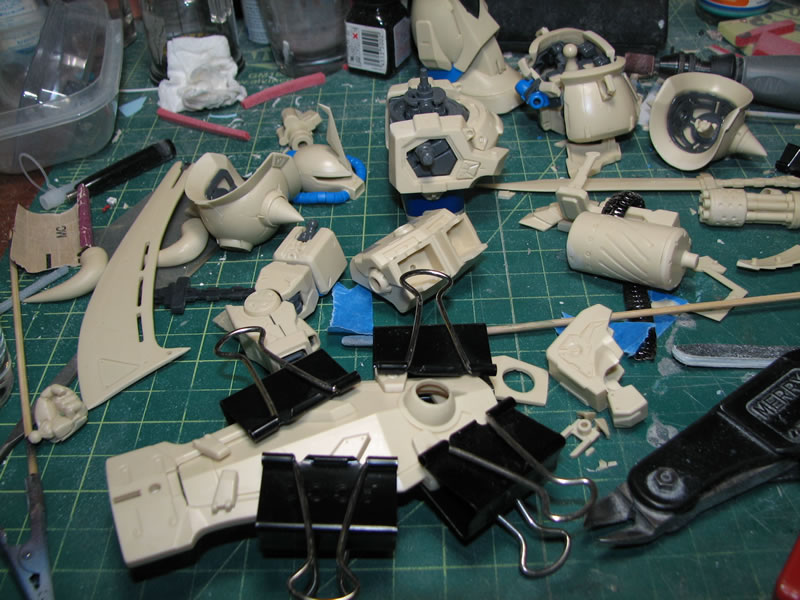
Last night, I finished test fitting the kit. Test fitting isn’t too important with most of Bandai’s gunpla kit as they’re engineered to very tight mechanics, and it just usually takes shaking the box to get the kit put together. But regardless, I test fit so that I get an idea of what I’m working with; and I get to play with the bloody kit. Test fitting become much more important when resin is involved. The engineering isn’t always exact. The placement of flash tabs, excess resin, and all sorts of other factors play into the final fit of the kit. Some areas will be loose, others will have gaps, etc. These things need to be addressed at this stage of the build because it is easiest to fix at this point.
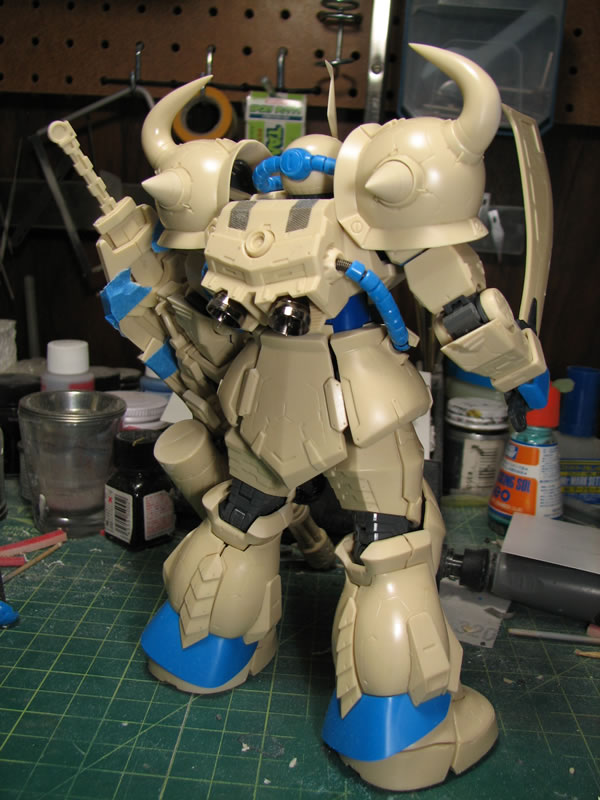
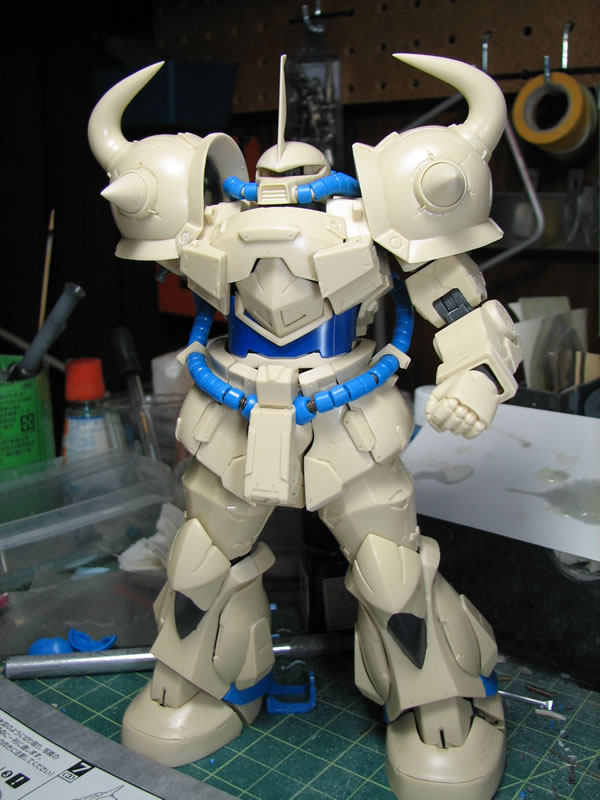
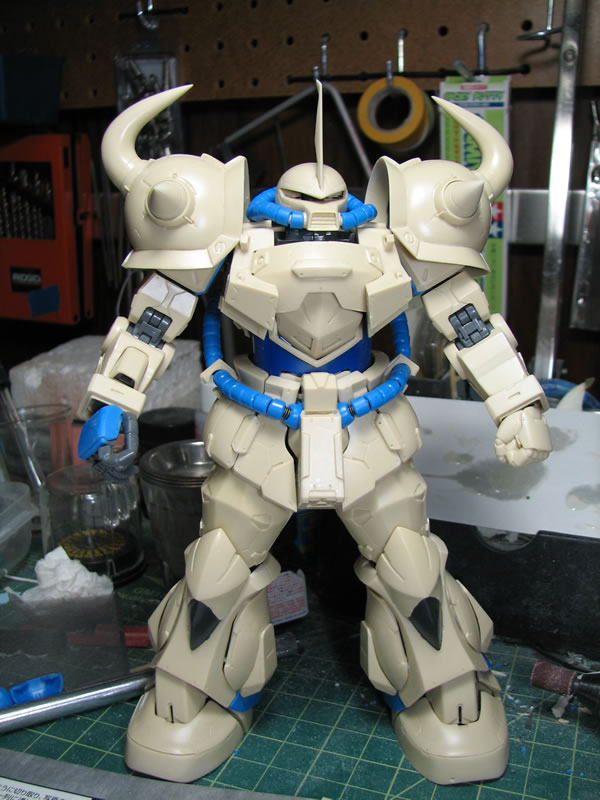
So returning to the torso and some bits and pieces I left off on the legs. I had missed a few other parts of the torso from my previous post. Added in are the thrusters, back leg piece, and the waist cabling. The shoulders are a distinct sub assembly on their own and building that took a little bit of work, but they look pretty cool in place.
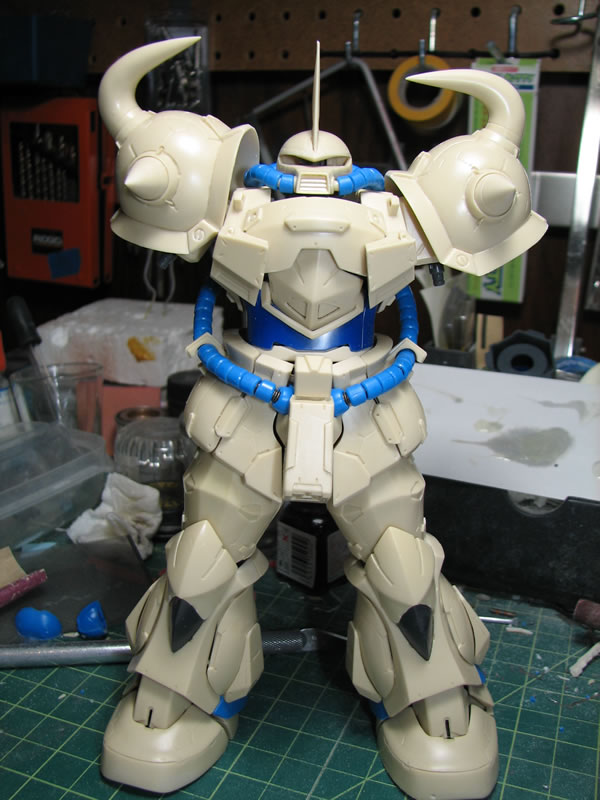
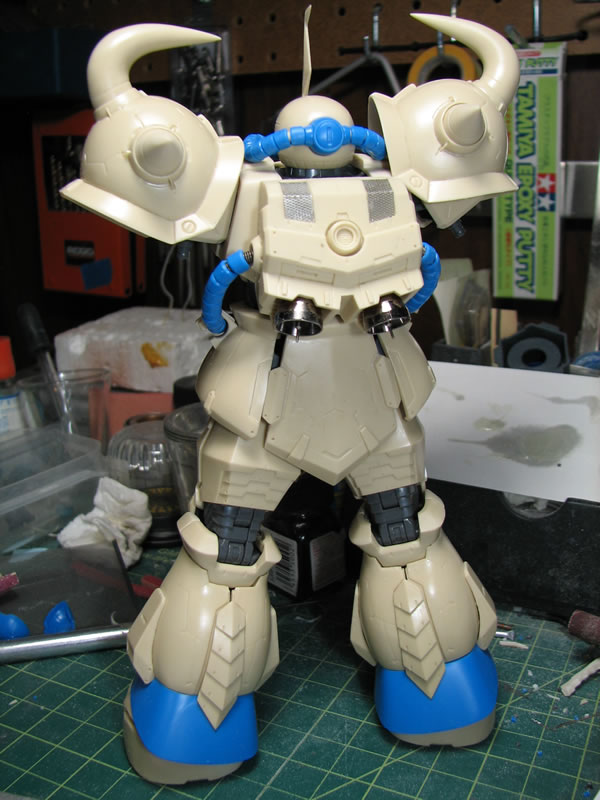
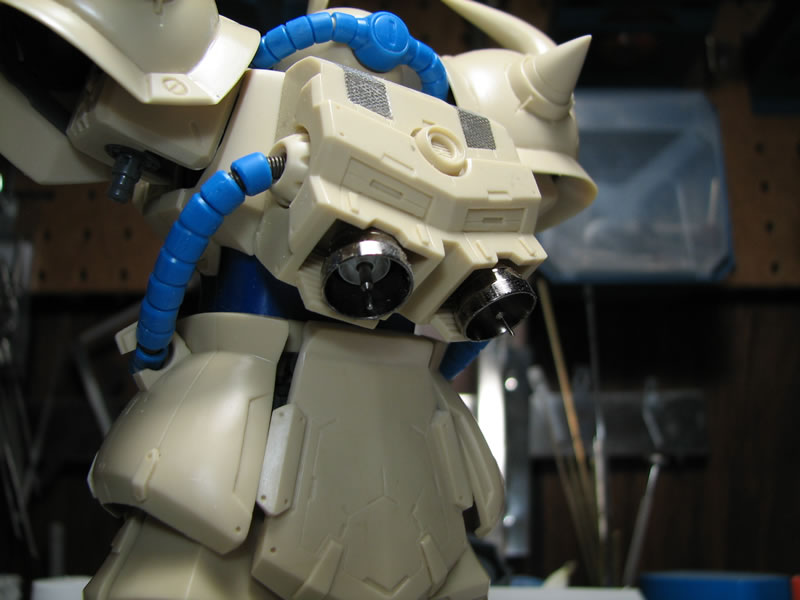
Here are some close ups of the shoulders, the backpack and the metal thrusters that came with the kit. The thrusters are VERY nice, so I don’t think I’ll be painting them at all, they look good as they stand. A side note for the shoulders, there are extension resin pieces that replace the original shoulder connection point. The contact area is very loose, so I may just glue them into place when I’m done as I’m going to fix pose the sucker.
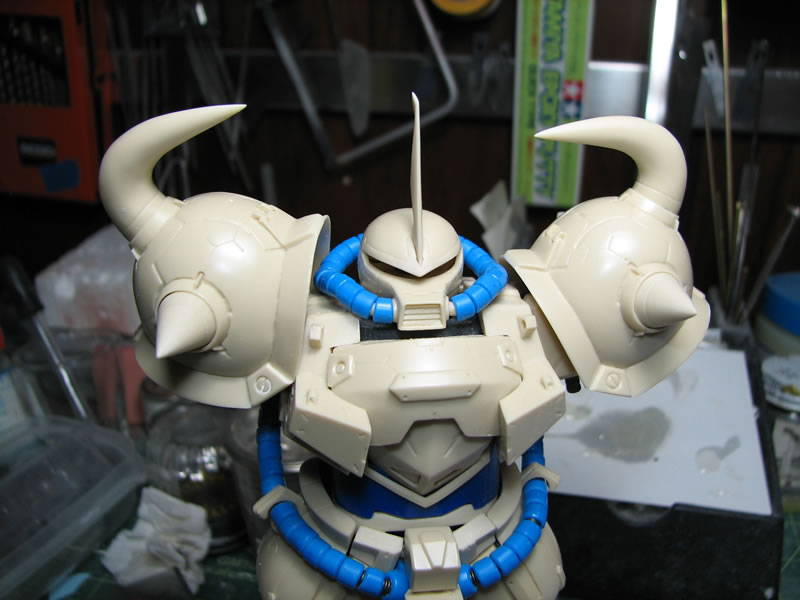
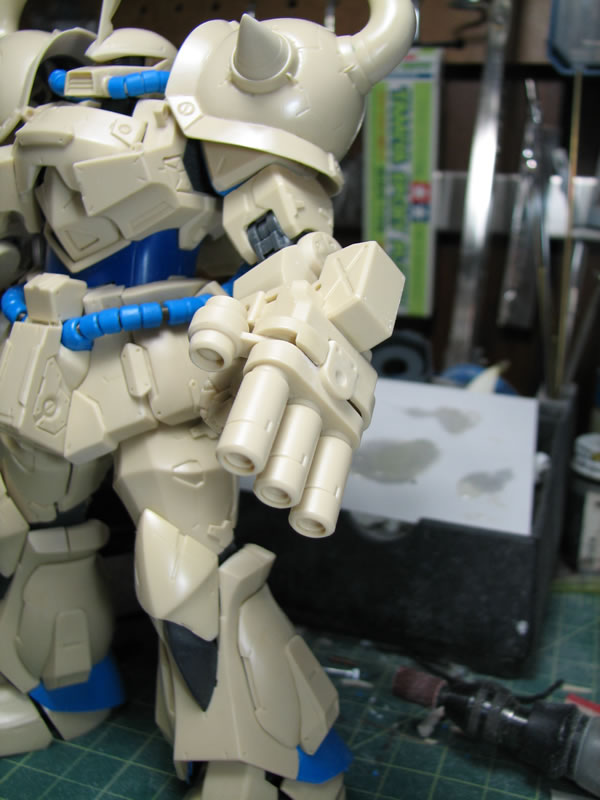
I found the head cabling to be a little weak in the connection point so I drilled holes into the front connection point on the resin cable internals then drilled corresponding holes into the head’s connection point for the cables. A small section of metal wire is inserted and this fixed the rather flimsy cabling assembly.

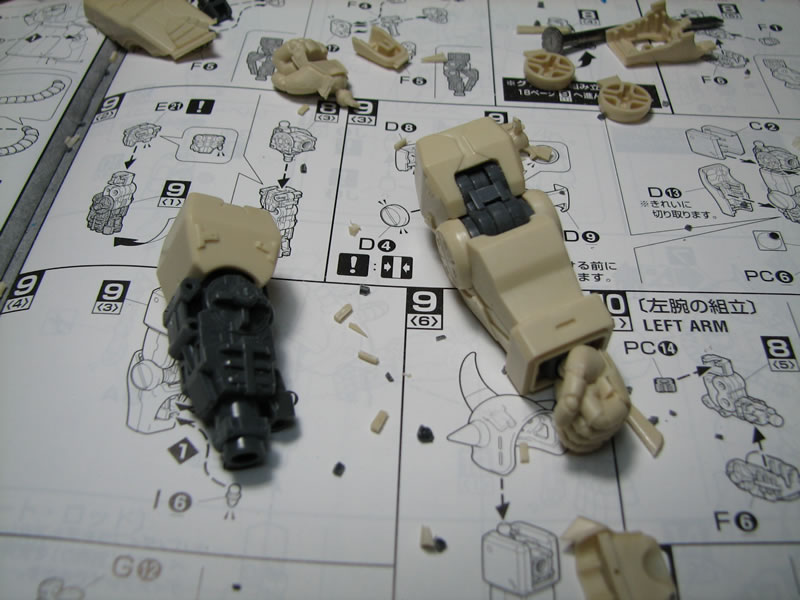
One arm, followed by the other. The kit comes with resin fists. They’re fairly nice, but a little lose in the ball joint. And while they look fantastic, they’re utterly useless for holding weapons, so they will go back into the spare parts box as I want to pose this sucker will most of it’s weapons wielded.
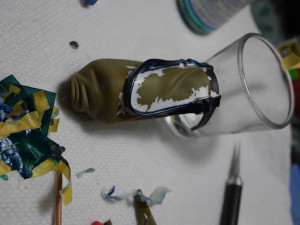
And now for the weapons. From the looks pretty much a cast of the original MG Gouf Custom’s weapon system as far as the cannon and shield gat go, well the cannon parts of the gatling gun may be scratch built. I’ve completely butchered my MG Gouf Custom’s weapons and they’re all over the place on different kits I’ve built so I don’t have anything to actually make decent comparisons; but form the looks of things, I believe they’re just casts from the original MG kit then modified slightly. They look pretty good. Neograde also included a nice ammo belt that is fully painted and just ready to be glued into position. The fitting of the ammo belt into the shield gat will require modifications, but it’s not too big a deal.
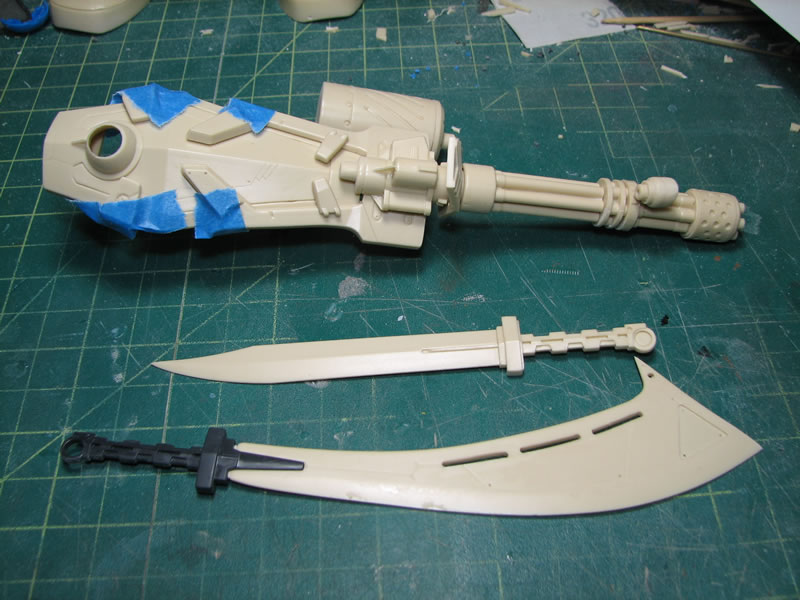
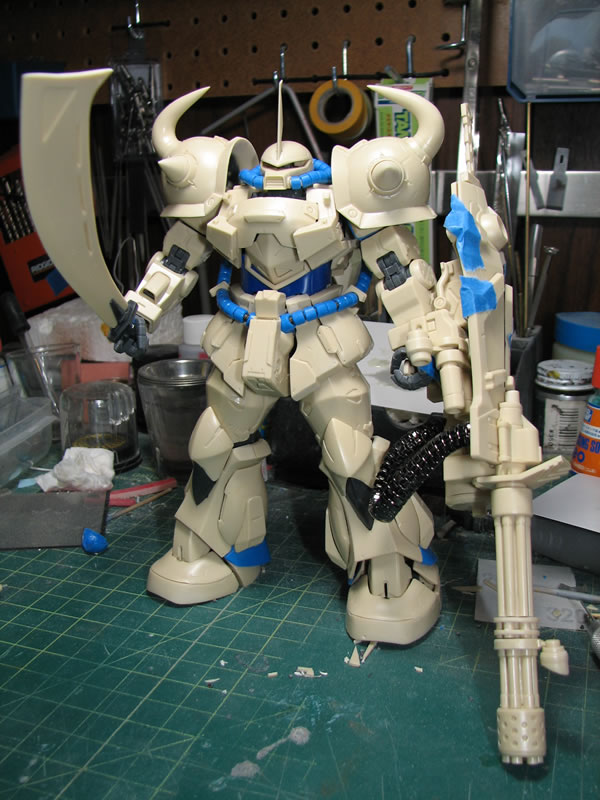
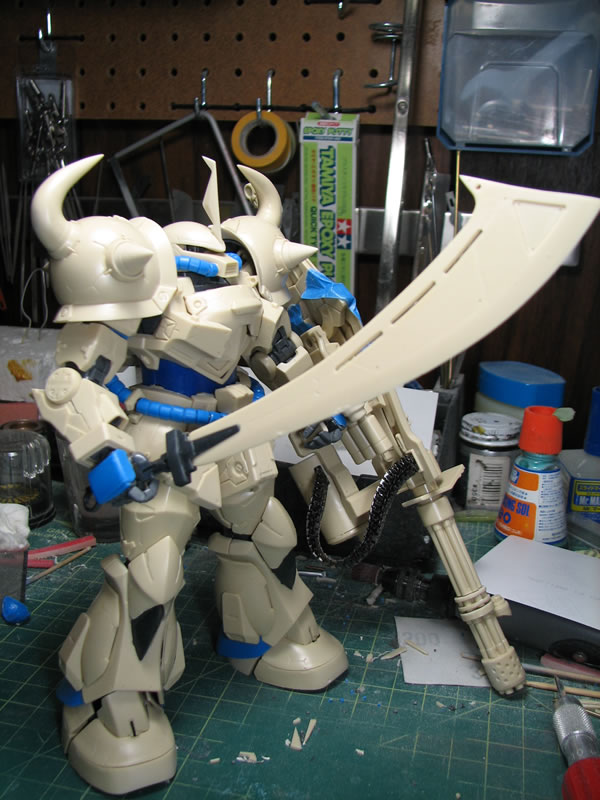
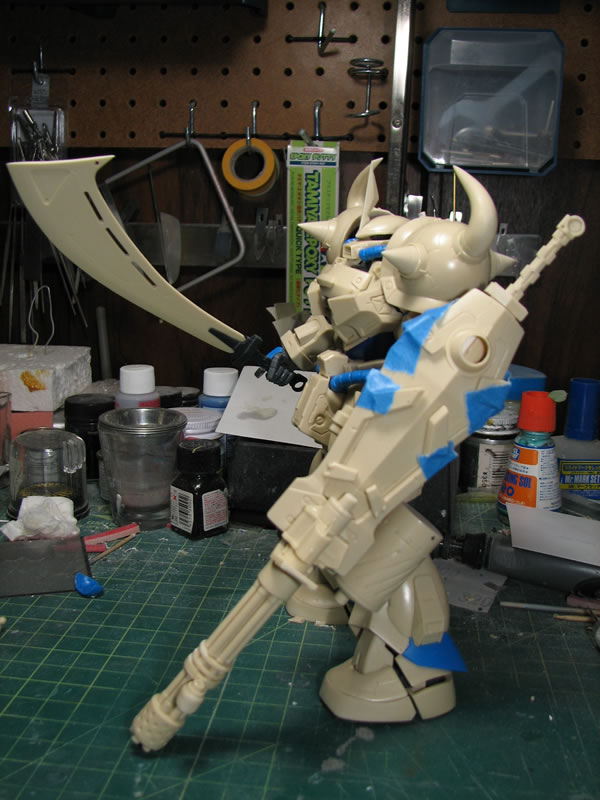
And as shown earlier in the post, the completed test fit for the sucker with all the weapons. I do like the large heat blade. The kit comes with the shield blade as well as this large cleaver. The full resin gatling shield weapon is a bit unwieldy, and the kit slants with the gun shield attached. The weapon serves as a crutch in this pose. I will fix pose the guy, as I don’t think I’ll be able to freely pose the kit with the weapon. Fix posing it will add a bit of stability, I don’t want parts falling off or things just coming apart because I’m trying to move it around and put it in a better pose for contests and shows. Additionally, this reduces the paint chipping factor. I already have a pose in mind; and in all seriousness it’s a “resin” kit, they’re supposed to be fixed posed.
The last bit of work last night was taking the kit apart to glue several sub assemblies. The skirt parts are glued to their counter part frame pieces. Most of the shield is getting glued together, granted it will require masking when I paint, but I’d much rather mess with glue now, than after I’ve painted the kit. Glue in unexpected places as an issue of royally messing things up. Next up will be fixing the pose then off into cleaning fluids for mold release removing bath.