It’s been 3 weeks since the last update, so this will be a sizeable progress report for this kit. I’ve finally gotten past the seemingly endless cycle of putty –> sand –> primer; which means some actual color is getting on to the parts. And with painting, there’s always some amount of masking. And for this project, there is a bit of cycling with masking, painting, adding more masking, and continued painting. It’s almost inception level masking with how recursive this process can be; so I guess it’s a good thing I studied computer science. I can laugh at the simplicity of model building after breaking down everything to a basic concept. A function to build which uses glues, plastic, primer, putties, and cycling through the process. Then a function to paint with the masking, painting, and then remasking, and then rework after the mask is removed and problems pop up because of missed masking. But enough of this mindless rambling; on to the actual work.

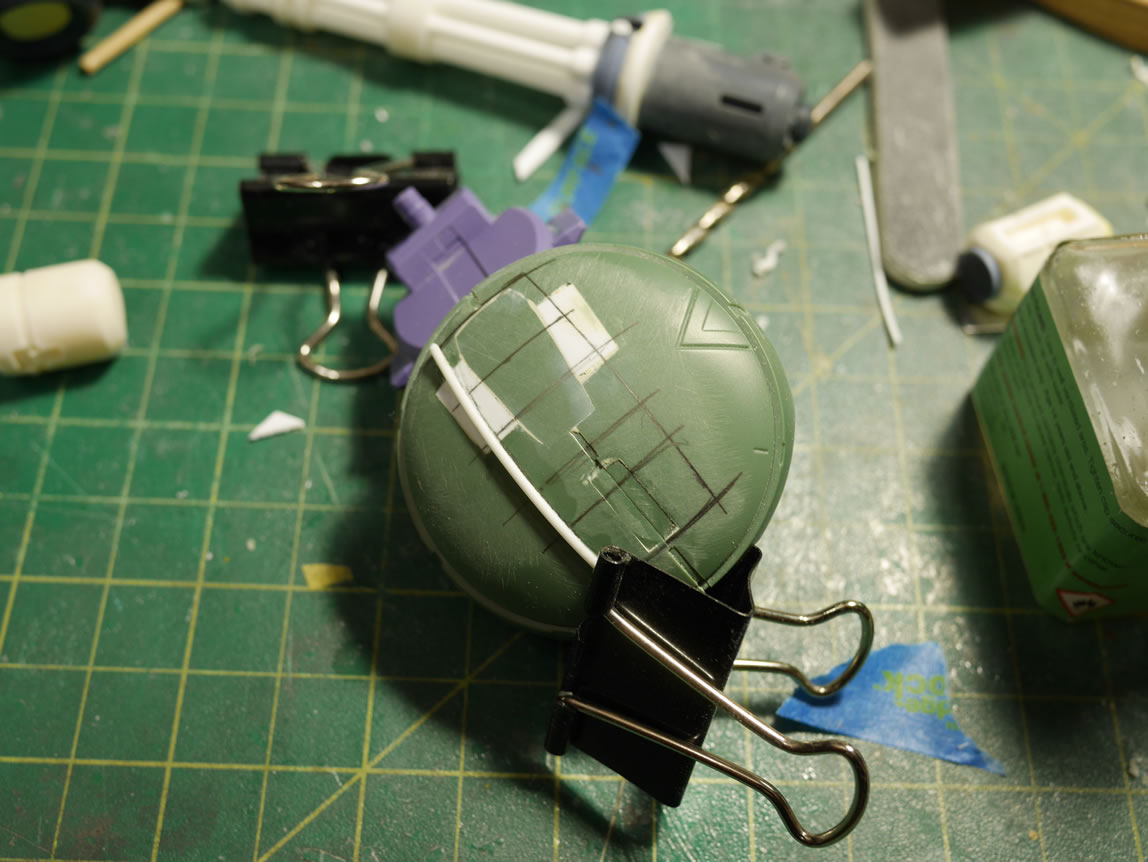
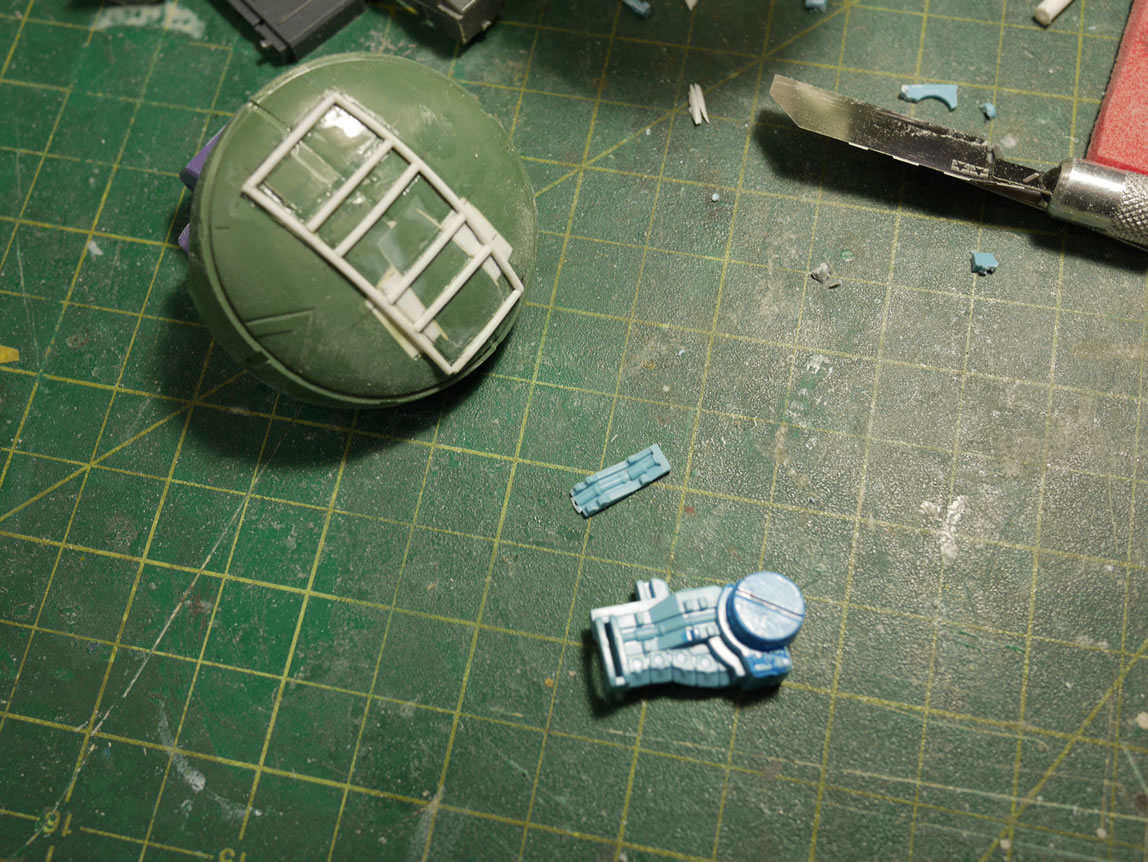
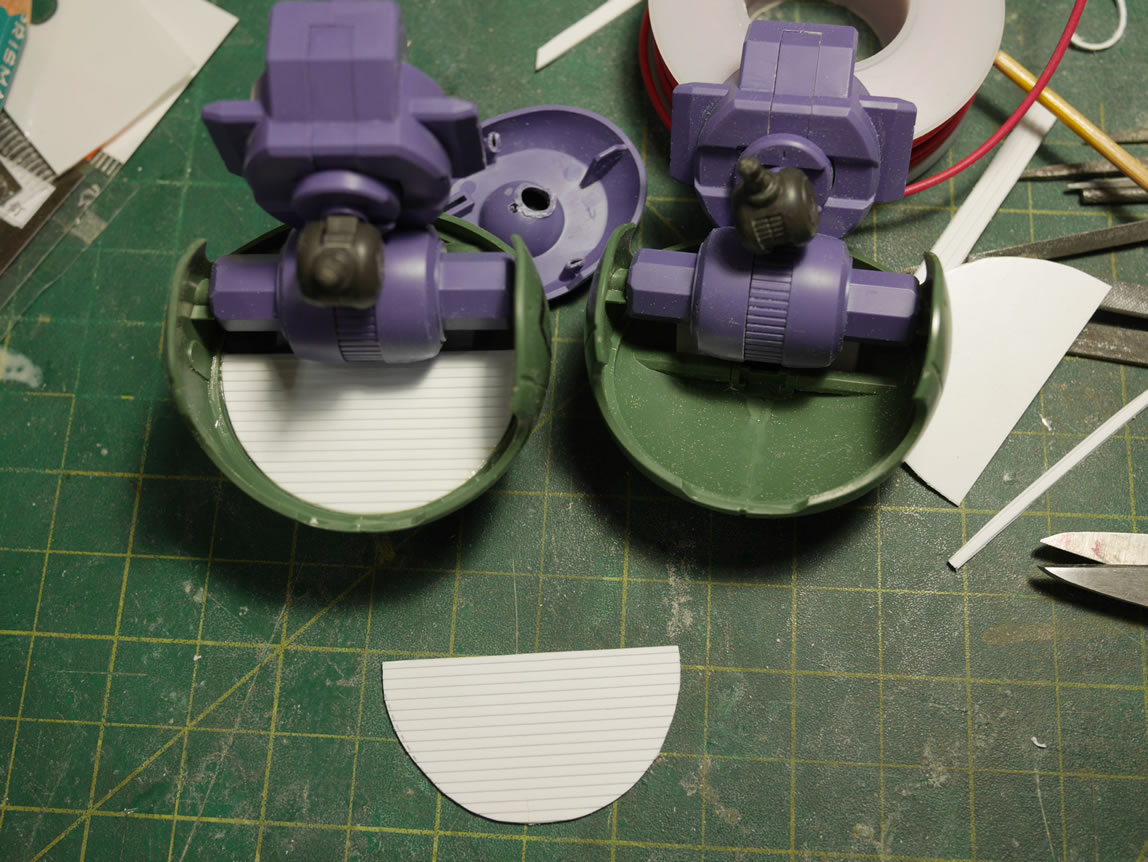
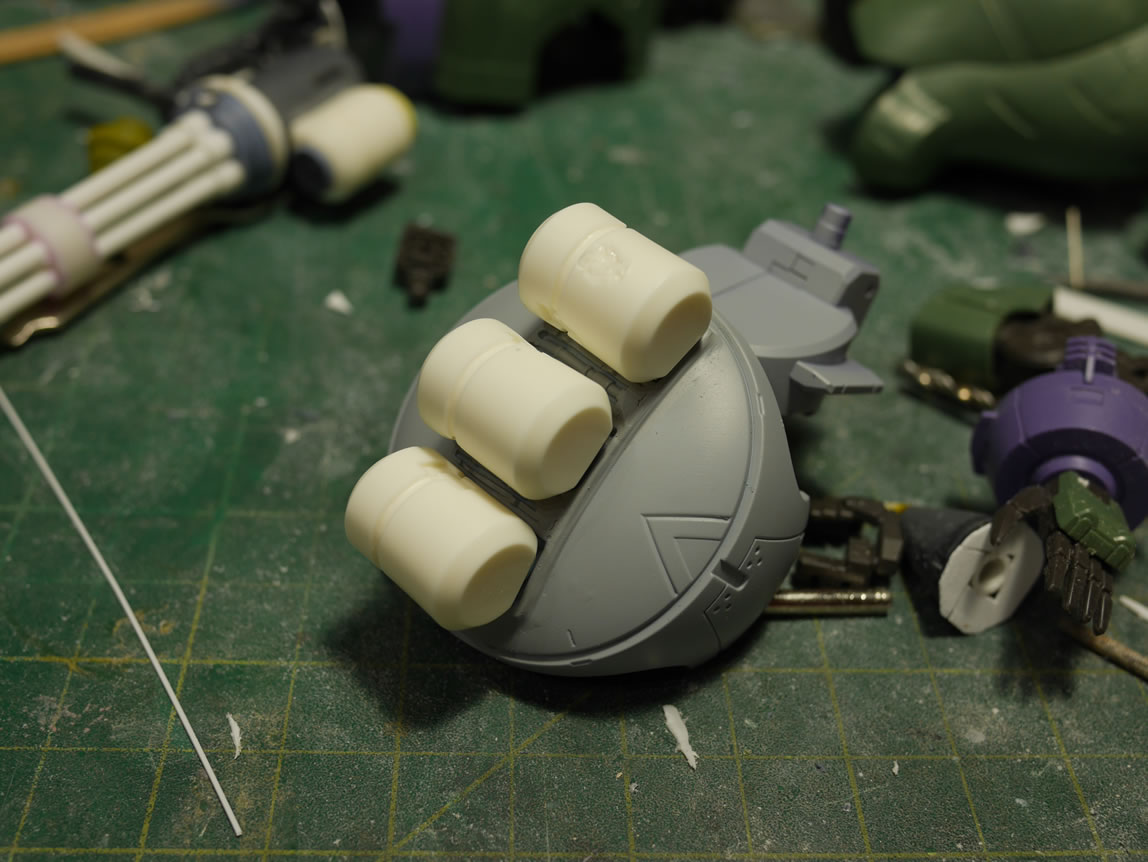
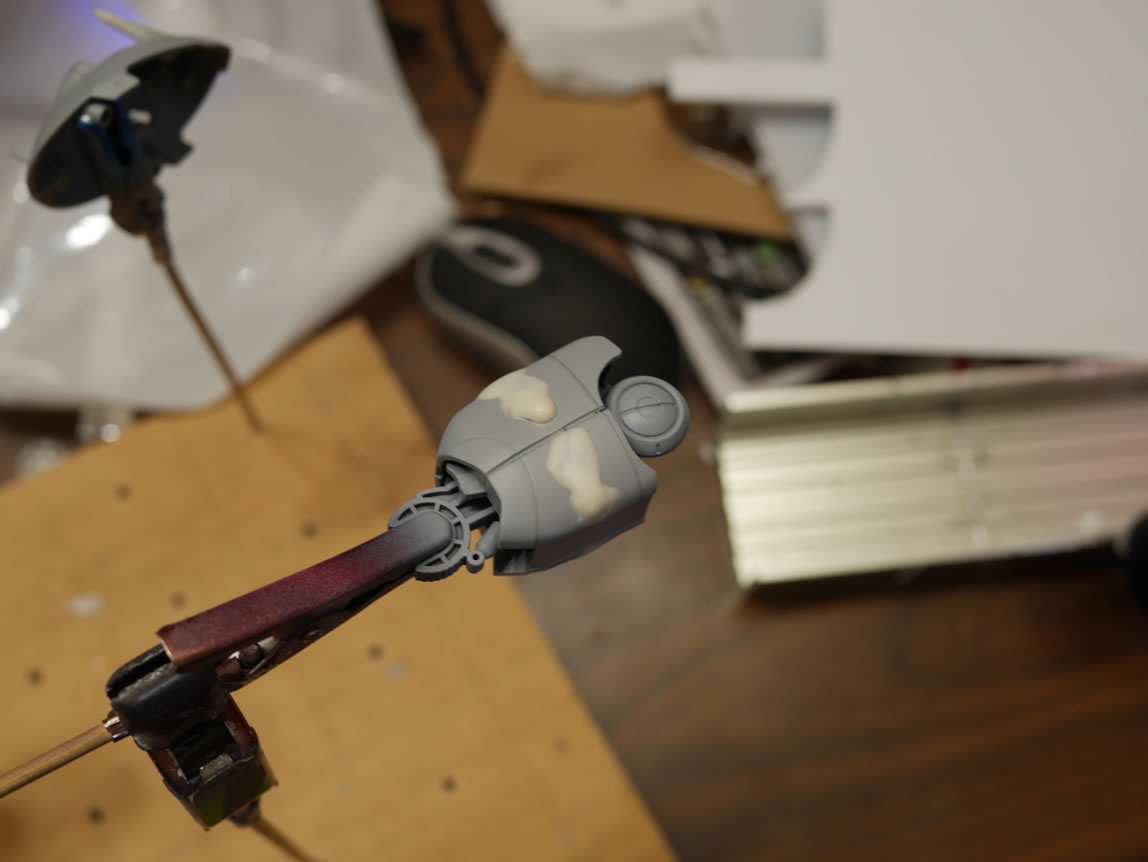
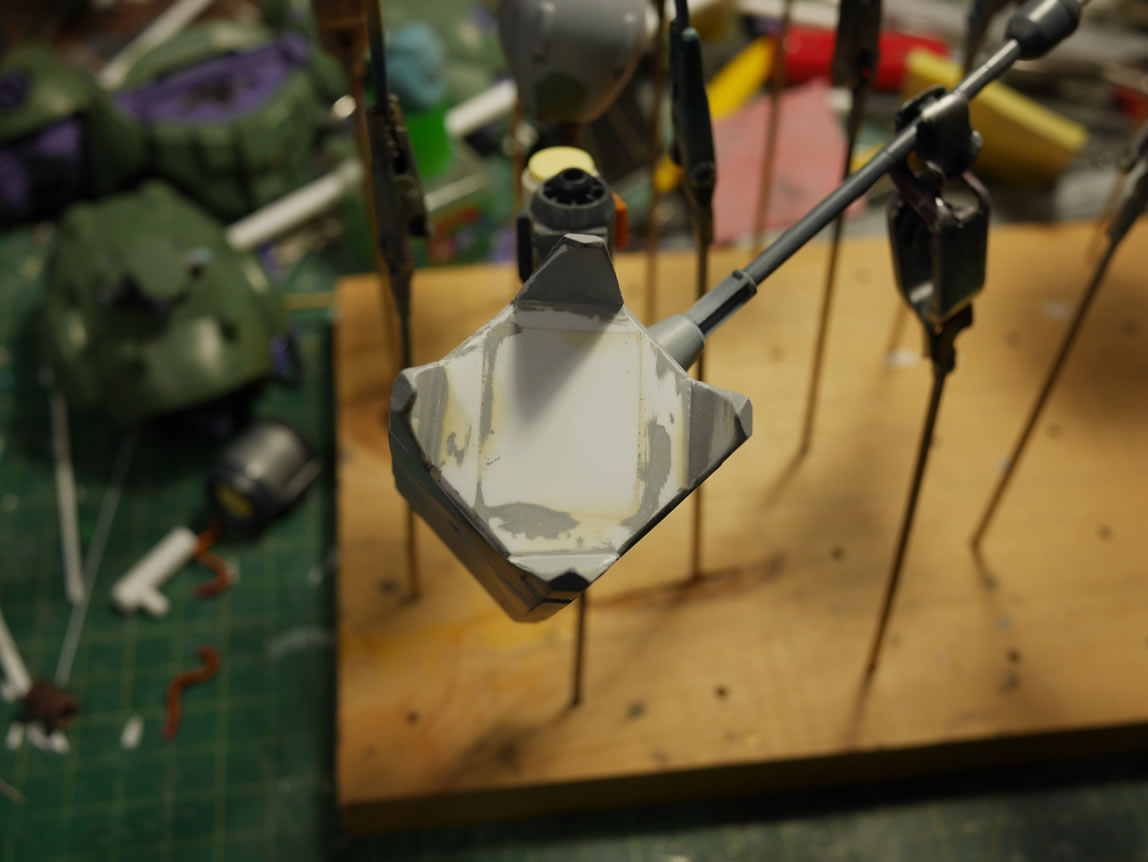
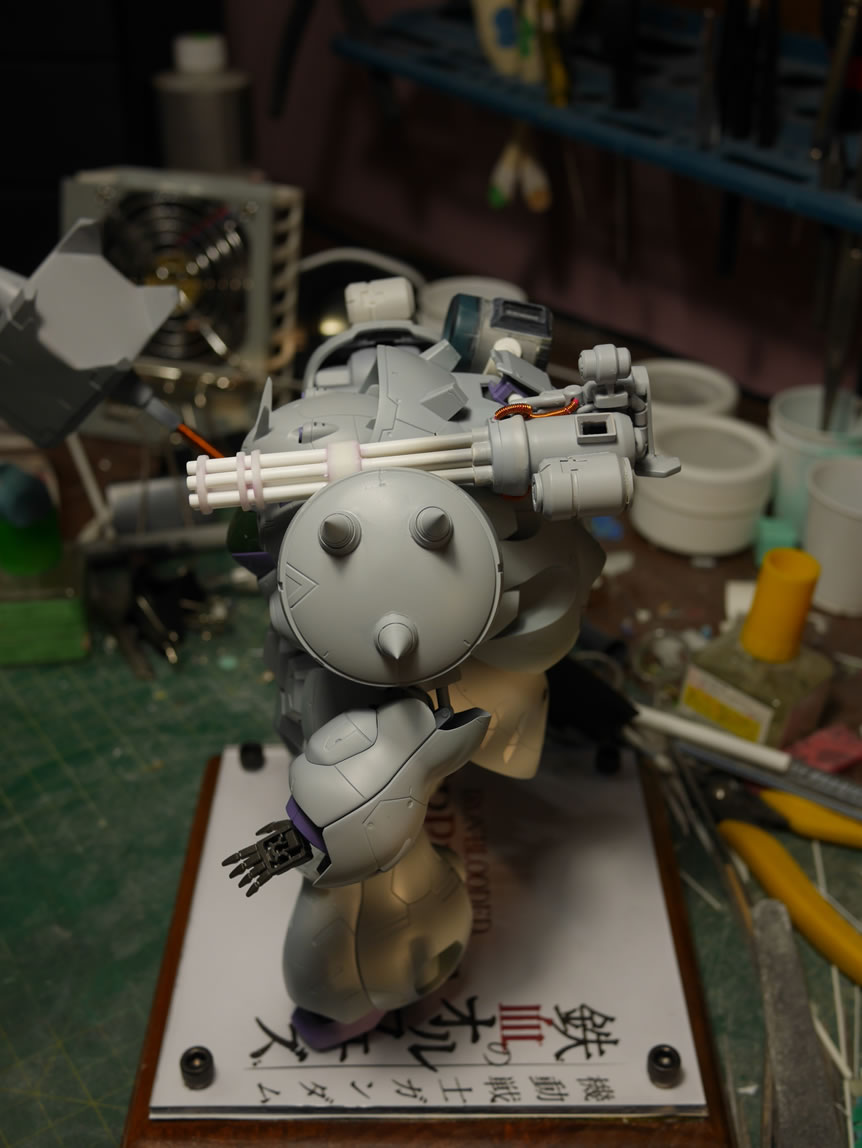
I wanted to mount some resin tanks on the left shoulder so rather than just gluing them onto the bare shoulders, I drew out a plan for a mount rack. The basic frame is done with styrene rods glued to the pencil drawing, then I added in some details by cutting up a MG Gouf Custom’s arm part. The arm piece is cut apart for the small bit of detail then glued to the shoulder. The underside of the shoulders are pretty lacking in details. The right shoulder has metal spikes added and the bottom sides of those spikes stick out from under the shoulders too. To best hide that and add in some underside details to the shoulders; I cut some semi circles of slatted styrene and glued it into place. After priming, the tanks are test fit against the shoulder rack.
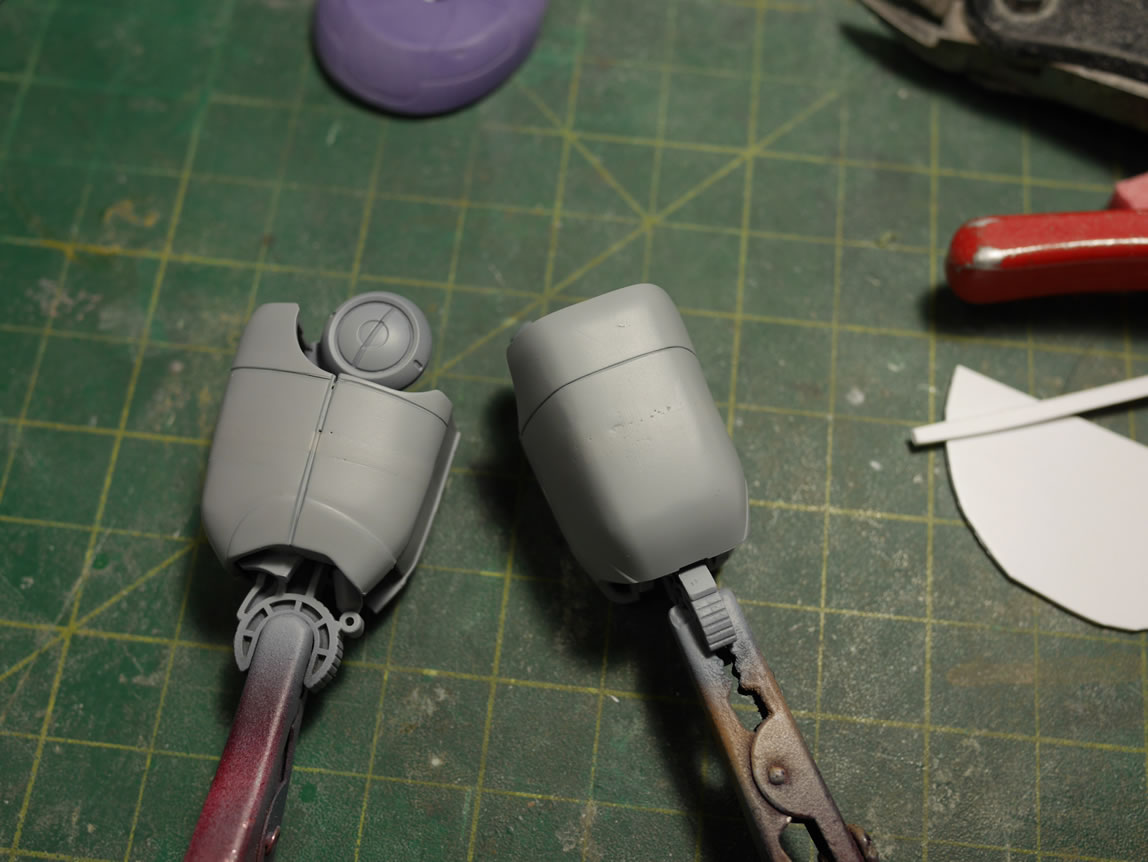
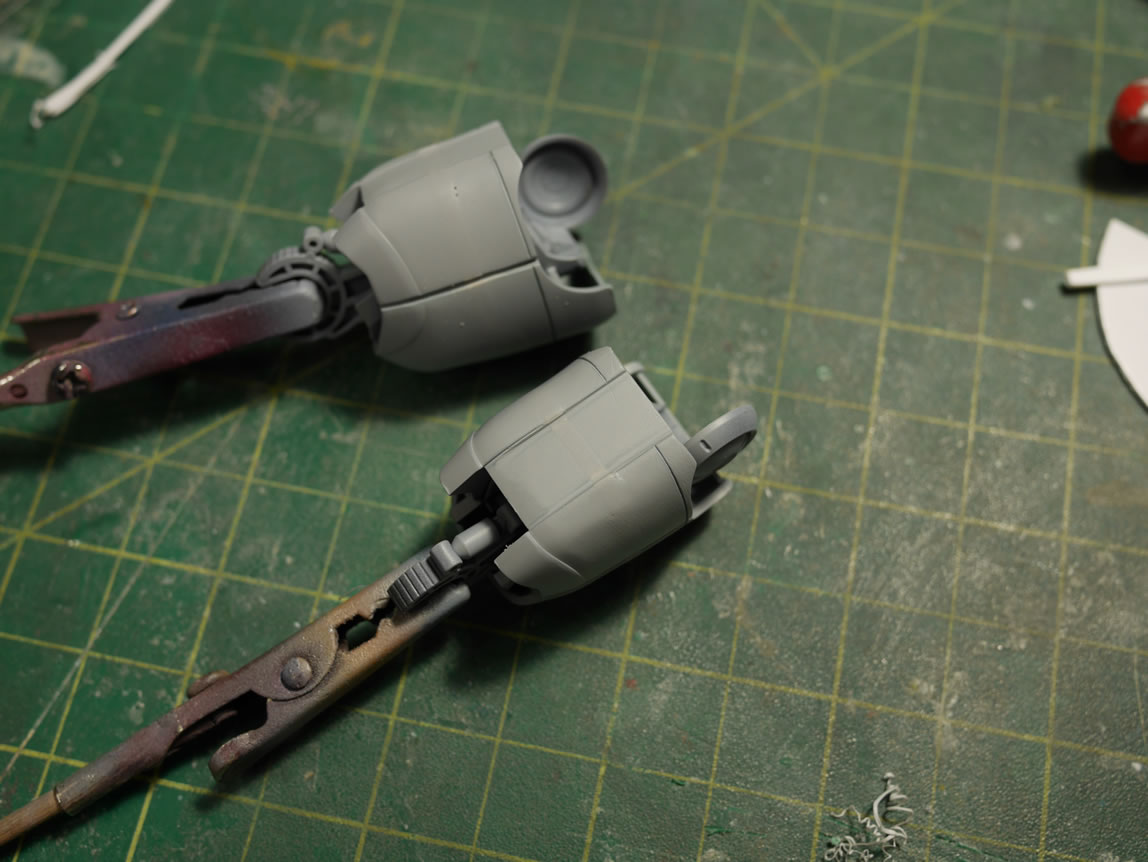
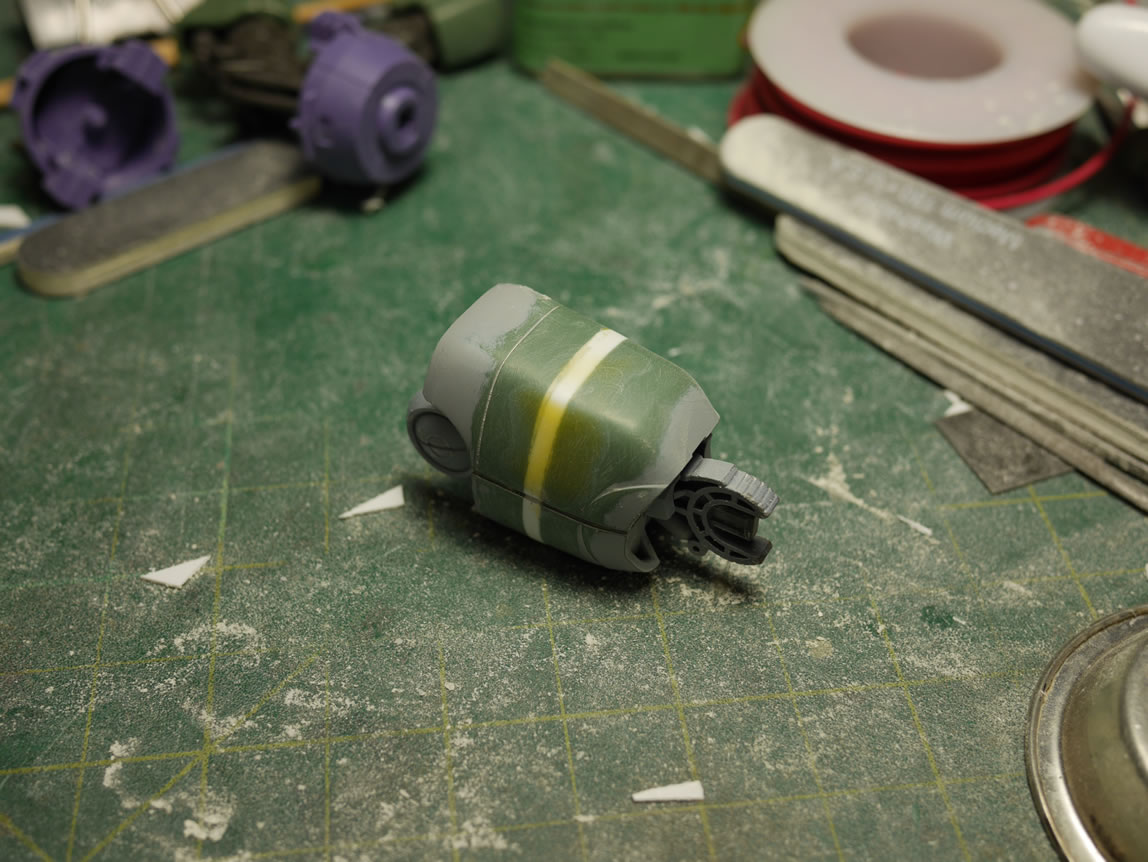
The leg extensions required a great deal of sanding, putty filling, and priming. Once excess styrene is sanded, the part is primed which shows all the defects such as holes, bubbles, or rough sanding spots. Putty is applied to these areas and once cured, the part is sanded again. There is an immense amount of sanding during this stage of the build.
Depending on what I’m working with, I use either Mr dissolved putty which looks suspiciously like I got a little too excited while filling; or I used light curing putty *points to the yellow tinted areas*. And continue to sand, fill, and prime until it looks good enough, or I just gave the f up.
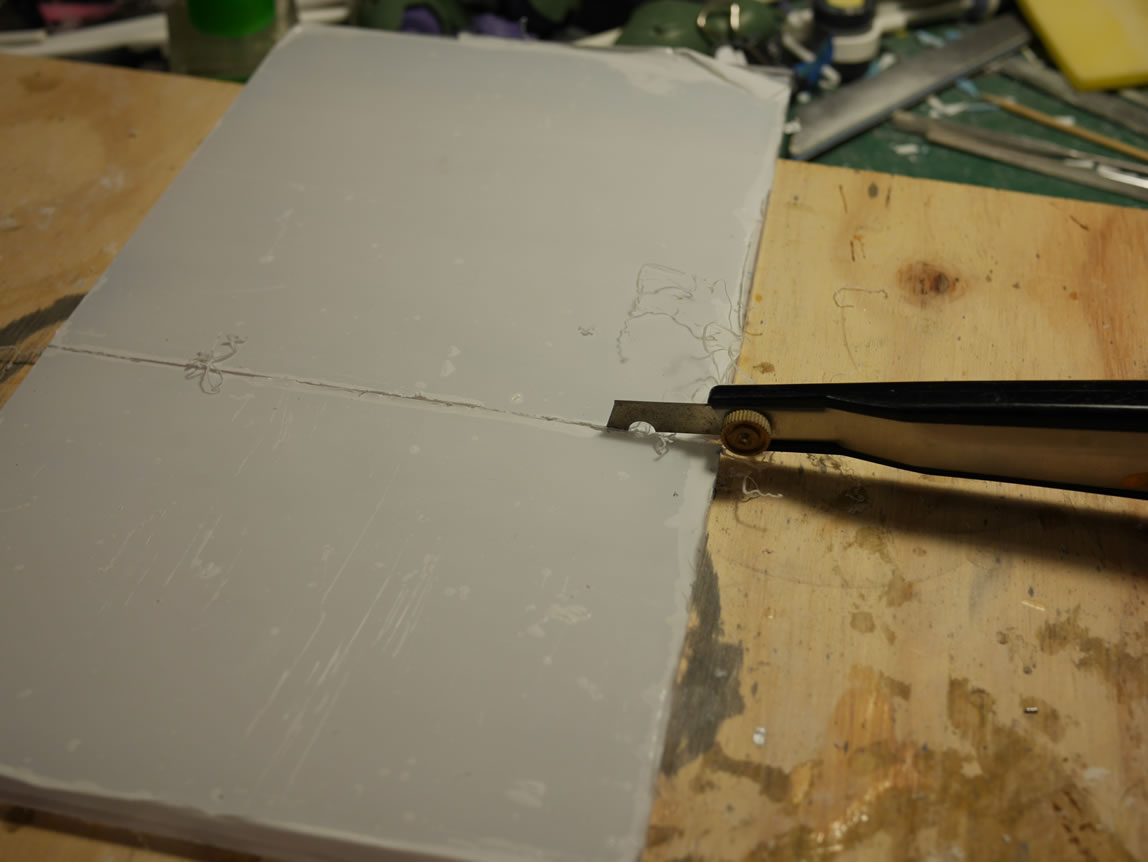
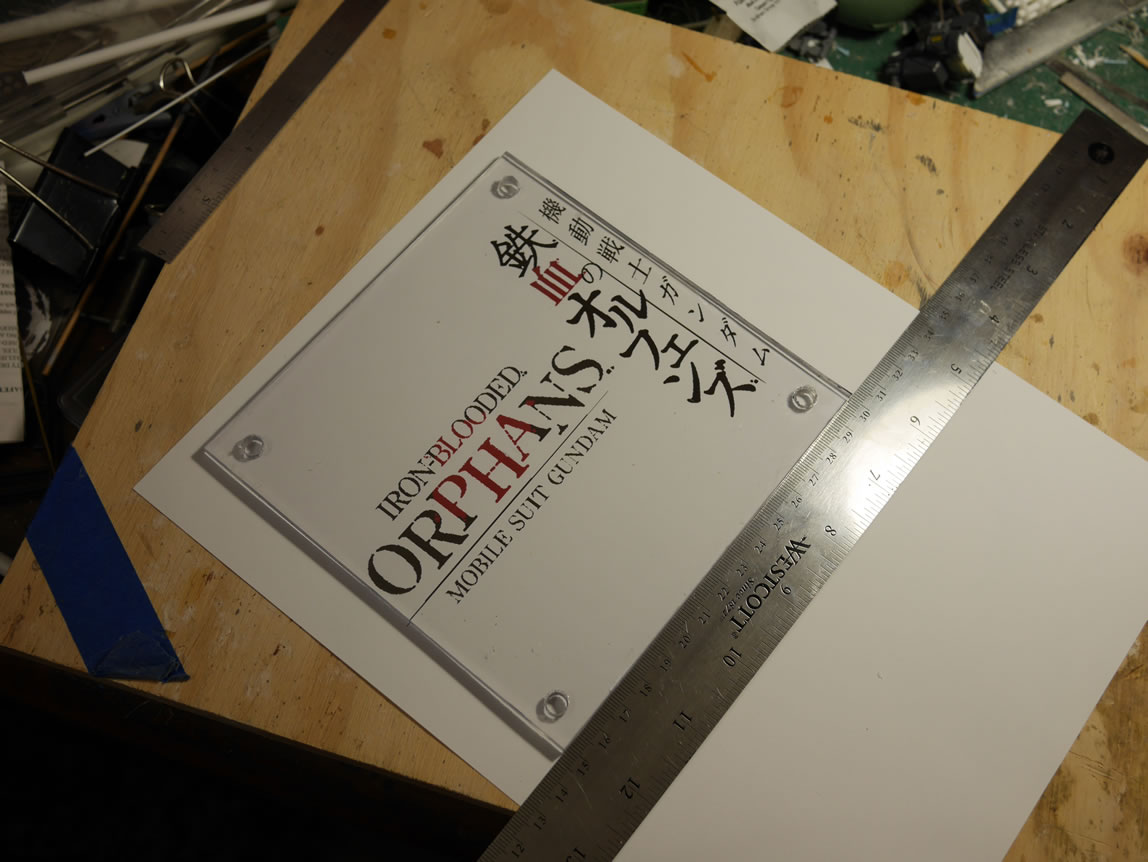
Next up, I grabbed an older painted display base to create a new display for this project. I started with about a 1/4 inch thick piece of clear acrylic sheet and used the tamiya scriber to slowly cut away the plastic. This creates enough of a groove to snap the acrylic sheet cleanly. I then printed out a simple IBO design on matte photo paper, cut that to size; then sandwiched it all together onto the wood base. The final step is to drill out some holes at the four corners and screw in some decorative bolts to finish the base.


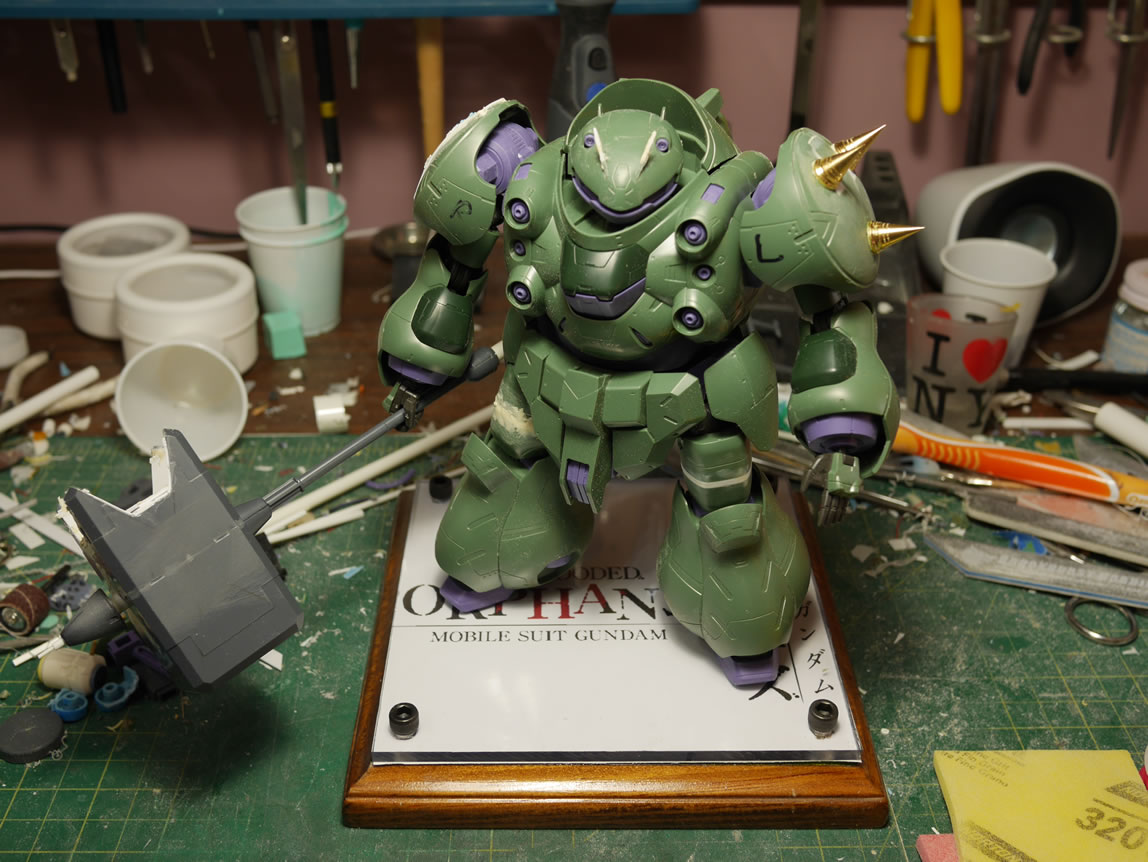
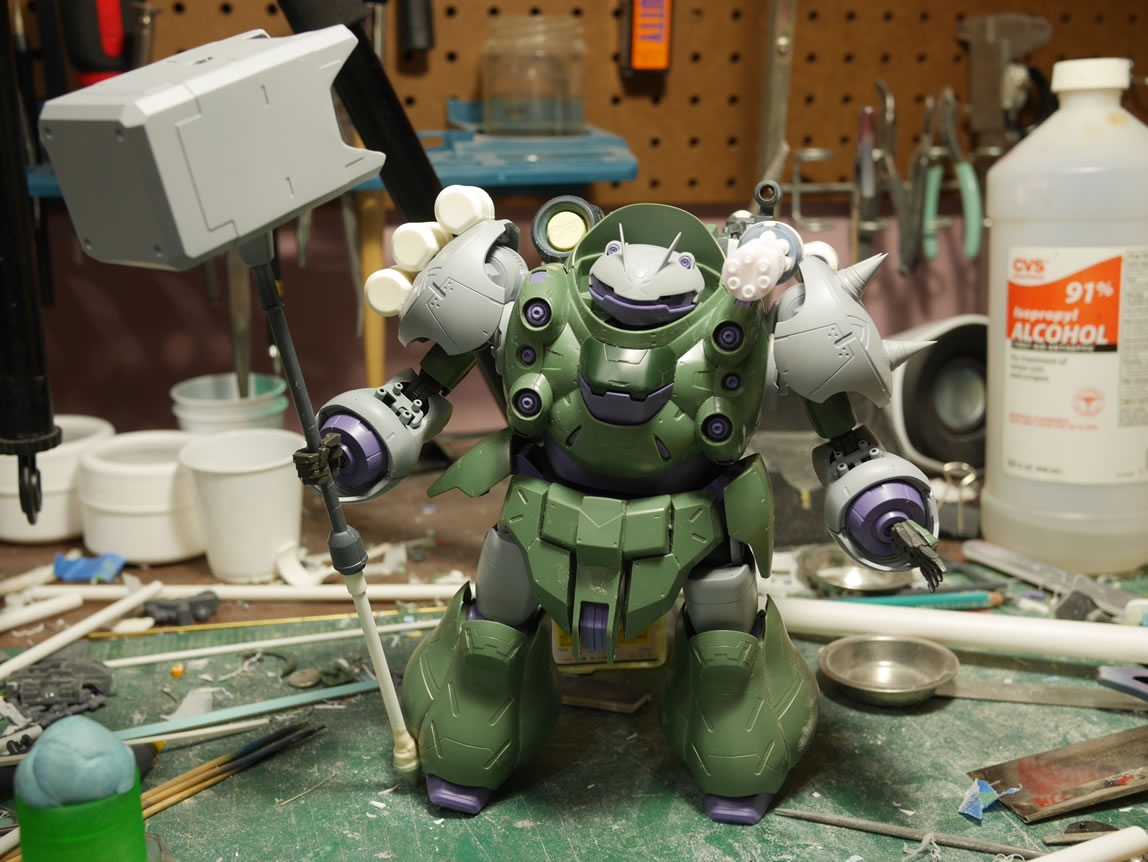
And a quick mock up with the Gusion standing on the completed base.
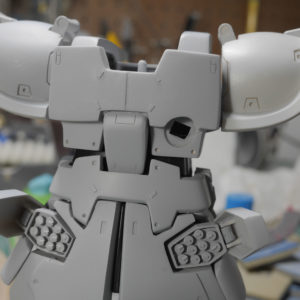
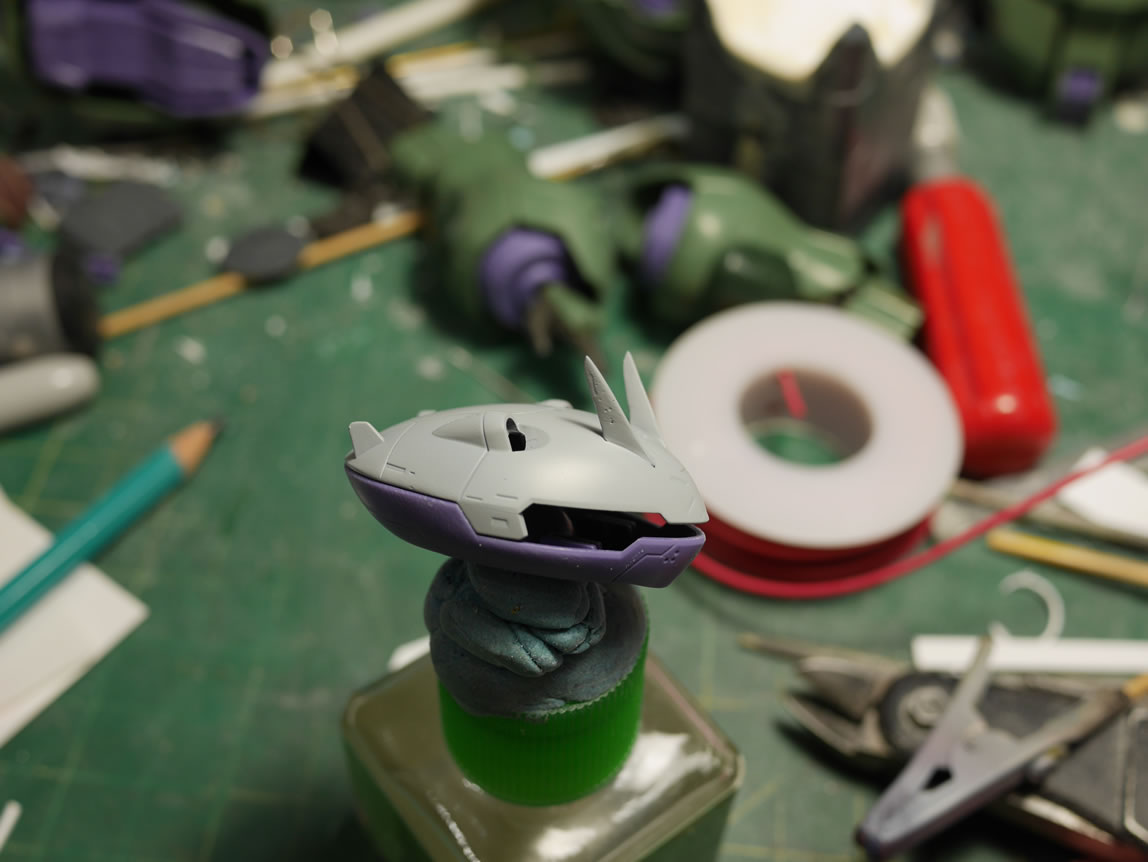
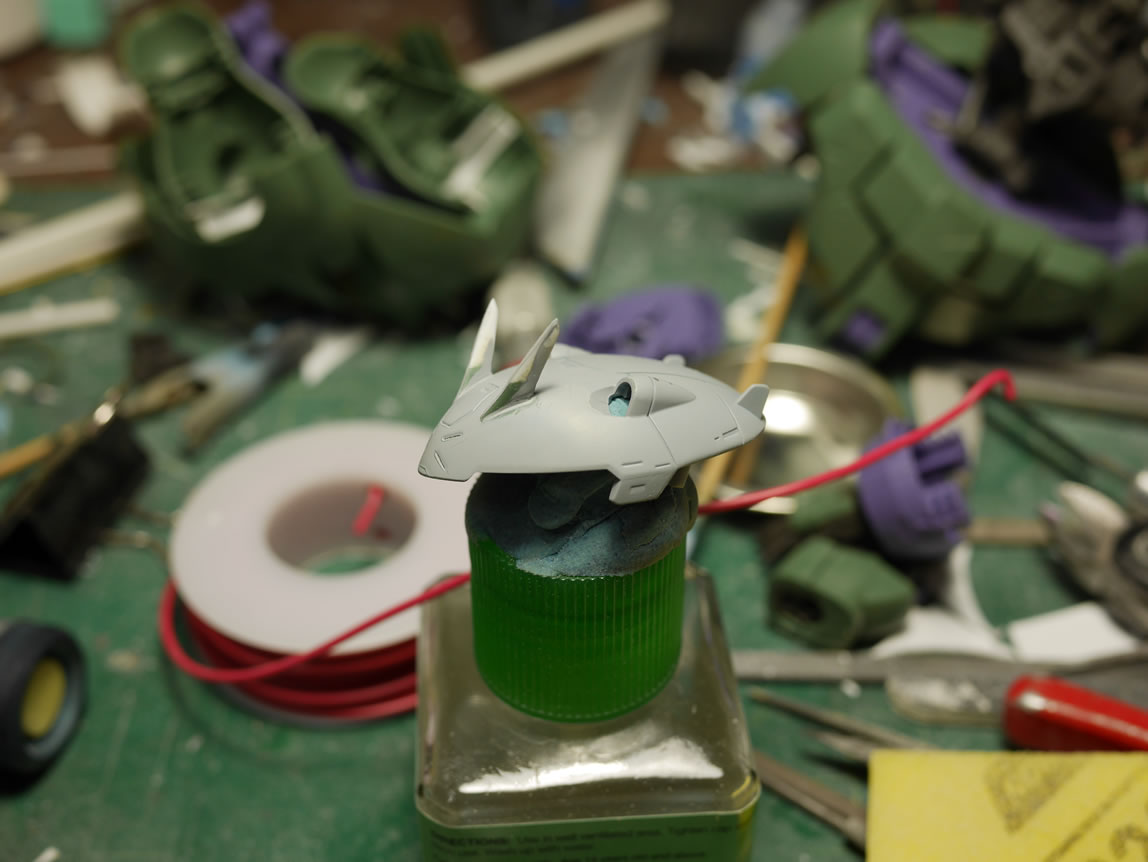
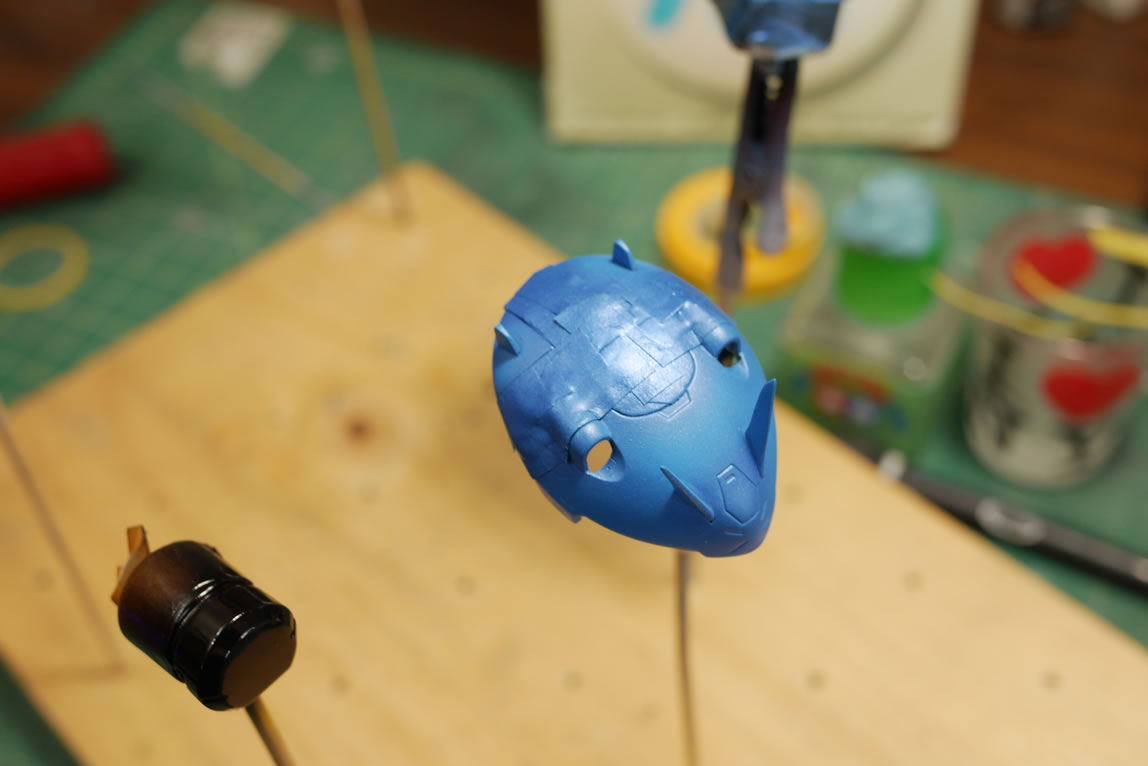
The fins on the front of the head were extended with styrene, so more putty and priming to work on that area. Again, primer really shows the areas that need additional attention. Once filled and sanded, it is primed again and checked.
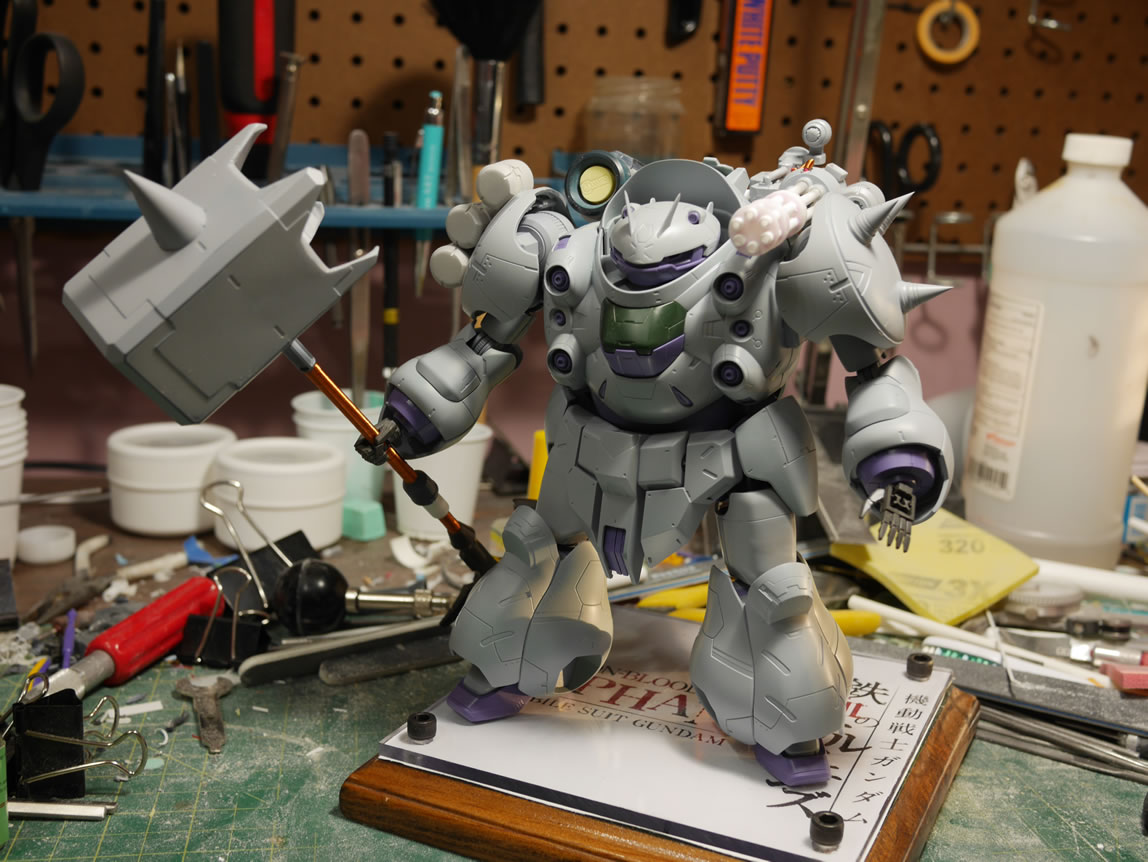
The work on the major modification areas see the primer first. And at each step, it is always a good idea to put everything together as a good sanity check to make sure everything still fits and at least looks decent. With modifications, it is very easy to completely screw up the fit of the whole kit effectively messing with Bandai’s careful planning and engineering.
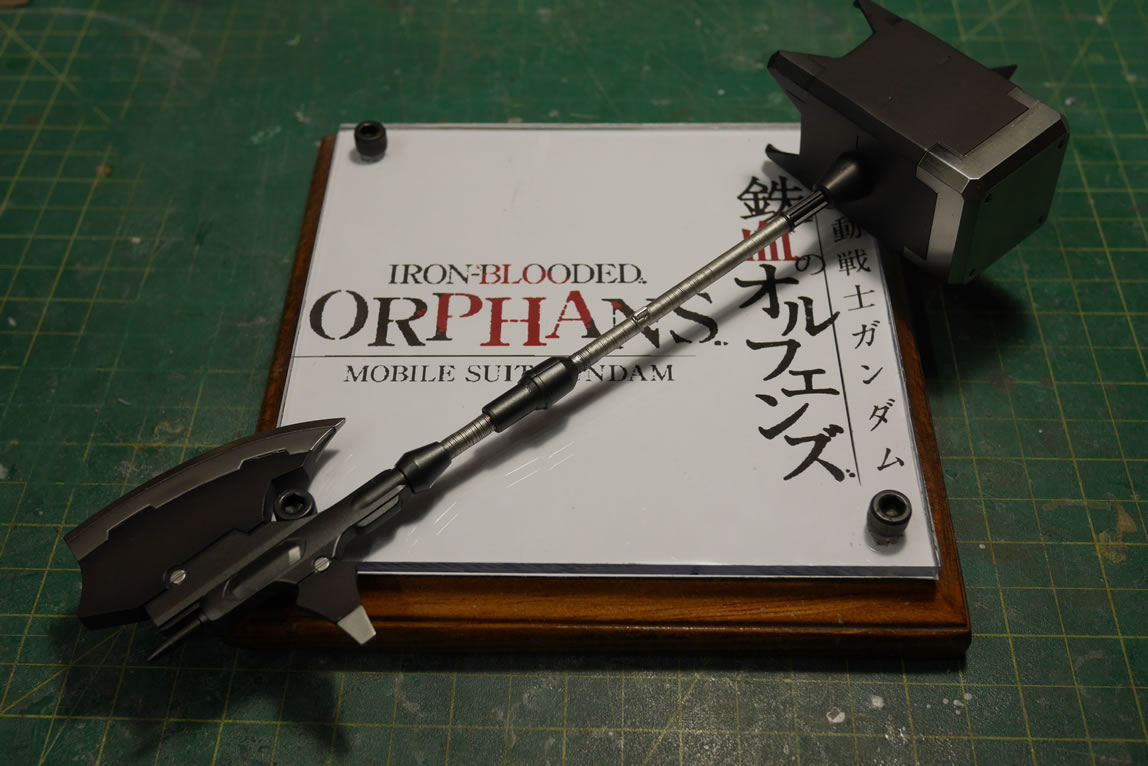
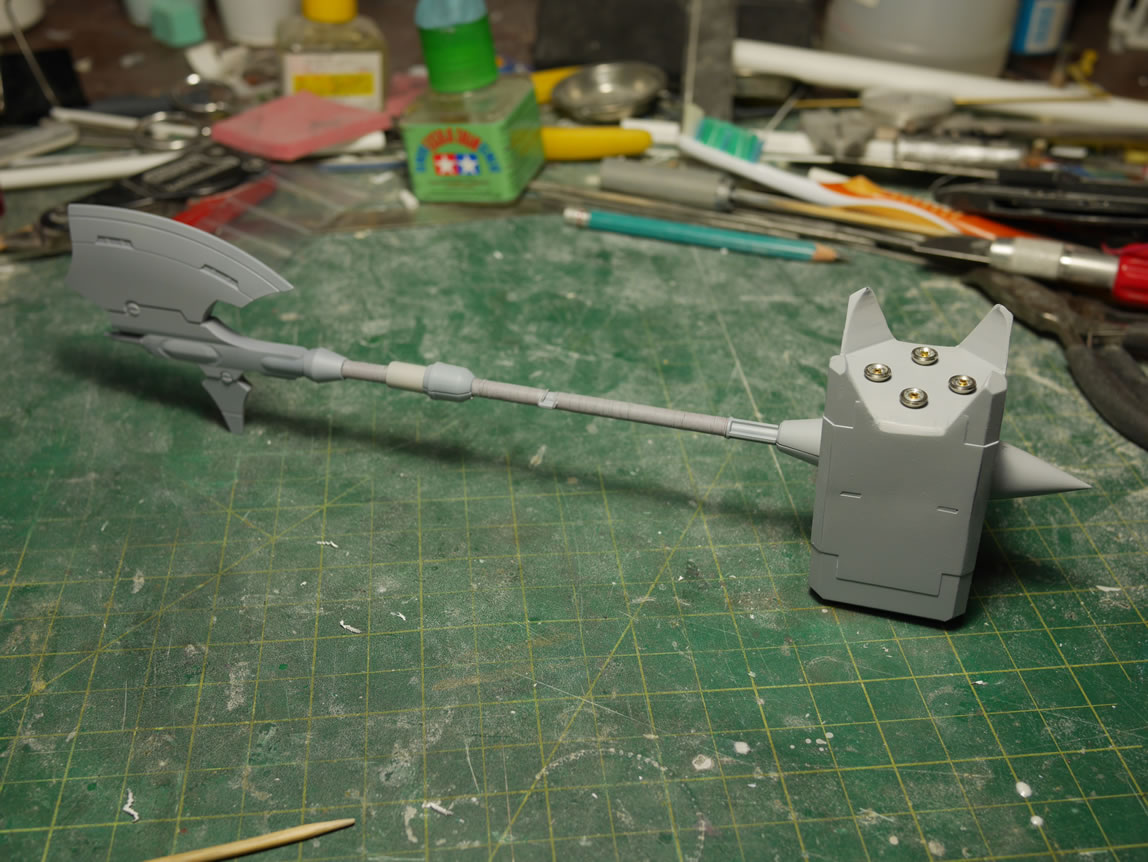
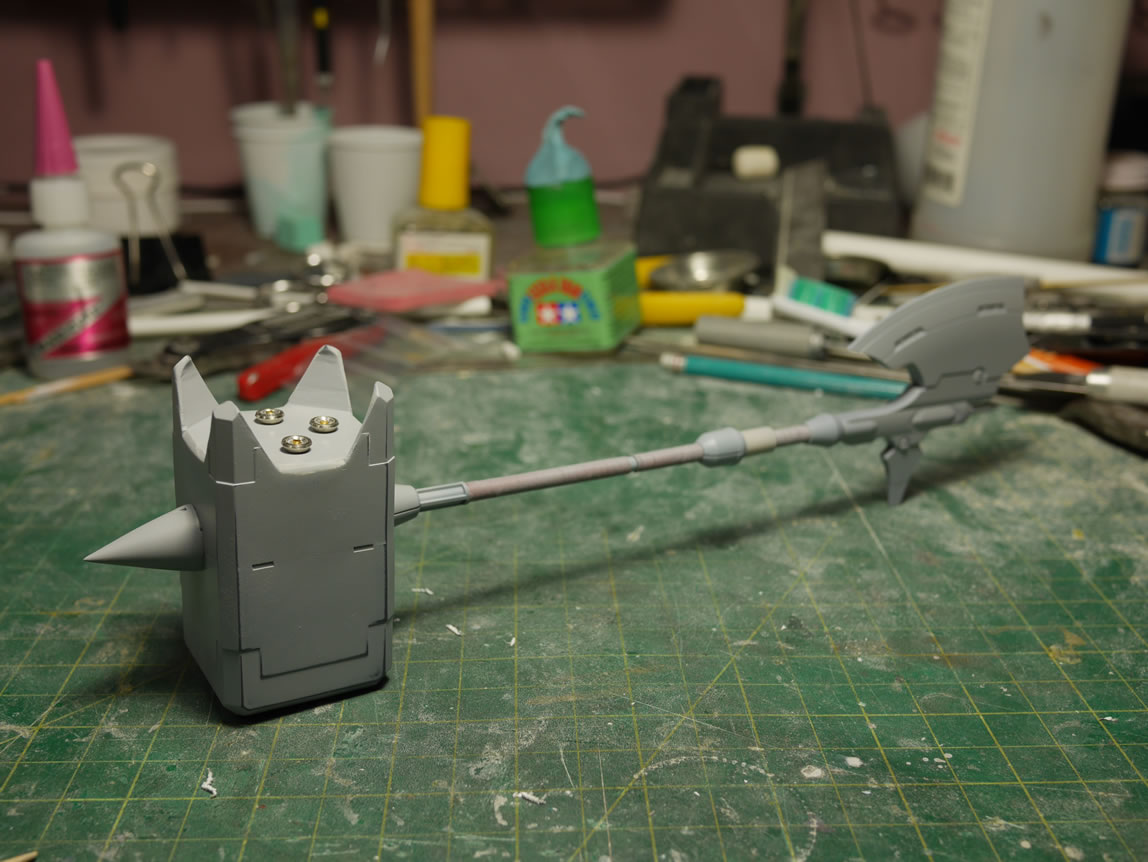
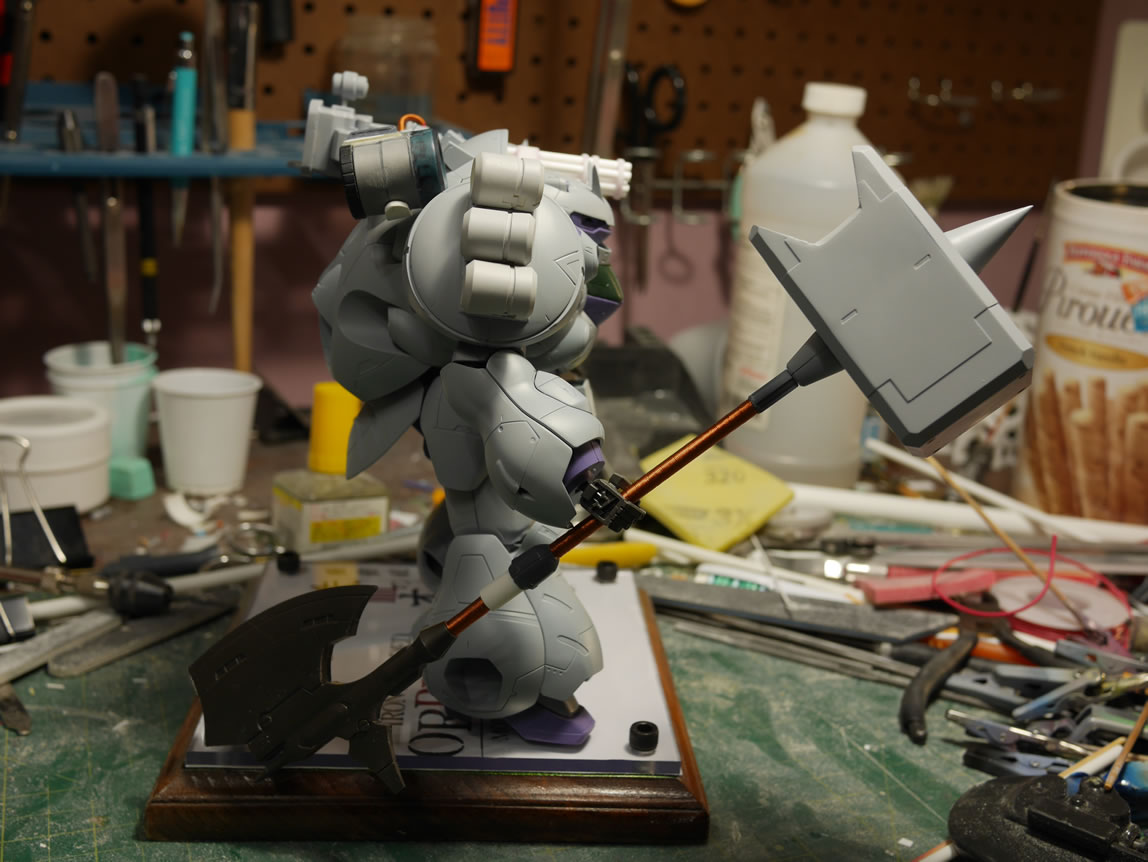
Work on the hammer continues. The back area that was cut apart is filled and run through the sanding, putty, priming cycles. Not satisfied with just extending the hammer’s handle; I found the Rebake’s axe piece; so I thought it would be cool to add that to the end of the hammer’s handle. I also added some metal thrusters to the back of the hammer.
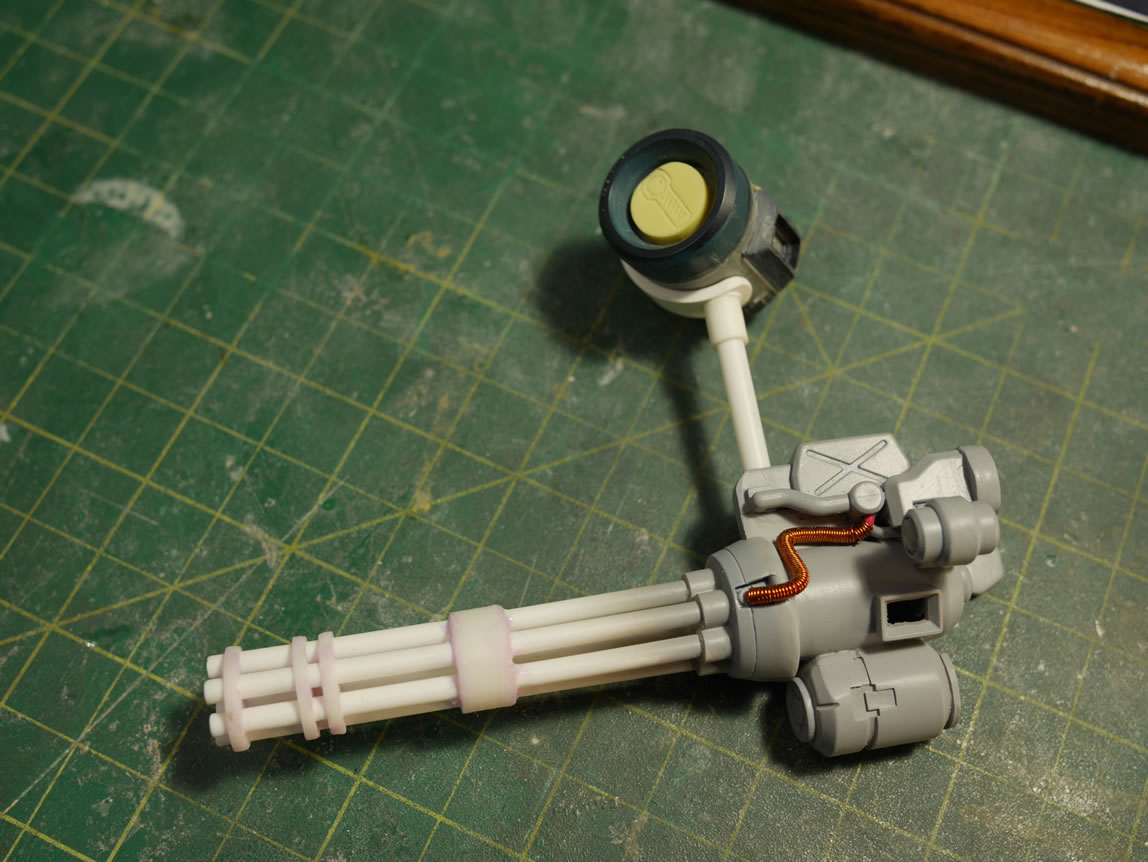
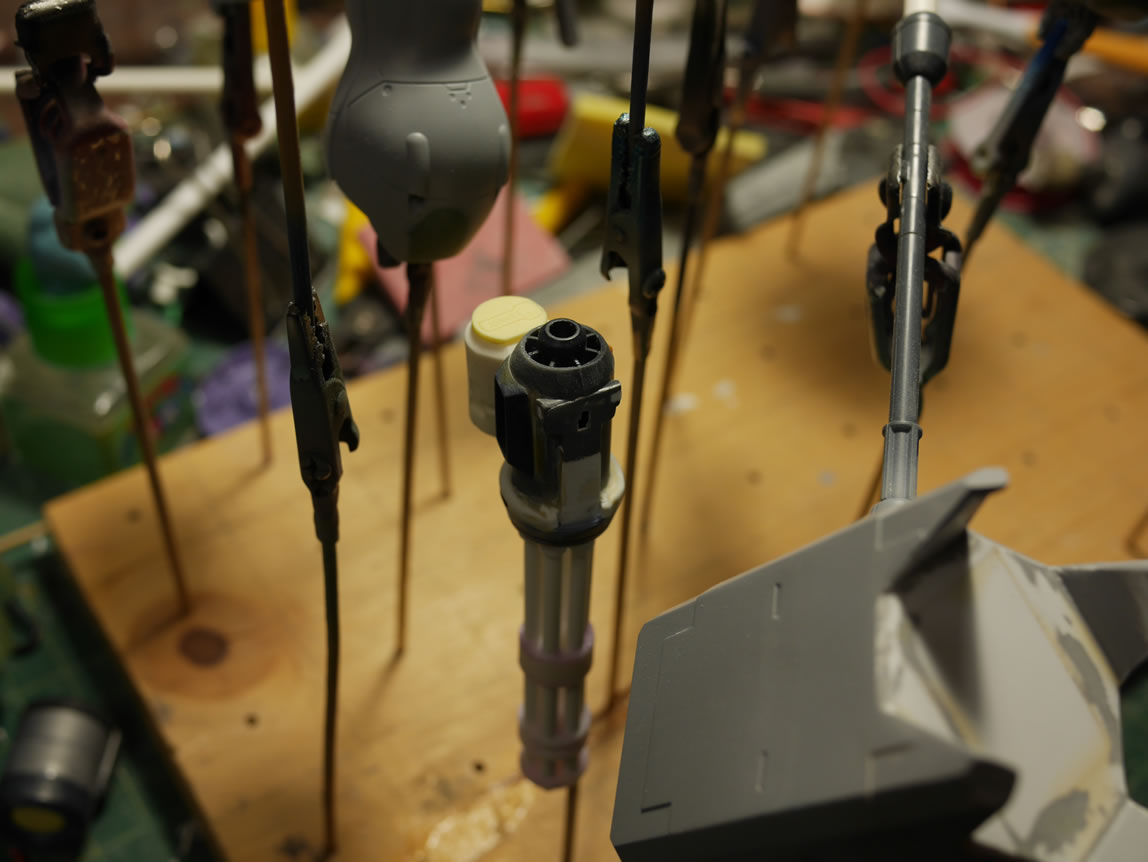
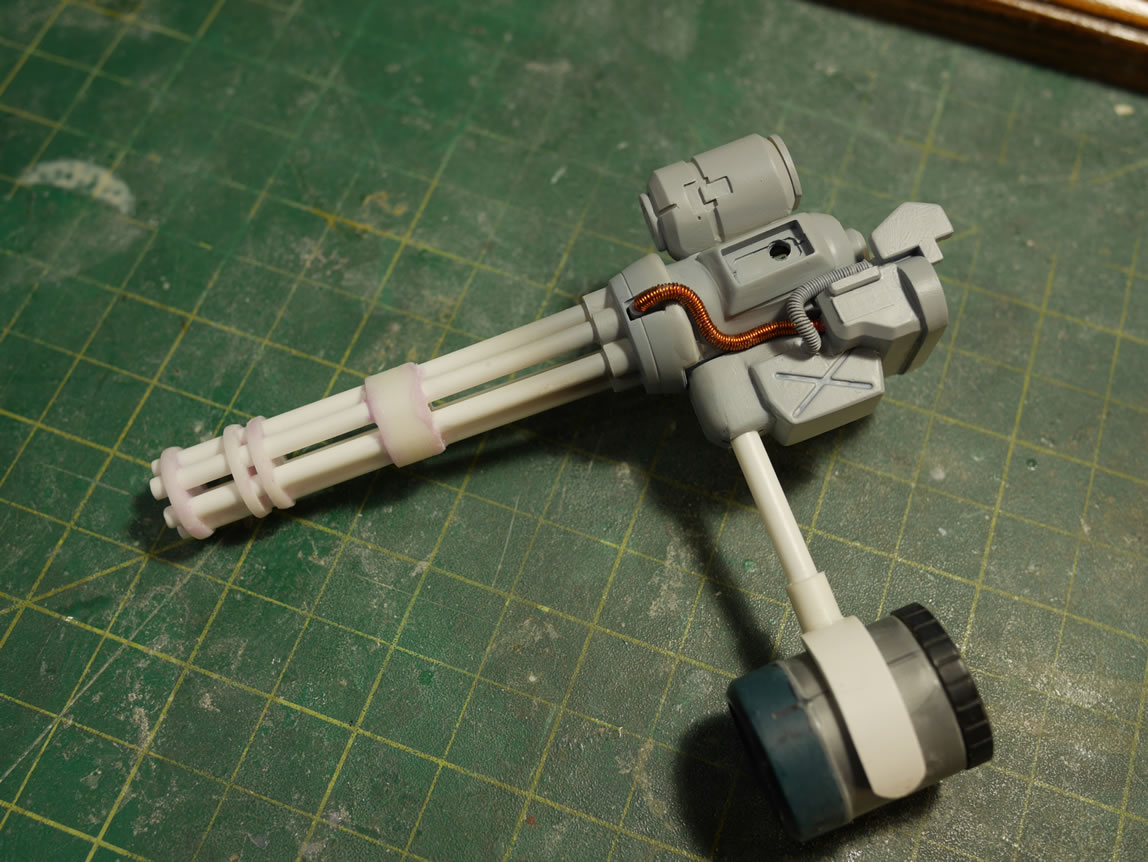
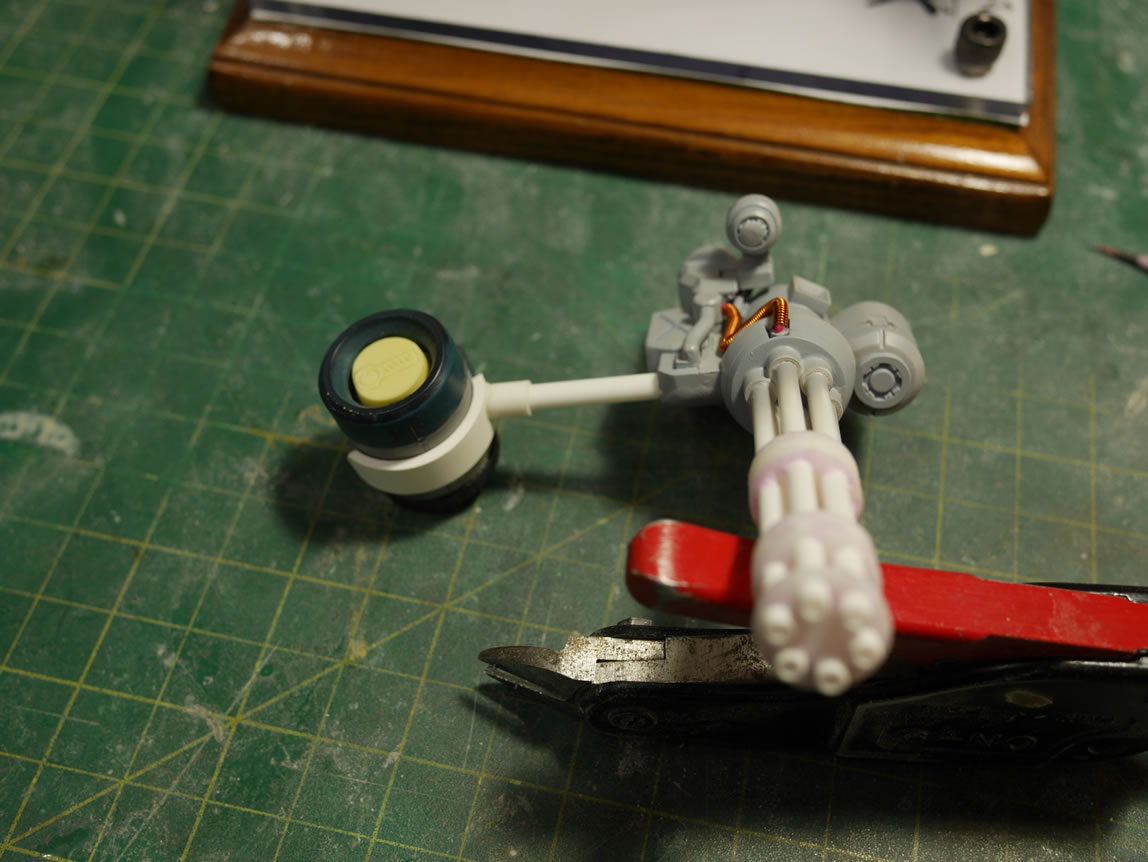
Going back to the gatling gun; I slowly added more details here and there. A ammo shell ejector port is added using the inner piece of a MG Nu Gundam Funnel piece (the yellow vent part). I added in an ammo feed location using the MG Nu Gundam’s funnel piece (black part). I cut this piece in half to shorten the size then glued it back together. I added a corresponding feed port to the ammo drum. The two main pieces of the weapon is primed and worked on independently to clean up the build before gluing the whole piece together. It is much easier to work on the individual parts than as a whole piece; this all goes to build planning.
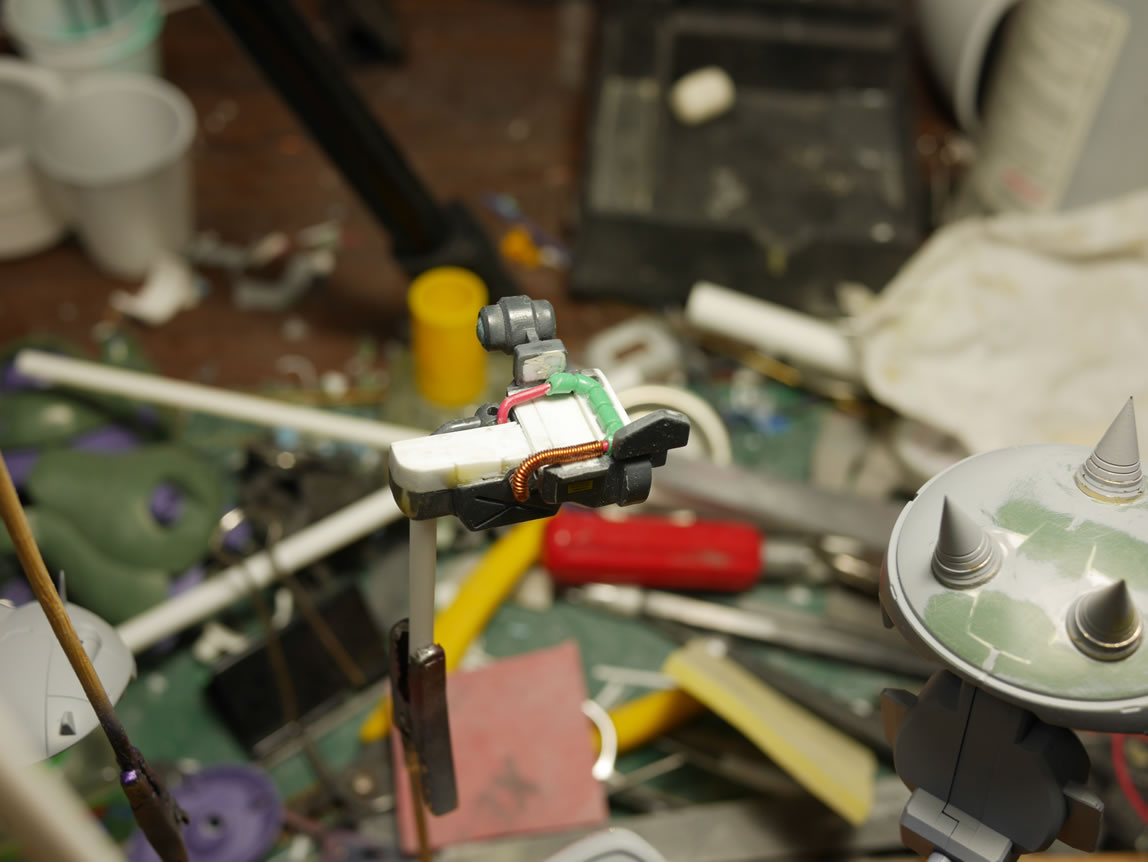
I wrapped some solid wires with magnet wire and connected some open hole areas as well as used this bit of detail to hide the connection point between the two main pieces of the gatling gun.
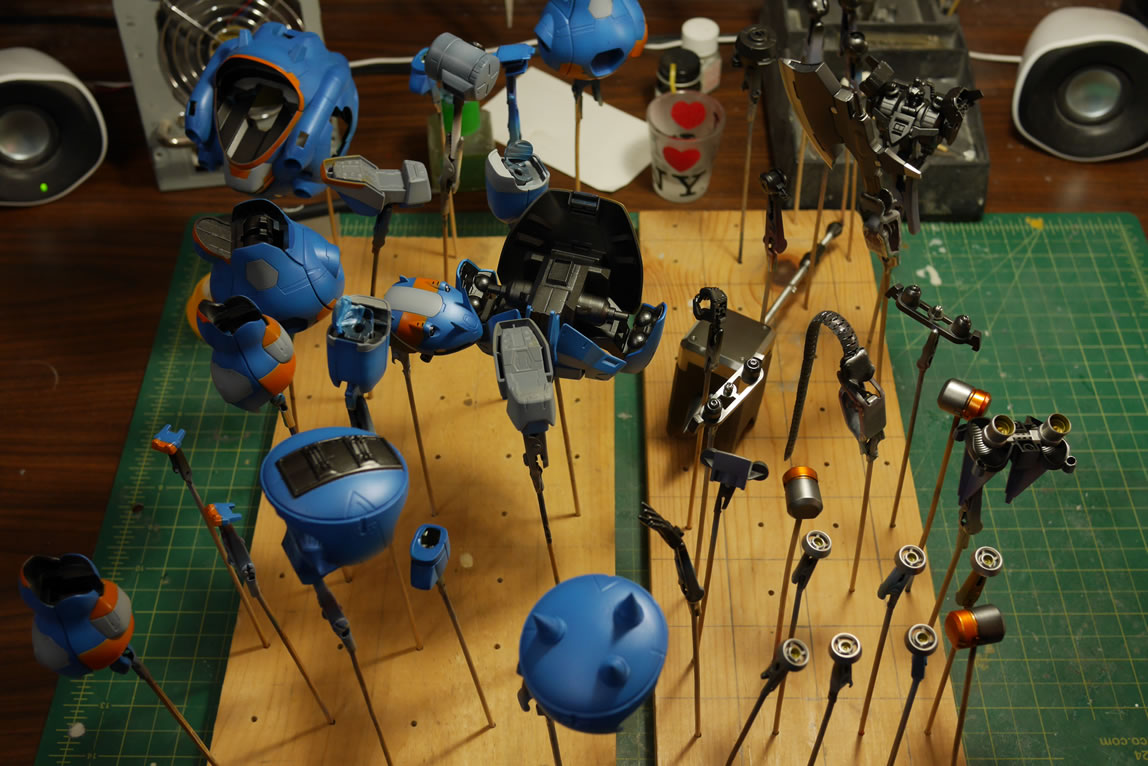
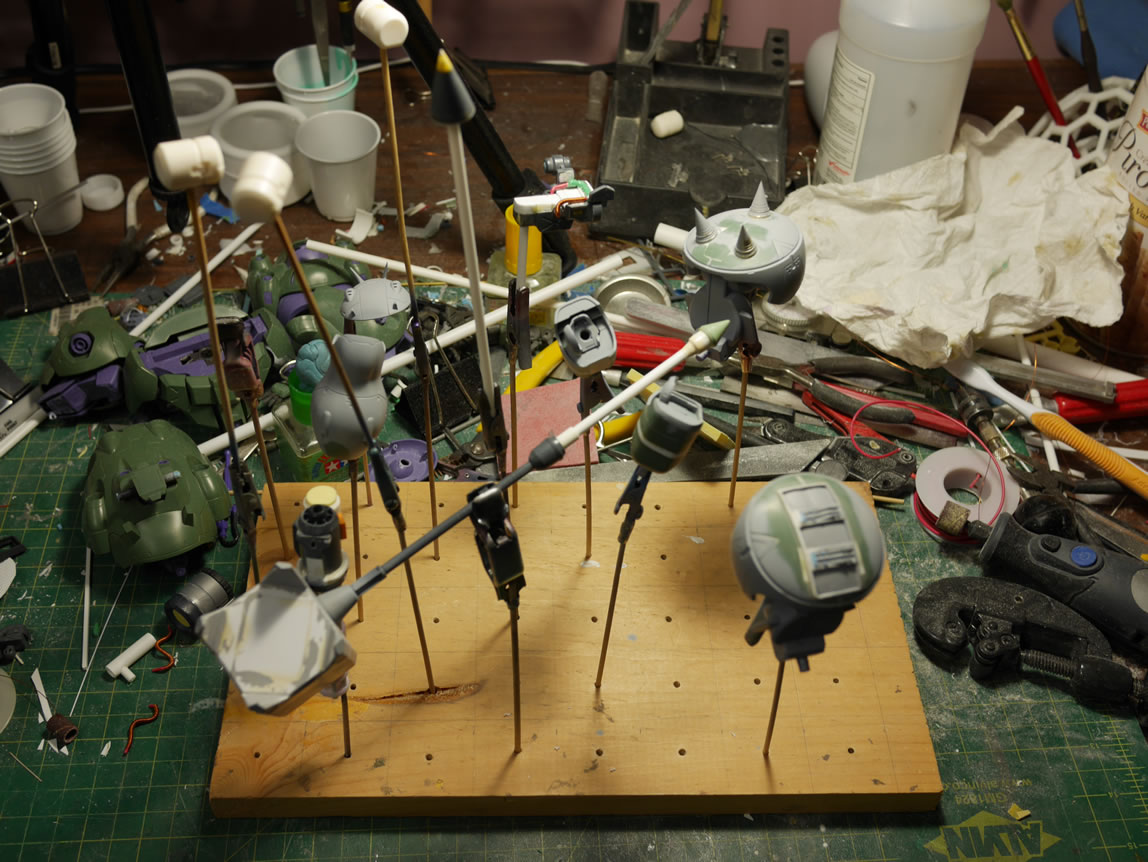
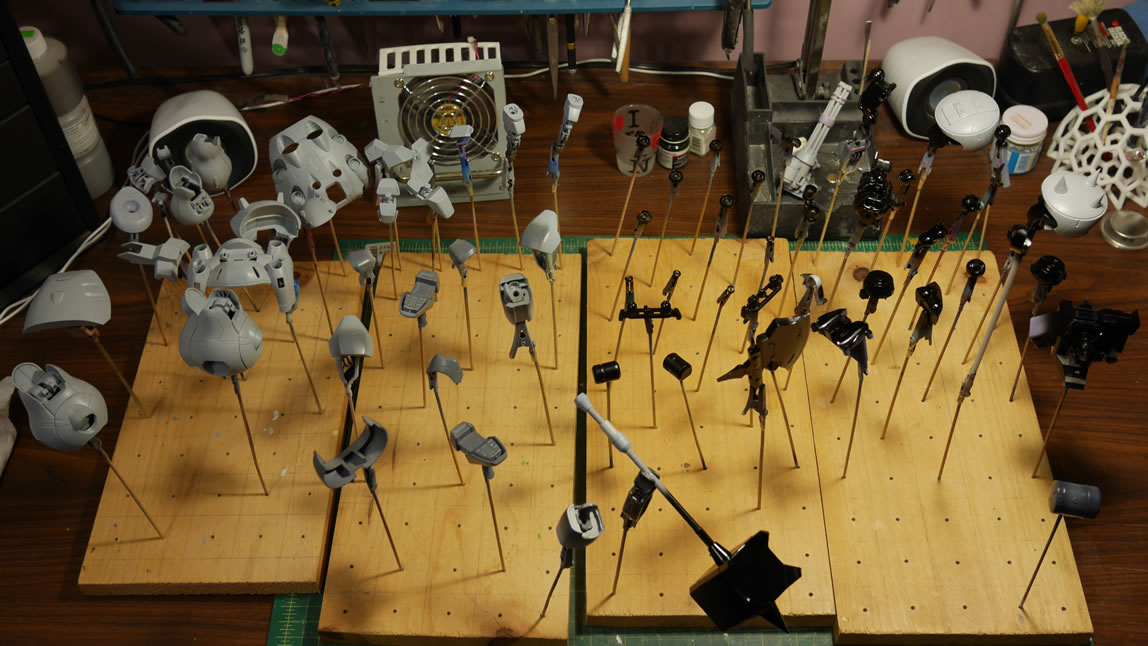
After all the building and clean up work; the rest of the kit is primed to check for sanding problems or even missed nub work. Then once cured, another round of test fitting to get a much better look at the kit since it’s all one basic color.
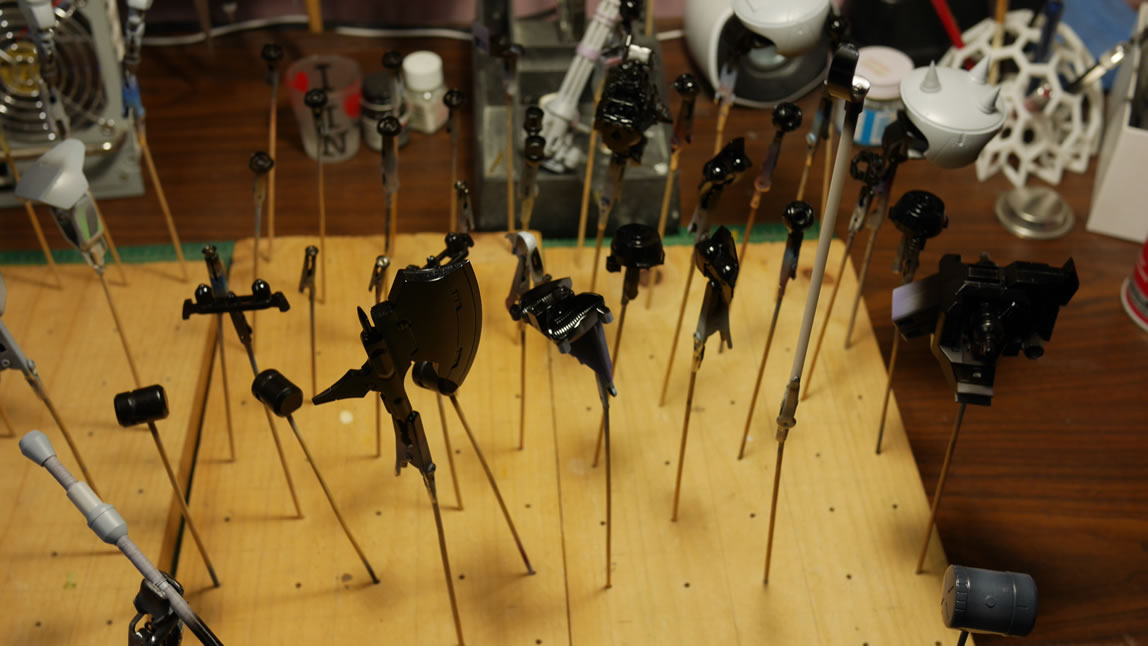
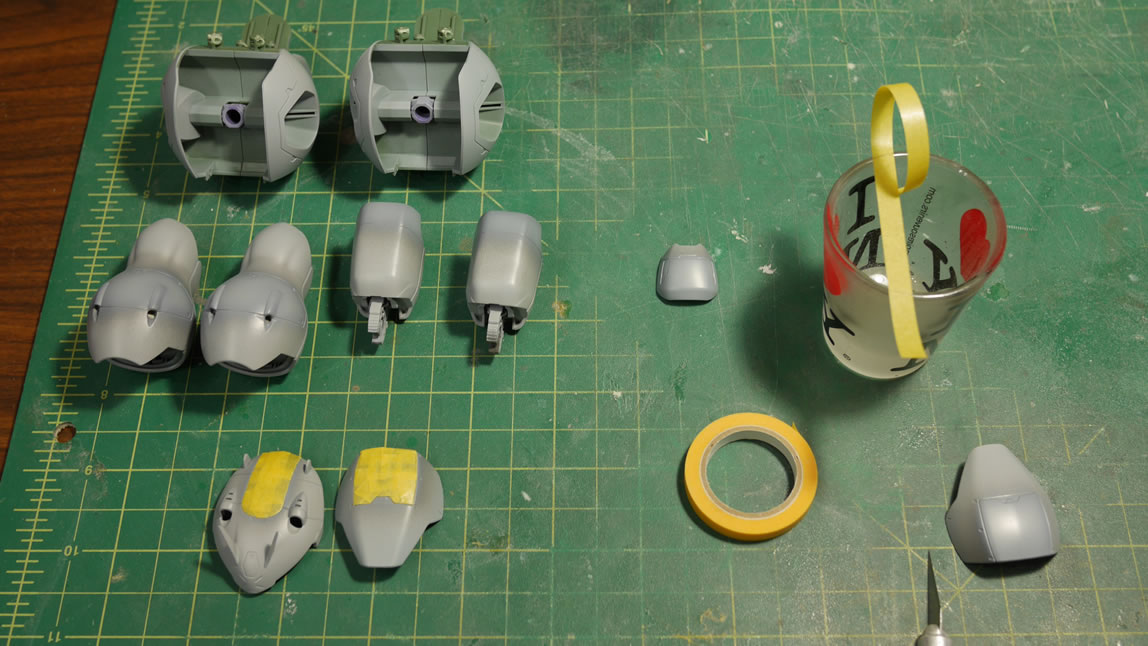
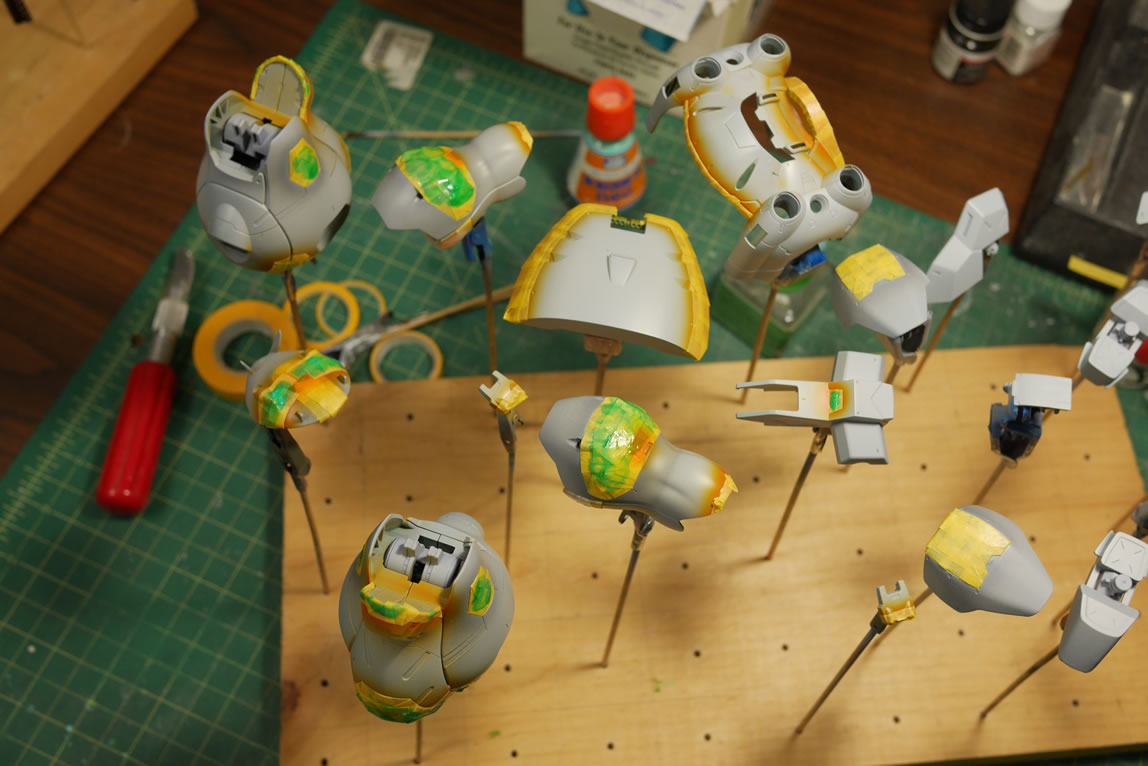
Once everything looks good, I can finally get to my favorite part of the whole process; painting. The frame pieces and most of the planned metallic parts are base coated with gloss black. Some of the exterior pieces are painted with two grey tones to create a shaded effect.
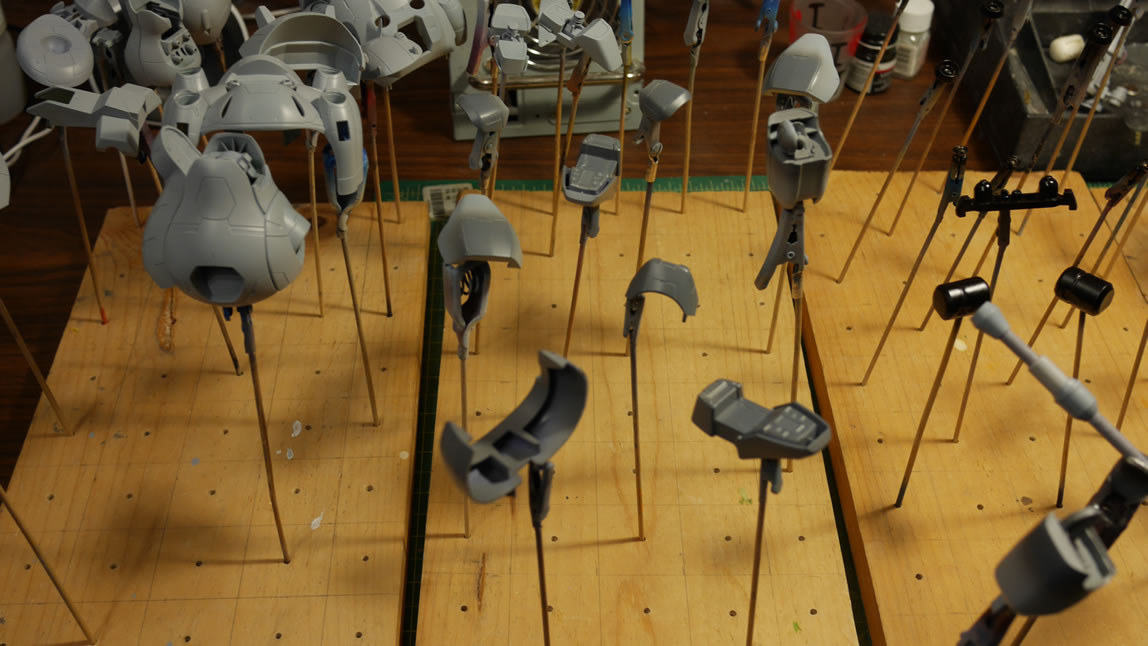
Once the paints have cured; I can get the first layer of masking done. The grey details are masked off using mostly tamiya masking tape.
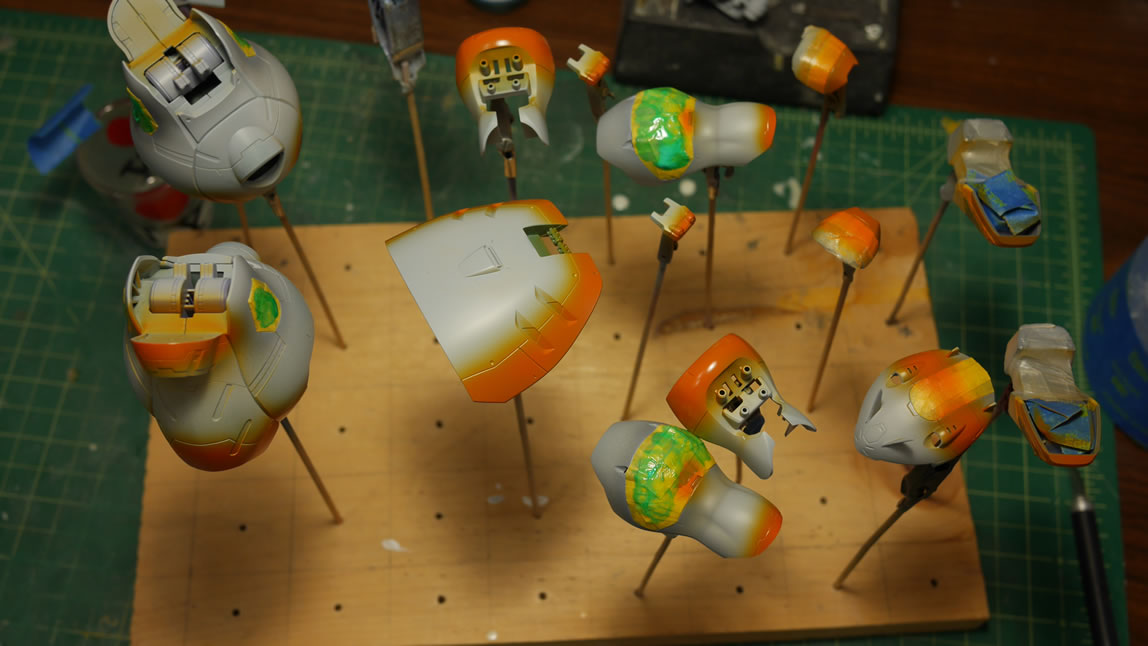
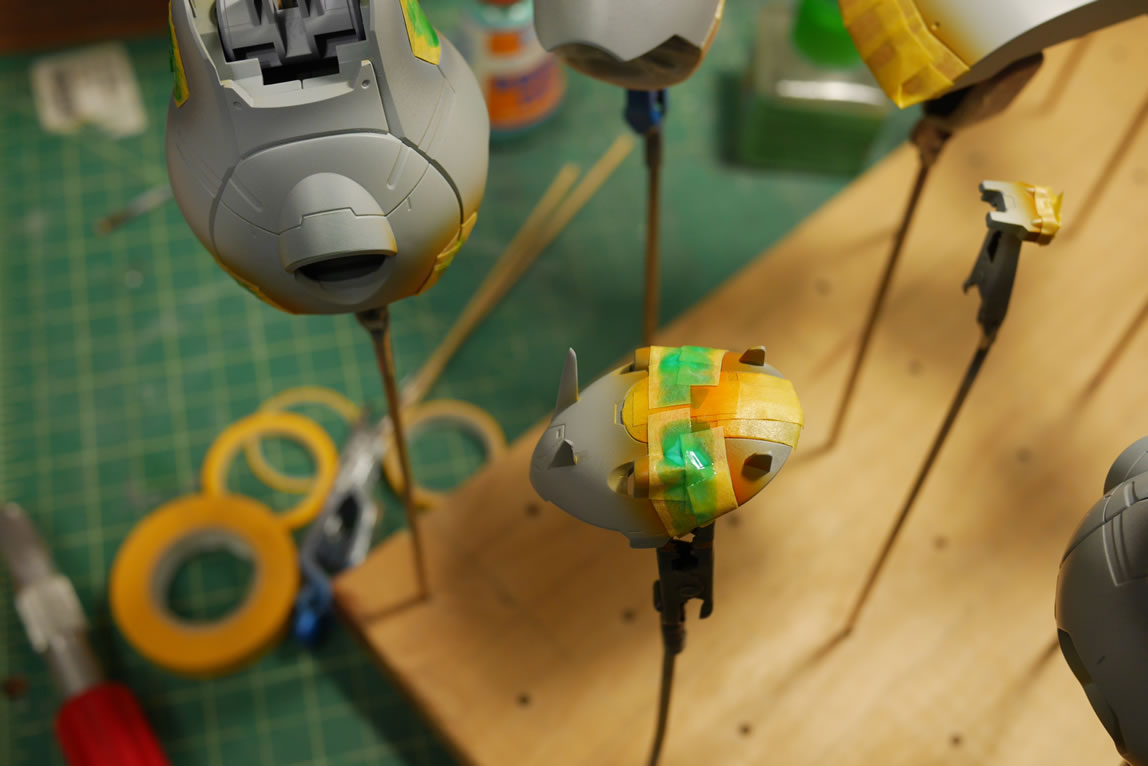
Orange you glad I didn’t say green? The next layer of paint is a custom mix of finisher’s deep yellow and finisher’s mica red to create a custom orange; since my bottle of Mr Color orange was empty. Highlight areas are painted and left to cure.
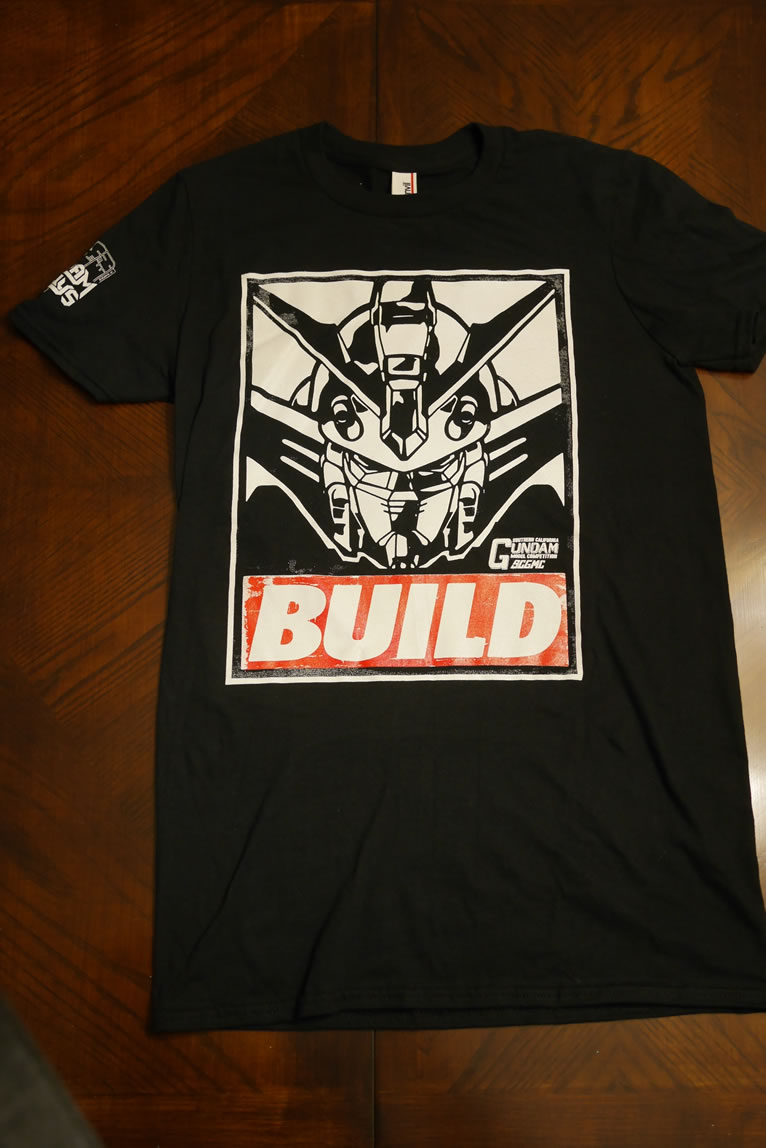
SHAMELESS PLUG!!!
Back by popular demand, we got our Wing Build Shirt printed and up for sale. Click here to order yours!
And along the lines of shameless plugs; one of our newer build gathering members started up a blog: Freddy Was Wrong Check out his site as it is from the perspective of a builder fairly new to gunpla, but pushing the envelope and all the cool mistakes he’s learned as he continues to build.
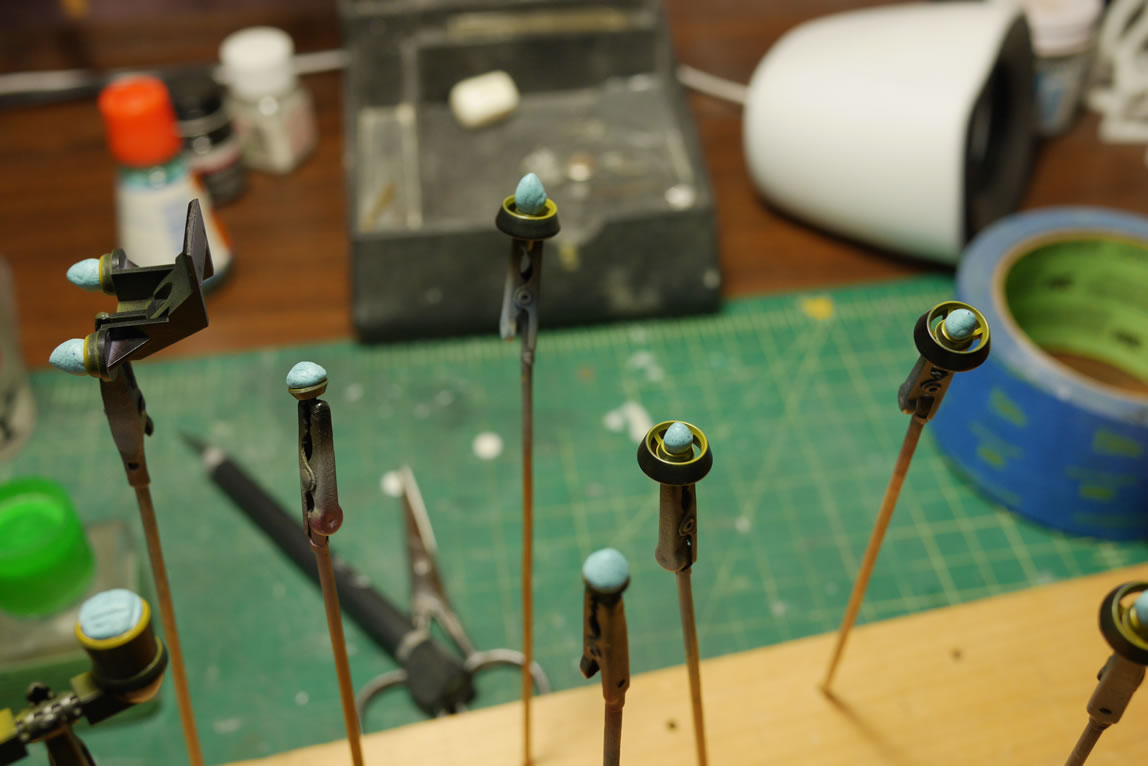
Next up, the internal bells of the thrusters were painted with an ochre color, then masked off using blue sticky tack. This is a very simple way to mask off the thrusters to paint them in two steps.

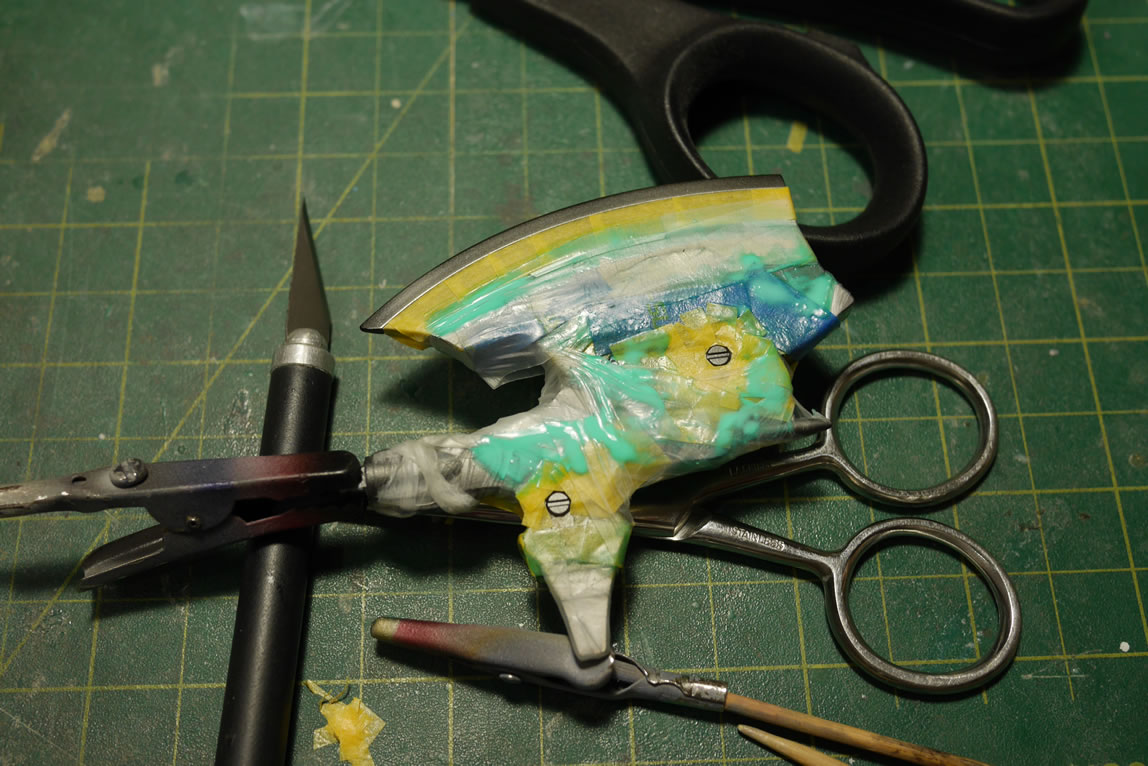
The orange is masked off using tamiya masking tape. Mr Masking Sol is also added over the layers of the tamiya masking tape as a catch all (green tint over the yellow masking). The axe head is also being painted and masked in several layers. The larger areas here were masked off with parafilm. Small details are masked off with blue sticky tack.
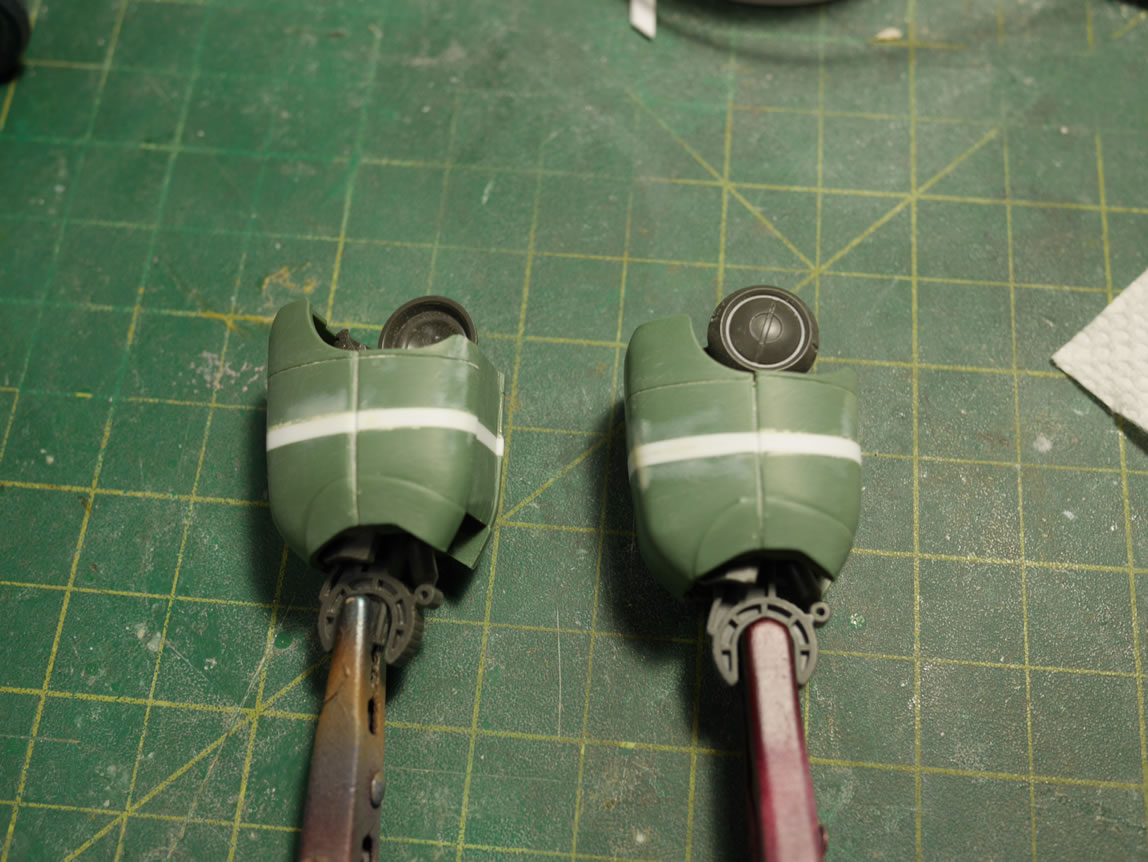
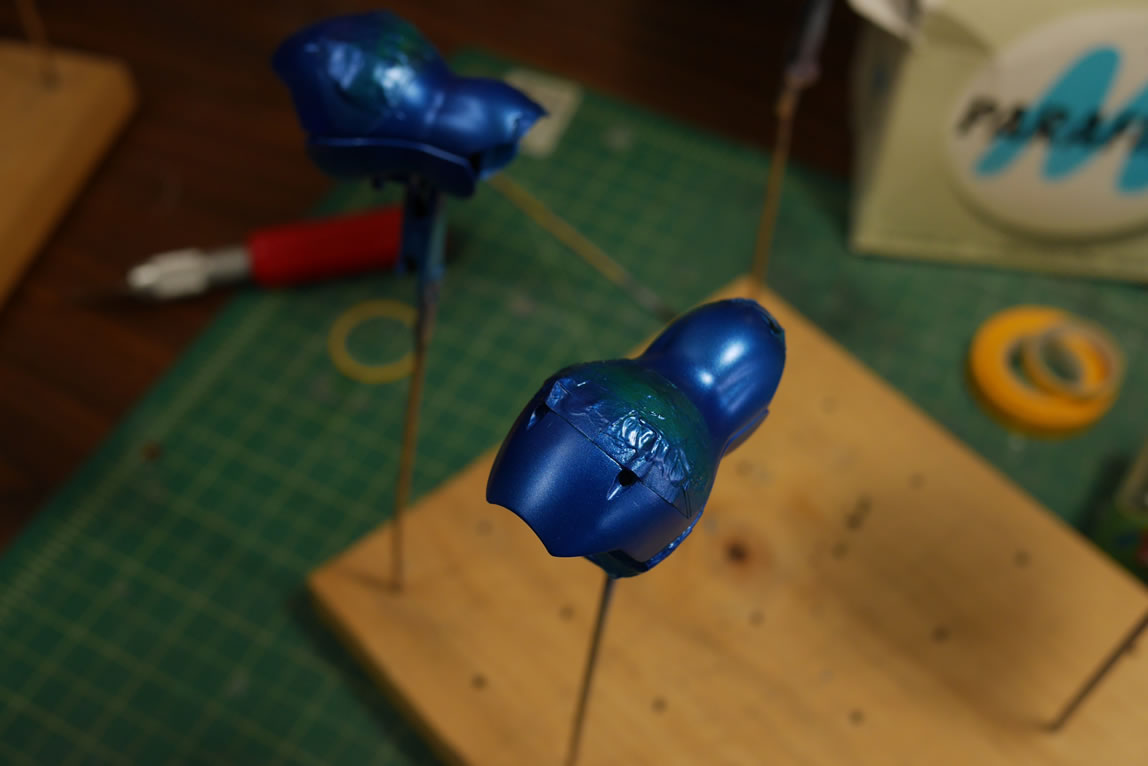
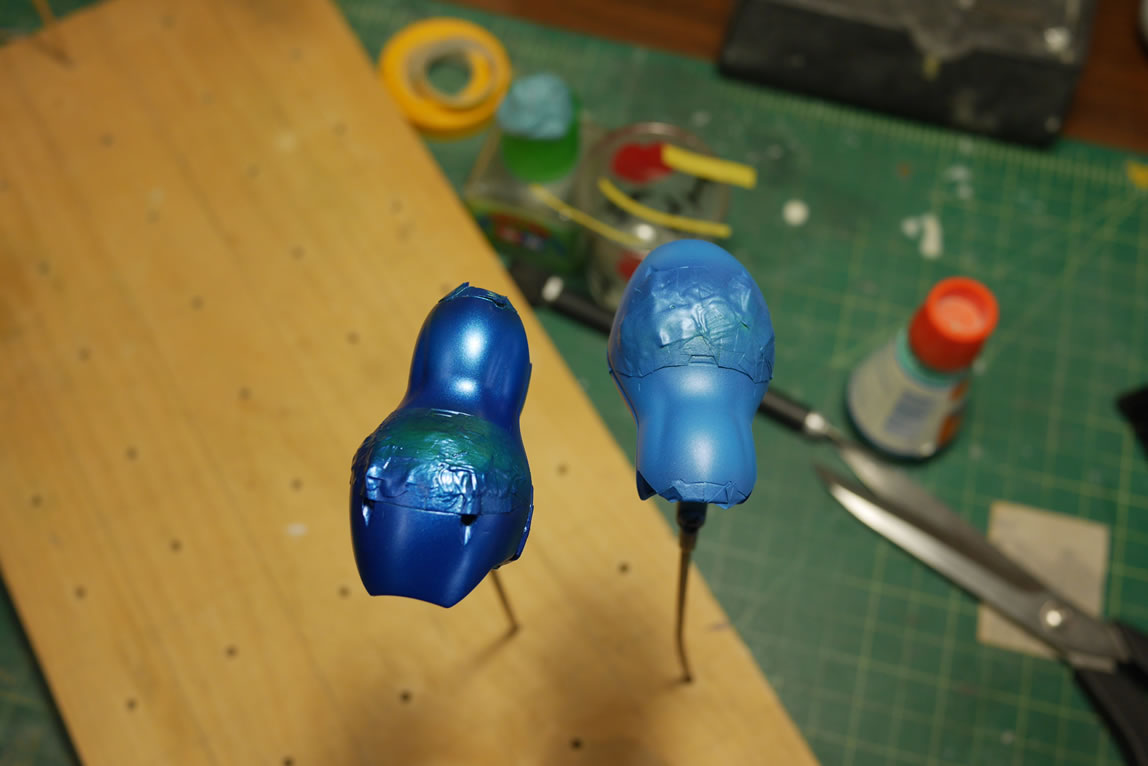
With the second masking layer down. The first base coat of the main color is sprayed. I used the same color as I did the 1/144 Gusion, my old Subie’s World Rally Blue. This worked as the base color. I custom mixed this color with Mr White Base to create a powder blue main color. The white base makes the final finish of the paint a semi gloss and keeps a little bit of the pearl effect. I really like the finish so far.
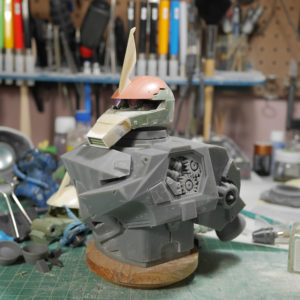
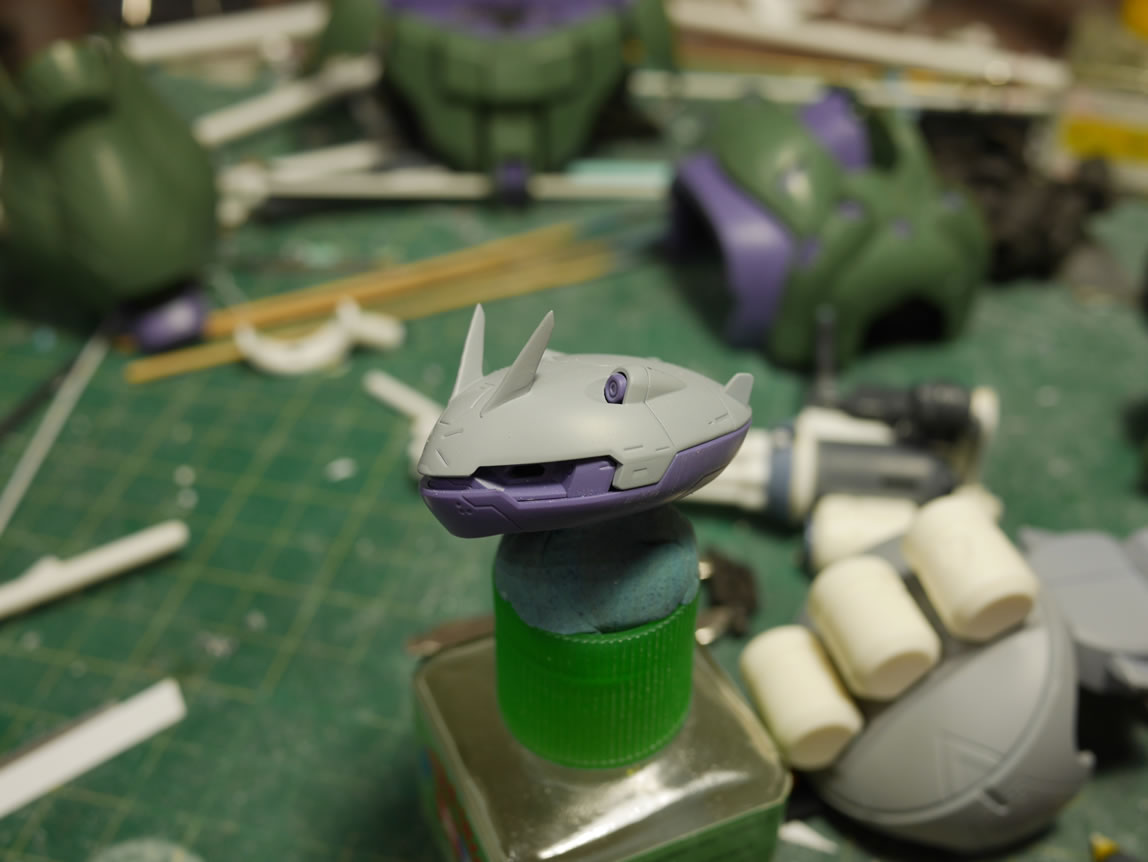
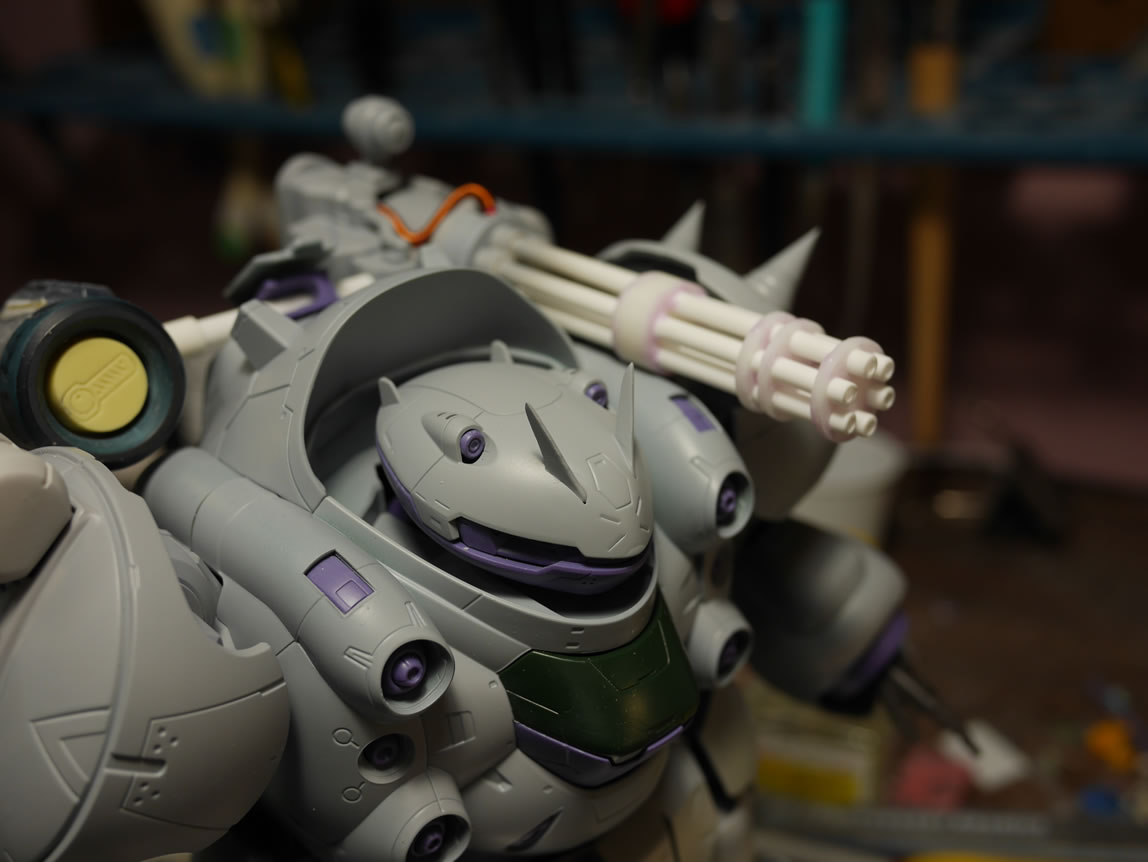
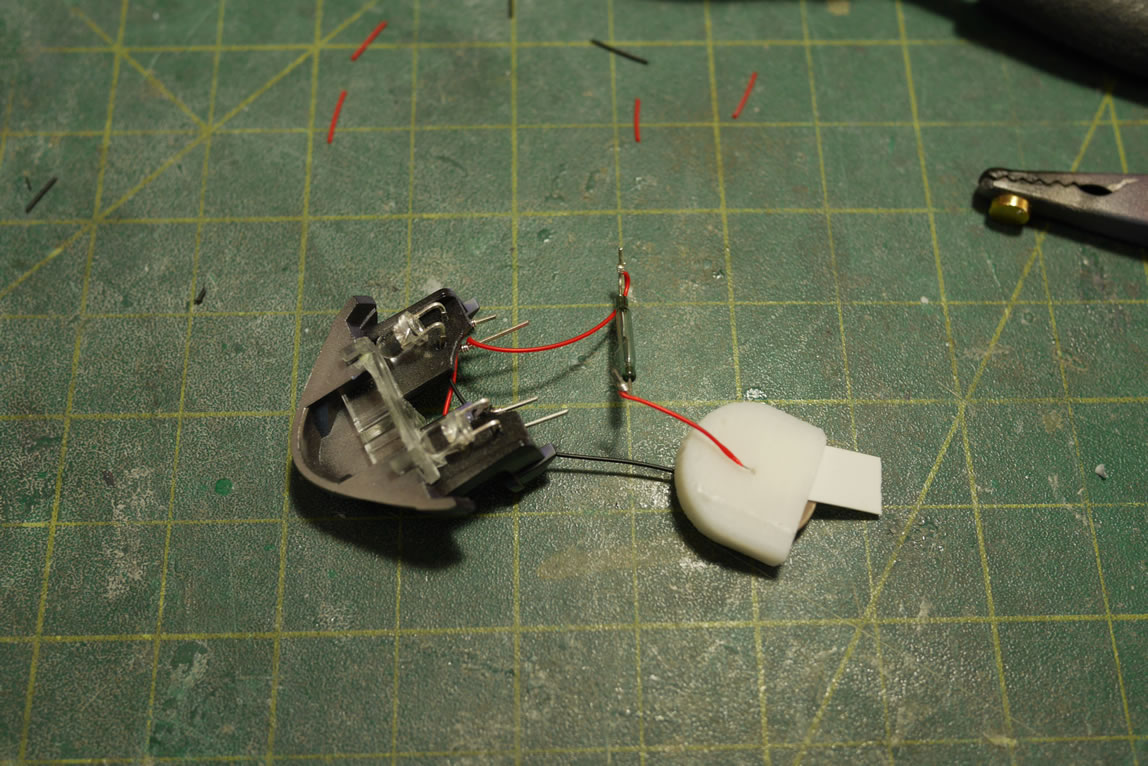
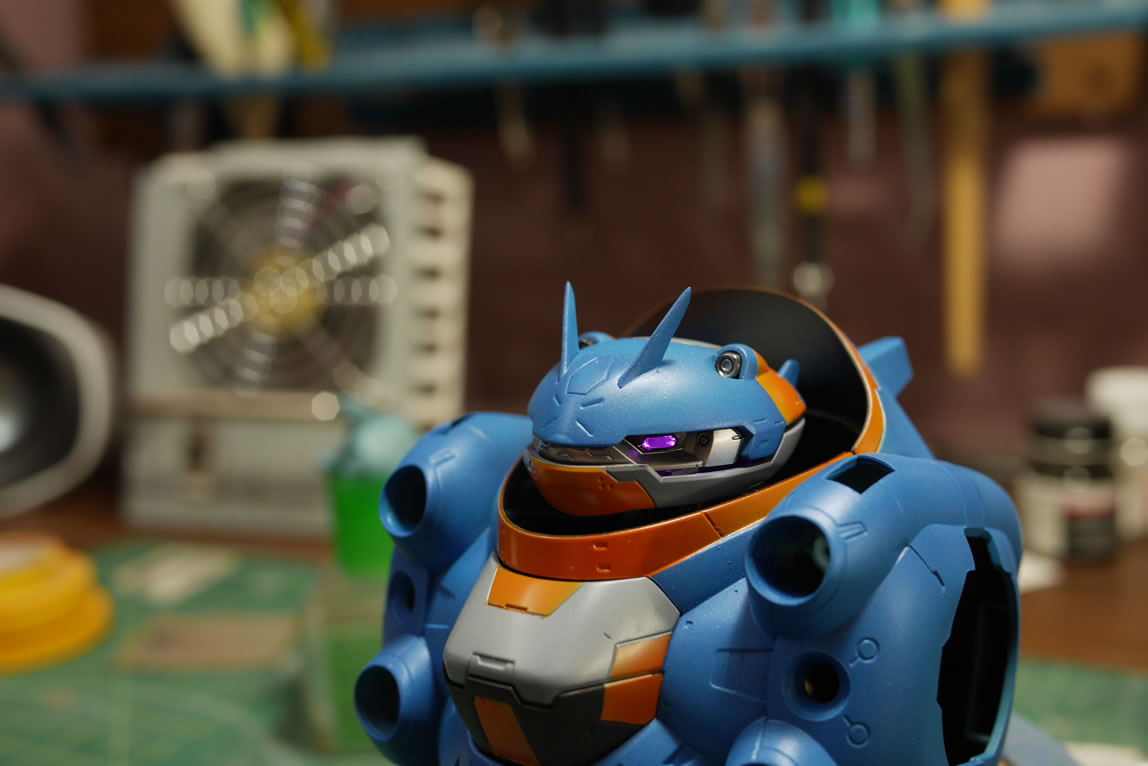
With most of the painting done, I went to work on the electronics for lighting the eyes. Using pink LEDs, the two lights are wired in parallel, and connected to a battery and reed switch. The reed switch is operated with a magnet. And a quick test of the assembly shows the completed head with the eyes lit.
This brings the build up to date. I still have more masking for the arm’s frames as well as the gatling gun. I’m still in debates with how I want to finish the kit. I’m leaning towards a bit of weathering, but not going overboard, just a small amount. But I do like the current semi gloss finish. But I’m getting close, and the light is starting to get brighter as the tunnel exit gets closer.