Work continued on Yukari with a sewing machine.
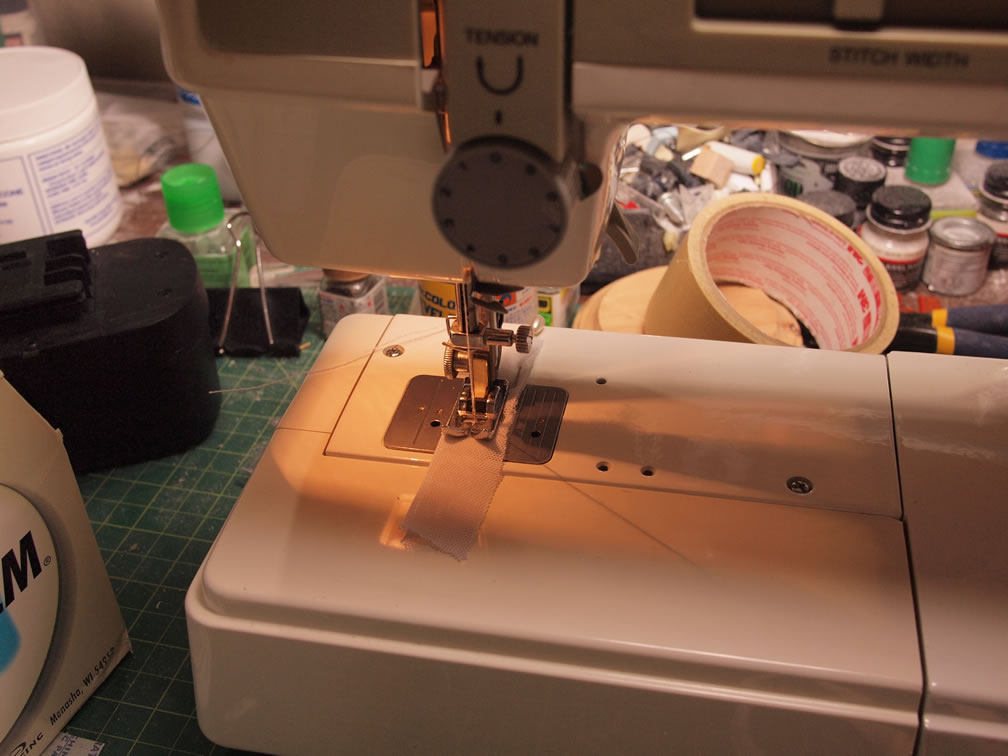
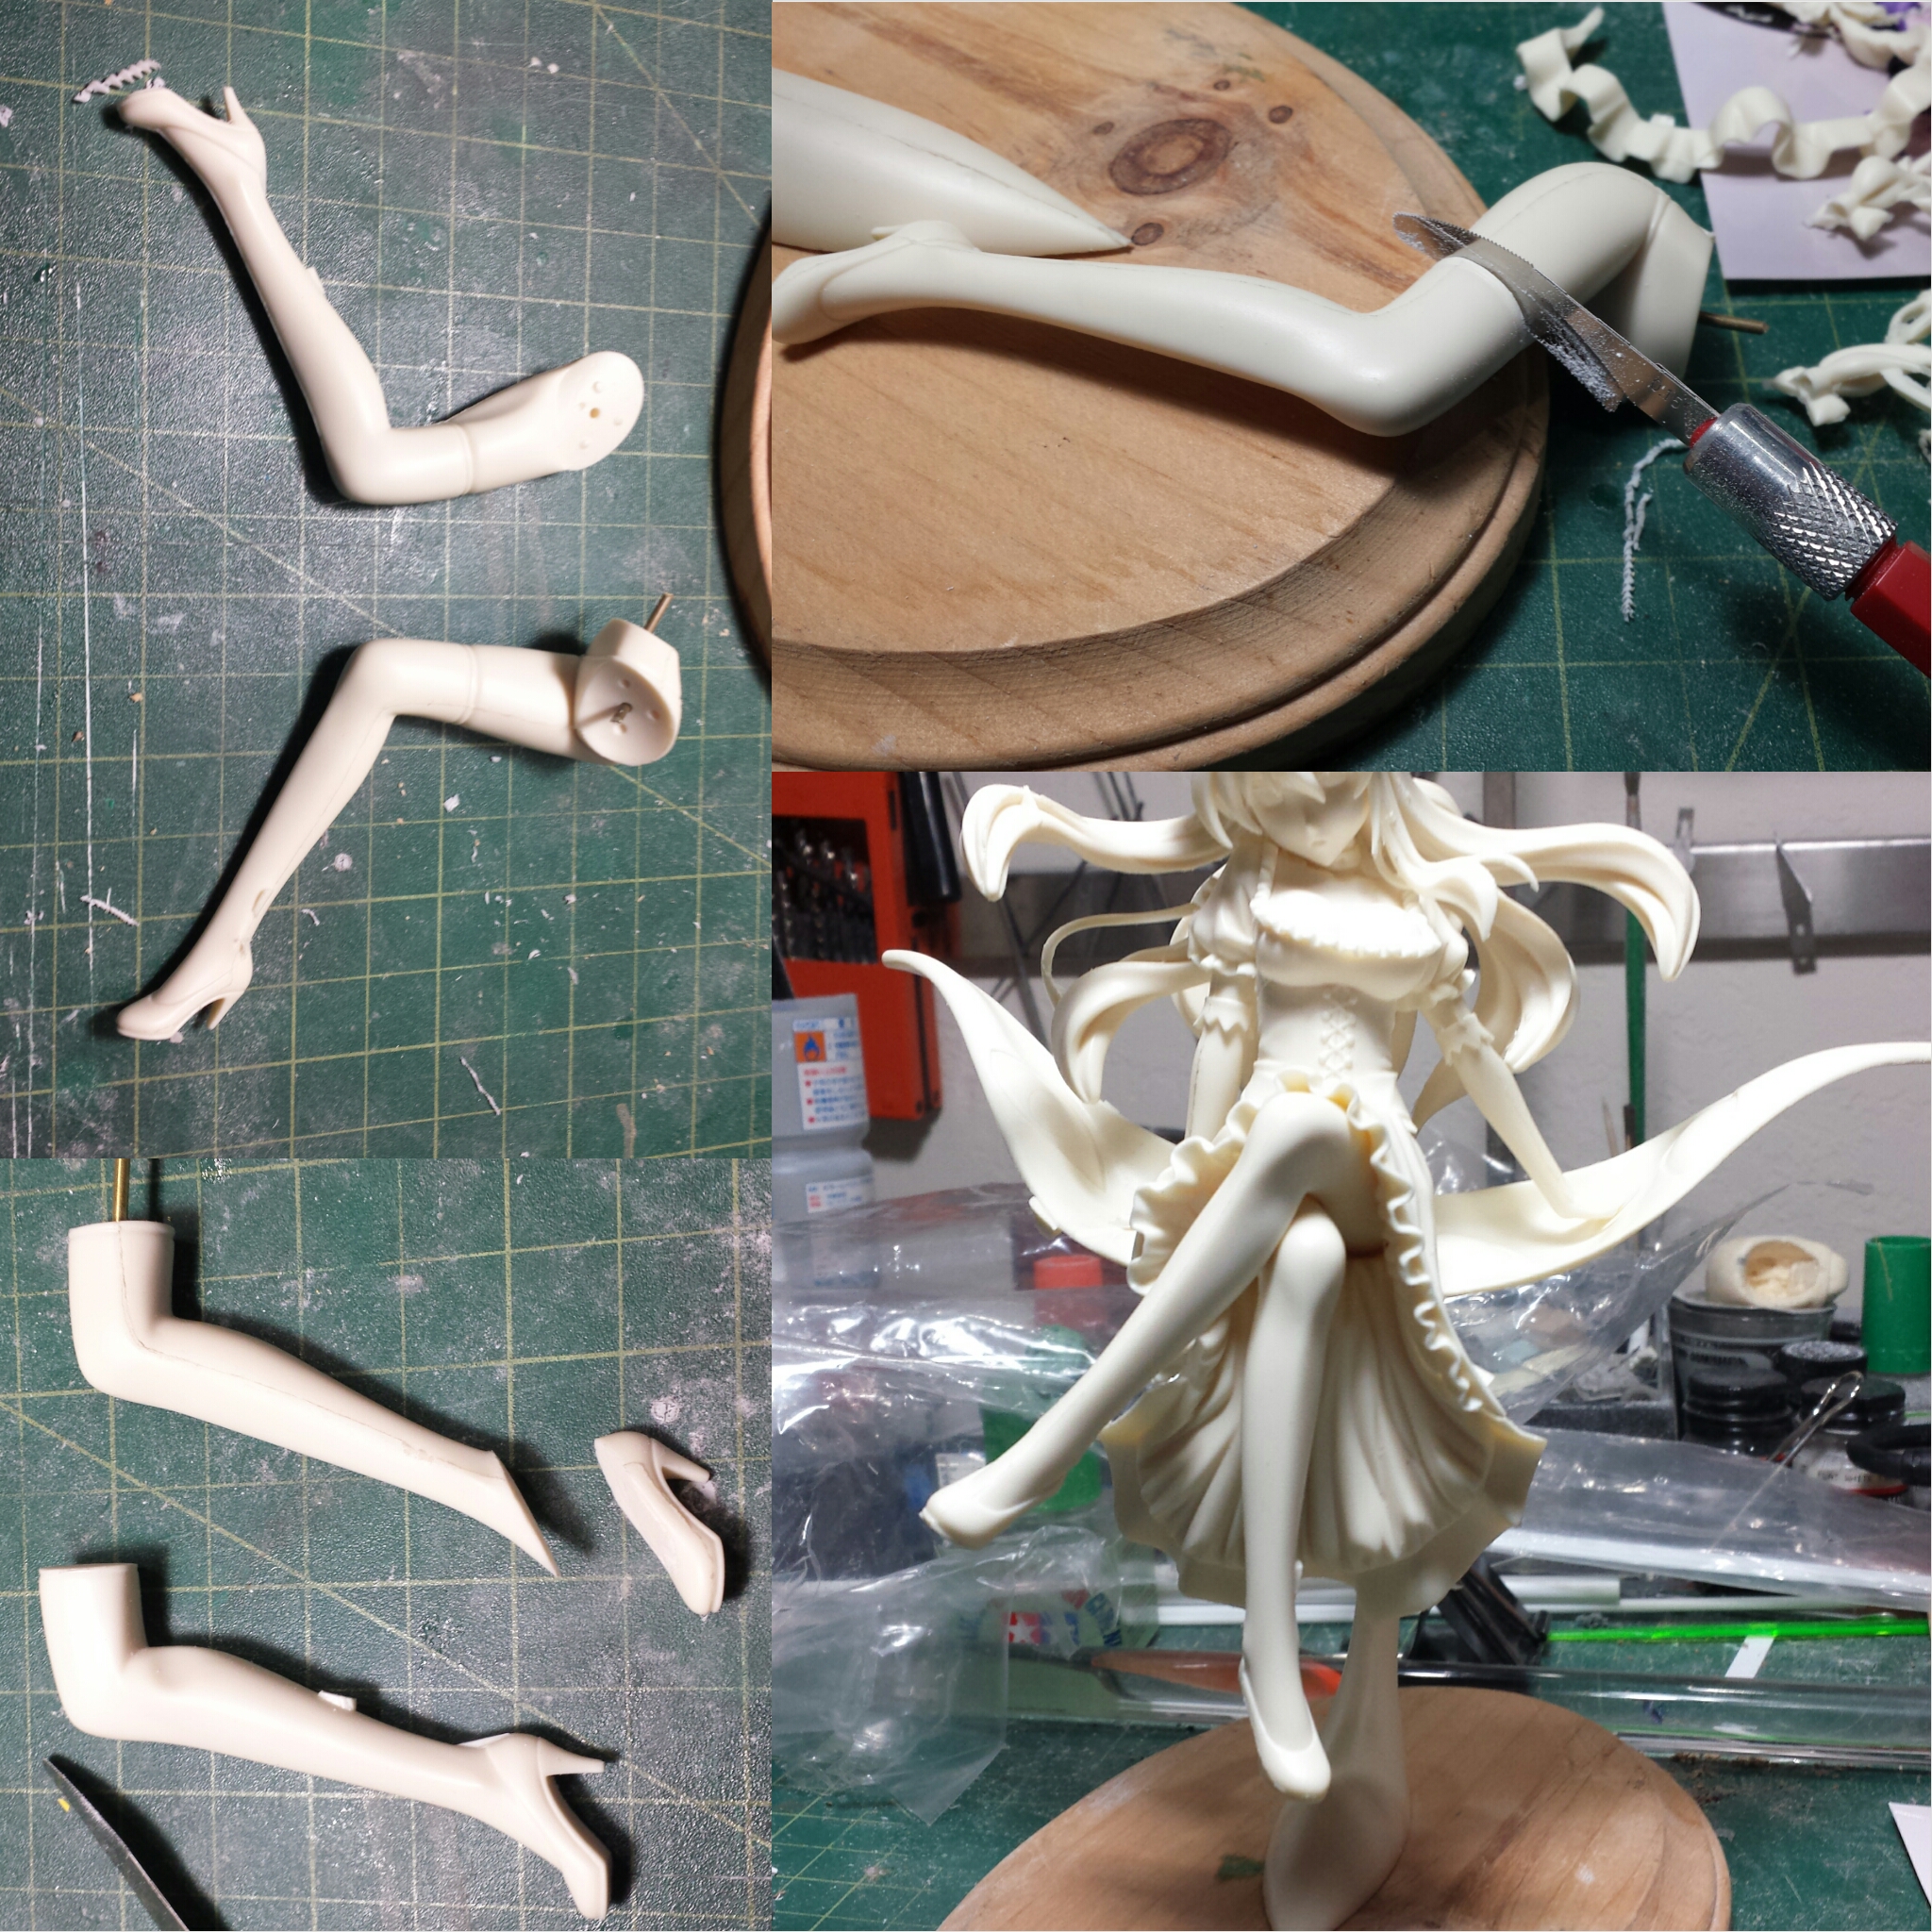
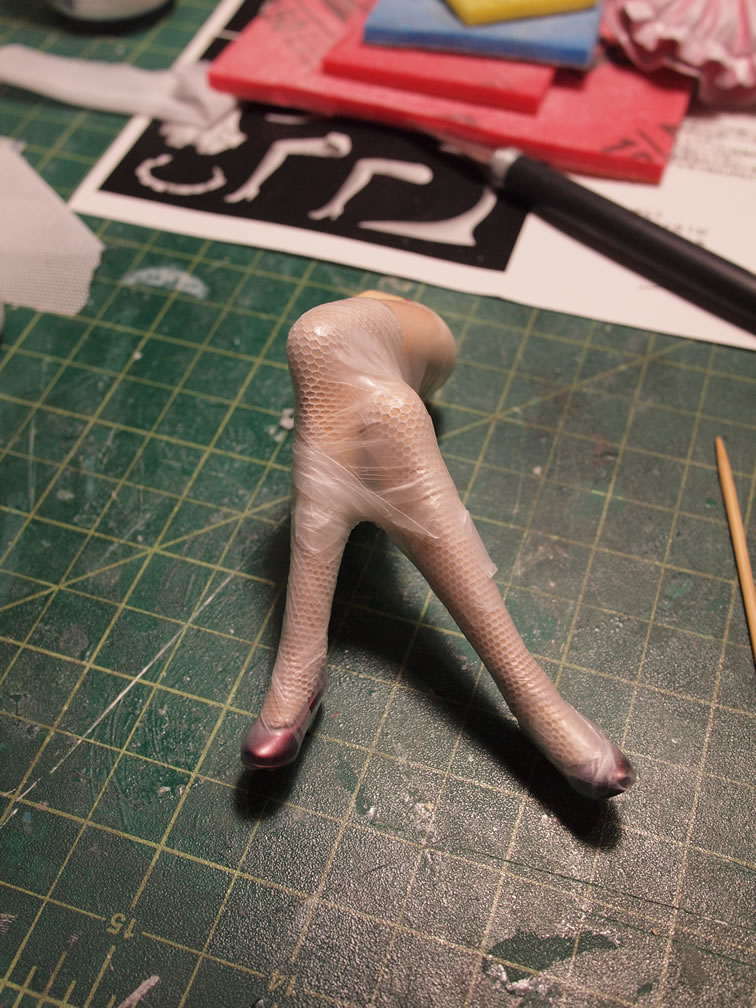
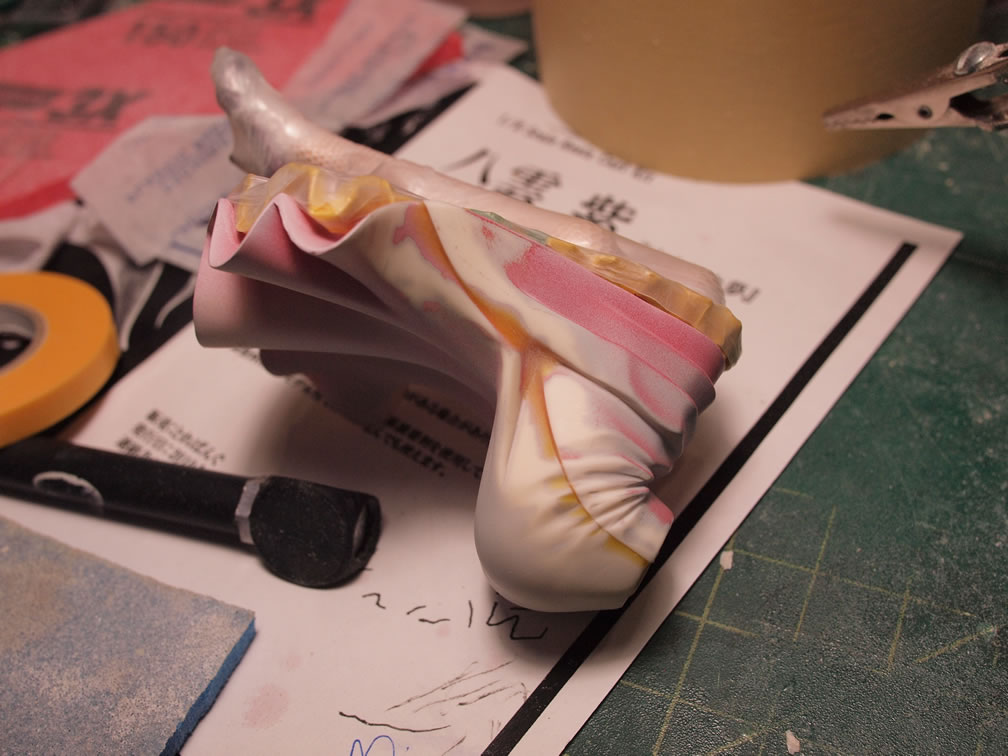
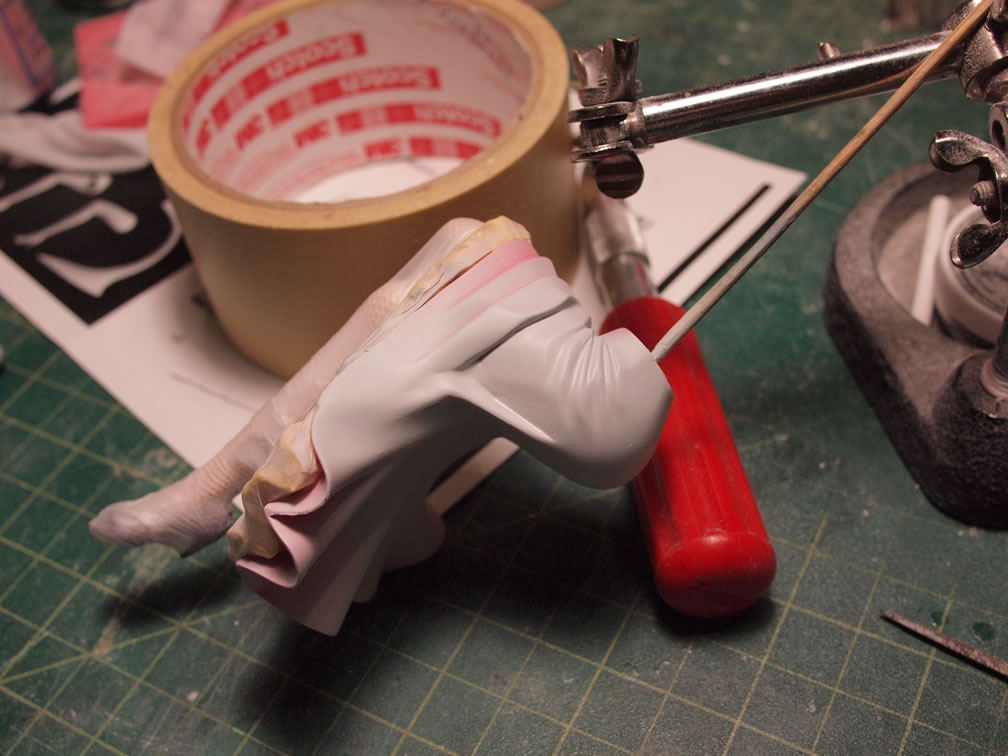
Returning shorly to the previous post, the leg parts were cut to remove the shoes as well as the upper thigh. Instead of painting on the leggings, I decided to sew some nylon mesh material together and effectively have real stockings on the kit. The mesh materials is measured against the painted legs and cut into strips. The mesh is then held together by some pins and sewn together using an elastic stitch. The excess material next to the open end of the stitch is cut away. This end of the stitch needs to be hidden, so the mesh tube is flipped inside out so the excess is on the inside. Once flipped, the mesh tube is slipped over the legs. Cutting away the upper thigh and the shoes makes it easier to put the stockings together, since the upper and lower areas do not need to be carefully cut and glued.
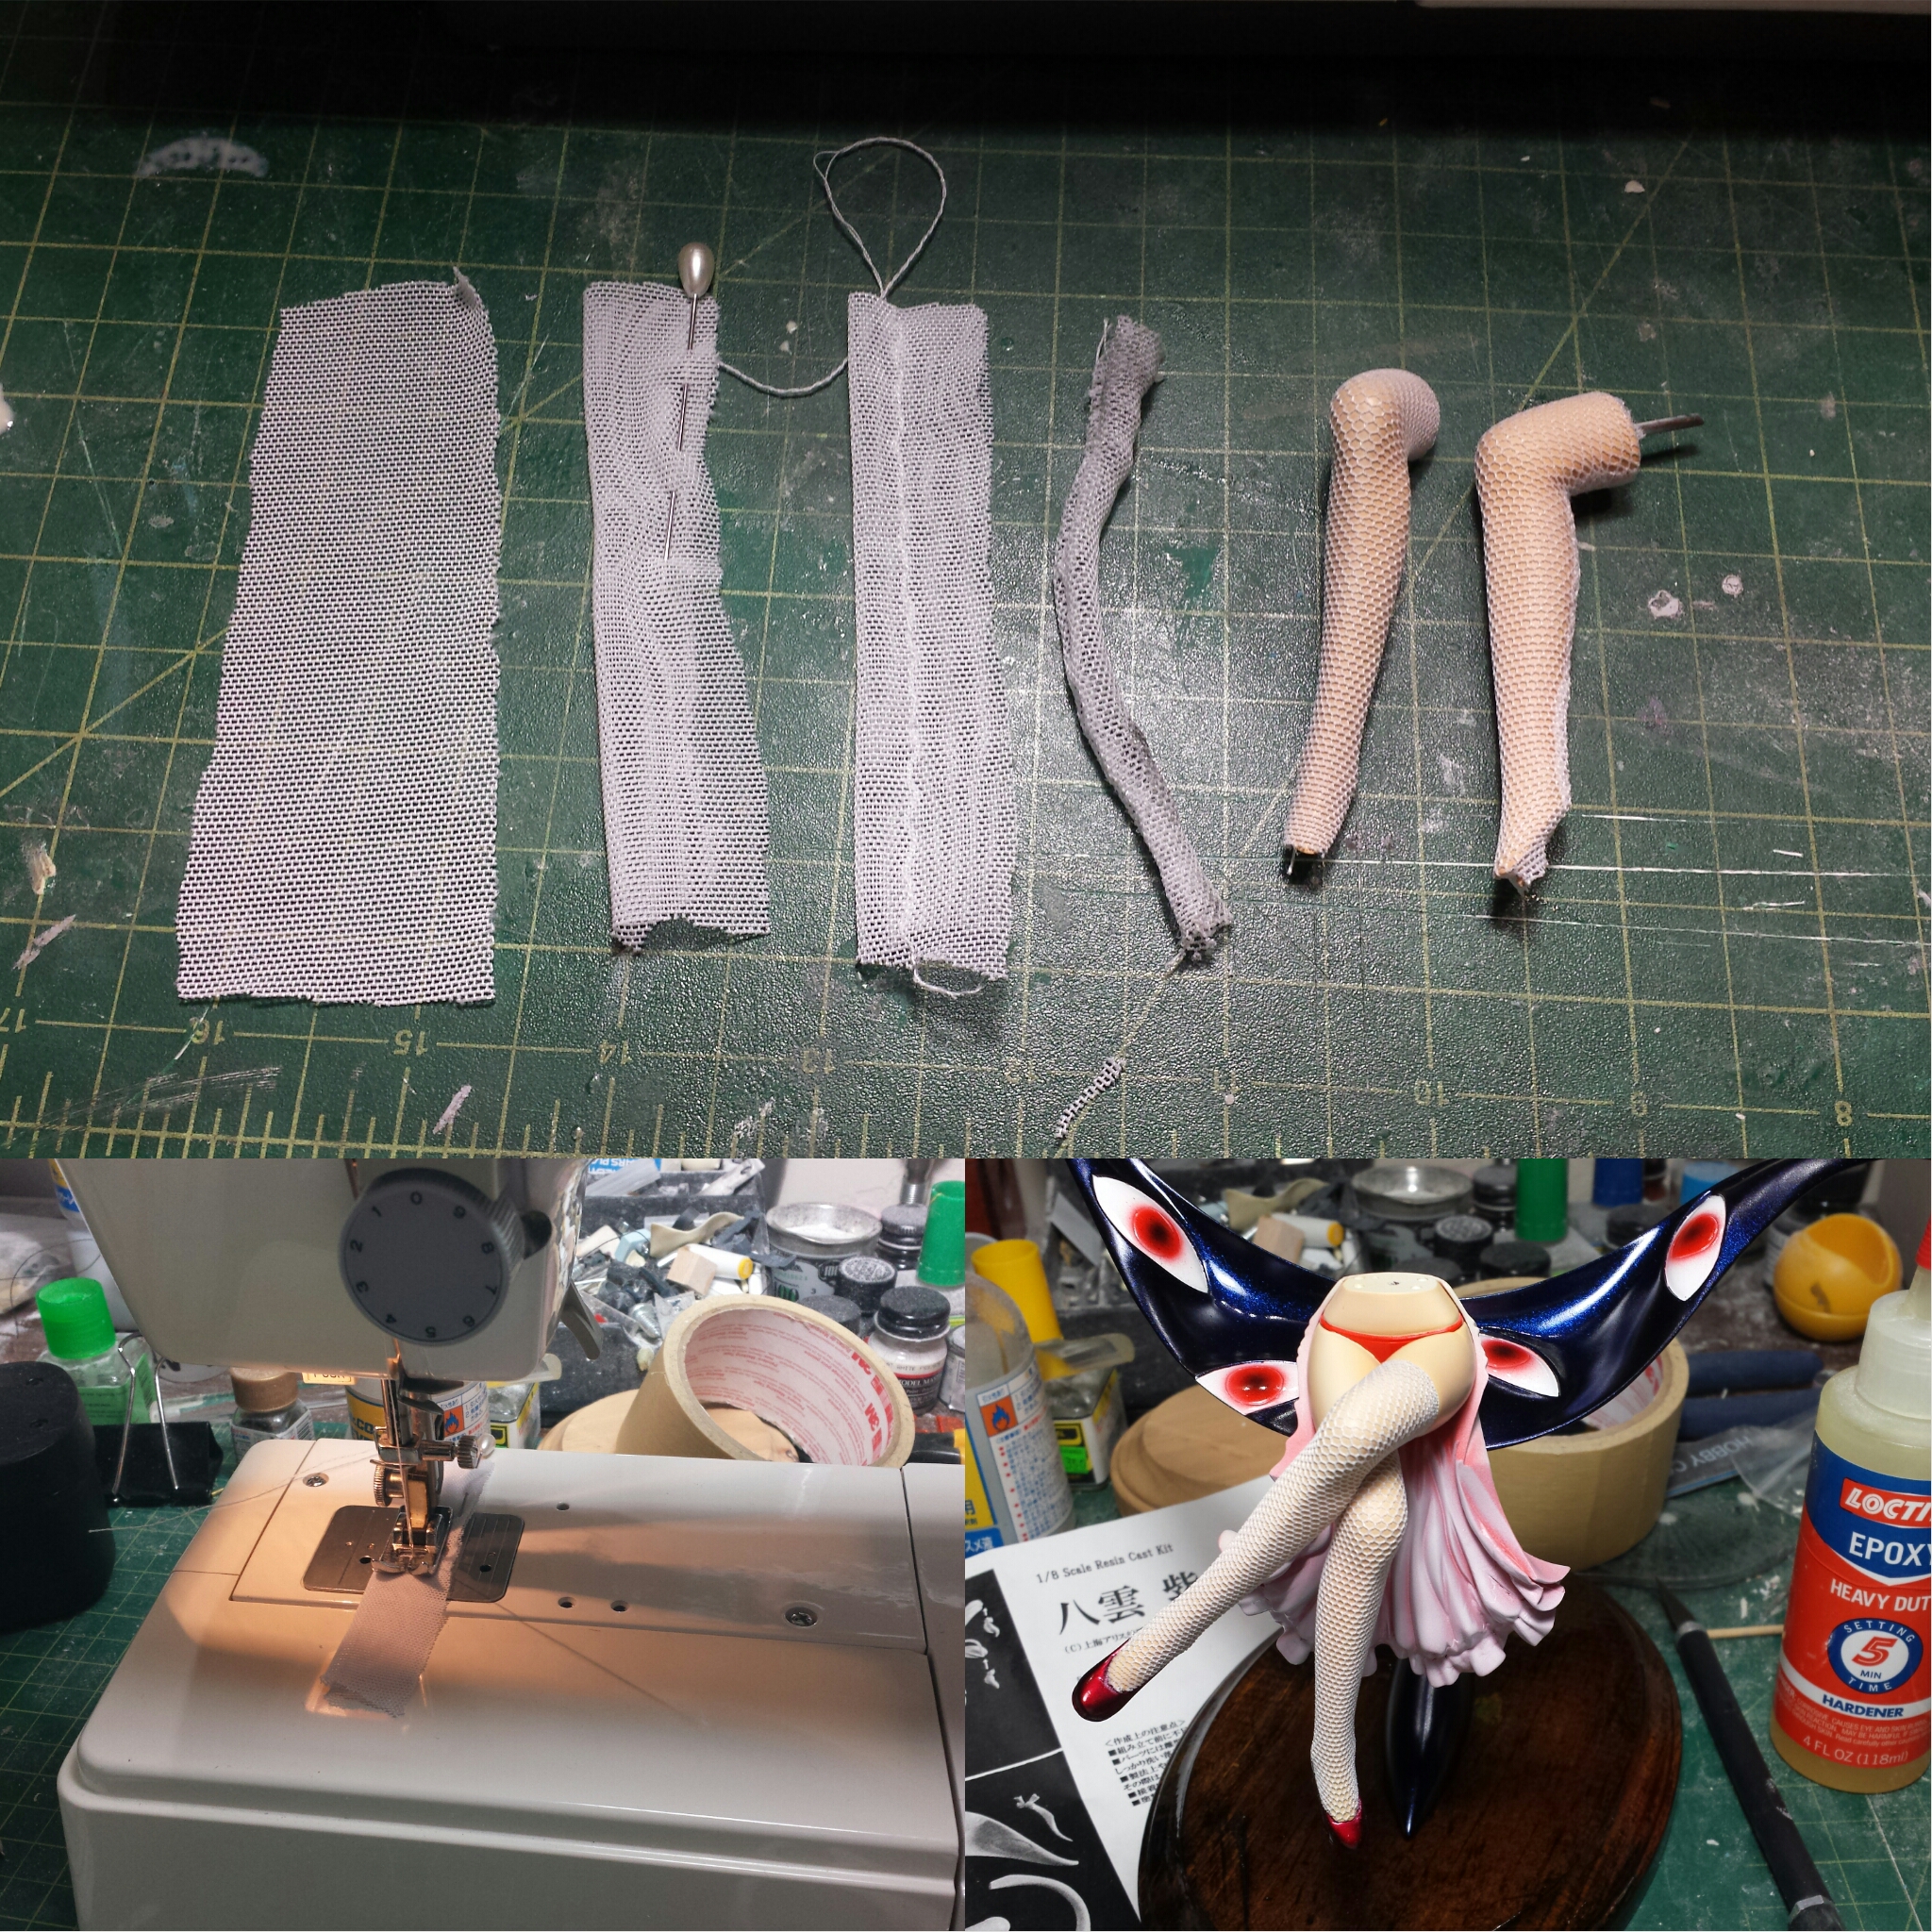
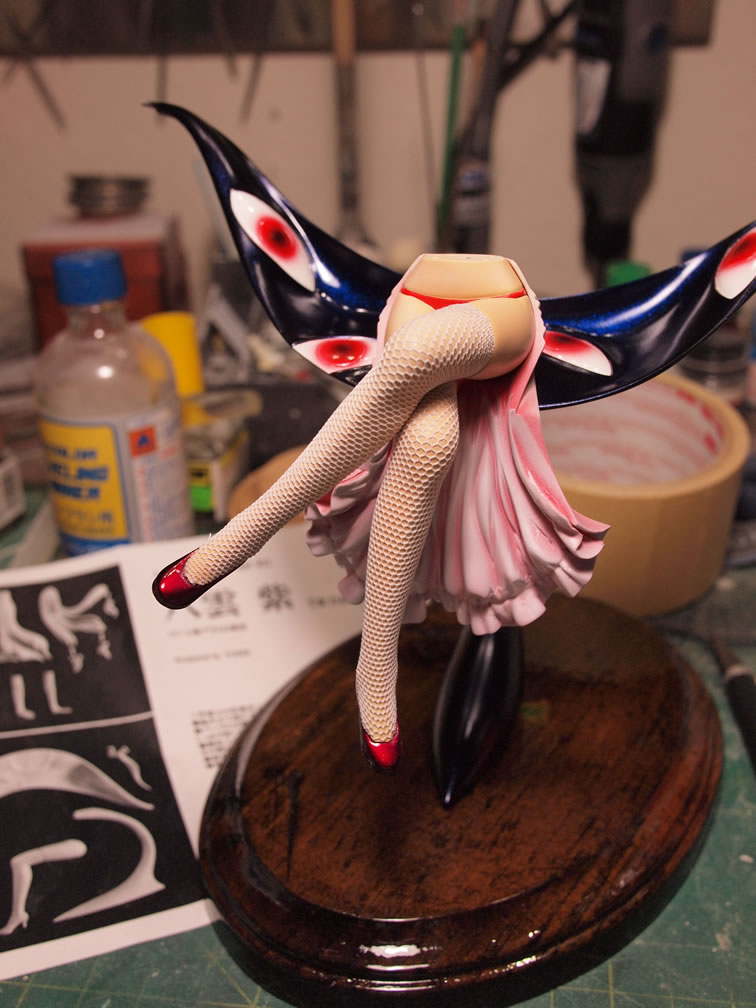
Once the legging are in place, the shoes and upper thigh pieces are glued together and the lower torso and legs are done.
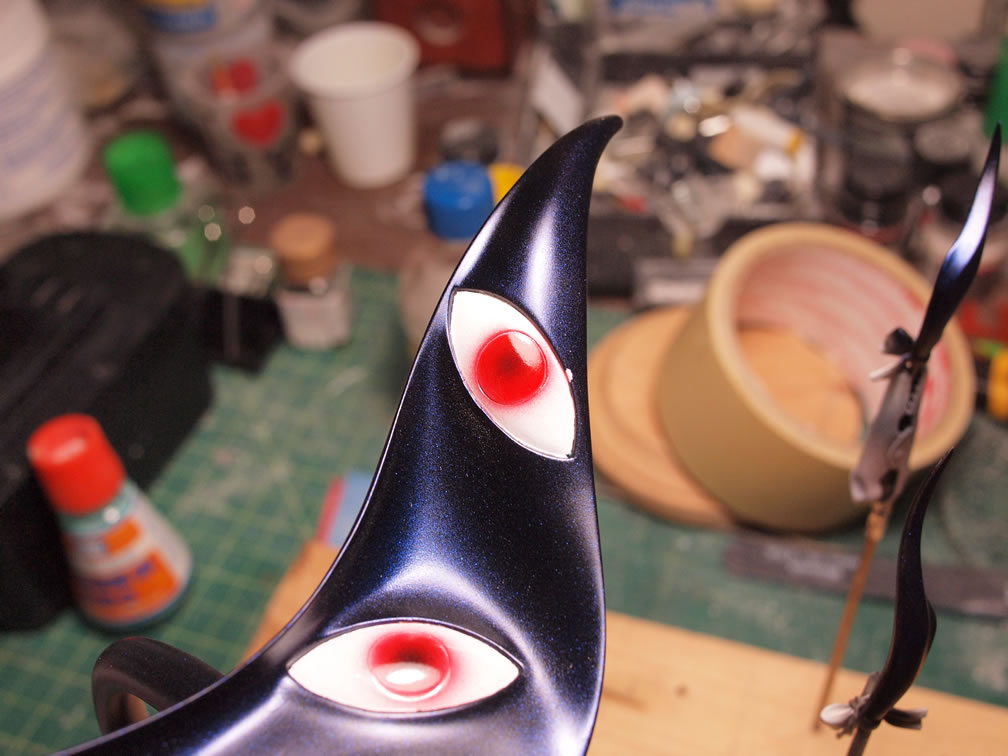
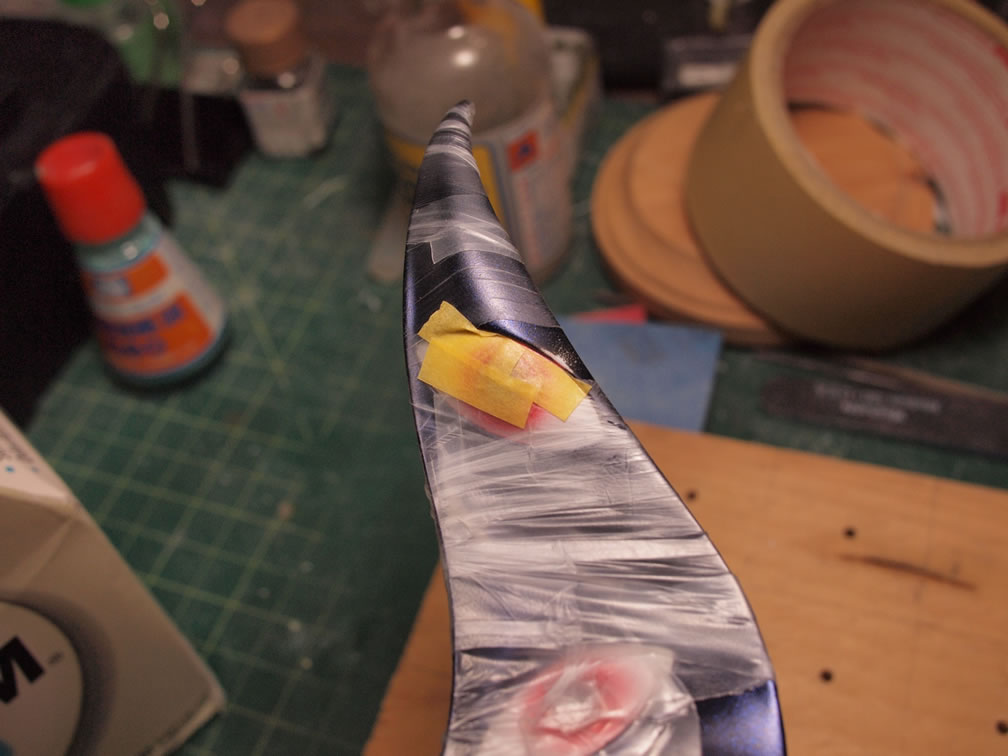
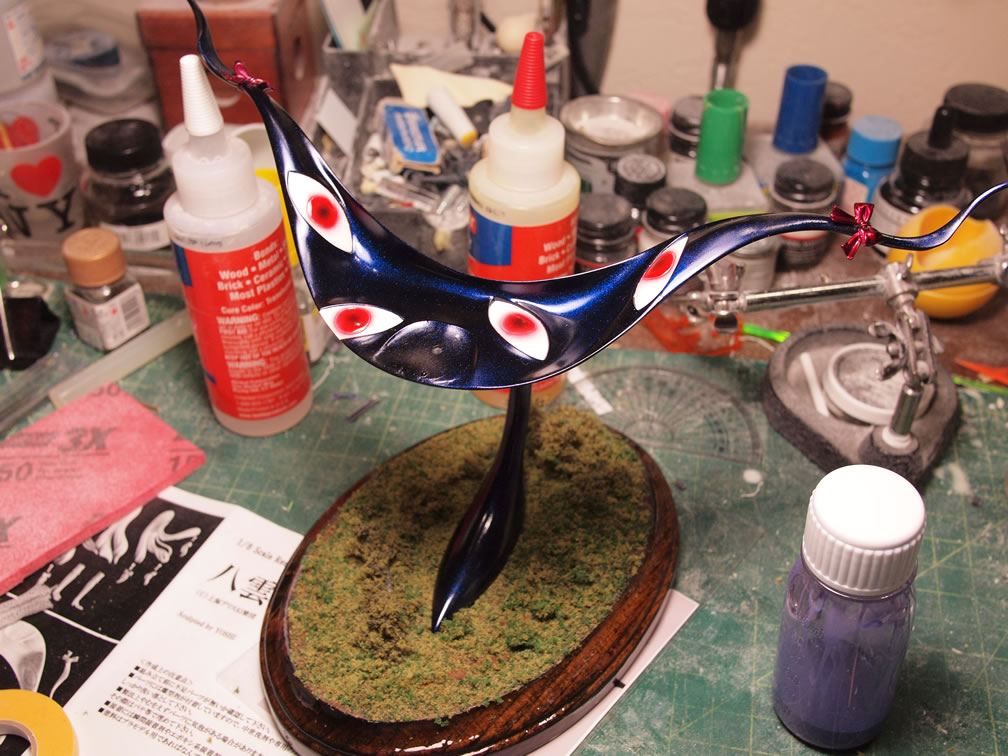
Previously, the base for the kit was painted starting with the eyes. The eyes were masked off then the rest of the part is painted. I used alclad prismatic colors that take the colors from blue to violet at varying light angles. One of the issues that comes up often even when being as careful as possible, removing the masking may have paint chipping. The paint chipped so the eyes needed to be masked again and reworked. The area where the paint chipped is sanded slightly to remove the break lines that define that area. Once masked off, the area is repainted.
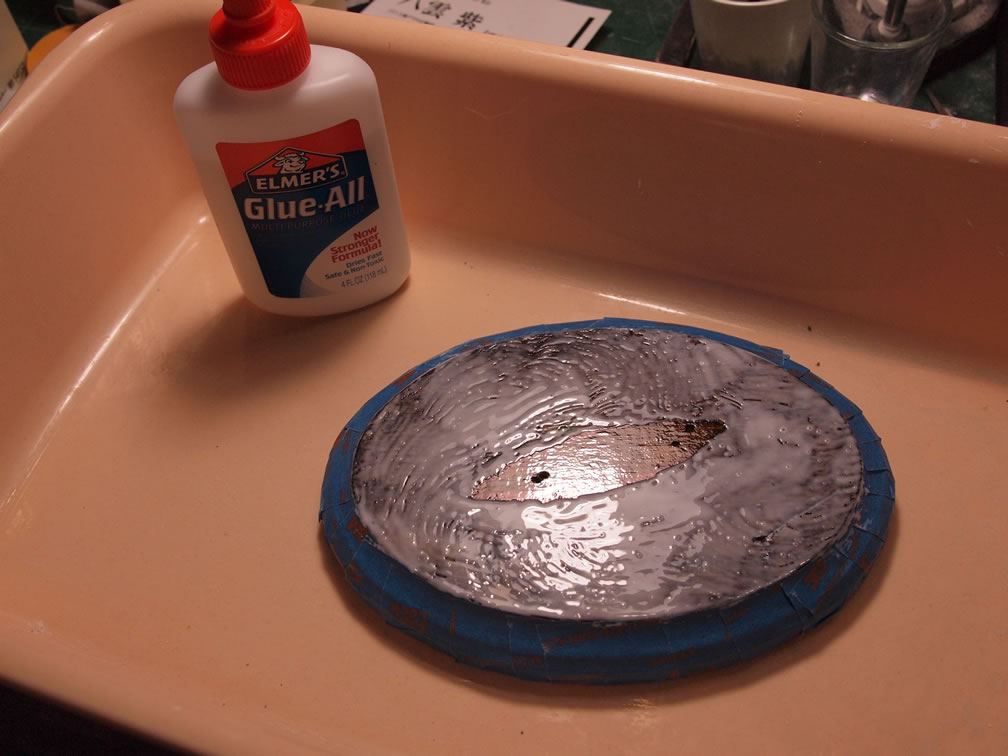
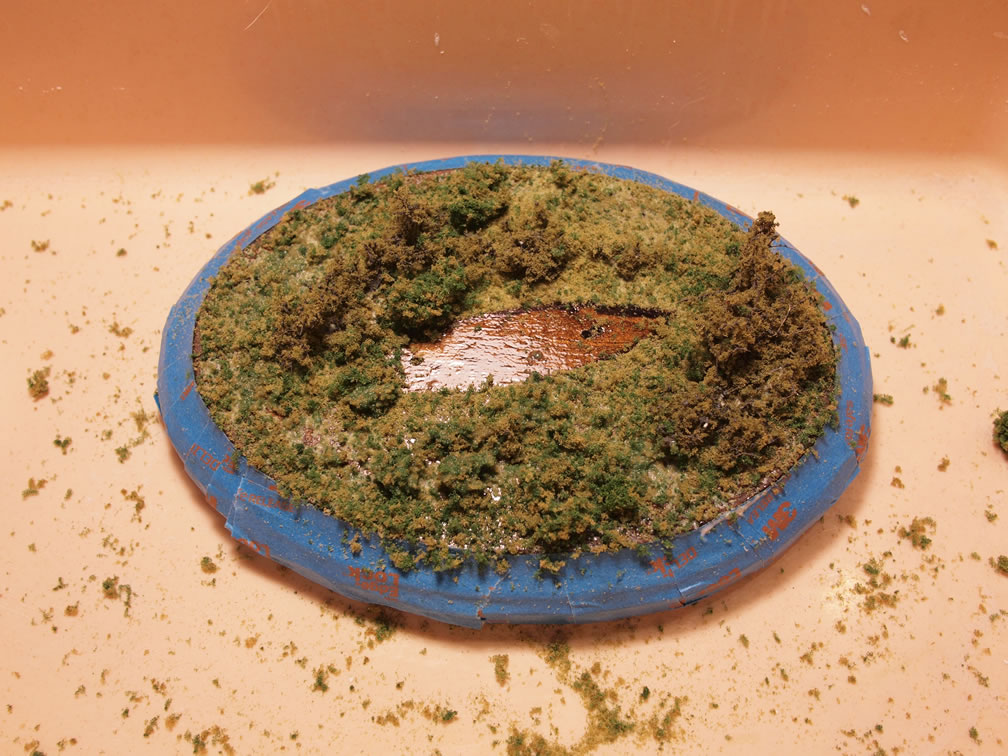
Next the wood base was stained and clear glossed. Once cured, the edge of the base is masked off. White glue is applied to the surface of the base and then scenic turf is applied and glued down. The strange eyed lily piece is attached to the wood surface completing the base.
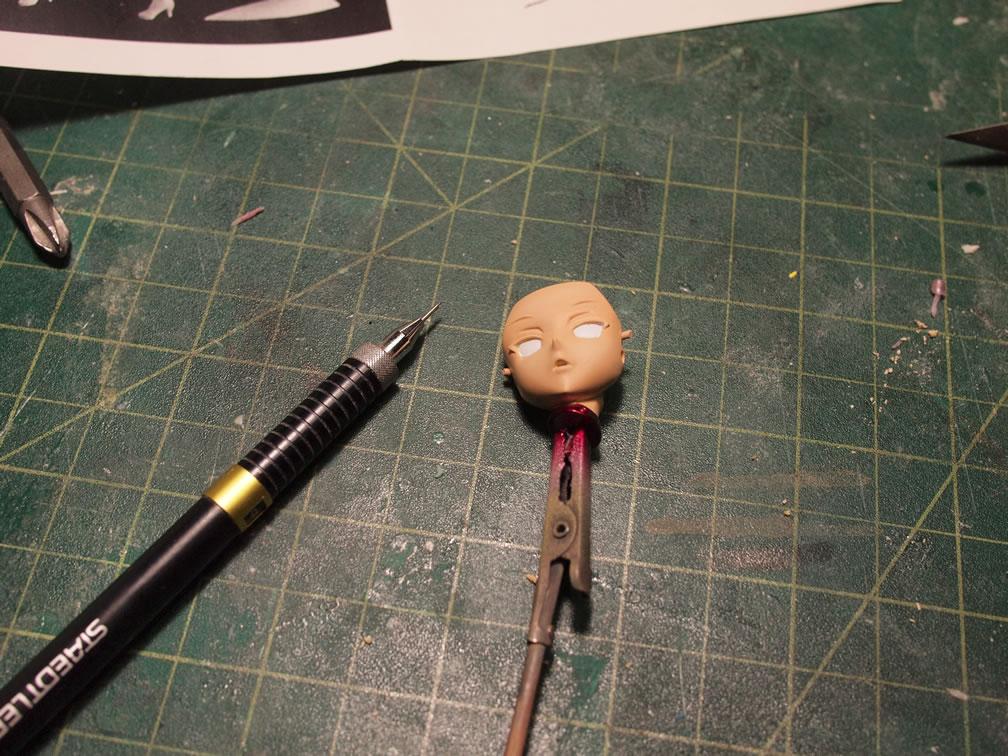
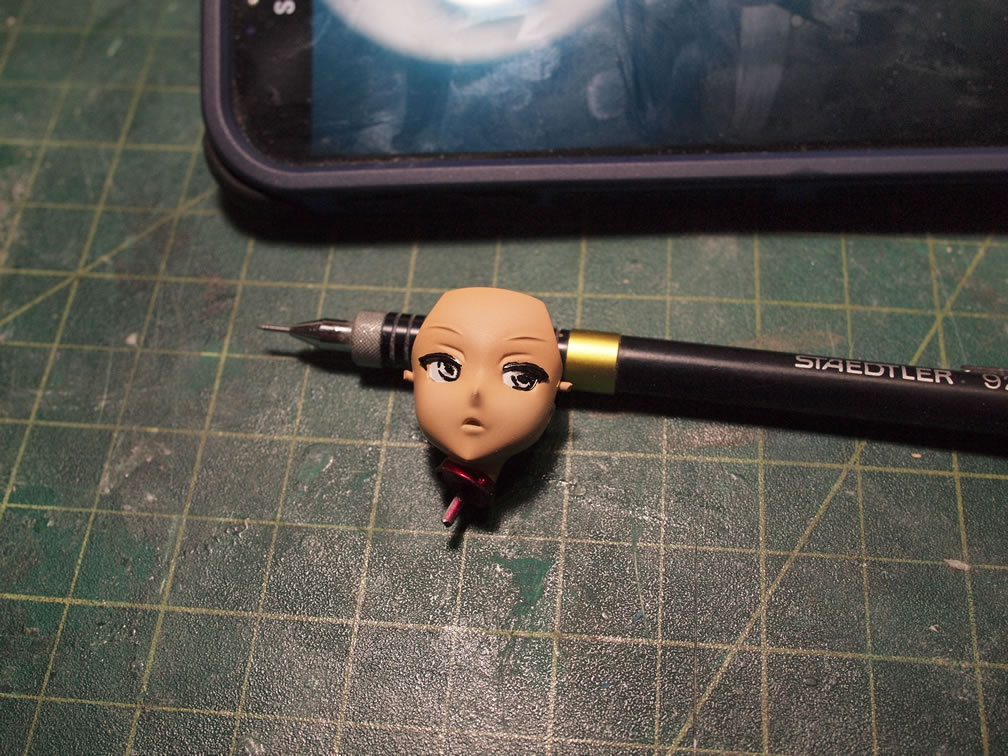
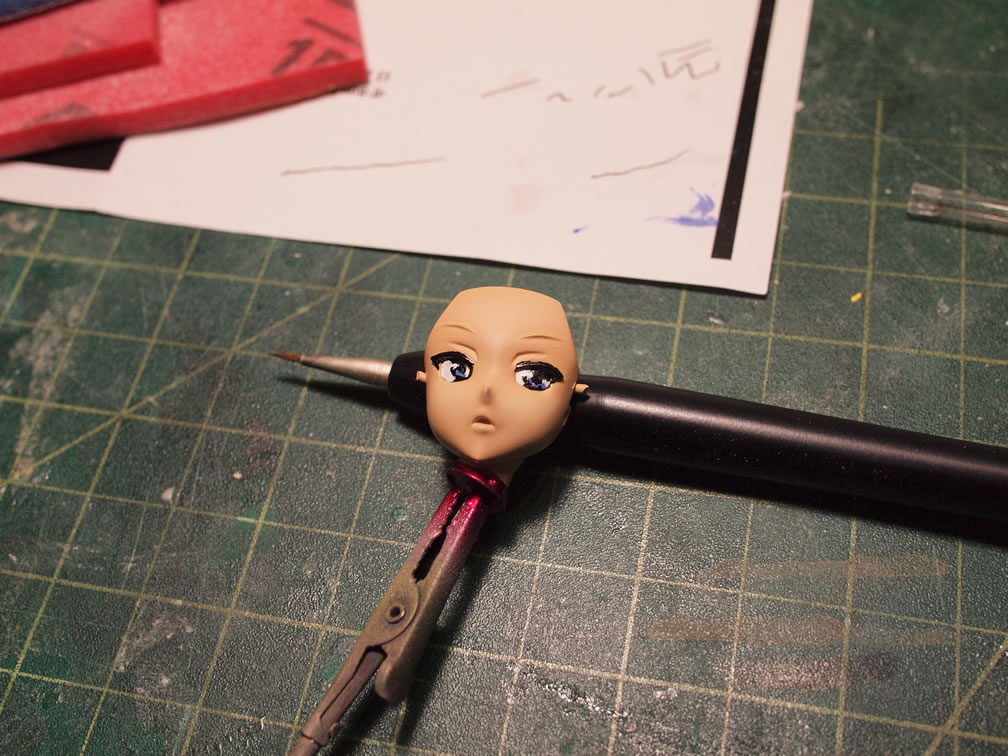
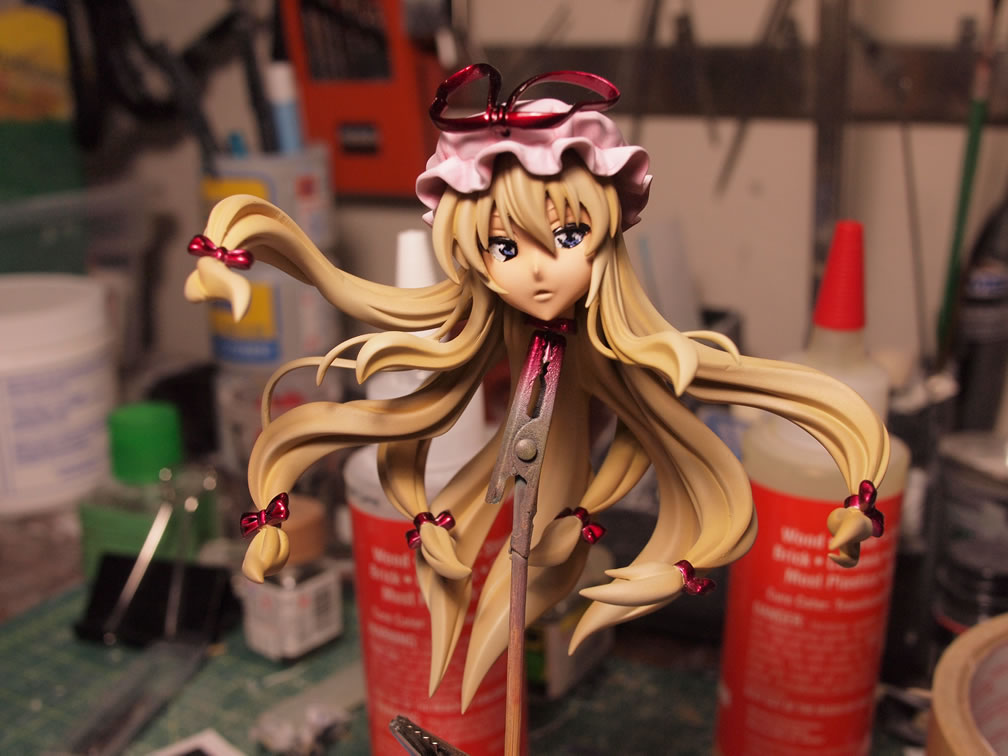
Eye painting starts with a 3mm mechanical pencil to draw out the eyes. Any mistakes are just erased and the eye is drawn and redrawn until she’s no longer cross eyed. Once satisfied, a rapidograph pen with india ink is used to ink in the eyes.
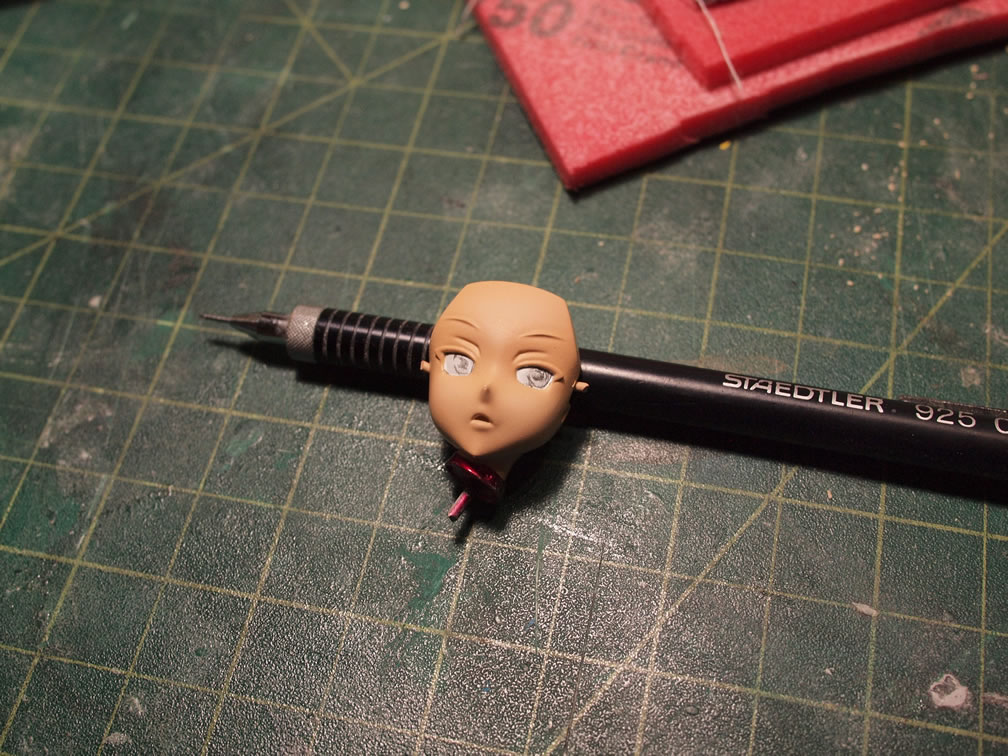
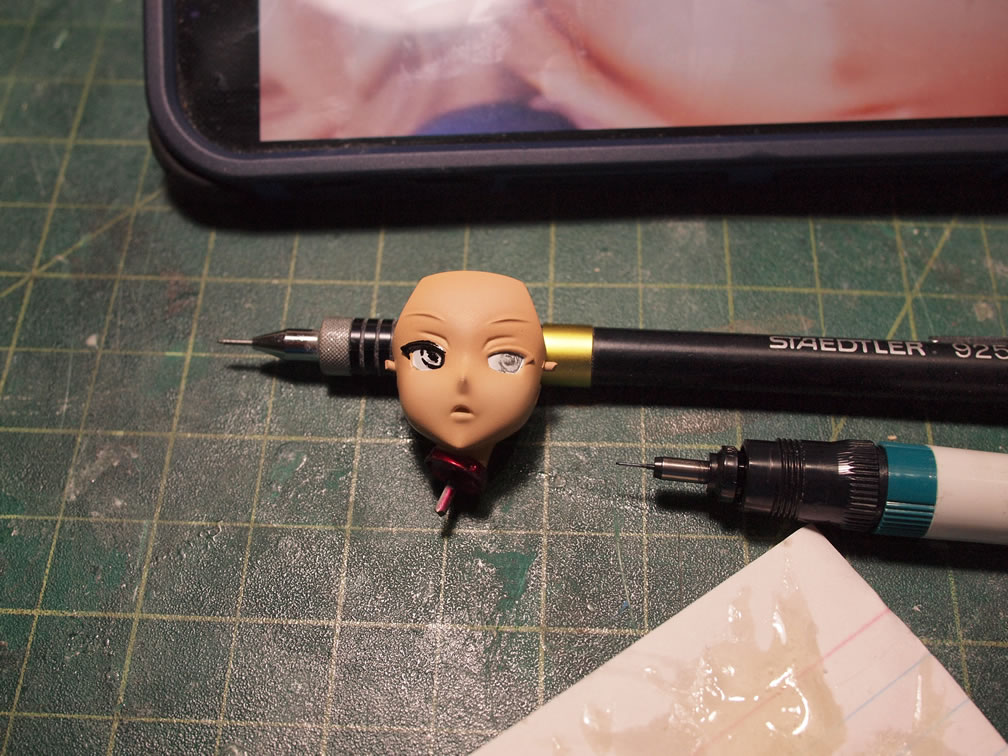
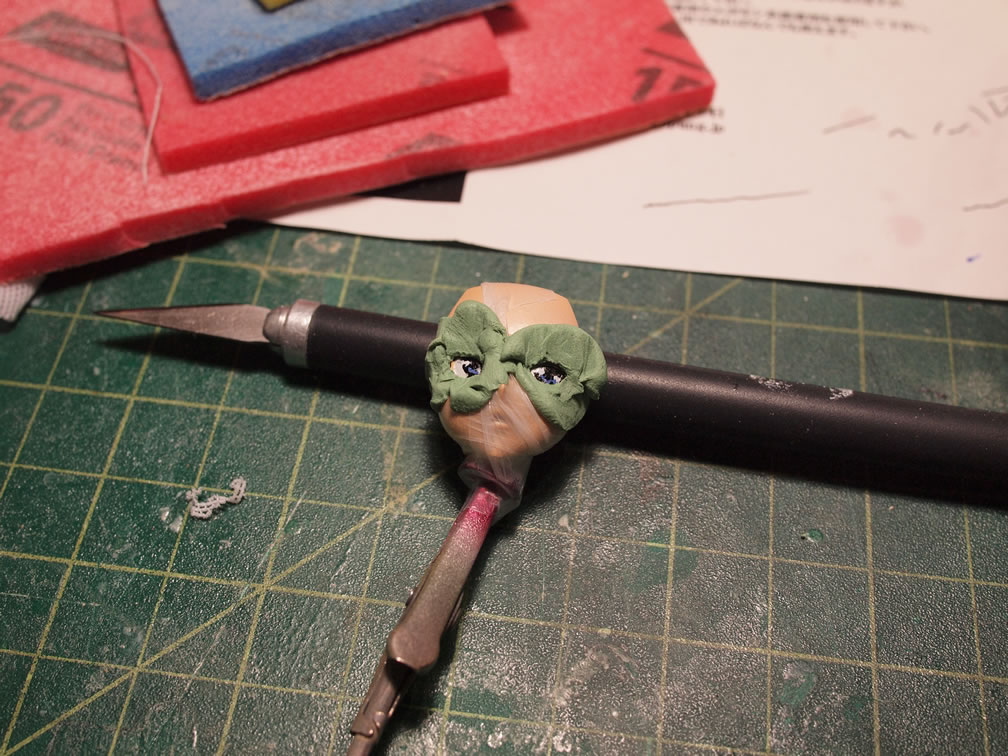
With both eyes are inked, the iris colors are painted in with a fine tipped paint brush. White dot reflections are added. The eyes were left to cure for a night and then the rest of the face is masked off with parafilm and sticky tak, leaving the eyes exposed. The eyes are clear coated with mr super clear gloss.
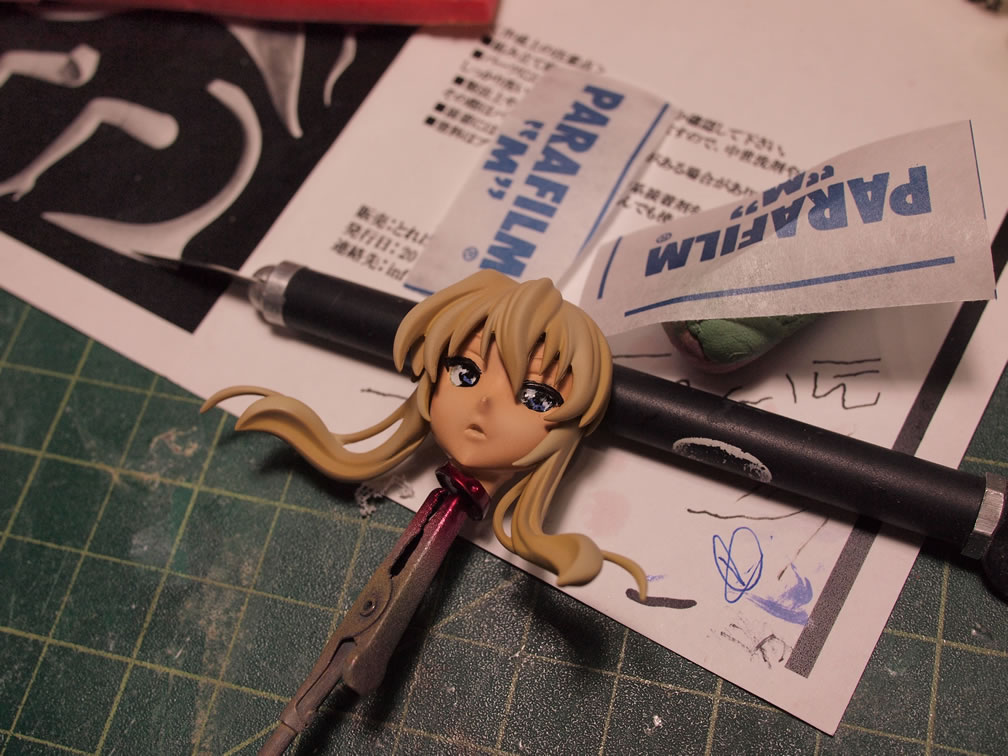
A few coats of clear gloss ensures a wet look to the eyes that completes work on the head. The hair pieces are assembled and the head is done.
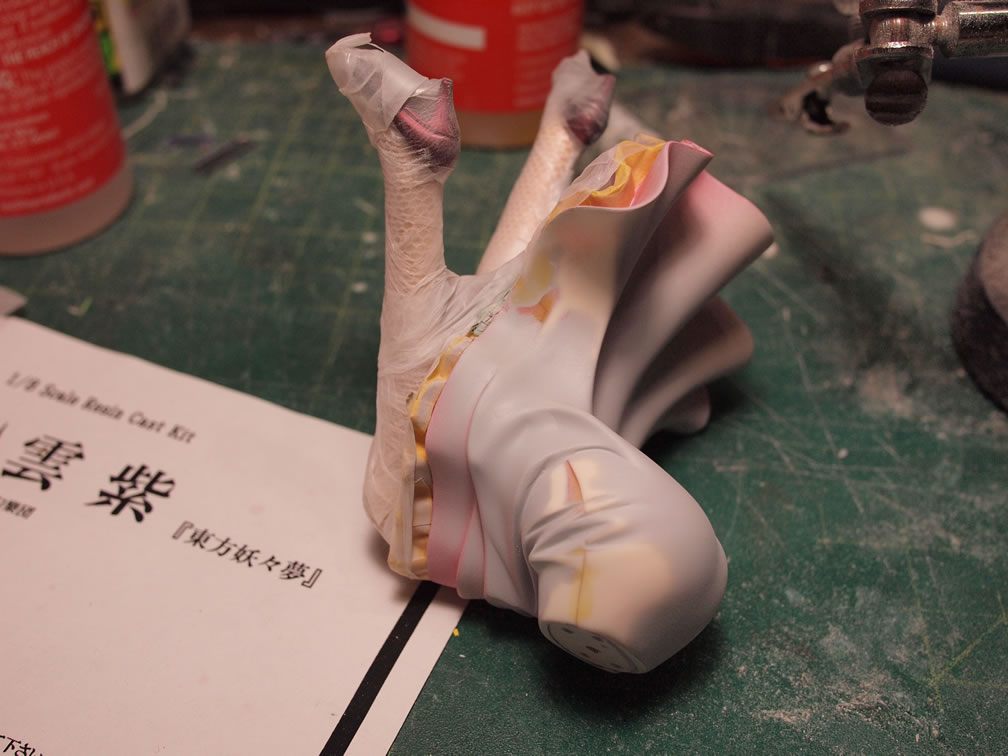
The glue for the legs have had ample time to fully cure and set up. Now they are wrapped in parafilm for the next step, glueing the two part skirt together. This kit, like many others, offers a means to have the skirt removable to show off the lower torso. Granted, I painted the lower torso, I’m also going to glue the two skirt pieces together, because I just don’t like the look of a seam that runs down the middle of the skirt.
The two skirt pieces assembled with epoxy glue and taped together with strips of blue masking tape. The tape holds the parts together while the glue cures.

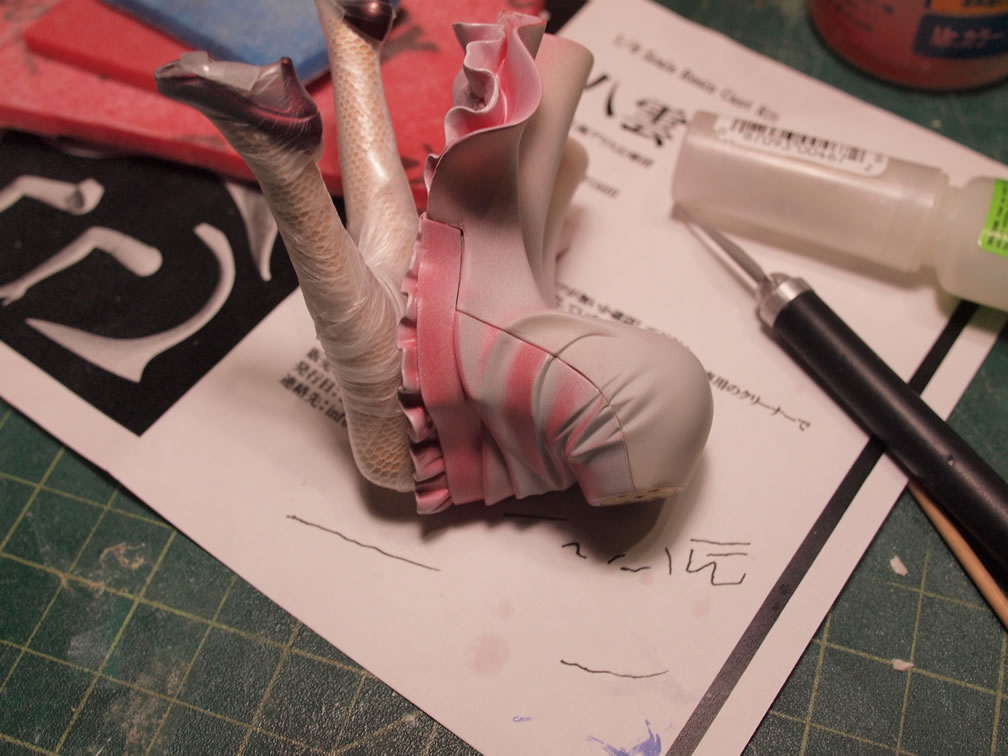
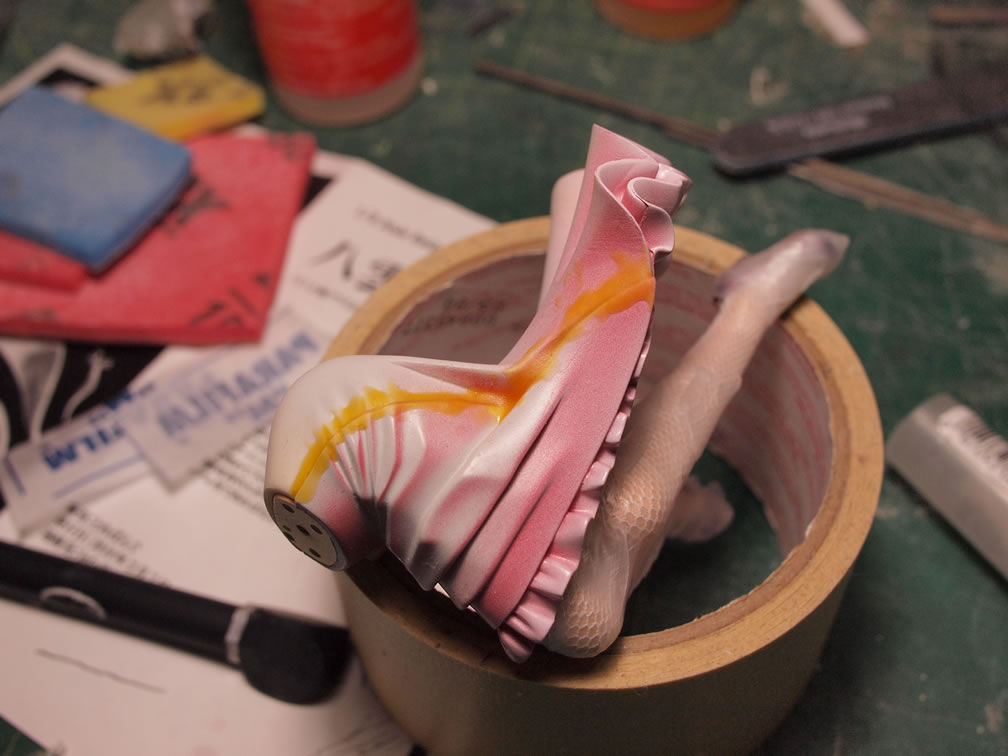
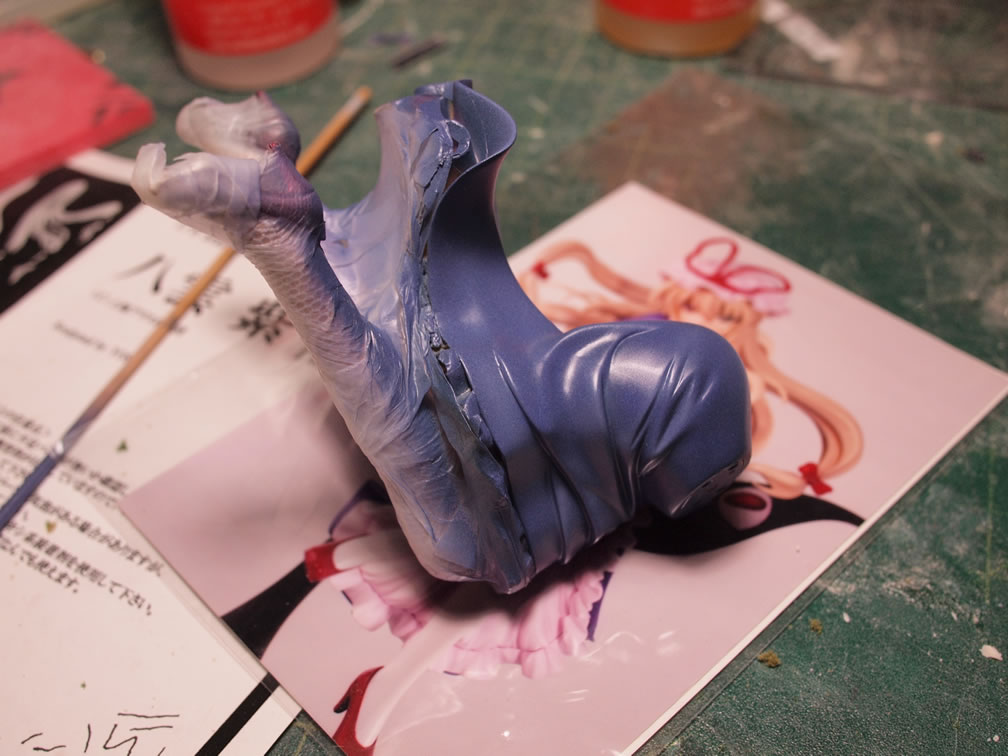
With the skirt glued together, light curing putty is applied to the seam and sanded down using sanding sticks and fine metal files that help in the skirt folds. Once the seams are filled, the white ruffle part of the skirt is masked off and the main skirt piece is primed. The primed surface shows a few missed areas and some residual light curing putty that didn’t get completely sanded, so those areas were worked on and reprimed. Satisfied with the removed seam, the skirt is painted with a dark base coat then lighter main color and finally some very light highlights.
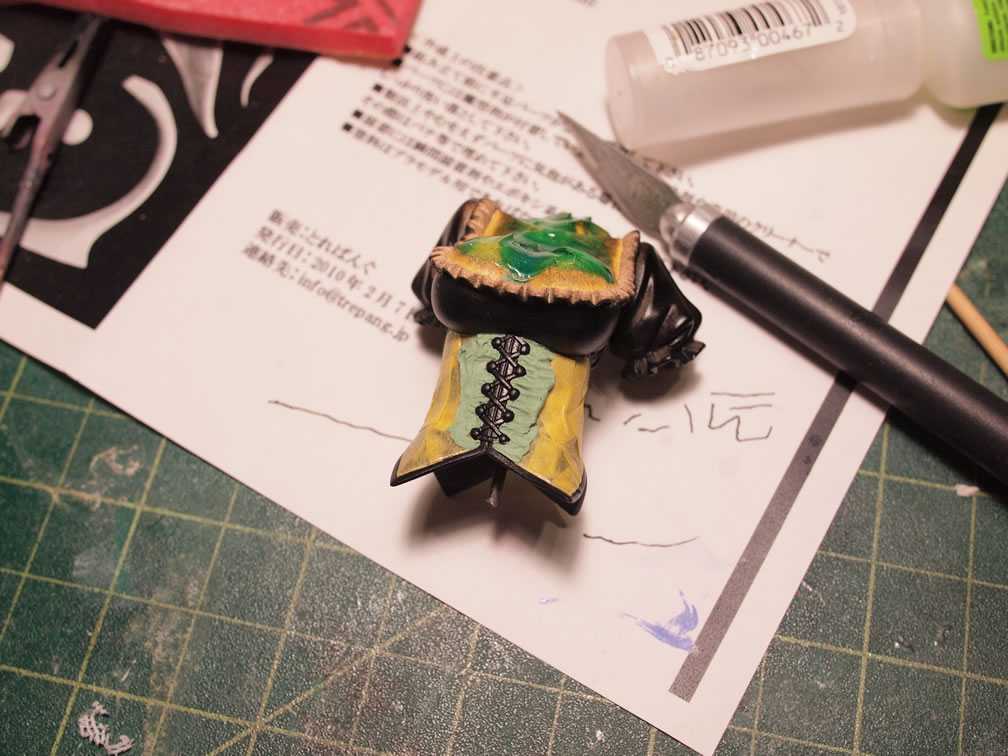
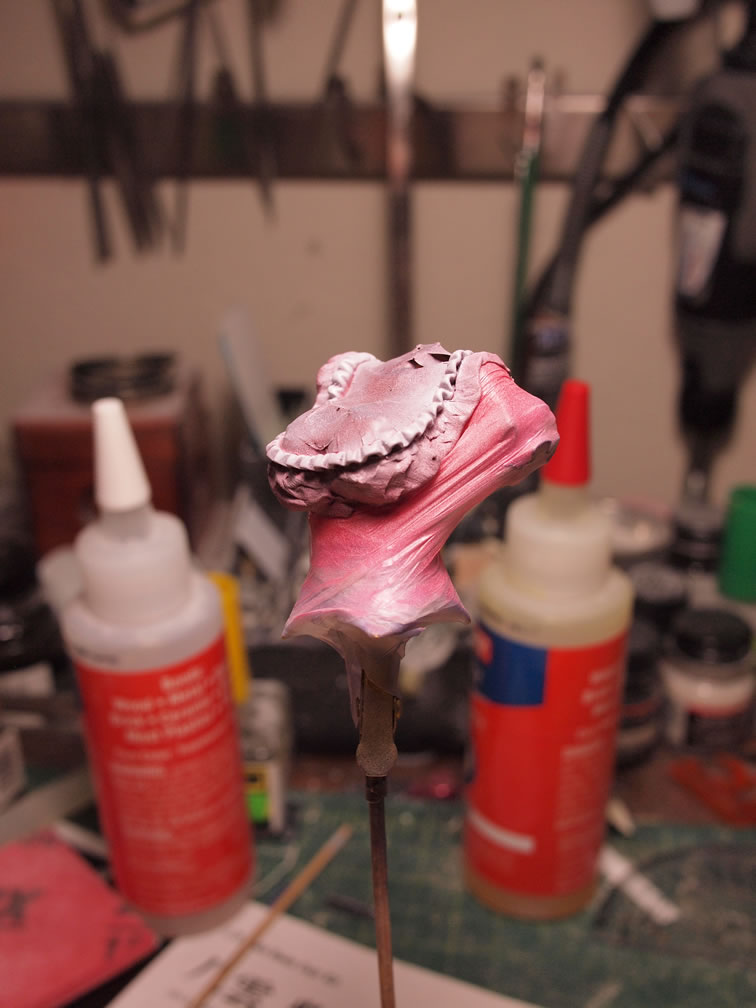
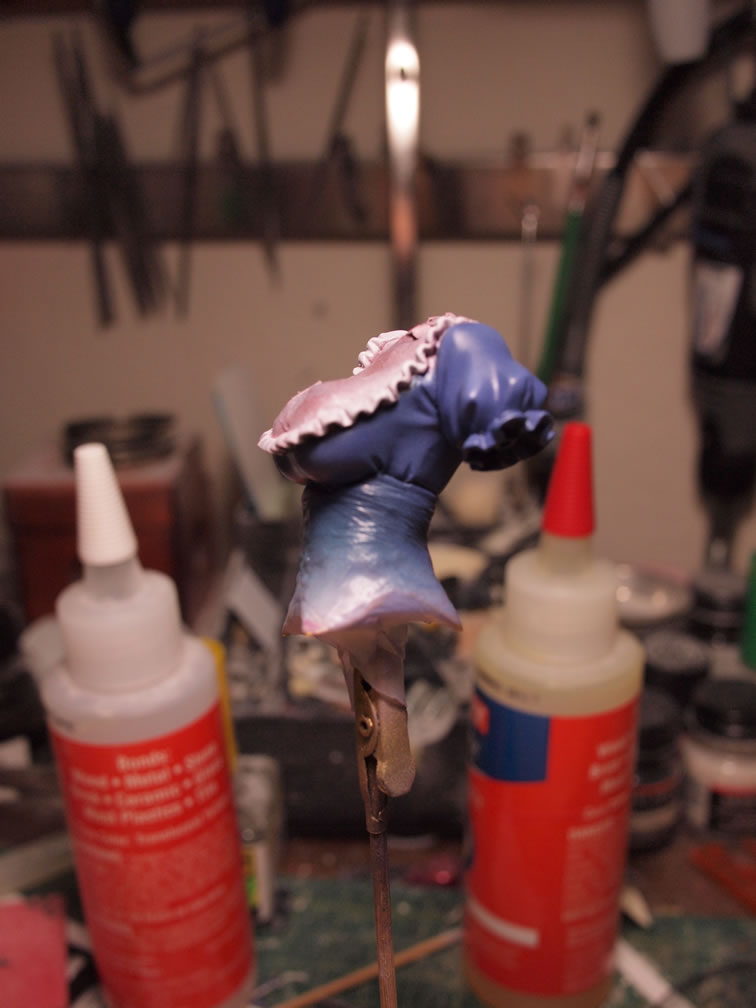
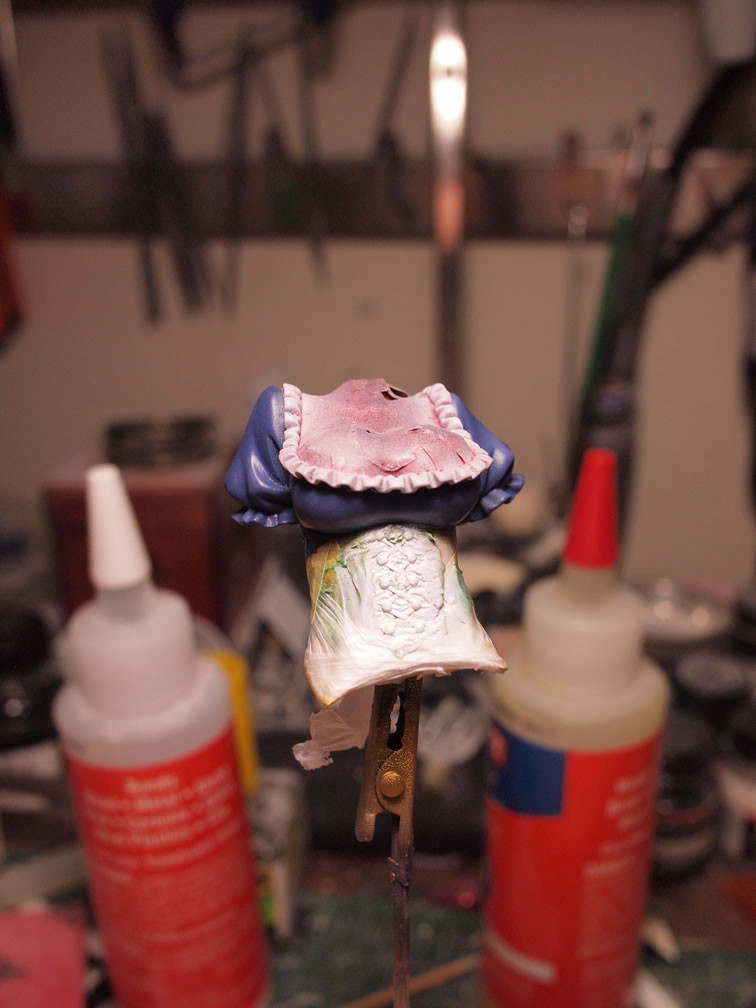
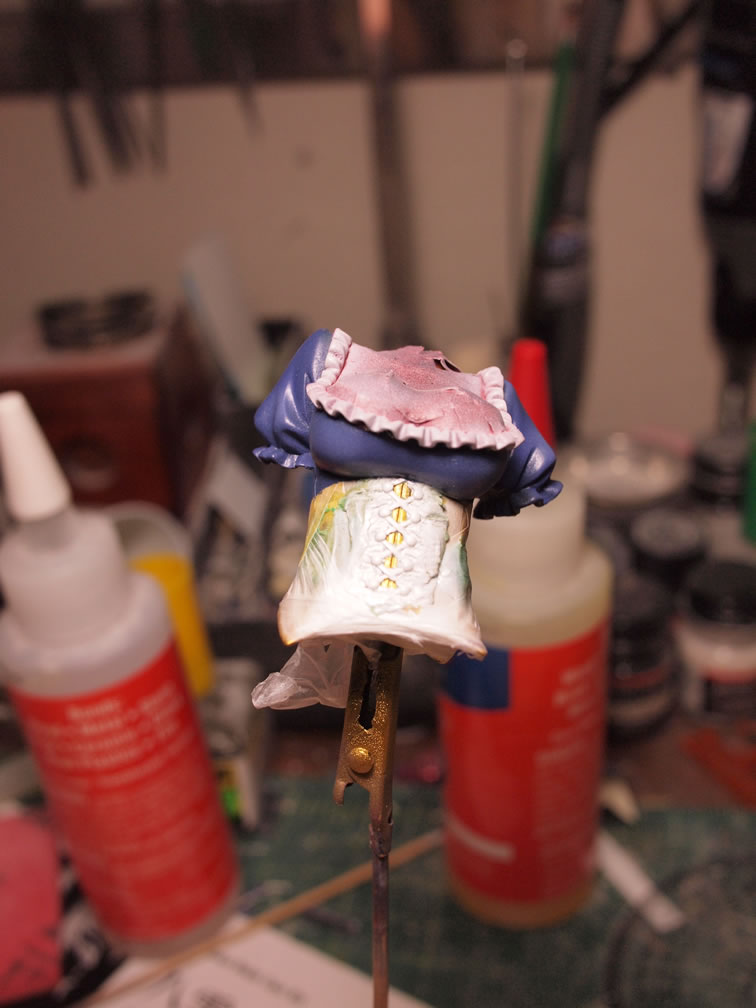
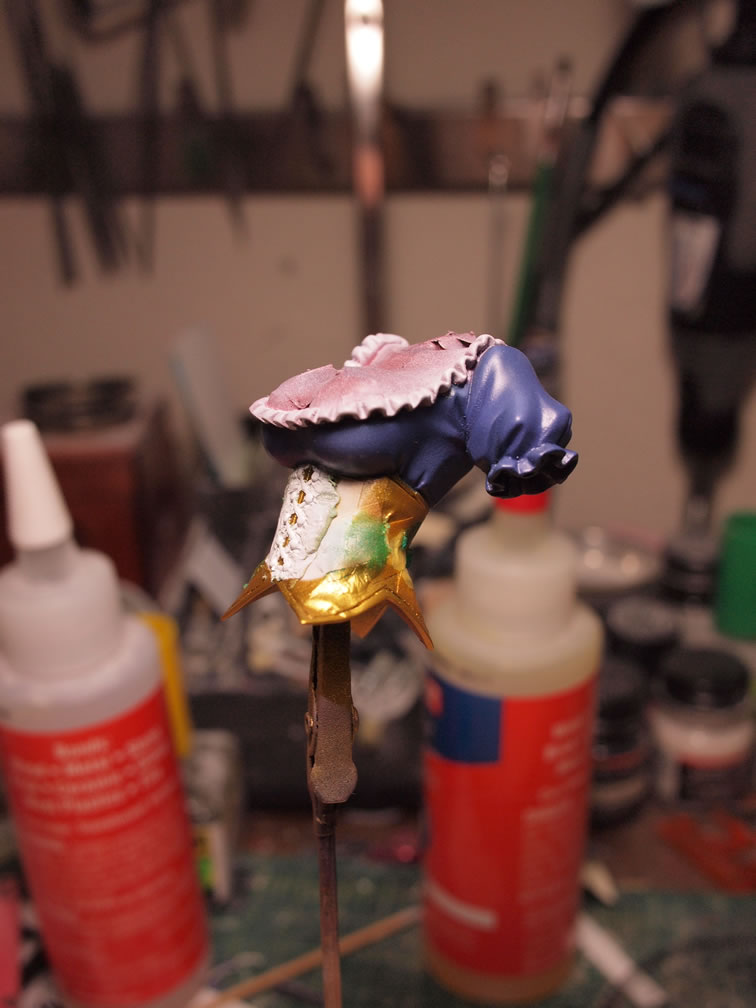
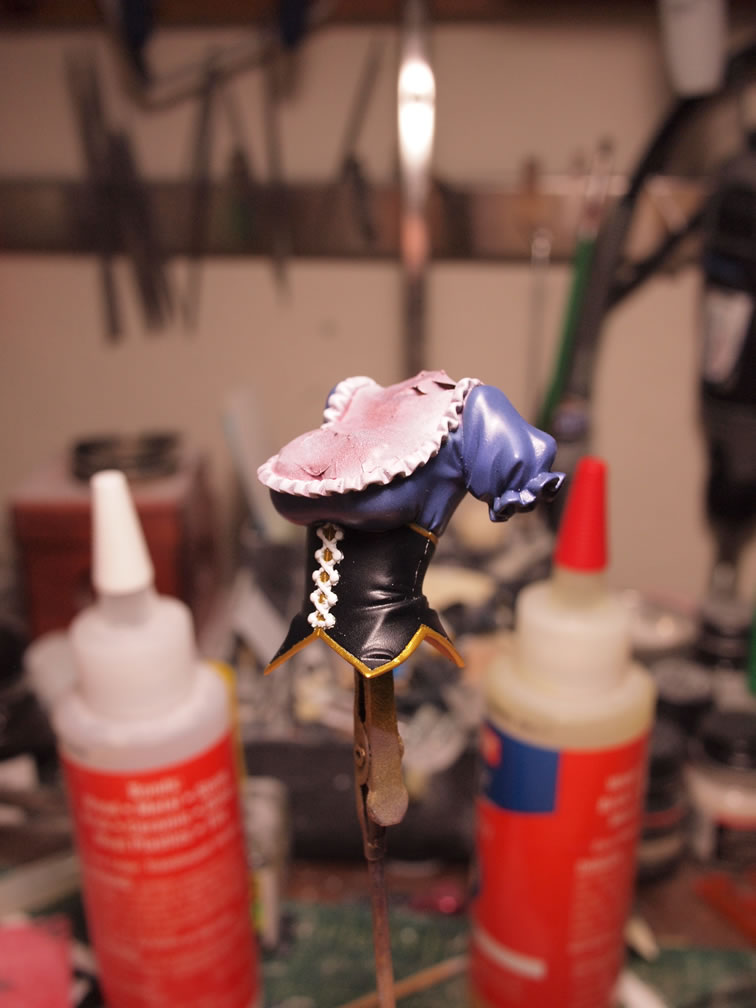
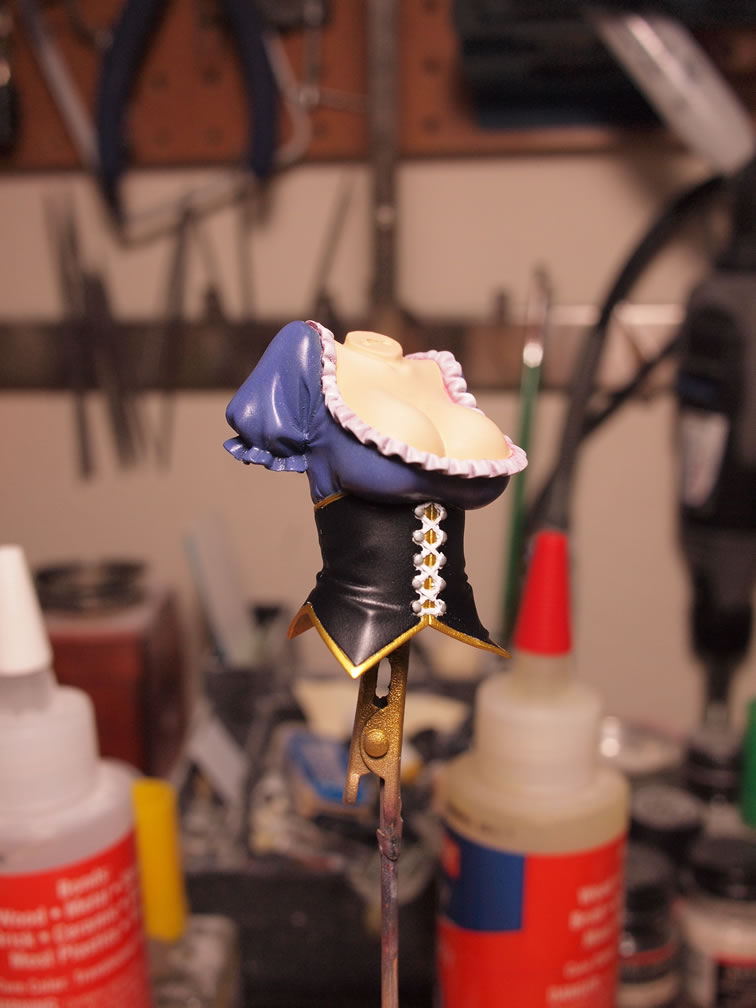
The main torso’s flesh areas are masked off then the main bodice is painted with black and carbon black for highlights. The main bodice is masked off again to paint the gold lining. The gold lining is thenm masked off and the bodice lacing is painted in white. The lacing is then masked off and the upper part of the torso is painted with the same color tones as the skirt. The sixth and final level of masking is wrapped around the upper torso so that the ruffles can be painted first with a base coat of red, followed by white to get a pink hue to the ruffles. The process is recursive and reaching the last paint level, the masking is removed to reveal each previously painted layer. The buttons are hand painted with silver which completes the main torso part.
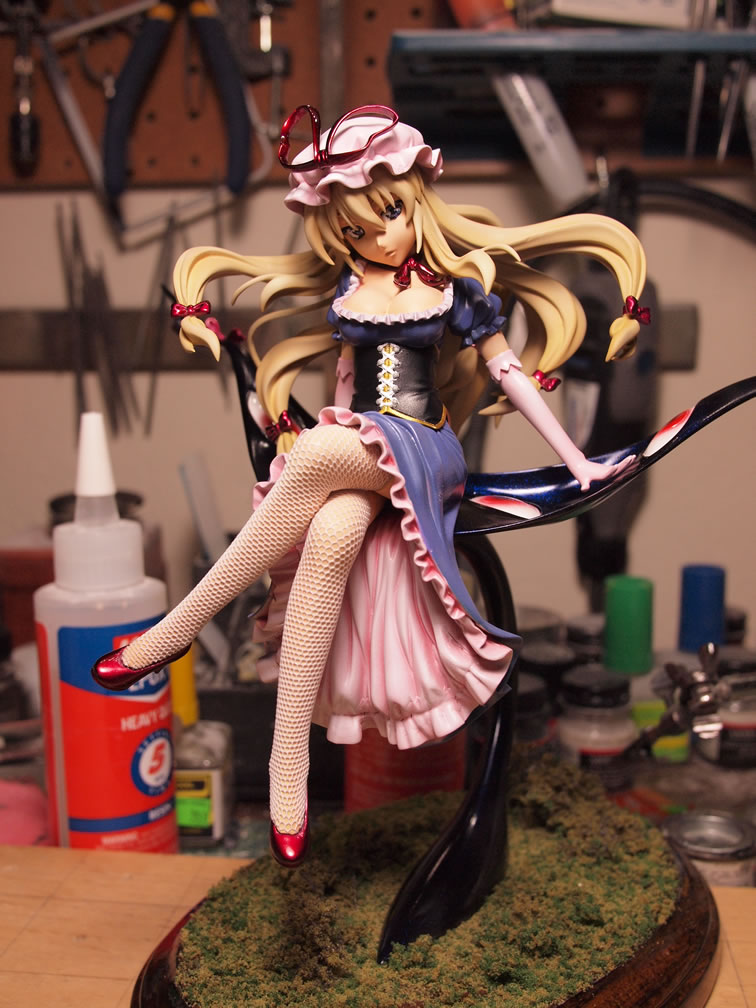
Everthing is painted and cured so the four main parts, head, middle torso, lower torso, then base can be assembled. The bow piece is glued to the collar piece that borders the bottom of the neck. The magnets on the bottom of the skirt and top of the eye lilly work to hold the kit together with out permenantly attaching these two areas. There are still a few touch ups left then I can get some completed pictures posted. Until then; here is a quick picture of the kit now.