I actually started this project last year around June and just got to a point a week into June and just stopped. I was fairly far along too, but I didn’t pick this back up until January. Then paused again because the 2B kit came in and I actually finished her without interruptions. But back to this project that I actually finished the middle of Feb, but just forgot to post about it. (I started and finished another kit *cough*anotherSazabi*cough*)
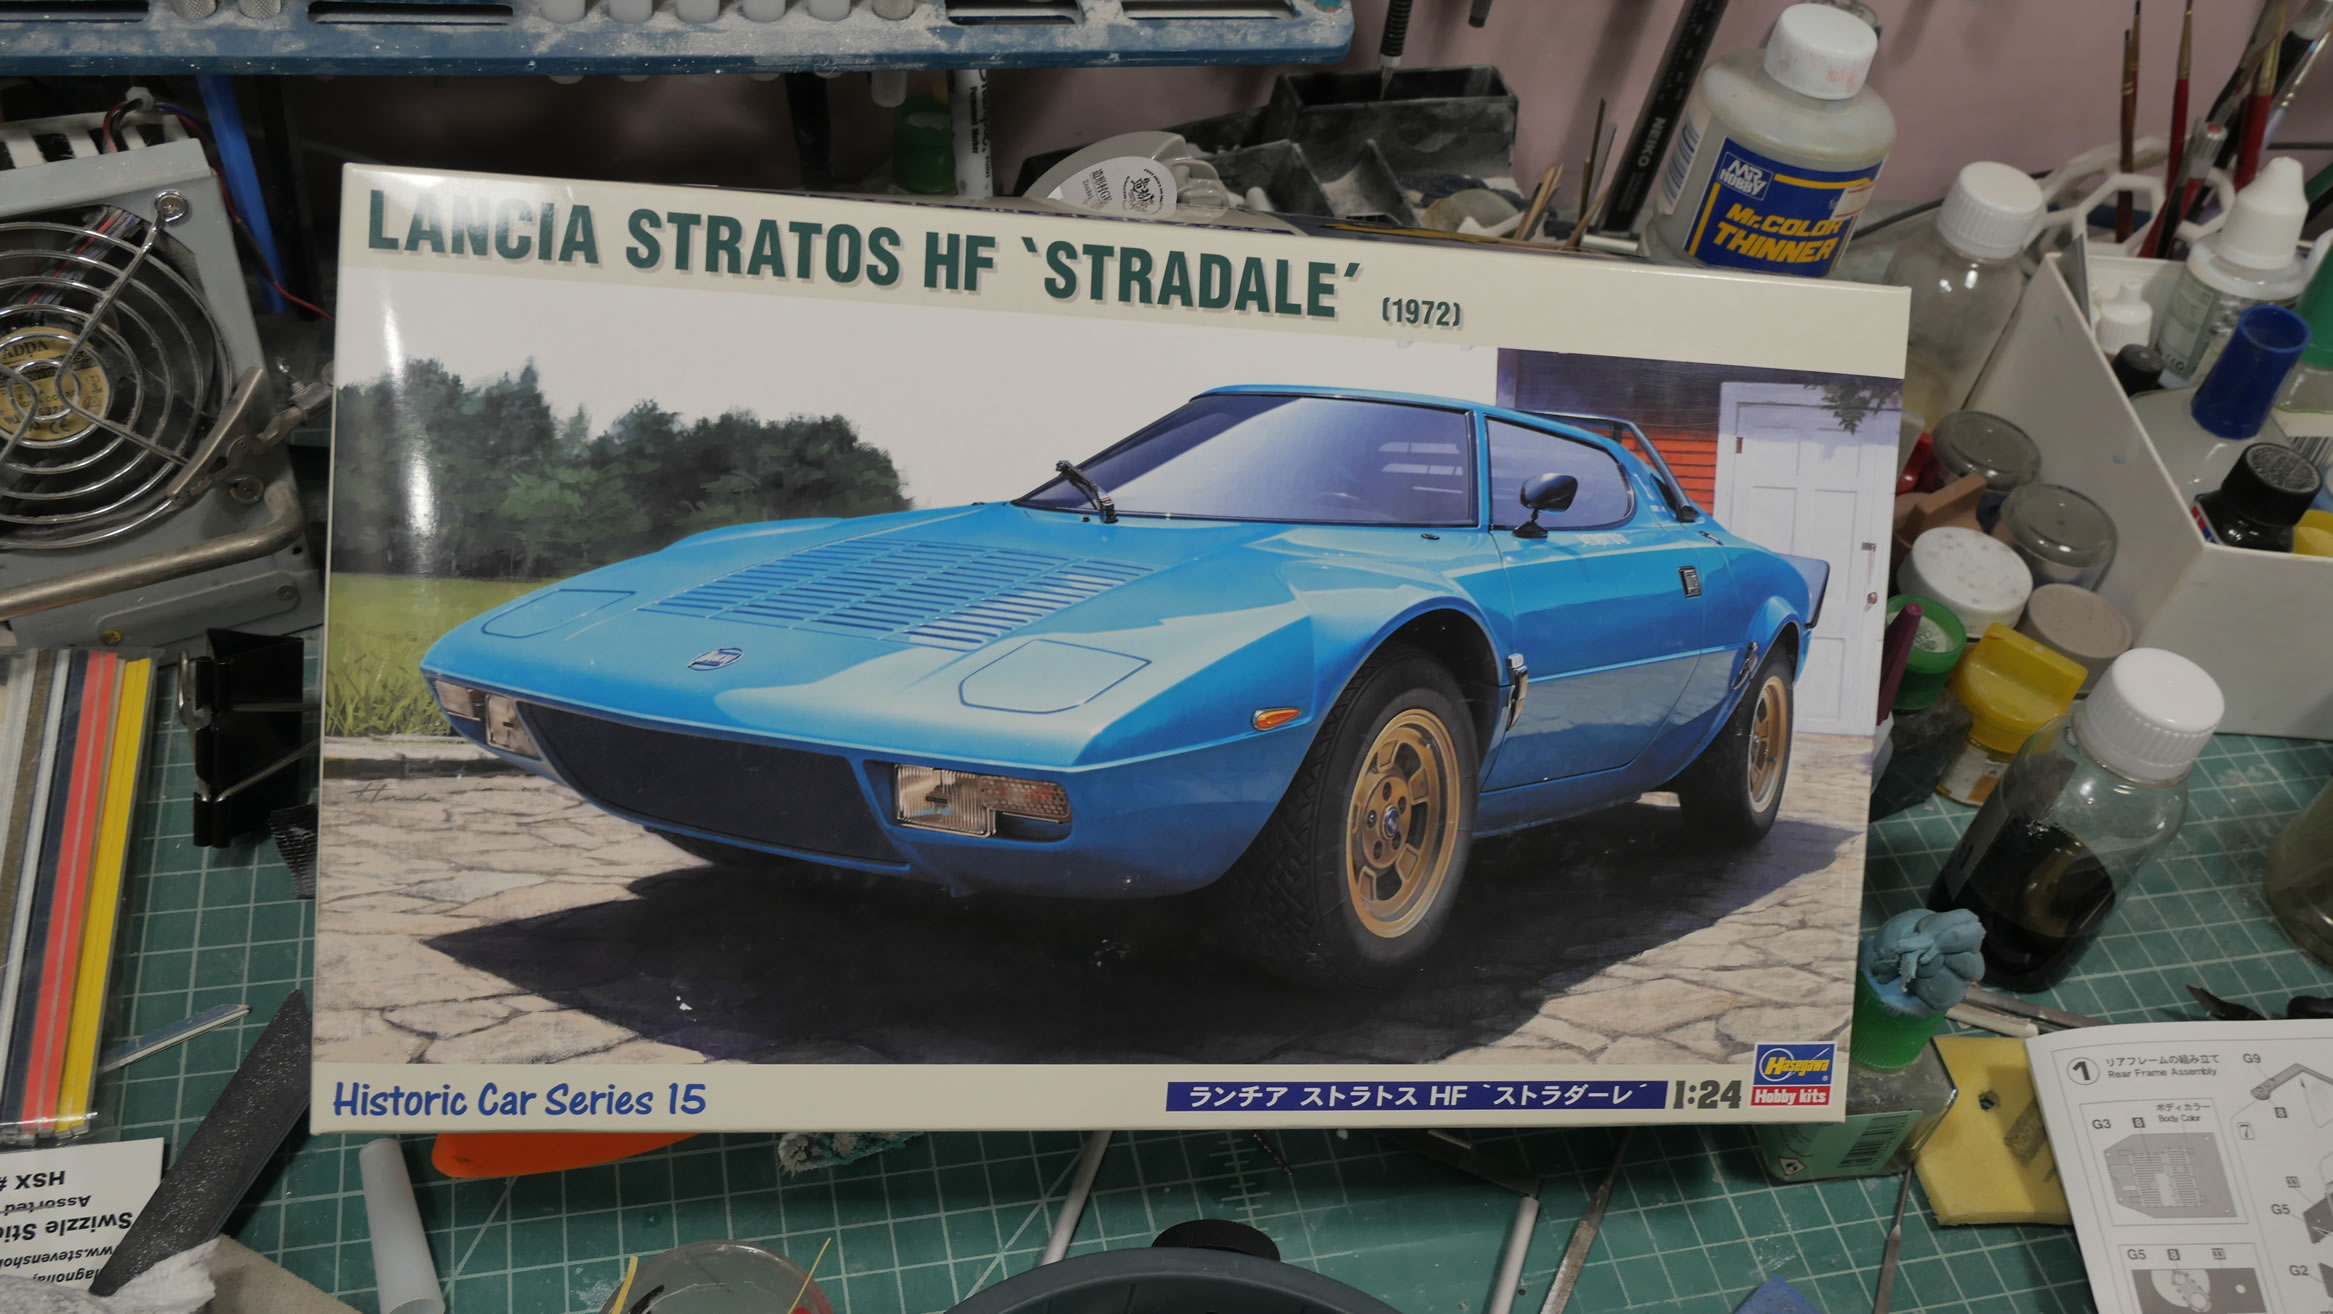
I love these 70’s era euro sports cars. I think I picked this up last year during our TGG shop crawl. A simple curb model.
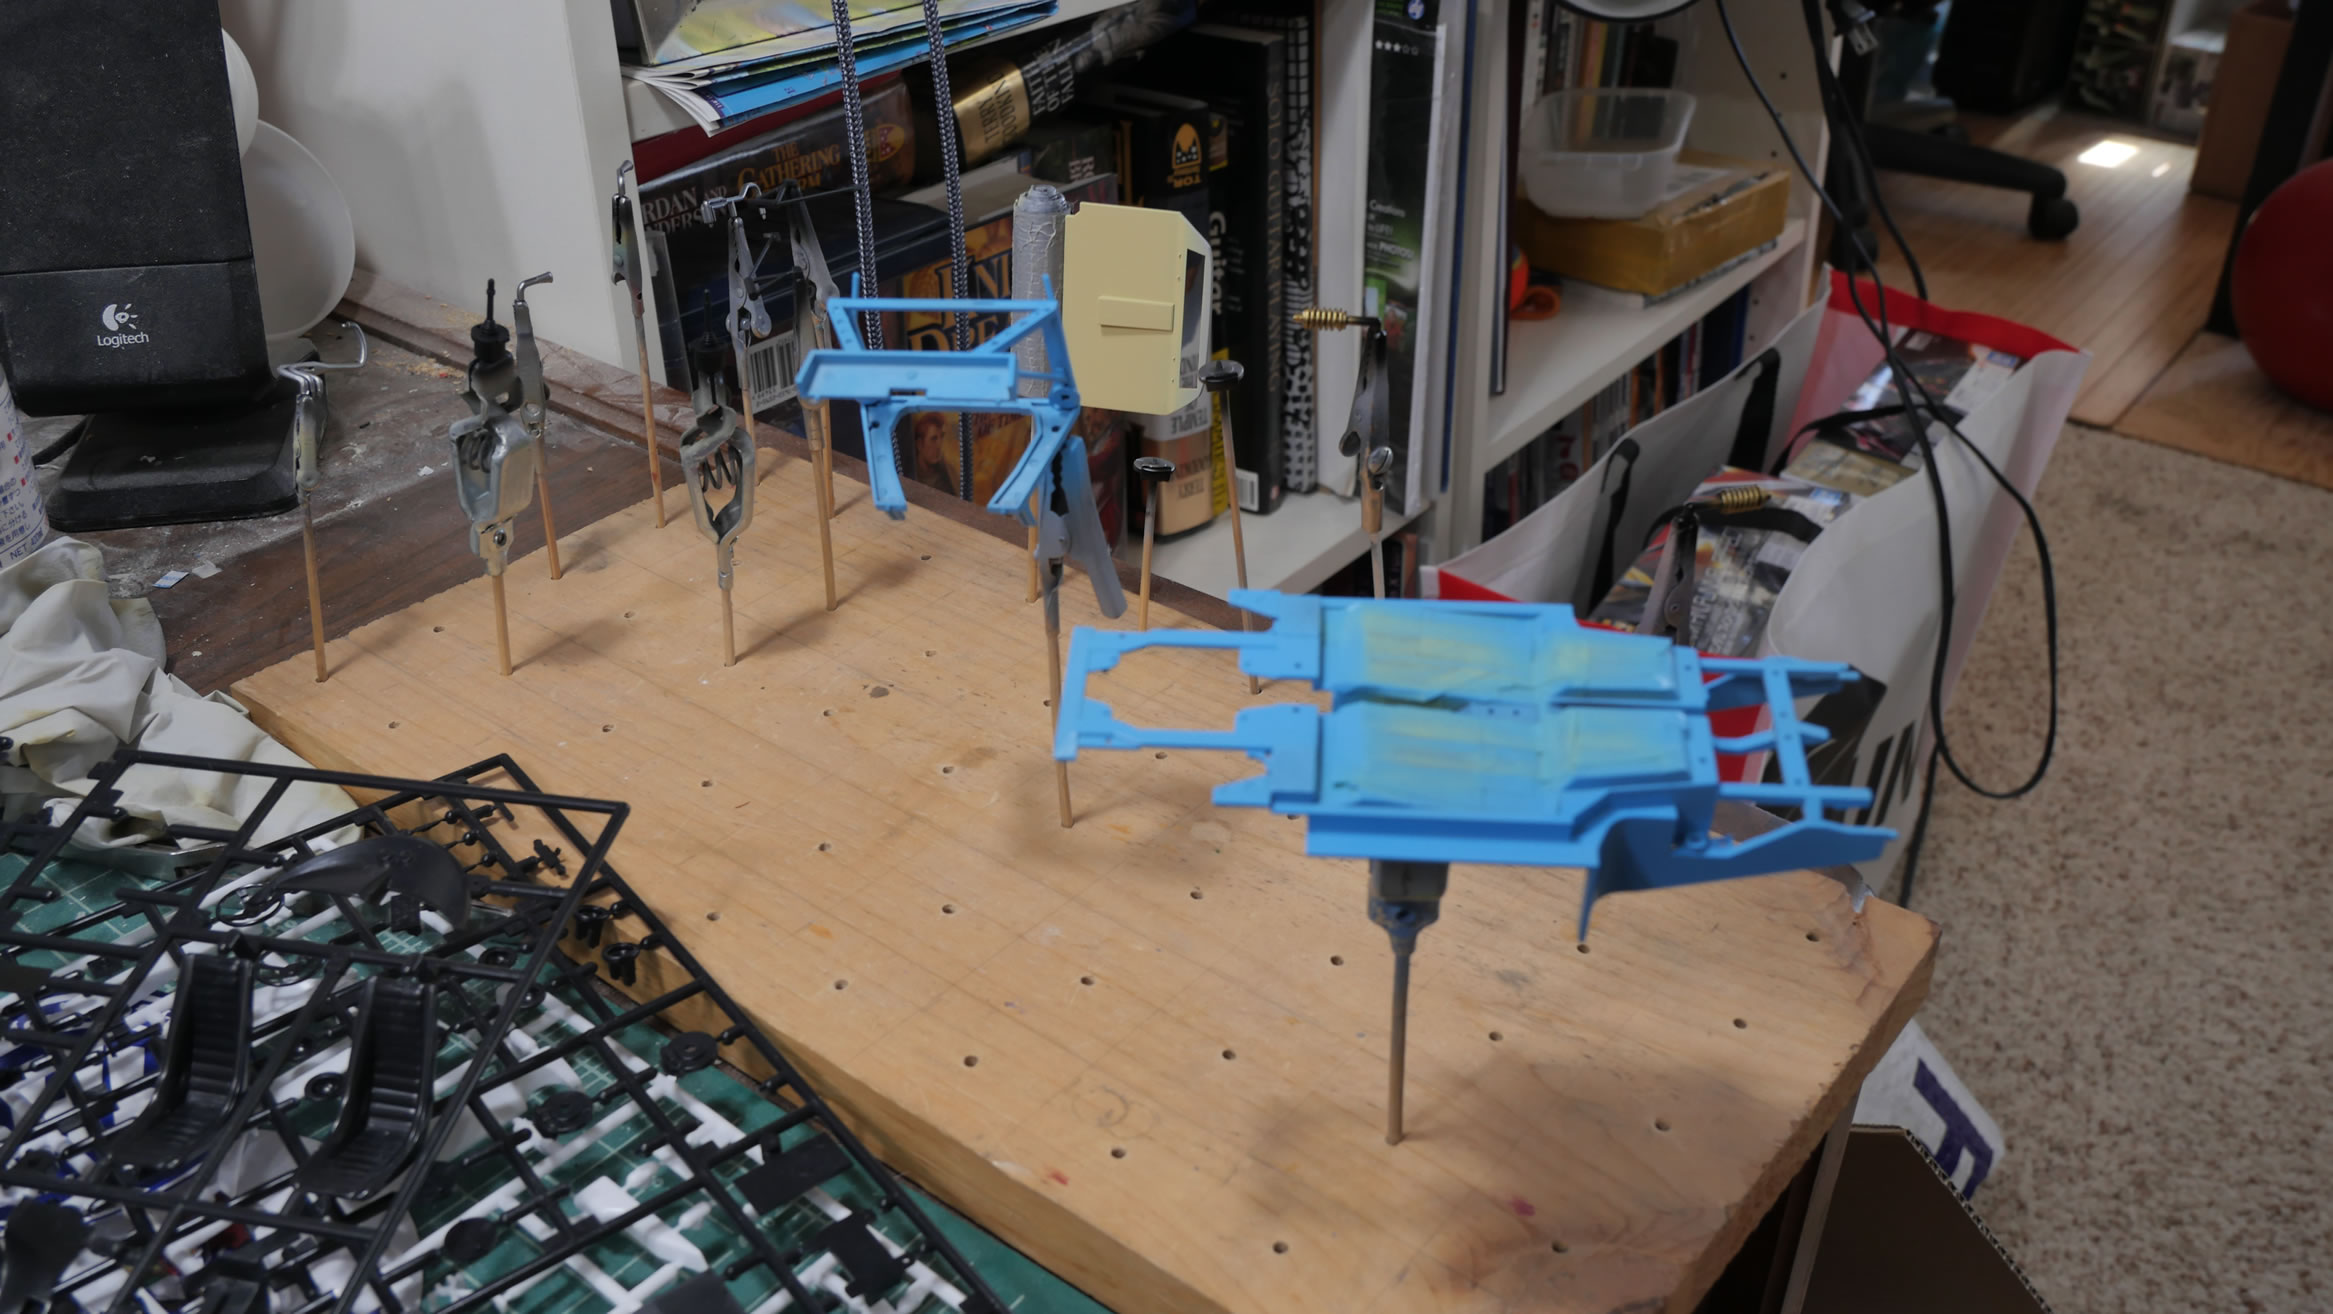
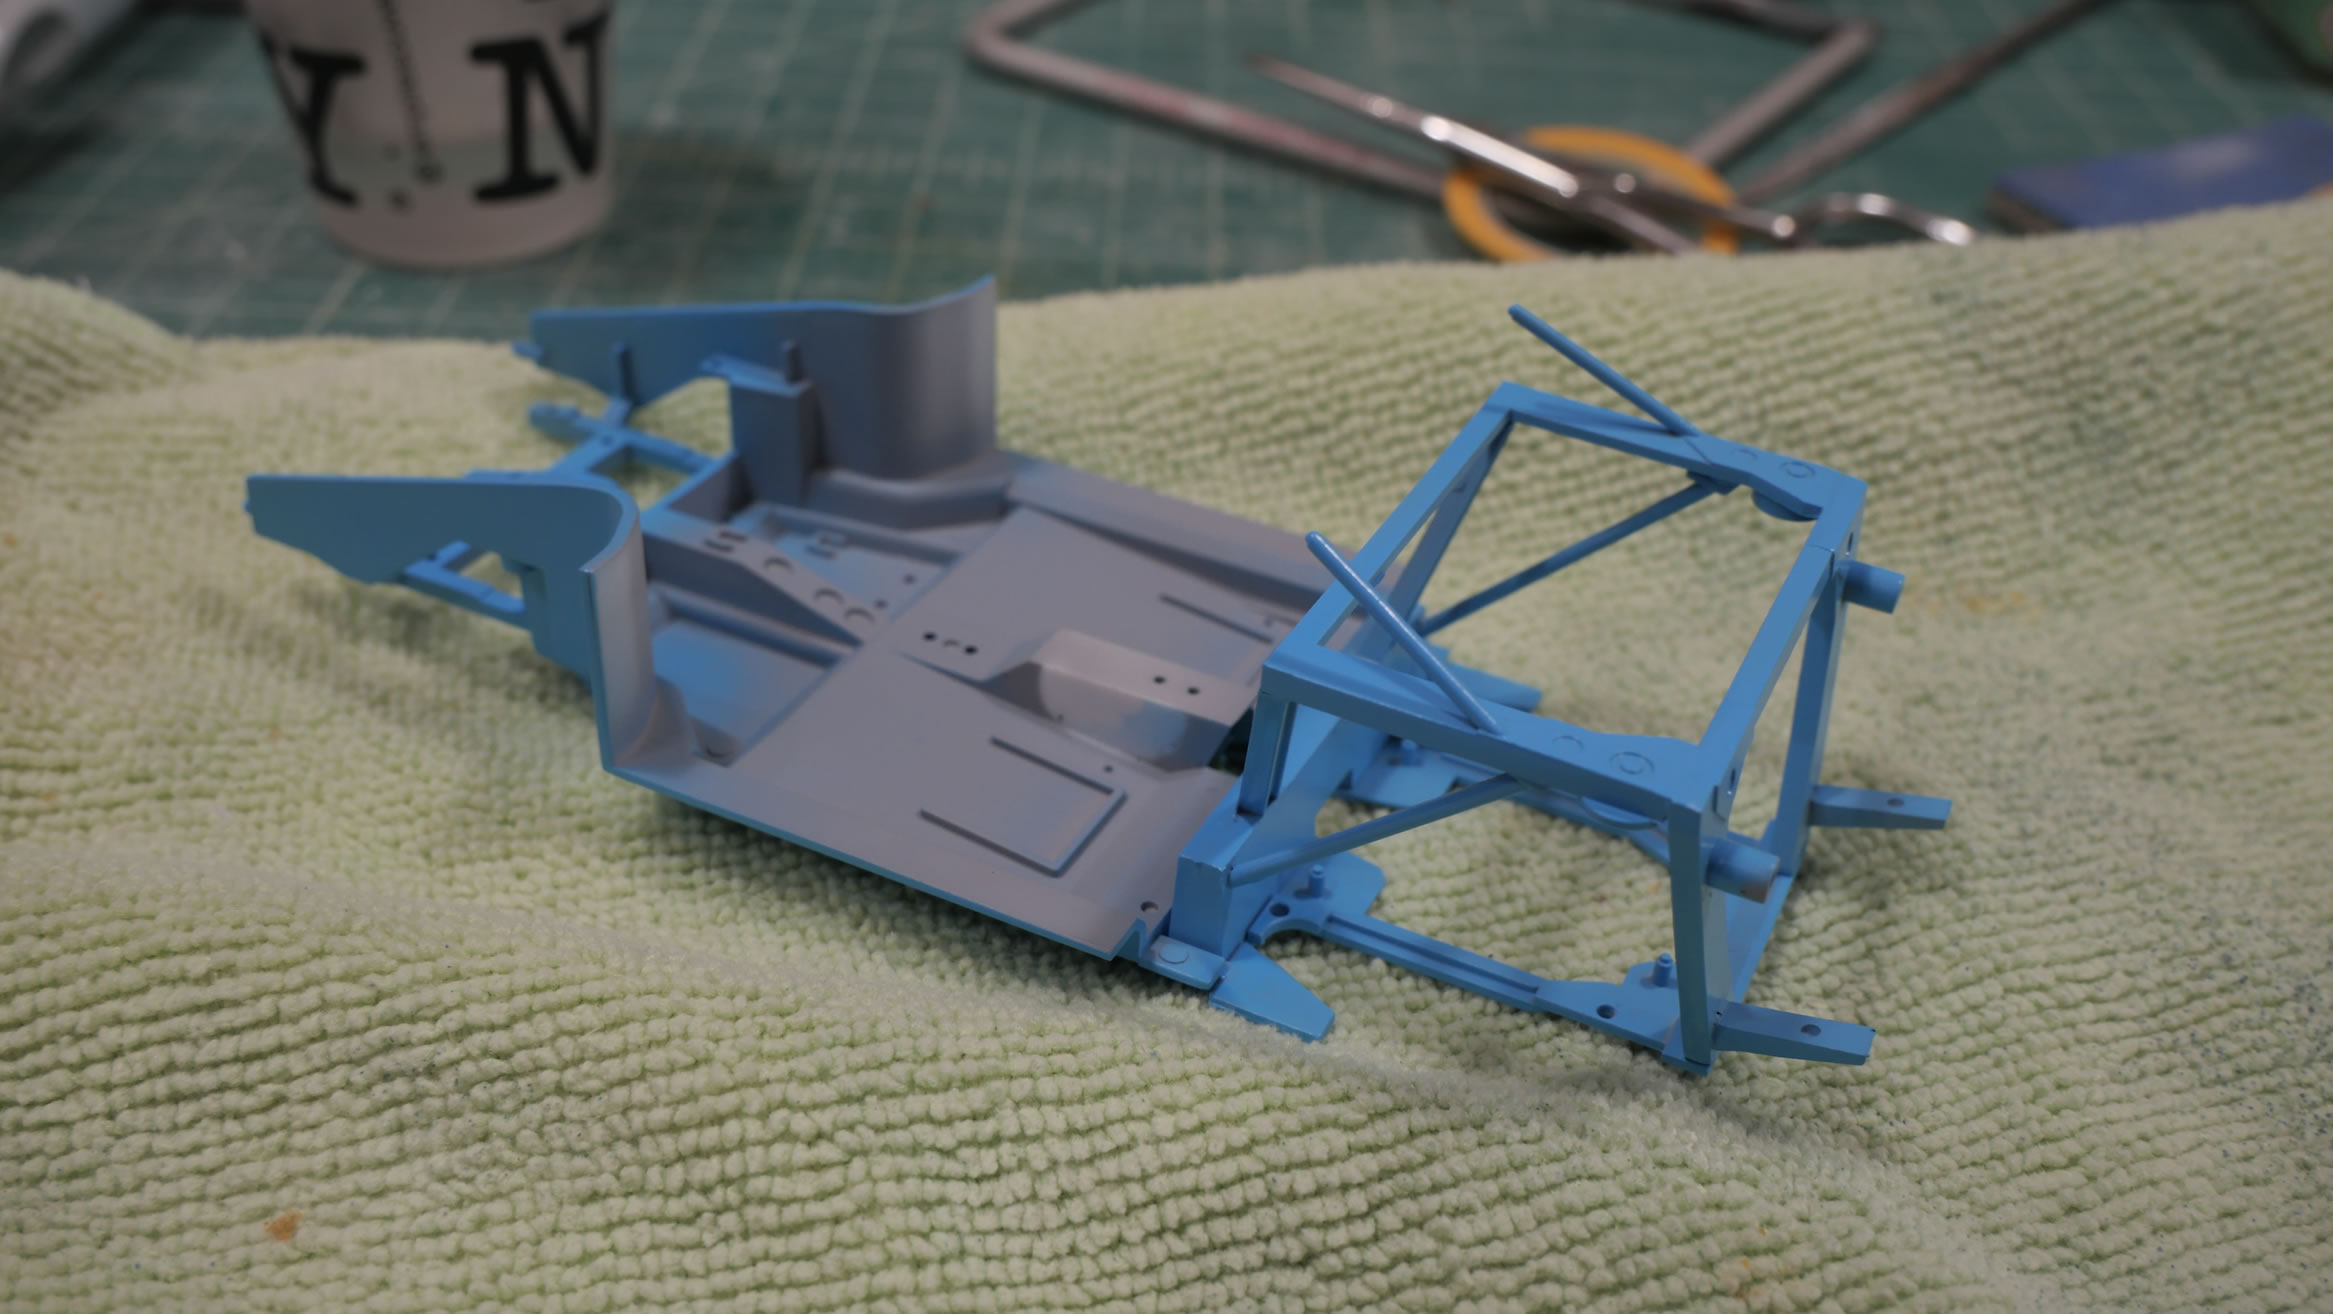
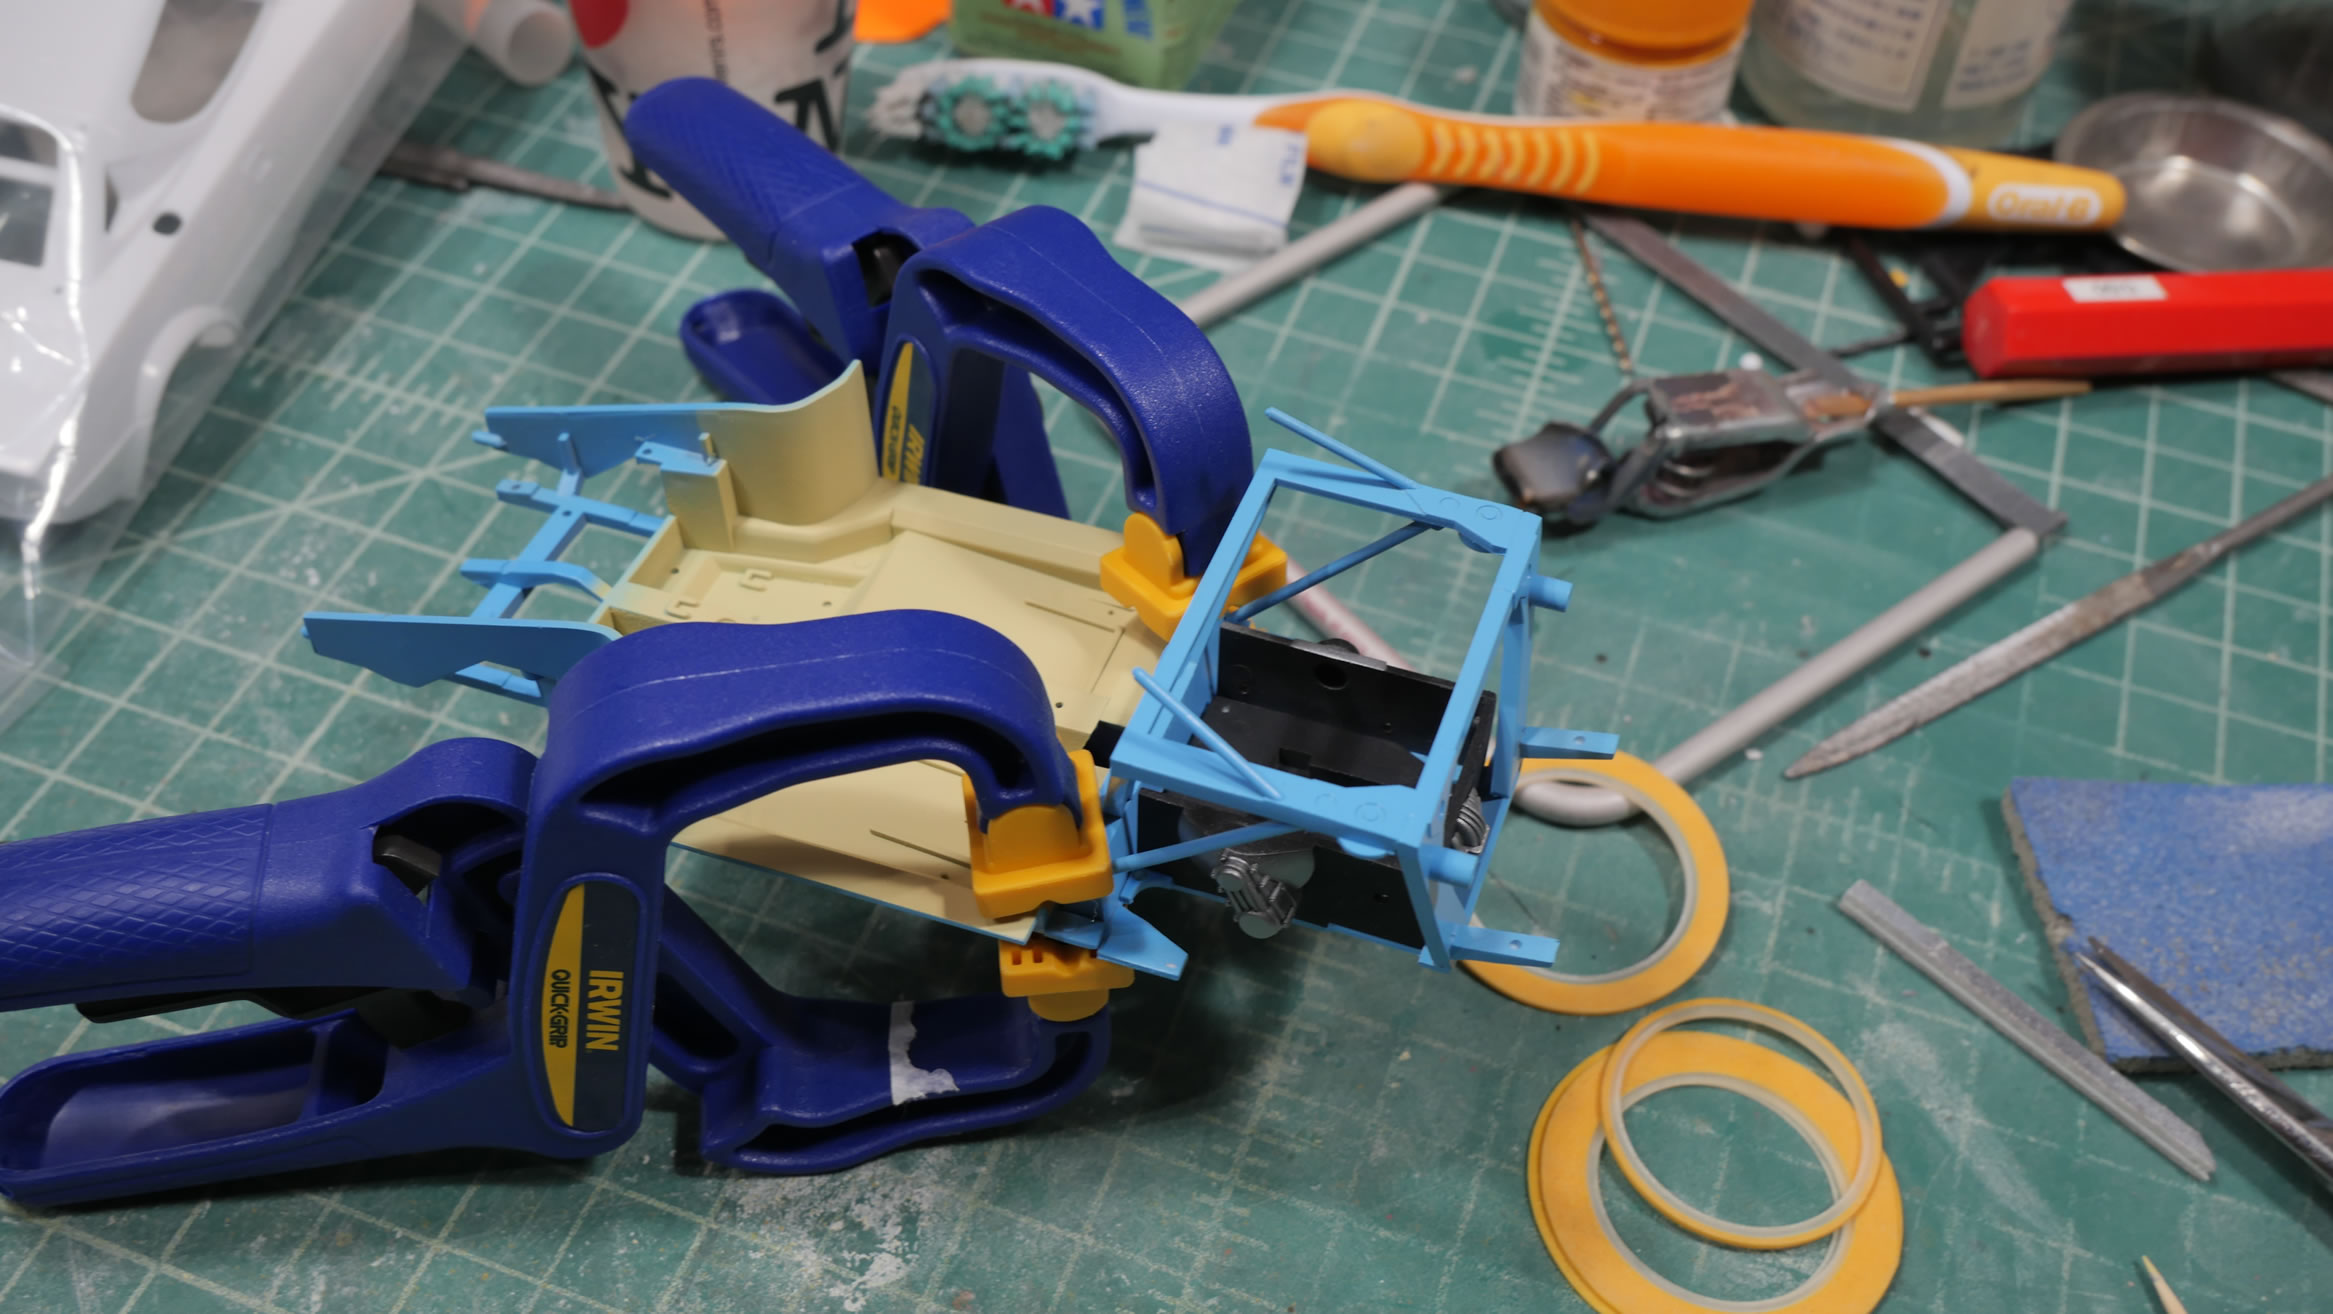
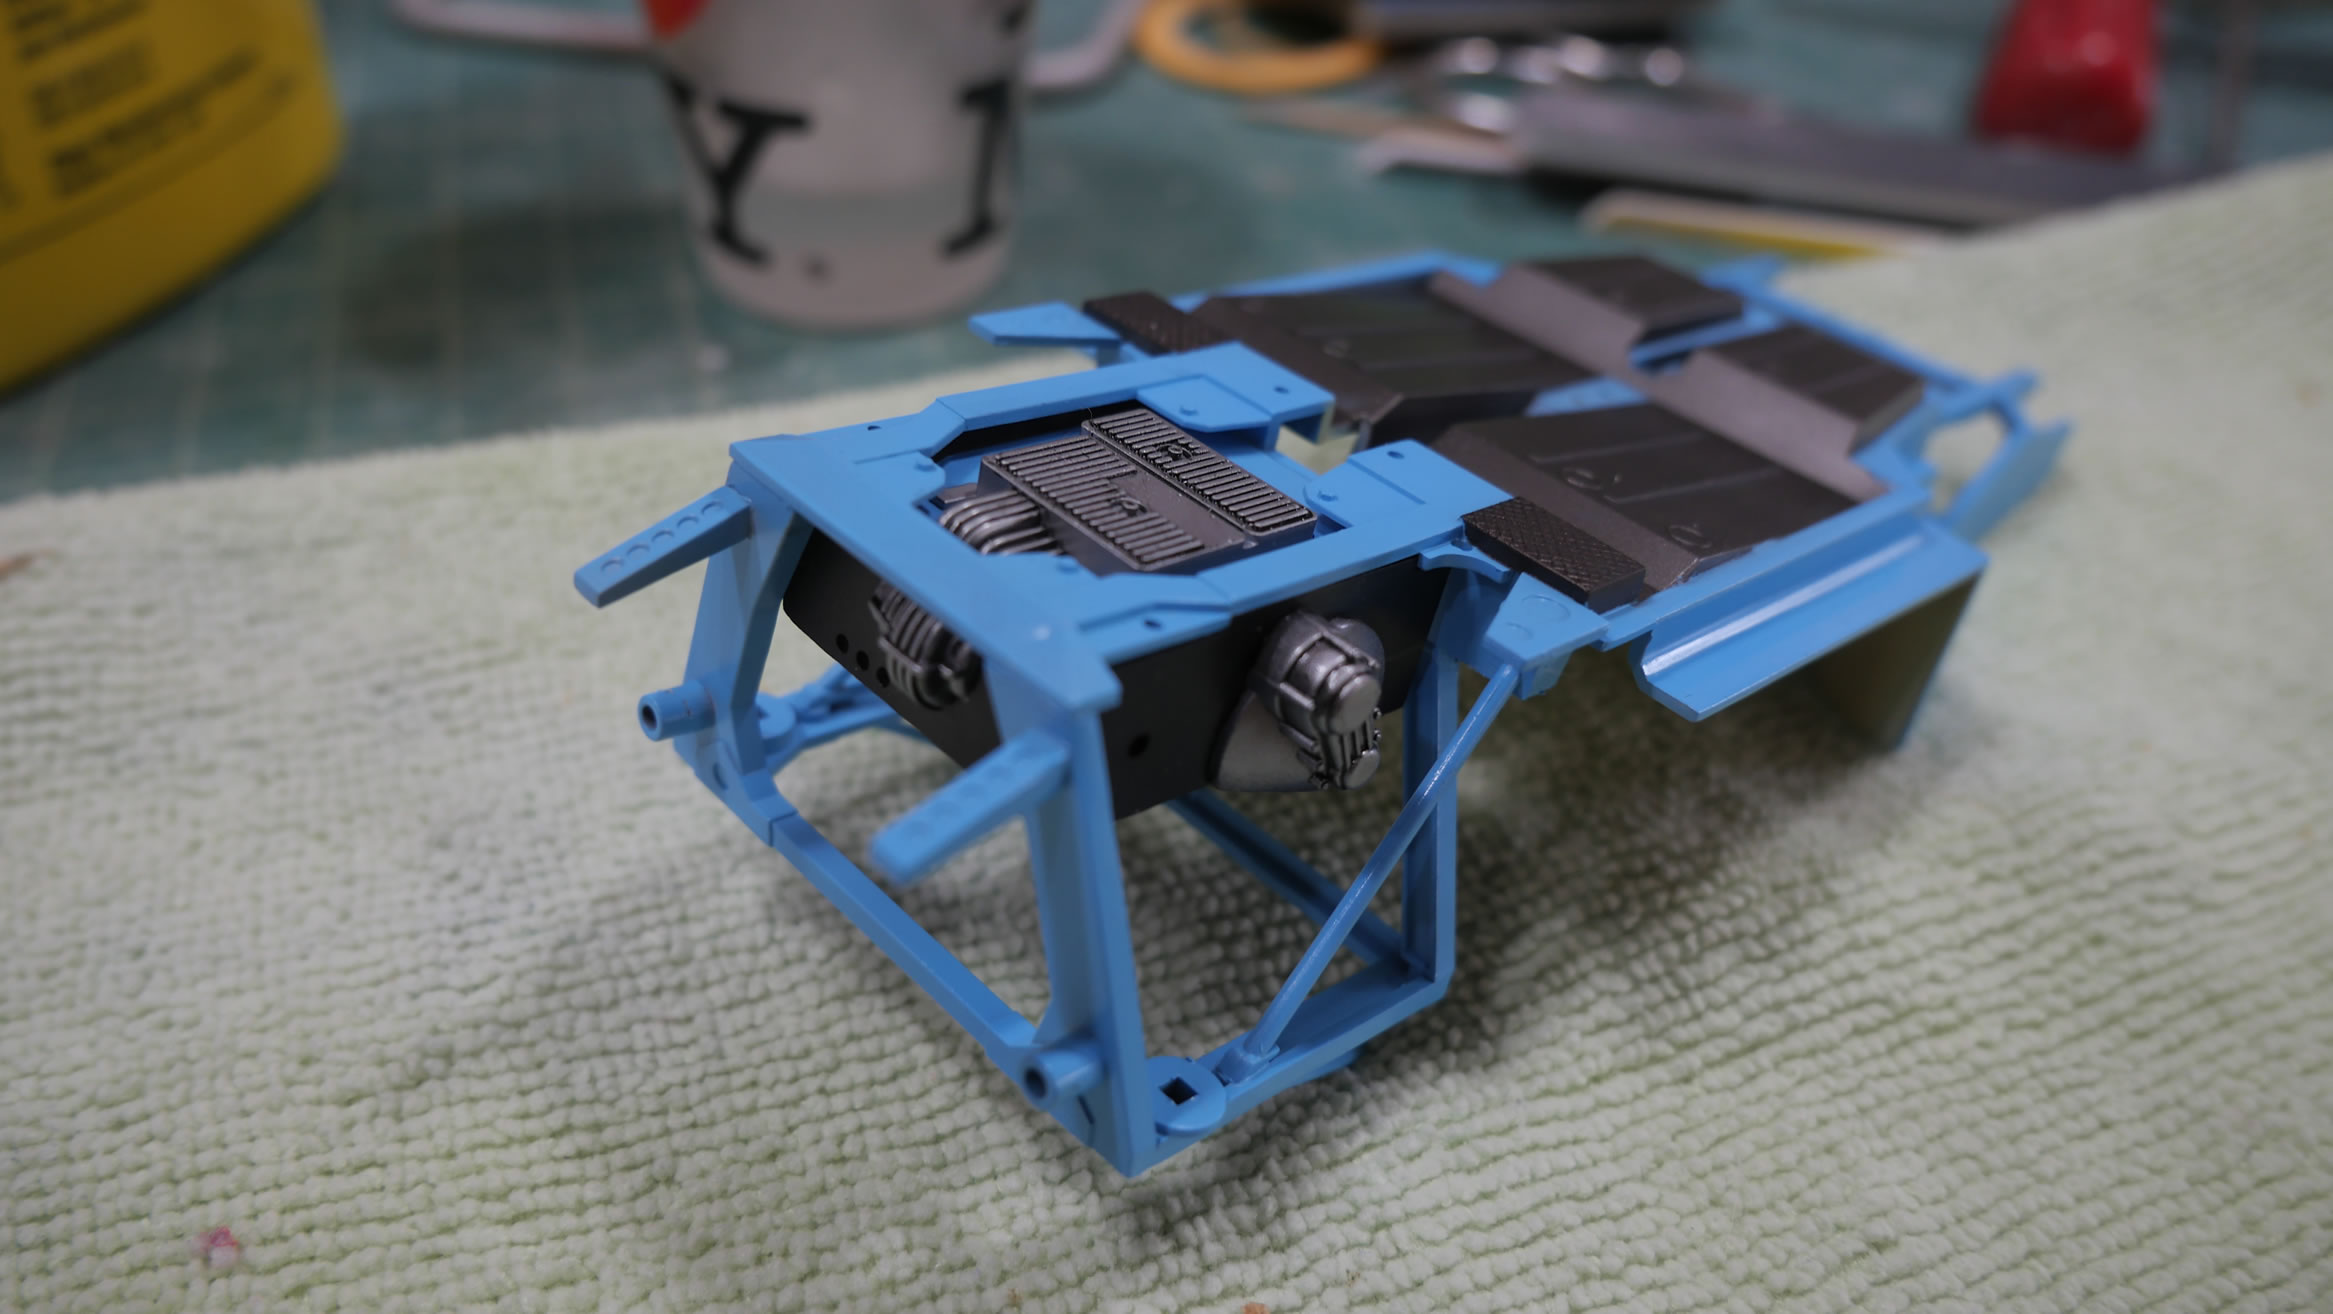
Just starting with the frame. Got it sanded, primed, and painted in the body color. I’m using Finisher’s cobalt blue. Paint some parts, glue some parts. Car building is pretty different from how I usually build gunpla.

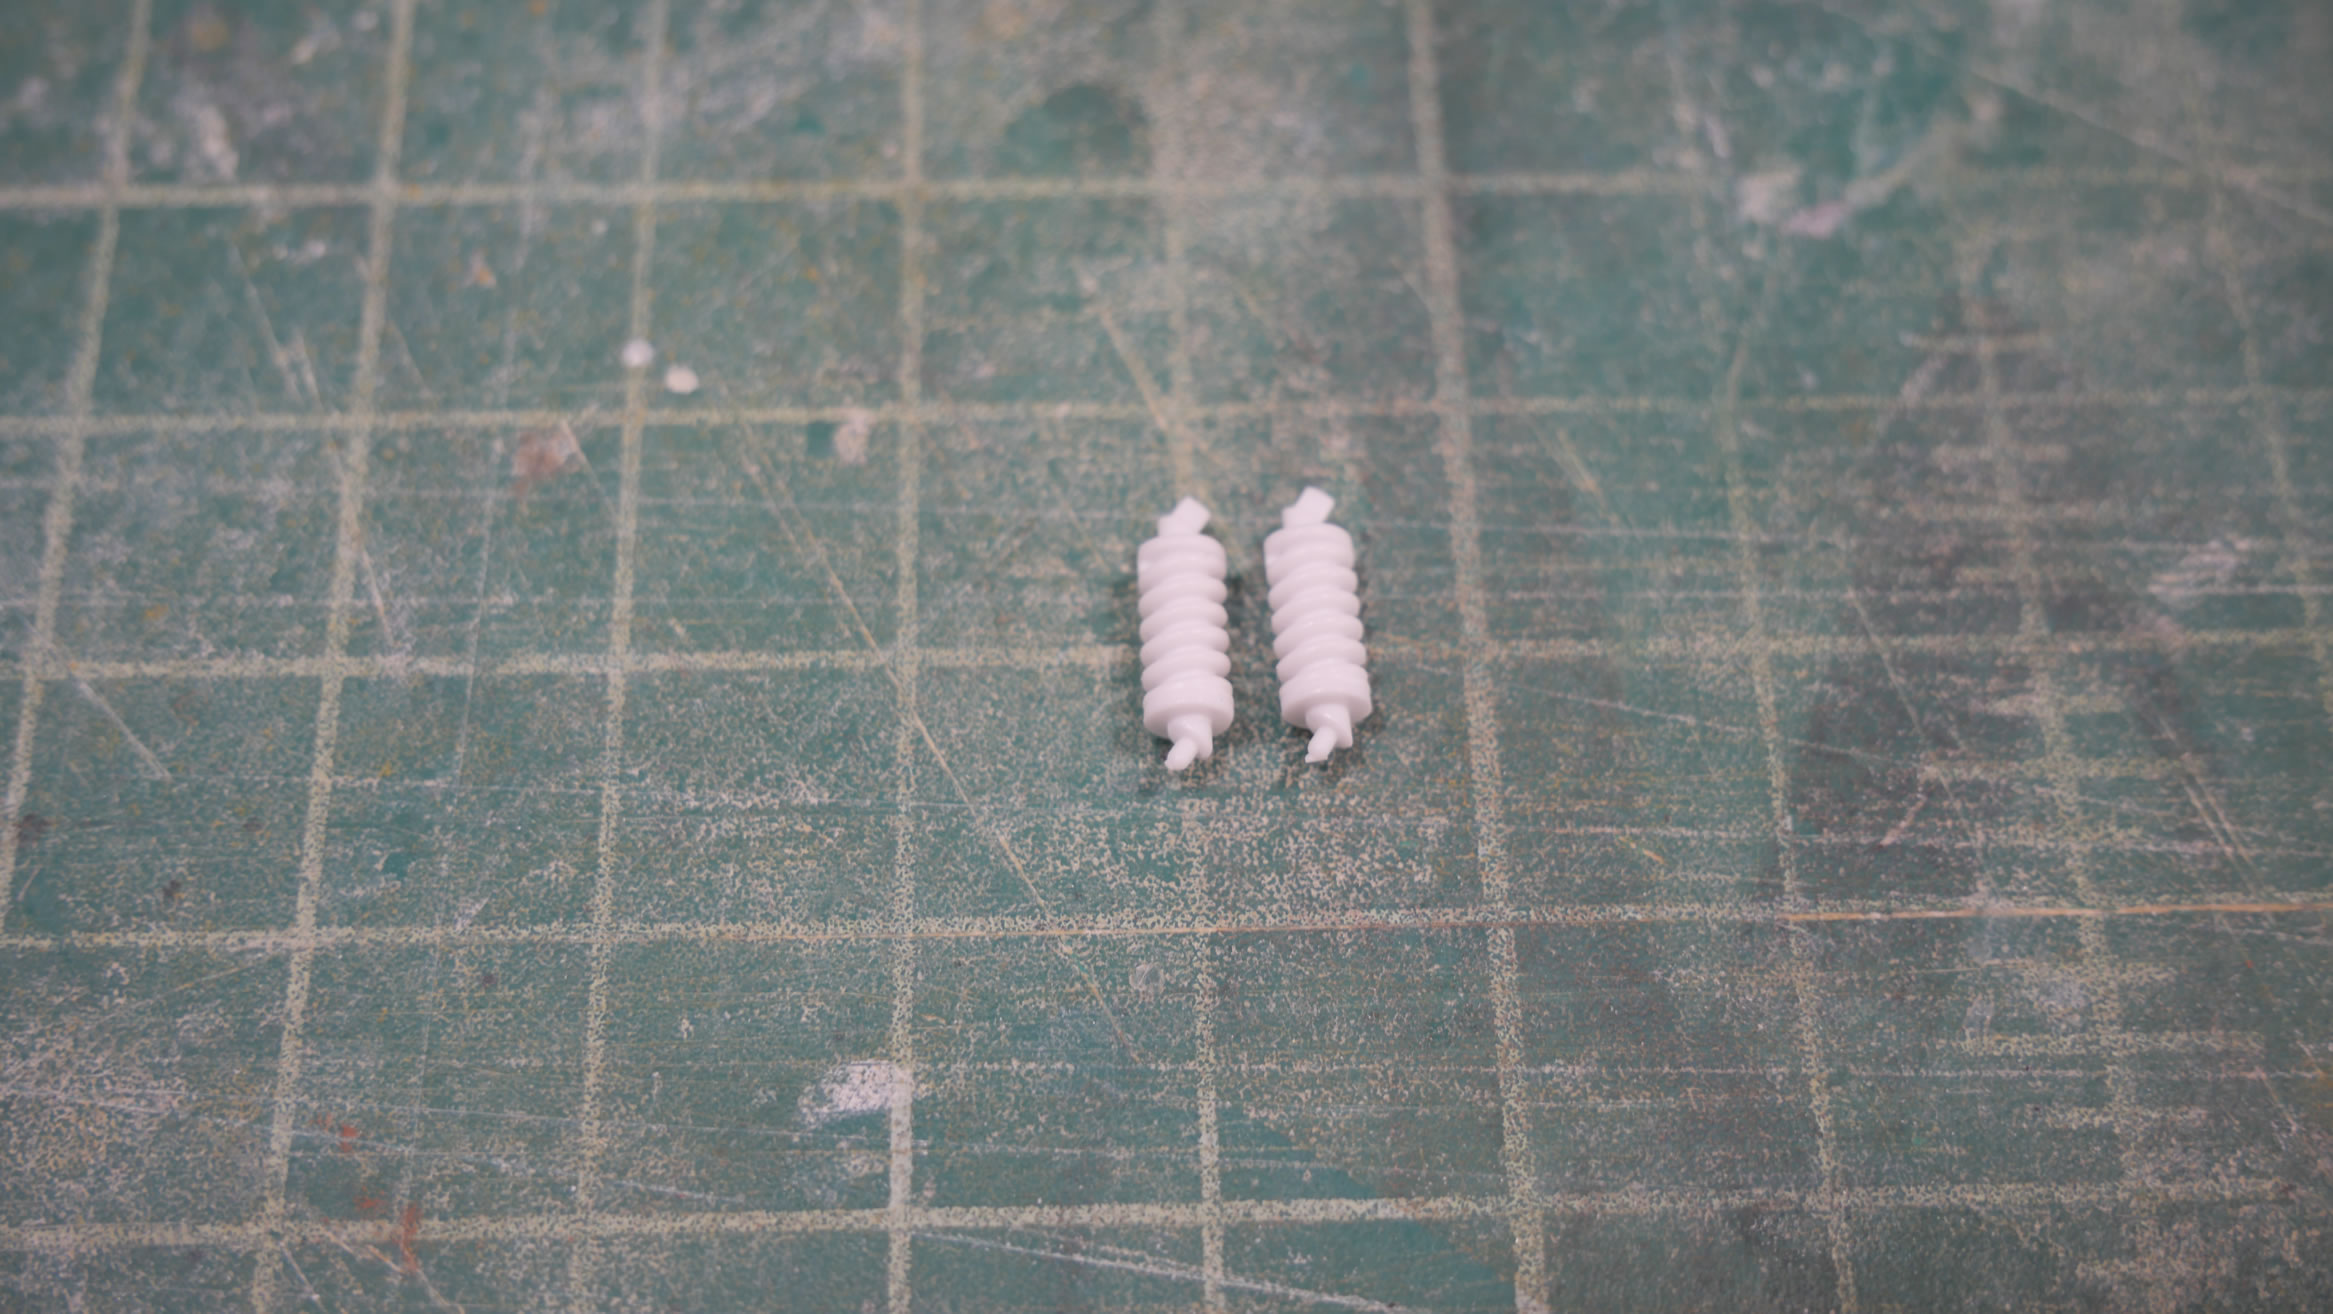
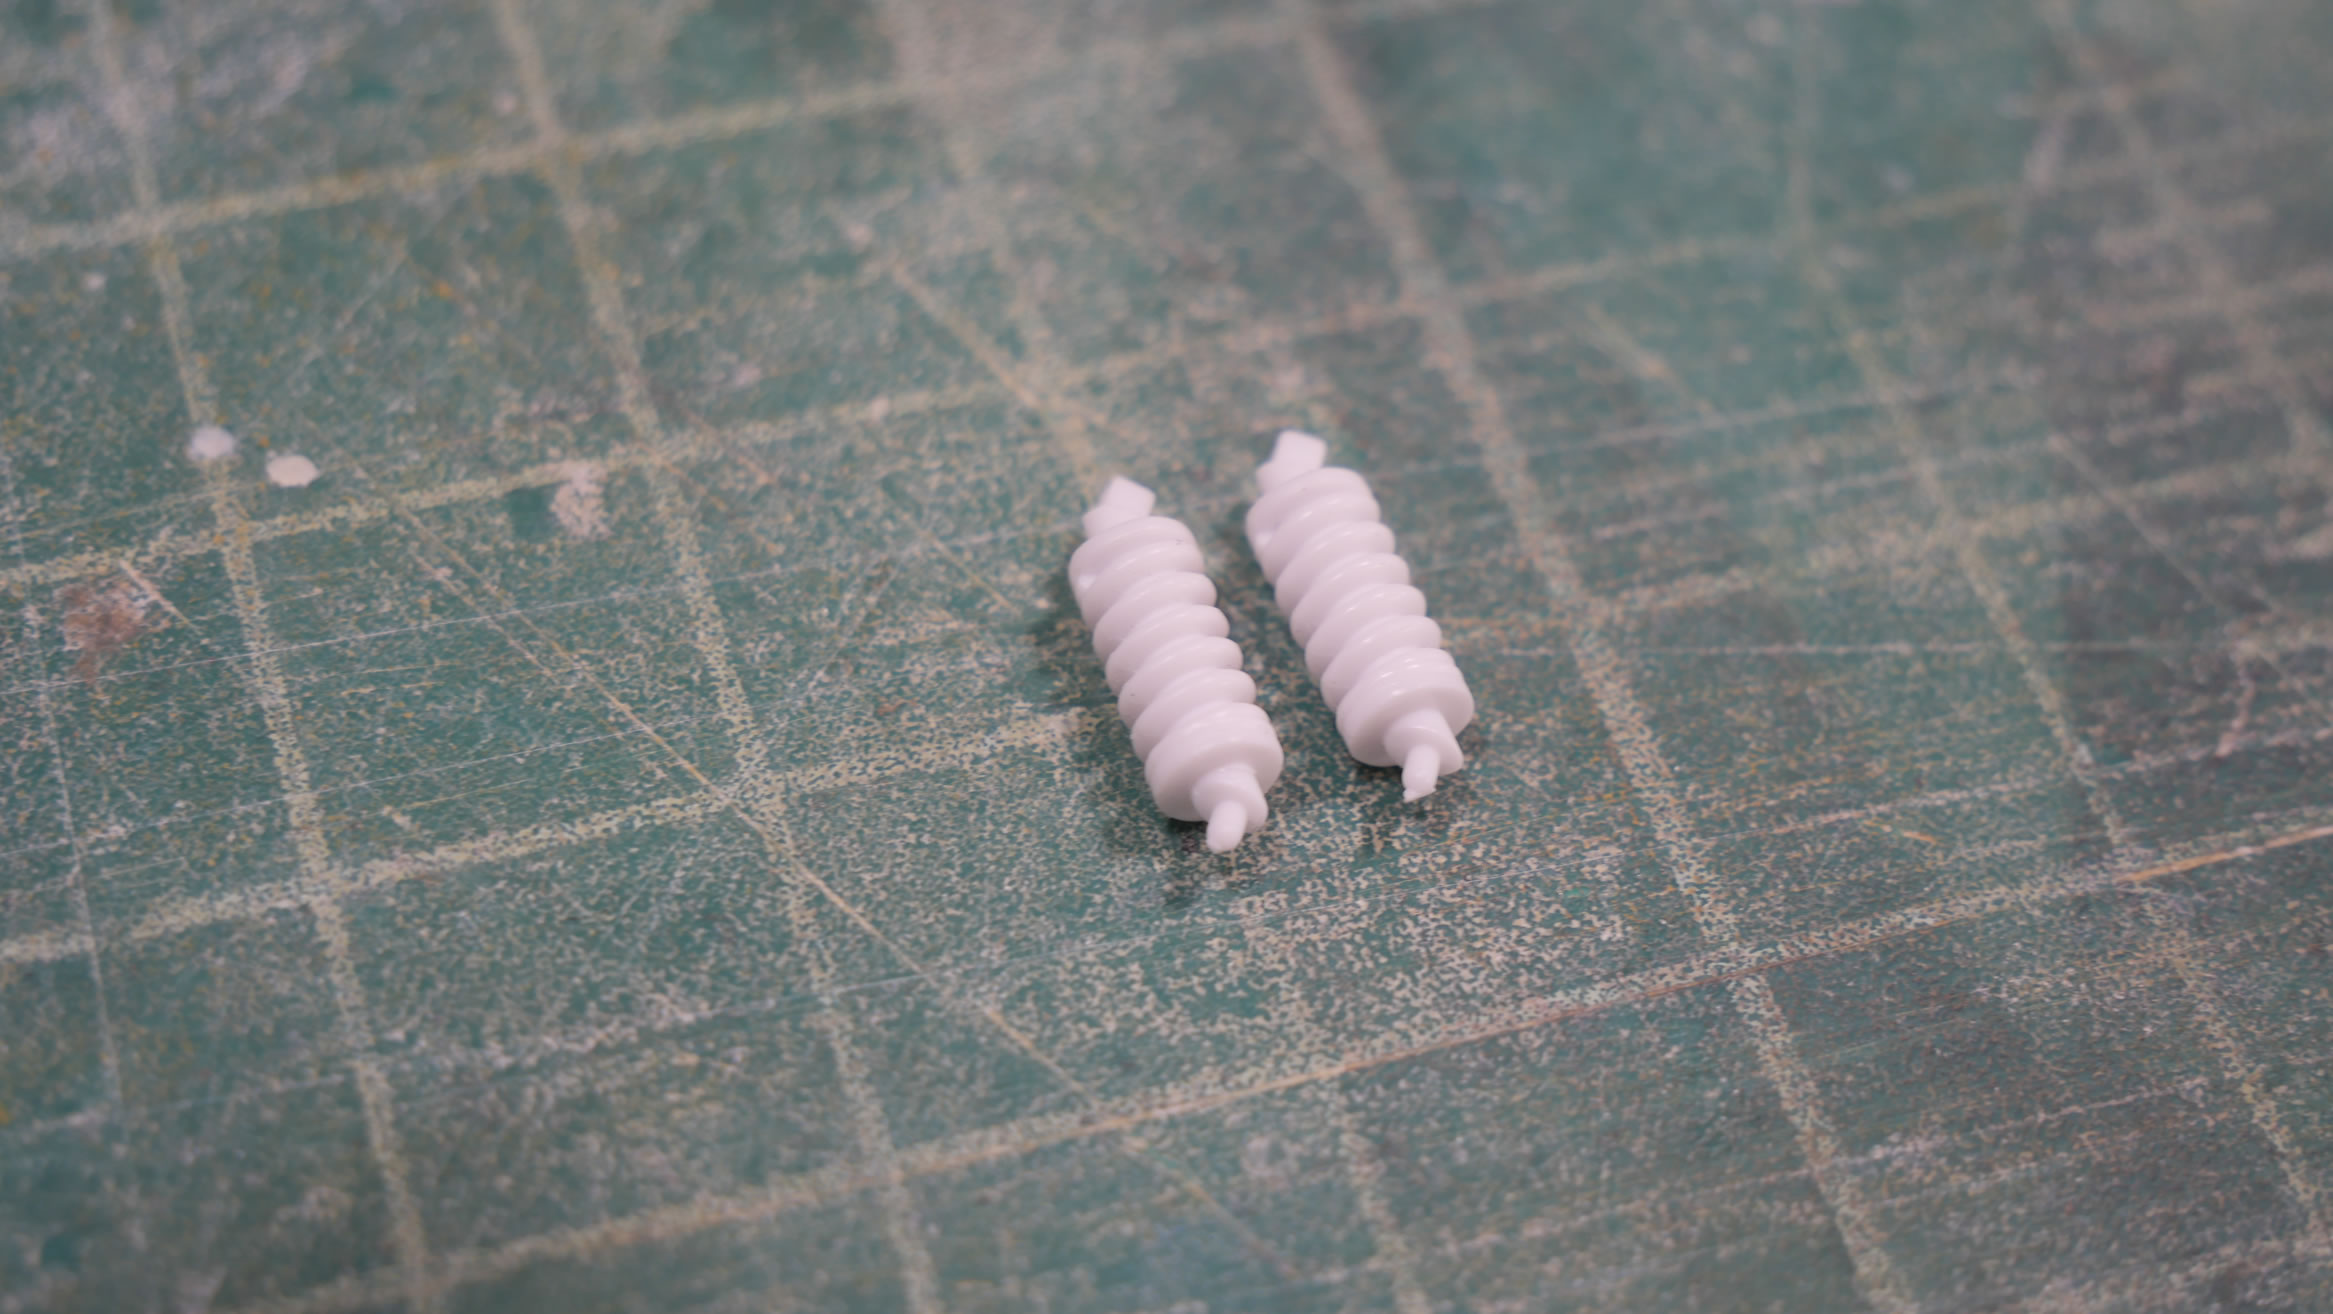
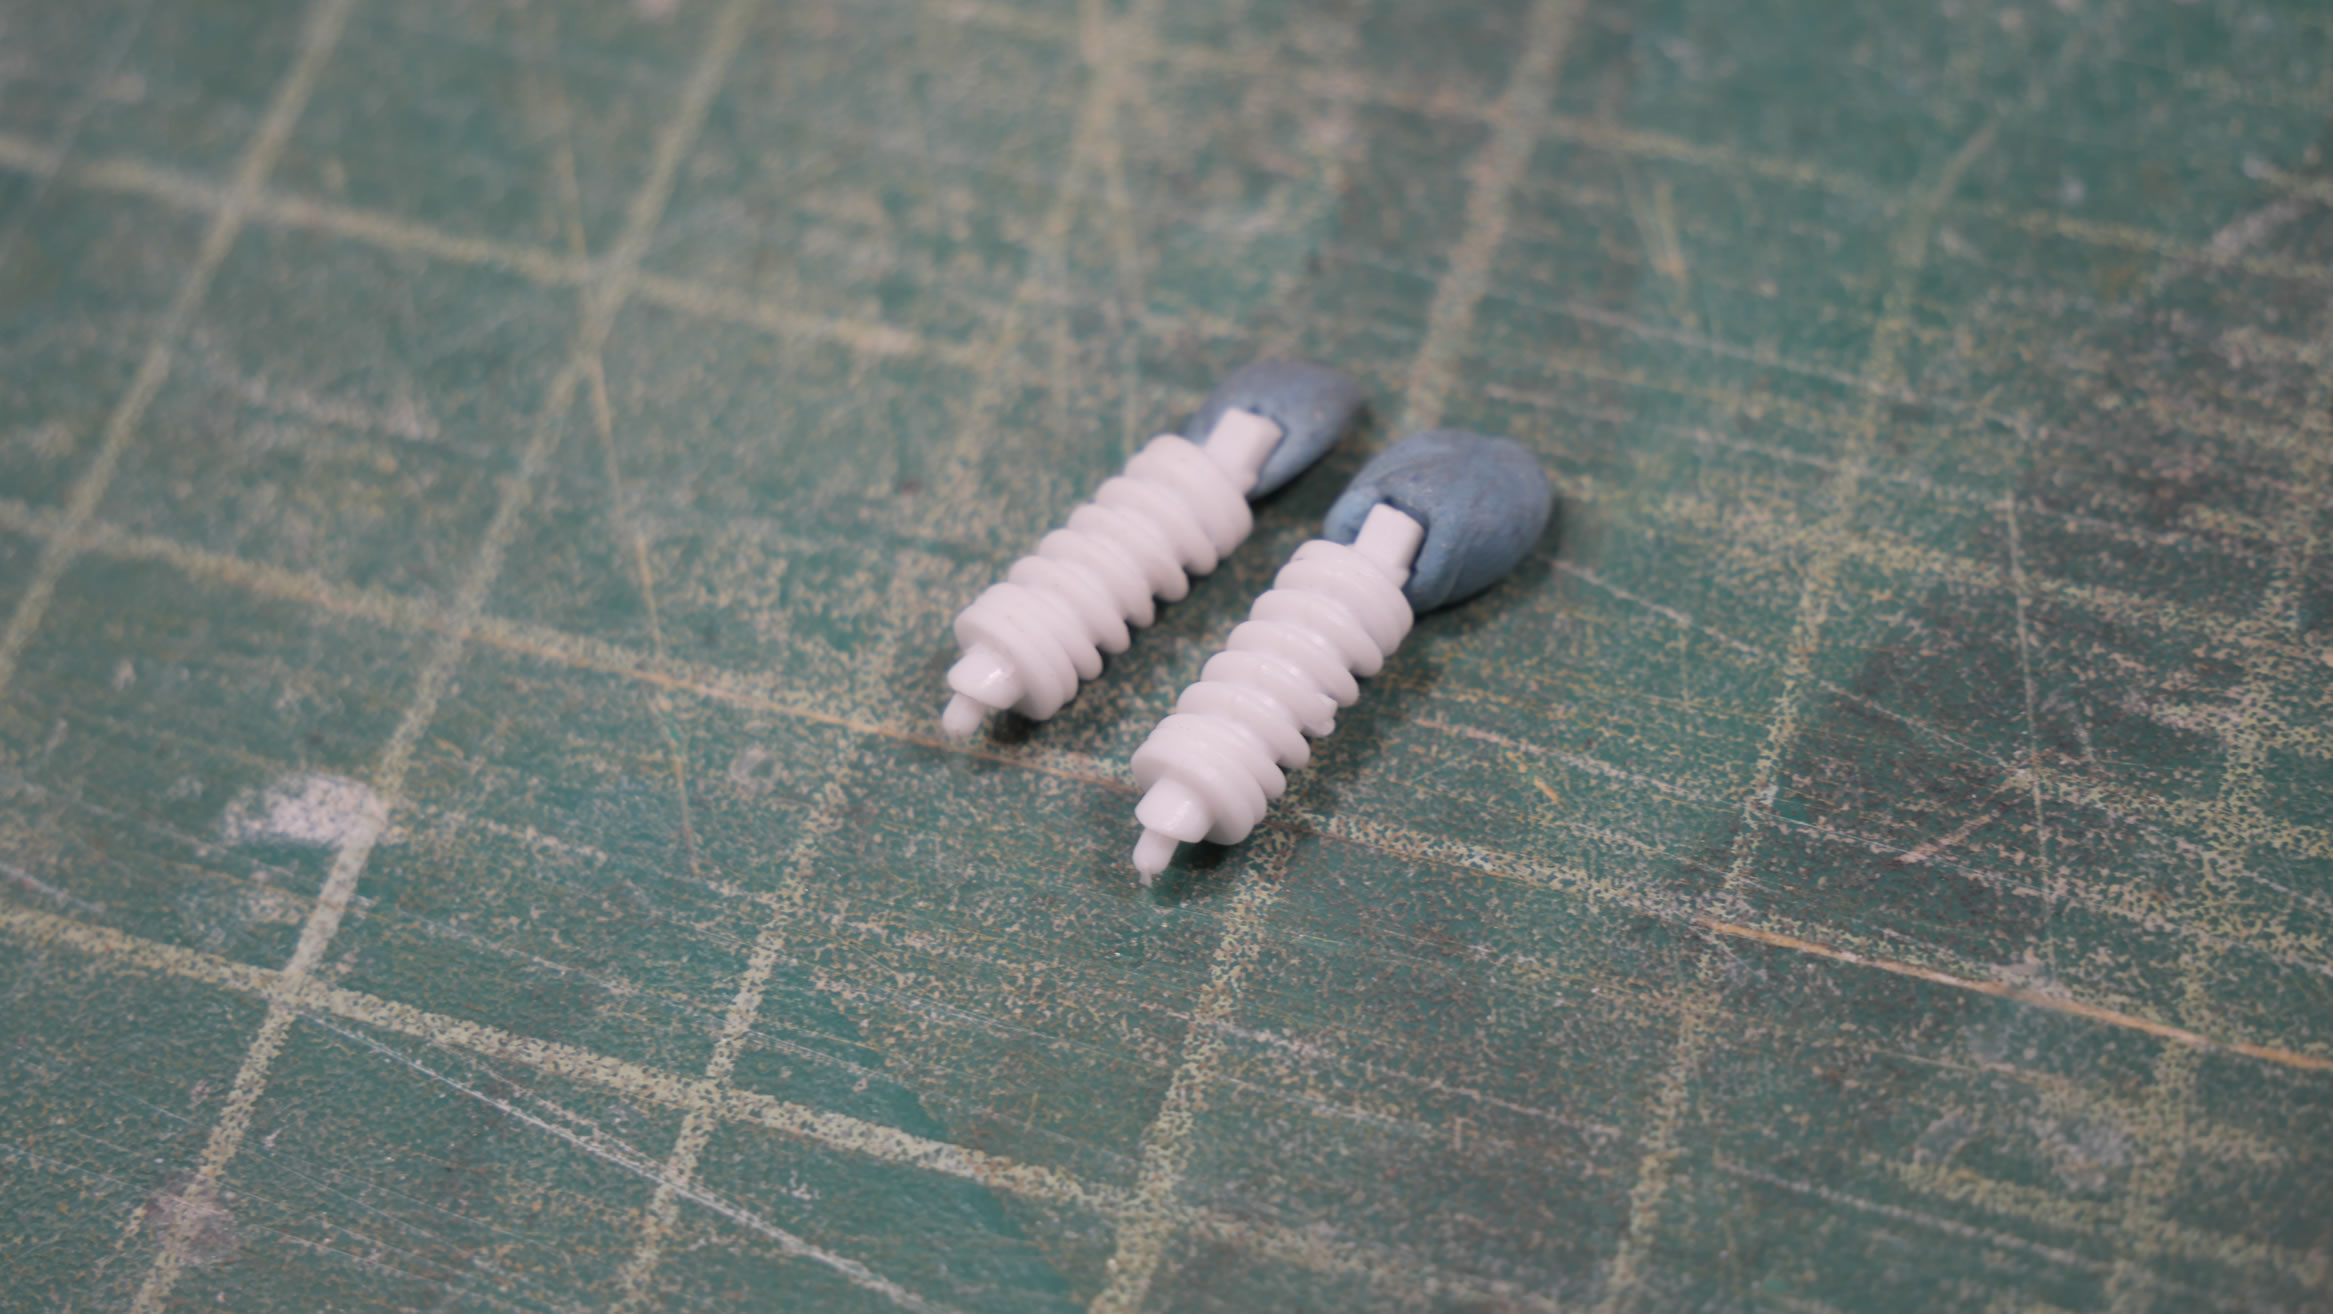
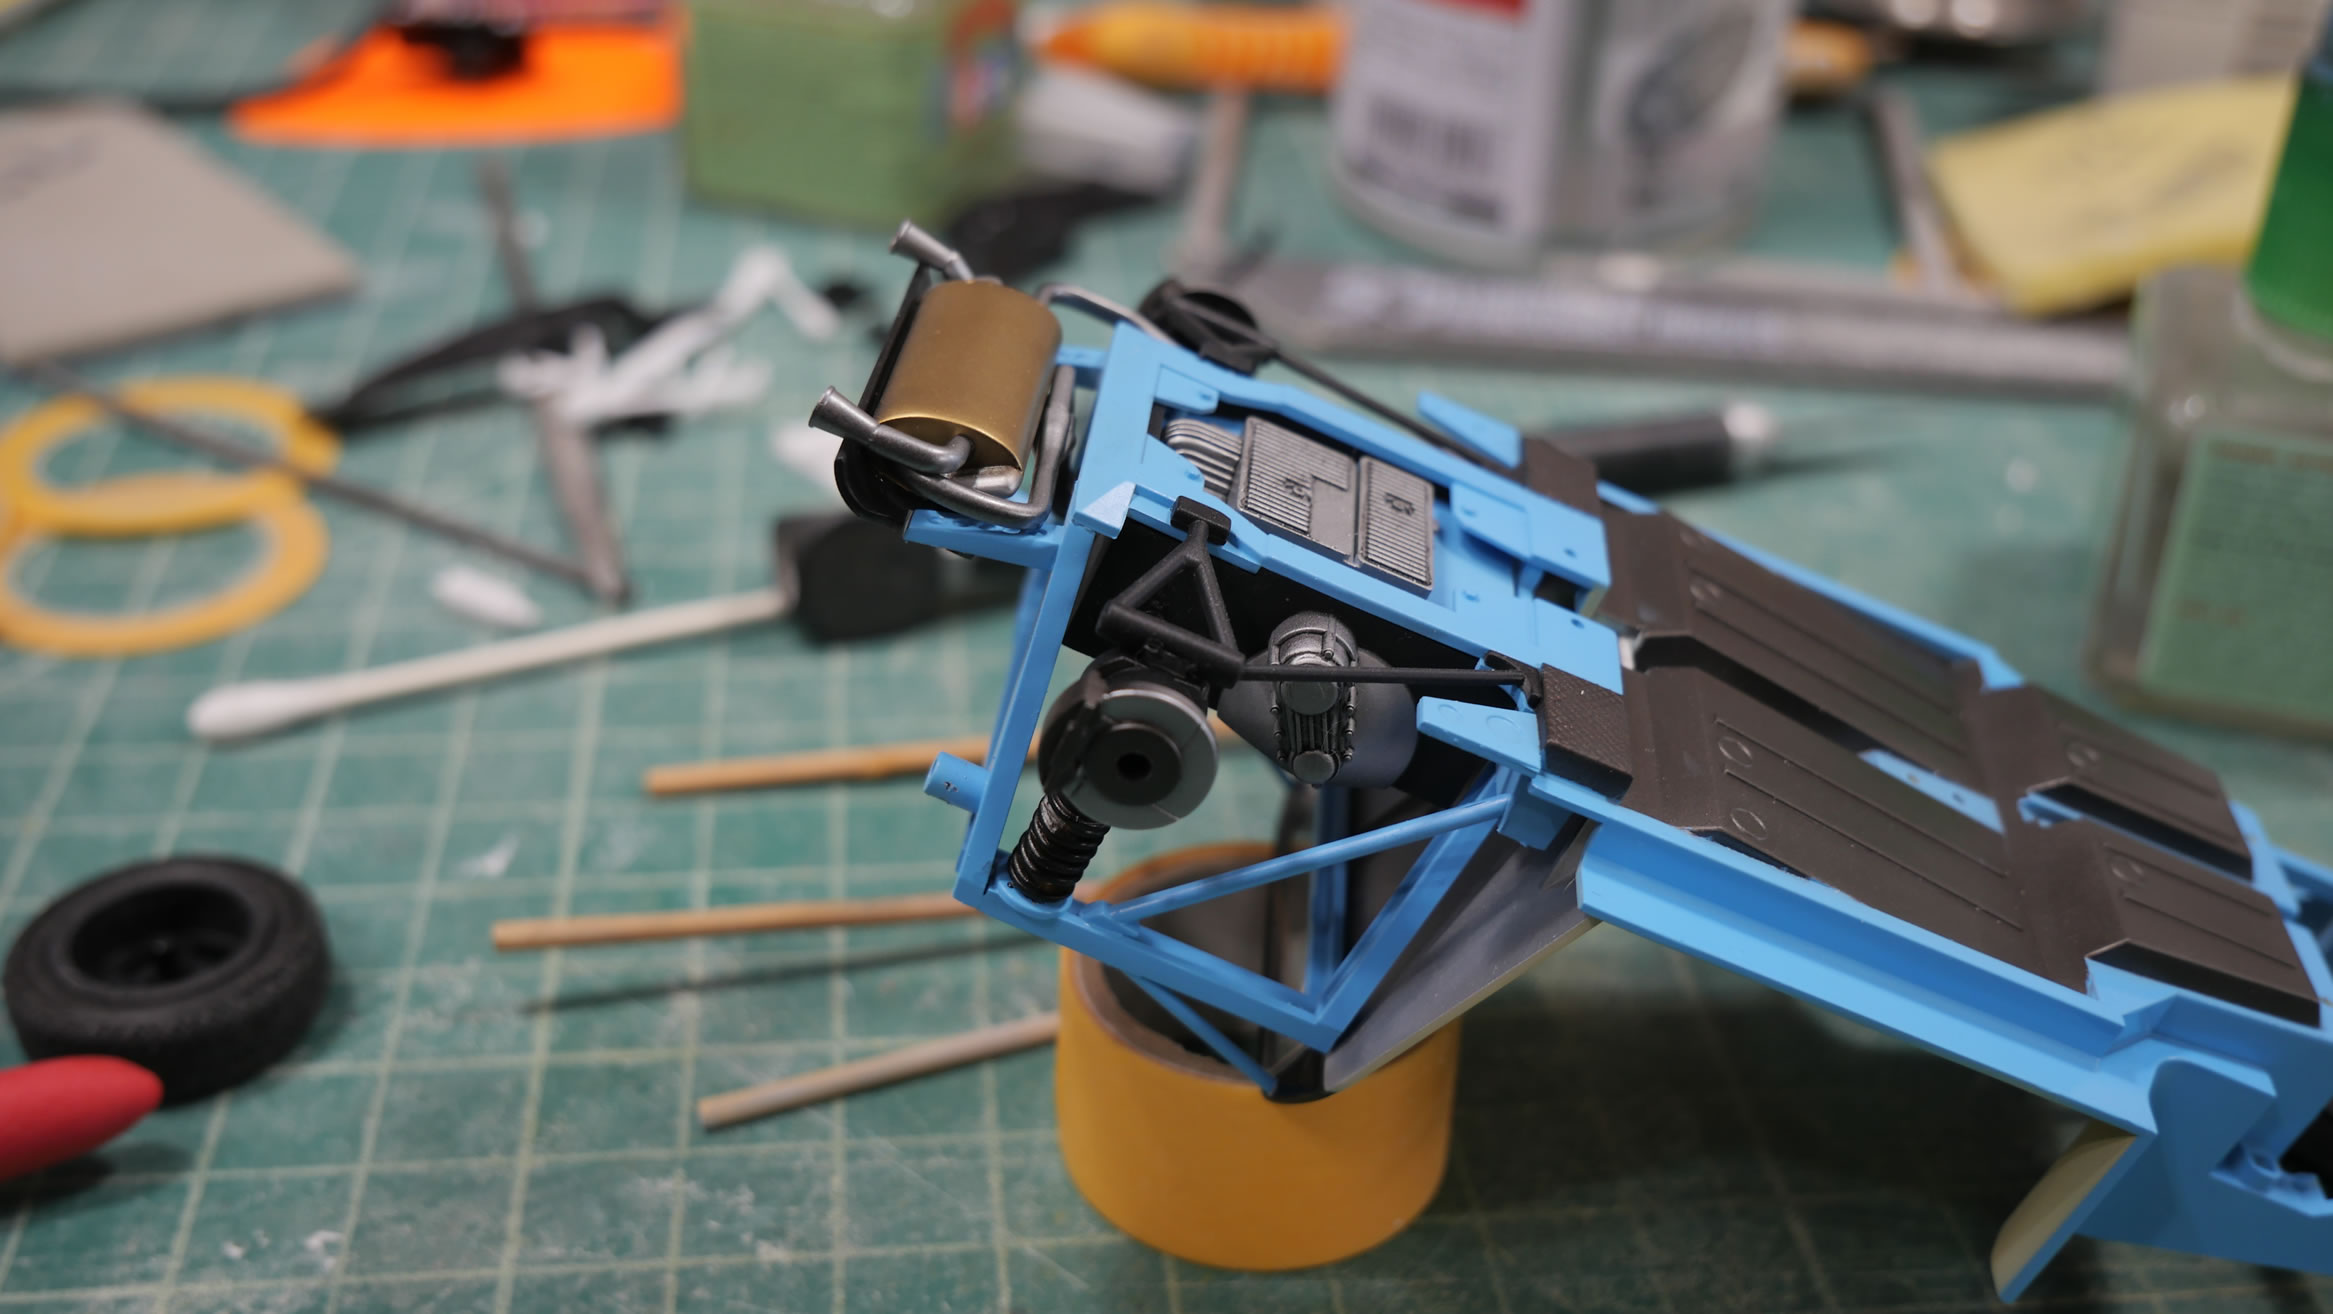
Shocks. A little sanding to get rid of the horrific mold lines then prime to check and paint-mask-paint. Not like anyone is gonna look hard enough to see these, but they’re there.
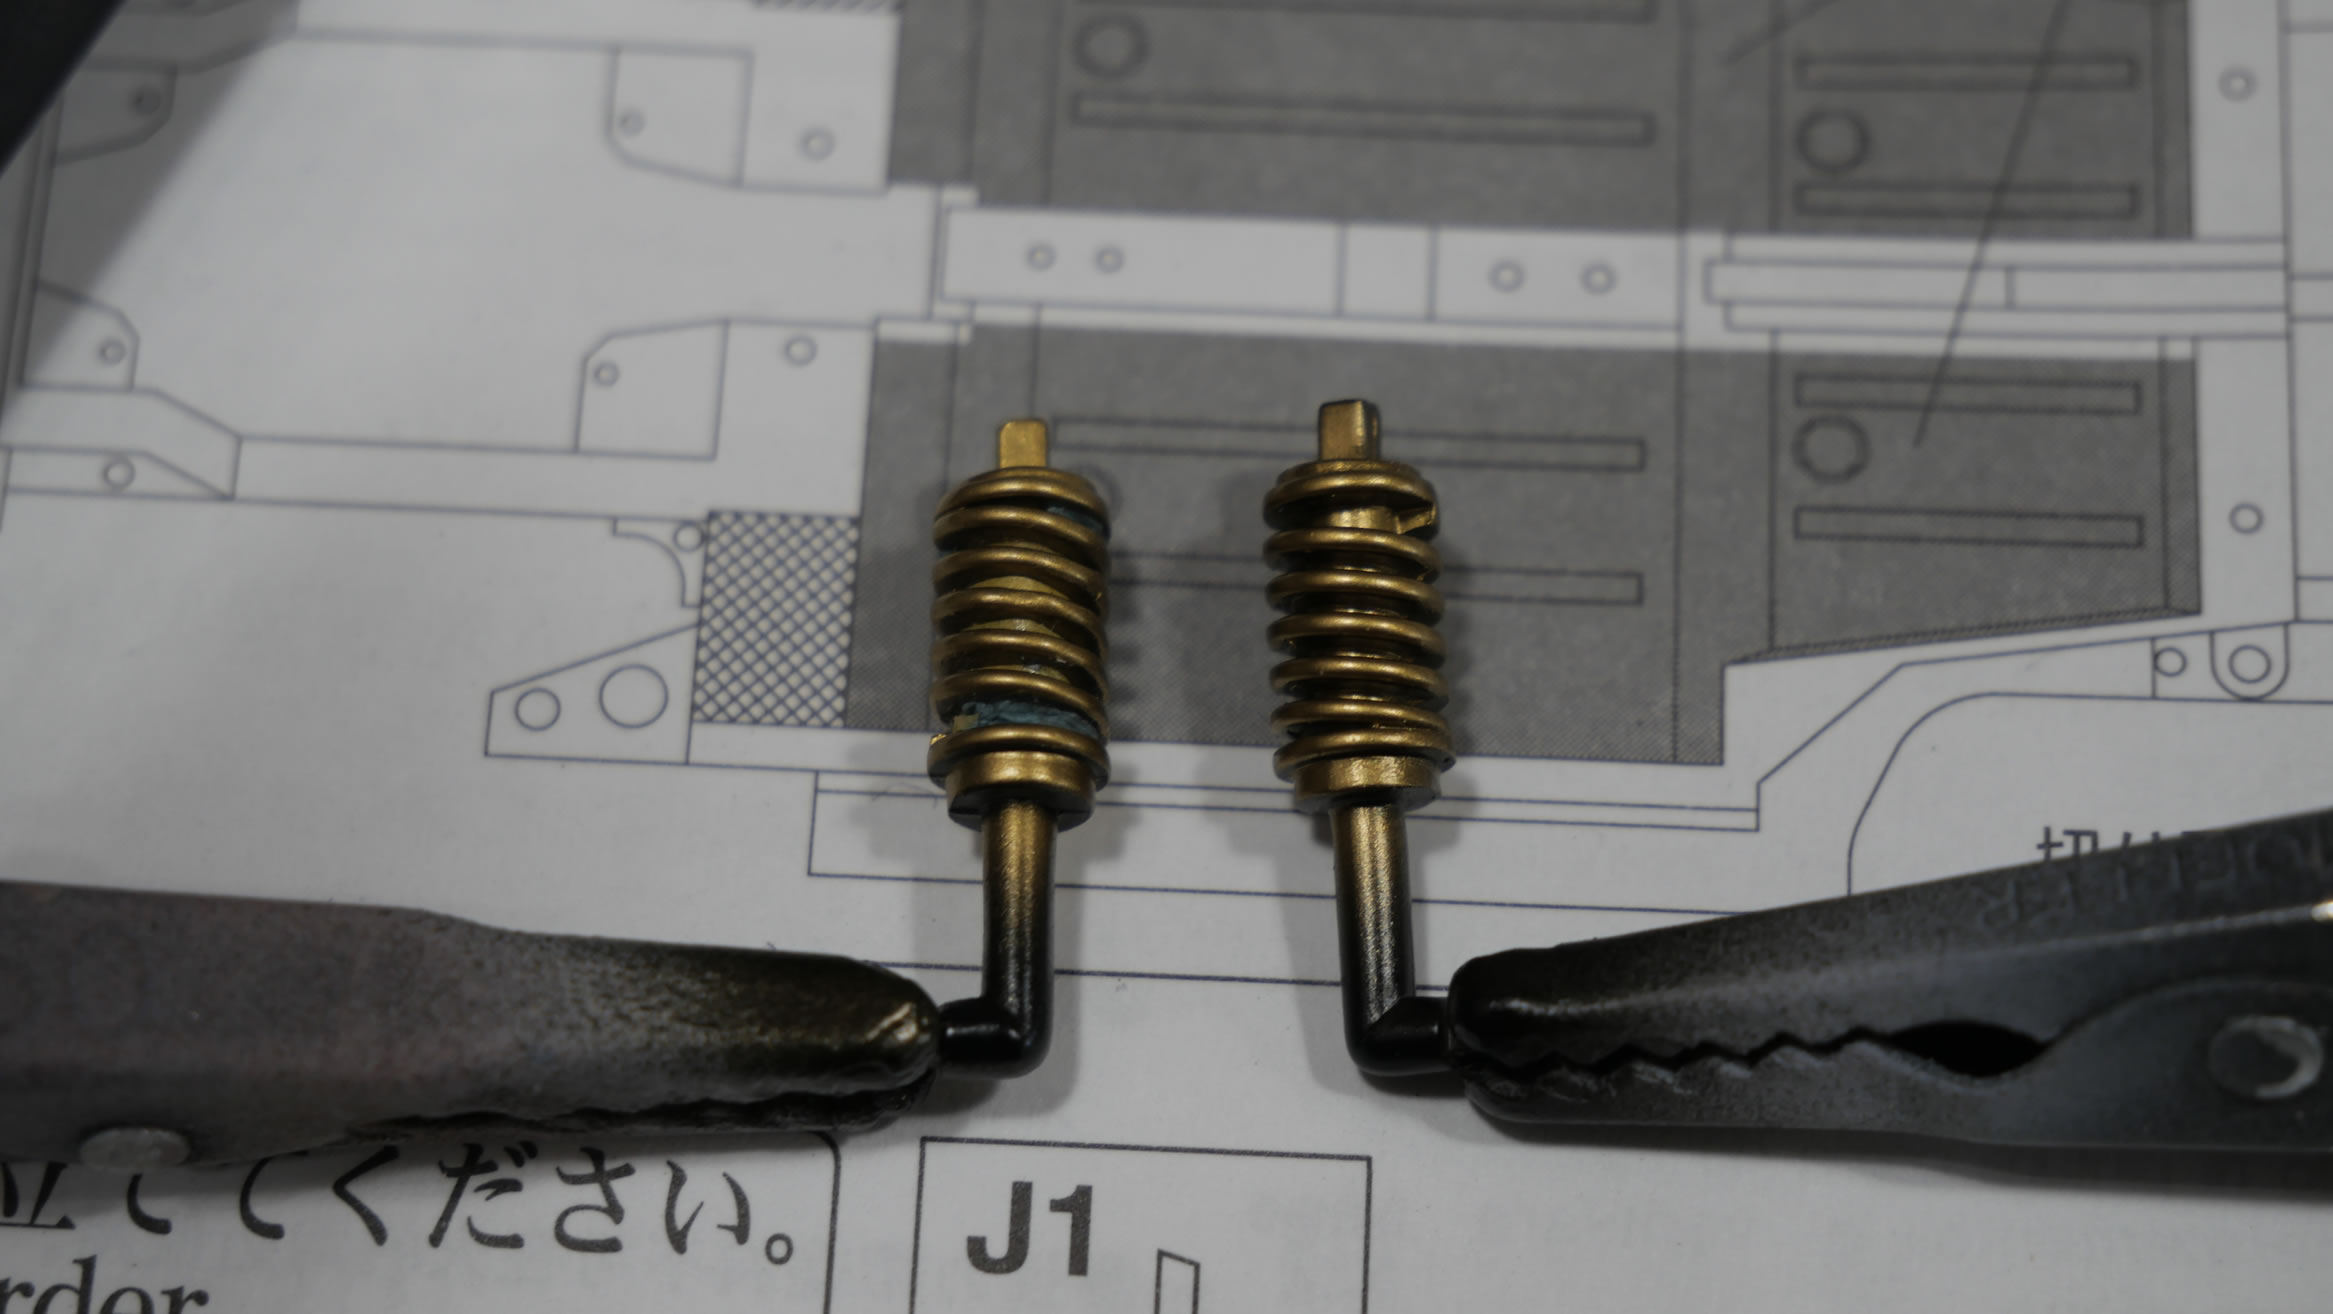
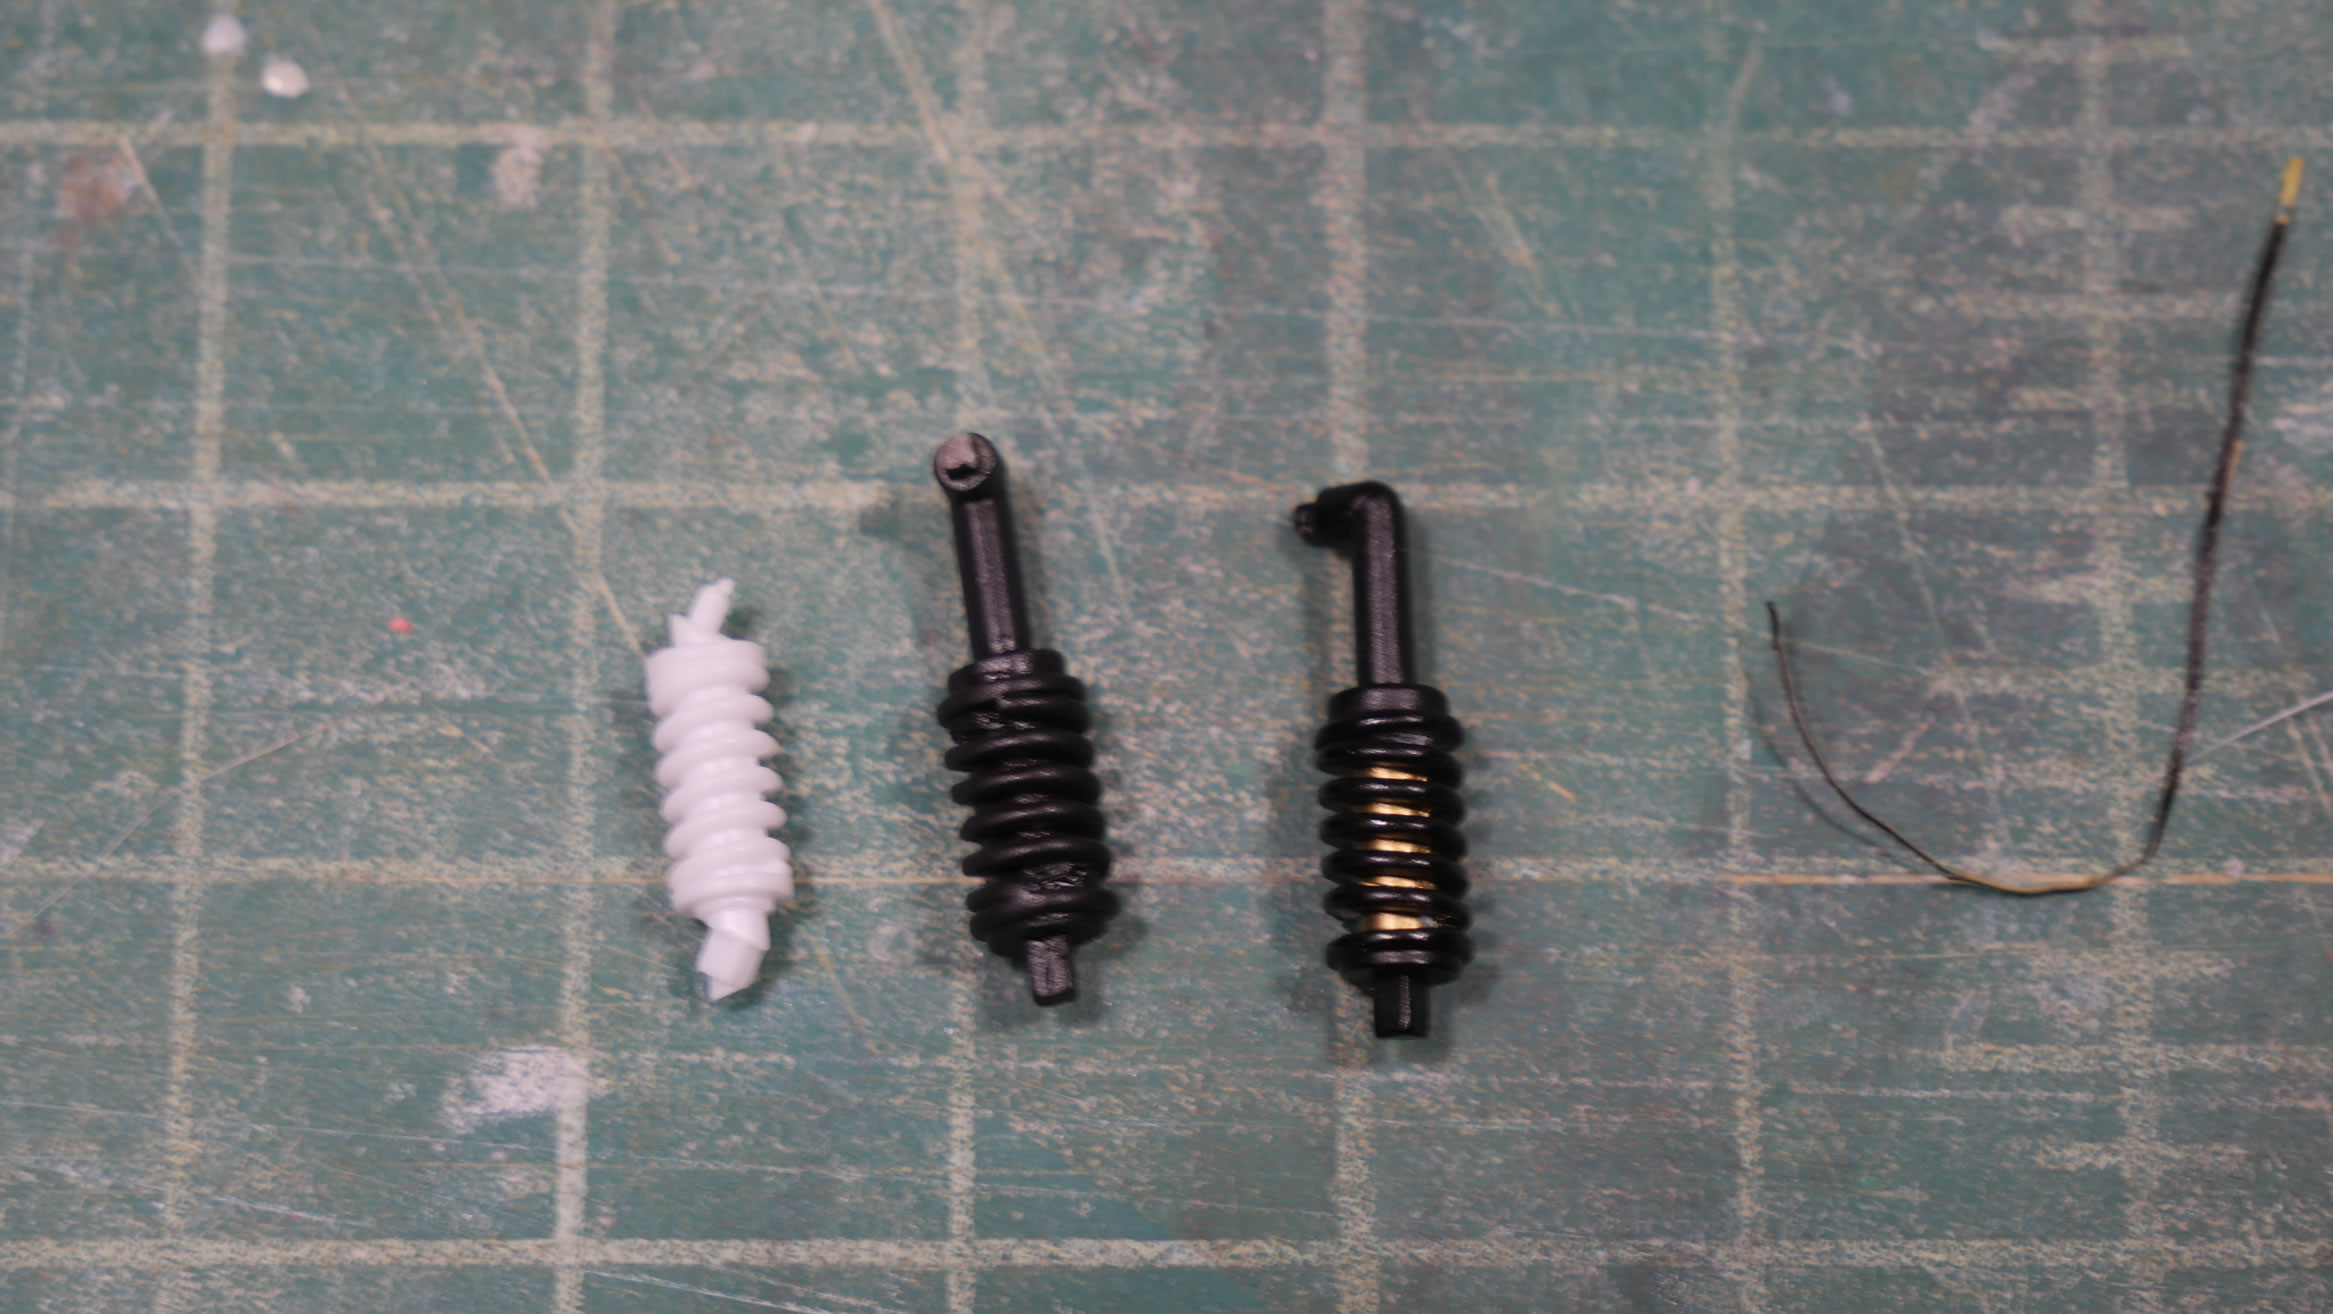
More shocking work to see mold line removal.
Engine parts are masked and painted and then a light wash to bring out more contrast to the raised details.
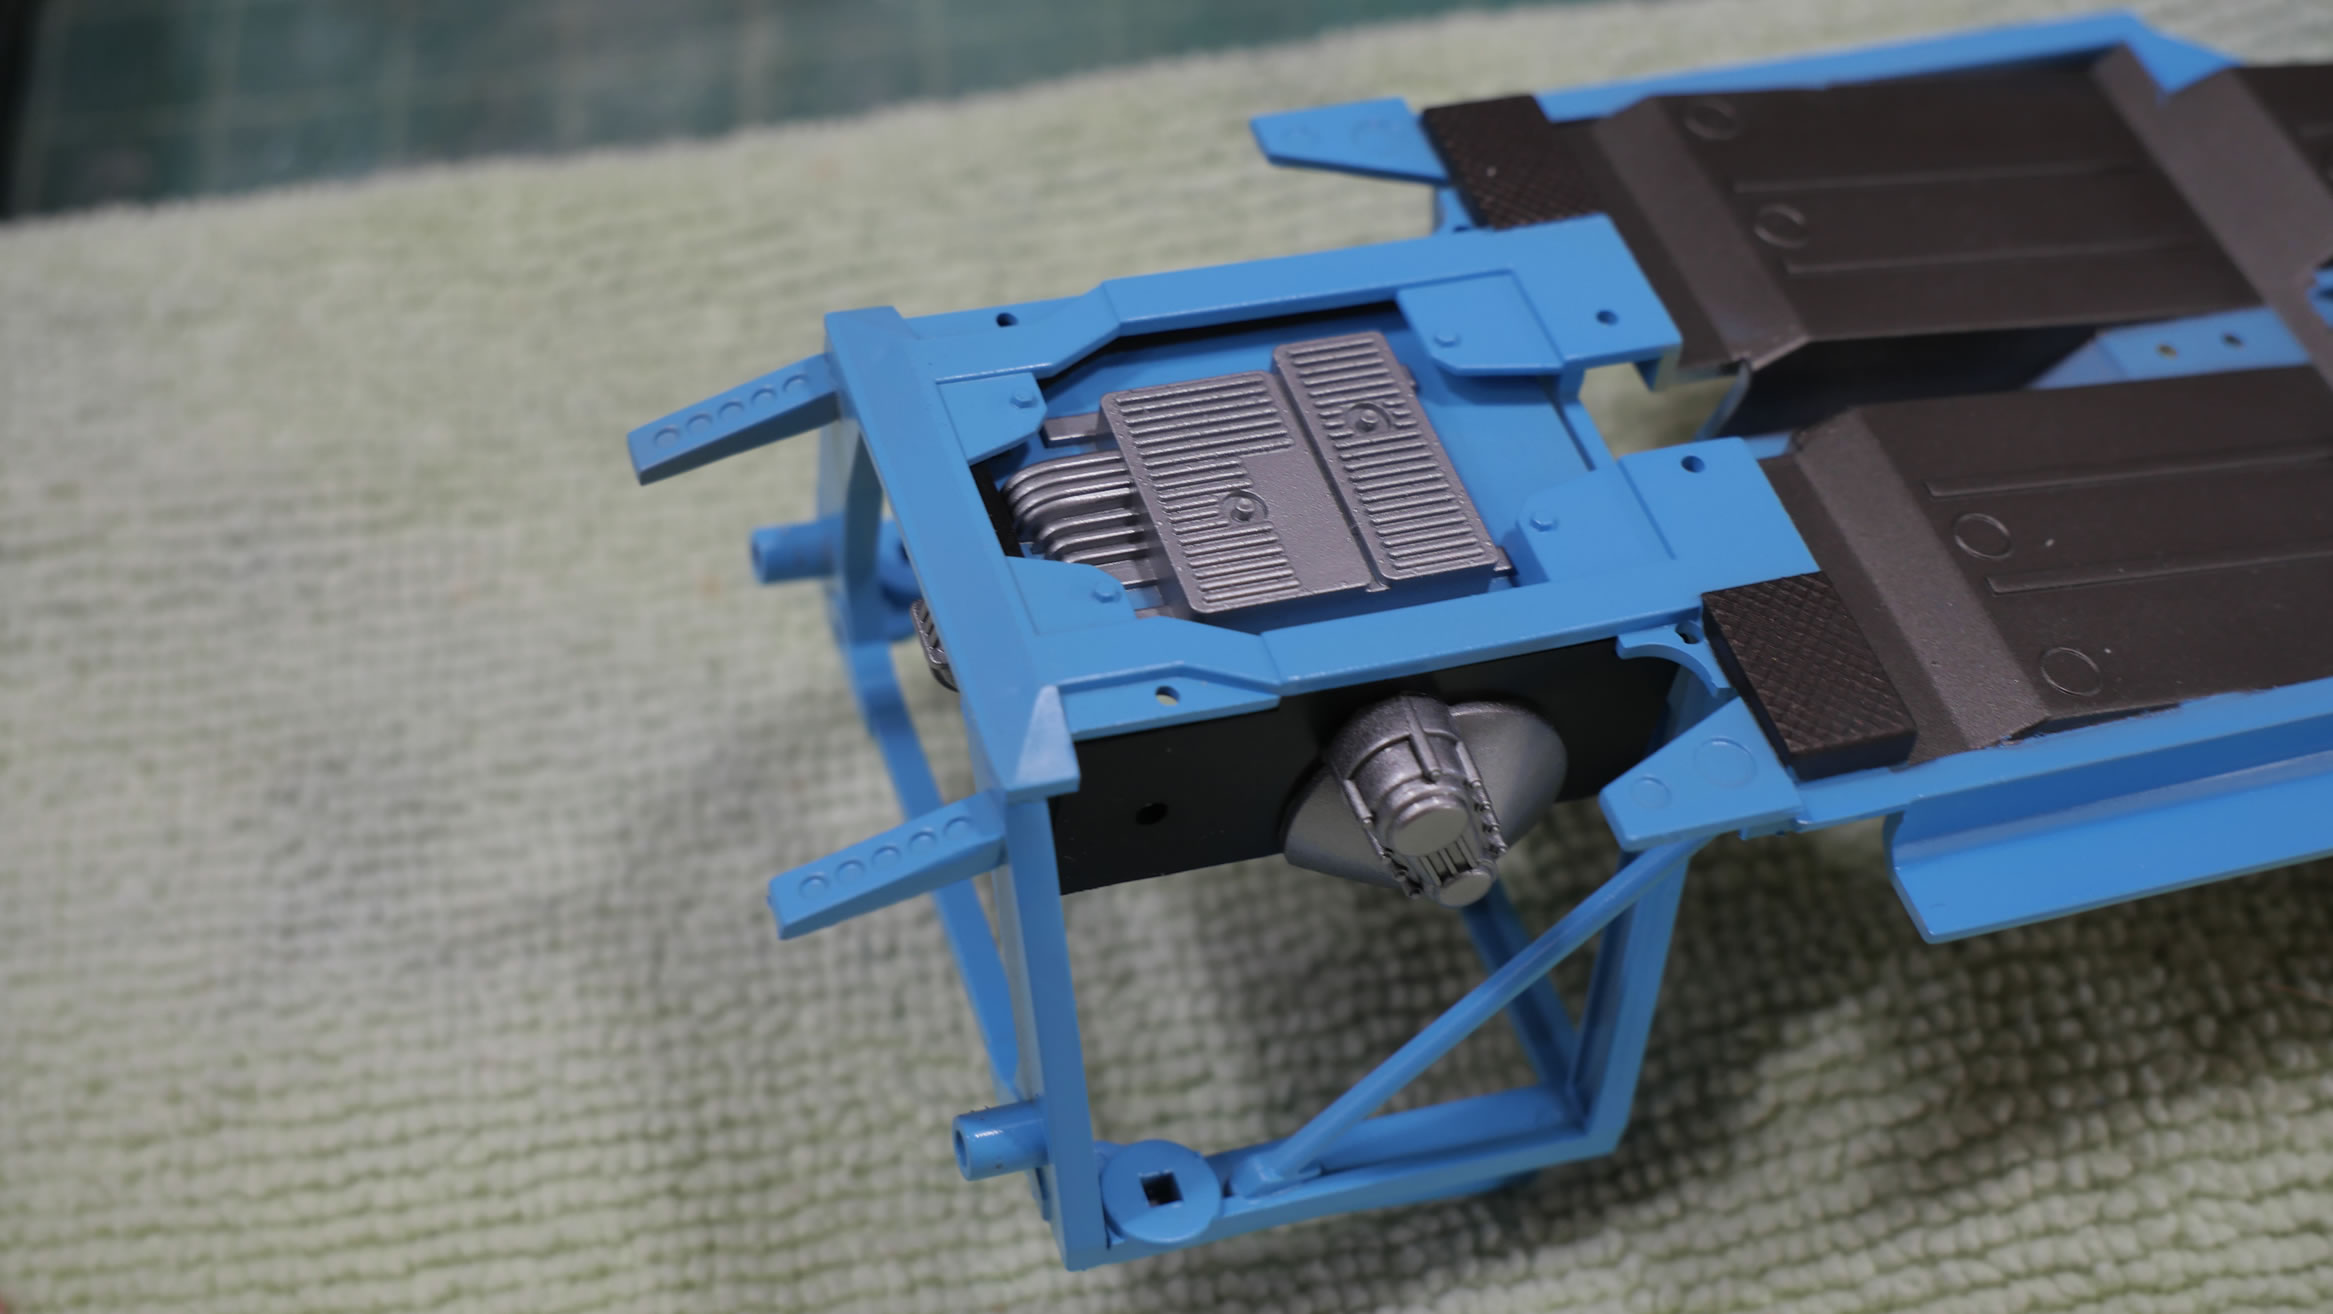
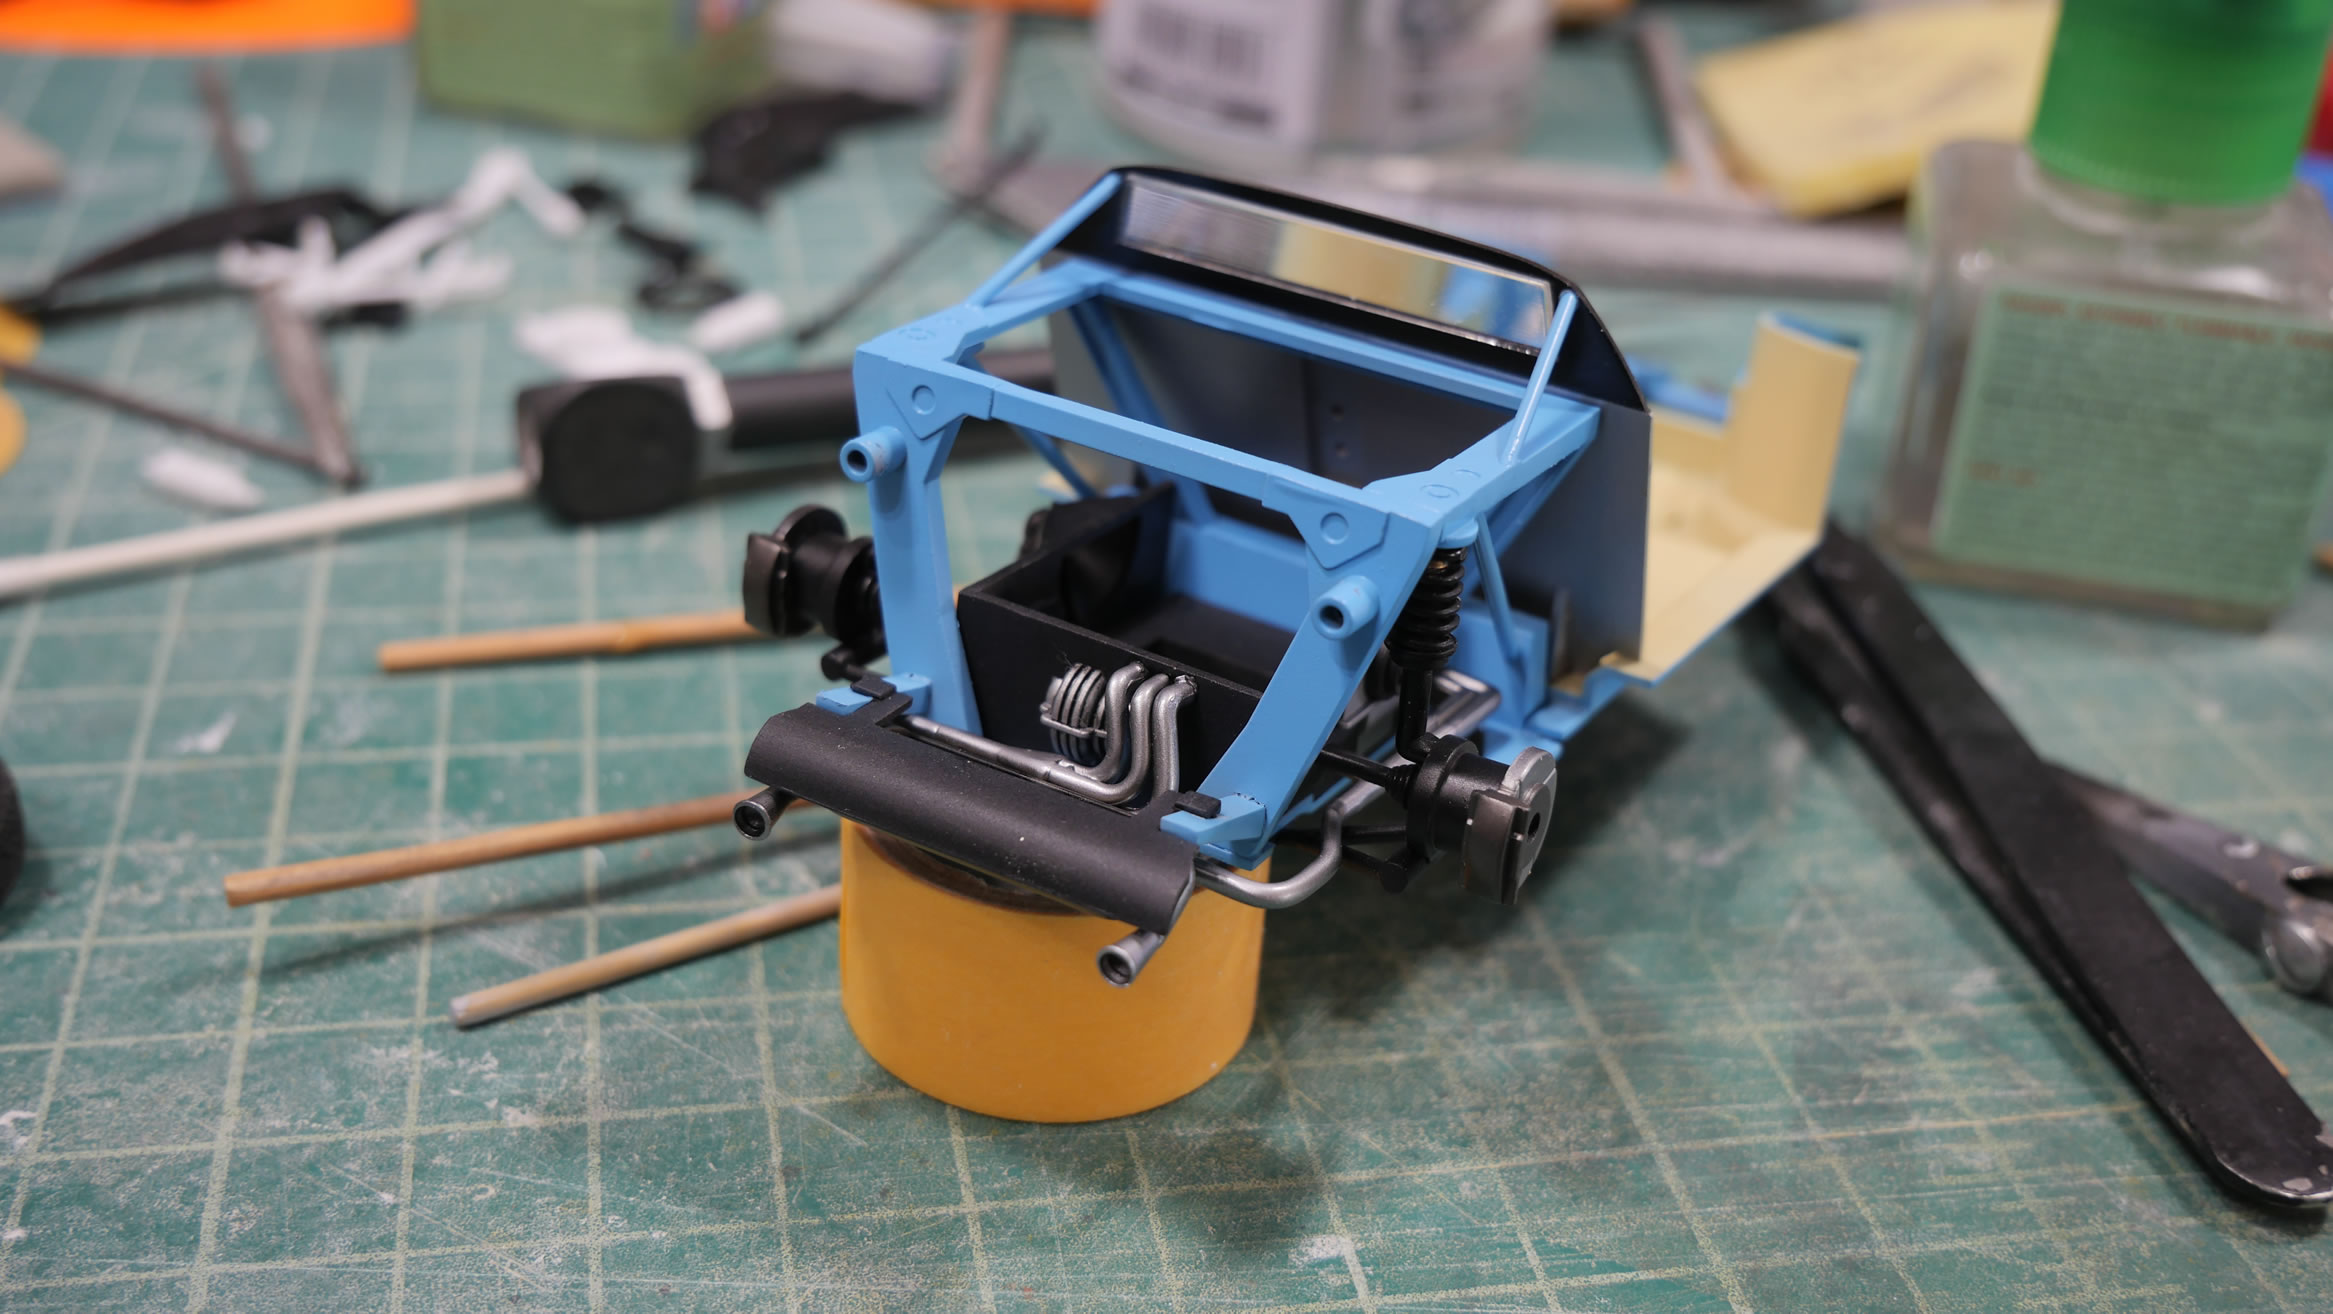
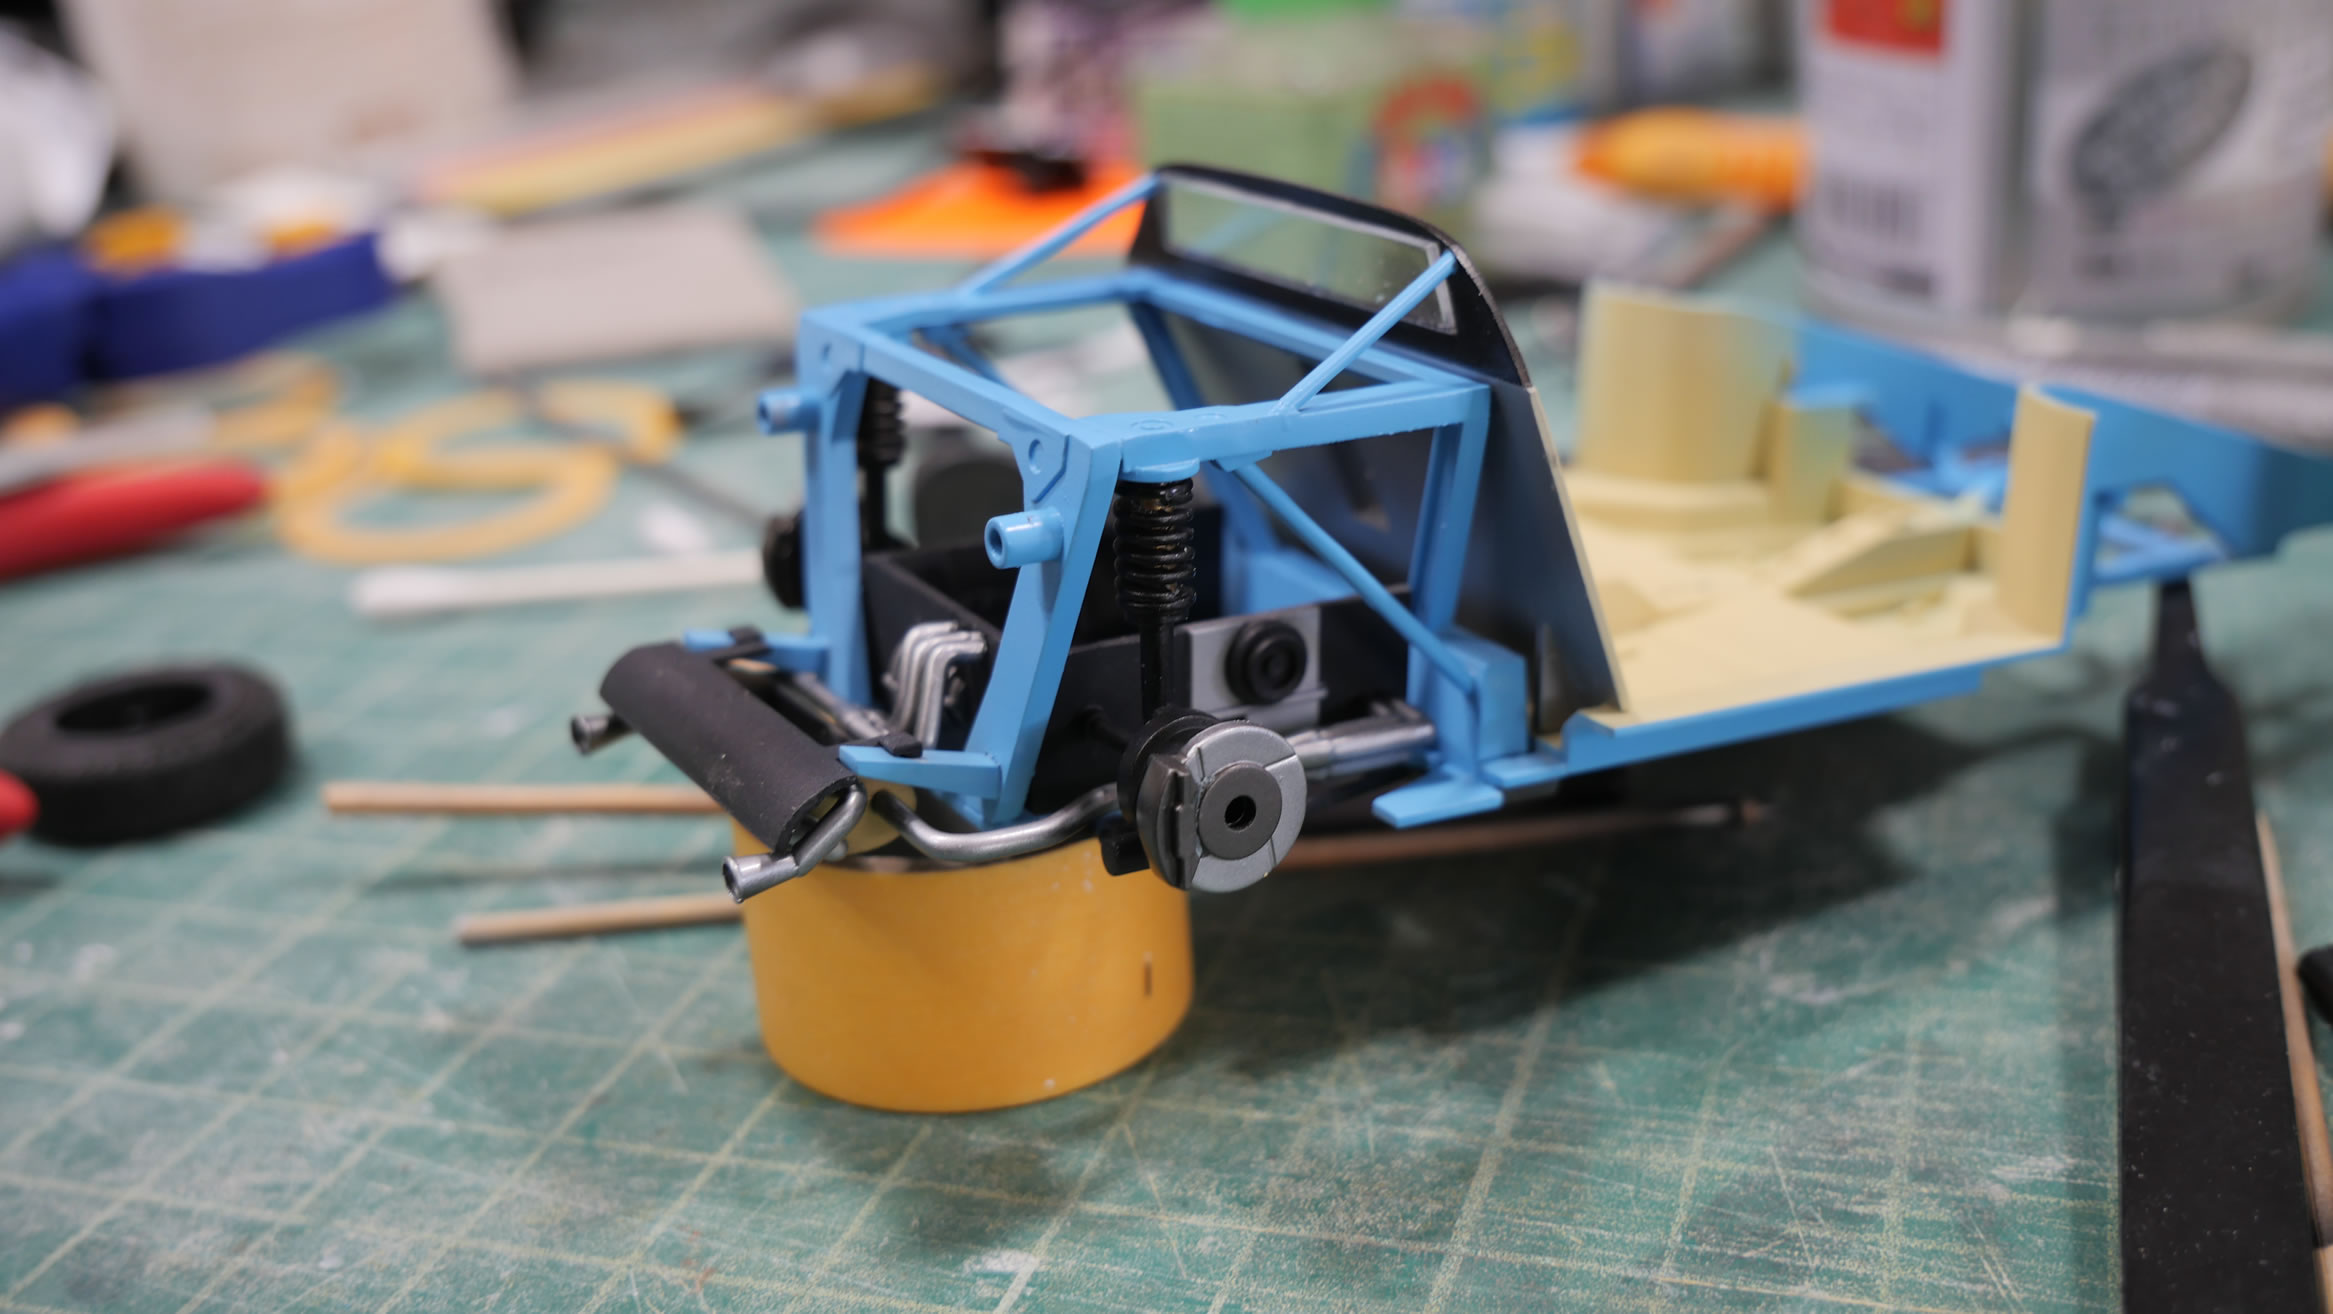
Rear assembly comes together with the shocks, brakes, and exhaust.
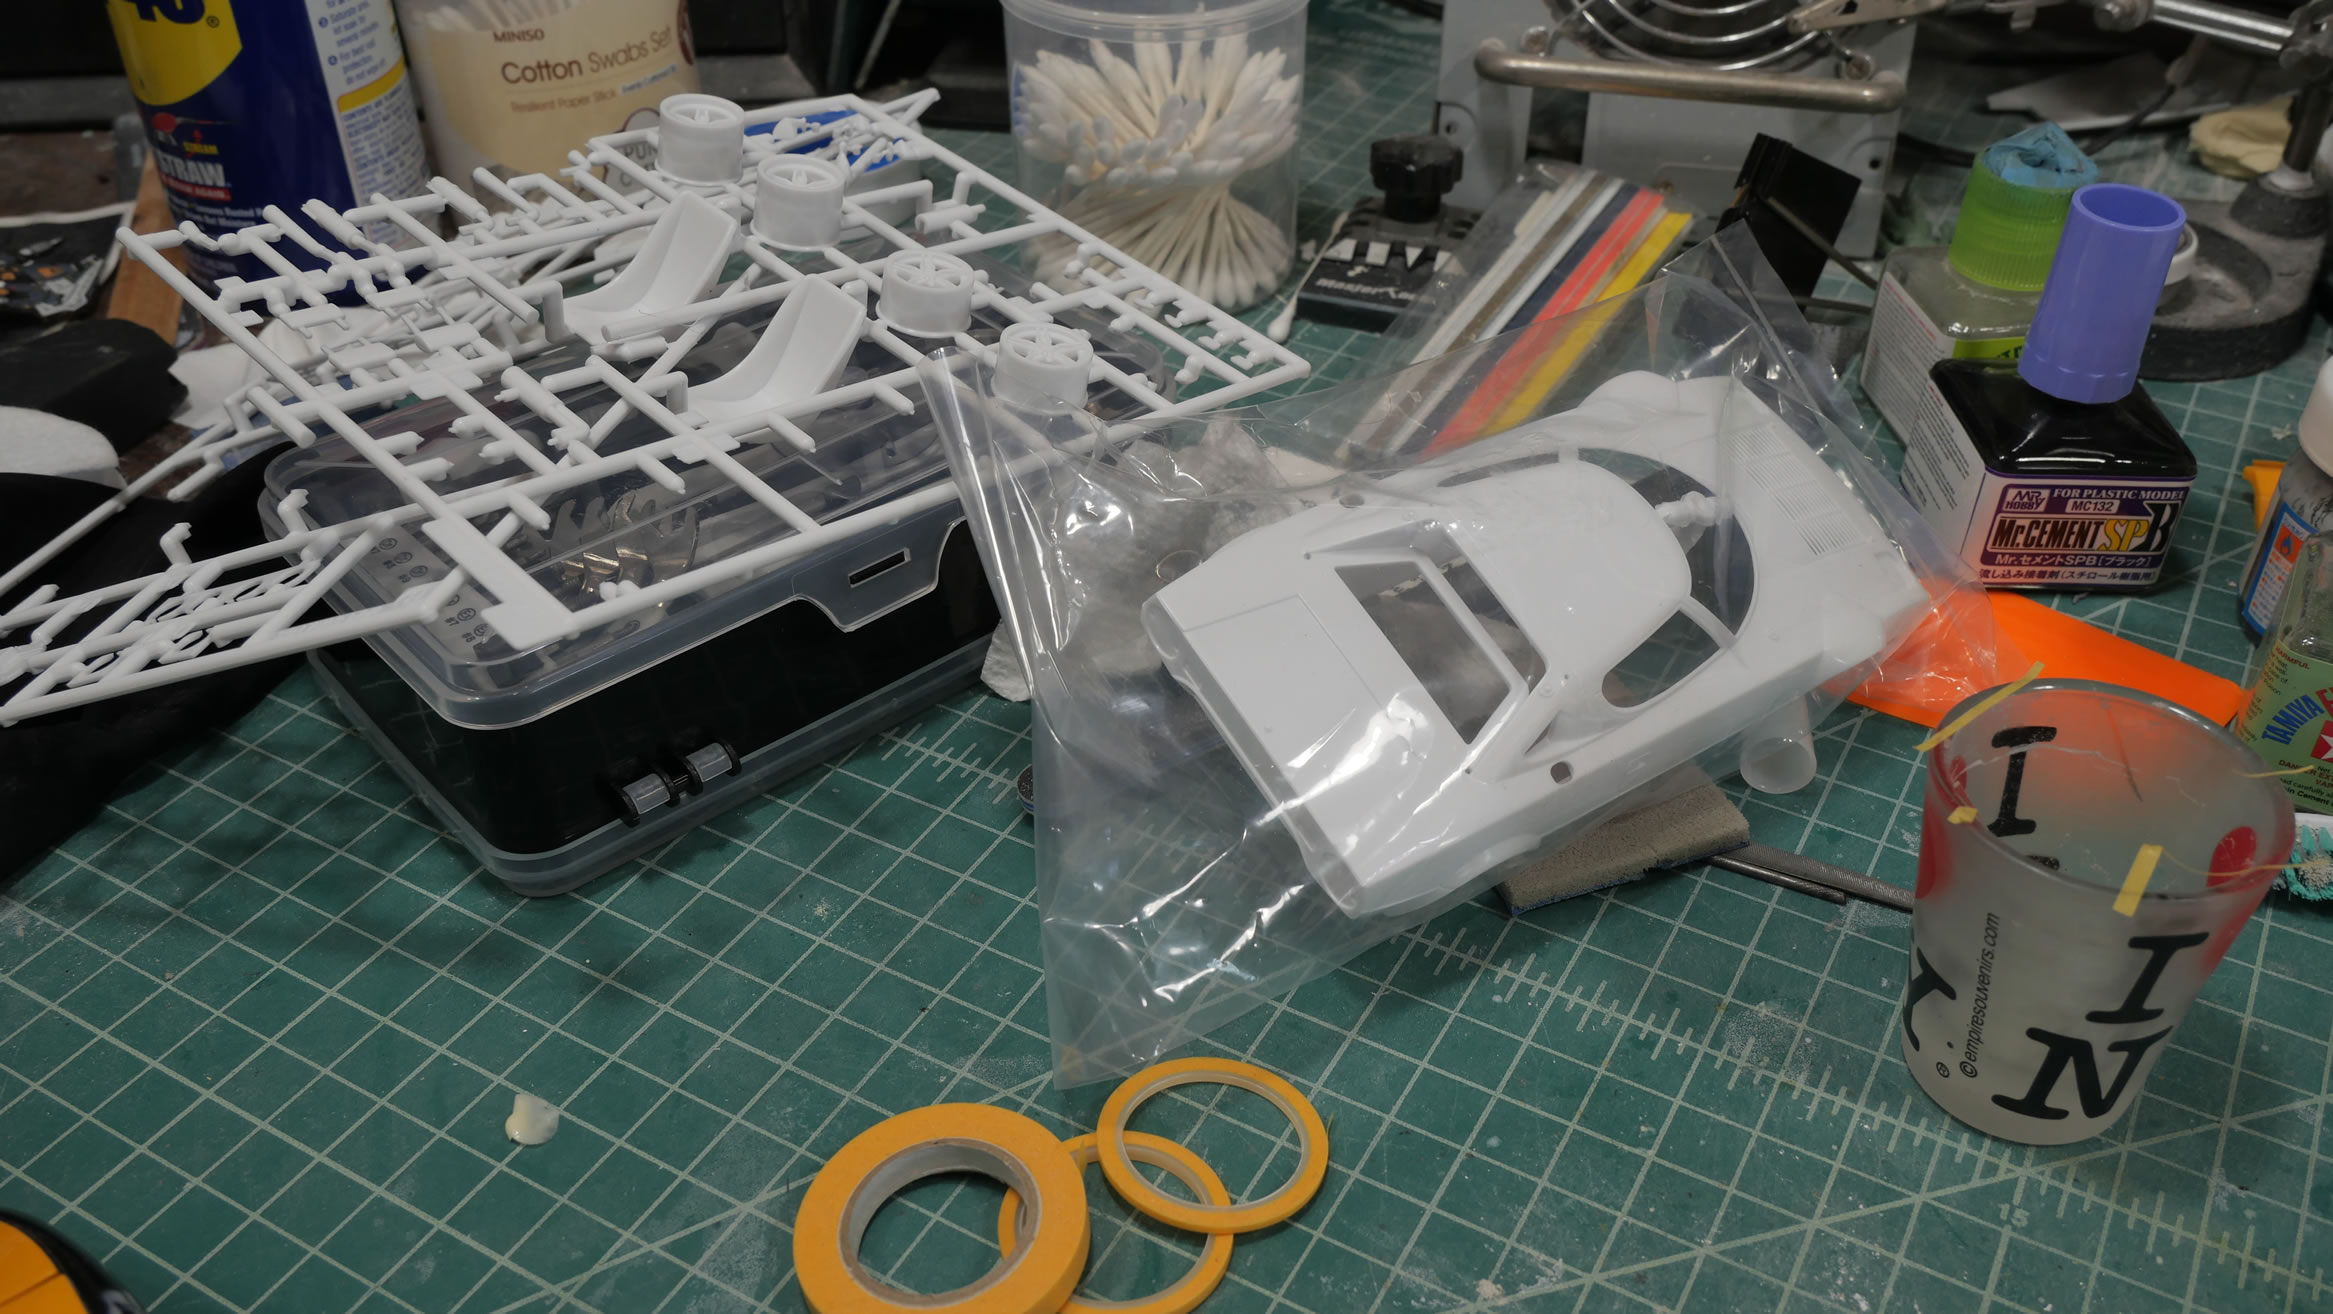
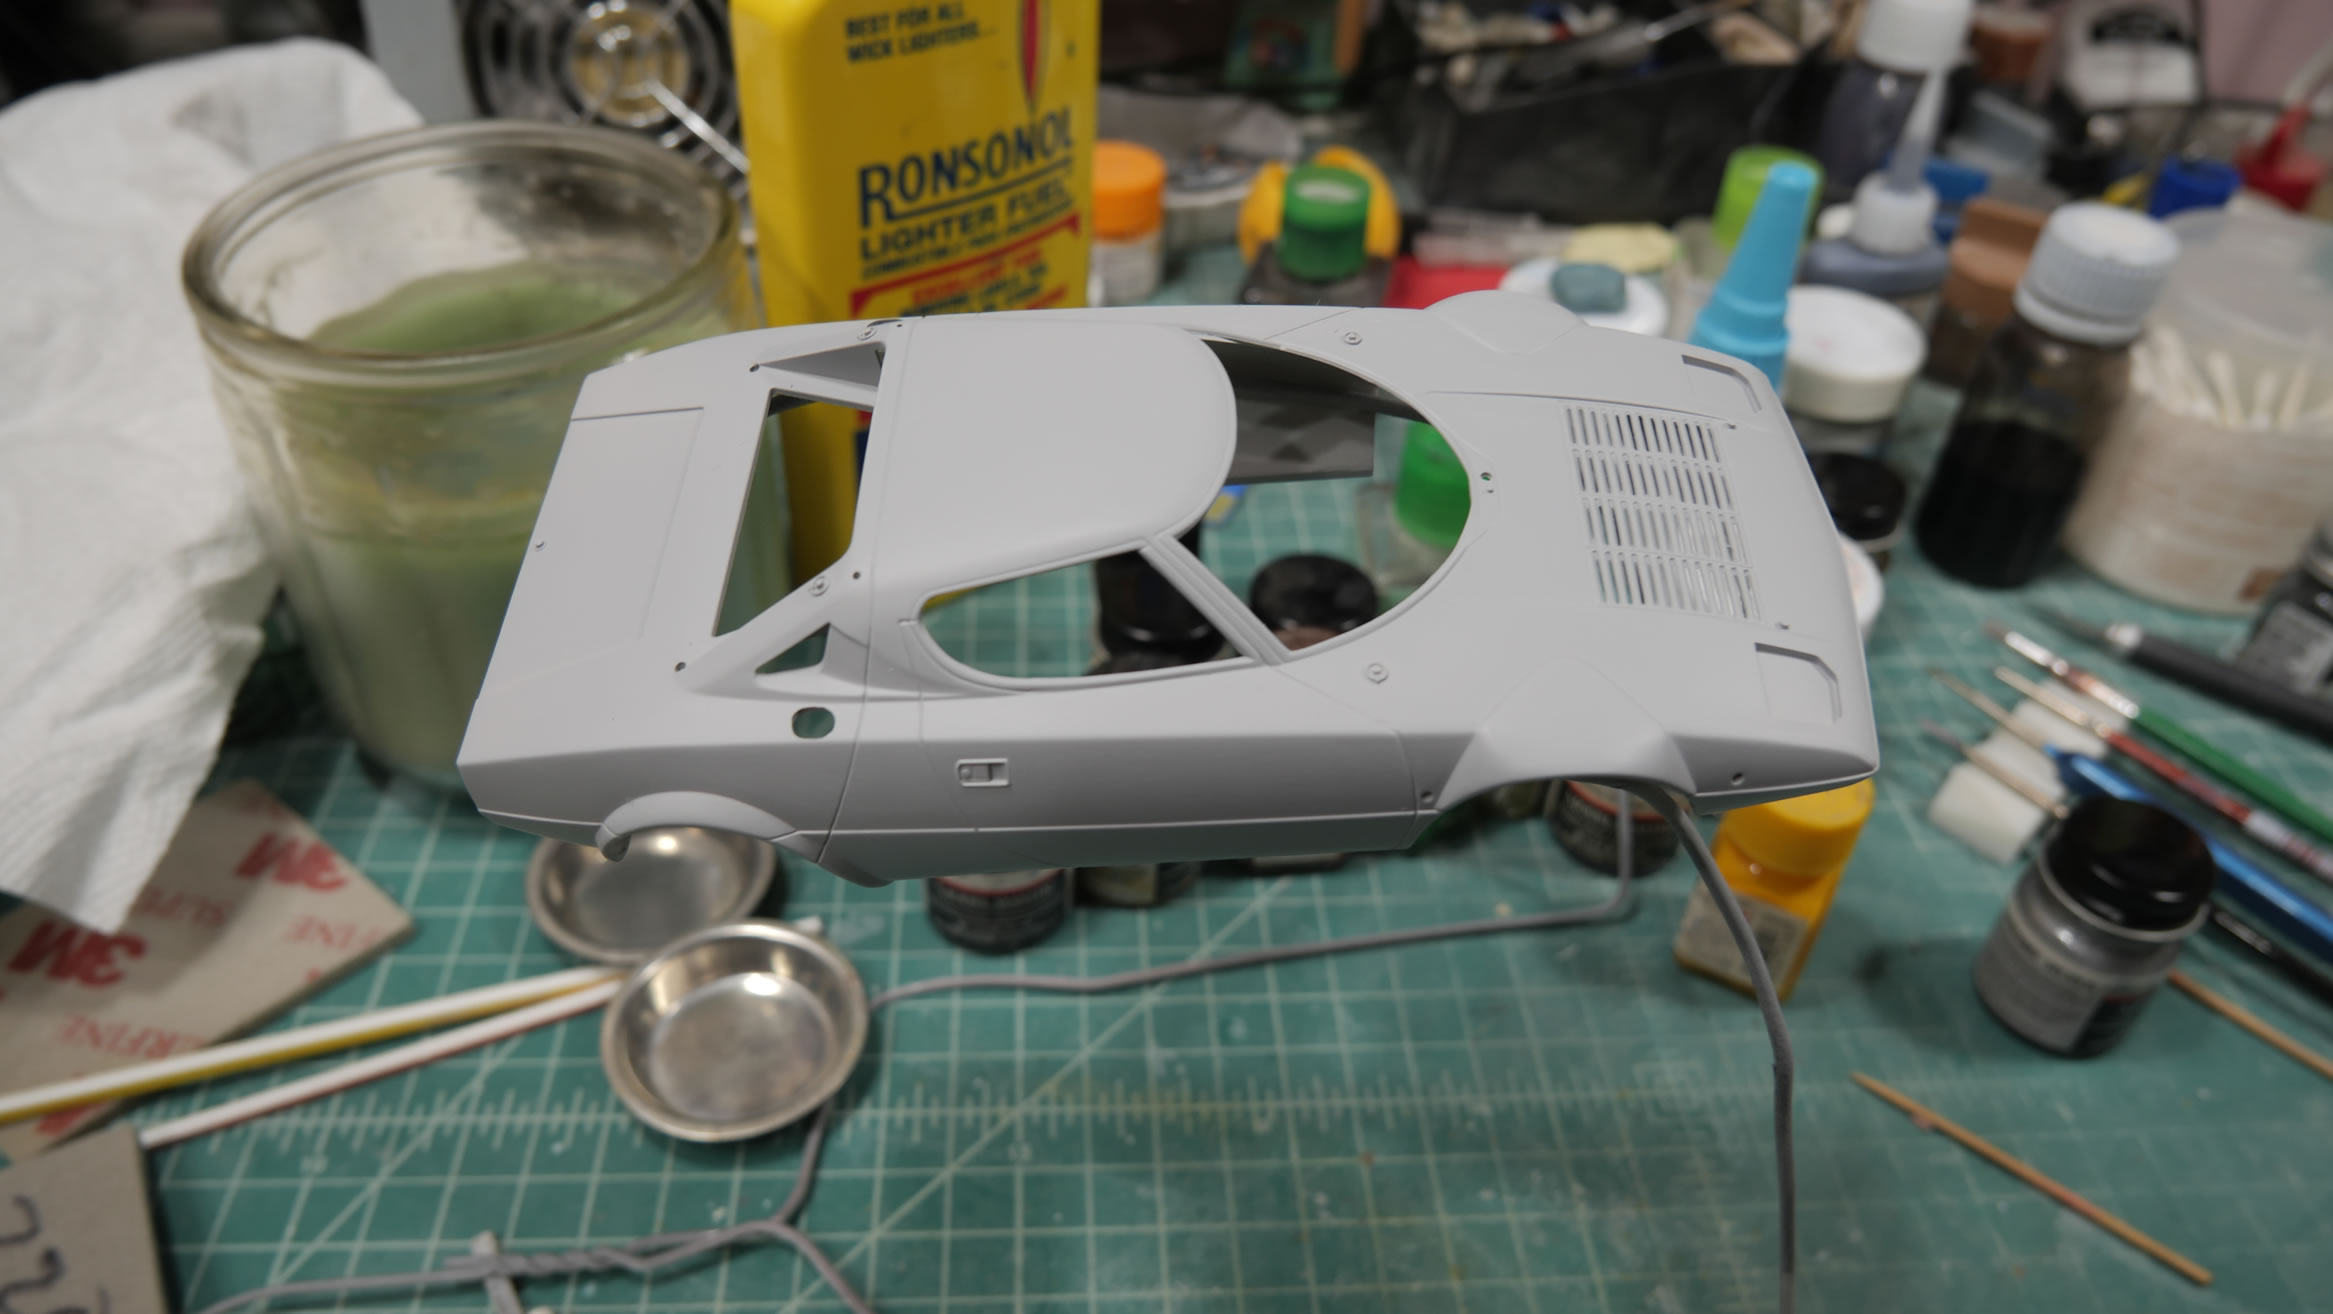
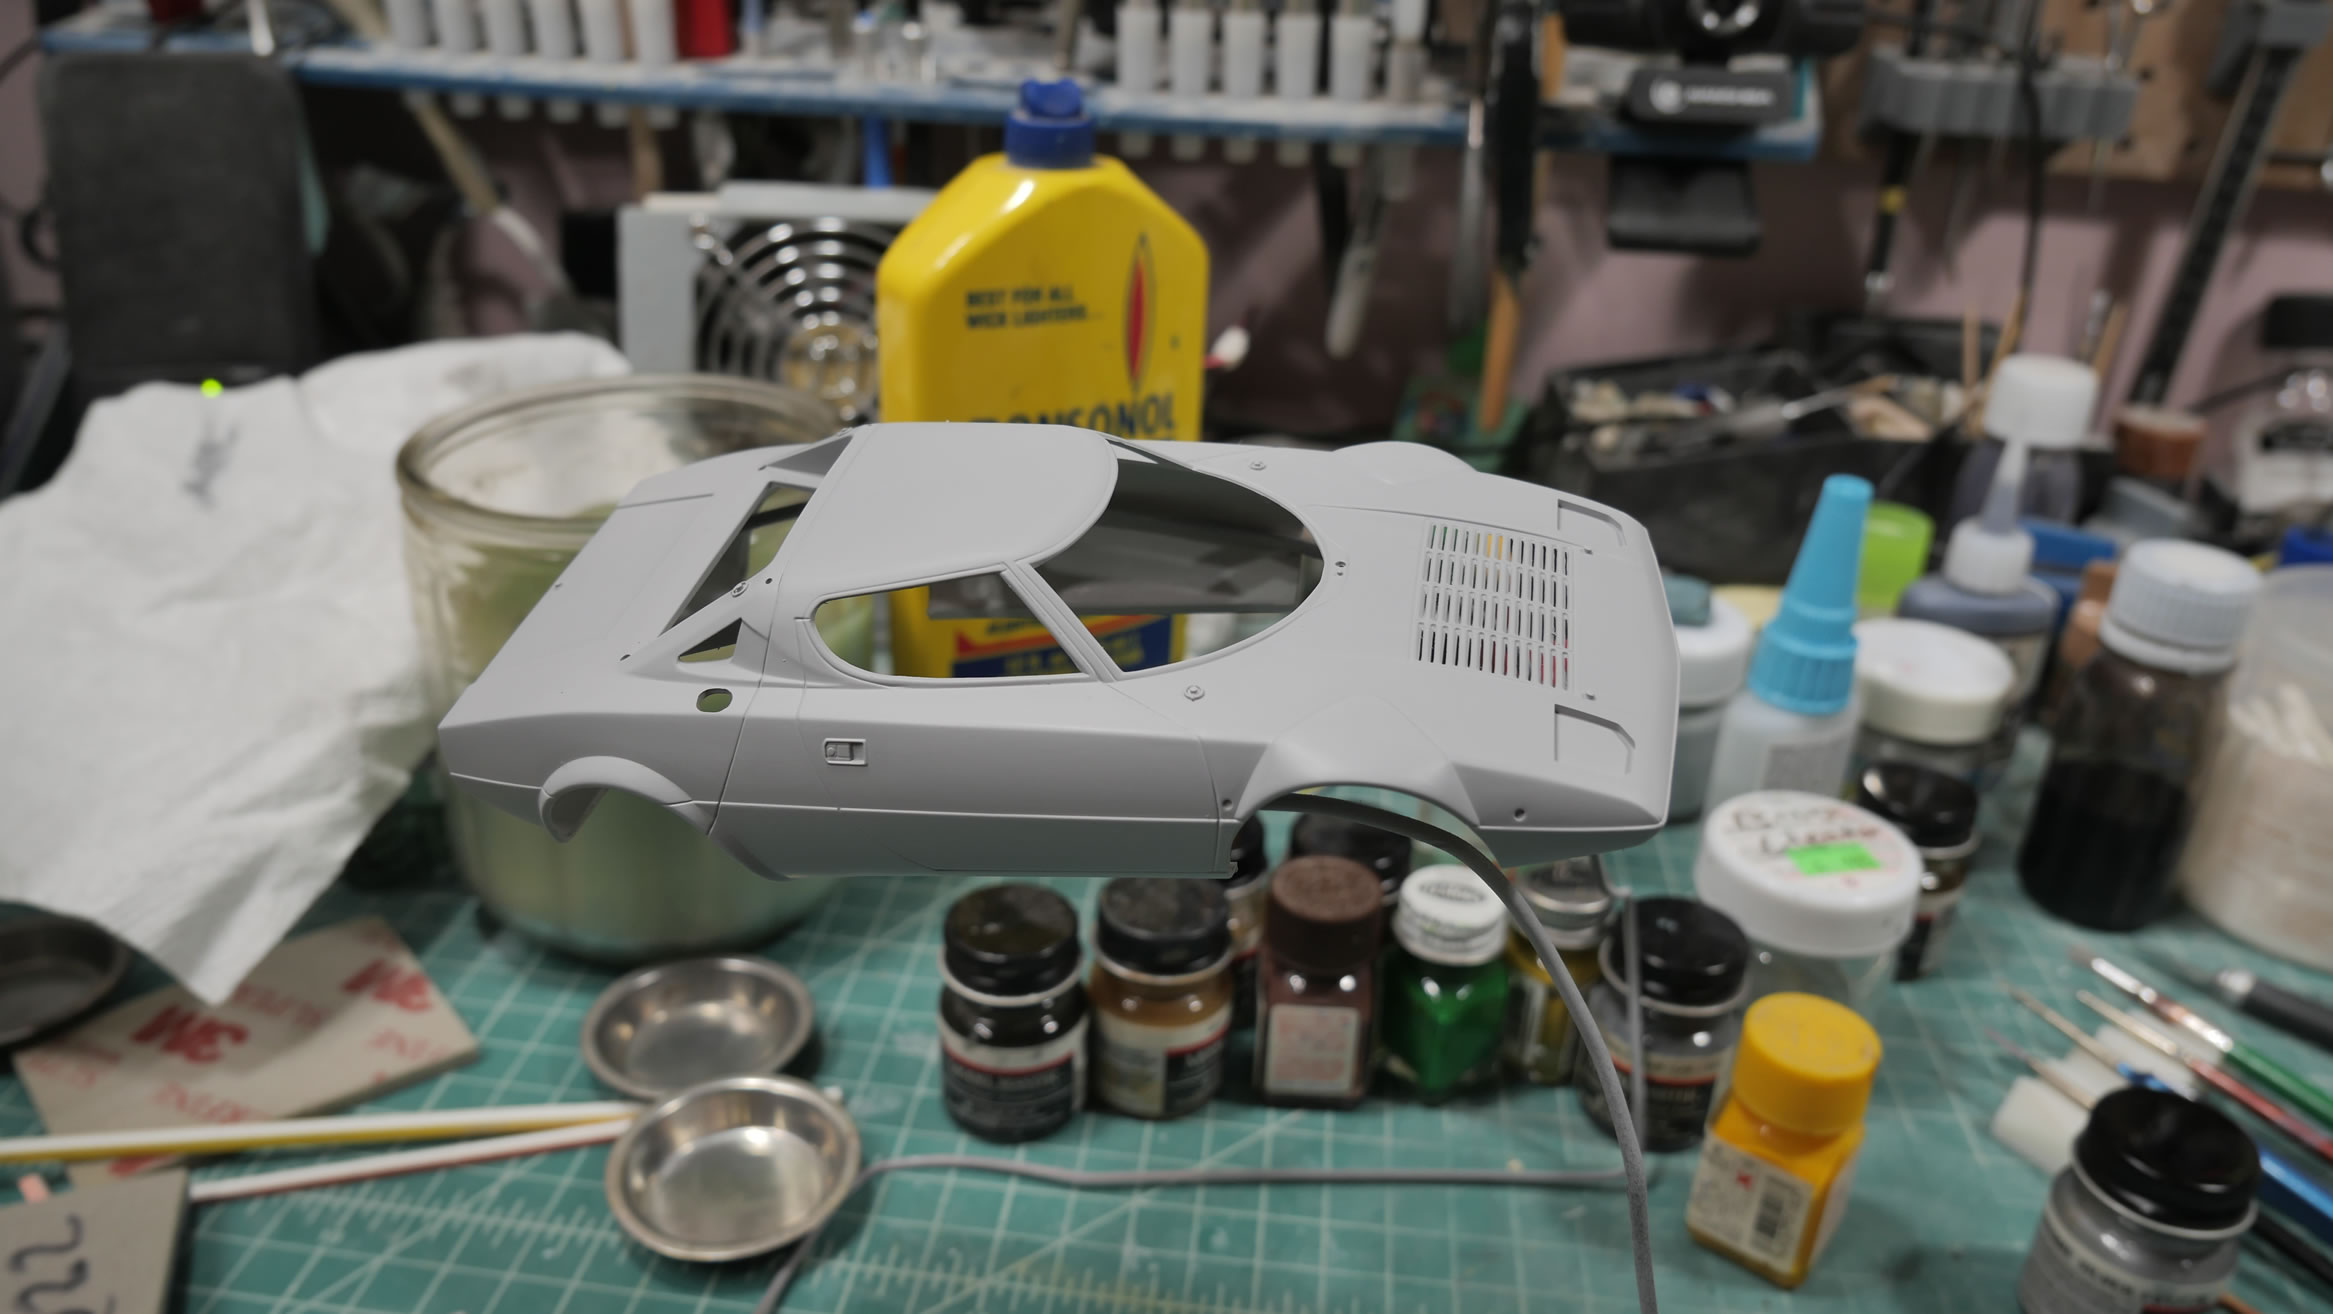
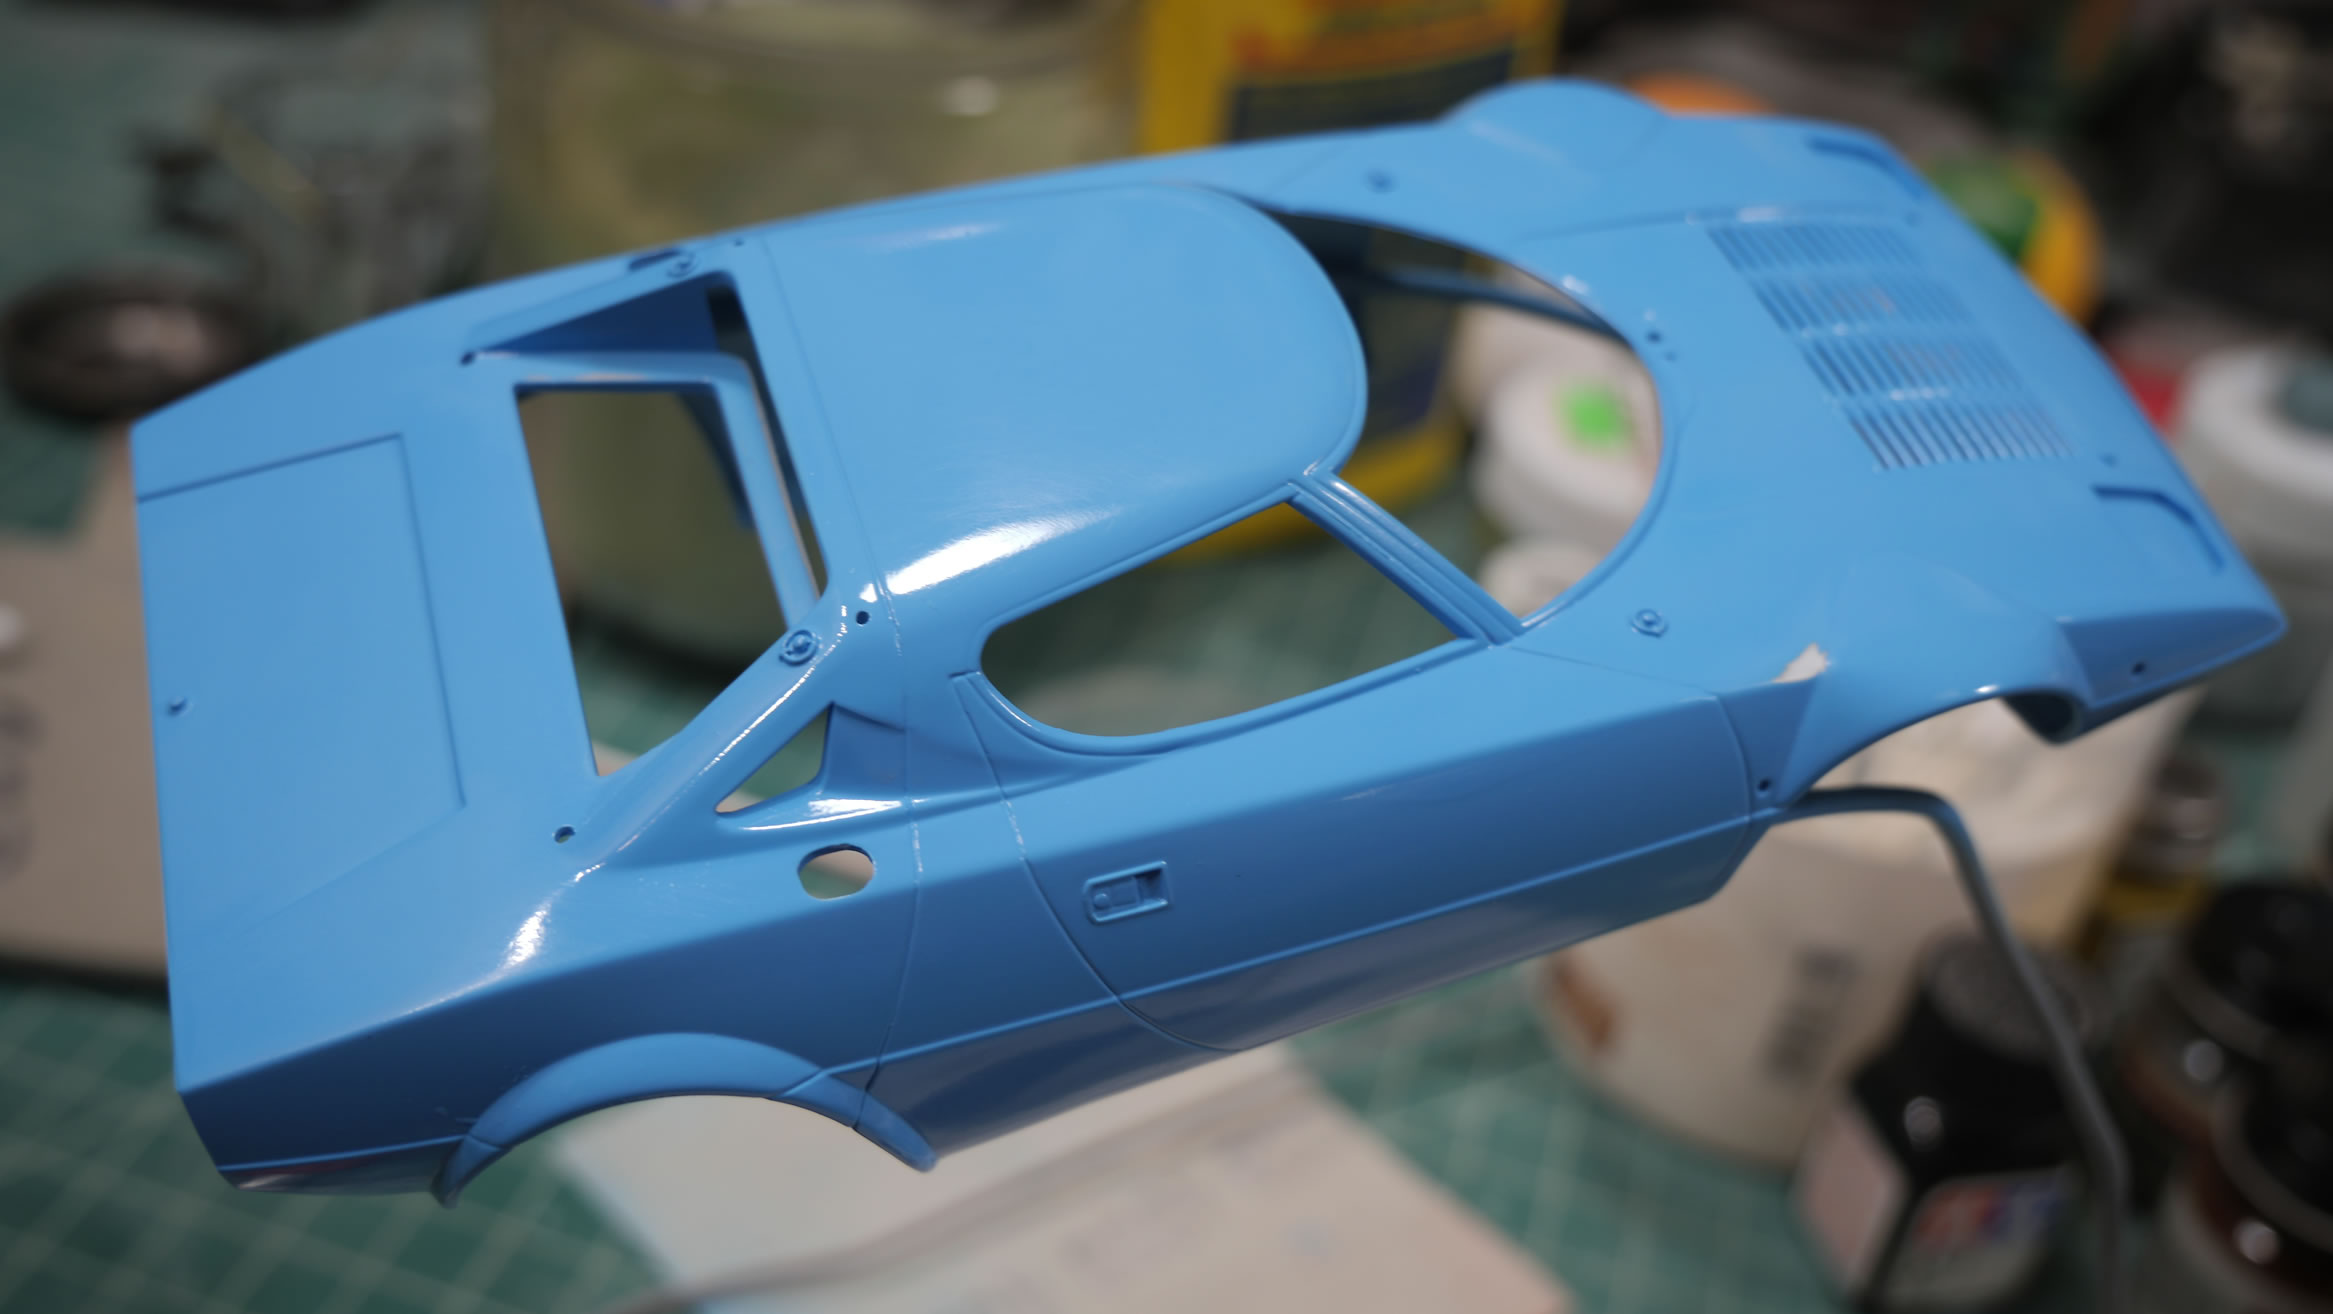
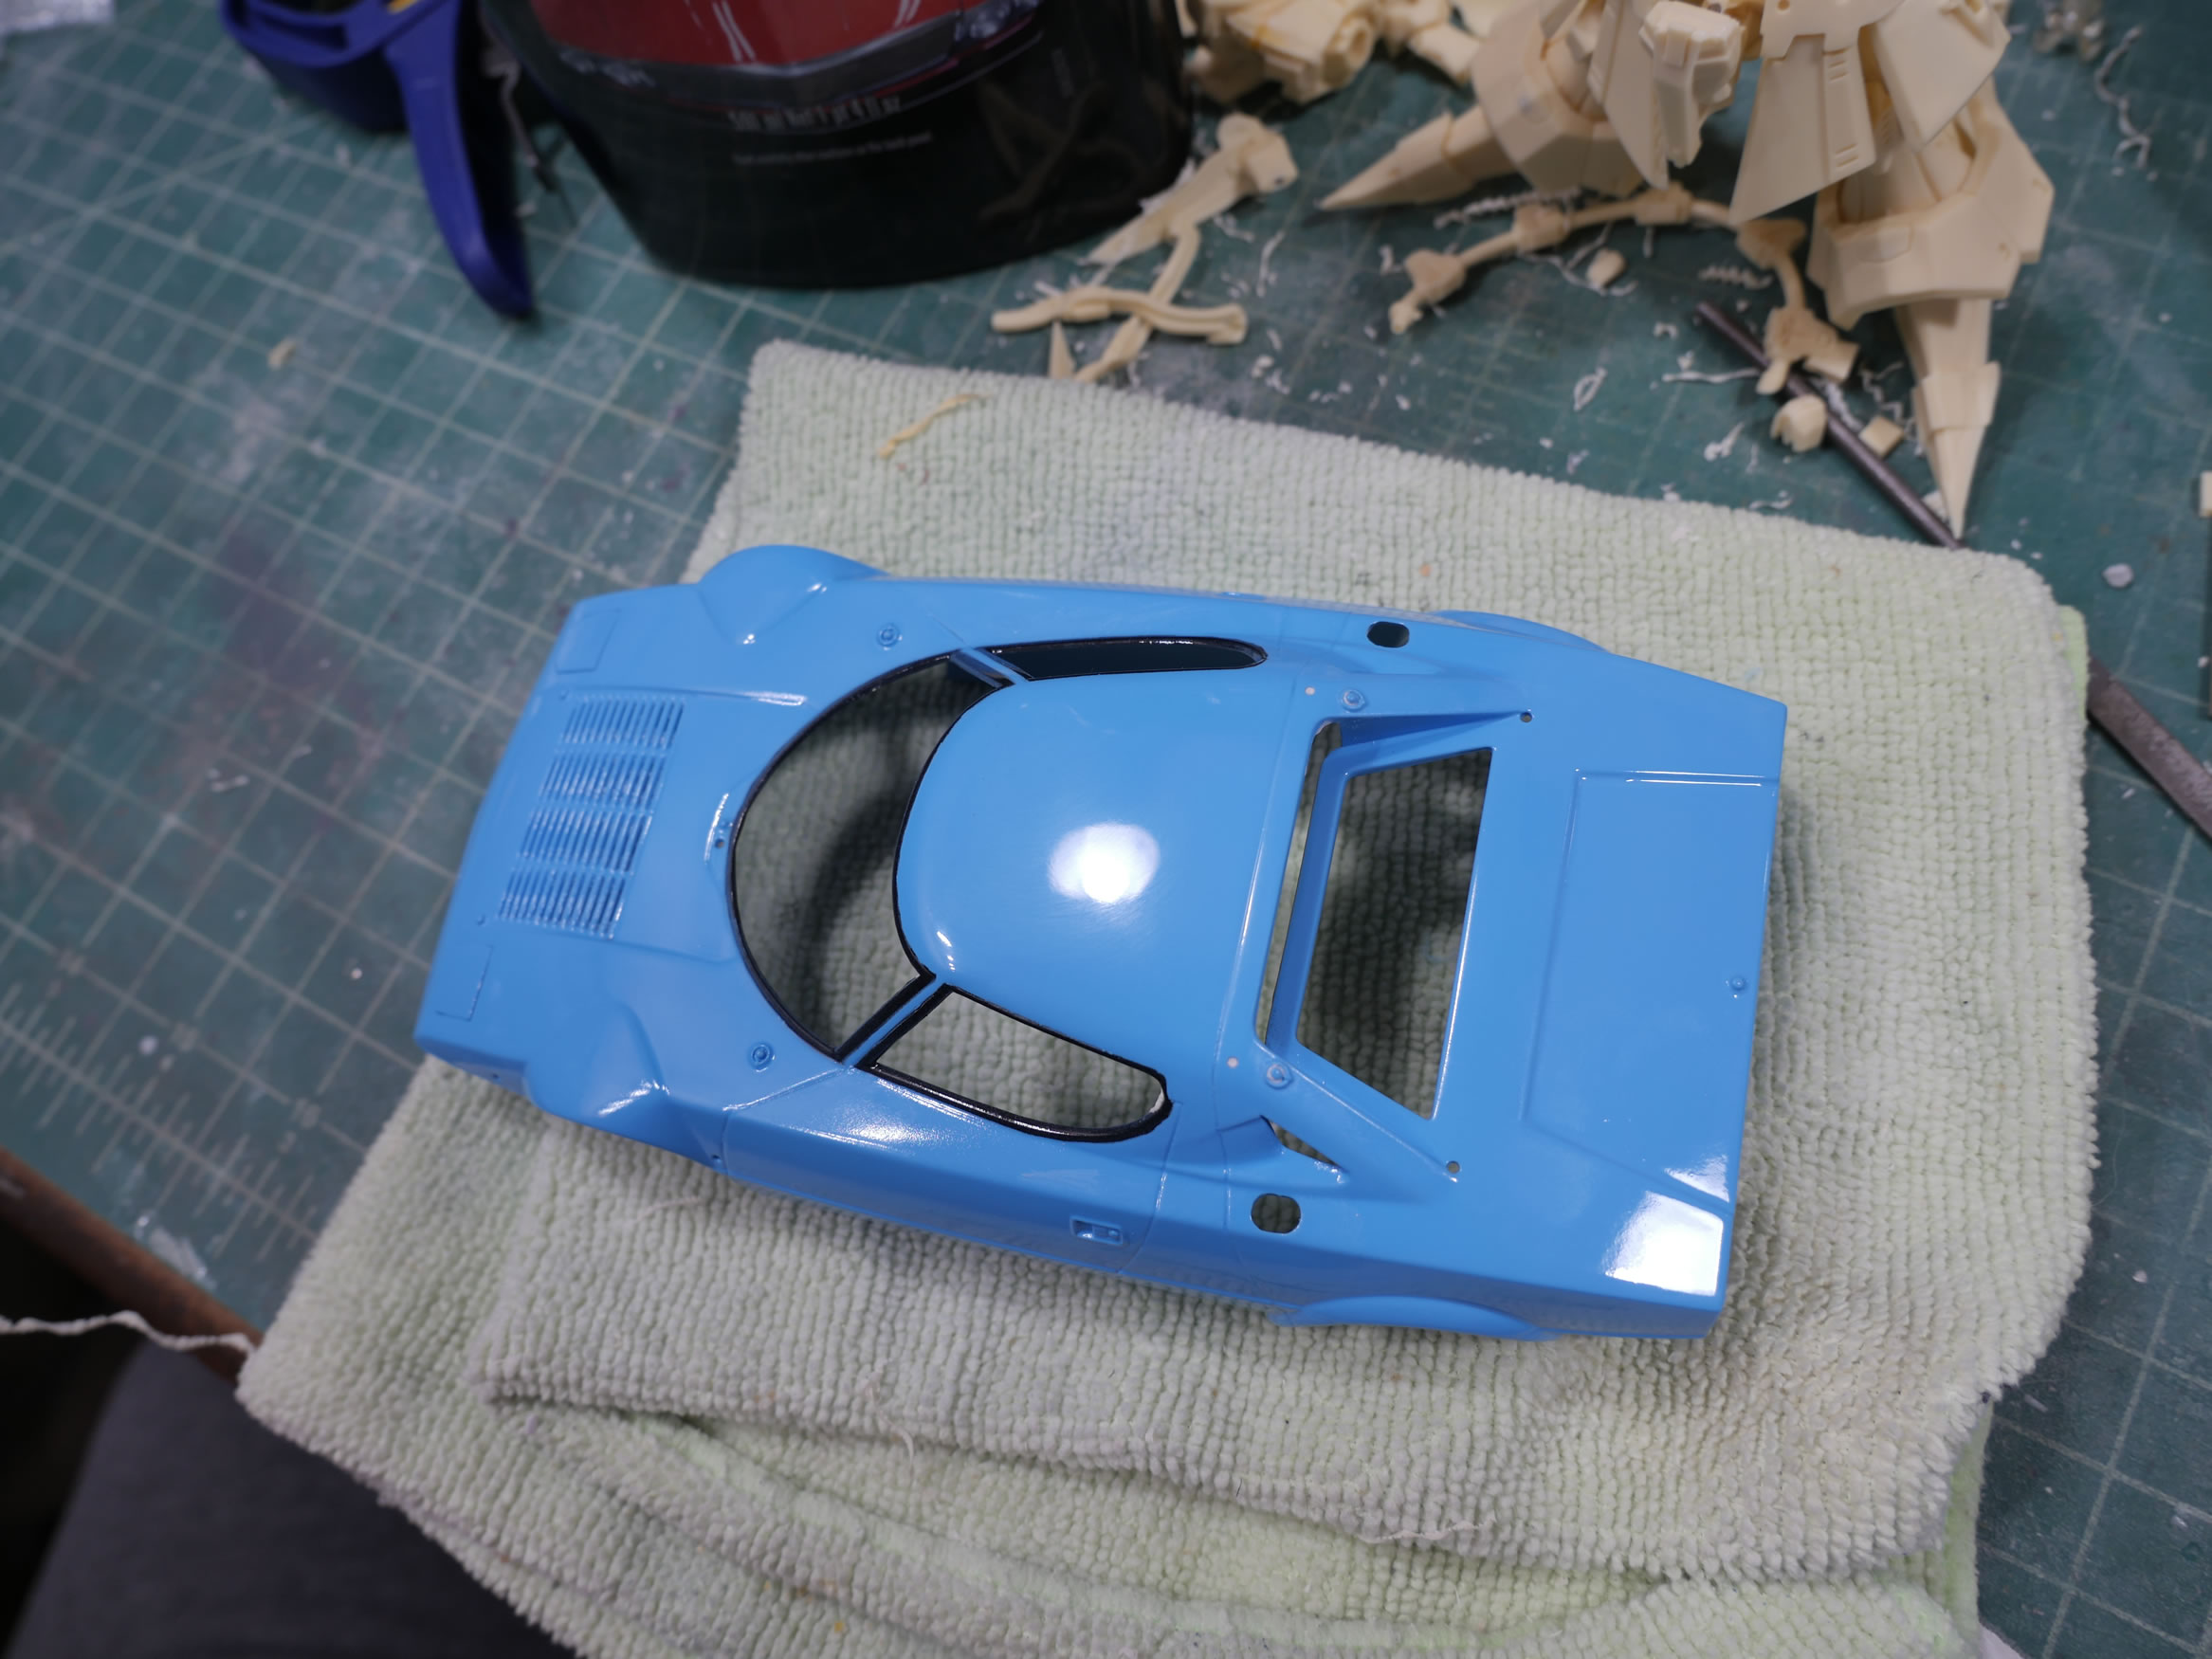
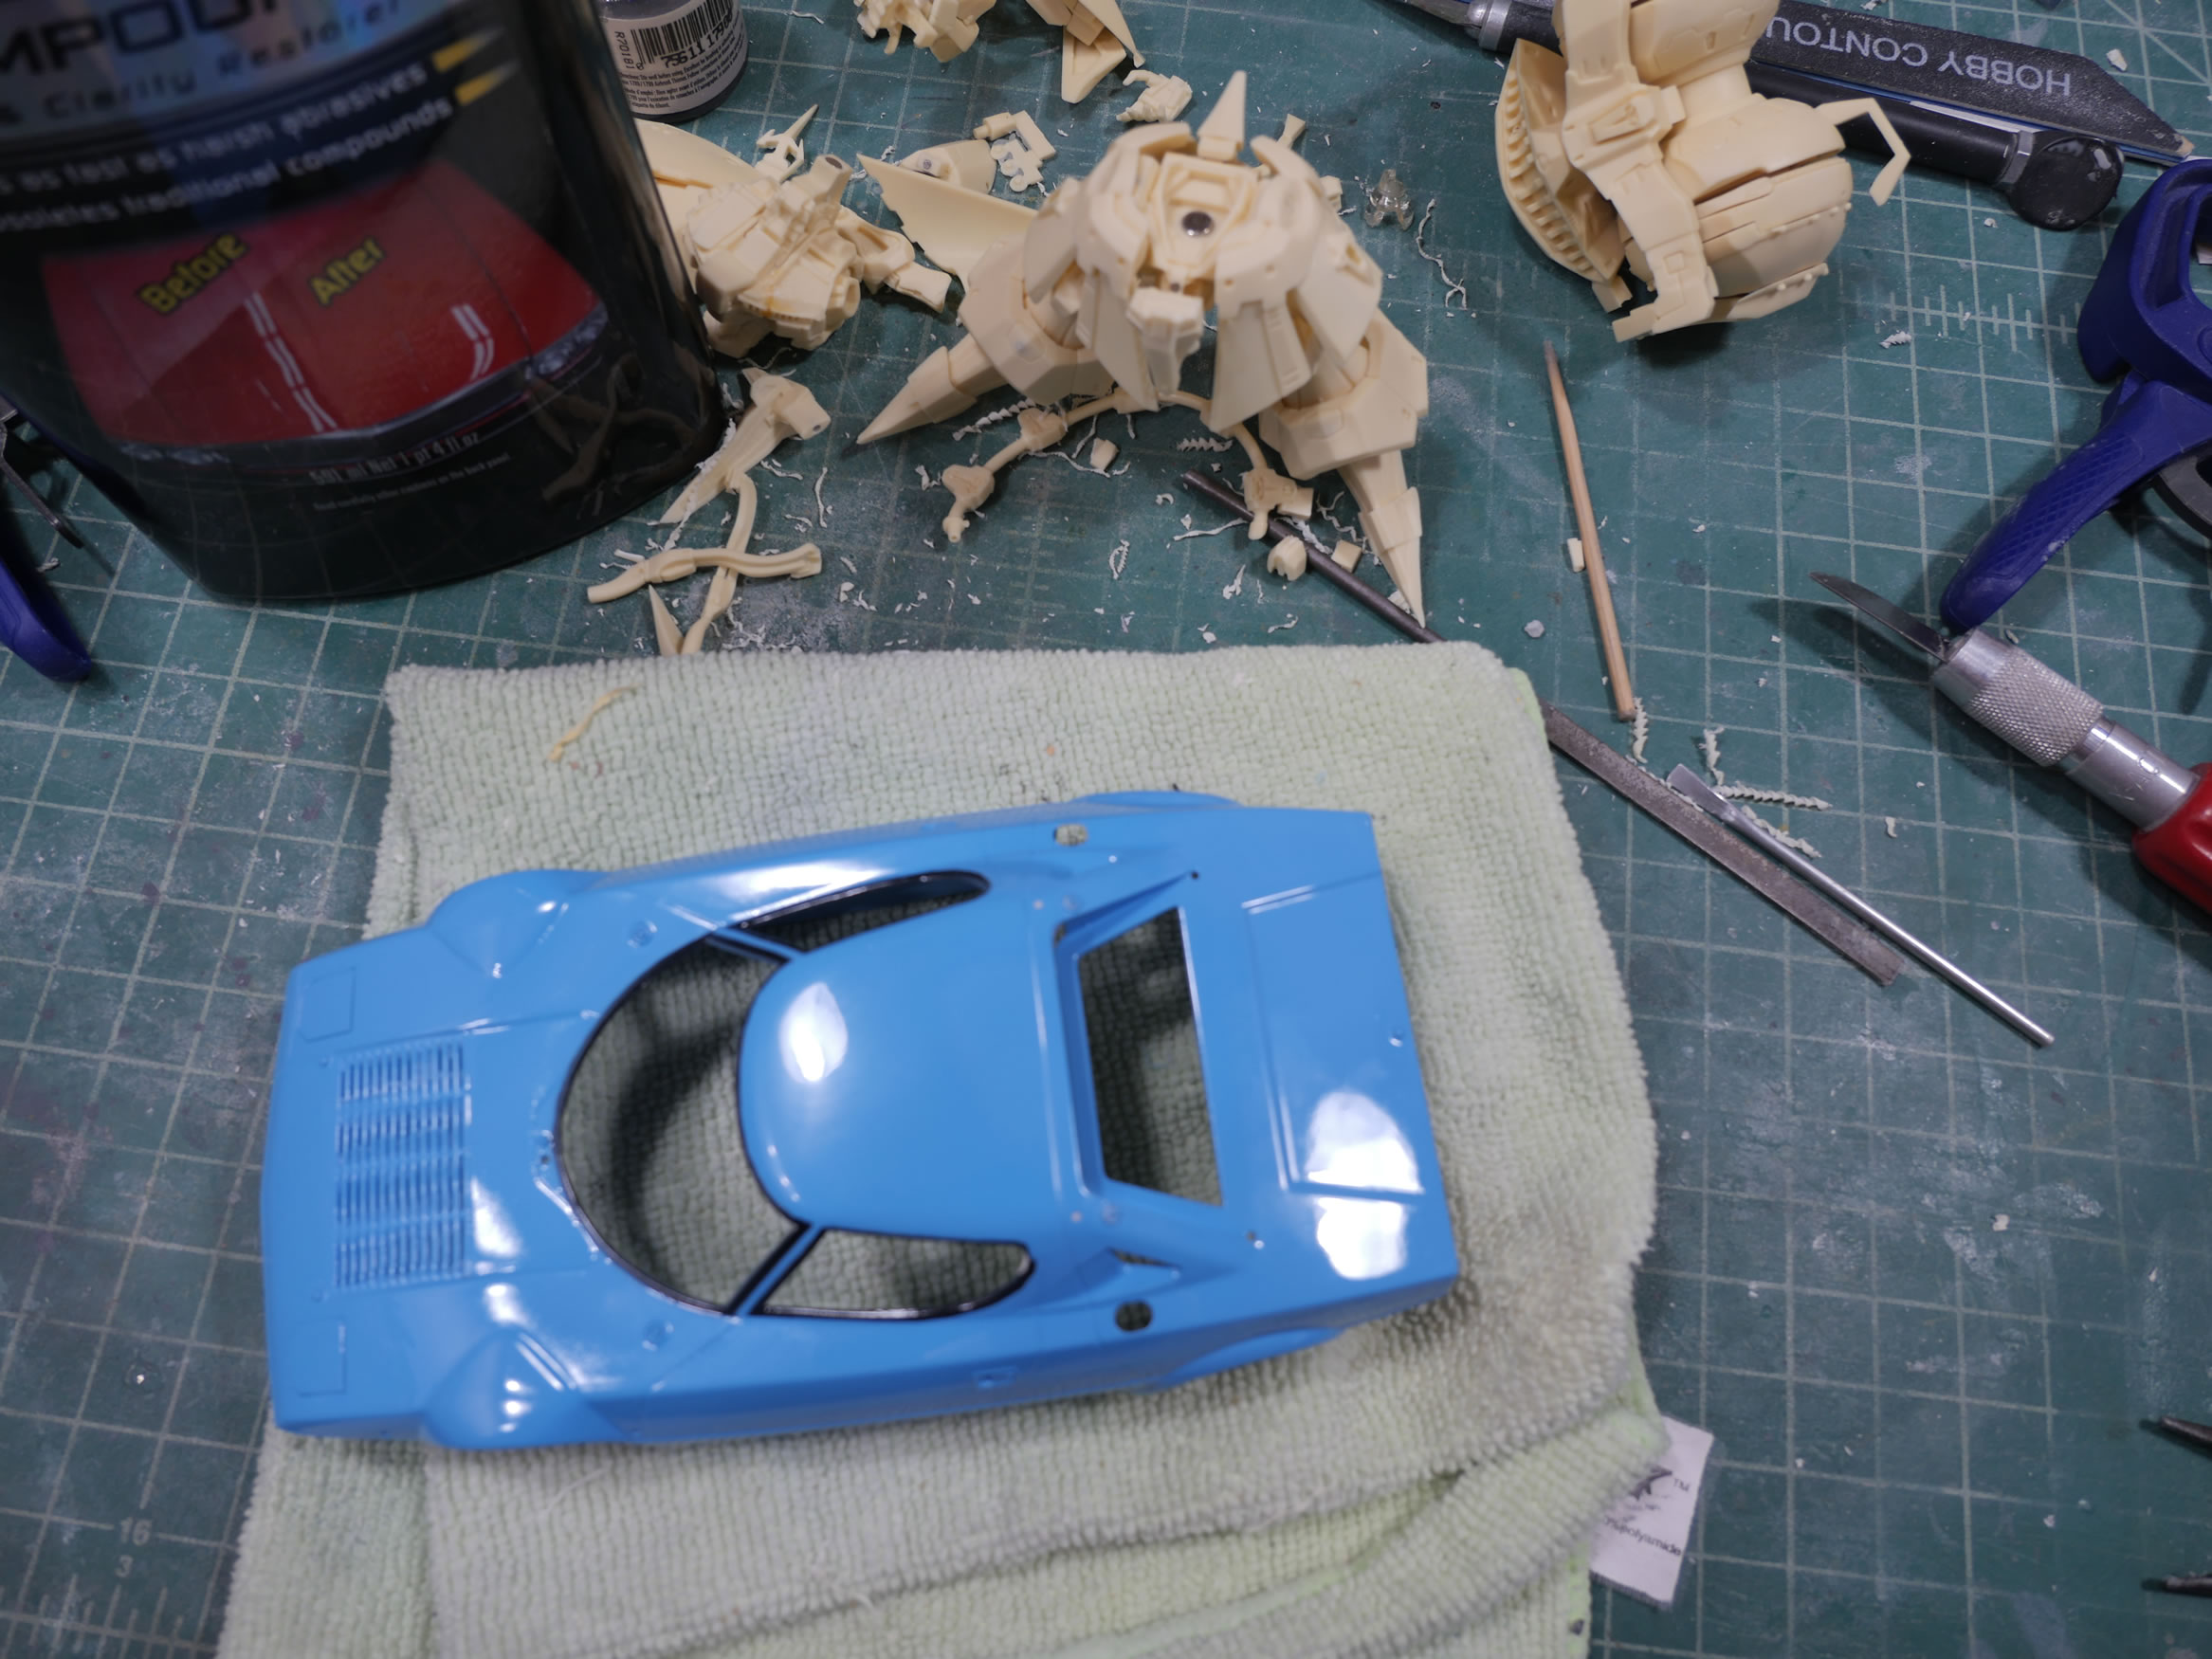
Body work. First step is sanding away mold lines and the priming. Then lightly sanding the primed surface for the next layer of paint.
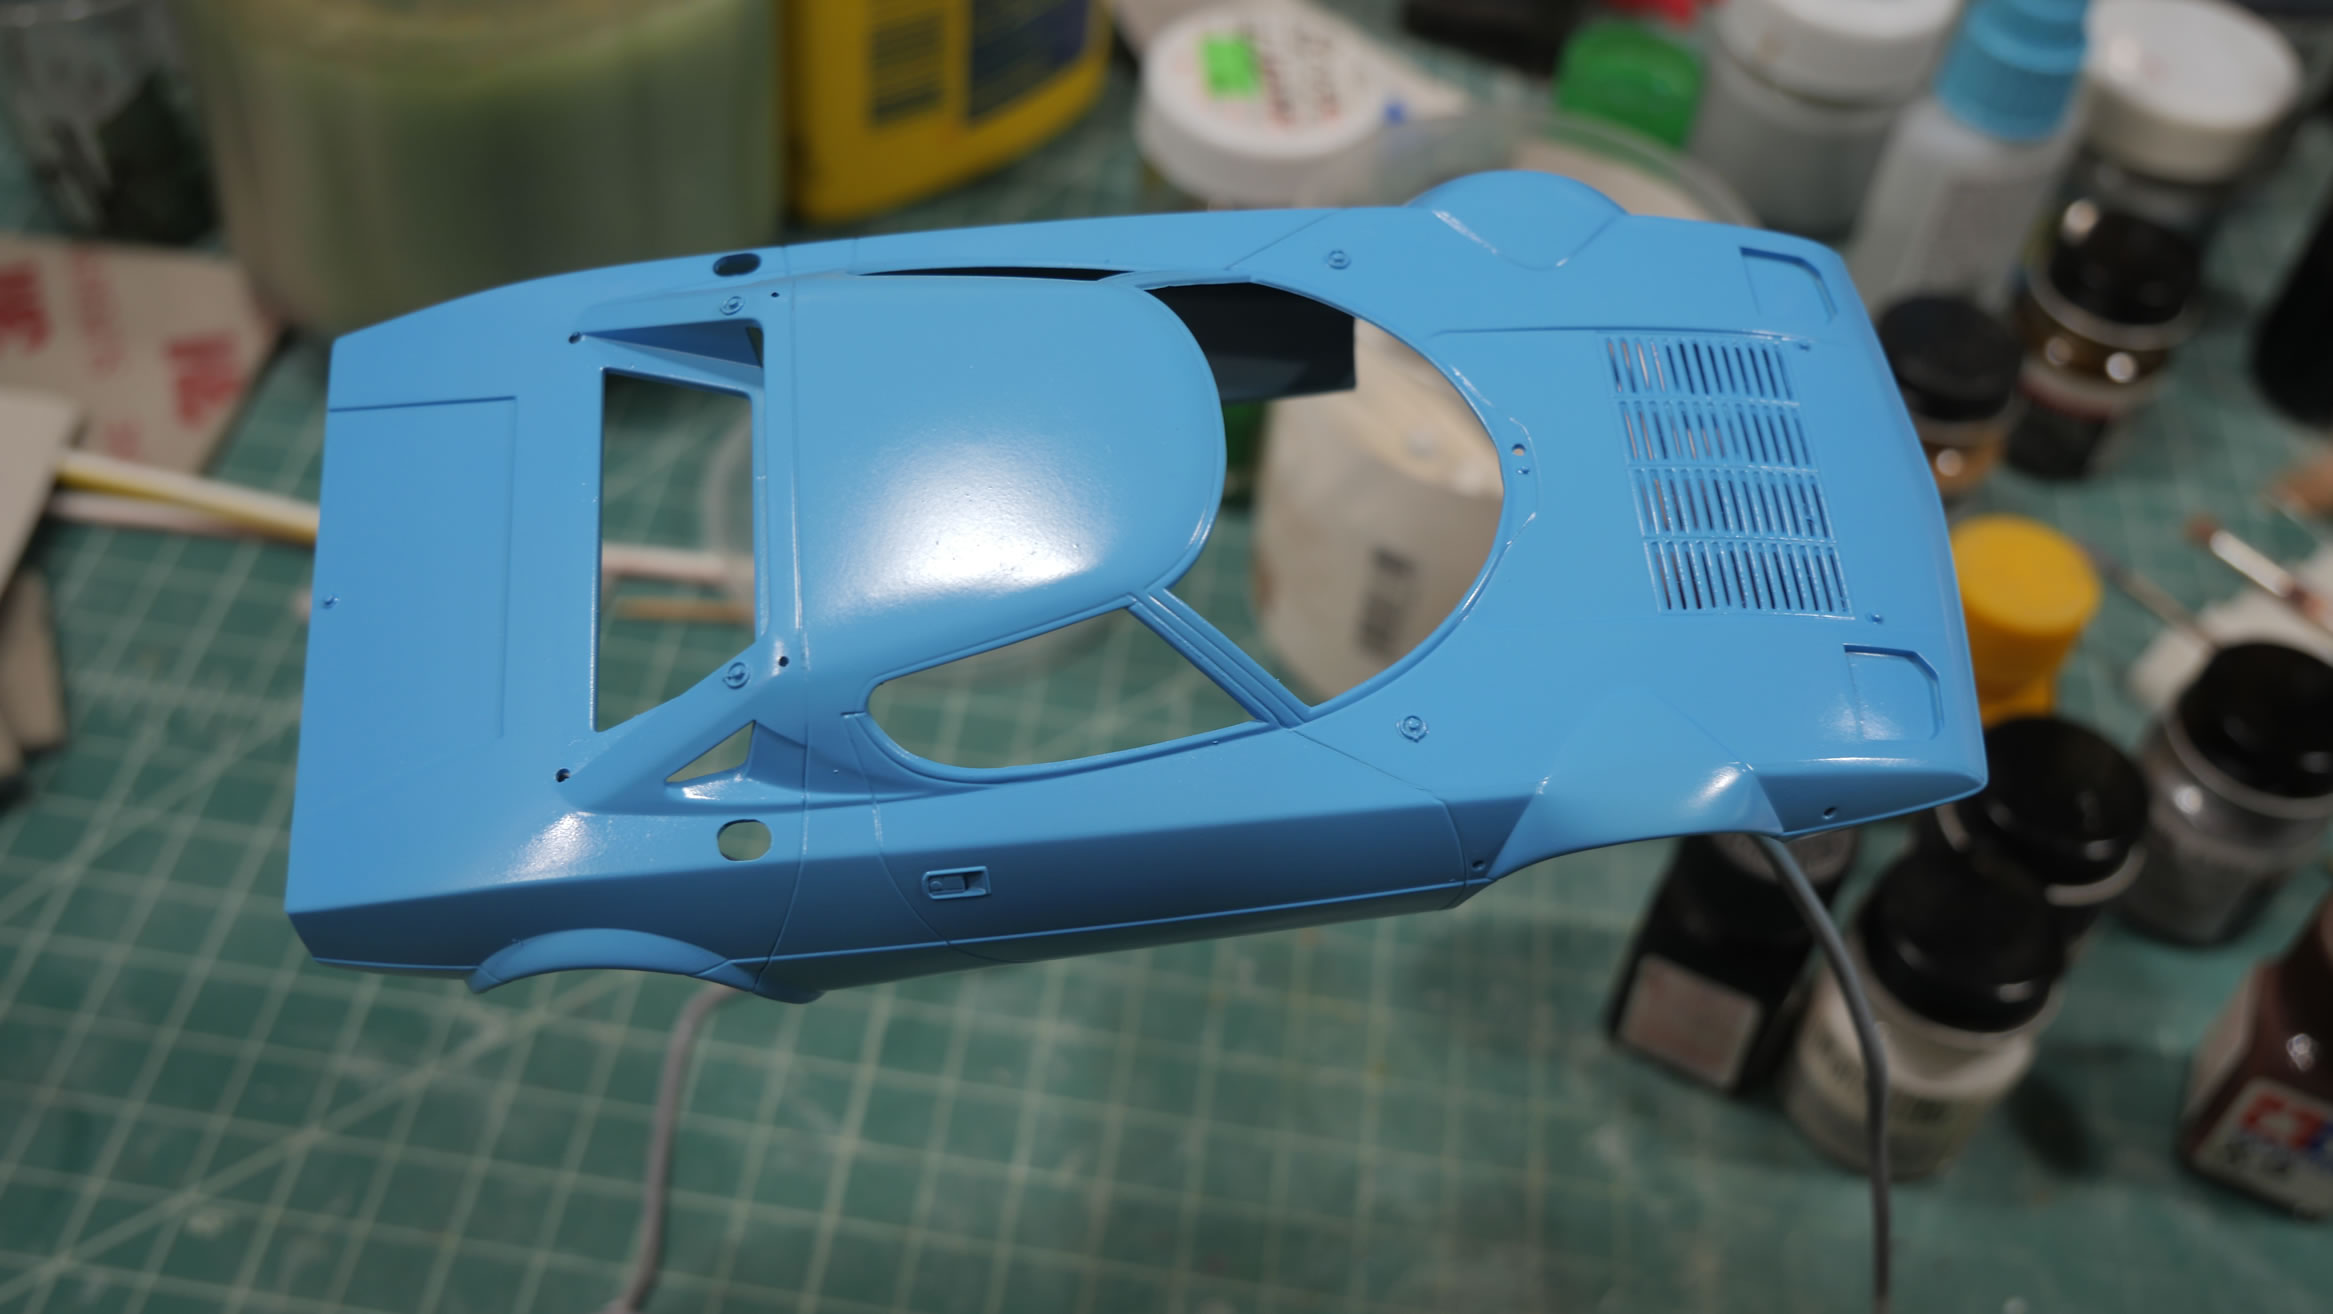
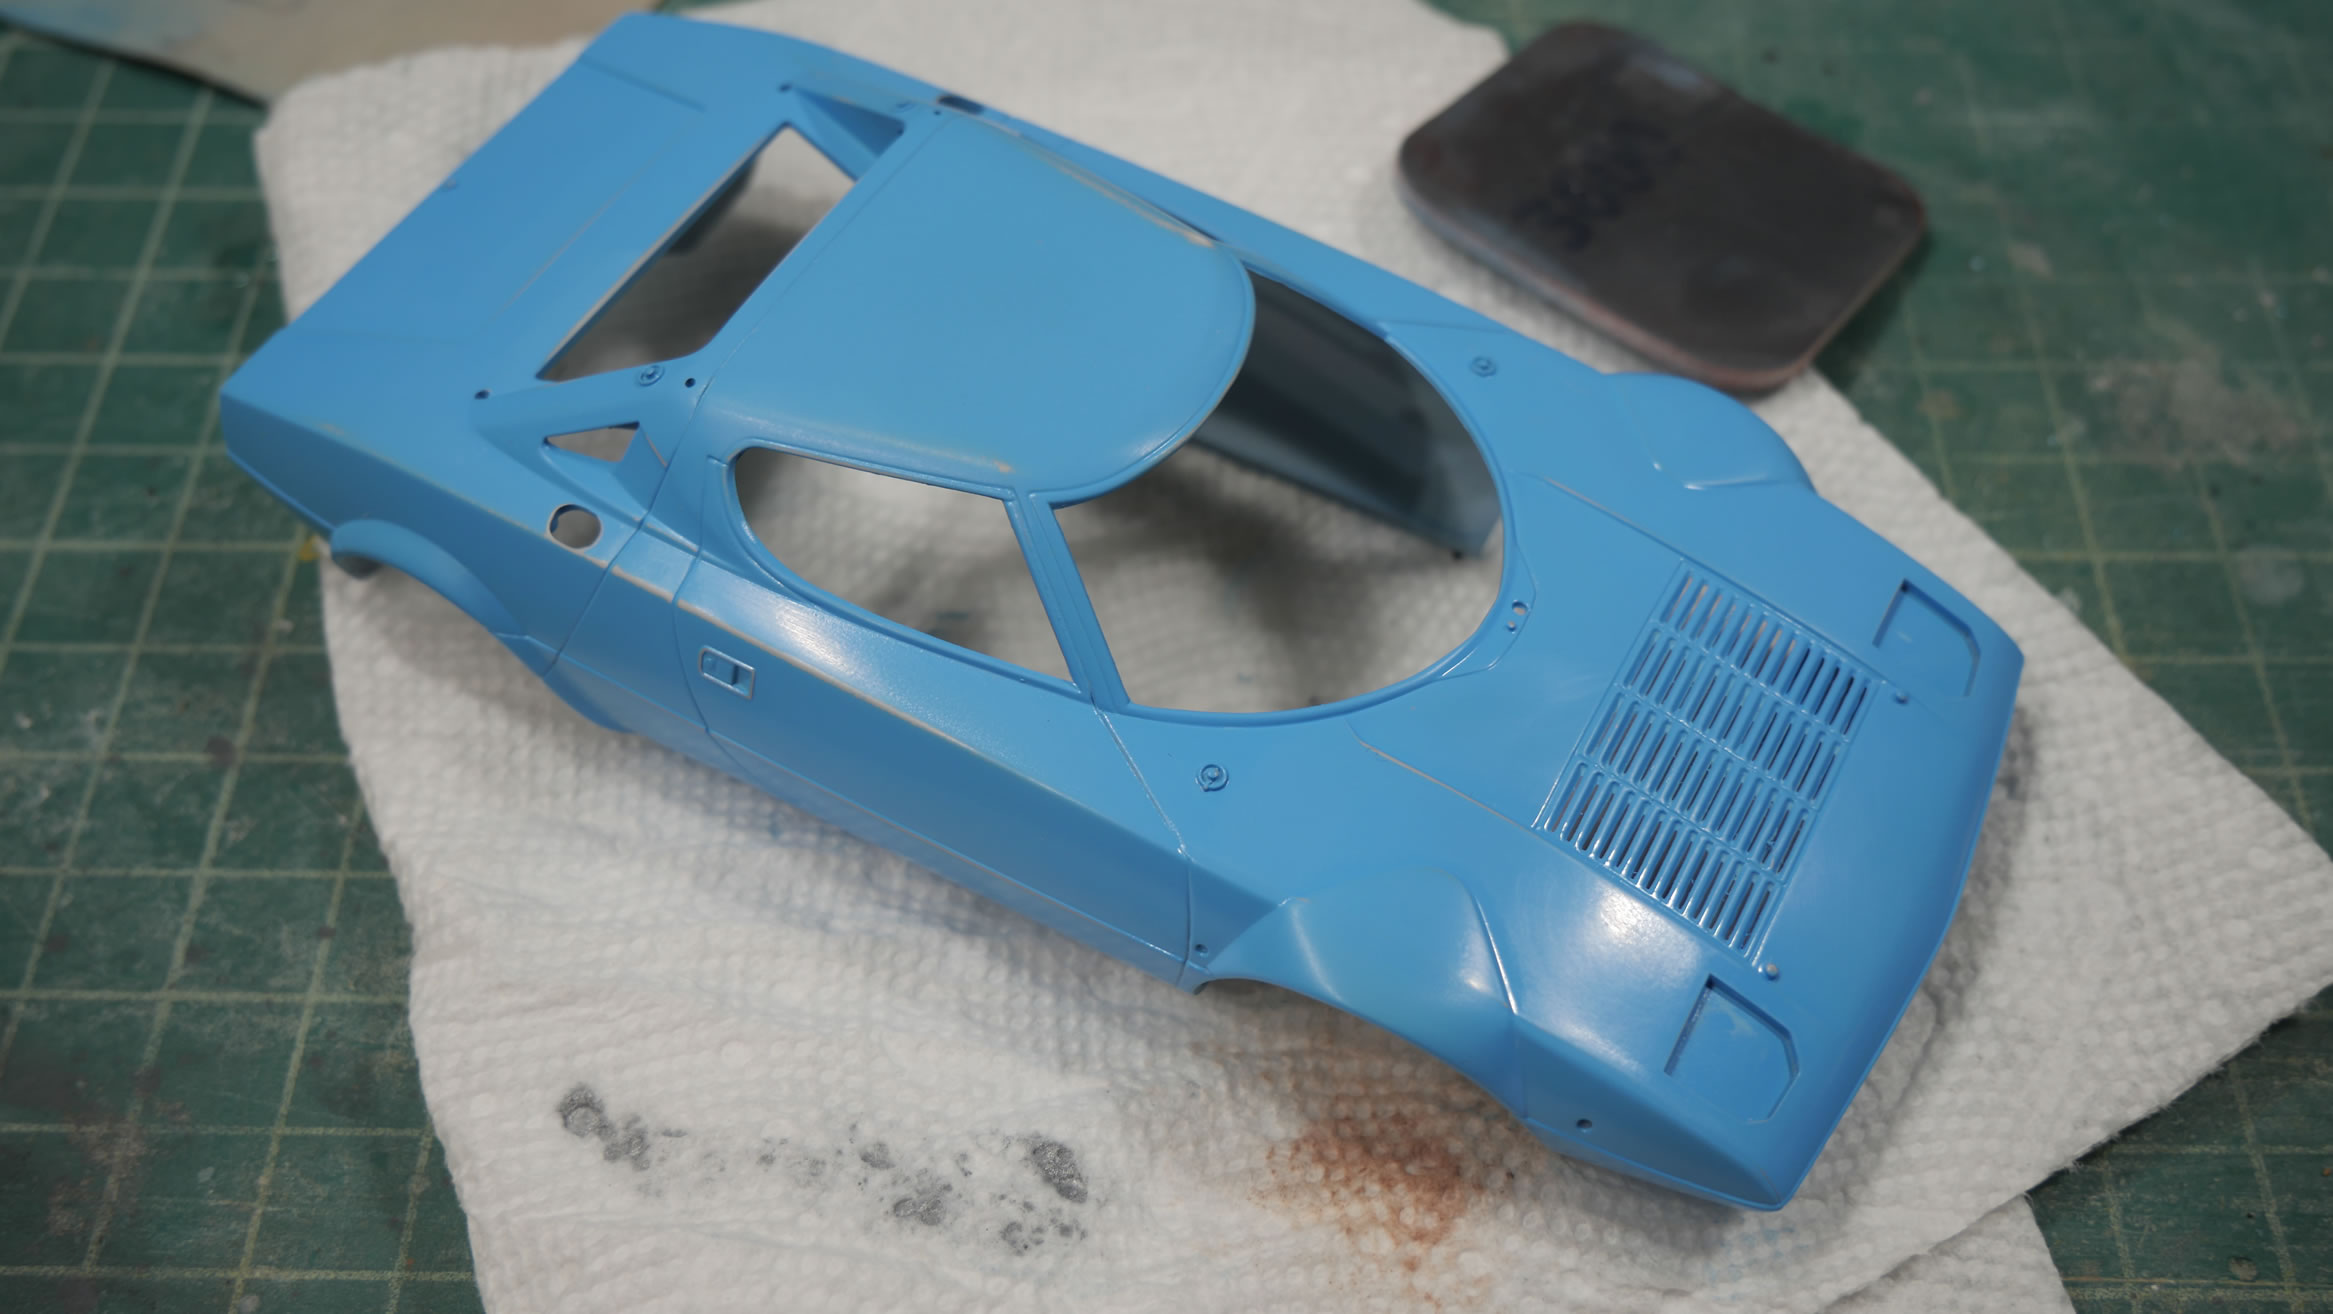
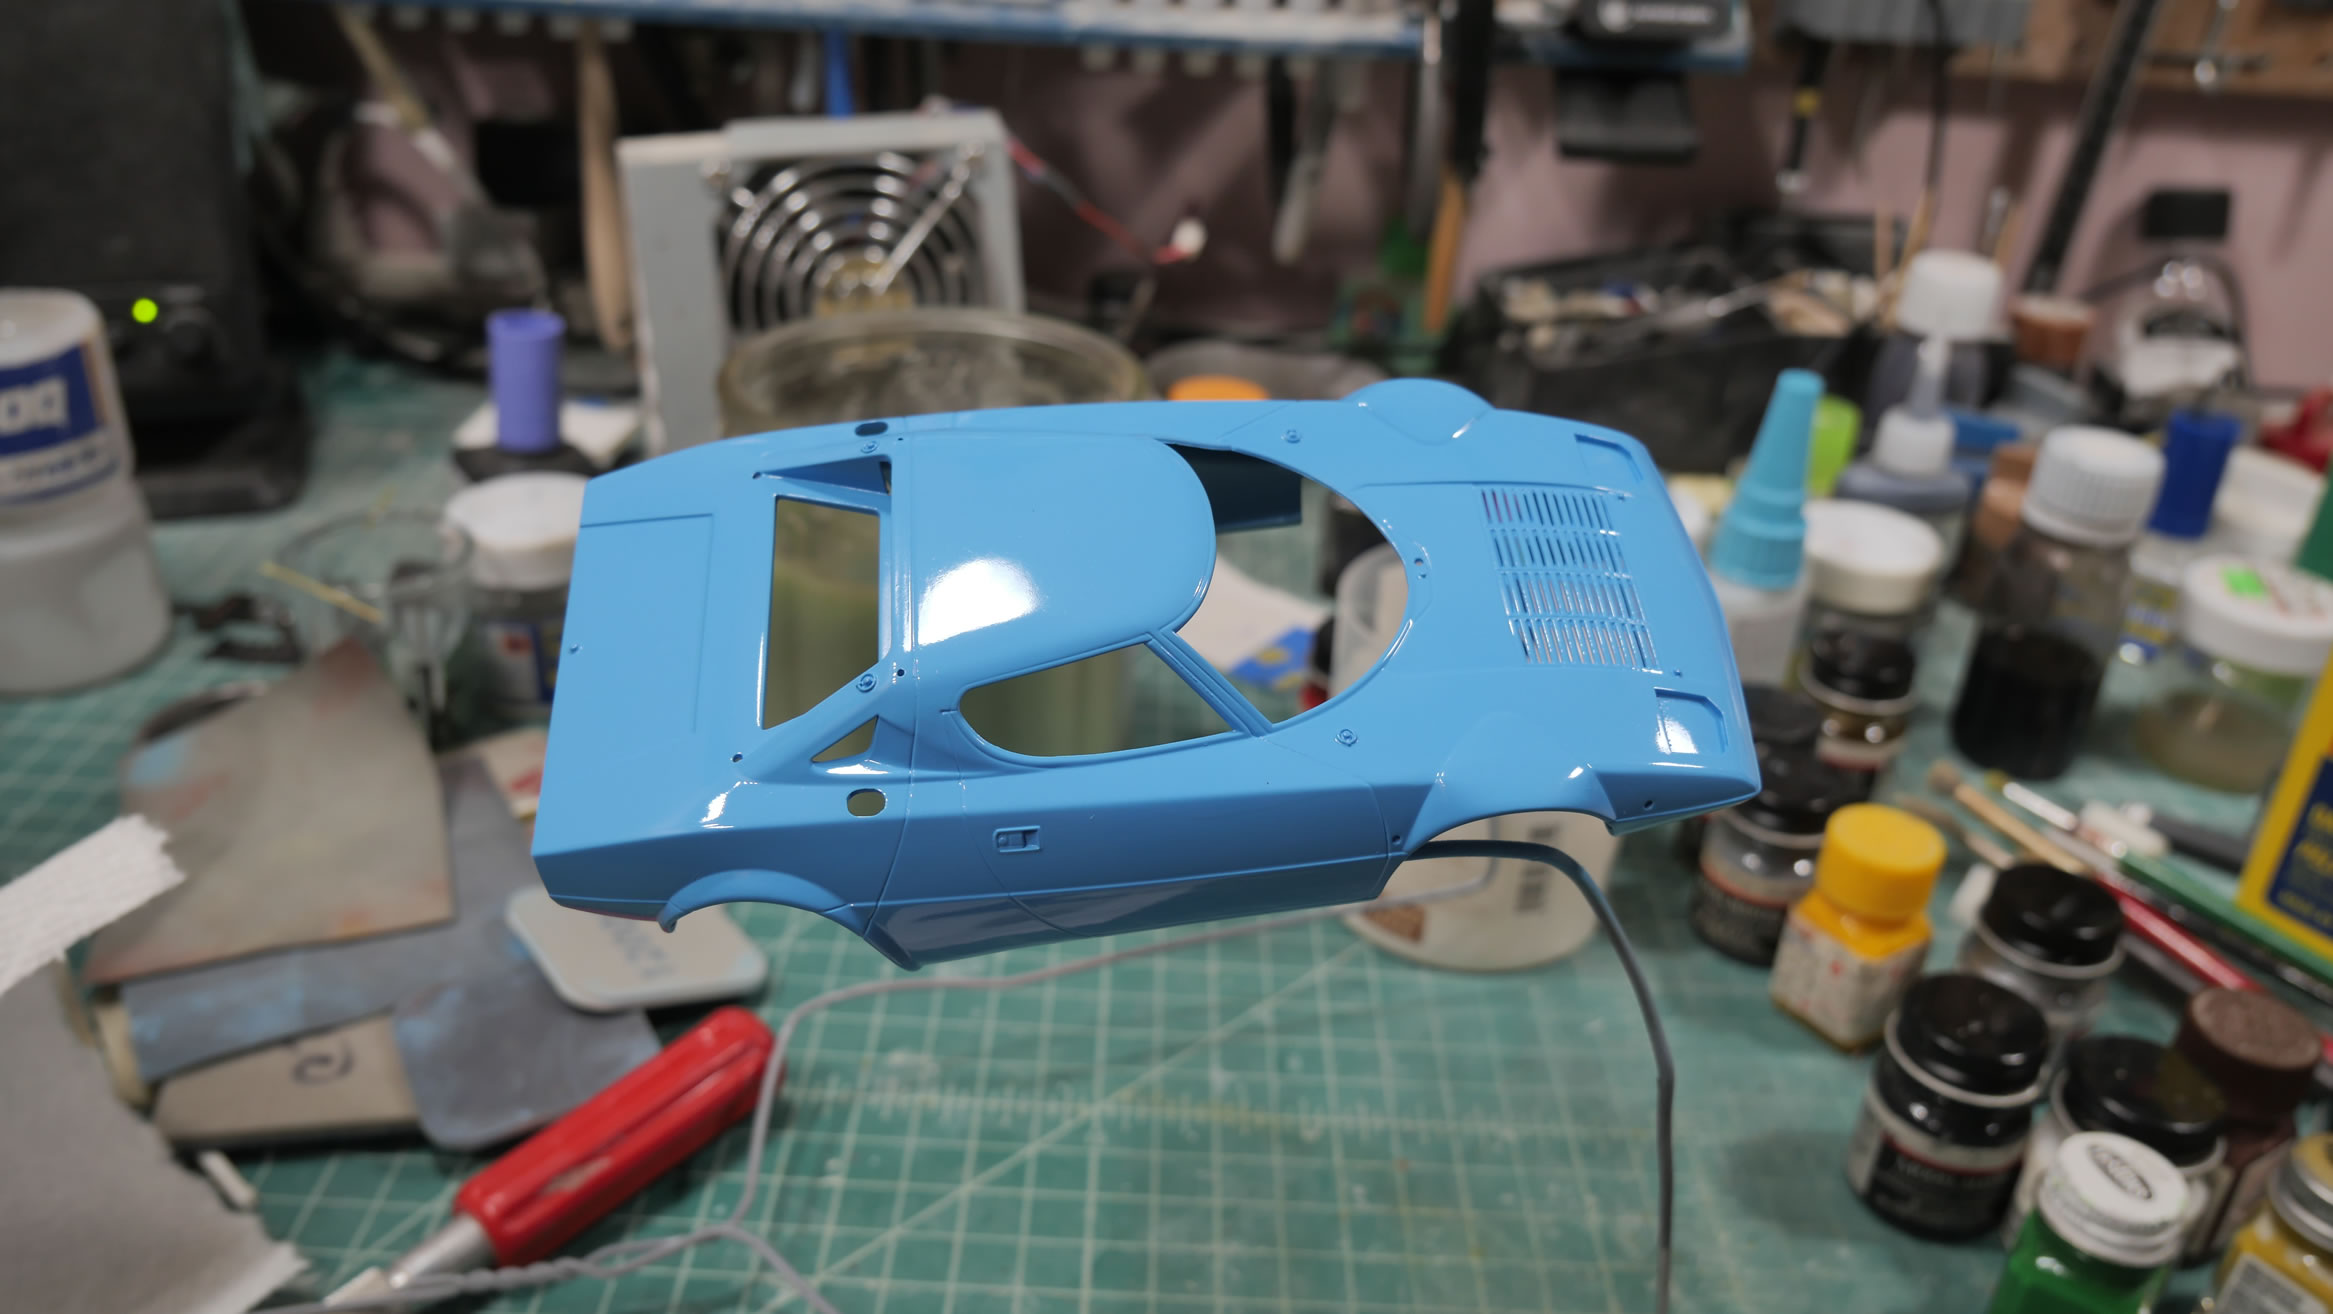
First layer of body color, Finisher’s Cobalt Blue. Once that is one, that layer is sanding with some 3600 grit sanding mesh to smooth out the surface. Once that is done, a heavier layer of base color is sprayed and the surface starts to look decent. Of course, by the 4th picture in the set below, there are some rough sports that still need attention.

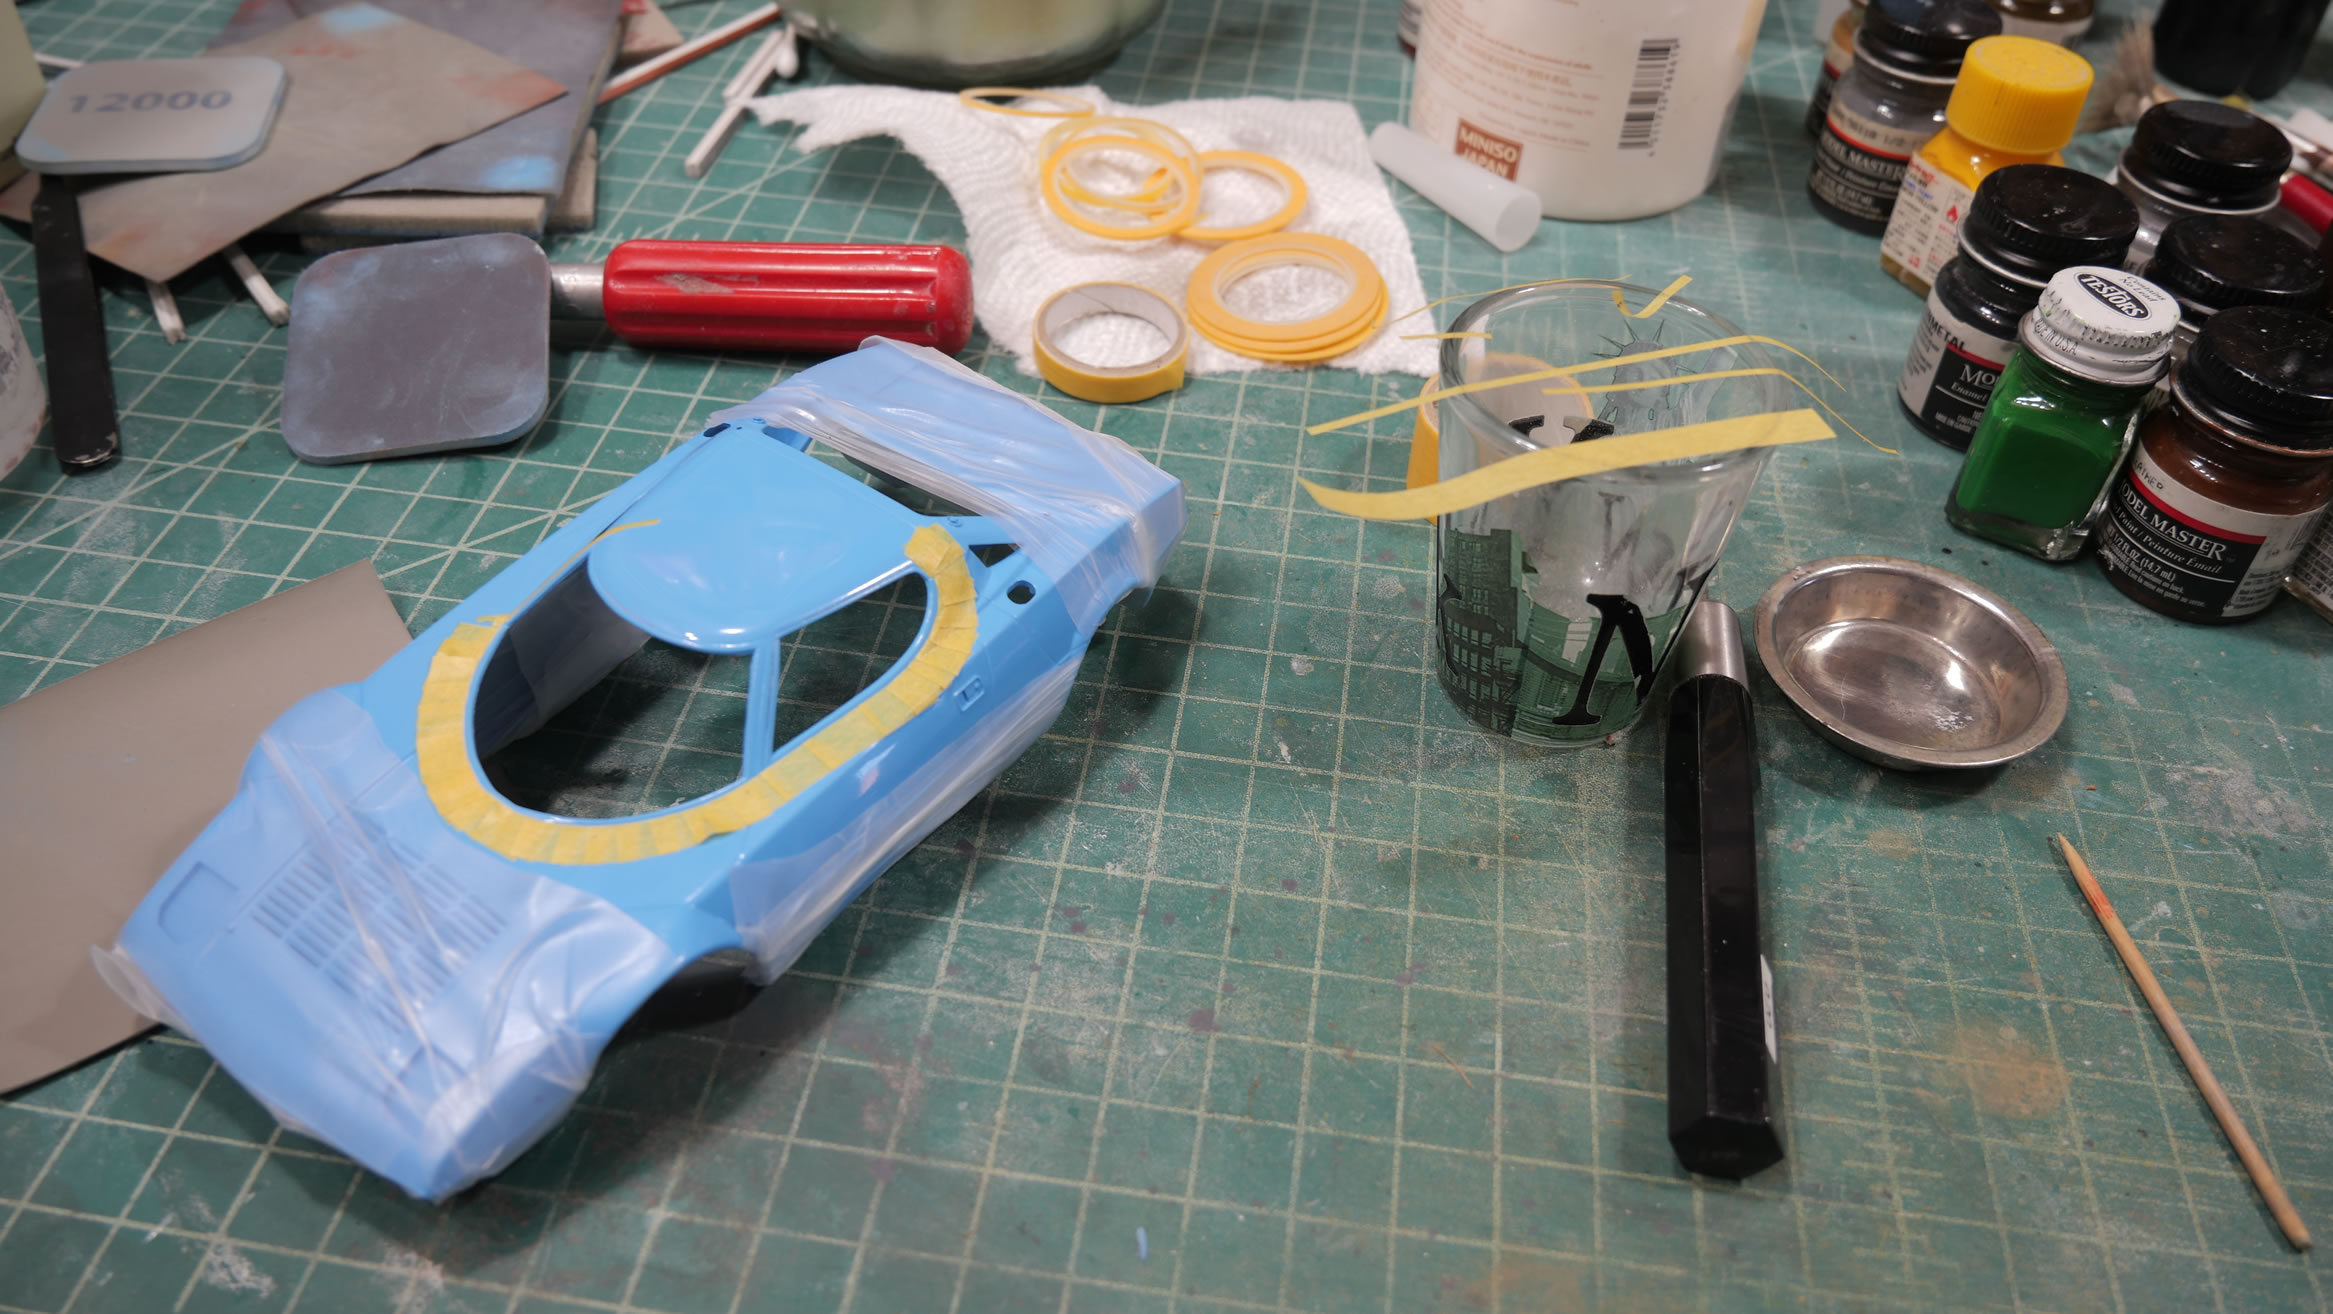
Finally happy with the finish, I can go on to masking off the window lining and painting in the gloss black. And of course, I wasn’t paying attention when taking the last picture and everything BUT the damn model is in focus.
Now we’re ready to get to some real body work. I think this is the last picture I took before taking yet another break on this project and moved to working on the 2B kit.

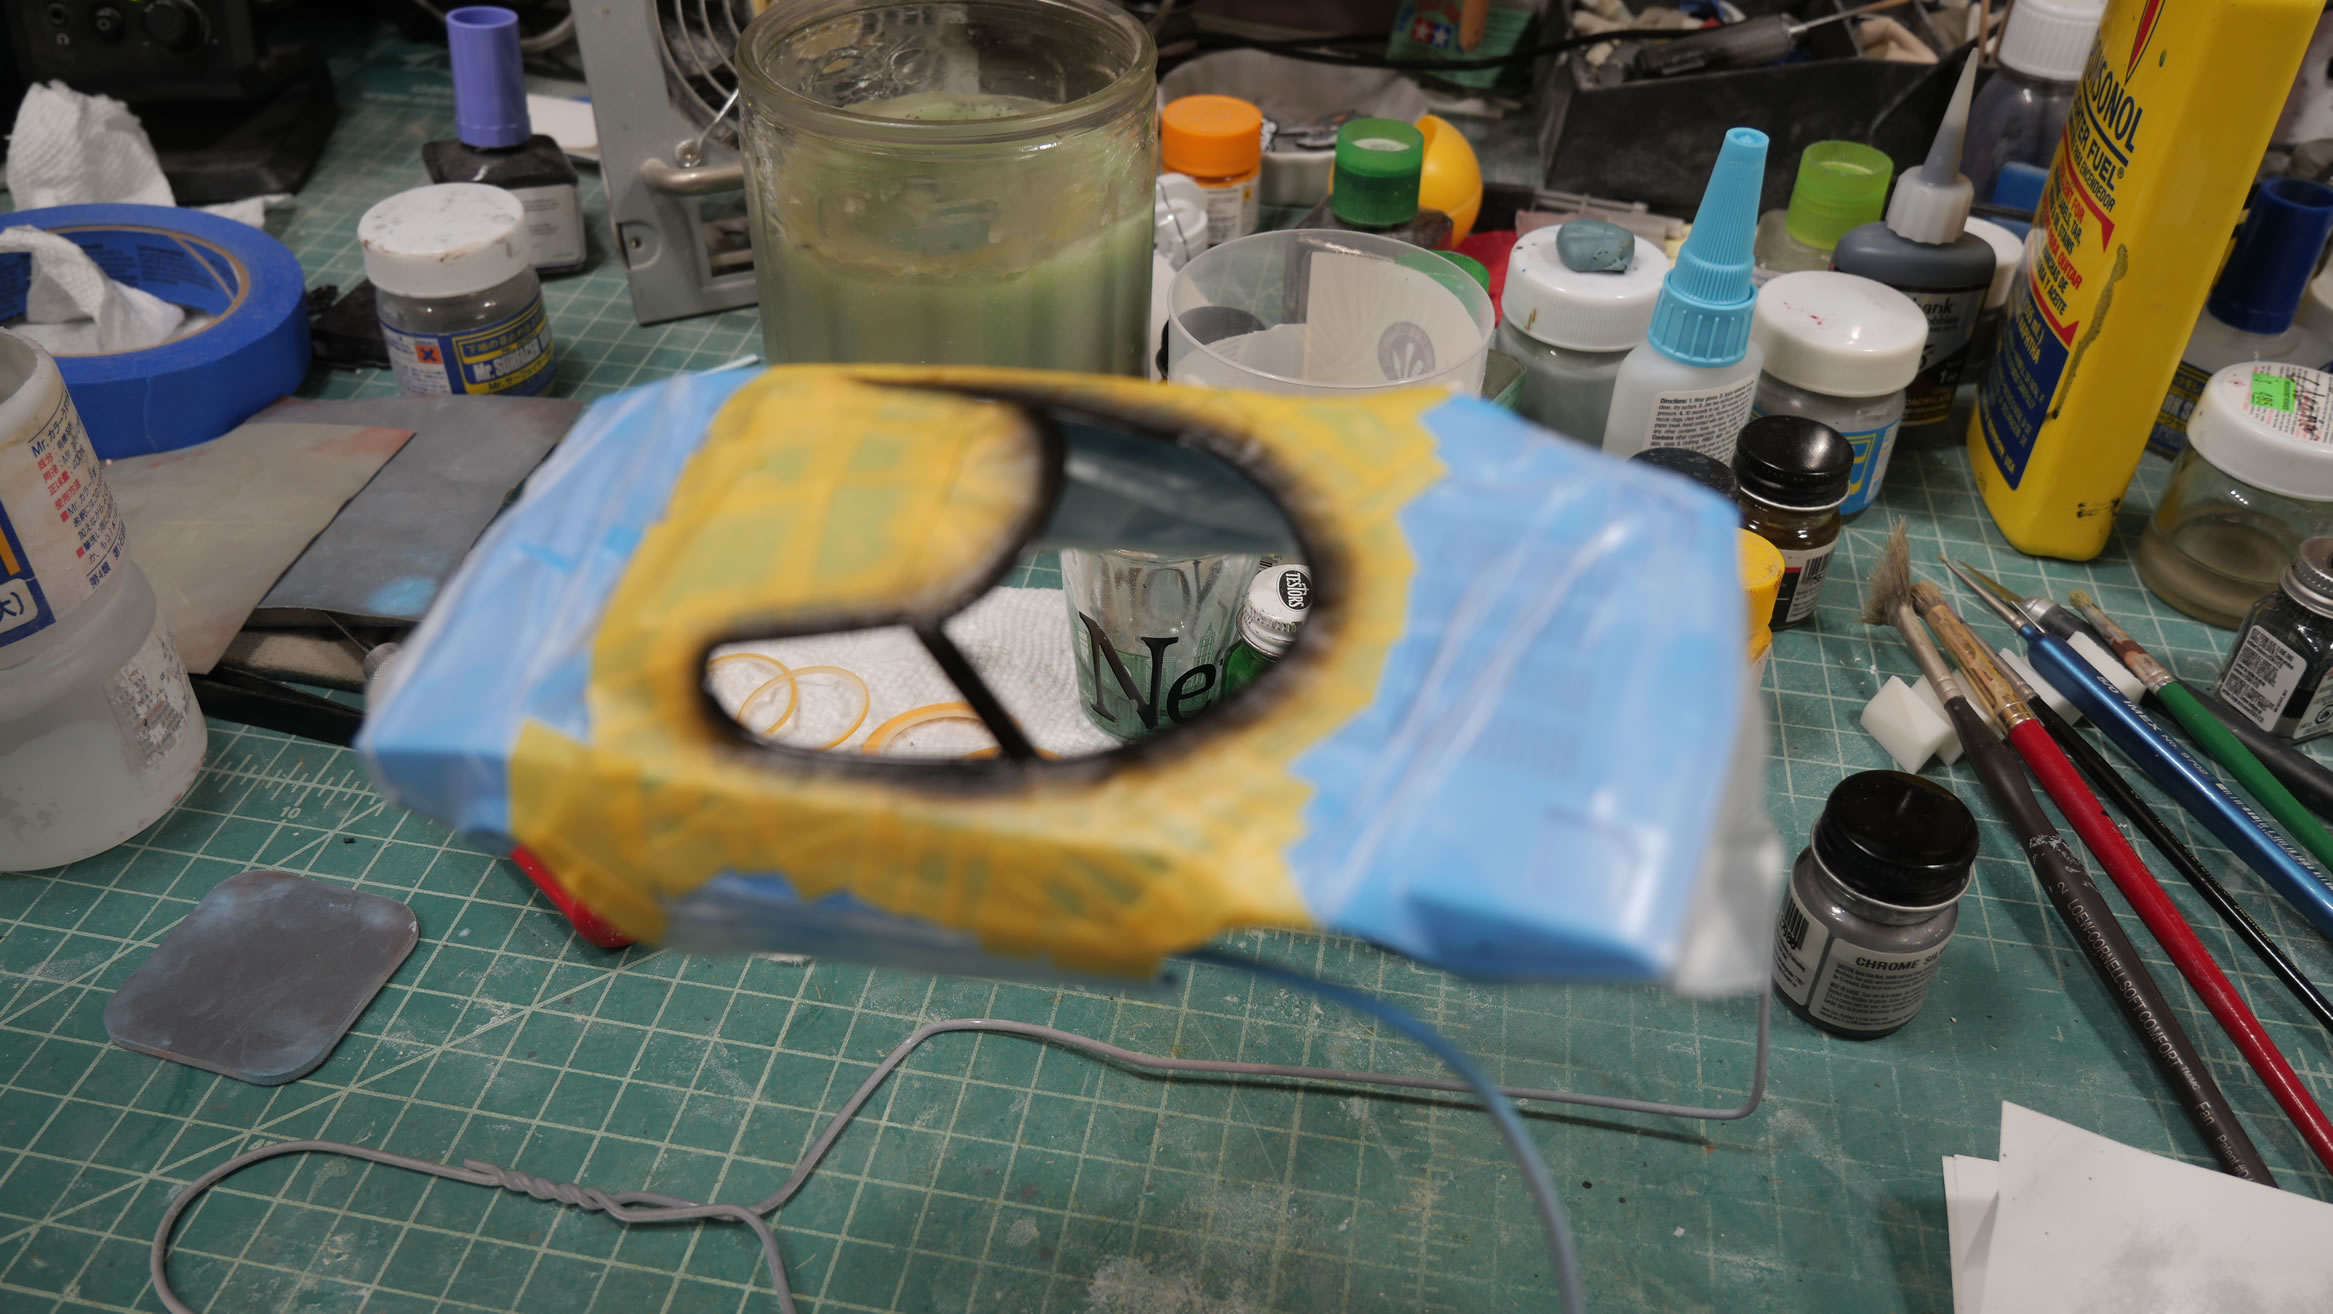
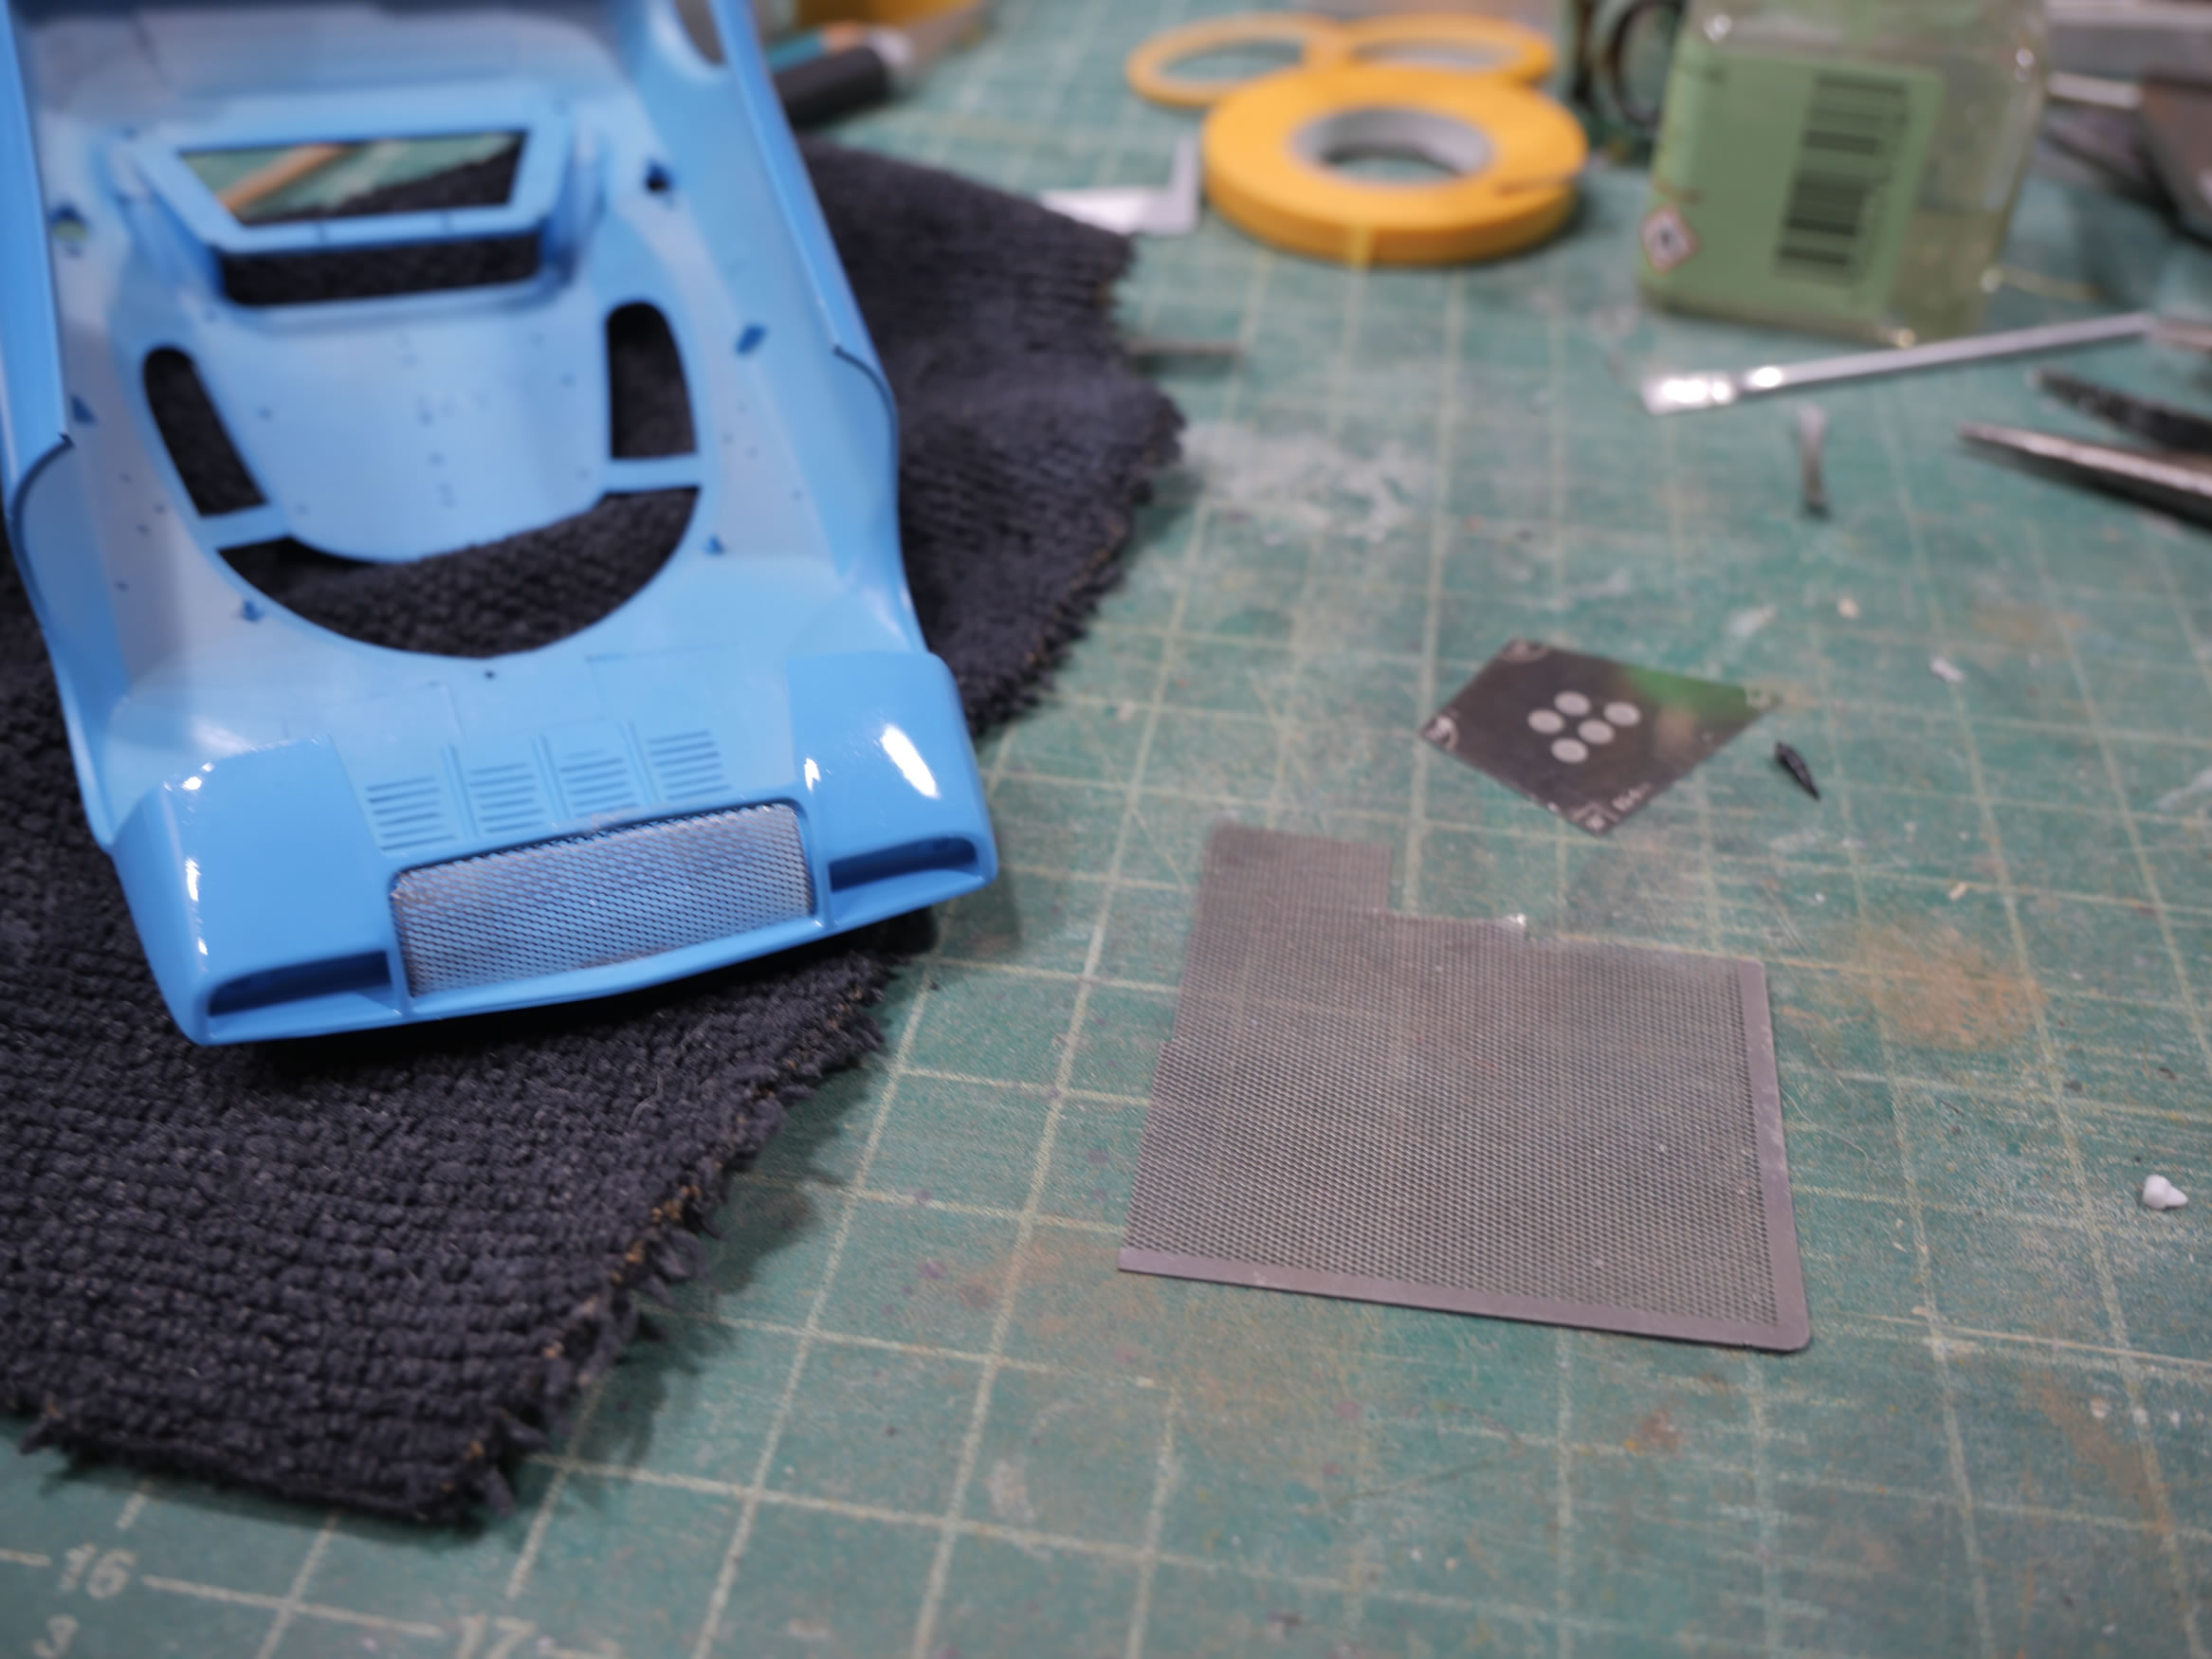
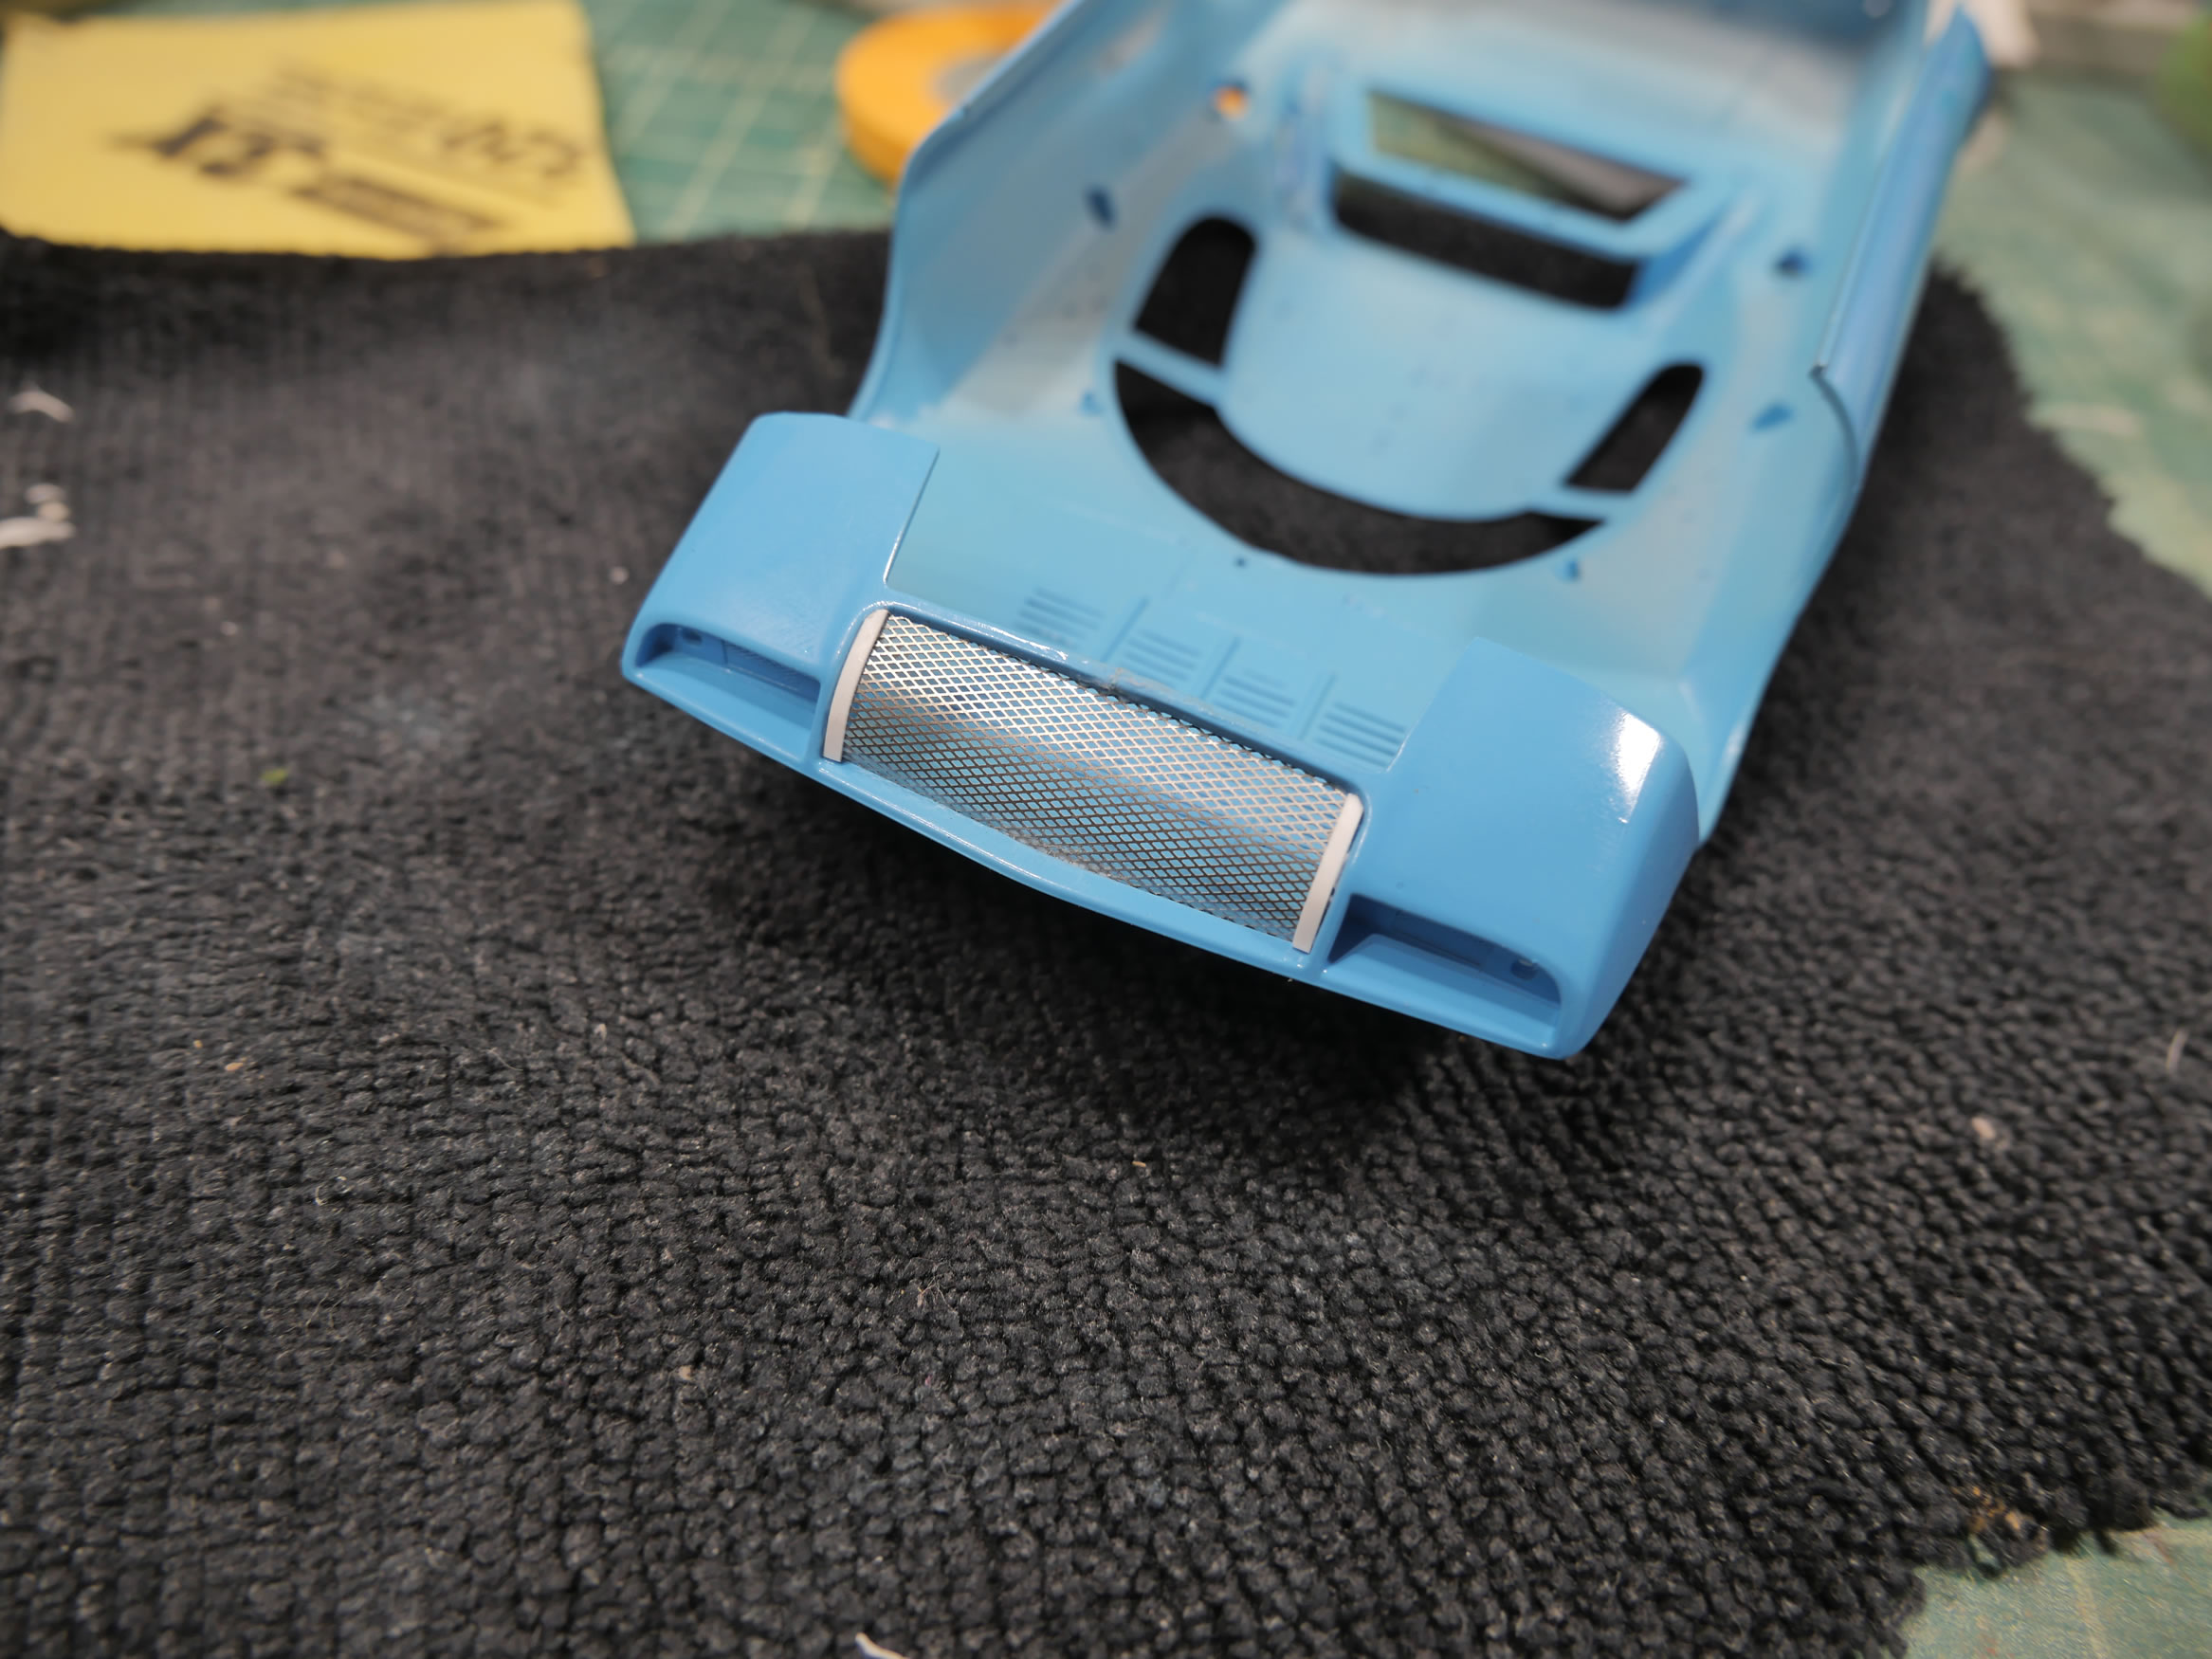
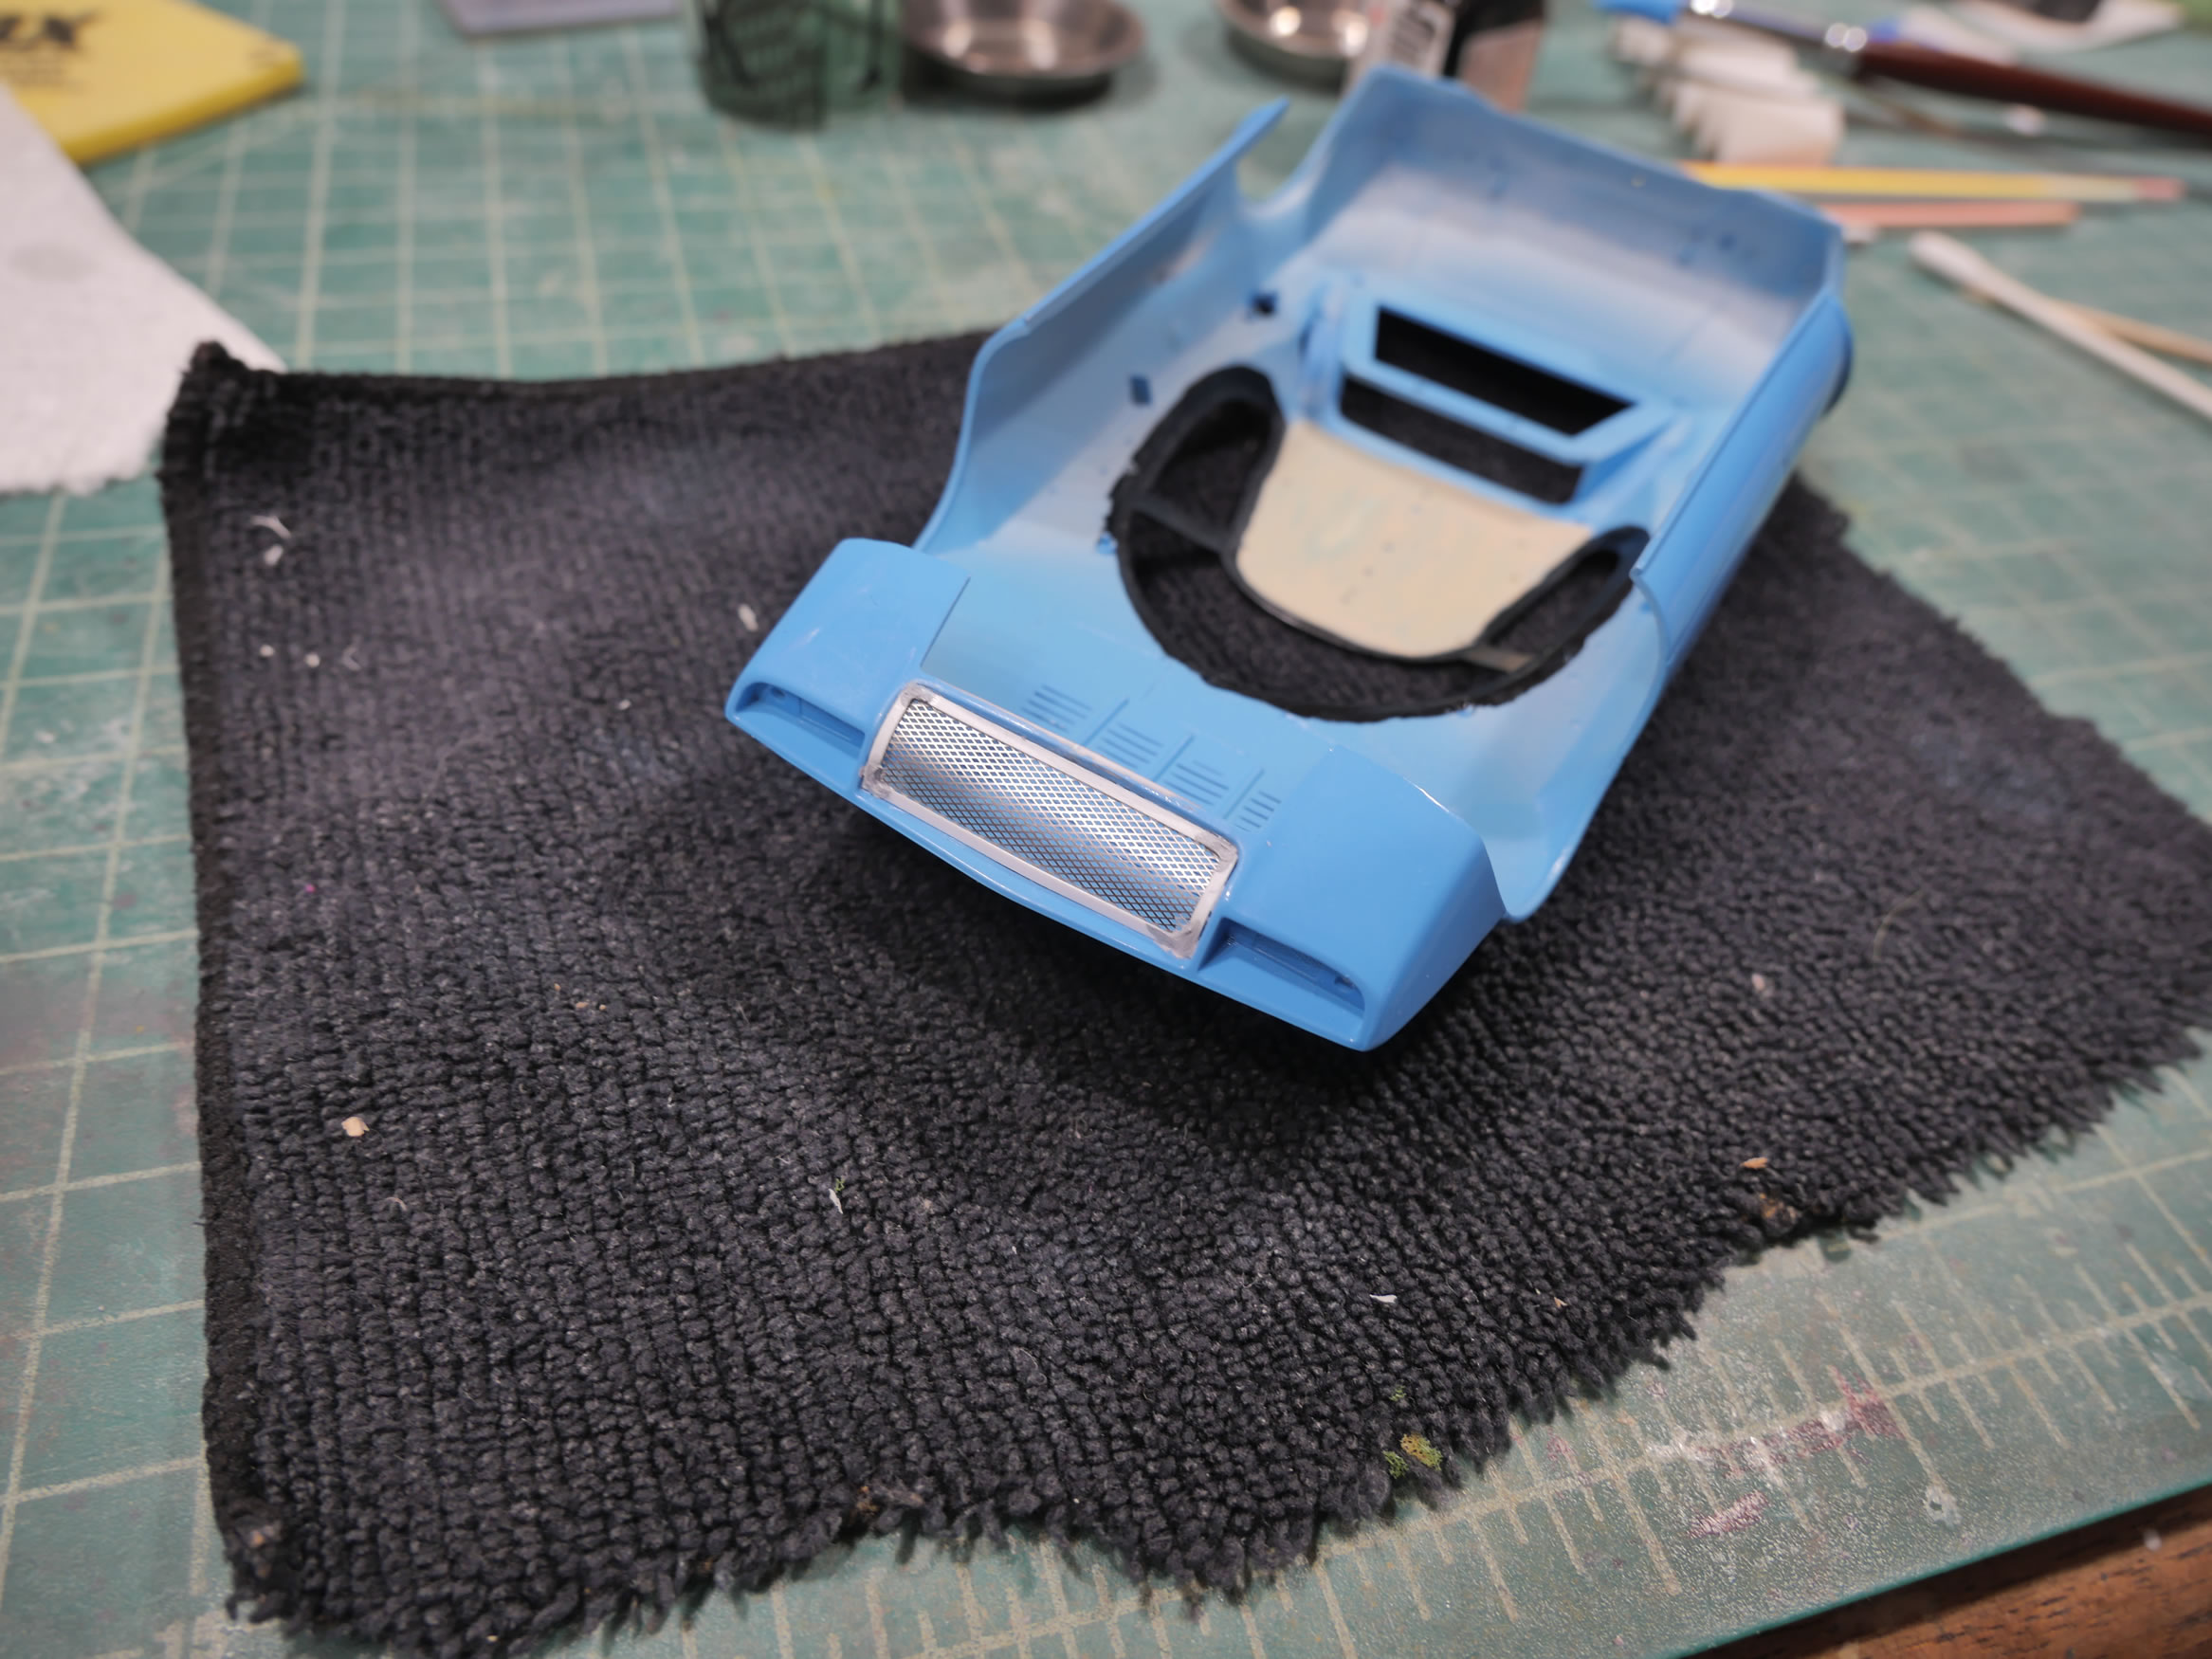
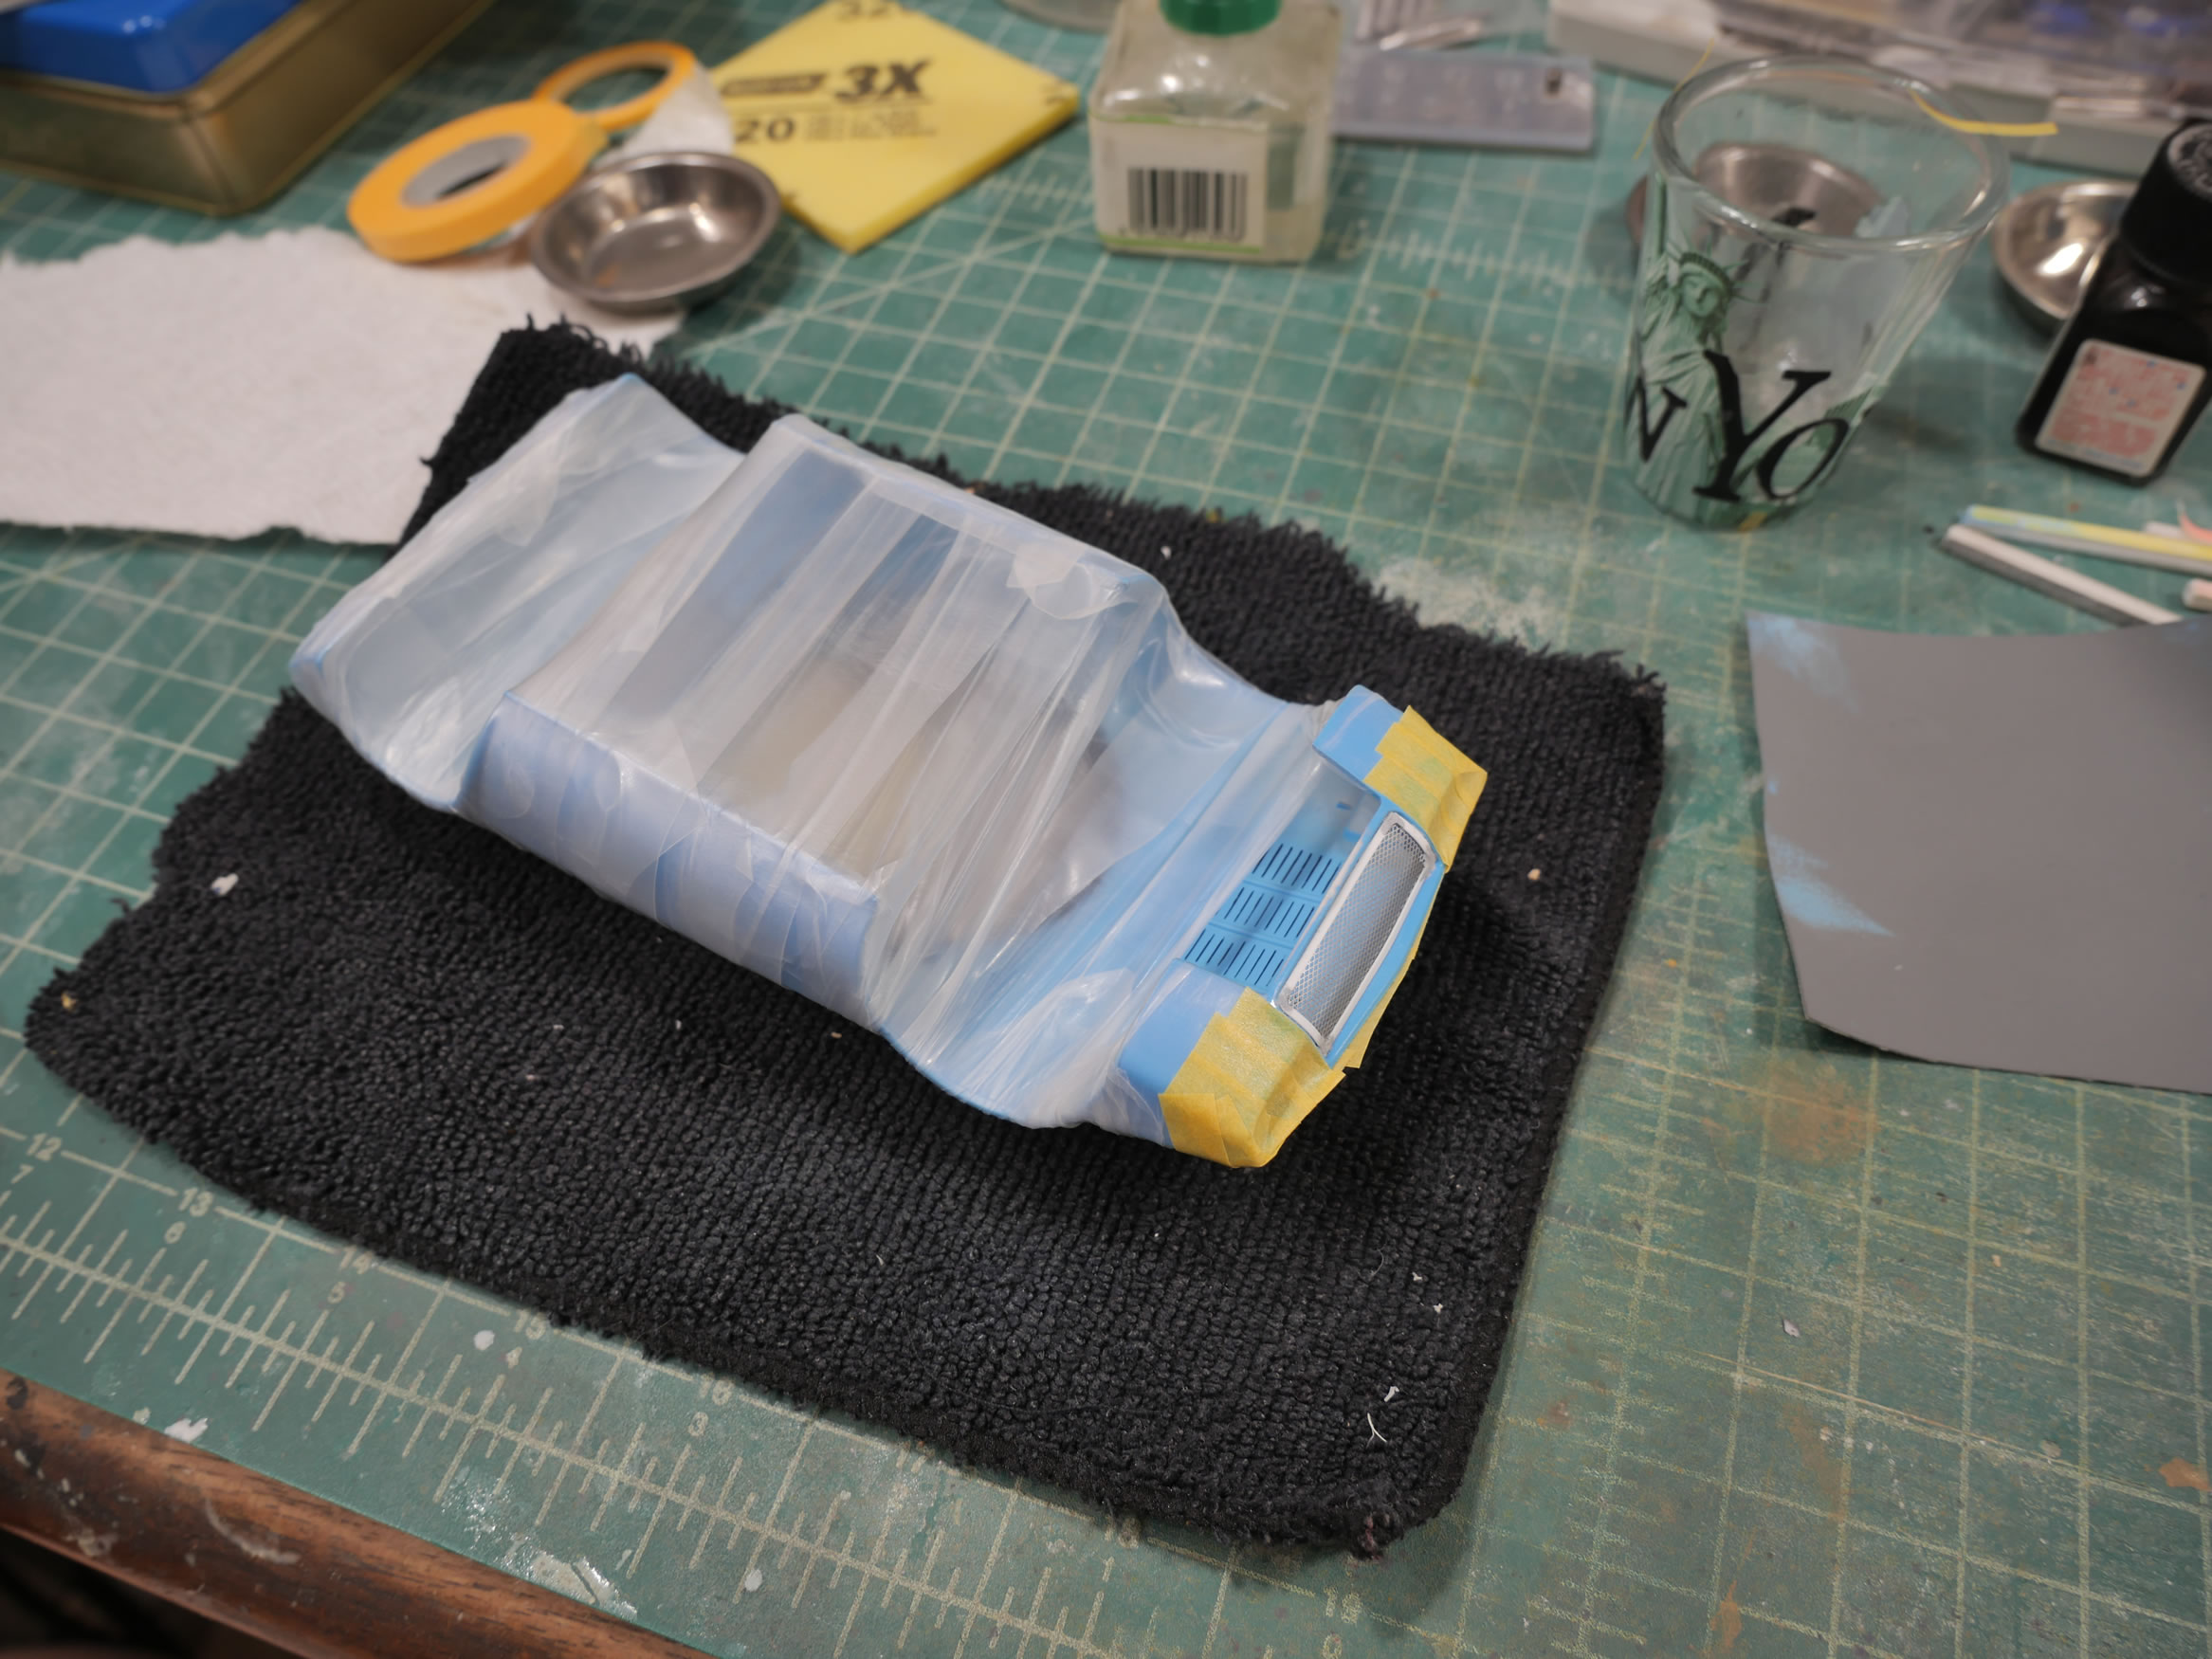
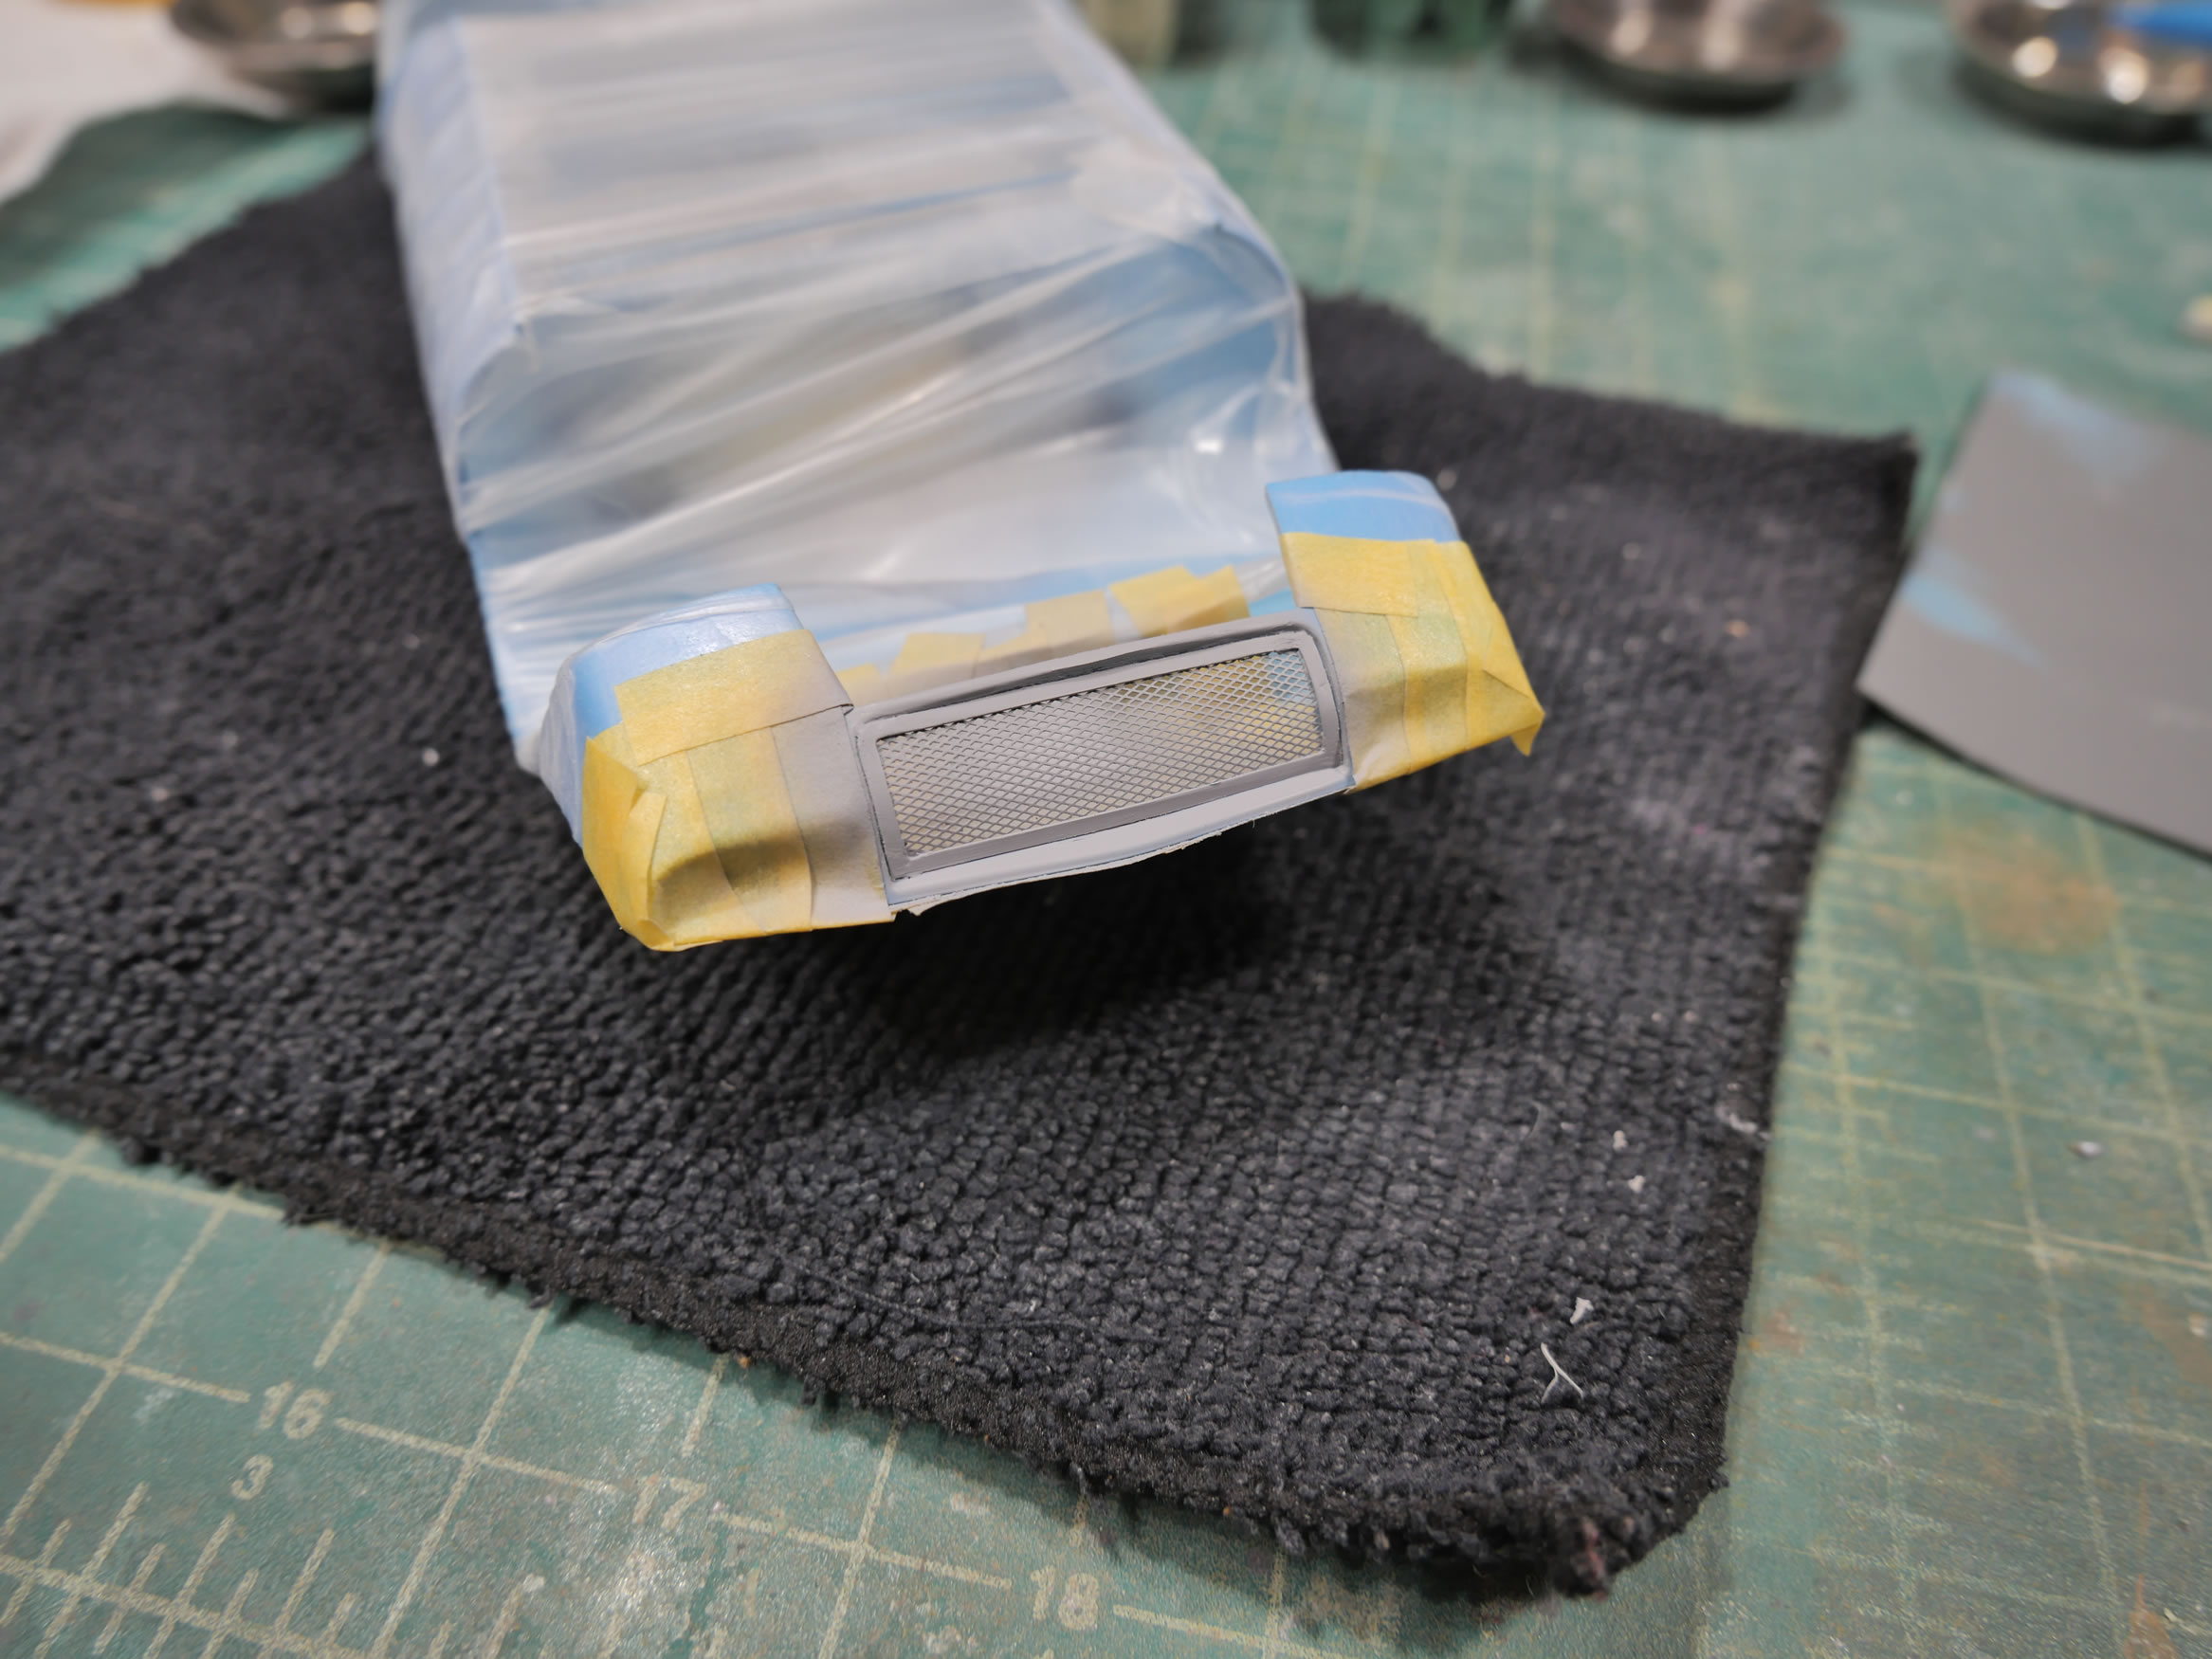
15 days later, 2B is done, and now back to working on the Lancia. The biggest problem I end up with when I shelf projects is that I always end up losing a part or two. Here I lost the front grill piece. Kind of a good loss, as the original piece was solid. I think the see through mesh looks much better. Once cut to size and framed up. I get to some quick putty and sanding work.
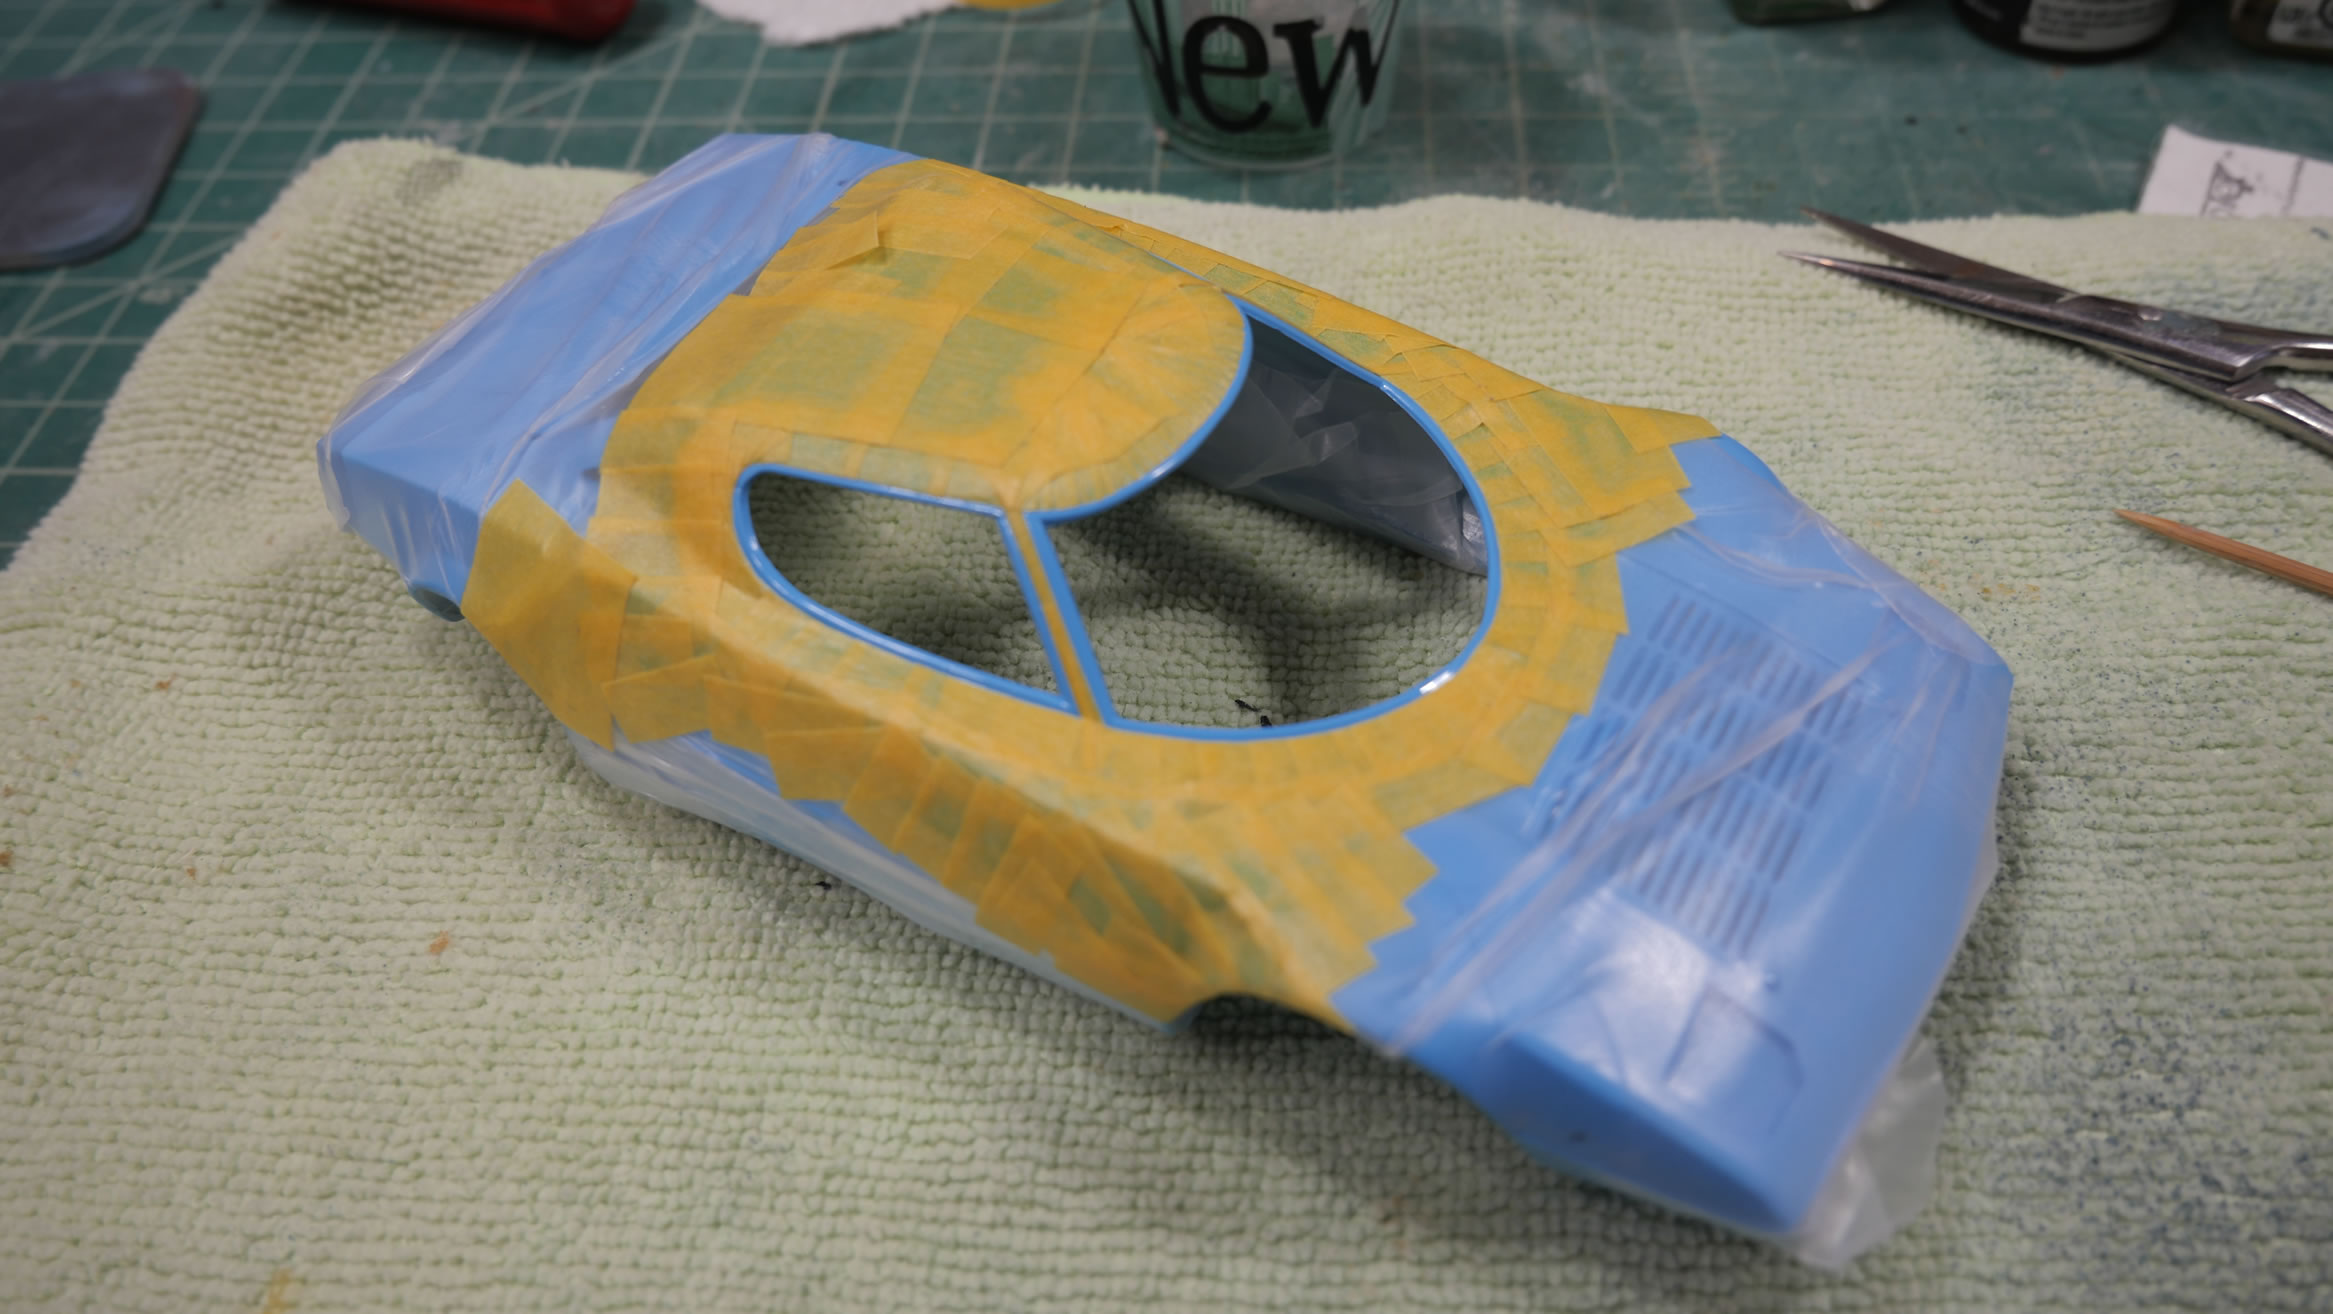
Since I didn’t realize that I losst the part before getting the paint on the body, I have to mask around everything to paint up the grill.
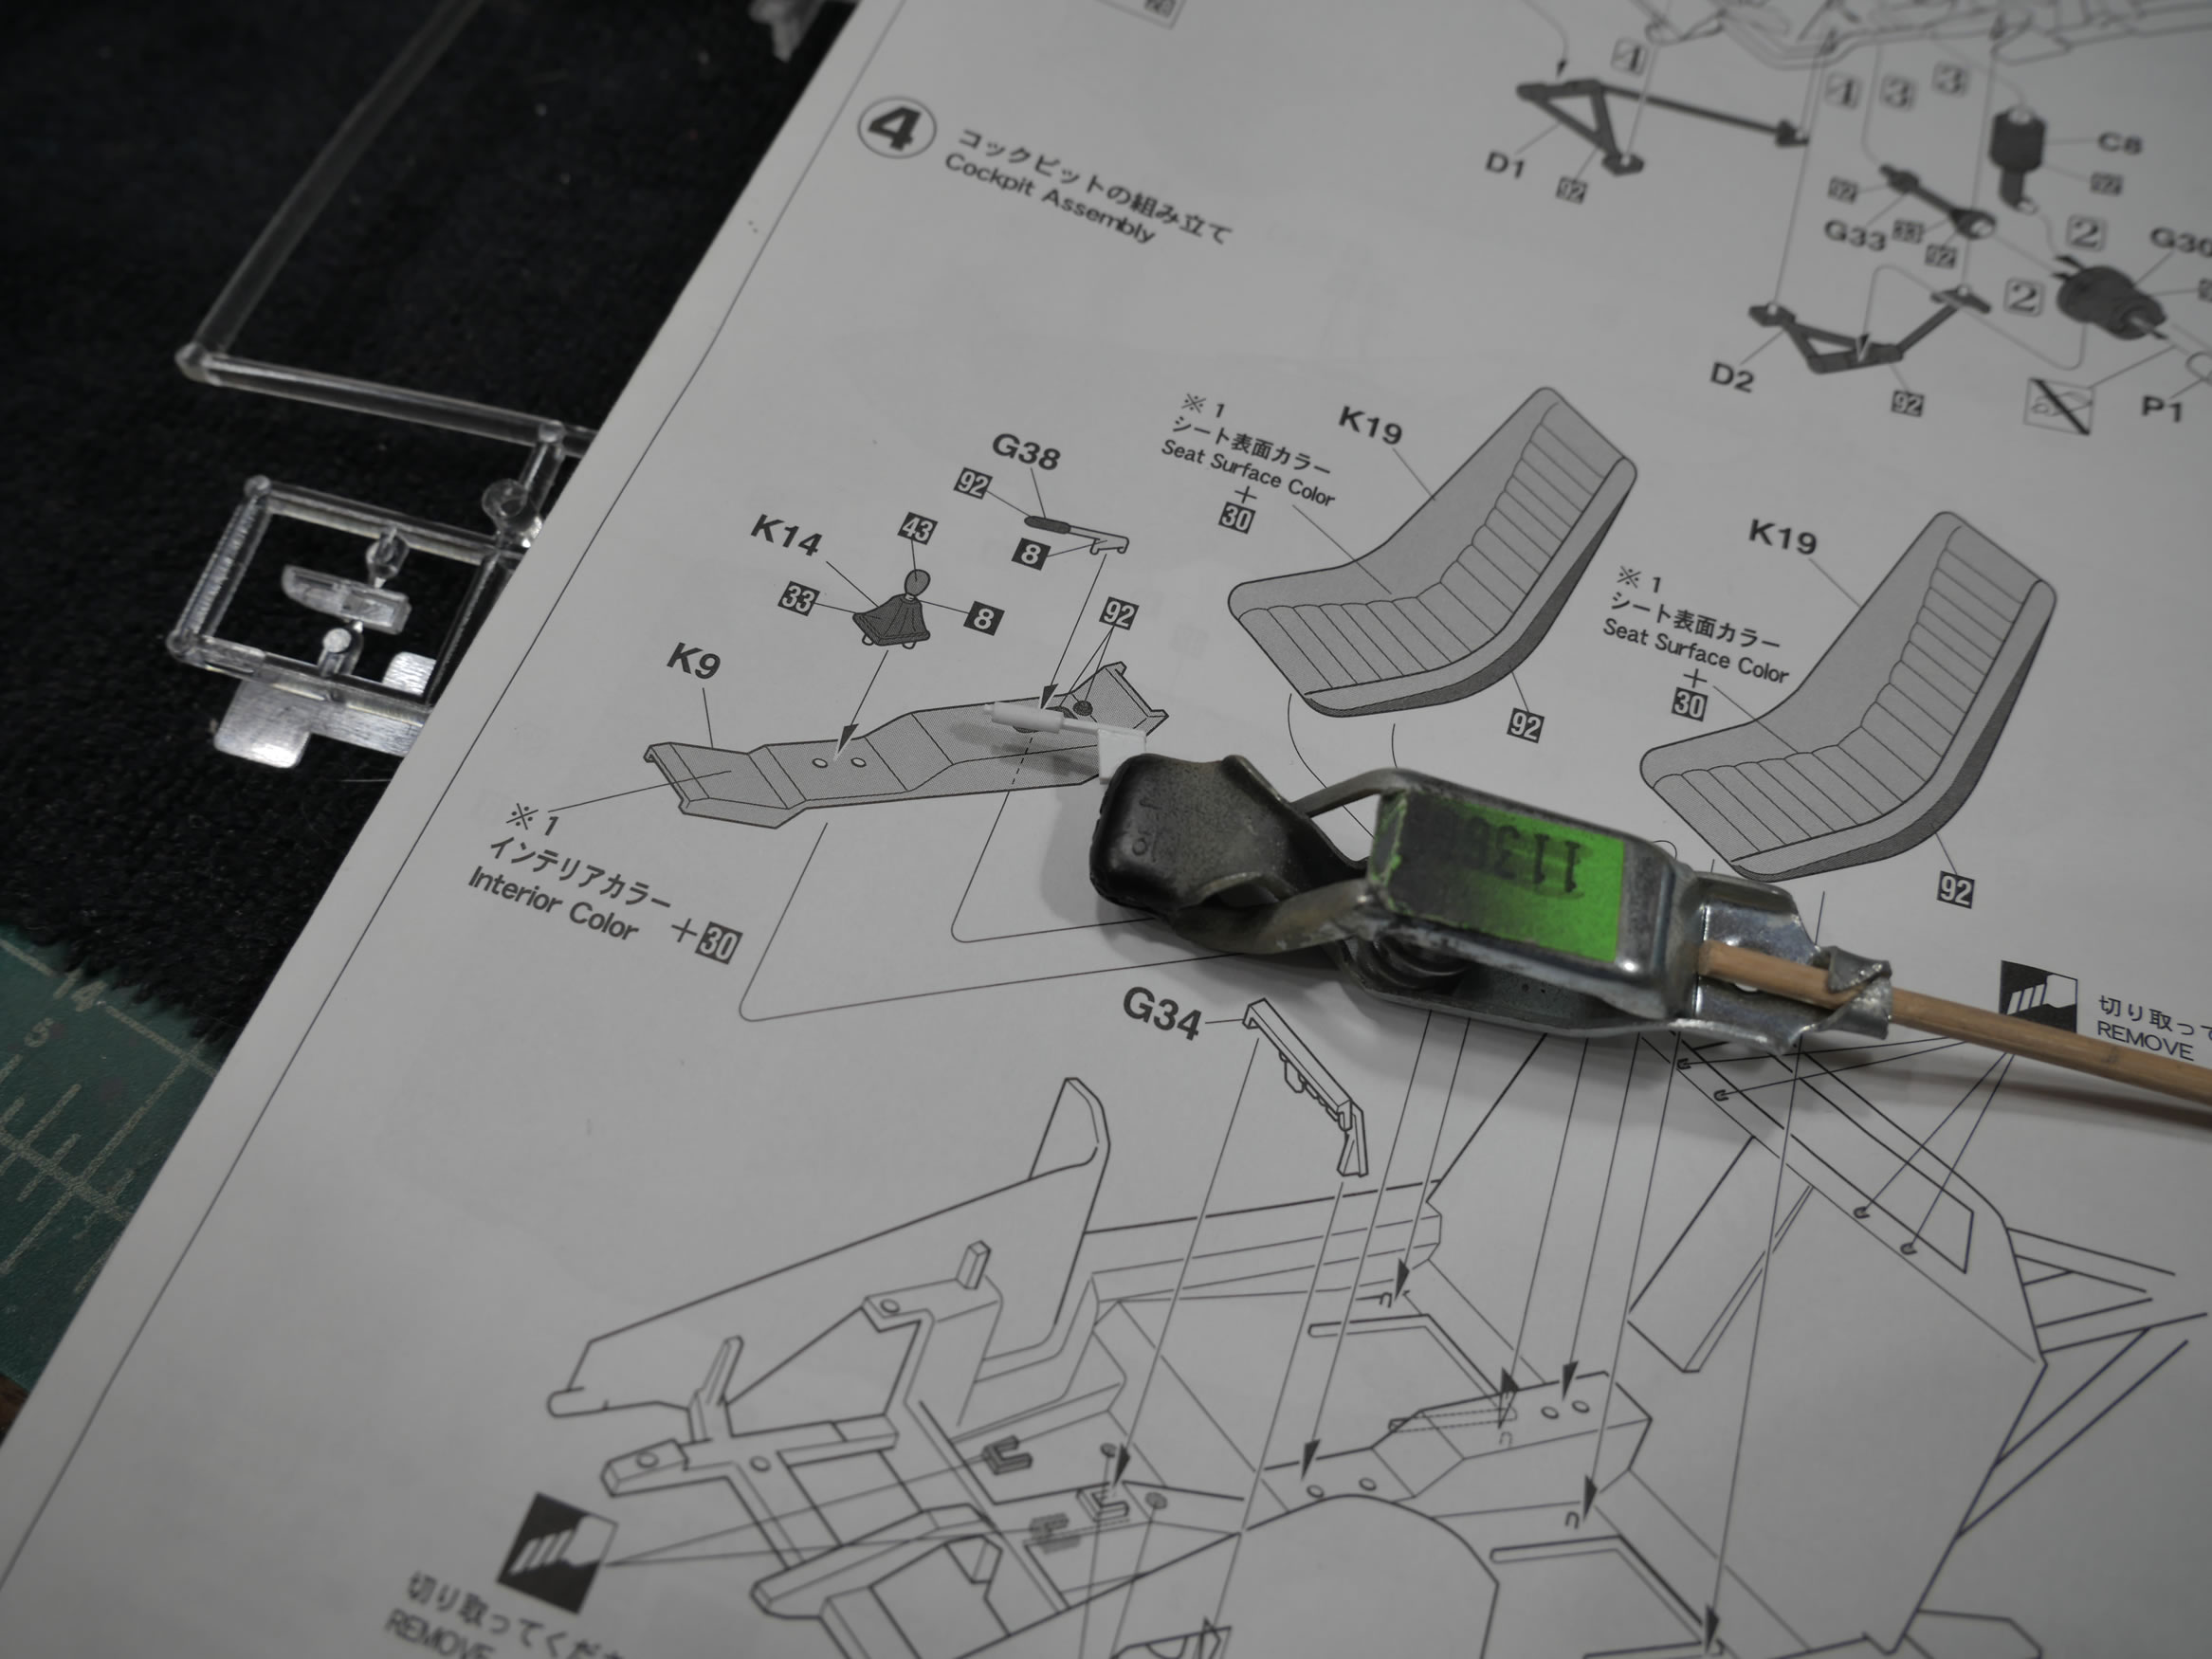
Oh yeah, here’s the other part I lost, the hand break. But I think I already knew I lost it back in June when the part flew off the paint clips I had and the room ate it. So a little styrene strips and rods and glue and some paint will finish it up. Looking inside the car, it’d be hard to tell what the hell it is anyways.
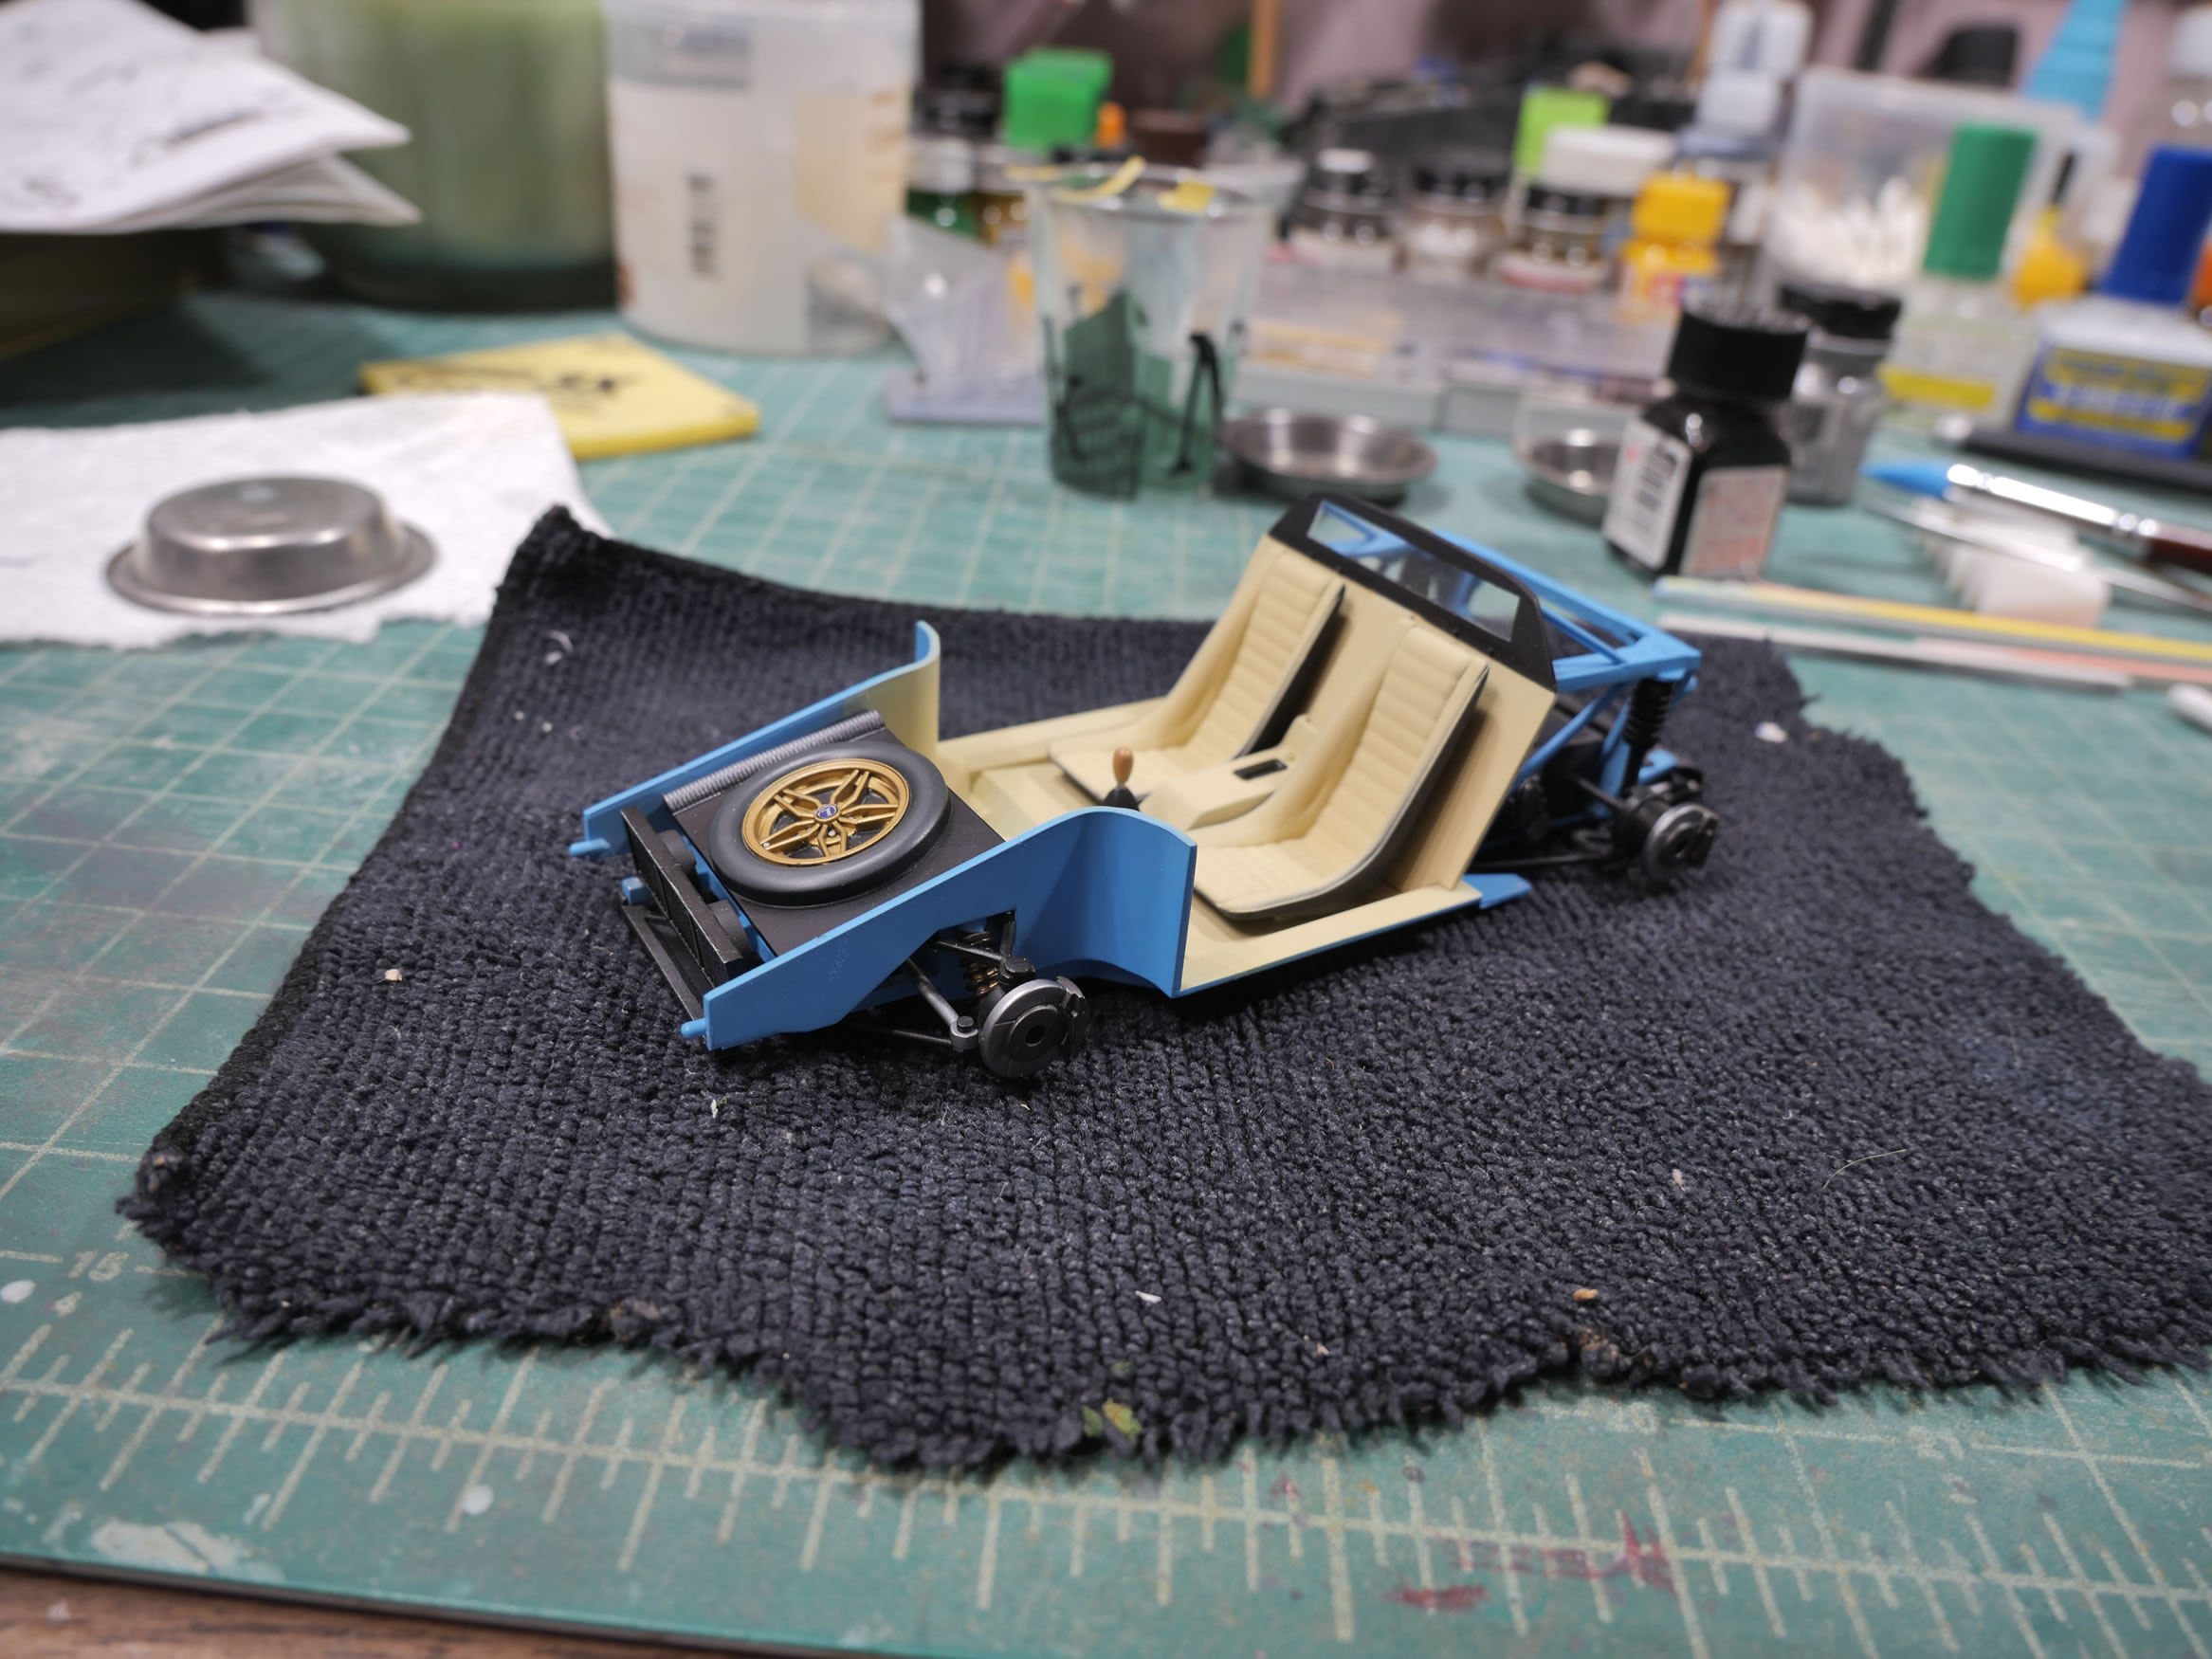
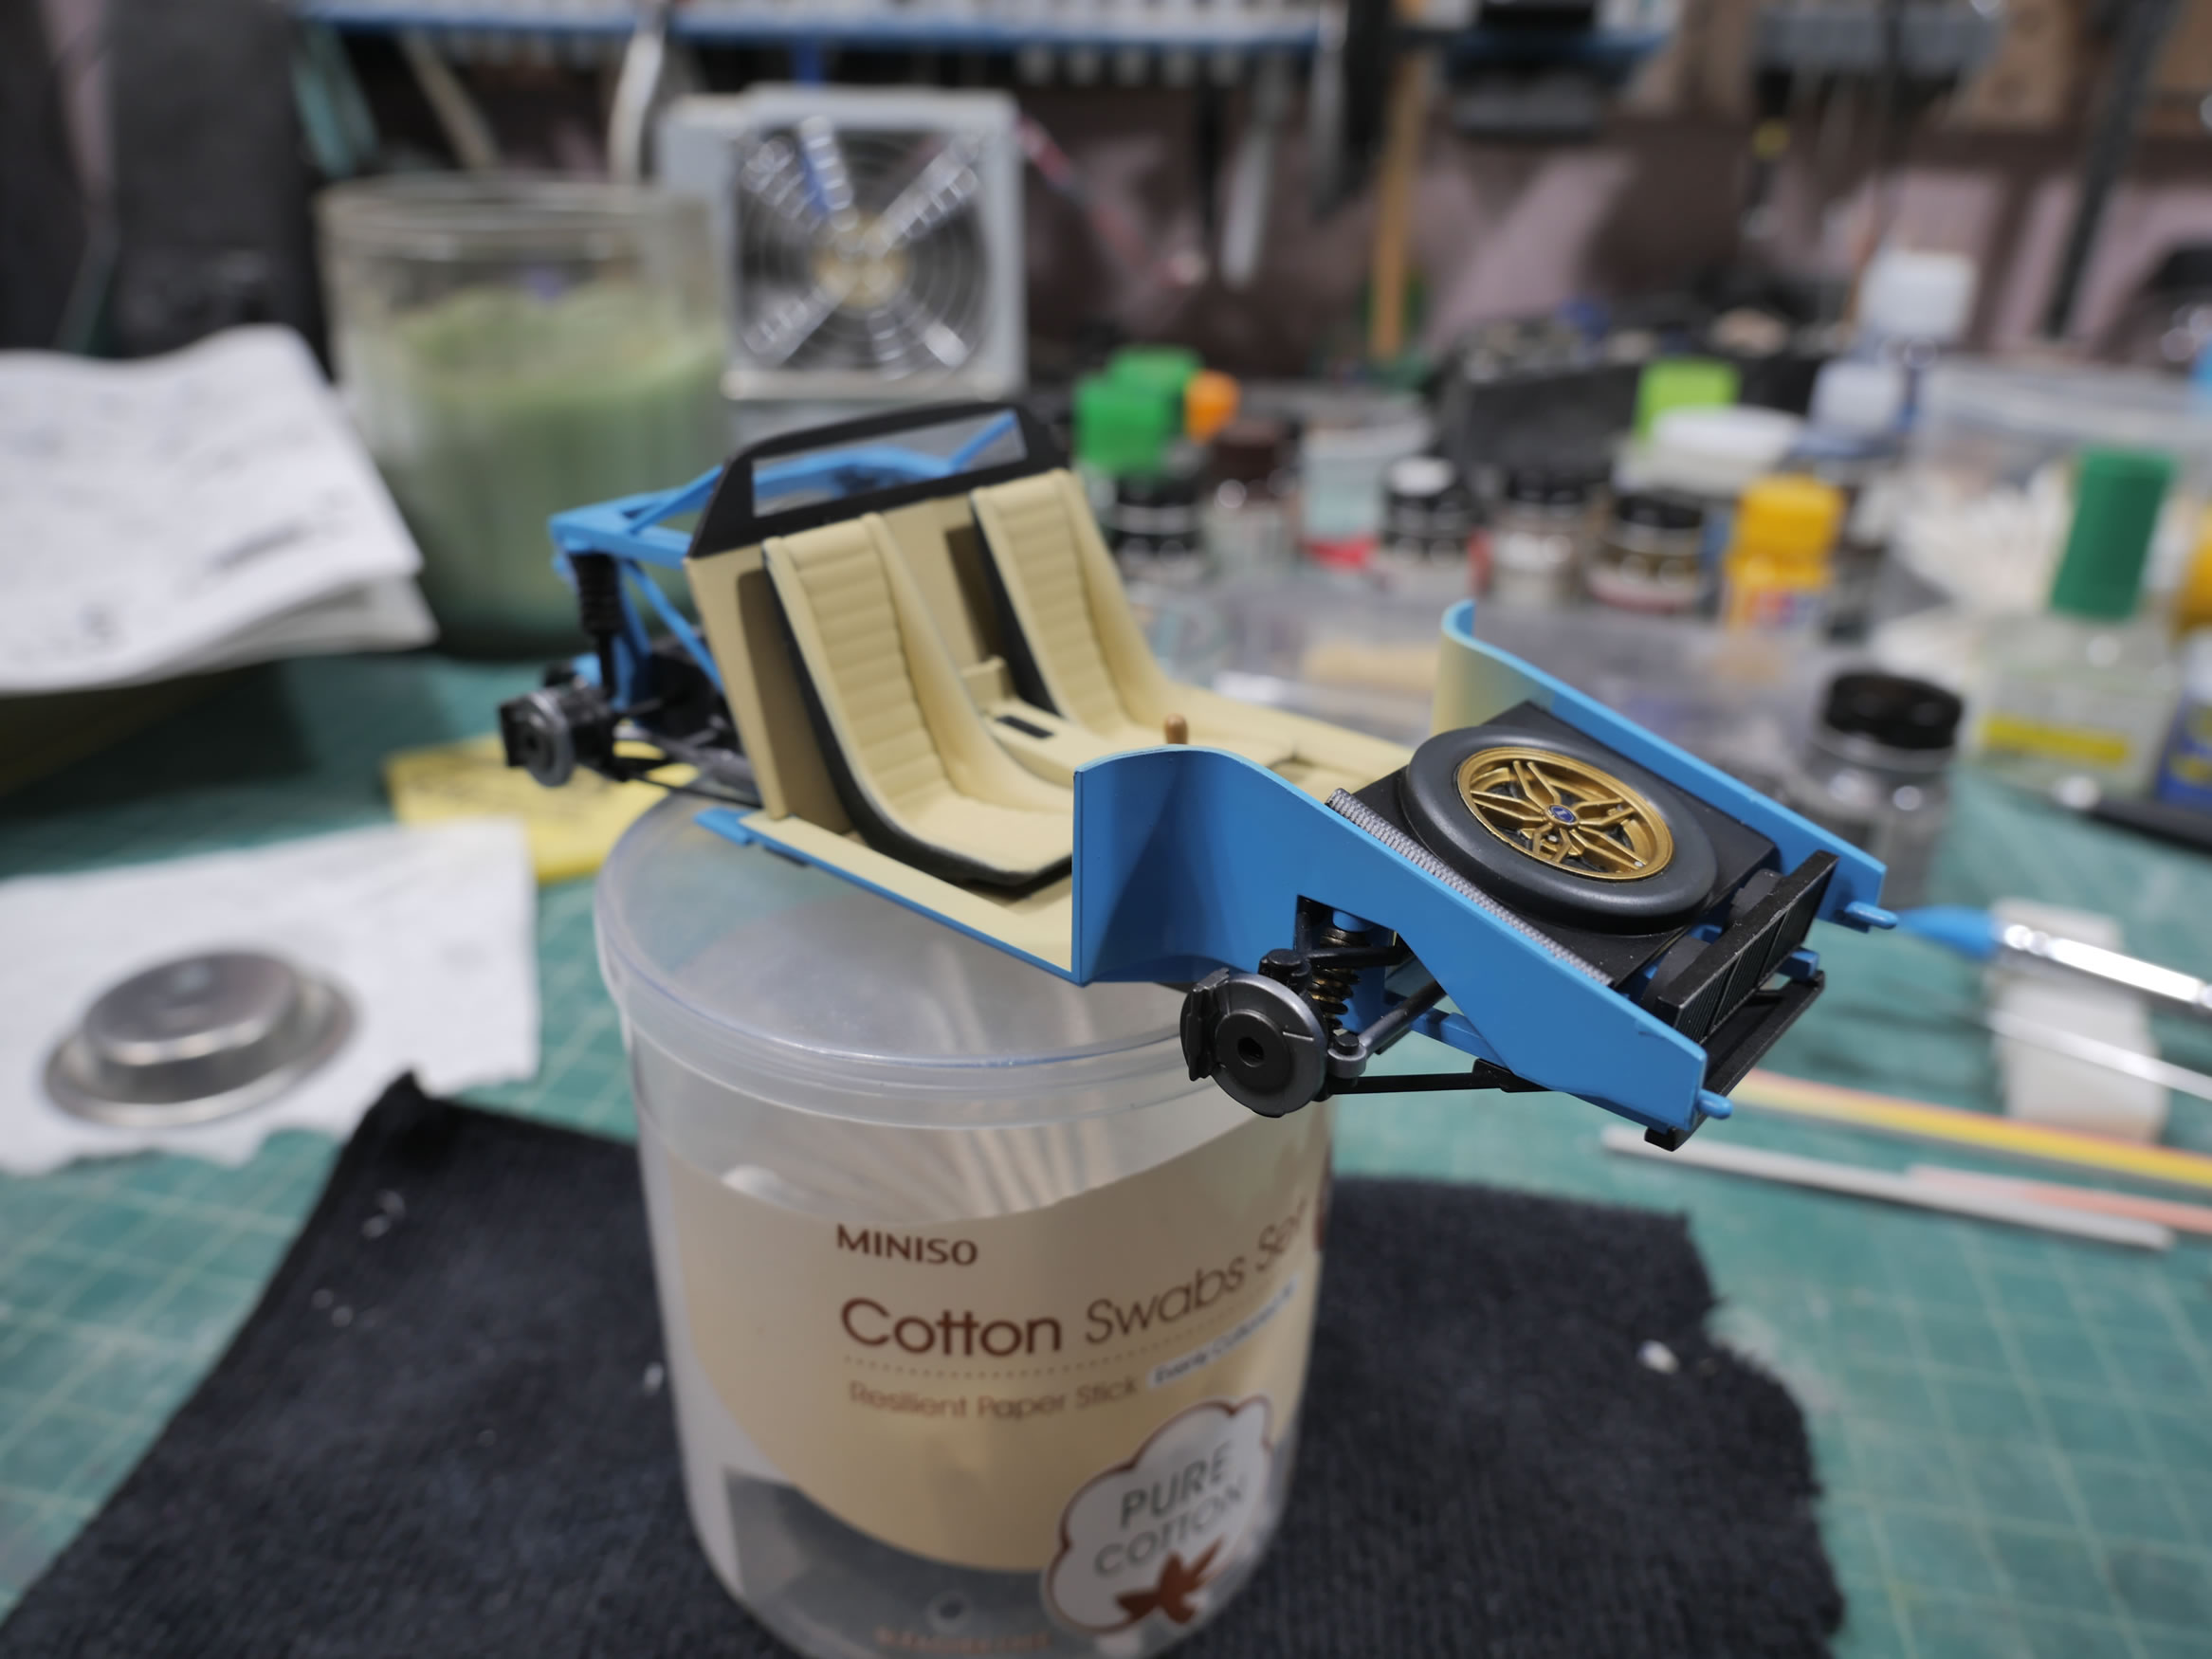
Final stretch for painting the parts that will go onto the car once it’s ready for final assembly. Decals on the car’s wheels and the decals for the dash are also done here.
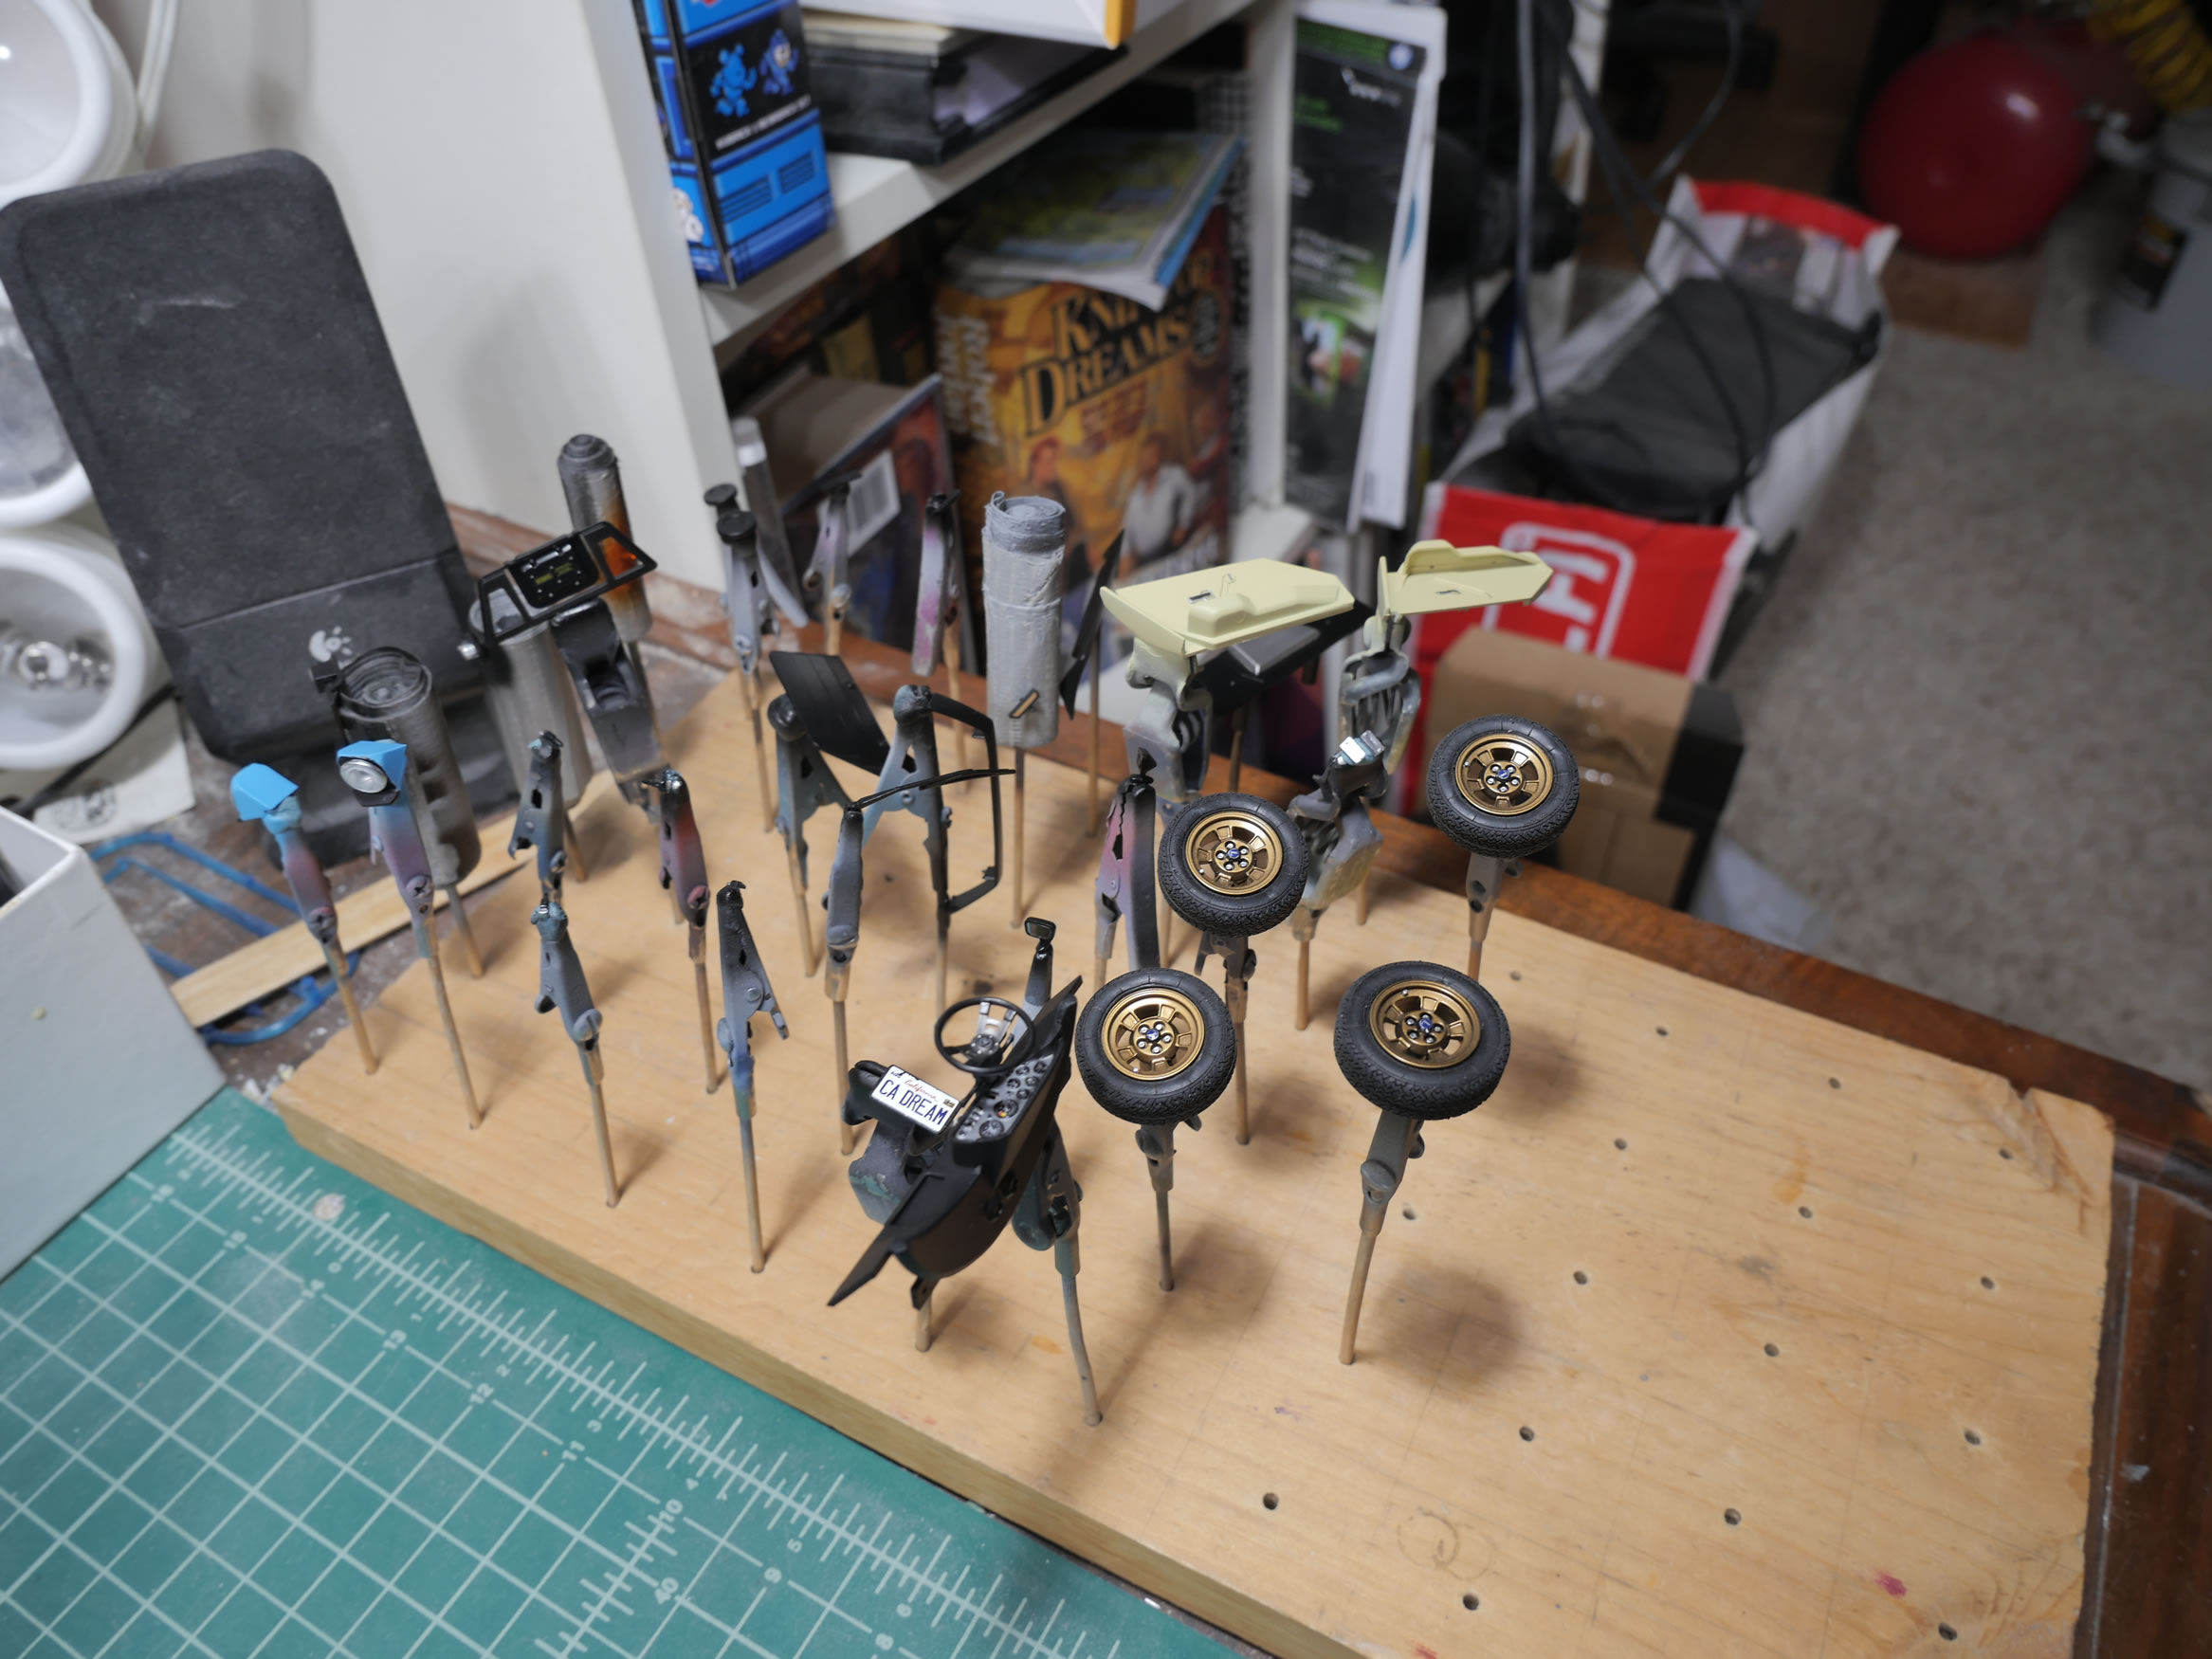
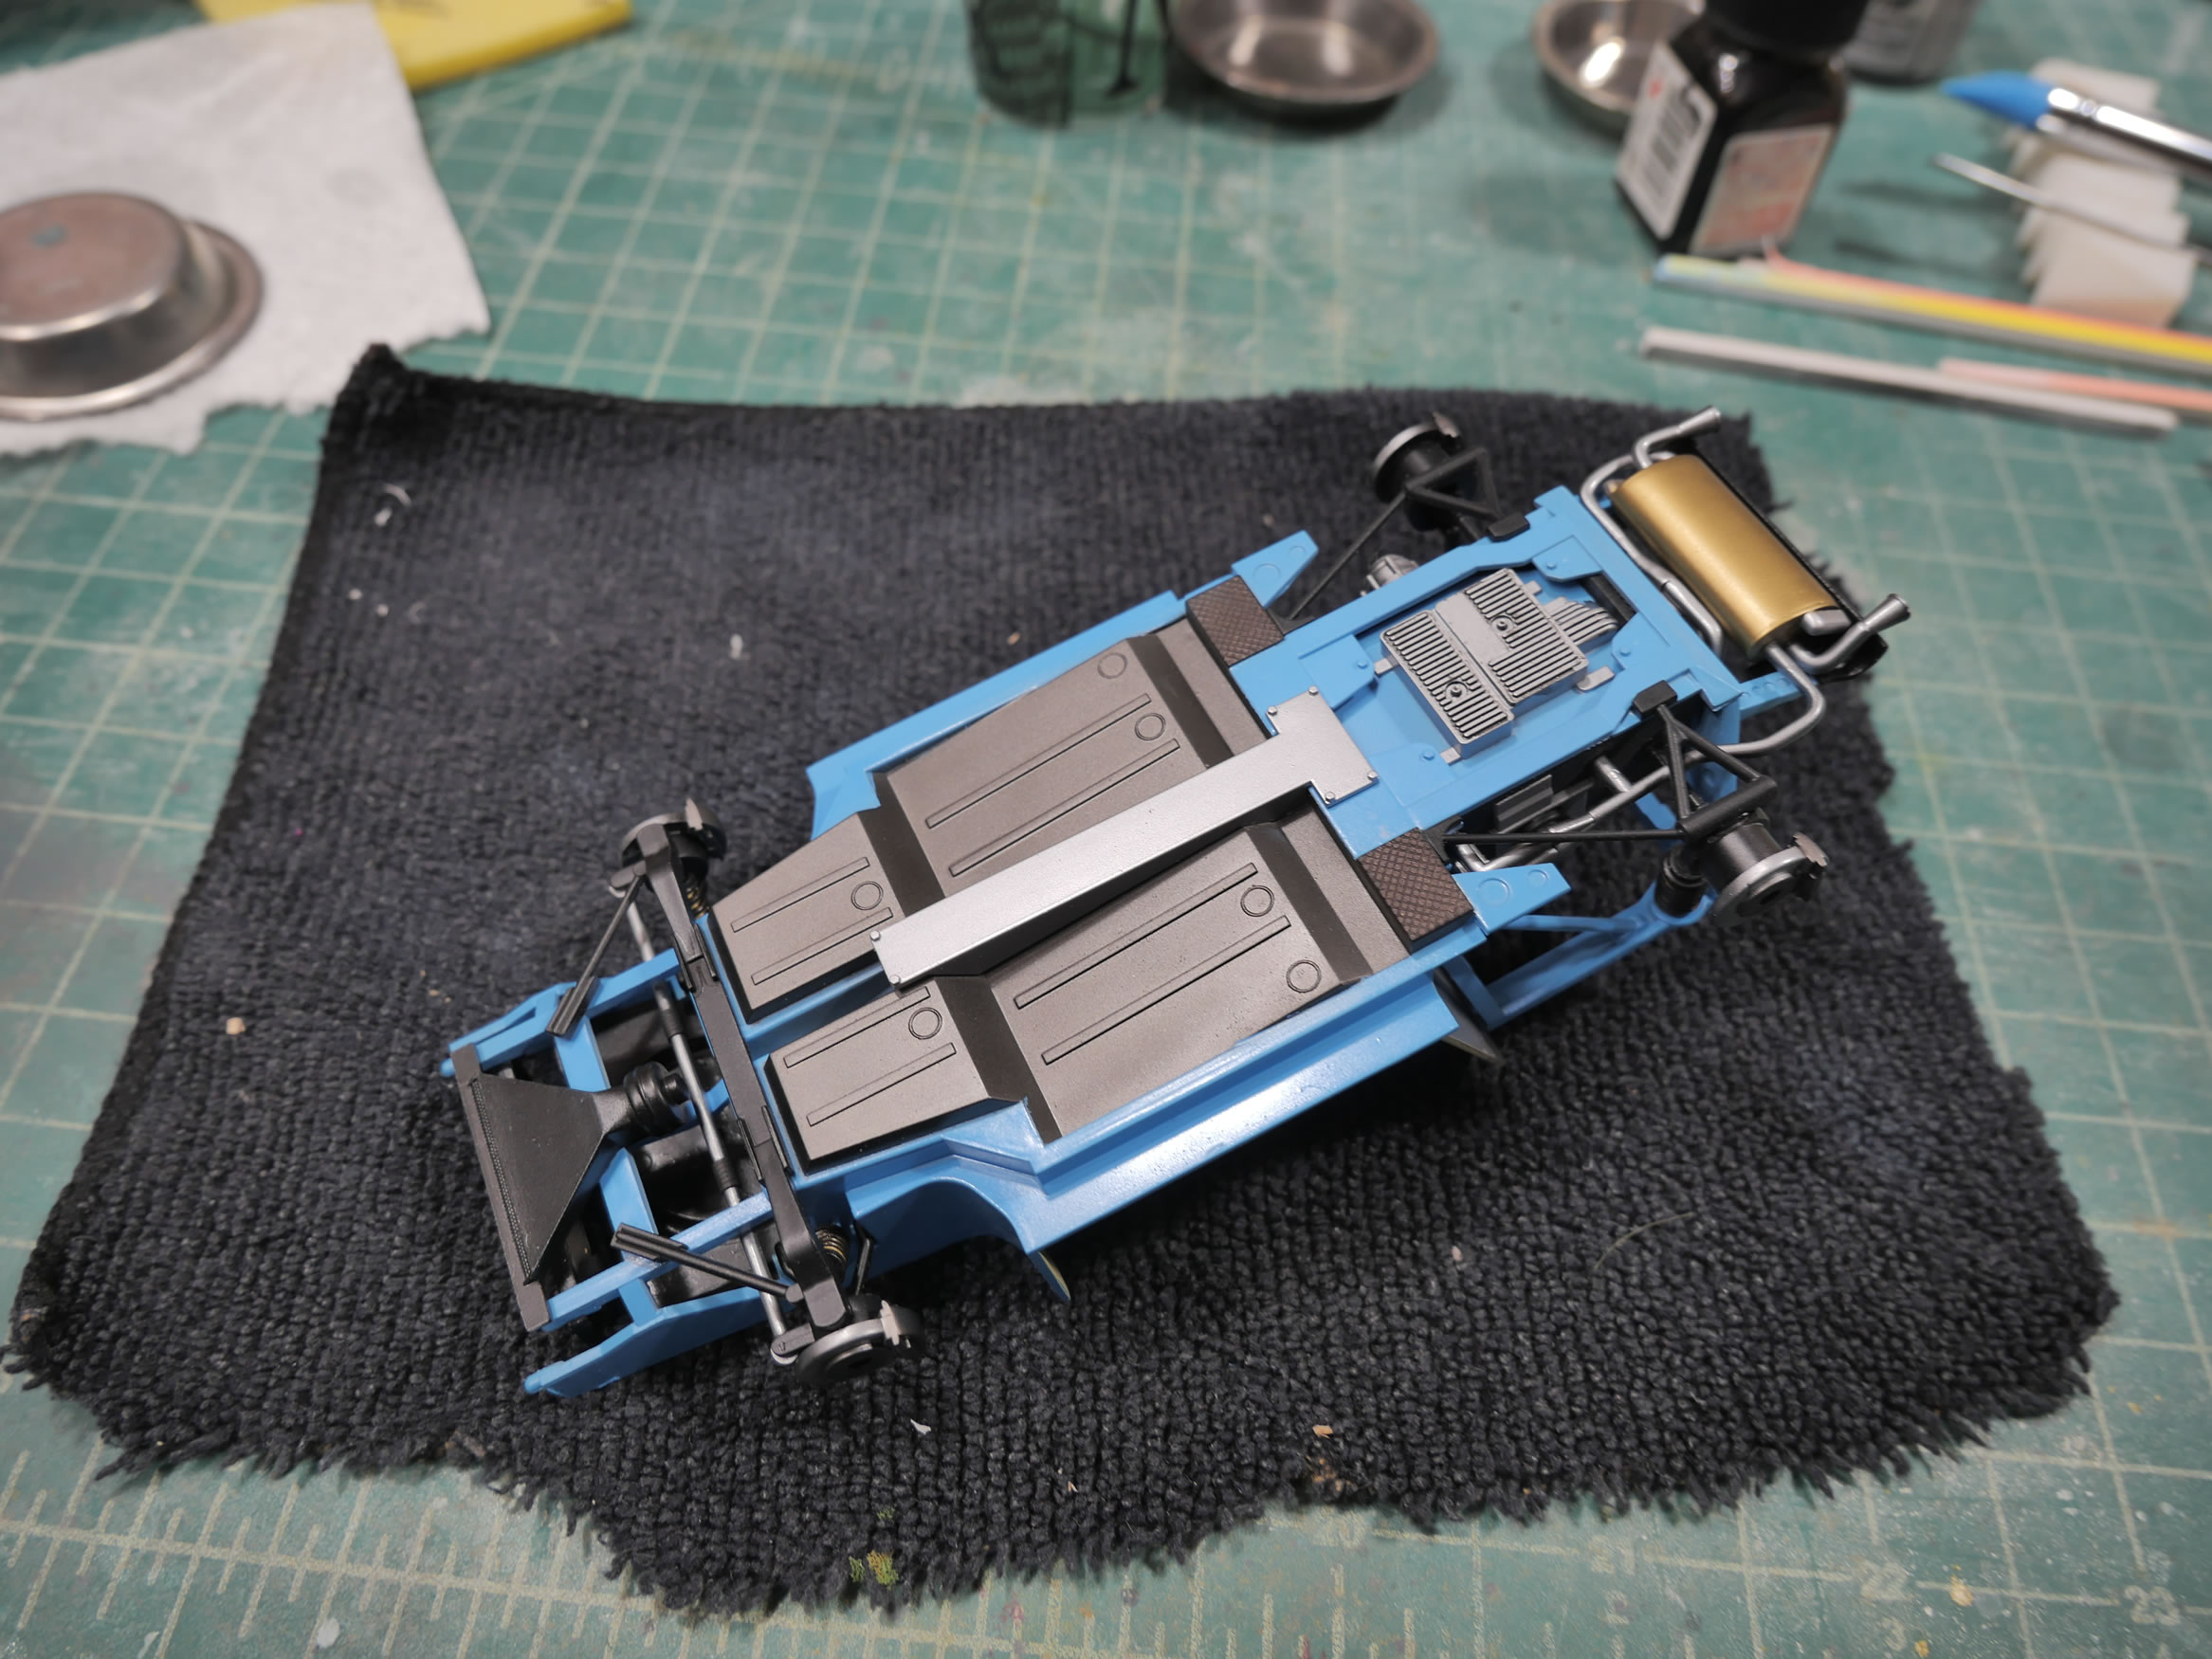
Front assembly and under bonnet spare tire is painted up. Bottom pieces are painted and glued into position.
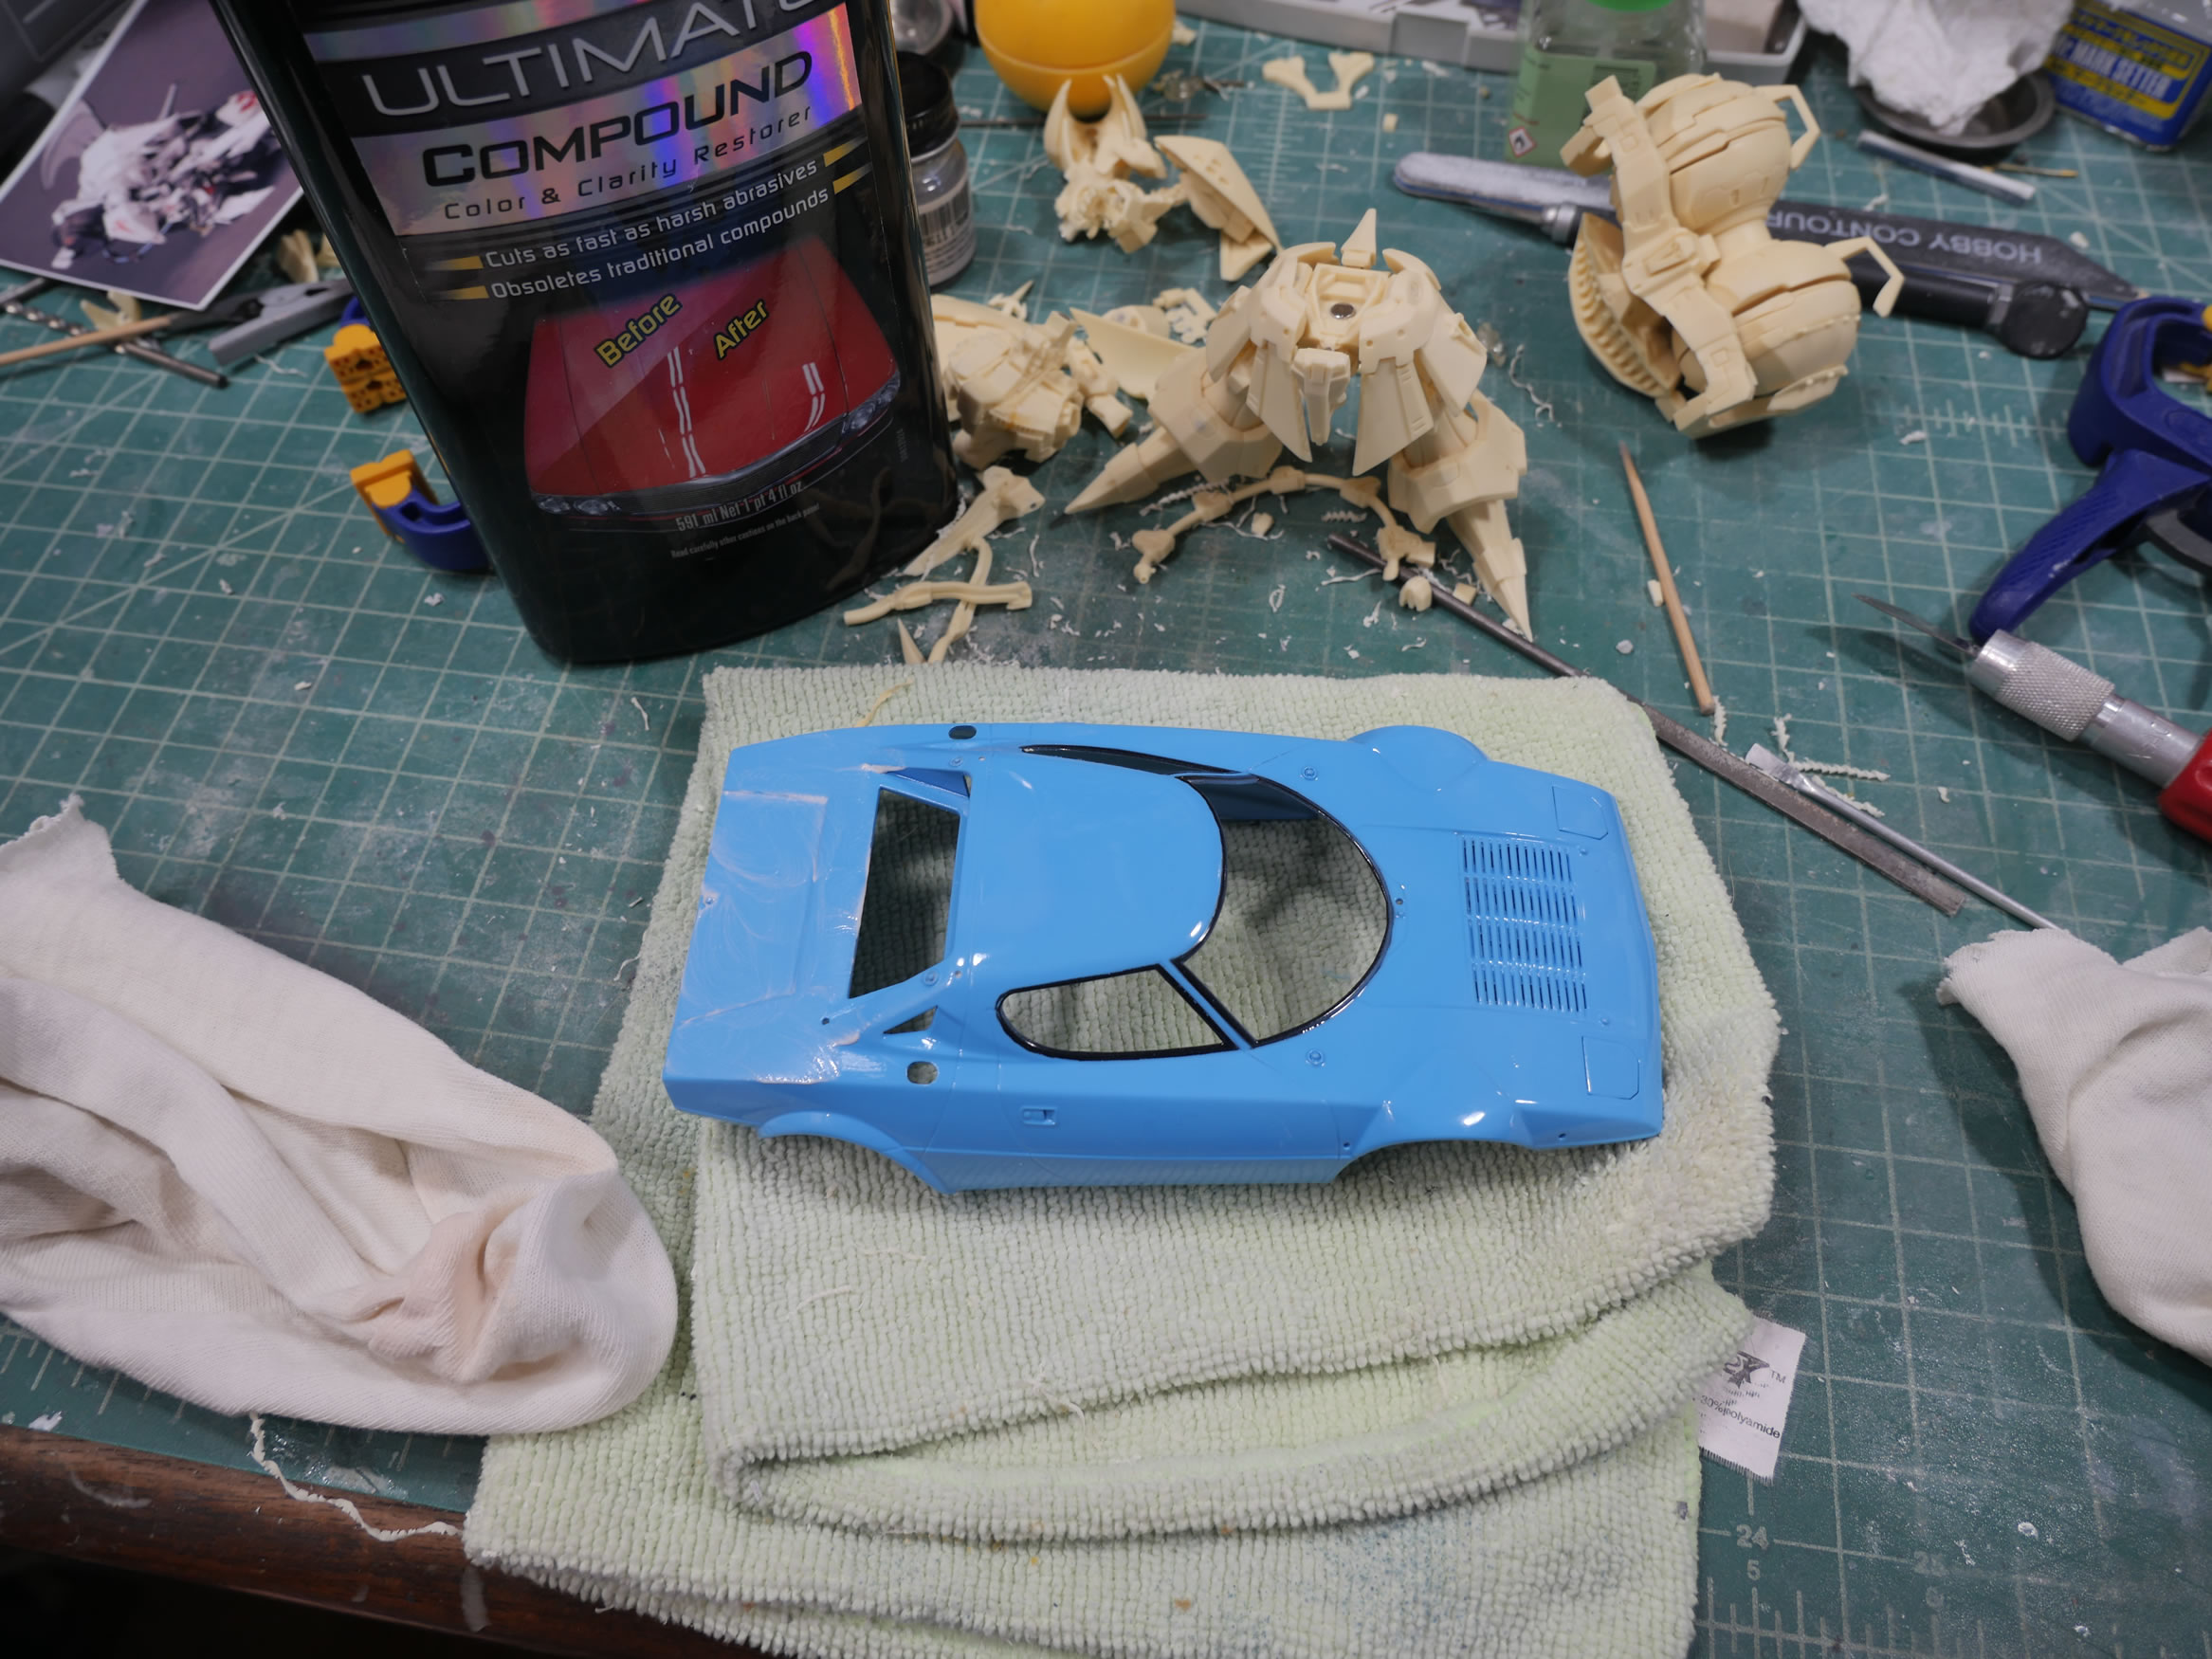
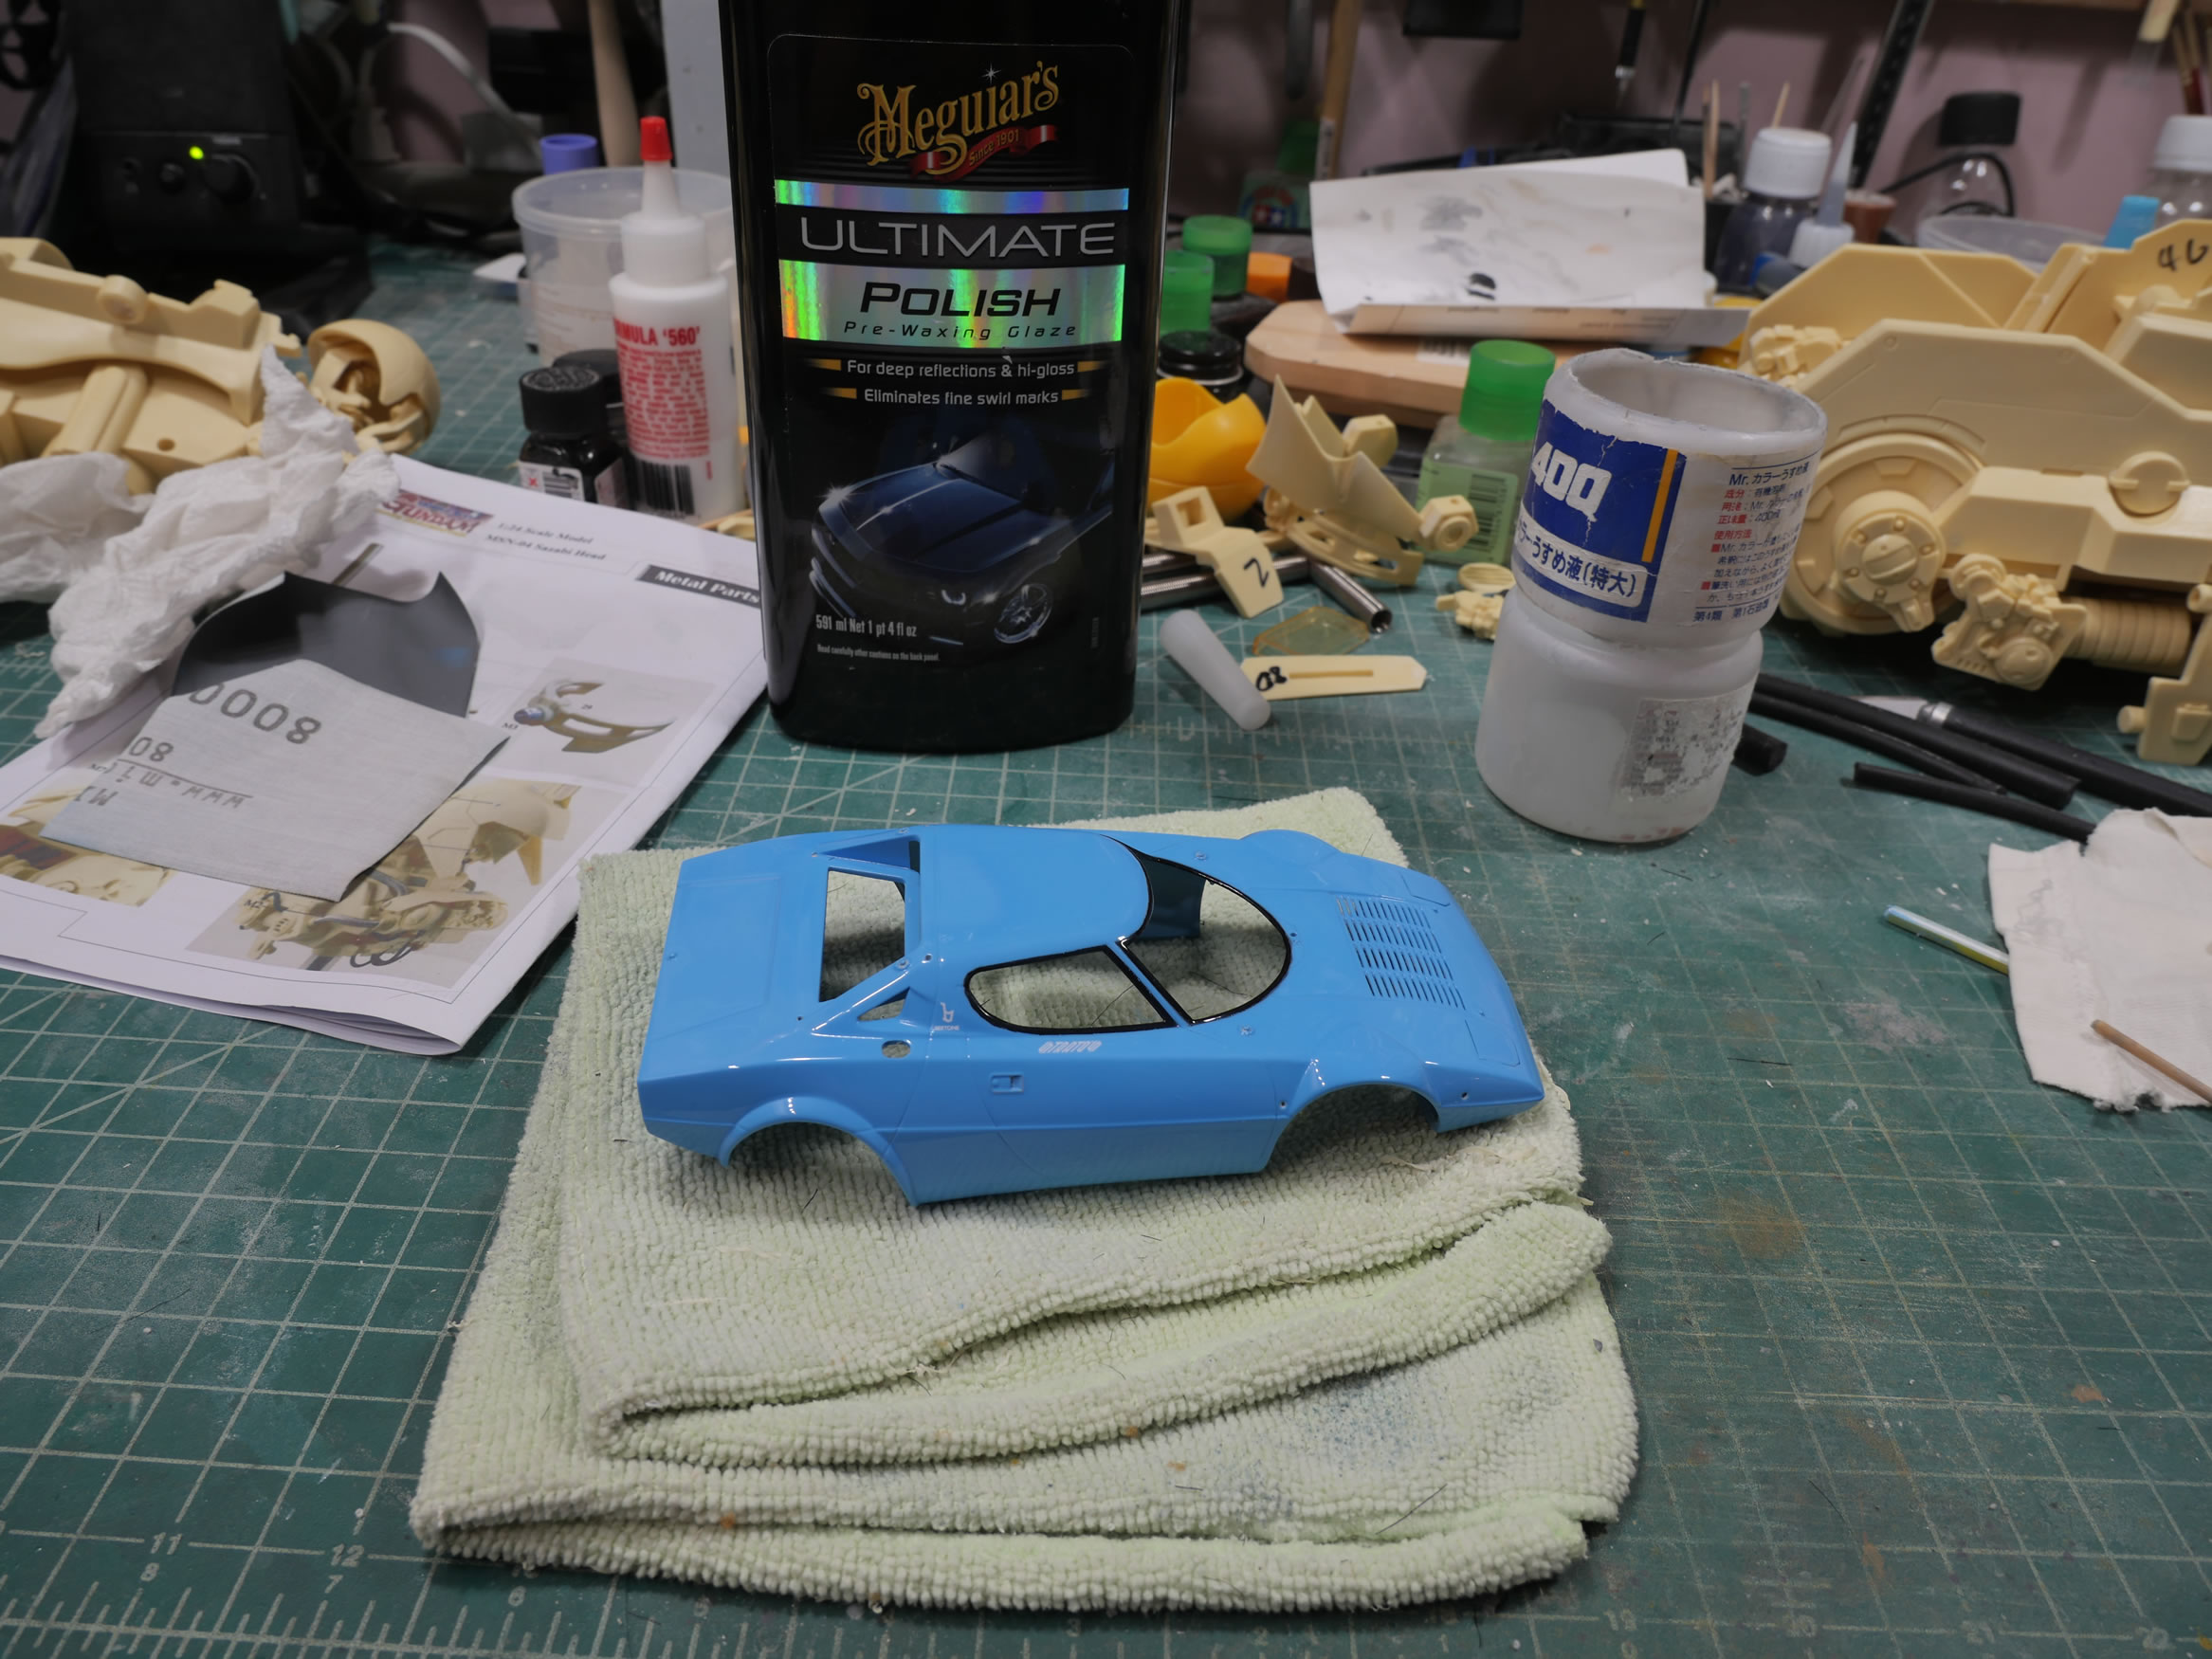
Back to the body. I sprayed several coats of clear. Once cured, I got excited to get some more practice with the Meguire’s car polish kit I have. First is the compound application with a piece of tshirt. (don’t mind the resin SD LED Mirage in the background – I was figuring out what to build next at this point)

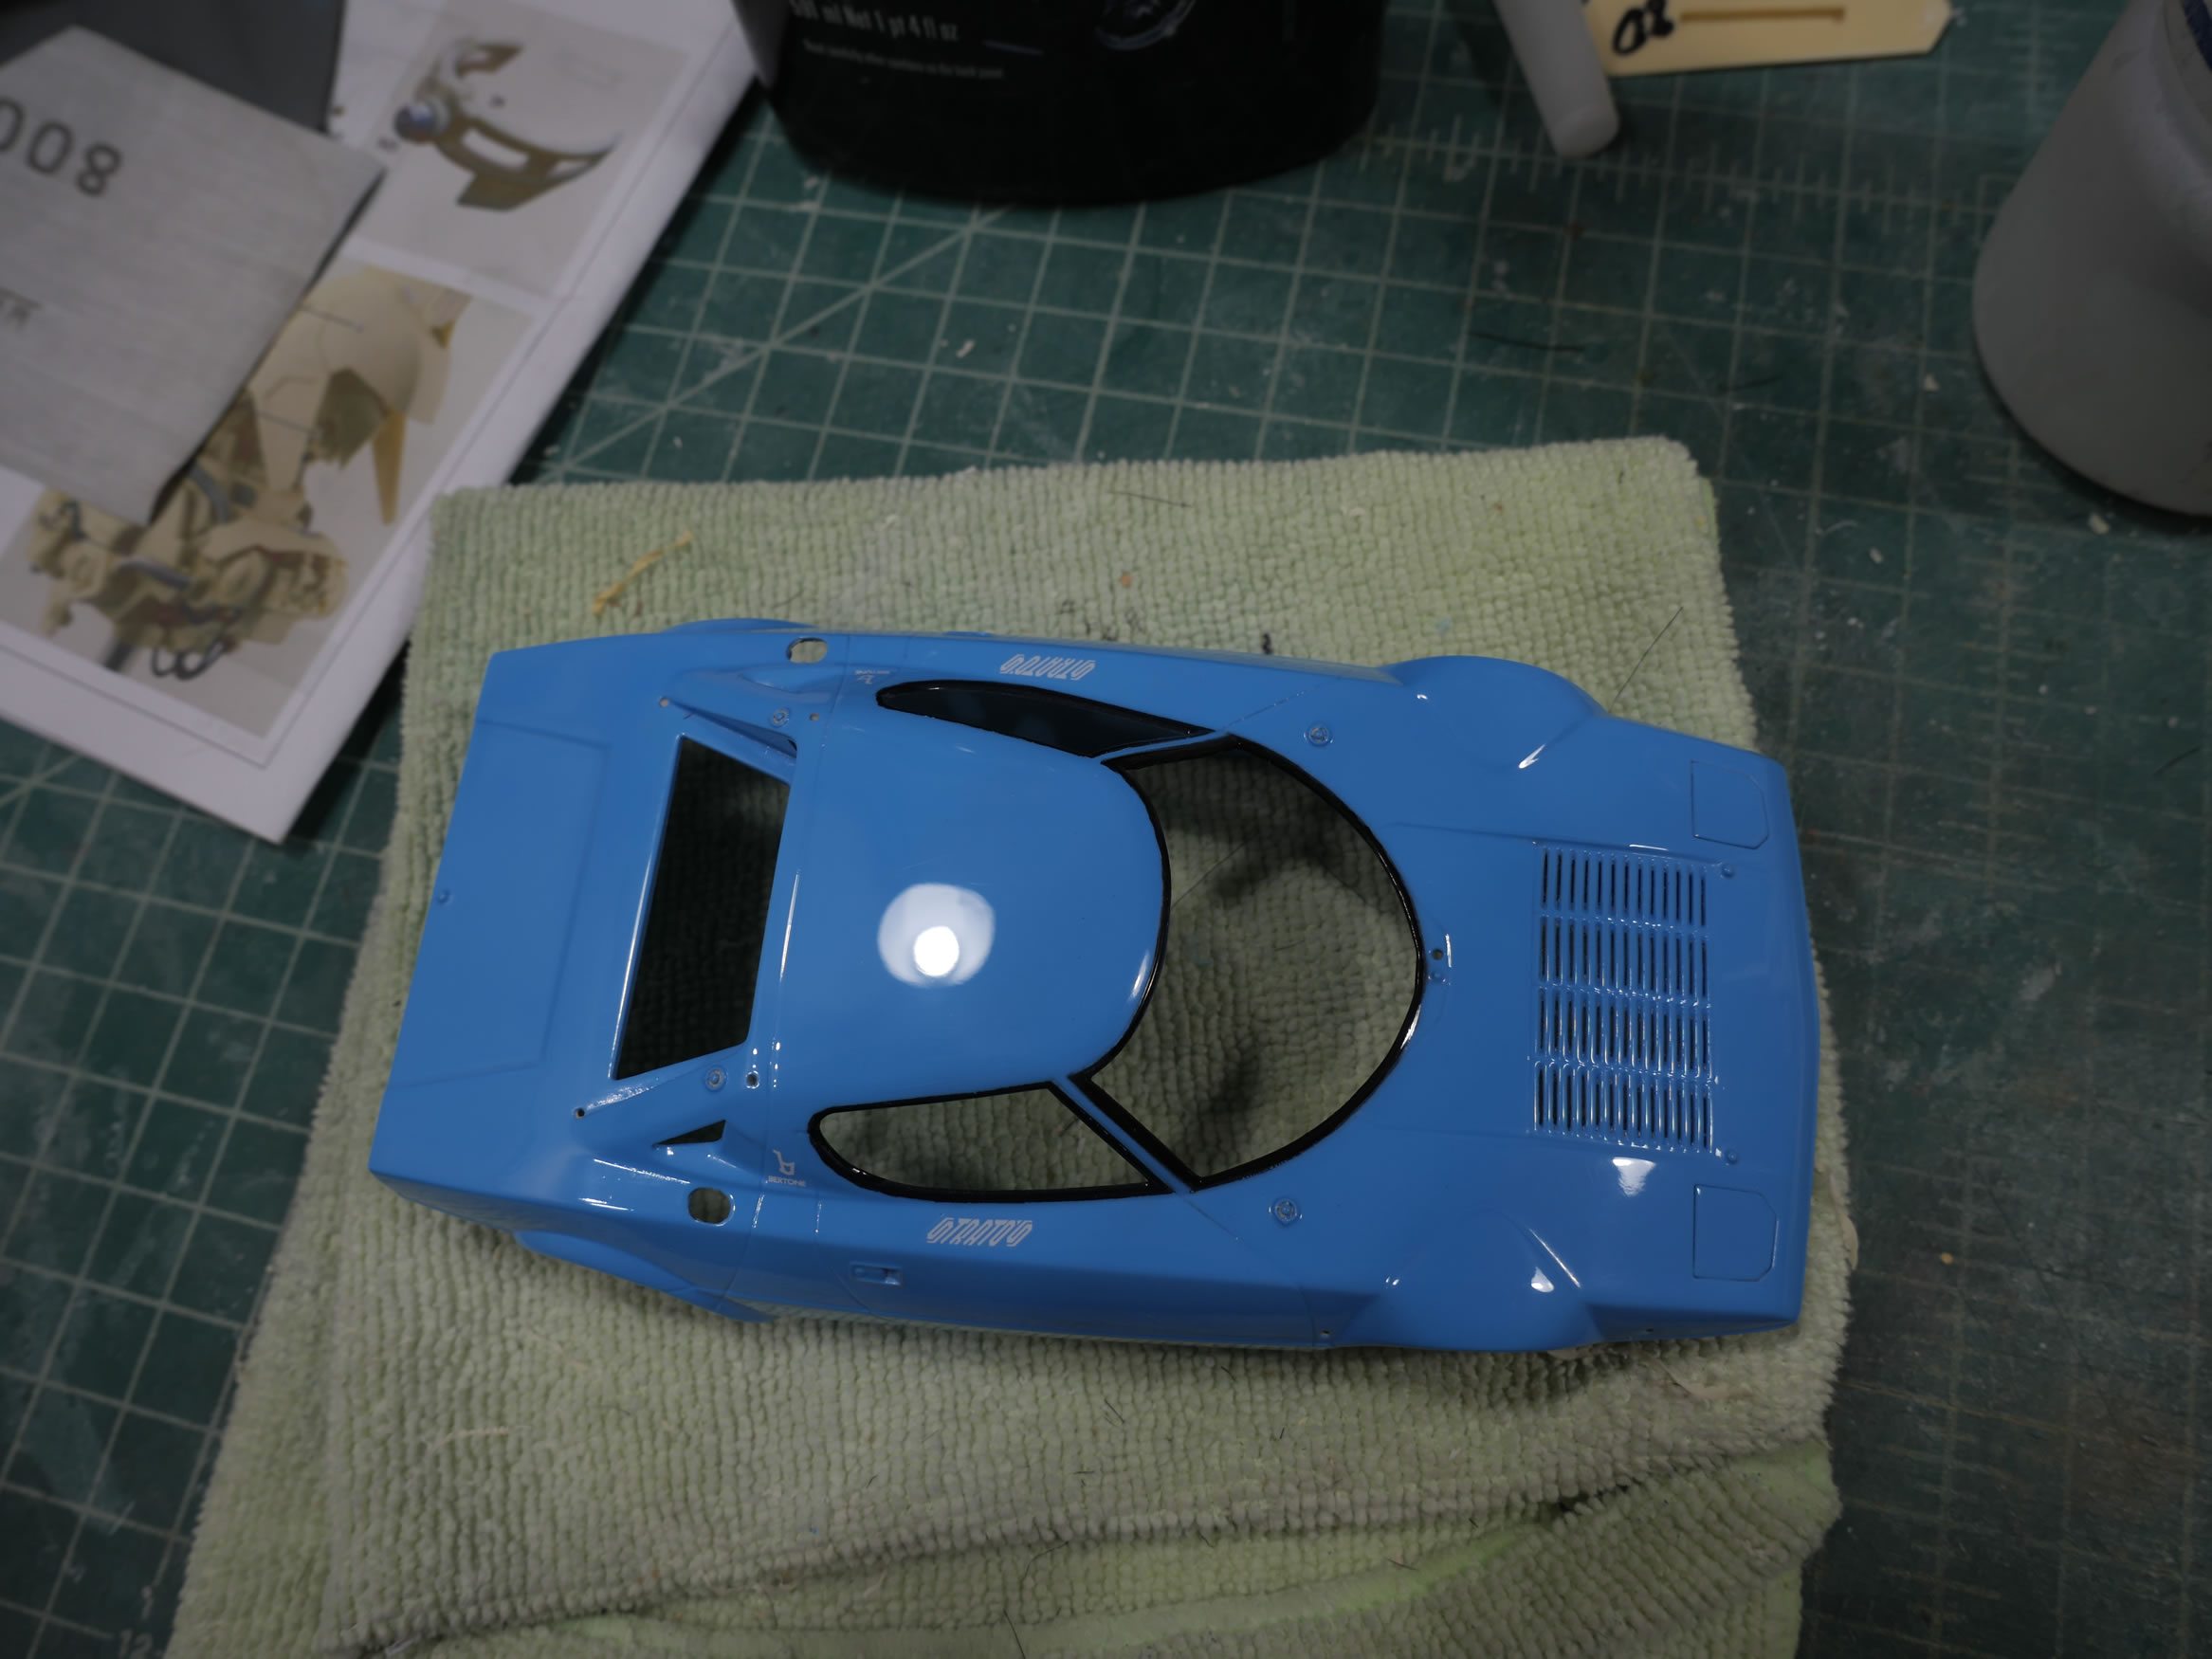
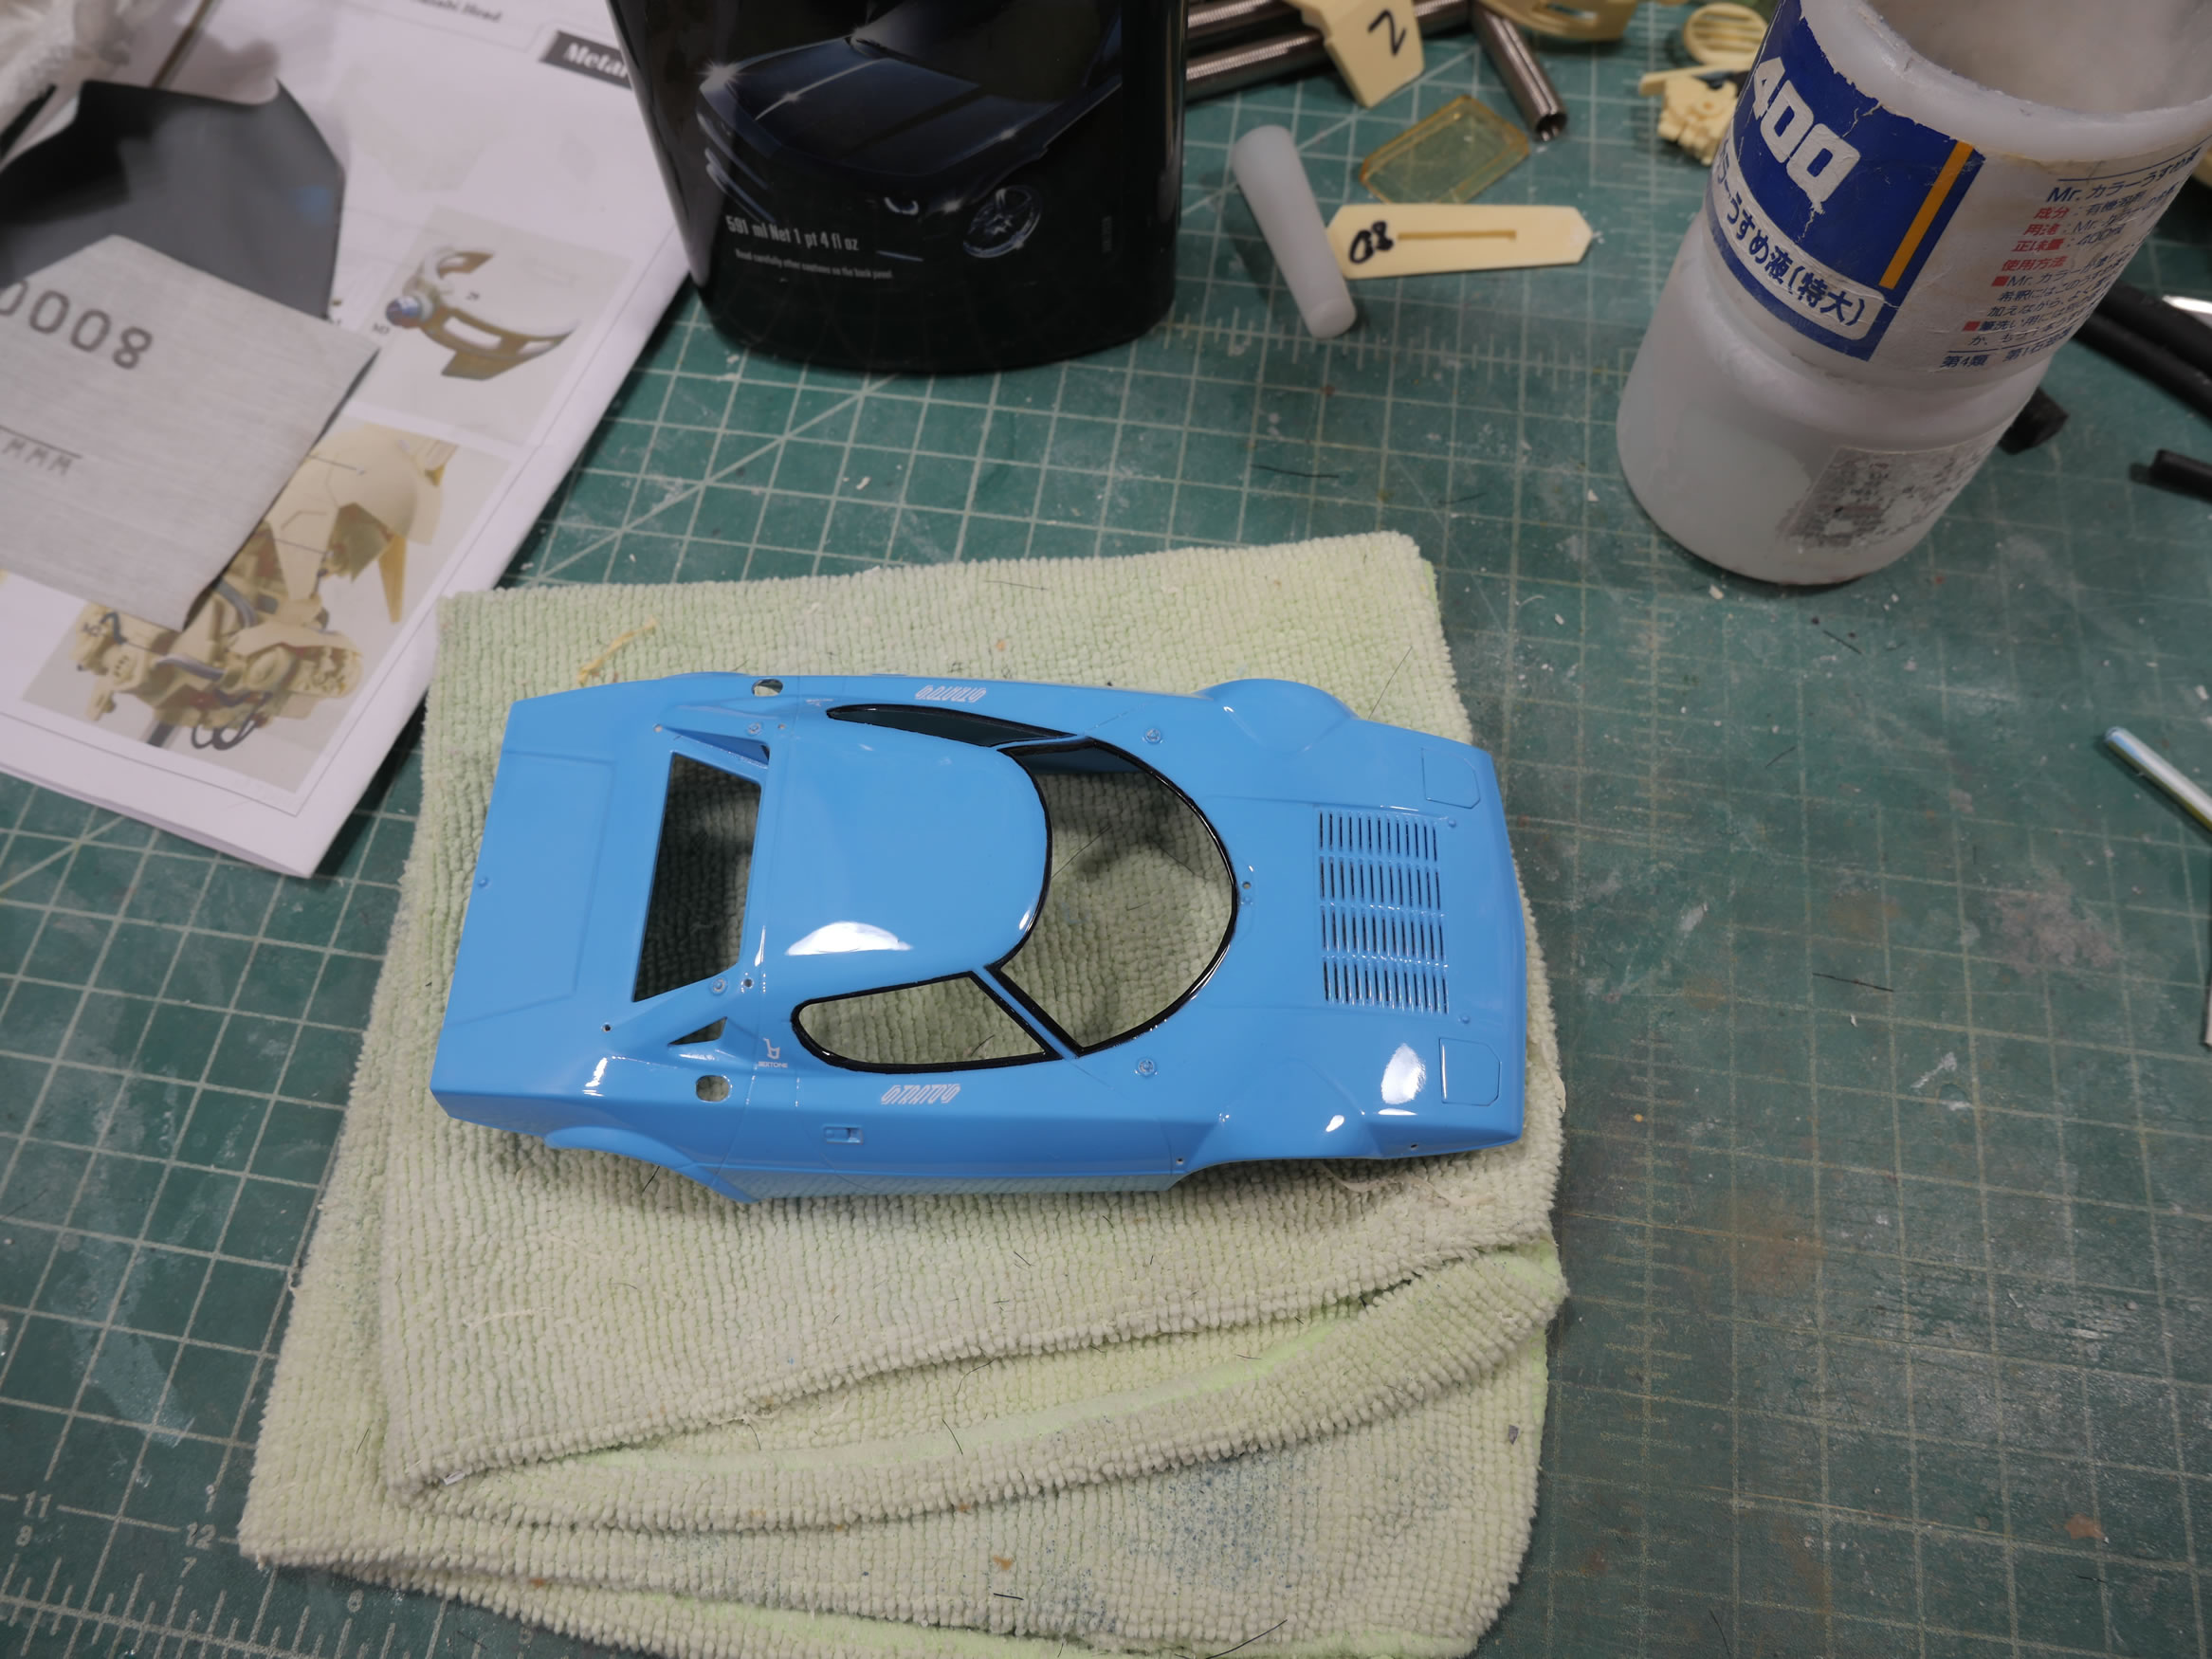
Once work with the compound goes in, the results are immediate. The reflection of my desk lamp goes from slightly fuzzy (see above pictures), to completely crystal clear (pictures below). Just the compound too.
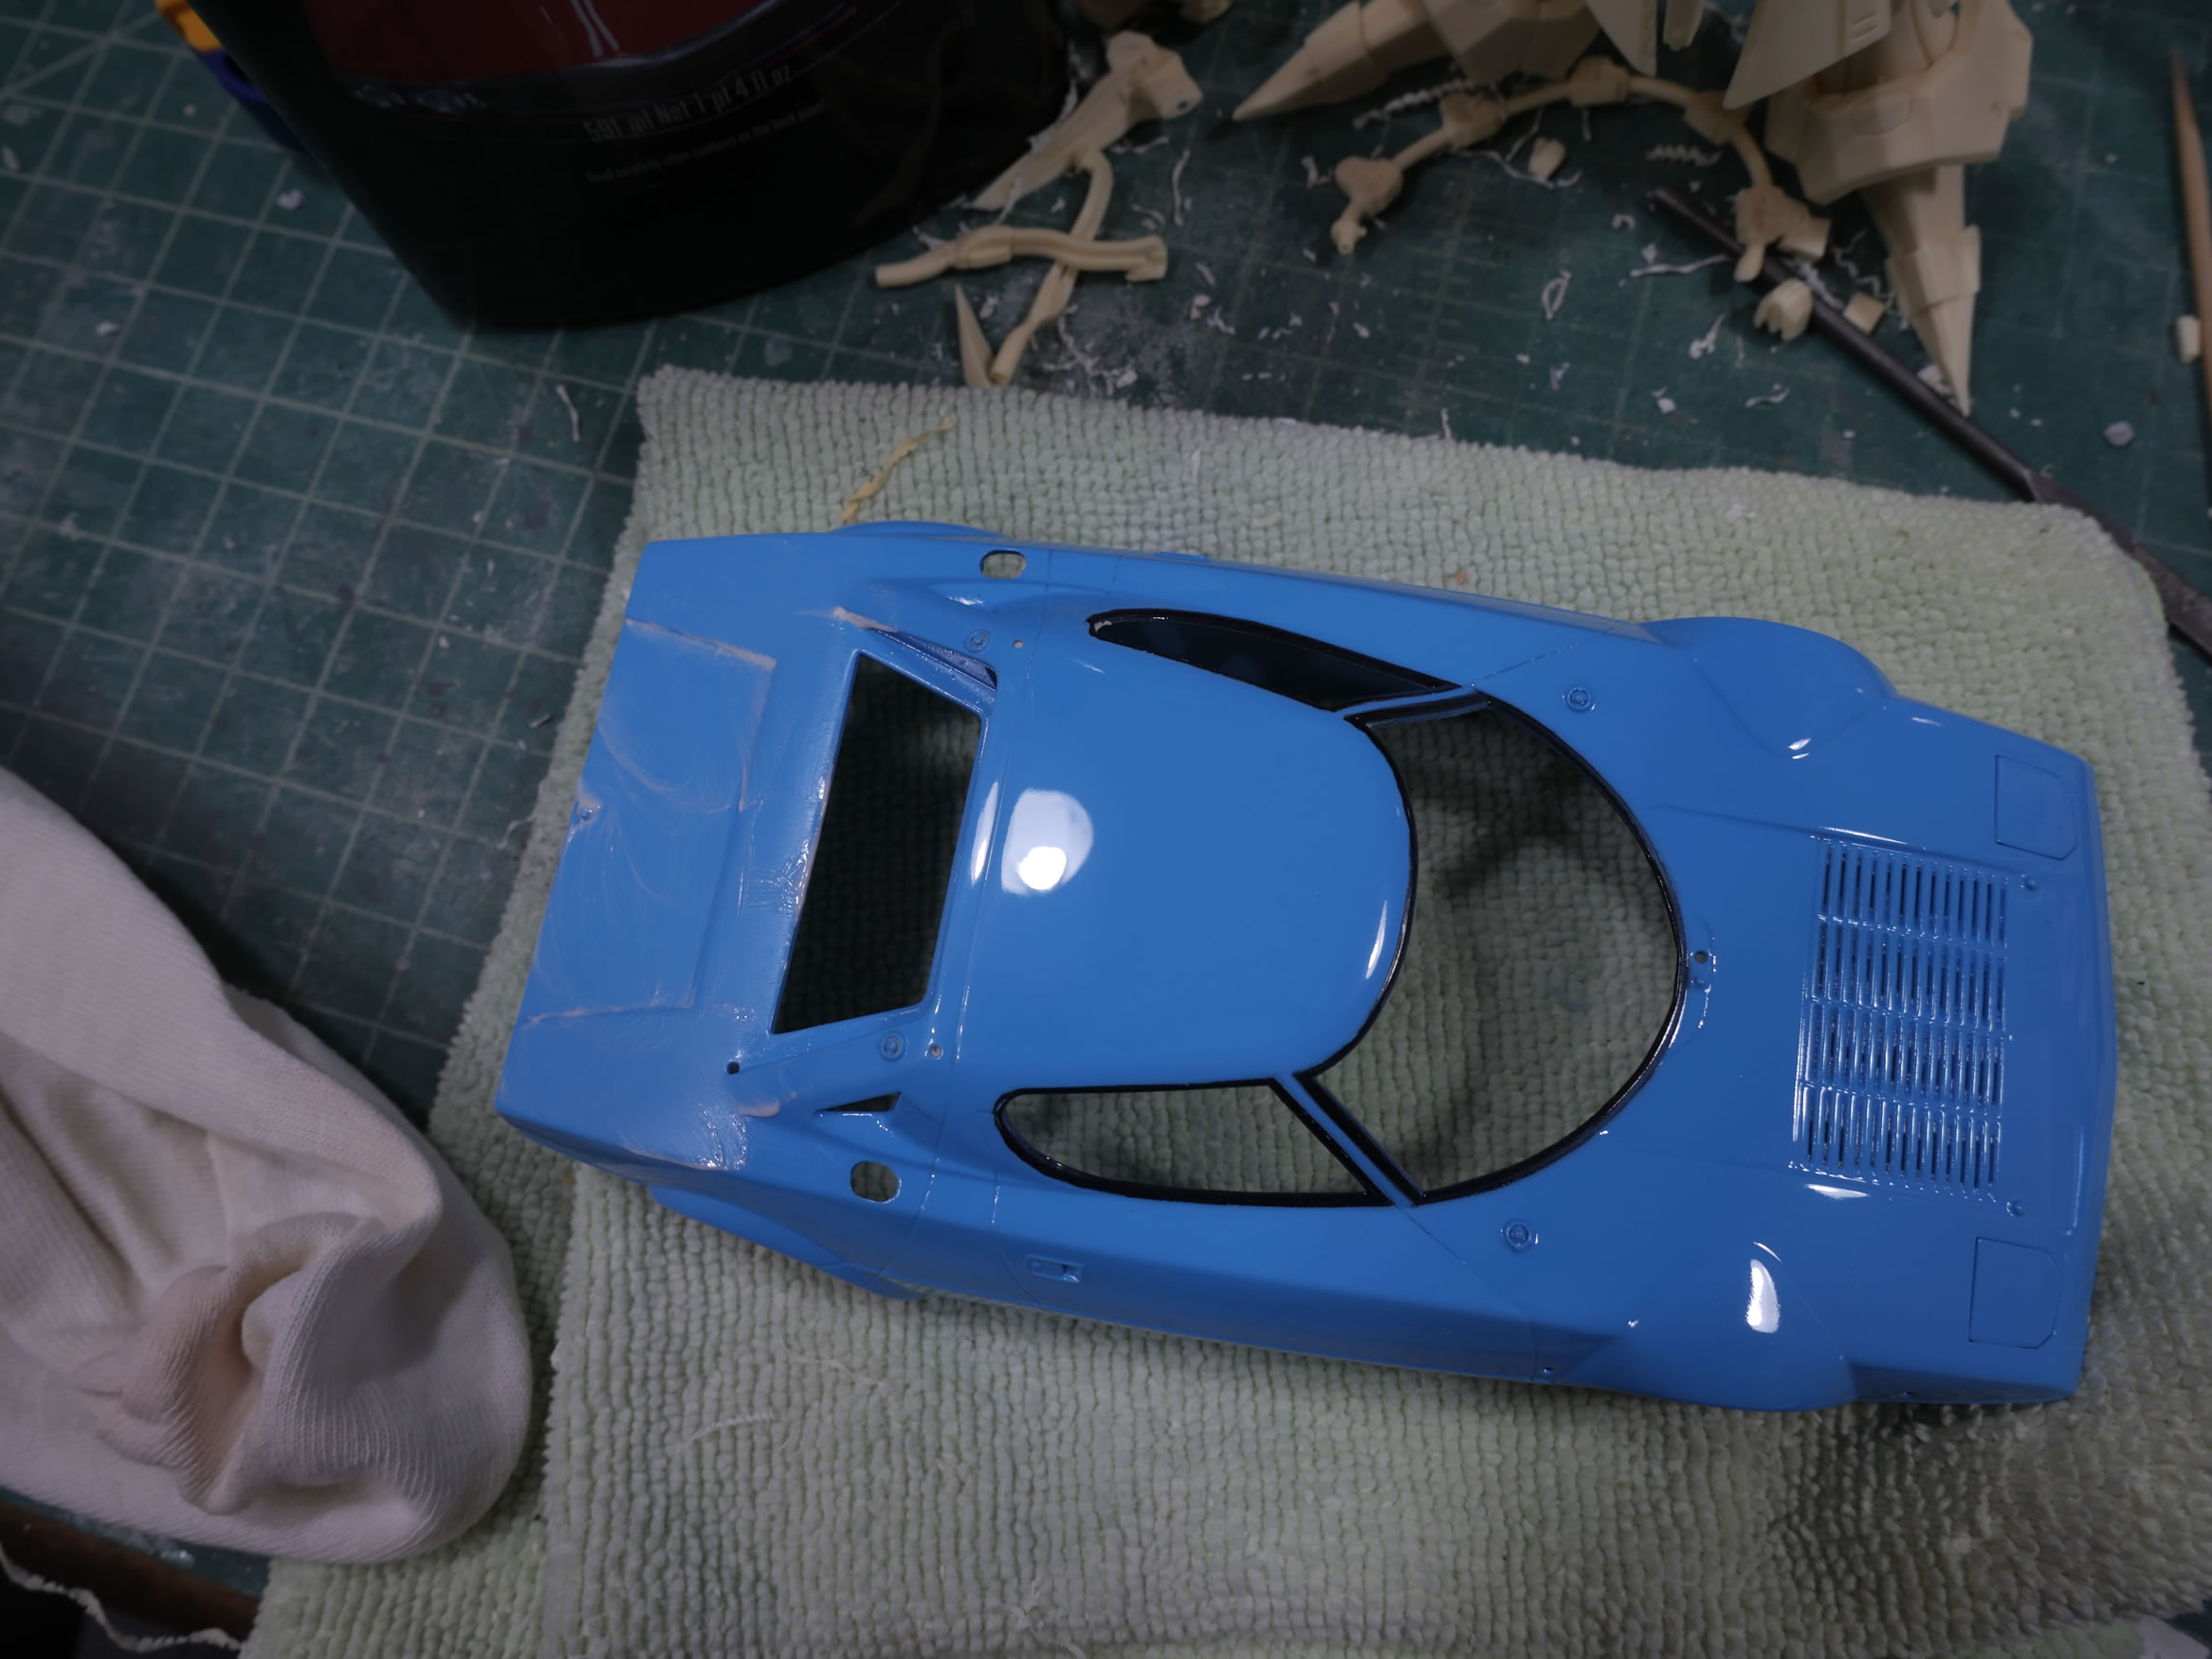
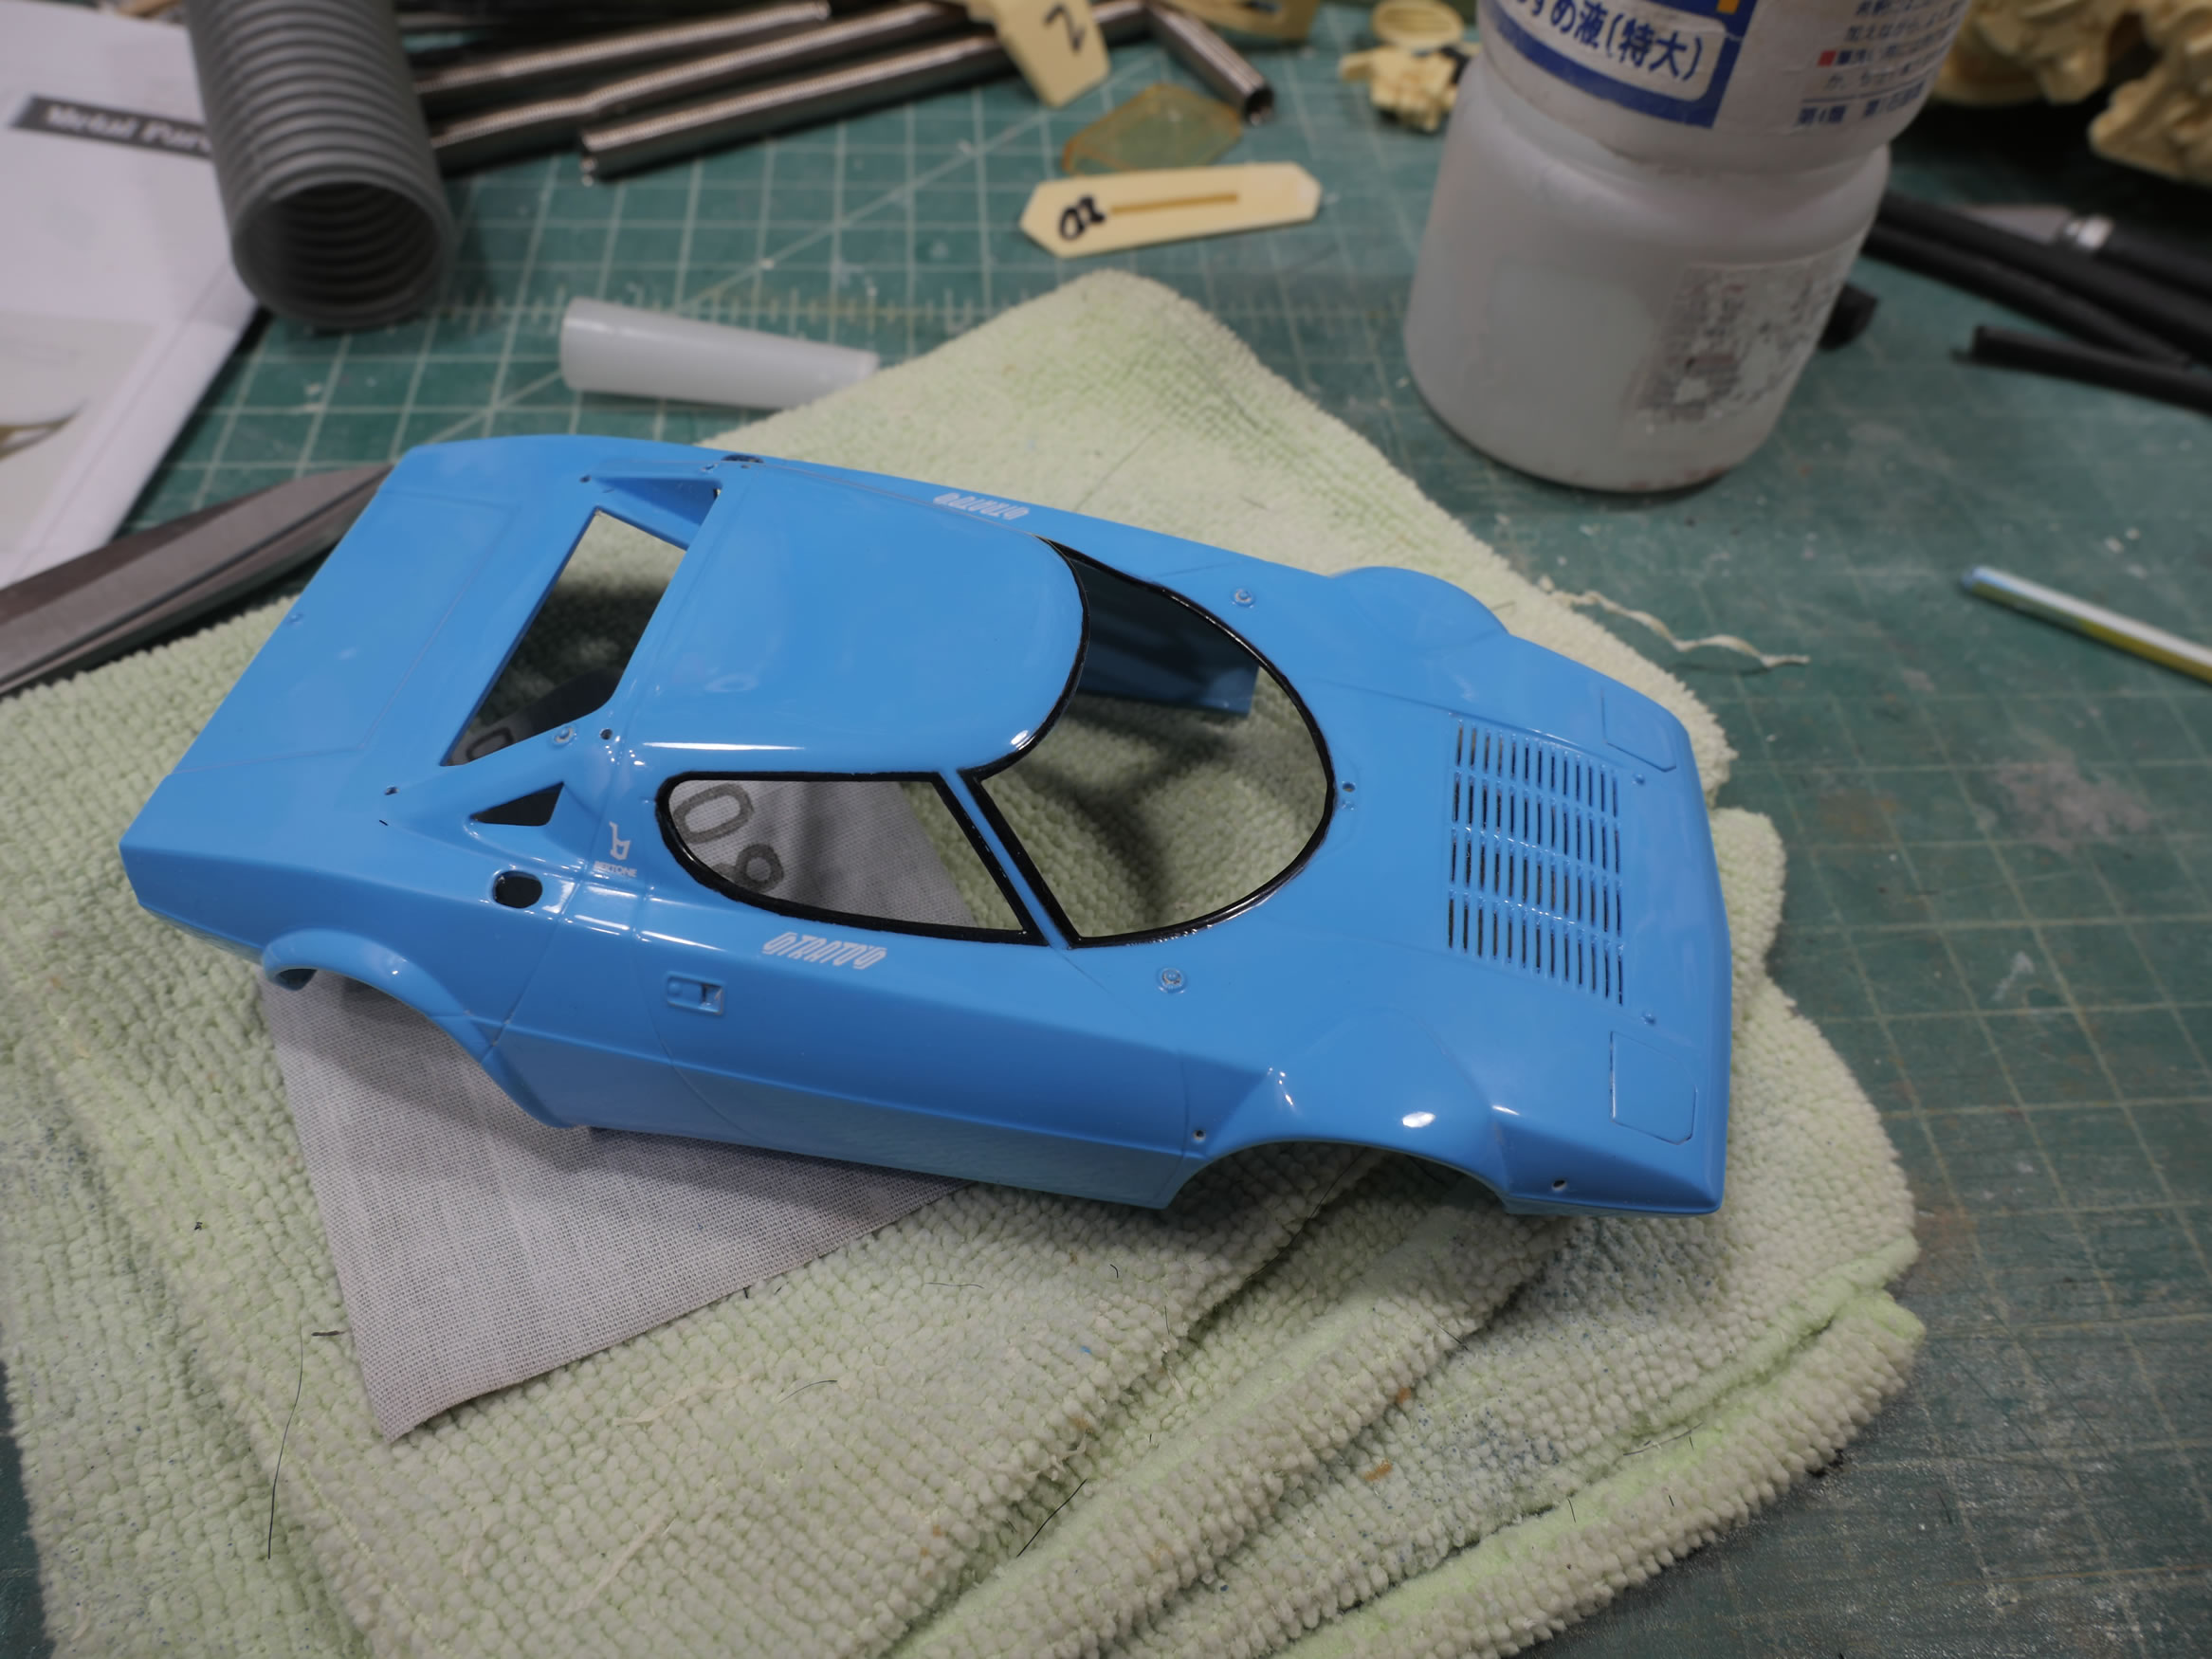
Next up is the polish and I don’t see as big a difference, but definitely a nice shine.
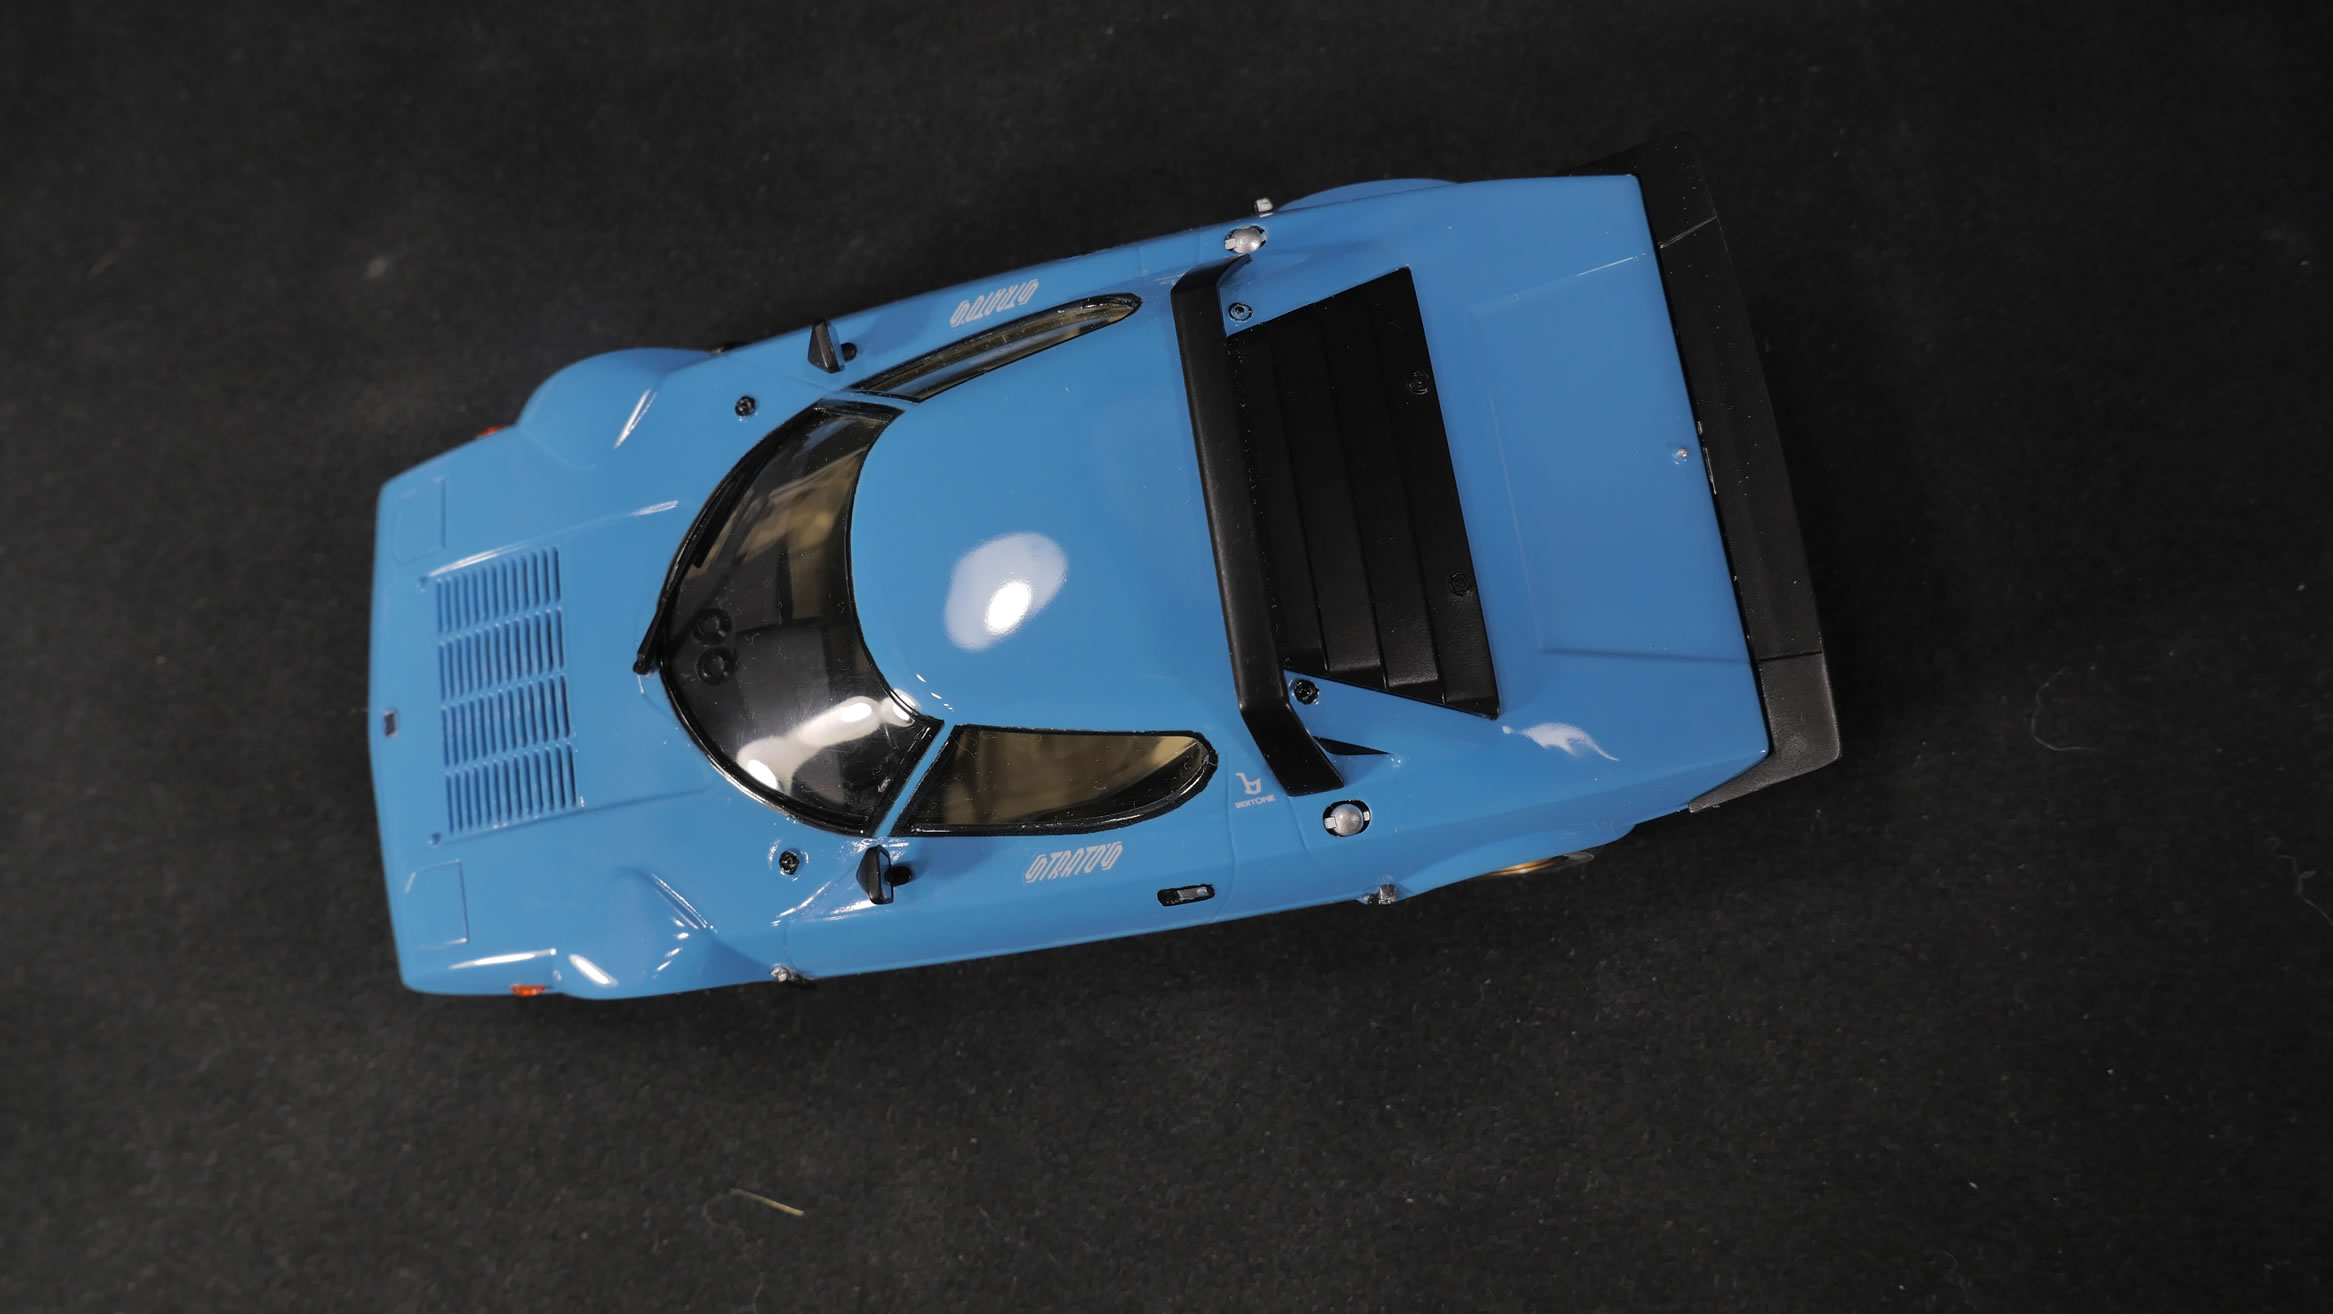
Now on the the final assembly of body parts. The side mirrors, windshield wiper, body clips, and rear window shade. Rear diffuser and spoiler as well as detail painting to finish everything up.

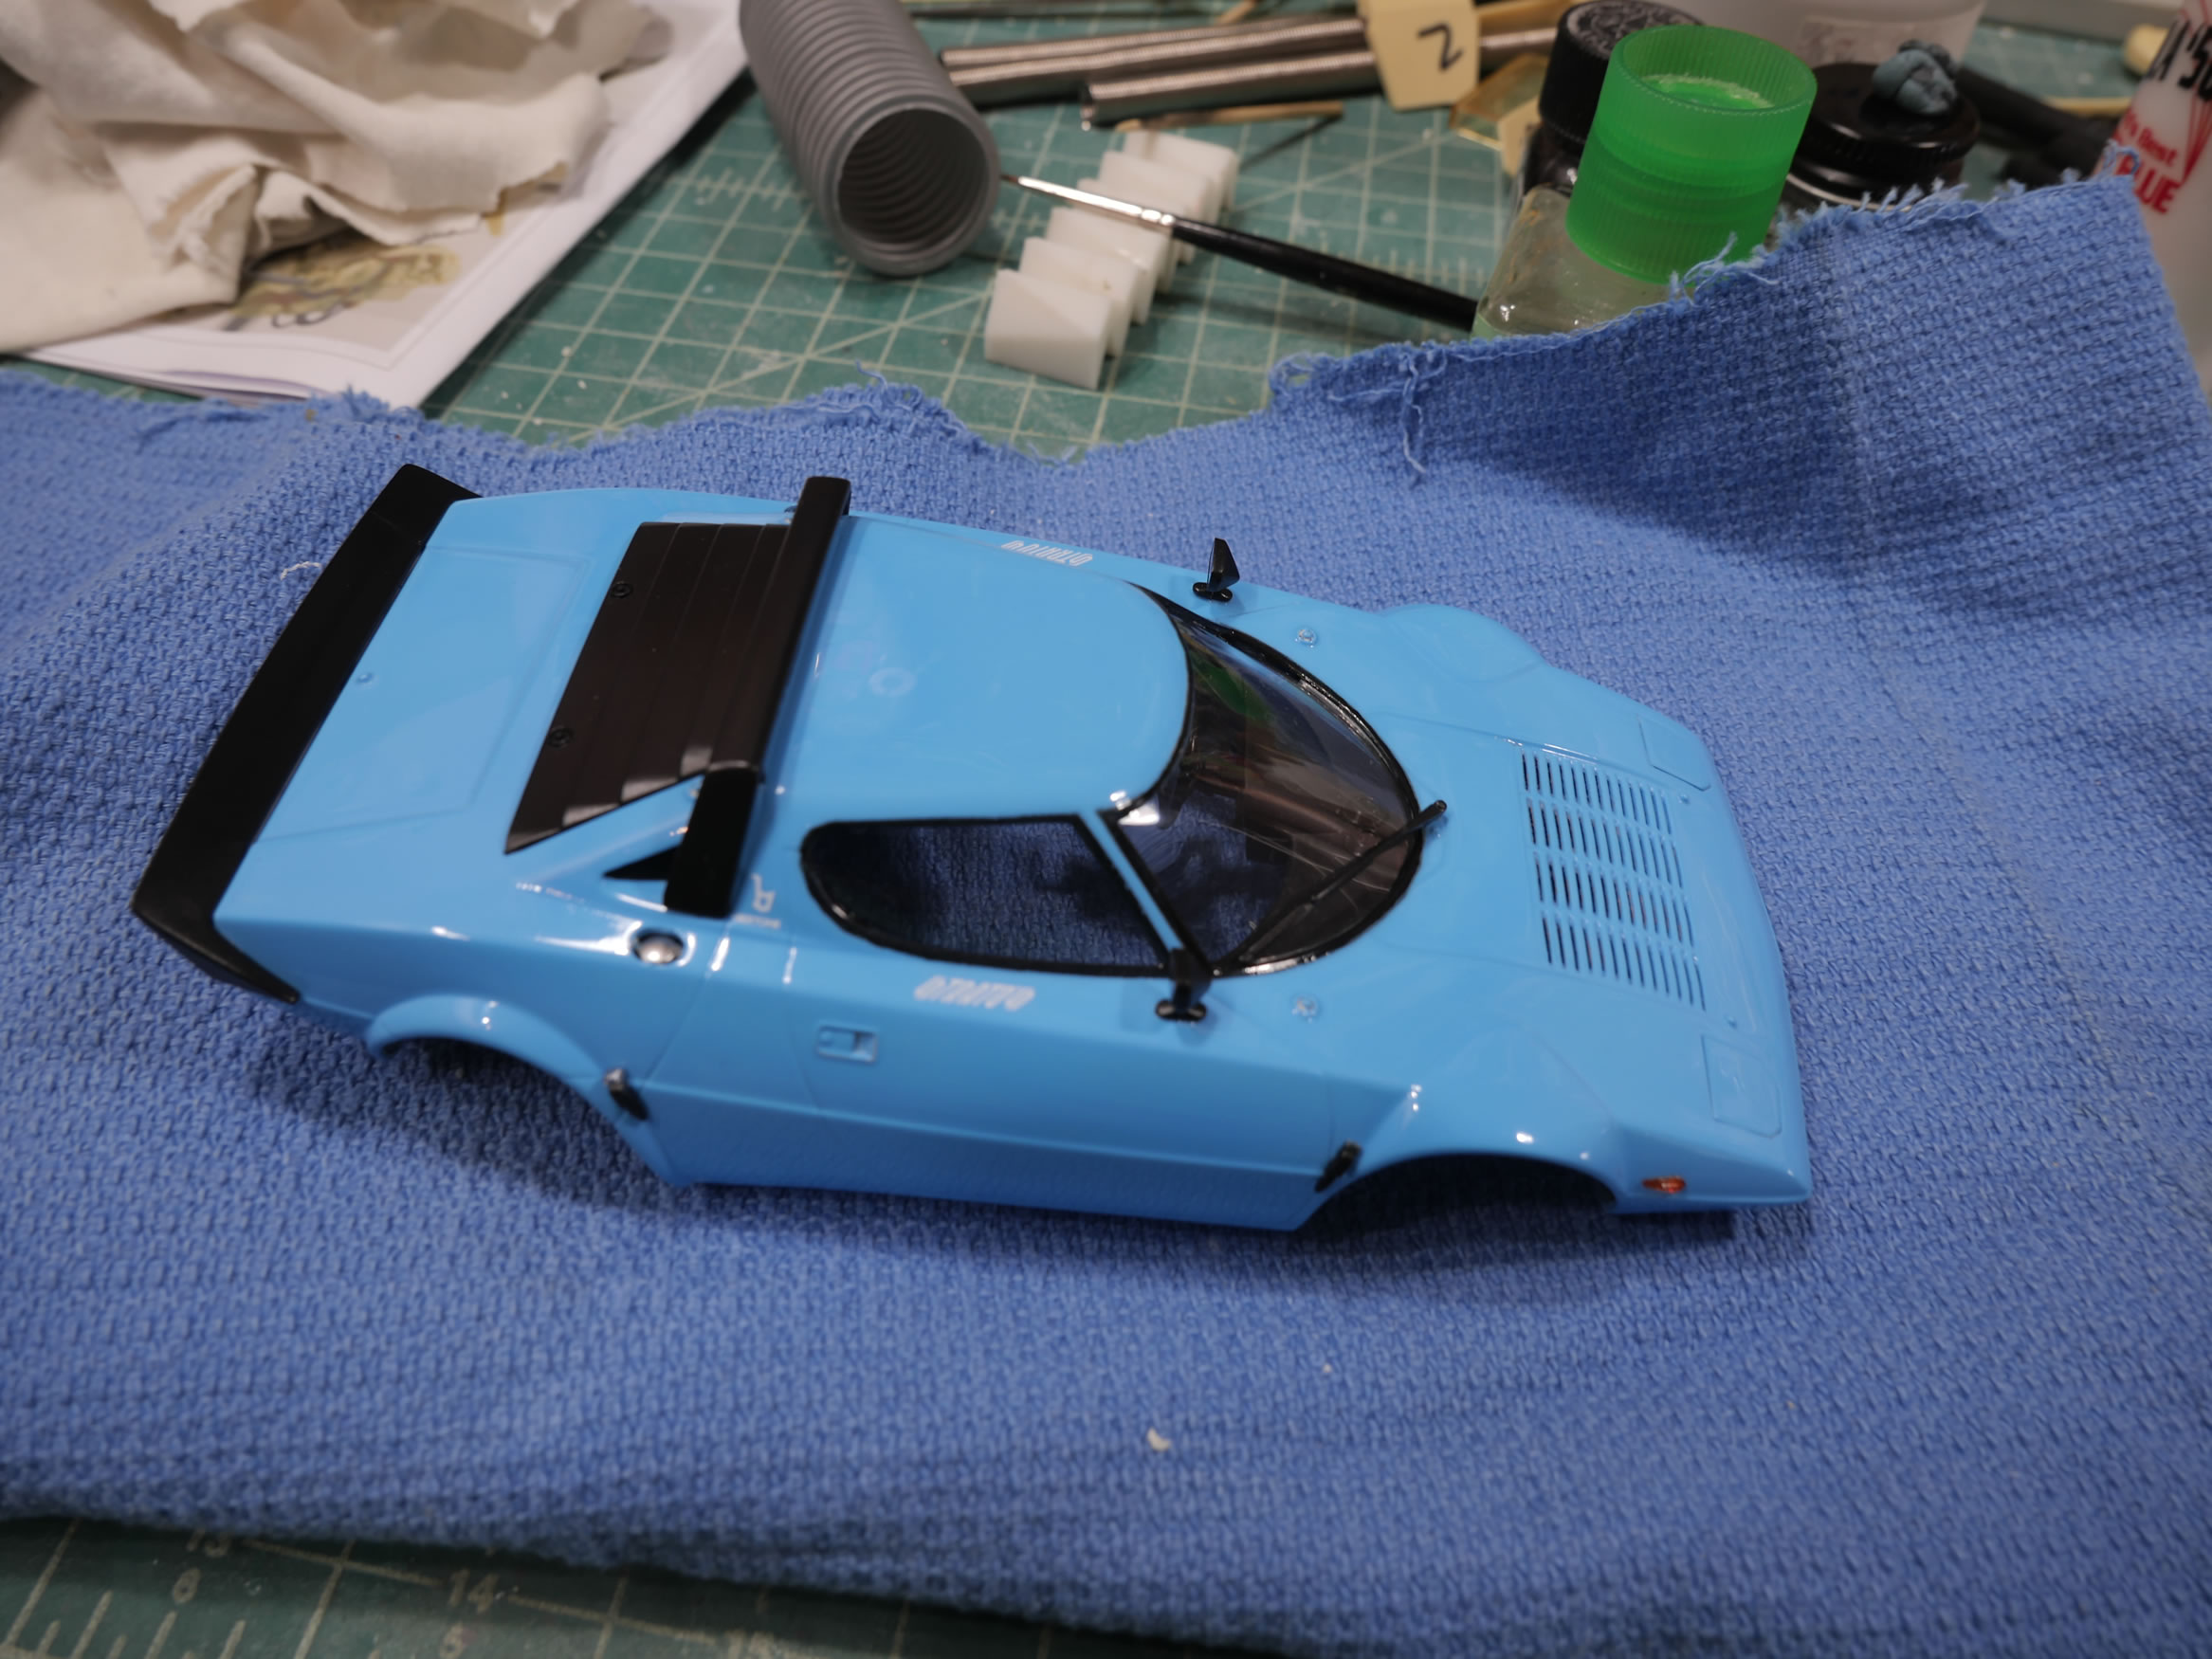
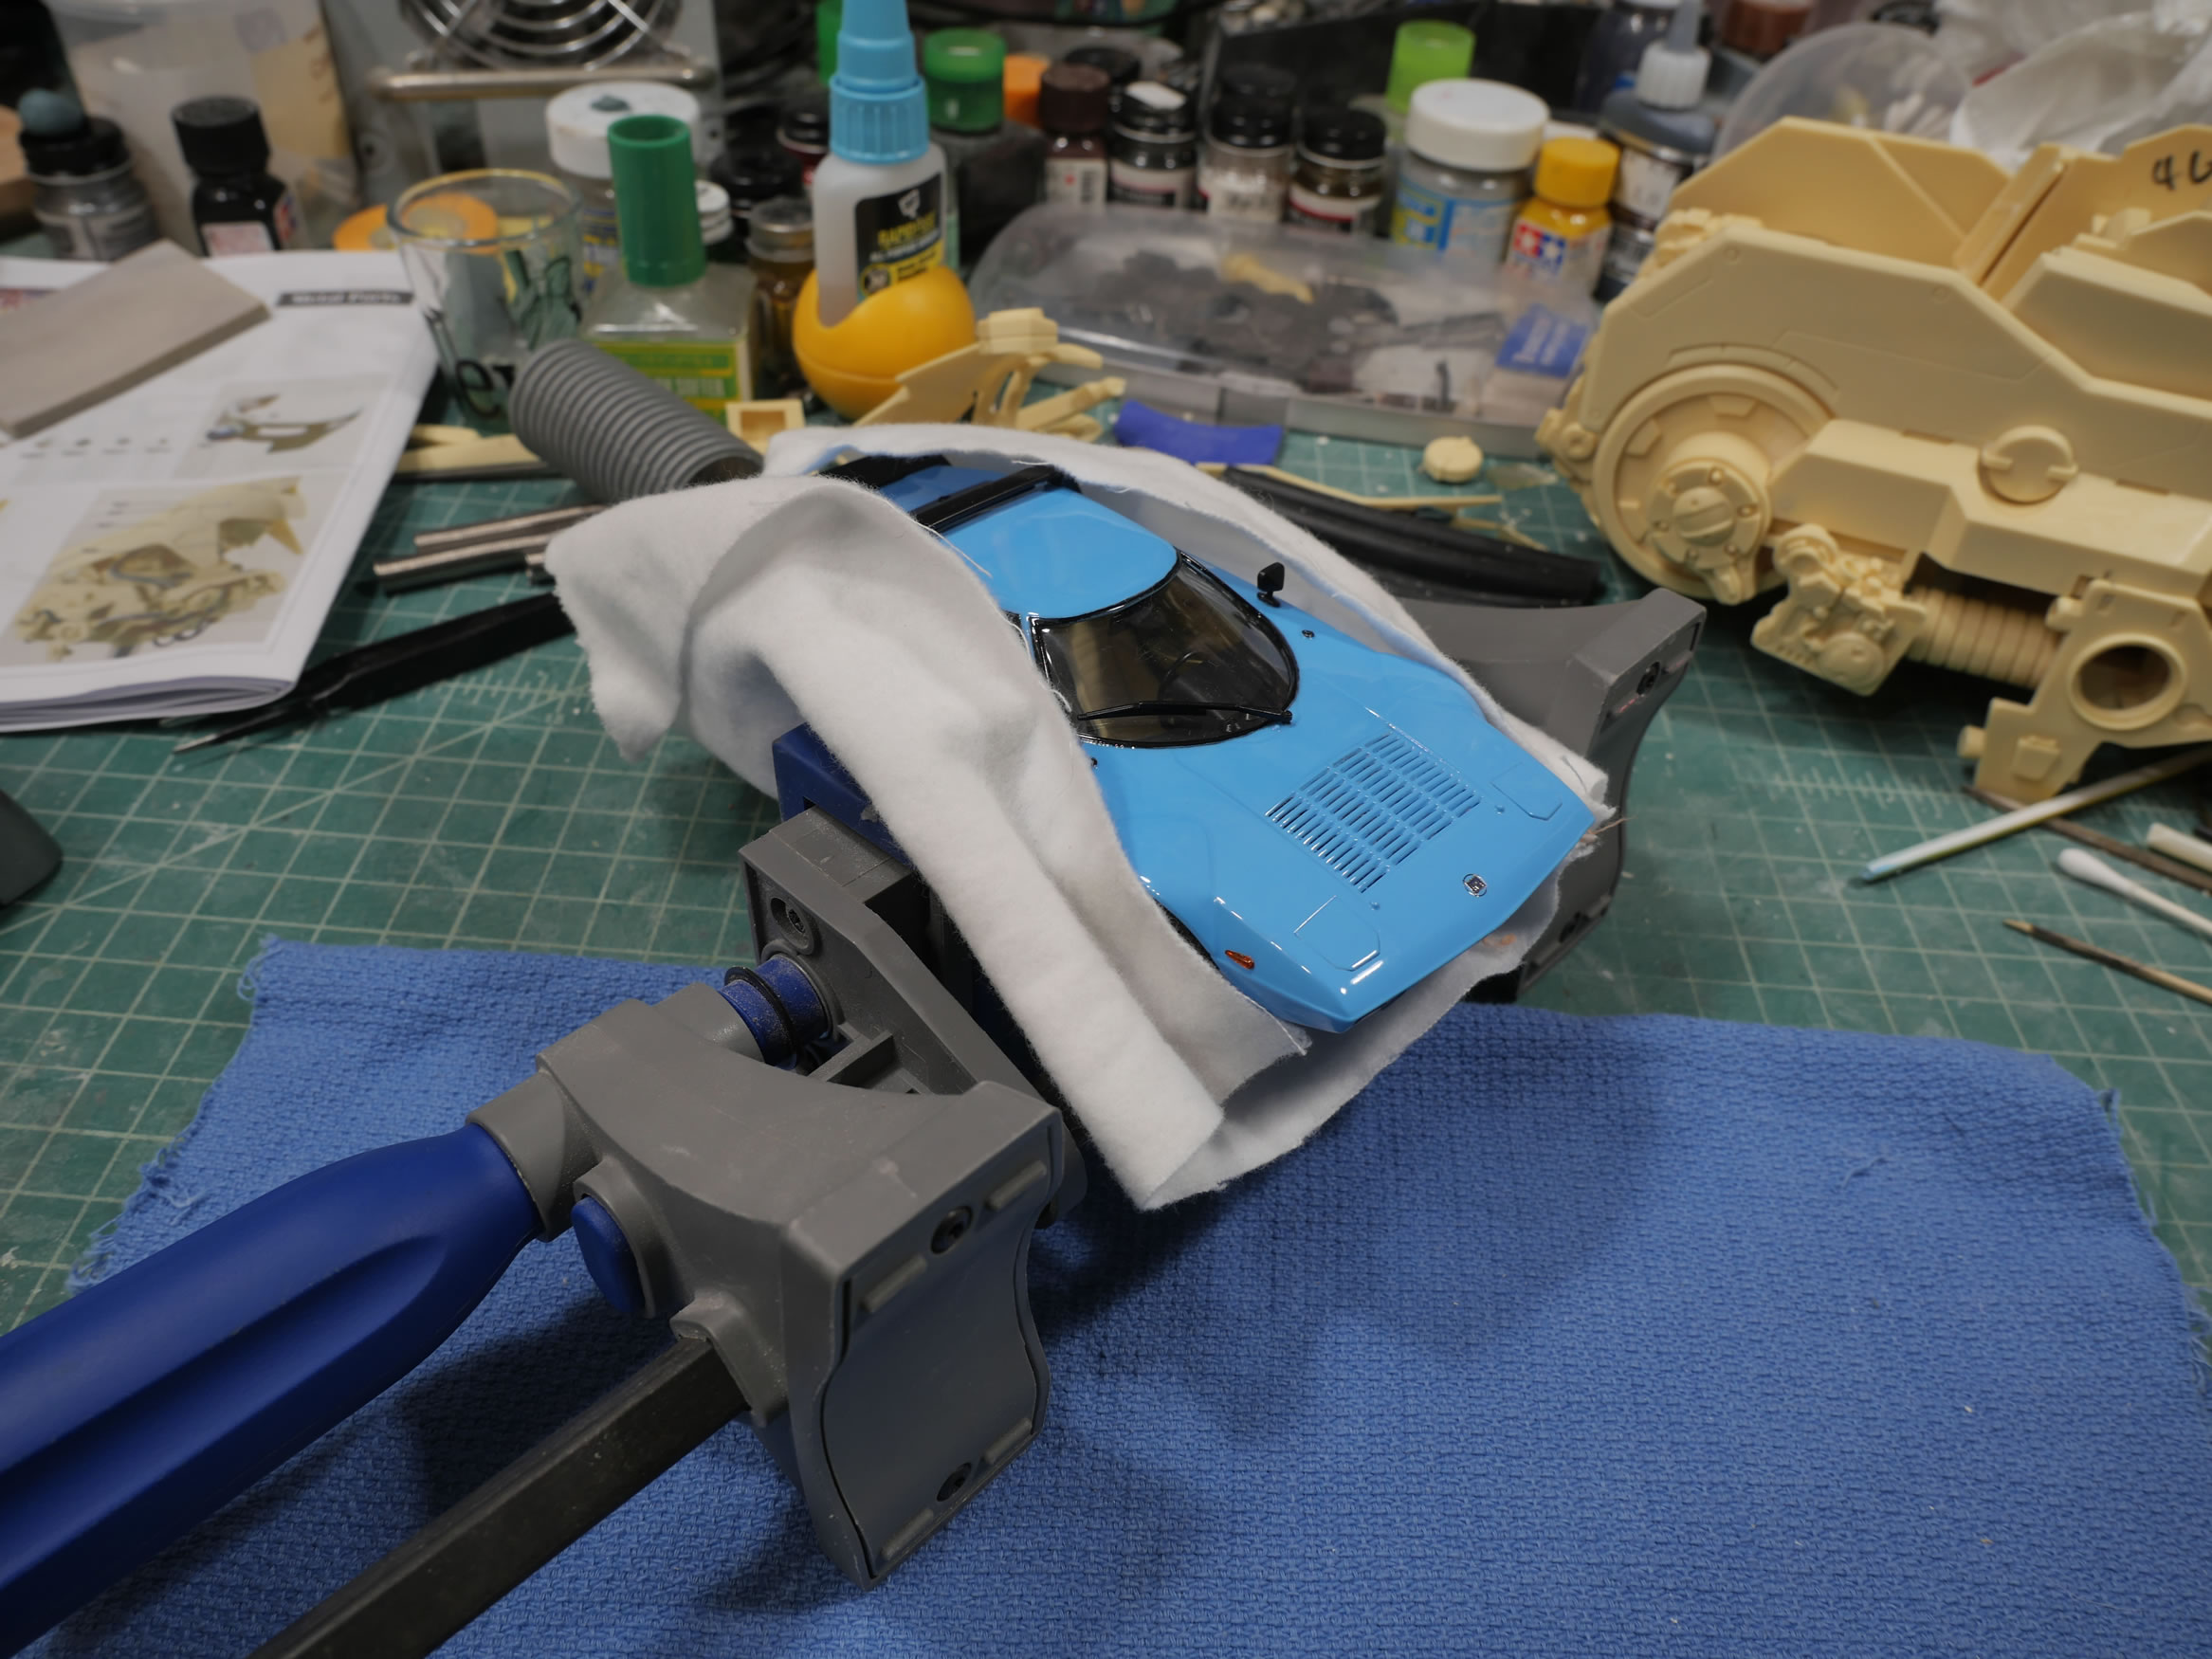
I needed to use a vice to bend the body a little as it doesn’t fit well over the car. With the vice, the assembly is heated up slightly to help soften the plastic to the bend.
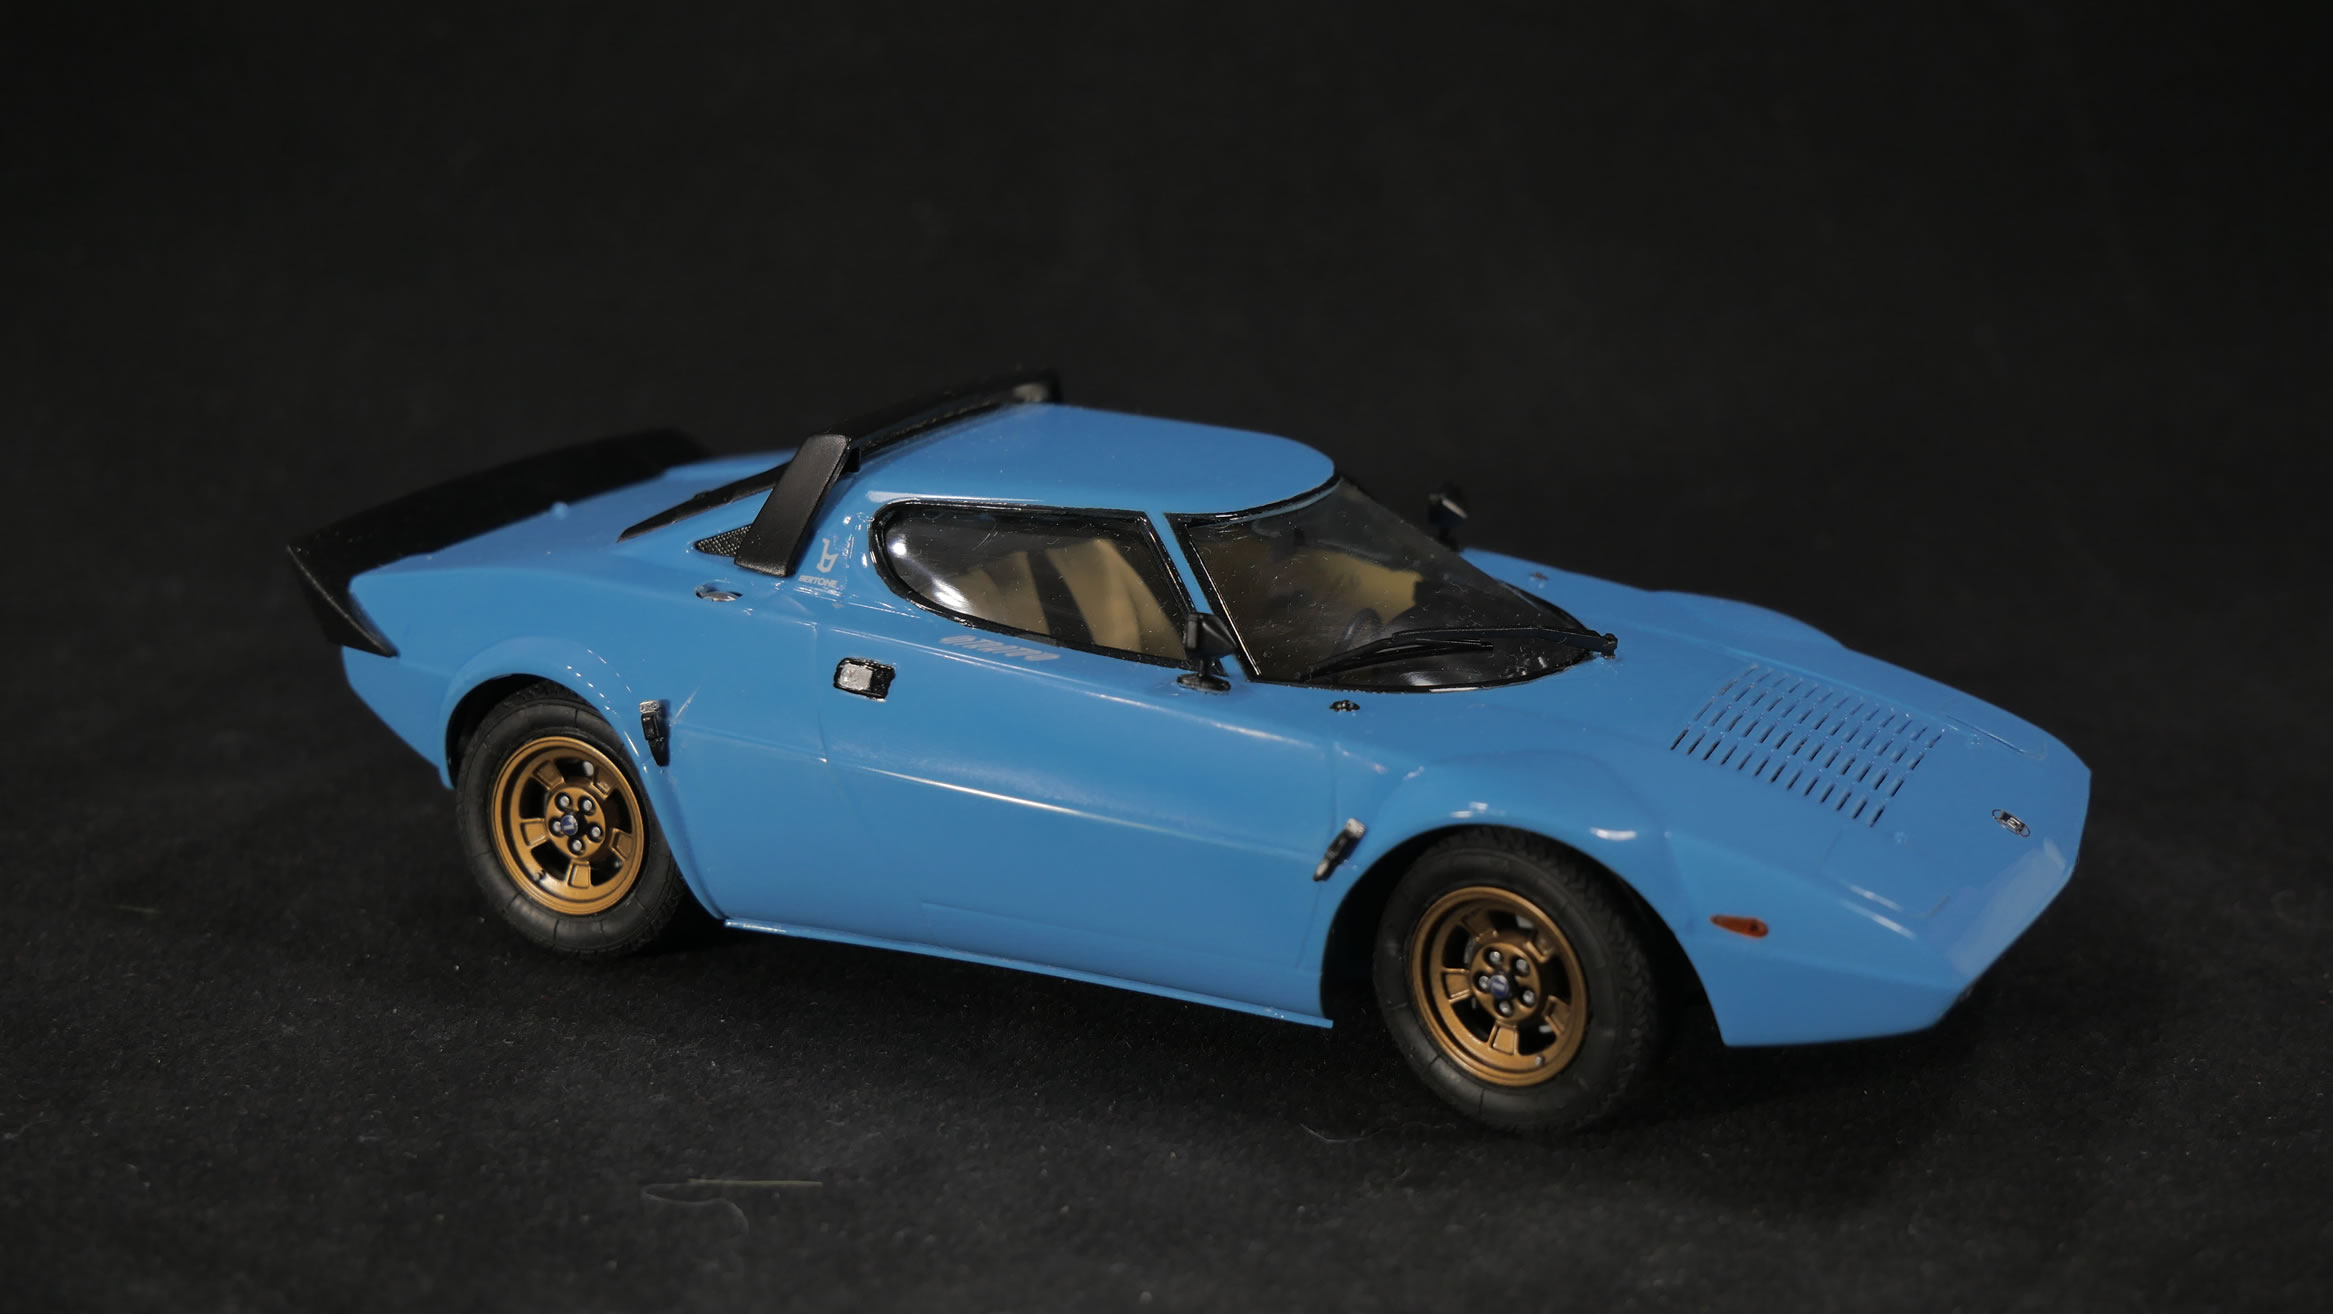
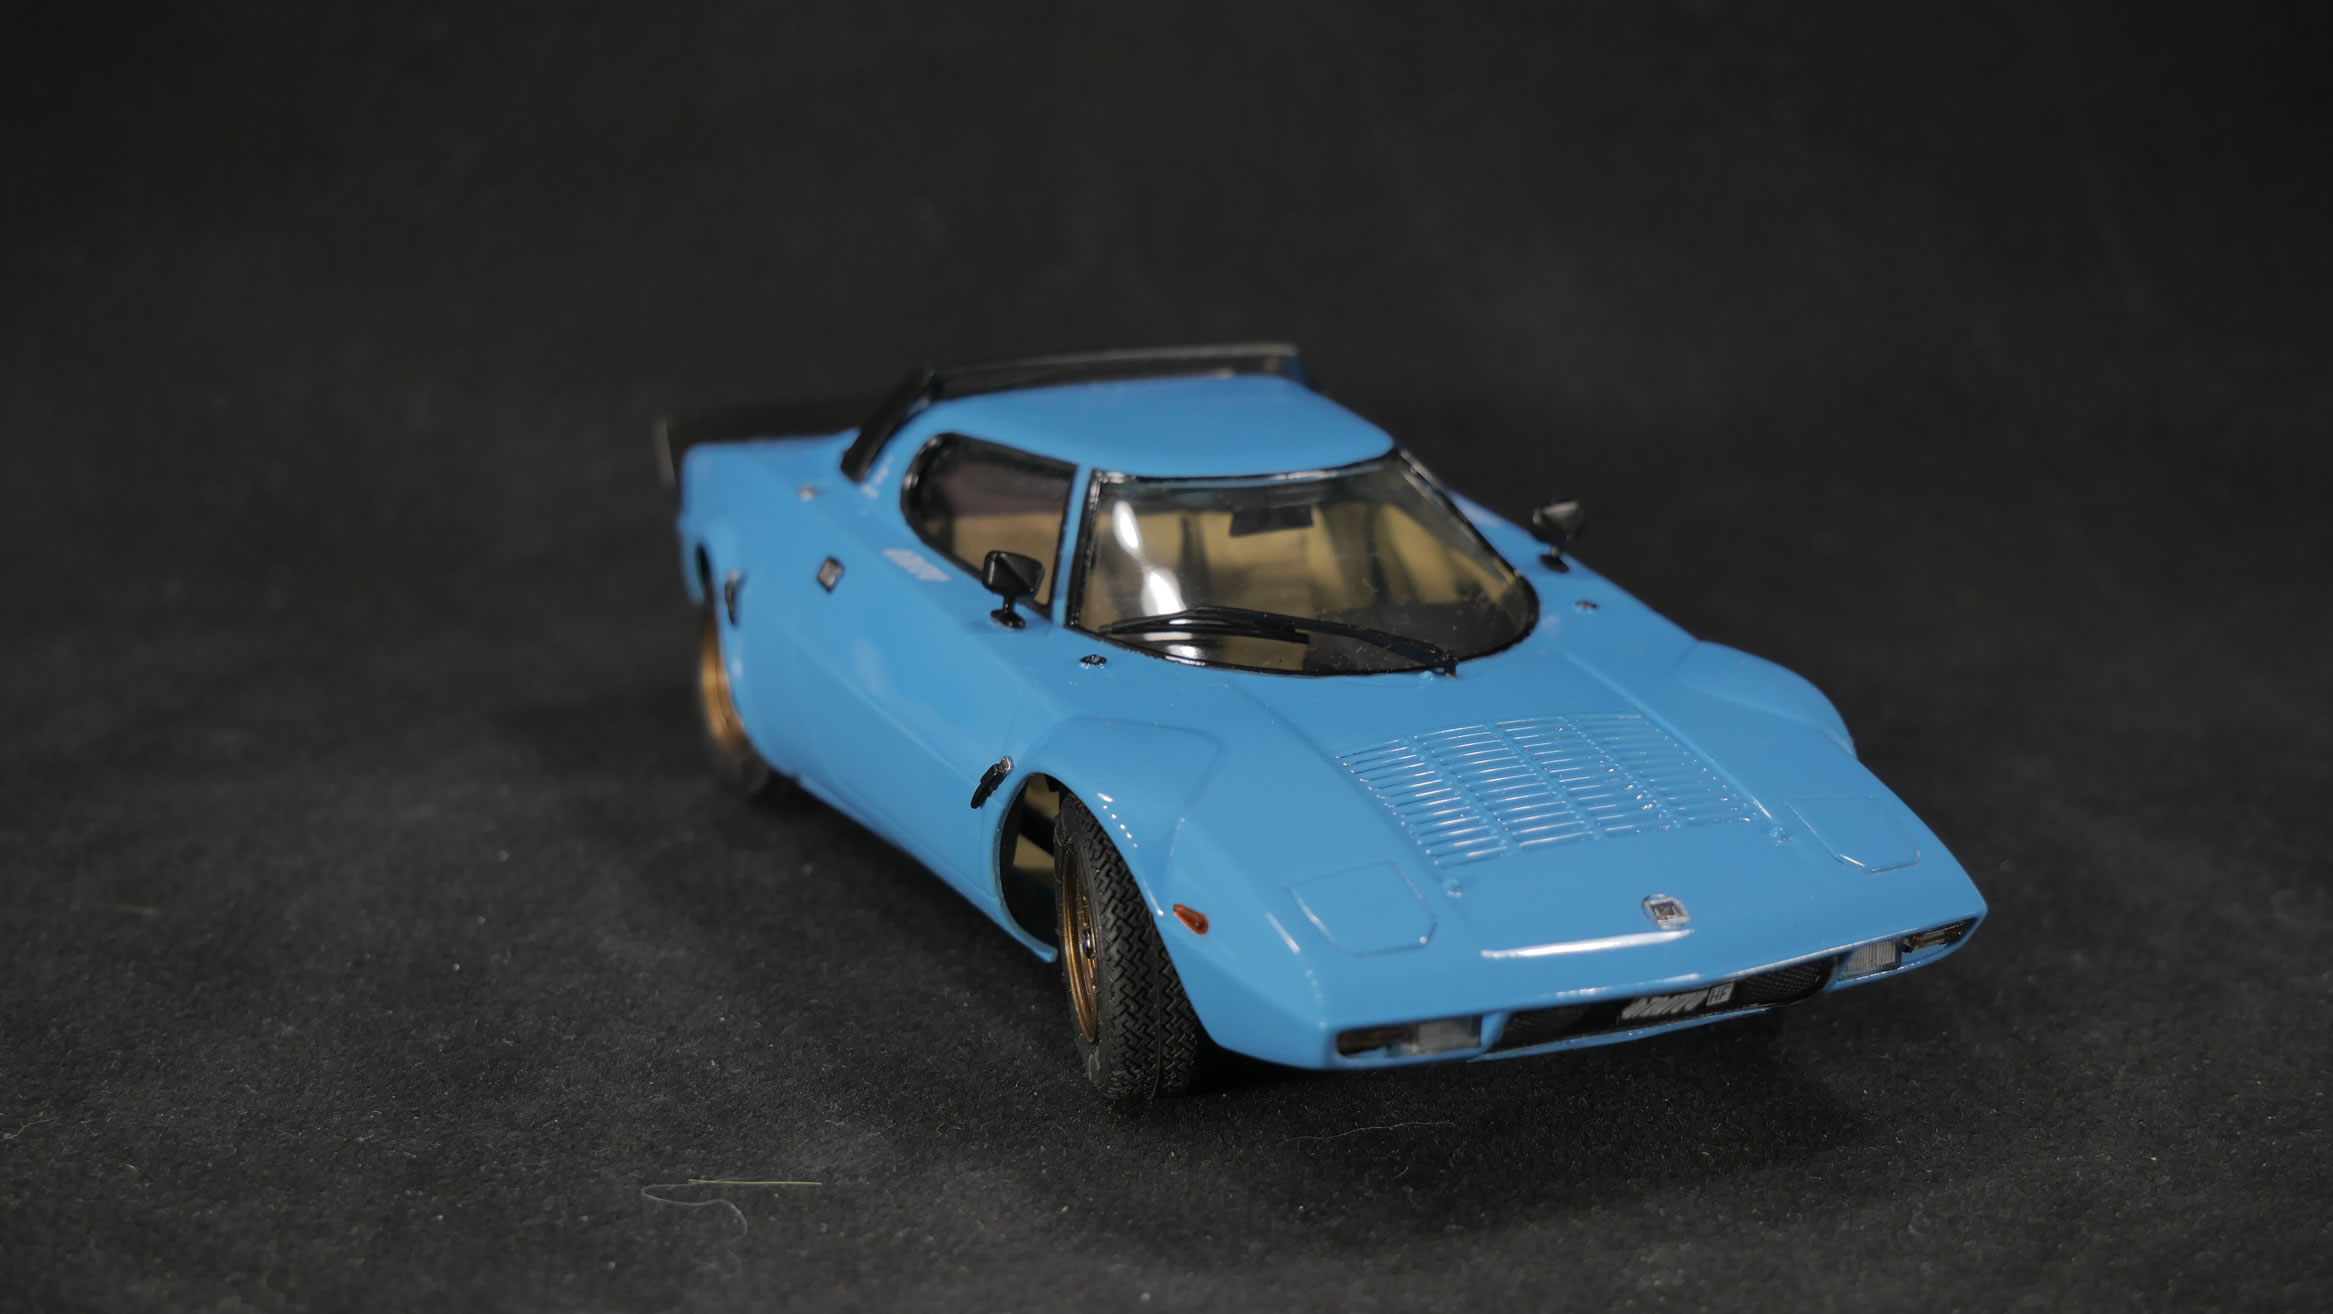
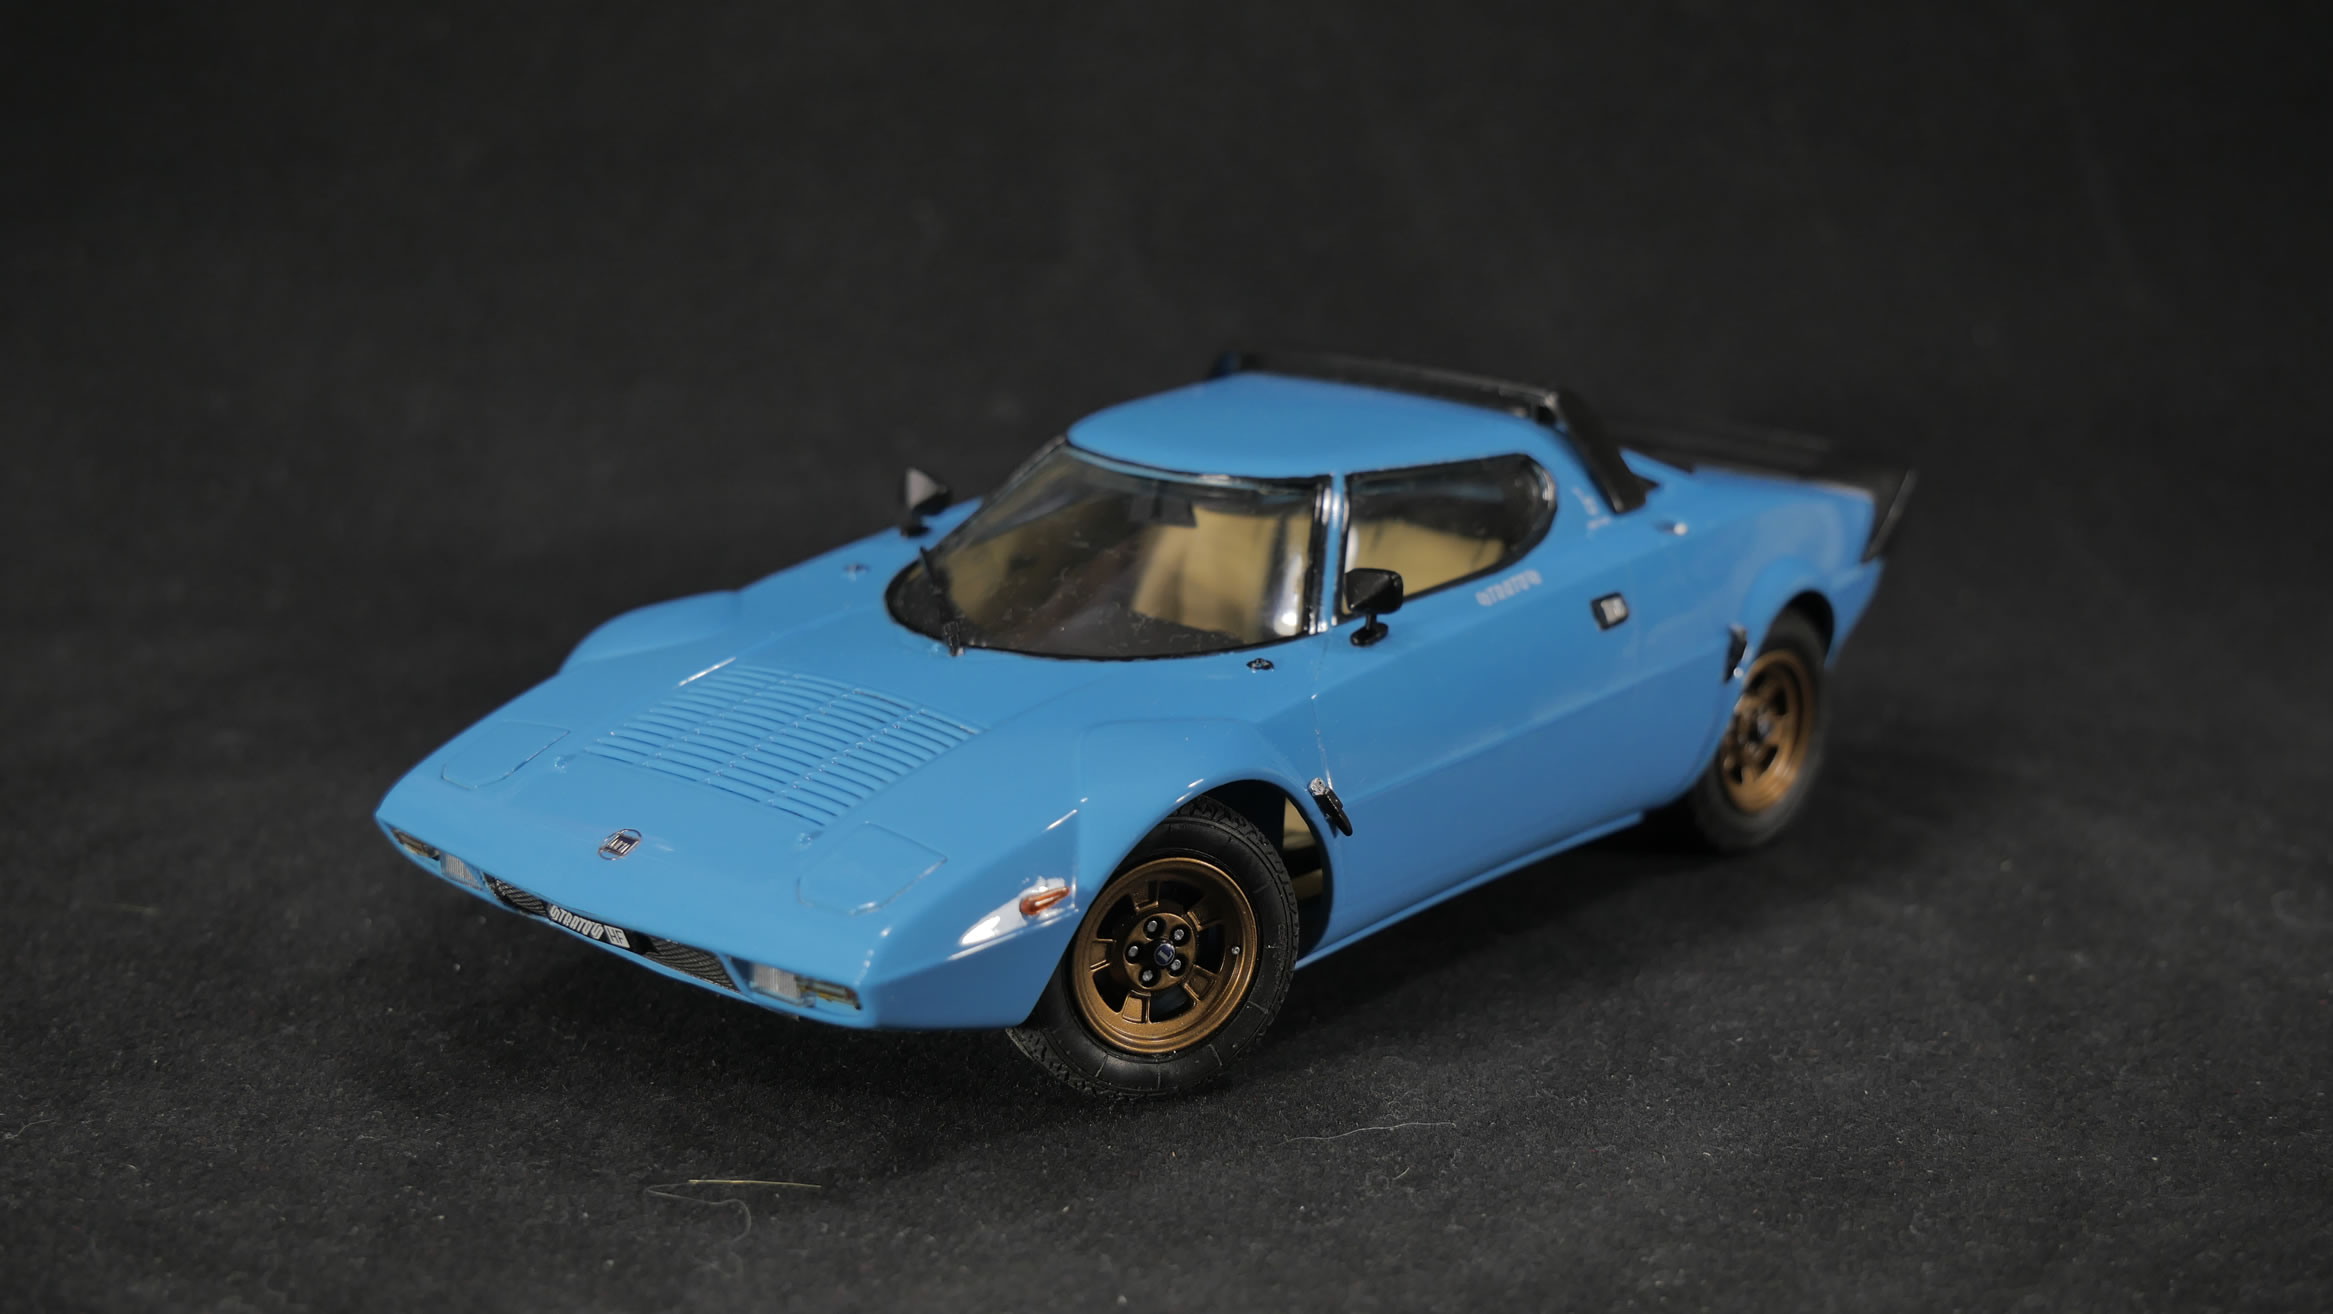
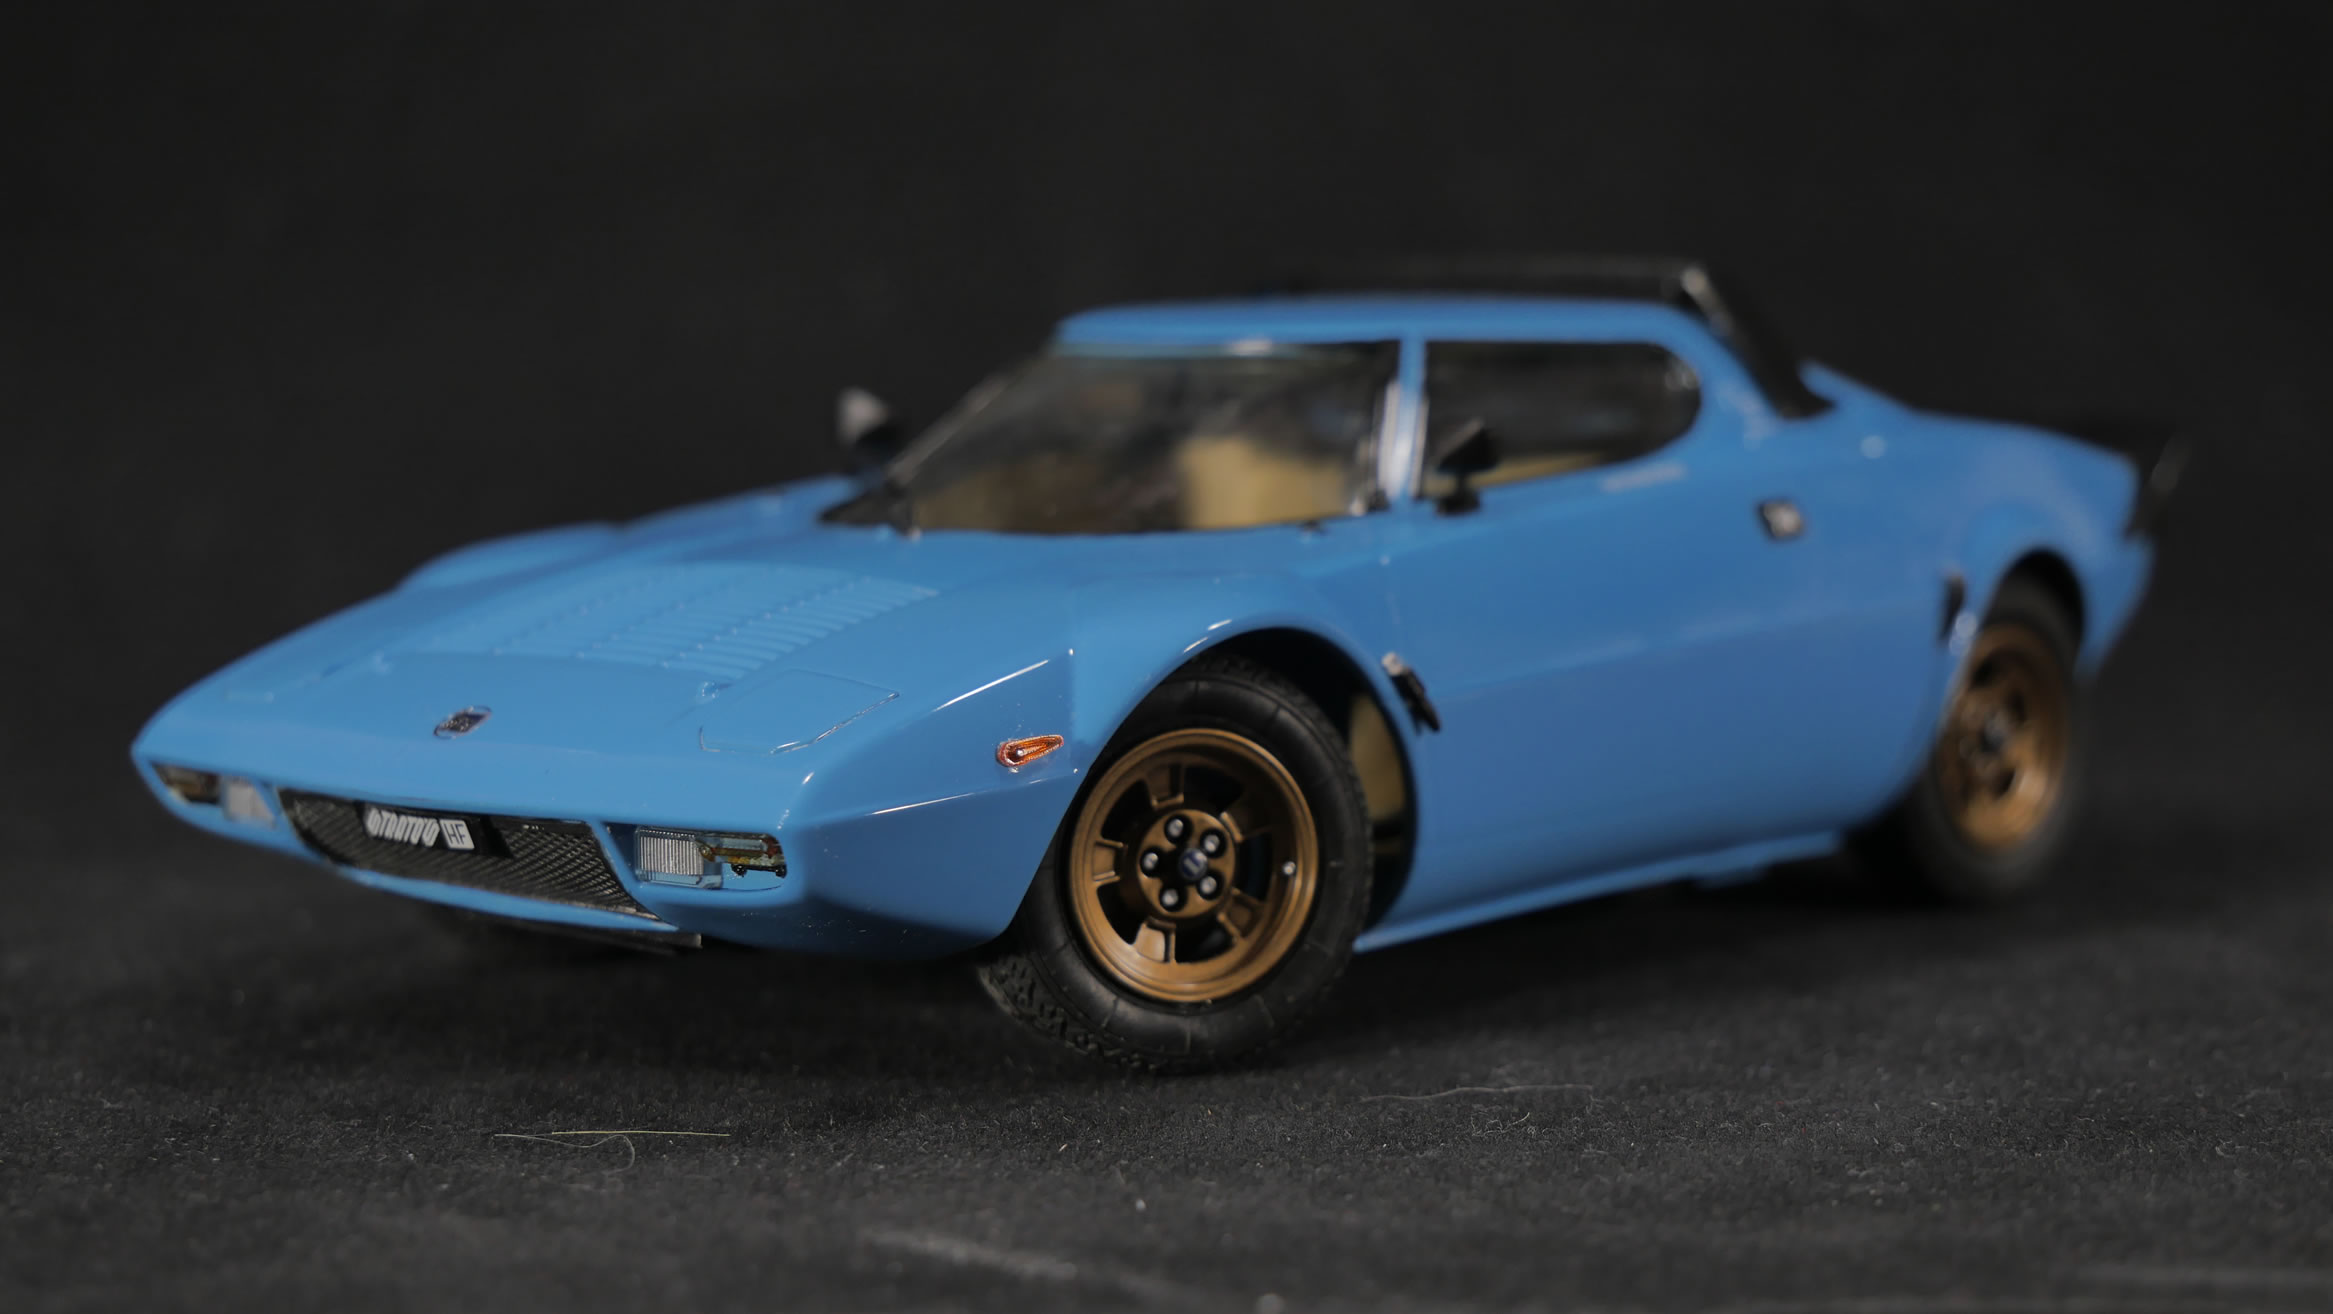
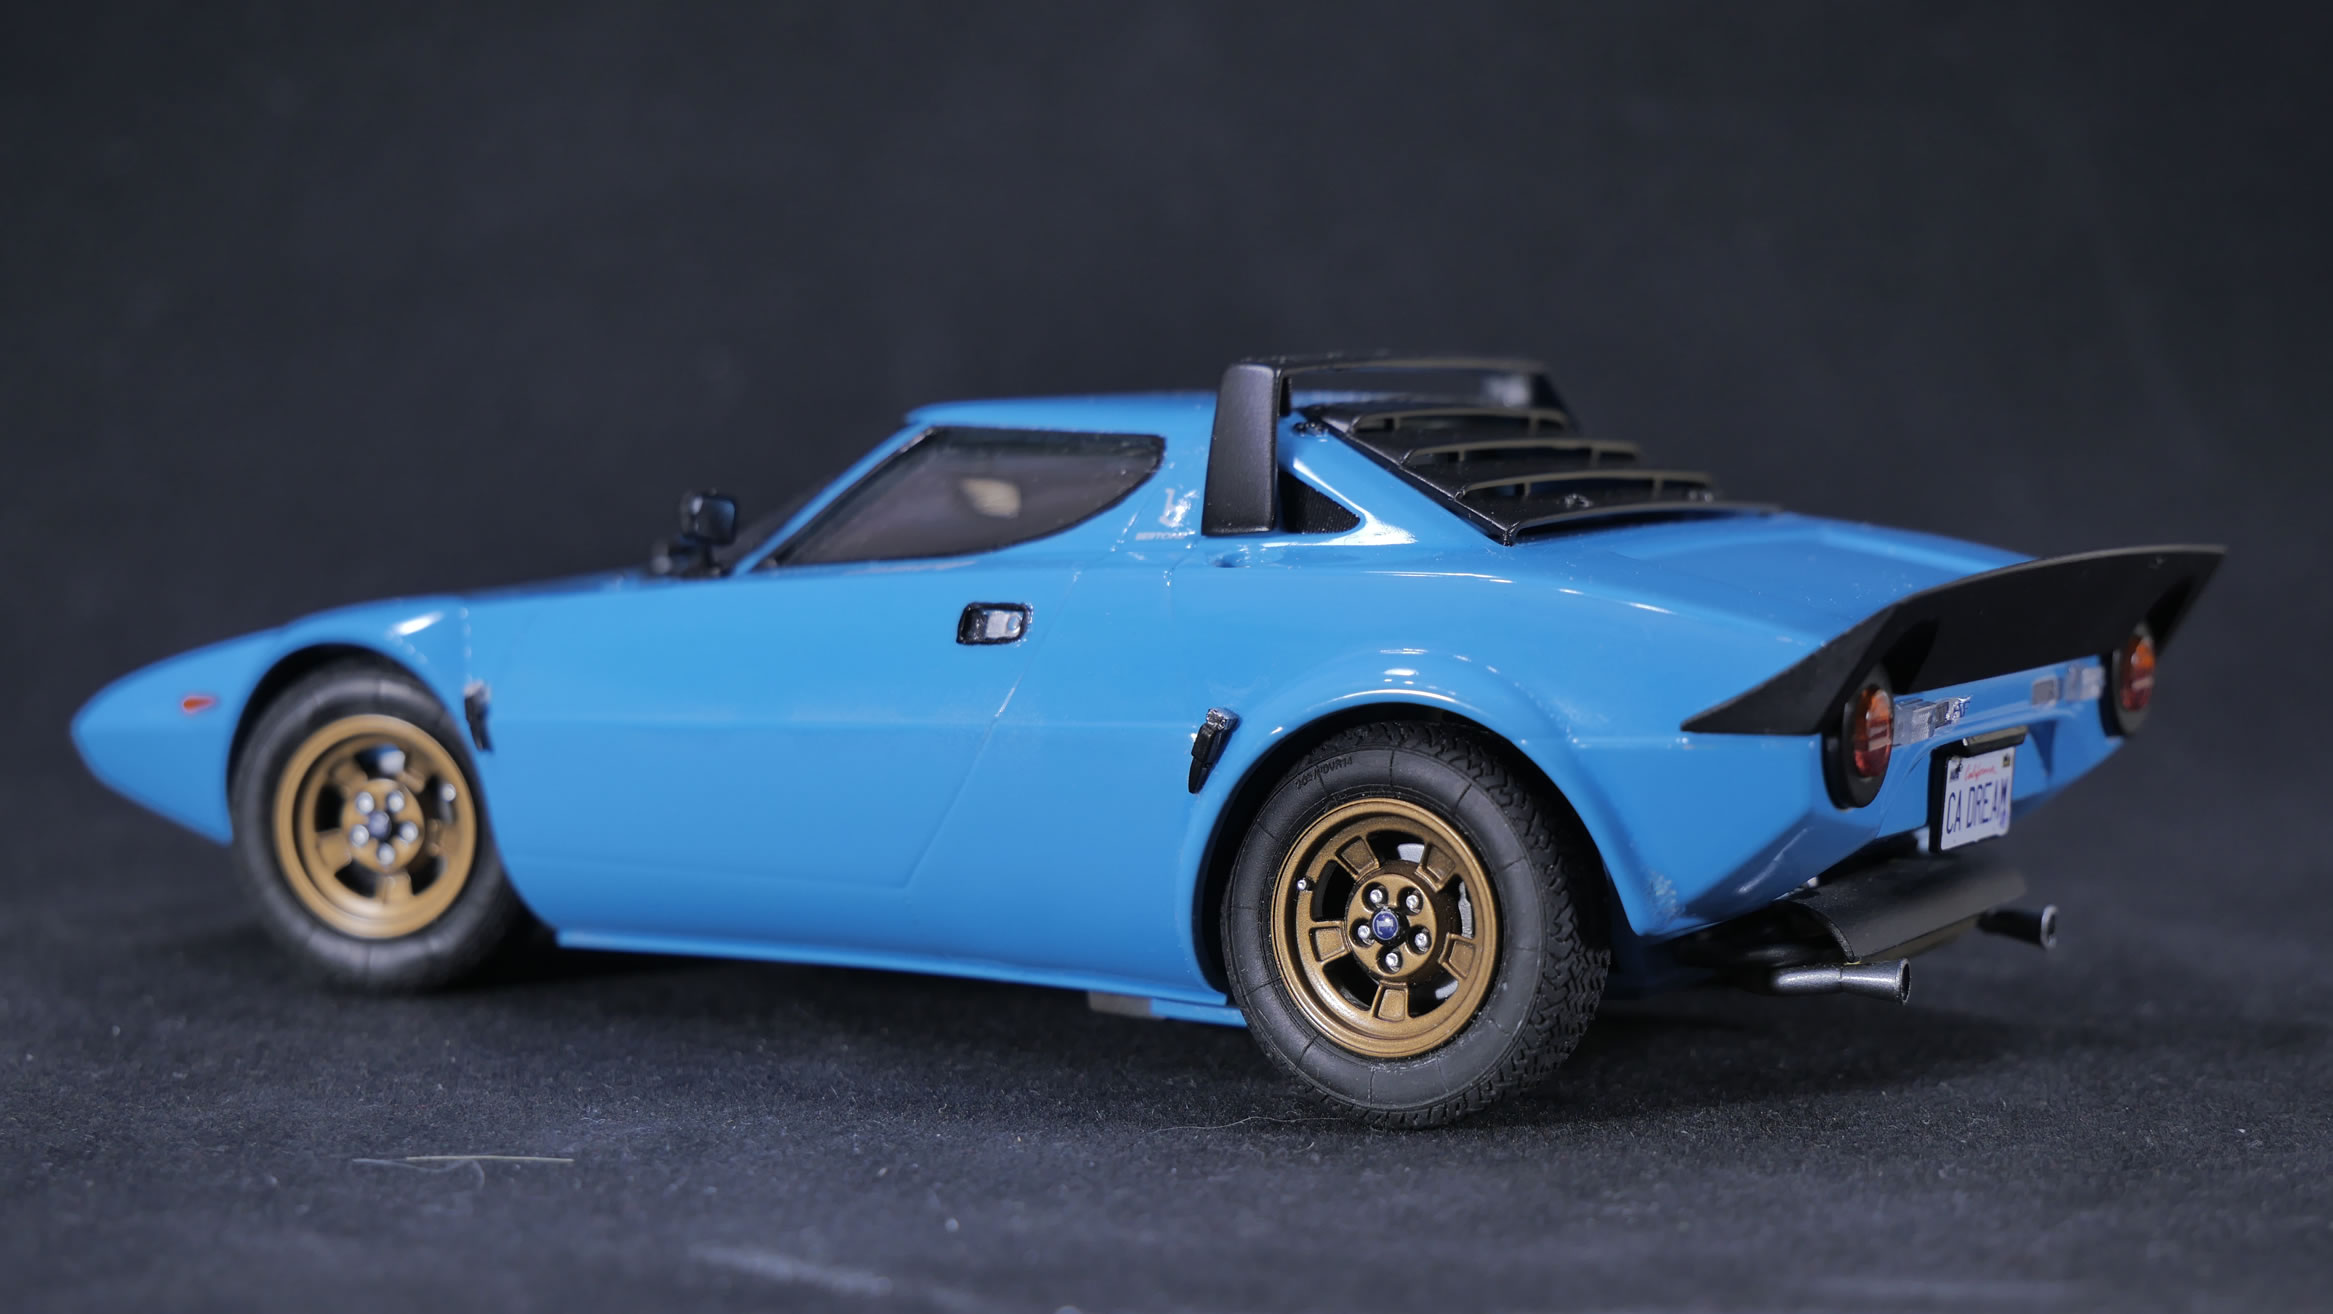
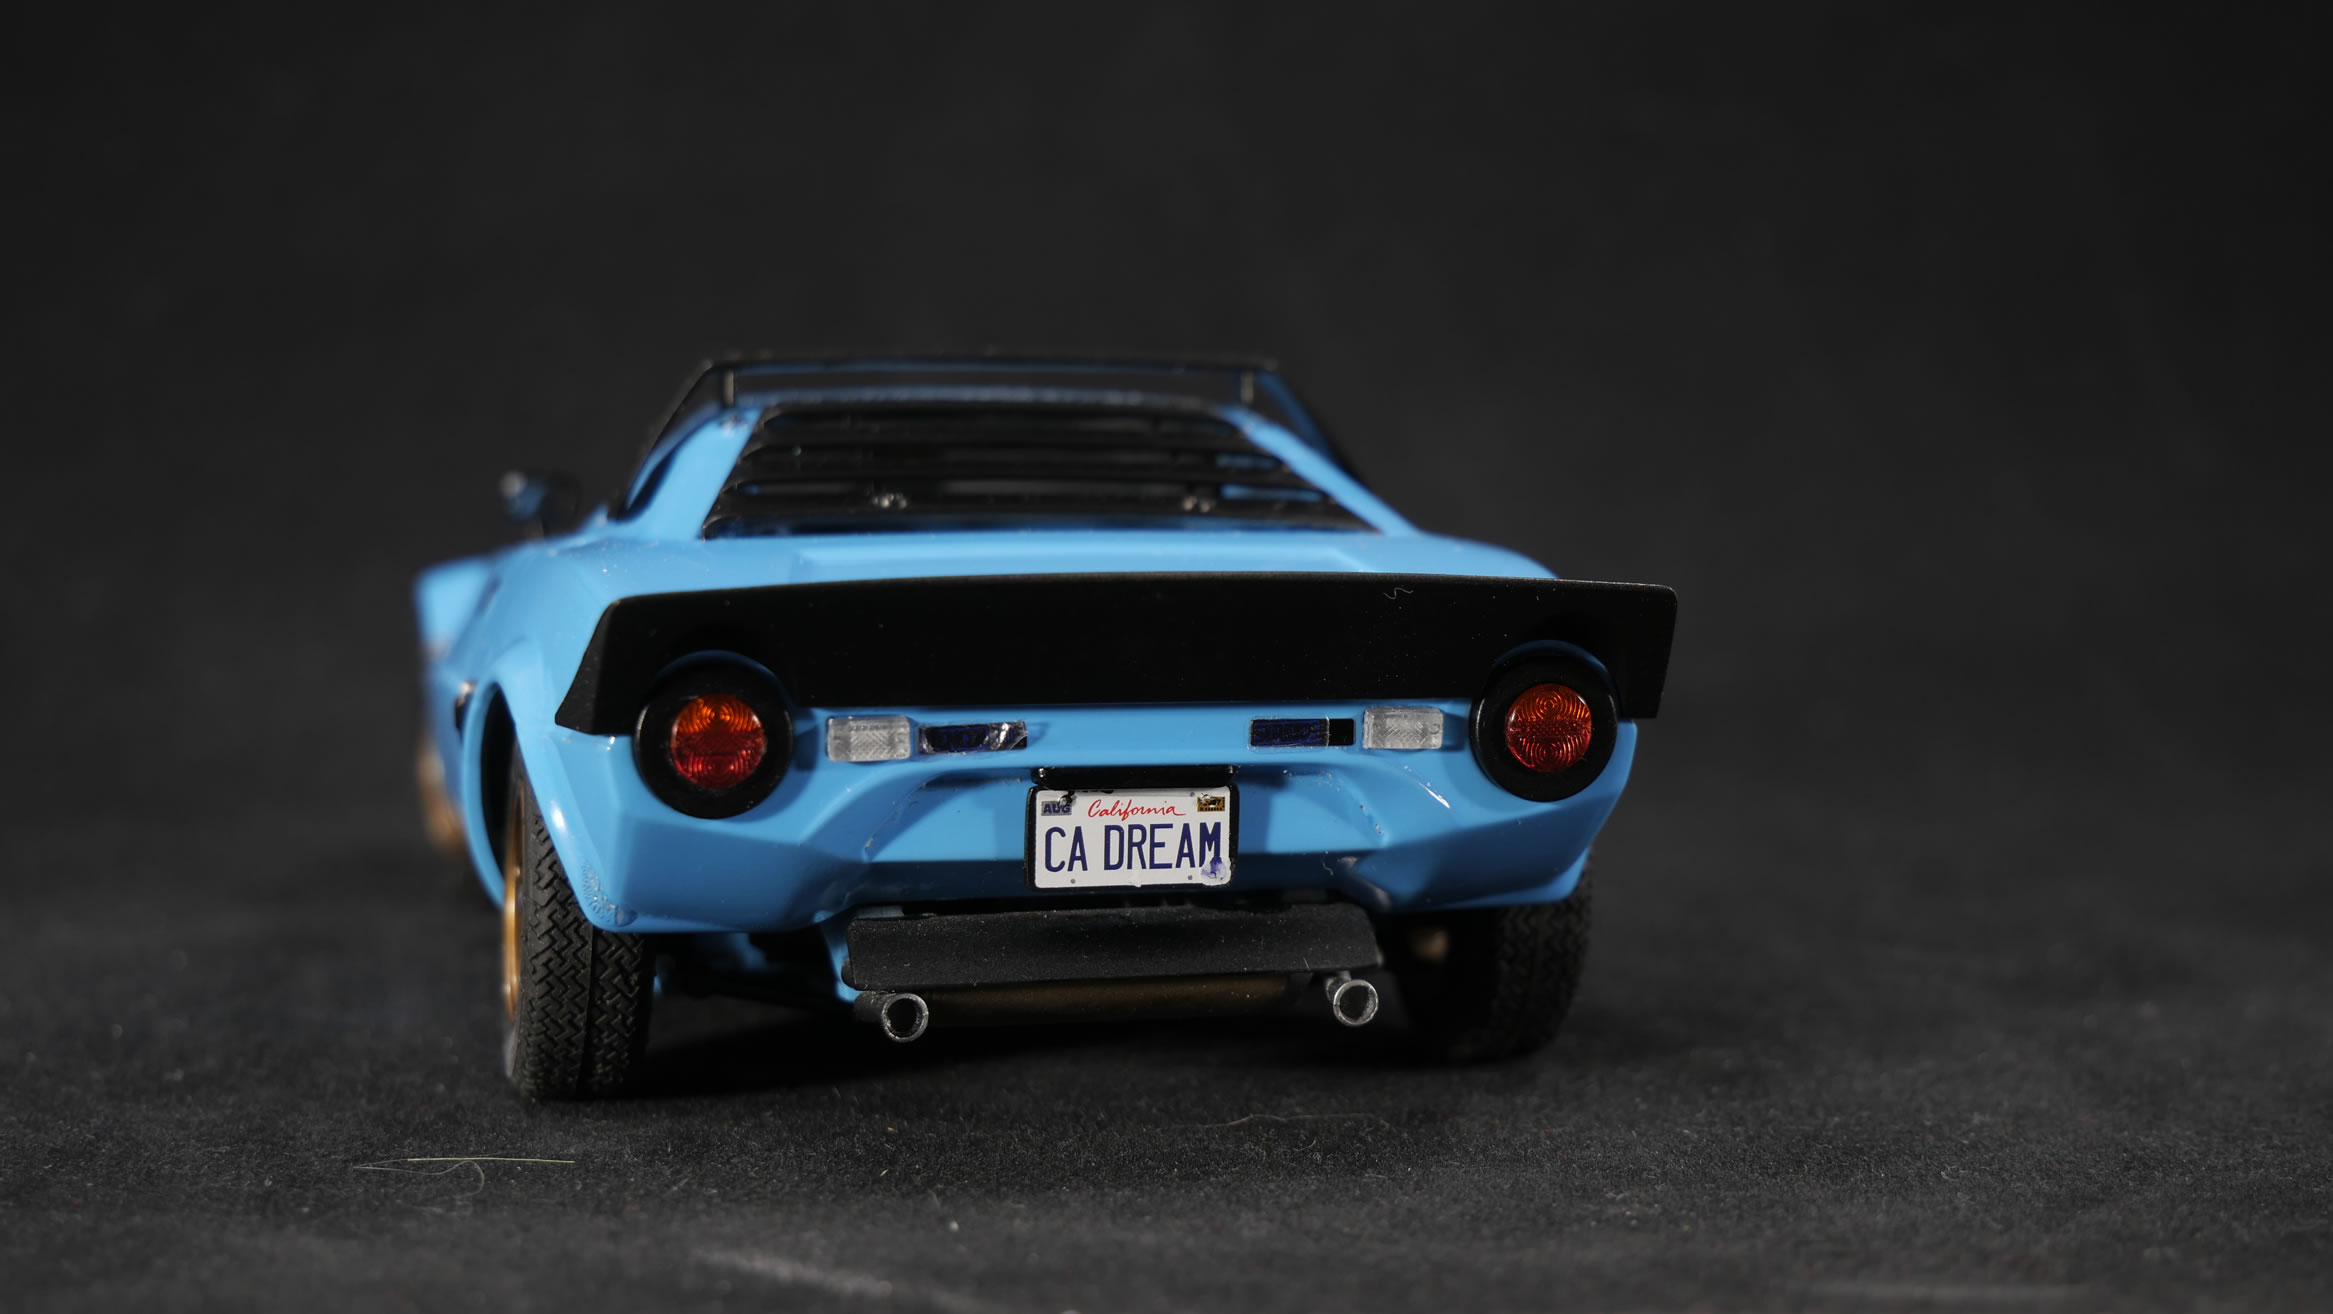
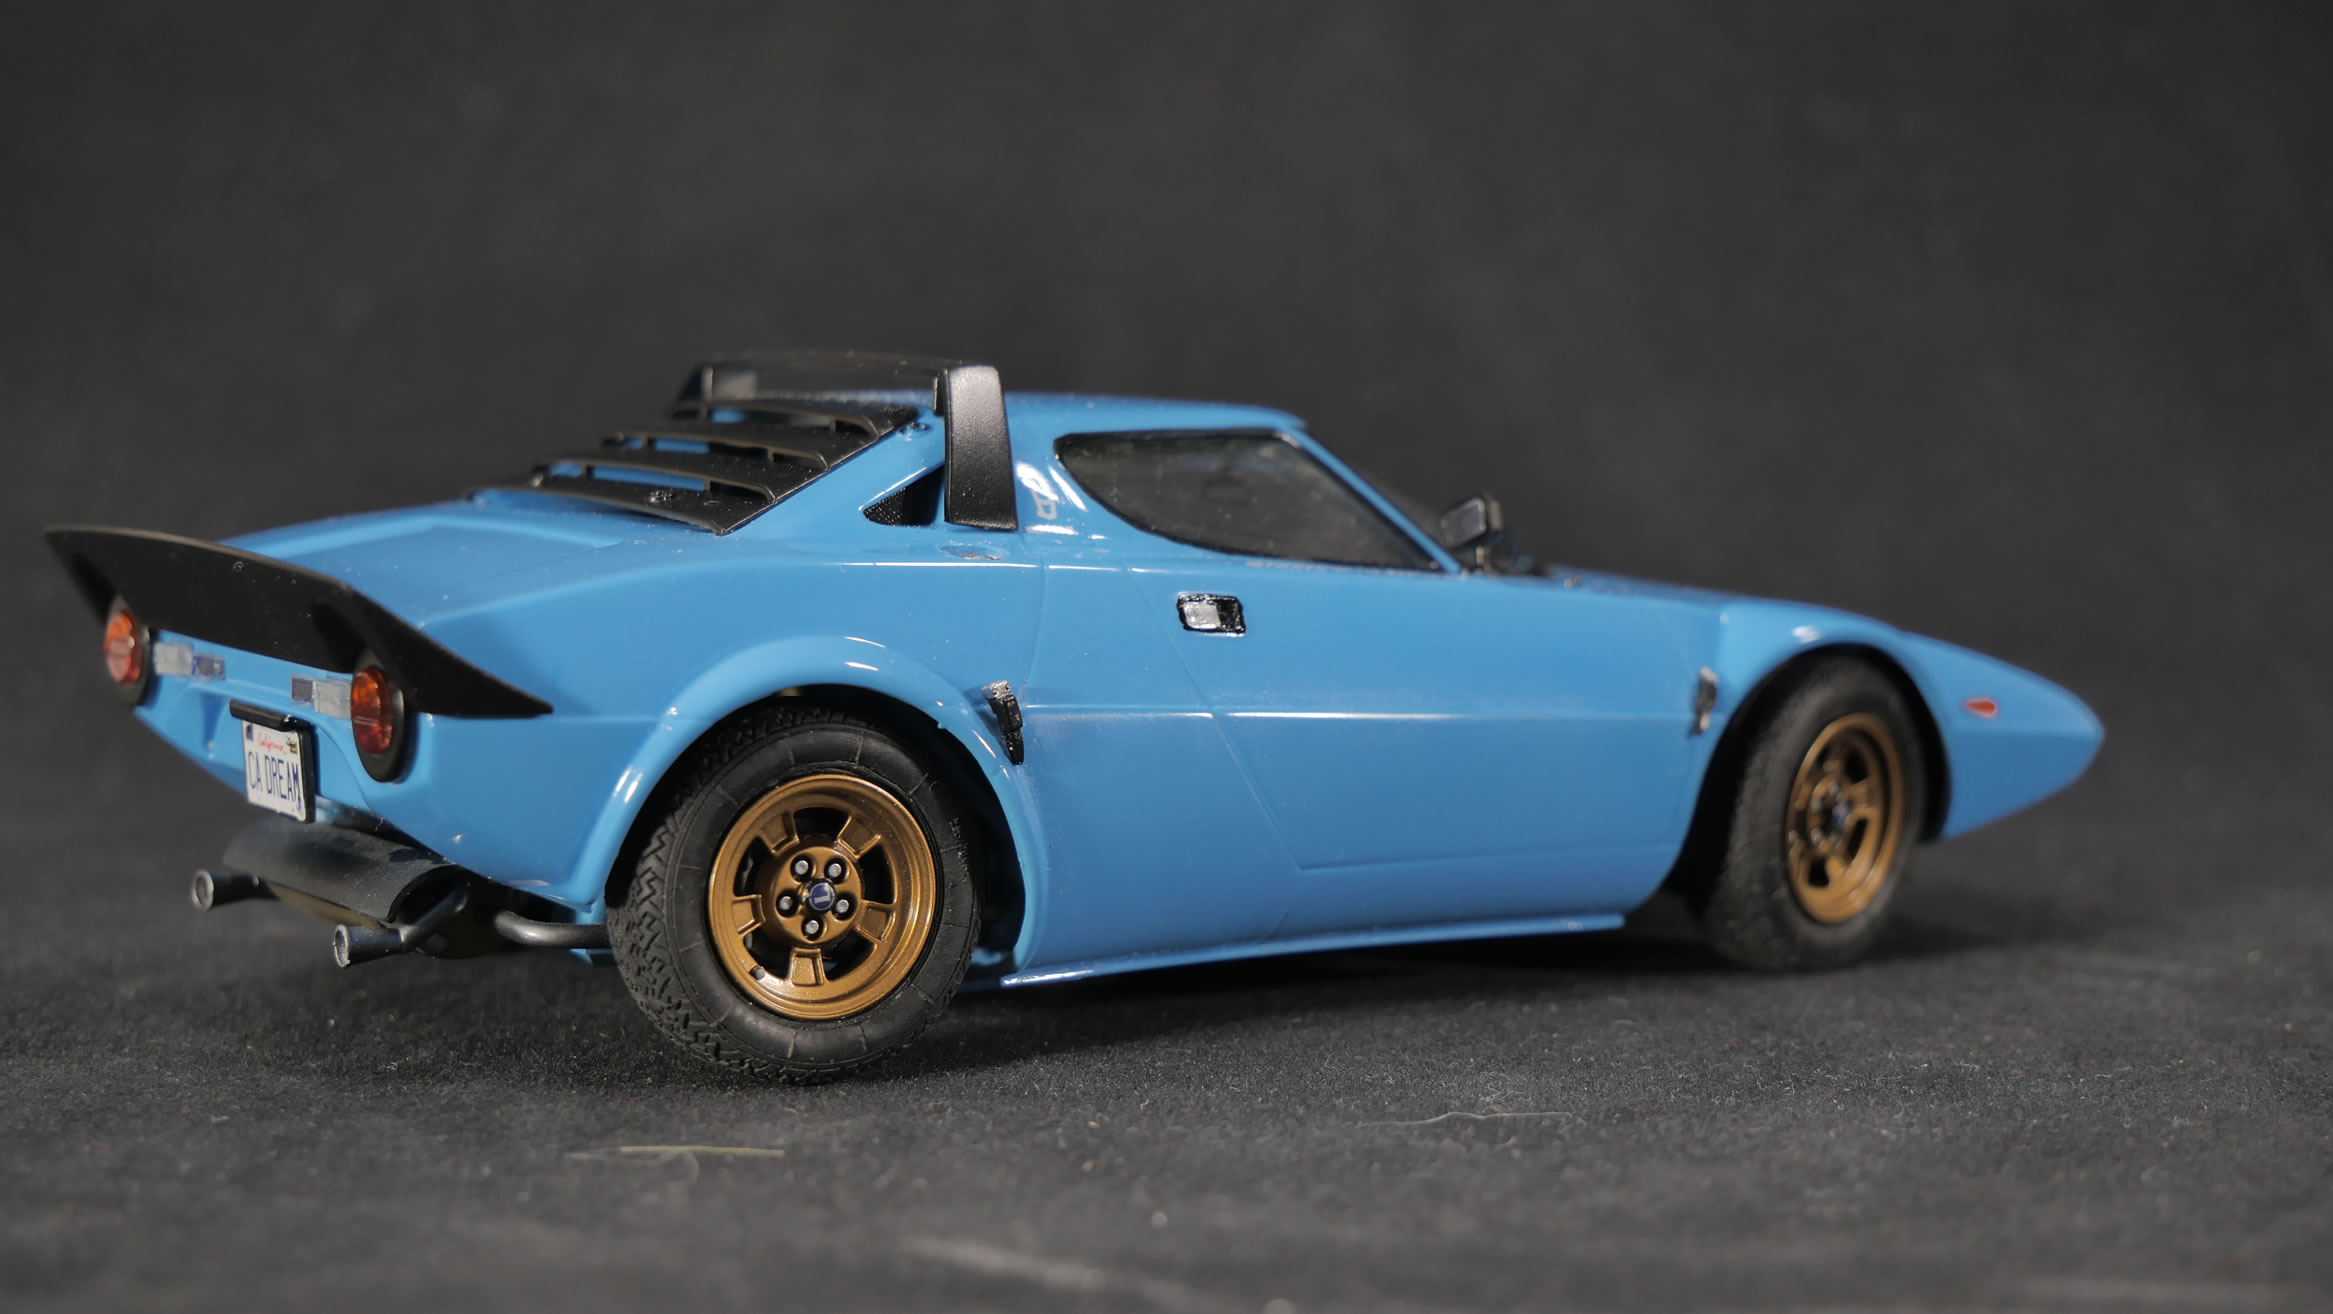
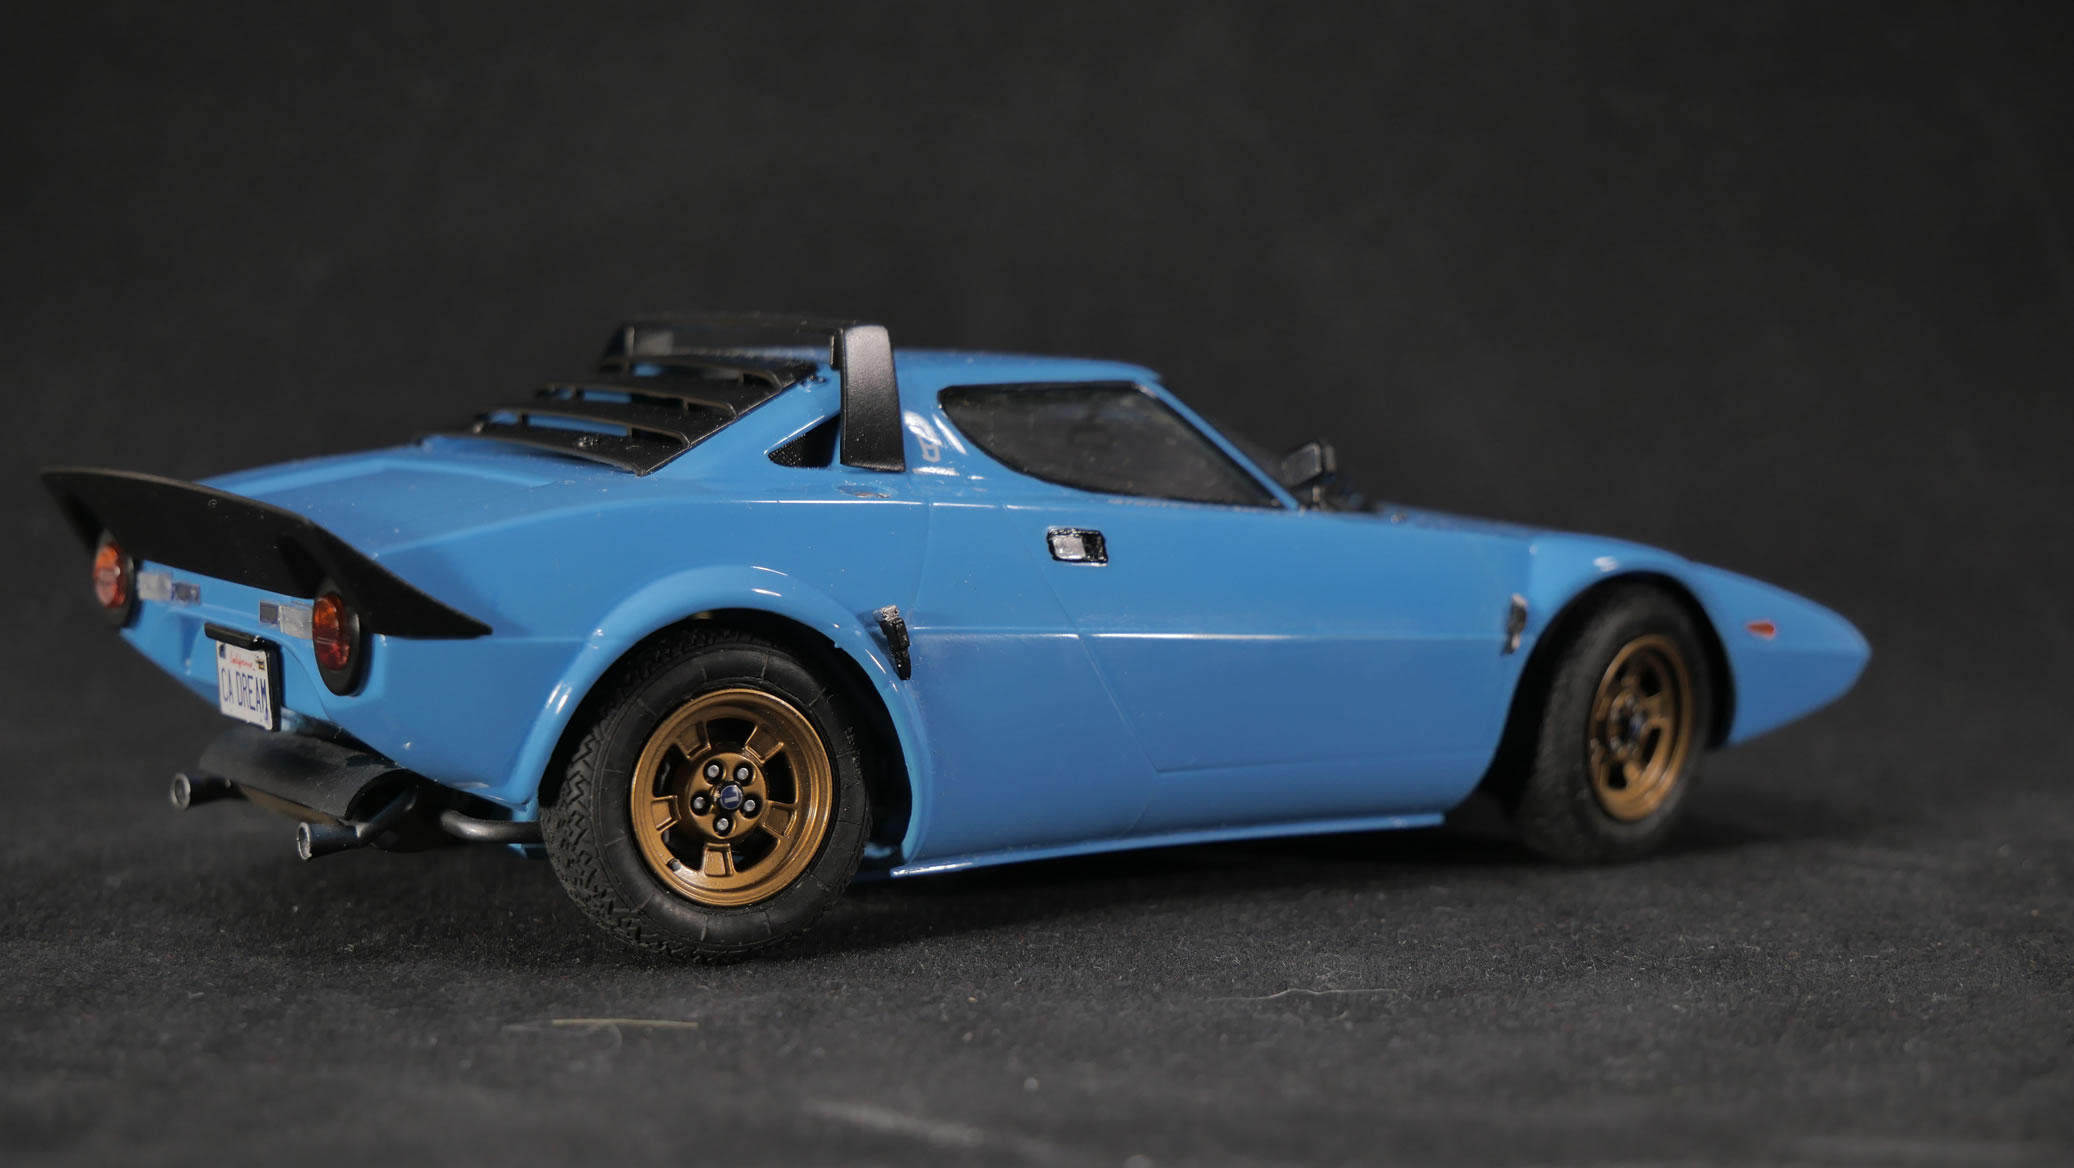
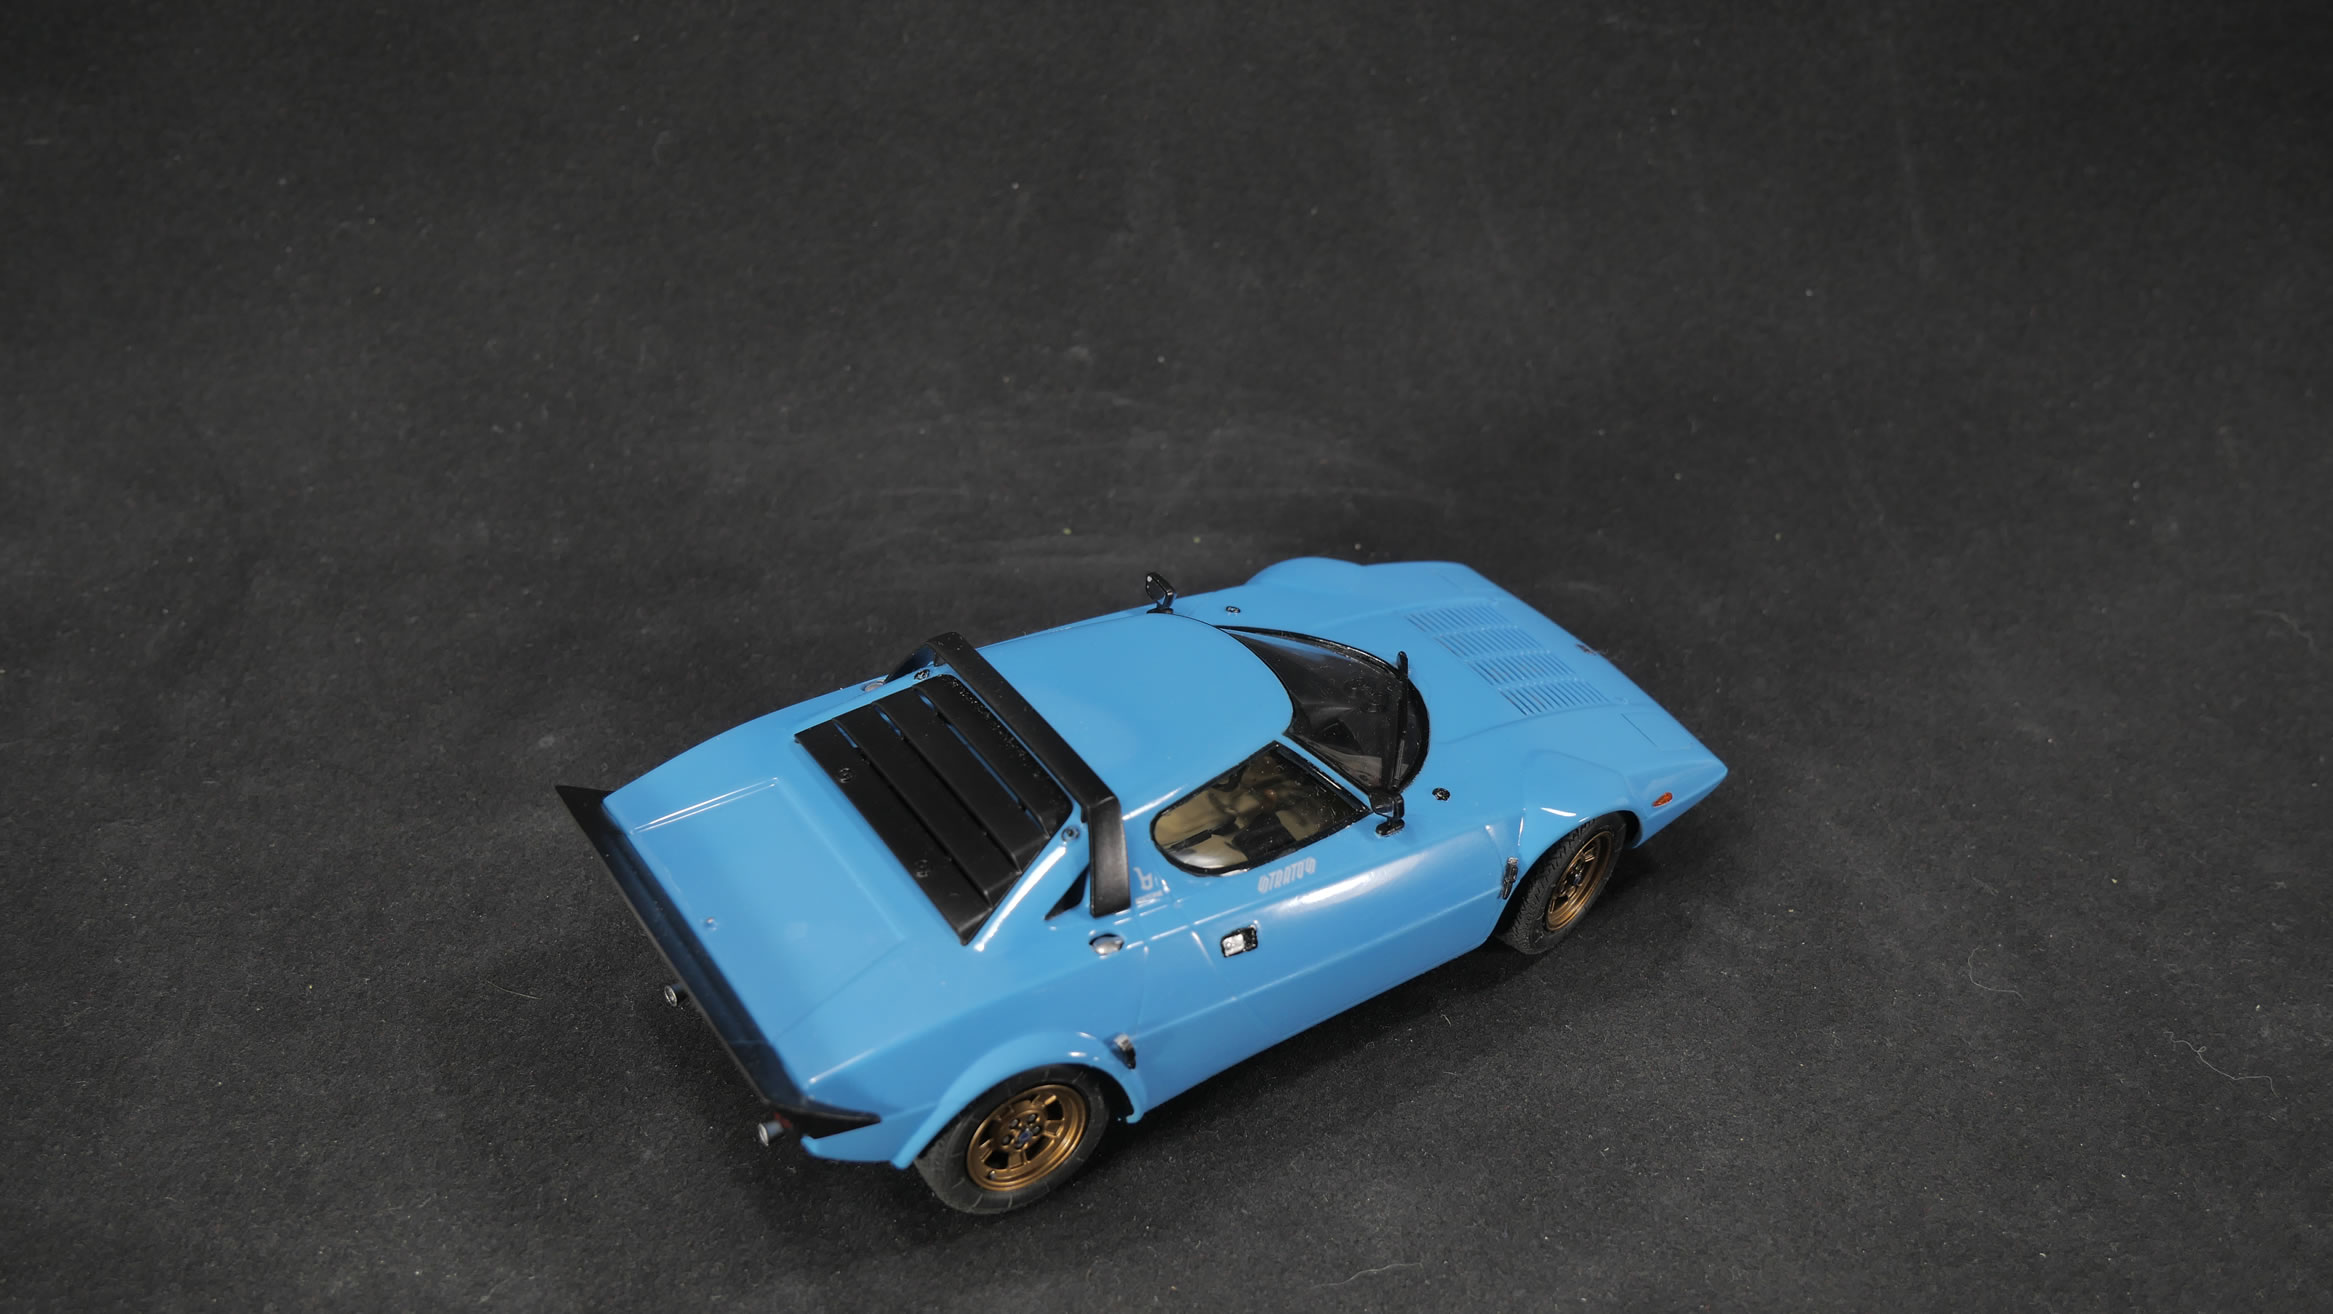
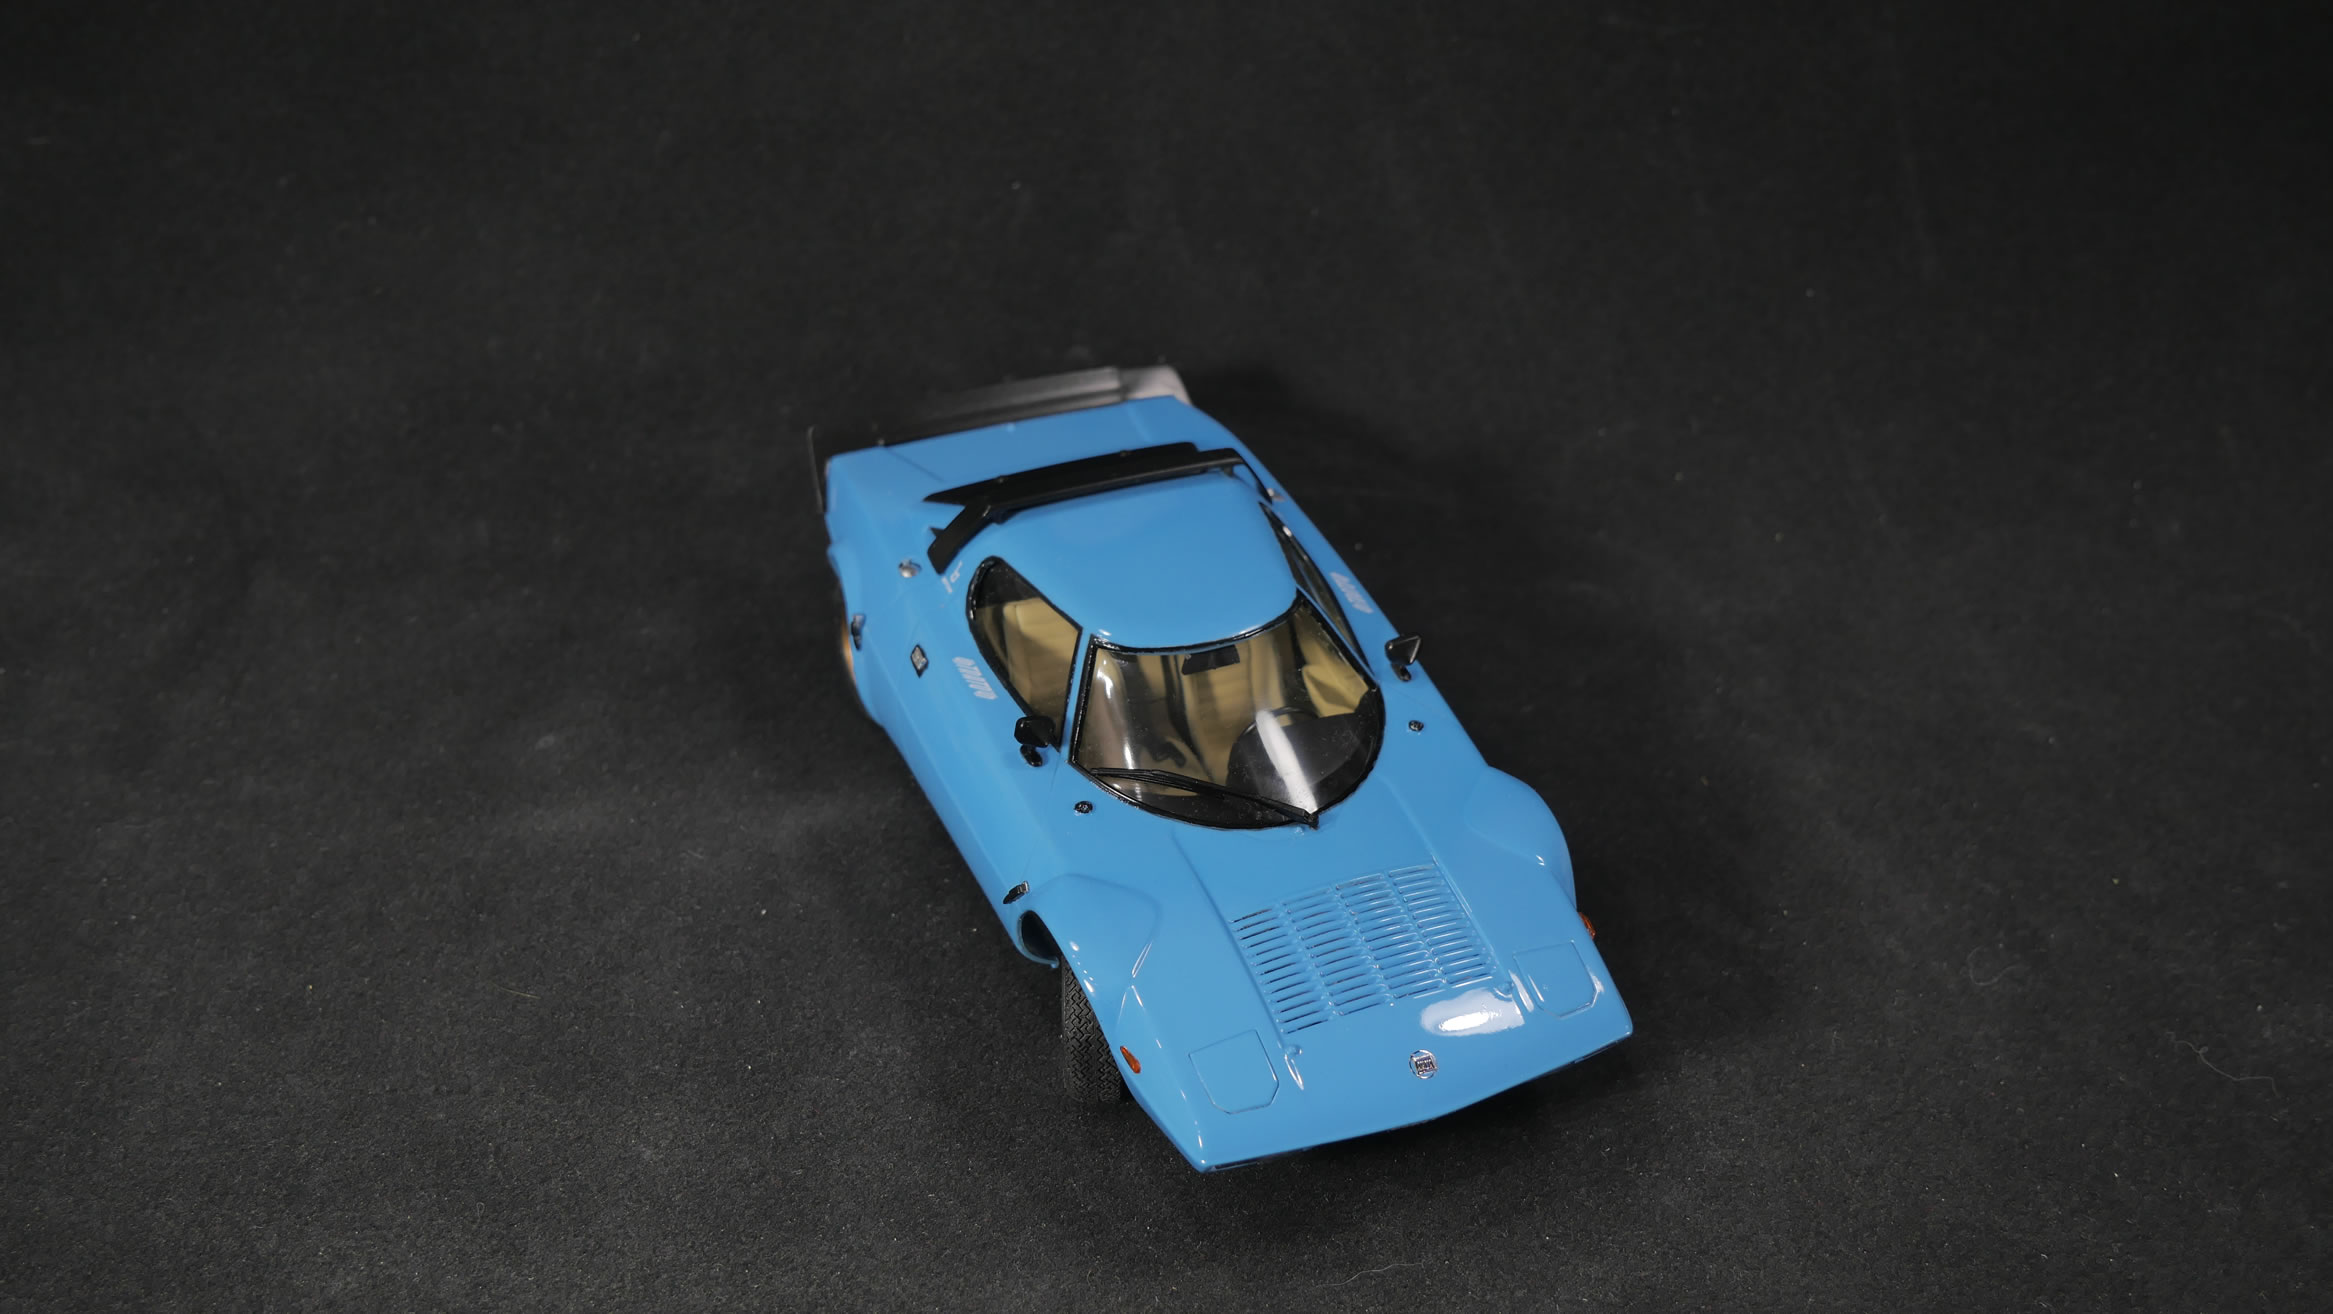
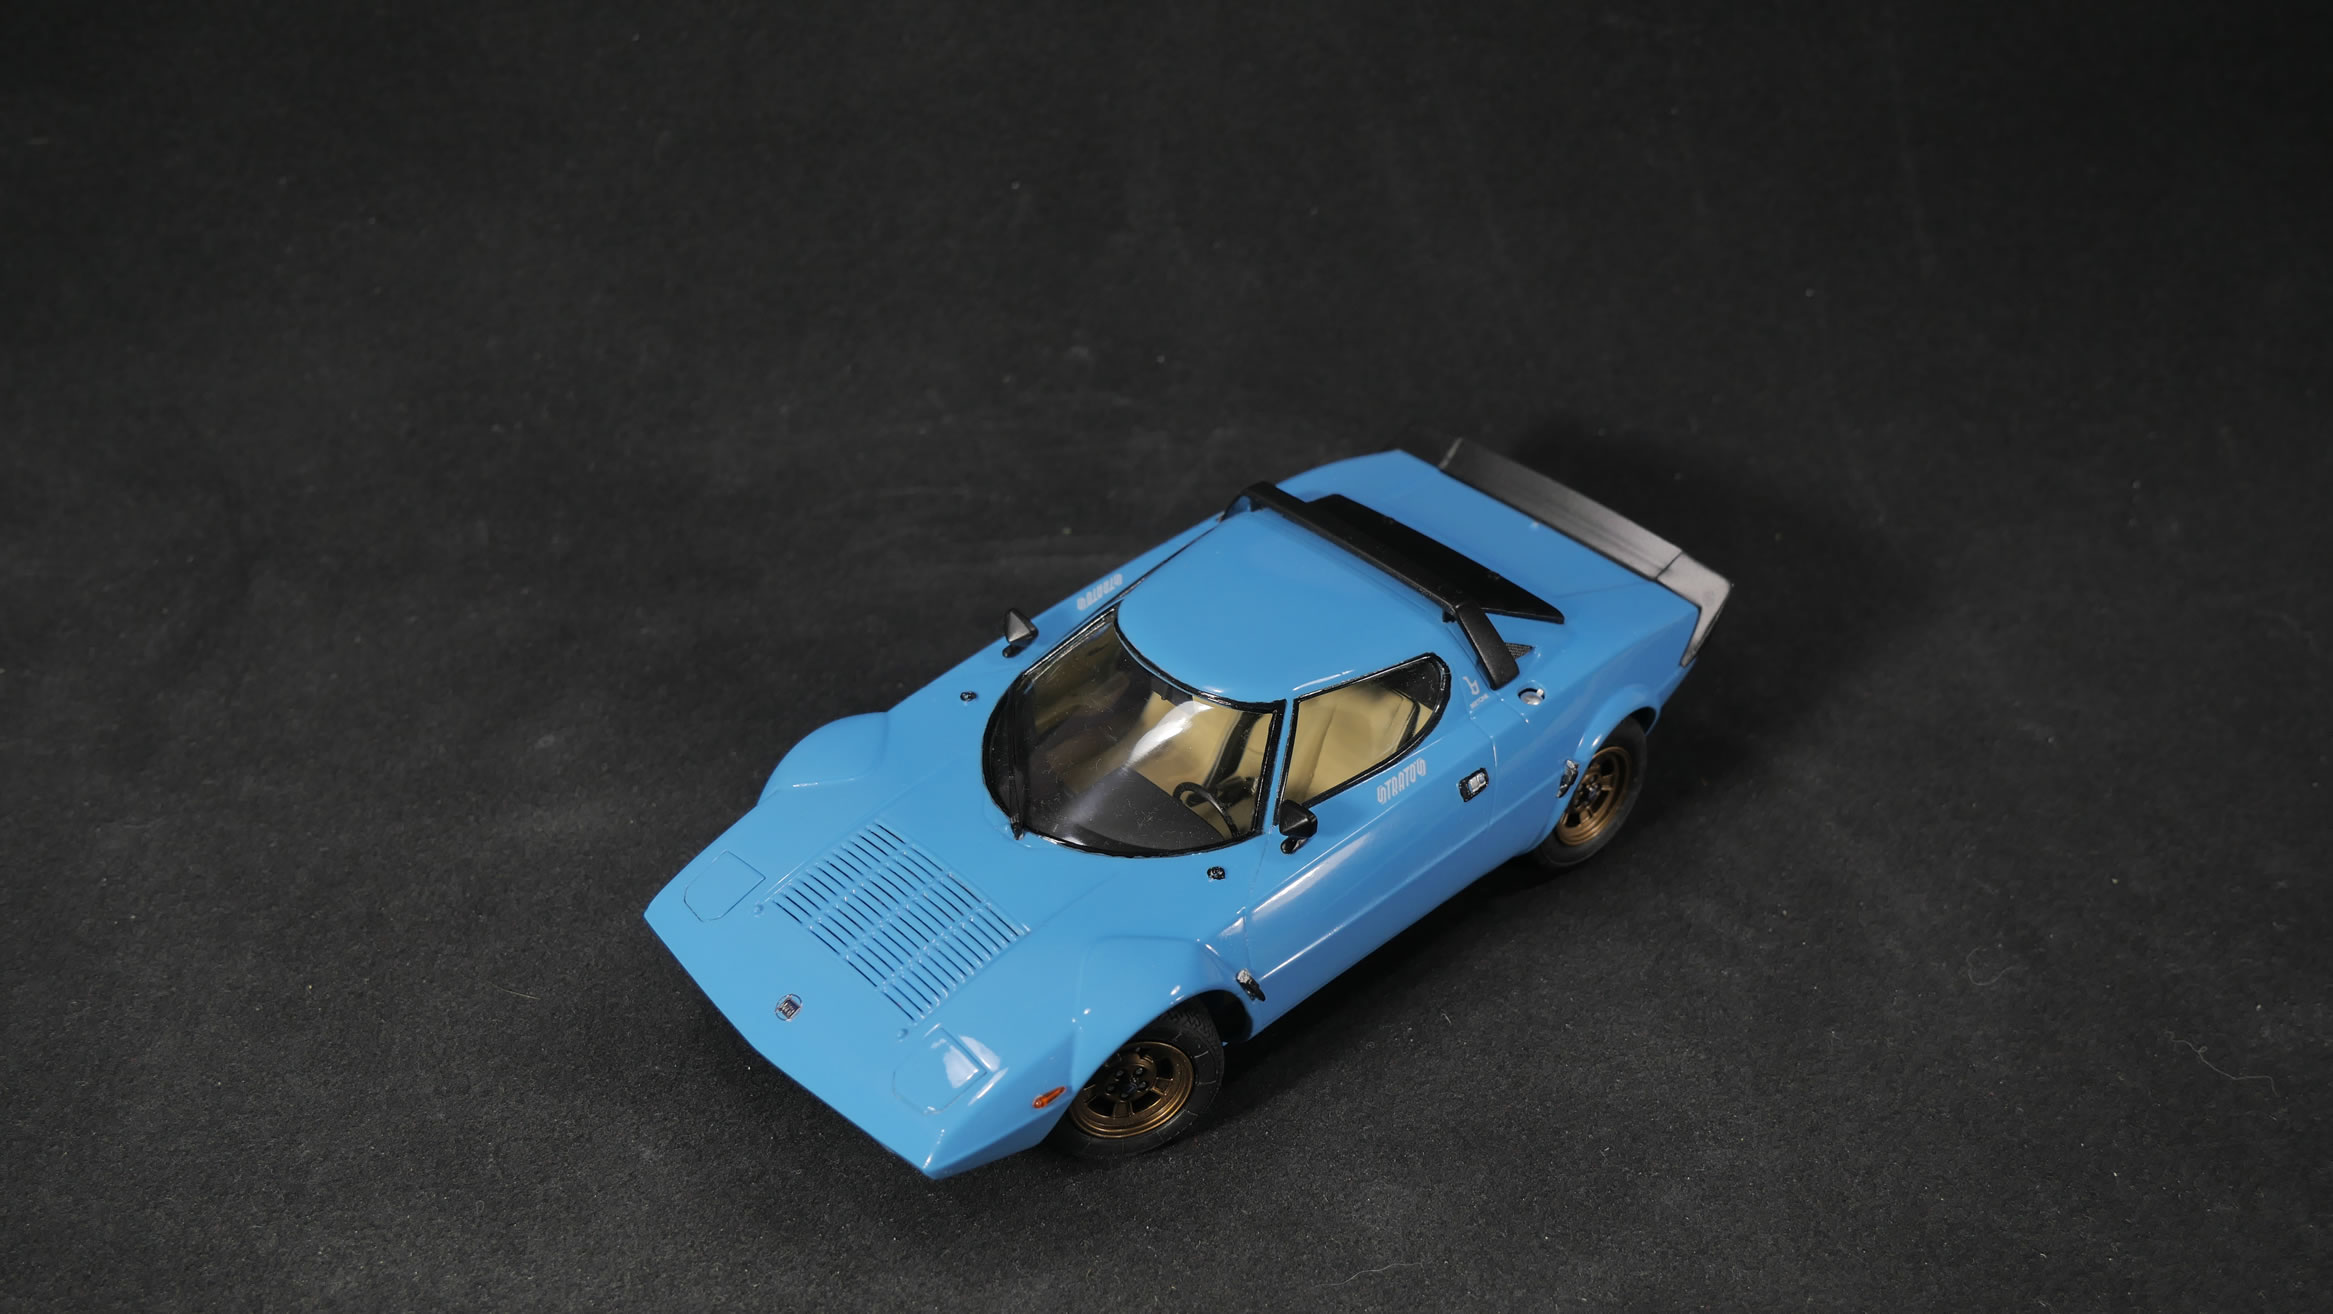
And with that, it’s done:
|
|
|
|
|
|
|
|
|

|
|
|
|