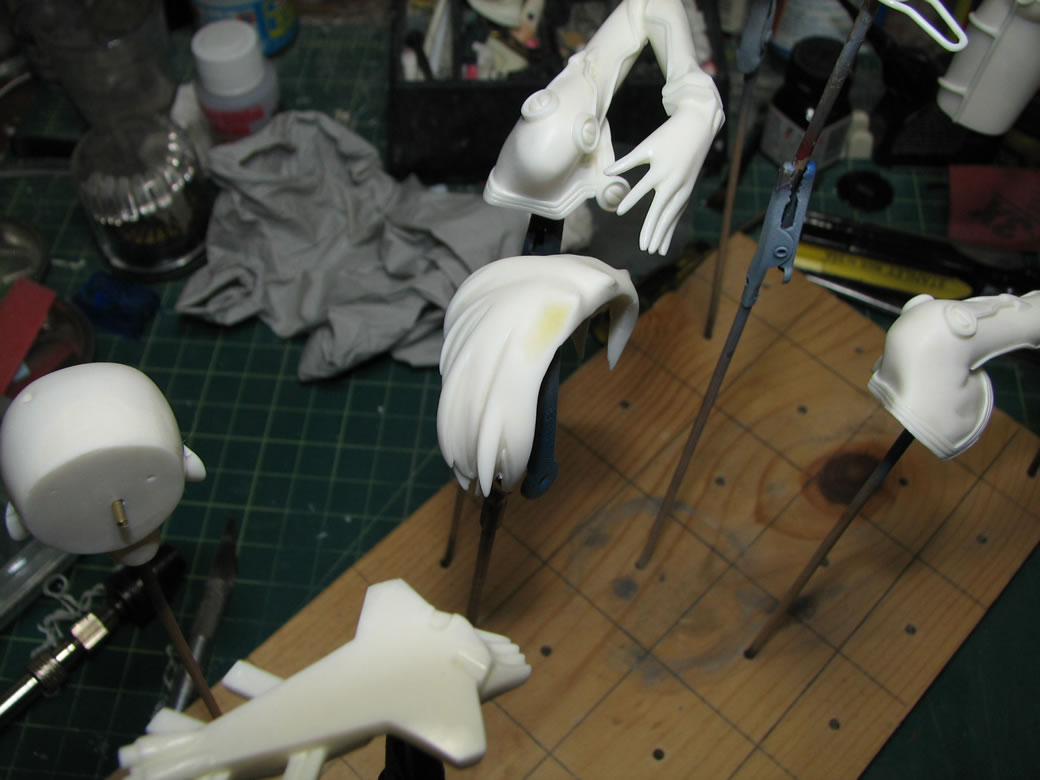
I started this kit a little over a year ago, but never created a progress page, I did take pictures of it when I started, it’s how I know the actual start date. I have the dates for when the first photos were taken. Over the past year, I got work on her at various build gatherings. Mostly taking care of the surface prep, sanding the kit, pinning, fixing a part that I ended up accidentally drilling through when I was pinning, and the last thing I got done was the initial priming session.
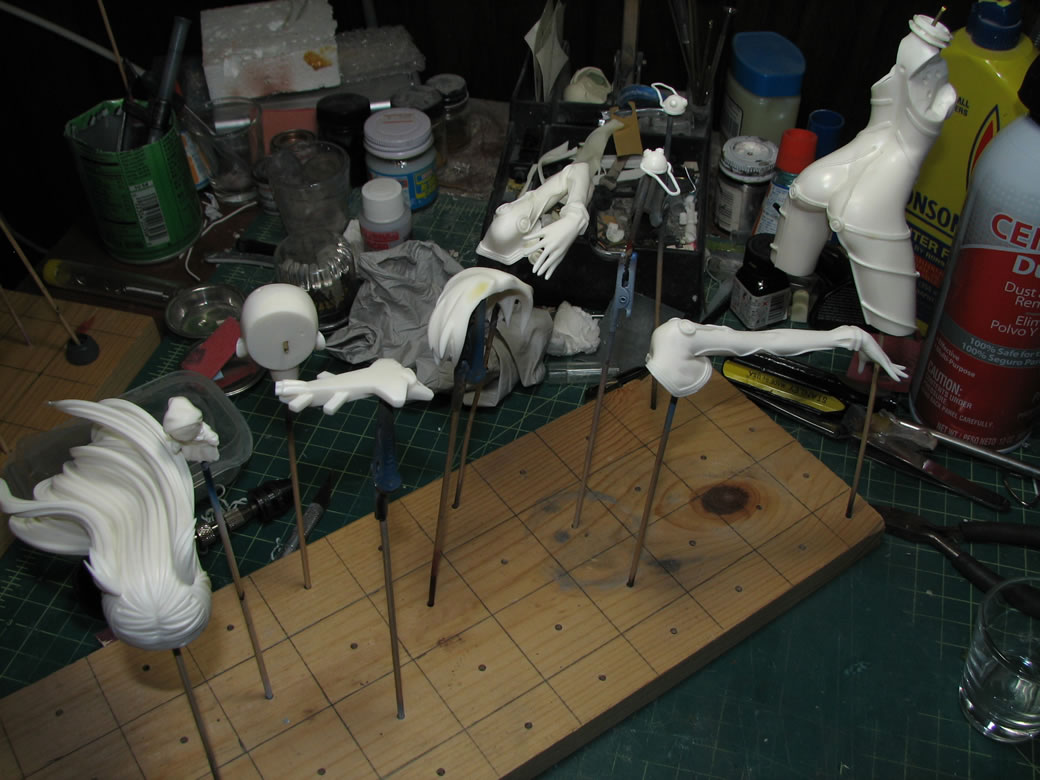

So this is an original bust kit sculpted by Polygonia that I picked up from the 2011 Winter Wonfest event. At various build gatherings, I have spent a little bit of time continuing the work on the surface prep. With the major visible items worked on such as the mold lines, surface bubbles, and drilling mistake. Light curing putty was employed to fix most of those defects. And the initial primer was session was completed.
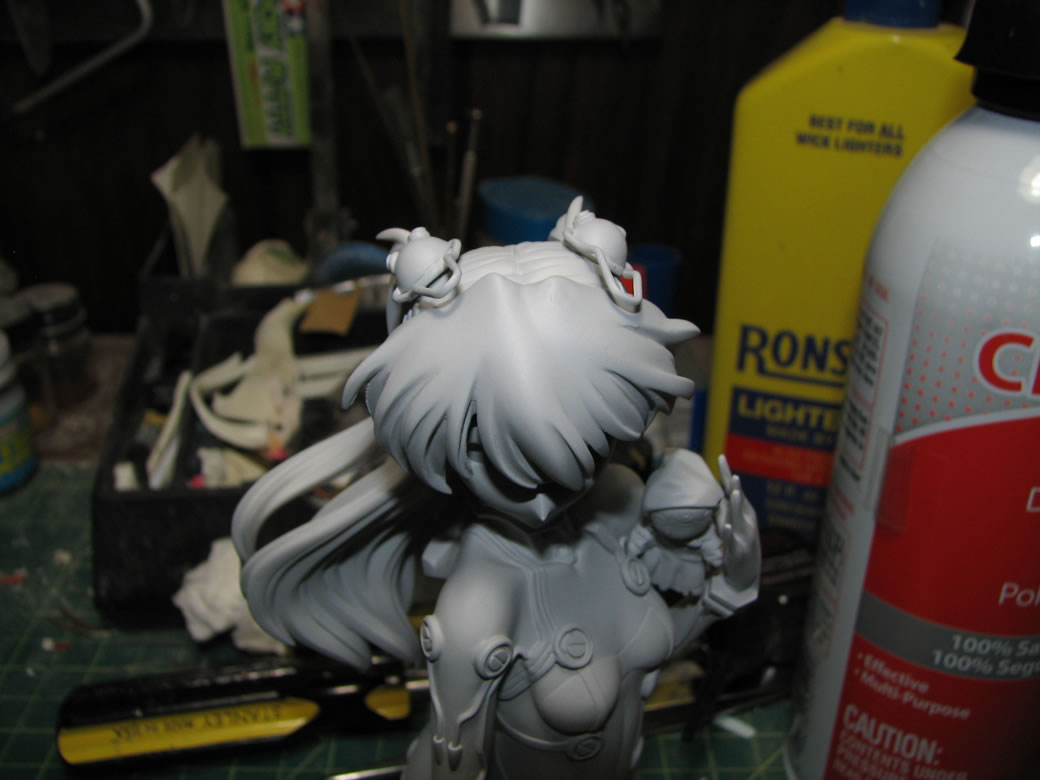
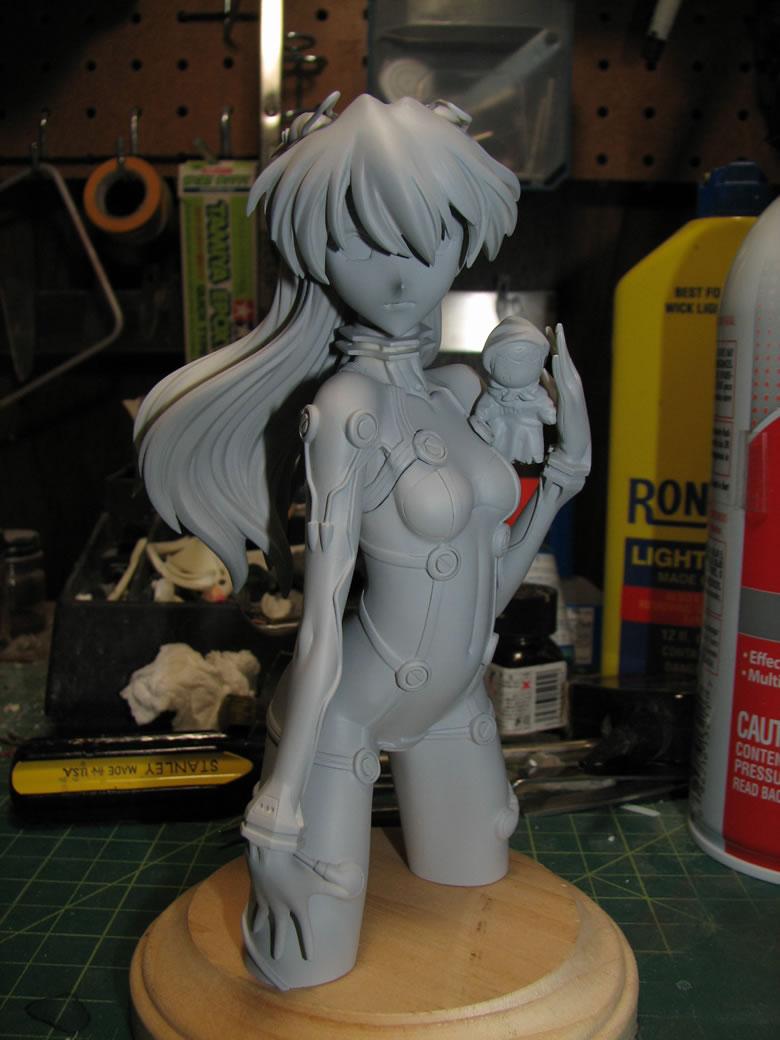
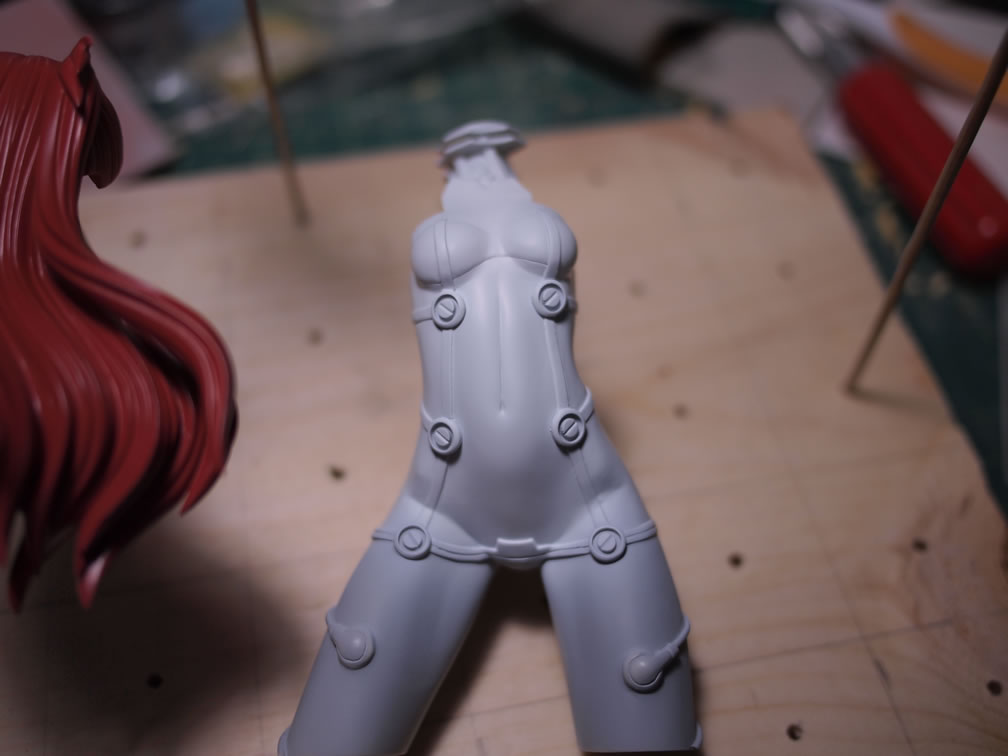
For a 14 year old character, she has a very nice ass. This has been echoed by other modelers at the build gathering.
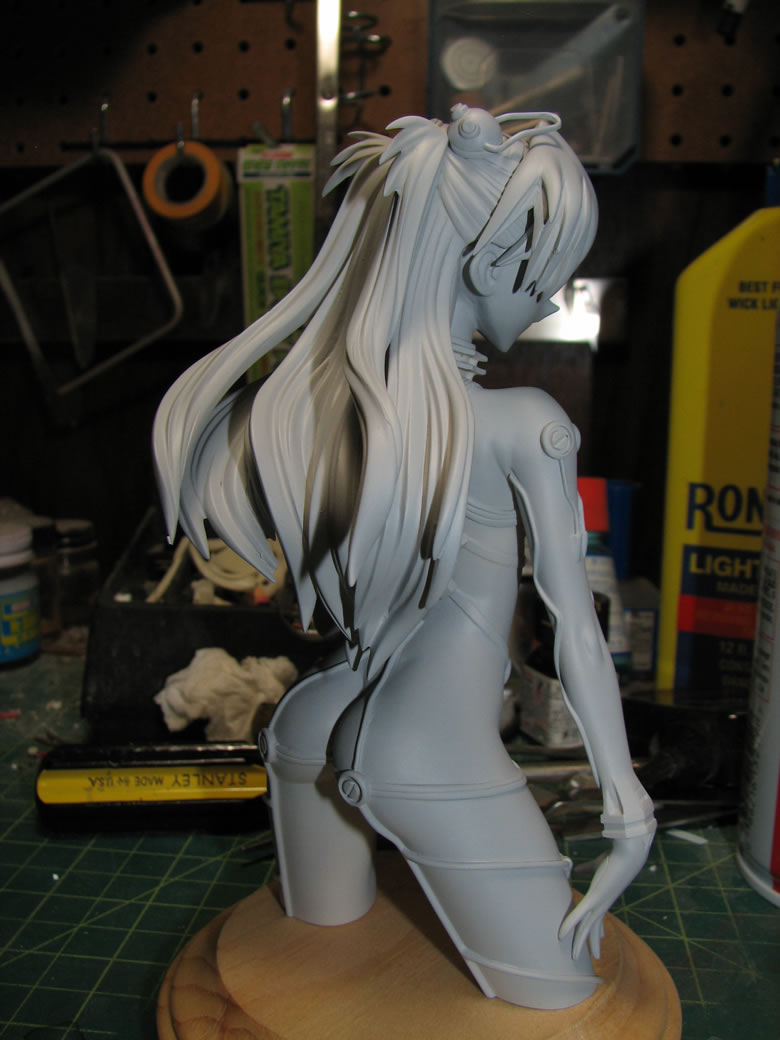
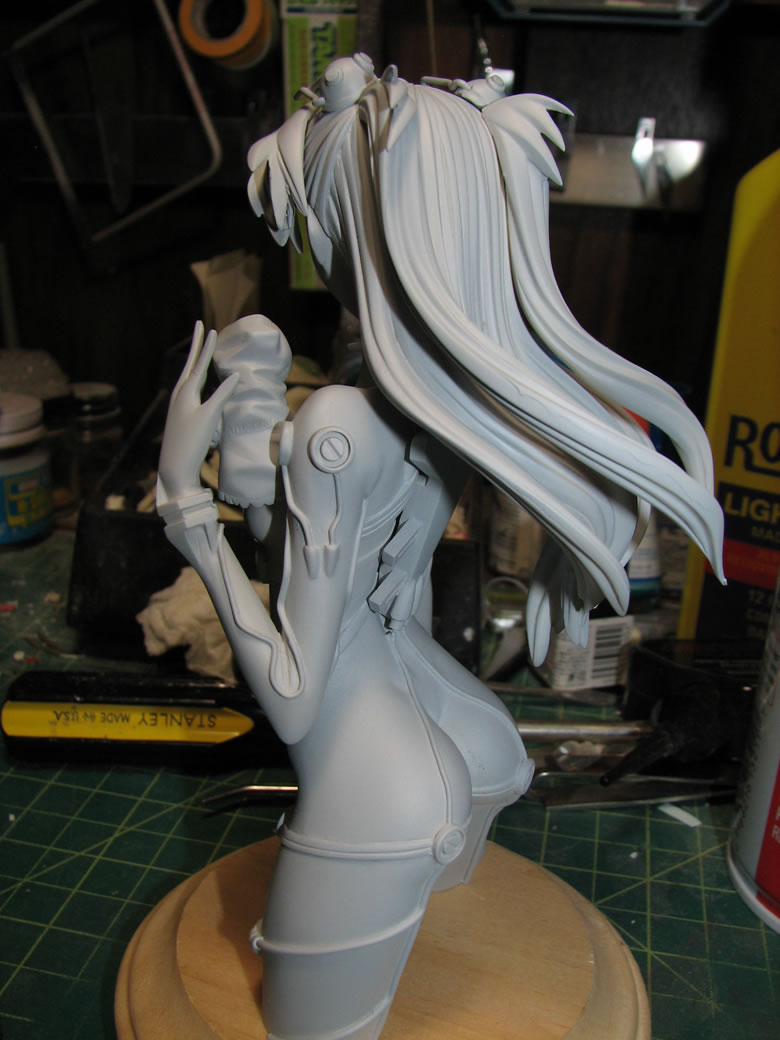
The last dates on the pictures was end of July 2010. Starting back up on the project, I found a few areas that needed some additional sanding work, but nothing major. A few mold lines here and there. Those defects were sanded out and I sprayed a second layer of primer yesterday morning. Last night, I took some high grit sanding tools and wet sanded the surface to ensure that the surface was smooth for paint. It’s hard not to feel like a creep while wet sanding that very nice ass of a character drawn to be 14.
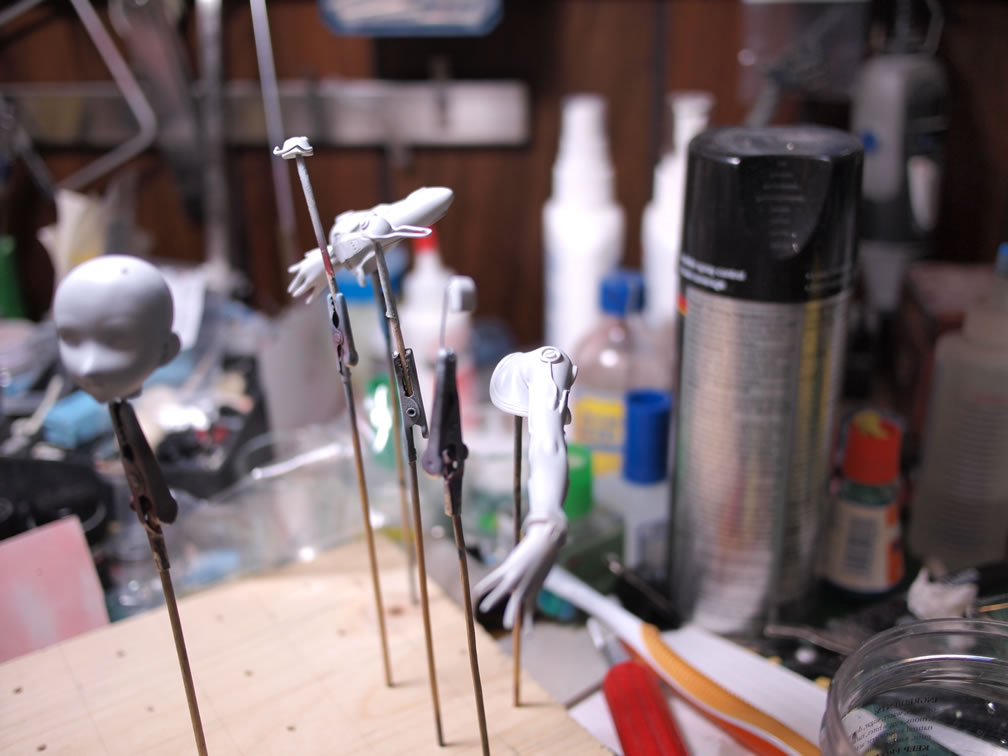
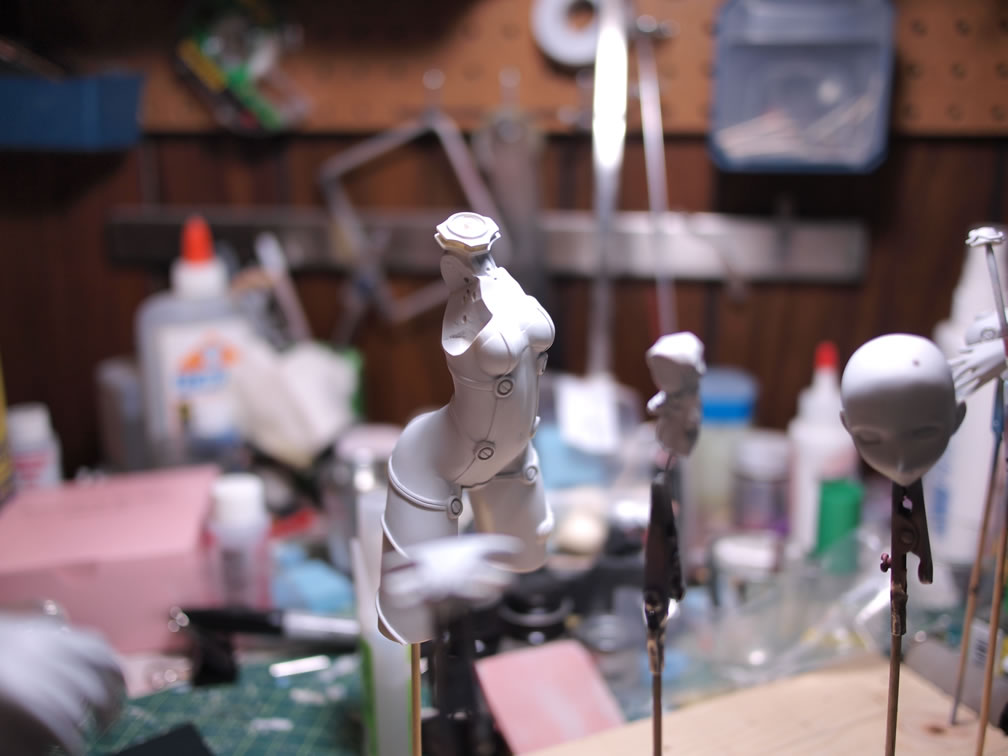
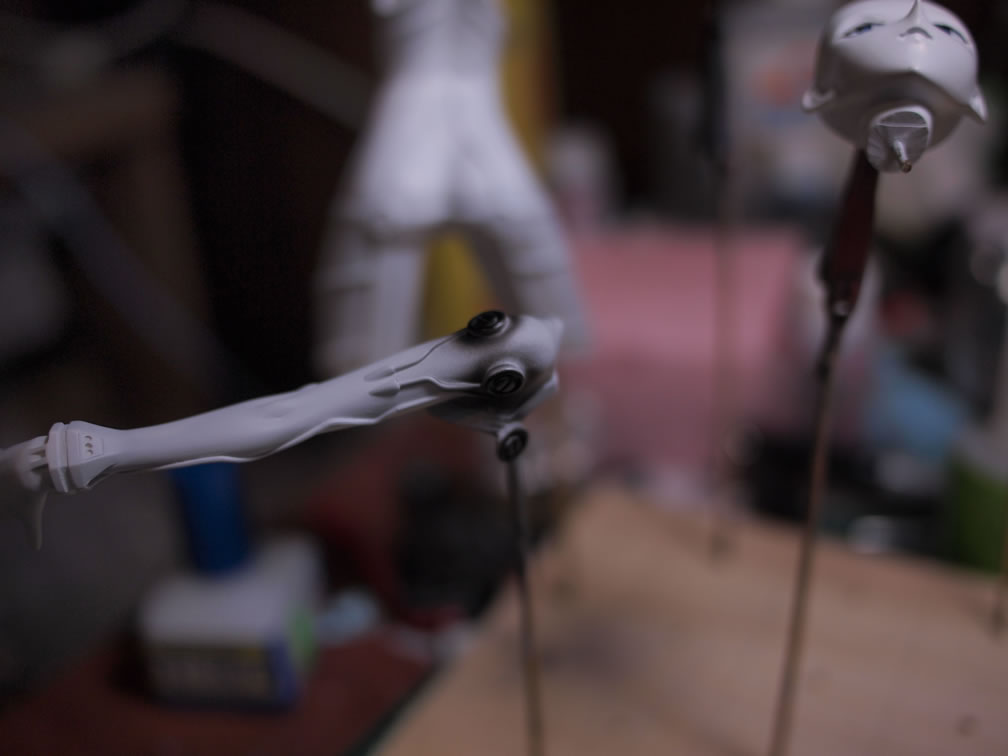
With the part prepared for paint, the head and body areas got a spraying of Mr White base. Since these areas will be painted with skin tones, I want the underlying tone to be white so that the skin tones are not affected by the grey primer. There have been times when the figure’s skin tone looked a bit on the grey side leading folks to think the character in a dead state. So to avoid that potential issue, white is sprayed as a base tone.

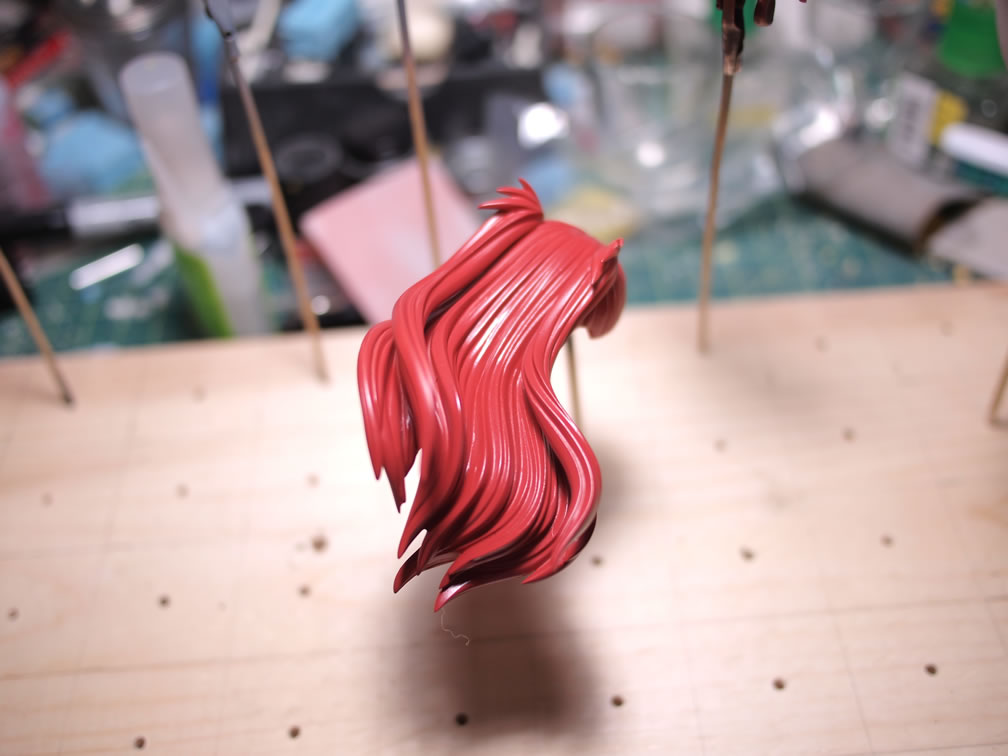
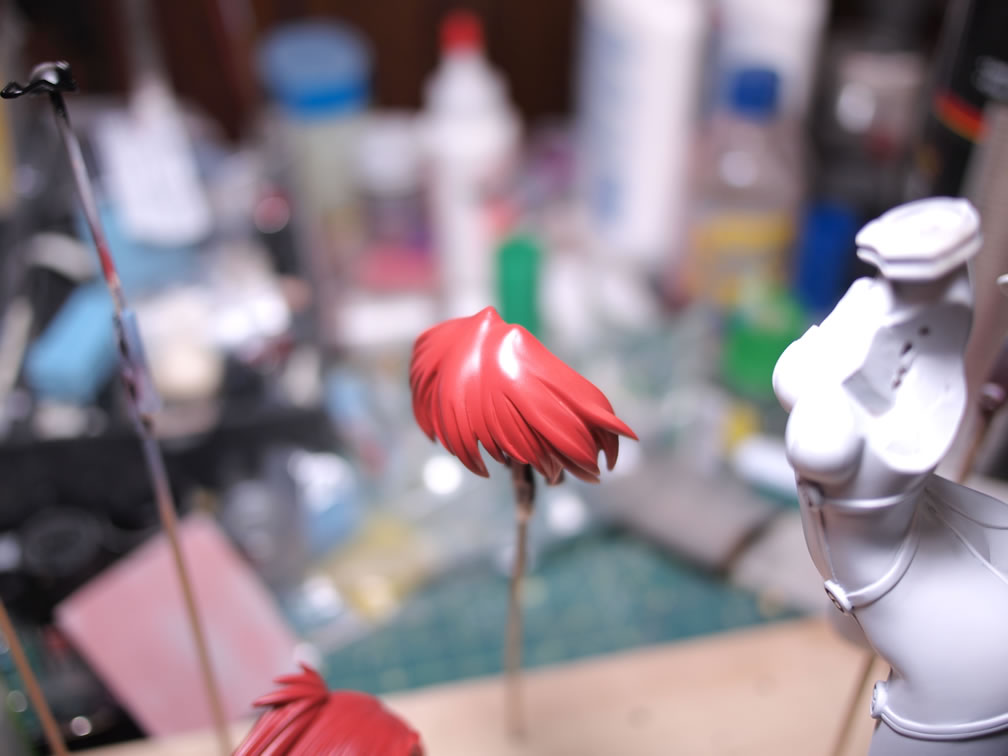
I spent some time consolidating some of my premixed paints and mixed up a reddish brown base color for the hair. I also mixed up a light orange red for the highlights. I sprayed the reddish brown over the hair parts.
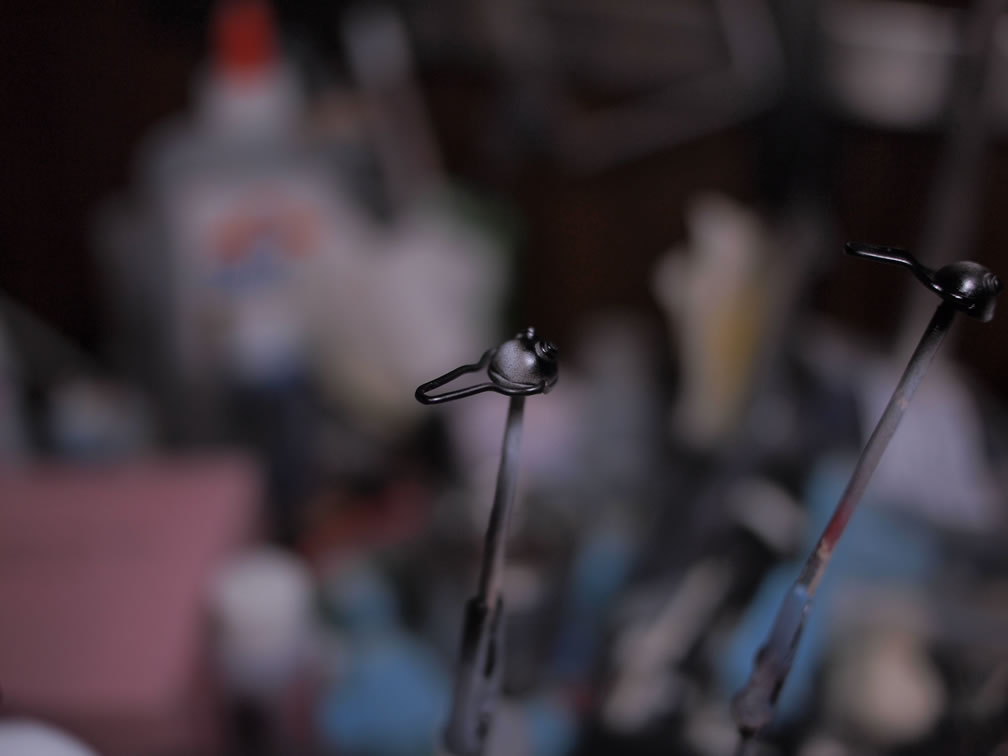
I also sprayed some of the detail areas with a gloss black. I’m planning on using alclad prismatic colors for the detail screw areas. Other areas that will be black are also sprayed.


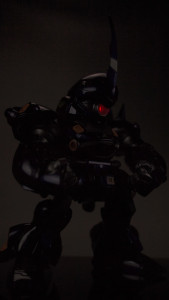
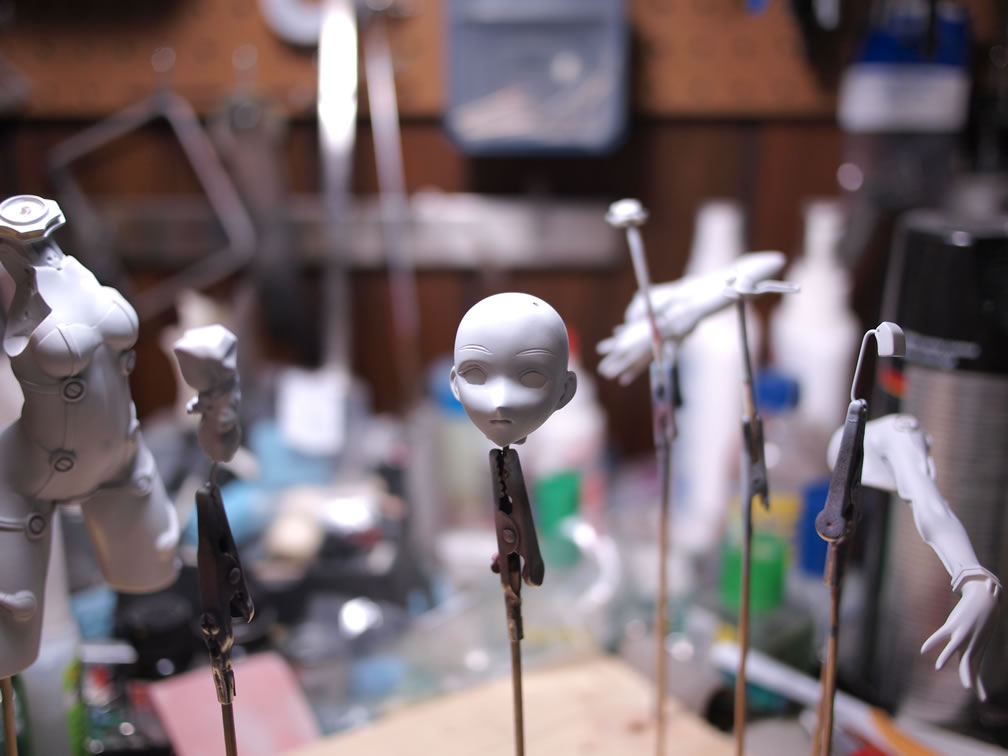
The last thing I did was work on the eyes. The kit came with eye decals. I’d never used eye decals before, so I figured why the hell not. I cut them out, dipped them into water to release the paper backing, then applied a small amount of Mr Decal setter to the eye sockets and slid the decals into place. The decals were positioned using a moist q-tip. And once in place, excess water was soaked up and a layer of Mr Decal Softer was added to soften the decals and make sure they adhere to the curves in the eyes. Here are some pictures. I added the hair pieces to make it look less creepy, granted she’s still ghost white in color, but better than looking at a cancer patient I guess.
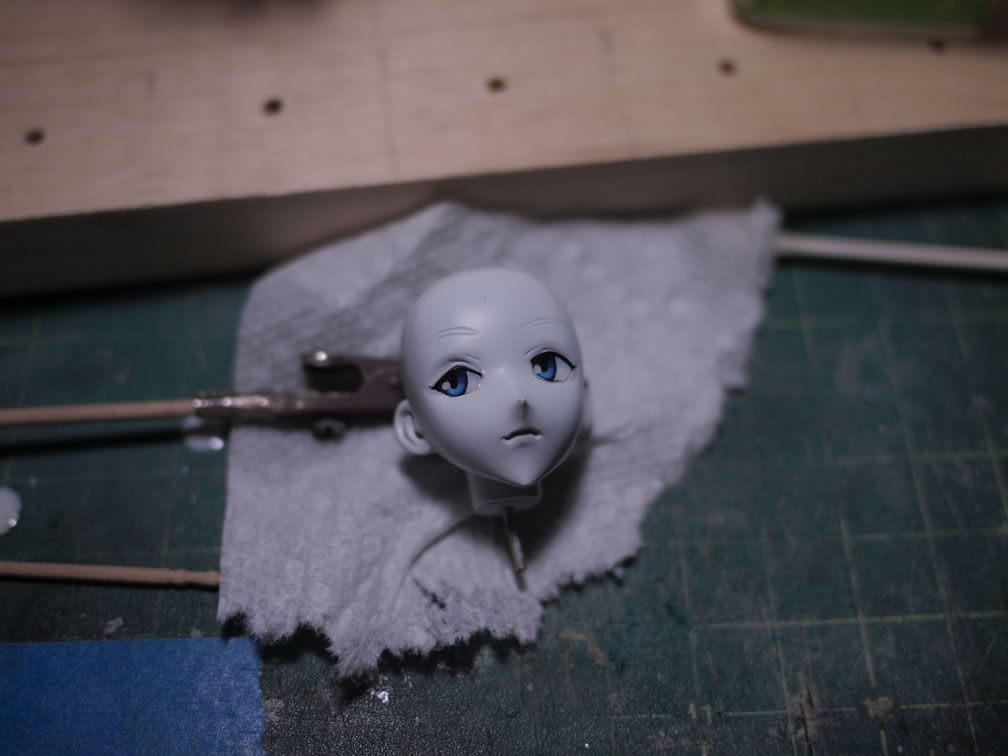

This morning before work, I sprayed a layer of clear gloss over the eyes to seal everything in and give the eyes that “wet” look. Tonight, I’ll mask off the eyes and get the skin tones painted. Since all the prep work has been done over the past year, this kit shouldn’t take too long before I get it completed. Hopefully I don’t lose interest and it goes back onto the shelf for yet another year. Motivation is fairly high as I’ve yet to finish a figure kit this year. I need something new to enter into the upcoming fall contests.