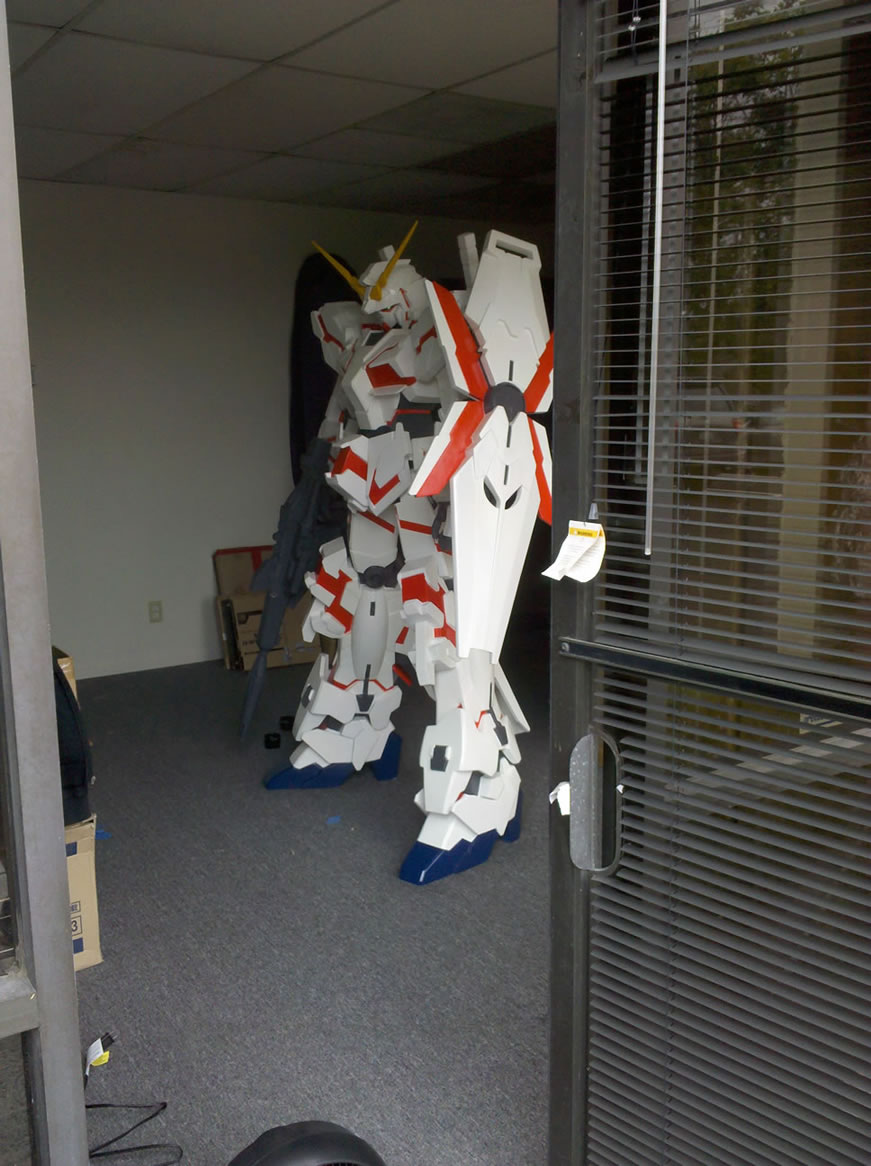
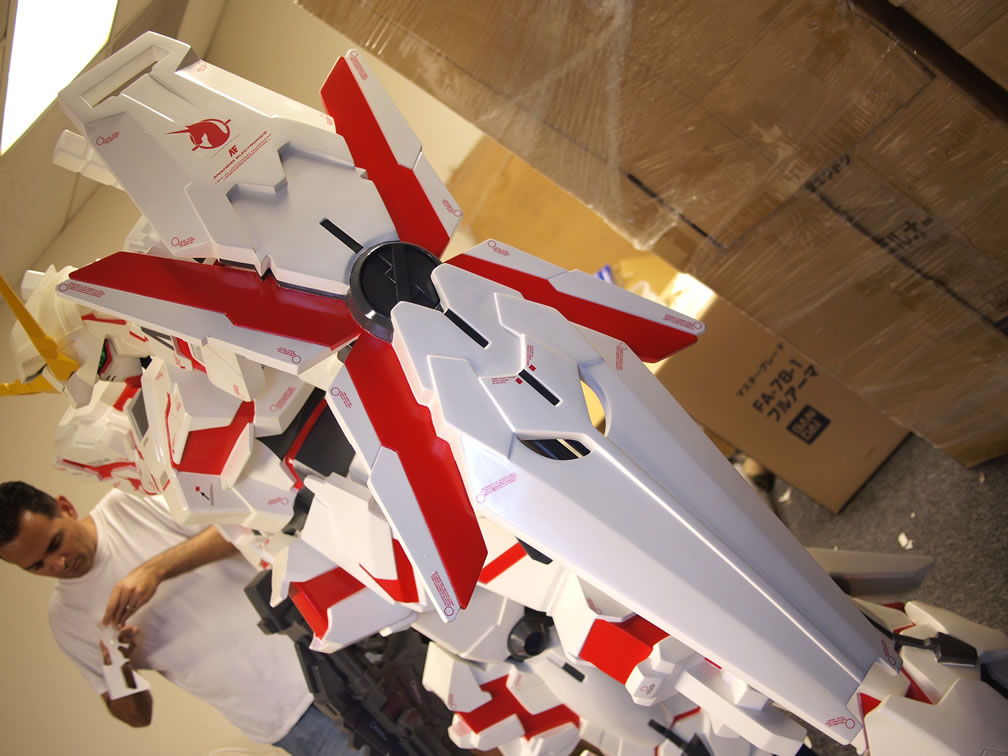
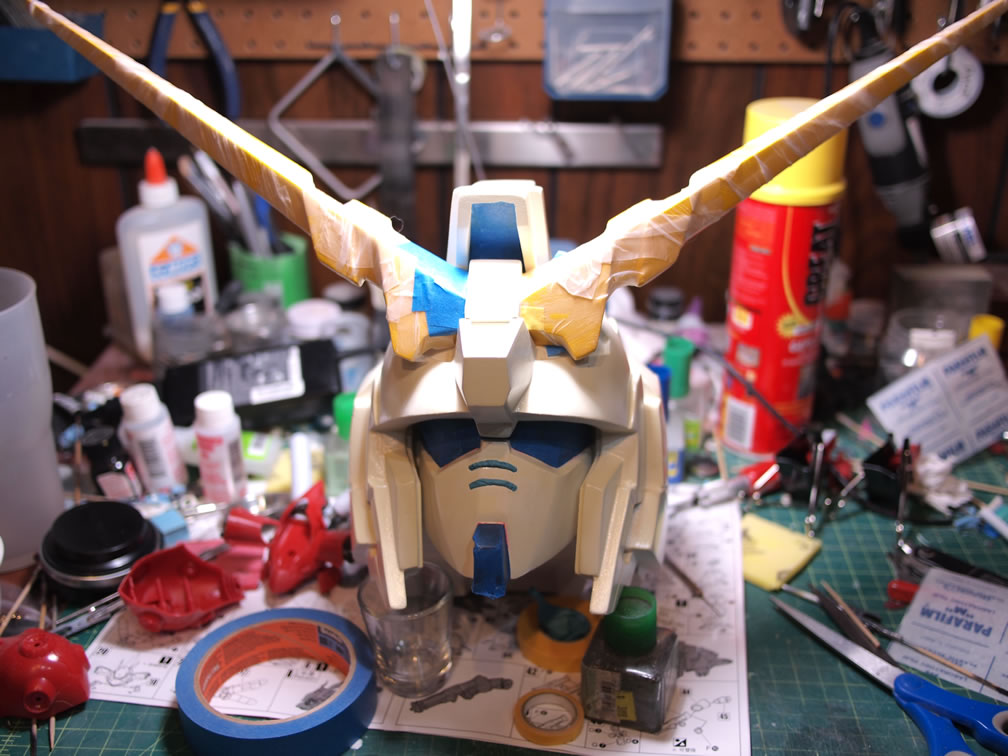
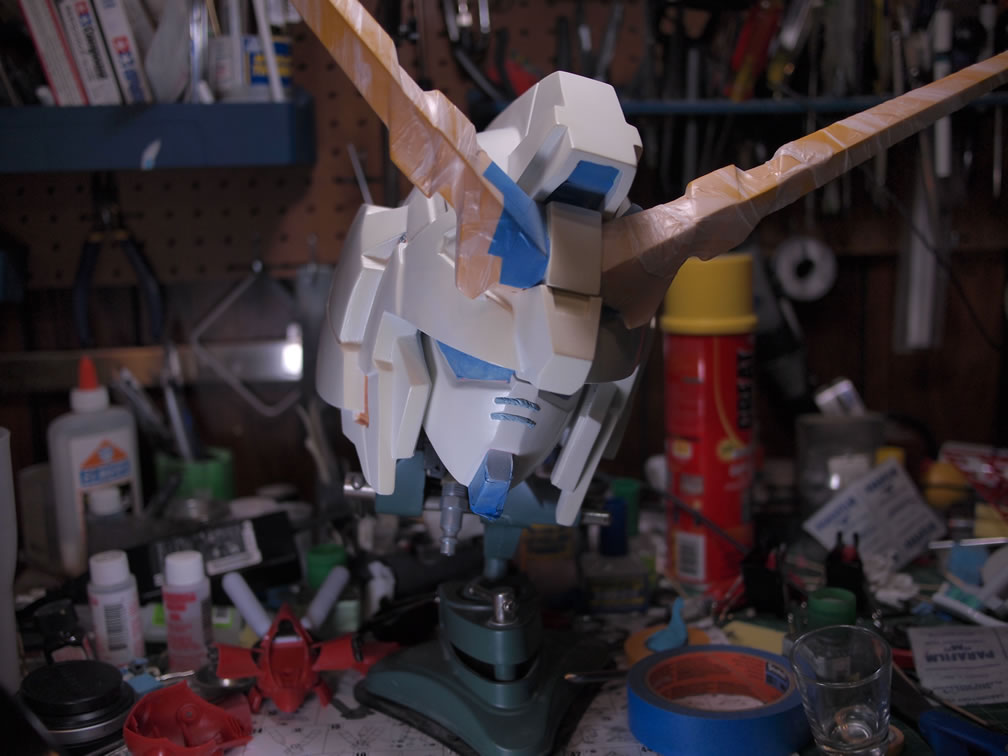
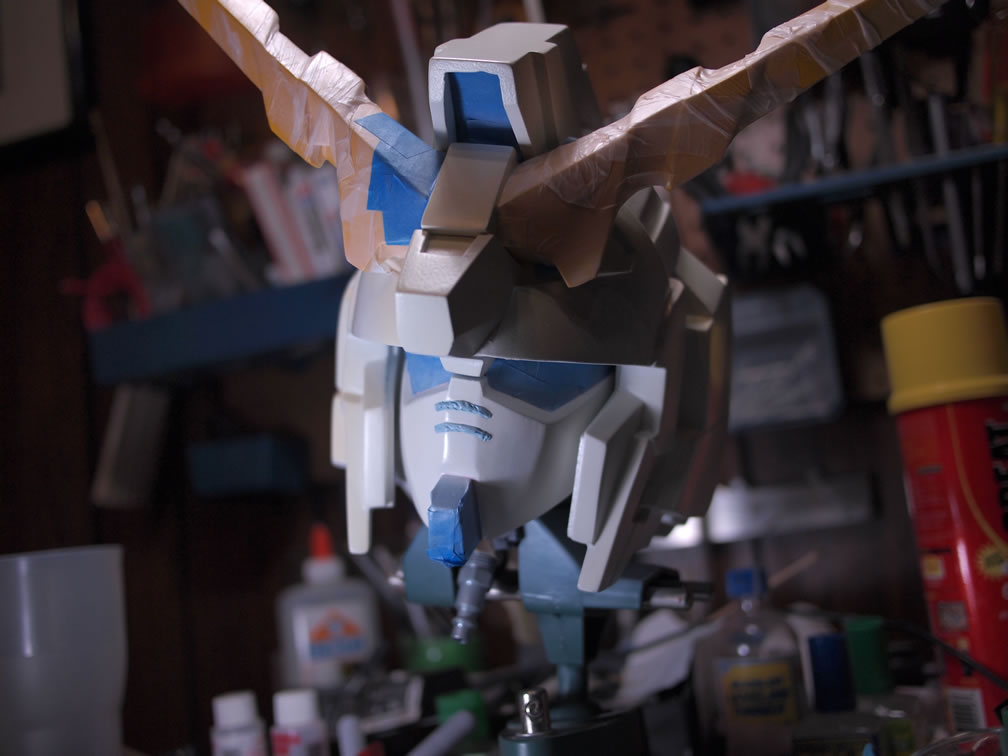
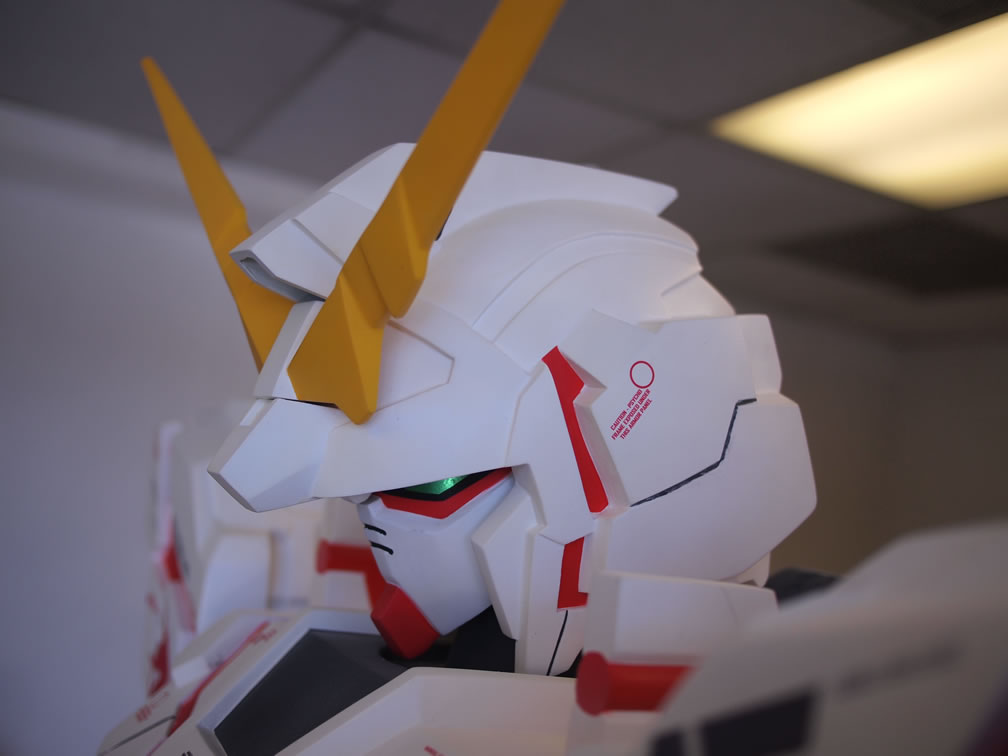
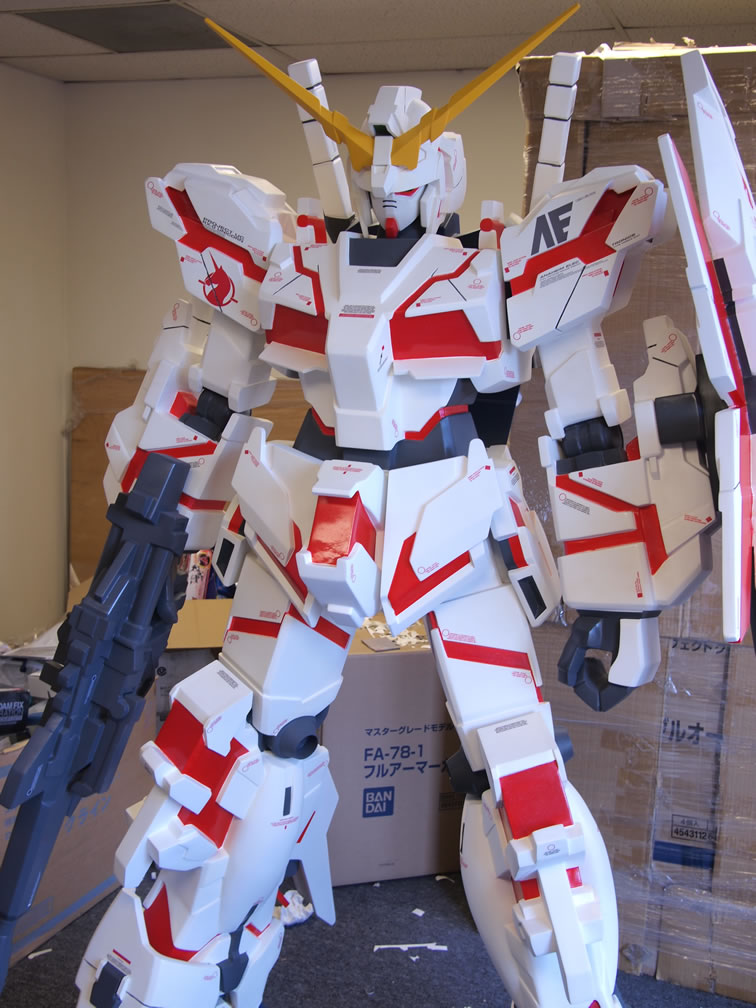
So a few weeks ago, the local gunpla distributor asked me and the gang for suggestions to enhance a 6’5 tall Unicorn Destroy Mode Gundam. There is one other in Hong Kong that I know of, perhaps more exist, but this is probably the second one. We came up with a quick plan on what we could do in the short period of time before Anime Expo. The first step was to spray a clear gloss over the surface. The status is mostly made of wood and the paint is a little rough, so we sprayed several layers of clear gloss. The unfortunate side effect is that it yellowed the surface slightly. And areas where heavier spraying was done, by me of course, yellowed even more. The statue was left alone to cure and some sanding was done to clean up some of the lightly yellowed areas. The head got the most yellowing.
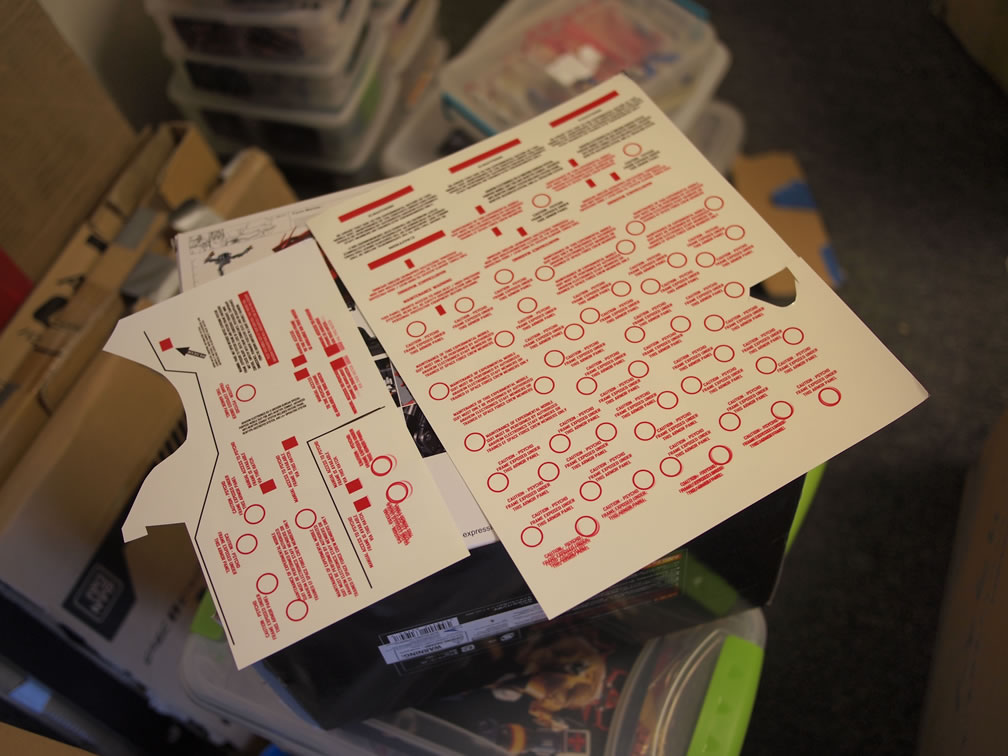
Before leaving this past weekend, I gave Dan, (Funaka) a stack of decal sheets I had. Since the Unicorn is predominantly white, we could easily print out our own decals from an inkjet. Dan is the decal designer, so he took the decal paper and was going to spend the weekend working on the decals. Early Friday morning, I started getting texts from Dan saying the decal paper I gave him was white. I had picked up the decal paper a long ass time ago, and had remembered that I printed over clear decal sheets. So it was odd to find that he had white decal papers. He had tested it and they were indeed white. The next option was to order some decals and have a rush shipping of some clear decals. However, the decals would arrive the following week, so any work on the kit over the weekend was pretty much shot.
After getting back from Vegas, I looked around my workshop and where I had originally stored the decal sheets, and lo and behold, I found the stack of clear decal papers. So Monday evening, I dropped them off at Dan’s place. Over the weekend he finished designing the decals and finished testing them with various clear coats against the inkjet’s ink. After several tests and such, he successfully printed out several sets of decals Tuesday night. So tonight, we gathered at the distributor’s warehouse to put the decals on the sucker.
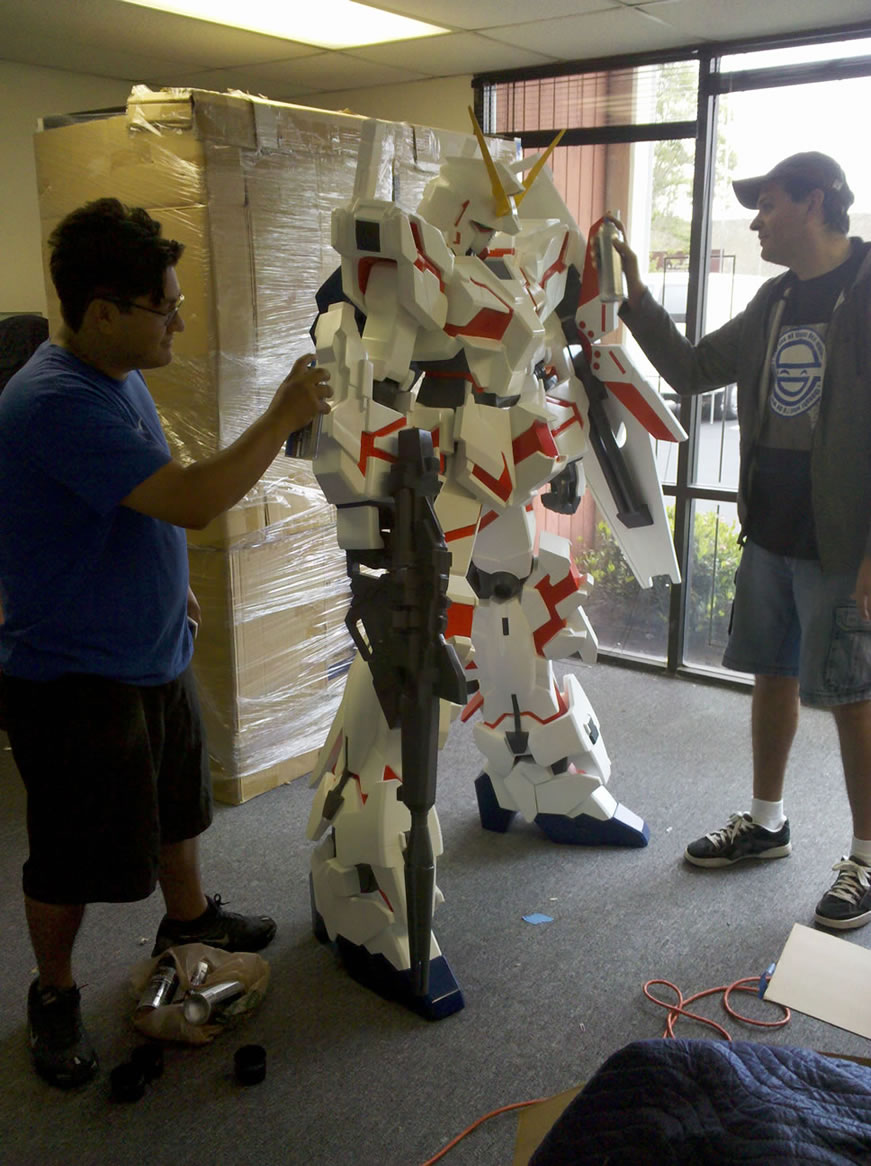
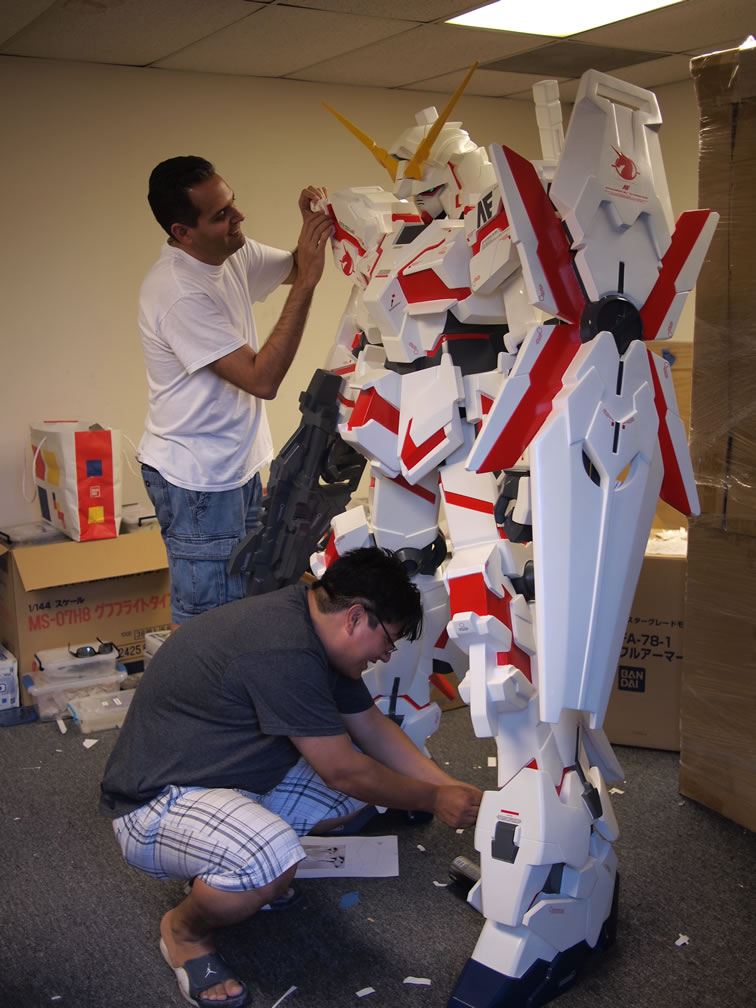
Dan got there just shy of 5pm, and I arrived about an hour later. He had already started on the shoulders.
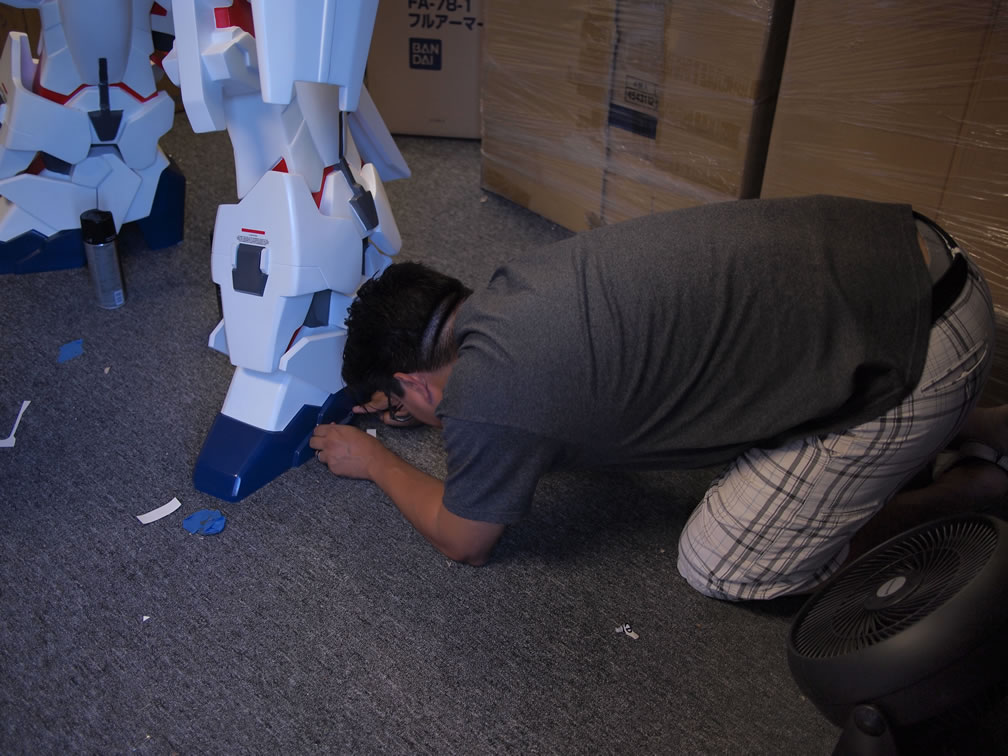
I grabbed a sheet and started where I could just around the legs, shield, and just randomly placed decals as I normally do with my own kits. Angel arrived shortly after I did and per his usual build style, started working on the feet.

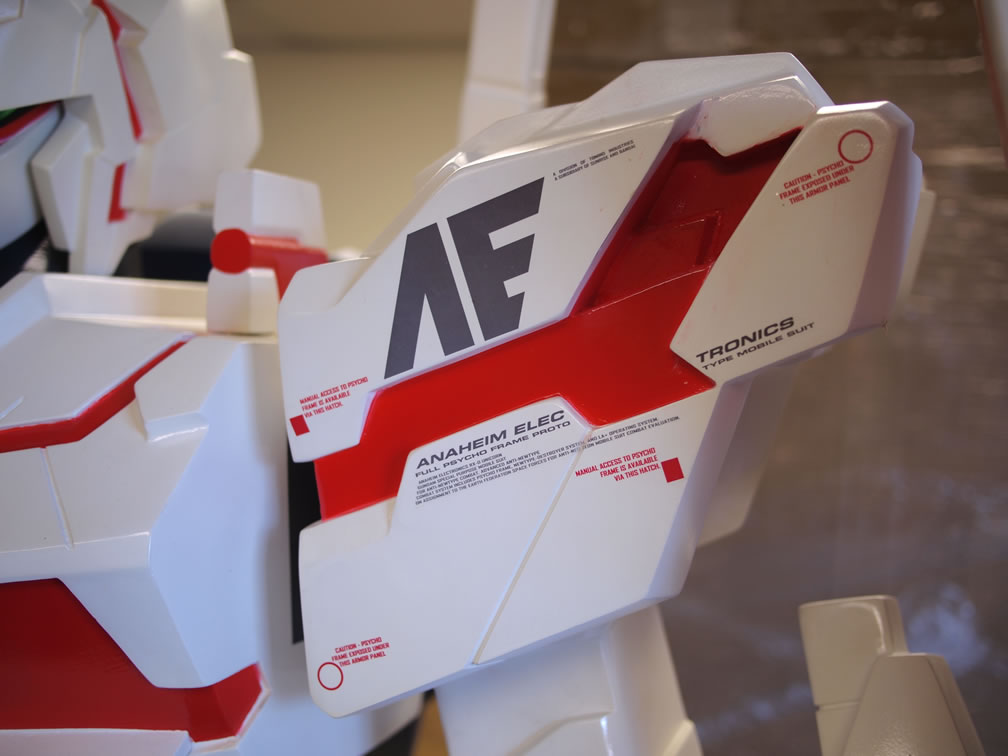
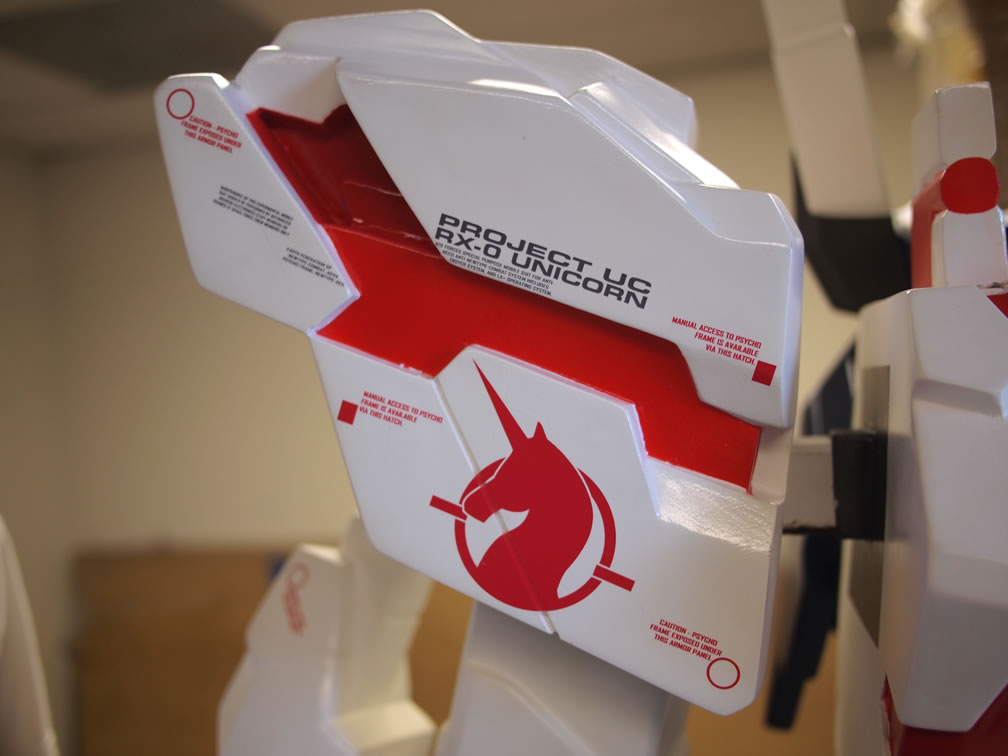
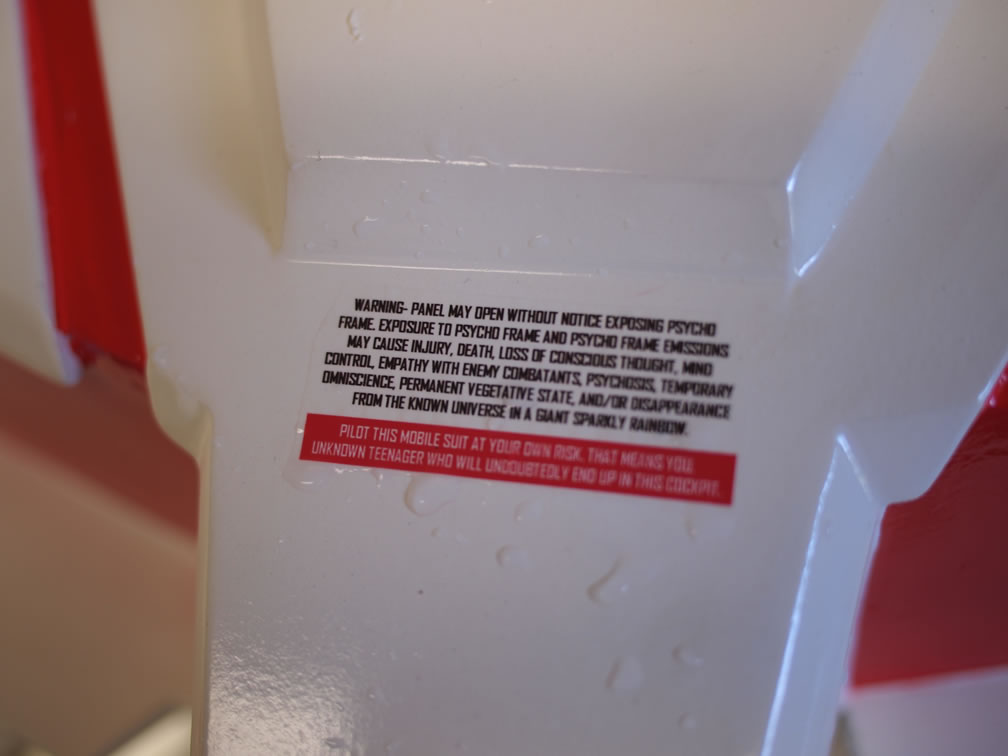
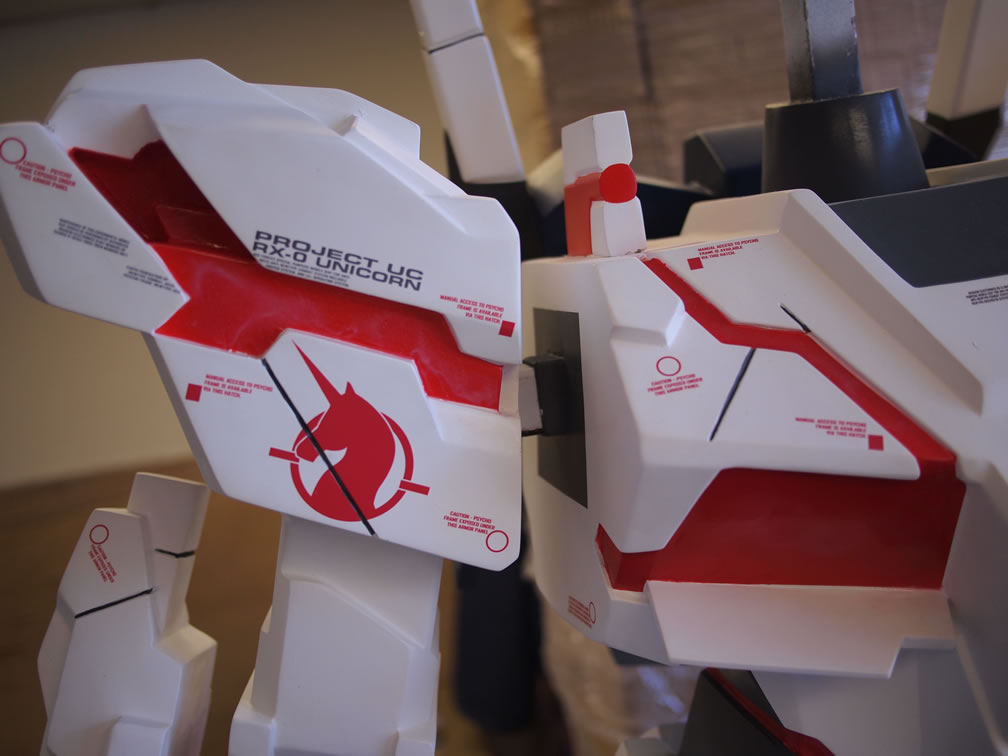
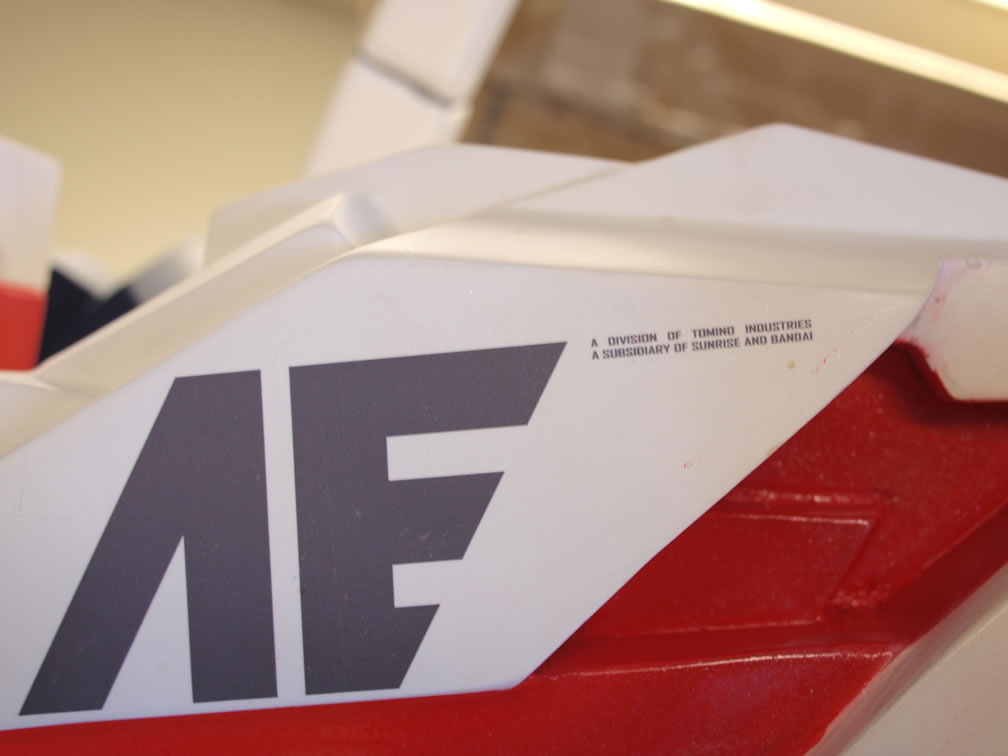
The benefits of designing your own decals, and especially having decals this size, you can have some fun with the wording. So Dan put a little bit of an Easter egg on the chest piece decal.
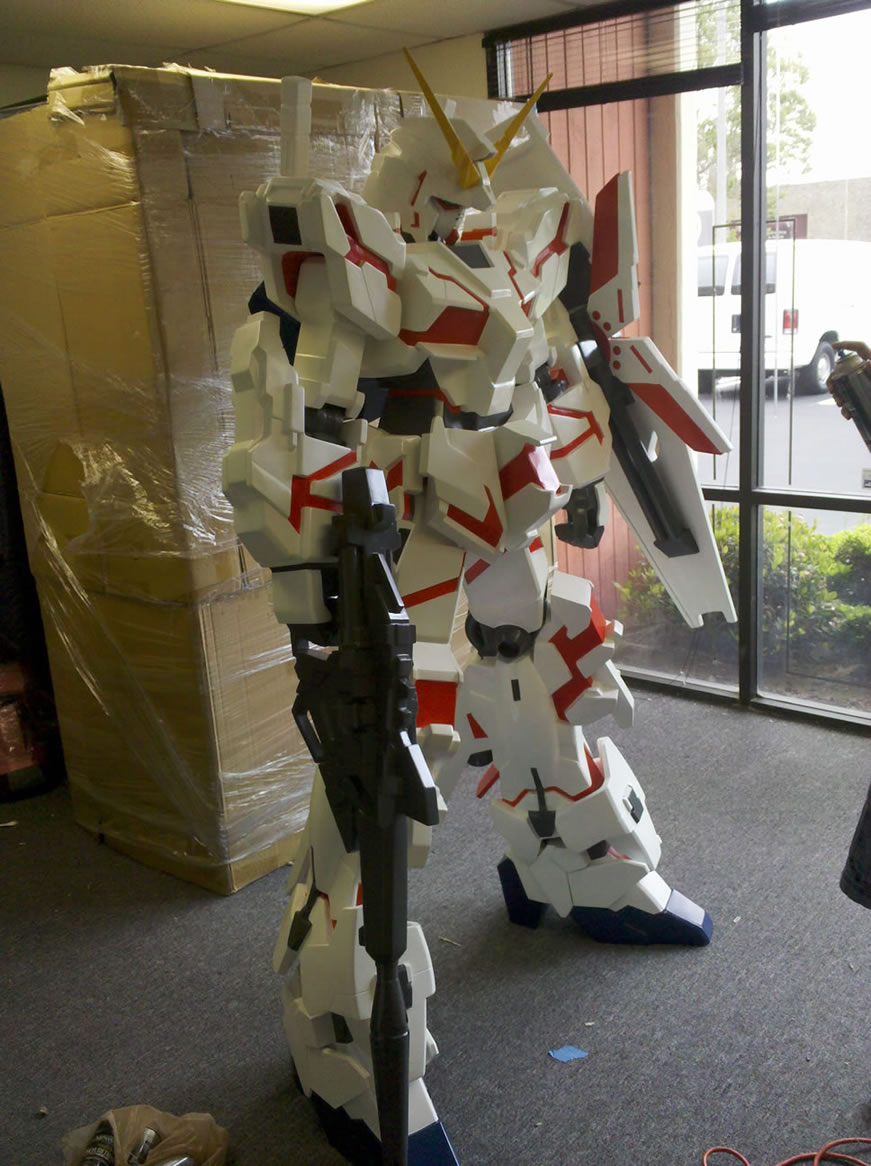
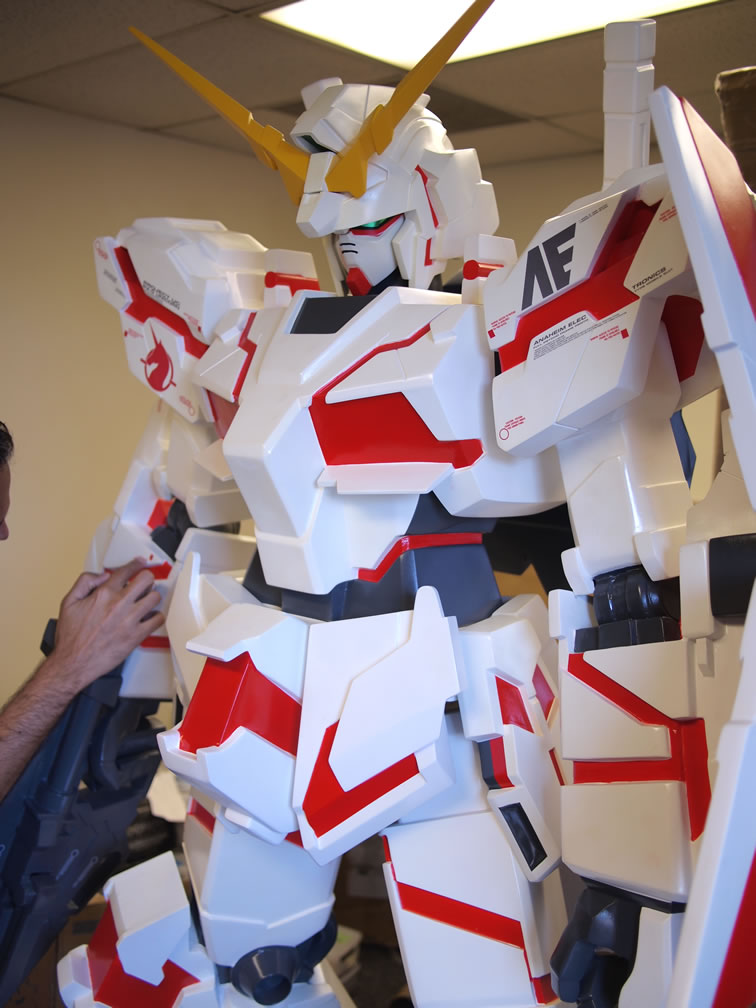
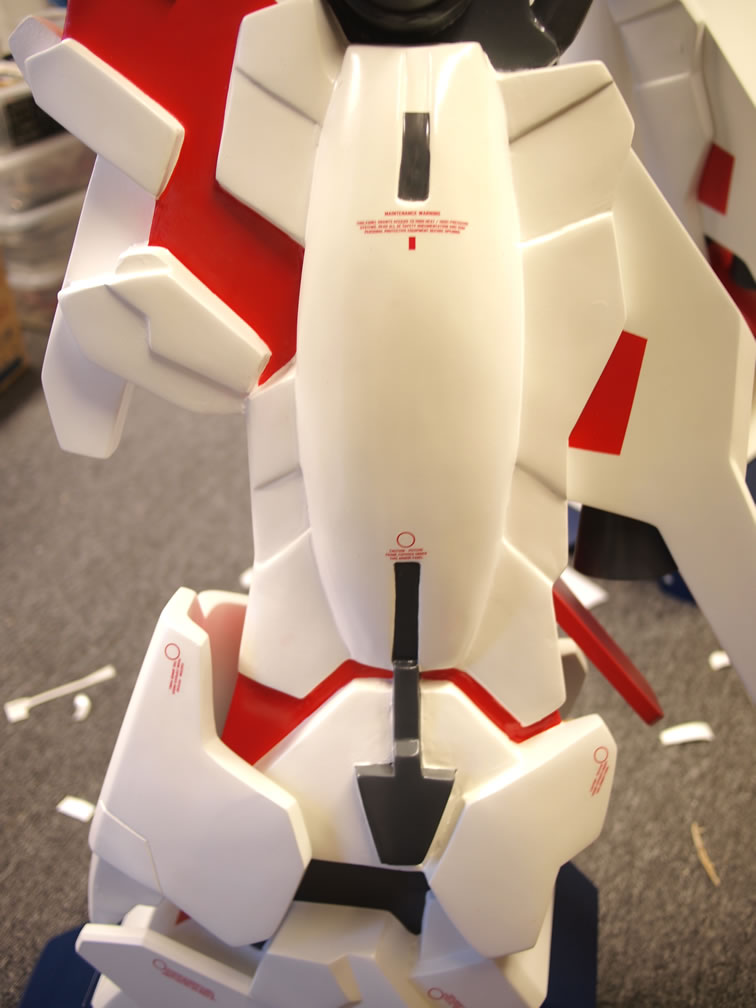
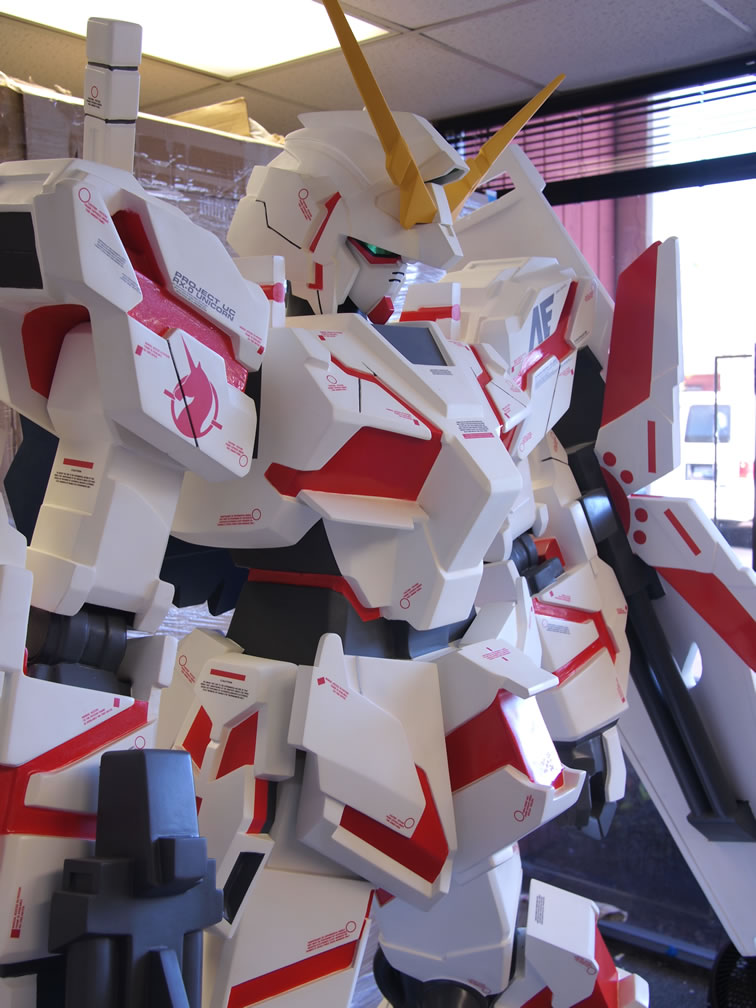
We spent several hours working on cutting and applying decals. Damn there are quite a few decals for this little bastard of a Gundam. Slowly, the legs were done, shield, chest, backpack, etc.

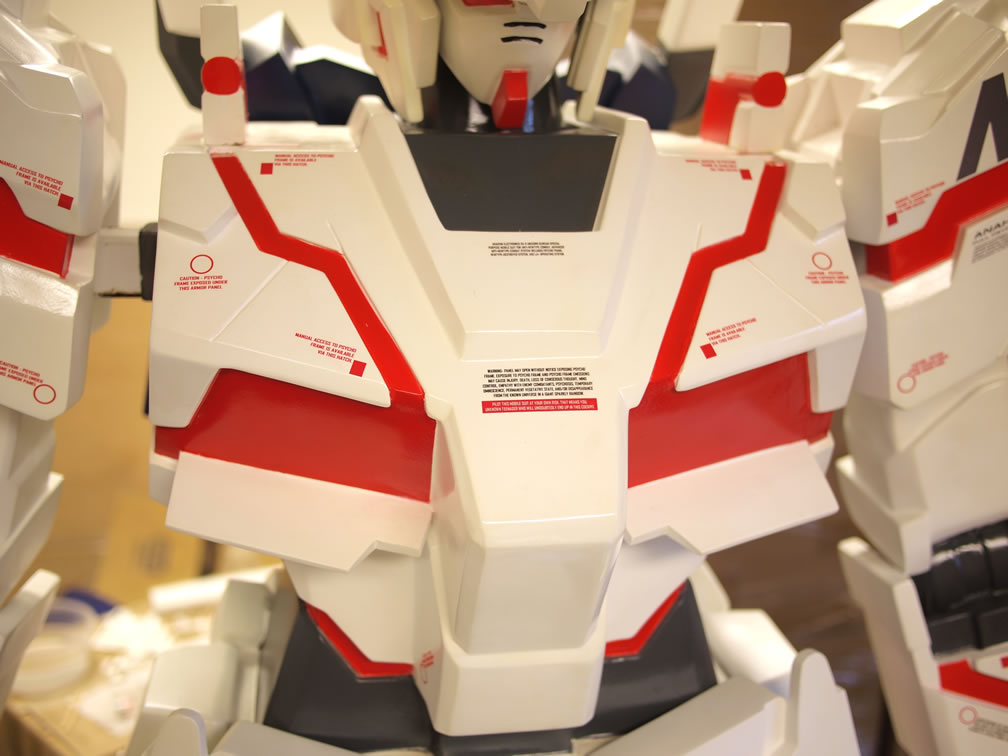
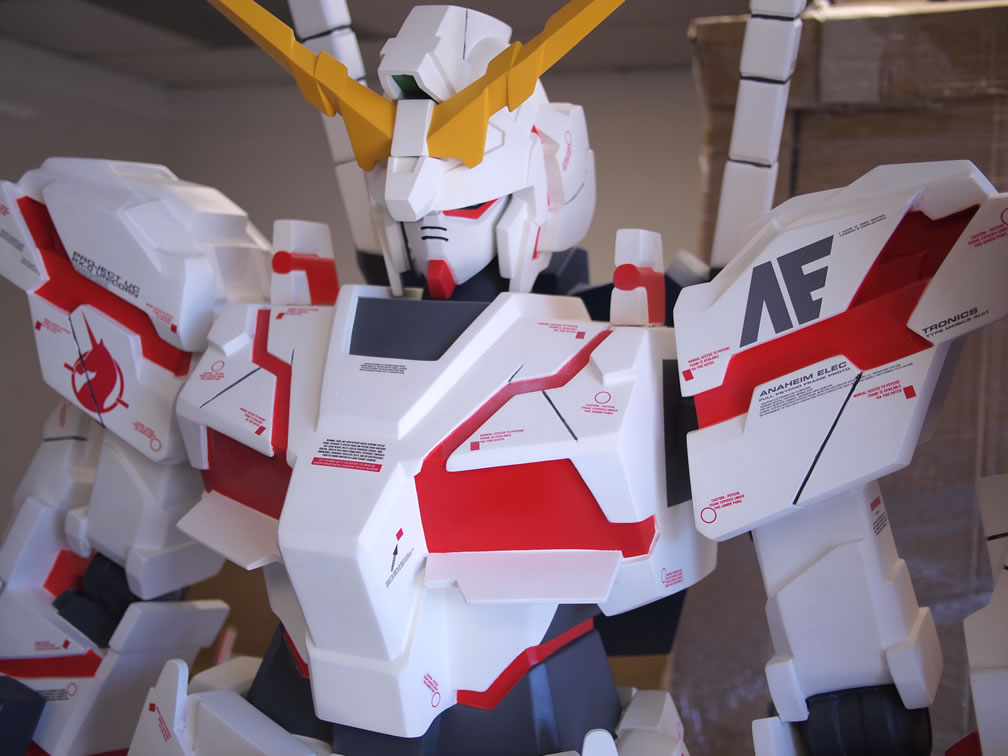
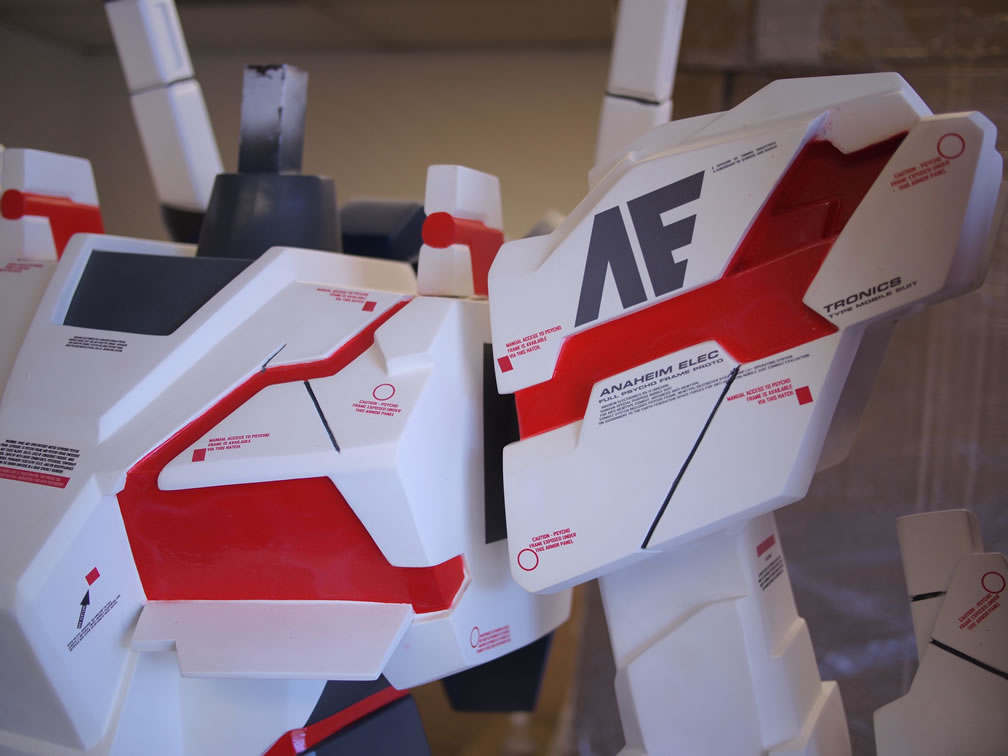
Dan utilized the white decal sheets and printed them with colors matching as closely to the gray and blue areas to get white lettering printed. From a distance they look pretty cool.
Inner areas and outer areas are decaled. Even some of the hard to see areas are decaled. Dan got some decals placed on the tops of the shoulders for which even at his height, could barely see while he applied the decals.
Decals are done and we’re just making small minor adjustments. Next up will be a light clear coat.
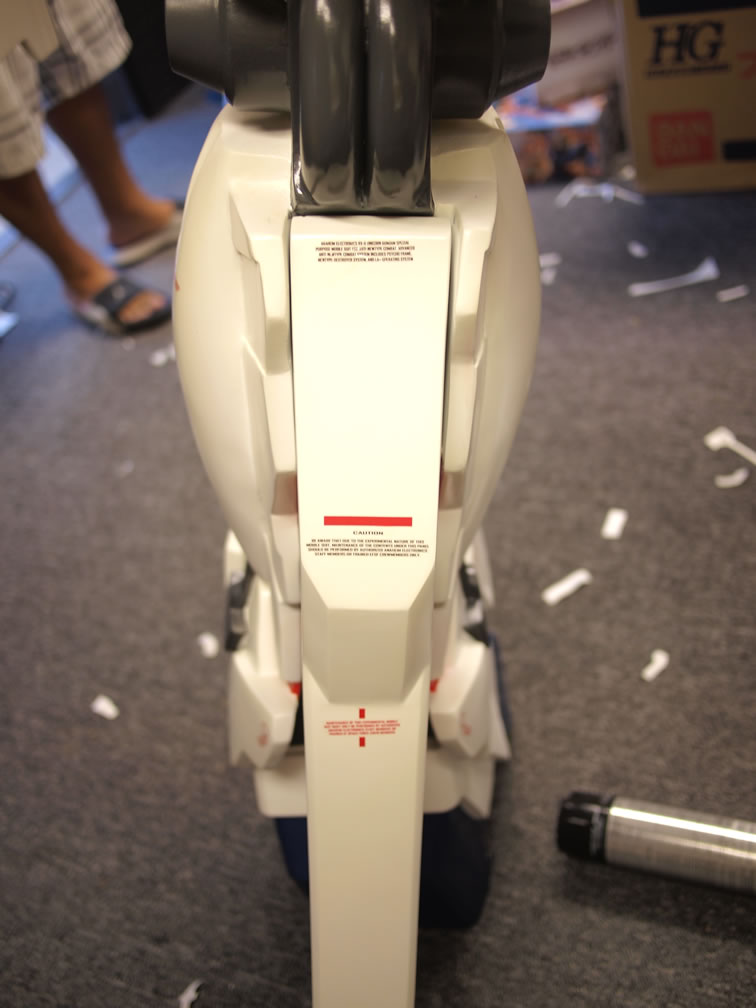
I took the head home and masked off the non white areas so that I could lightly spray a white over the entire head to whiten it after overly yellowing it with the clear gloss.
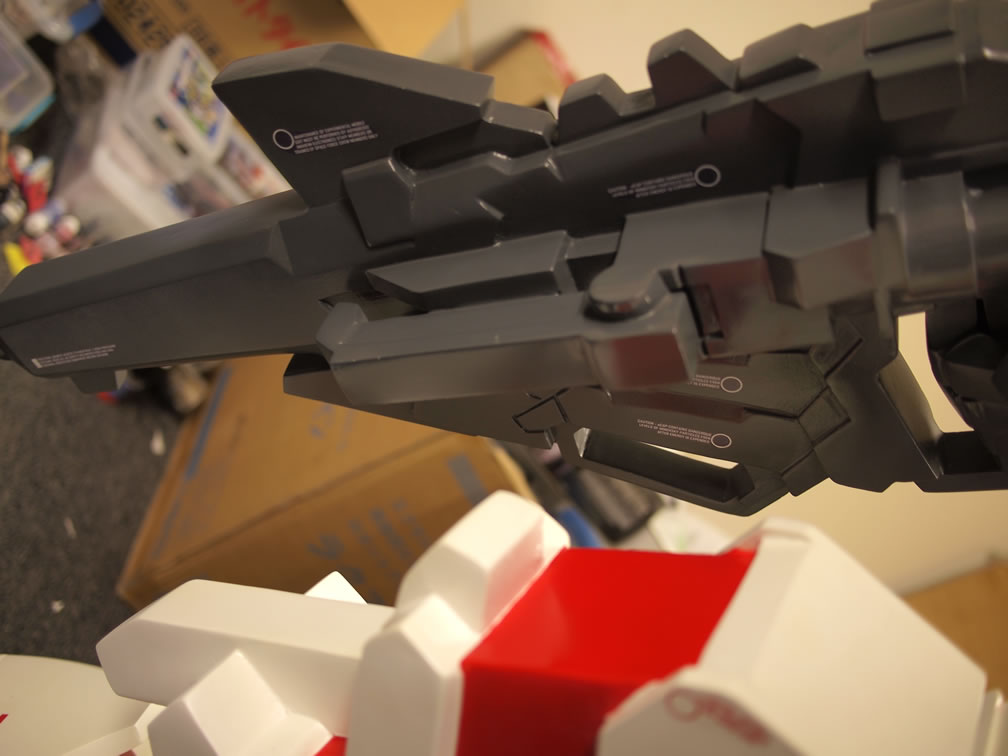
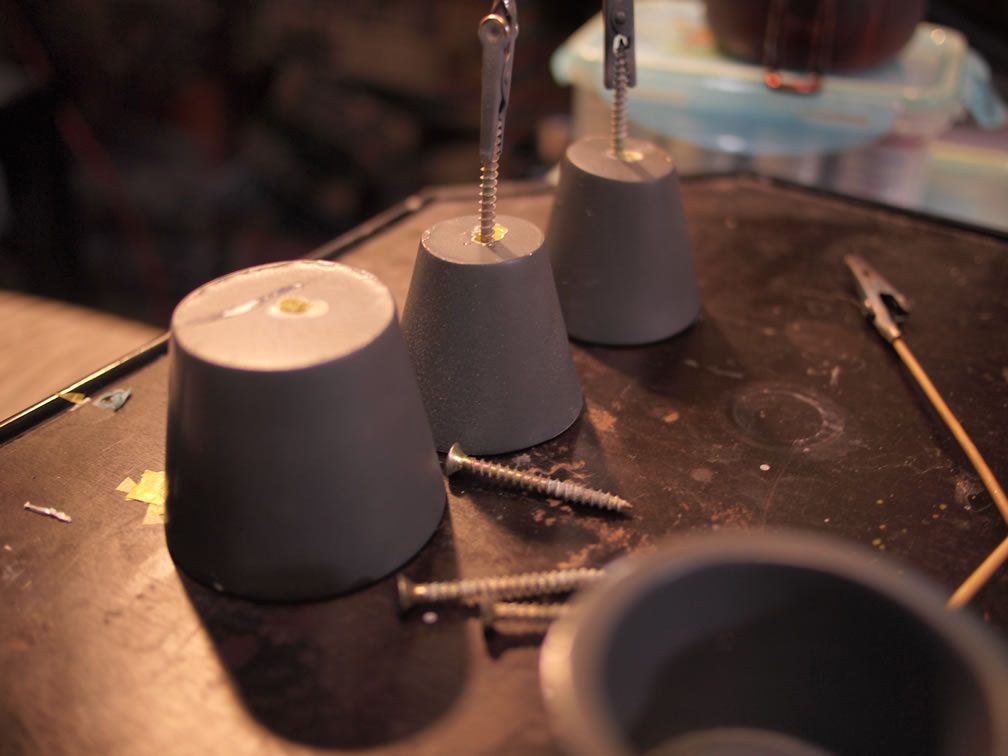
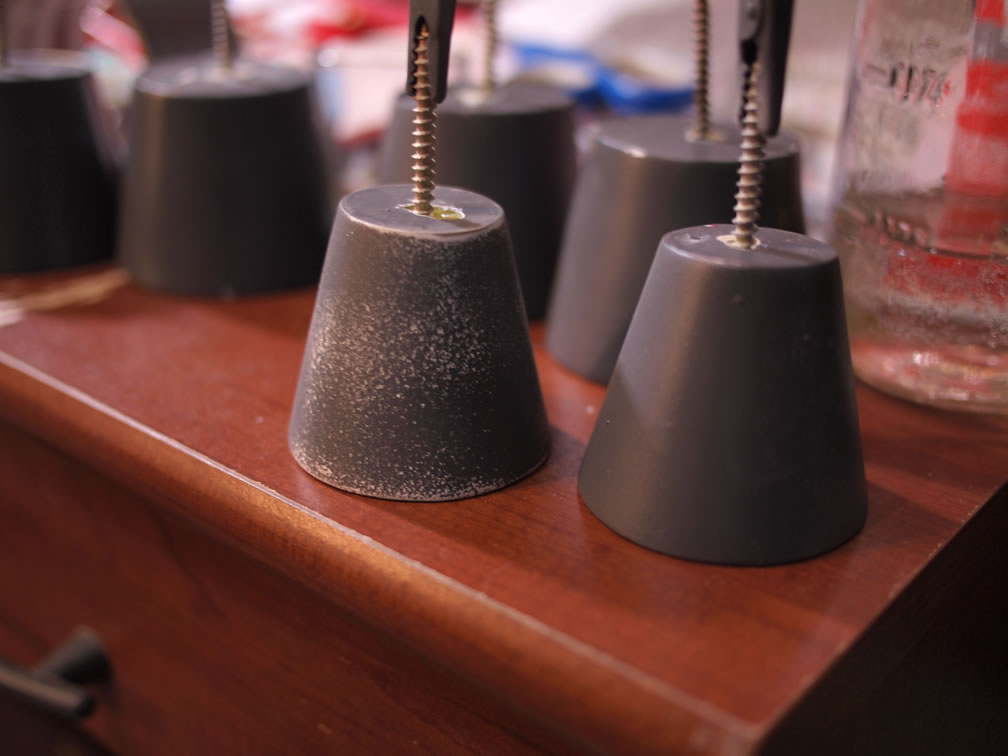
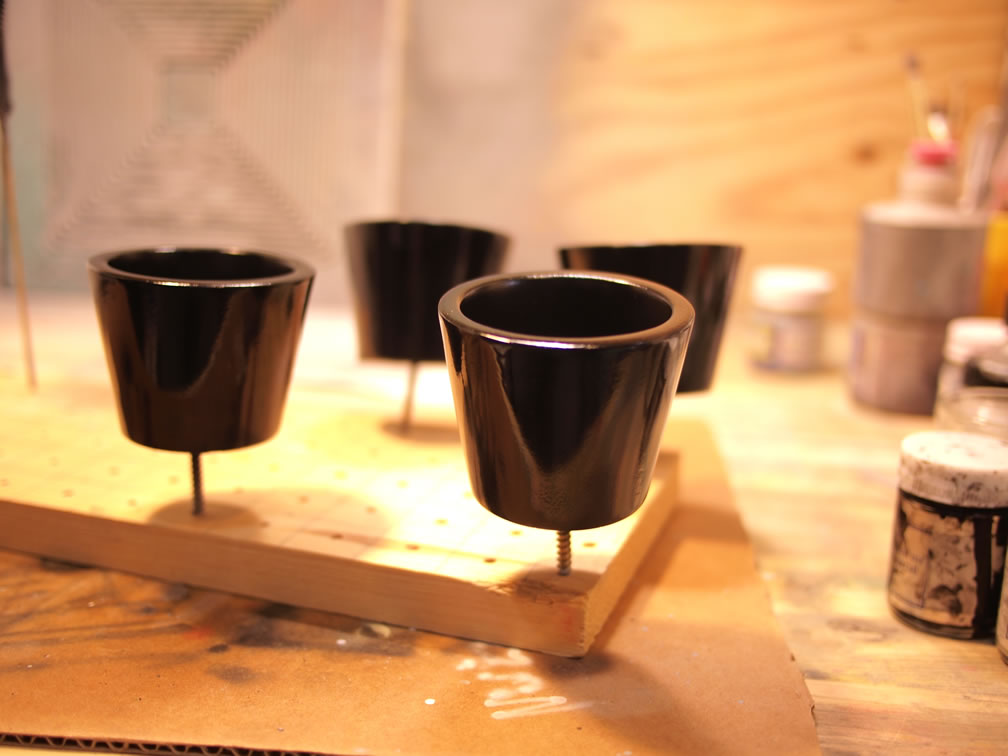
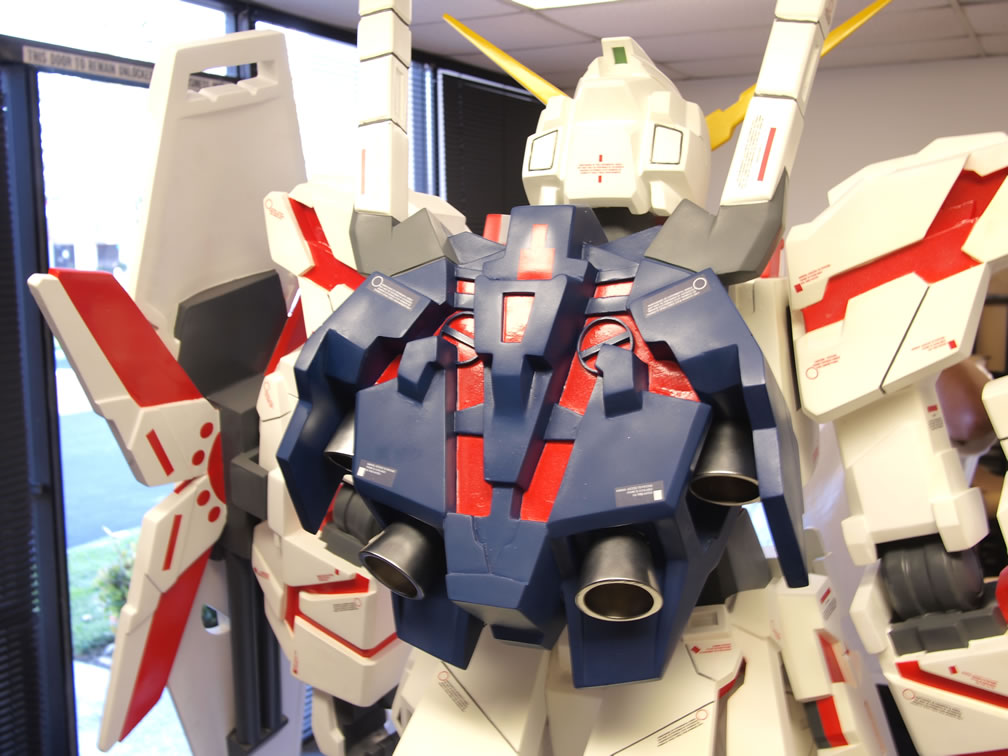
While looking over the statue, I noticed that the thrusters are attached via screws, so an additional enhancement, these thrusters will be repainted. The first step is to sand down the surface to get as smooth a surface for the paint. Once sanded down, the surface was cleaned up with water and a paper towel. Once dry, the parts were painted with a gloss black. Tomorrow I will paint the internals and external areas of the thruster bells.
More to come as we progress.
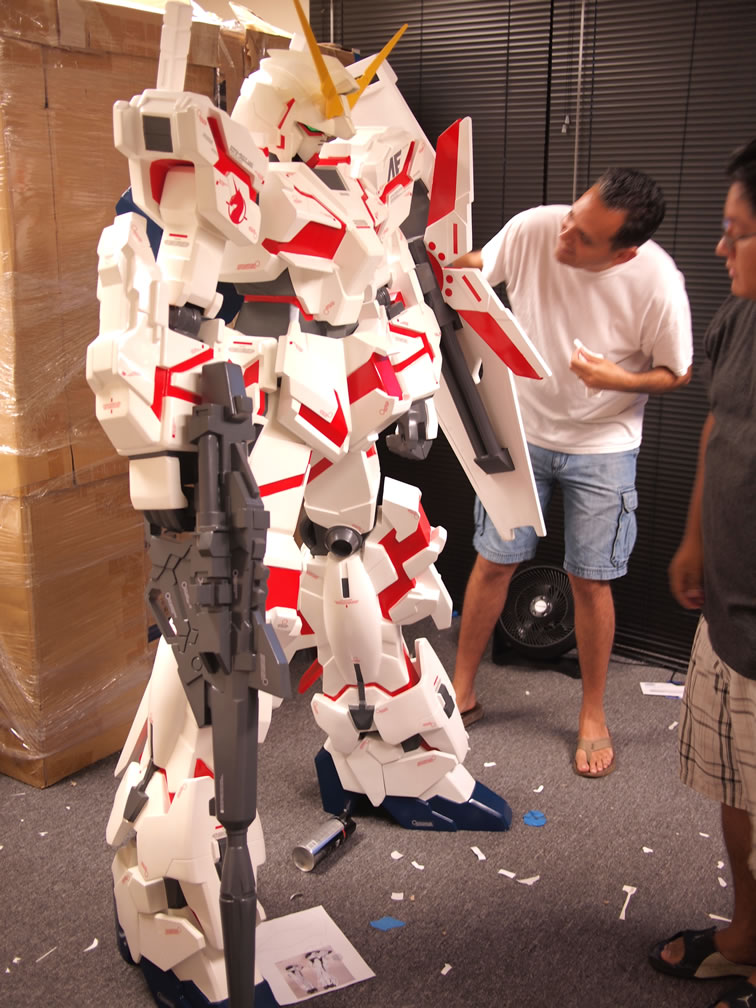
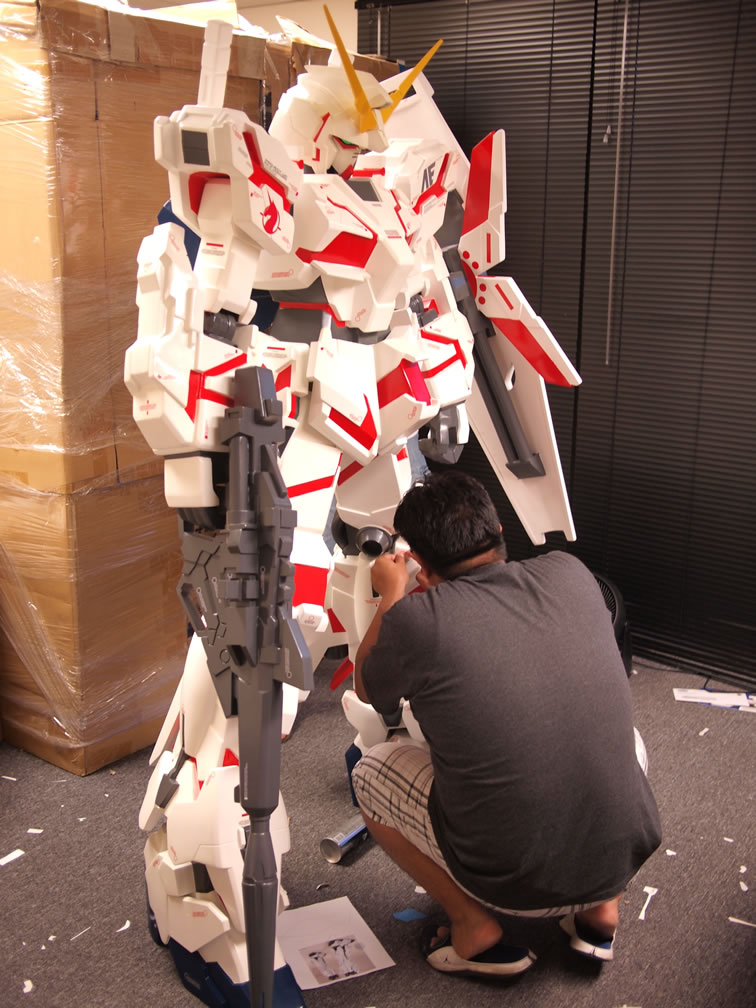
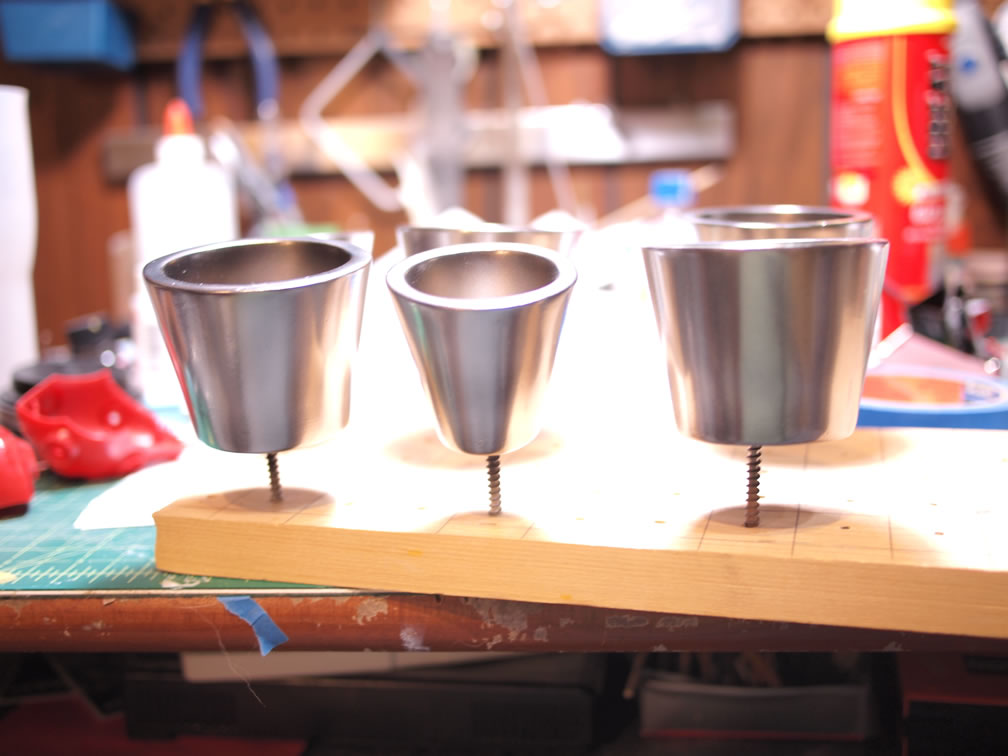
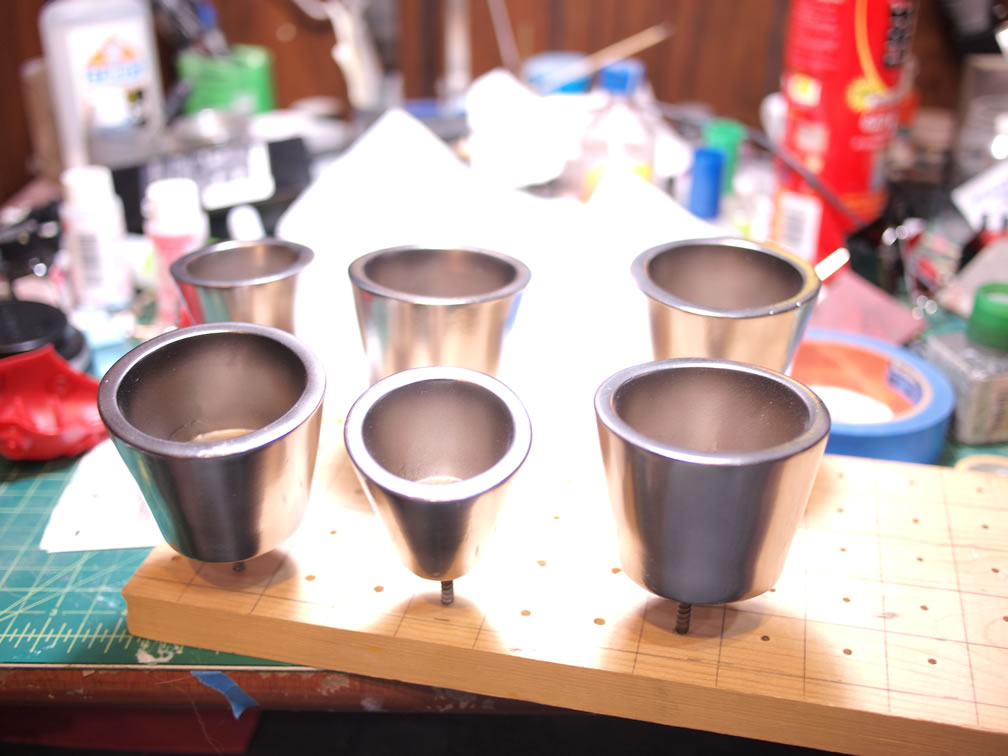
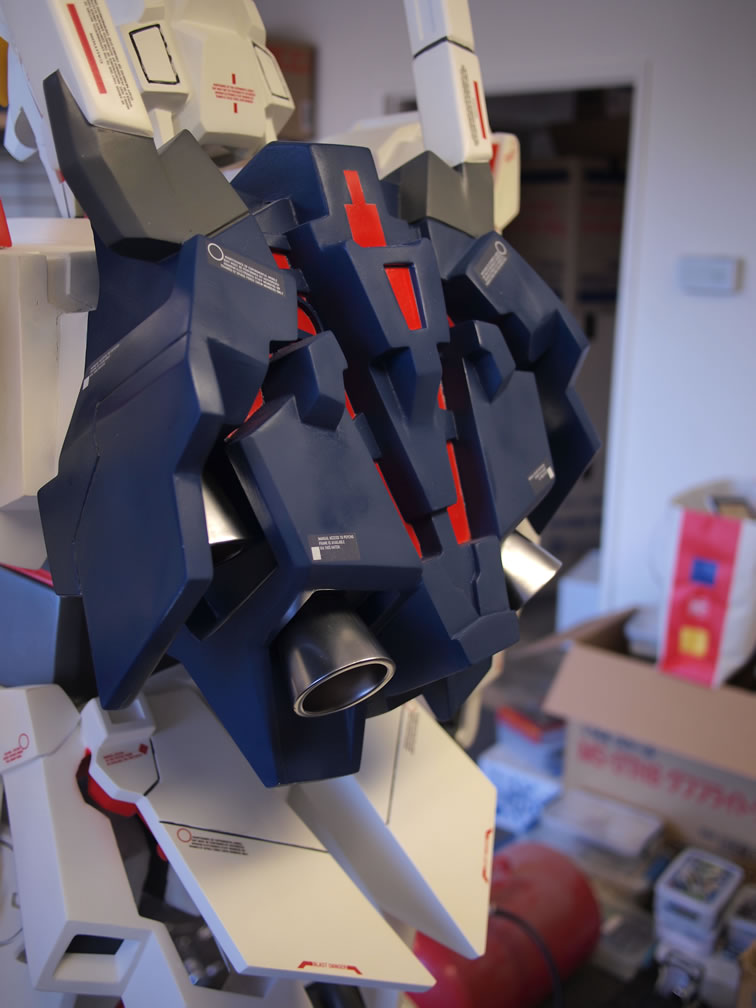
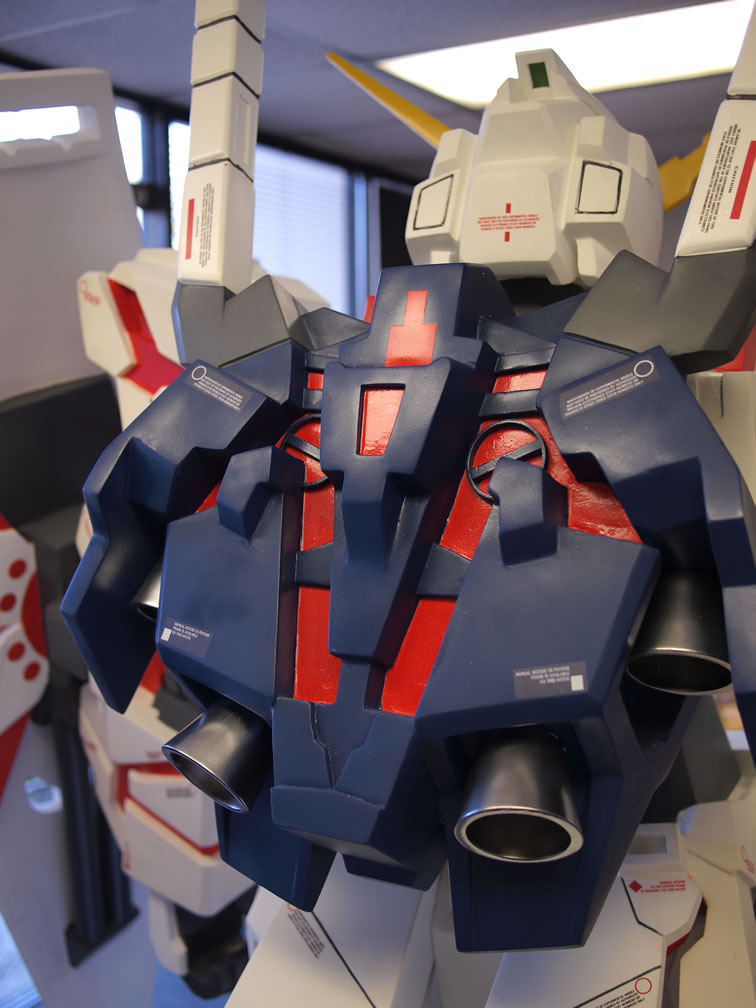
June 24, 2011: I spent the day finishing up the little bugger. Angel dropped by during his lunch hour to help out and then again after work to help finish the beast. The thruster sere painted with titanium internals then the bells exteriors were painted with alclad polished aluminum.
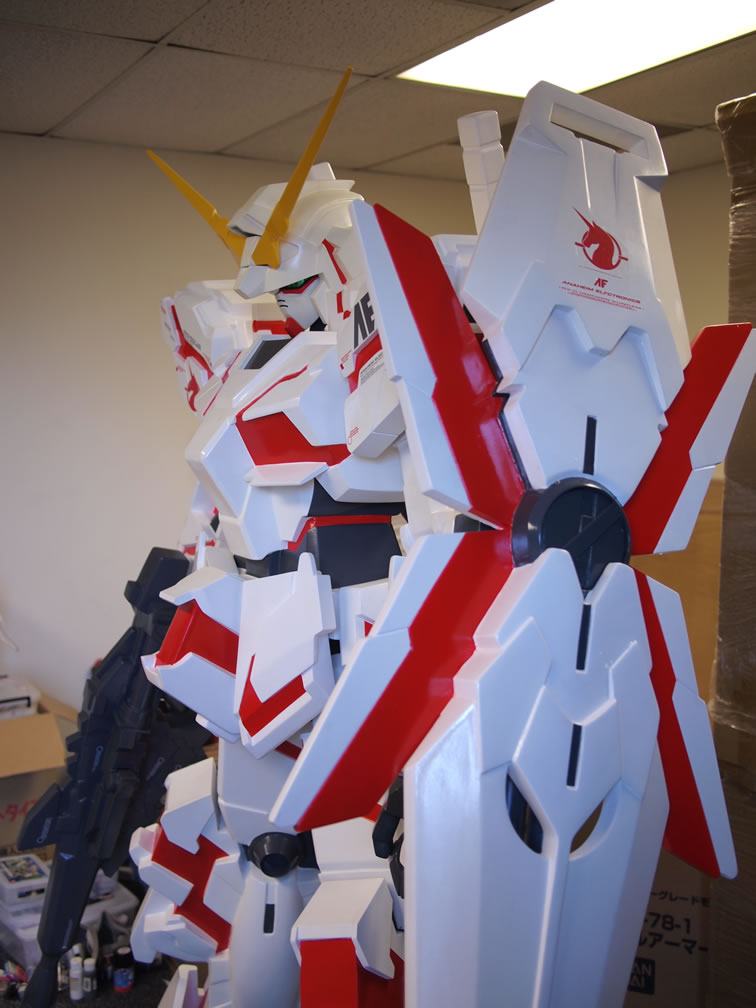
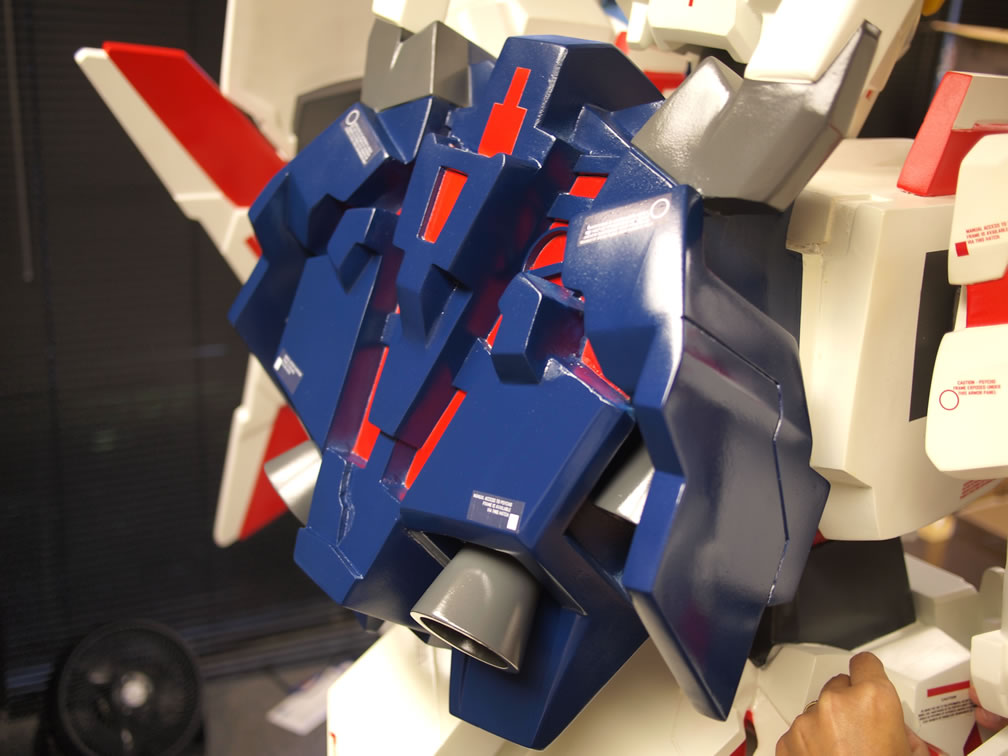
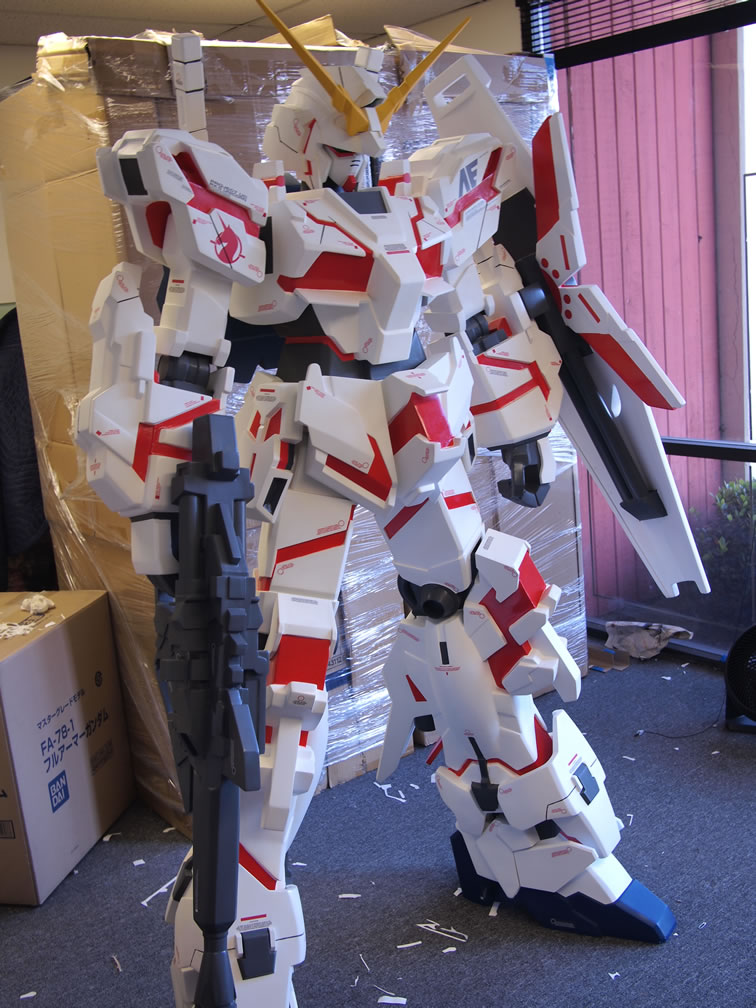
Back to the kit, the panel lines are done using deltacreama coat which is an acrylic based paint. With that done, the flat coat is applied to the white areas. A mixture of future floor polish and macro pearl powders was then sprayed to the red areas with an airbrush.

The future floor polish clouds up if you spray too much. So best thing to do is to just spray a light layer, leave it alone, then come back later and spray another layer and repeat the process through out the day.
Very hard to tell that the red was pearl coated, but in person, it is much more noticeable.

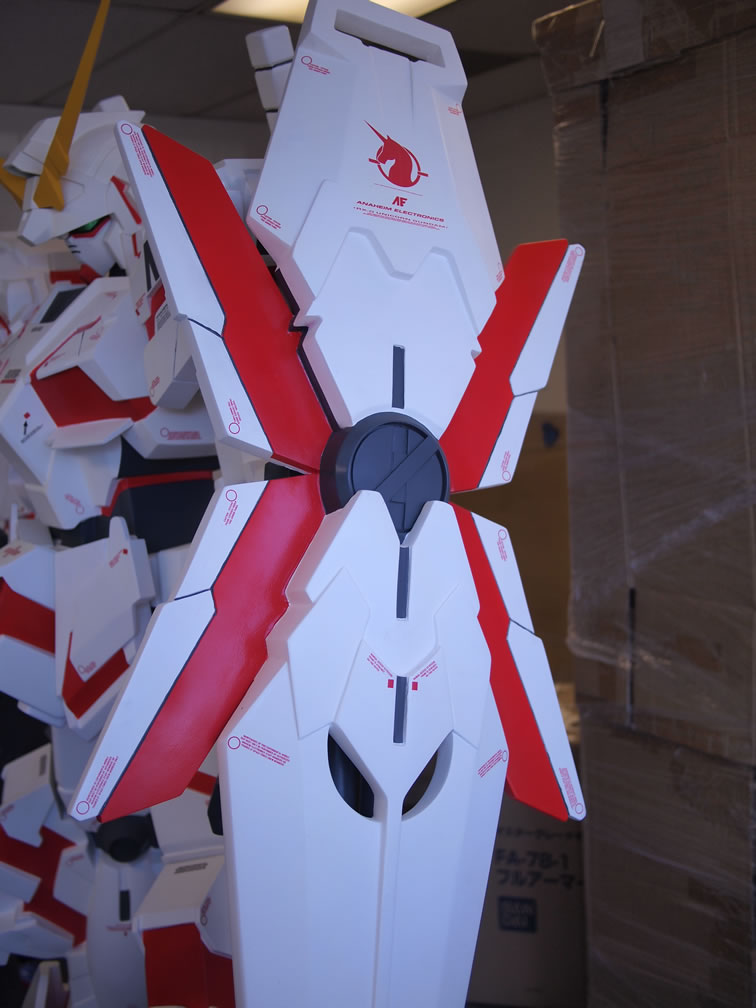
Here are a few pictures of the back with the thrusters screwed back into place.
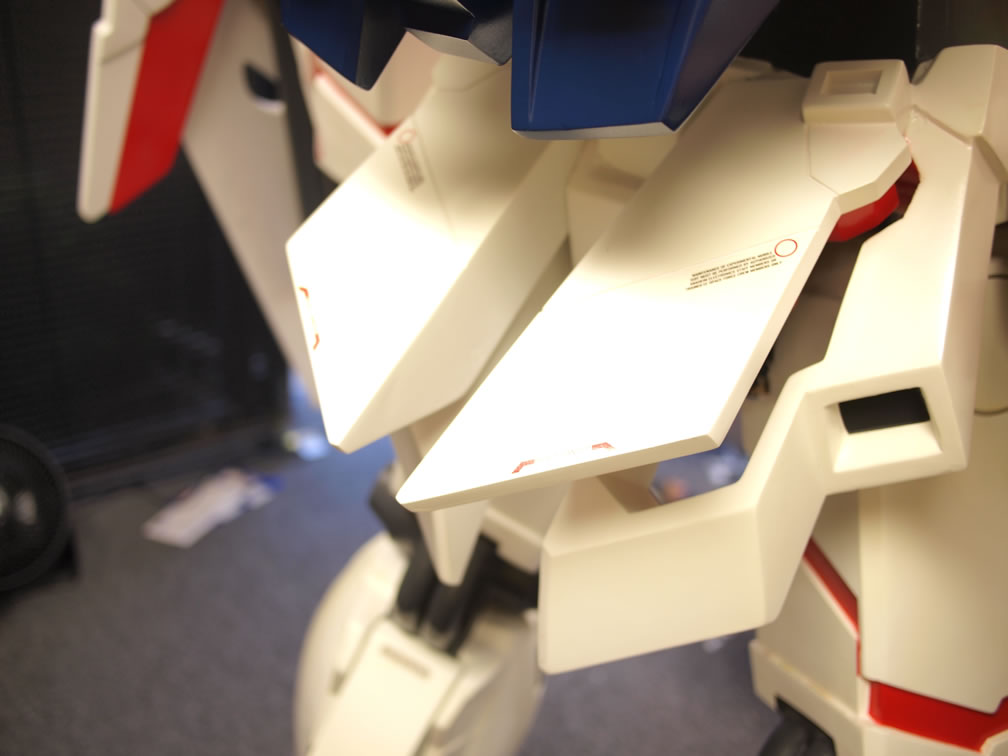
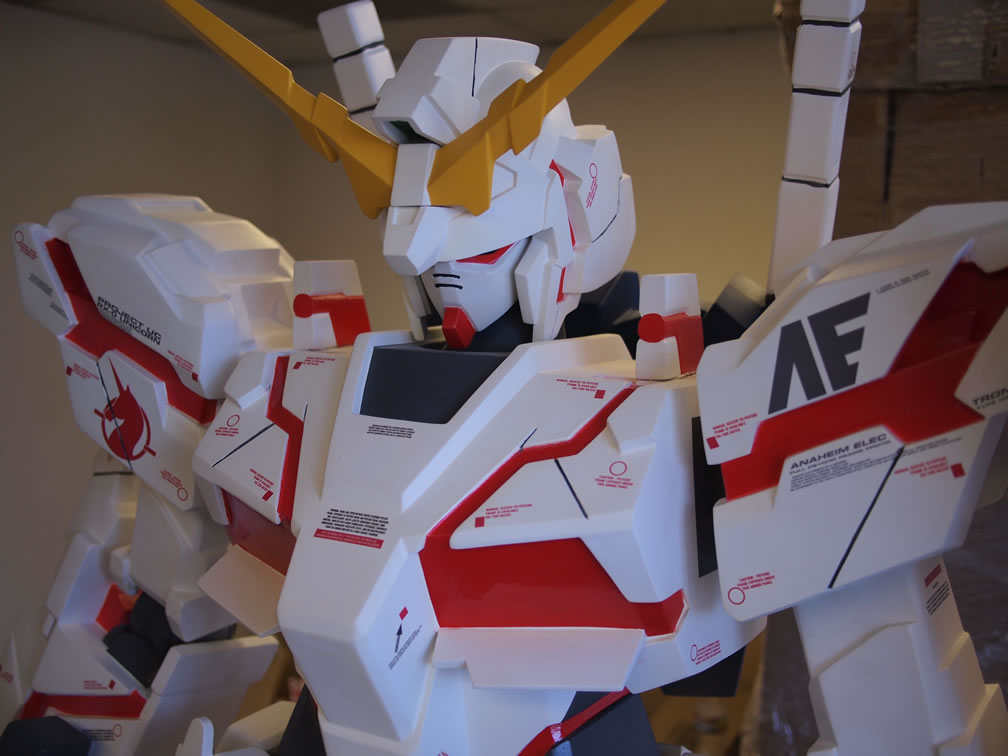
Here’s what the thing looks like after the final clear gloss with the macro pearl powders. Rather difficult to capture in photography, but it’s a noticeable difference in person. Especially with the glossy slightly sparkly red against the flat coated white finish.
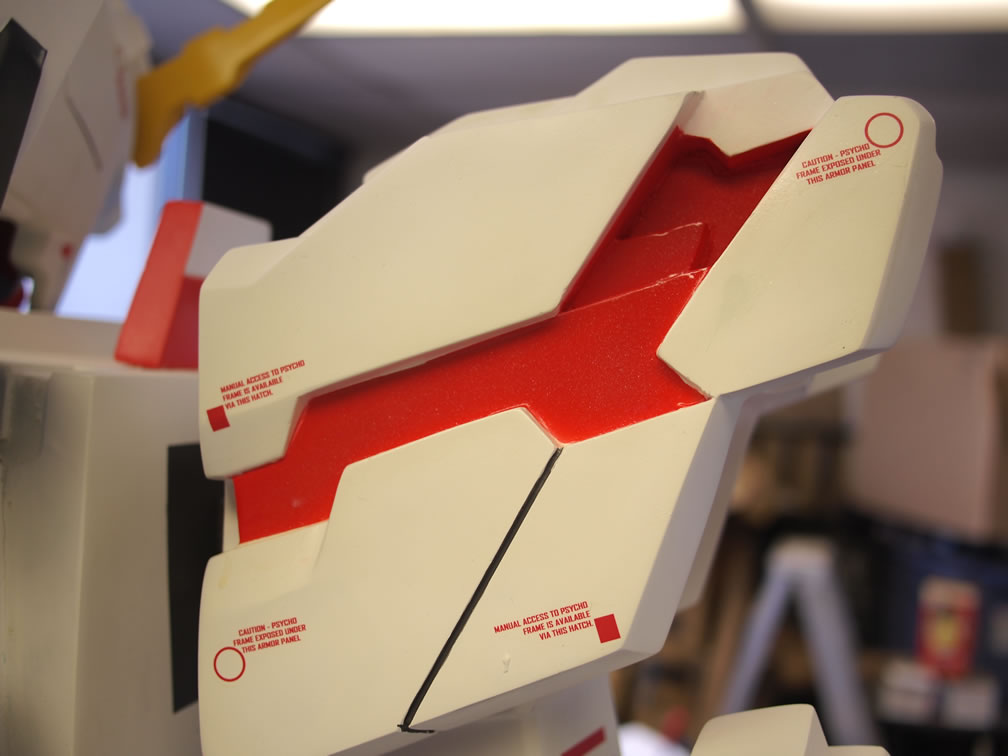
And one more little easter egg courtesy of Funaka (Dan).
The project is compete, you folks can see this sucker in person at Anime Expo and San Diego at the Bluefin booth.

man, that looks like fun!
did you guys think about panel lining the whole thing?? maye it would have smoked a few sharpies but would prob look quite nice.