The weathering process takes time. Granted we’re not putting the object outside so that it can sit for a few years to naturally achieve sun/rain/wind damage and get all rusty and dirty. But the process isn’t instant and done in a single model session. For your typical object, the paint can chip and crack; it can get weather damages such as sun, wind, and rain; and it can also get dirty and rusty – just here, there are three layers of weathering that can happen. Applying the different techniques one on top of another can create some very dynamic weathered look to your object.
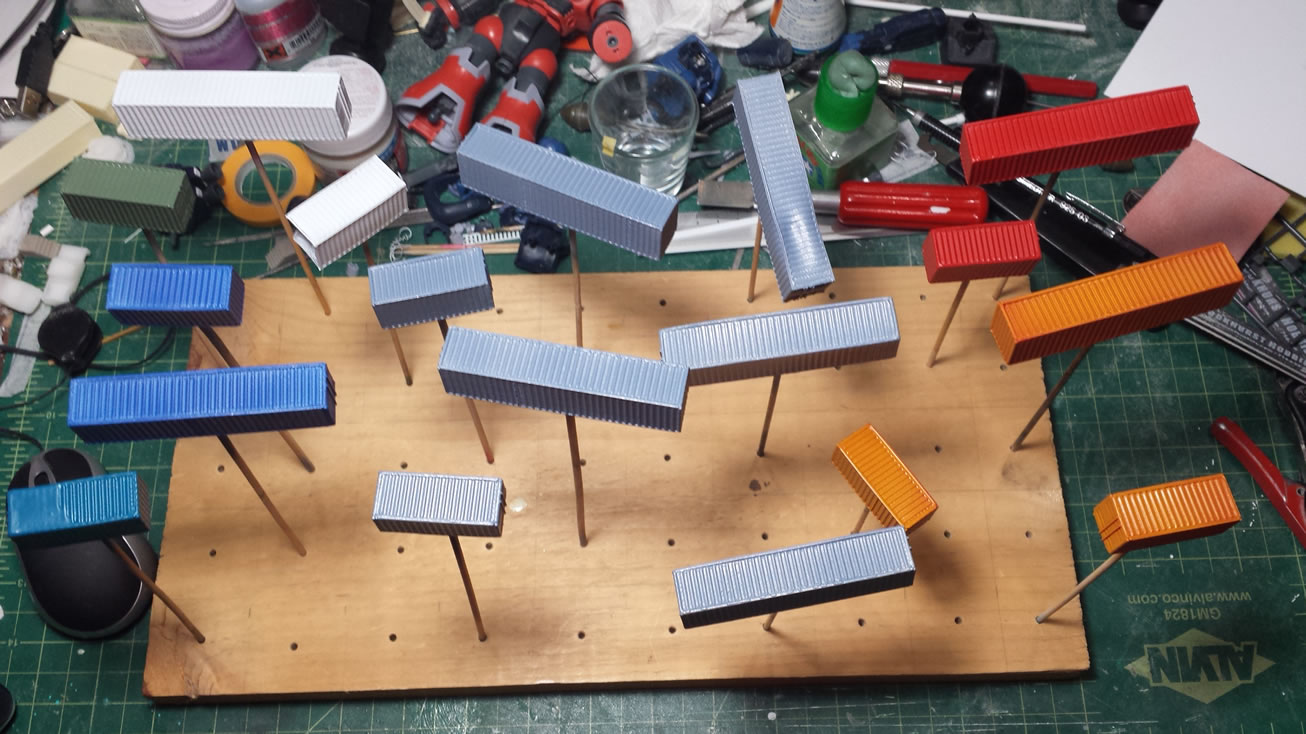
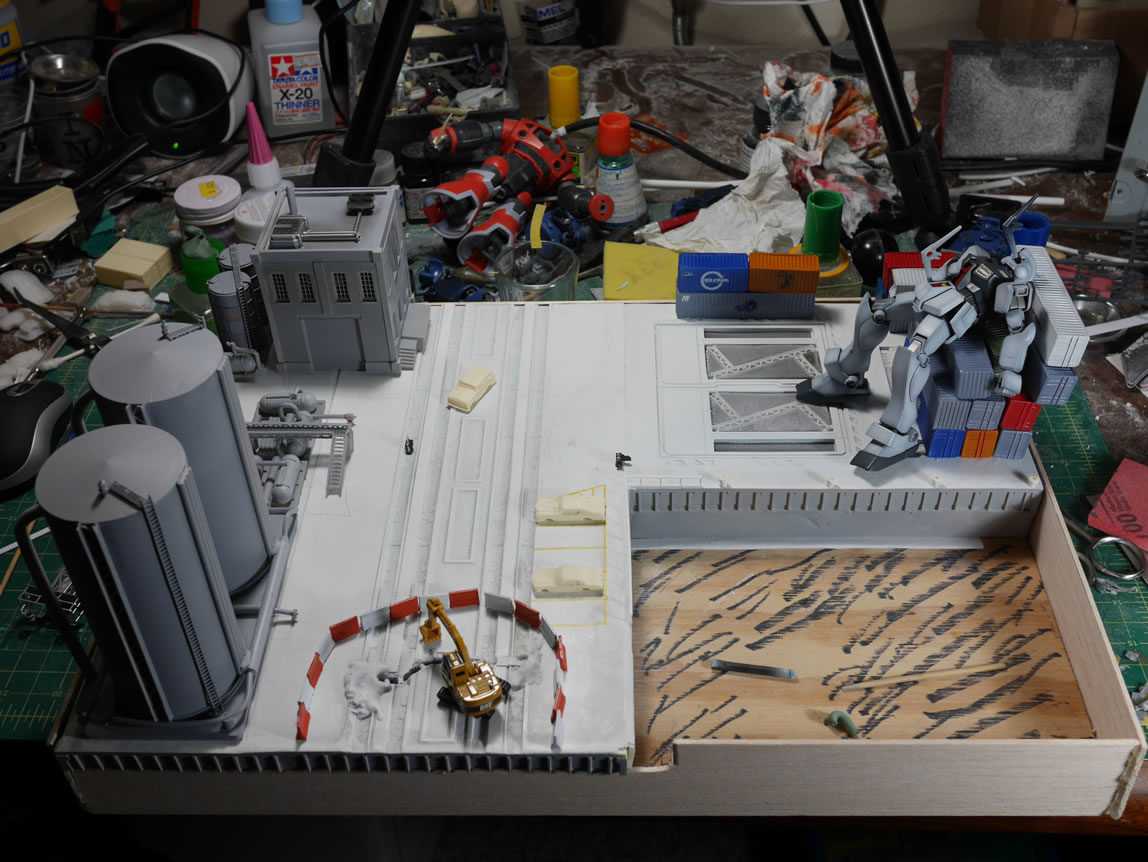
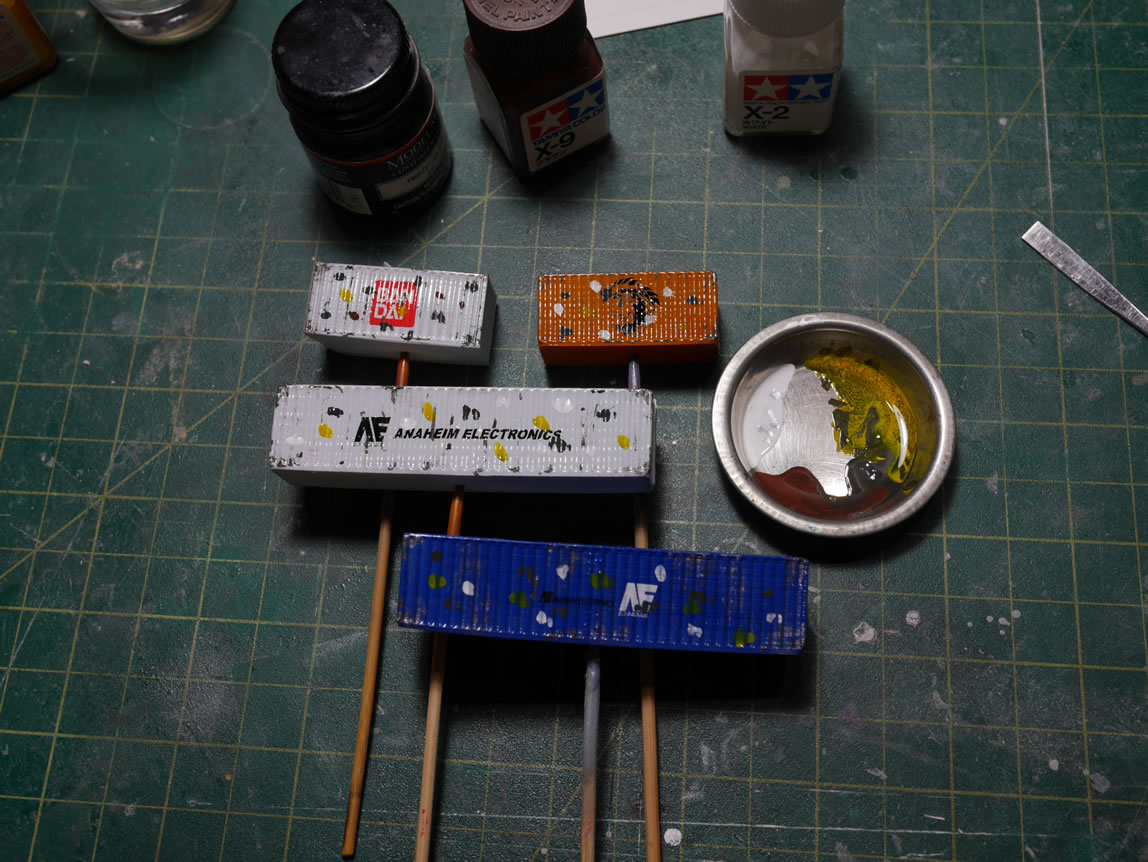
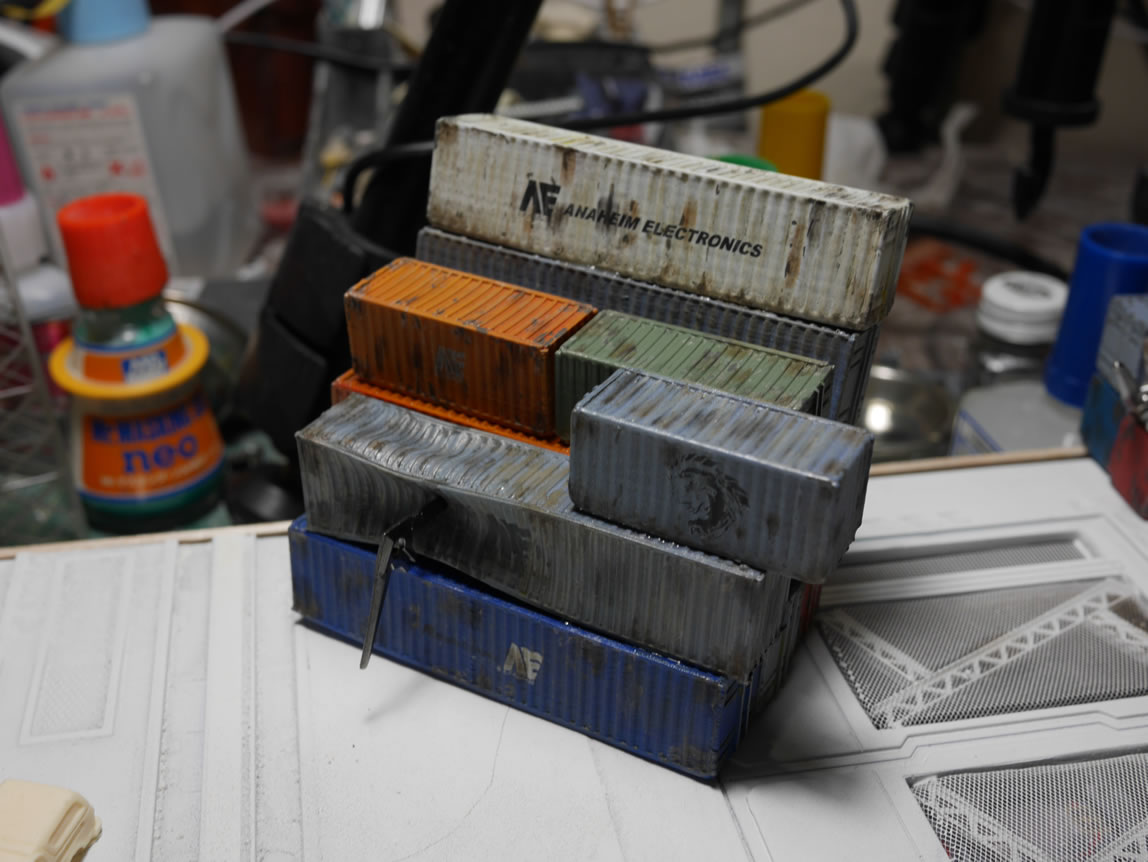
I’m using the shipping containers from the Water Front diorama as the example object for this post. Freshly painted, the containers should look as they would right out of the factory, freshly painted and not a scratch or dent. After the paint, a gloss clear is applied for the decals. This helps the decal stick to the surface as well as help minimize the silvering effect, which is the decal lifting or not completely sticking to the surface of the model. The clear gloss is also the first layer of defence to the paint AND plastic from the ensuing barrage of weathering effects. The clear gloss needs several hours to cure up, so I typically give this 12 hours to a full day.
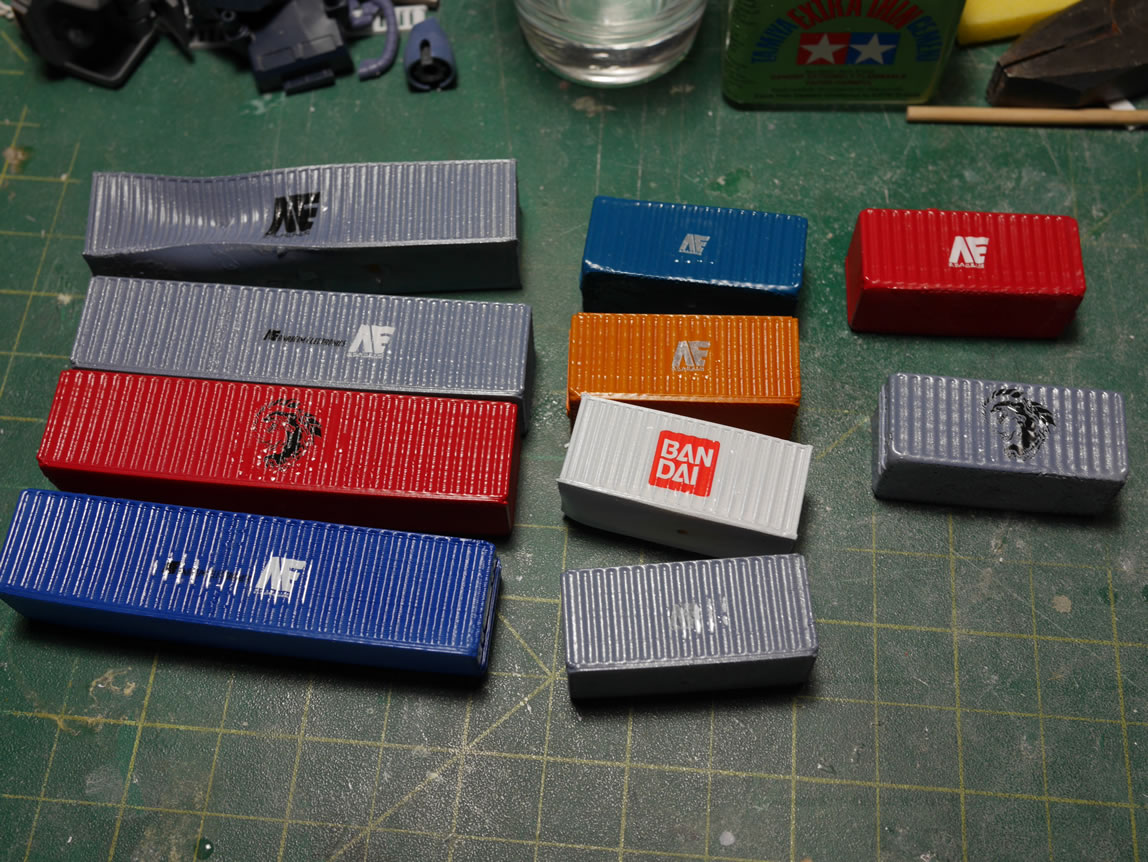
Once the decals are on, I finish things with an application of a decal softening solution (micro sol, Mr Mark Softer, white vinegar with water, etc). This needs time to completely dry and cure, so here, about 6 – 12 hours is allotted for the decal solutions finish bonding.
The decals then need to be protected, so another layer of clear gloss over the decal area. I typically do not spray the entire part, but focus mostly on the decal area. This helps even out the decal edges with the surface of the model AND protects the decal from the oncoming weathering techniques. Again, 12 hours to a full day for the clear to cure. Not even into the weathering process, at least 2-3 days from the time the paint drys/cures on the containers have passed.
Weathering is optional. Which means that each layer is also optional. Selecting the different layers to use is dependant on the environment you choose for your kit. Desert, forest, grasslands, mountain, space, asteroid, snow, rain forest, etc; will change what you use for weathering. My current situation is a naval base near the ocean; so my containers should have some rust, scratches and dents, sun damage, possible rain damage, etc.
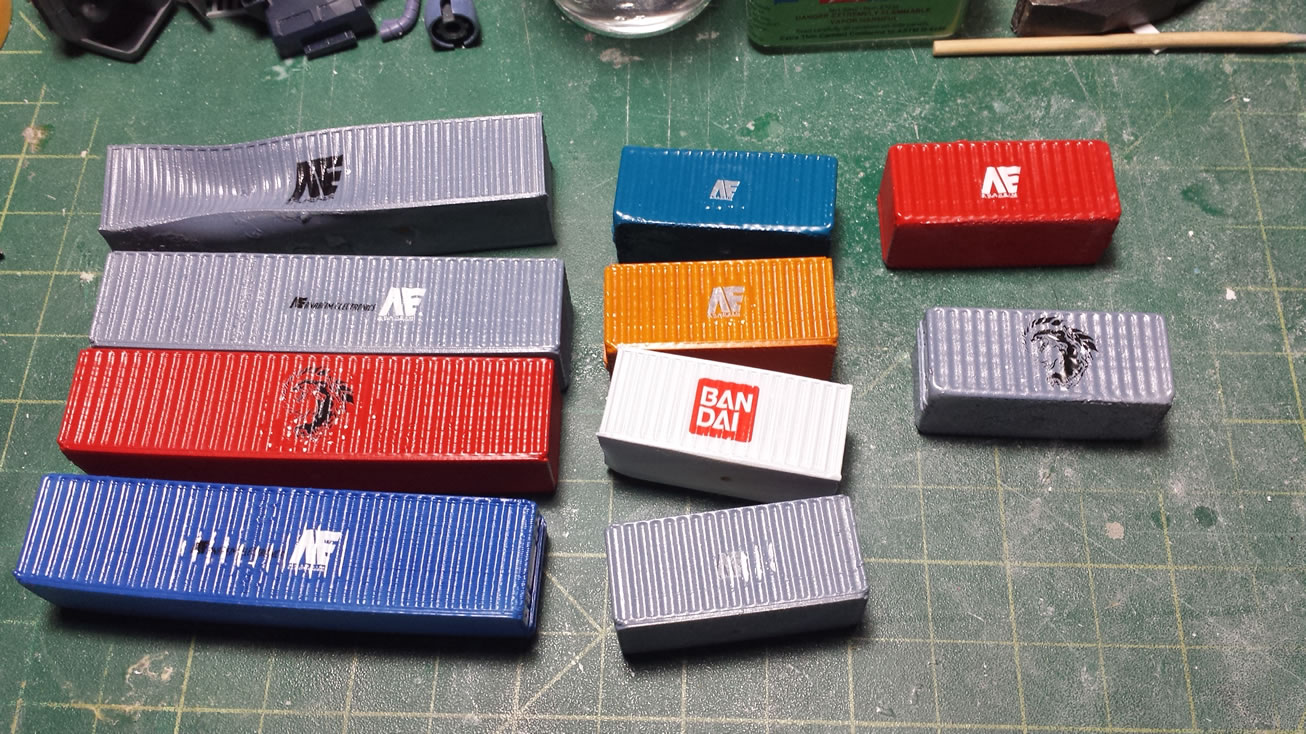
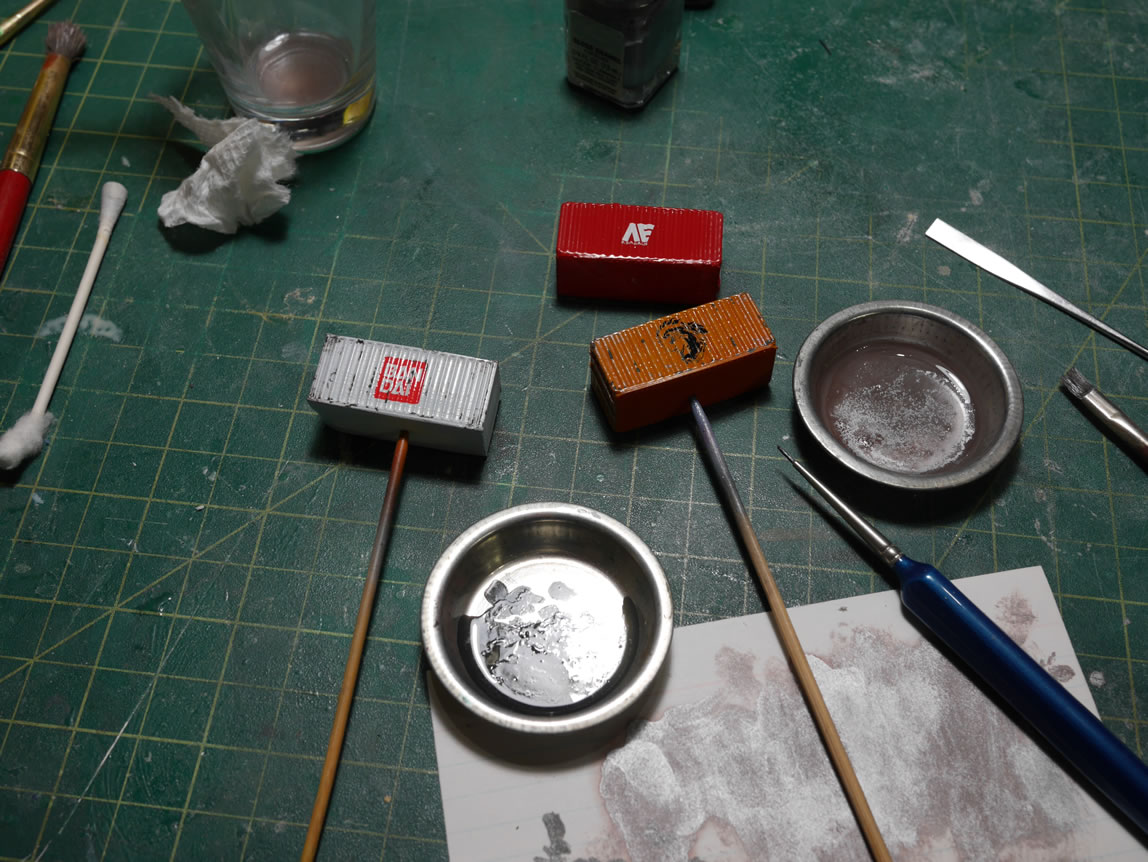
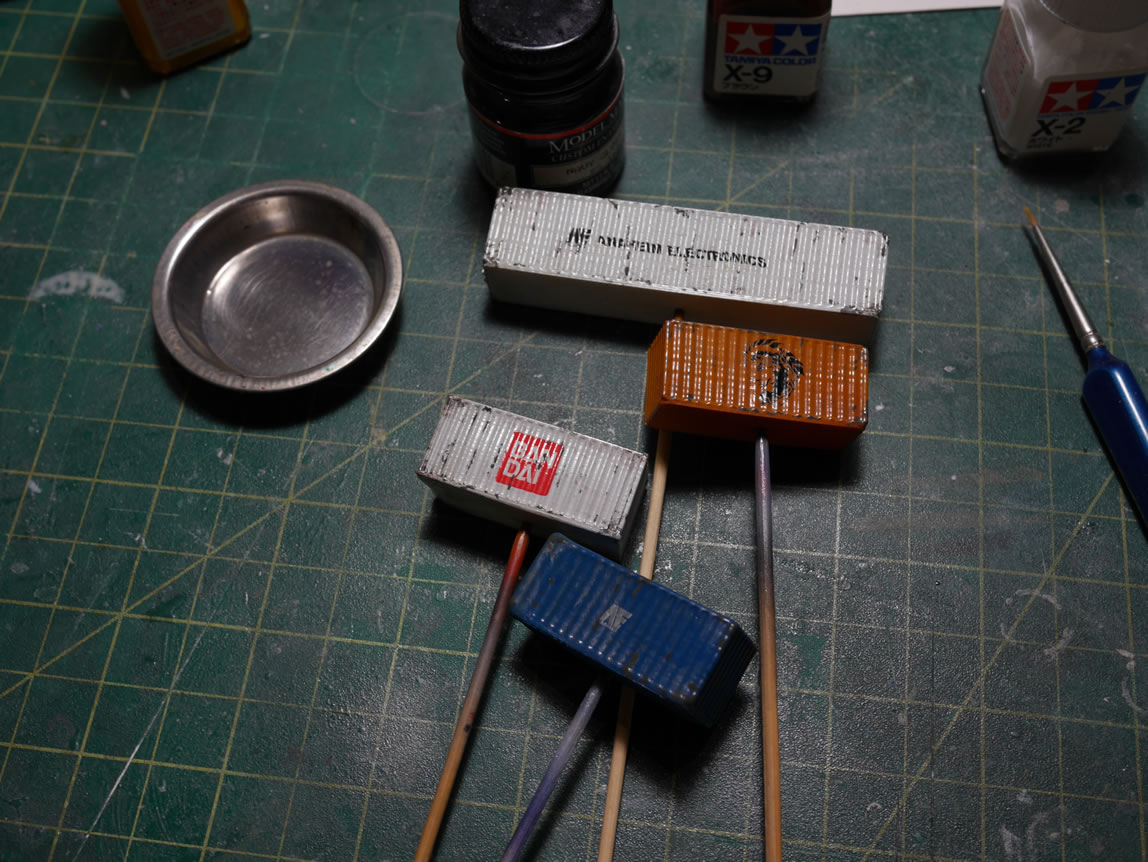
So based off that, I start with the first layer. Paint chipping. There are multiple ways to achieve this; the hair spray technique, salt technique, liquid masking technique, #2 pencil technique, or the brush technique. I decided on the brush, and using some dark paint mixed with some metallics, I carefully painted in some paint chips. Scratches in the paint can be done with drybrushing. The paint used here is an enamel based paint. I like using enamels here as the paint does not interact with the lacquer based clear gloss. If you used an acrylic based clear gloss, the enamels will work very well here too. If I painted too much, I can always go in with a paper towel moistened with some enamel thinner or lighter fluid, and clean up the excess. I can even completely clean the part up and start from the beginning, while keeping the paint and decals in the condition before I started paint chipping.
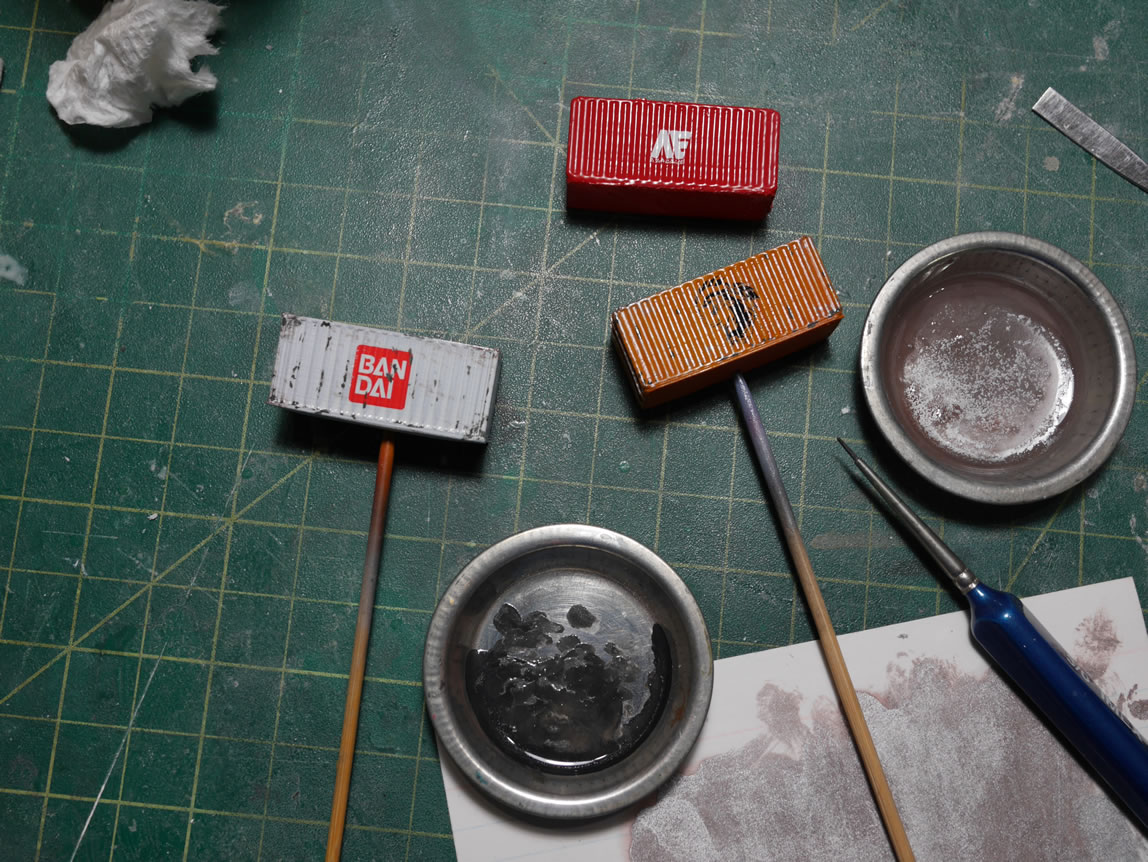
Once I finished paint chipping, the paint is allowed to dry for several hours. Enamels take a long time to dry, which is why they’re pretty good to use with brushes. 6 – 12 hours is good. Another layer of clear gloss over the paint chipped areas protects everything from the next step. Here, another 12 hours to a full day is required. At the end of this step, we’ve gotten 4 days into the process.
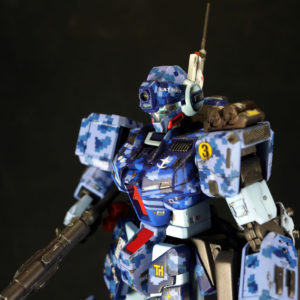
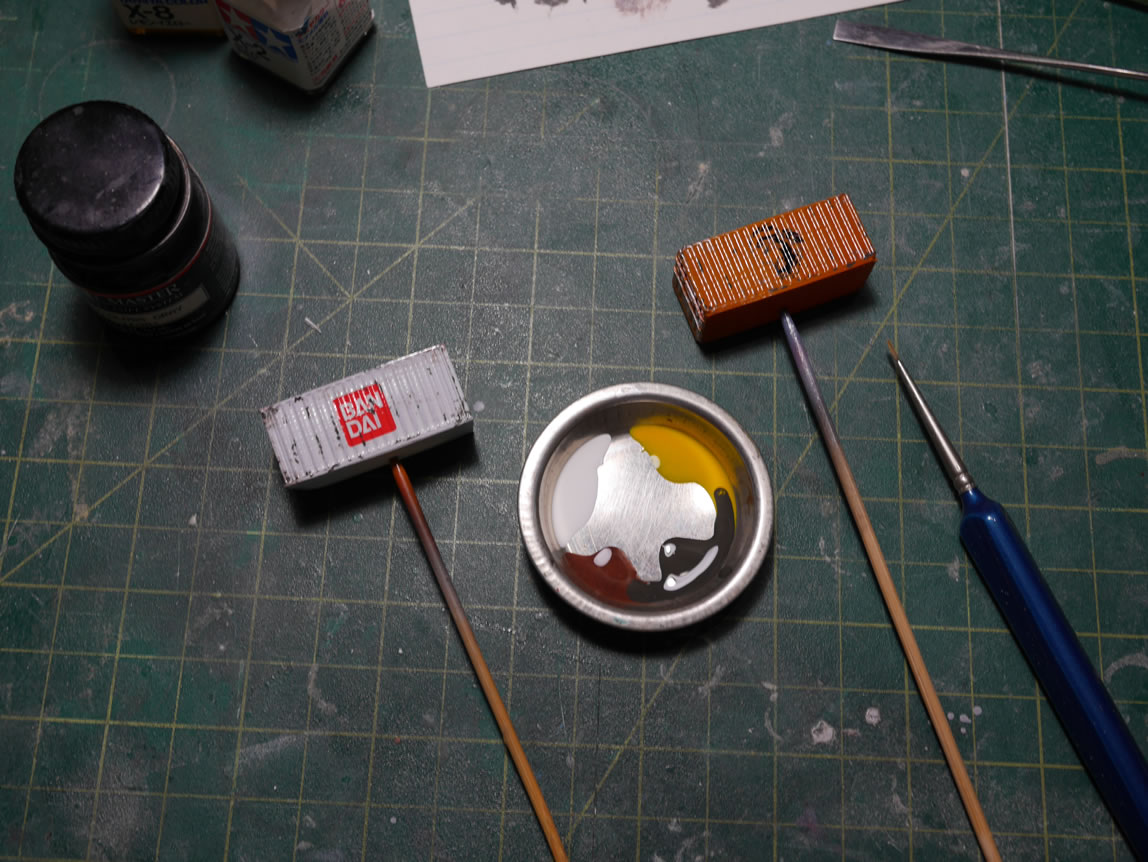
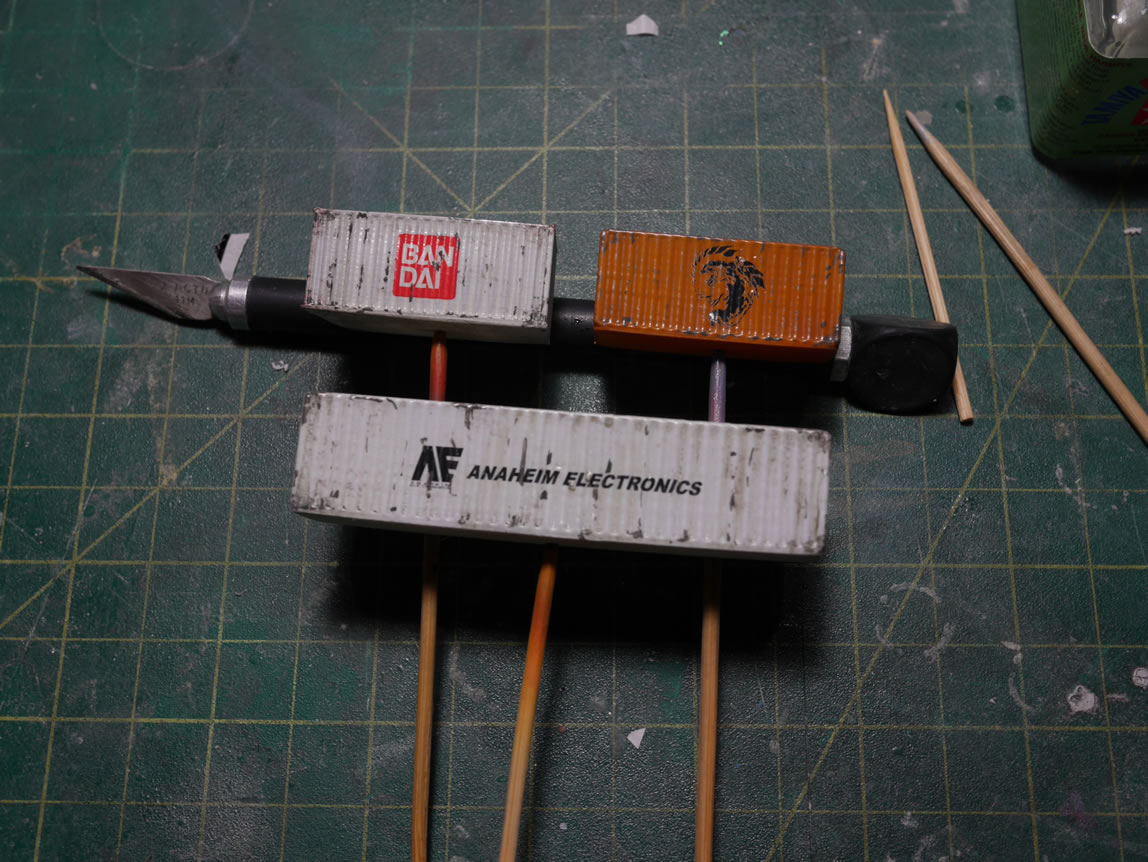
The next thing I do is apply the sun and rain damage using the fade/filter effect. Again, enamel paints are used and I pick sets of three colors. For sun damage, I use white and yellow. For rain damage, I use a brown. The containers are dotted up. Once I get it all dotted up, I take a rough brush, dipped in enamel thinner, and blend and wipe the dots away. This created light and dark areas and changes the tone of the protected paint. I can effectively create rain streaks, areas of sun damage where the paint has faded. All this put together help create a very dynamically weathered object. Another 6 to 12 hours are required for the fade/filter to cure up. Once completely dry, the effect becomes much more visible. After drying, this layer is then protected AND prepared for the next step with a clear flat coat. Another 6 to 12 hours for this to fully dry and cure.
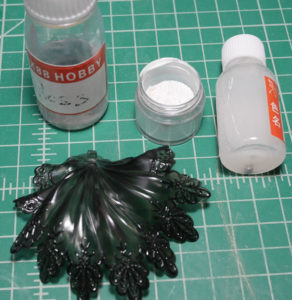
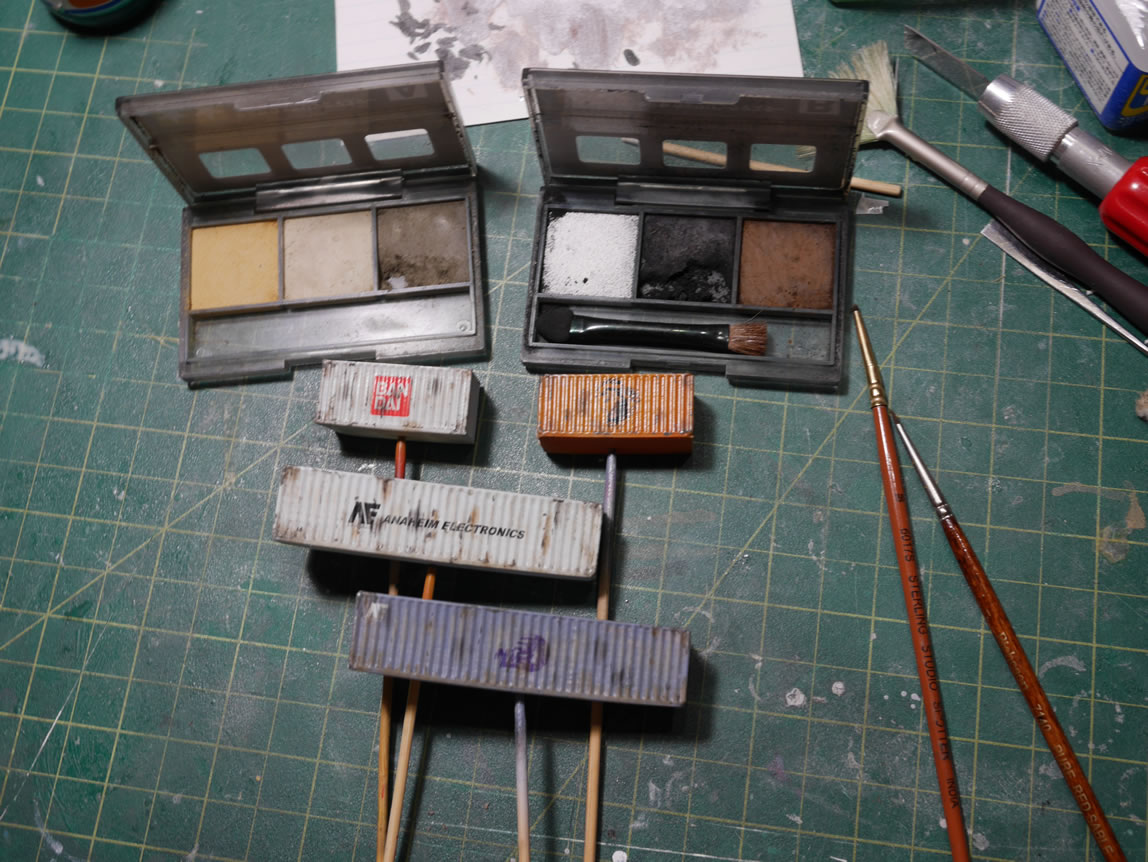
We’re at day 6 in the process. The flat coat puts tiny dots on the surface that refract light. It is also rough to the touch because of these tiny little dots on the surface. It is this rough texture and tiny dots that allows the pastels or weathering pigments to work.
Tamiya weathering kits, girlfriend/wife/mom’s makeup kits, chalk pastels, etc all work fine here. I can create rust marks, soot marks, blast marks, oil stains, dusty/sandy edges, etc with these dry pigments. And they stay on the surface because of the little dots from the flat coat. A final flat coat over everything seals the pastel pigments onto the surface so that future handling will not lift the pastels and they don’t accidentally/eventually go away.

A quick break down of the steps starting with the painted and initial gloss coated containers.
- Day 1: Decals applied and softening solution, left to dry
- Day 2: Clear gloss to protect decals applied, left to dry
- Day 3: Paint chipping using enamels and a brush applied, left to dry
- Day 4: Clear gloss to protect paint chips, left to dry
- Day 5: Fade and filter applied to create sun damage, rain streaks, etc, left to dry
- Day 6: Clear flat to protect fade/filter and prepare surface for pastels, left to dry
- Day 7: Pastel pigments applied and clear flat to seal in pastels
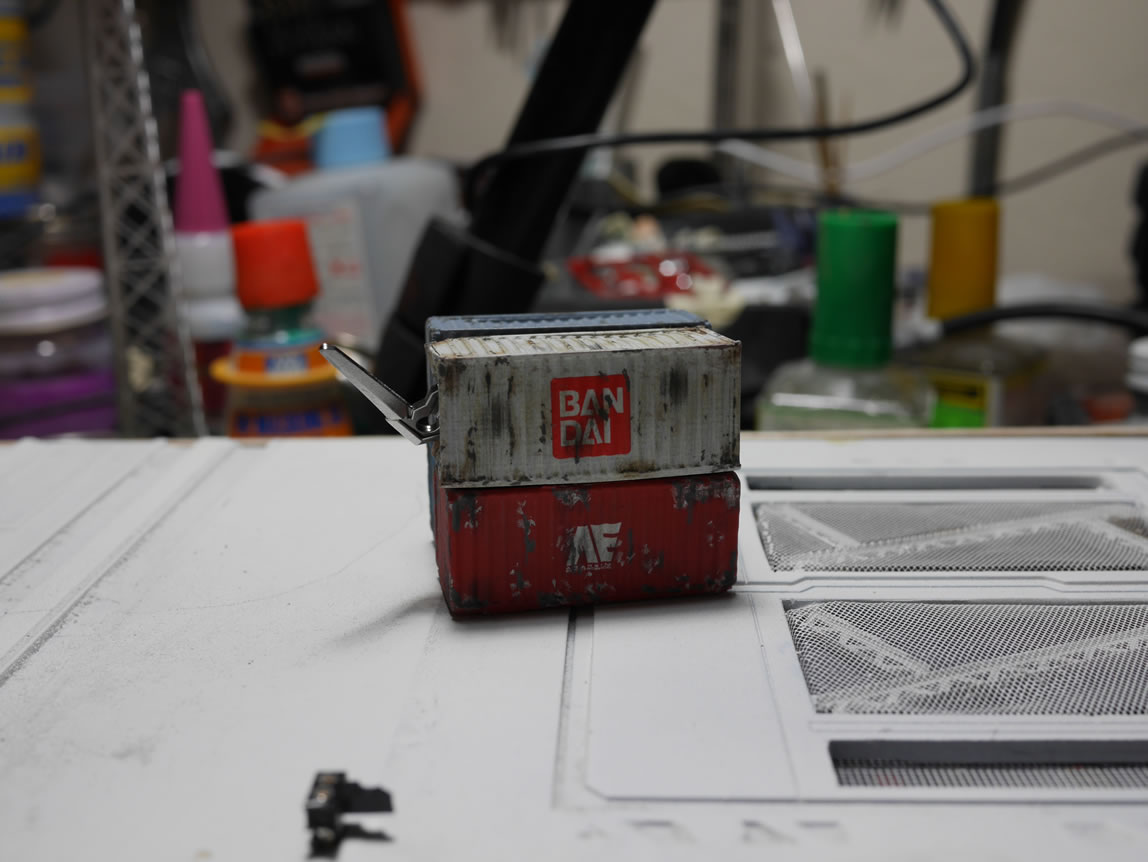
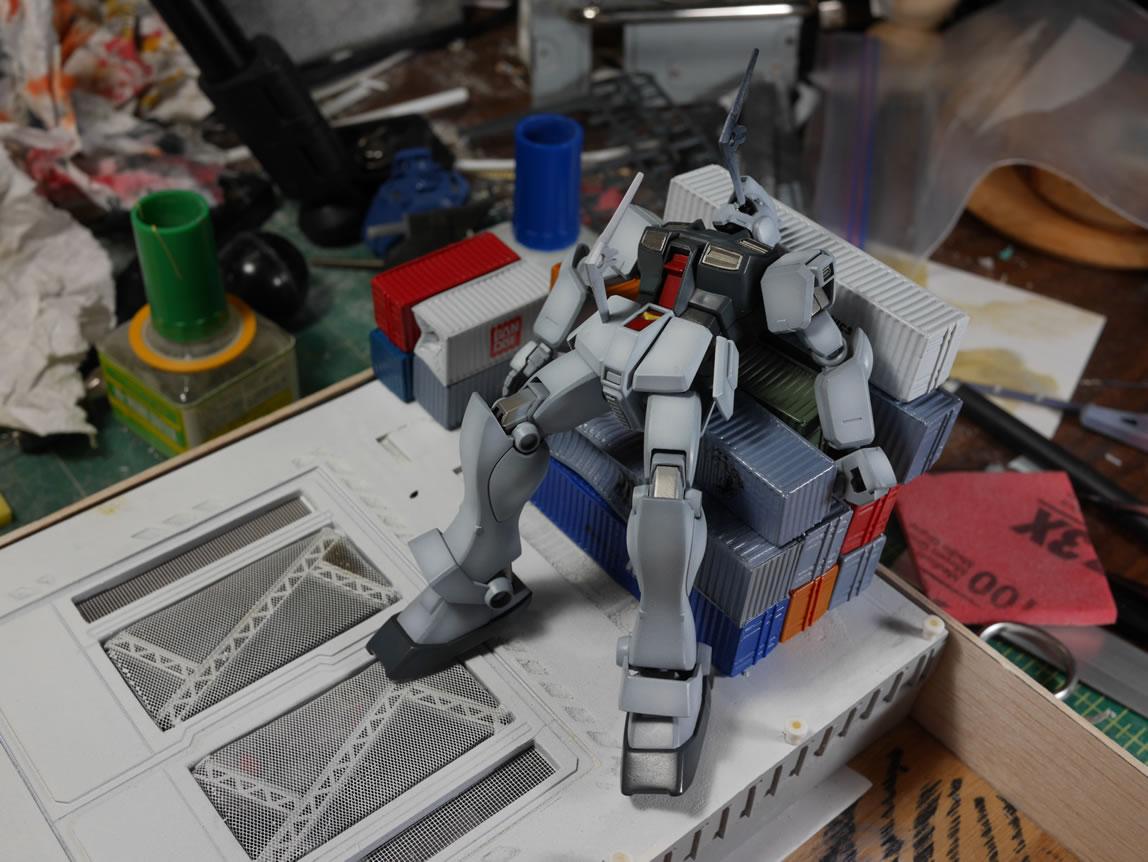
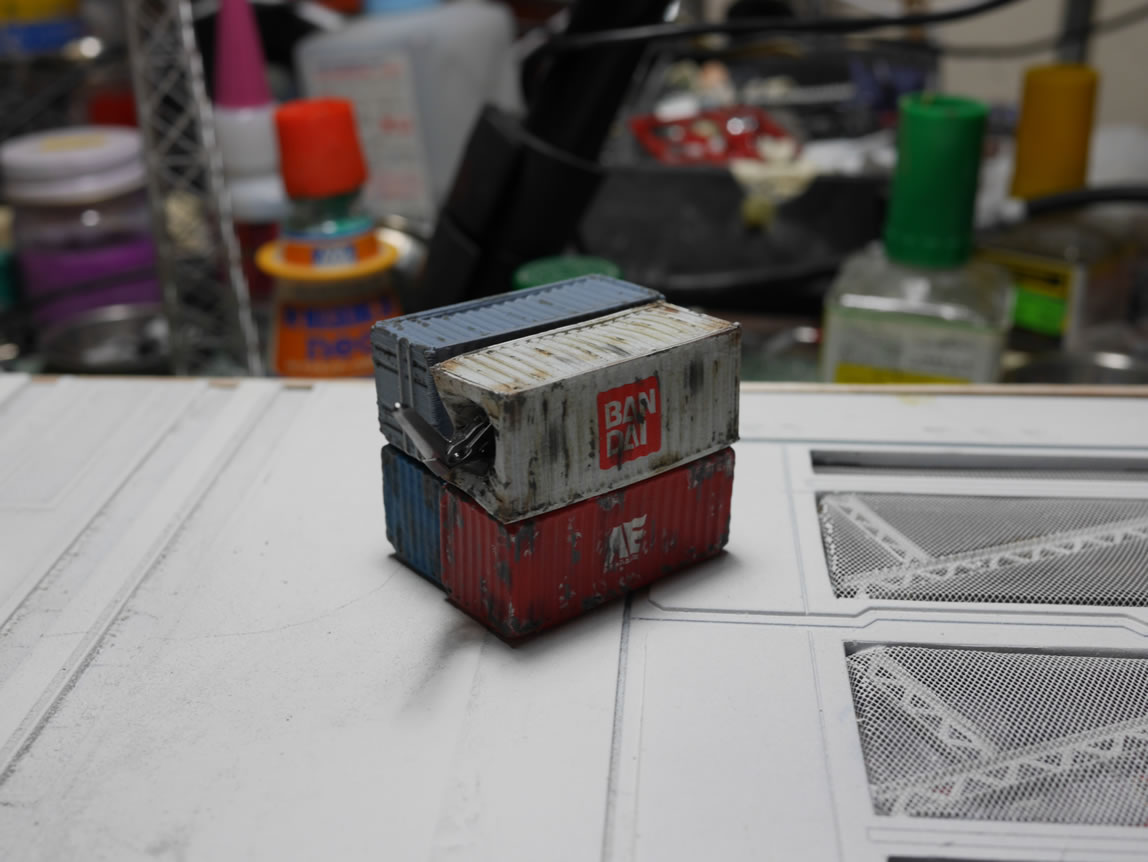
Weathering isn’t going to take years, but it isn’t an instant process and takes time to work each layer and build upon each layer. Again, everything here is optional and personal preference; but for those interested in the techniques, hopefully this breakdown makes some sense and helps out in your attempts at weathering. A little side note about weathering. It is VERY easy to go overboard and over weather. You can always add, but once you start protecting the layers with a lacquer clear gloss, it becomes very difficult to remove excess paint chips, dry brushing, or the fades. Practice! And look around at your surroundings, old factories, oil refineries, ships, shipping containers traveling on trains/trucks/etc and see how much those things are weathered; and just copy the effect using the above steps. The containers are done and glued together as the final step.
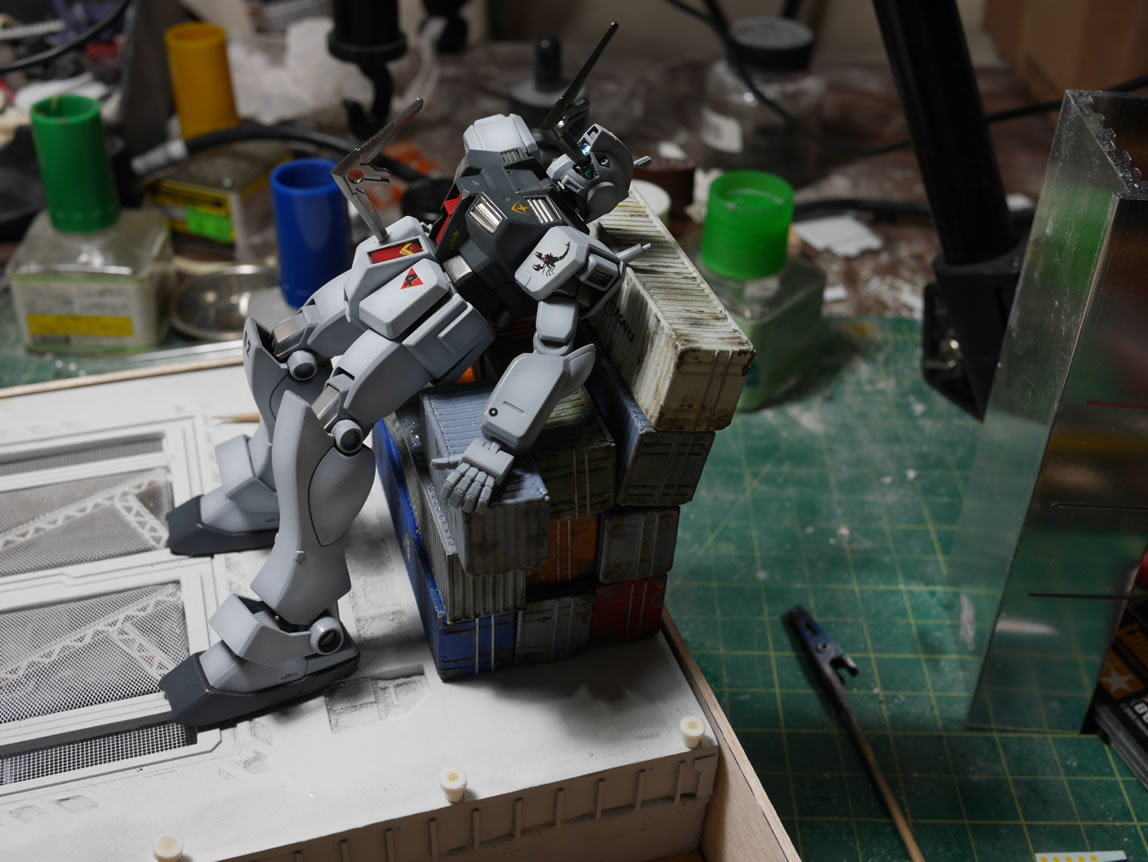
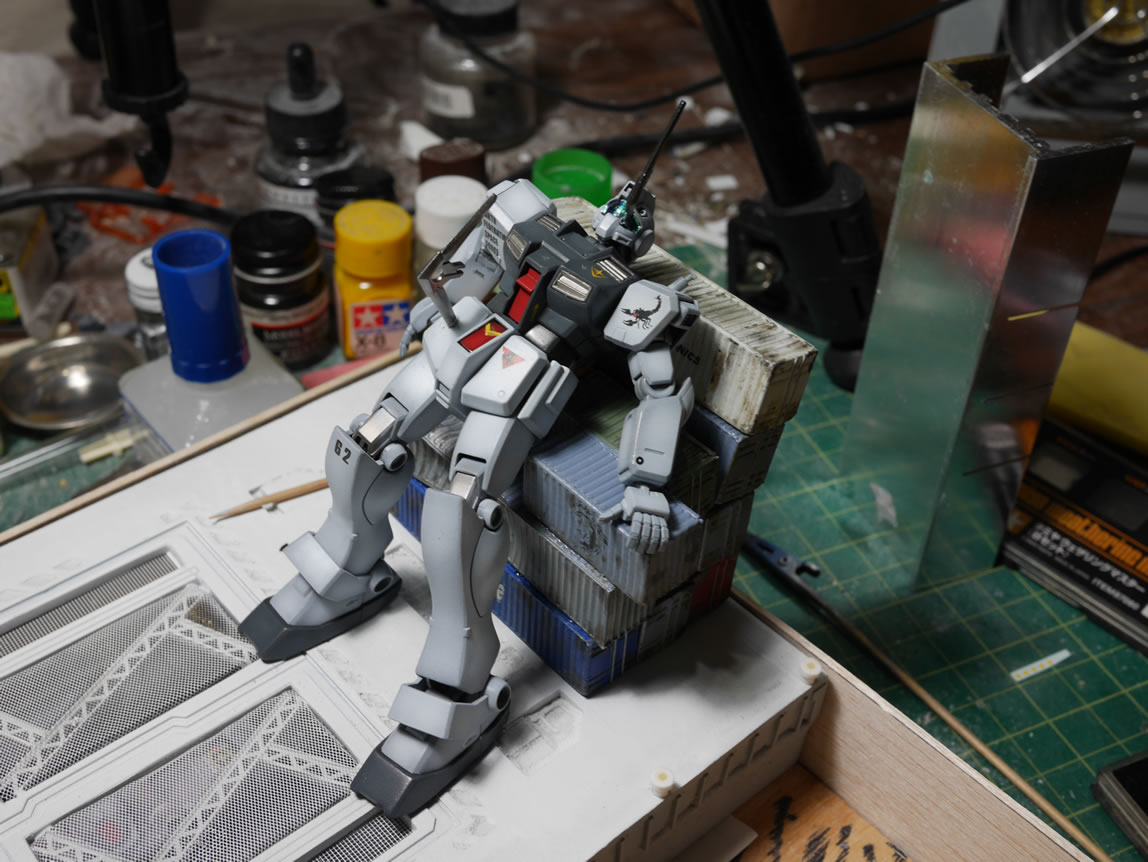
And now for a little update on the other pieces of the base that is also getting work. During the above process, since there is quite a bit of down time for things to cure and set up, it’s always good to keep busy with other pieces of the project so that impatience doesn’t creep up and screw over everything you’ve already accomplished. So, in the middle of the above work with the containers, the following work was also being done.
I had gotten stuck on creating a light fixture for the base; that’s when I really stalled on the project. So while stepped back, I came up with a new method for adding in a base light fixture. I picked up an N-scale light structure and not happy with the look of it, I started to cut it apart to create something different.
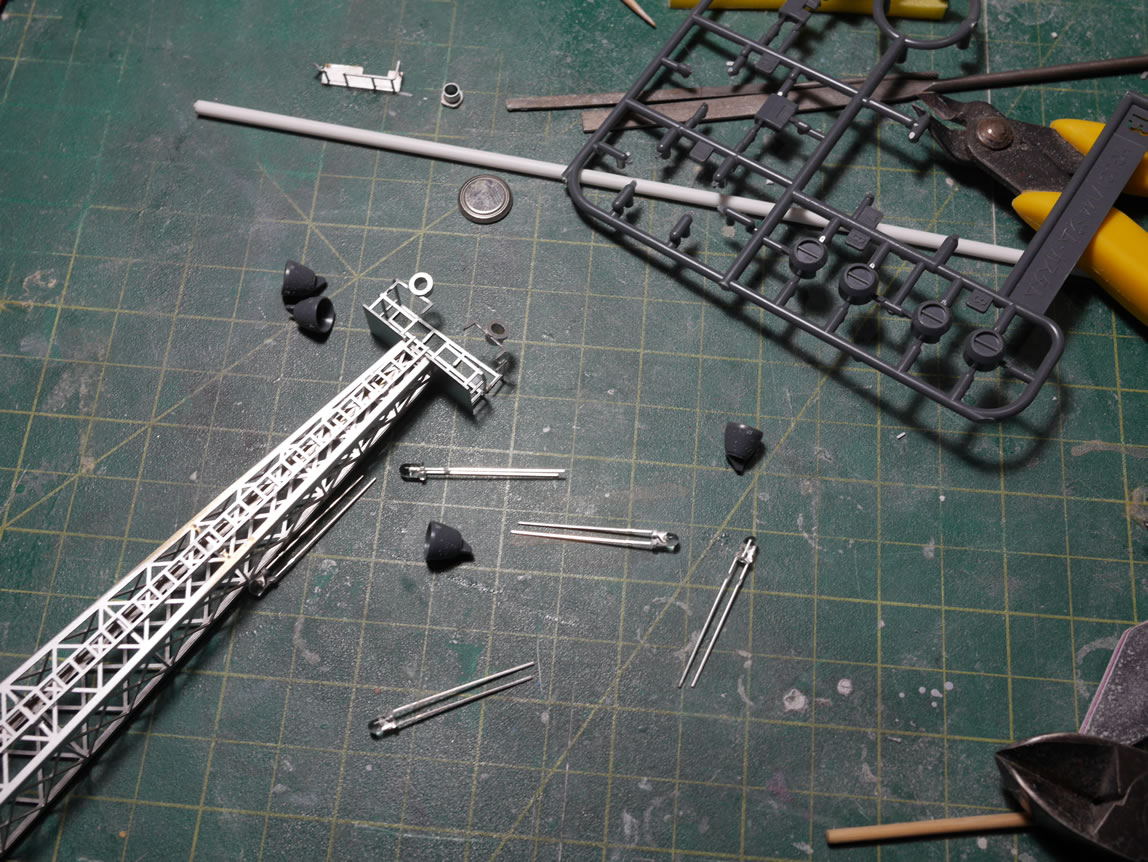
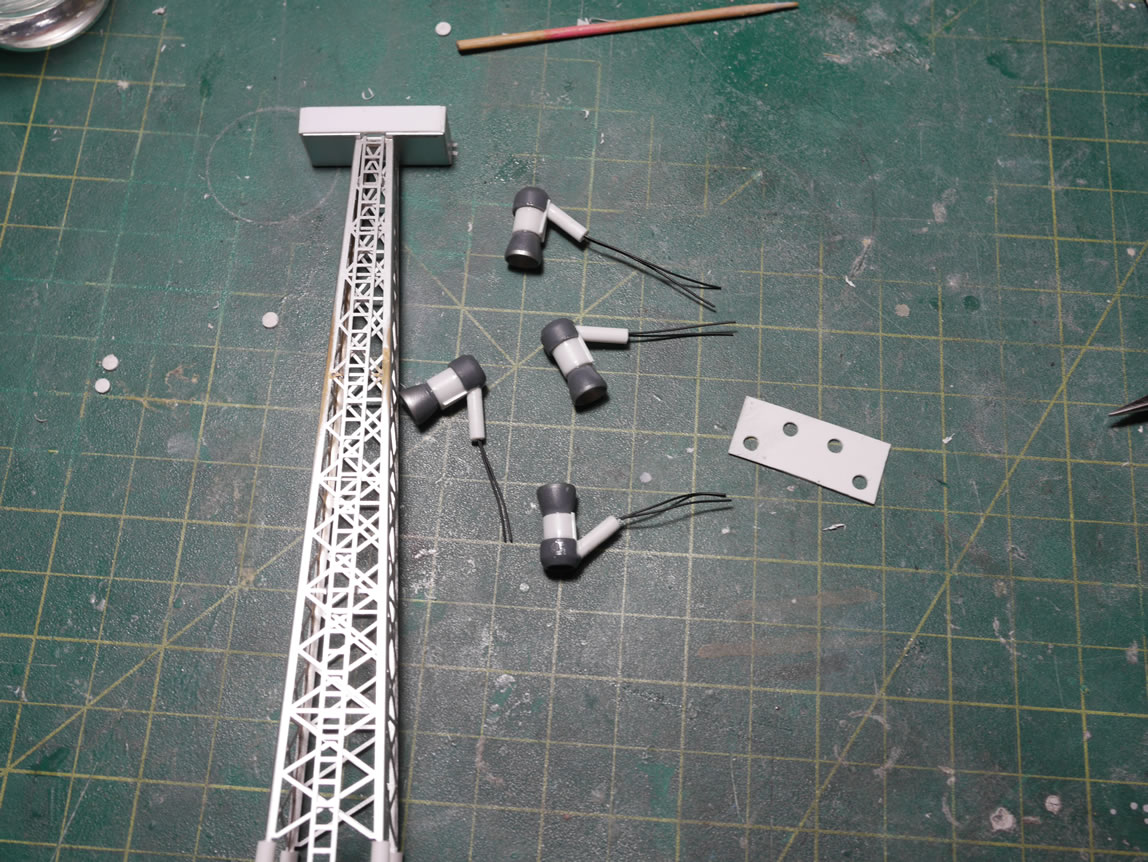
Finding some spare thrusters, spare Gundam/GM joint covers, and some styrene tubing, I created some spot lights. Glueing everything together and getting it all wired up, I now have little light fixtures.
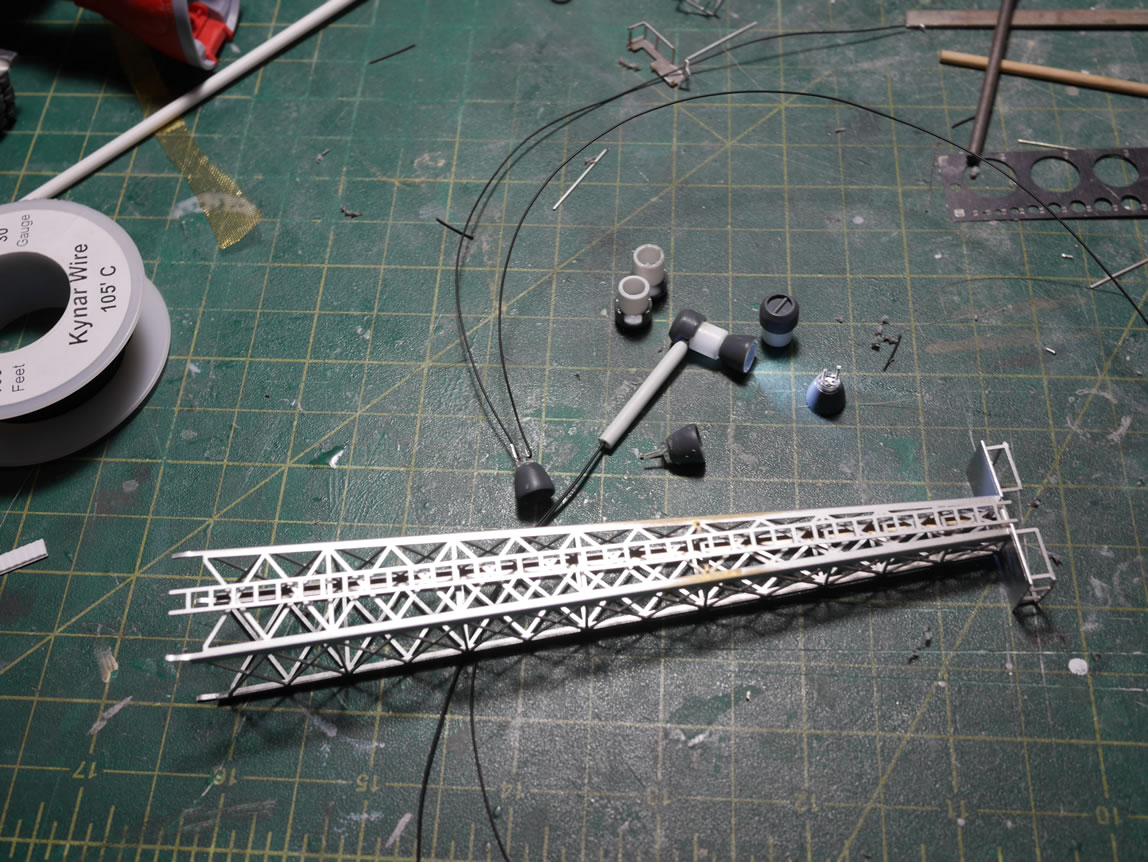

The light fixture is progressing along and I’ve cut up the N-scale metal structure and started gluing styrene to create the top structure where the lighting is housed.
And an earlier picture for last week when I printed out new barriers and had those painted. The base is starting to come along.