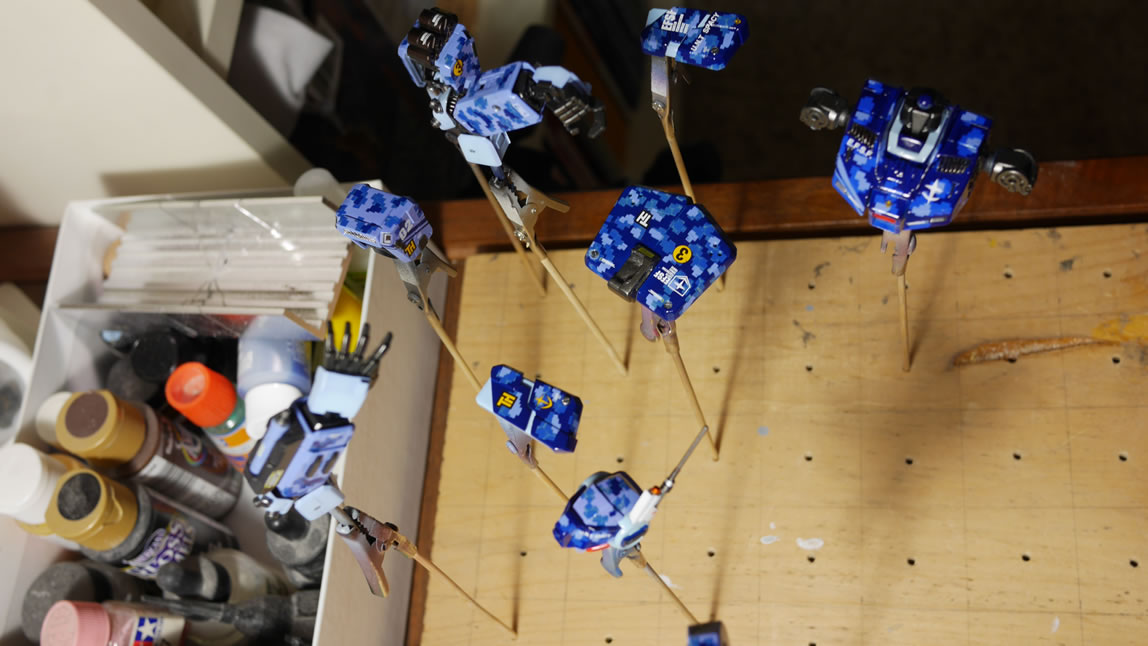
This past week was spent finishing up work on the GM Sniper 2. Realistically, there were only 7 or so steps left from the last update. The decals, the after decal gloss coat, panel lines, flat coat, weathering (in two steps, paint chipping and pastels), then the final flat coat. So there’s not much to see in the progress other than some quick snaps during the above processes.
But the sniper is still only the first part, granted, it really is the “main” part of the project. I still have the complementing base that needs to be finished before this project as a whole can be tied off as truly finished. I’ll quickly go through the final steps for the GM then get back into the base work, and at the very end, the completed gallery; all after the jump!
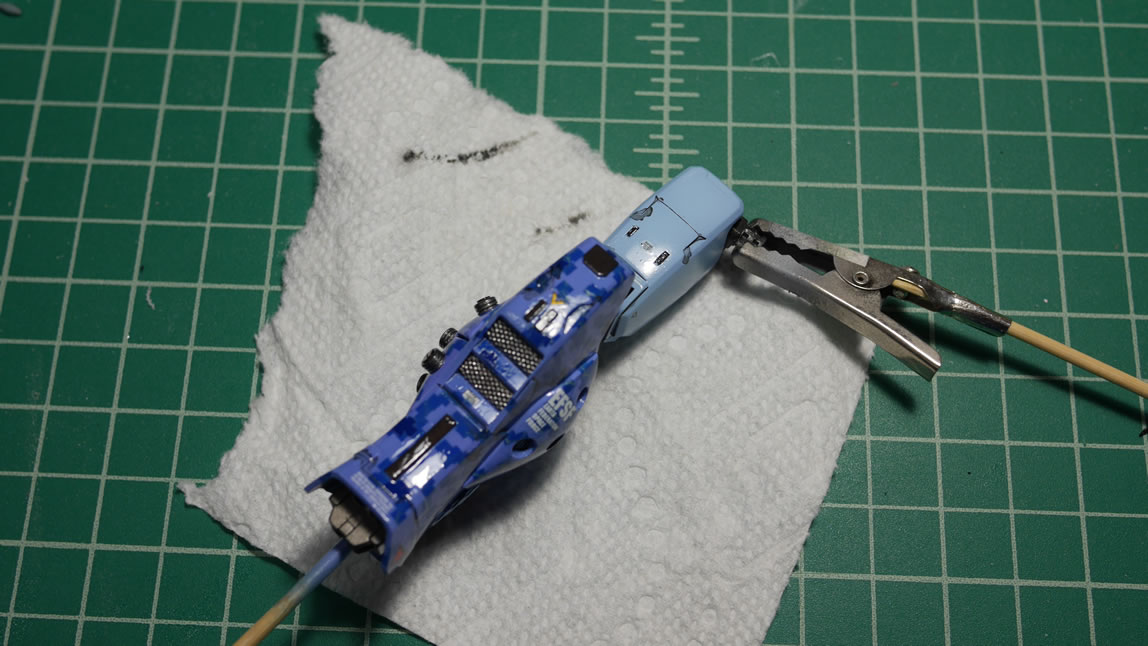
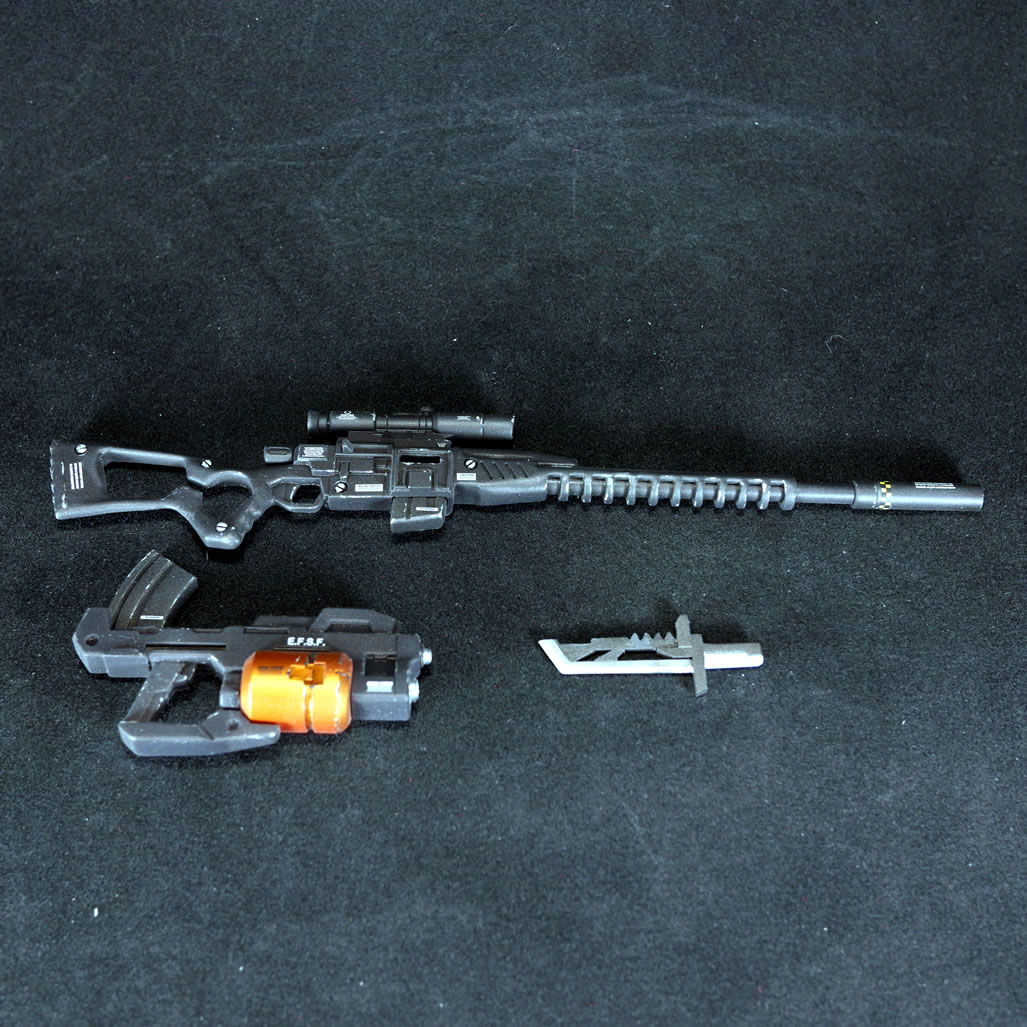
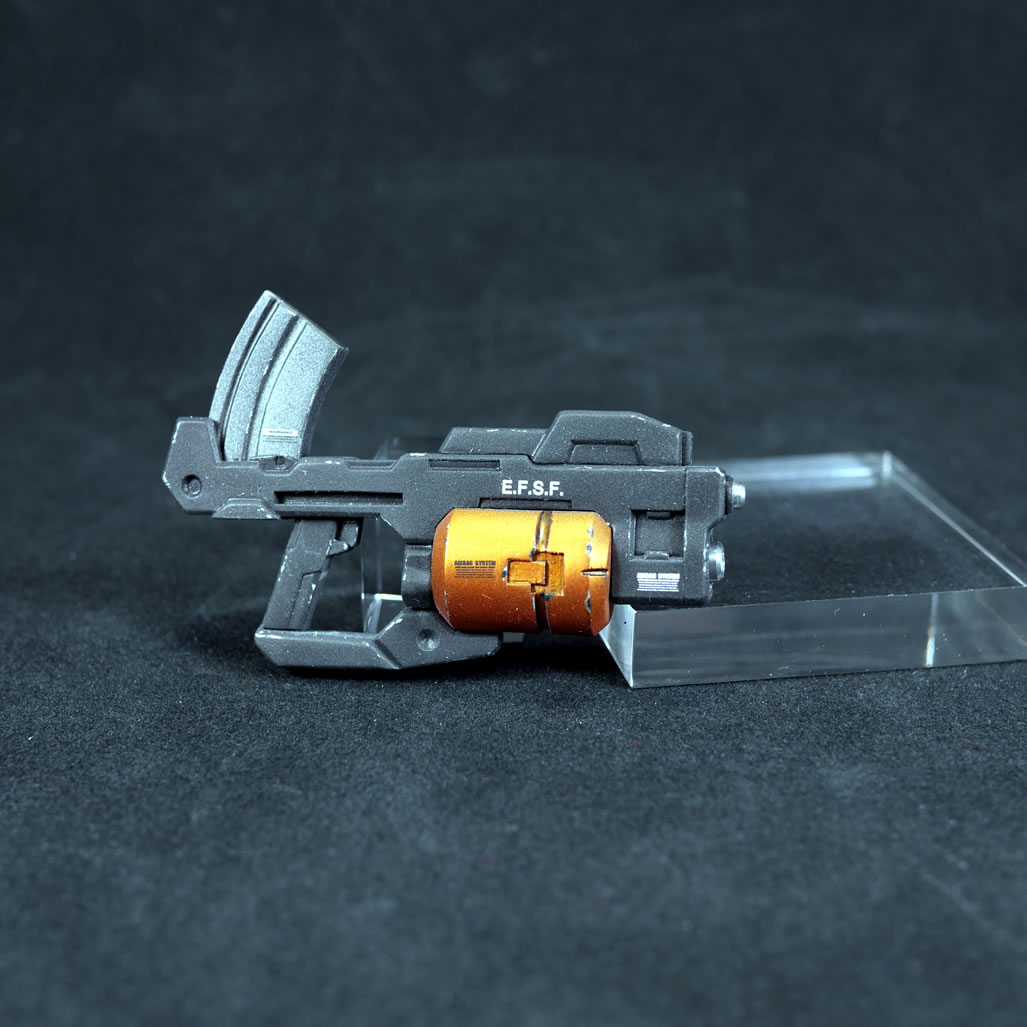
Last I left off, I had just sprayed the gloss coat over all the parts. Once the clear gloss is cured (one full day of curing). The box of decals comes out and I start picking up warning labels, team insignias, EFSF logos, etc. The decal work took two nights – roughly 4 hours each night. Depending on how deep down this rabbit hole you want to dig, you can spend as little as half an hour to as much as an eternity. I opted for something in the middle. Some warning labels, insignias that help fit the kit into the whole 0080 War in the Pocket feel.
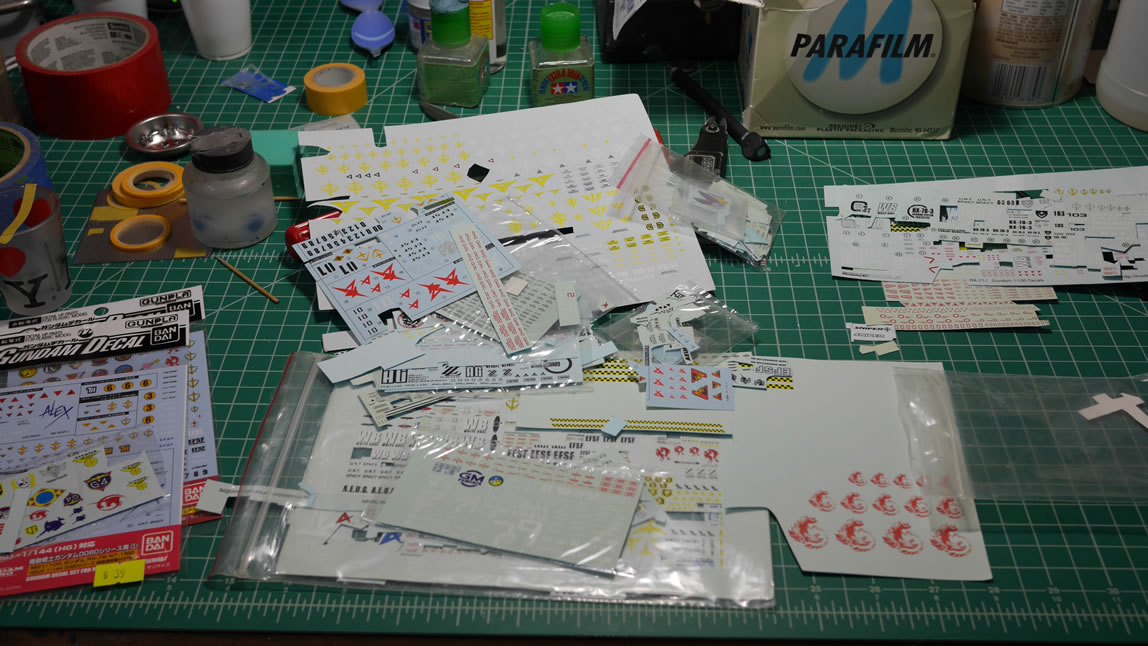
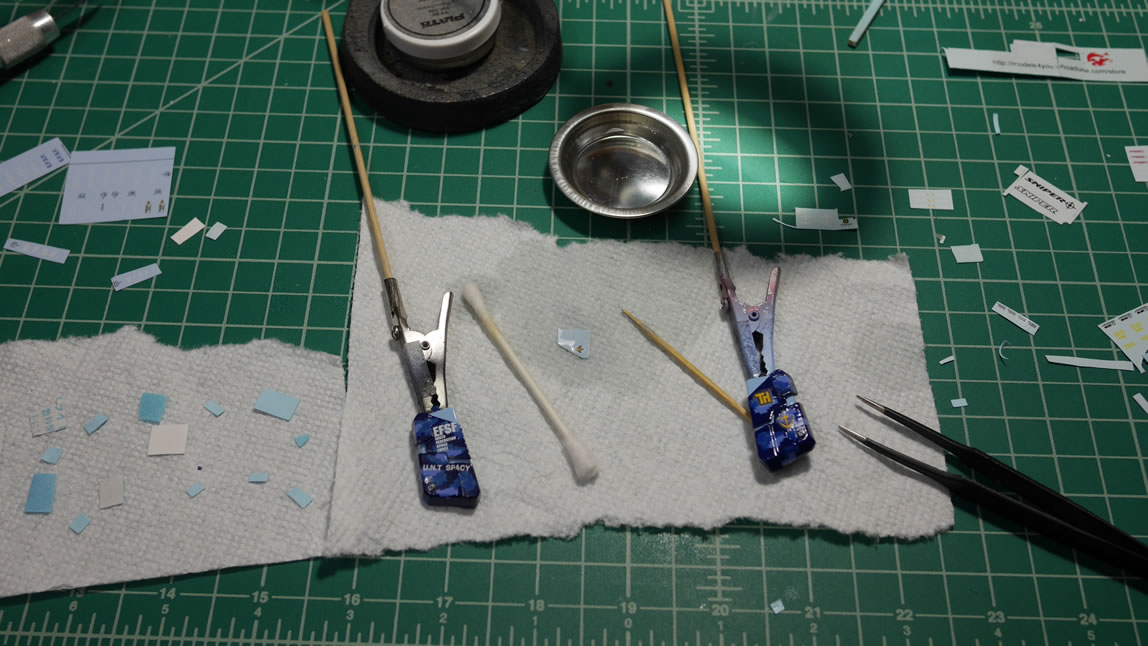
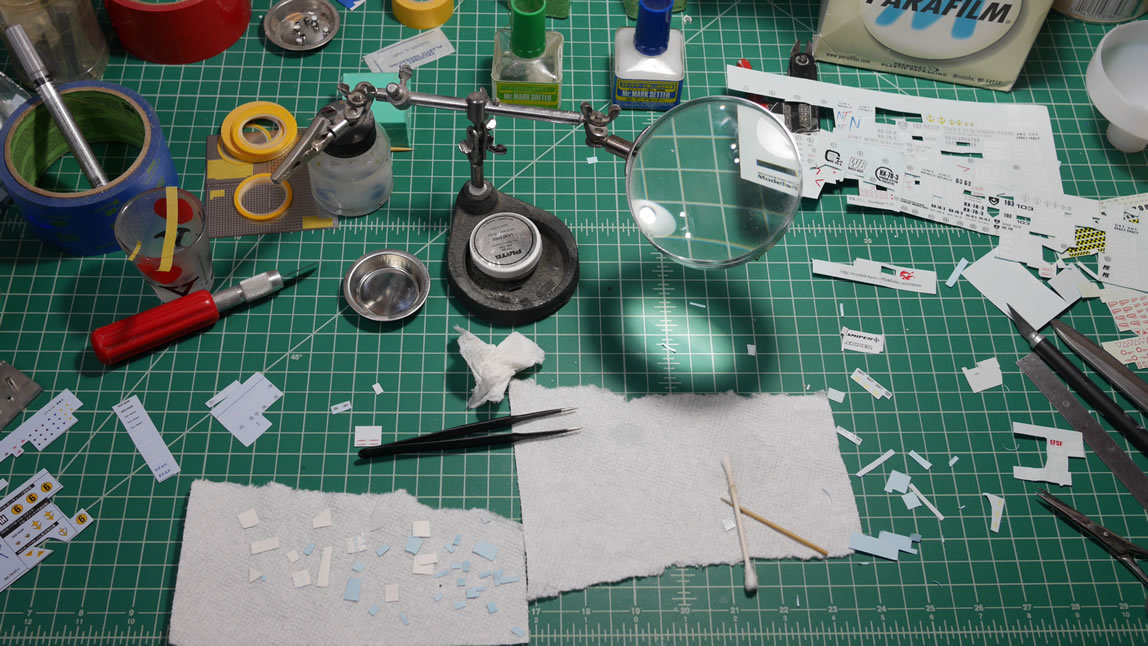
Once the decals are applied, a decal softening solution is applied by brush and left to dry. Leaving this for a day, the next step is to spray a layer of clear gloss. This does several things. It protect the decals for the next steps. It helps hide the decal lines. And it gives the parts a smooth surface for the panel lines.
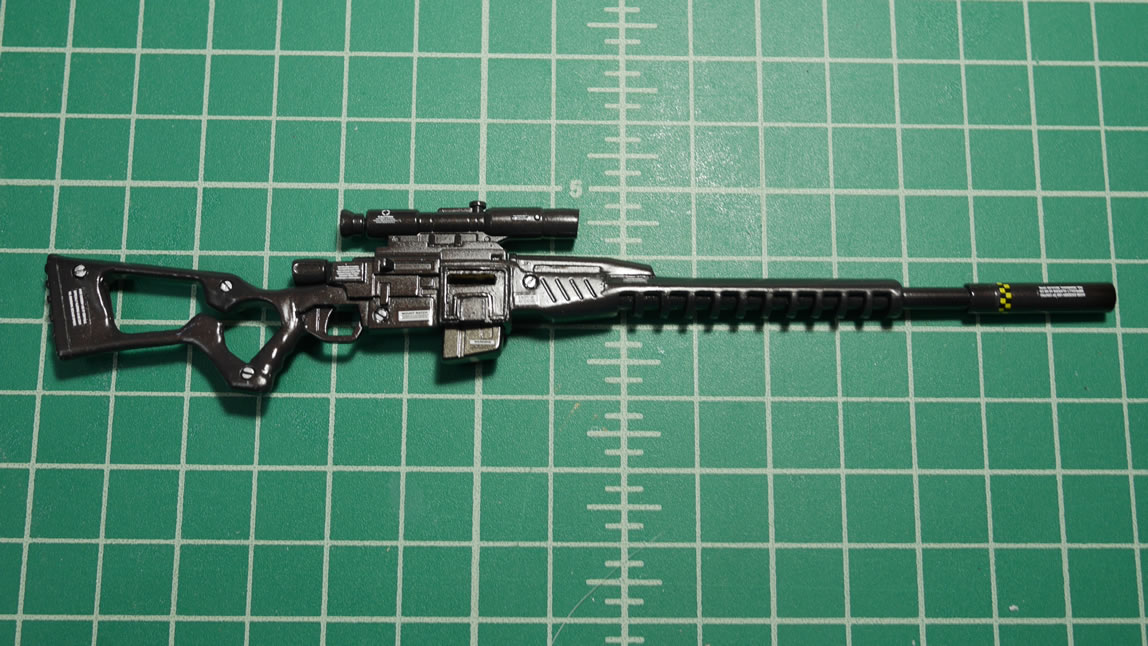
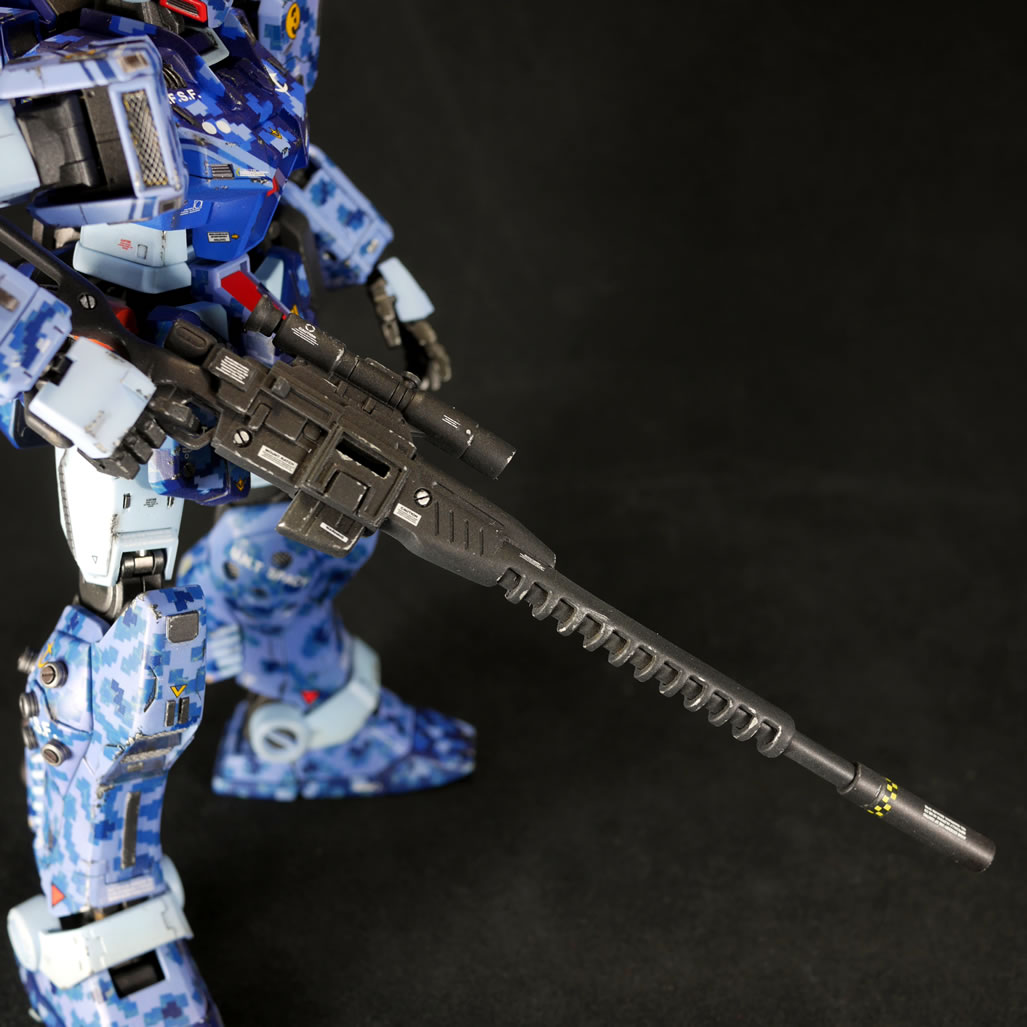
Panel lines are applied with my standard enamel wash. The wash is messy sometimes, but I leave it on the kit for several hours so that the ink in the panel lines gets to dry before I attempt cleanup. A paper towel moistened with lighter fluid works very well to clean off the excess mess and leave a sharp inked lines. The gun is also gloss coated for the decals and panel lines.
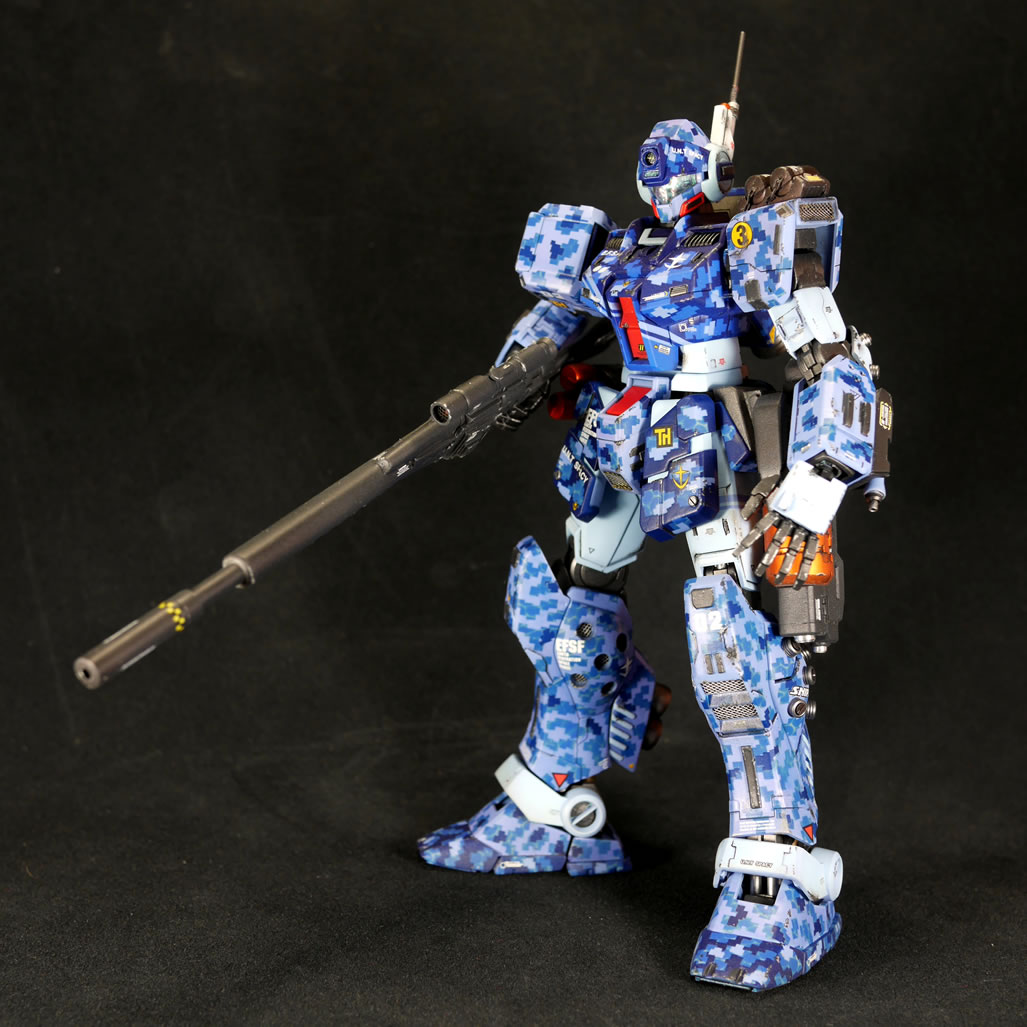
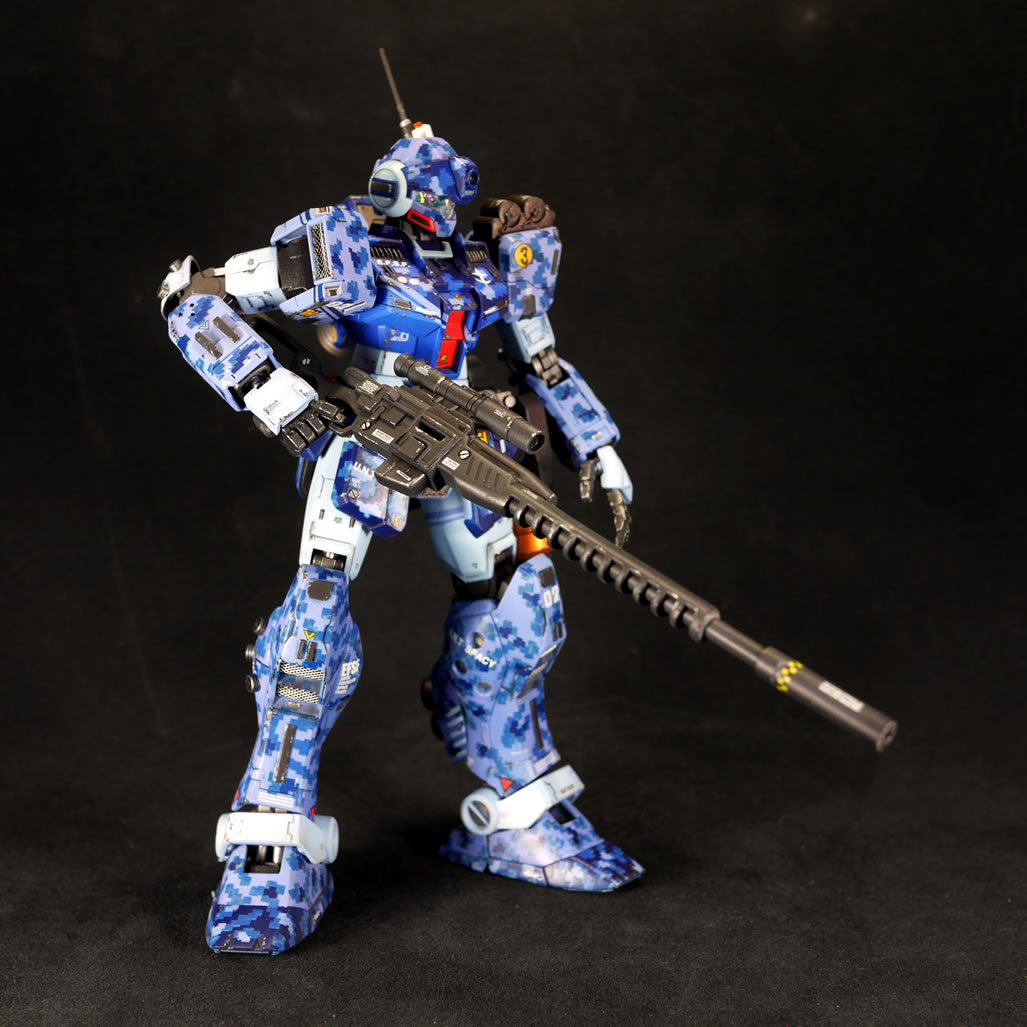
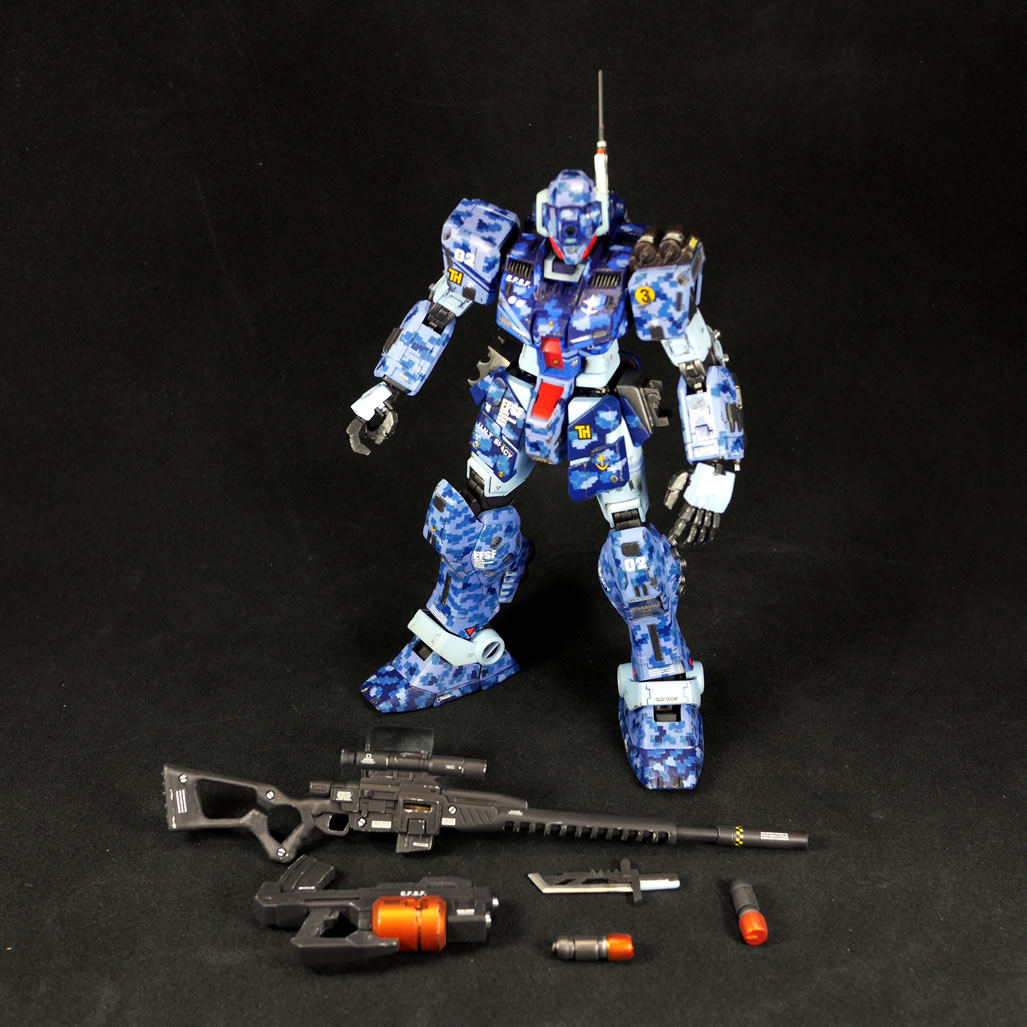
After the panel lines are done, I couldn’t help myself and did a quick assembly for some pictures. The kit is now ready for some VERY slight weathering.
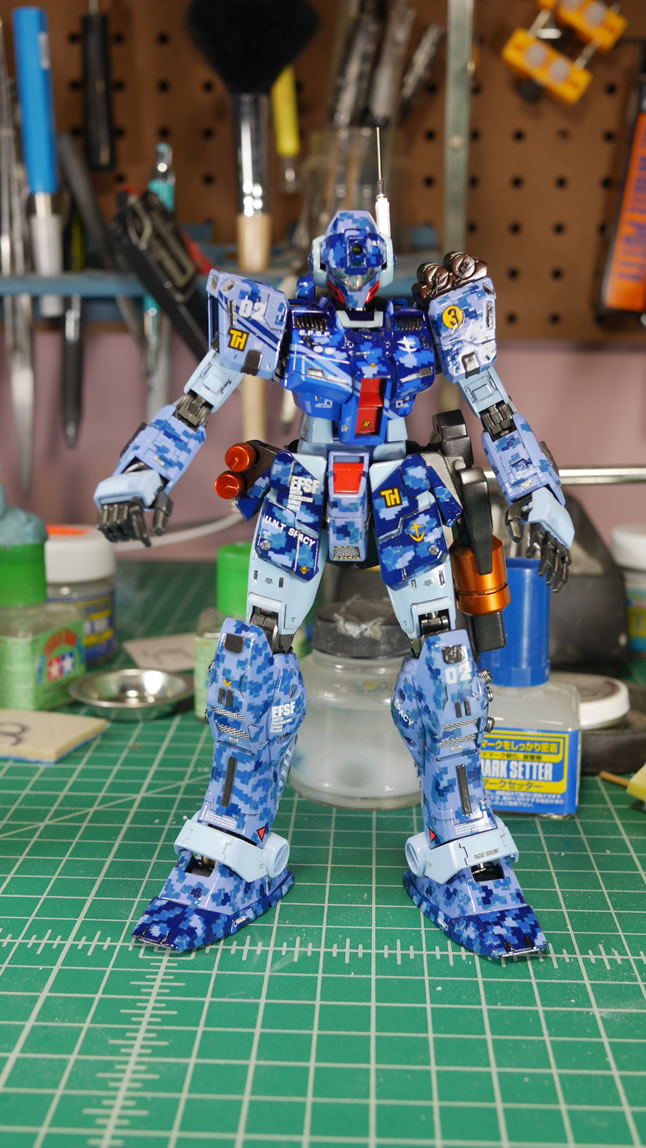
Weathering is one of those things that is truly a matter of personal preference. Since this is ultimately going to be part of a bigger story, I didn’t want an ultra clean finished kit. That in itself is difficult to achieve. But I also didn’t want something completely beat up either. While I didn’t cut into the kit and leave damage marks because I did not want the weathering to detract from the details I put into the kit. It’d be a shame to cut up that work that went into making things look as uniform as I could. I took a very long time with two brushes, enamel gun metal, and enamel aluminum; and applied some paint chipping in sparse areas. A few posts back, I had use Mr Surfacer 500 and a stiff brush to make some rough areas on the kit. These areas were the main focus for the weathering. The rough spots will help get that paint chipped look. I think the dual colors worked well with one another to create a decent paint chipped effect.
The paint chipping took a few days to finish. Once finished with that, I did a quick application of some pastels using the weathering kits from tamiya to his the feet with some dust and give some of the paint chipped areas some rust and soot as well as apply soot to the vent areas. A final clear flat seals everything in and it was final assembly time.
Here’s the link to the completed gallery that is at the bottom of this post.
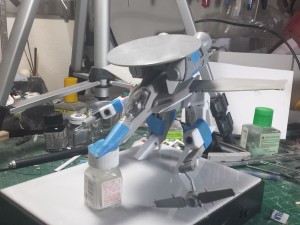
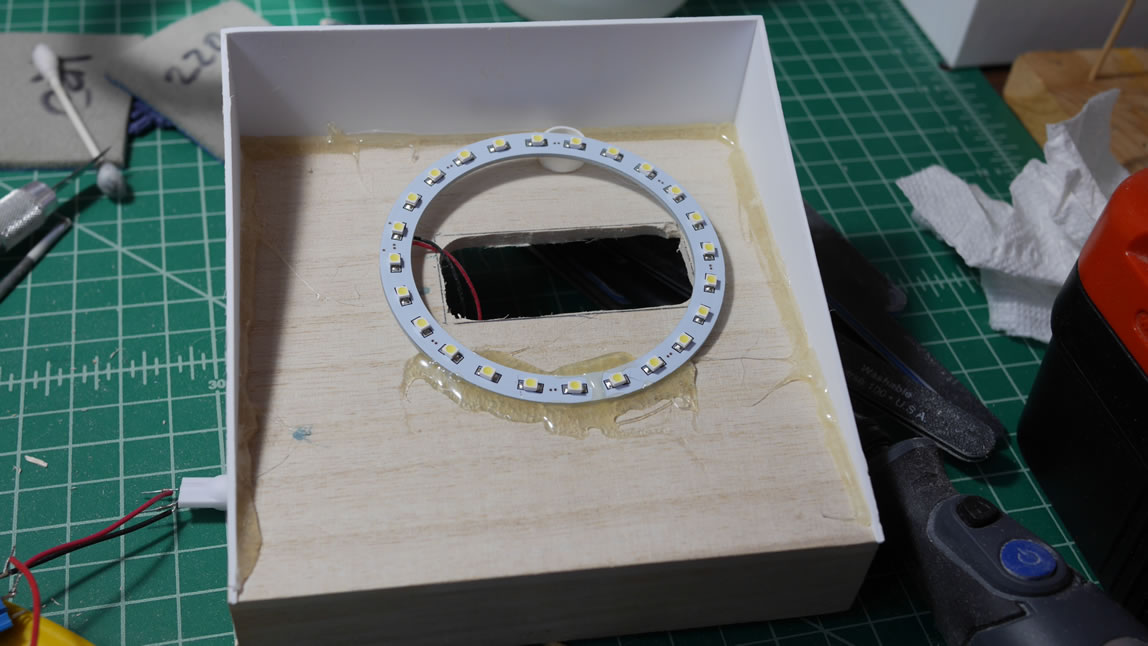
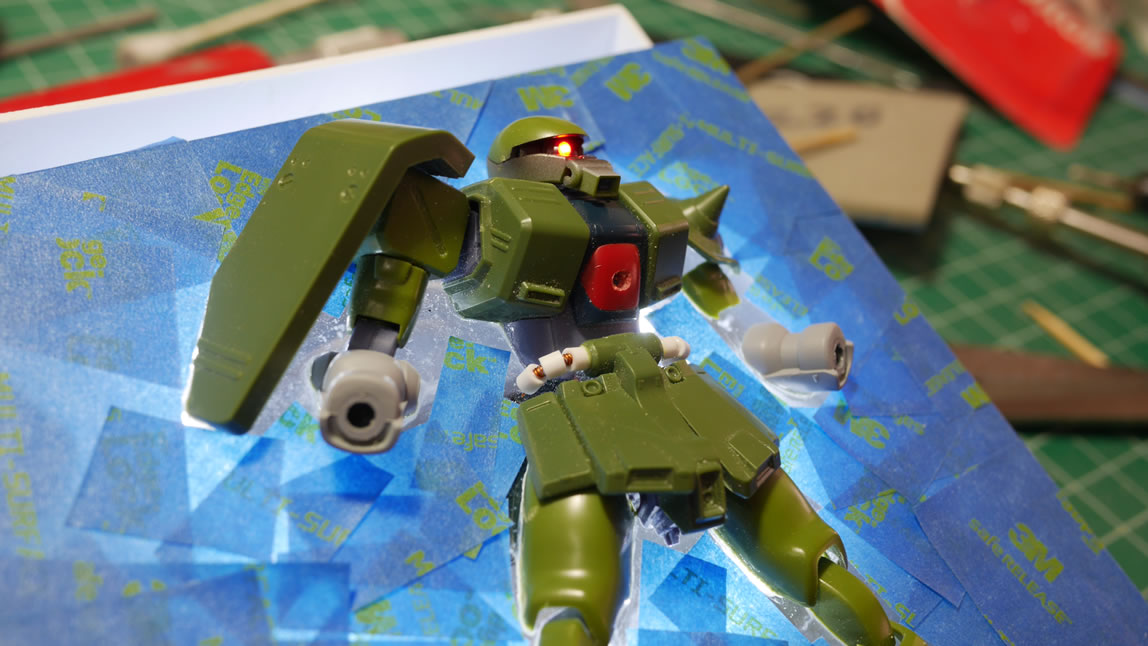
The GM is put away so that I don’t screw it up and I return to work on the base. I started to build up the wood base. I cut some plastic and hot glued, yes, hot glued the plastic to the wood base to create an angled view for the zaku relief. The below pictures show what the underside looks like as it is glued to the base. It is a lot of chopped up plastic.

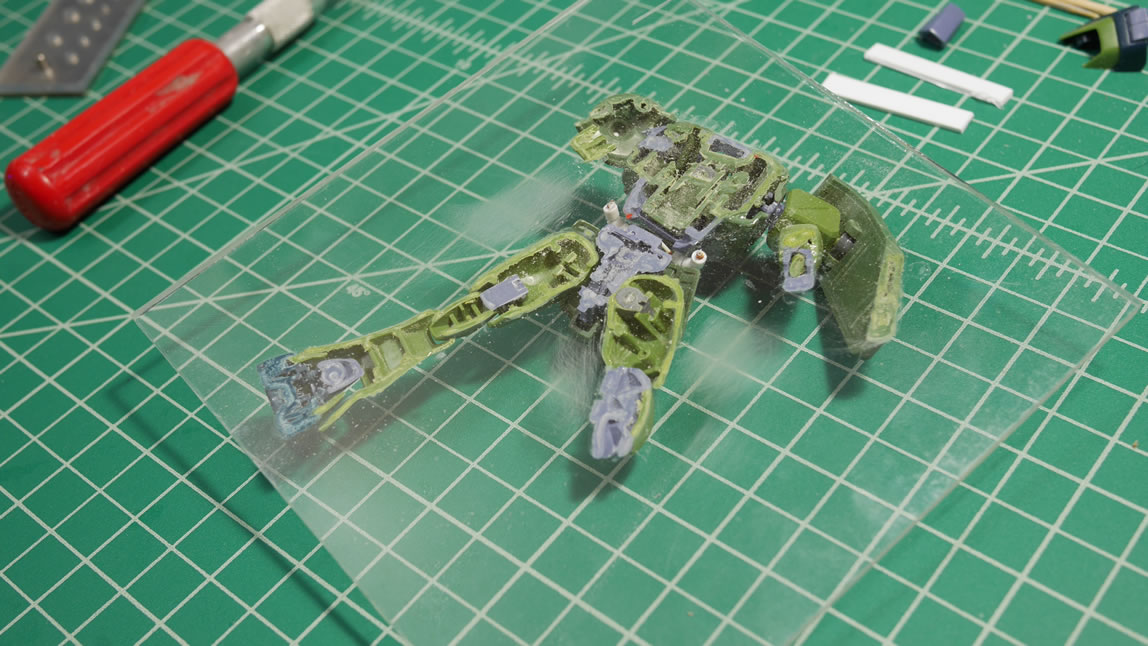
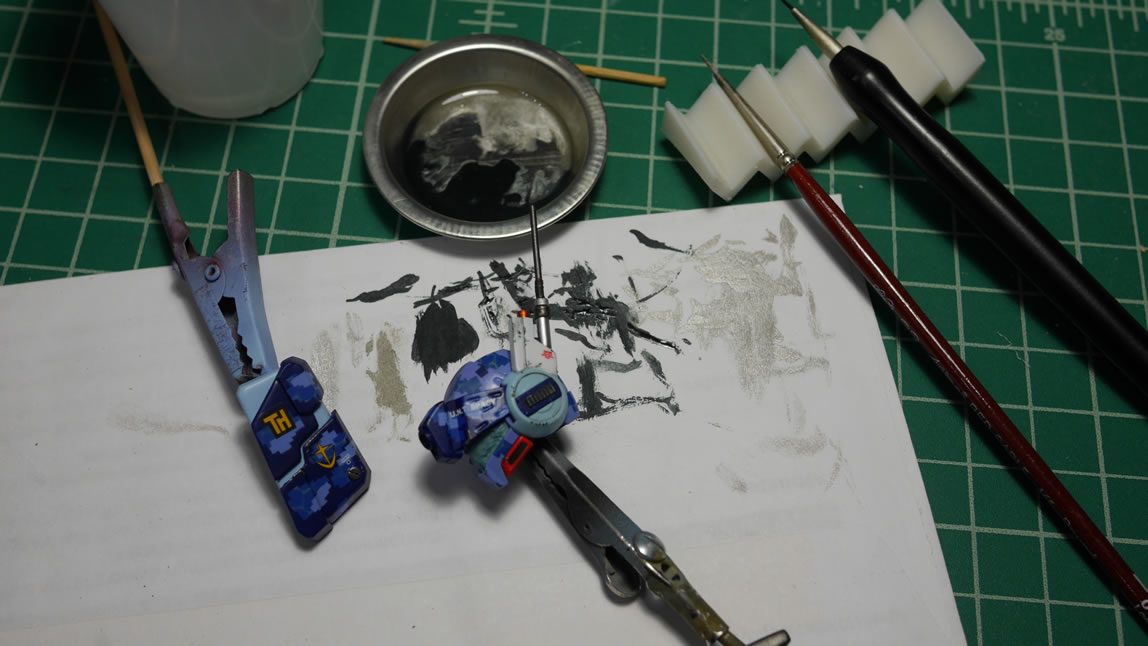
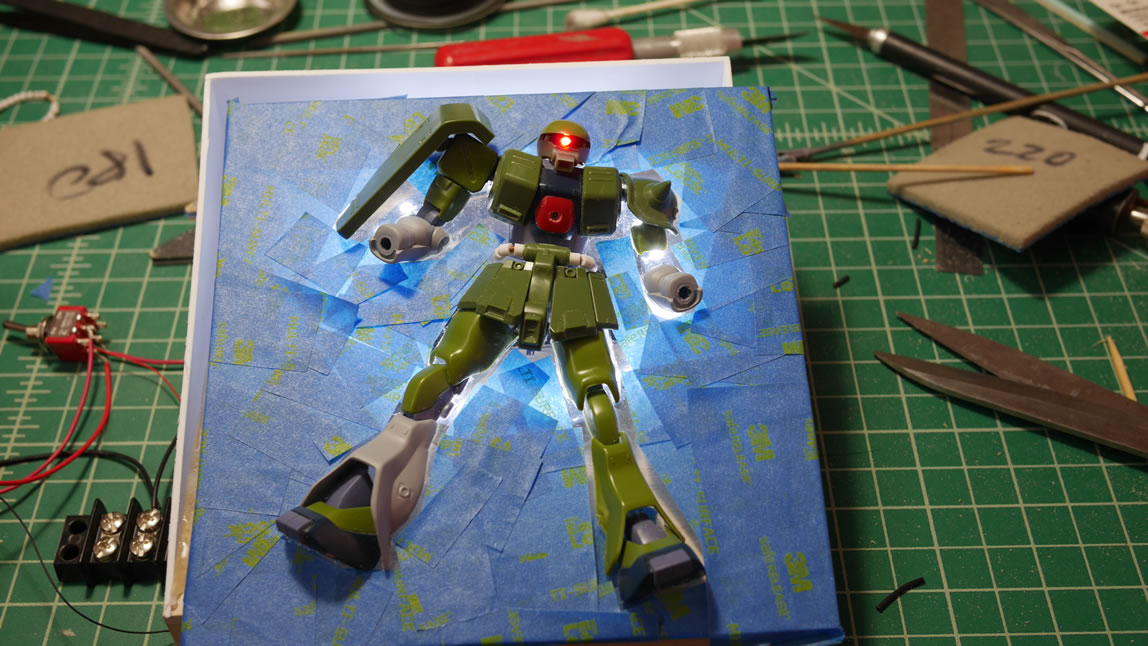
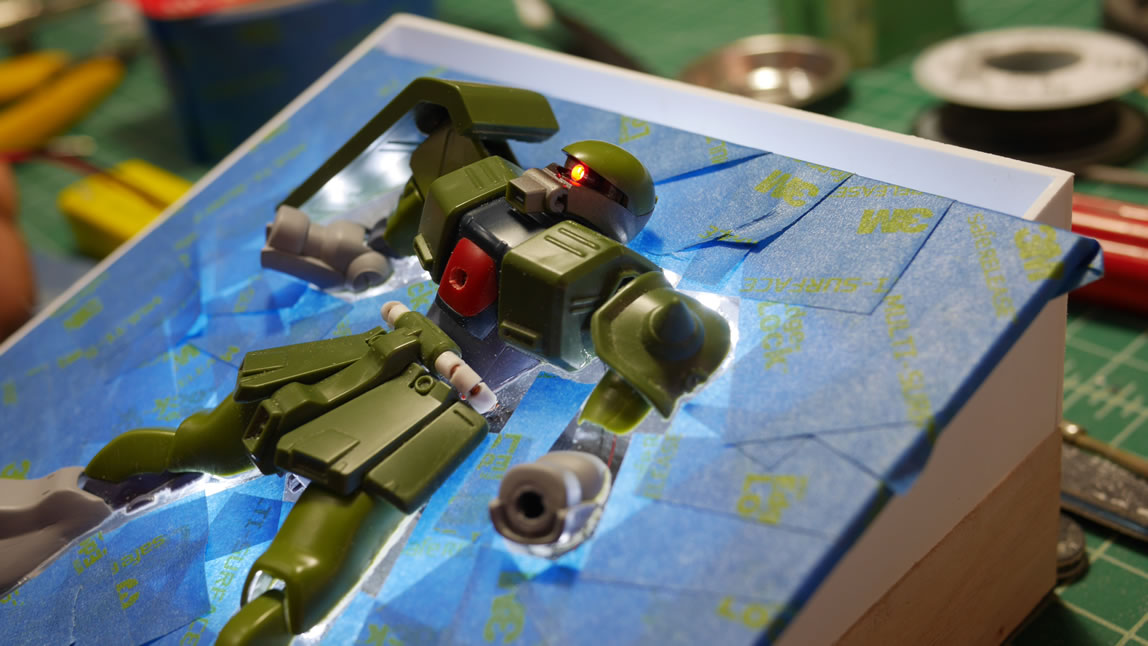
I used a clear acrylic piece because I want to backlight the Zaku. This will make more sense as I progress. The idea is in my head, but I’m not entirely sure it will work, so you’ll just have to trust me on this. I have an LED ring light that I also hot glued to the wood base. The mono eye for this kit was modified to add in some internals as well as an LED eyepiece. This is a much improved version over the solid block of plastic where you apply a sticker for the eye. Yeah, eff that.
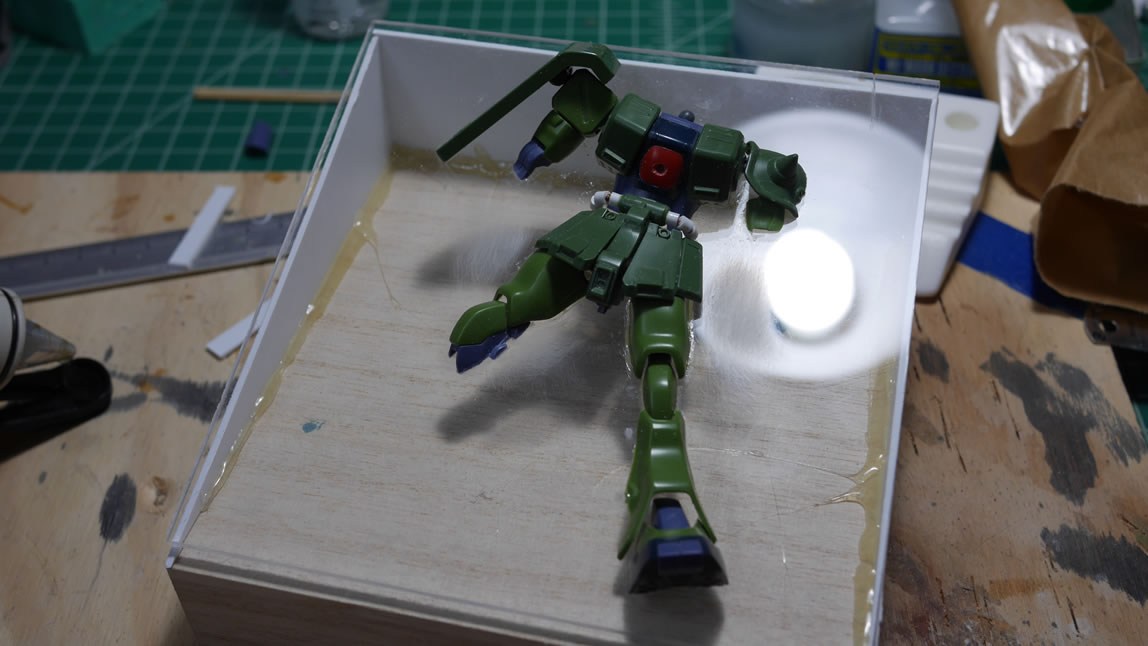
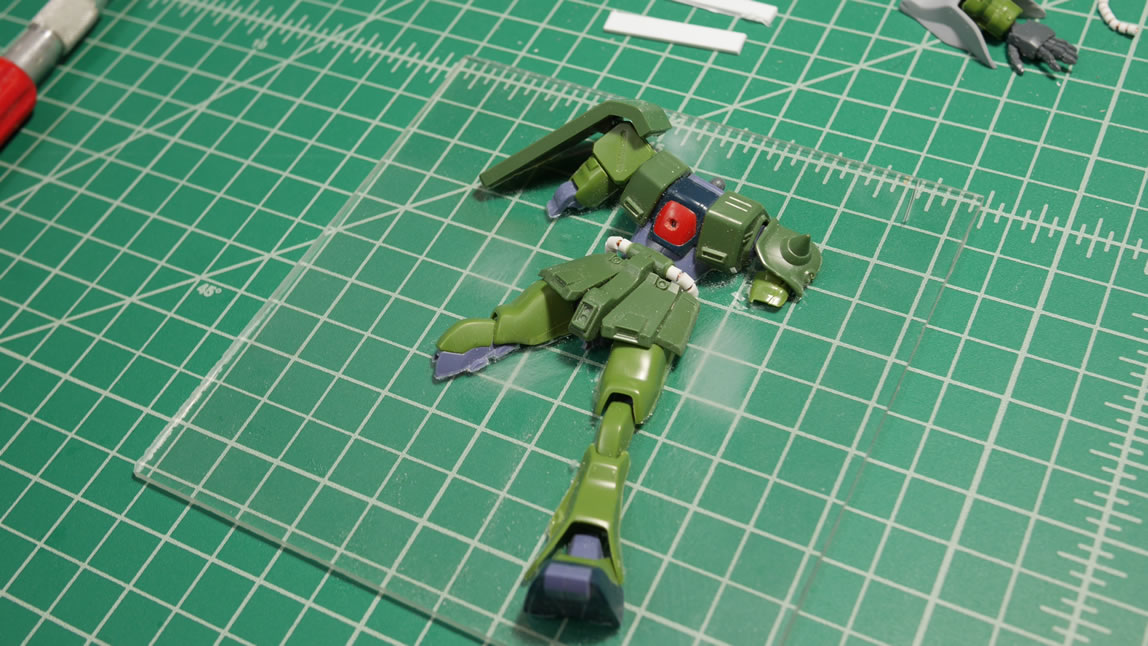
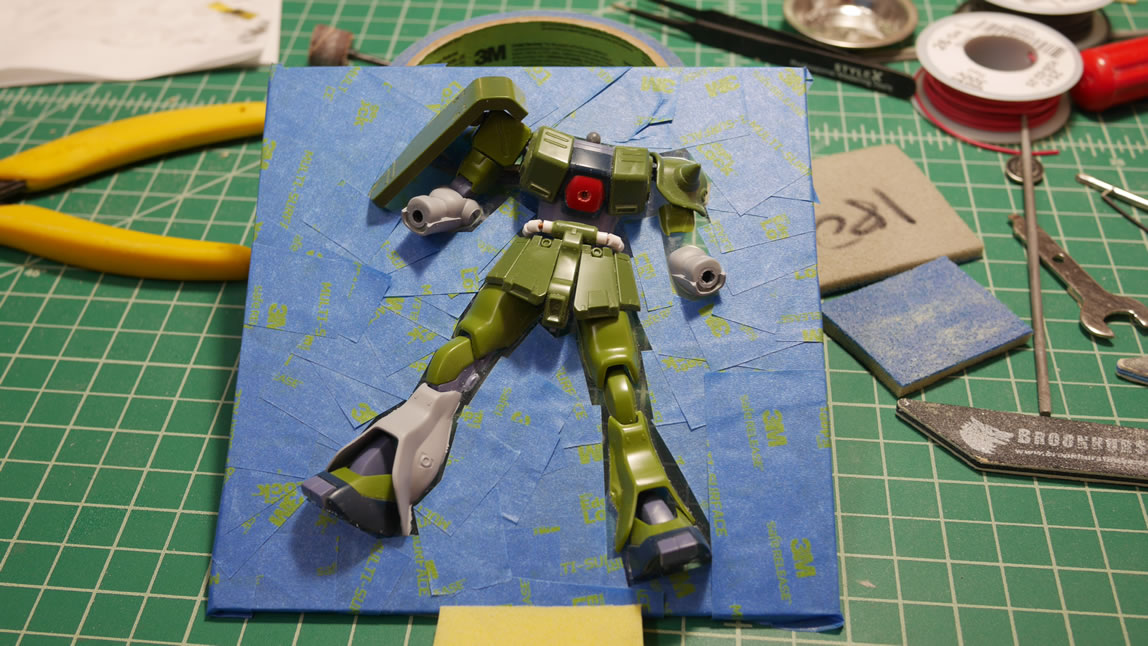
Since I had to do some fixes to the left leg because of my frenzy in cutting the sucker apart. I needed to prime, sand, putty, sand, and re-prime a few times to get that piece fixed and fitted properly. The arms got sanded because of the horrible seams that run down the middle of those parts so those needed to be primed to check for the seam work. Satisfied with the fixes, all the pieces are glued to the acrylic backing and here’s what that looks like. I also tested the LED ring light. Everything is looking good so far and moving along as planned.
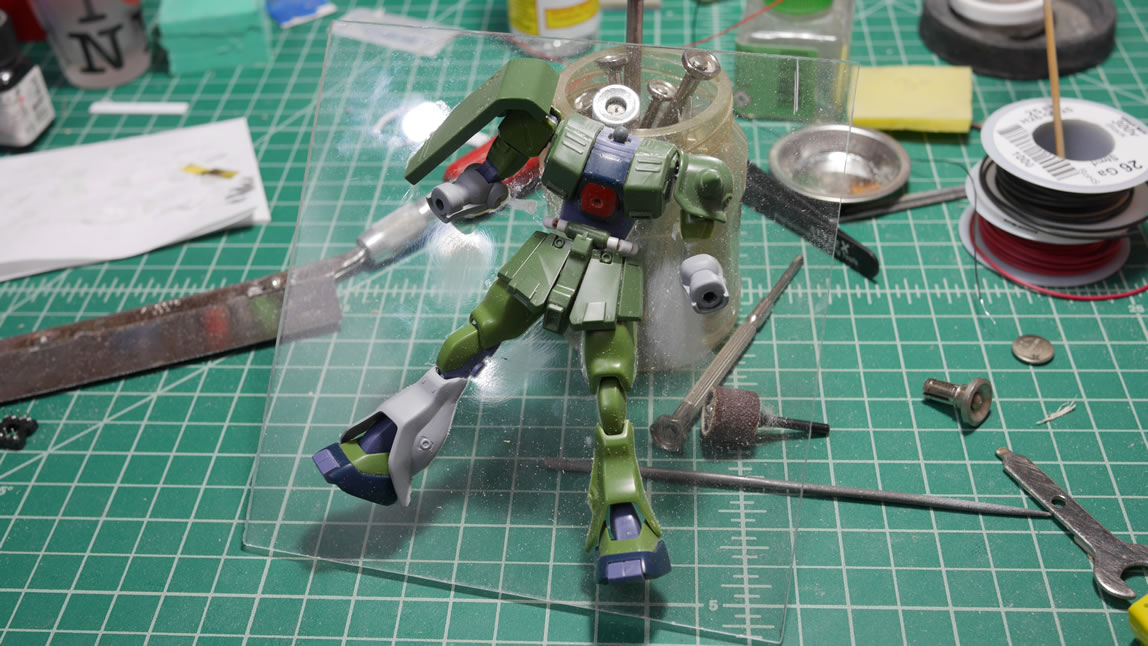
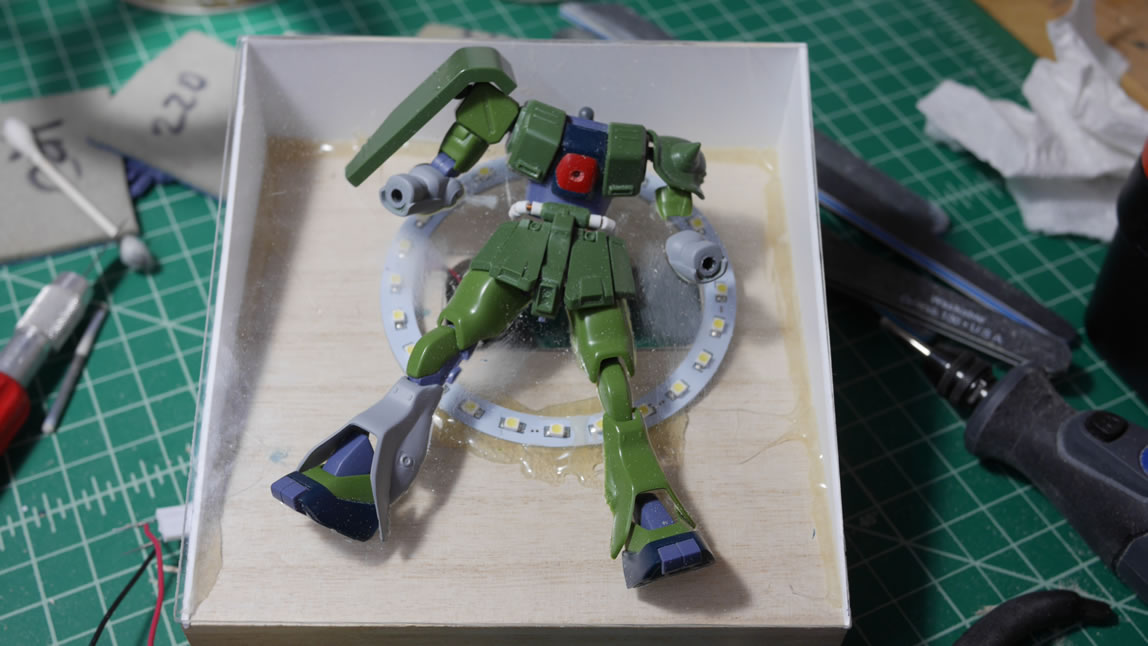

I will need to paint this sucker up eventually. Actually, that’s the goal this week is to get everything on the acrylic sheet painted. So the clear areas need to be masked off first. I used blue masking tape to get a rough outline and mask off the major areas. I still need to fine tune the masking before I can start slinging paint. I could have painted the parts separately before gluing it the base, but I like making things overly difficult and I’m stupid, so there. I need to mask…
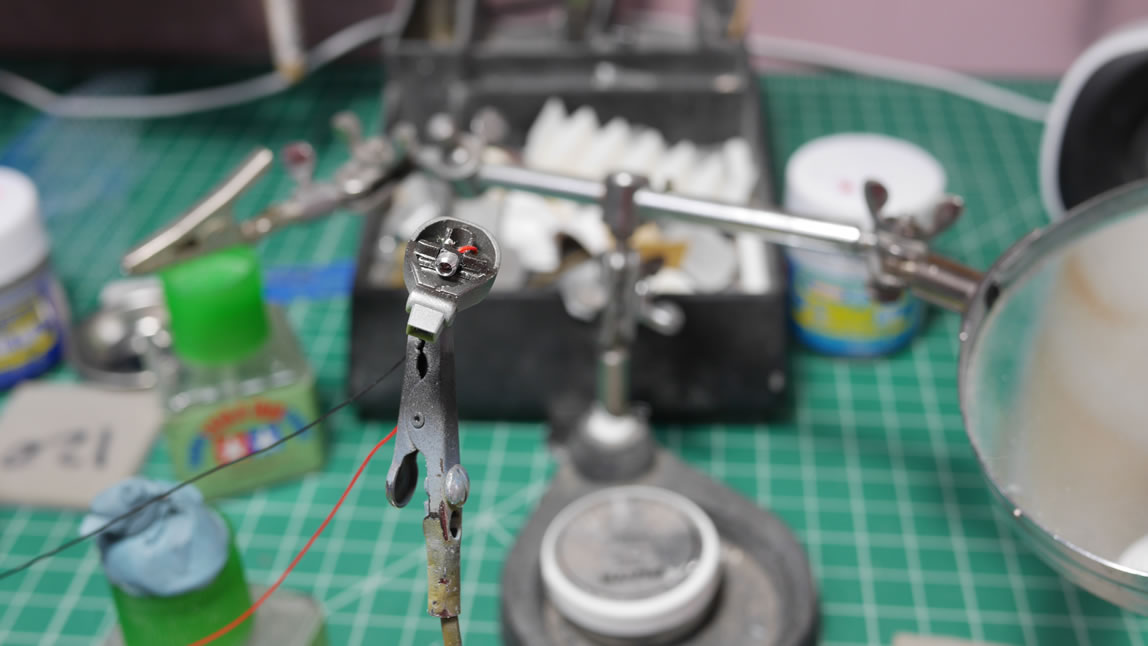
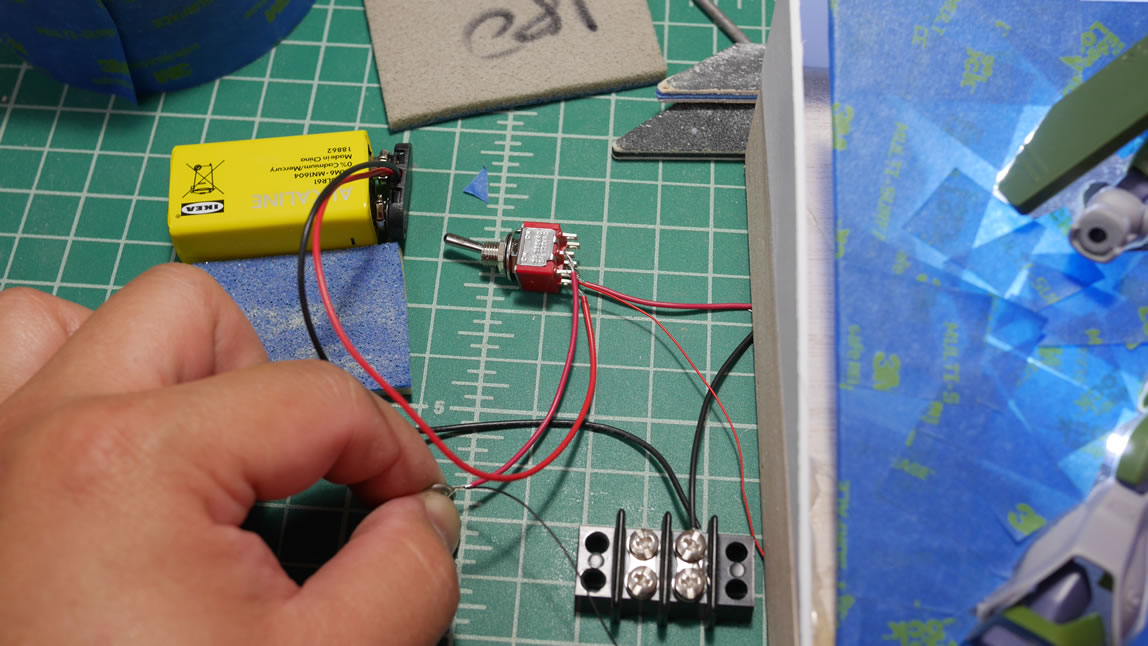
Electronic fun. I have the ring light that runs off a 9v power source. And I will have some circuits to run the LED, but the circuits I’m using will be fried if it even smells anything over 6v, so I need to use two different power sources. Sure, I can always just resistor the f out of the line to the circuit and run everything off one source. But I want things separate. So I picked up a DPDT switch. This is a Dual Pole, Dual Throw switch. Which means it takes two systems and doesn’t mix them, but both systems can be powered on with a single toggle throw. Actually, I just described a DPST (Dual pole, Single Throw); but since Frys only had DPDT, I’m using that as I would a DPST. Confused yet? On one side of the switch, I have the 9v power source. The other has the 5V power source. And with a single switch, I can turn both on. With the electronics tested, I can continue to finish the masking and get on with the painting. This is all I have for now, hopefully next week will have much more to show; as well as a better understanding of the silly visual I have that I’m trying to reproduce.
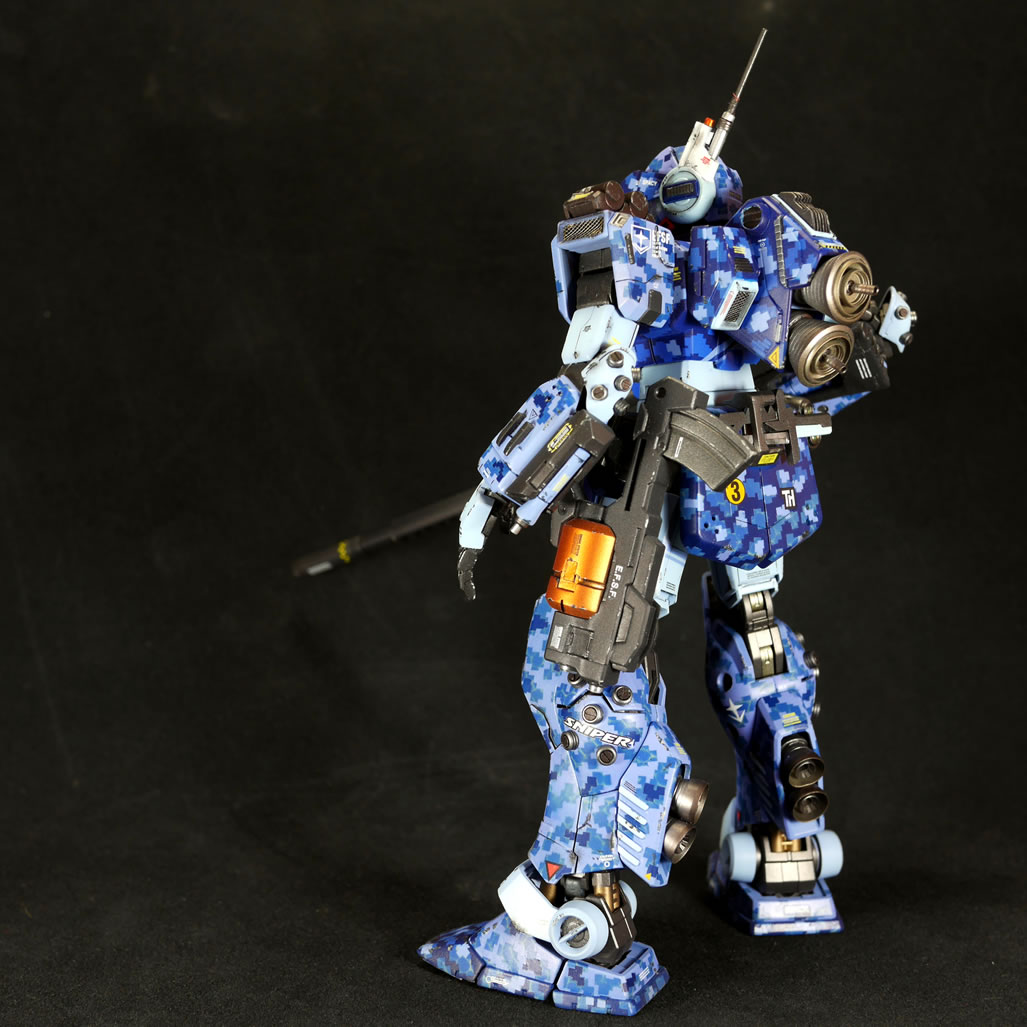
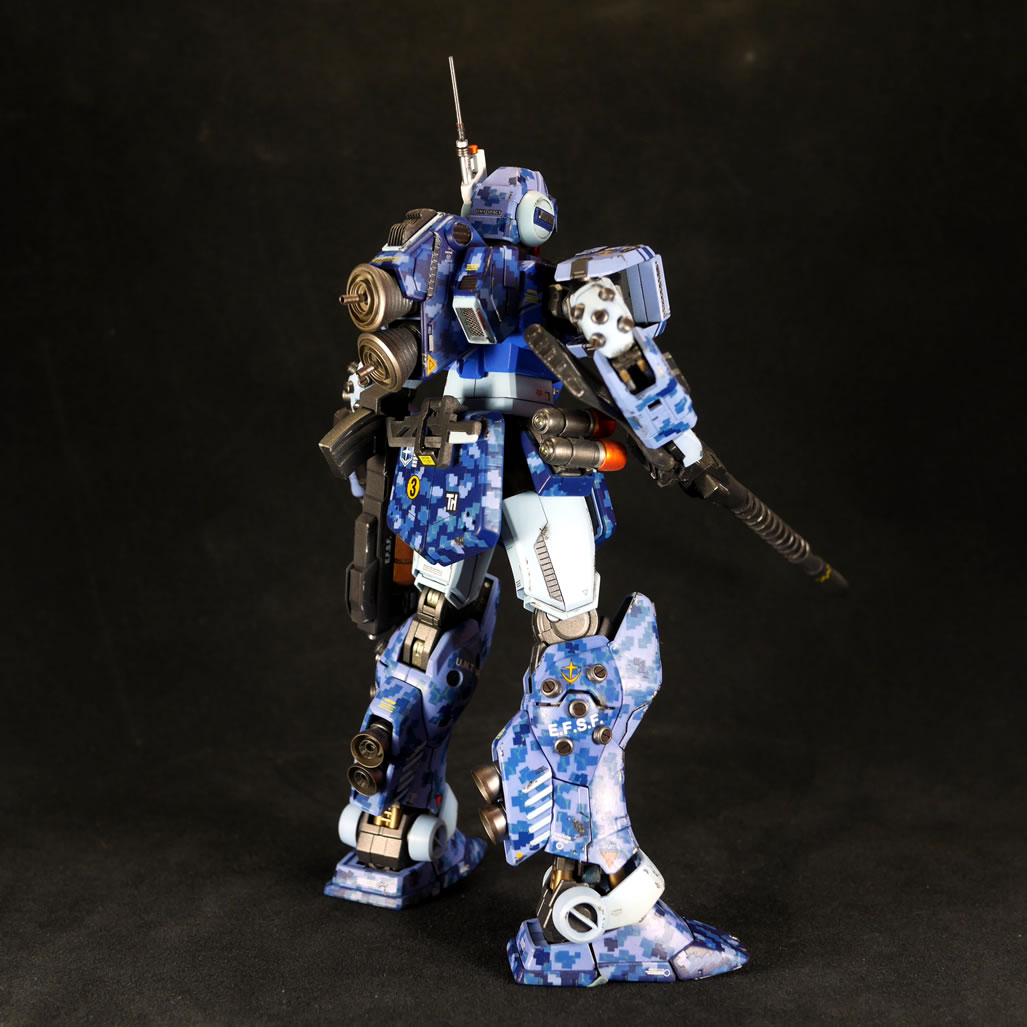
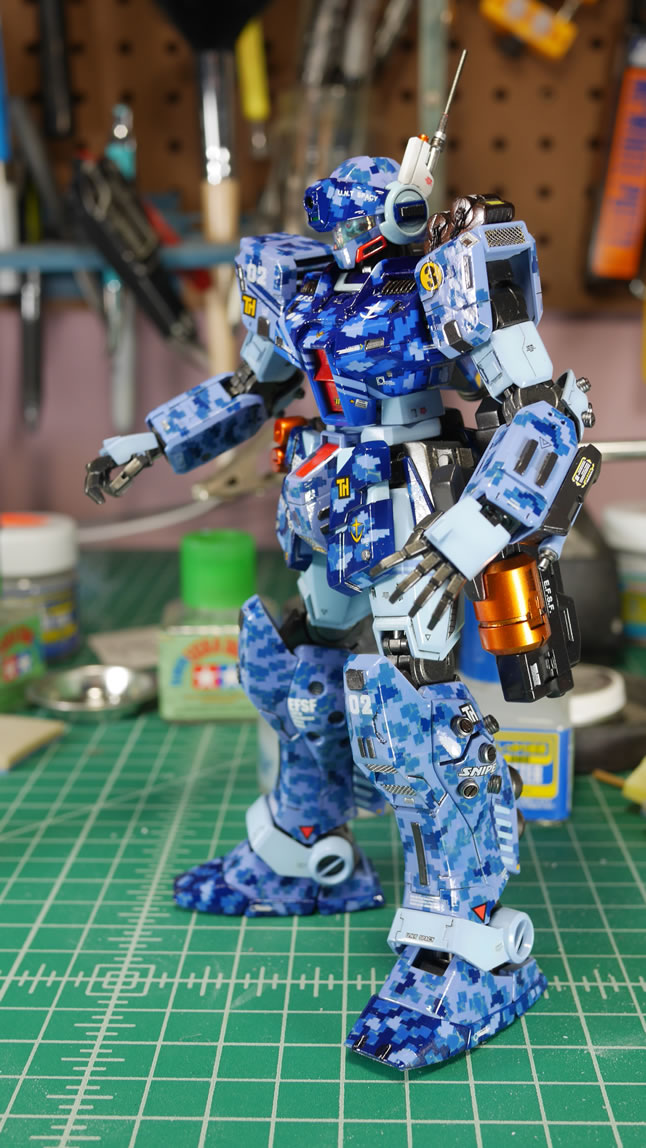
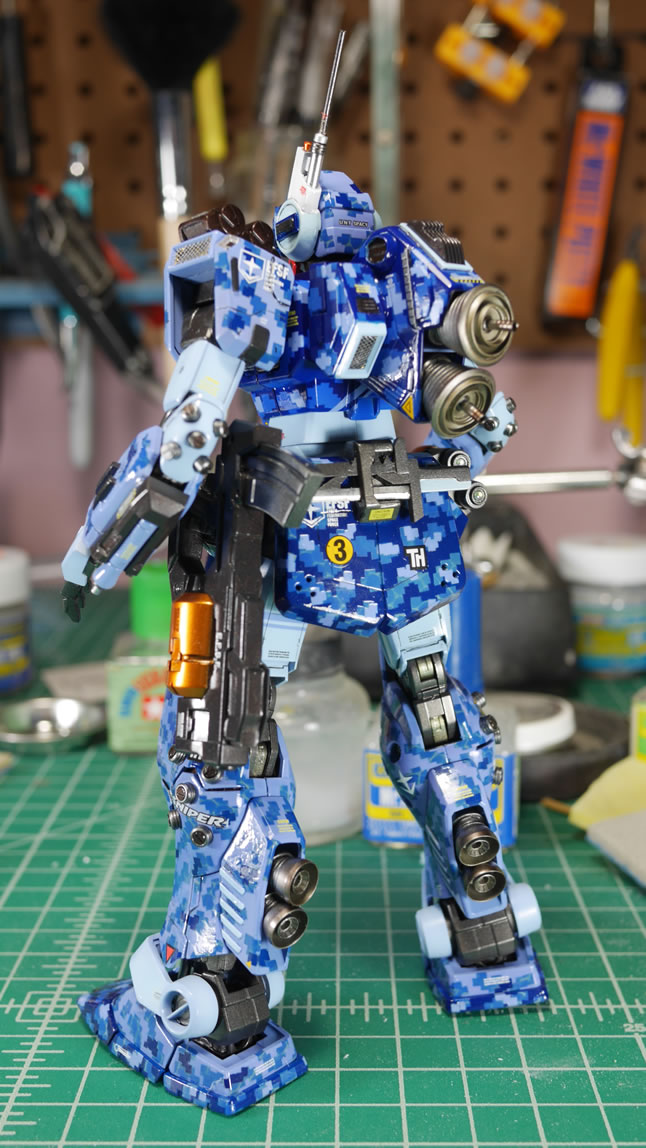
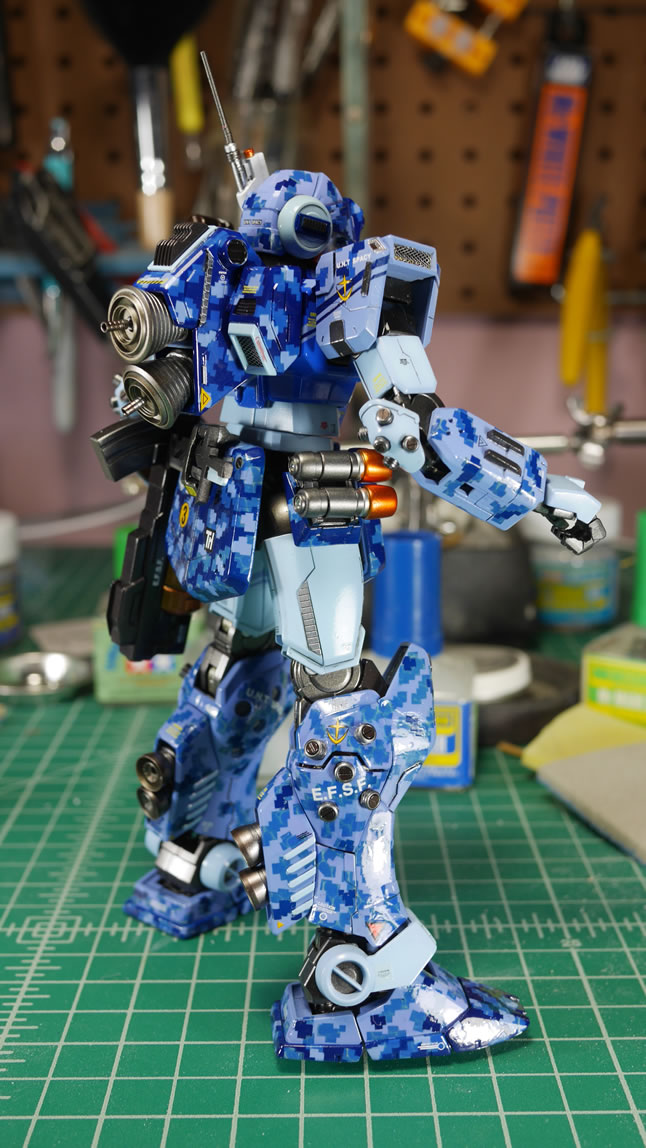
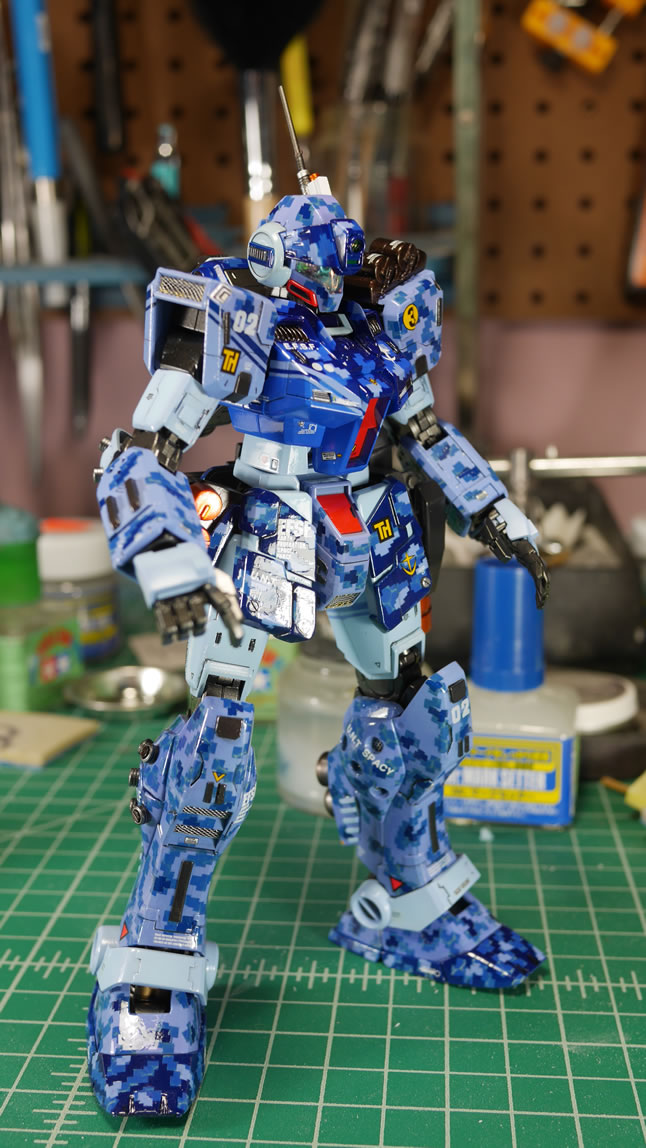
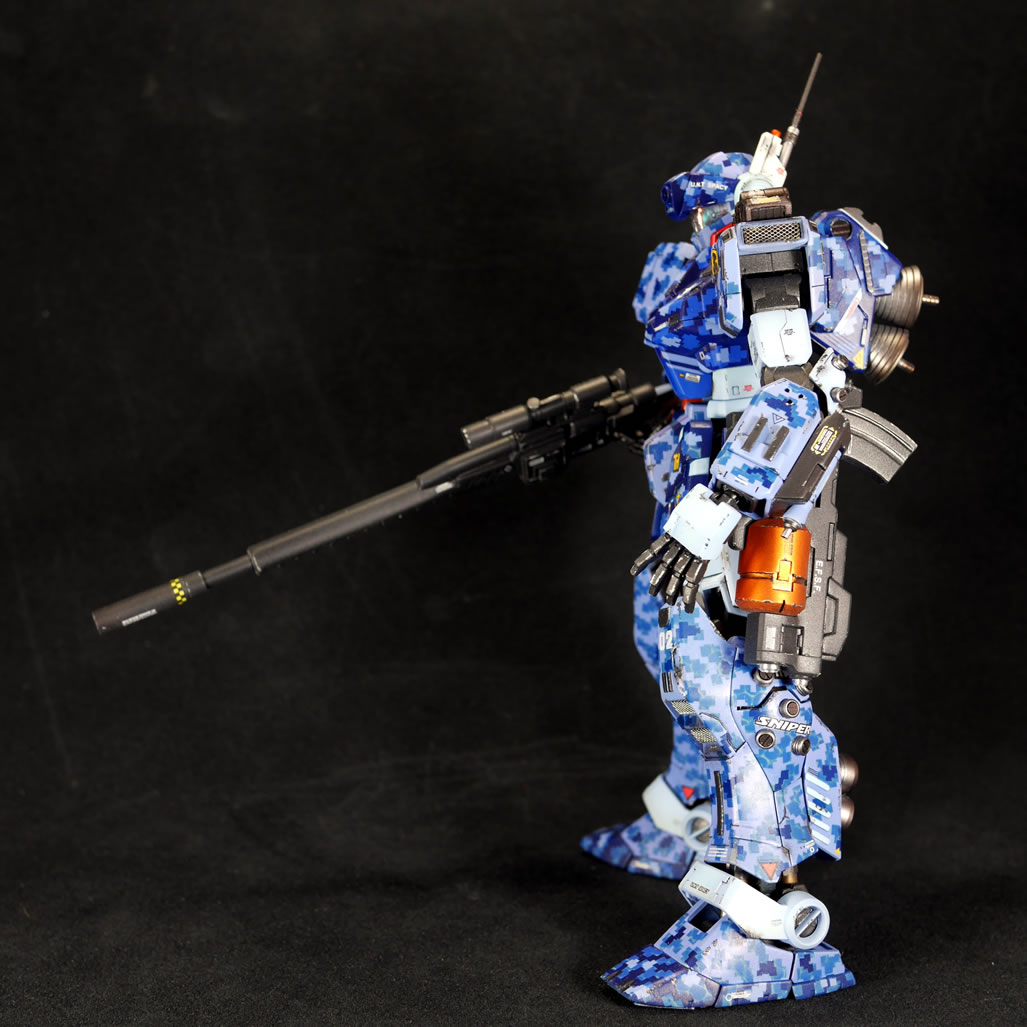
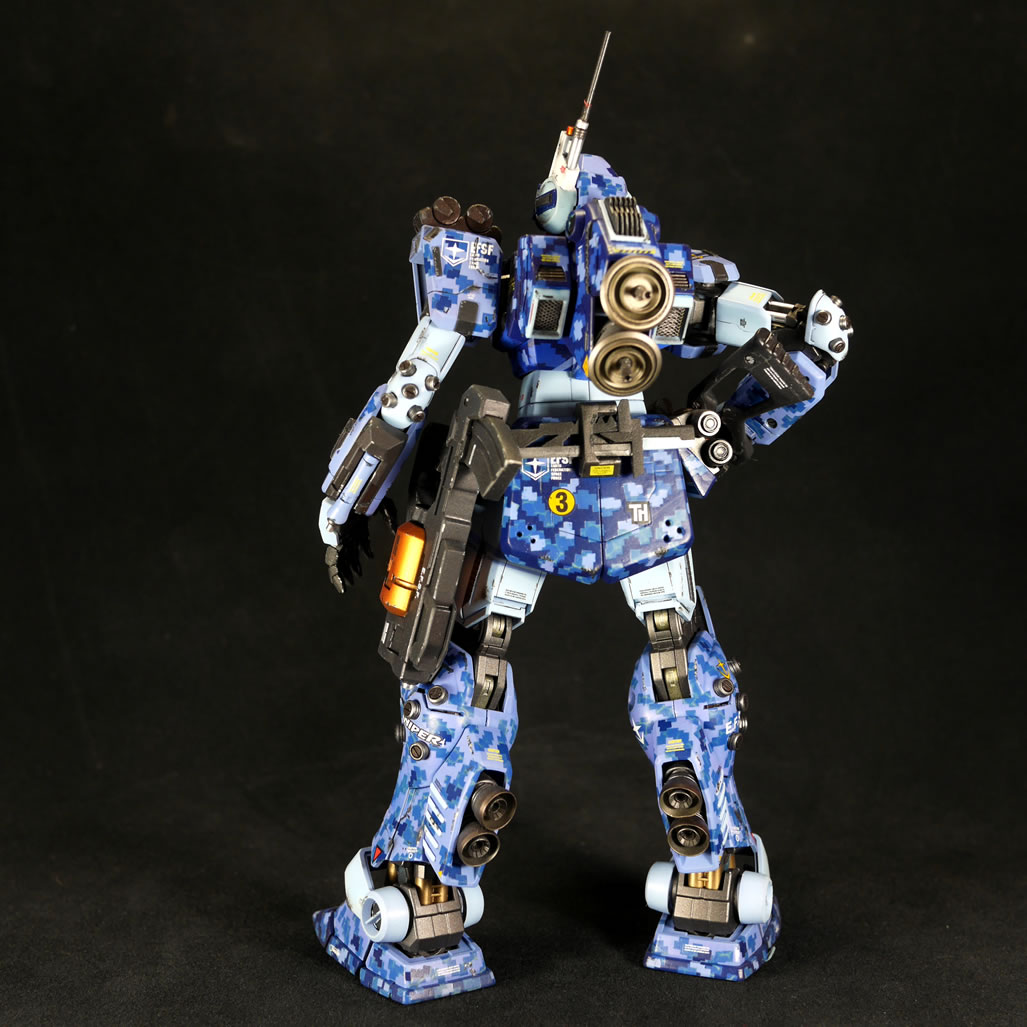
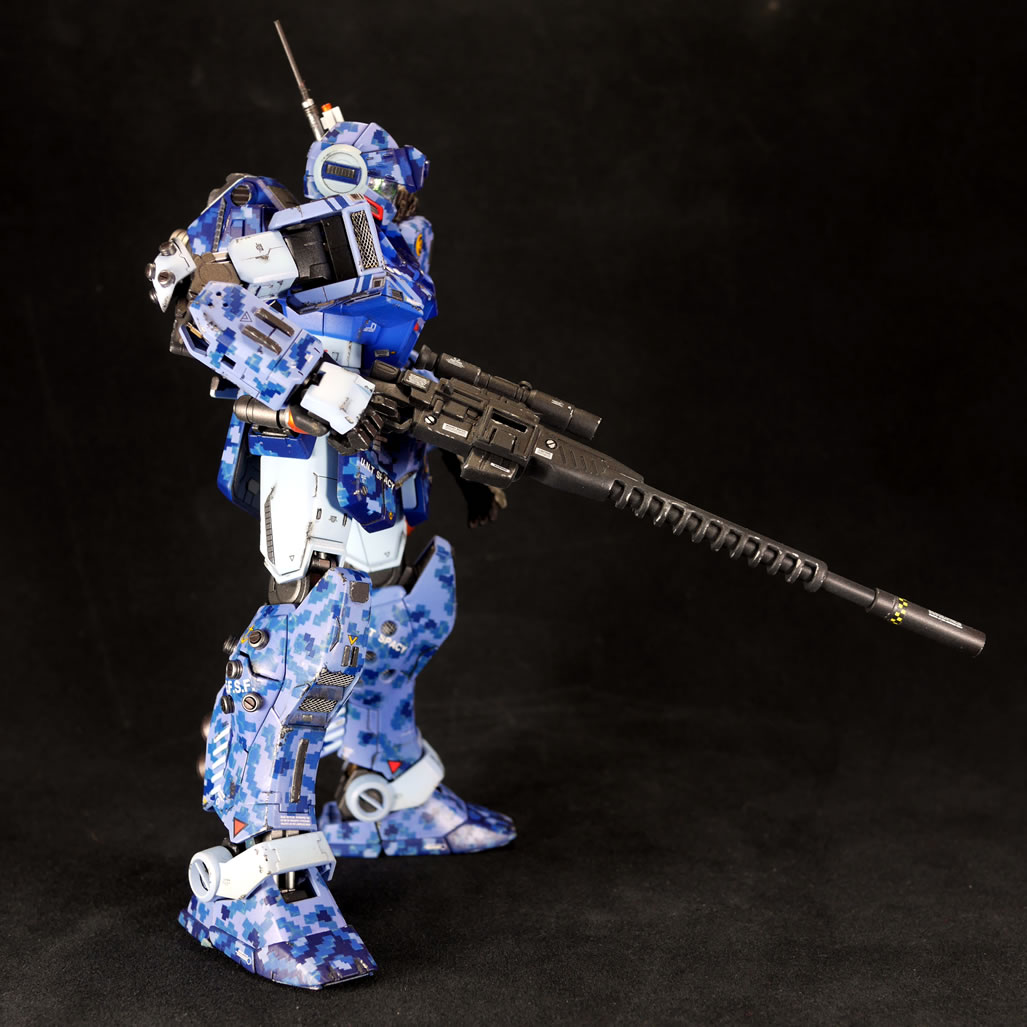
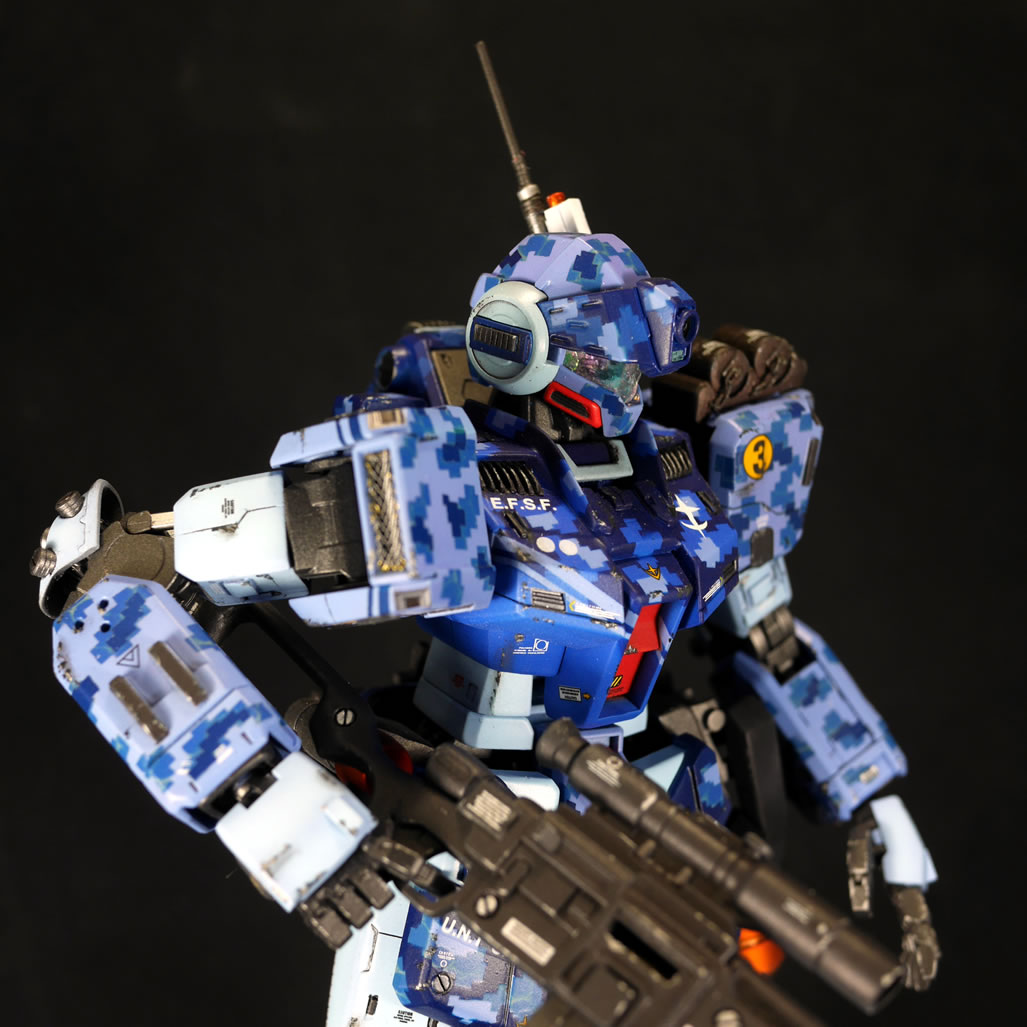
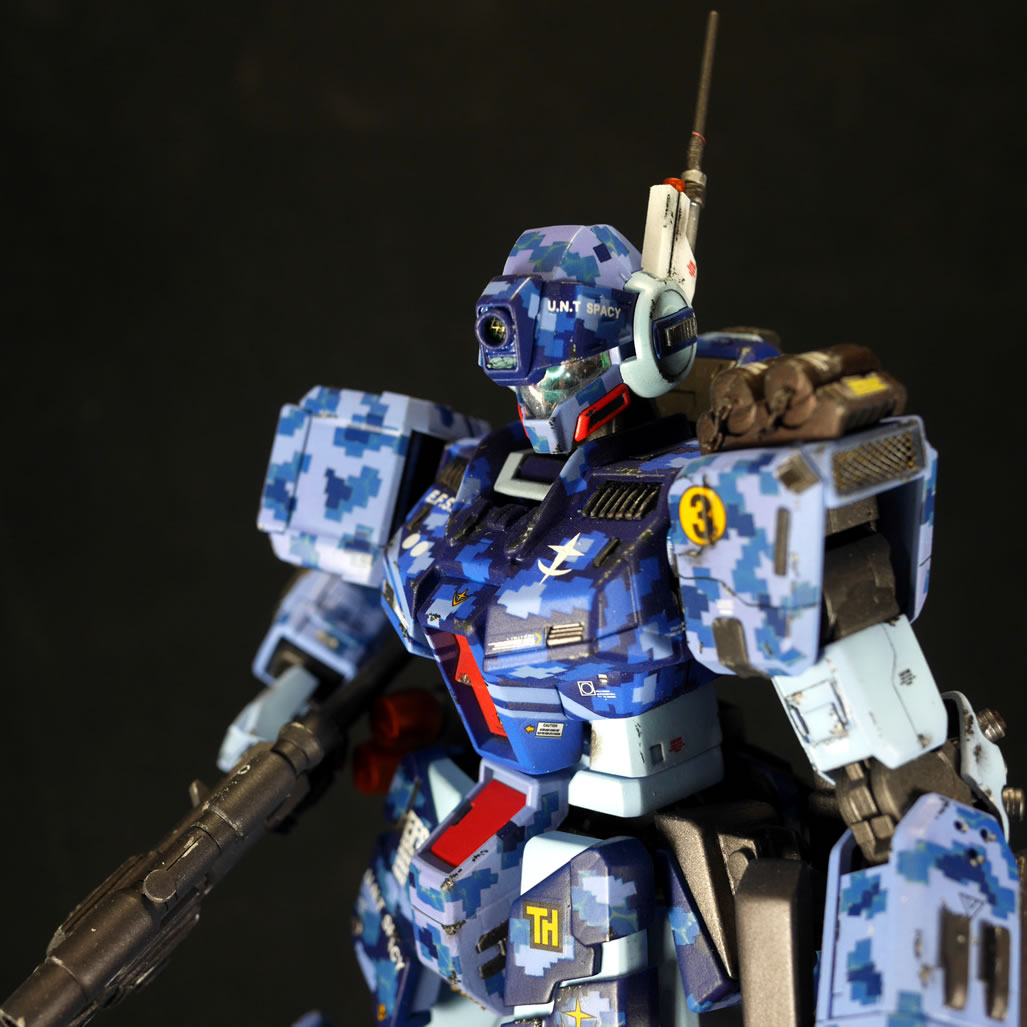
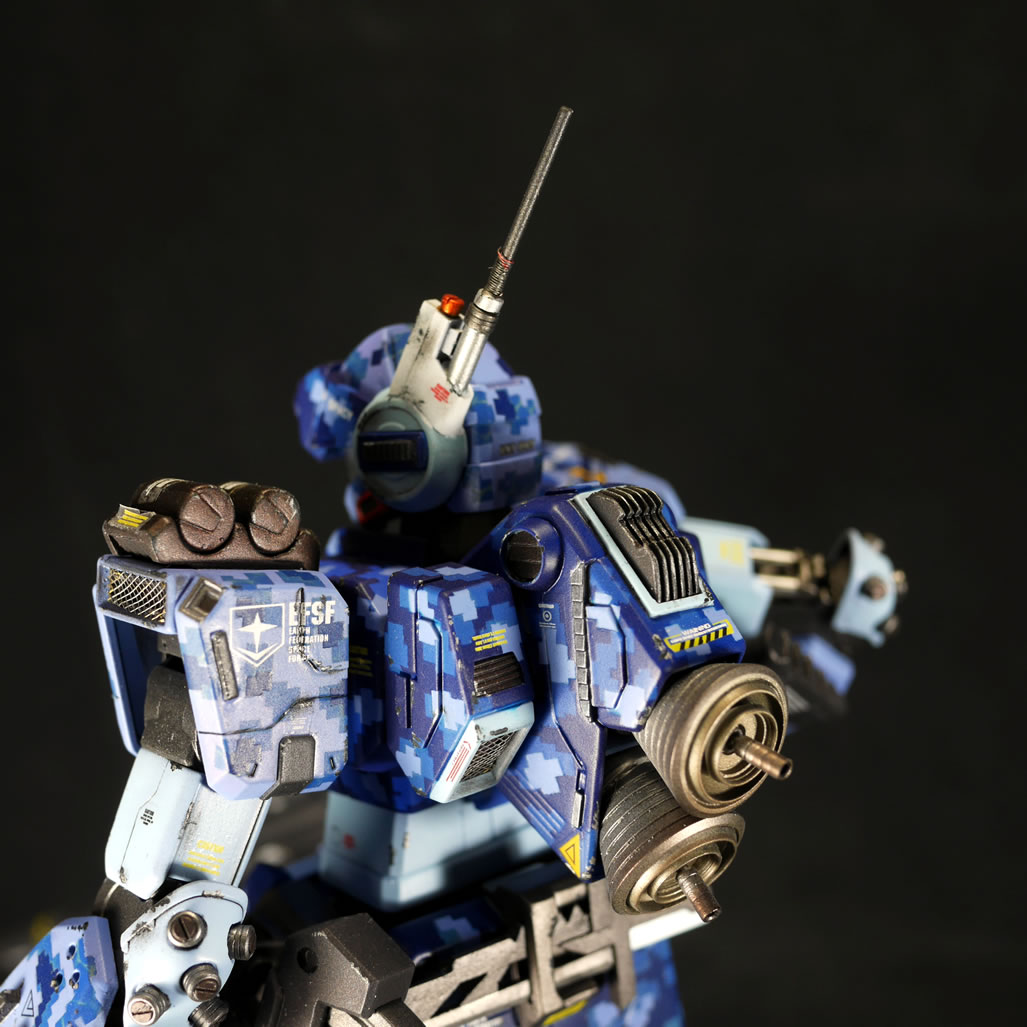
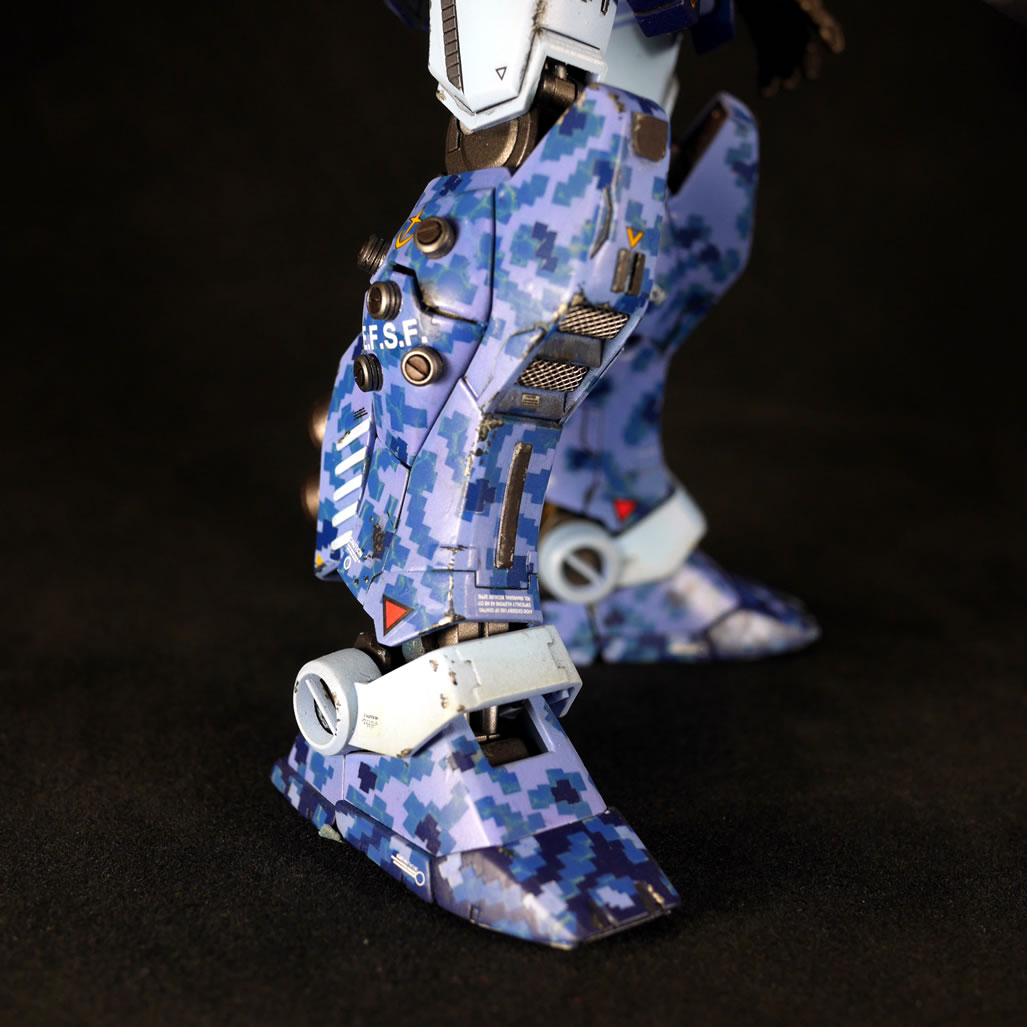
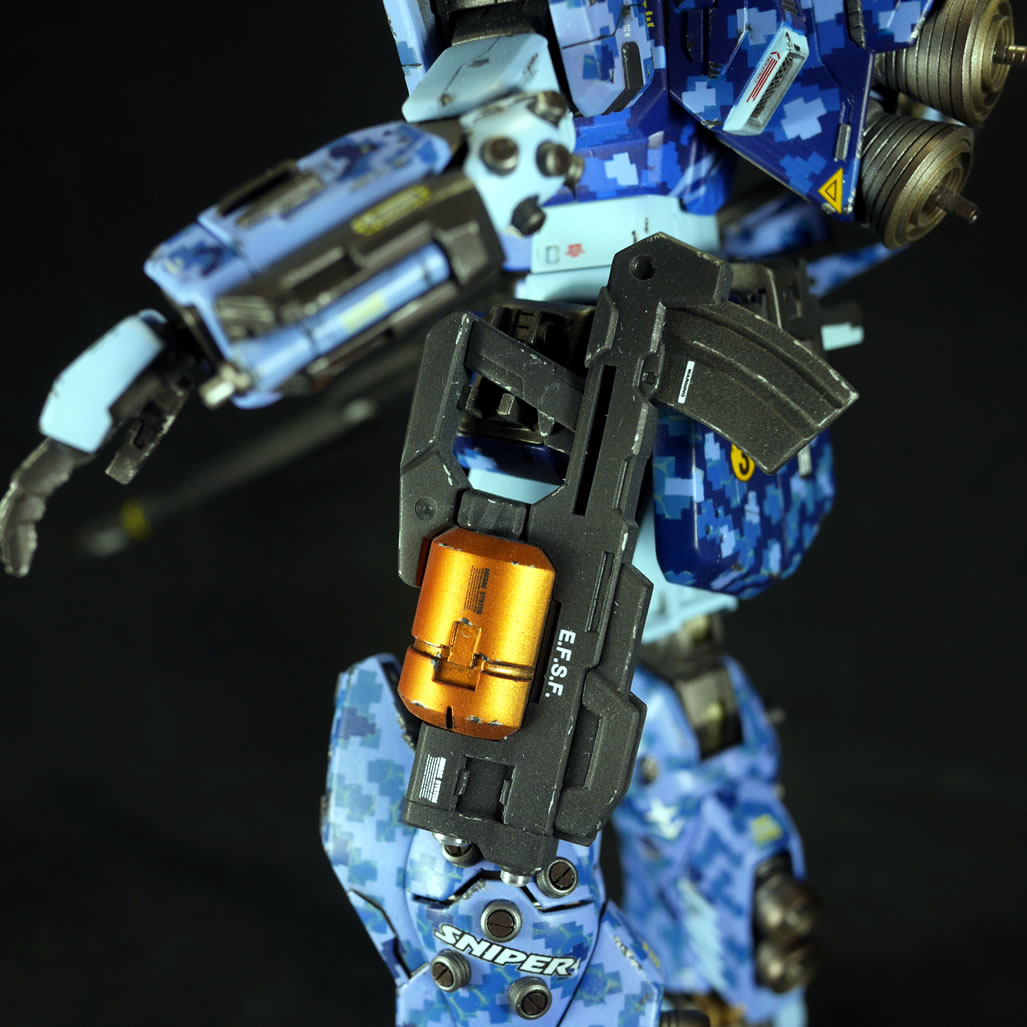
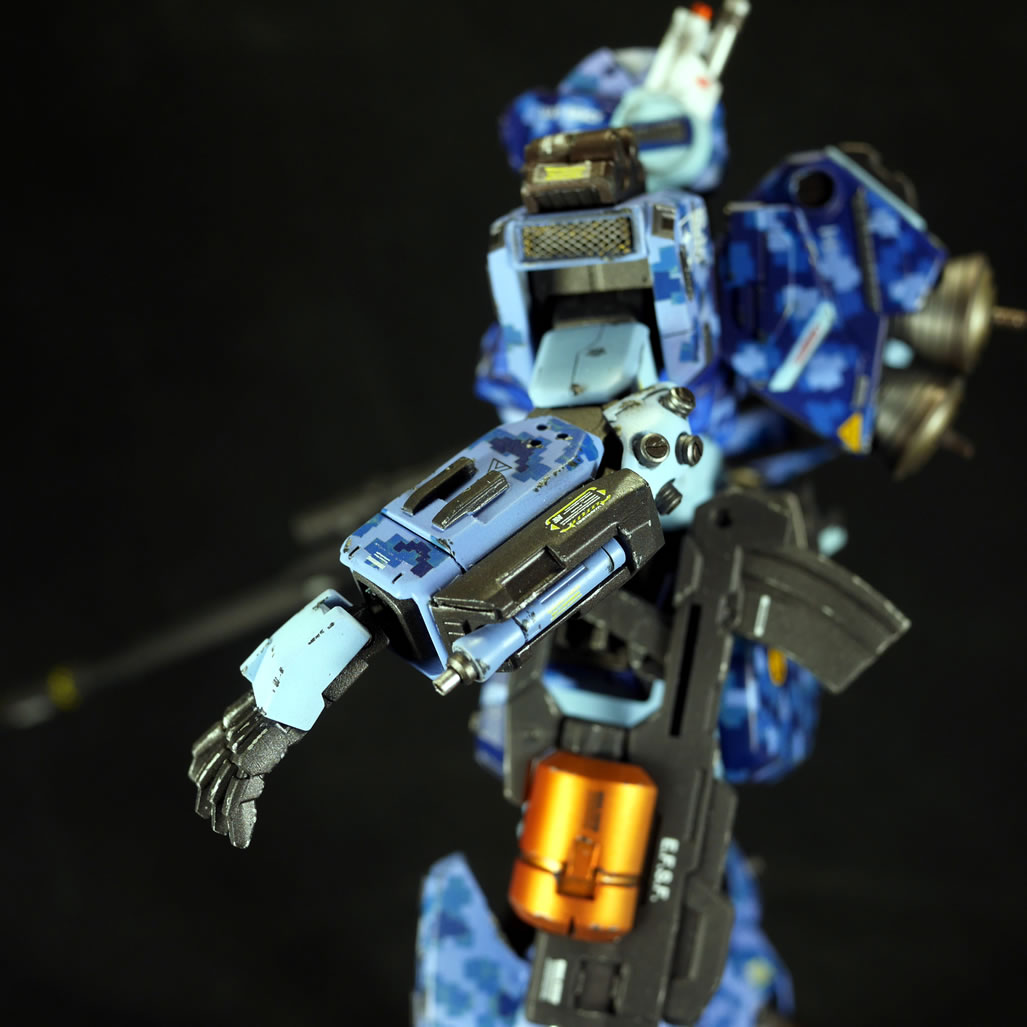
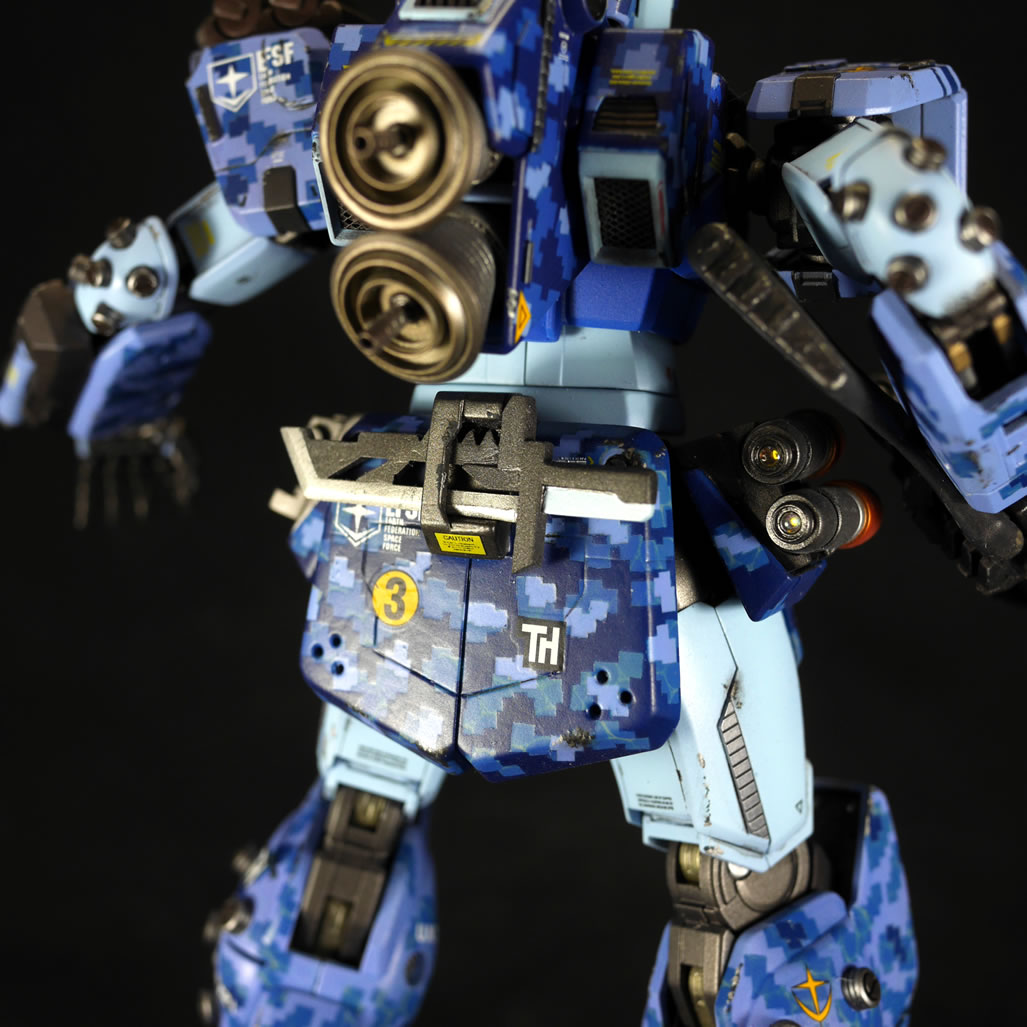
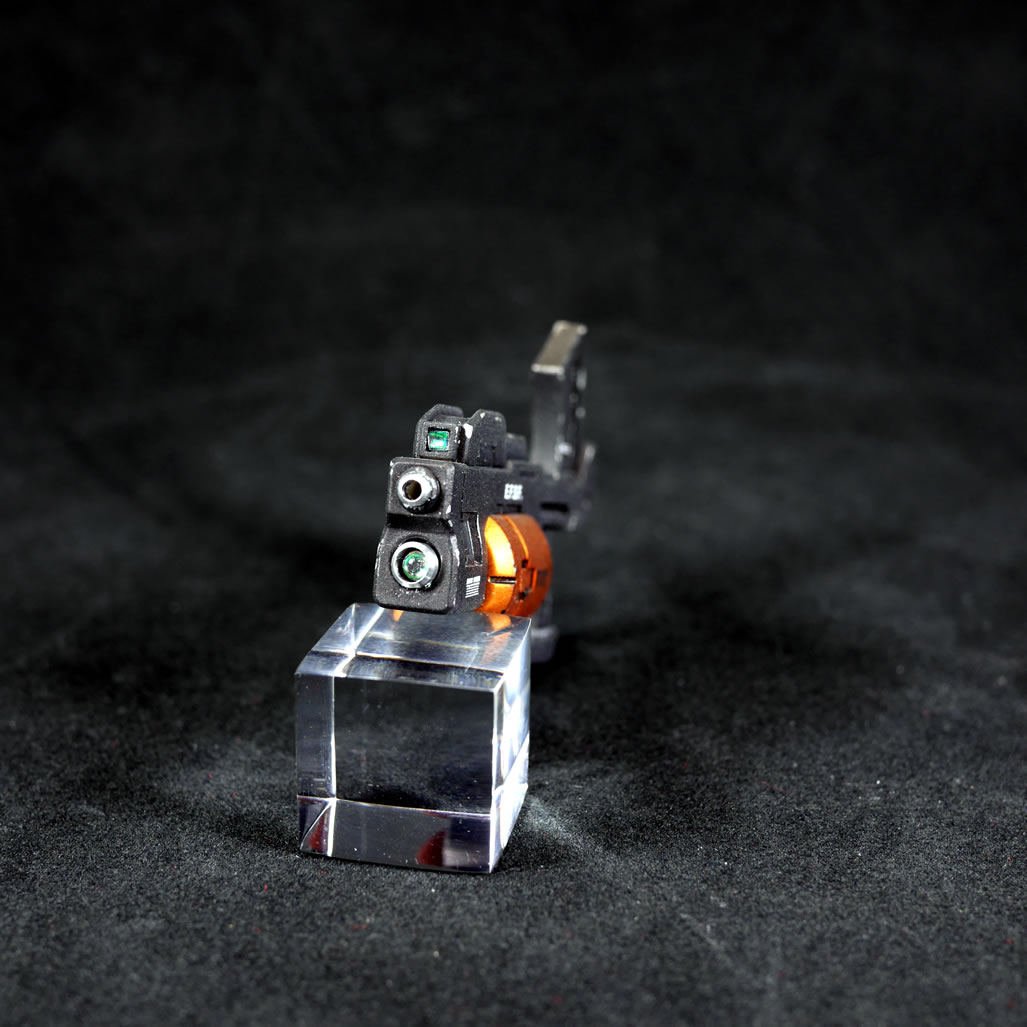
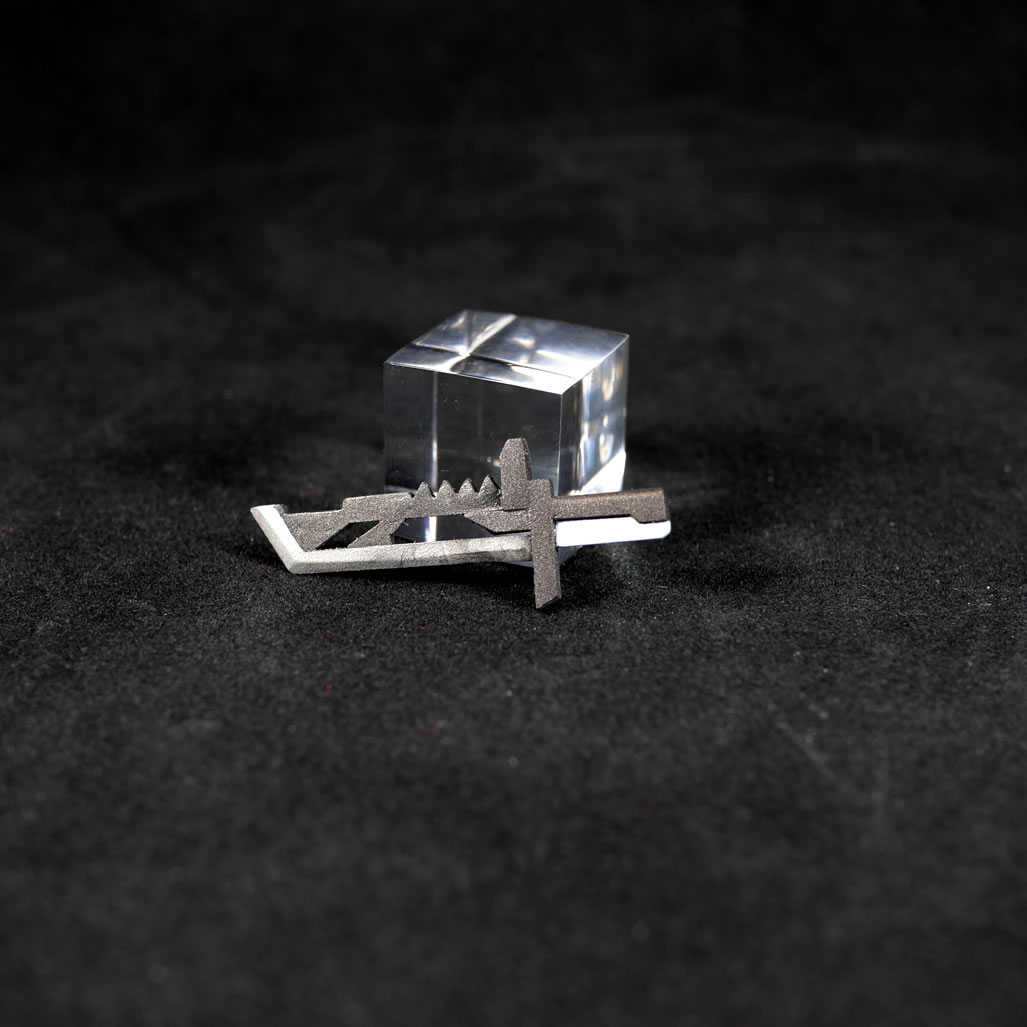
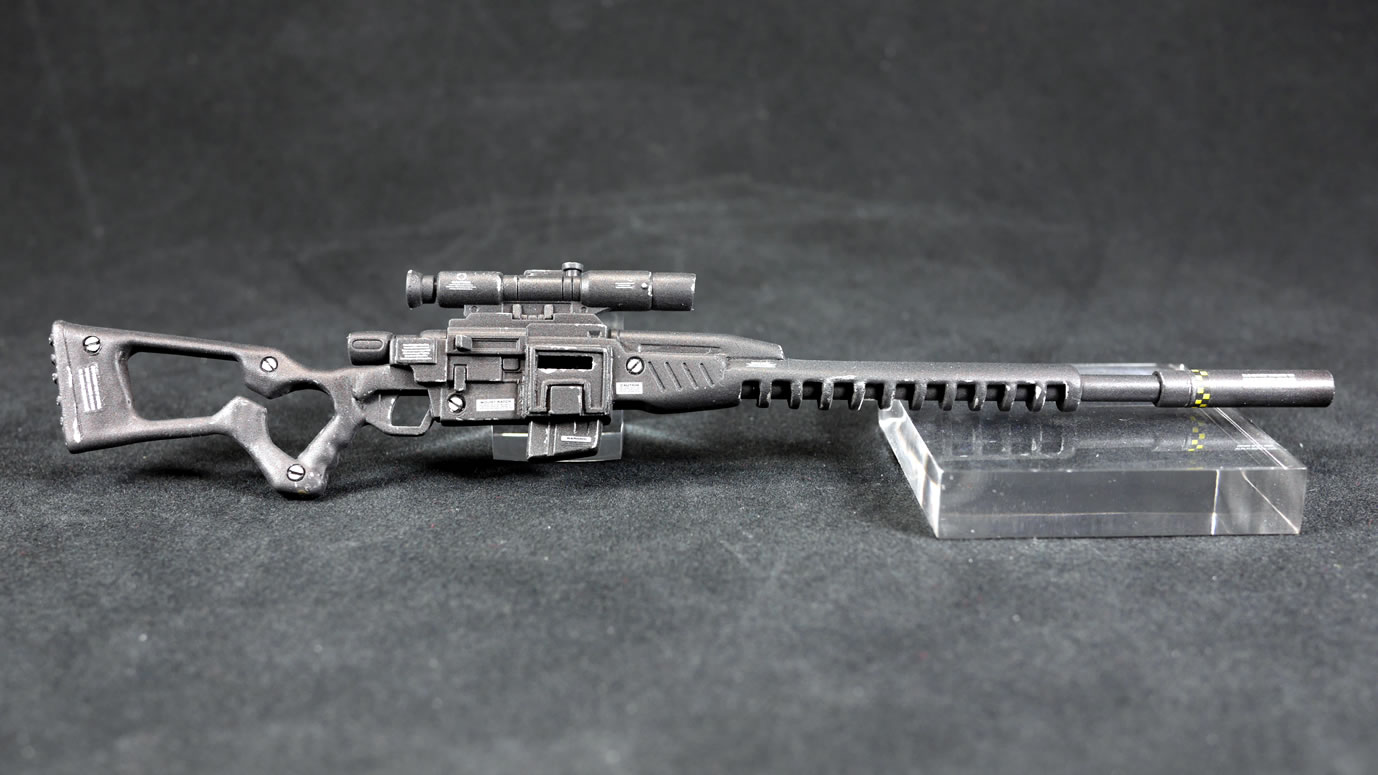
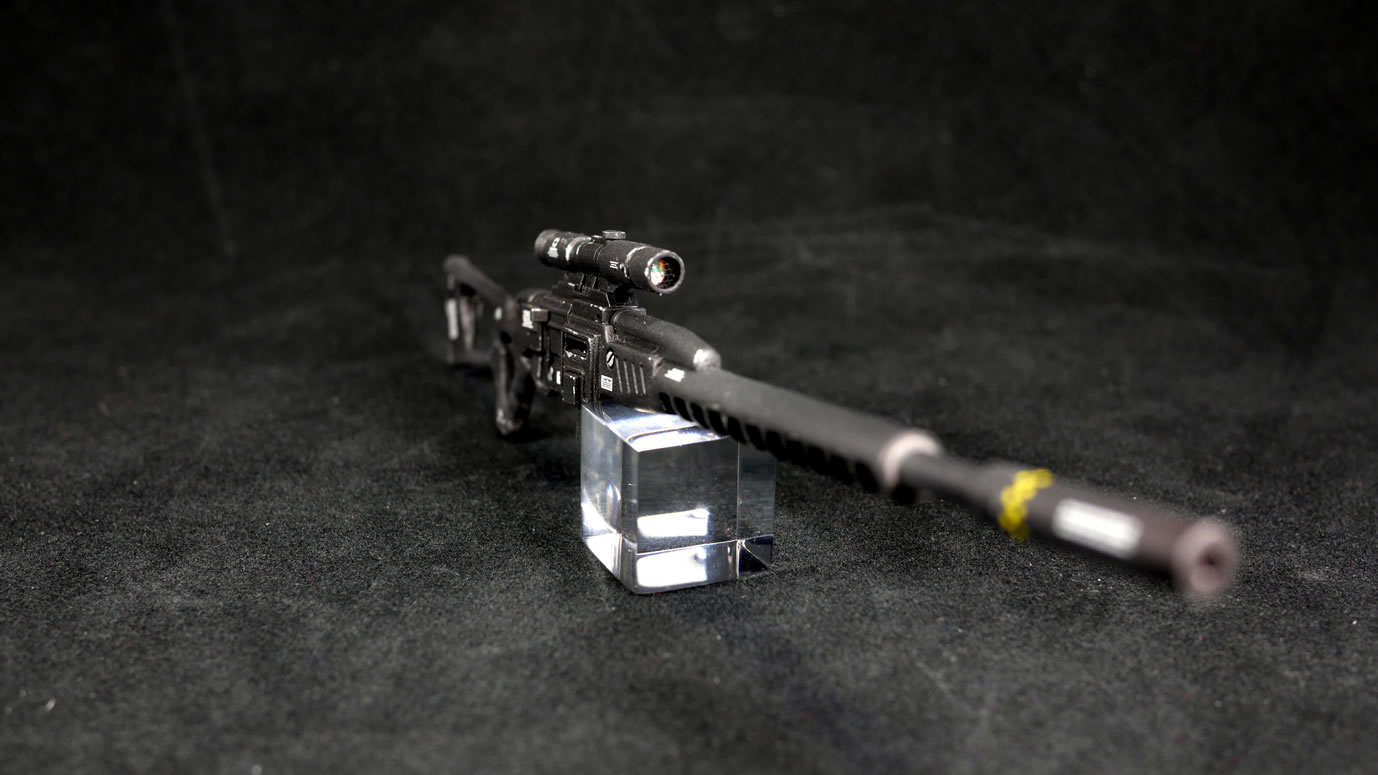
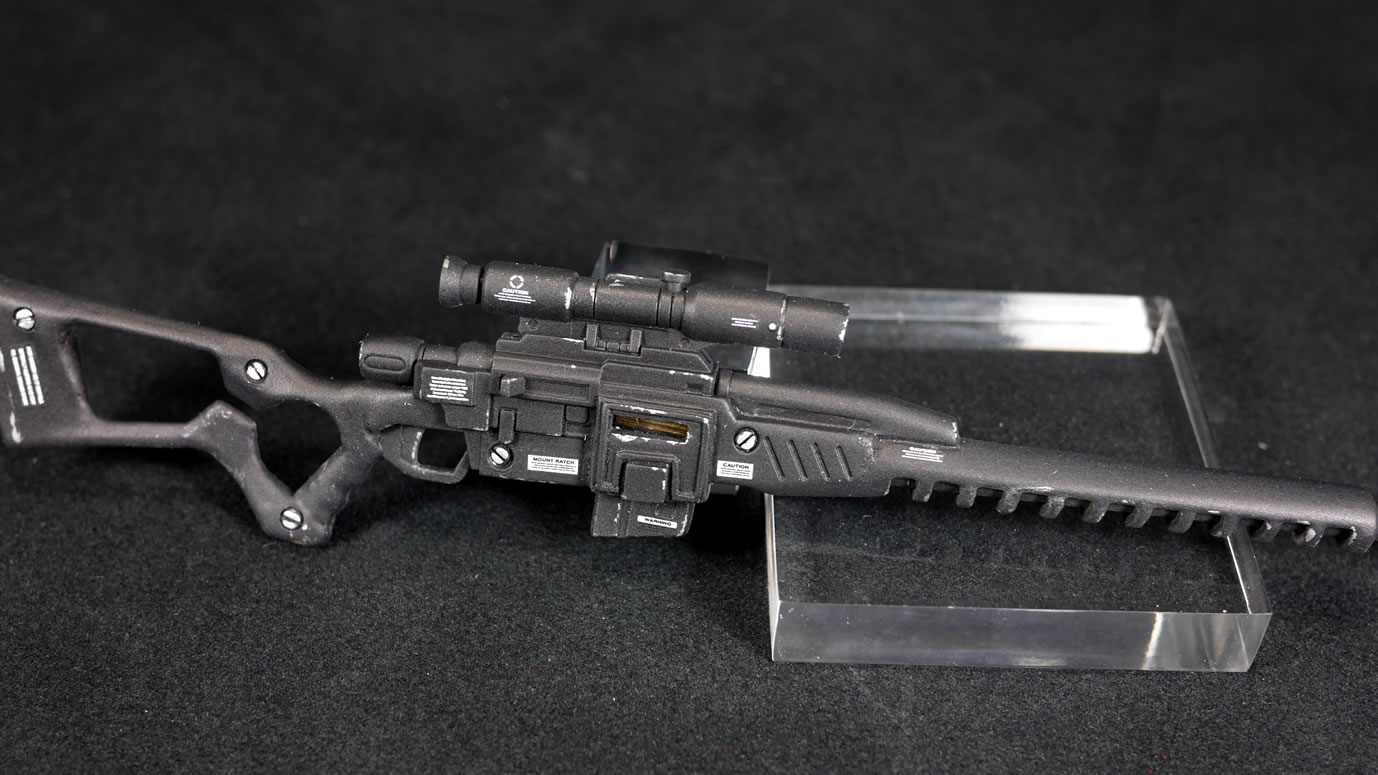
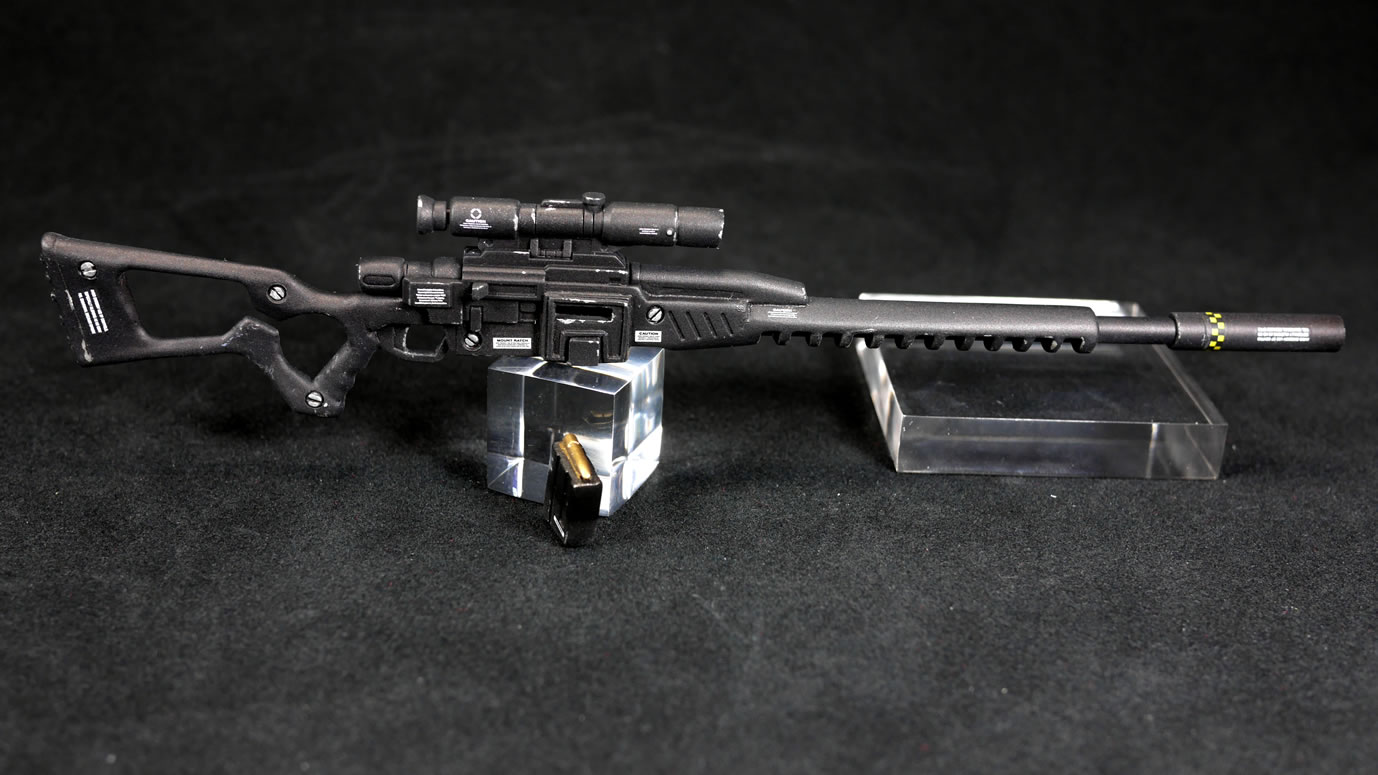
Changing gears back to the Master Grade GM Sniper 2; here’s the completed pictures:
|
|
|
|
|
|
|
|
|
|
|
|
|

|

|
|
|
|

|
|
|
|
|
|
|
|
|
|