Dom Barrage Progress Update 2

Progress slowed down a bit because I spent a few days making a mold of a crappy Thai made resin recast of Faye Valentine that a friend of mine picked up back in 2003. The resin is so brittle and ceramic like in texture that it is near impossible to work with and sand. I had made some casts of the Dom’s leg thruster parts and had extra silicone to make one of the Faye parts and after that one piece, I just fell down the rabbit hole.

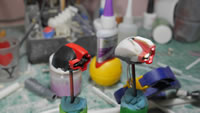
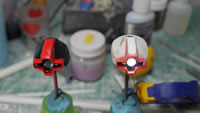
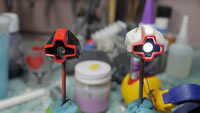
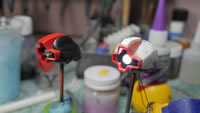
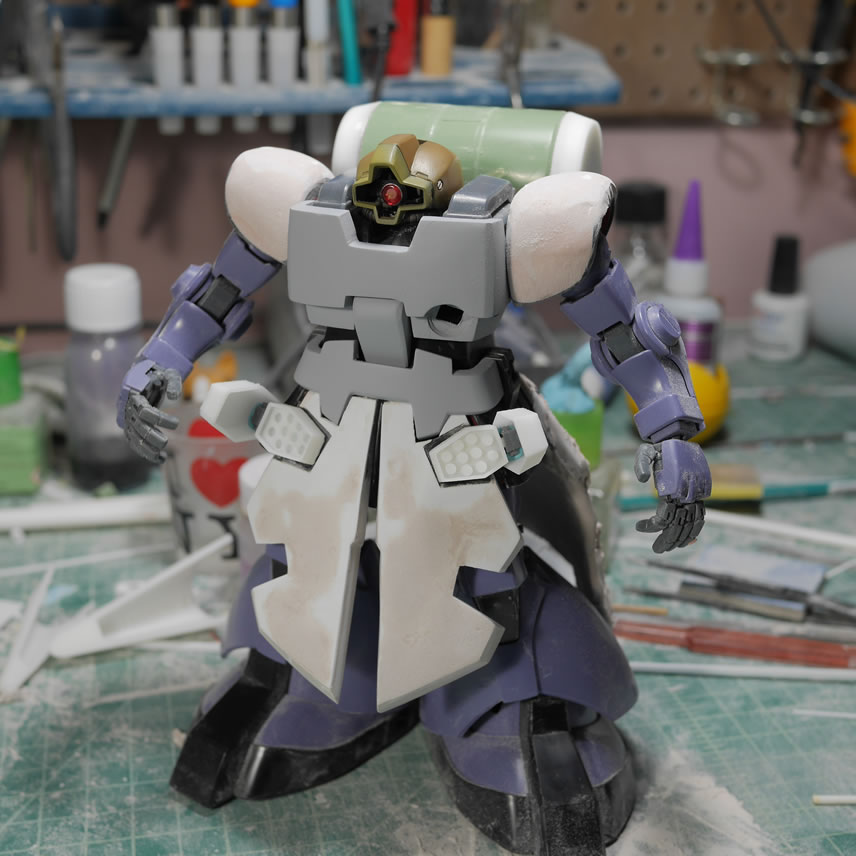
But back to work on the kit and like the last post, I will try to keep things organized towards the sections I got work on since the last update. First up is the work on the head. I started with tamiya epoxy putty quick type but that stuff takes a little too long and is pretty hard to sand, so I switched over to the polyester putty. And here are some comparison pictures to the original head. I also got the LED wired up and tested that look as well.

More head work after the jump.
(more…)
Continue ReadingDom Barrage Progress Update 2

Weathering takes time….

The weathering process takes time. Granted we’re not putting the object outside so that it can sit for a few years to naturally achieve sun/rain/wind damage and get all rusty and dirty. But the process isn’t instant and done in a single model session. For your typical object, the paint can chip and crack; it can get weather damages such as sun, wind, and rain; and it can also get dirty and rusty – just here, there are three layers of weathering that can happen. Applying the different techniques one on top of another can create some very dynamic weathered look to your object.

(more…)

Continue ReadingWeathering takes time….

After a year long break, returning to the Water Front

Motivation, inspiration and other ation-esque terms sometime fades away as a project progresses for a host of reasons. This project was chugging along last year and just stopped cold. It sat on my workbench and just occupied the space for a good while before I came to the realization that I did not want to work on it. I boxed it up and shelved this for a little over a year. I recently revisited a 7 year shelved kit that has since been shelved to get some quicker little projects completed. This happens. Interests wanes and sometimes, it is best to just put something away in hopes that someday, the interest returns and the project gets completed.

The first set of pictures was where I last left off. I had started getting the main base piece together. I had cut a hole out, glued some mesh in place. The idea here is to use a picture of some GMs I had previsouly built, and place the picture under the base to create an illusion that there is an underground element to the base. The wood base is built up with some balsa wood sides. This was about where I stopped last year; I had some work on various pieces and there was no mental execution plan for the project.

(more…)

Continue ReadingAfter a year long break, returning to the Water Front

Sazabi Painting and 3D Printing!

Since this is the actual body paint posting, I’m including a few pictures from the previous post so there is some better continuity. Weeks ago, I grabbed some plastic spoons to do paint tests. I used different base metallic paints and different clear reds from various brands before settling in on the three colors I have below. The process arduous, and I went through 10 different combinations before settling down. Below are the three colors to match up with the color scheme on the instructions. The lighter tone uses a mixture of clear pink, a small amount of clear orange, and clear red for tonal changes, sprayed over alclad super bright silver. The red is just Finisher’s clear red over alclad super bright silver. The deep red areas are finisher’s clear red over alclad polished brass.

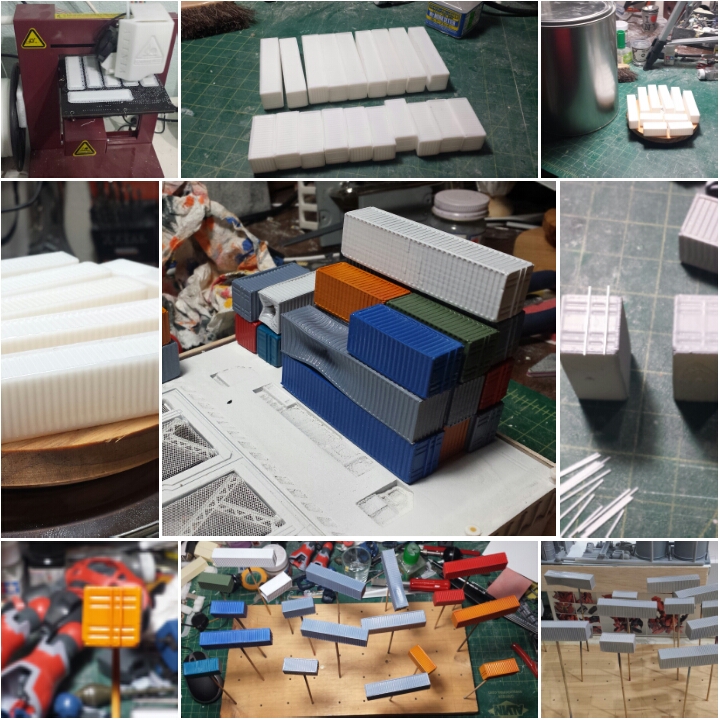
Also in this post, 3D printing!

(more…)

Continue ReadingSazabi Painting and 3D Printing!