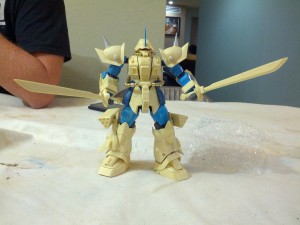
A little update on the project as I didn’t work on it at all over the weekend and only started back on it the beginning of the week. I started priming and got two of the three GMs I had on skeweres primed. Then realized that I was planning on painting them all the same color scheme, so since I still don’t have the GM Cannon II done yet, time to back burner the GMs and focus on the Gouf Custom. I figured that if I can finish the Gouf in the next two weeks, I can bring the little guy to Otakon and have it sitting next to the MG Gouf Custom. Since the Gouf was skewered and ready for painting, the parts were primed.
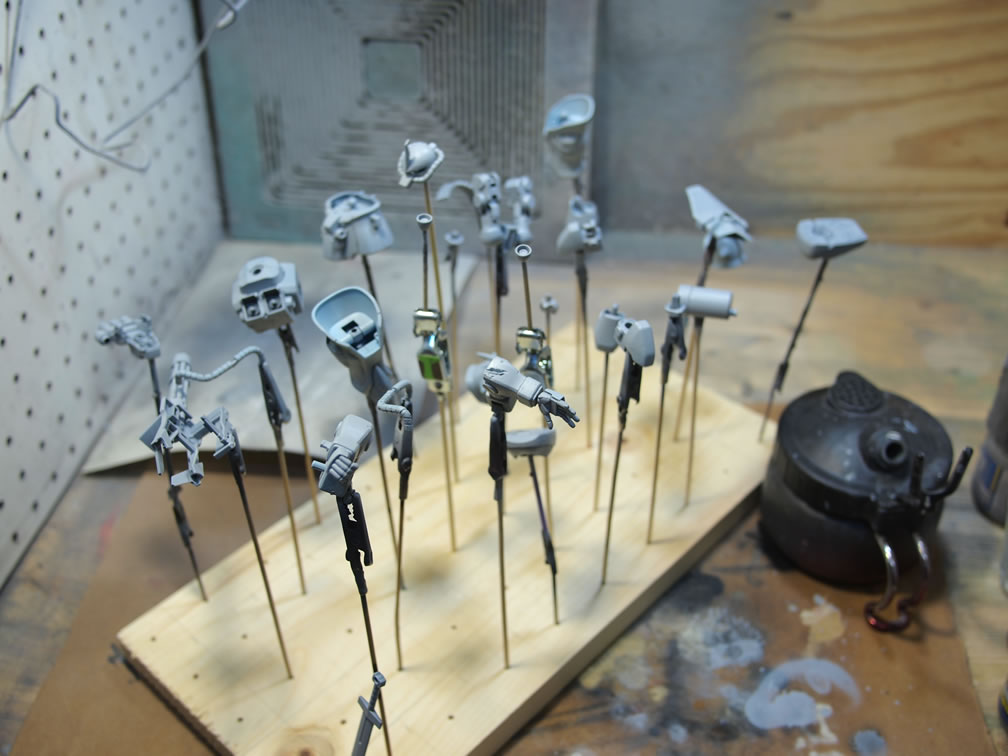
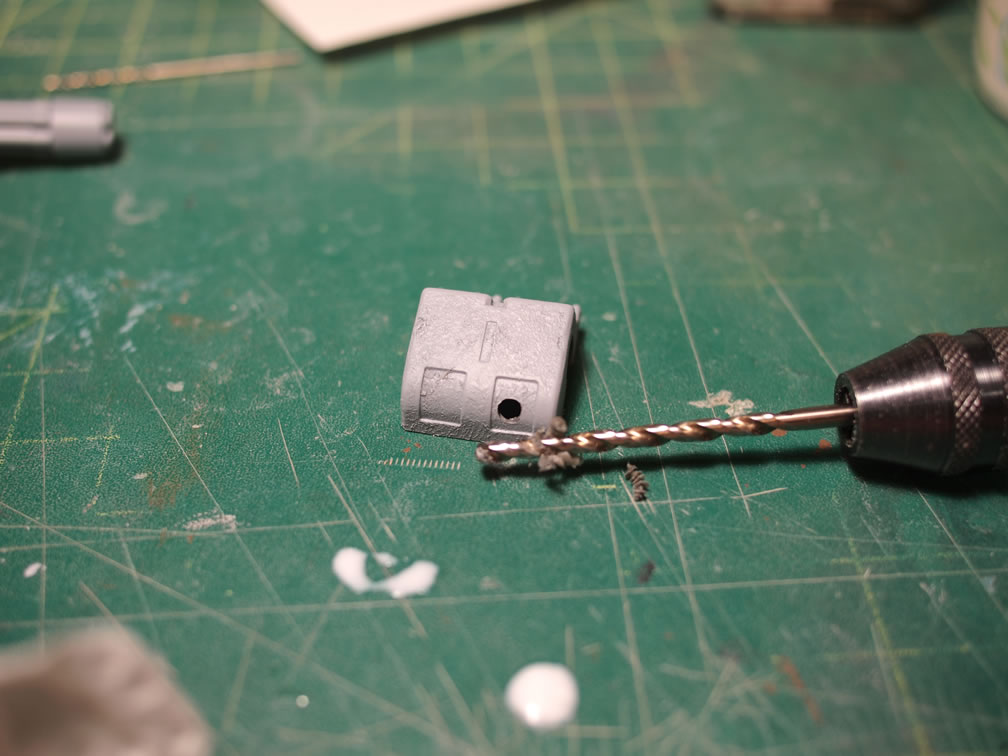
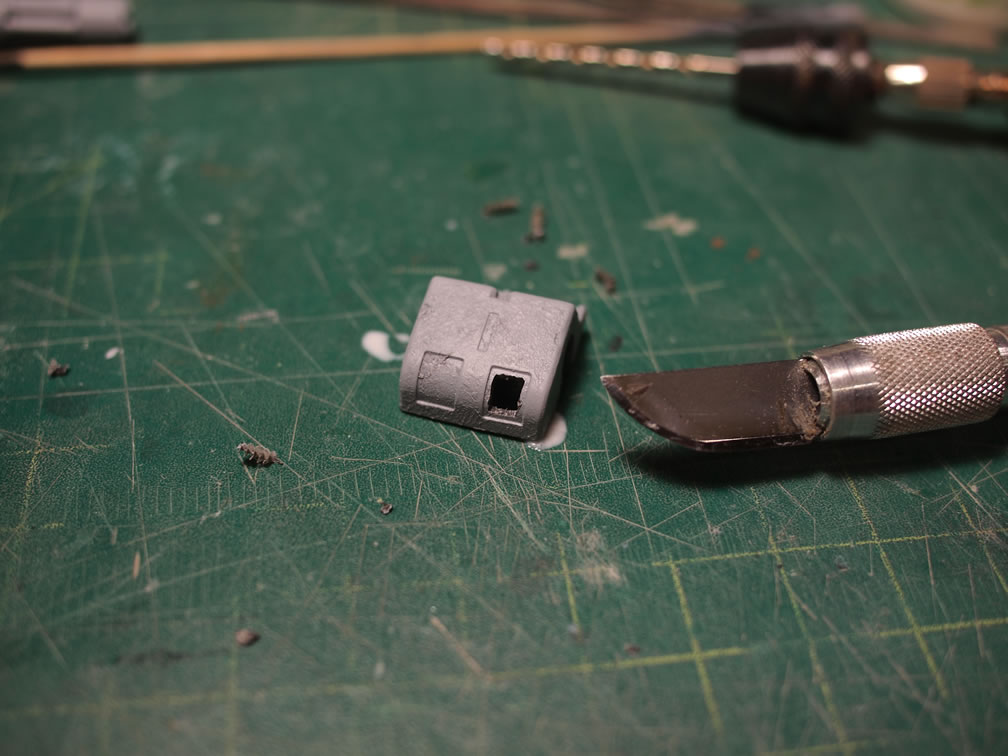
Once I had the parts primed, I checked for mistakes and found a few mold lines that I didn’t sand down on the gatling gun so I pulled that part off the assembly line and put in on the work bench to be sanded once the primer cured. I also looked at the primed backpack piece, and thought about cutting out the little indented details and filling it with mesh. Then figured I’d just leave it alone, since I had already primed the part and it was ready with the other parts to get paint the following day. However, that thought lasted all of 3 minutes and I pulled the part from the primed drying racks and started drilling into the detail area for a pilot hole. With the pilot hole drilled, I then used the hobby knife to carefully cut out the excess. This is extremely dangerous, a slip of the hands will end in a bloody work bench. I’ve done this far too many times, so I went very slowly.
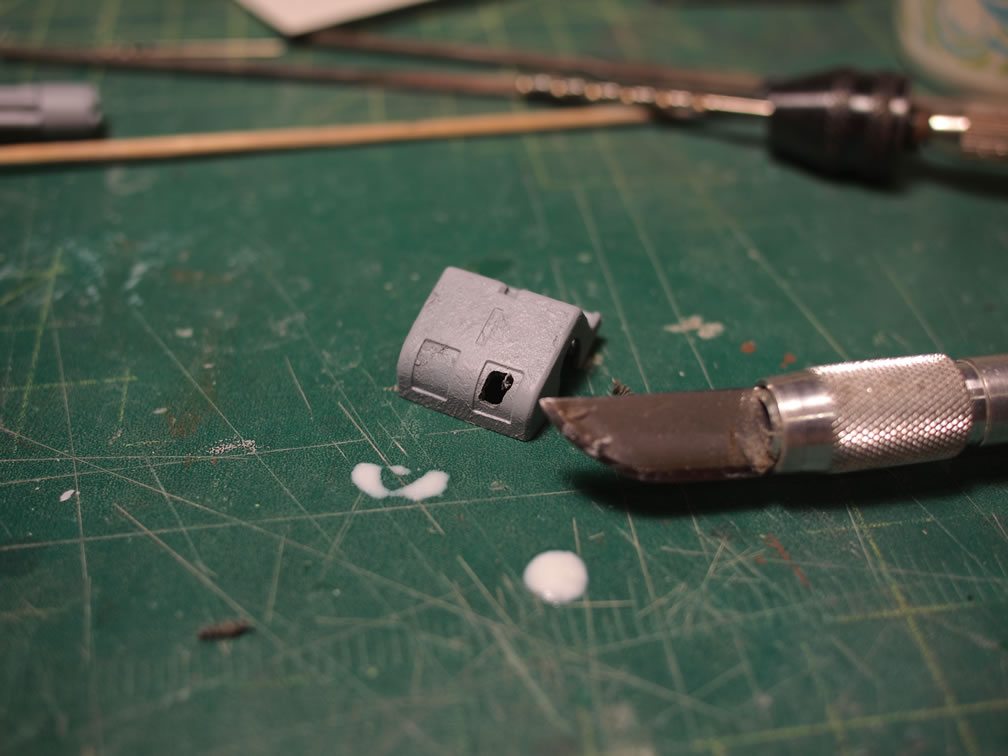
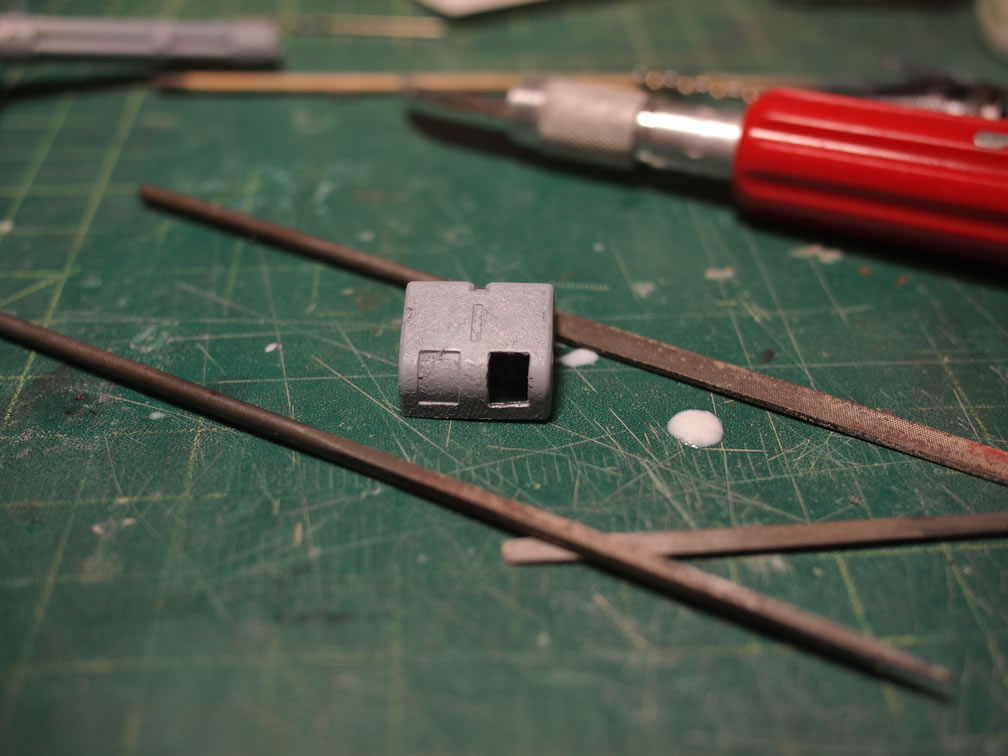
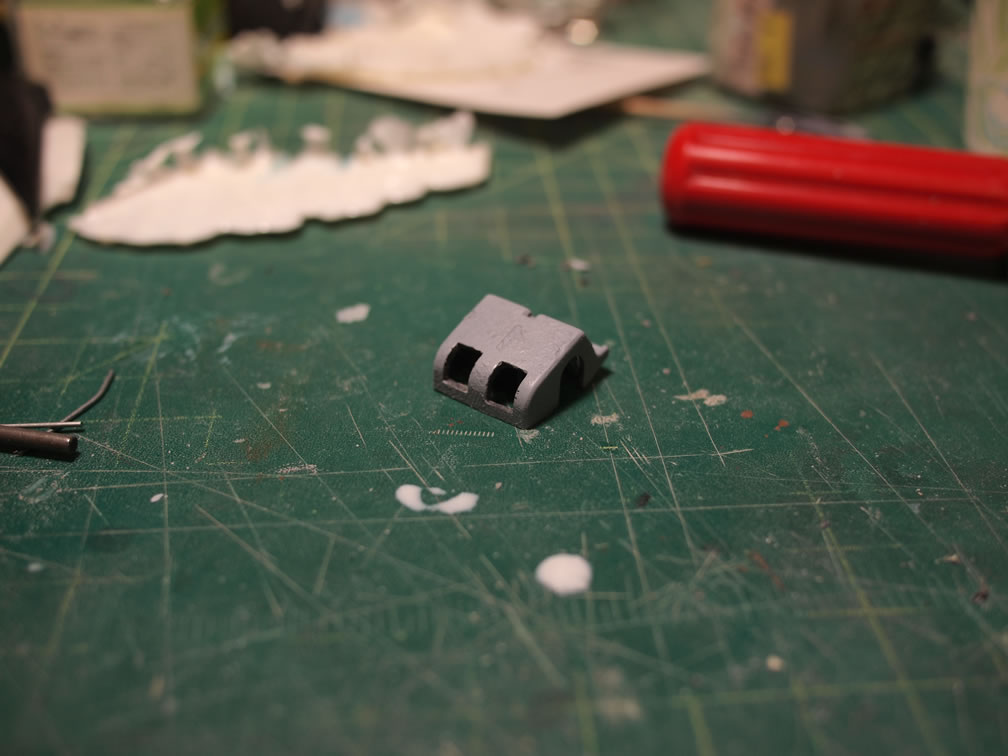
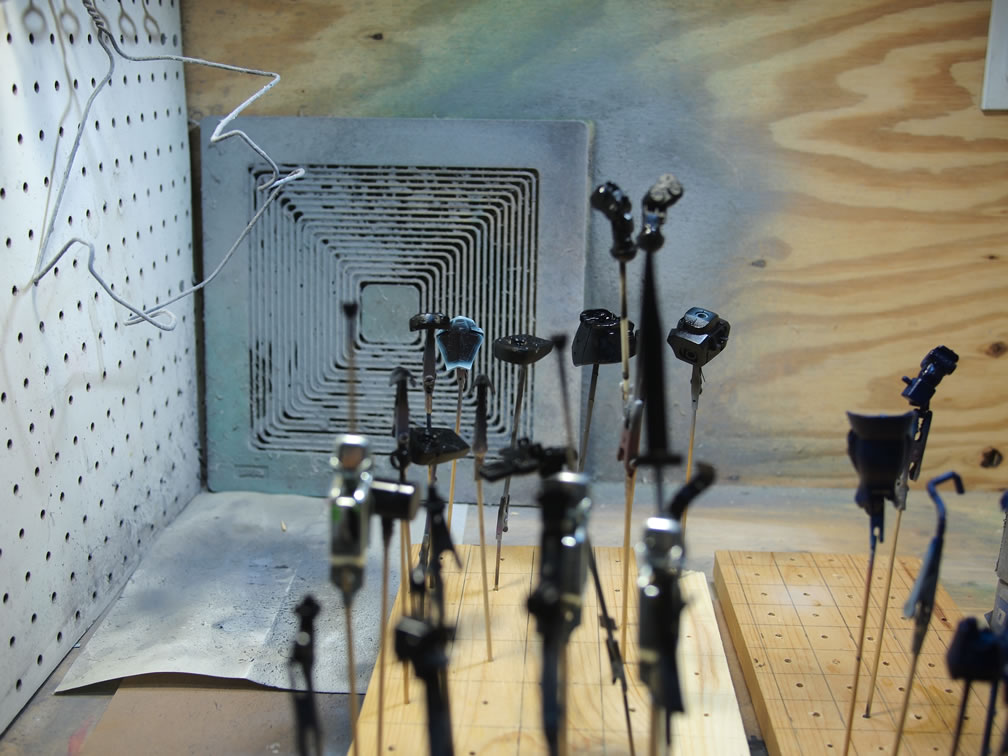
Getting most of the excess plastic out, I grabbed my files and started to sand down the edges and get straight edges and angles. This is a much safer albeit much more tedious process to cleaning out the excess plastic. But once the edges were done, I went on and did the other side. I then glued some meshing on the inside of the backpack, and in my haste, I forgot to take a picture before I based coated the thing in black. But the added mesh can be seen at a close look at the picture.
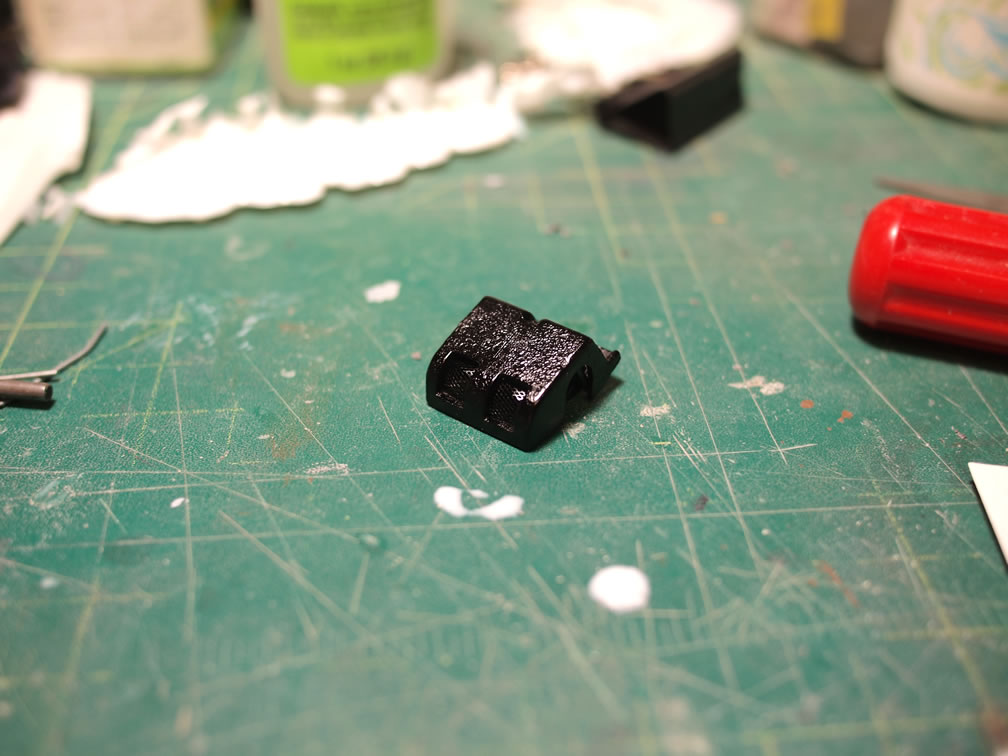
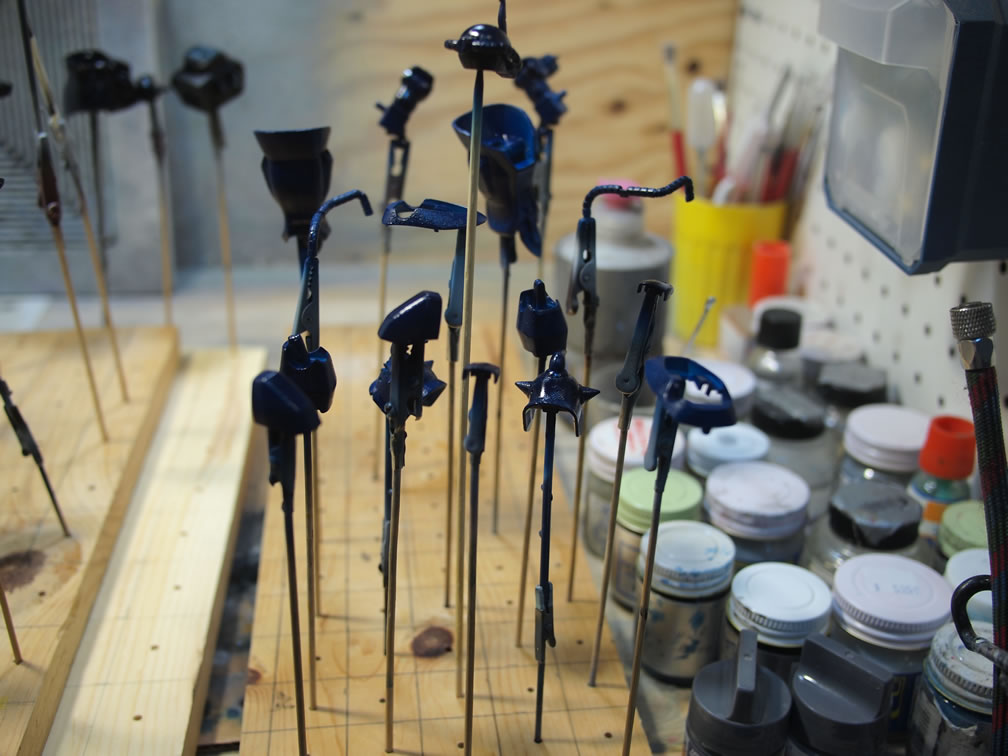
Last night, I started on the base coats for the primed parts. The light colored armor pieces were based coated in finisher’s wolf’s blue. The internals and gray pieces were base coated with gloss black. And finally, the darker blue areas were based coated in finisher’s blue black. There’s a very slight tint of blue, but it looks almost black. Kind of neat color, probably better to use to tint things or just as a base coat for blues.

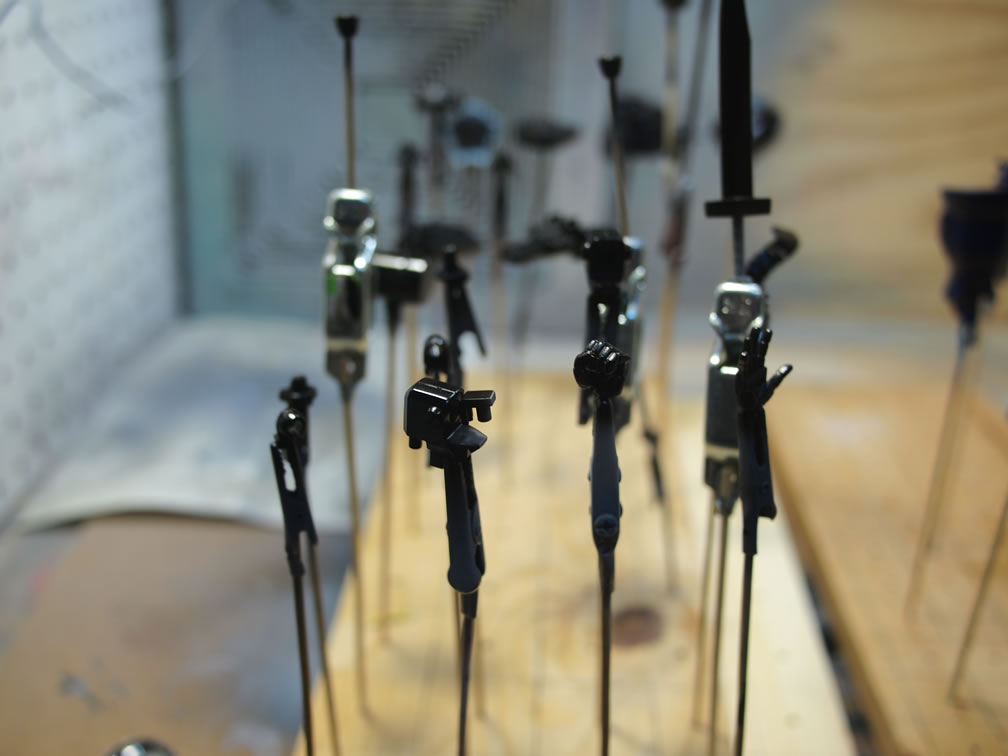
Next up will be the shading lighter tones and metallic paints for the internals and weapons.