Volks Revy Progress
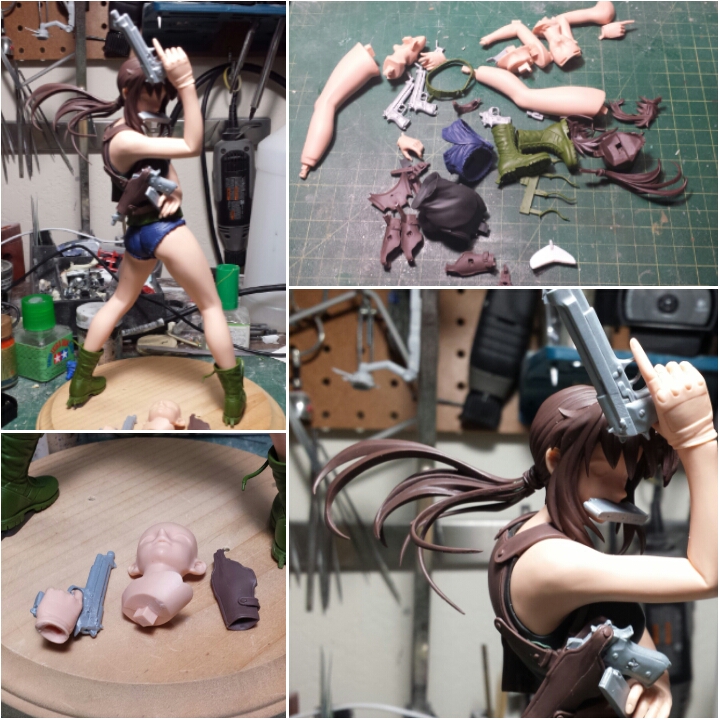
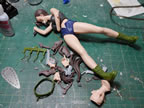
I was meaning to write up a quick little post before my business trip to Toronto two weeks ago. We see how well that panned out. So better late then never. And I have much more material to write about since I’ve progressed a little more since I returned from the trip. To start off things, I had originally pinned her together using the small guides and clues in the resin from the sculptor. Some of those worked, some not so much. The main parts I want to keep the pins are in the feet and legs to the lower torso. Since she’s freestanding, I want as much inner support as possible. I had also pinned together the arms and head piece but didn’t get as good a placement for the pins in those areas so the fit was slightly off. It’s not a big deal, I can just go and use glue for those areas and they’re not load bearing so again, not an issue.
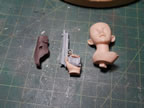
Moving on, this kit actually came with some extra parts. There’s an extra Barretta, an extra holster, an extra gun clip, extra hand and an extra head piece. They’re not duplicate parts, but option parts; which is pretty damn cool. There are two options for the head; one to hold the extra gun clip in her mouth, and one with her mouth closed. There are two left hands, one to hold a magazine clip, and one that holds the extra Barretta. With that, there’s an extra right side holster. So I have the option of having one gun holstered (which is a third gun that is just the barrel piece and handle – put with the holster, looks like a holstered weapon) or two empty holsters. Indecision got the better of me so I turned to using small rare earth magnets. I had originally planned on pinning this, but the parts are a bit too small for that to work.
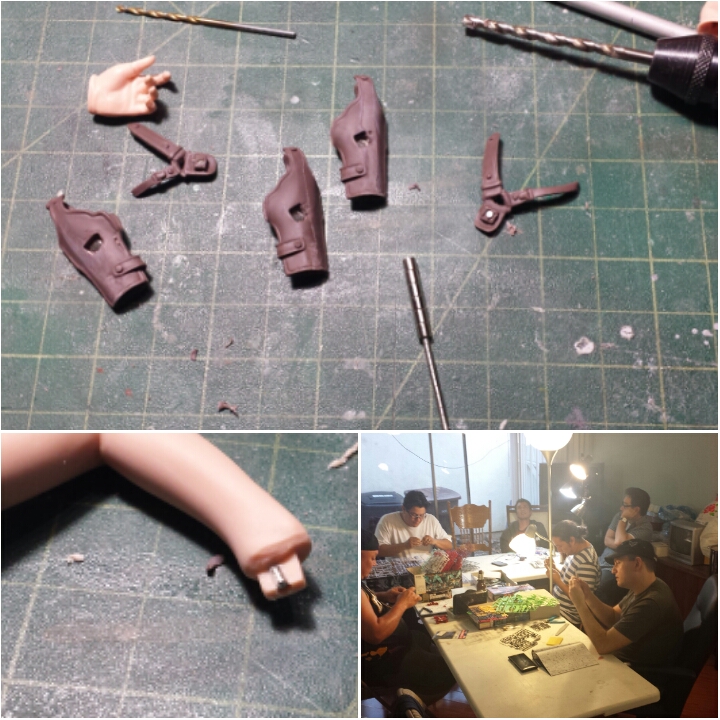
Holes were drilled into the hands, the guns, and the holster pieces. Magnets glued into position taking care with the proper polarities, and the problem of multiple build options is solved.
