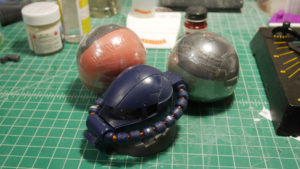
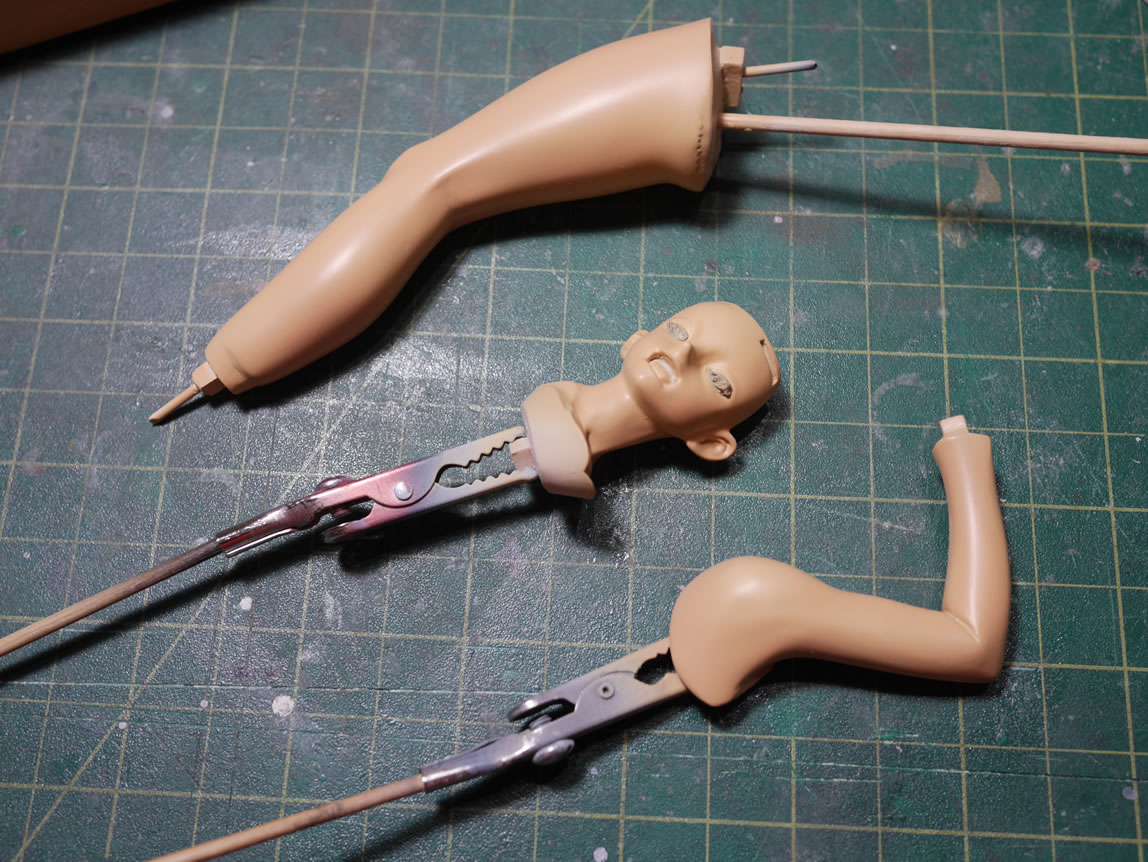
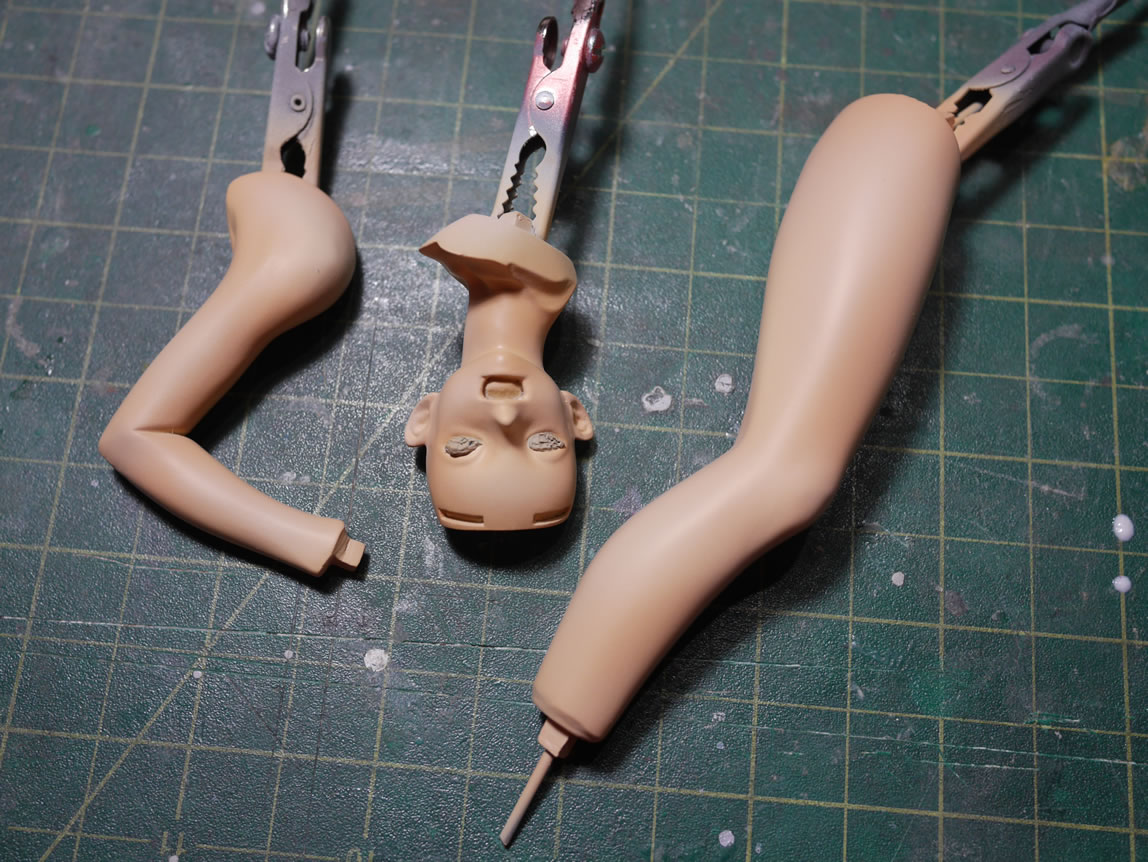
I was meaning to write up a quick little post before my business trip to Toronto two weeks ago. We see how well that panned out. So better late then never. And I have much more material to write about since I’ve progressed a little more since I returned from the trip. To start off things, I had originally pinned her together using the small guides and clues in the resin from the sculptor. Some of those worked, some not so much. The main parts I want to keep the pins are in the feet and legs to the lower torso. Since she’s freestanding, I want as much inner support as possible. I had also pinned together the arms and head piece but didn’t get as good a placement for the pins in those areas so the fit was slightly off. It’s not a big deal, I can just go and use glue for those areas and they’re not load bearing so again, not an issue.
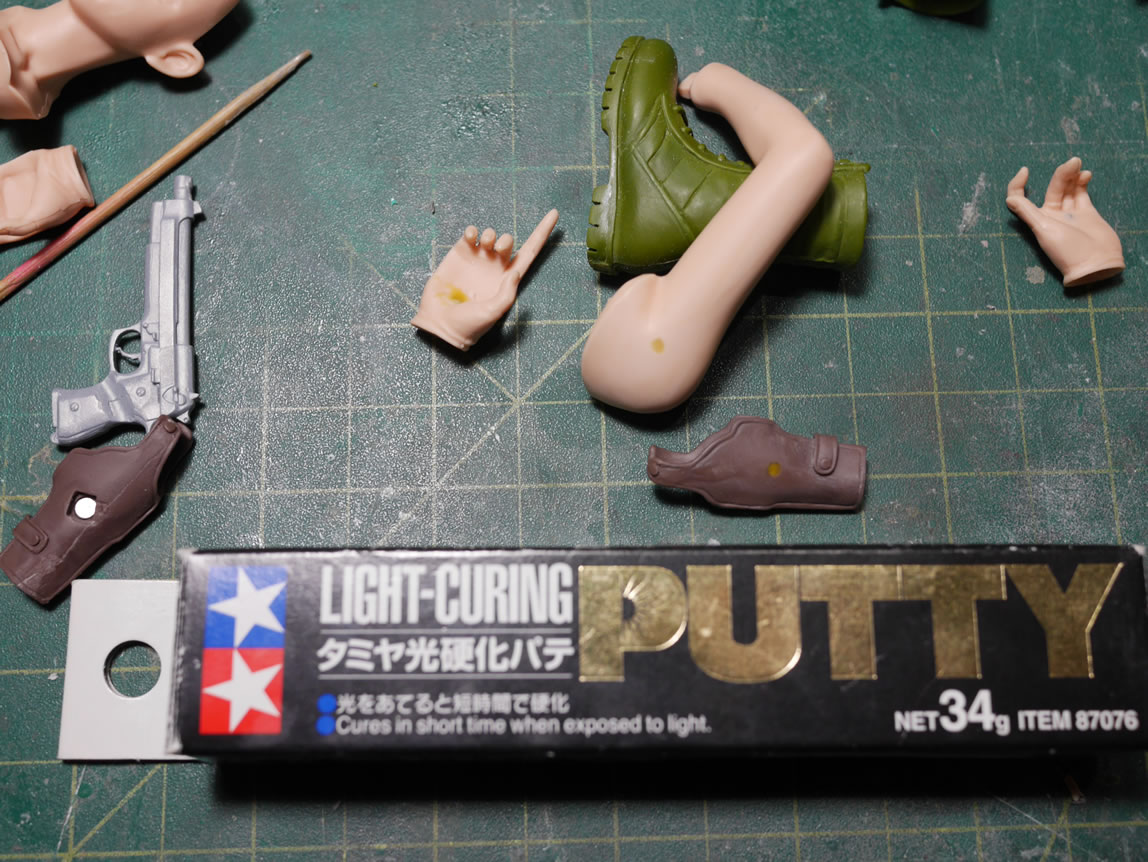
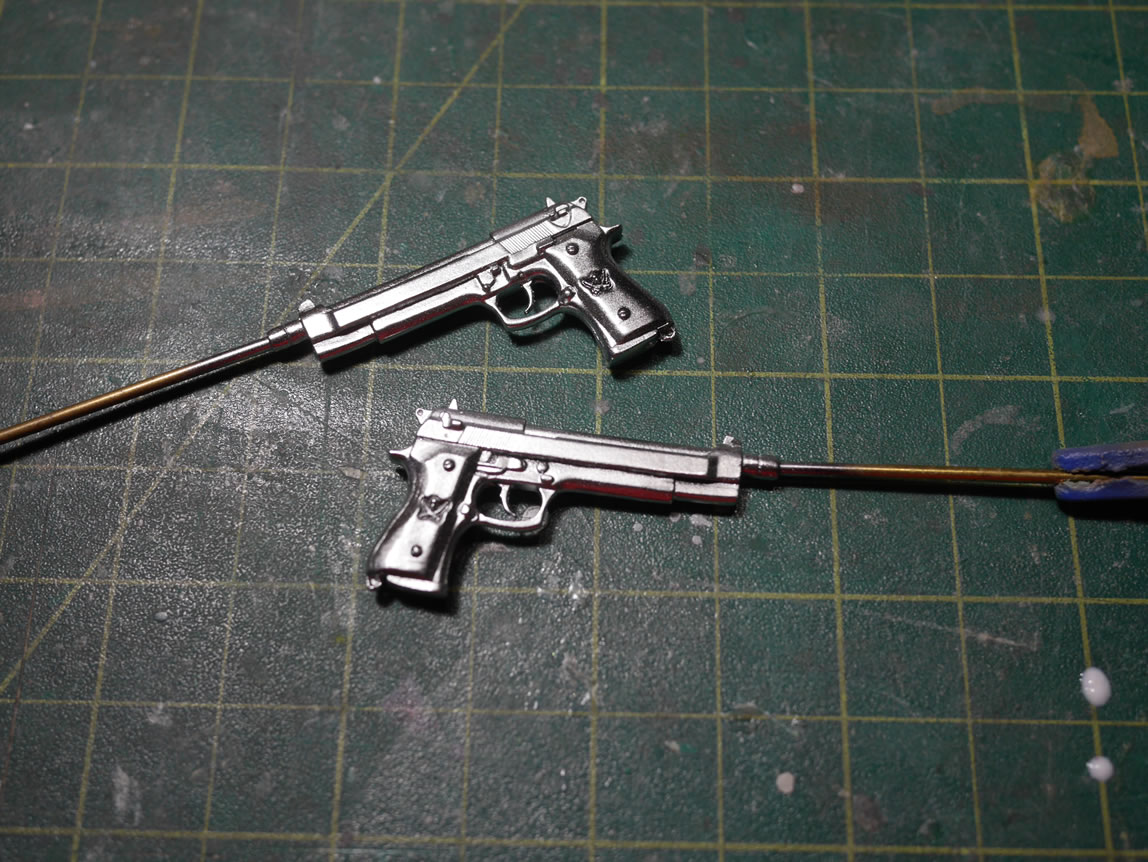
Moving on, this kit actually came with some extra parts. There’s an extra Barretta, an extra holster, an extra gun clip, extra hand and an extra head piece. They’re not duplicate parts, but option parts; which is pretty damn cool. There are two options for the head; one to hold the extra gun clip in her mouth, and one with her mouth closed. There are two left hands, one to hold a magazine clip, and one that holds the extra Barretta. With that, there’s an extra right side holster. So I have the option of having one gun holstered (which is a third gun that is just the barrel piece and handle – put with the holster, looks like a holstered weapon) or two empty holsters. Indecision got the better of me so I turned to using small rare earth magnets. I had originally planned on pinning this, but the parts are a bit too small for that to work.
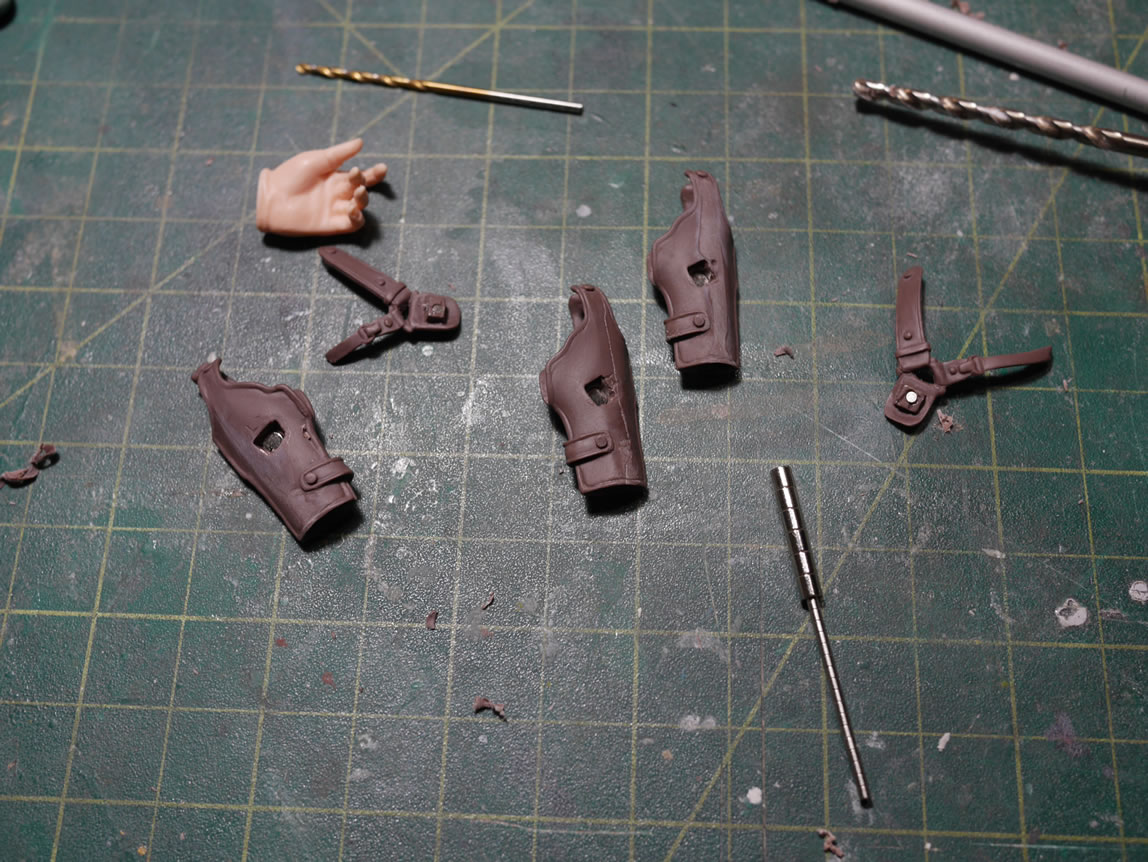
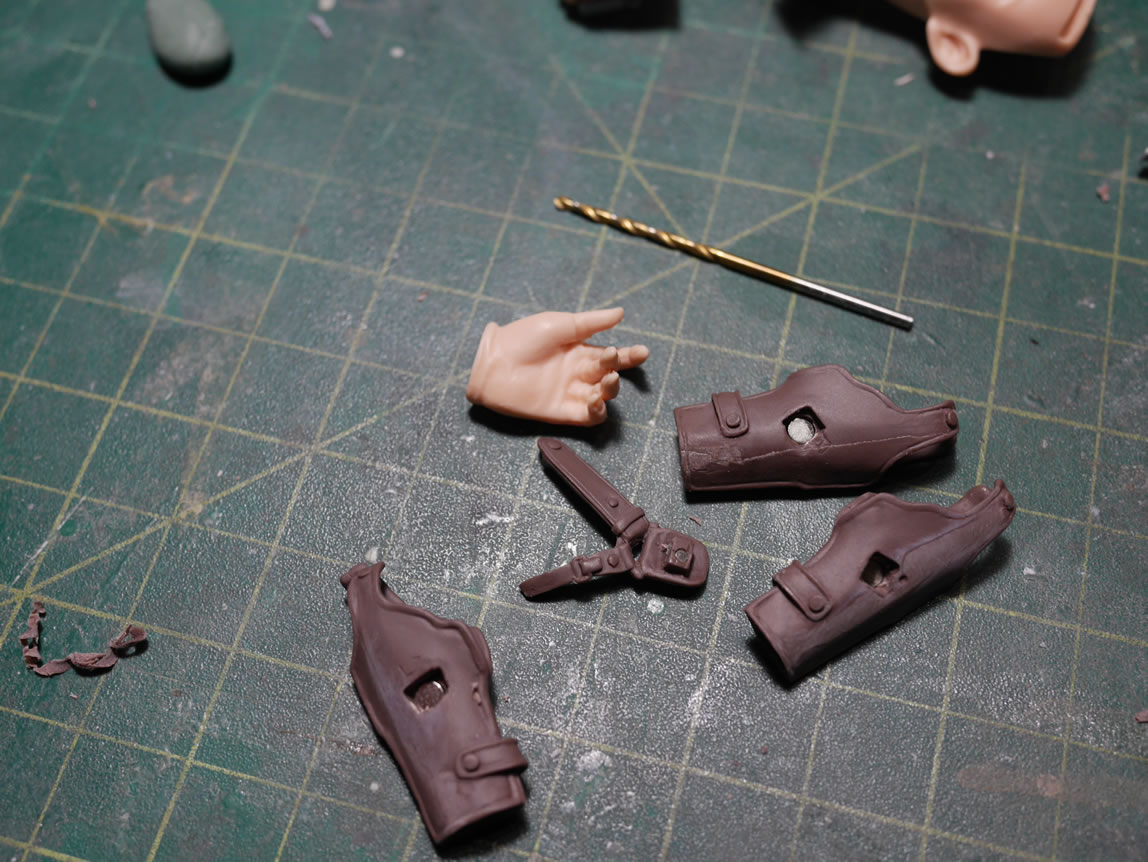
Holes were drilled into the hands, the guns, and the holster pieces. Magnets glued into position taking care with the proper polarities, and the problem of multiple build options is solved.
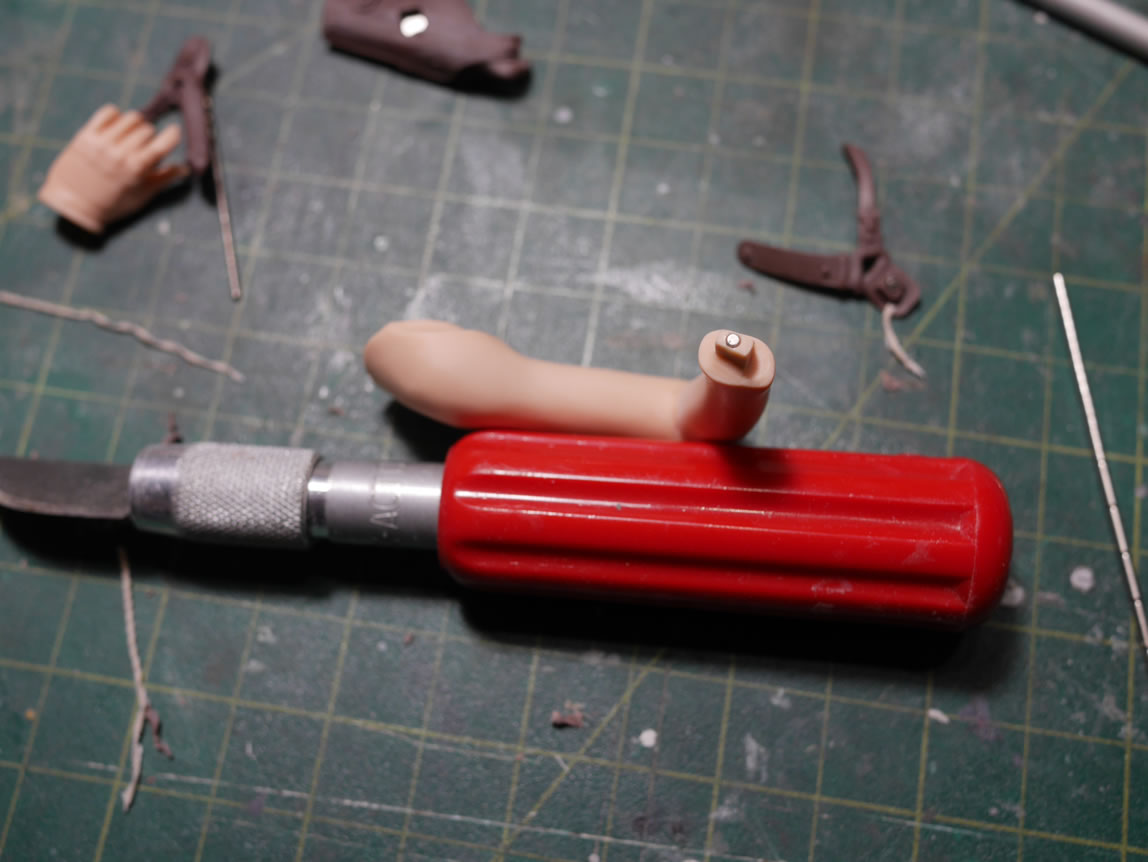
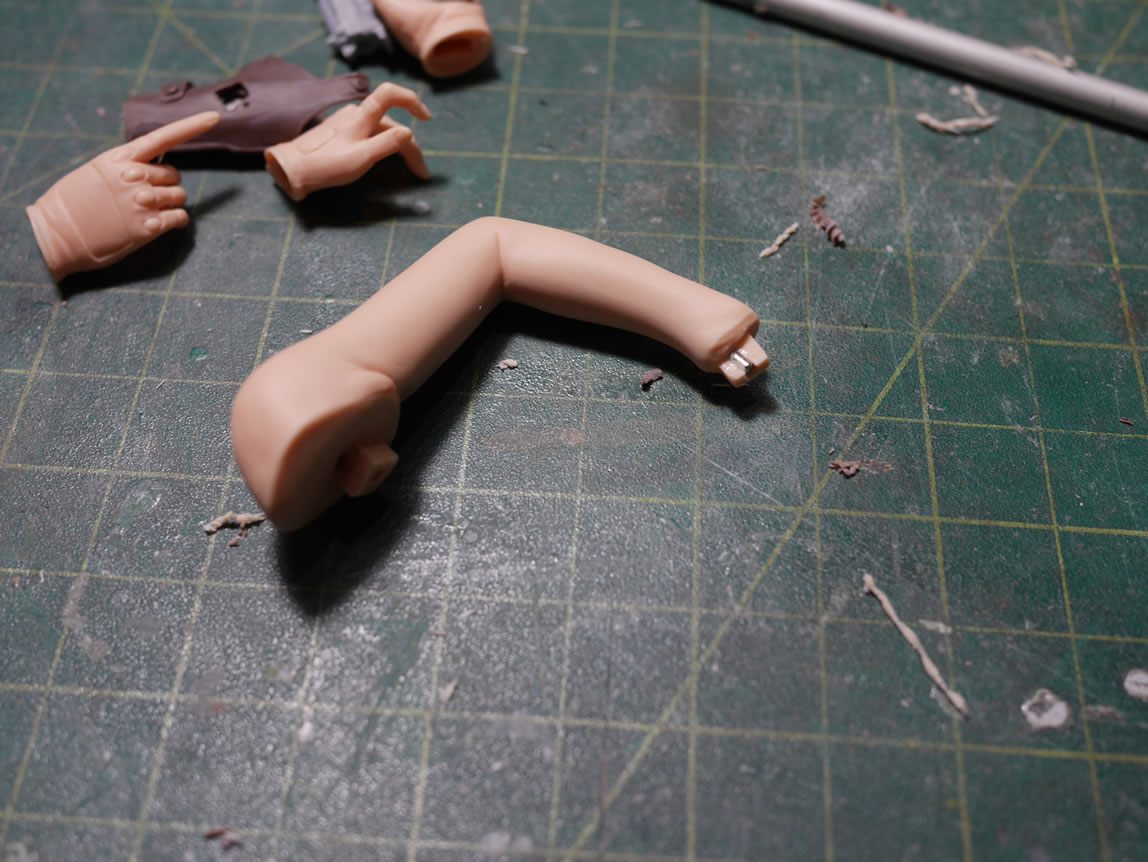
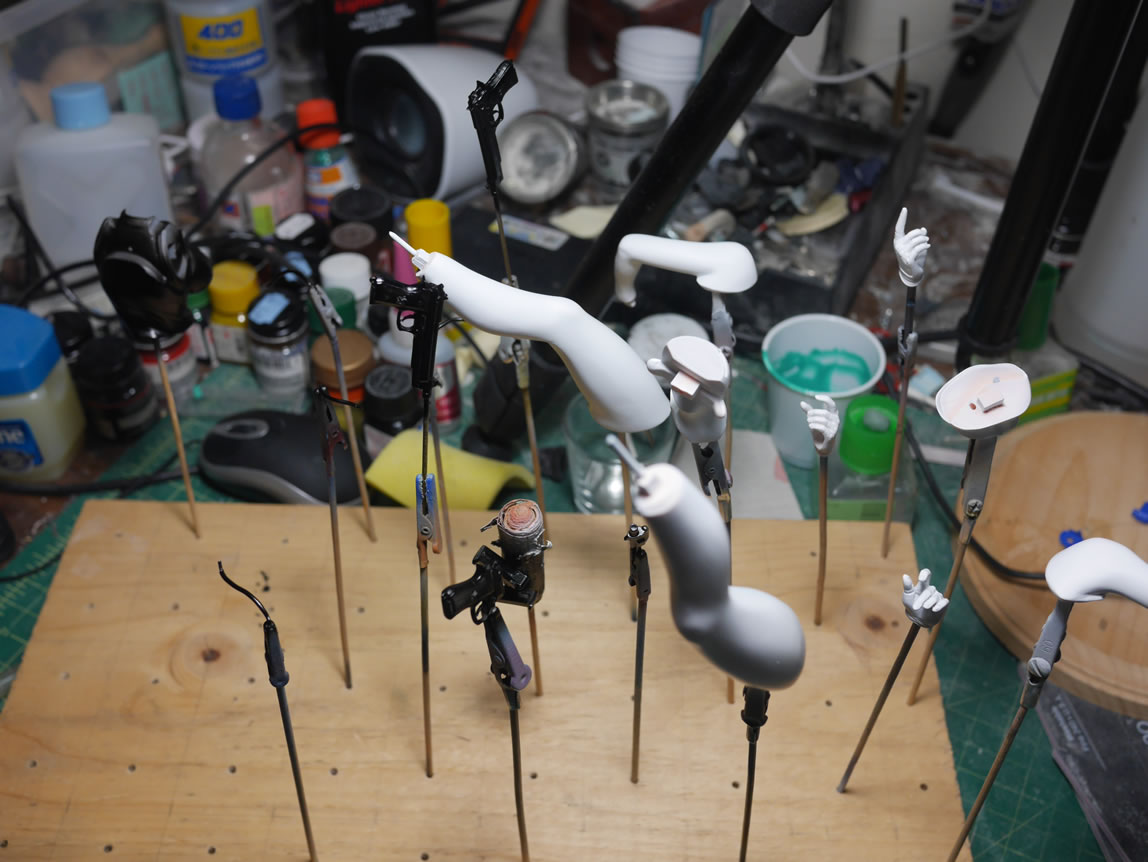
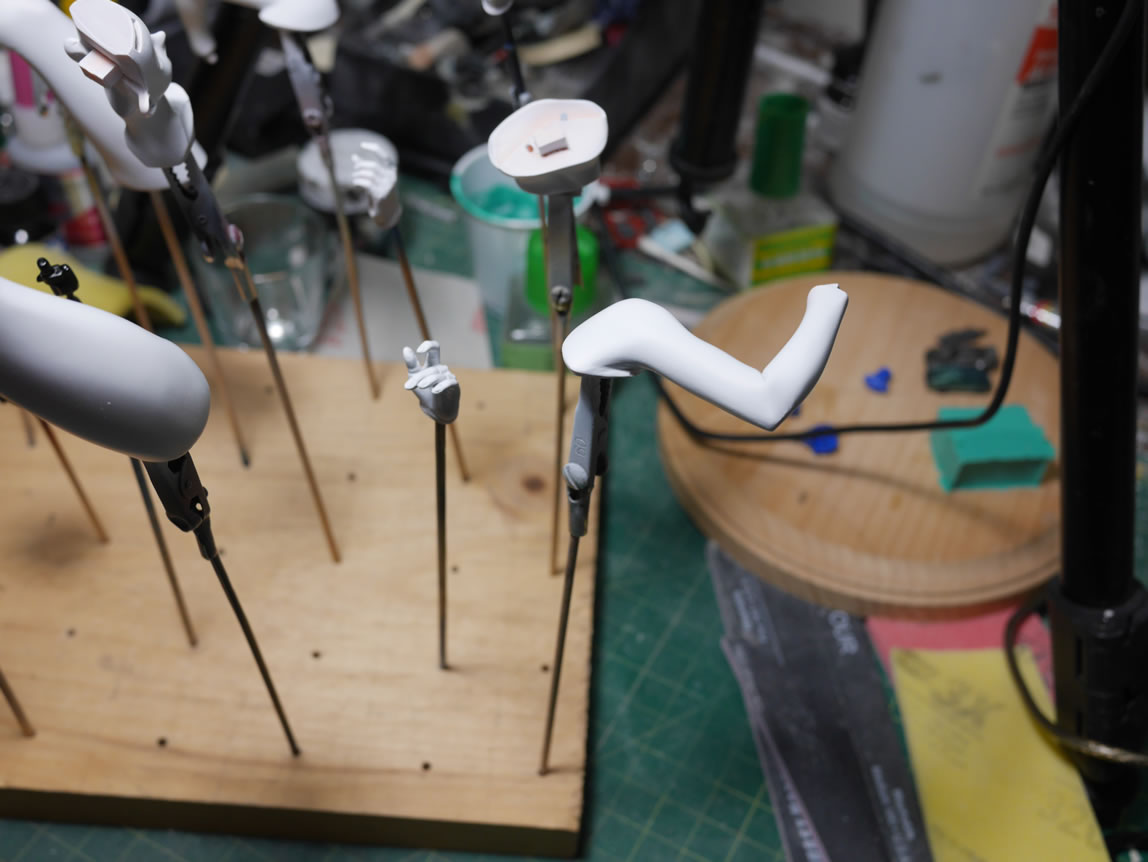
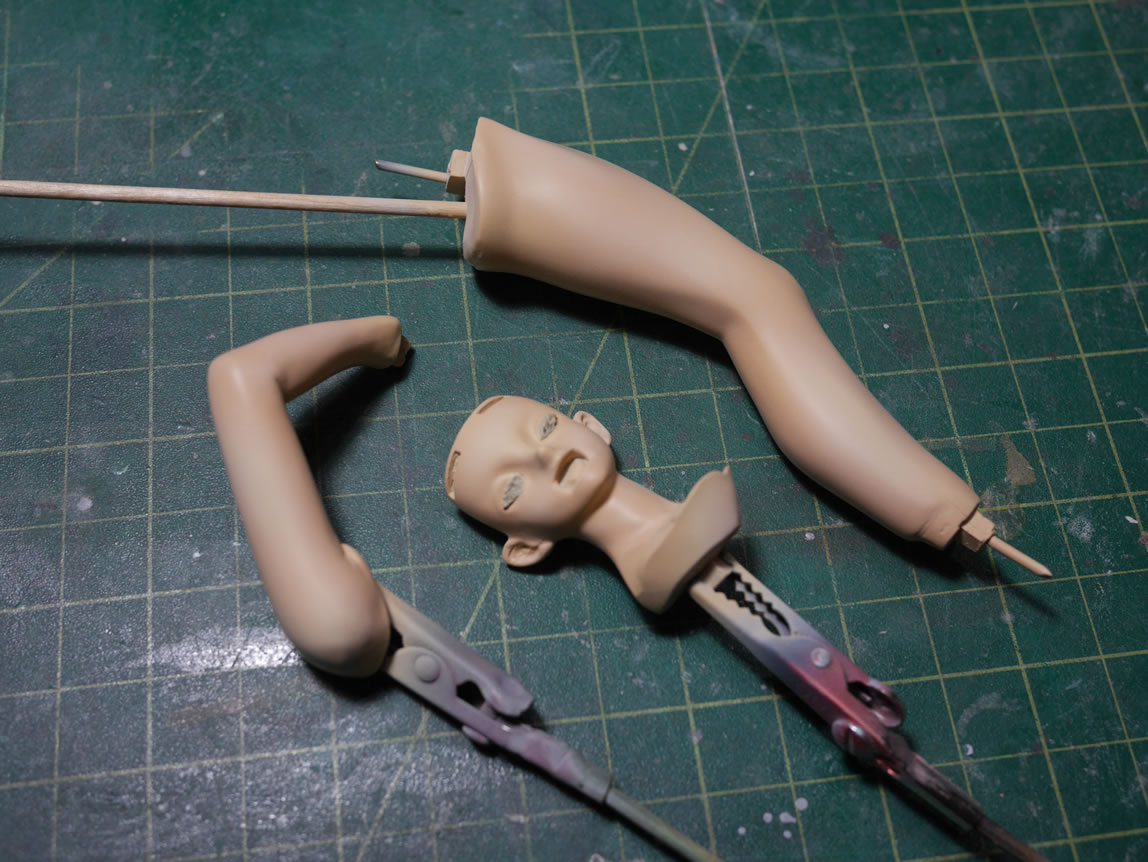
The arm ends were also drilled out and magnets added so that the hands can be swapped out easily. And while I was doing this, I realized that I should also do this for the main arm joints as well as the head piece. The nice thing about magnets vs pins is that the positioning does not need to be absolutely precise. I can get close enough and the natural parts separation will take care of the fit. THe pins will force the parts to fit together based on the pinning. Since these areas are not load bearing, the magnet solution is perfect. I added two magnets for each part for additional stability.
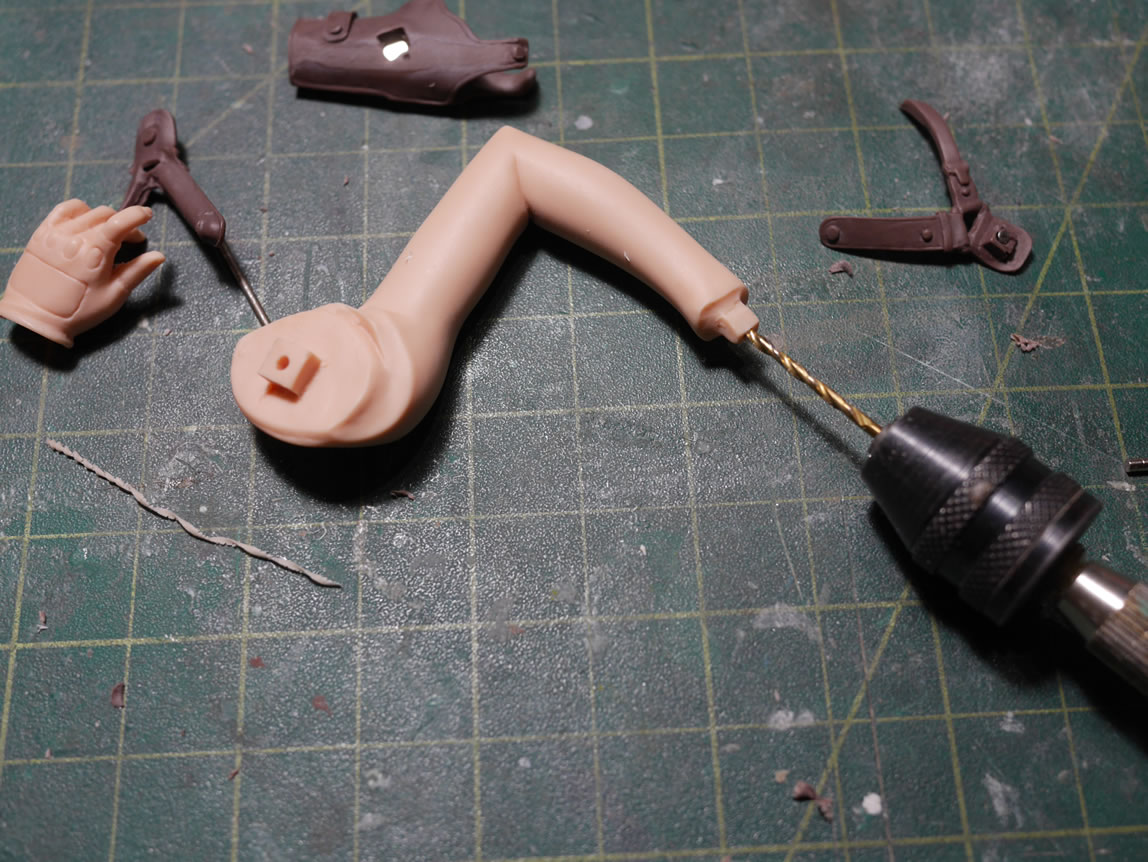
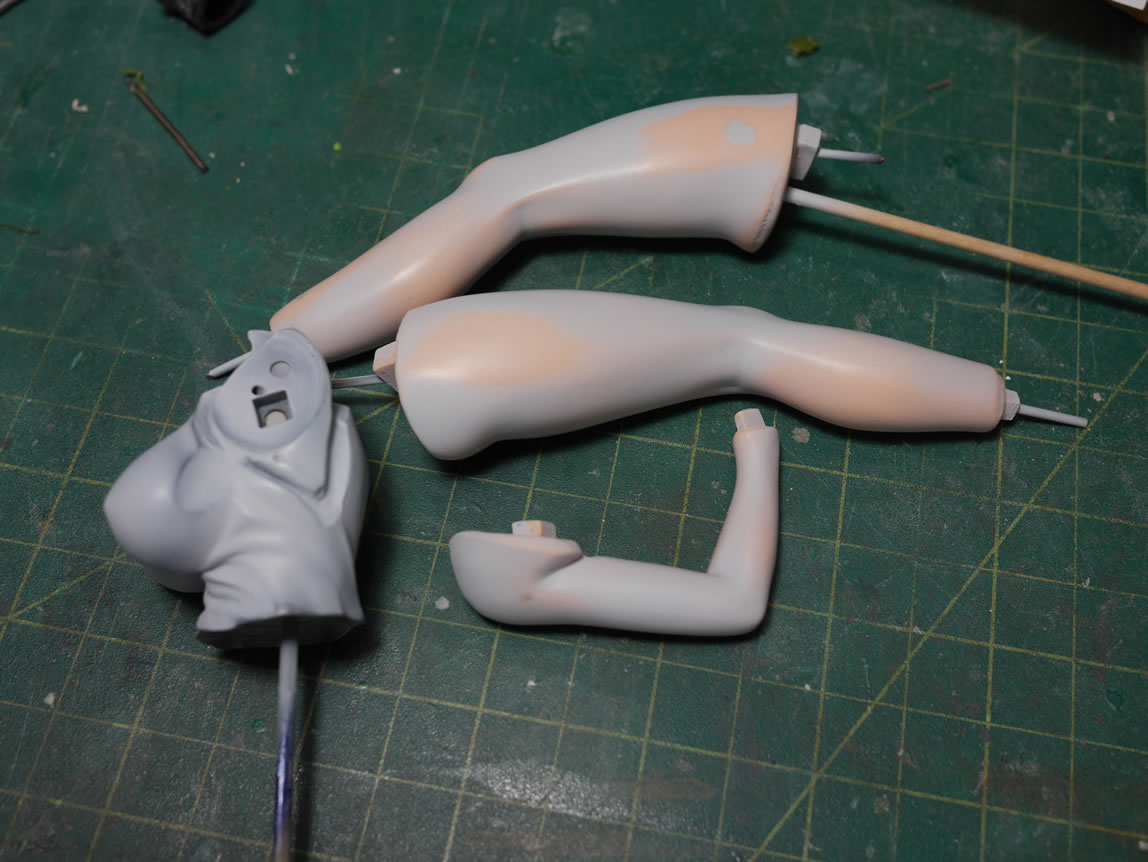
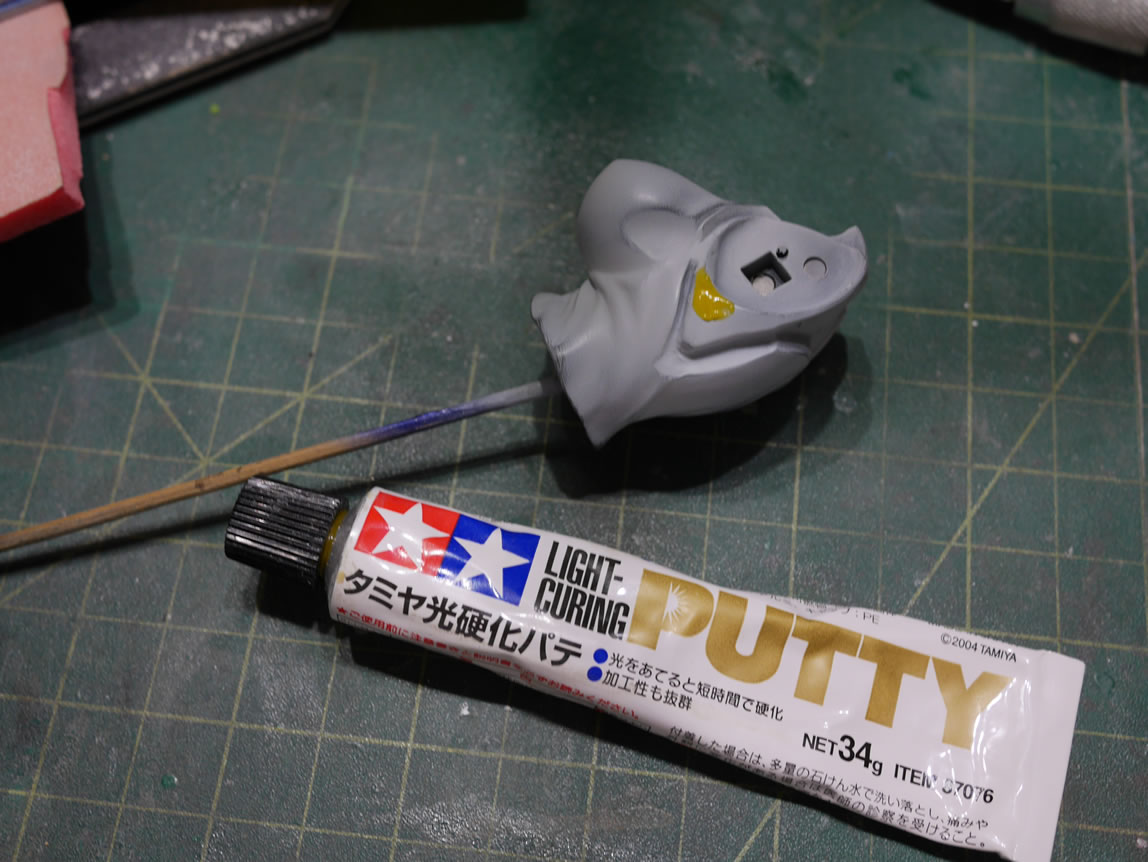
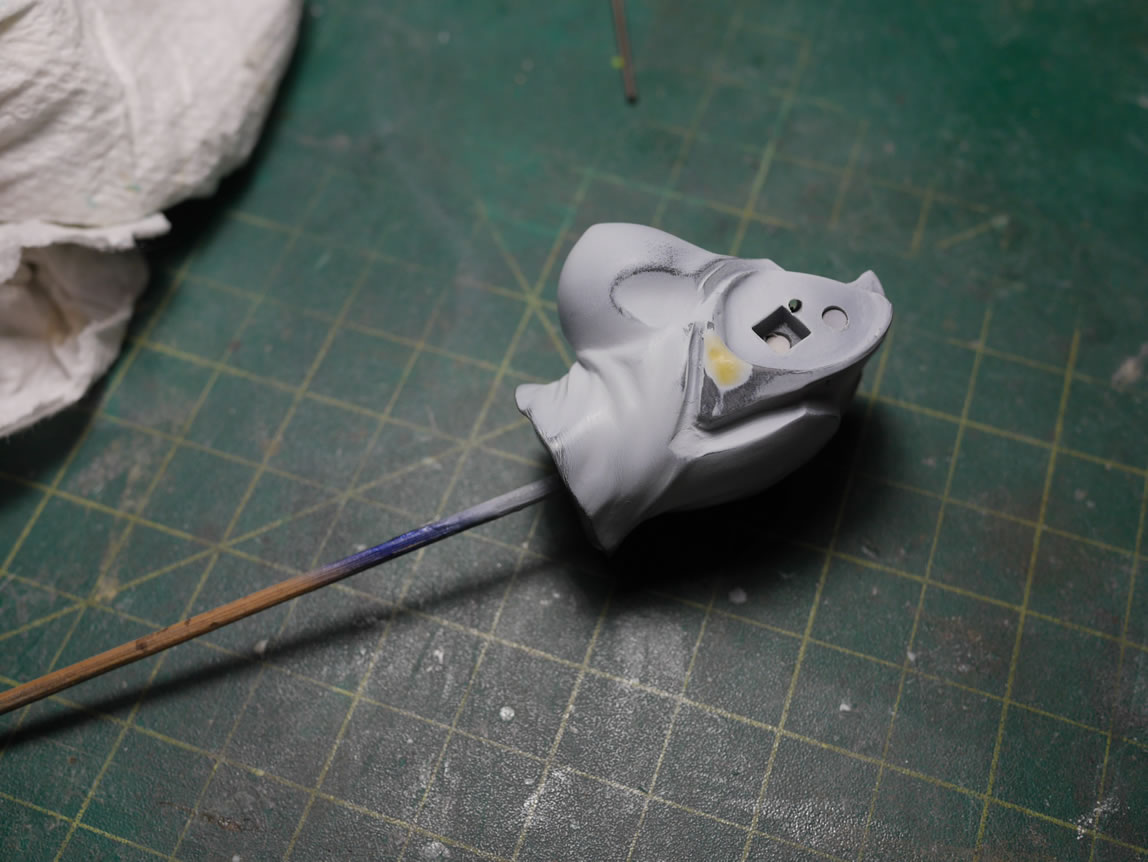
And since I made some mistakes with the initial pinning, I filled them with some light curing putty, cured that, sanded it, and now they’re ready for the first layer of primer.
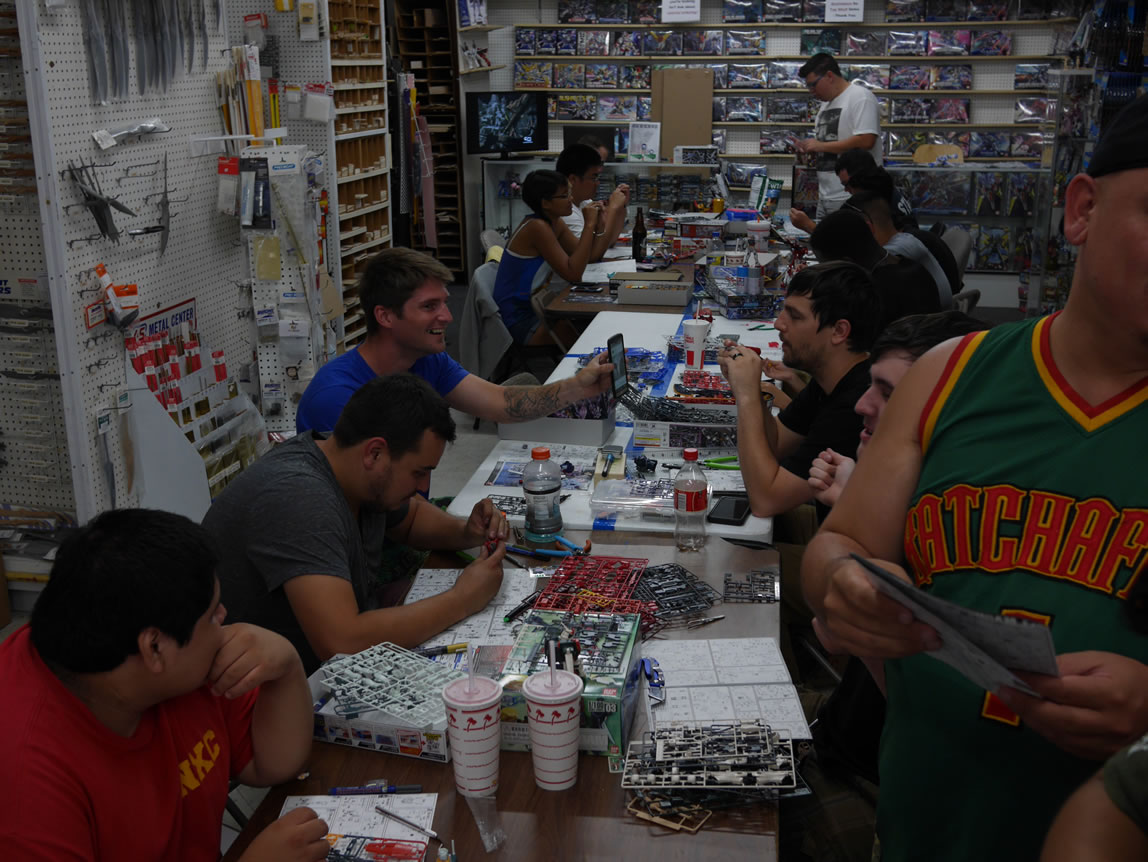
On Friday 7/17/2015; Angel, myself and our poor wives headed down to SD to check out the San Diego Gunpla group that meet every friday at Hobby Central to build. They had a huge group of builders, about 30 or so. We did our SCGMC marketing thing, put down some flyers, sold some shirts, and chatted with the builders there. The question about doing seam lines was asked and I had one of the guys bring their kit and did a demo on seam lines and had him do the other part. The folks were generally interested in learning some new techniques; so next time we’ll try to plan something better and do a more elaborate technique demos. It’s a good group and growing; so we definitely want to play a part!
The weekend following the SD trip was our monthly build gathering and I got a little bit of work in for Revy. I sprayed the first layer of primer. Once that cured, the search for surface defects goes into full swing, and light curing putty came in as the fixer.
Then I went to Toronto and didn’t have time to write the above up and post it up as I had originally planned. So up through this past Friday (7/31/2015), we have much more progression. The breakdown of the kit with the color separation is really damn nice and spoiling! Getting back from Toronto, we had our bi weekly TGG & Friends Live broadcast and I spent the time during that broadcast working on the Revy kit. Wet sanding the primer to get a smooth surface for the next layers of paint and a few light curing fixes here and there. Then some actual base colors thrown.
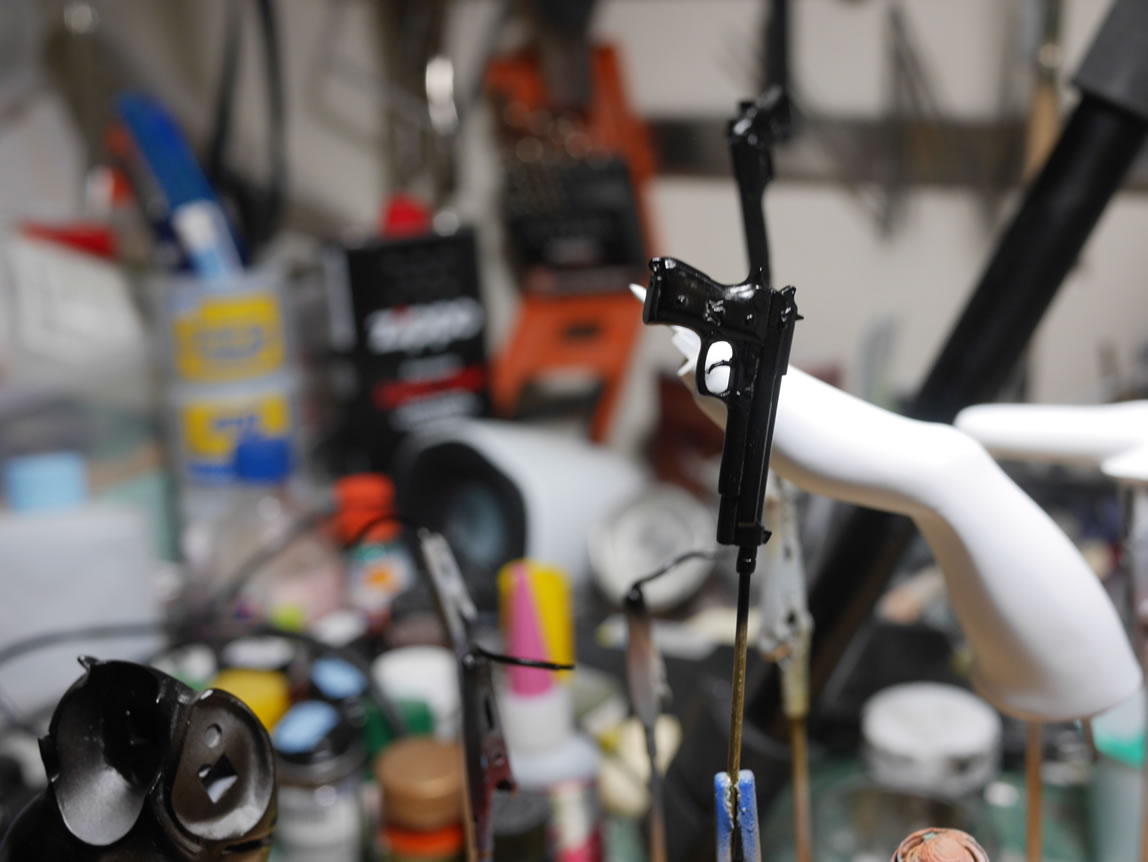
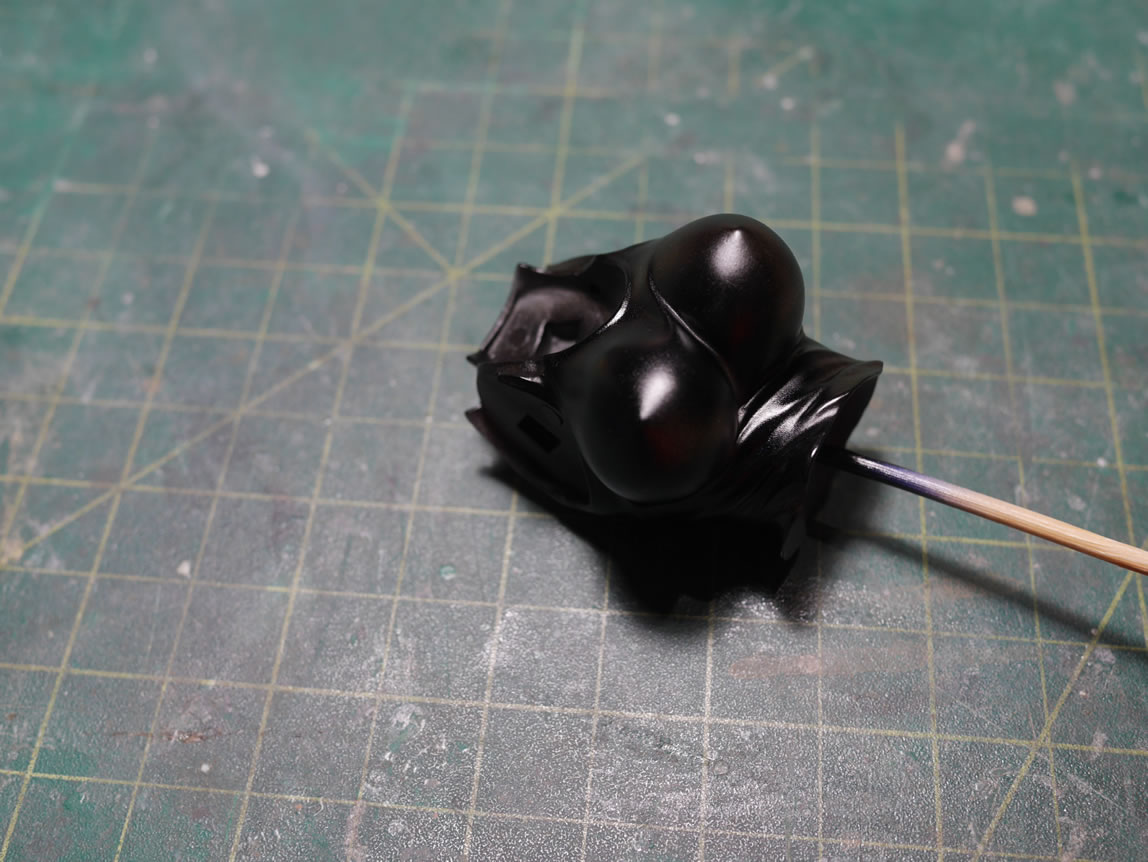
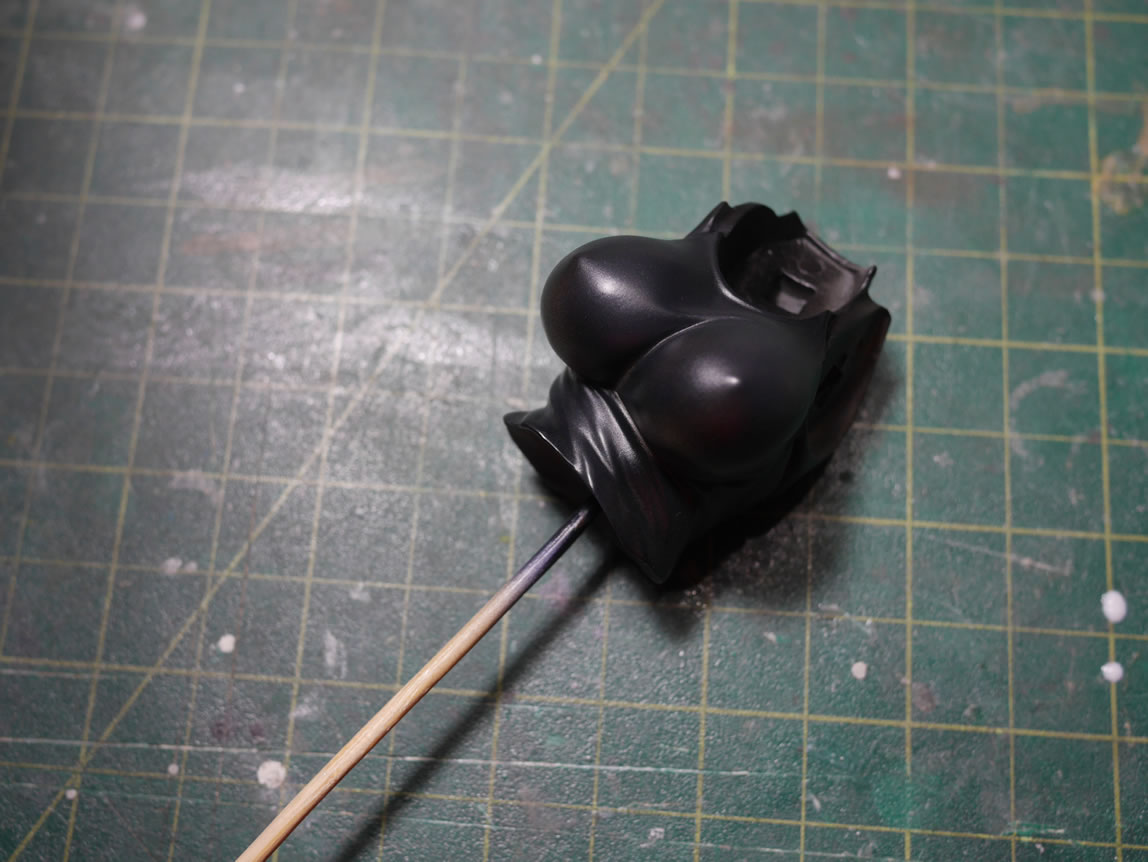
The guns were base coated in a gloss black that works best for spraying alclad high polish metallics.
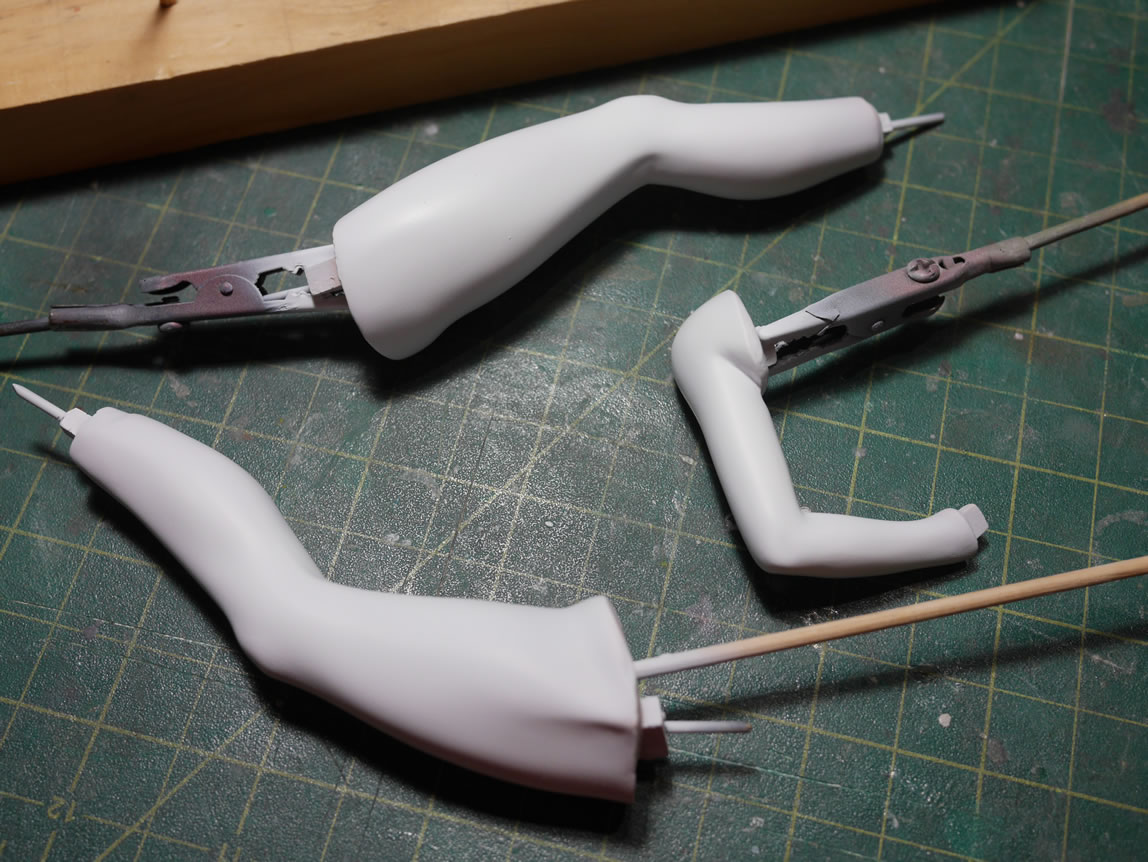
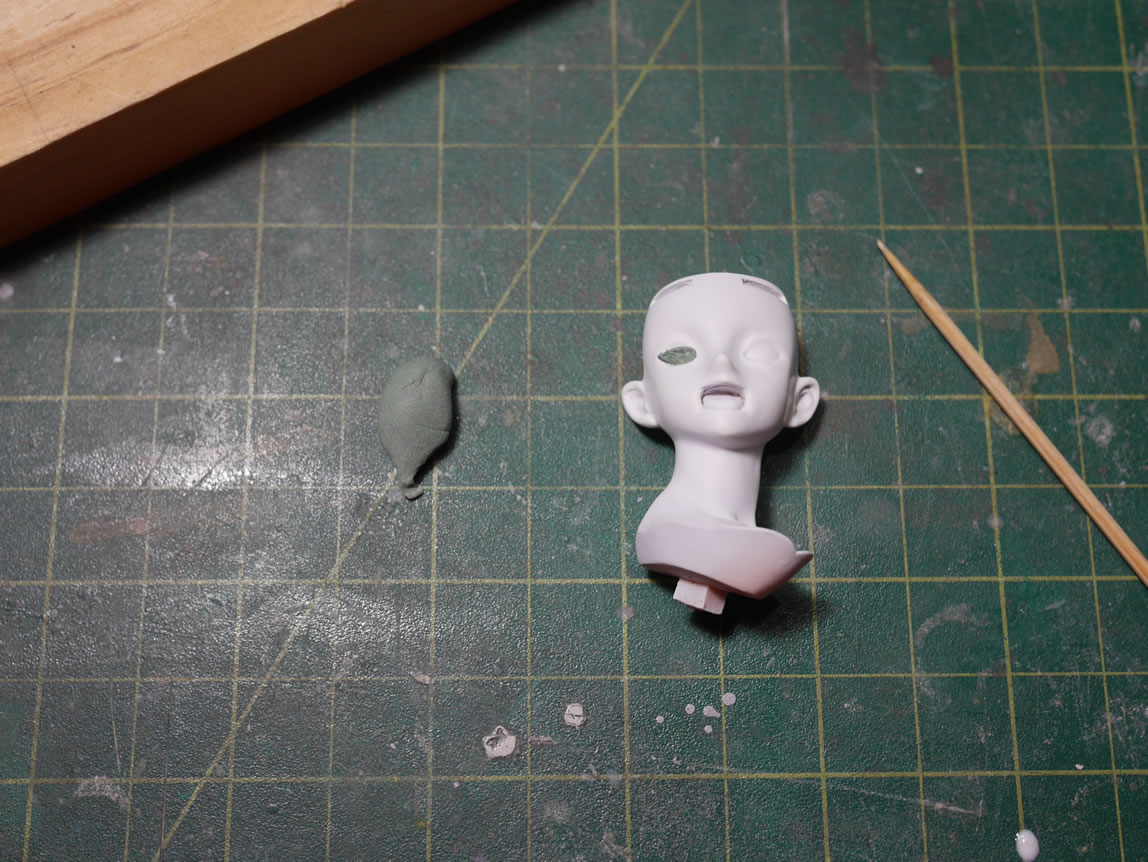
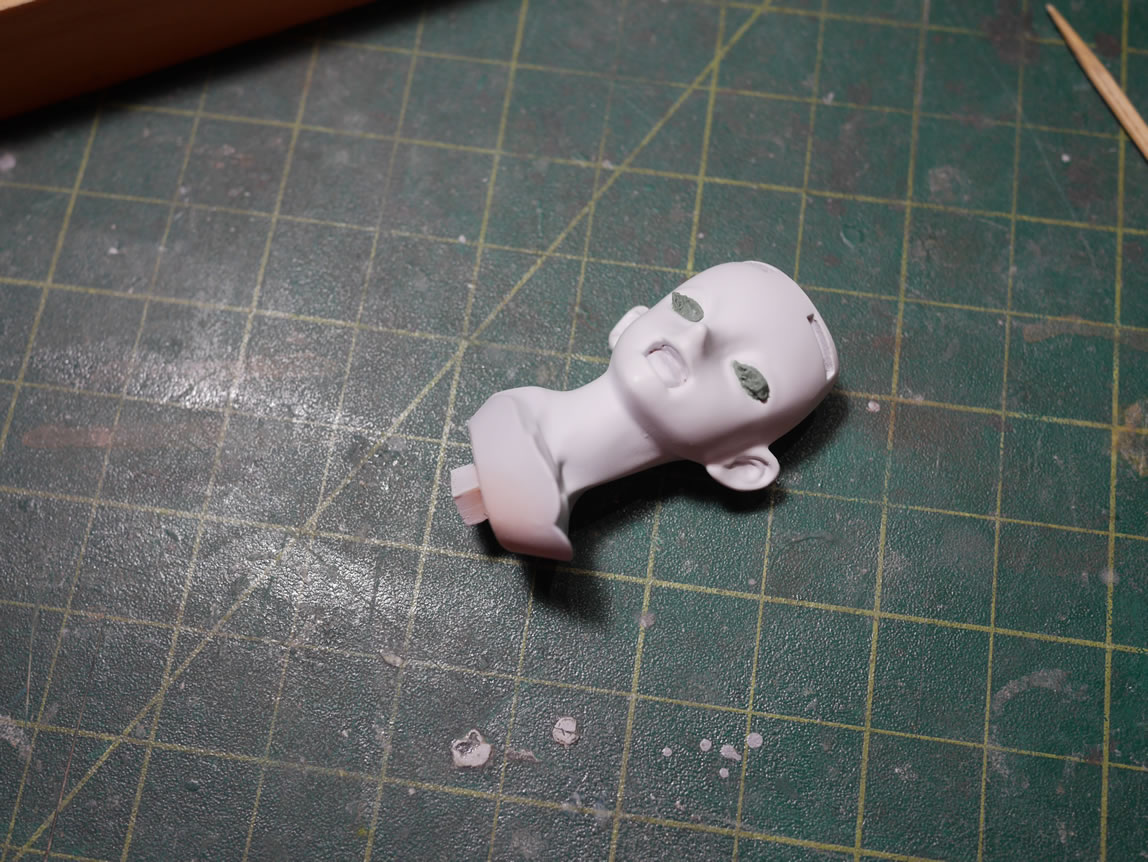
Since the primer I use is Mr Resin primer, it’s grey in color. For skin, this is not the best base color to start with as in previous experience, the thin layer of skin tones over the grey inherit this color and the figure ends up looking like they’re dead. Not the effect I’m looking for; so a layer of white base is sprayed over the skin parts. Once that is cured, the eyes are masked off with sticky tack.
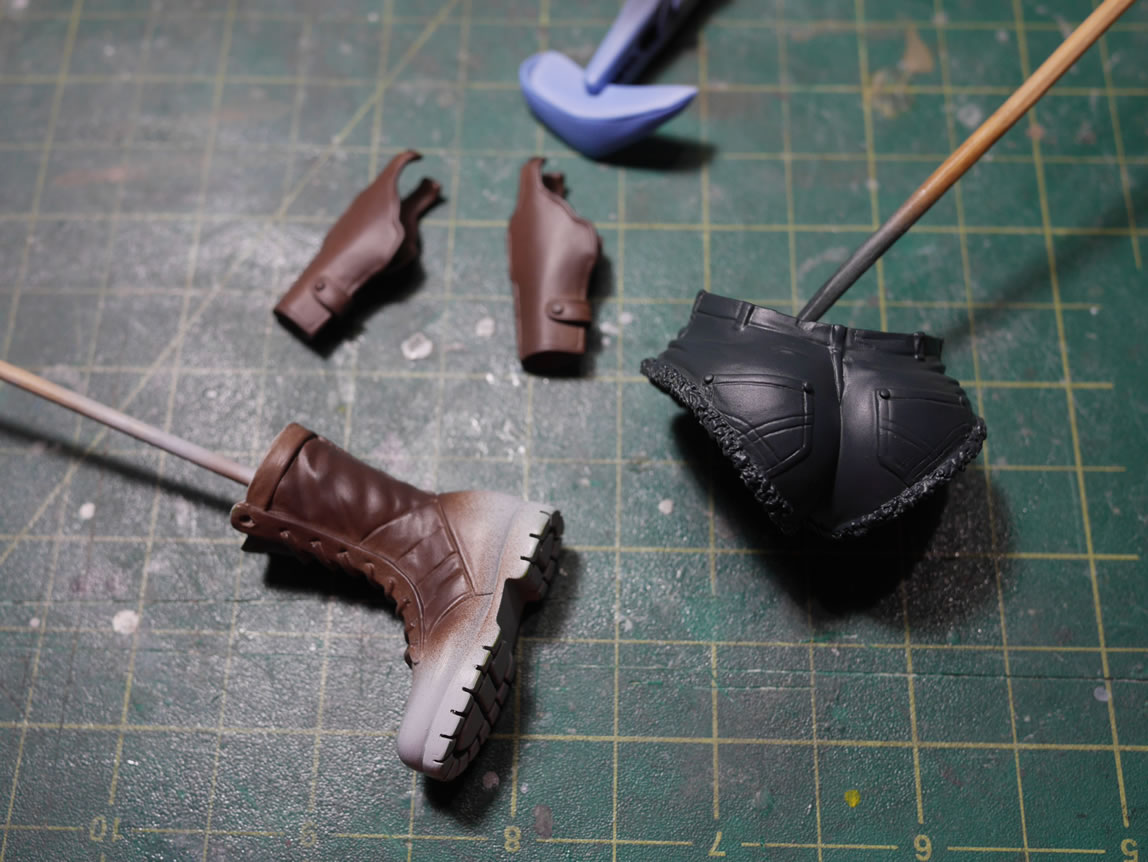
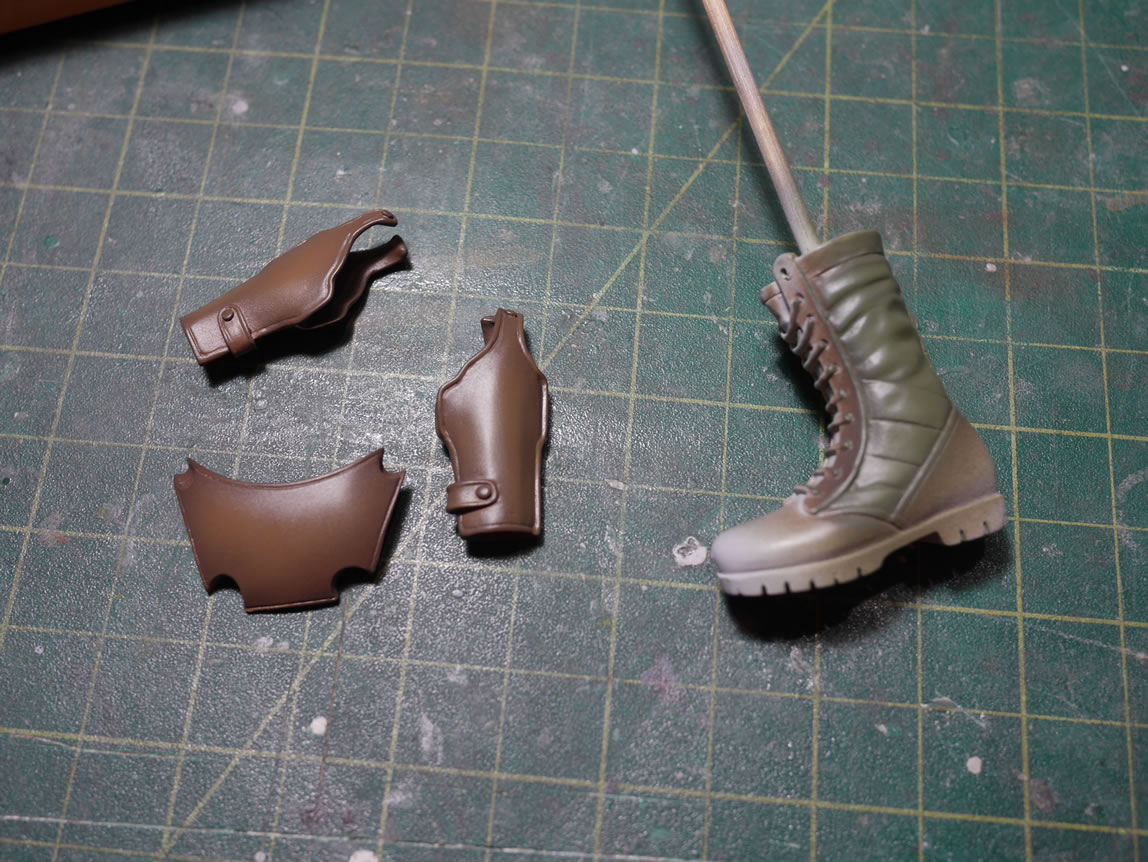
The rest of the base colors are sprayed. A mahogany for the dark leather pieces as well as the belt and boots. A dark navy blue is used for the jeans short shorts; and some left over Z’gok blue as the base color for her panties.
The base skin tone is sprayed. The first picture shows the base skin tone, and looks like the parts have seen a little too much sun. The next picture is the highlighting, so now she looks like she has vitiligo. The final picture is a medium skin tone that is lightly misted over the entire parts blending the light and dark areas together.
Revy wears a black shirt, but I don’t like using a pure black for clothing or large painted areas in general because there’s not much to do with it. Other than a high gloss black, I rarely ever use pure black for a large area. So, I used a dark grey to do some highlights. The guns were painted with alclad polished aluminum. The side areas of the boots were shaded with an olive green. The leather holster rig was painted with a dark sand yellow using the mahogany as the darker shading tone.
Again, the parts separation is very nice, but there is still a little bit of masking involved. I should have another significant update by the end of the week.