Update from the weekend and the past few days. First will be work on the main sniper rifle. I still need to get down and finish up the work on the other weapons. There quite a bit of down time while working on the kit as each layer needs a protective clear coat to sandwich each successive step. The process is fairly tedious, but in the long run, saves rework when mistakes are made or issues of incompatible products cause problems. The process is the following:
Paint cured
– clear gloss is sprayed
– decals
– clear gloss
– panel lines
– clear gloss
– paint chipping
– clear gloss
– filter/fade
– clear flat
– pastel weathering
– final clear flat
Allowing each clear coat to cure over night, the quickest I could complete the kit at this point would be about a week. Down time between curing sessions will allow me to work on the gun and hopefully finish everything some time next week.
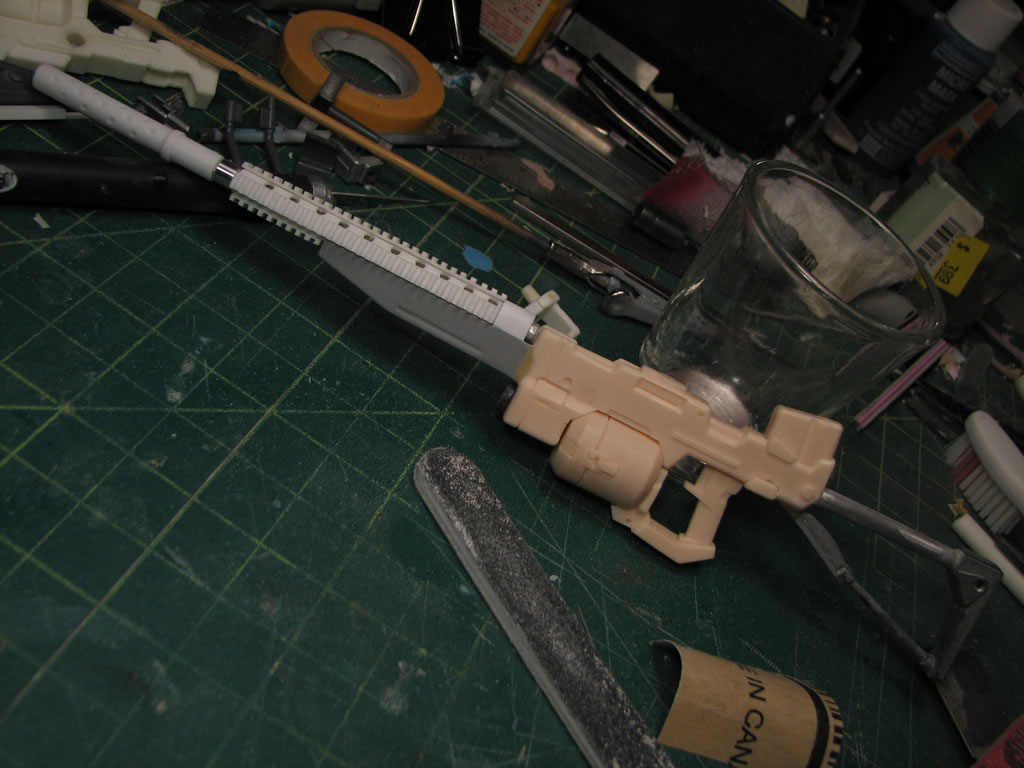
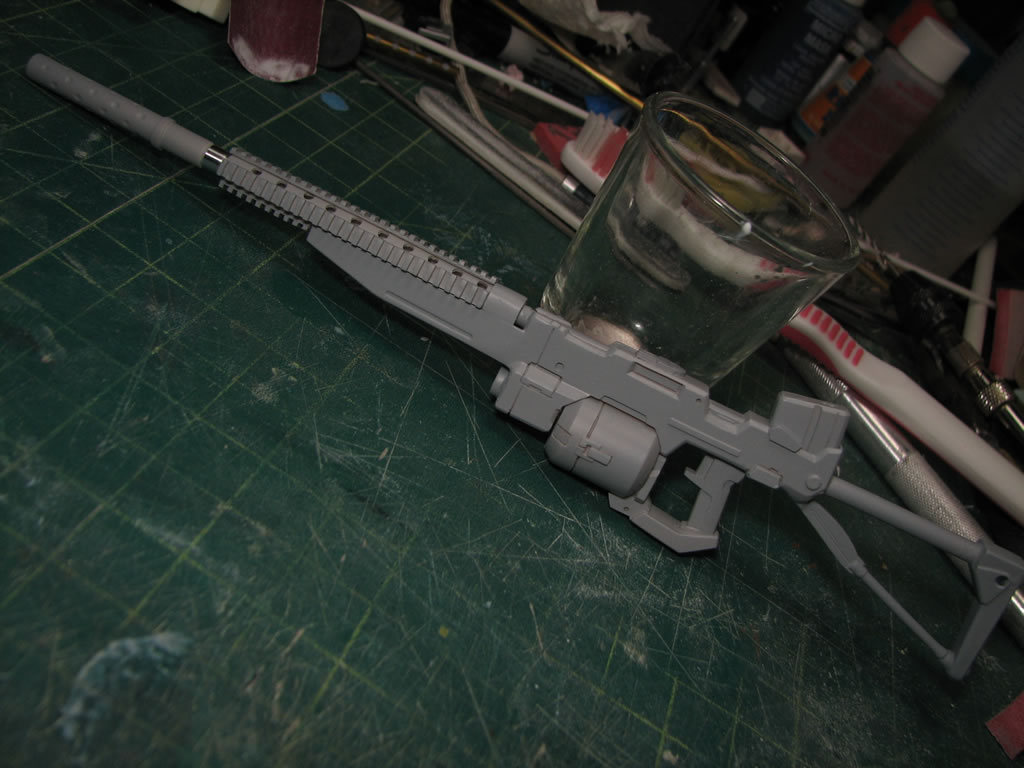
The silencer build: Little dents in a lattice pattern are added to the tip of the silencer. This was done with masking tape guide much like how the holes were drilled, then the dents were done with a drill bit carefully carving the dents into the plastic. A piece of styrene tubing was cut and placed over the silencer as a detail piece then sanded down to match profile and scale. The tip of the silencer used varying sizes of brass and aluminum tubes to center the inner barrel. Light curing putty is pasted over this and then sanded down.
After priming the weapon show look a little more solid in terms of cohesion of parts. There are some rough spots that will need attention, but for all intents and purposes, the rifle is coming along together fairly nicely. It now looks like a rifle as opposed to some franken weapon pieced together from spare parts.
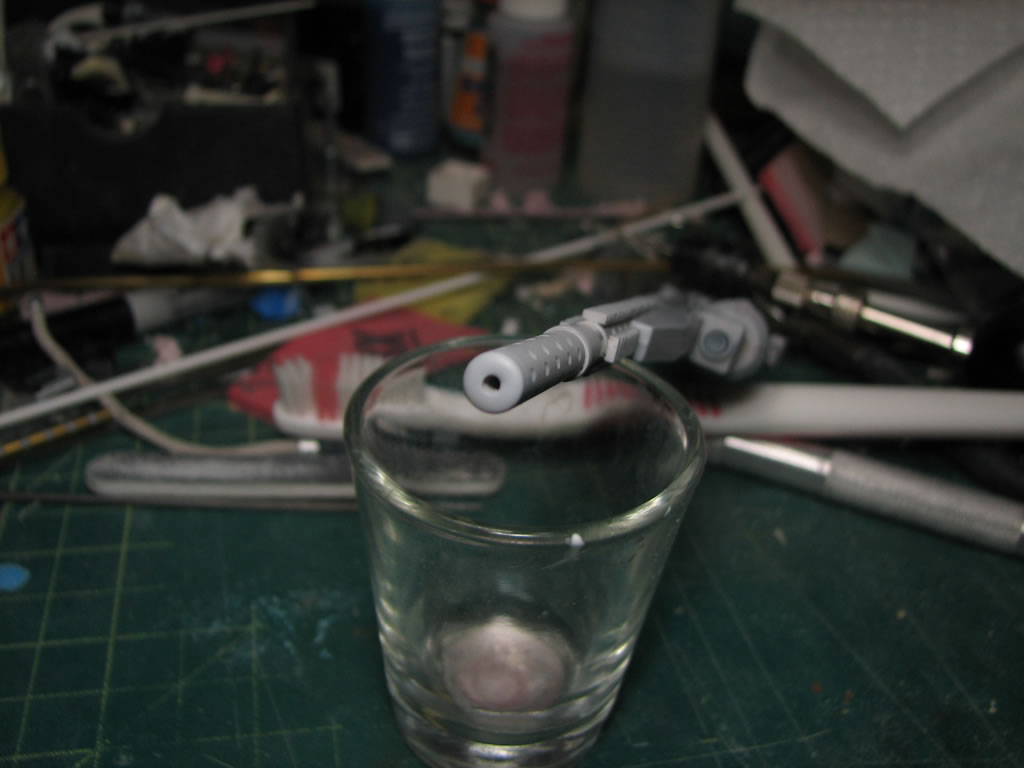
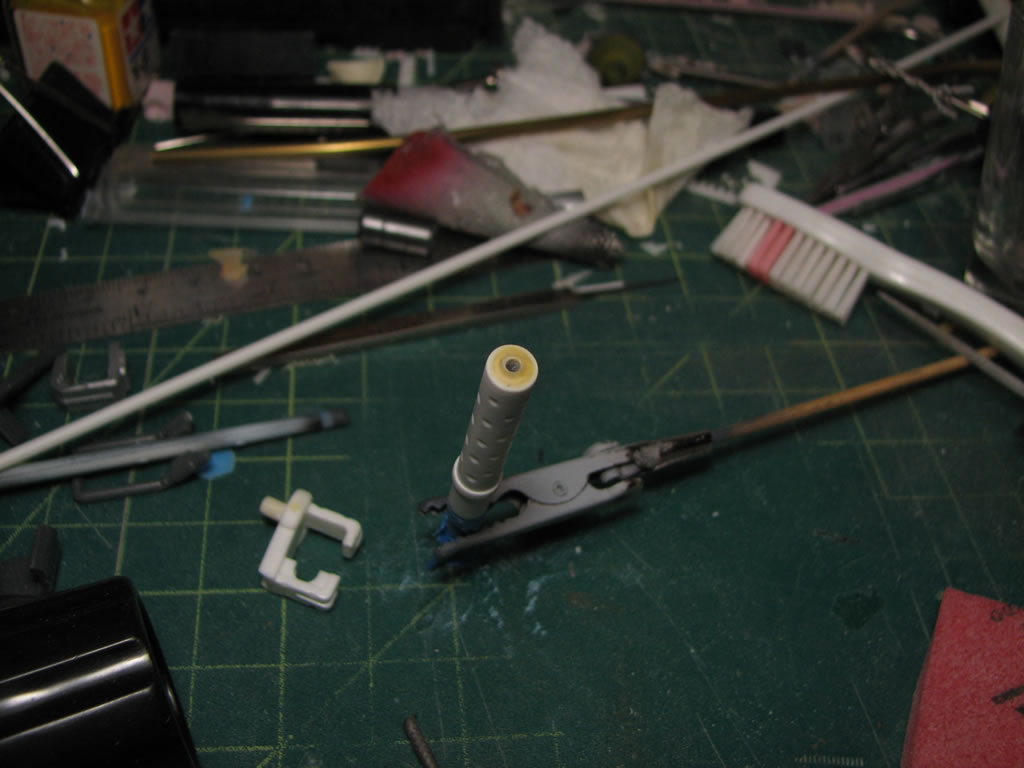
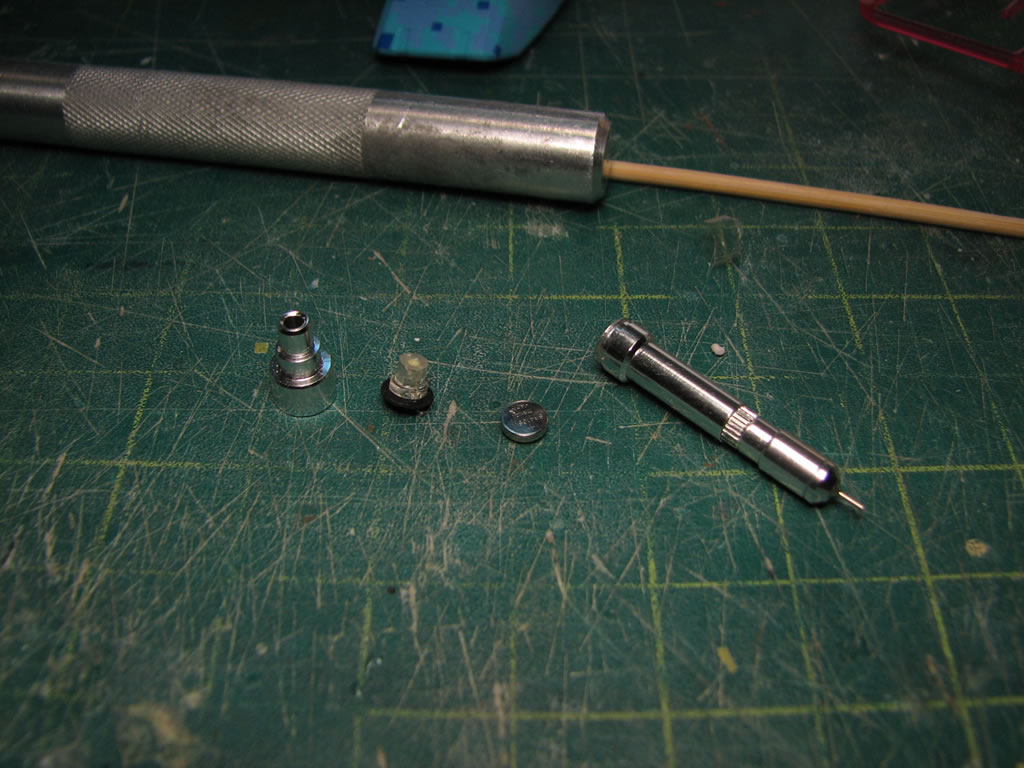
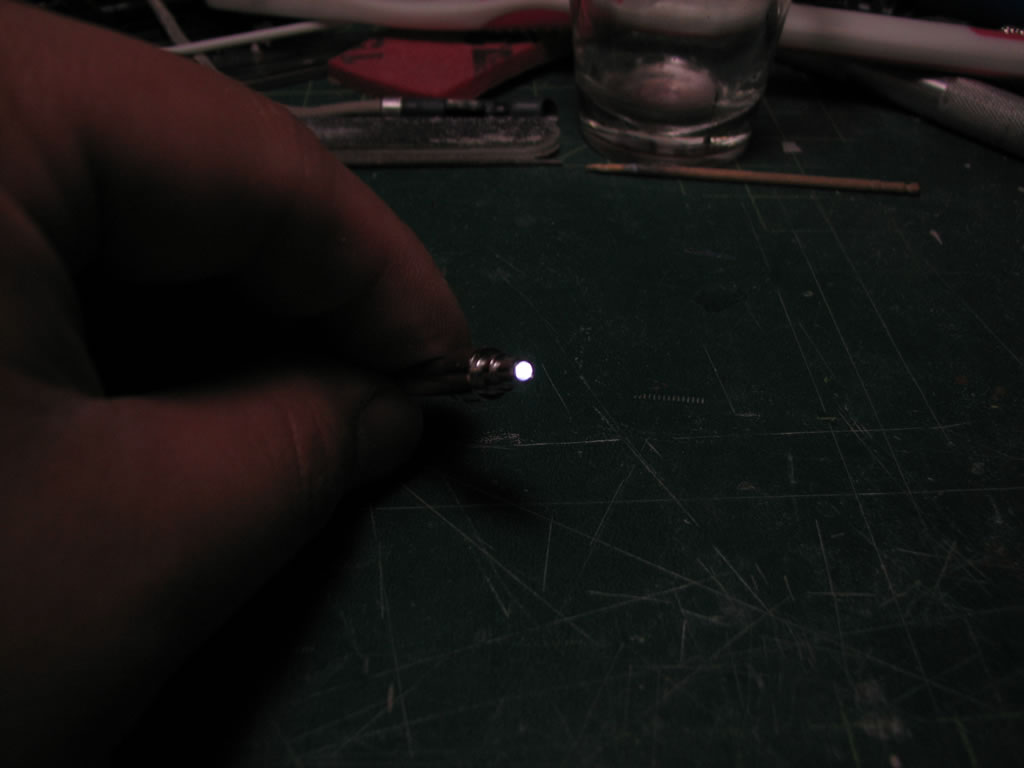
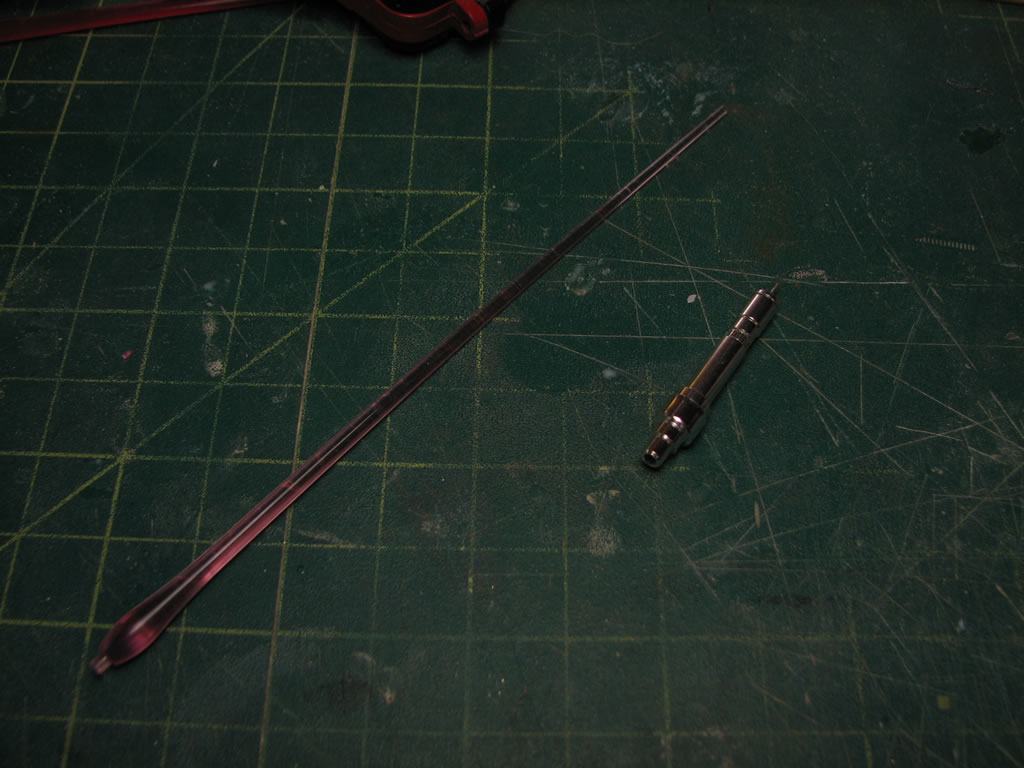
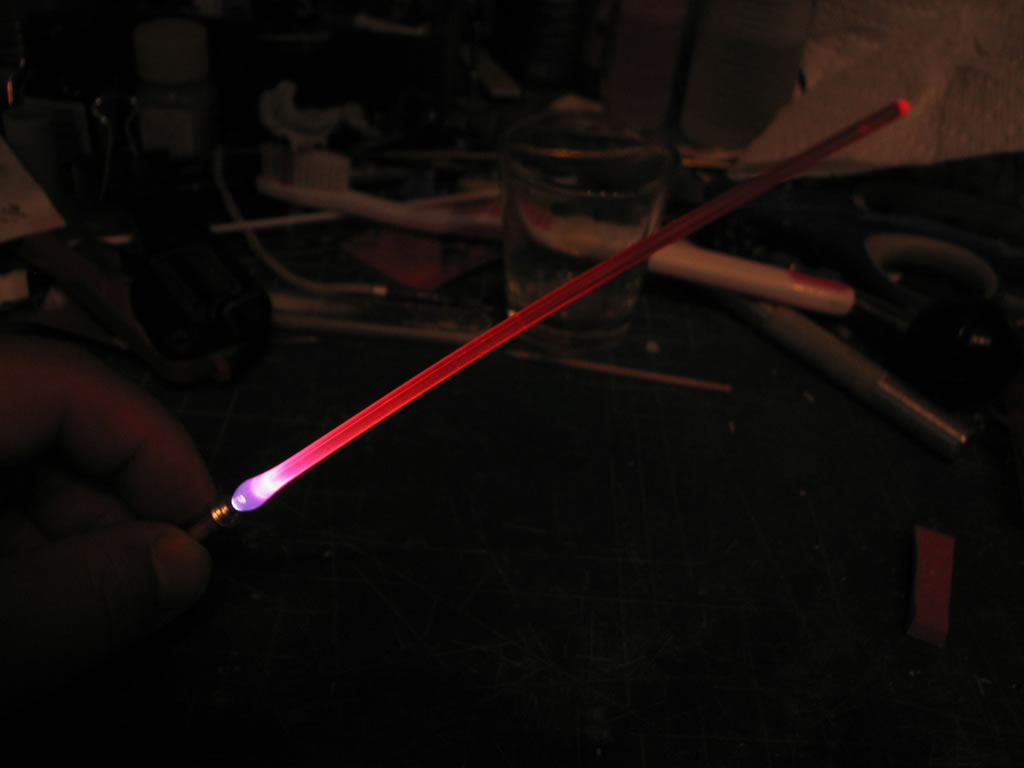
Light up beam saber. Parts are fairly simple, holder for two batteries, a small led, and the end cap. A quick twist and the led contacts touch the battery lighting up the led. Placing a beam saber part into the hilt we get a light saber.
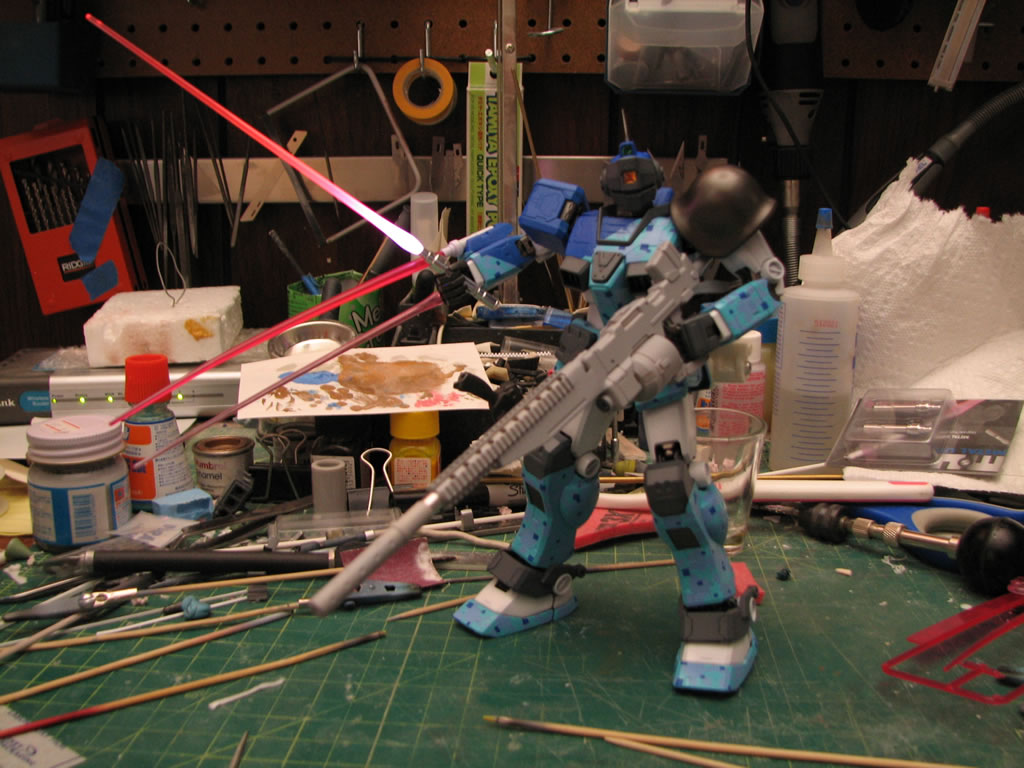
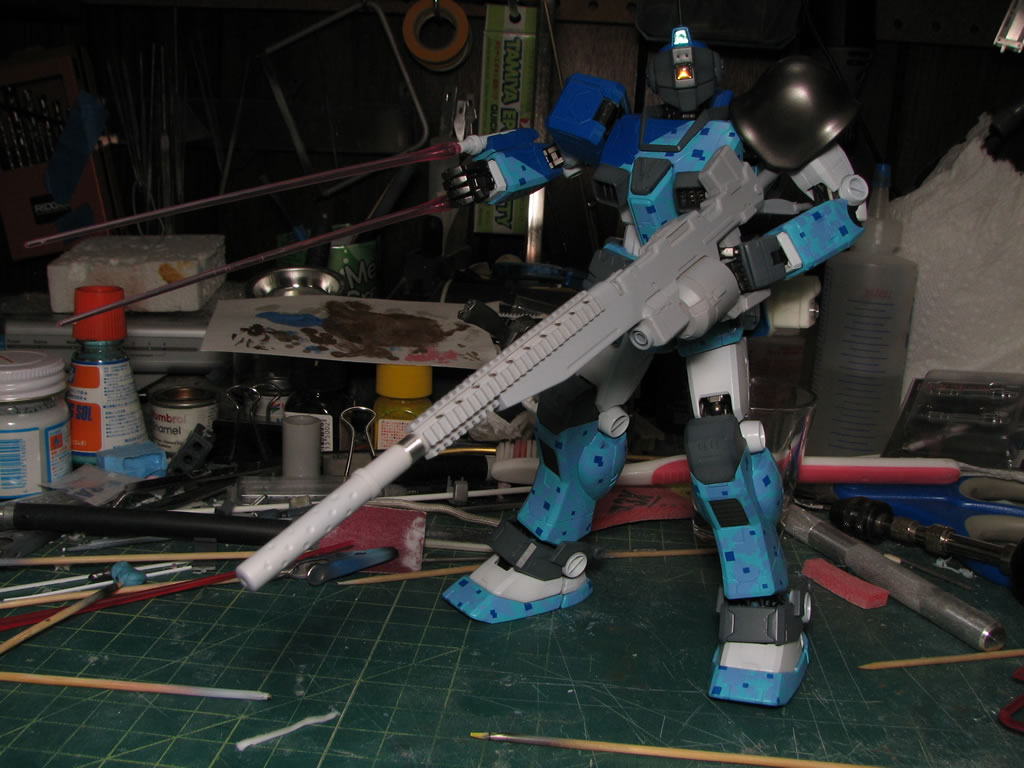
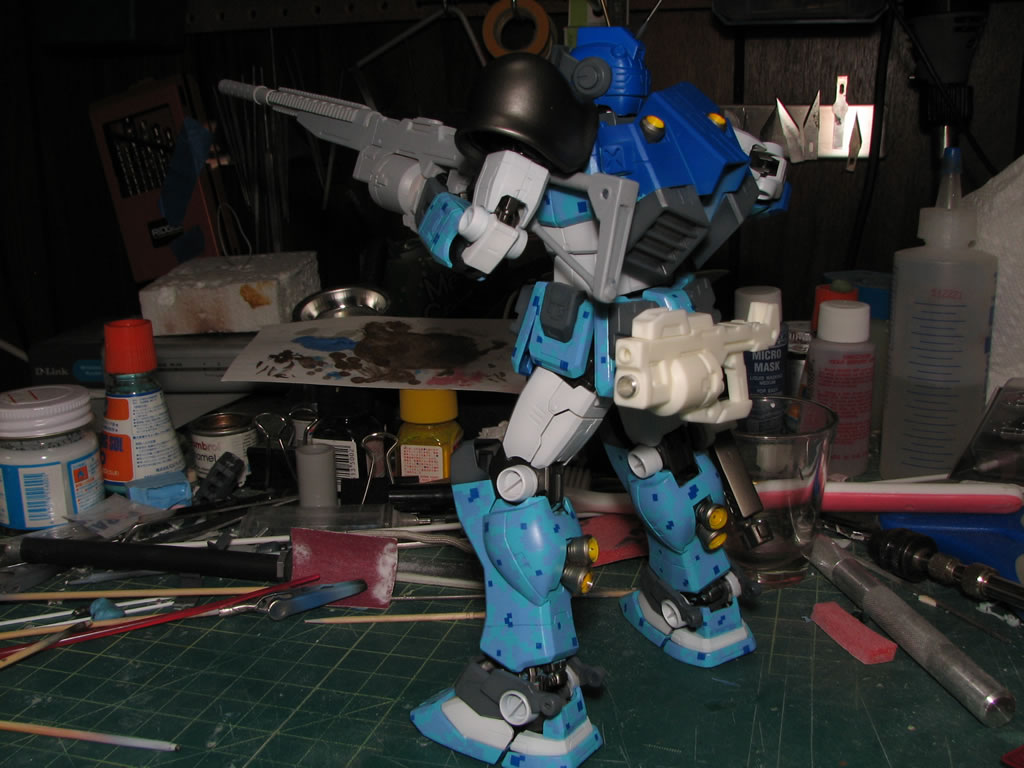
Quick mock up of the sucker with full weapons load.
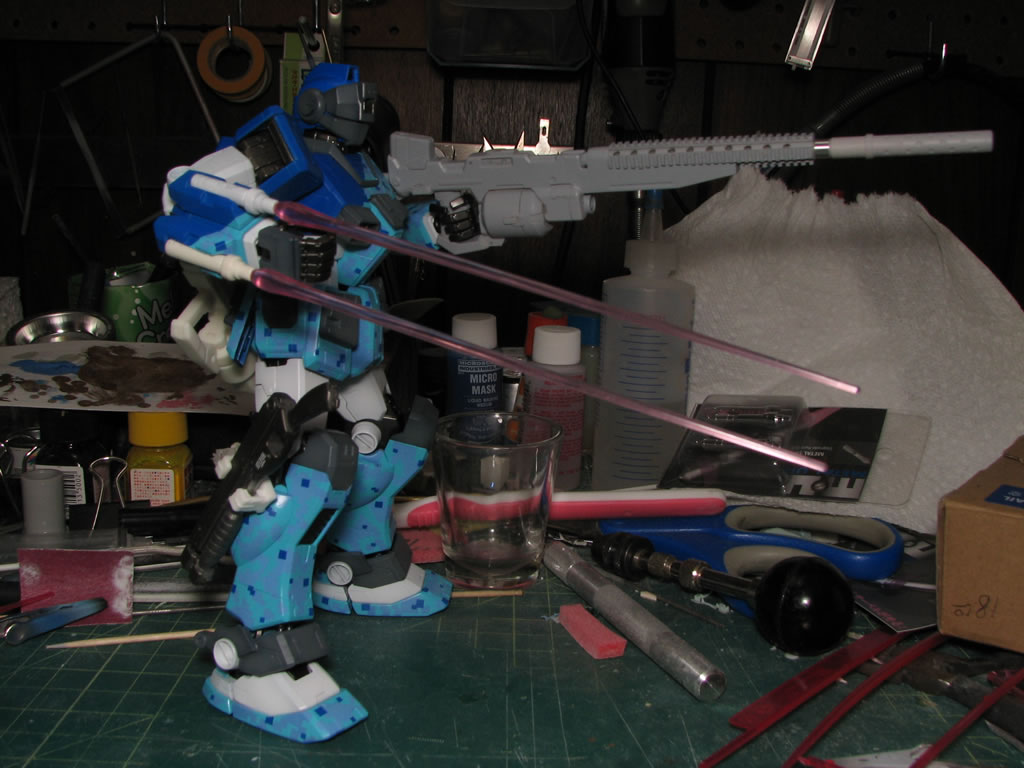
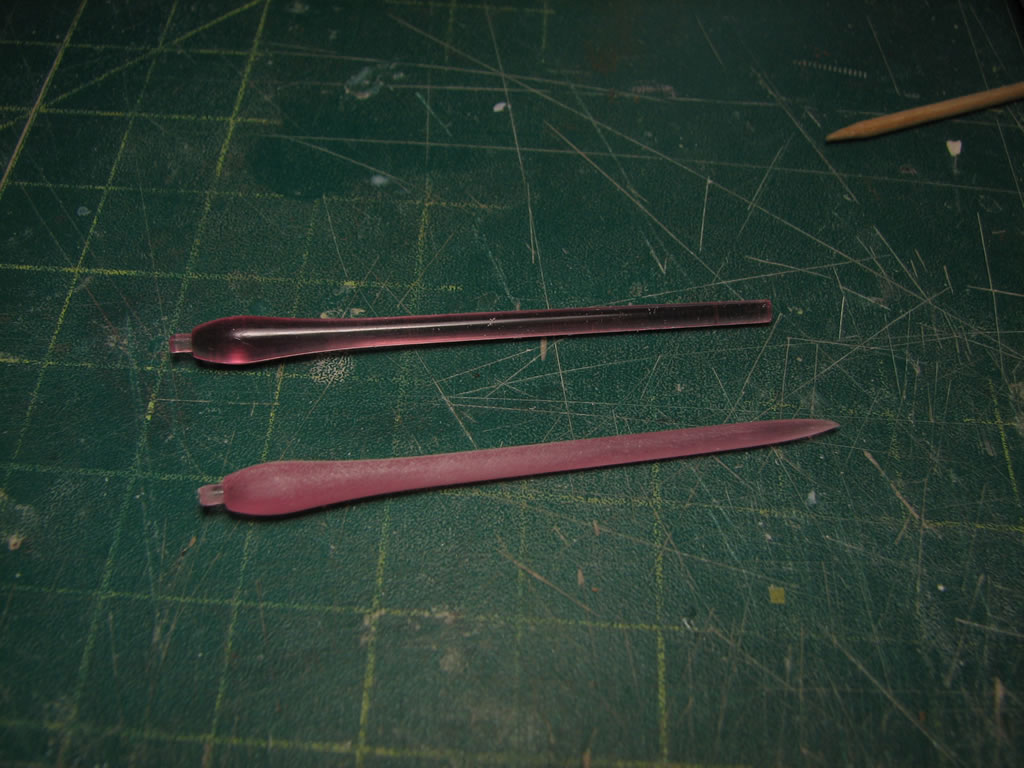
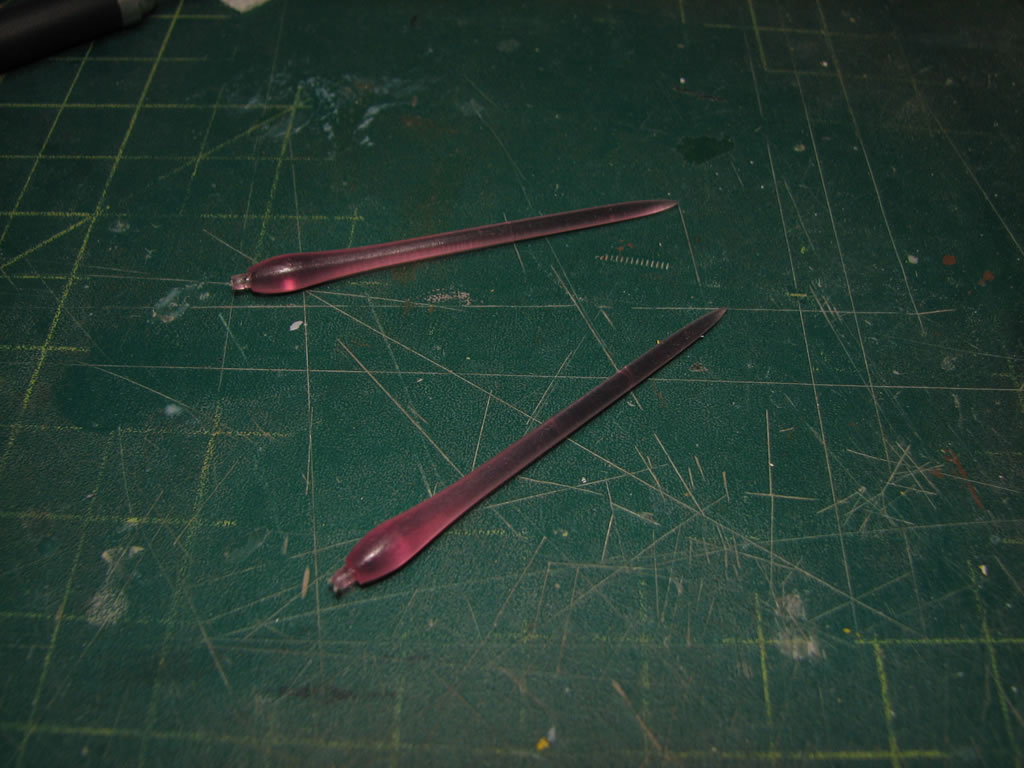
I felt that the sabers coming out of the forearms were a tad bit on the long side, so the solution is to cut and sand down the sabers to reshape them. Sanding clear pieces gives a very cloudy finish, even when polished with a very high grit sanding pad. So to fix the clarity issue, the finely sanded sabers are clear coated and the clear coat fills in all the small scratches and the part becomes clear once again.
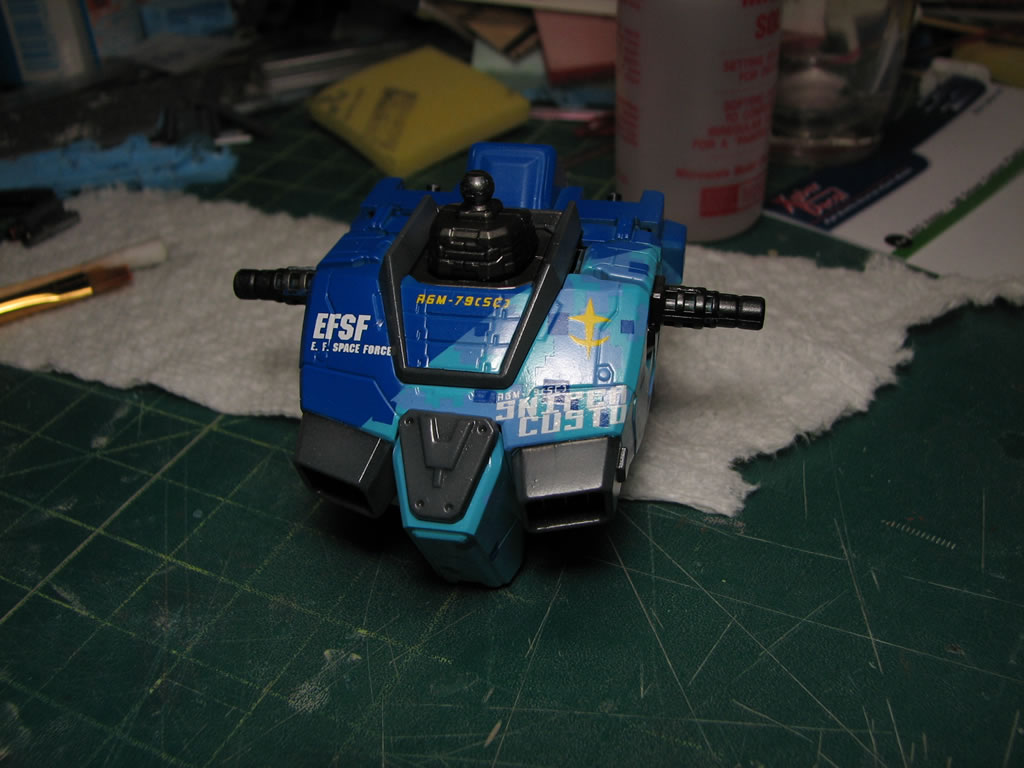
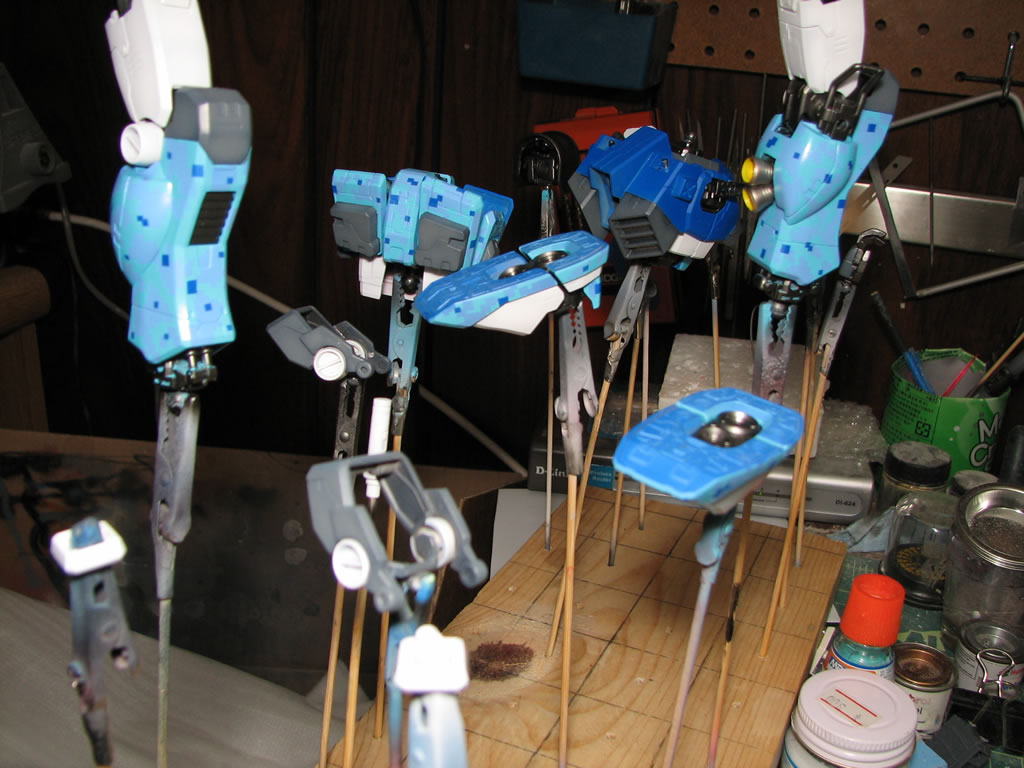
All the parts get a clear coat to prepare the surface for decals. Water slide decals stick best to a glossy surface. This also minimizes on the potential silvering where the edges of the decal lift or the decal itself lifts up. The clear coat also protects the paint from any decal softening or setting solutions used to help melt the decals onto the surface.
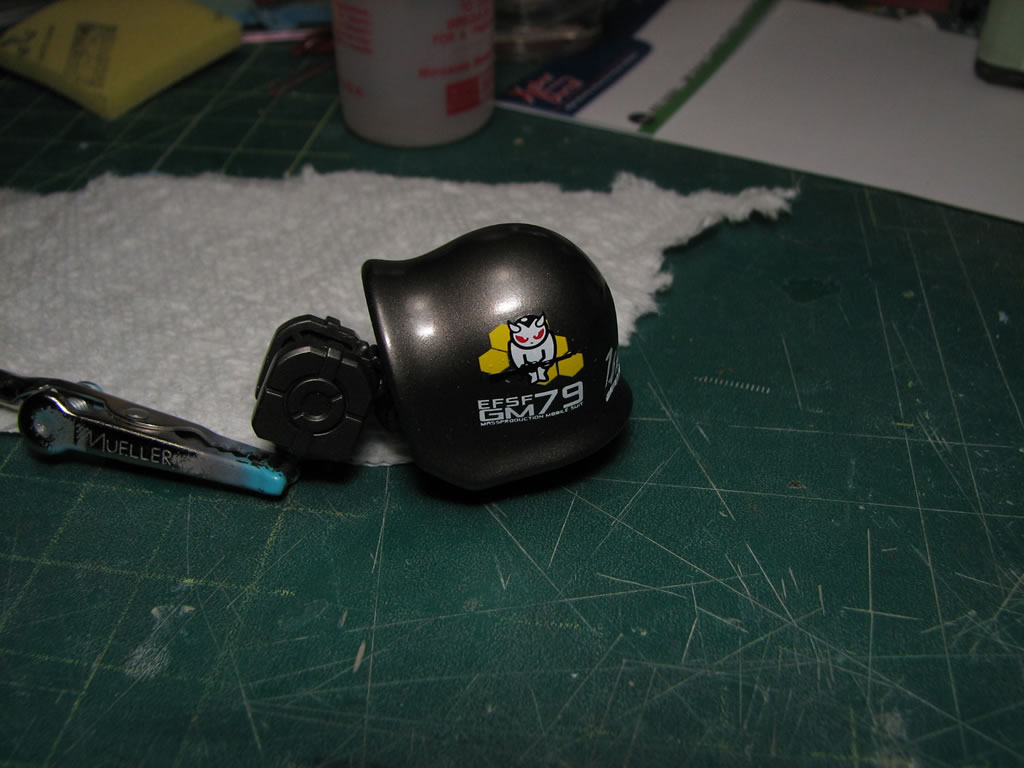
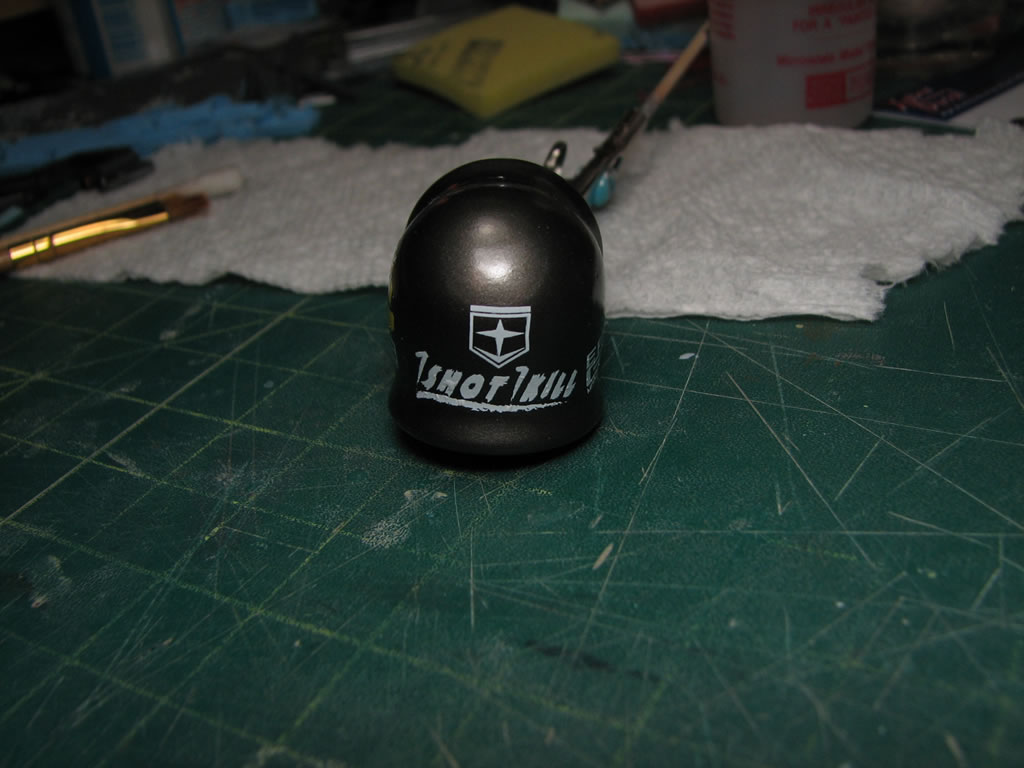
After curing for a full day, the decals were applied the previous day and micro sol decal setting solution was used to help soften and set the decals to the surface. After a full day of curing, the decals are weathered with a hobby knife and a 150 grit sanding pad lightly rubbed against the surface of the decal. The clear gloss that the decal layers sits on also help protect the paint layer from the decal weathering stage.
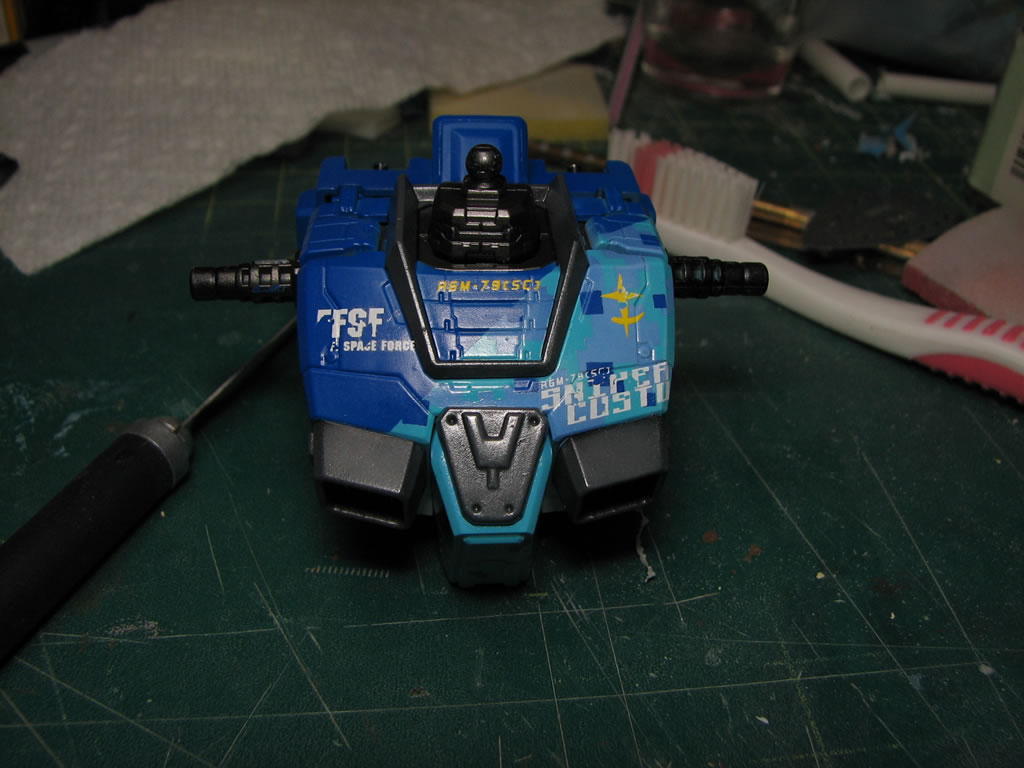
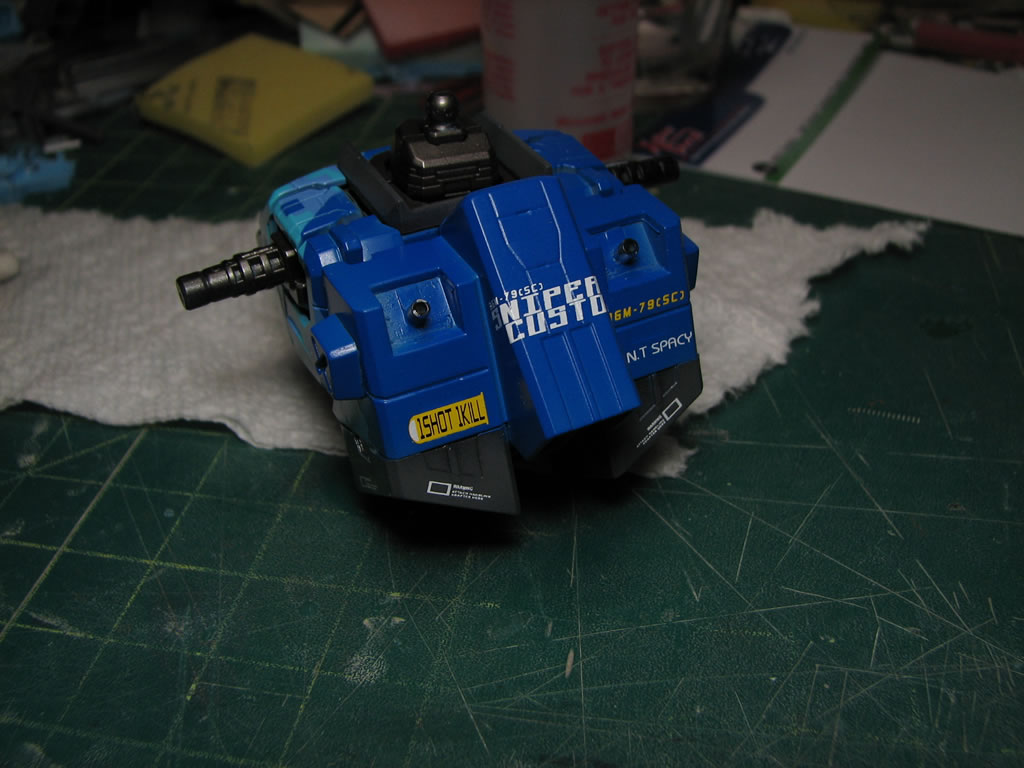
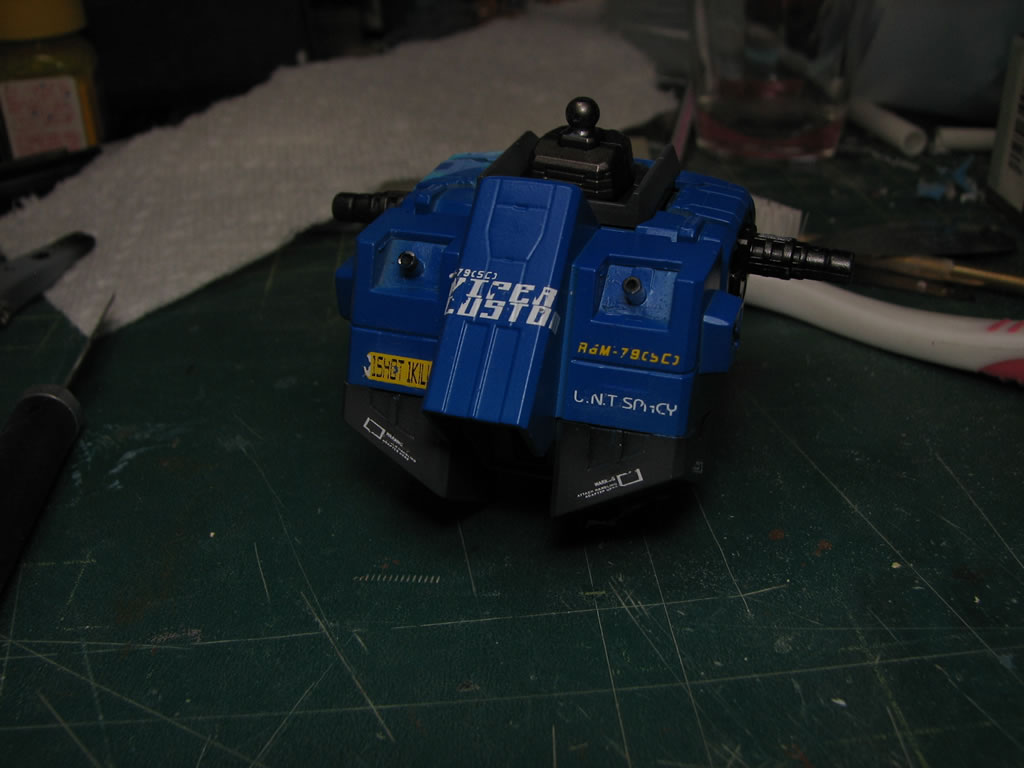
Once the decal weathering is completed, the decals are sealed in with another layer of clear gloss that effectively sandwiches the decals between two layers of gloss. The decals need to be protected from the next stage which will be the panel lines. The ink on the decals may be damaged by lighter fluid or enamel thinner from the wash process so a protective clear gloss layer will help preserve the decal.
Too much clear coating perhaps?
There’s never too much clear coating… thin layers of clear coat over each process protects each layer and it makes each process run smoothly and flawlessly… highly recommended… also highly recommended, waiting for the clear to fully cure.
Looks like it’s coming together nicely!! Wasn’t quite sure how the kit would turn out from reading previous posts but now I get it!!
These days I find it harder and harder to motivate myself to do anthing beyond an out-of-box build on gunpla but it’s inspiring to see massive jobs like this one!
Awesome paint job. Can’t say the scheme is my favorite, cause I lean towards the realistic military style, but I can for sure appreciate the amount of work you put into it. The rifle is great!