Ok, so I actually finished this at the end of last year. My group of friends have been doing a Secret Santa gift exchange every year for a while now because we’re cheap. It is much better to spend one chunk of money on one gift to one person than try to think up crappy gifts for everyone. So, this year, I got drew one of my oldest friends – I mean, we’ve been friends since Jr High, I think we were around 13 years old or something. Lets not do any math, it’s a while. So to go even cheaper than our normal budget, I grabbed a kit out of my backlog that I originally got for her a few years back but just never gave as an unbuilt kit – and decided to build it for her. Can’t get any cheaper than this.
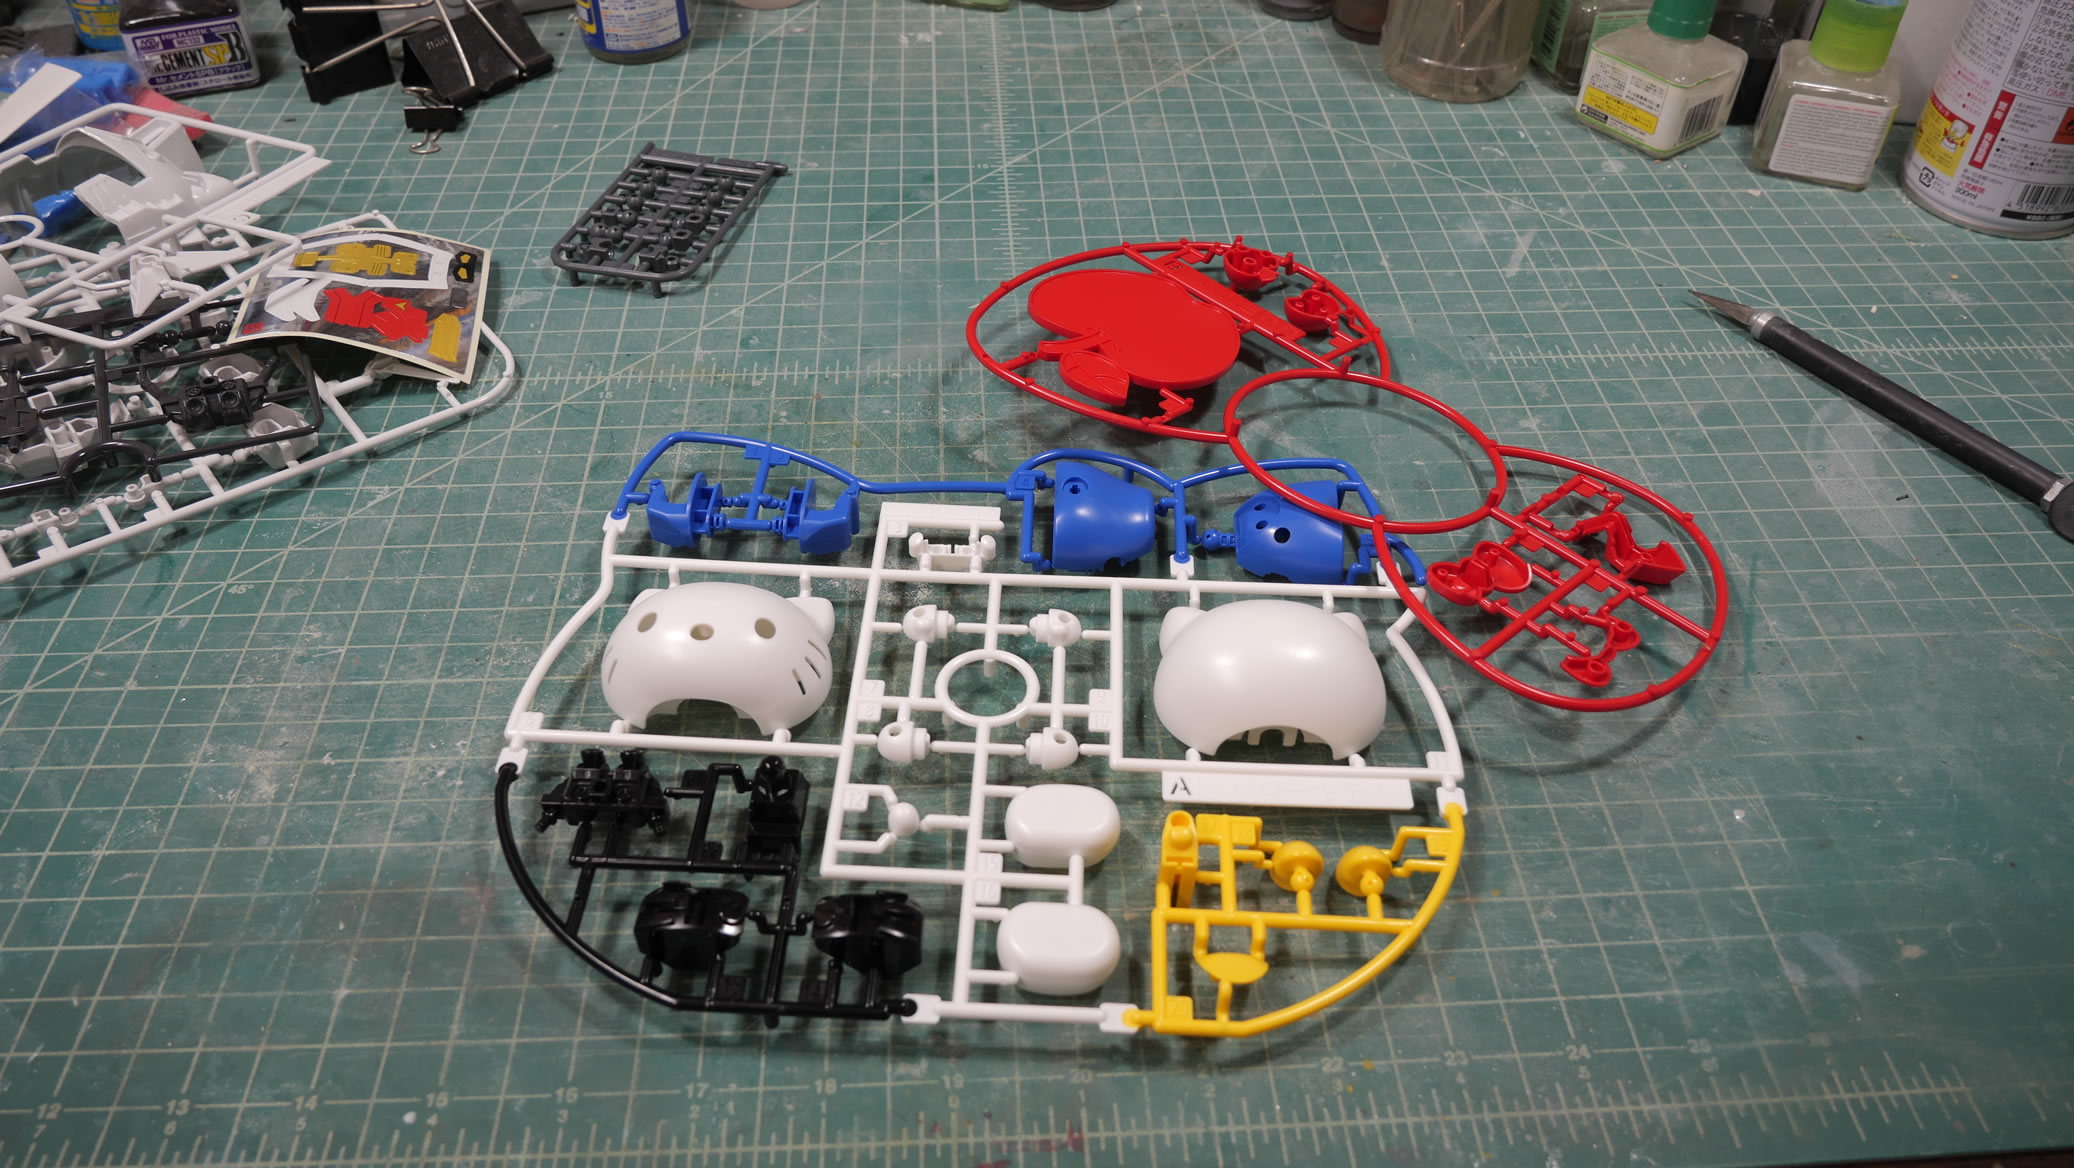
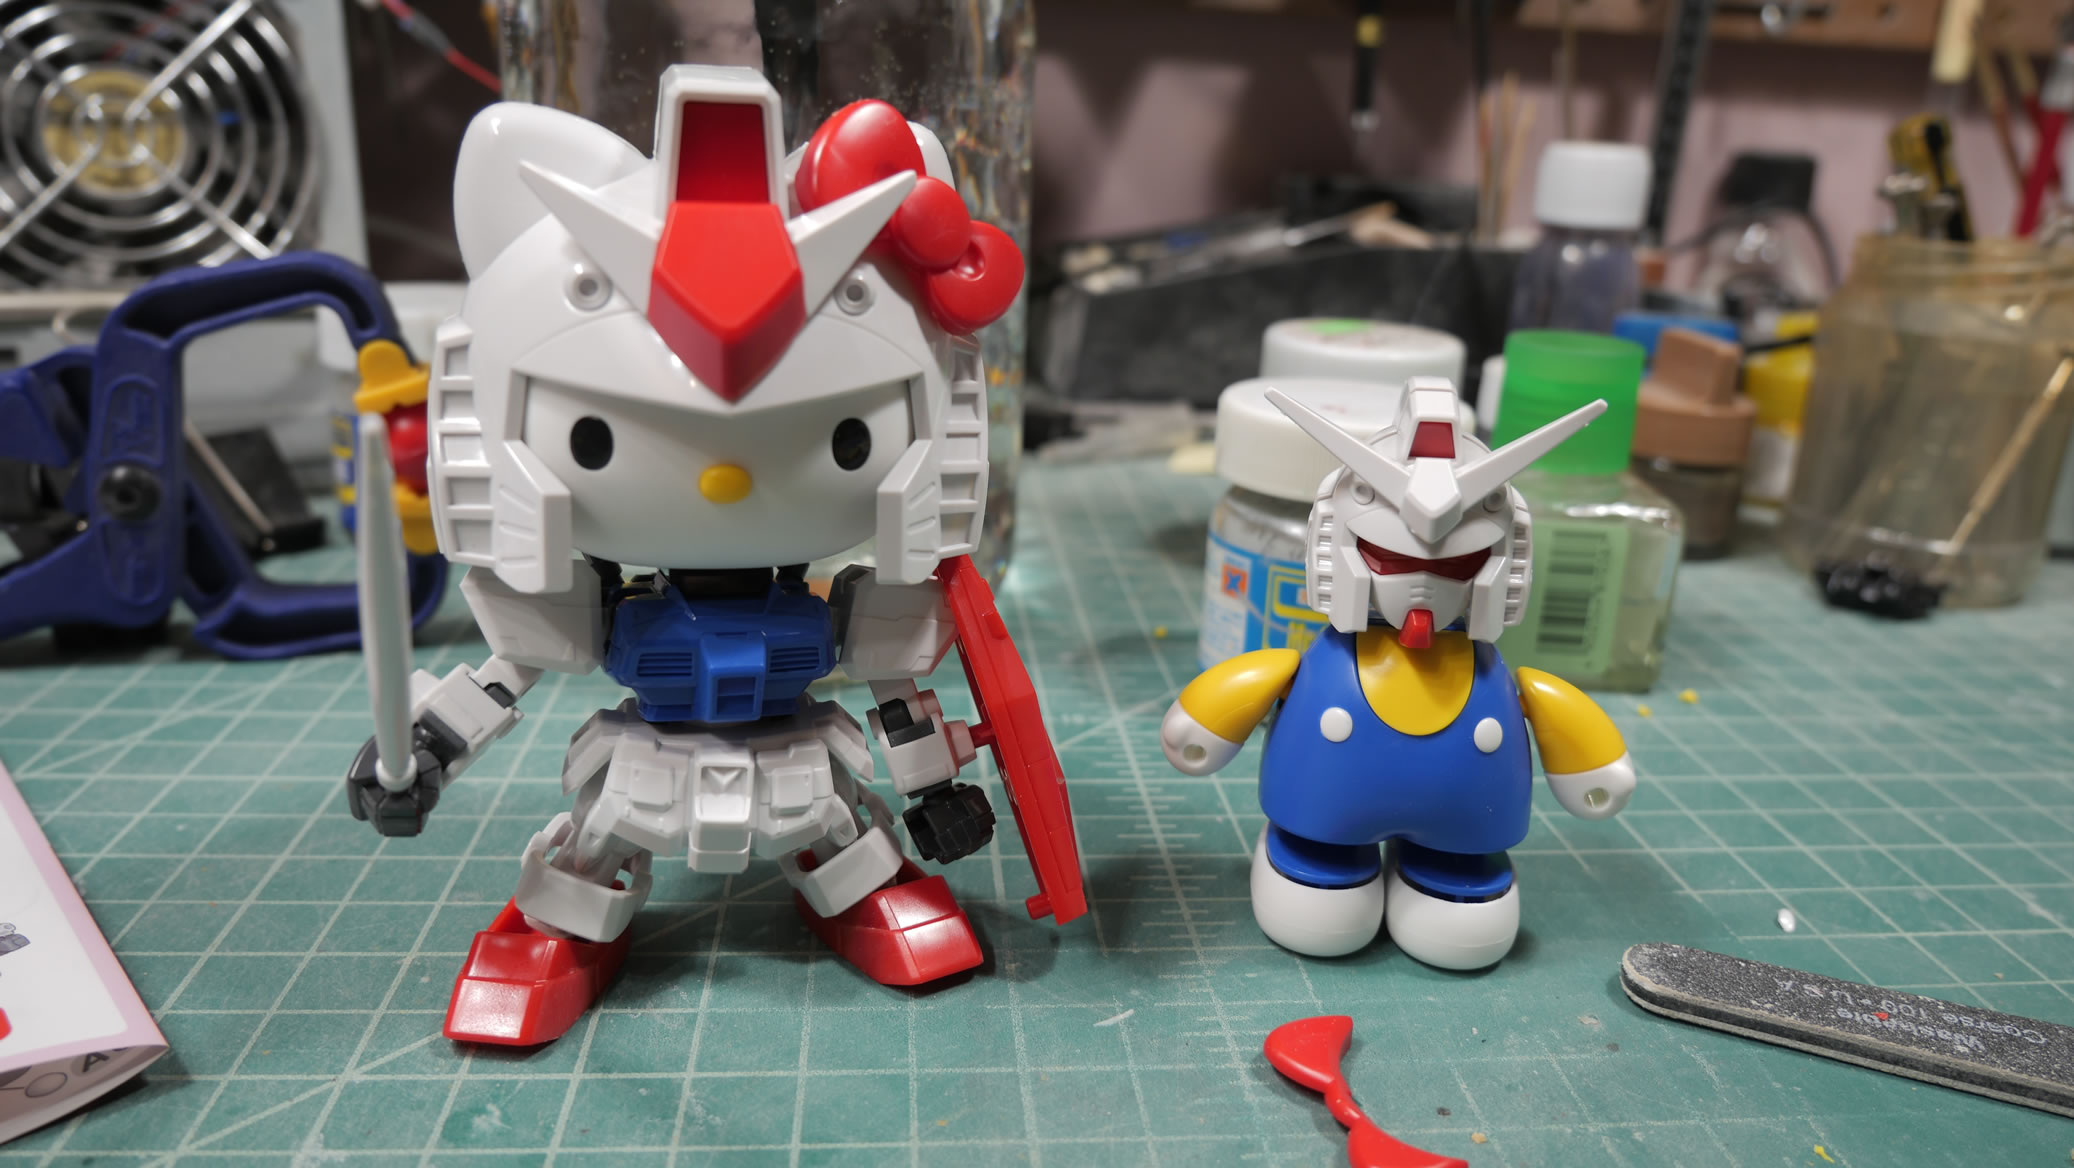
So being the Hello Kittyfile; this is a decent gift idea. Cracking open the box, the damn thing even comes in a Hello Kitty head frame. Wow, isn’t that cute. And now to frame it up some so that it’s not just a kit sitting on a desk that would easily get lost/crushed/discarded. My friend isn’t the most nimble or graceful person in the world. So this needs to be some what sturdy and indestructible.
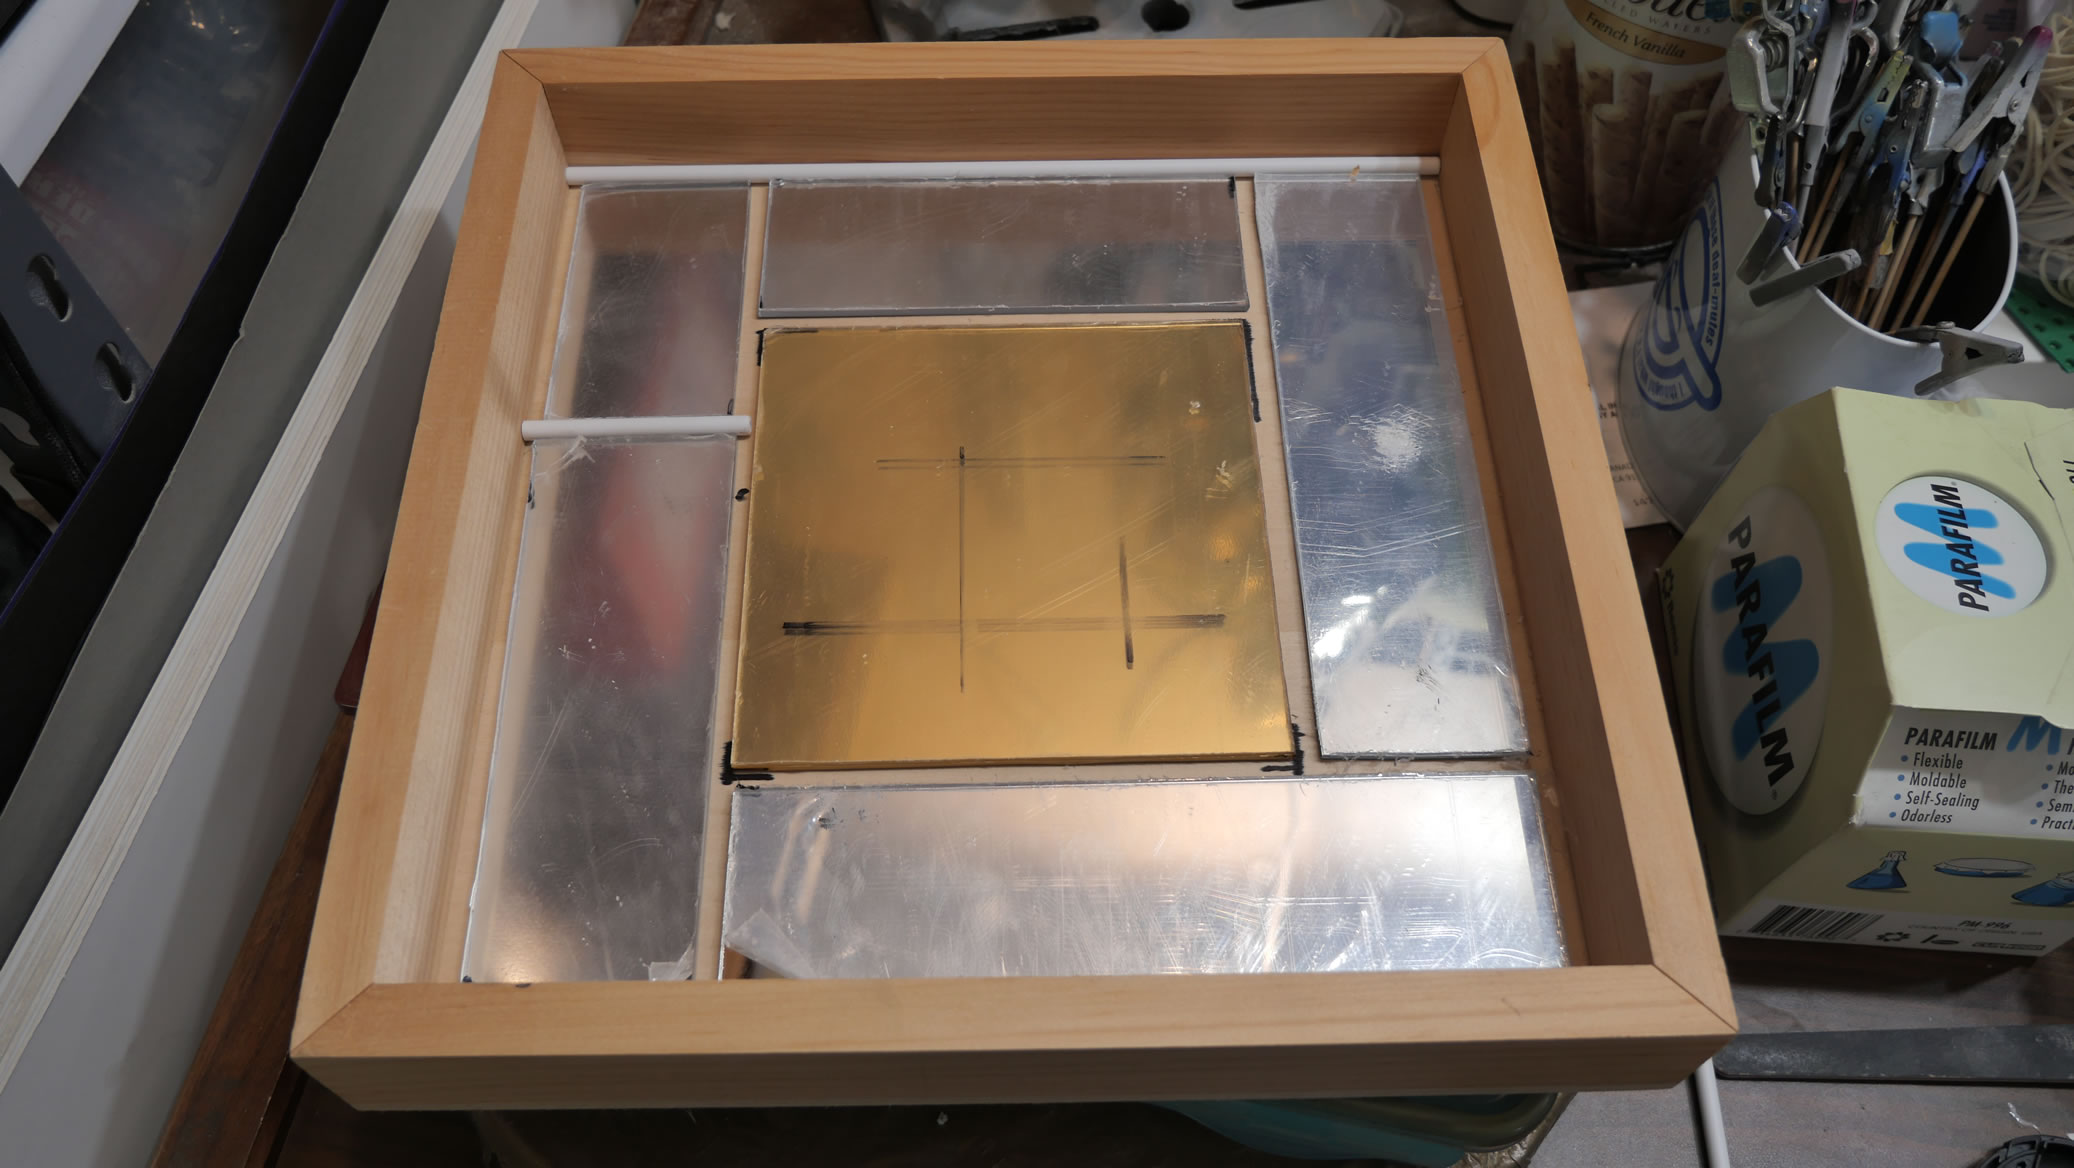
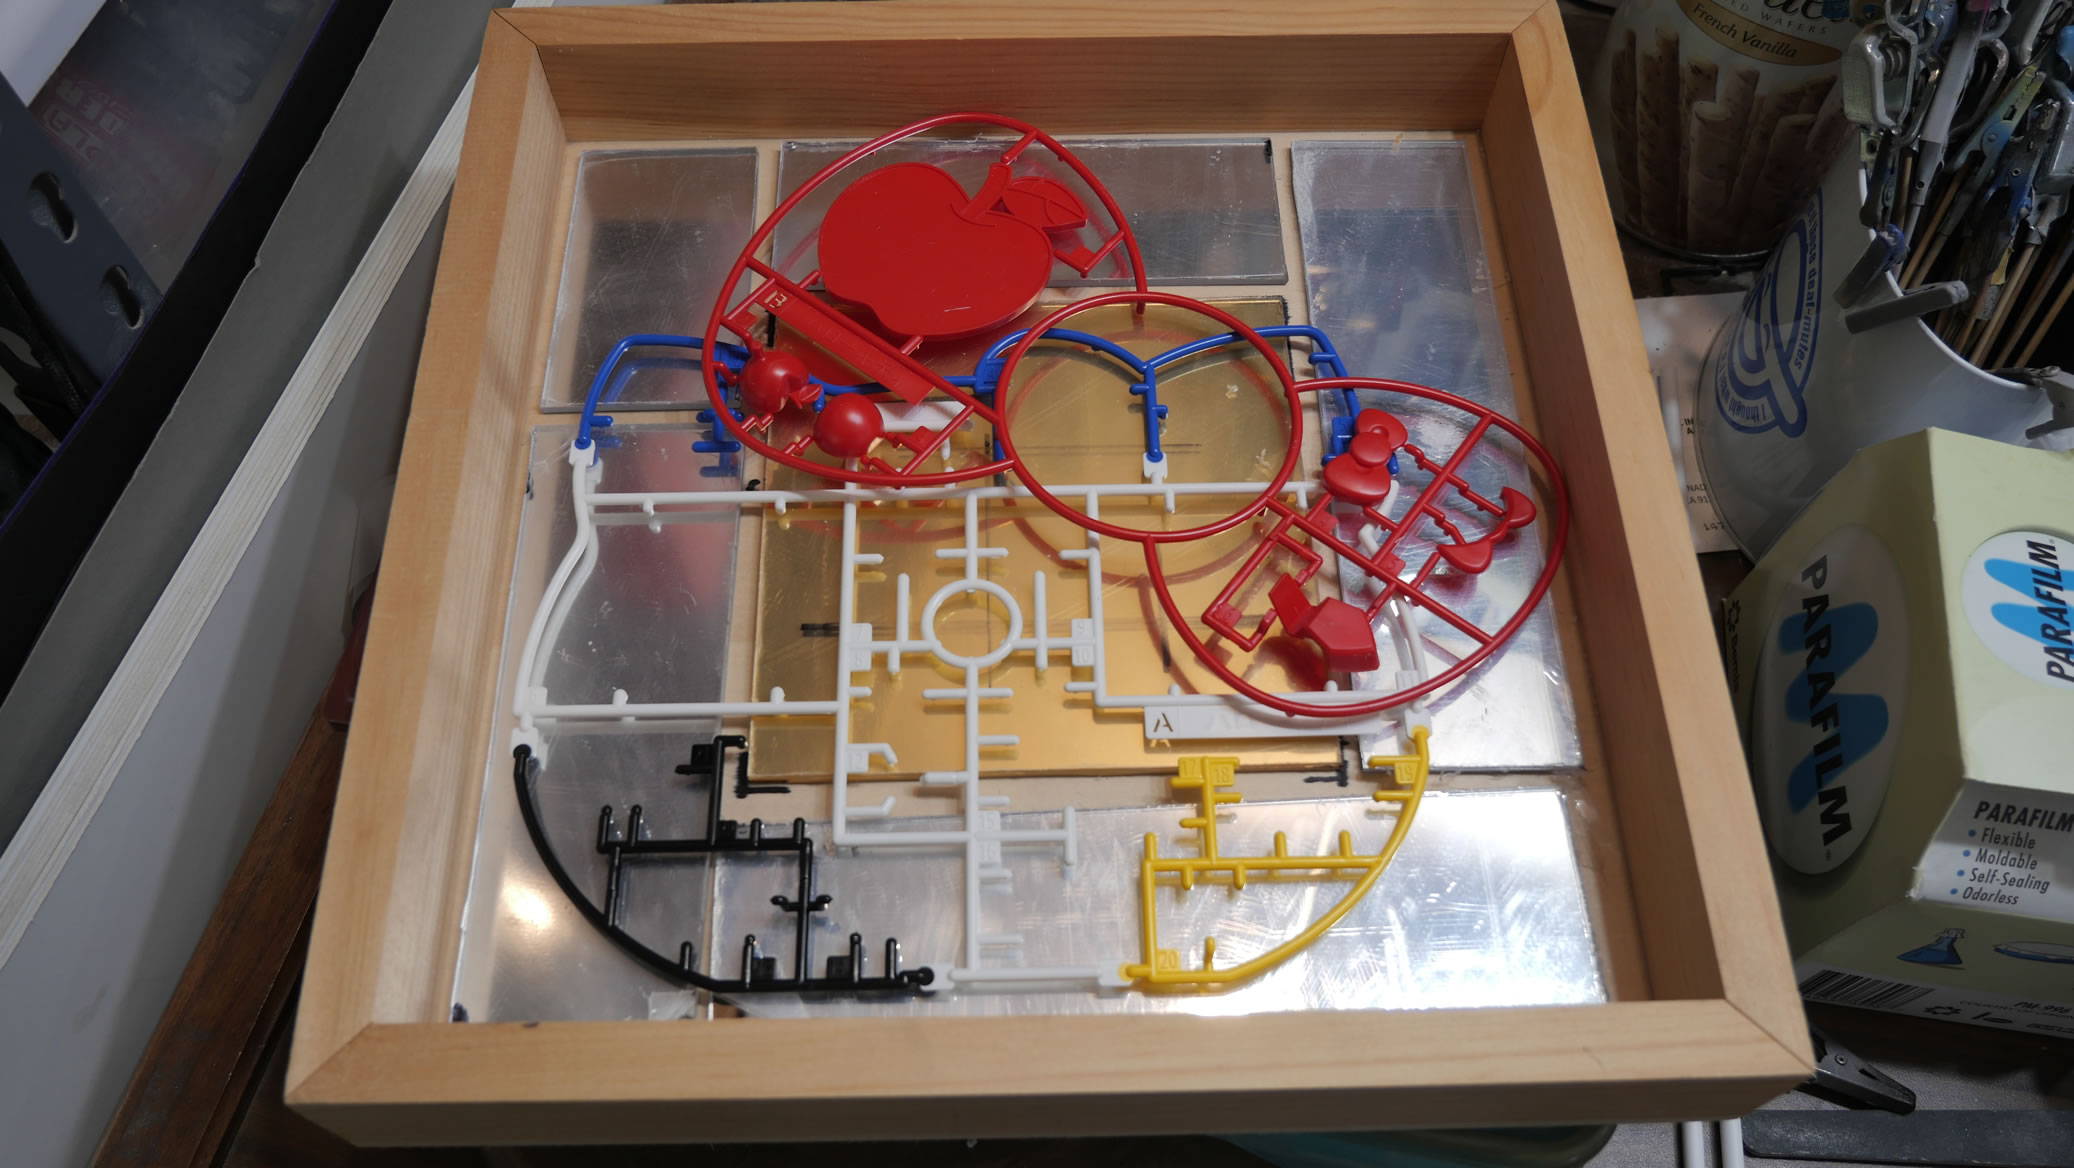
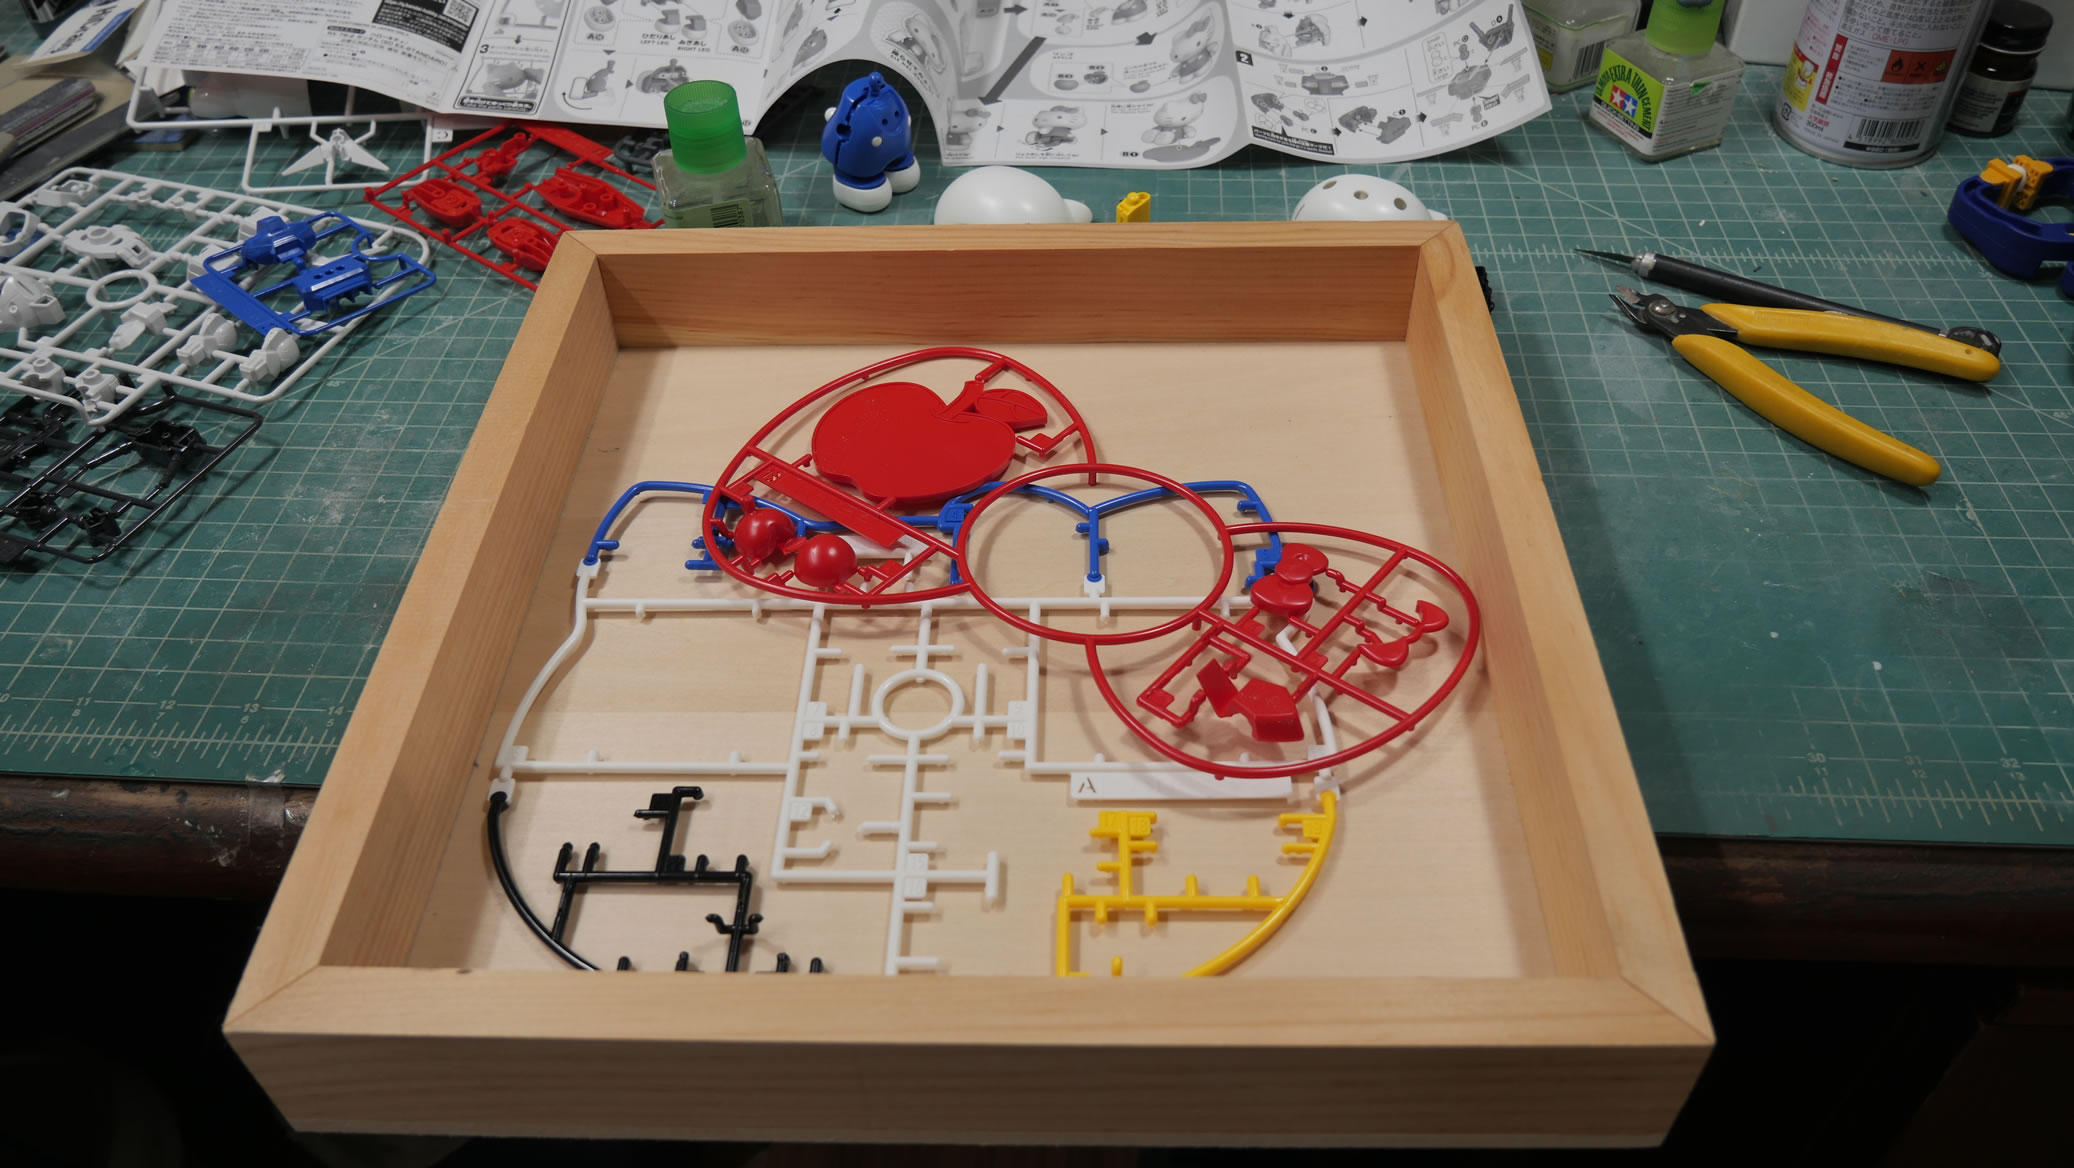
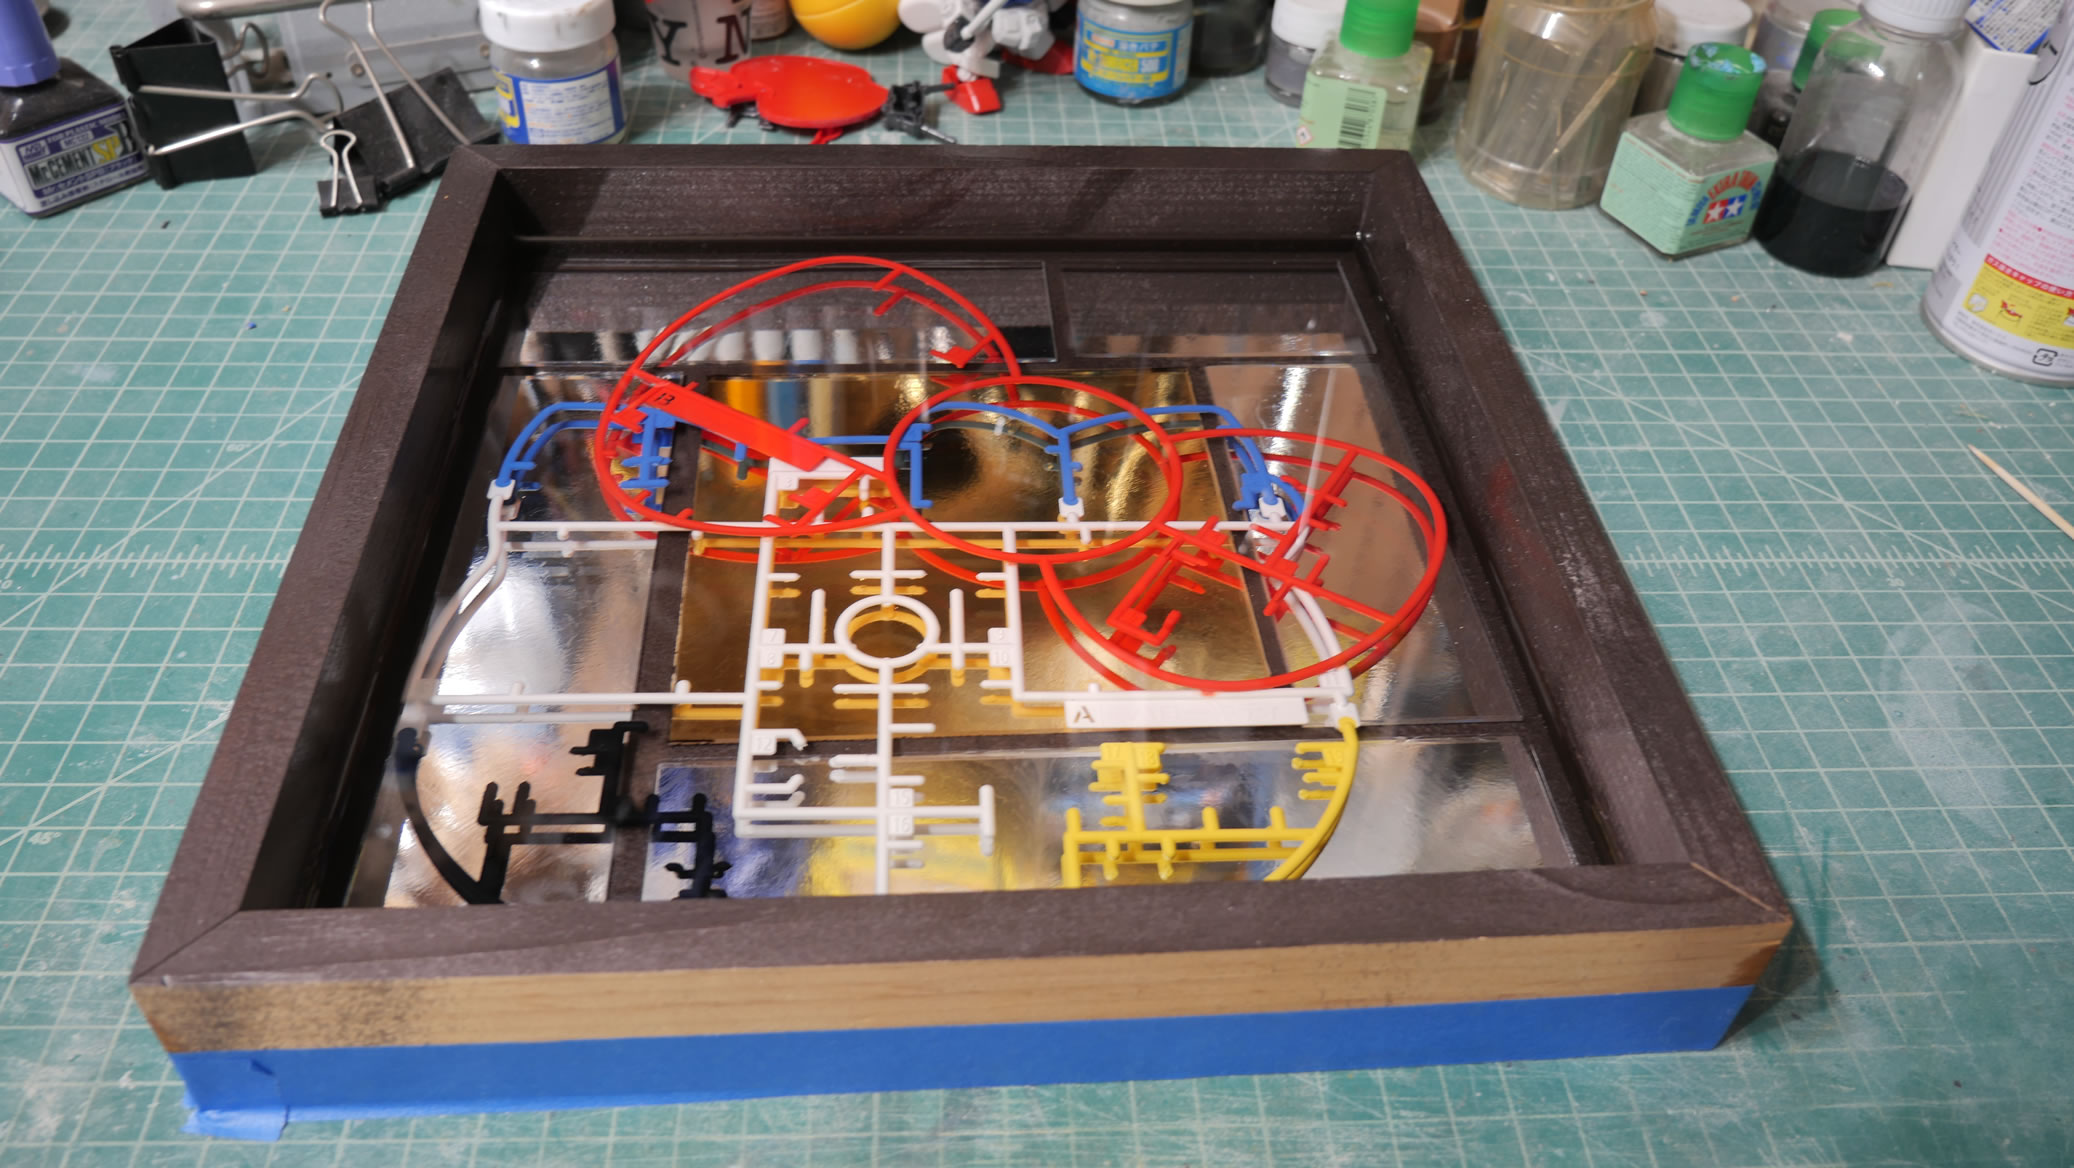
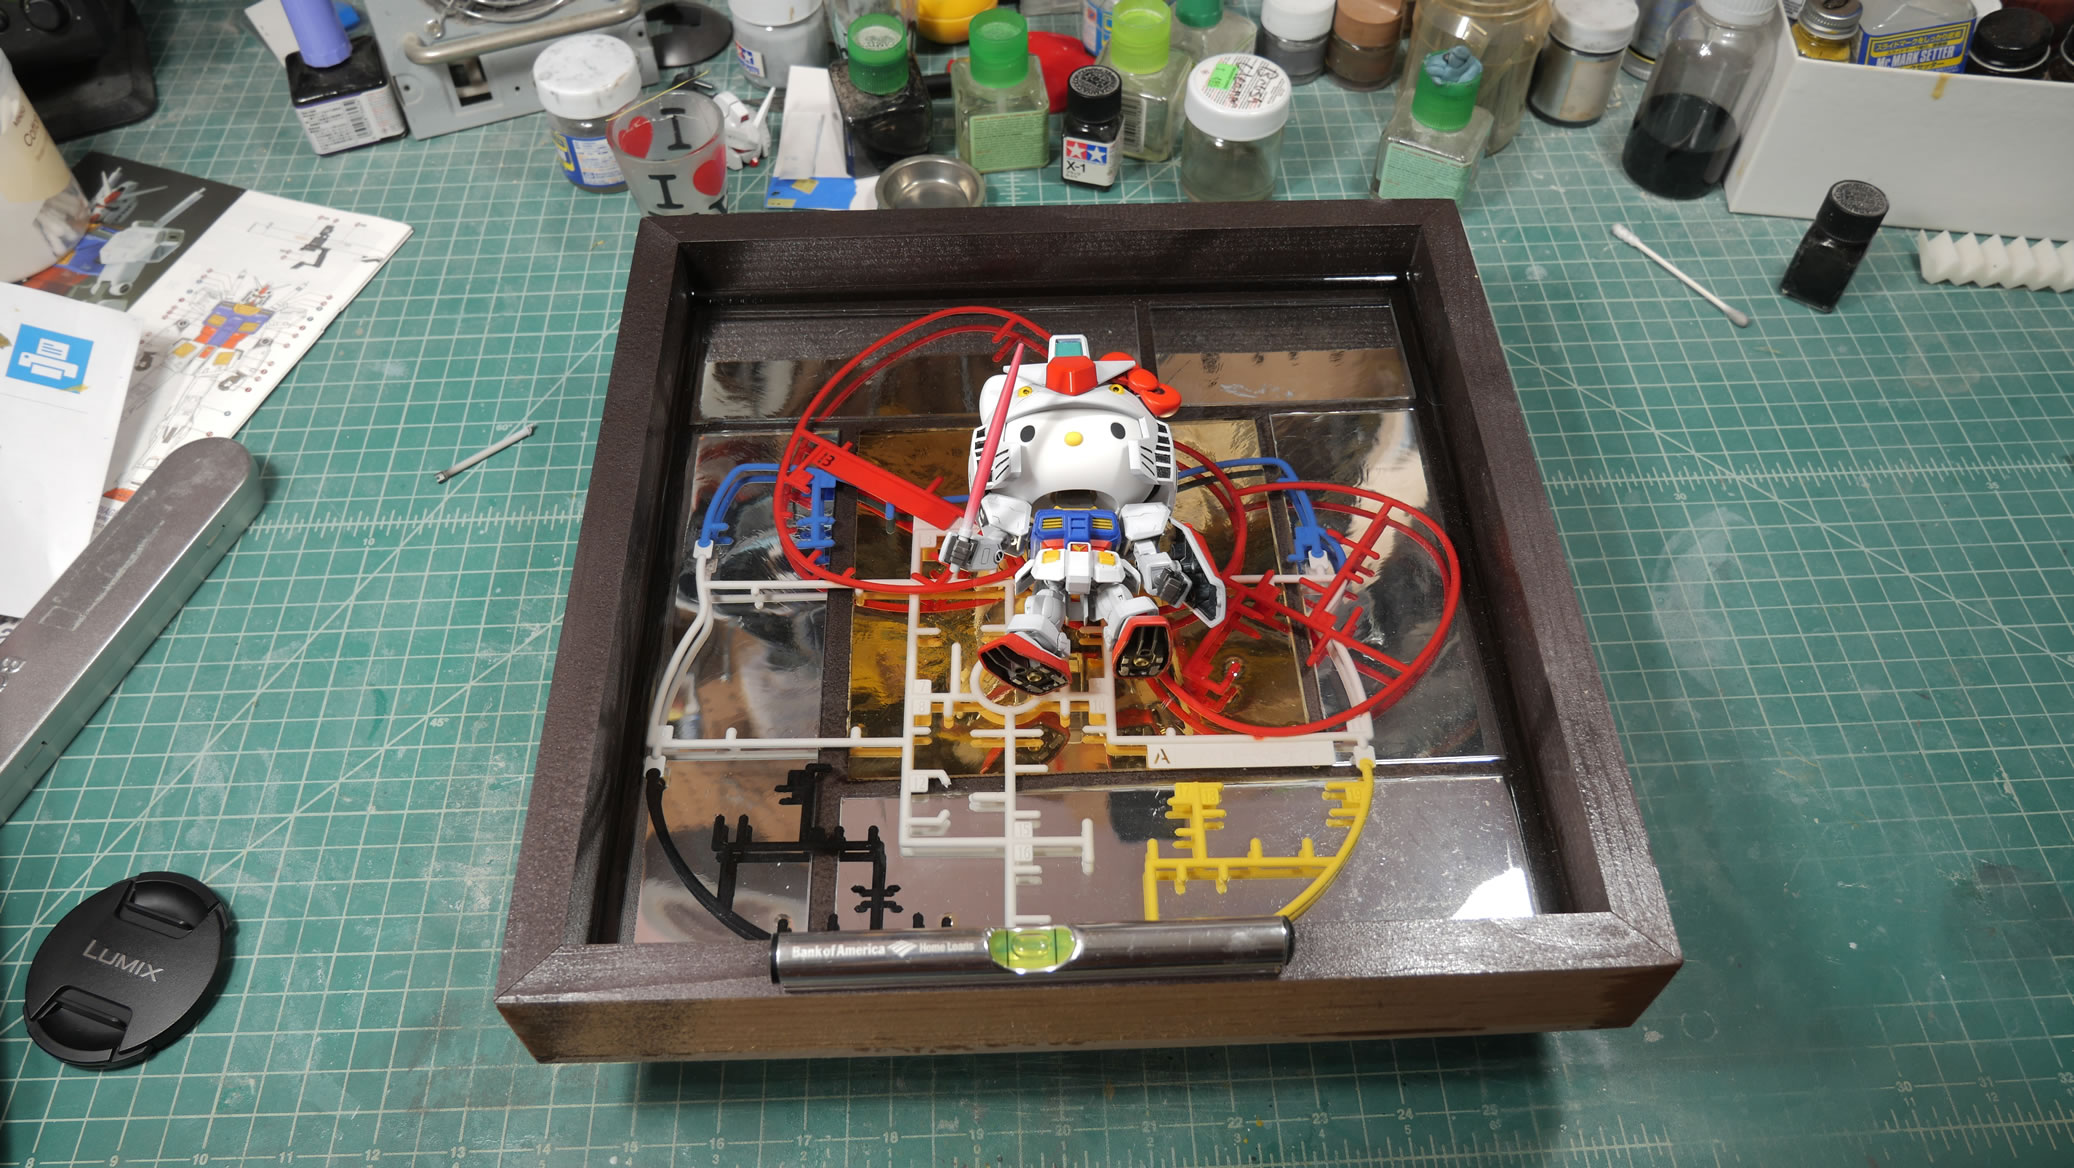
Cutting out some mirrored acrylic and a piece of gold mirrored acrylic, I lay this down on a box. I clipped most of the parts off the plastic trees, well most, and did a test fit of how I can place the two frame pieces. Time to finish clipping all the parts off the tree and glue the trees together.
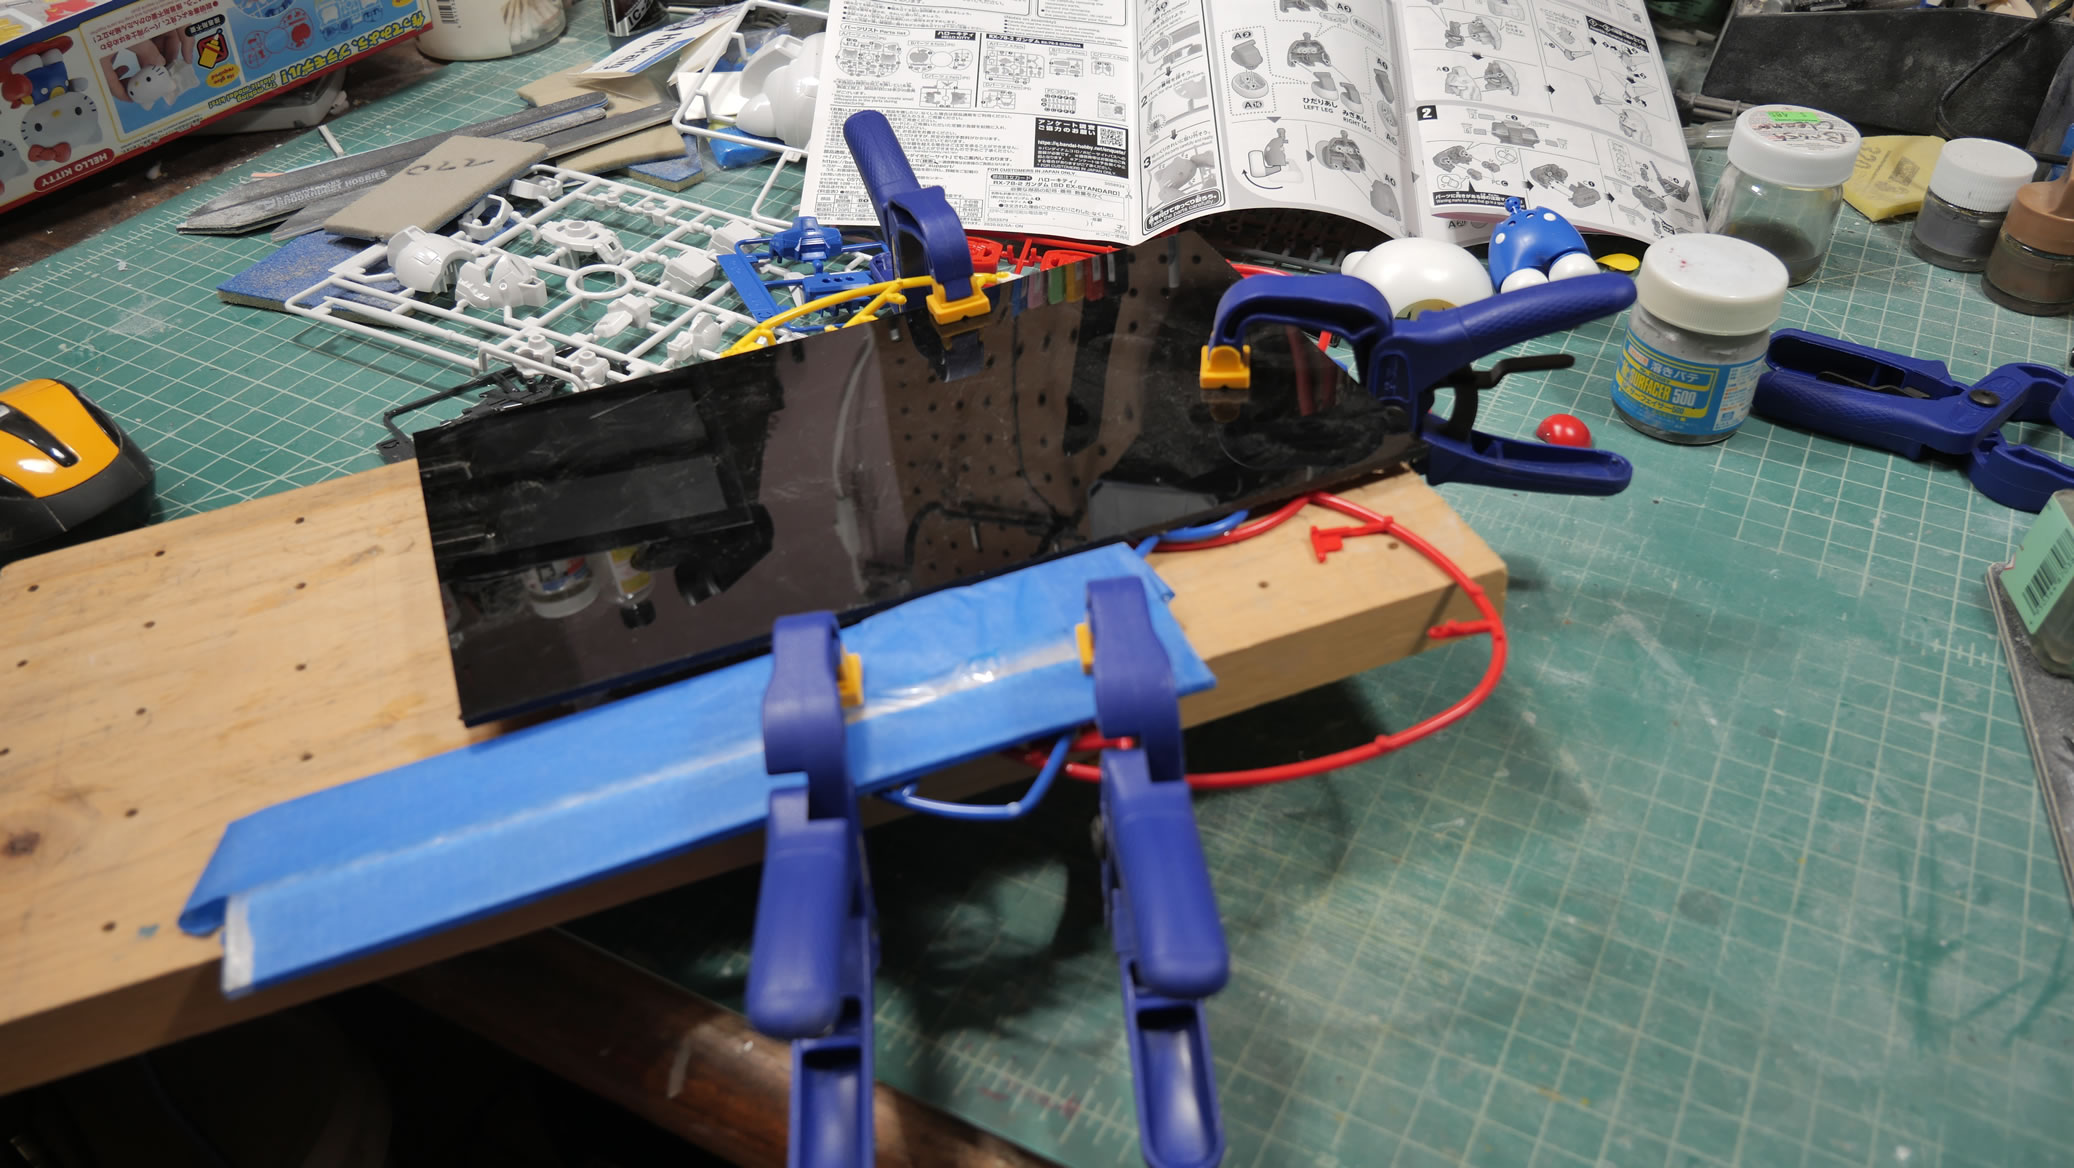
Not wanting to paint the tree, I just glued them together with styrene glue and used some excess acrylic sheets and a wood board to clamp the parts together while the glue goes to work melting and welding the two frames together.
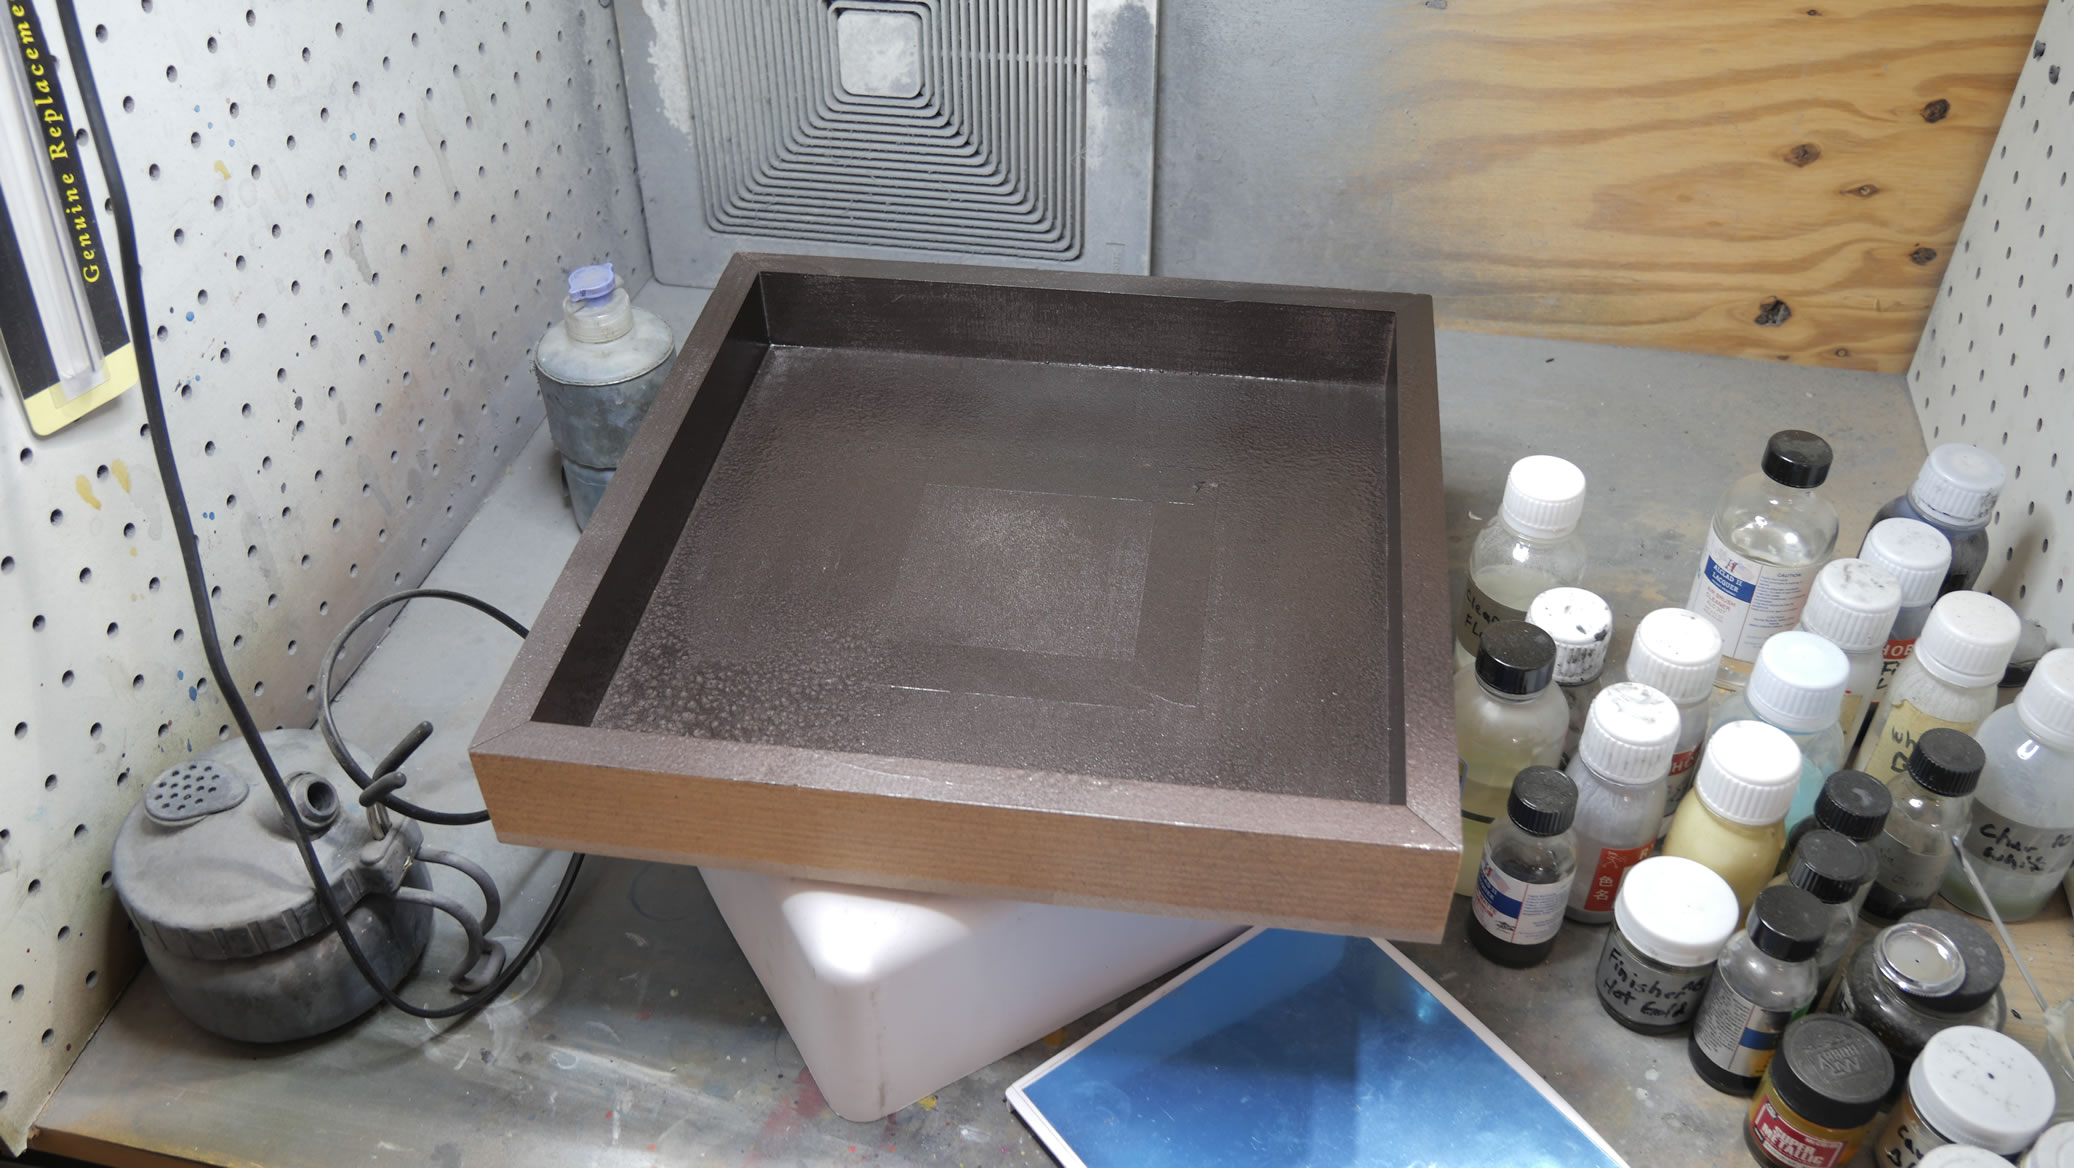
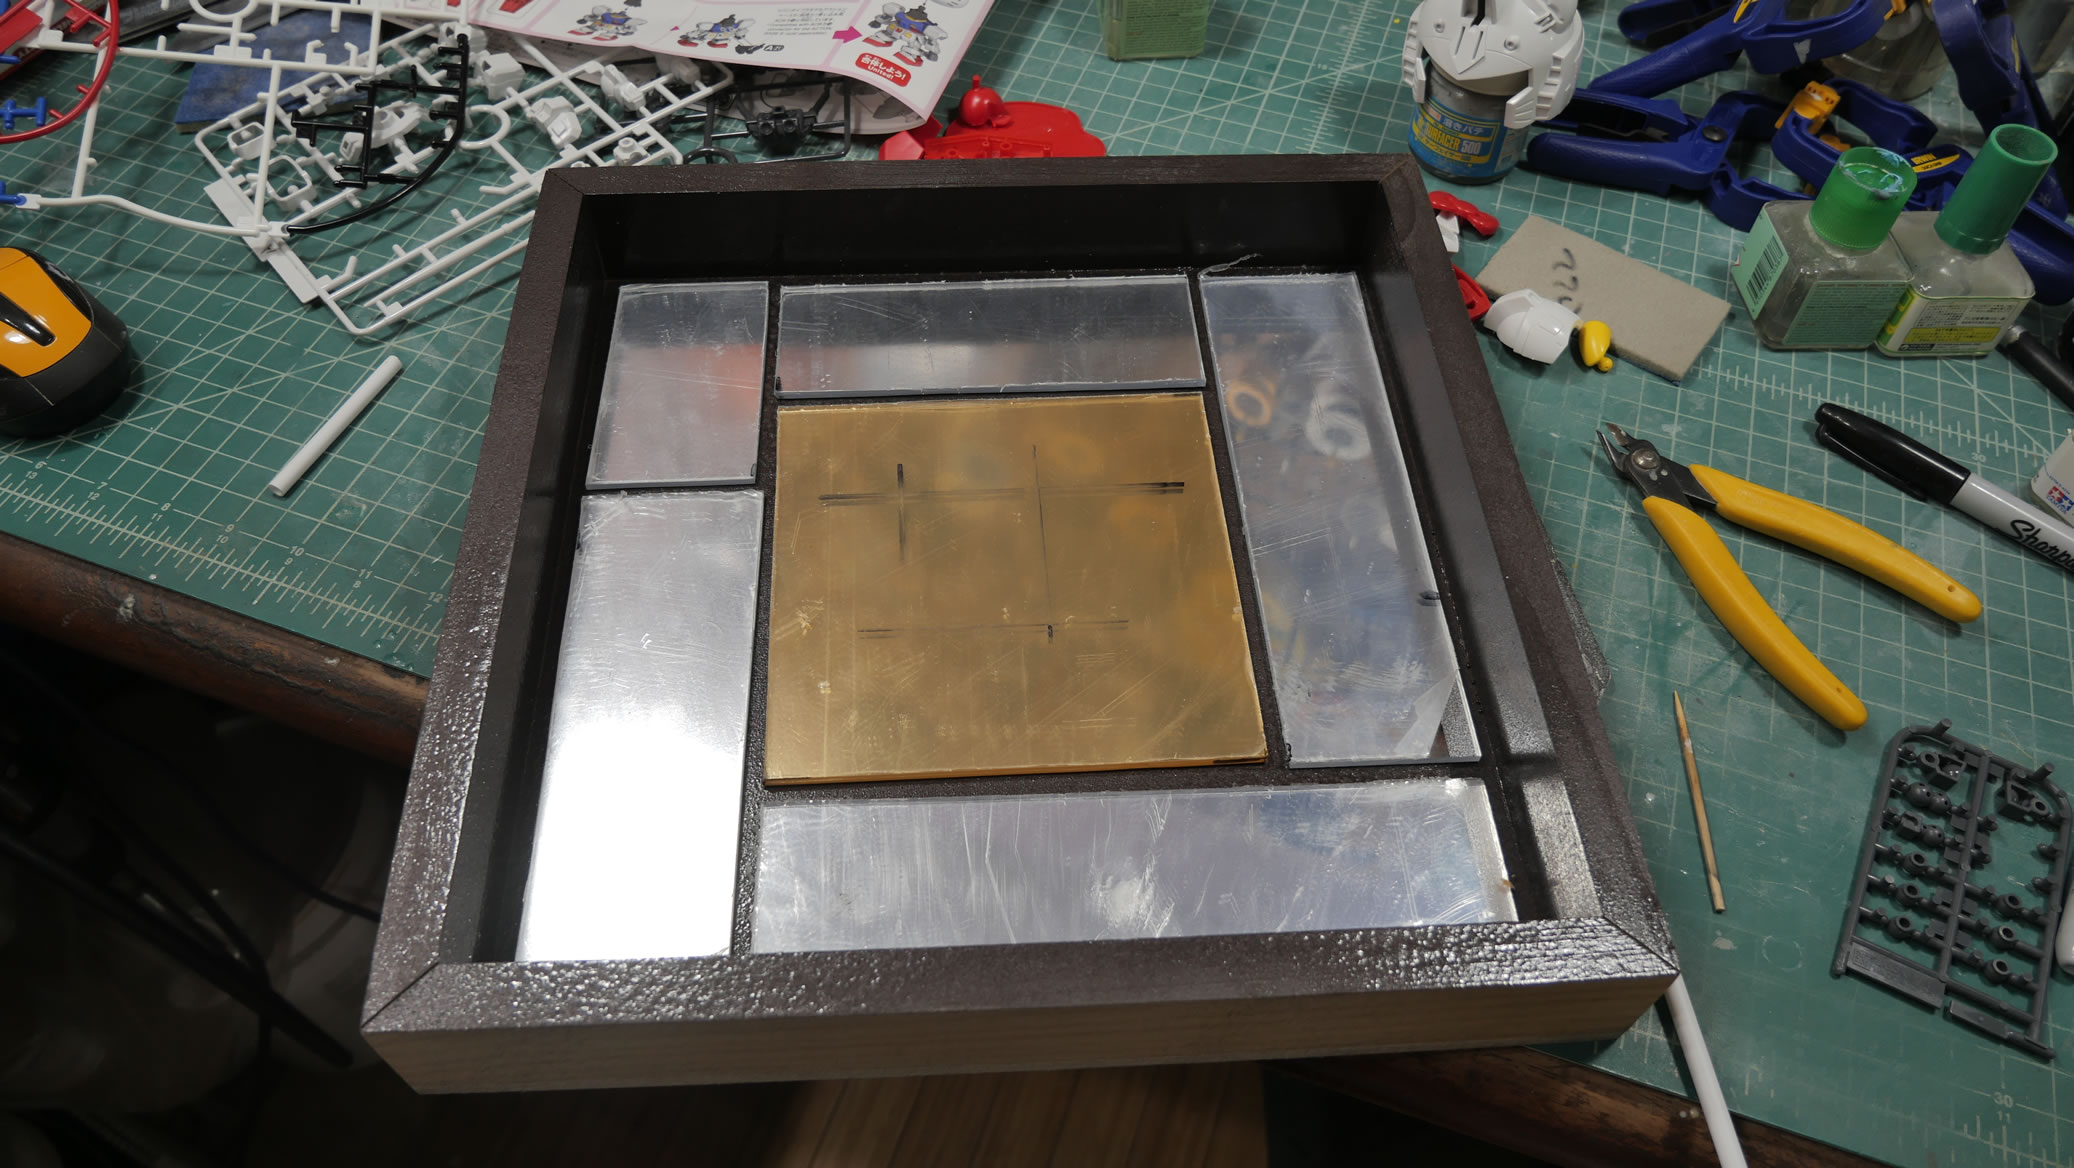
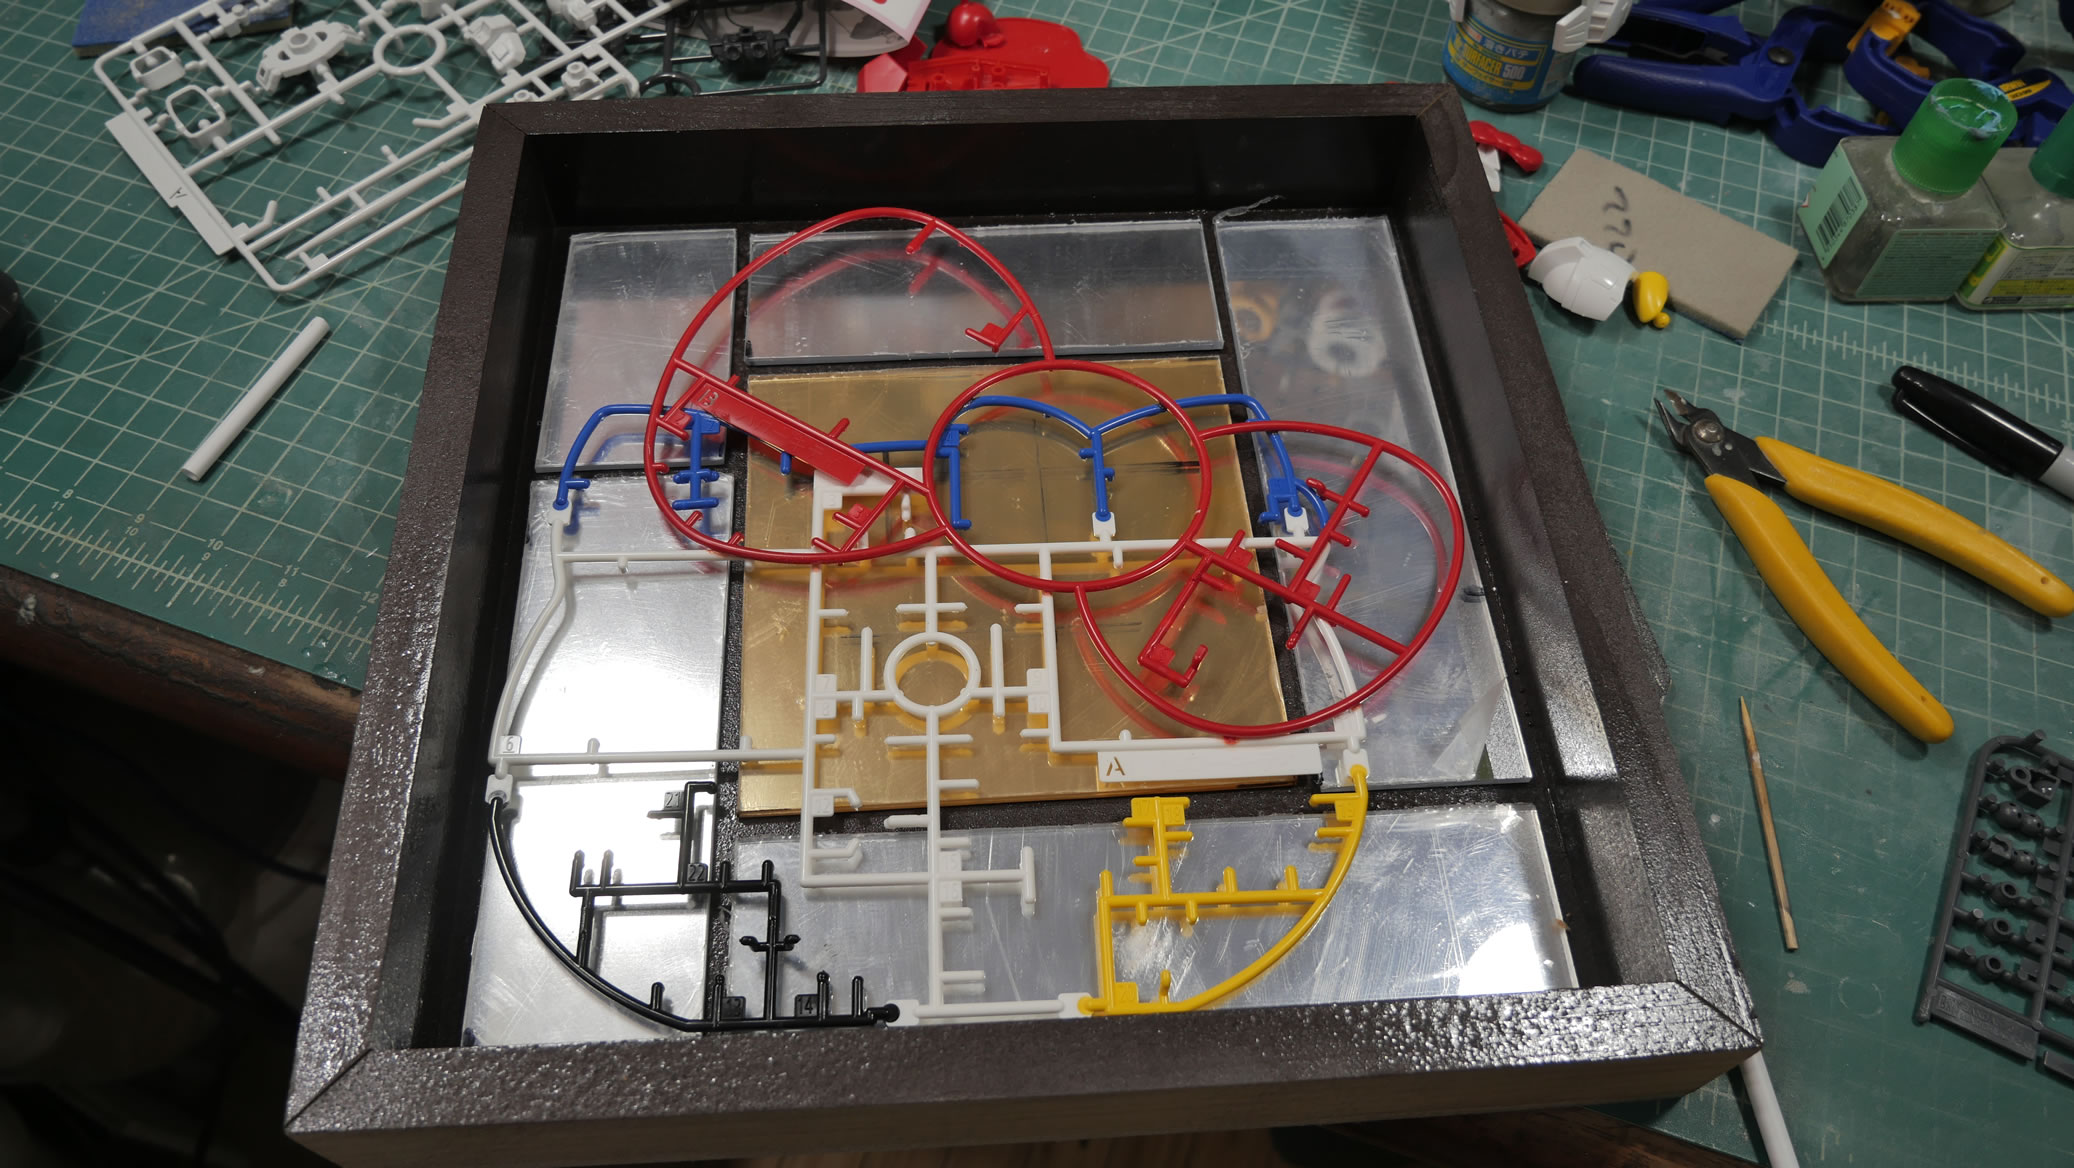
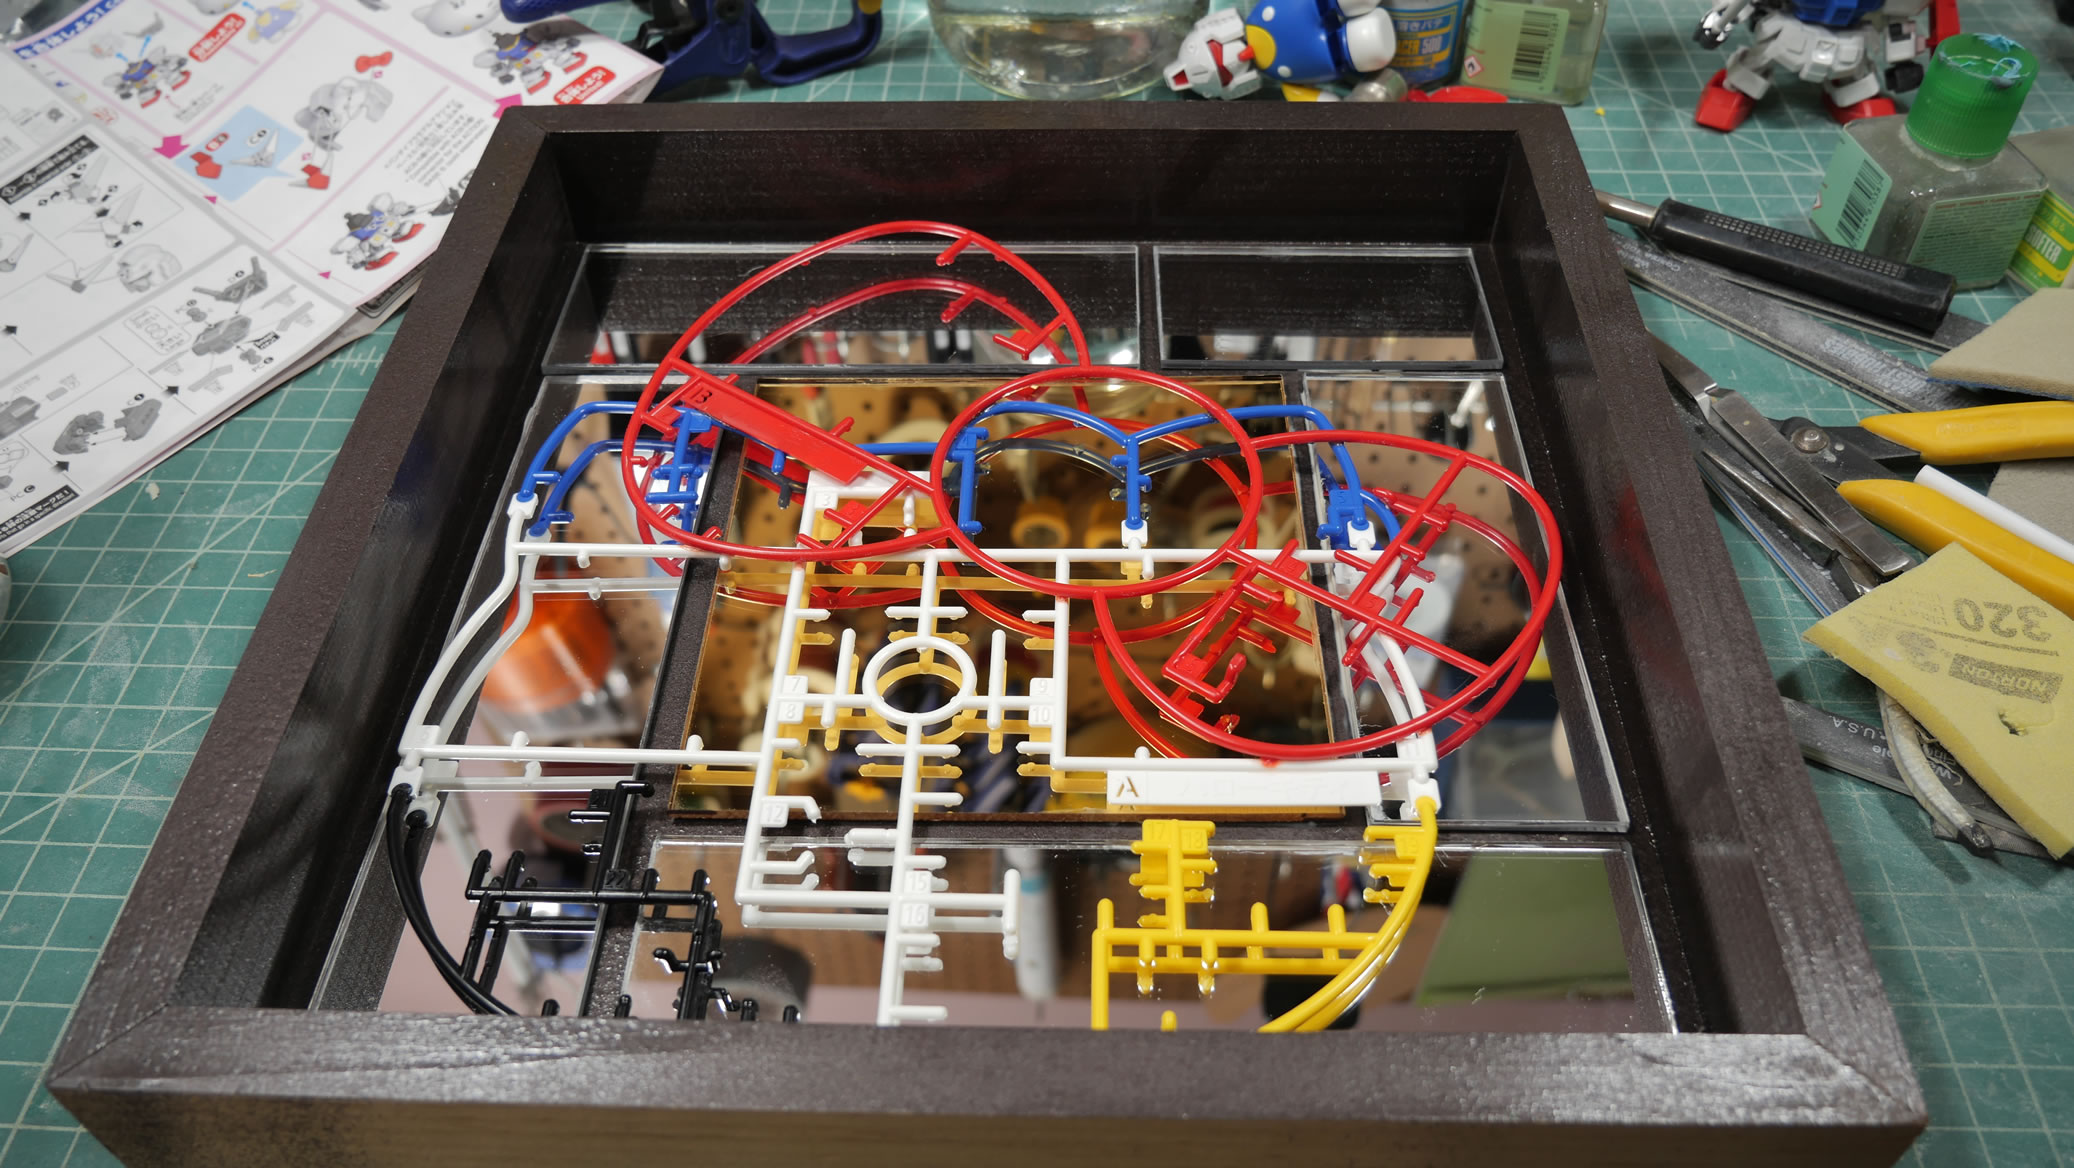
The box is sprayed with some dark iron paint that was left over from other house projects. Keeping costs low with what I have on hand. The mirrored acrylic pieces are glued onto the box with some wood glue. And slightly shifted as the box wasn’t level while drying. So some work to fix that was done a few hours later. Once that was done, I glued the welded together frame onto the mirrored acrylic with UV glue. This is a clear glue that only dries when UV light is shined. Which is great for work time and clear pieces.
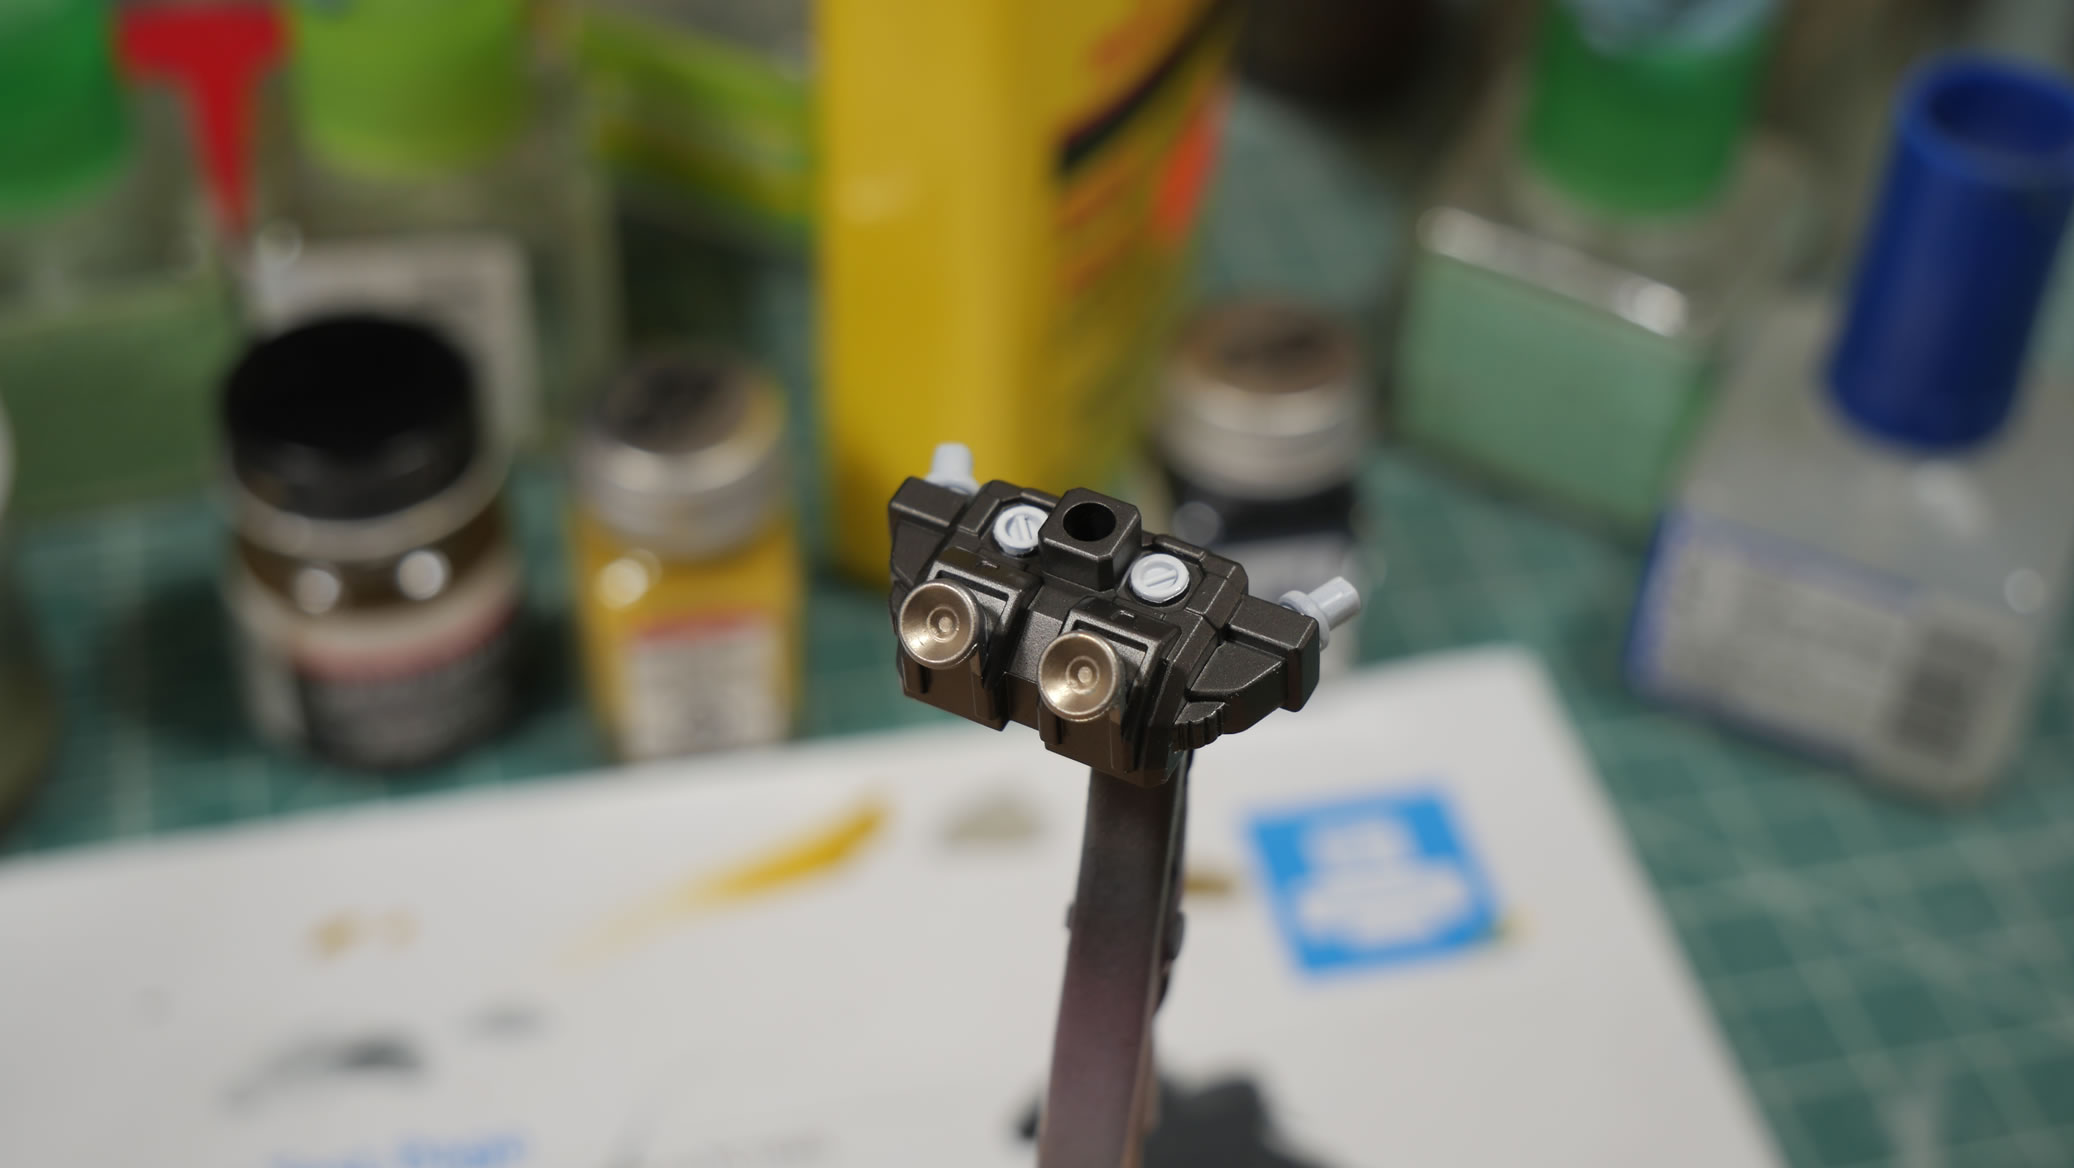
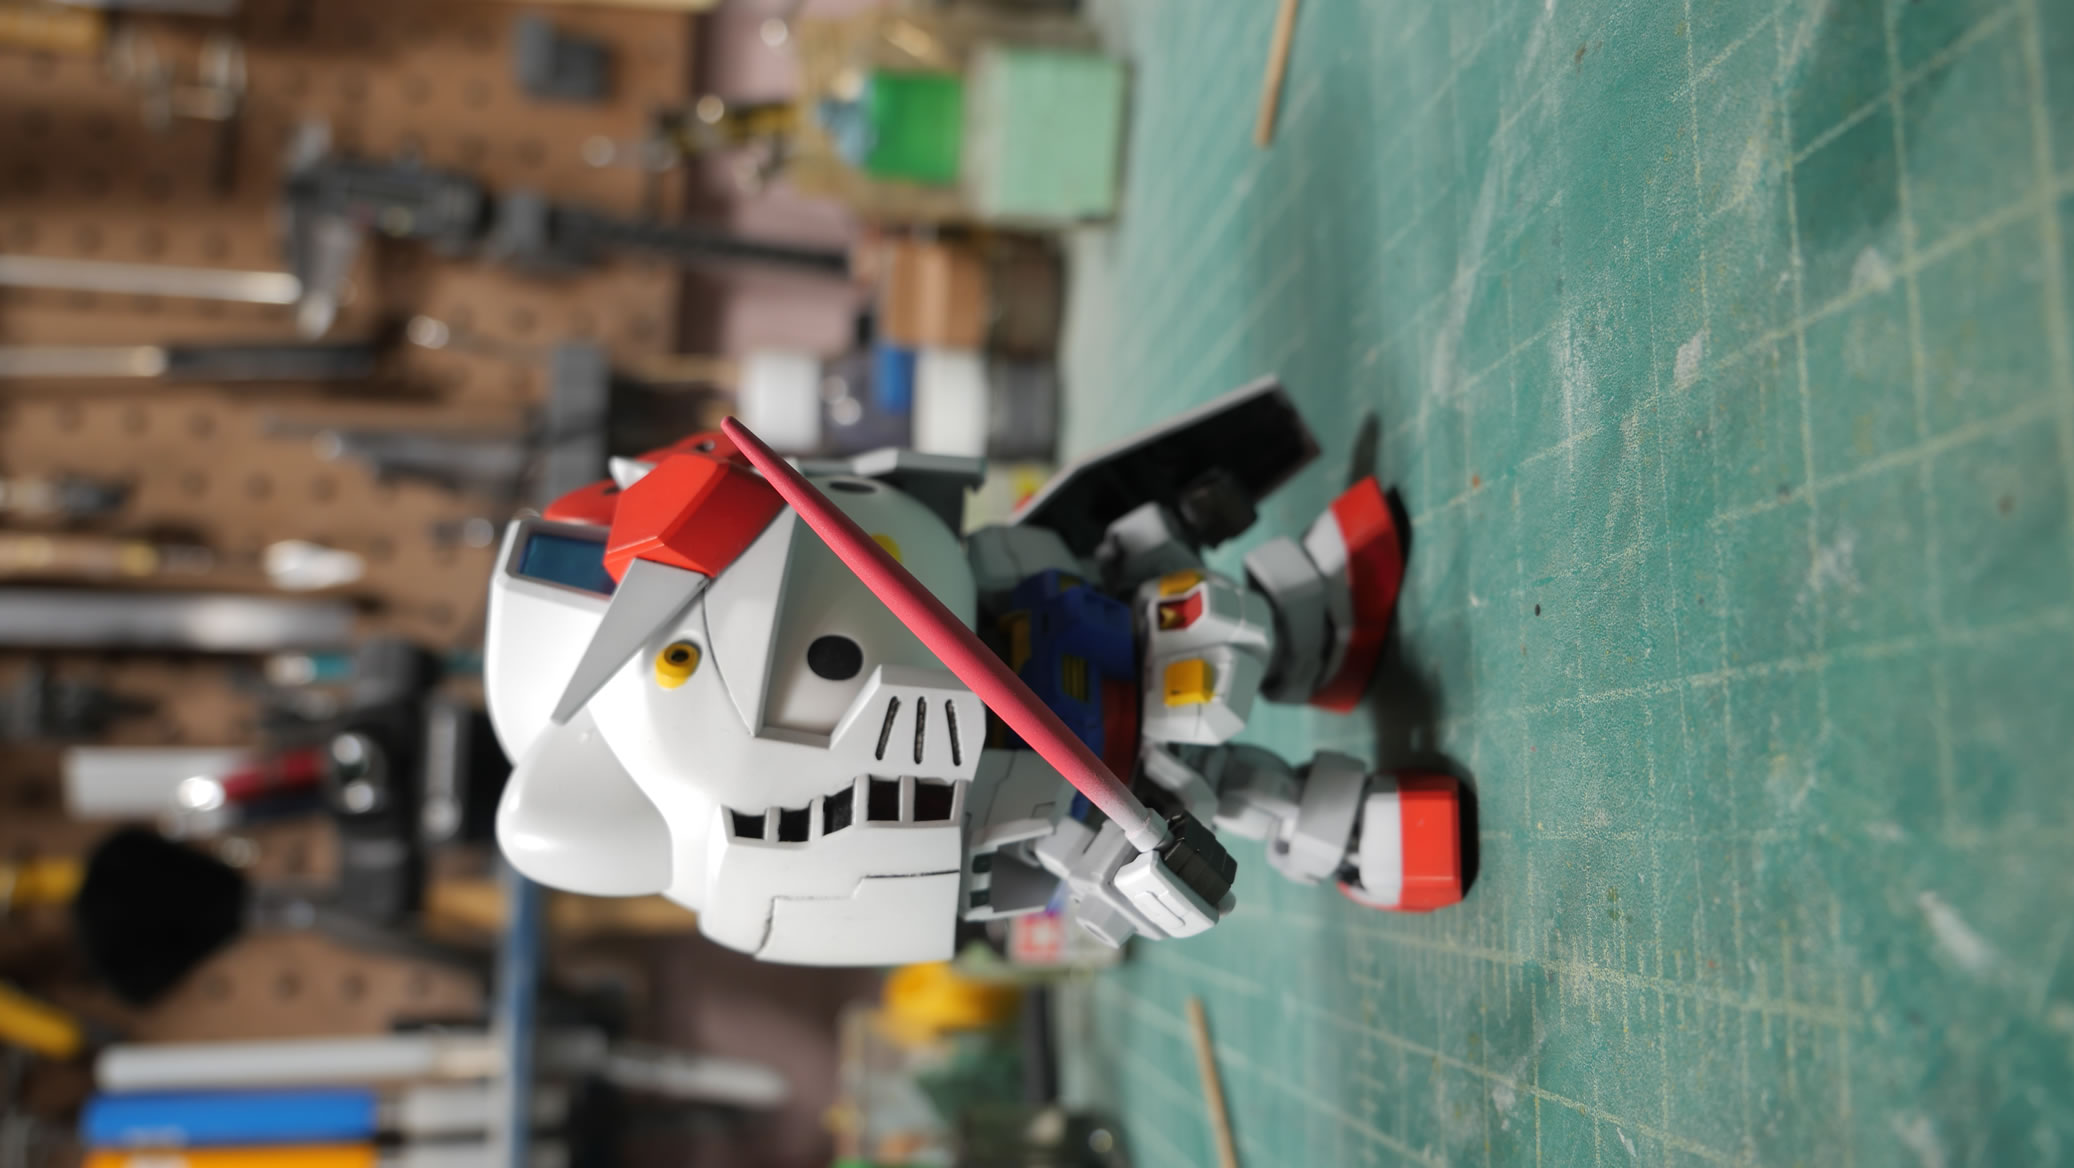
The parts are quickly test fit together to see what seams need to be fixed. There are quite a few as this is akin to building an SD kit. So fun times ahead with glue and sanding.
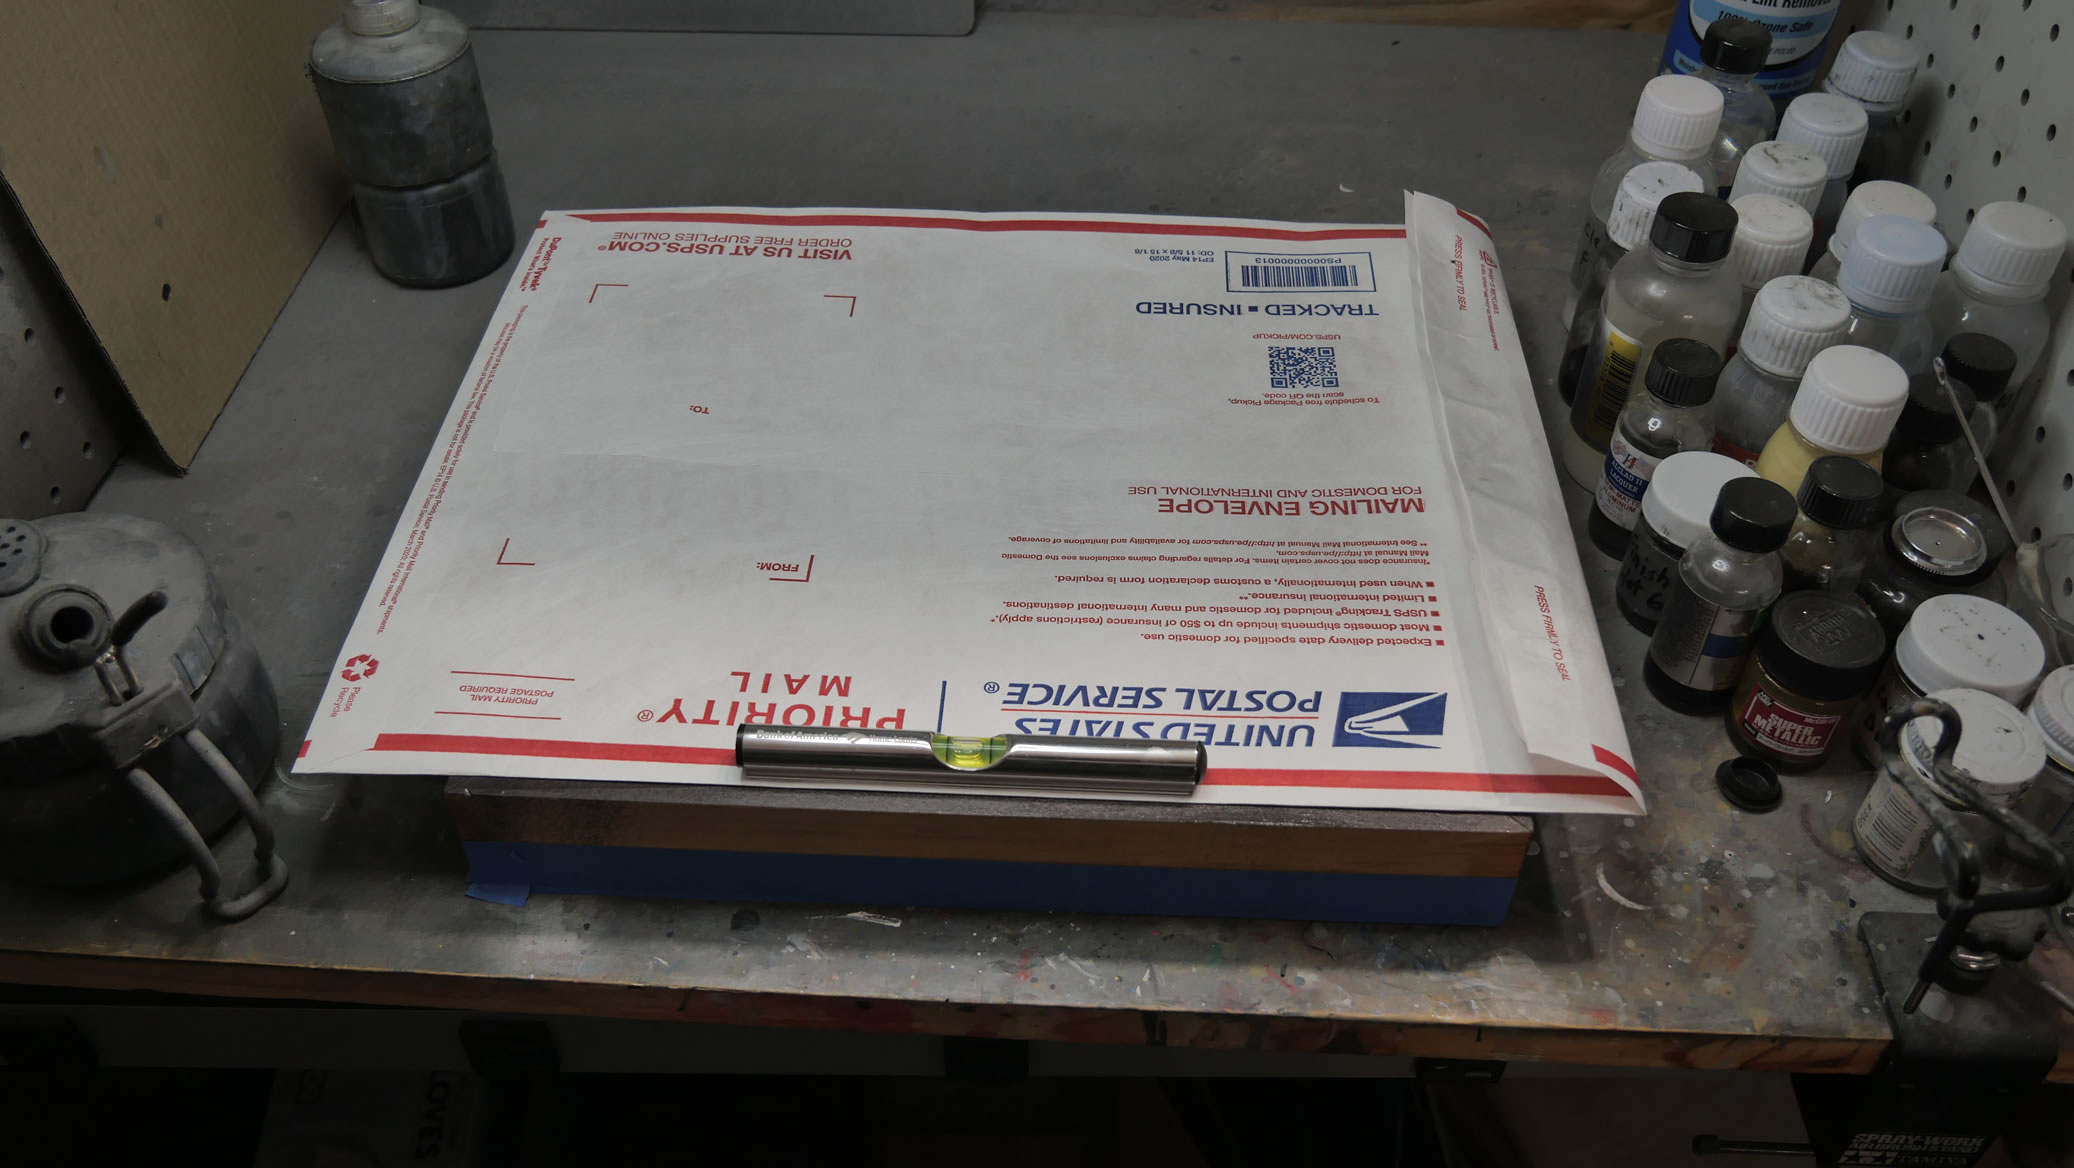
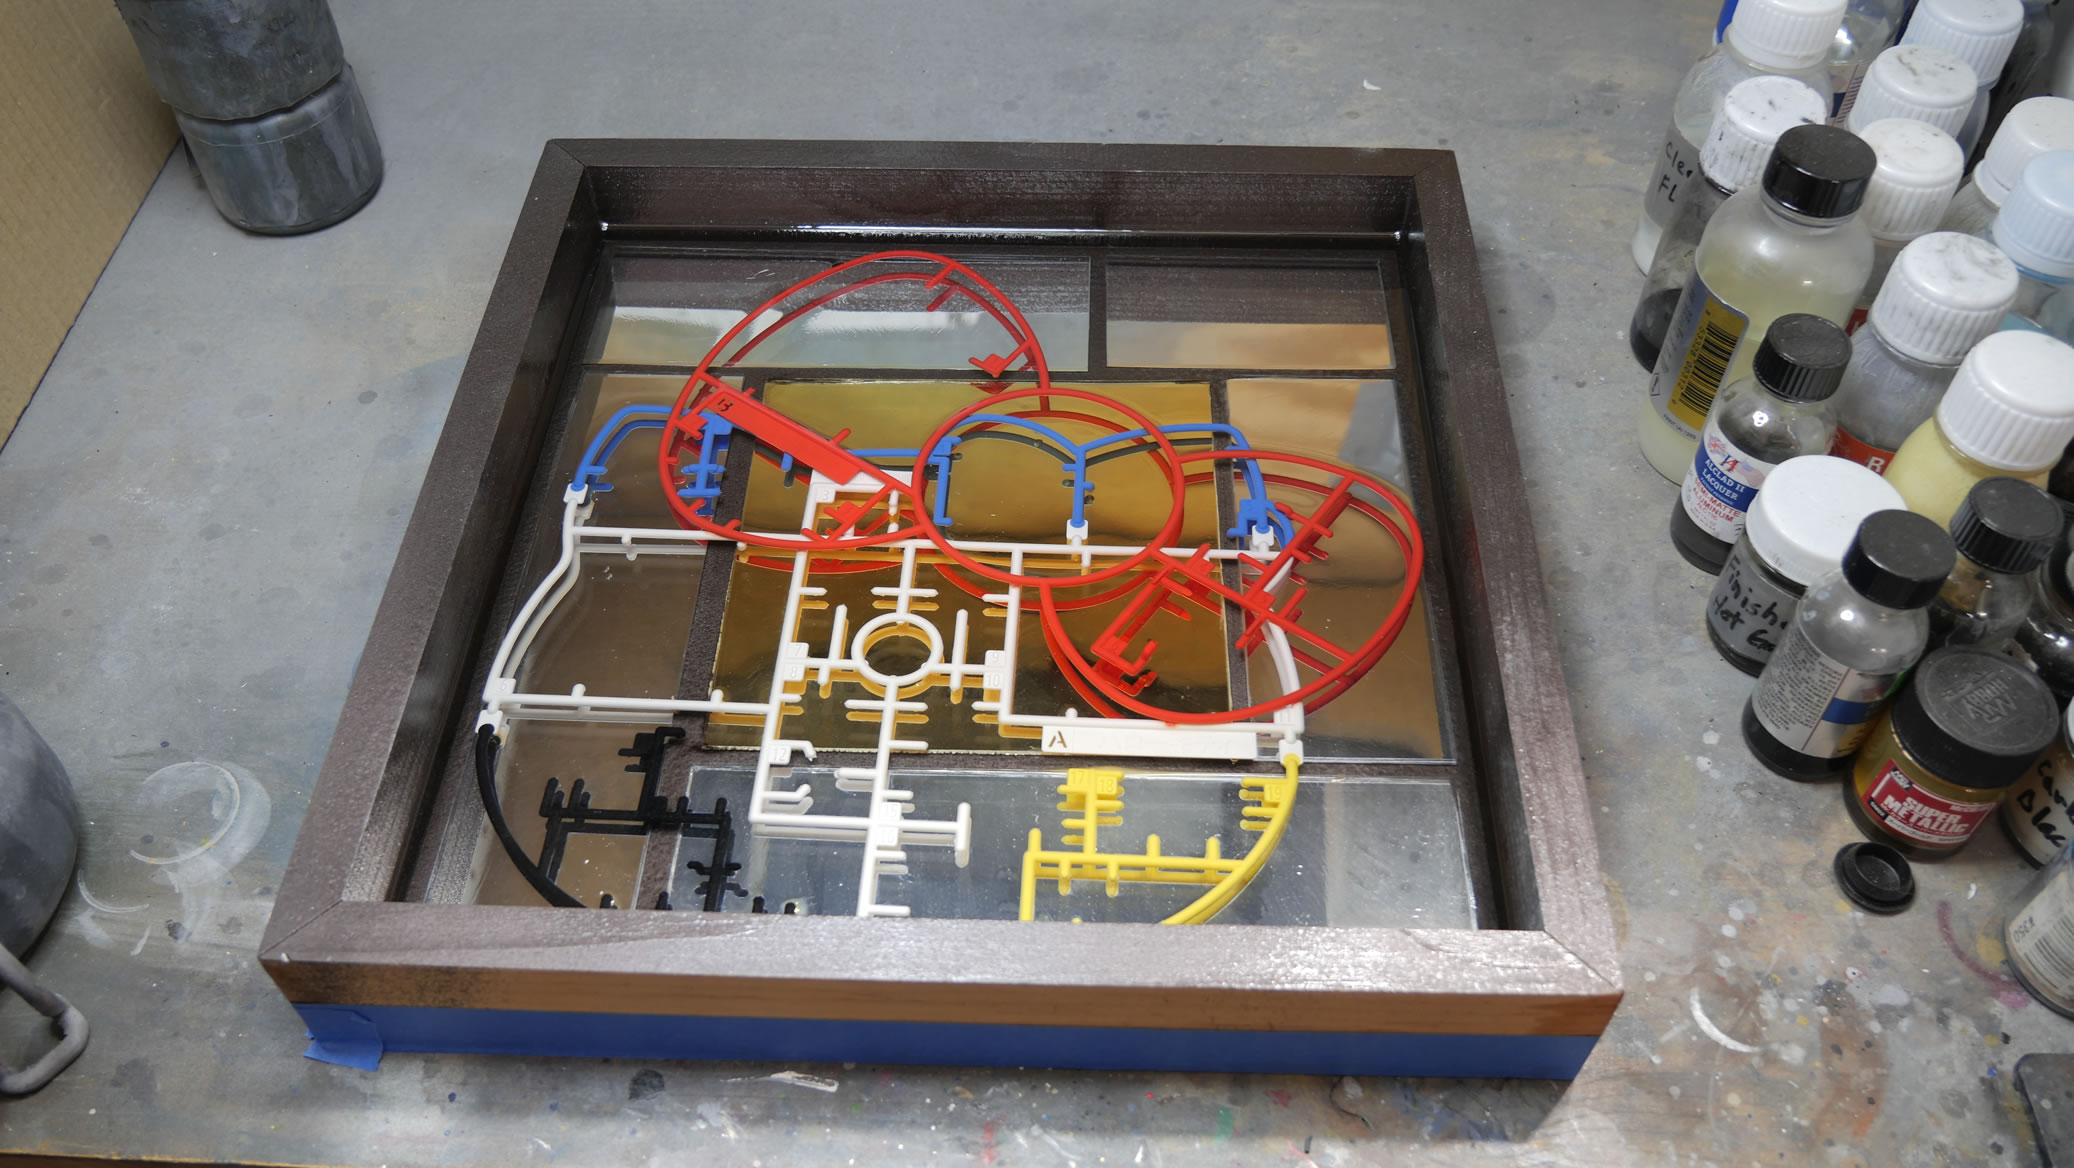
Back to the box, I poured the first layer of clear epoxy based resin. This is a very slow curing clear resin that is great because it’s low temperature. Which means the plastic won’t melt or warp while the resin cures. Using a fast curing clear resin will heat things up way too much and is not good for bubbles. The box is too big to fit into the vacuum chamber/pressure pot. To keep dust off the curing resin, I played an enevelope over as well as a level to make sure the whole box is on a level surface while curing. It would suck if this cured at an angle where one side was higher than the other. After a few days of curing, the second layer is pored to completely cover the frame.
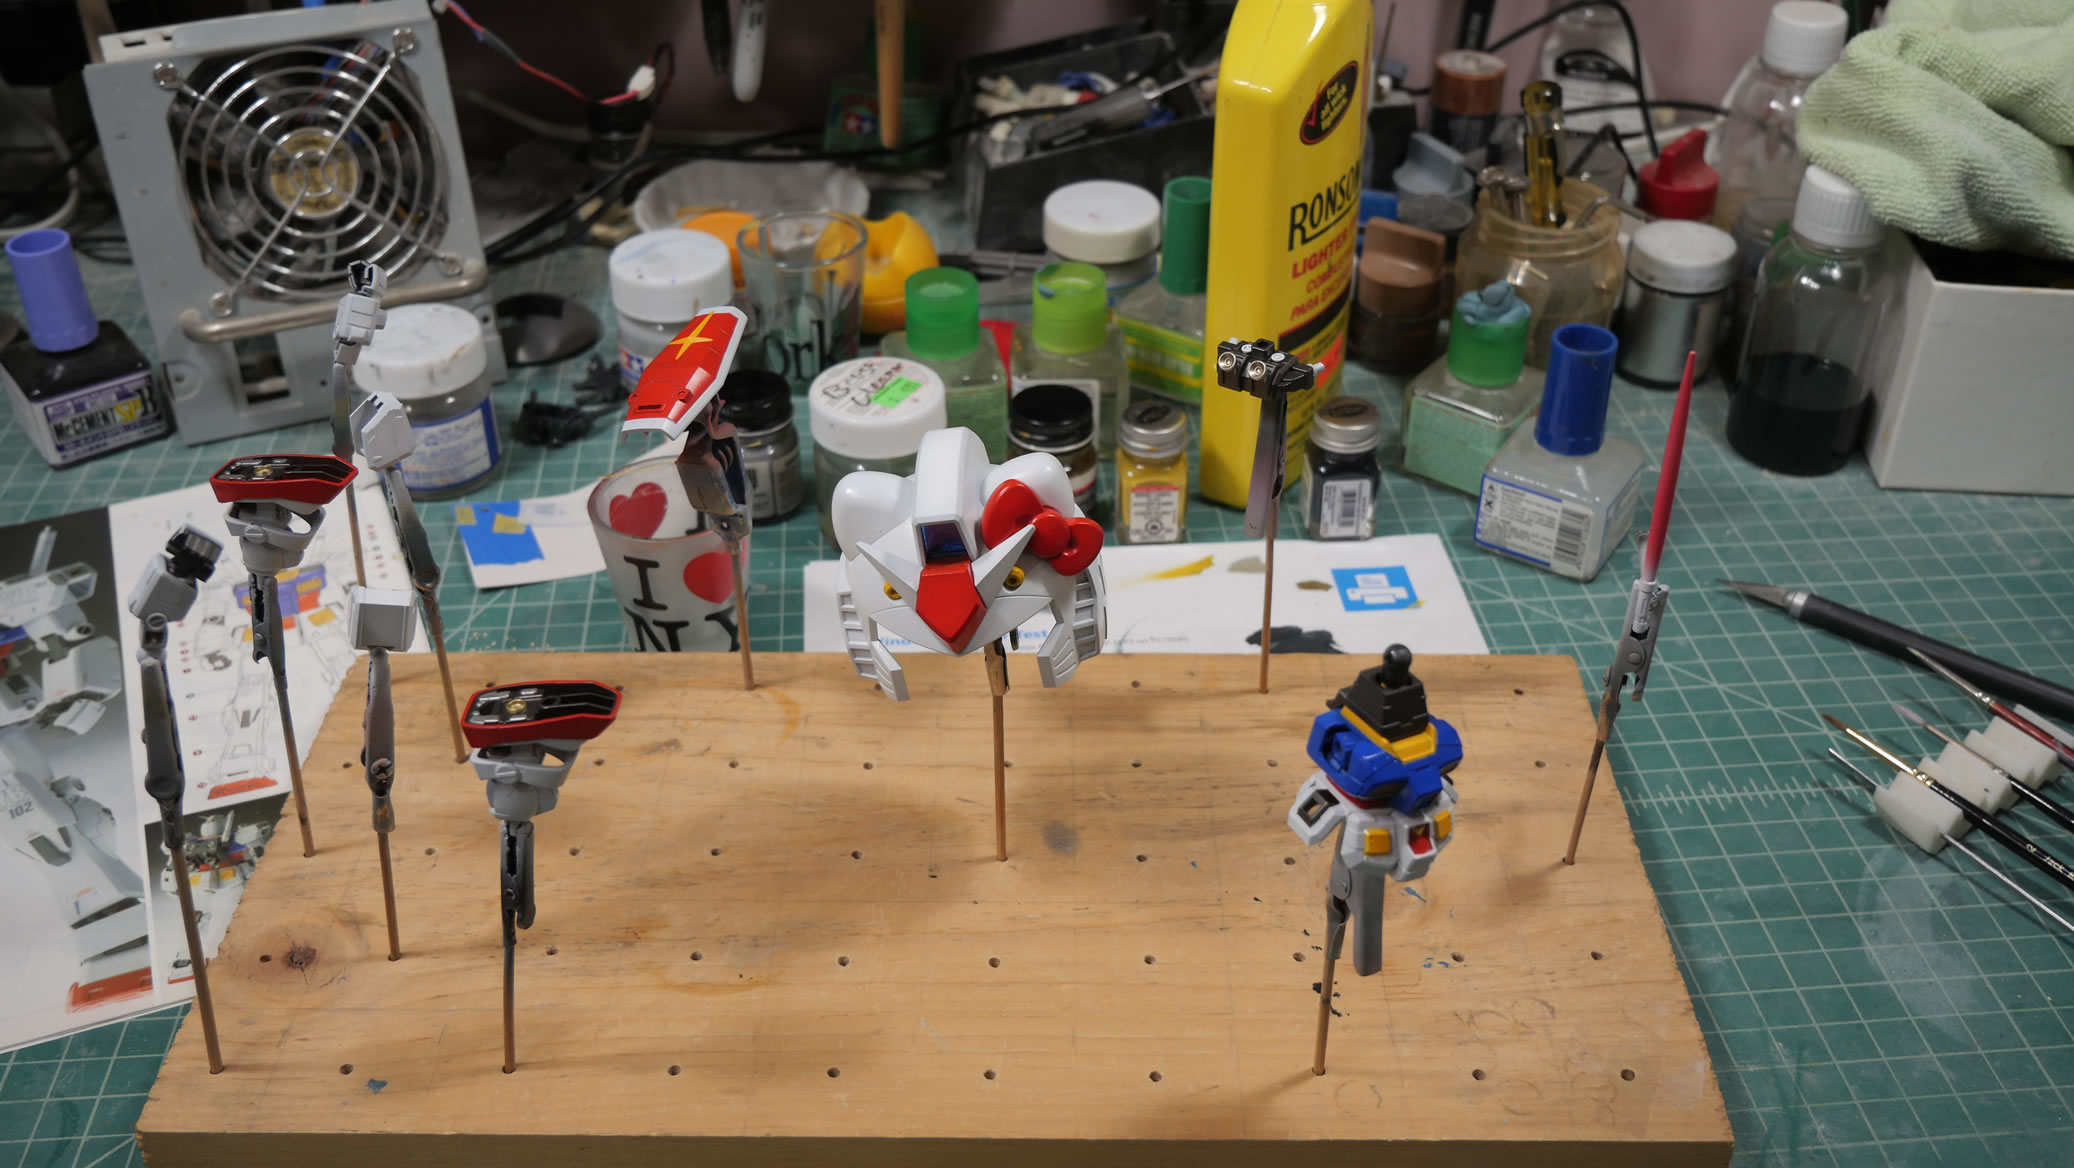
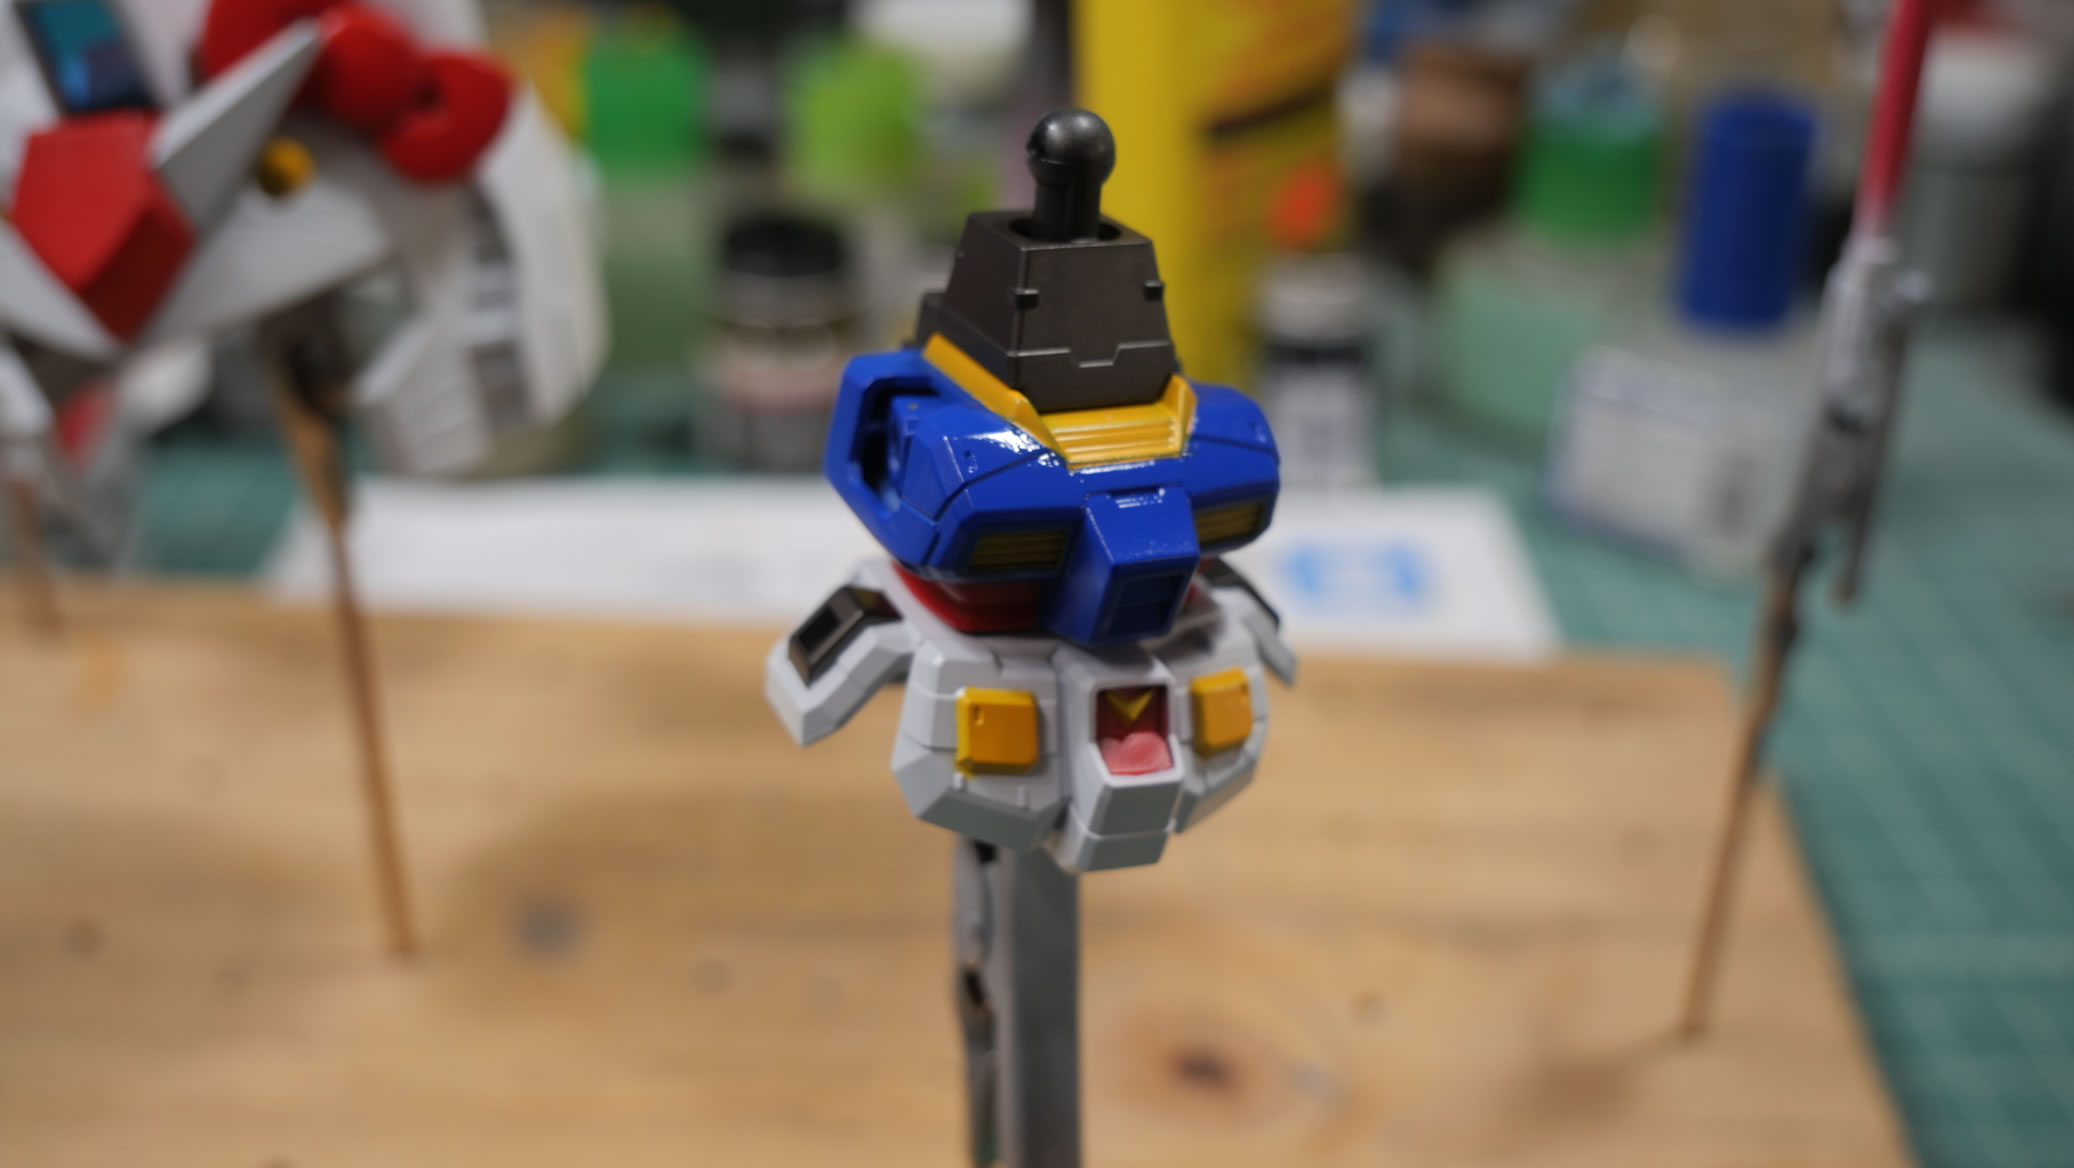
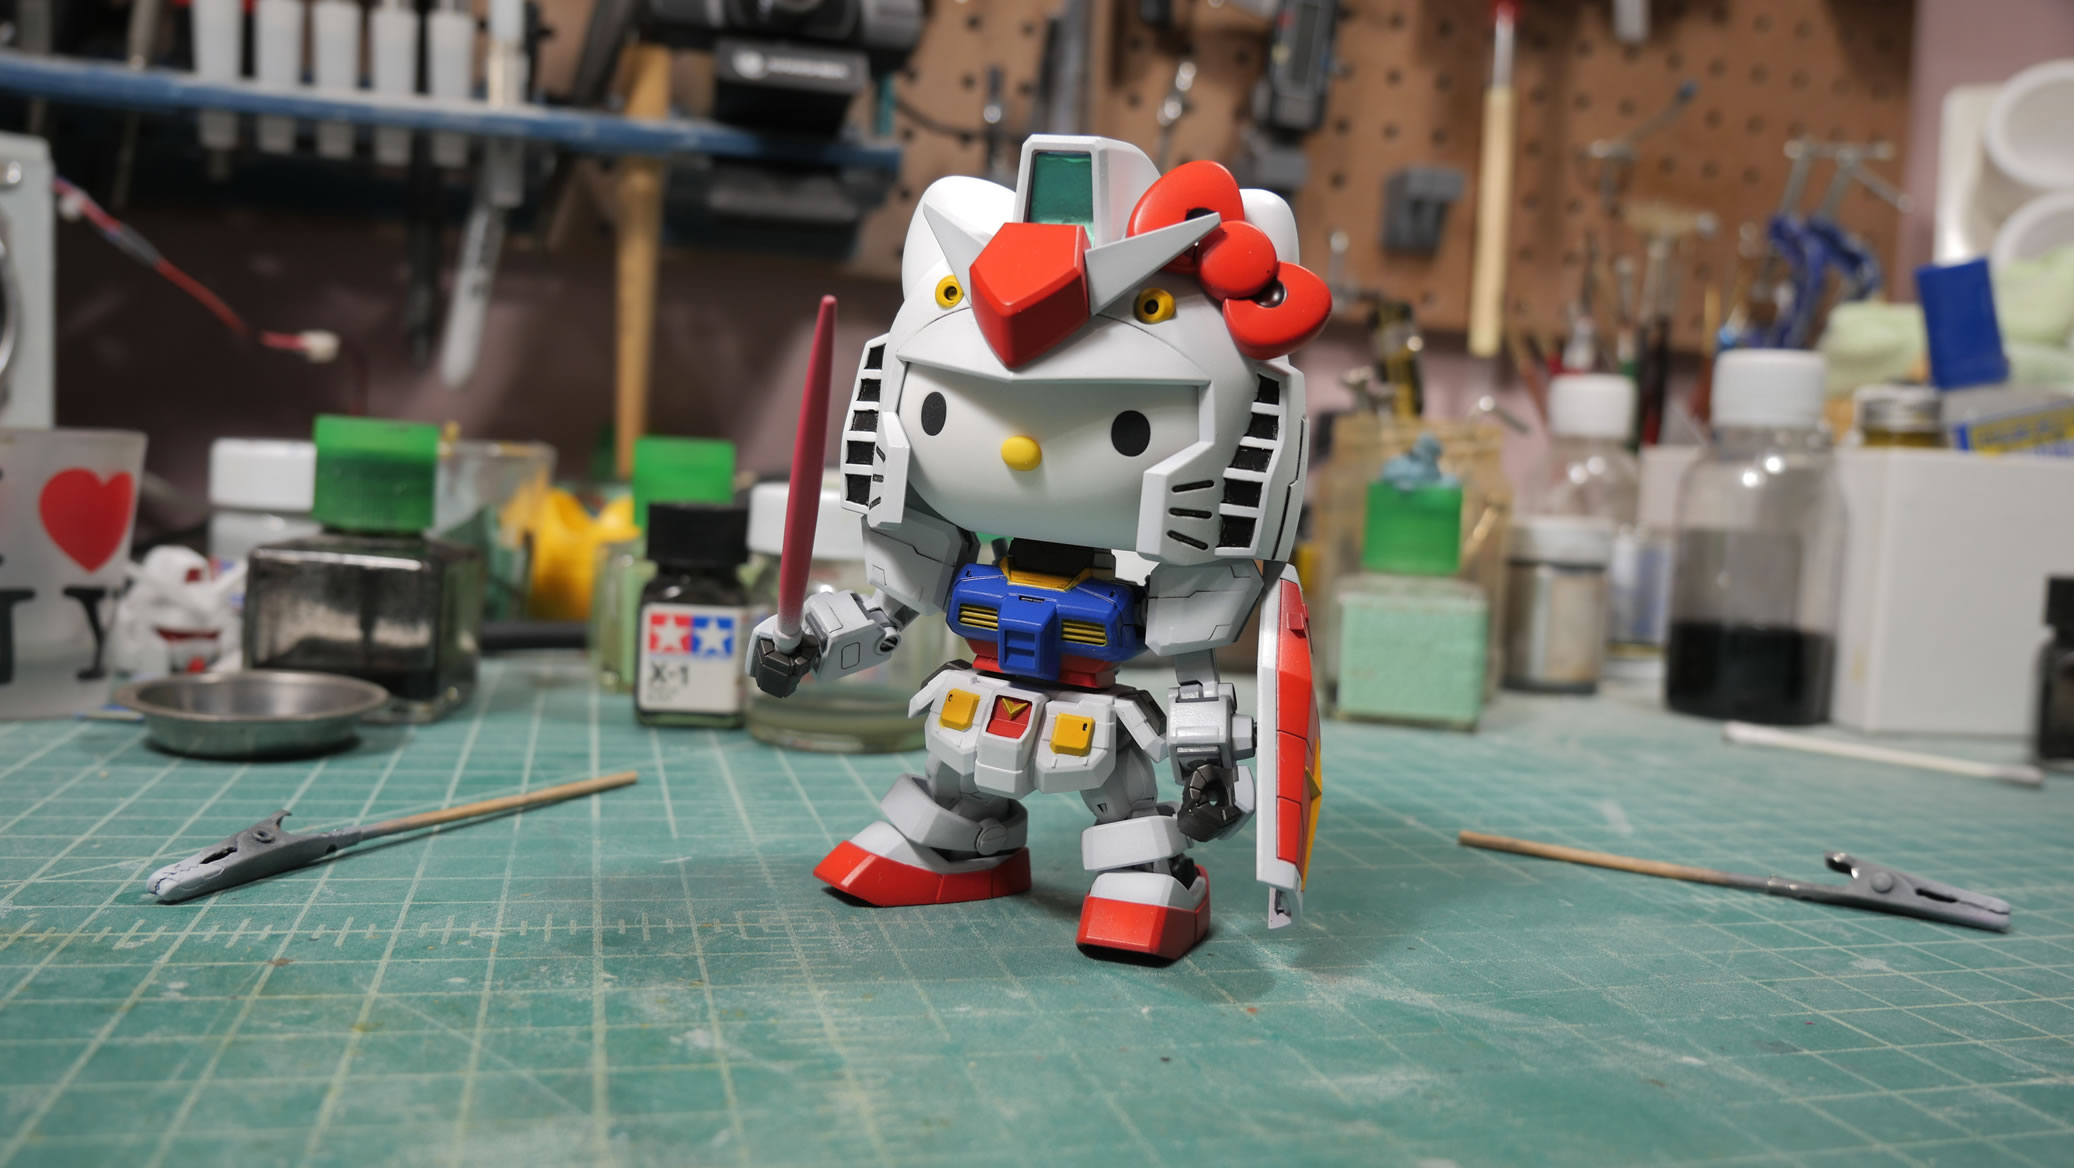
Painting was pretty simple. The kit came with stickers for all the different colors, but why. Go this far and use stickers? Lots of masking and painting and more masking and painting. Back side details were also painted as once glued to the base, the back should be easily seen due to the layers of clear separating it from the mirrored acrylic. So looking at certain angles you can see the back of the kit too.
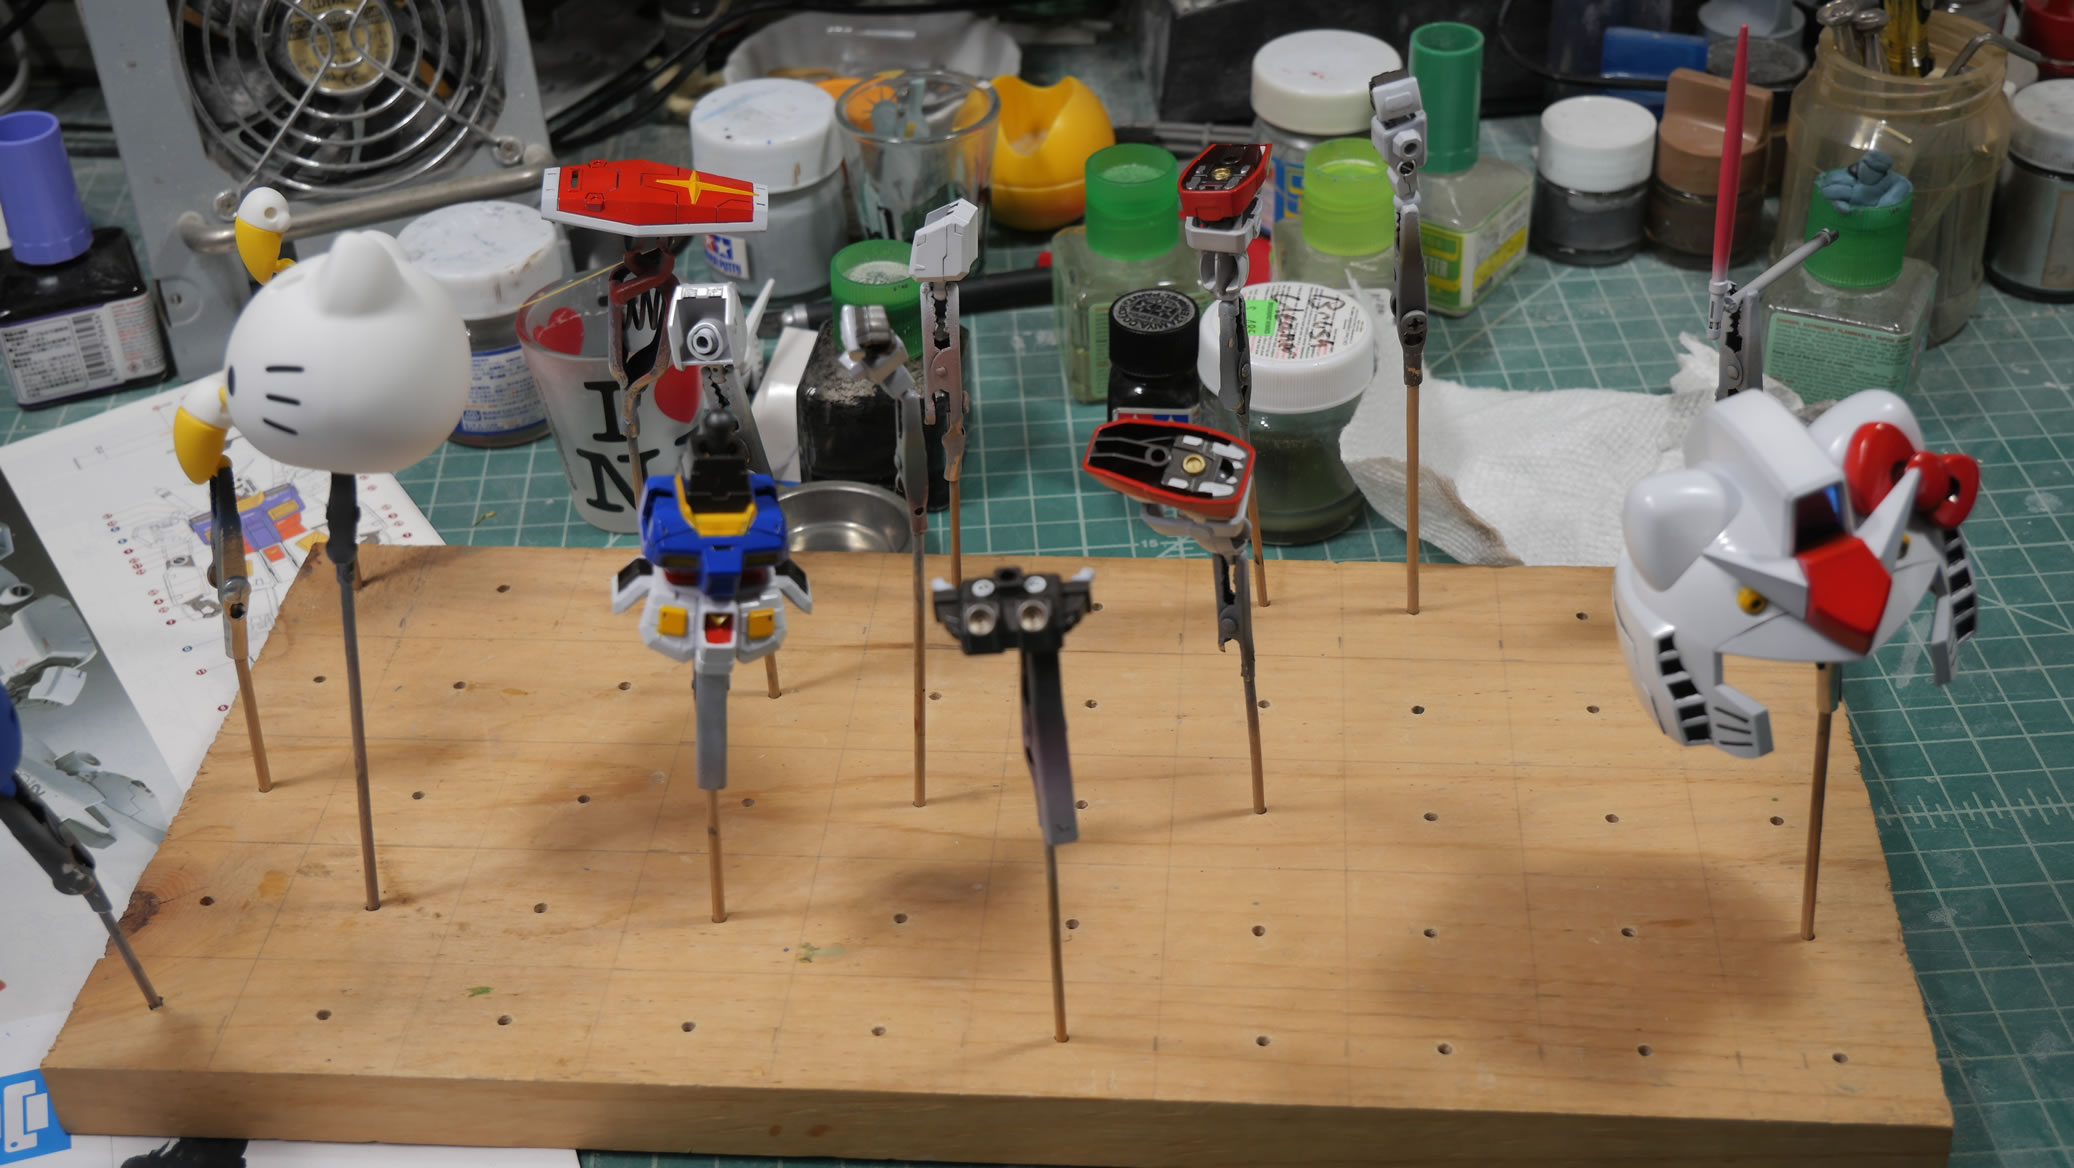
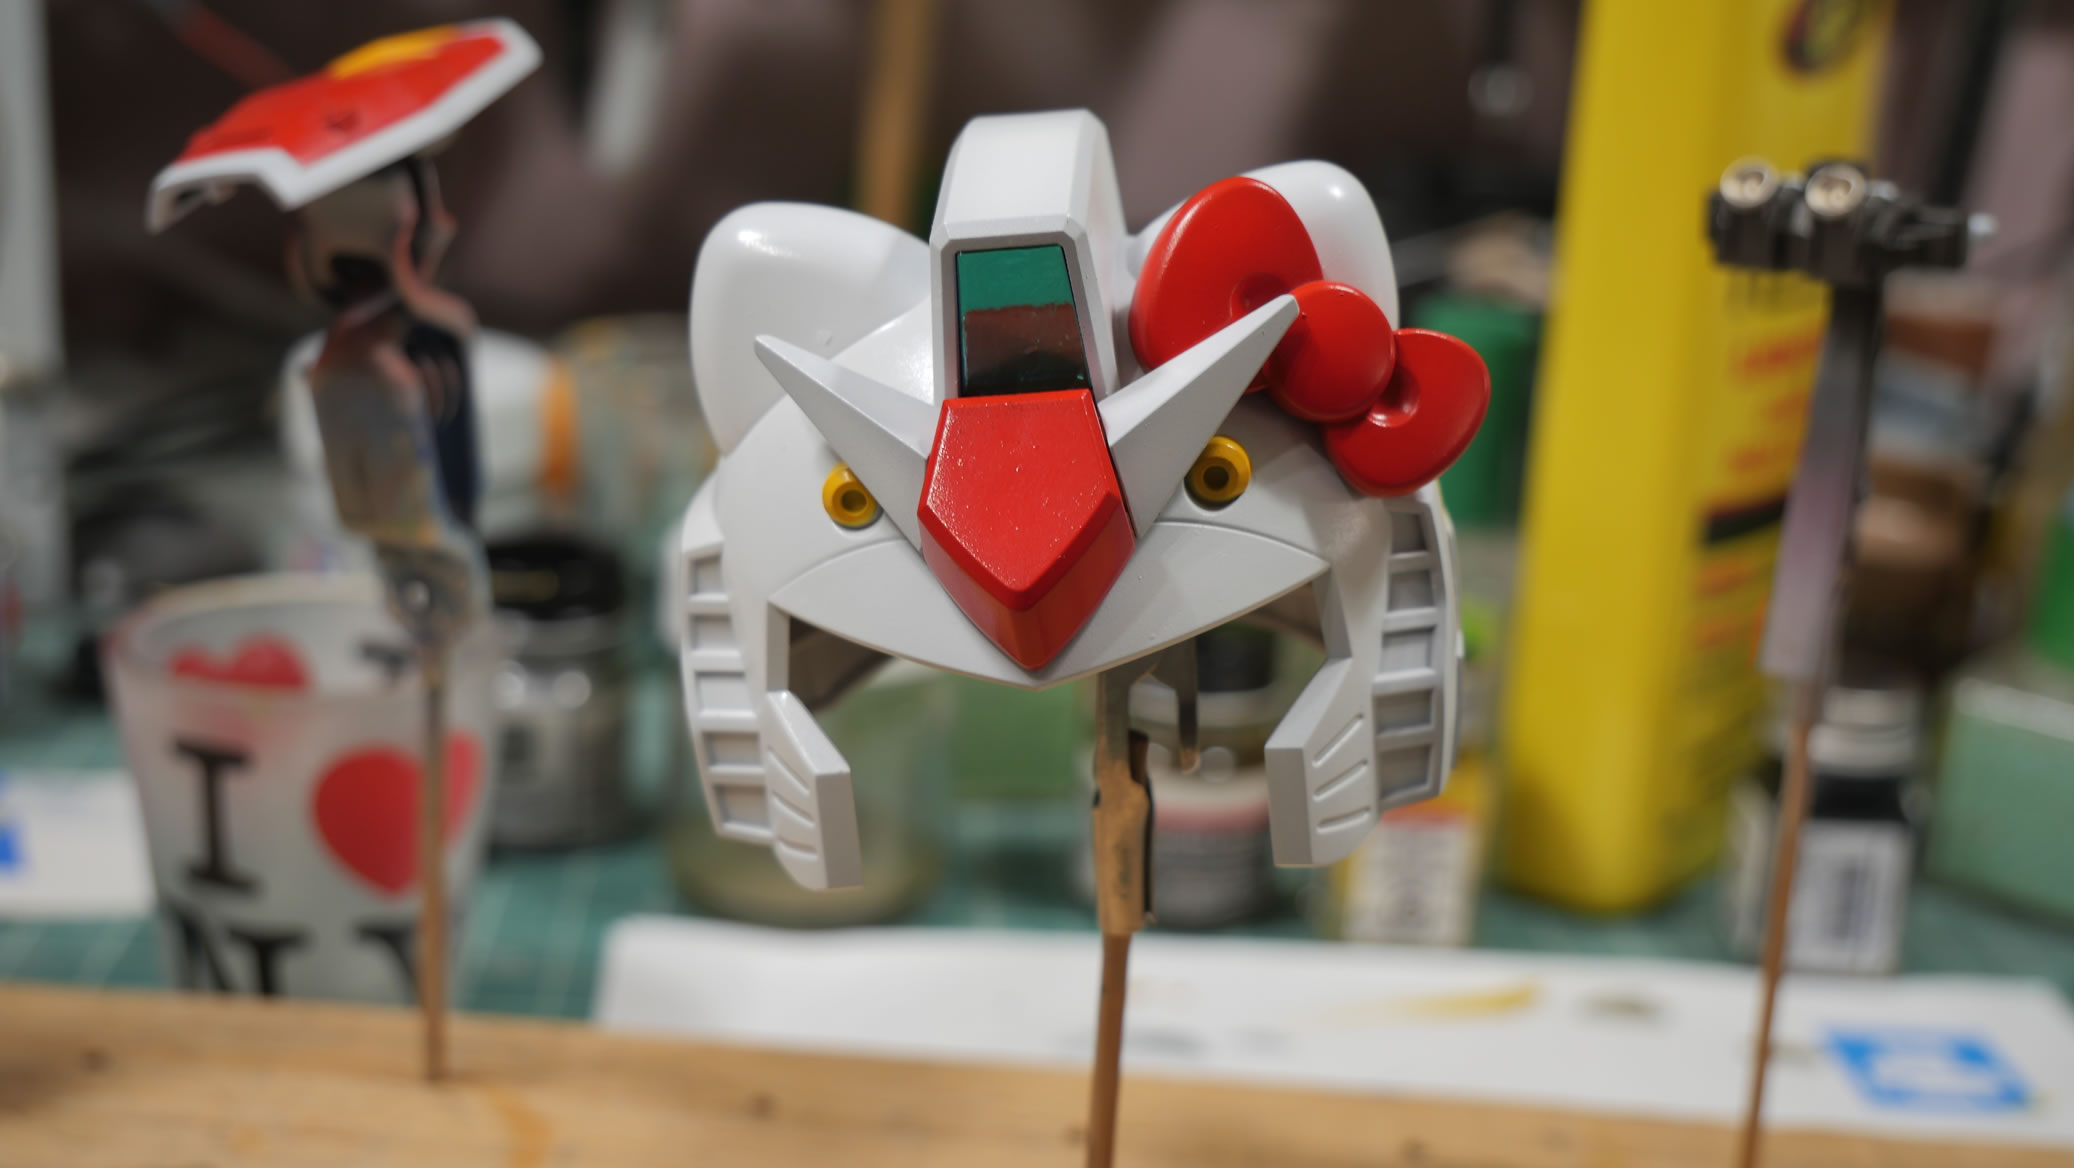
Once all the parts are painted, time to let it dry. I cheated with the Hello Kitty head. I just clear coated that in a flat clear. I didn’t want to mask off the eyes and whiskers. The seam for the head is decently hidden after gluing and sanding, so time to cheat where I can. Plus, once the helmet is on, there’s no way to see the damn seam.
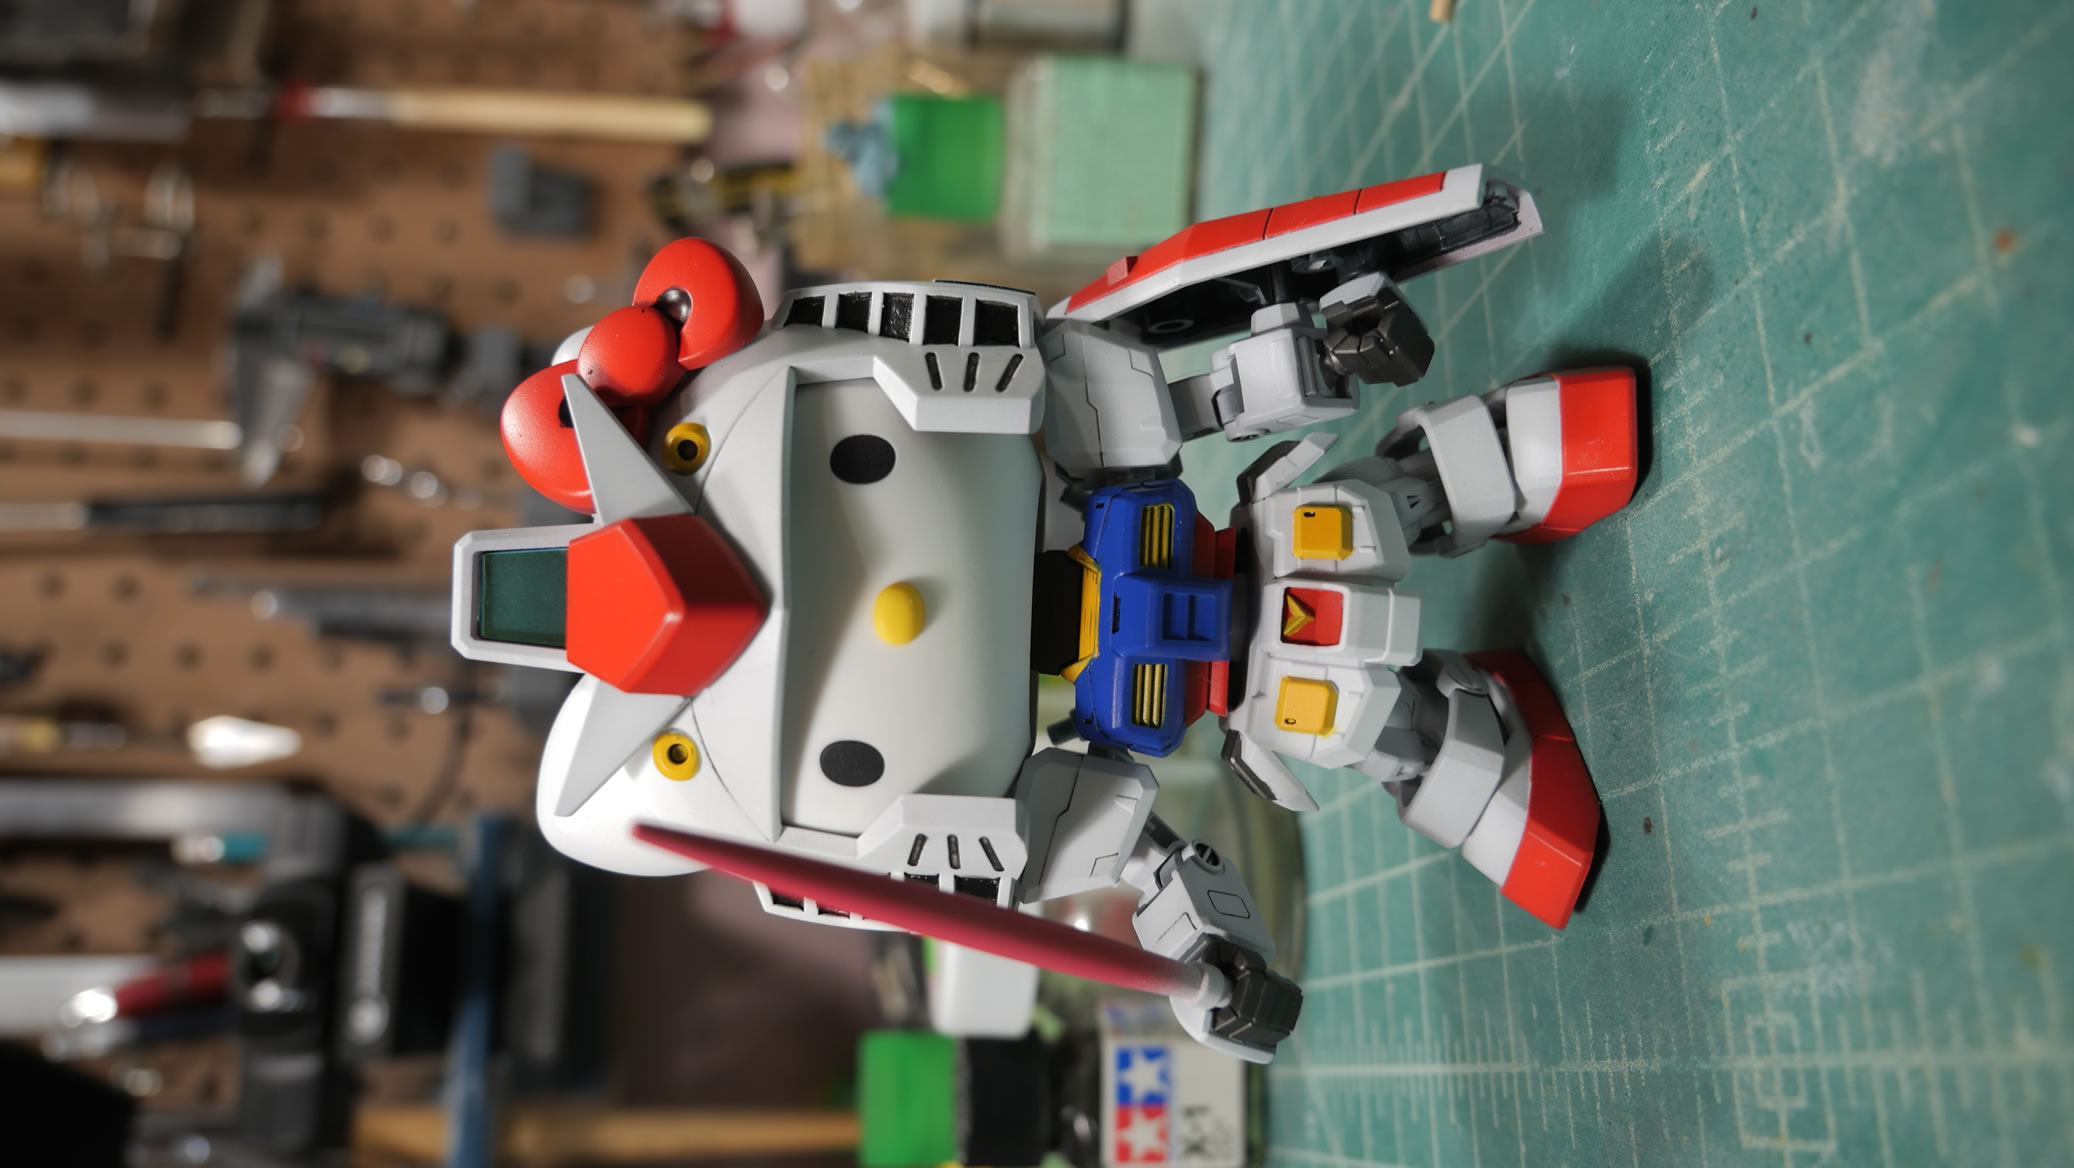
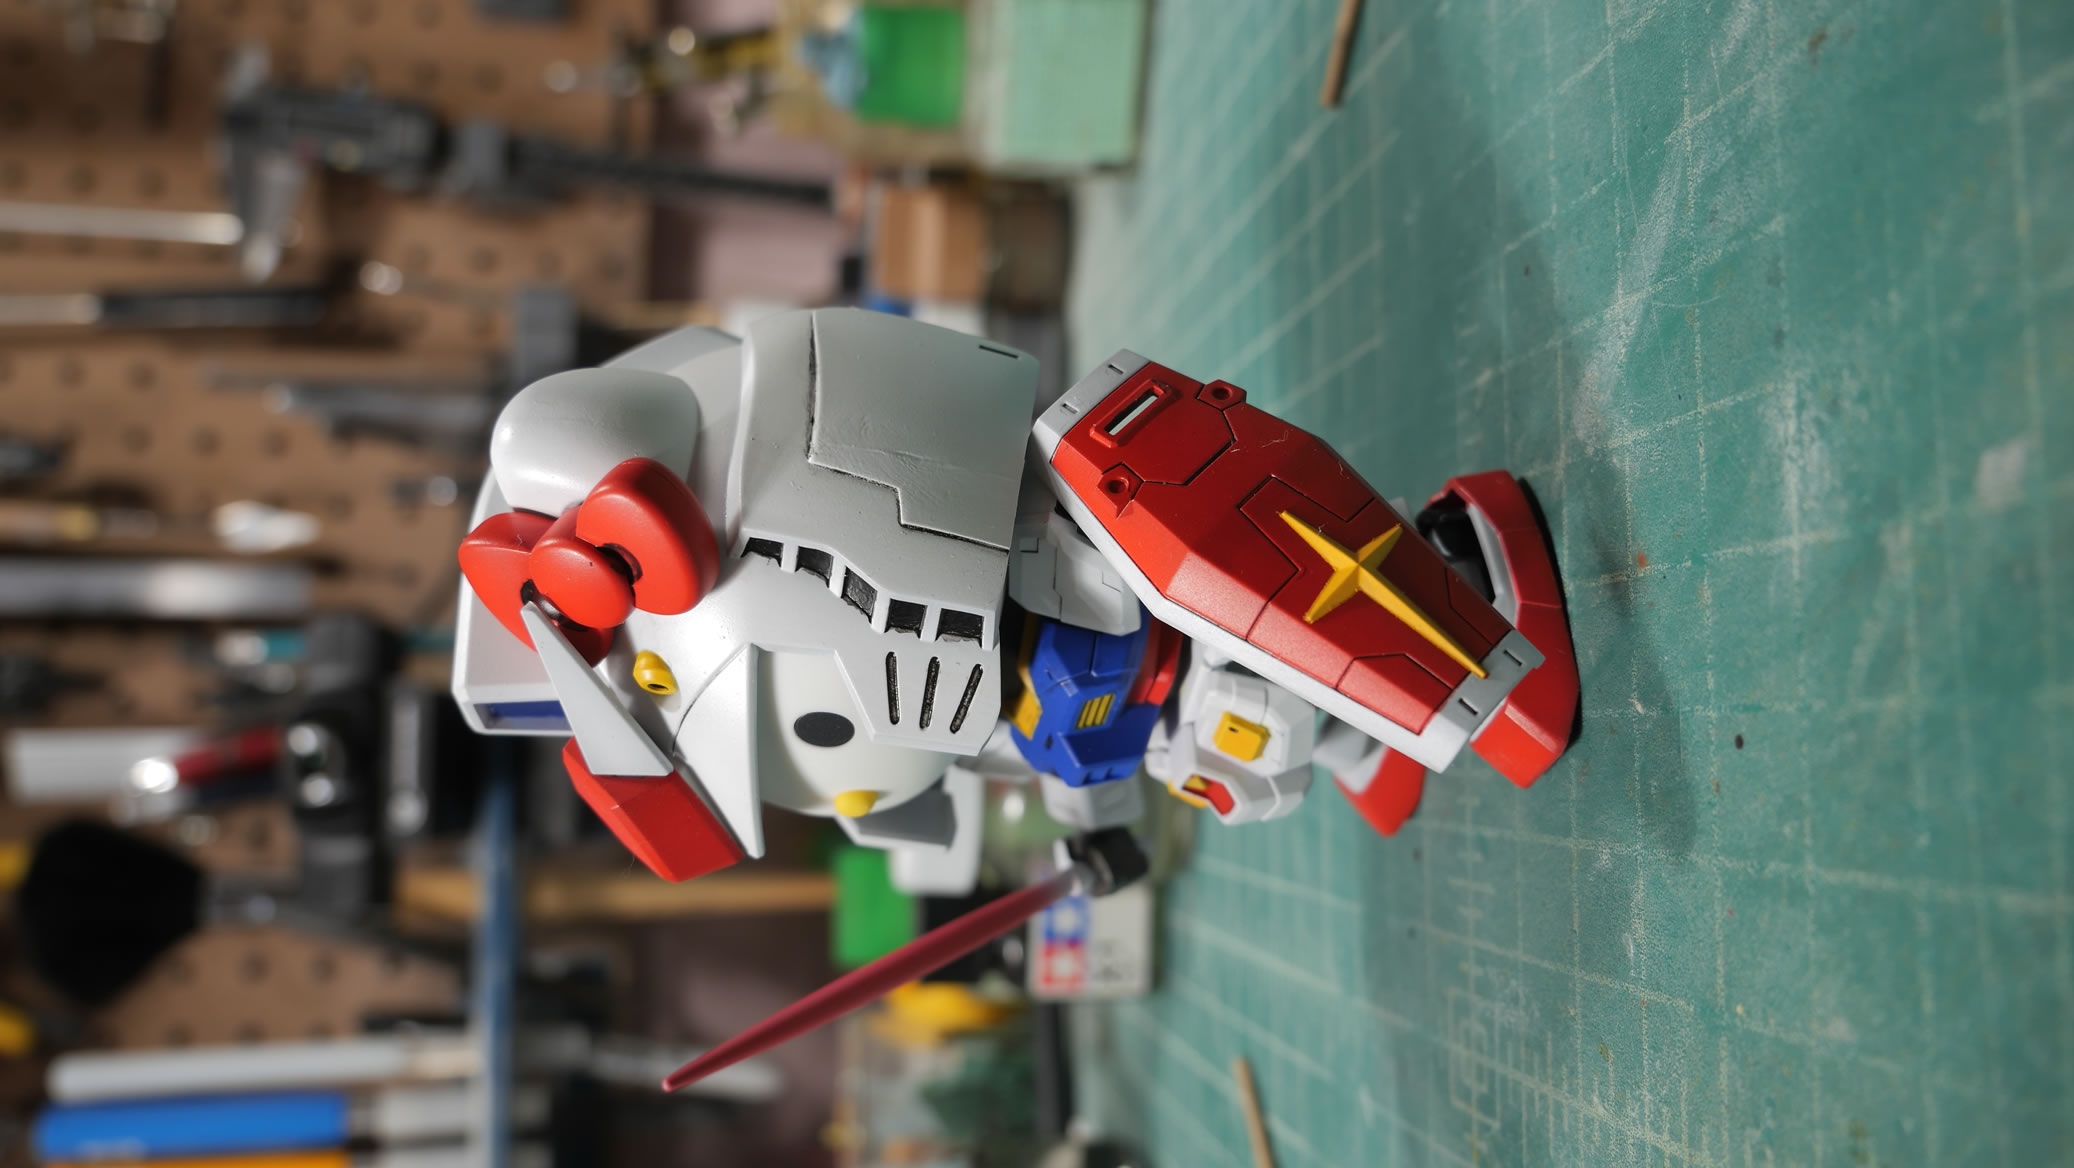
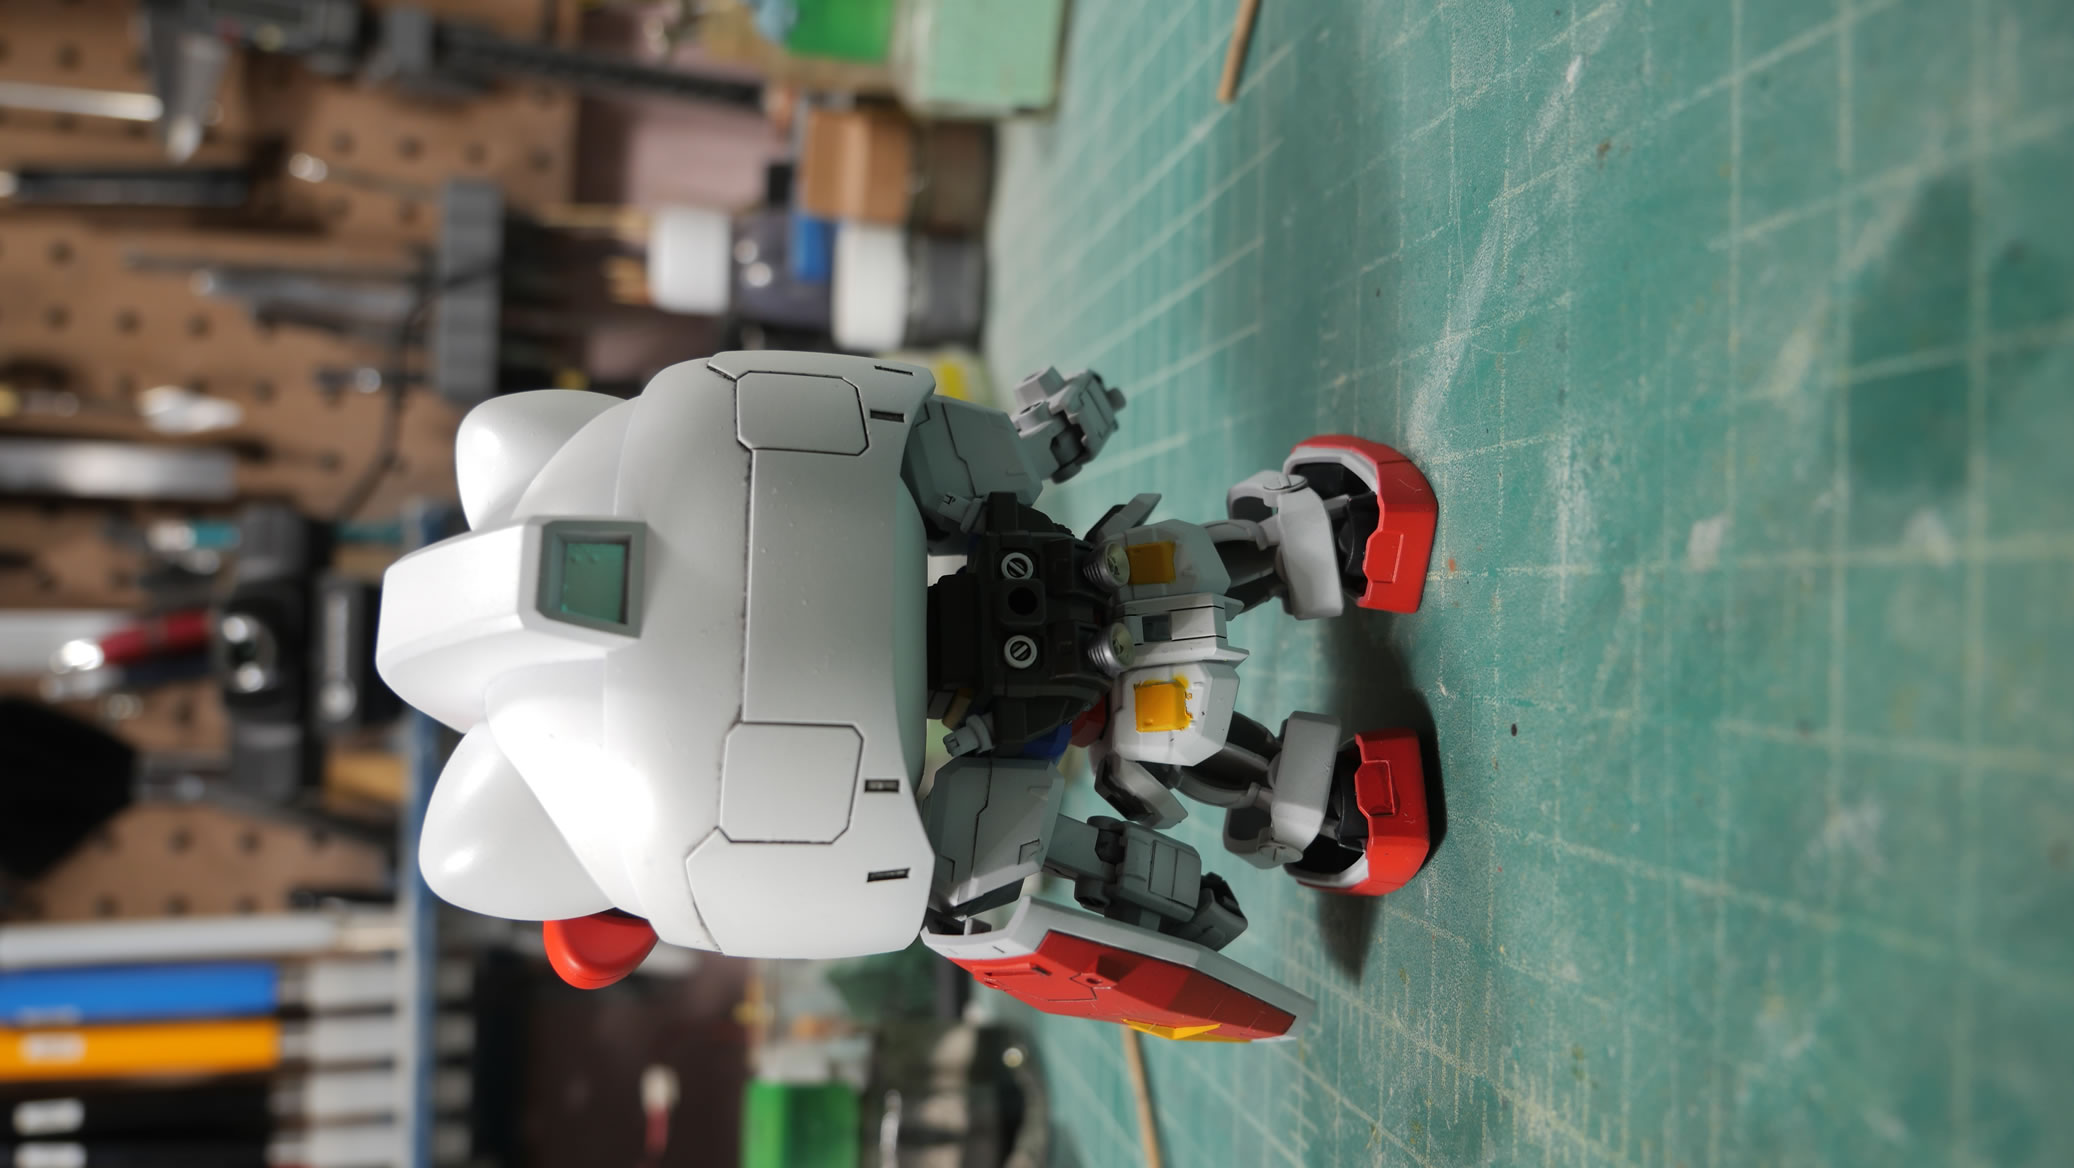
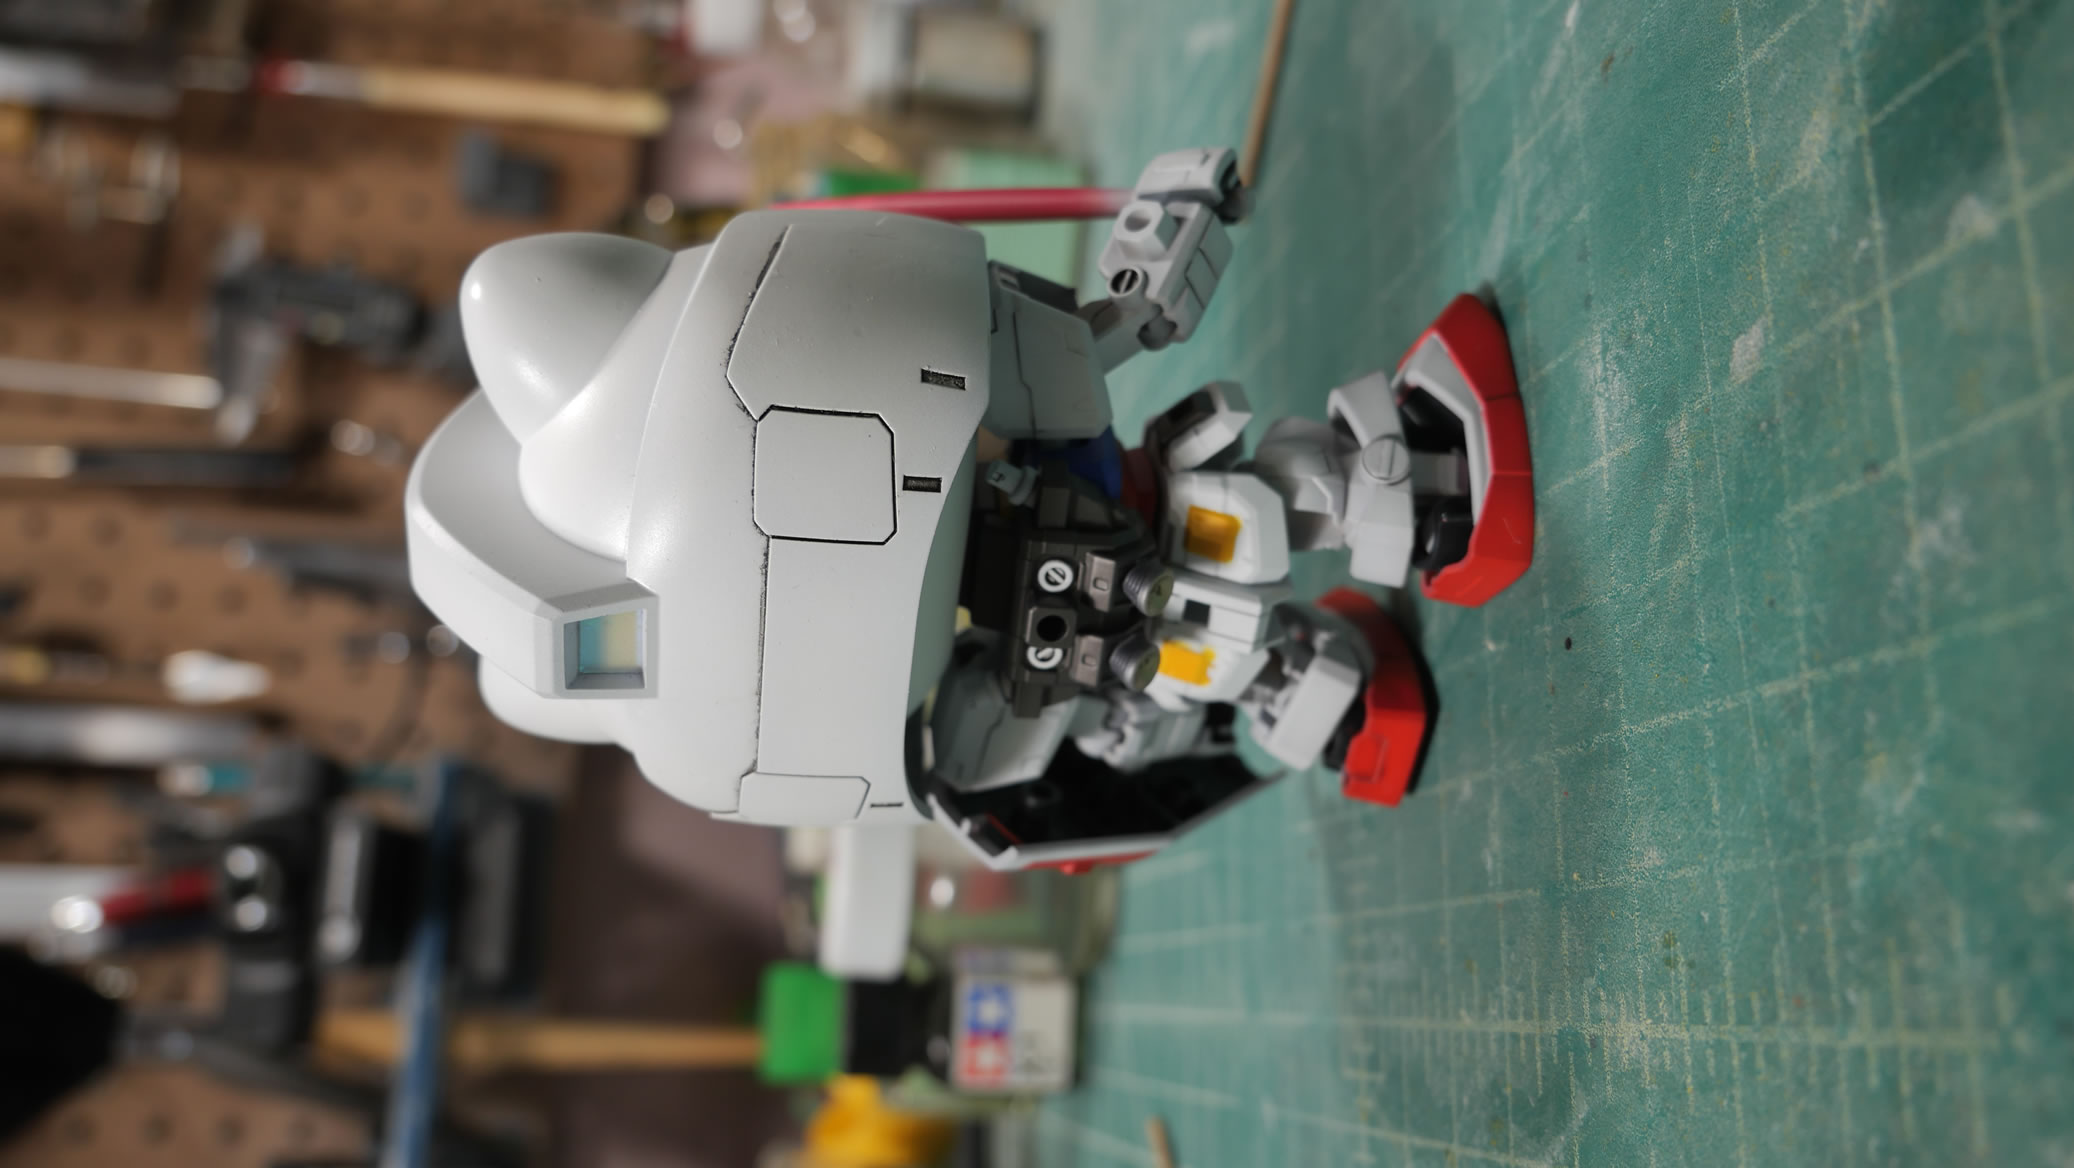
Kit is done and here’s some 360 views before cementing it onto the base with another small layer of clear epoxy resin.
A thin layer of clear resin works to just glue the backpack, back of the head, and back of the feet to the surface of the box. And then this is left to cure for another few days. The inside is masked off and the sides of the box are also sanded and painted with the dark iron color.
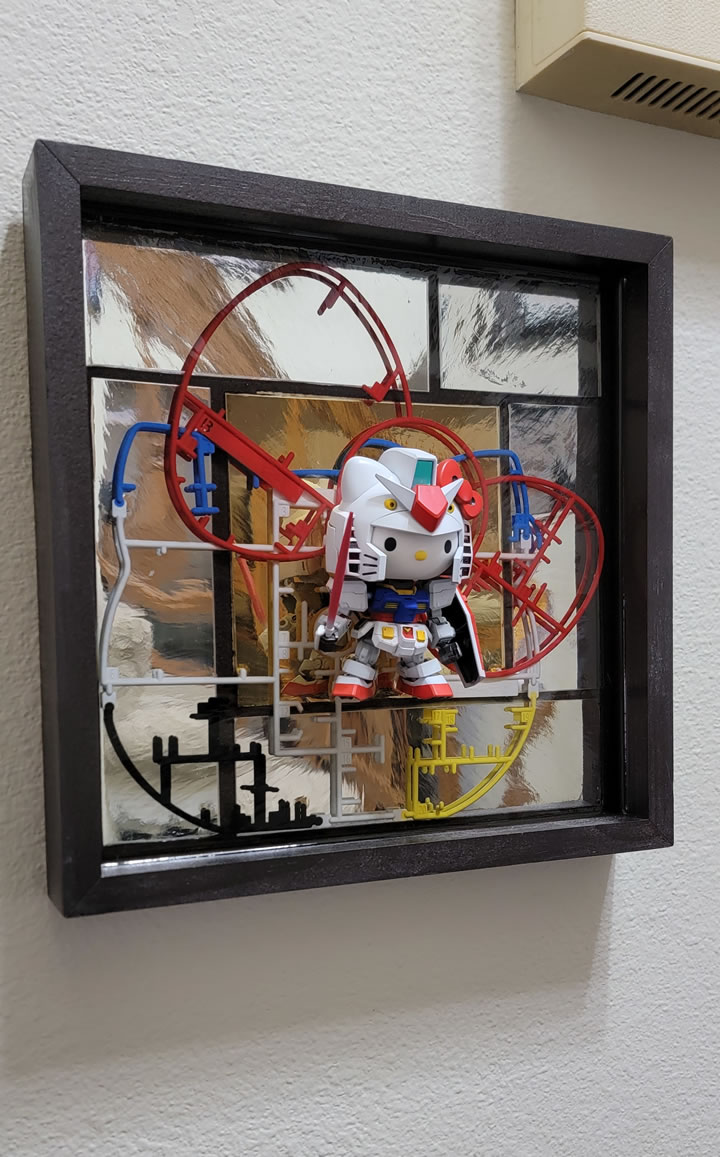
Once done, I attached some frame mounts and a wire across the back so that the whole assembly can be hung up on a wall. It’s a little piece of wall art now. It’s also pretty damn heavy, I’d say 8 to 10 lbs or so.
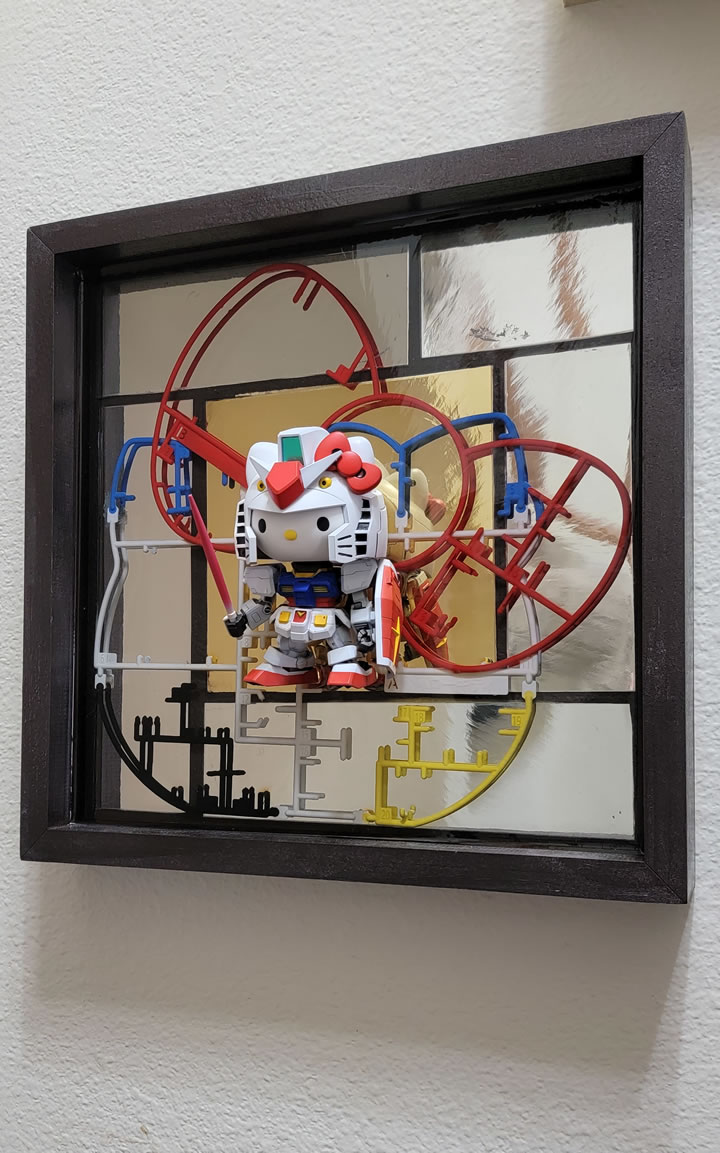
And with that, it was packed up and awaited our Secret Santa exchange we held on Christmas Day. Getting back to my work bench late last year has me back and working on a new project and another car project that I started some time last year but never got around to posting or finishing.