This is a little bit of a catch up post for the multiple things happening in my life over the past few weeks. I finished casting the Gouf Custom Exceed head conversion kit and bust and those are on sale at the store here. If you are looking to get one, this is your chance. I will not be making any more casts as the molds are pretty worn now. The last couple of pulls had to be repeated to get a good cast out of them. More on that later. The picture above is my spoils from OrangeCon 2019. I entered 4 kits, a little Haro I started and finished the day before Orangecon (this past Friday), the Dom Barrage, the Death figure, and the RX-78-3 Gundam G3 Exceed head. The 3 gunpla projects were entered into the one gunpla category which got split, so I got a 3rd place for the Dom Barrage as the “Large” split and then got a 2nd place for the Gundam Exceed head for the “small” split. Yeah, the 1/35 scale exceed head is considered small. I didn’t even expect that to place which is very odd. But it’s cool, I got some awards and picked up a cool looking classic Lambo from the vendor’s room. Should be a quick build once I get done with other projects currently on my plate.
SCGMC is 4 weeks away! Holy shit, holy shit, holy shit! More after the jump.
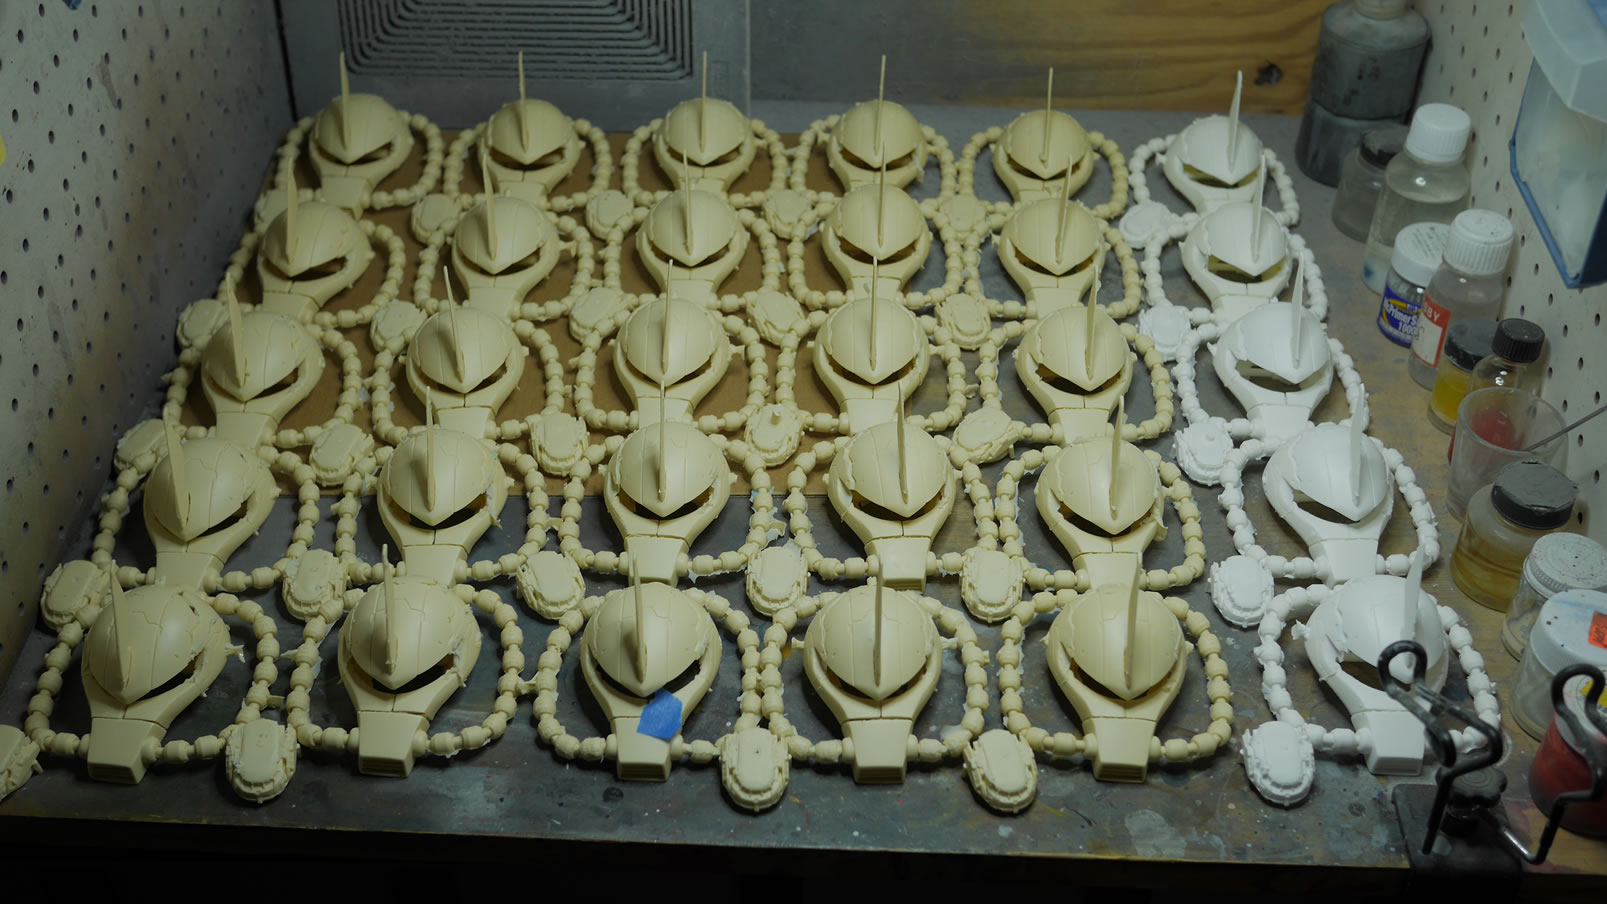
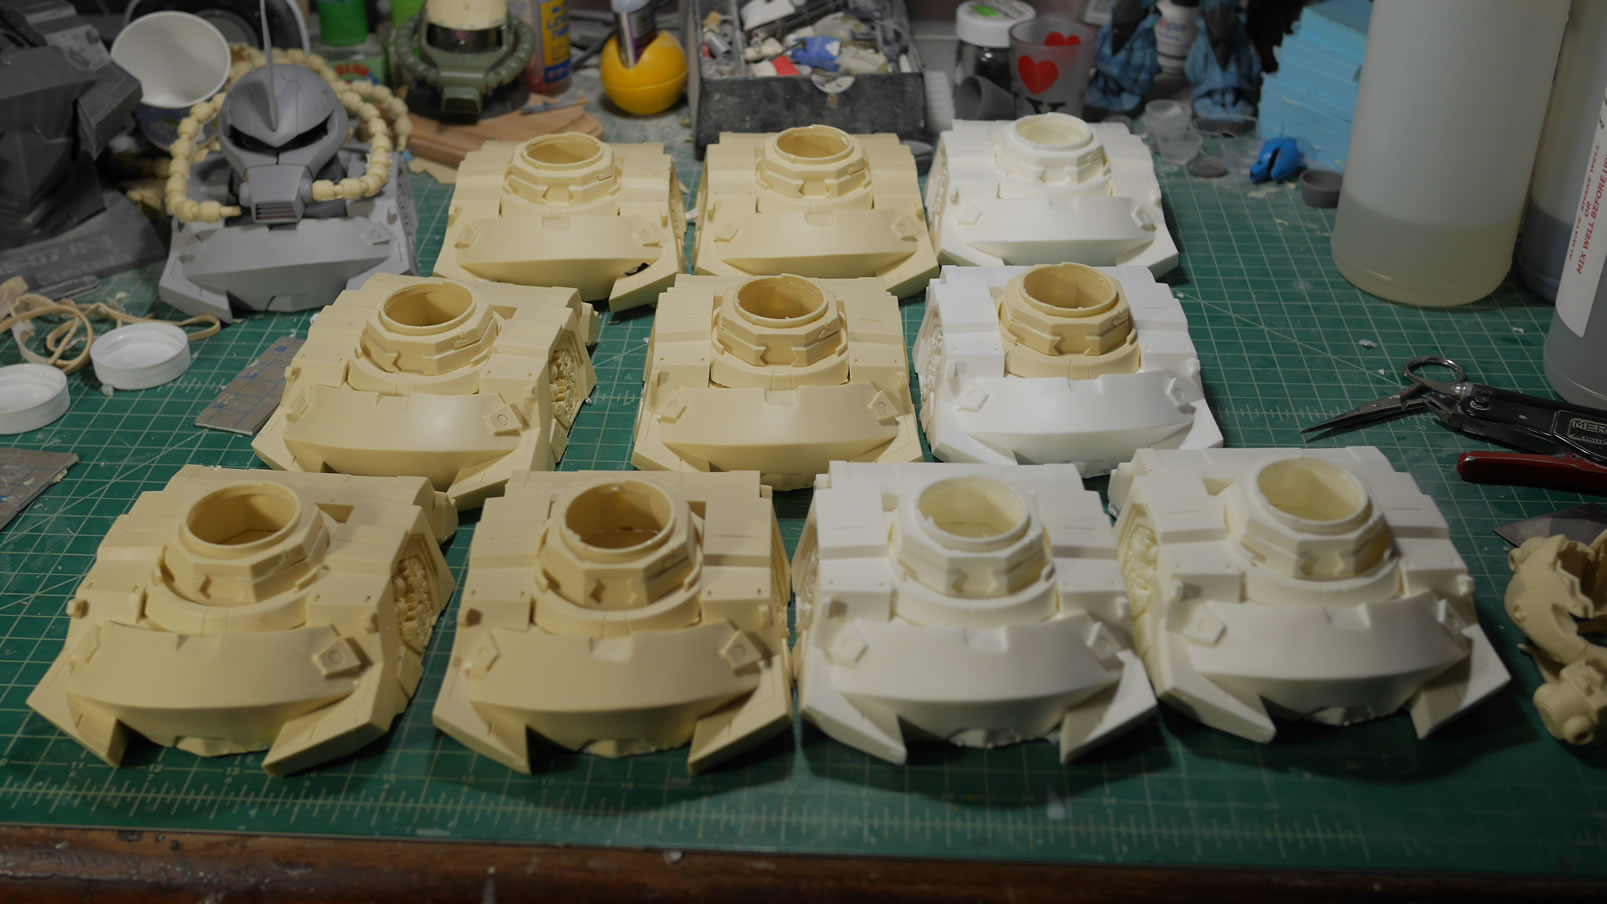
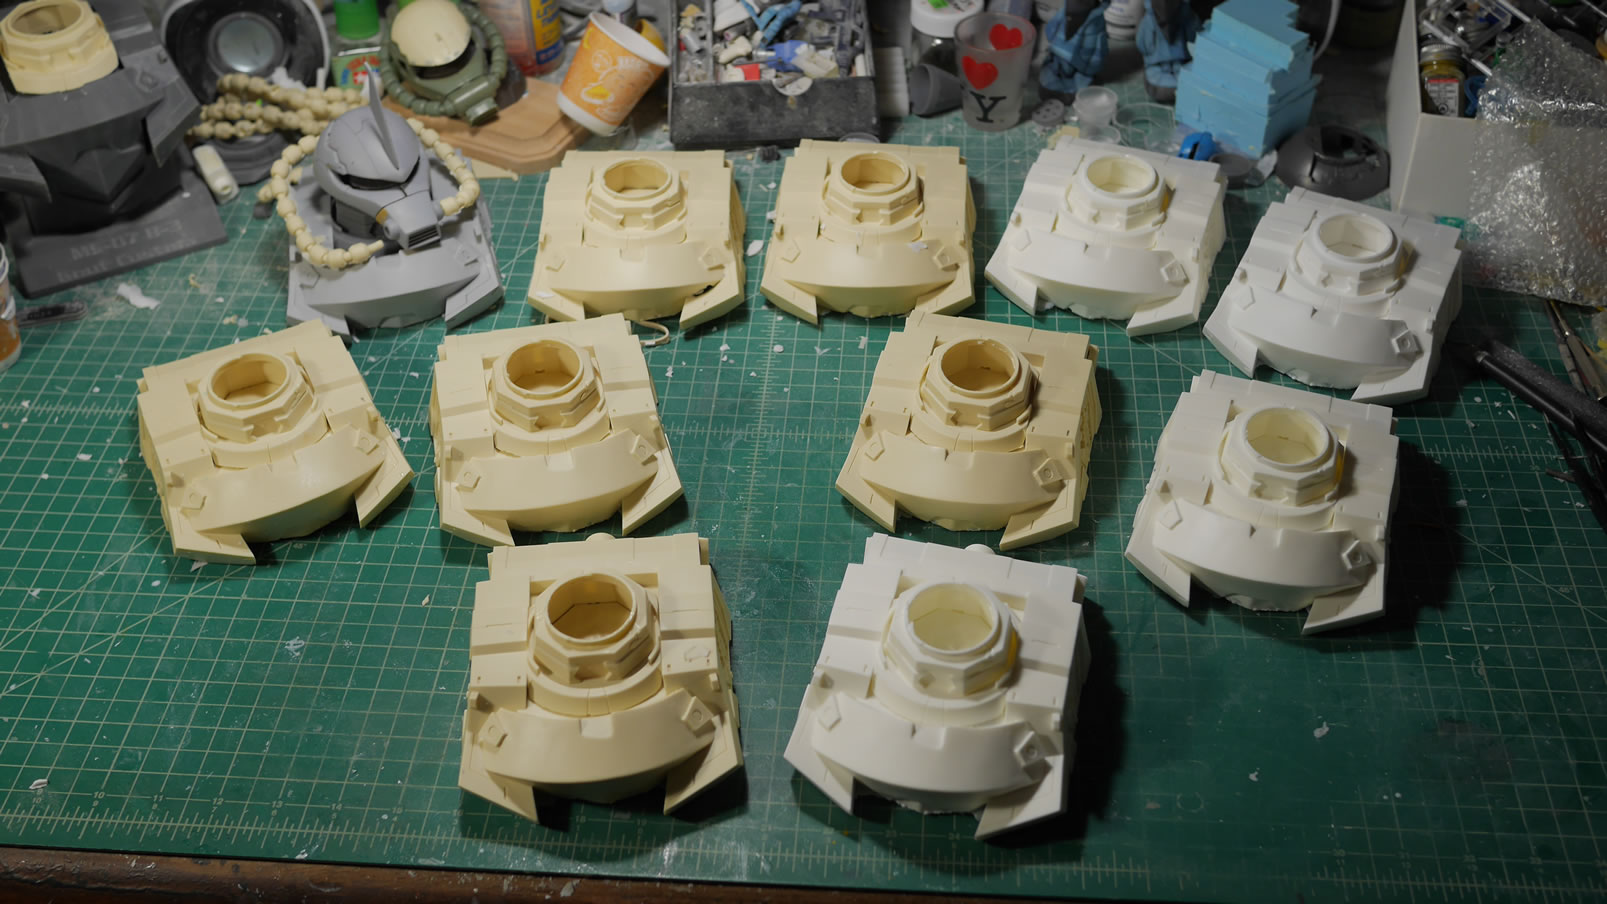
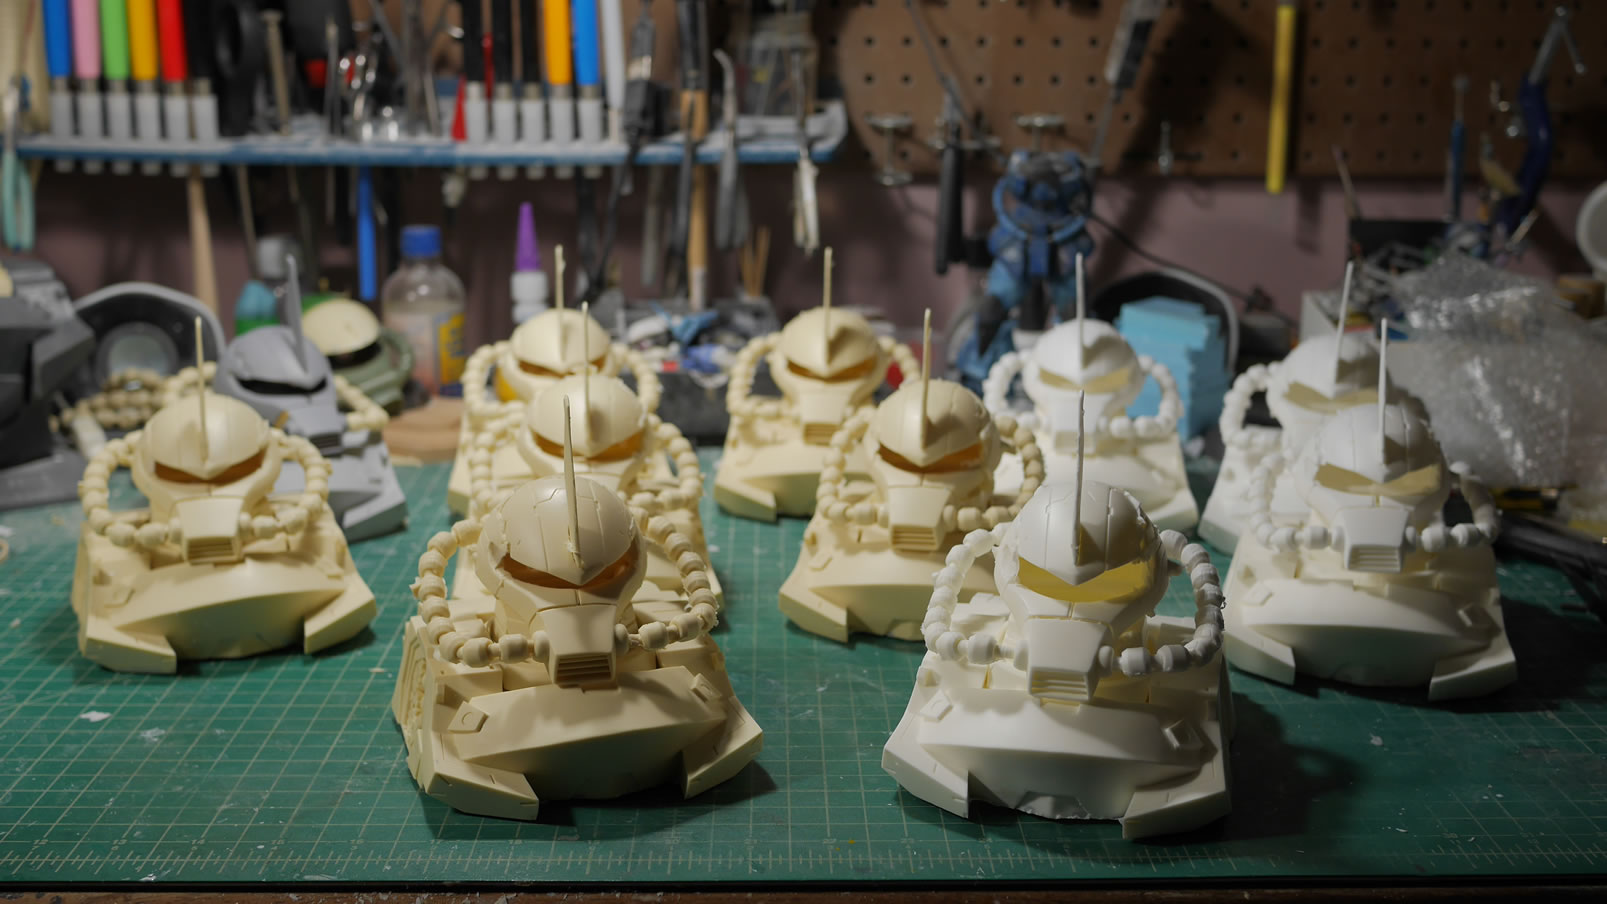
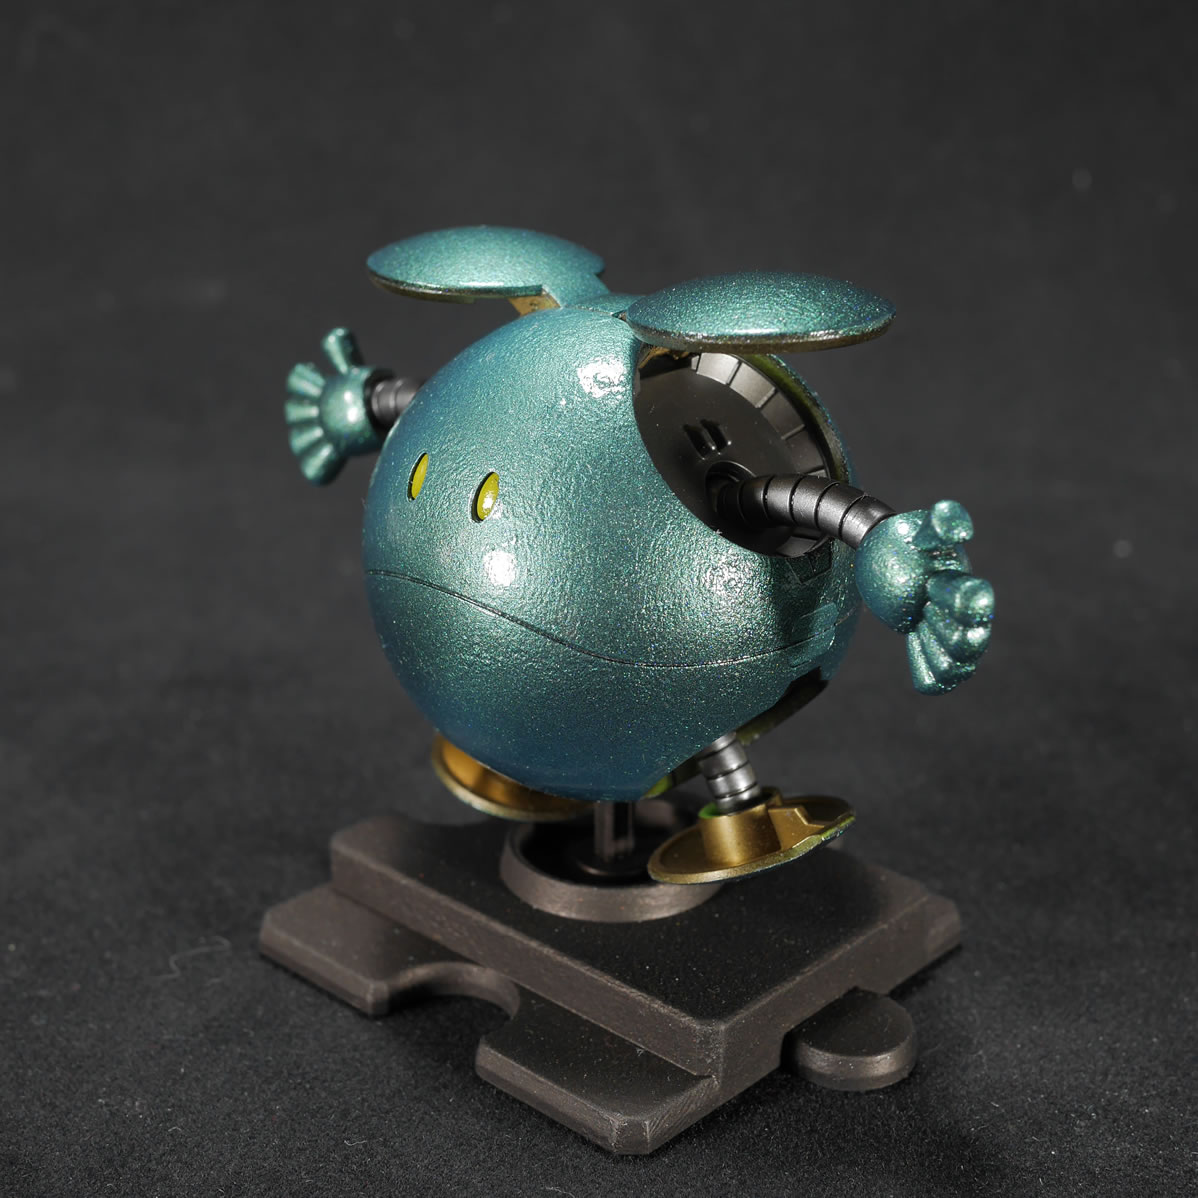
I hit the goal of 30 Gouf Heads and 10 busts casts. They’re up on the site for sale and a good number of the busts kits have been sold and shipped. Since SCGMC is coming up, I’ll have anything left over for sale at the show. They look like little Goufy tanks don’t they?
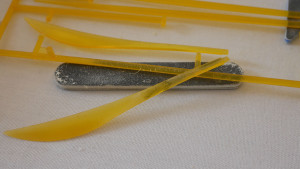
The silicone molds starting to get pretty rough towards the end. Resin is an adhesive, so granted it doesn’t stick very will to the silicone rubber, but over time, the molds will tear and you’ll get bits and pieces of the mold tearing giving even more surface area for the resin to stick. I sprayed mold release and rebaked them a few times, but according to a friend, I should have sprayed a light mist after each pull. That could have prolonged the molds and I may have gotten a few more pulls. But the whole process is pretty labor intensive. I just wanted to be done with the goal and have them out there for folks that wanted to buy them. I’ll eventually get around to painting the full bust. Hell, I have what, 5 weeks until SCGMC? Maybe I can pull this off if I focus. I’ve been playing Gundam Battle Operation a little too much of late since they released the game to NA and just restarting a new character to play along with a newly formed tgg clan has been interesting. Its like kicking puppies. The novelty will wear off and I’ll go back to my 3 games a night – or how ever many it takes to complete the dailies.
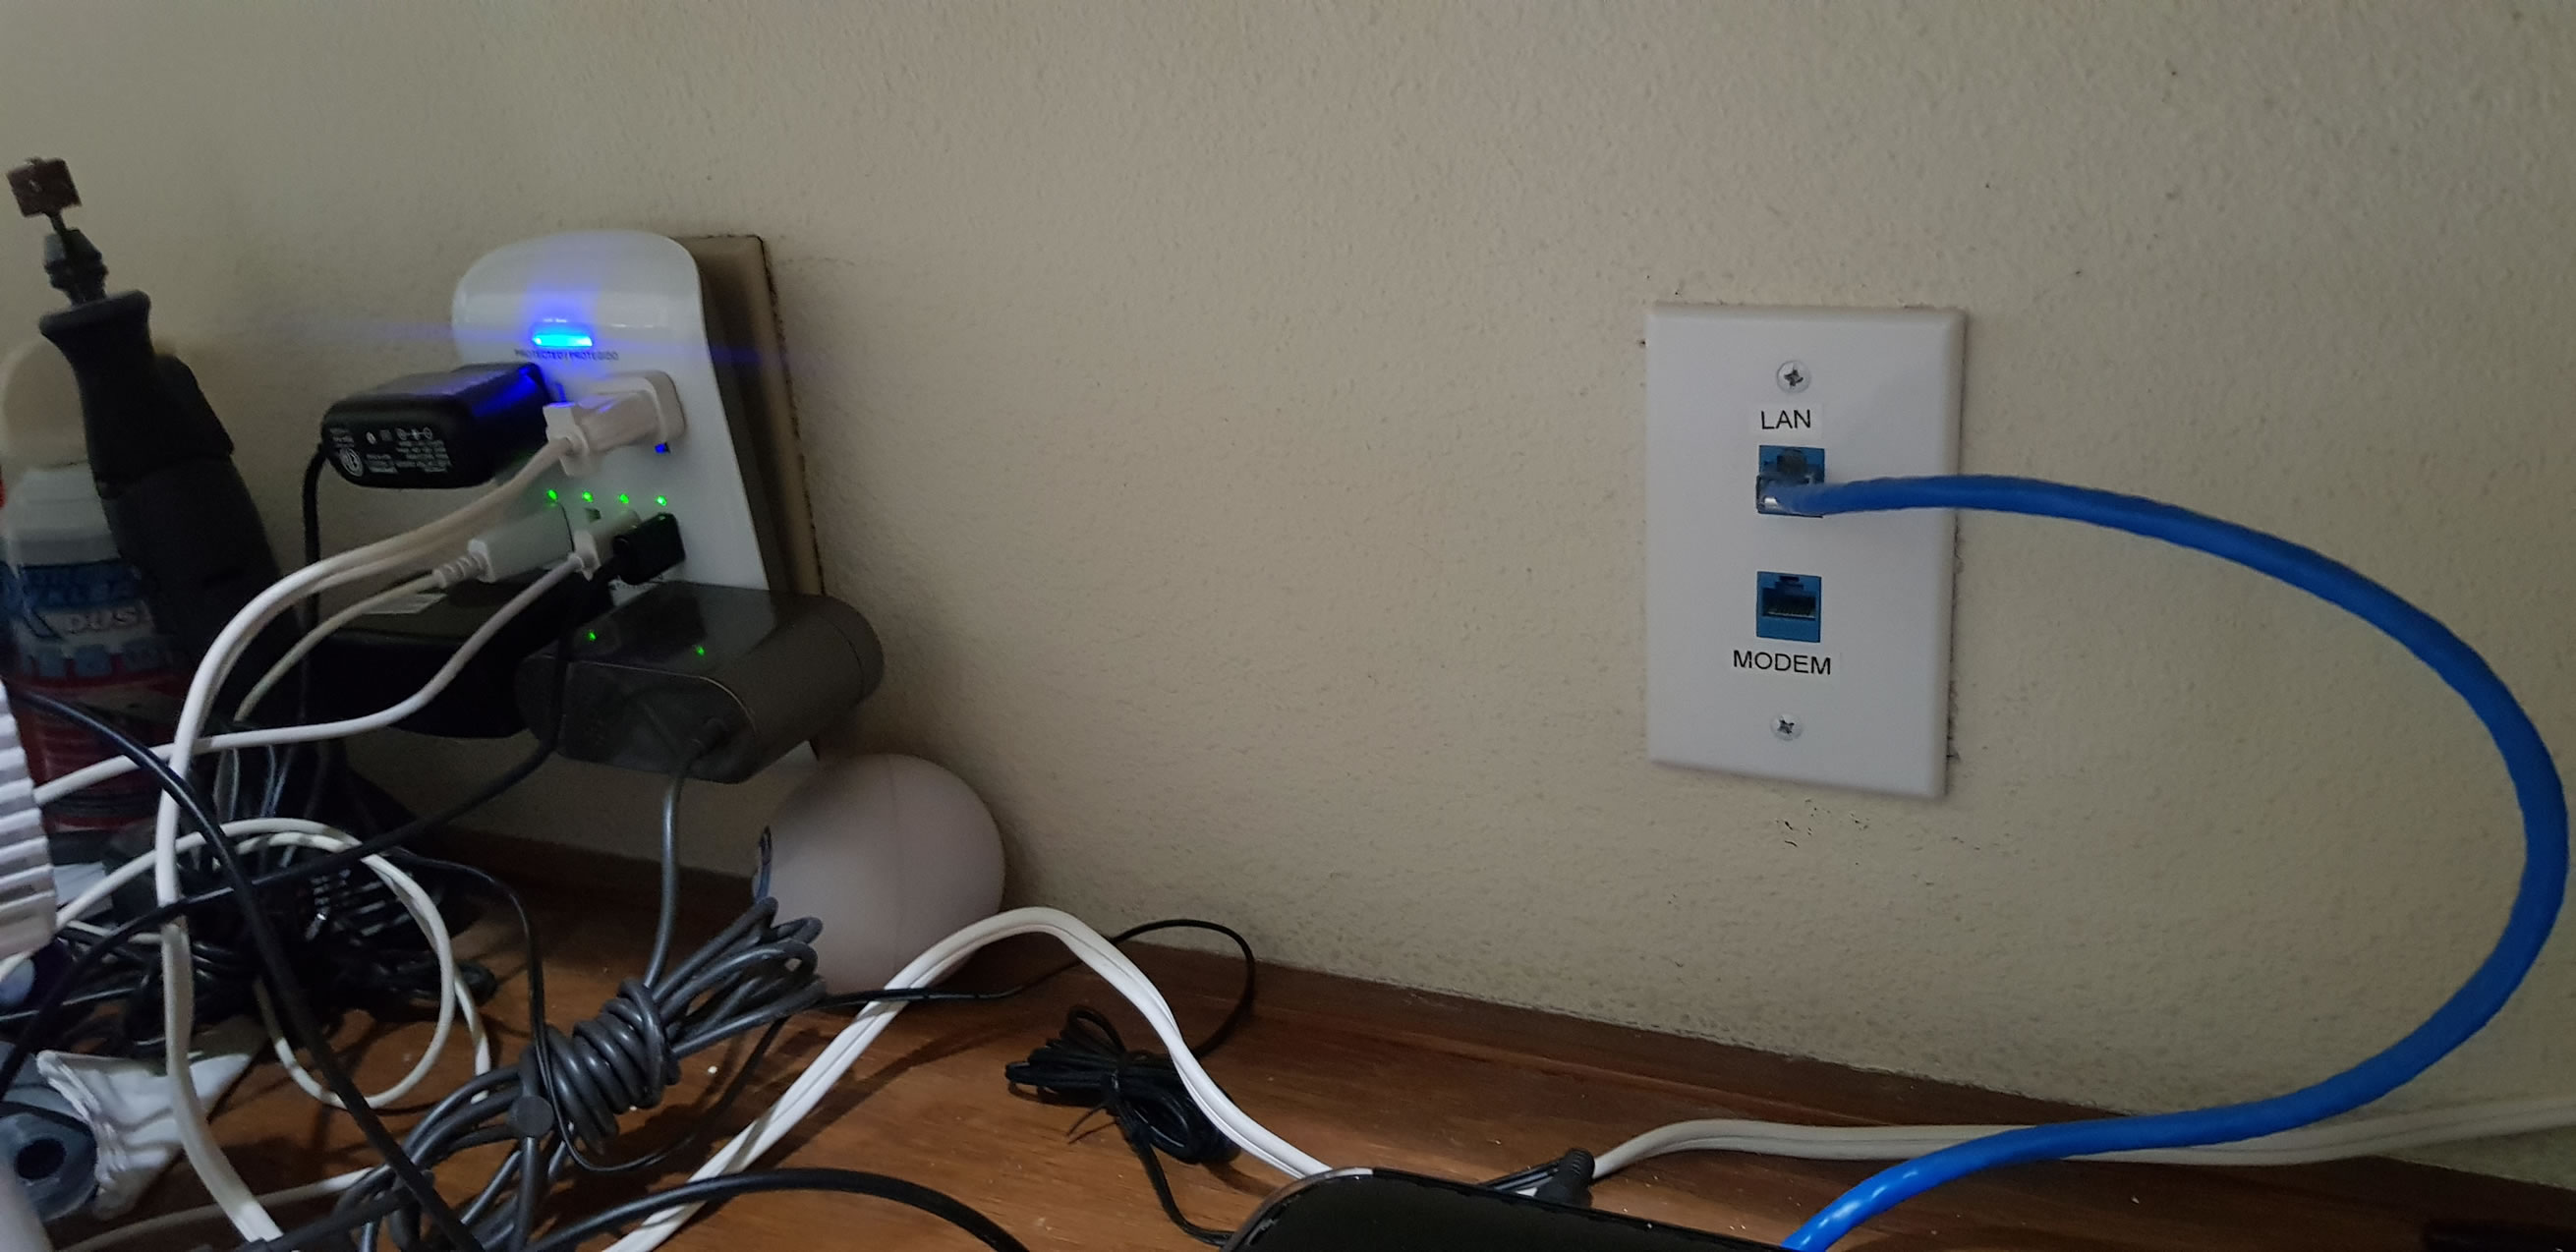
The last week and a half was also spent pulling wire to my house. We installed some dome cameras because the neighborhood has gotten a little more dodgy. When we first moved here, we lost a few packages to porch thieves, so we ended up getting around that with just shipping stuff to our work offices. But it’s always nice to put a face to folks that like to come over to the house when we’re not home. So since we needed to pull cat5 cables for the POE cameras, this was the perfect reason to pull cat6 to the whole house; 2 birds one house kind of thing. Since we moved here, I had a horrifically designed cable modem, router, wiring and location placement:
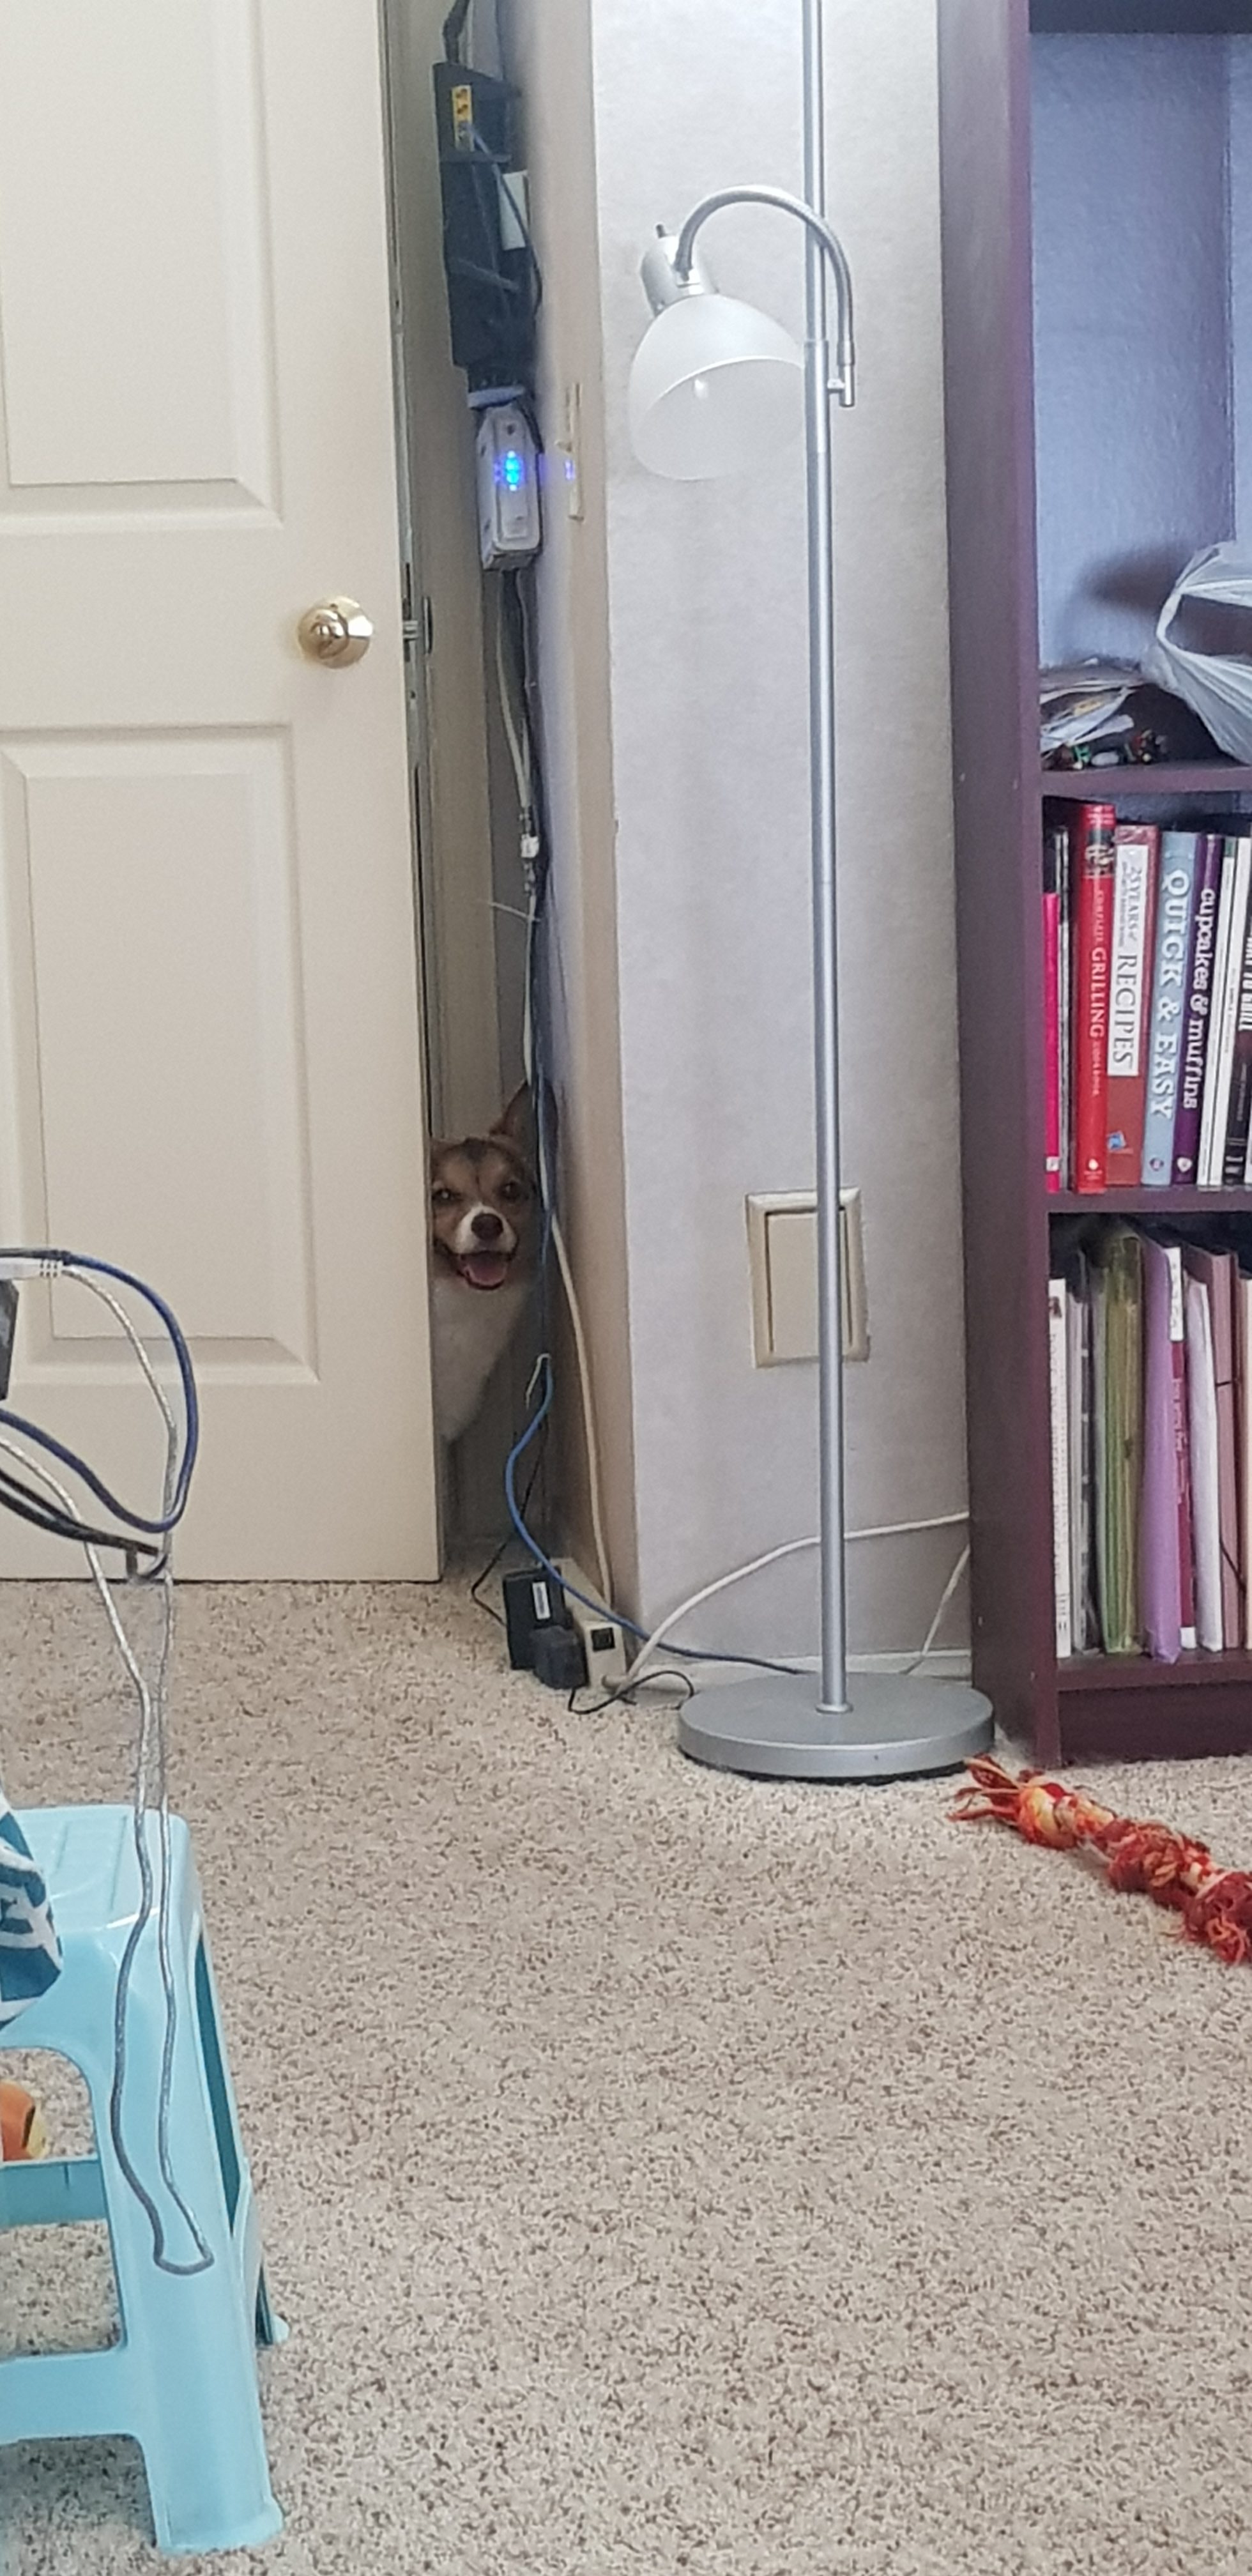
Yes, just above a creepy staring Kenken, is the wall next to the doorway that has the cable modem and wireless router with all the glories of coax and cat5 spidering in every which way along the walls as well as the power connections to the power strip on the floor of this doorway. Best design is not what anyone would use.
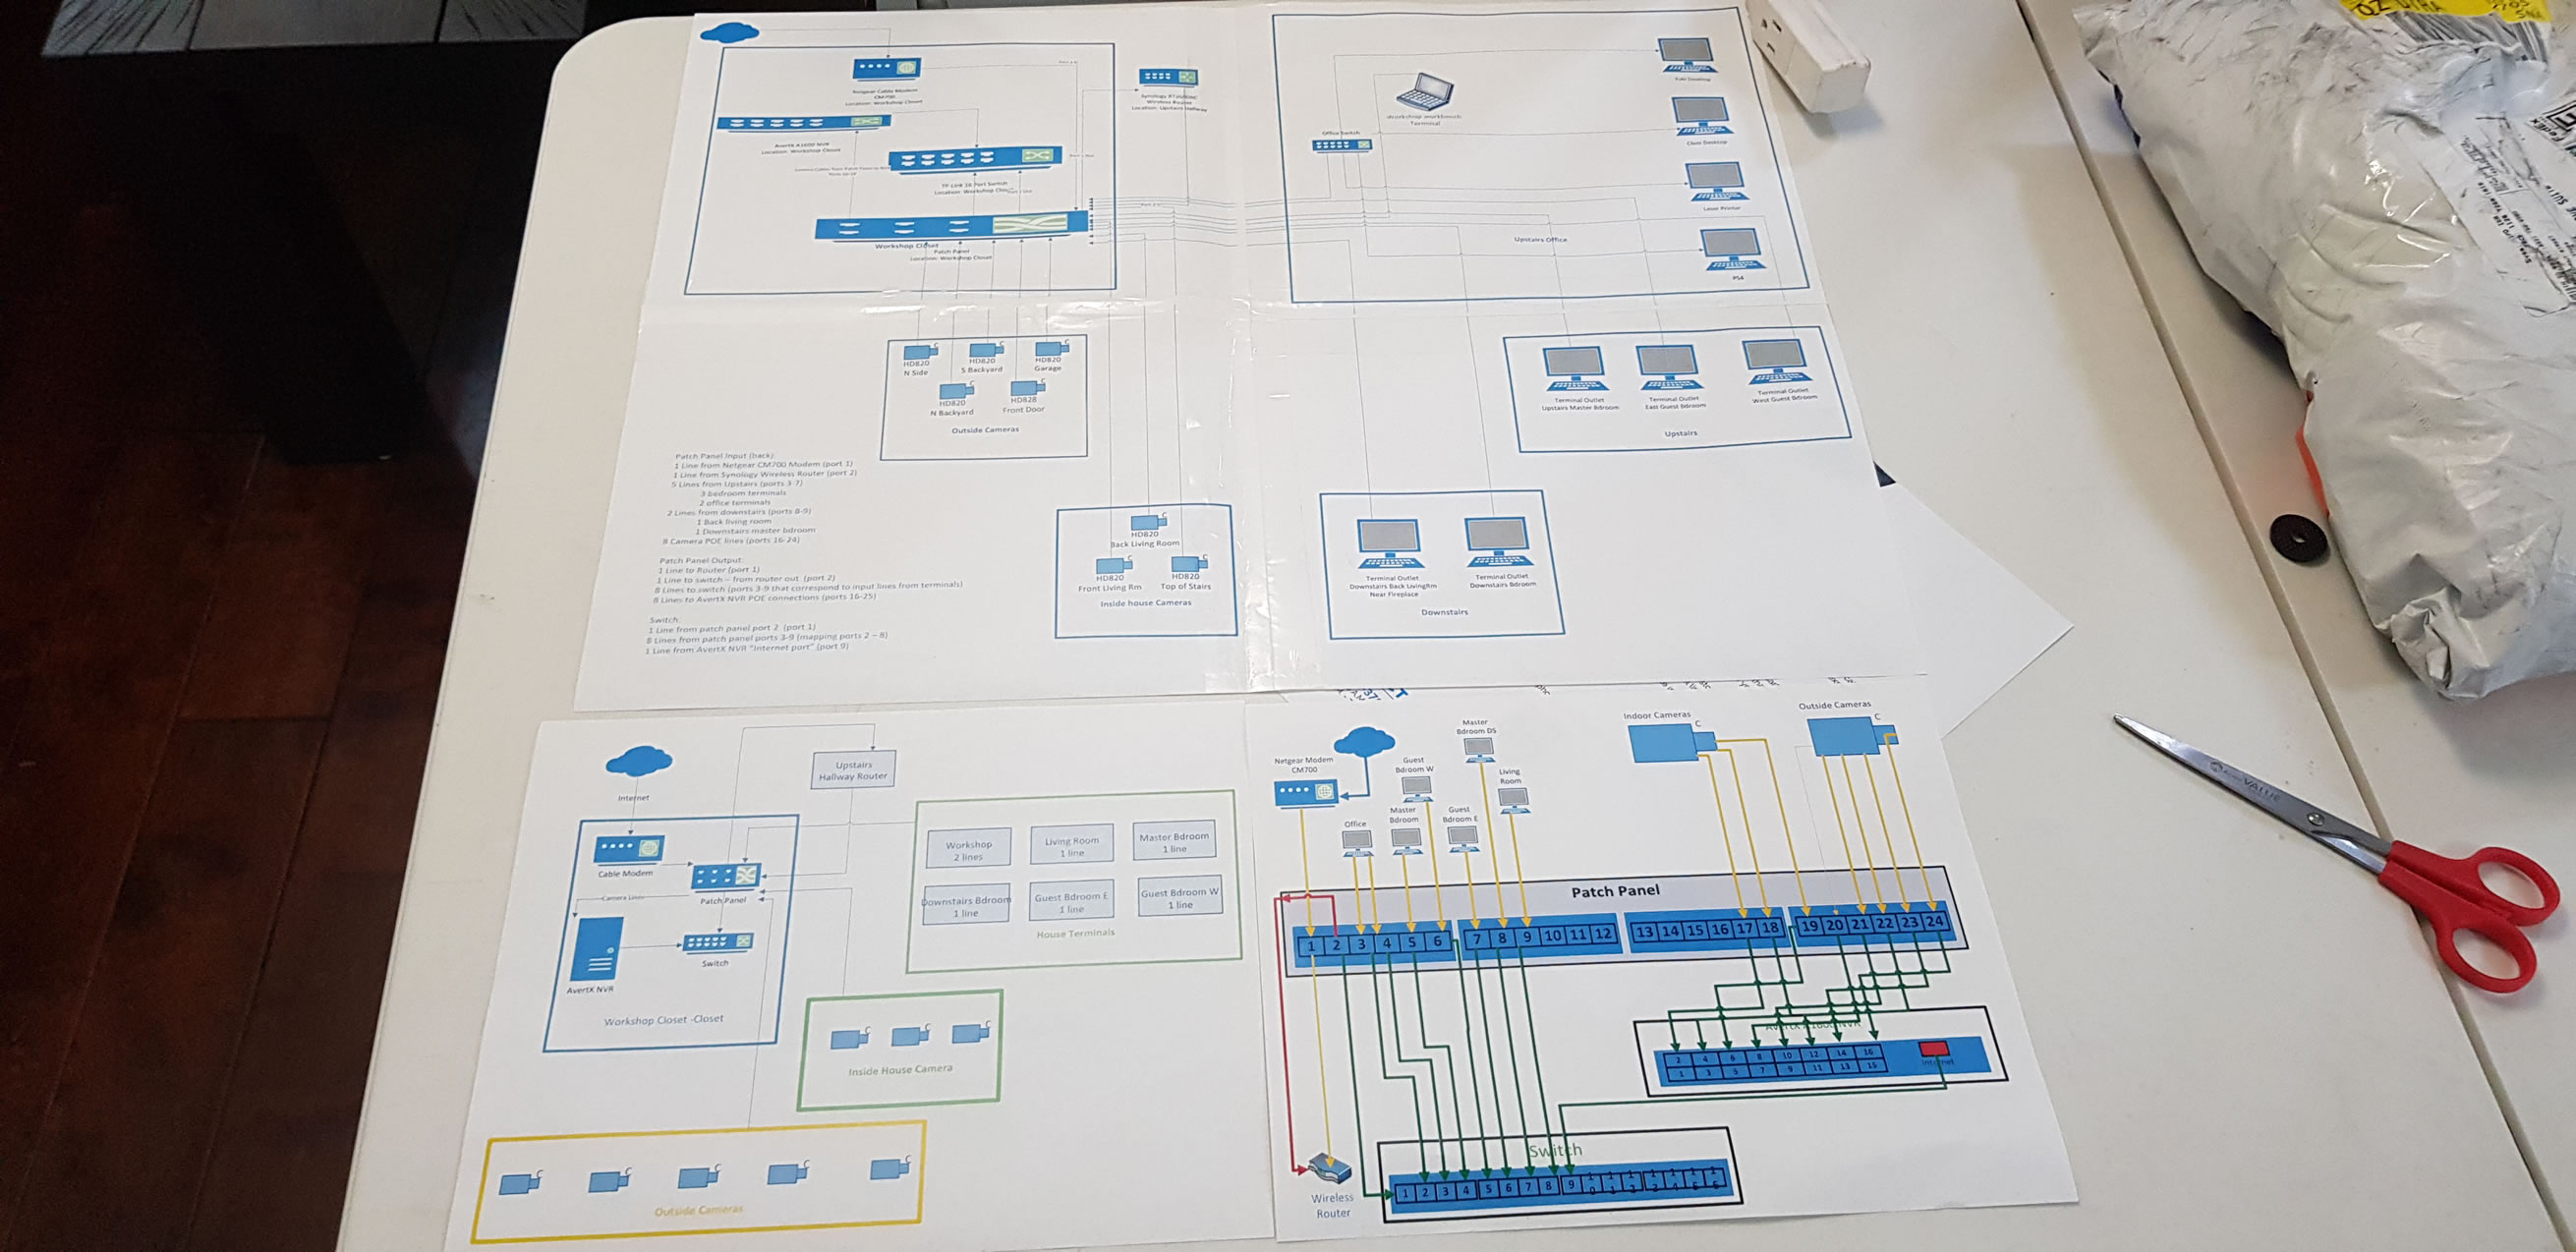
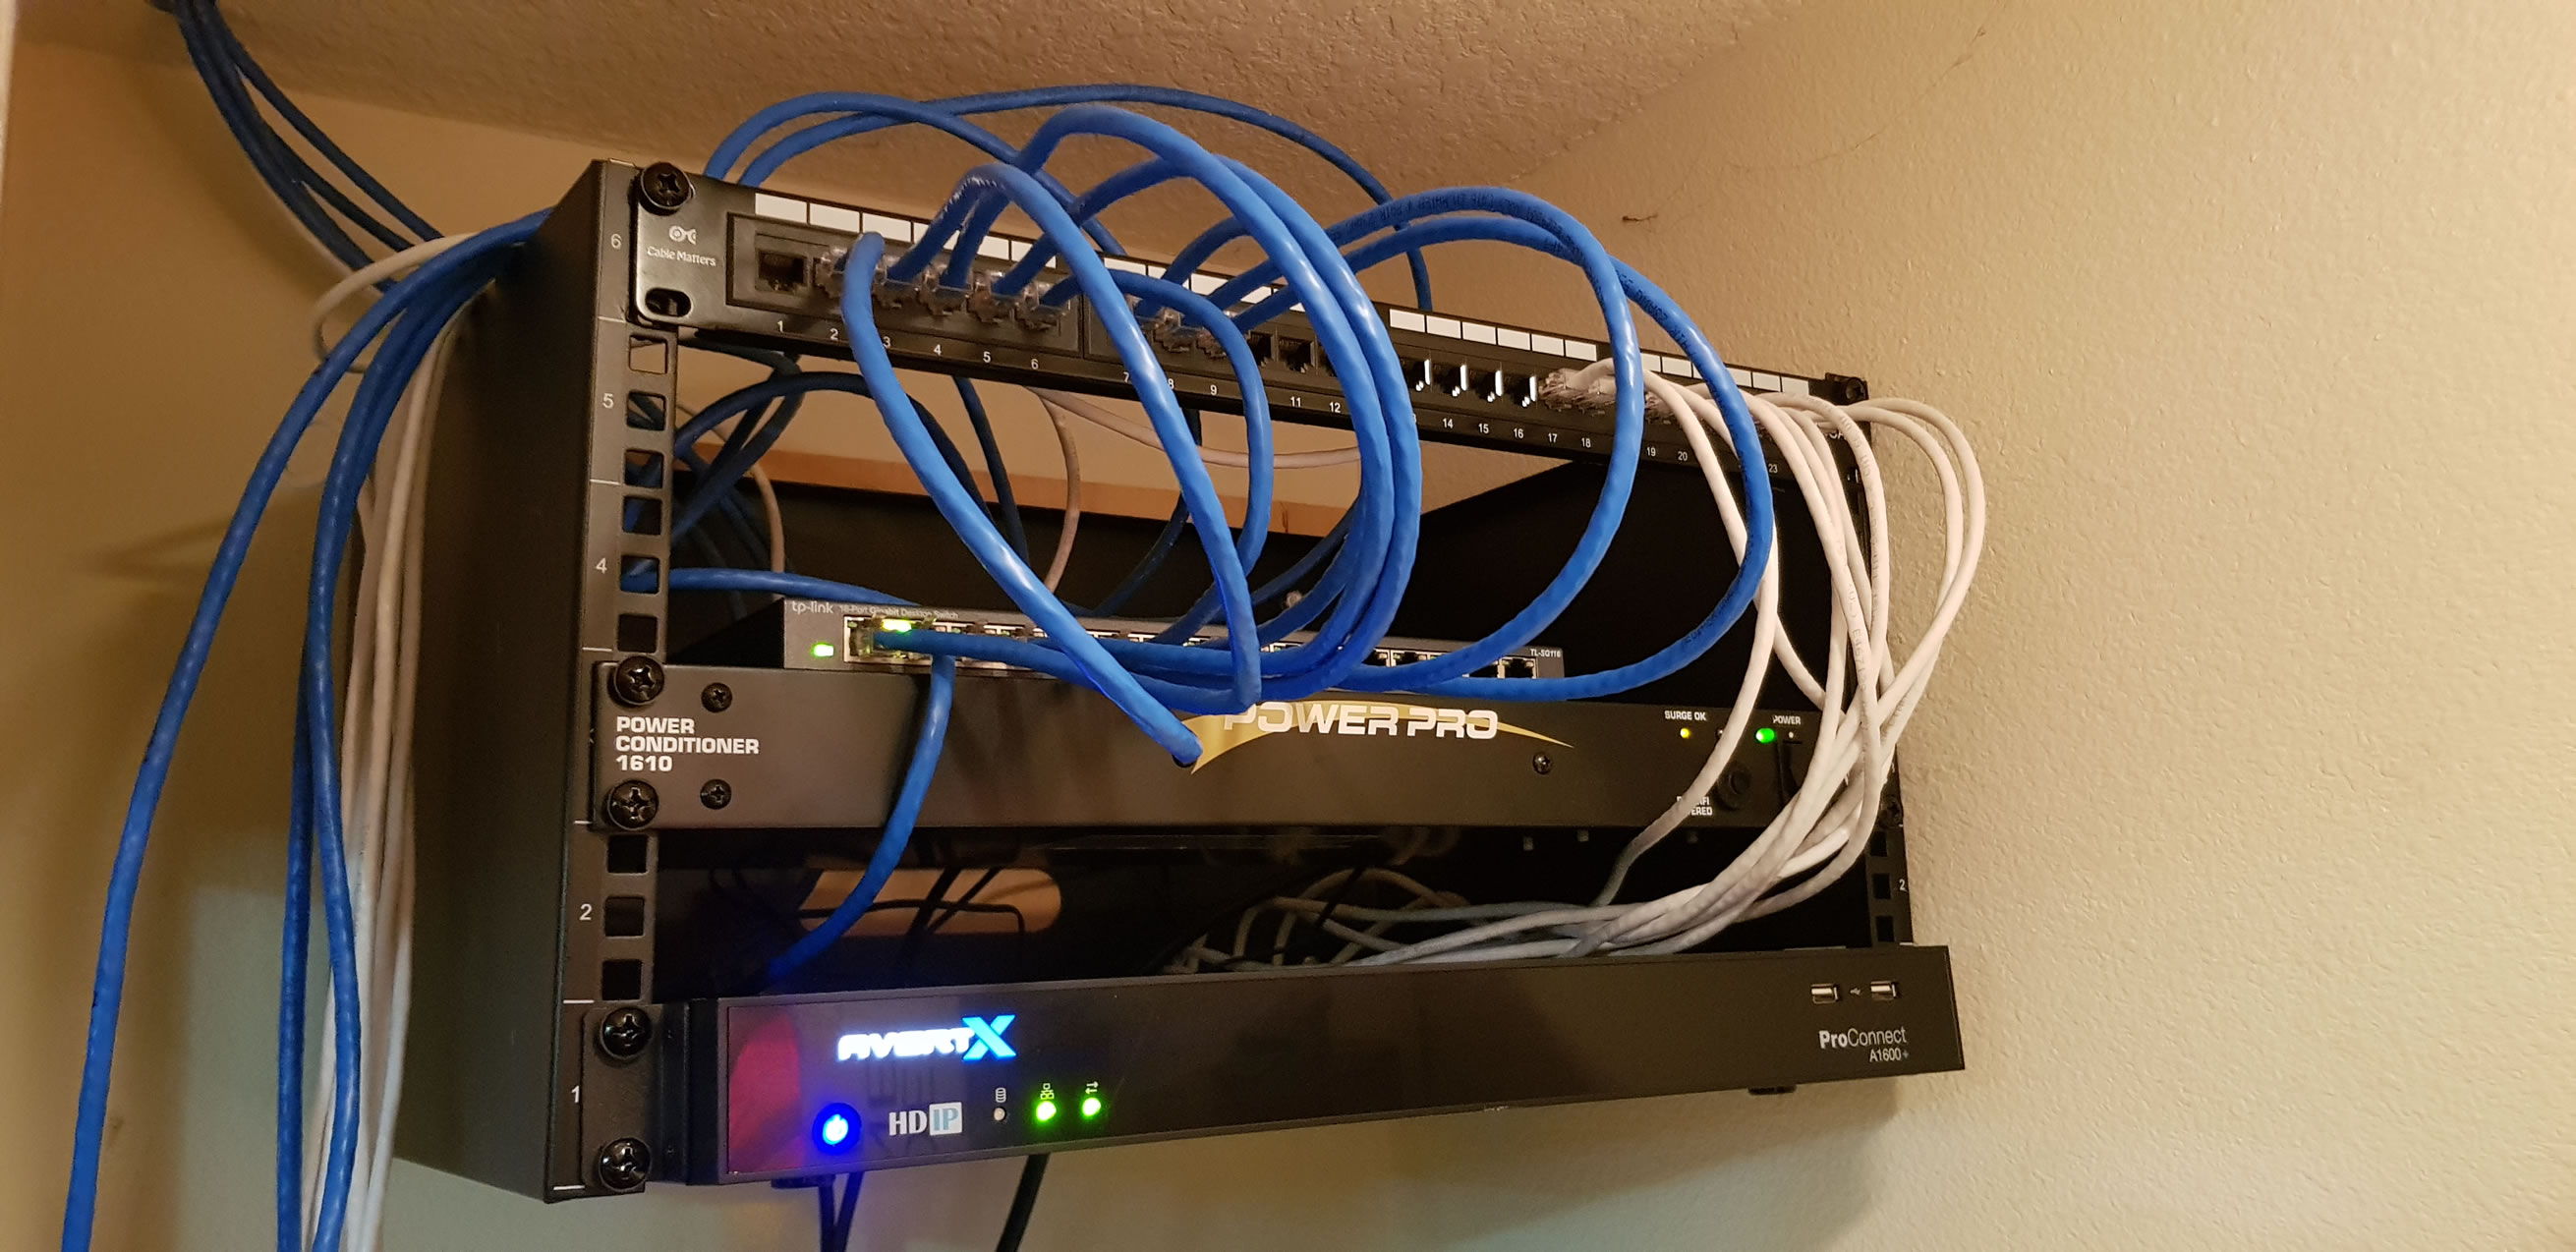
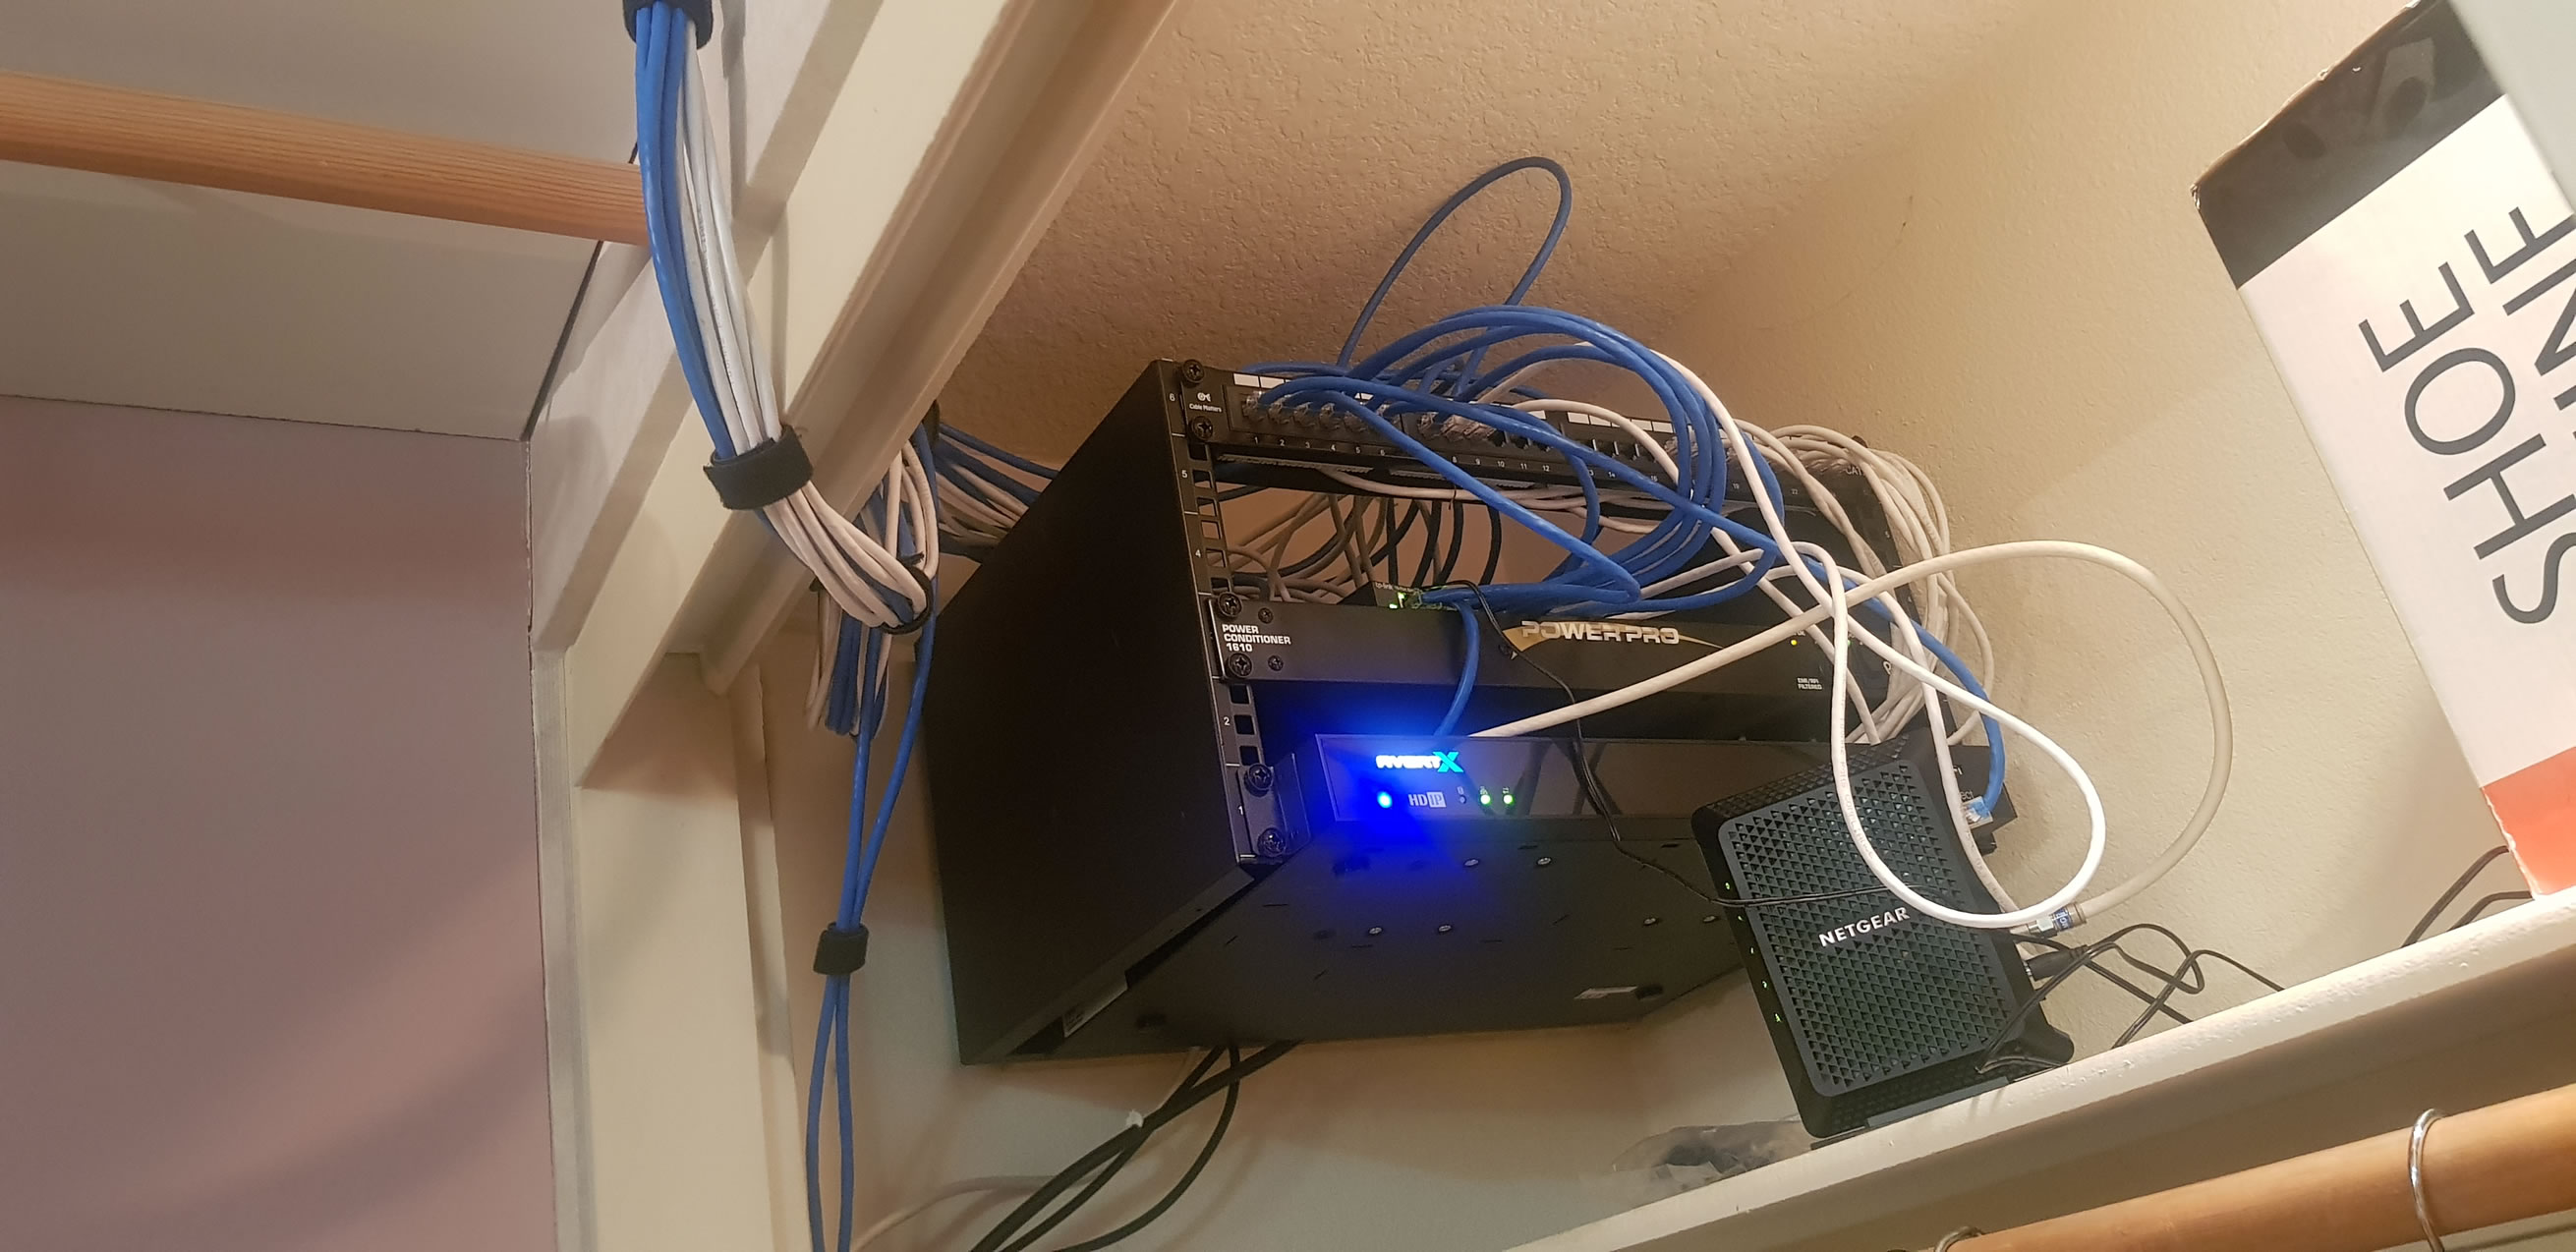
I designed a new wiring plan with the cameras and network scheme at three different scales and just got to work. I will centrally locate all the equipment in a closet in a small 6U rack that will house a patch panel, surge protector, the NVR, a dumb gigabit switch, and the cable modem. From here, things will just spider out to the rest of the house. I have 500 ft of cat5 and about 800 ft of cat5 in 100 ft long bundles. I used all the cat6.
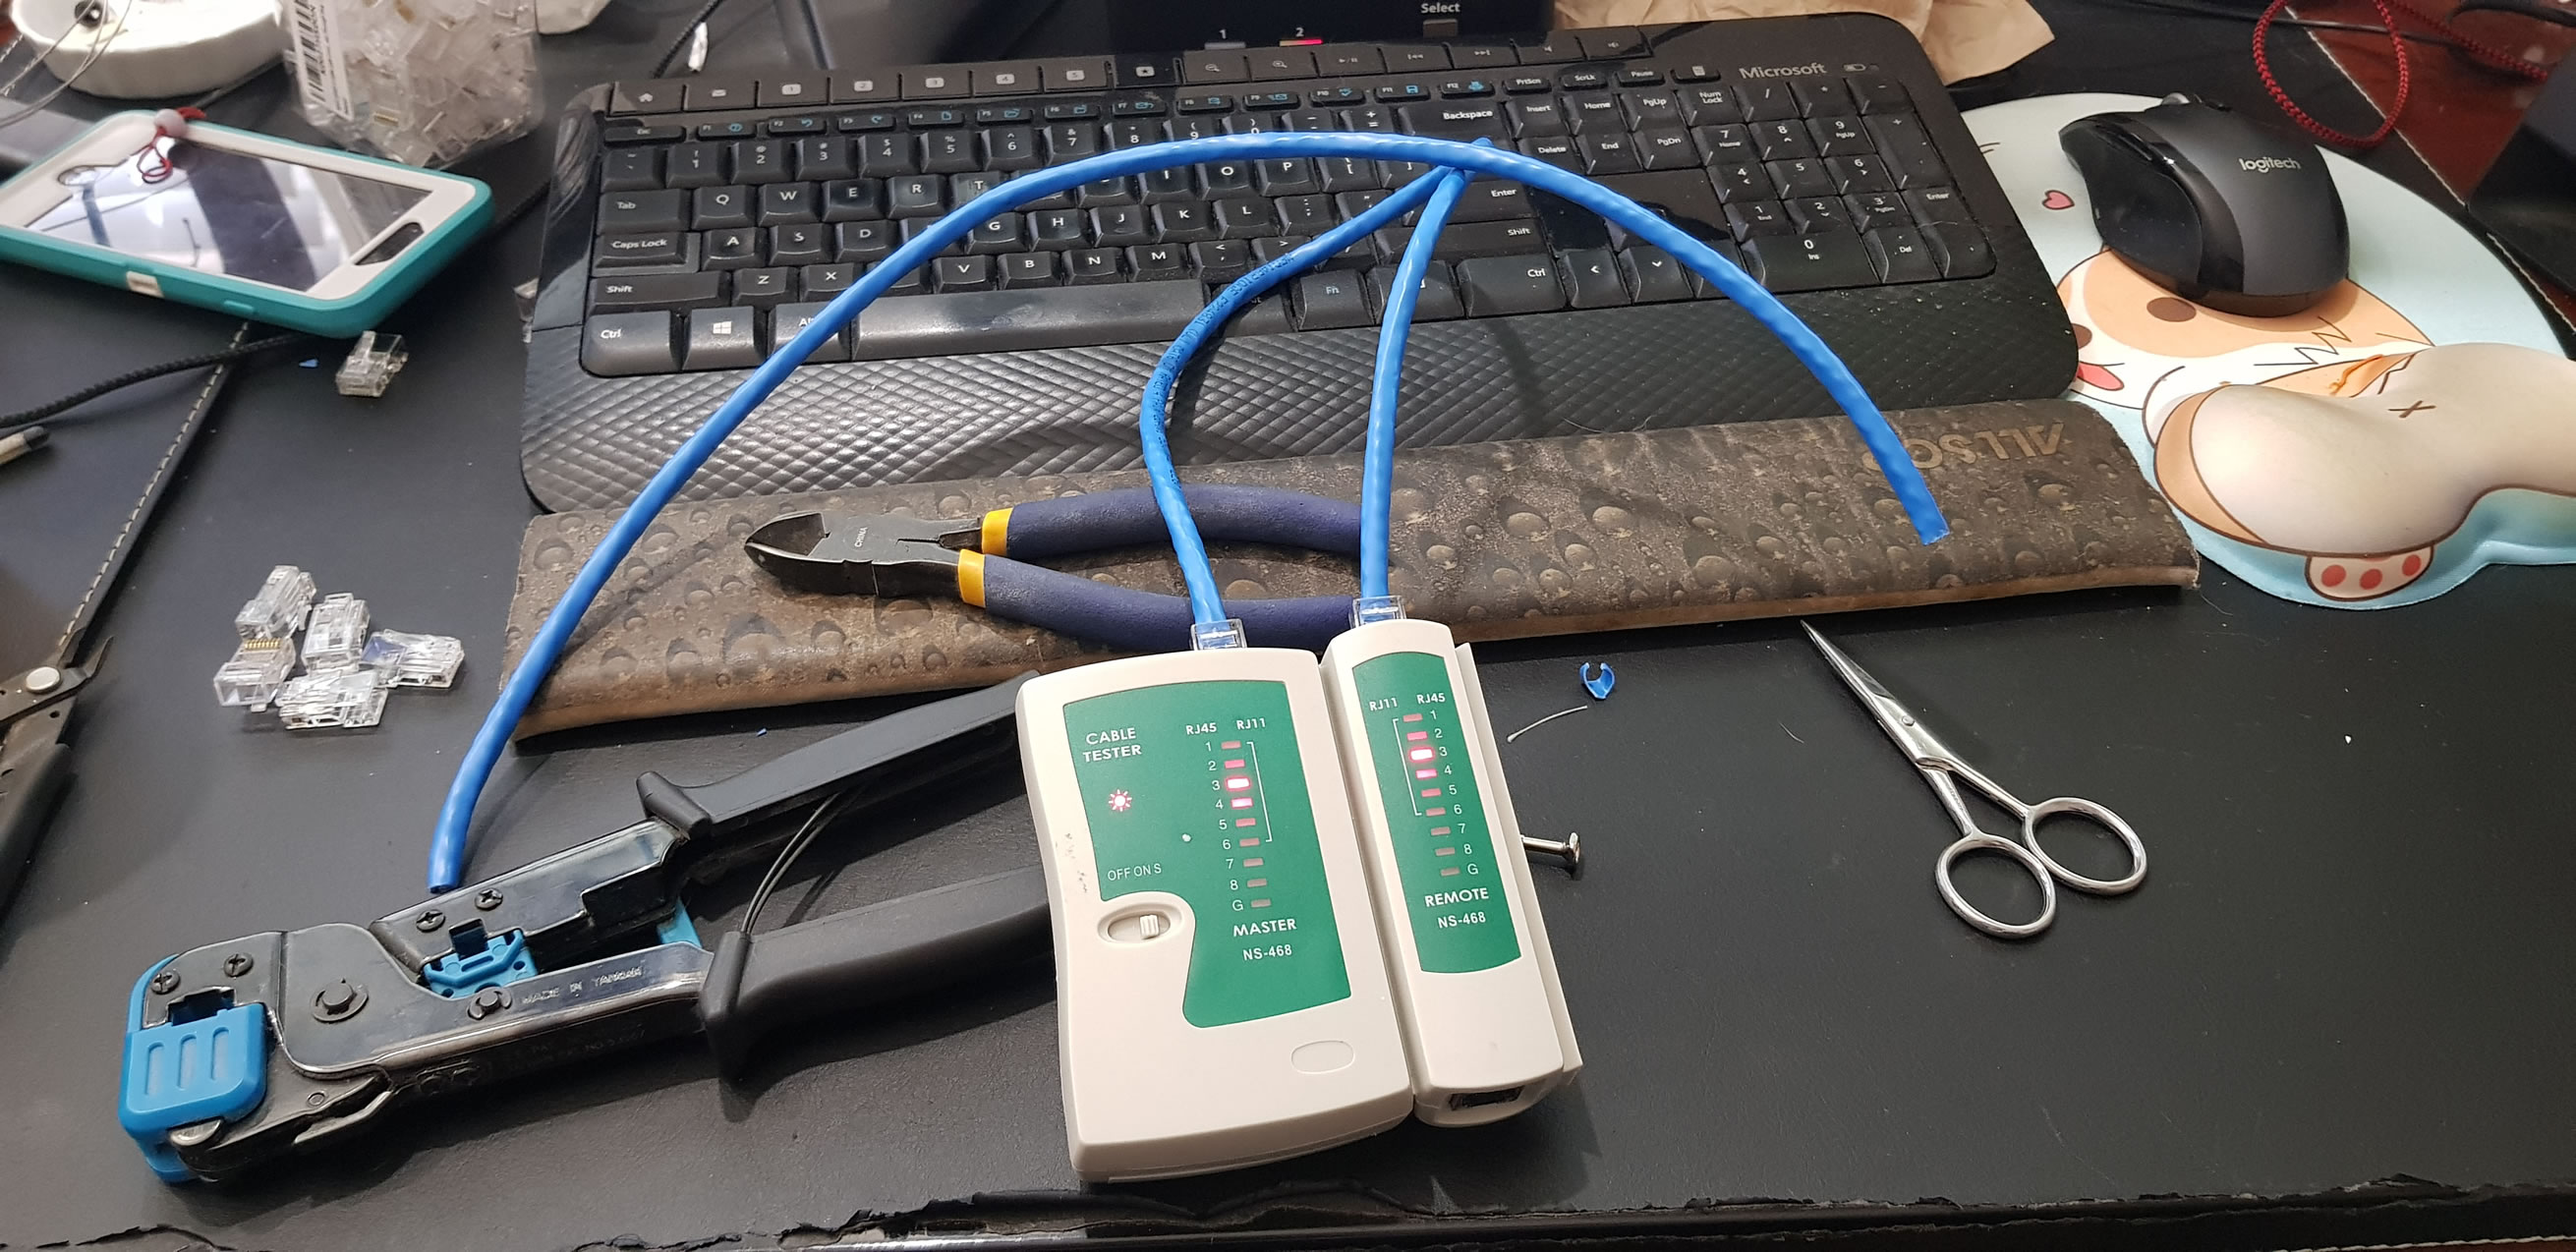
I took pictures of the easy stuff, because well, it was easy. The patch panel connections were punched. I made and tested a bunch of short cat 6 cables to connect the patch to the switch. The cameras are POE and from the patch panel go into the nvr. I did a quick test with a few cameras installed on my workshop desk before moving it into the closet.
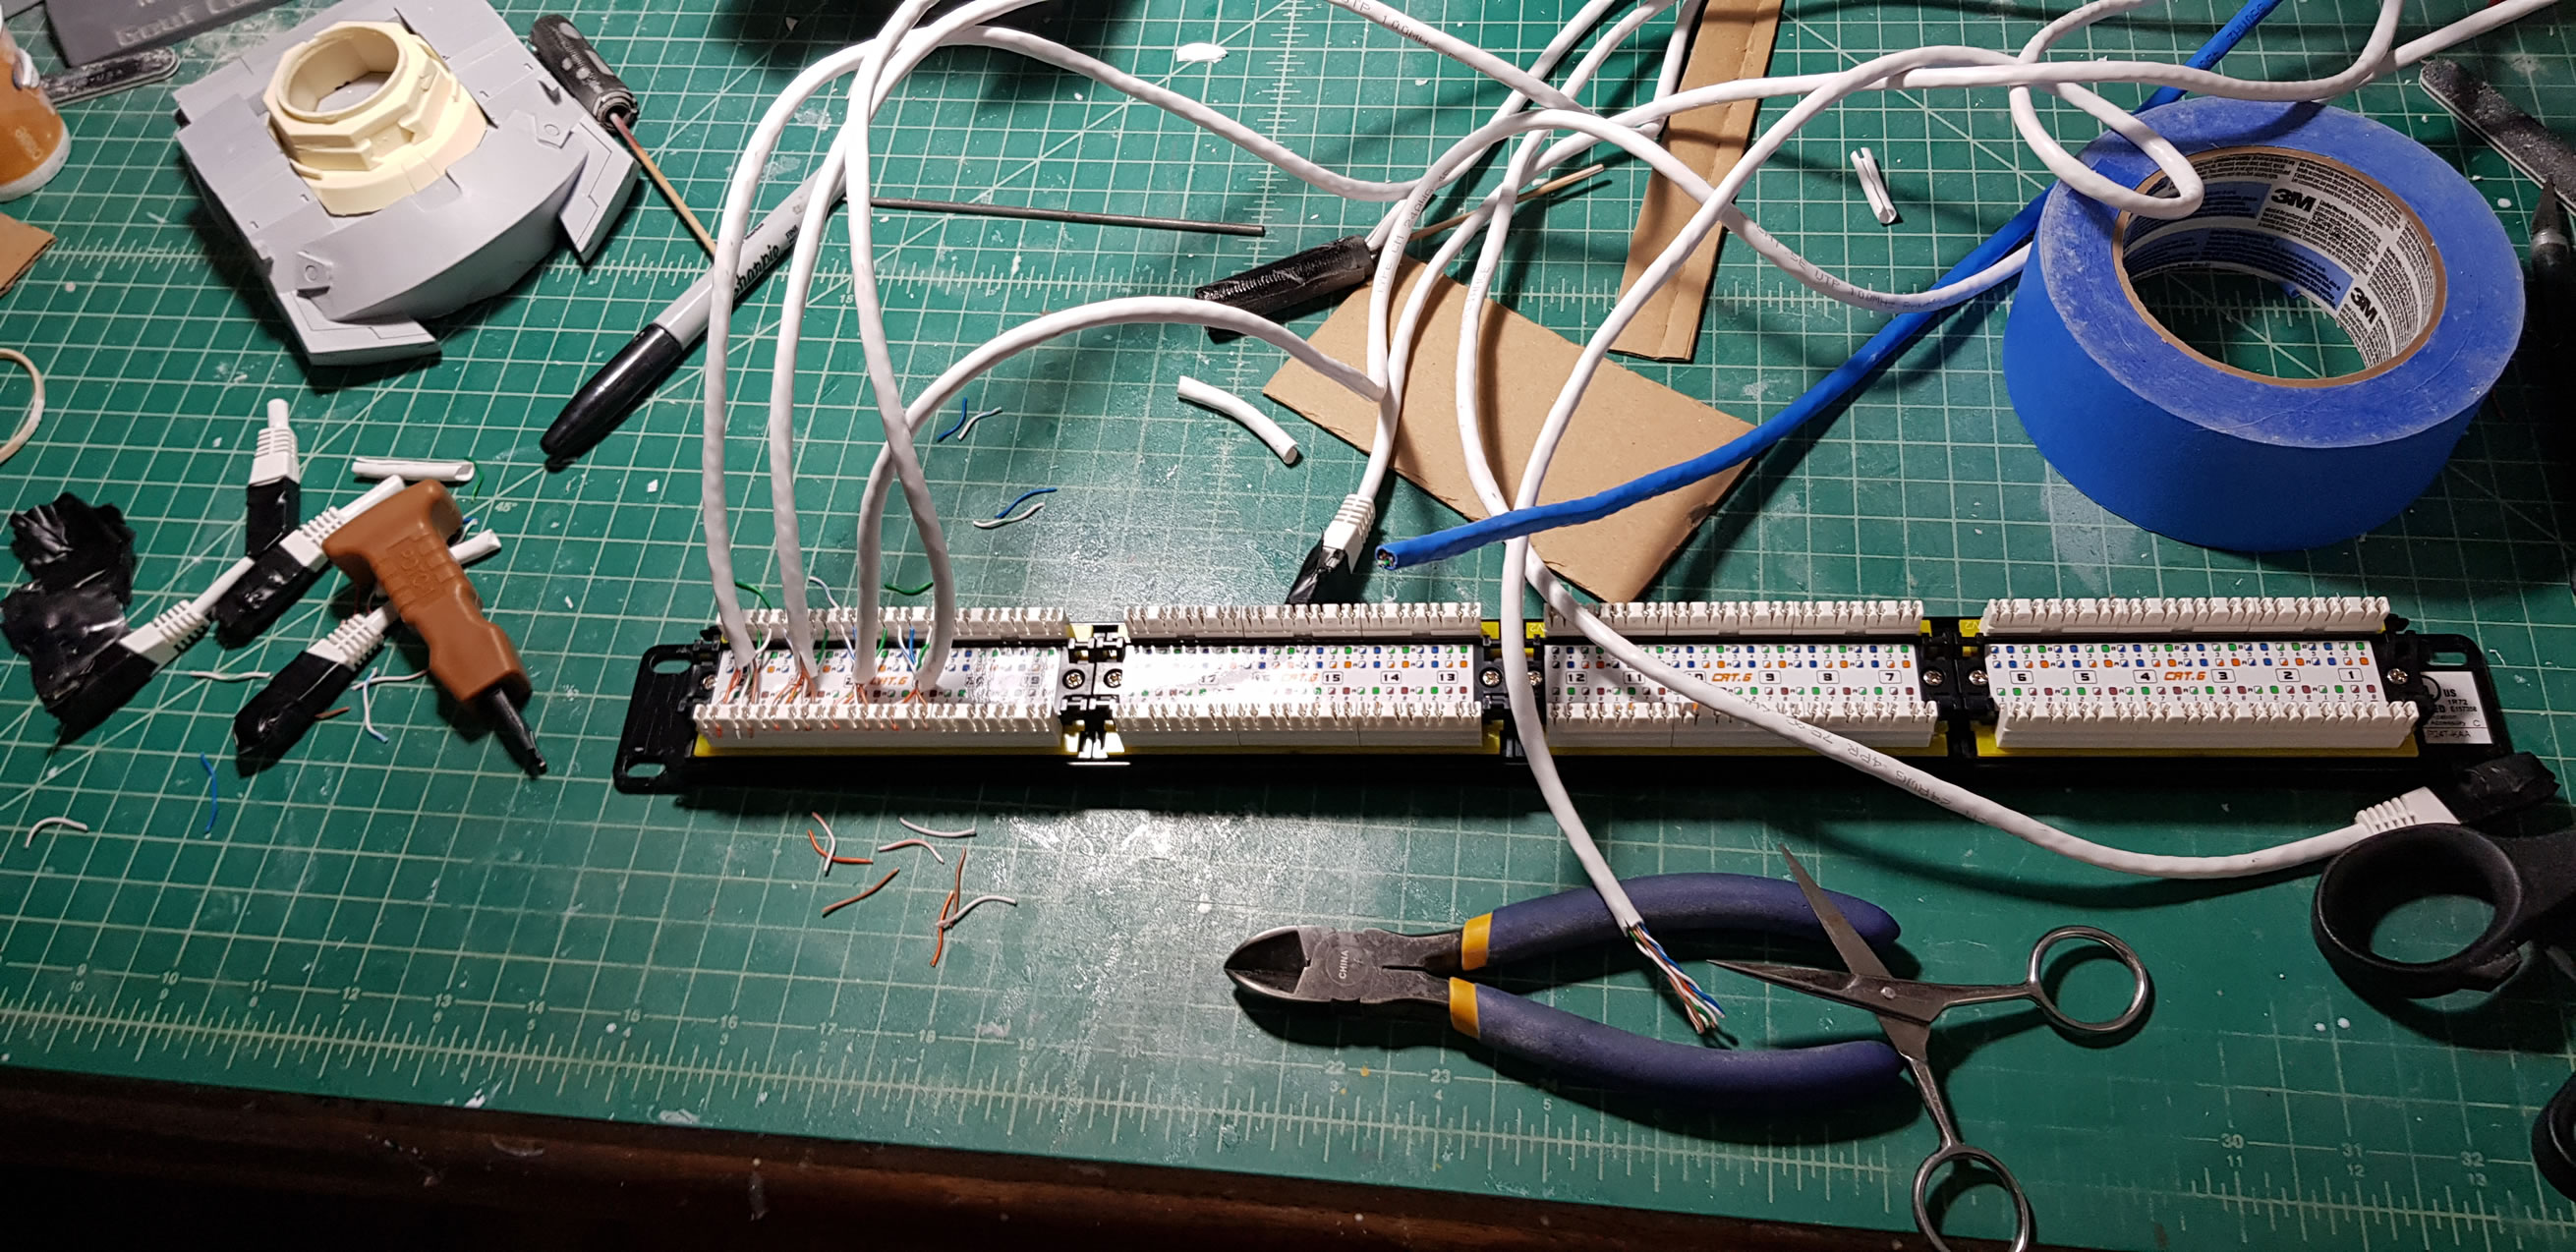
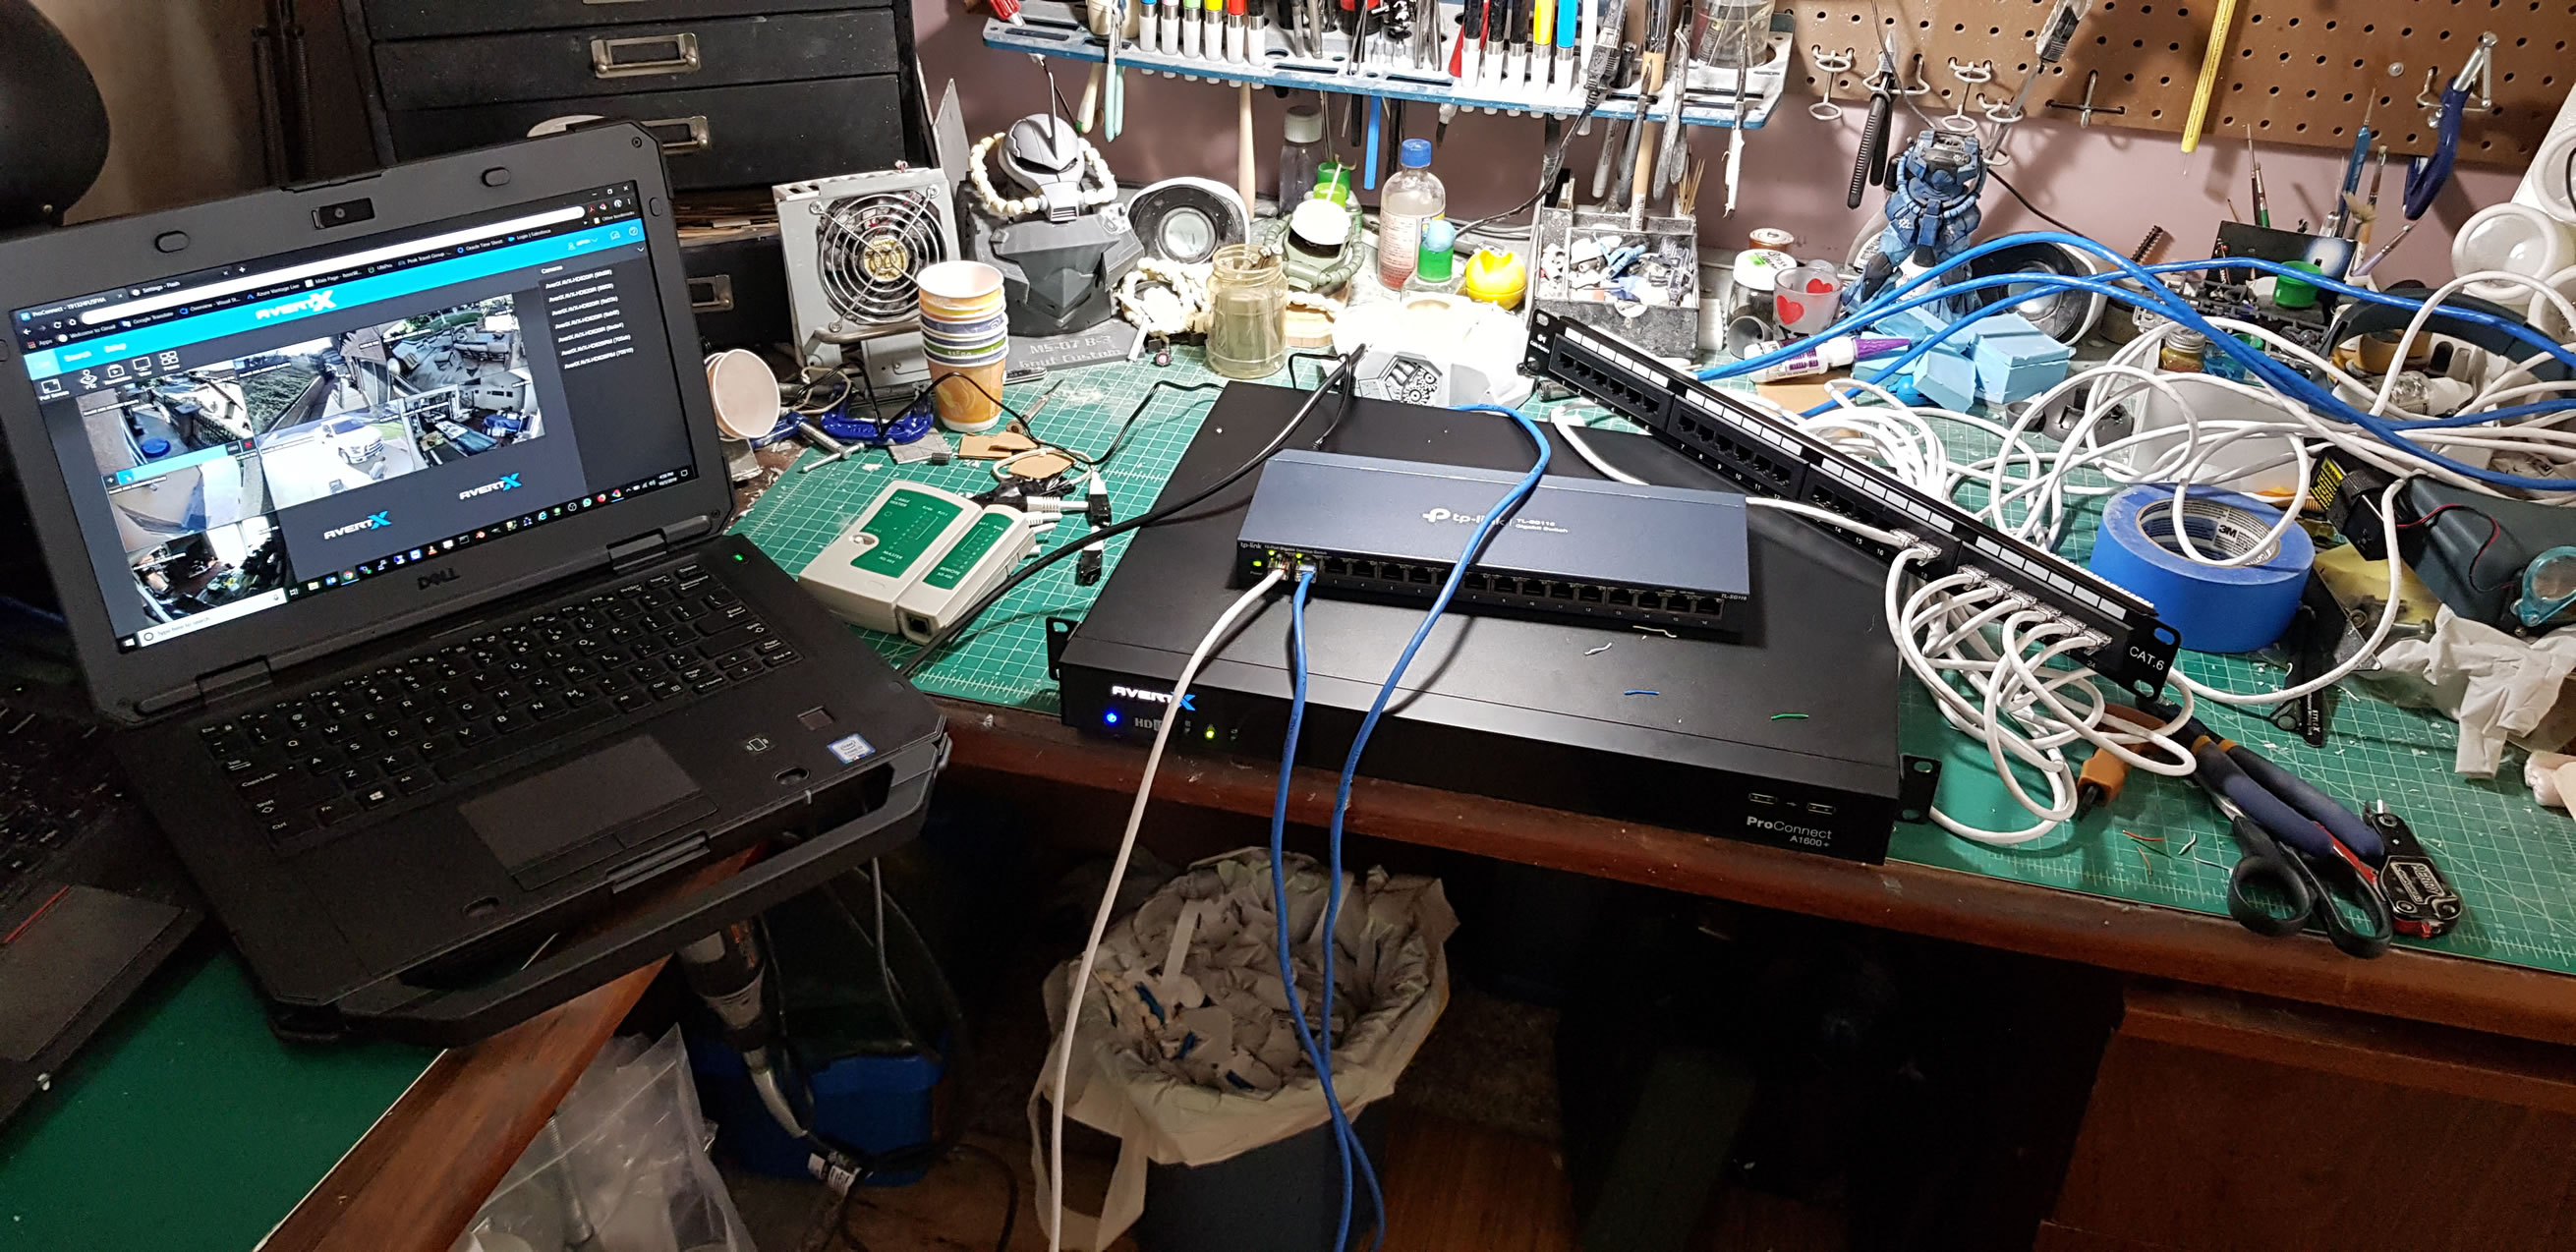
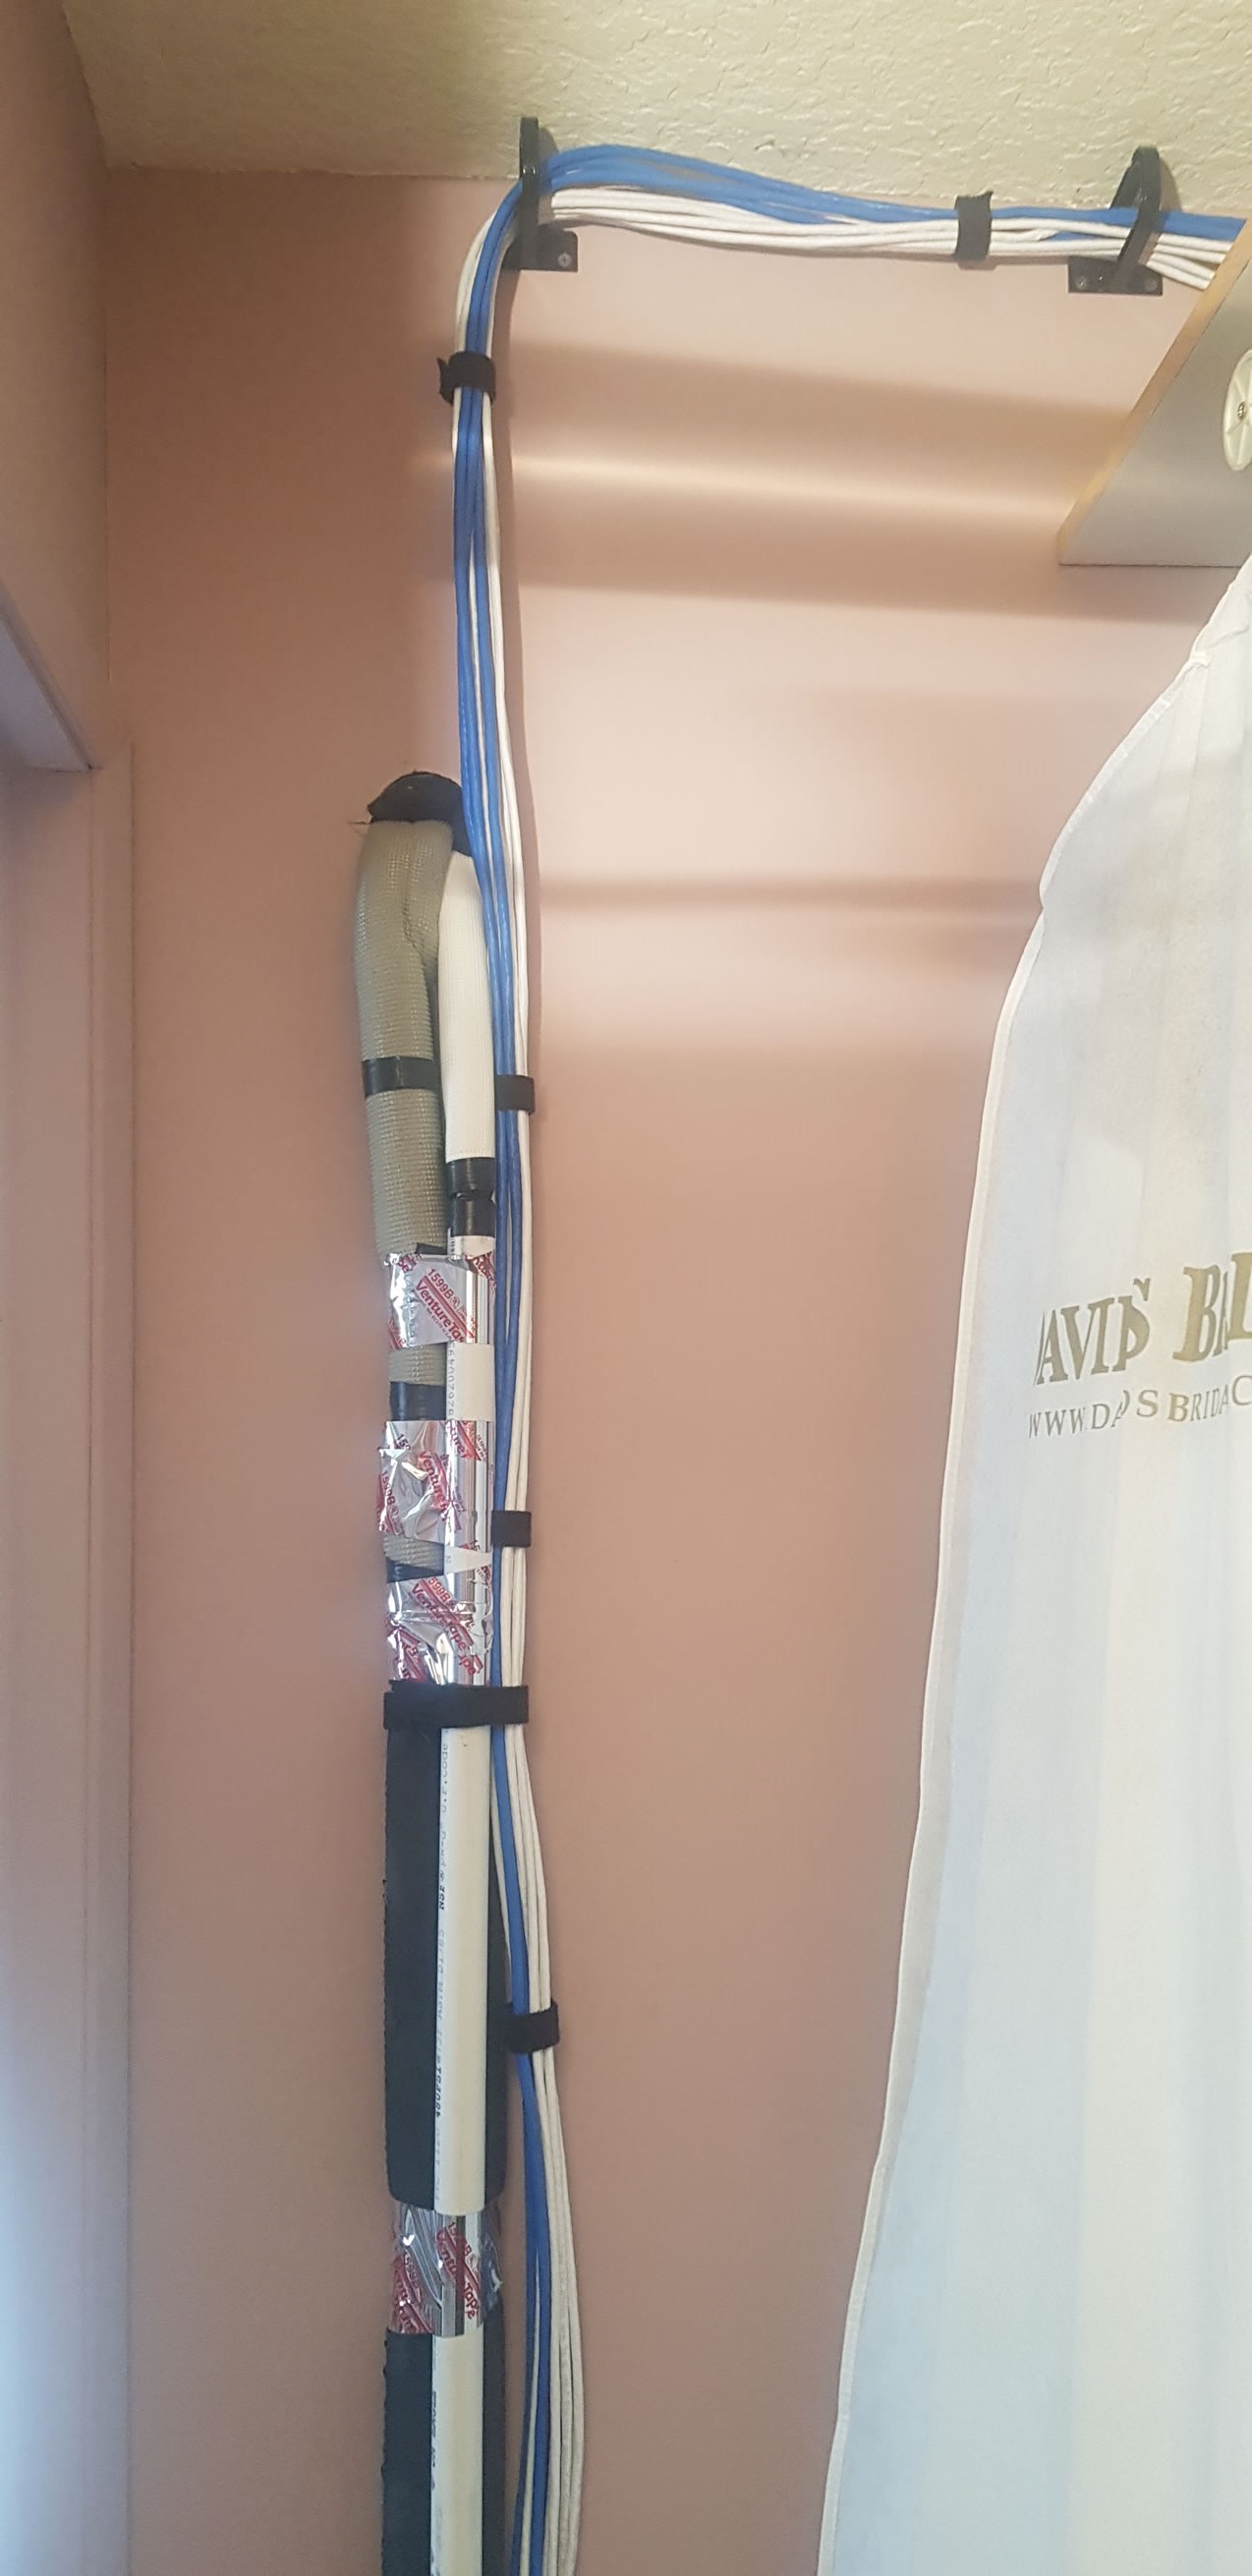
A particular closest in my workshop is the perfect place for the new rack. A hole drilled up from there grants easy access to the attic to run about 4 cat6 cables and a single cat5. I can easily punch a hole next door to the workshop where I can run two more cat 6 for my workshop desk and the guest bedroom next to the workshop. The coax coming into the workshop is run to the closet from the workshop. The rest of the 10 or so bag of cat6 and cat5 is run from the closet down to the garage through an existing hole that was created when we added a ductless AC unit to the workshop; and those then spider out to the rest of the house. Some of the wires running outside unprotected was run through conduit tubing added to the sides of the house where there was no overhang to protect things. I have one cat6 coming back up to the workshop room so that I can run that to another switch along the window side to network up our two desktops, the ps4, the printer, and 3D printer. The cables are a mess in the below picture because I wasn’t finished with the install.

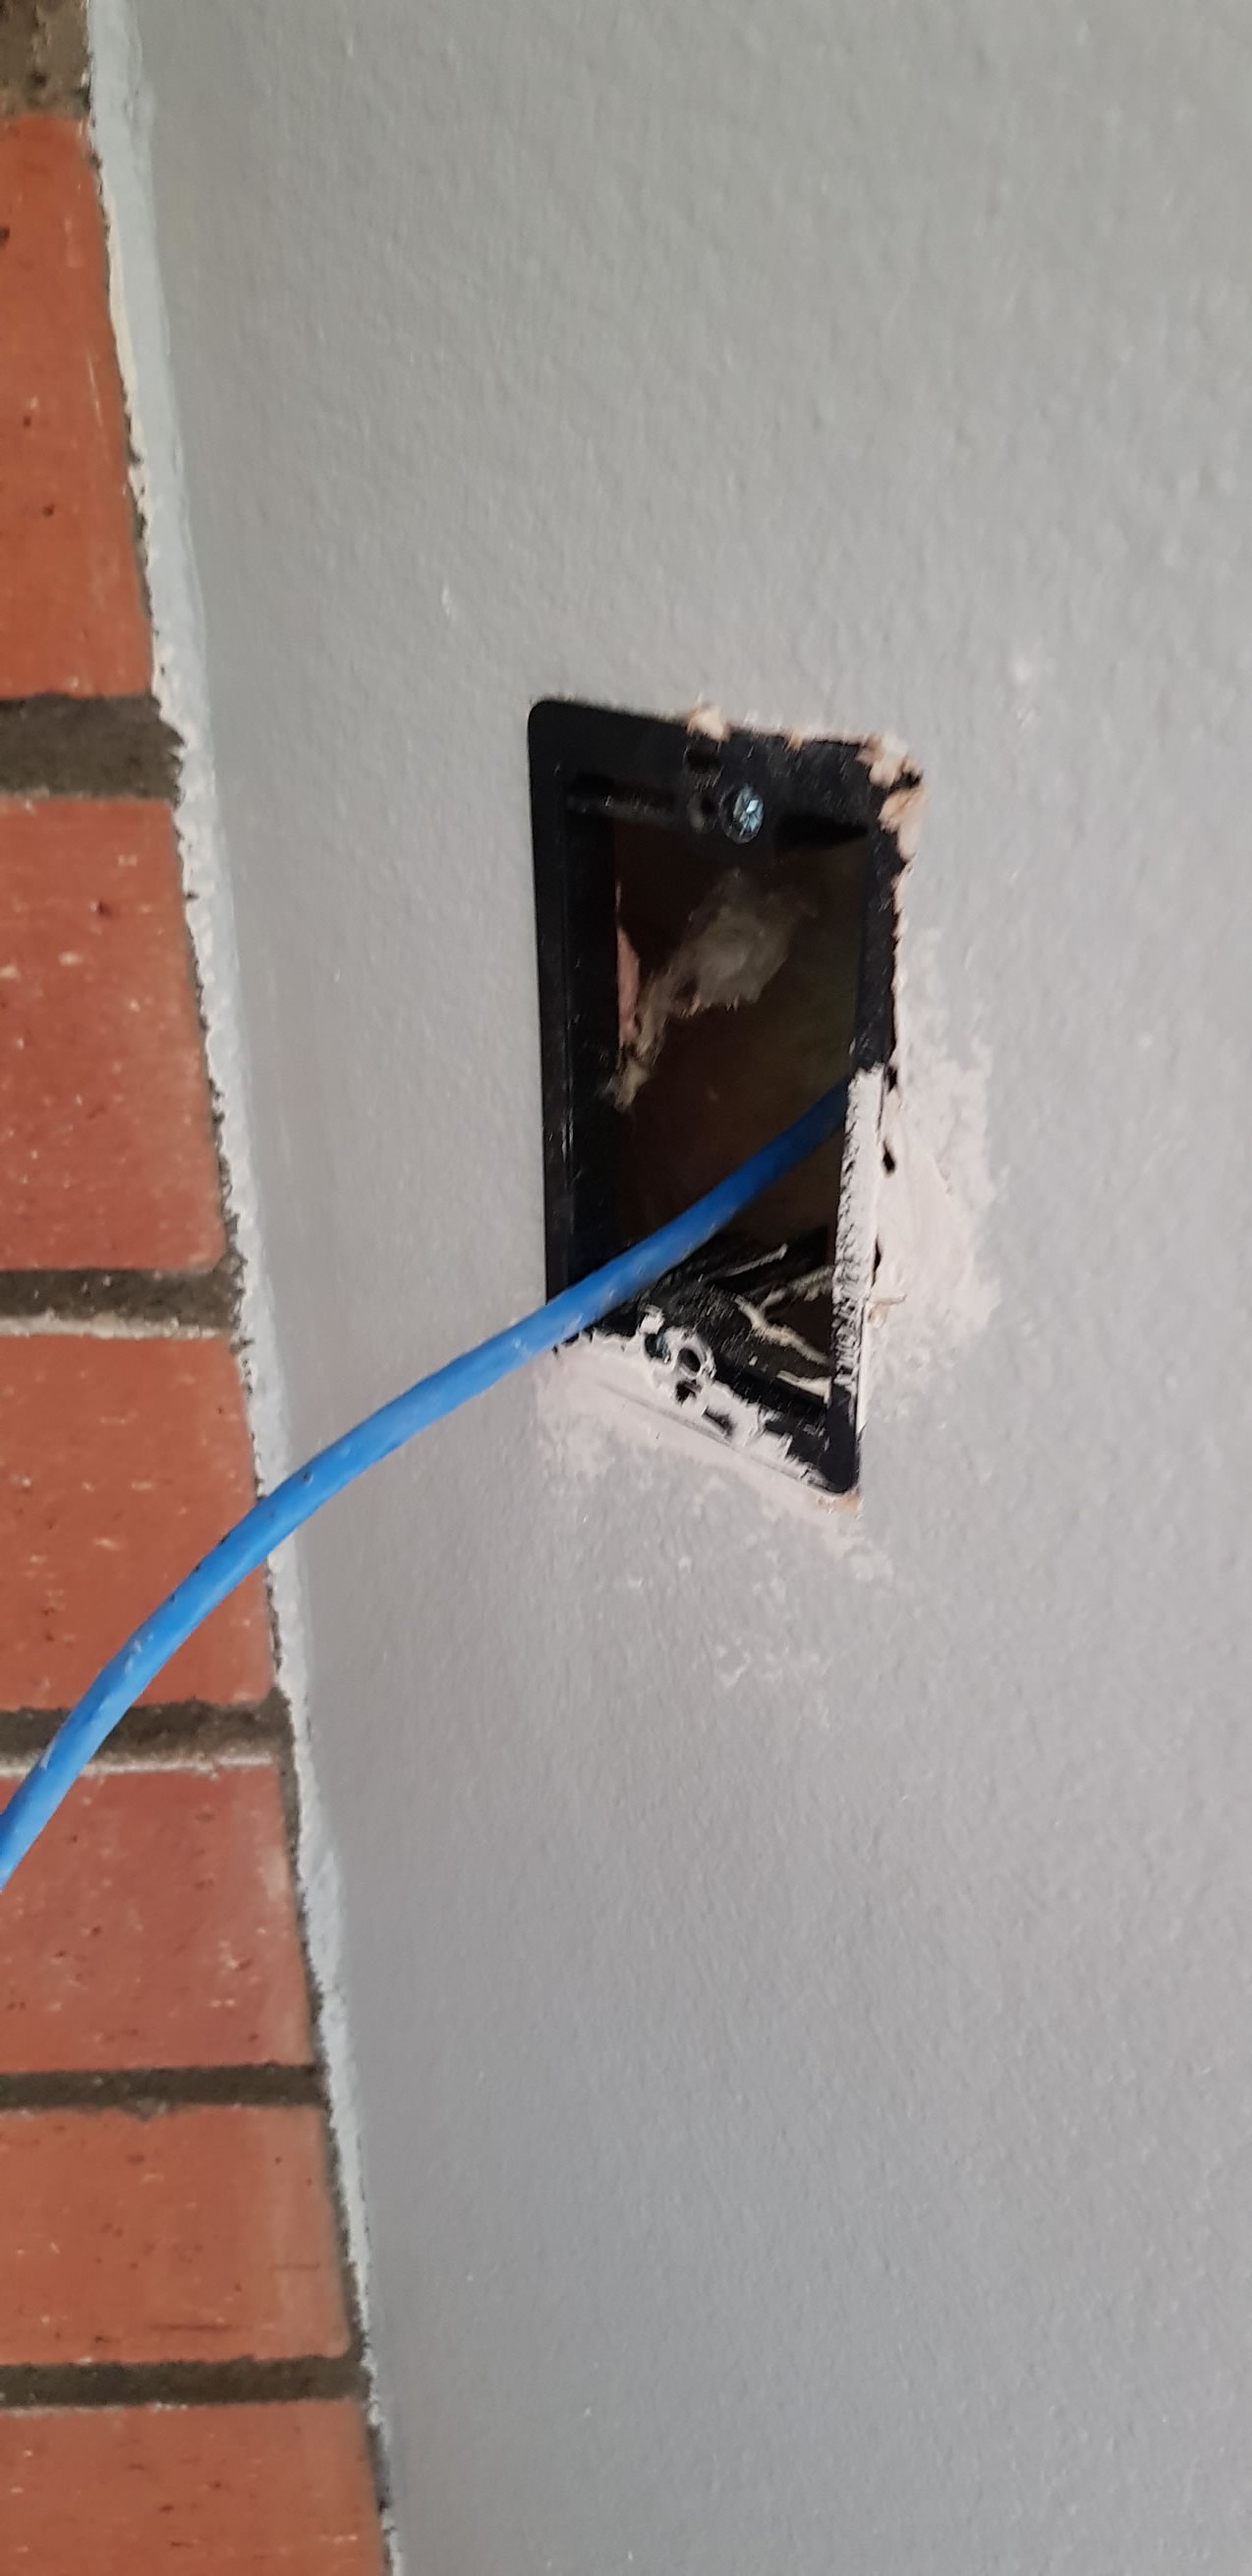
Bigger holes were cut into each room so that I can add a lan drop at the other ends of the cat6s. This is pretty easy to do; again, the hard part was pulling the damn cable everywhere and organizing them so they don’t look like the hack job modem/router setup I first created. The wireless router was moved from the previous location of hanging on the wall next to the doorway of my workshop room a few feet to the counter space in the hallway leading up to the workshop. I had two cat6 cables run here from the patch panel. One side will connect the router’s wan port directly to the cable modem via the patch panel and the other side will connect one of the router’s lan ports to the switch in the closet also via the patch panel. Once in place, everything is tested and I now have a more centrally located wireless router and the wired connections are all solid and getting ~350Mbs. The wireless isn’t too bad at about 220Mbs. But now my mess right at the doorway to the workshop is cleaned up. Hugo used to kick plug and drop our entire network every now and again going in and out of the room. I should have done this sooner.


And once everything was in place, the coax and modem were relocated. Then the wires running into the closet were organized properly and this little home improvement project is complete.
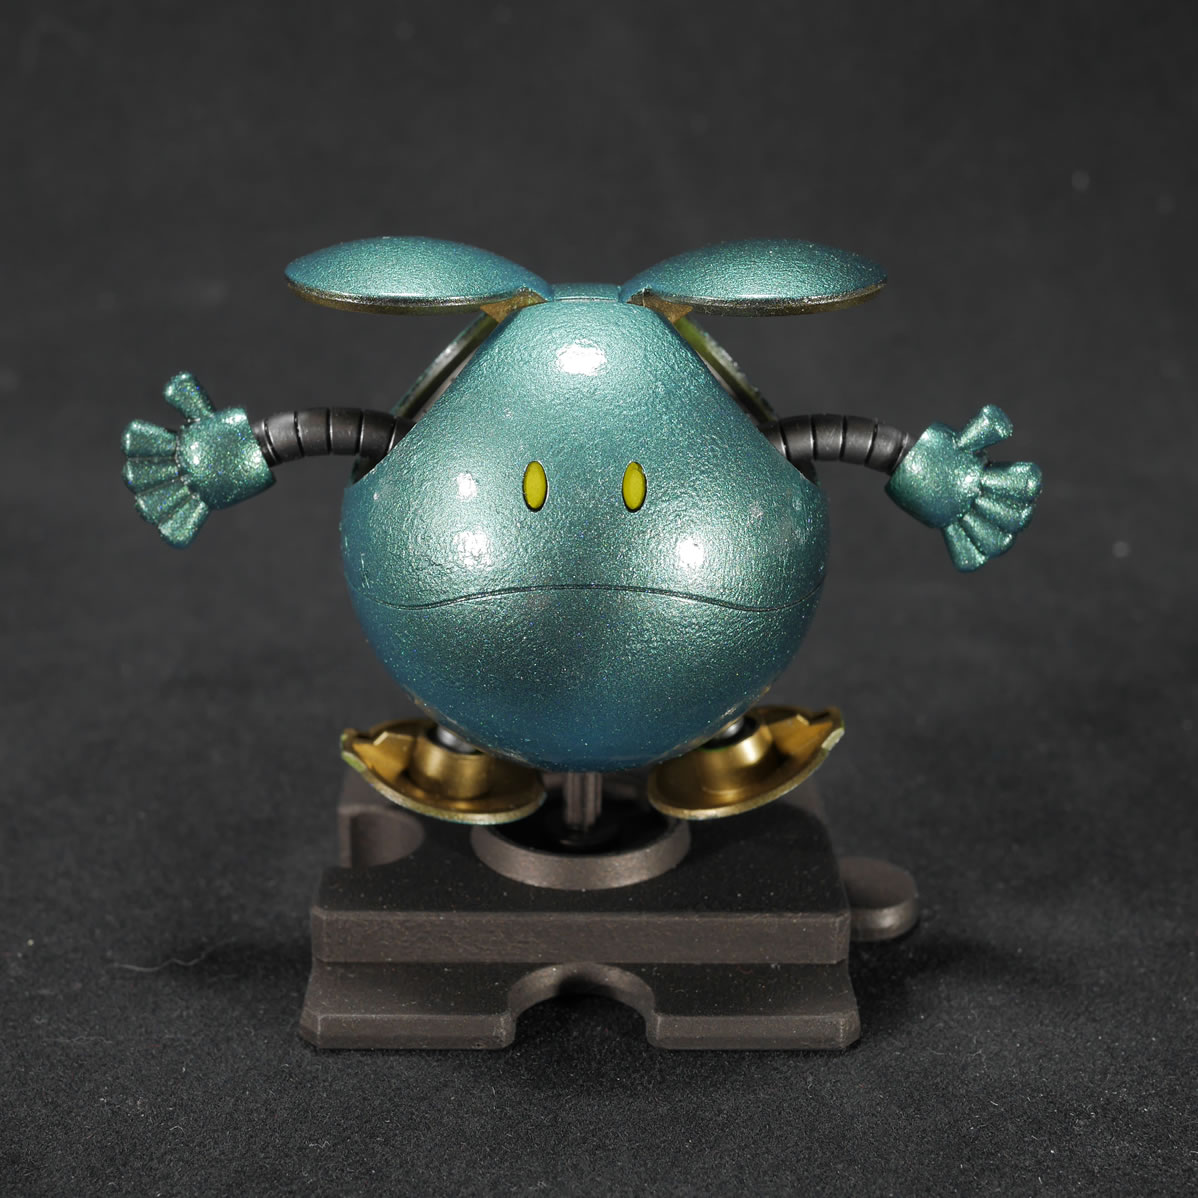
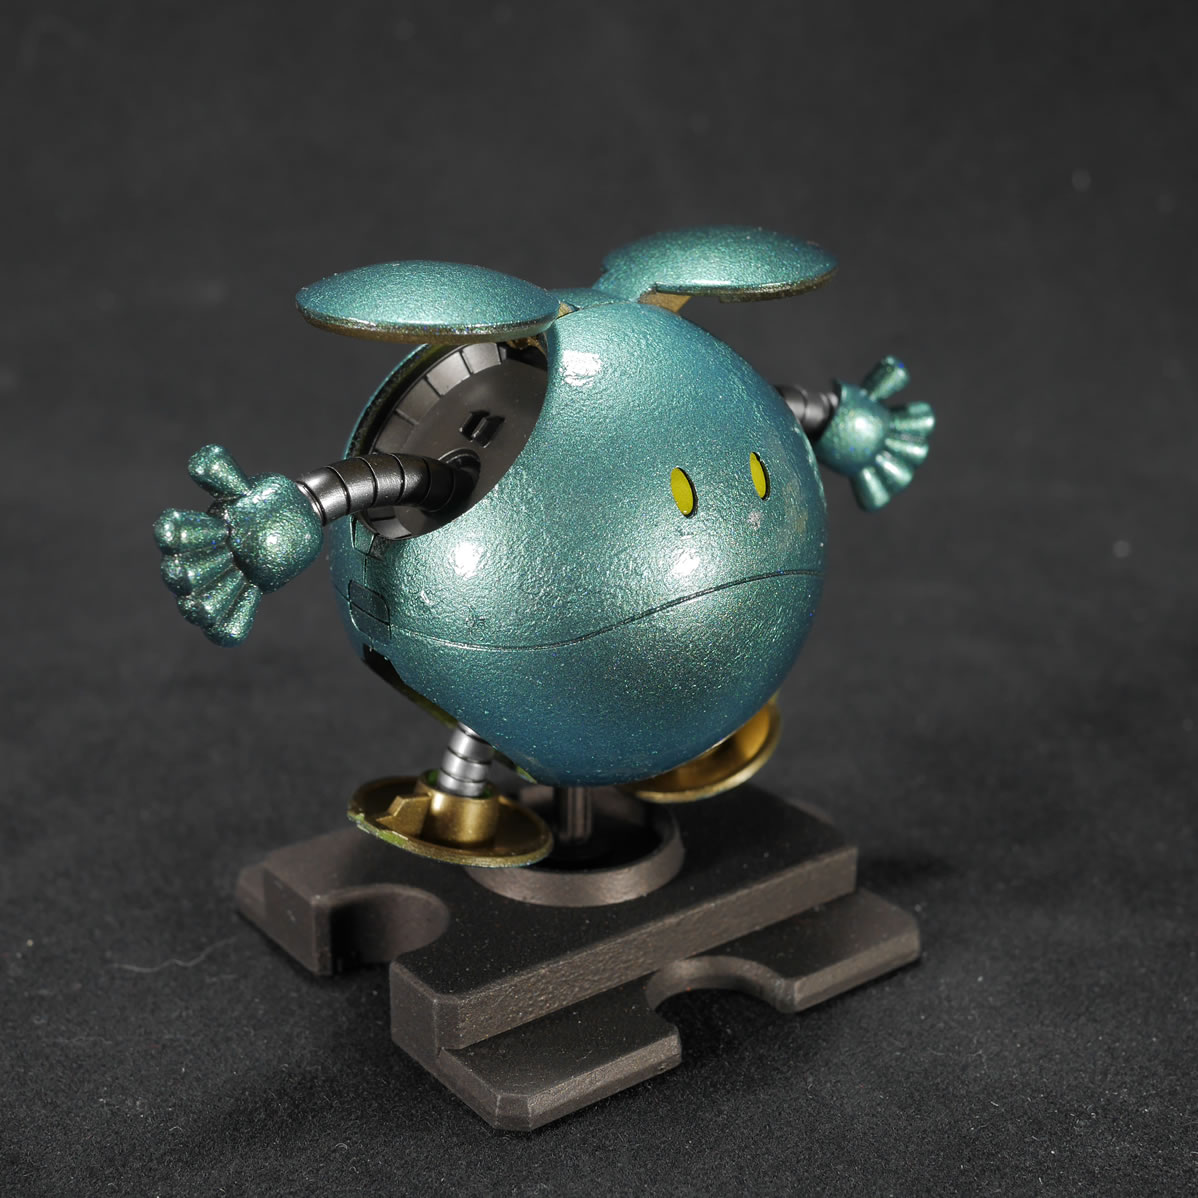
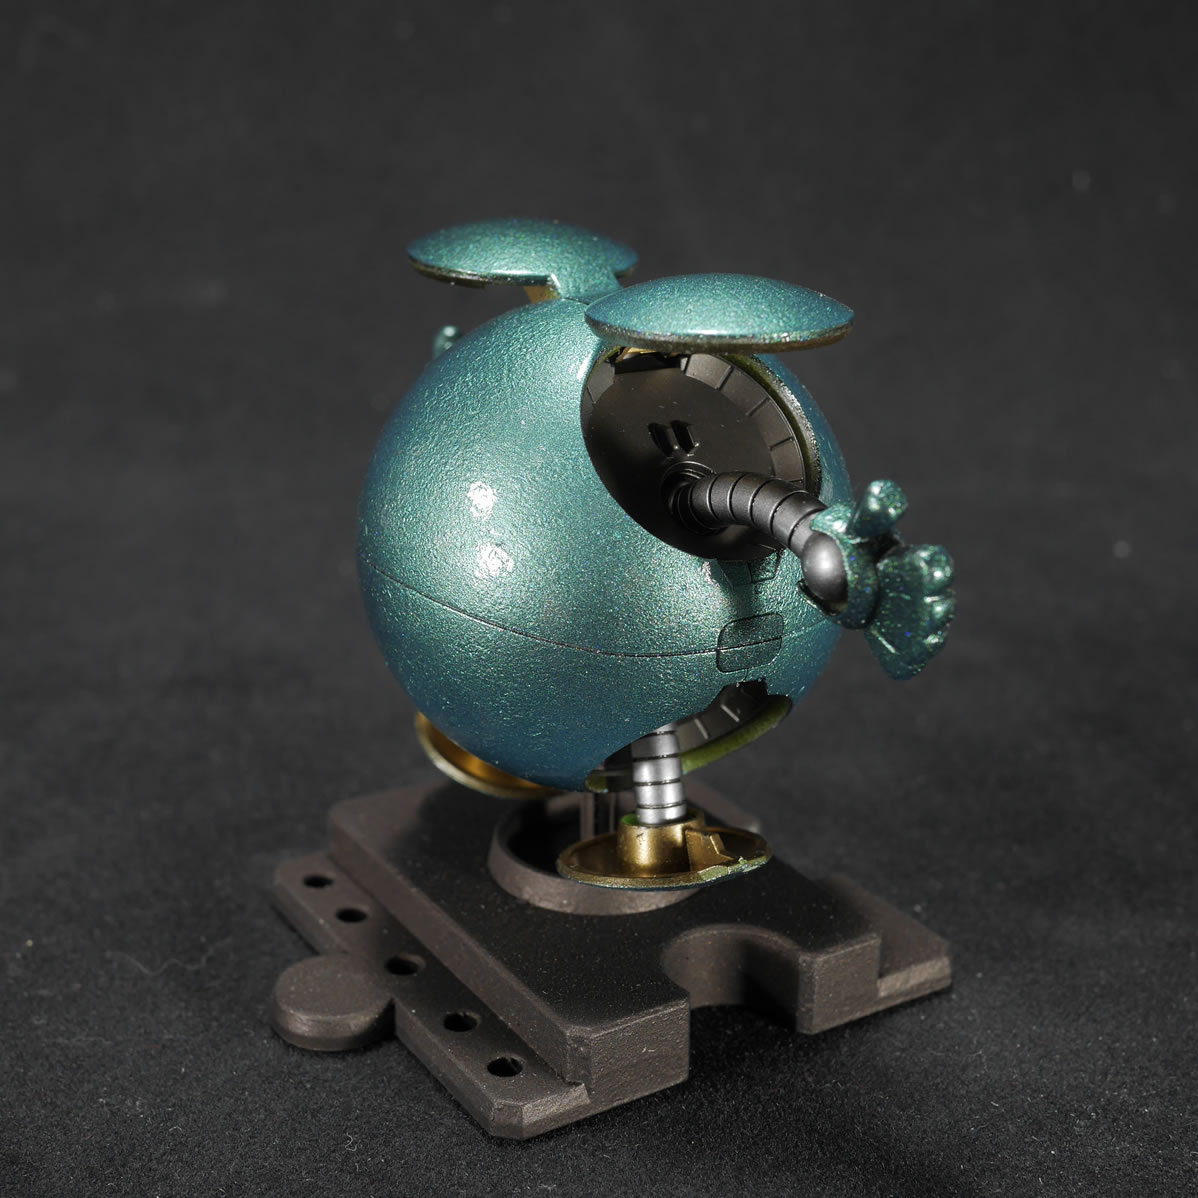
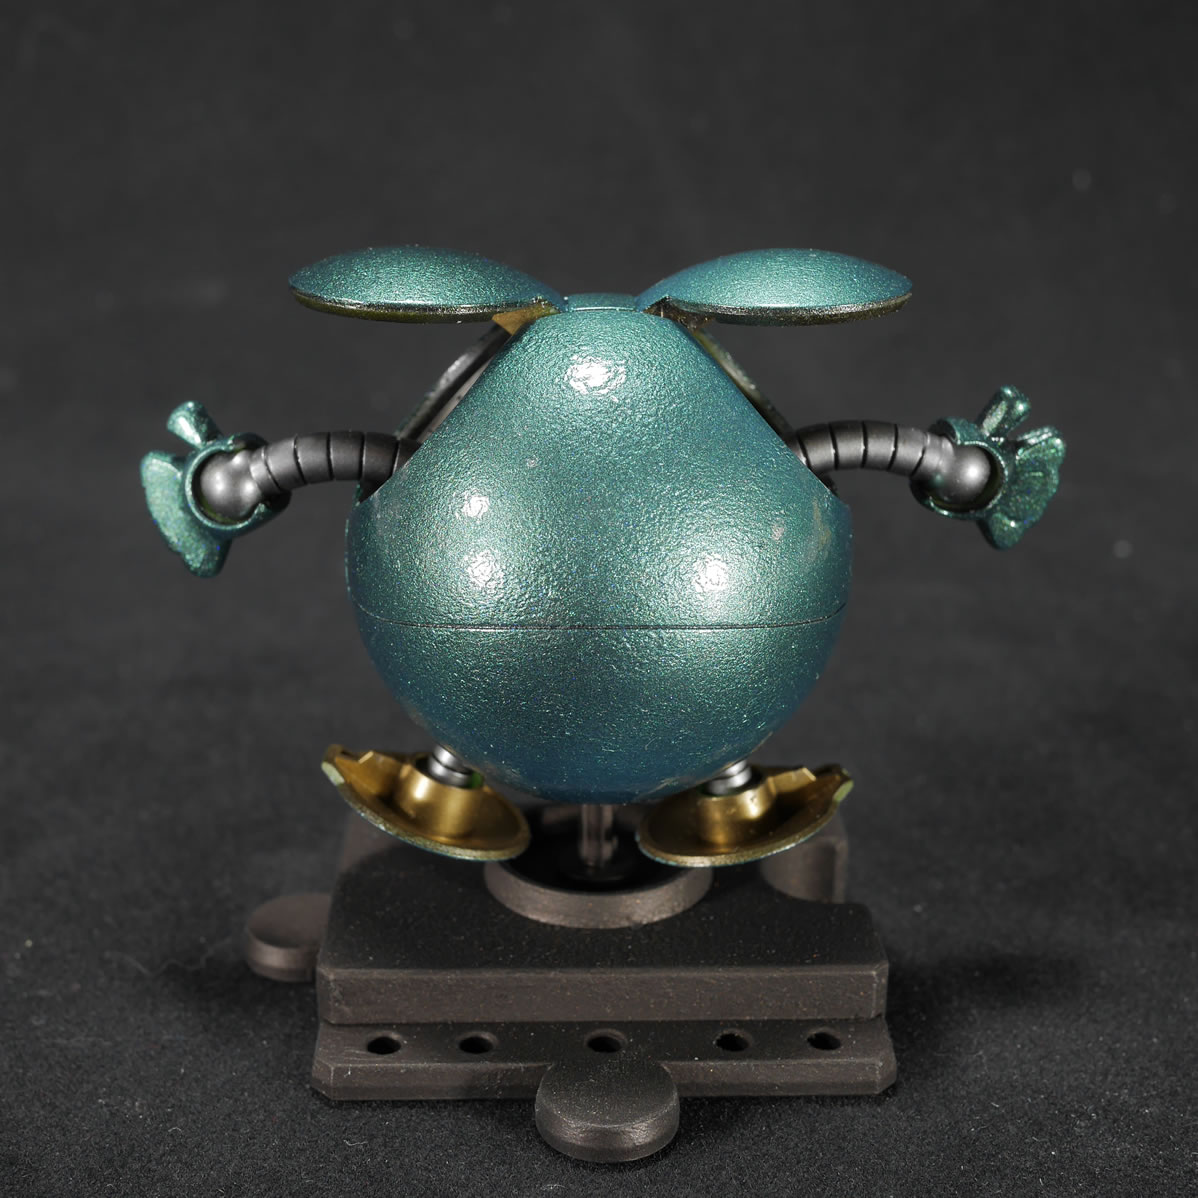
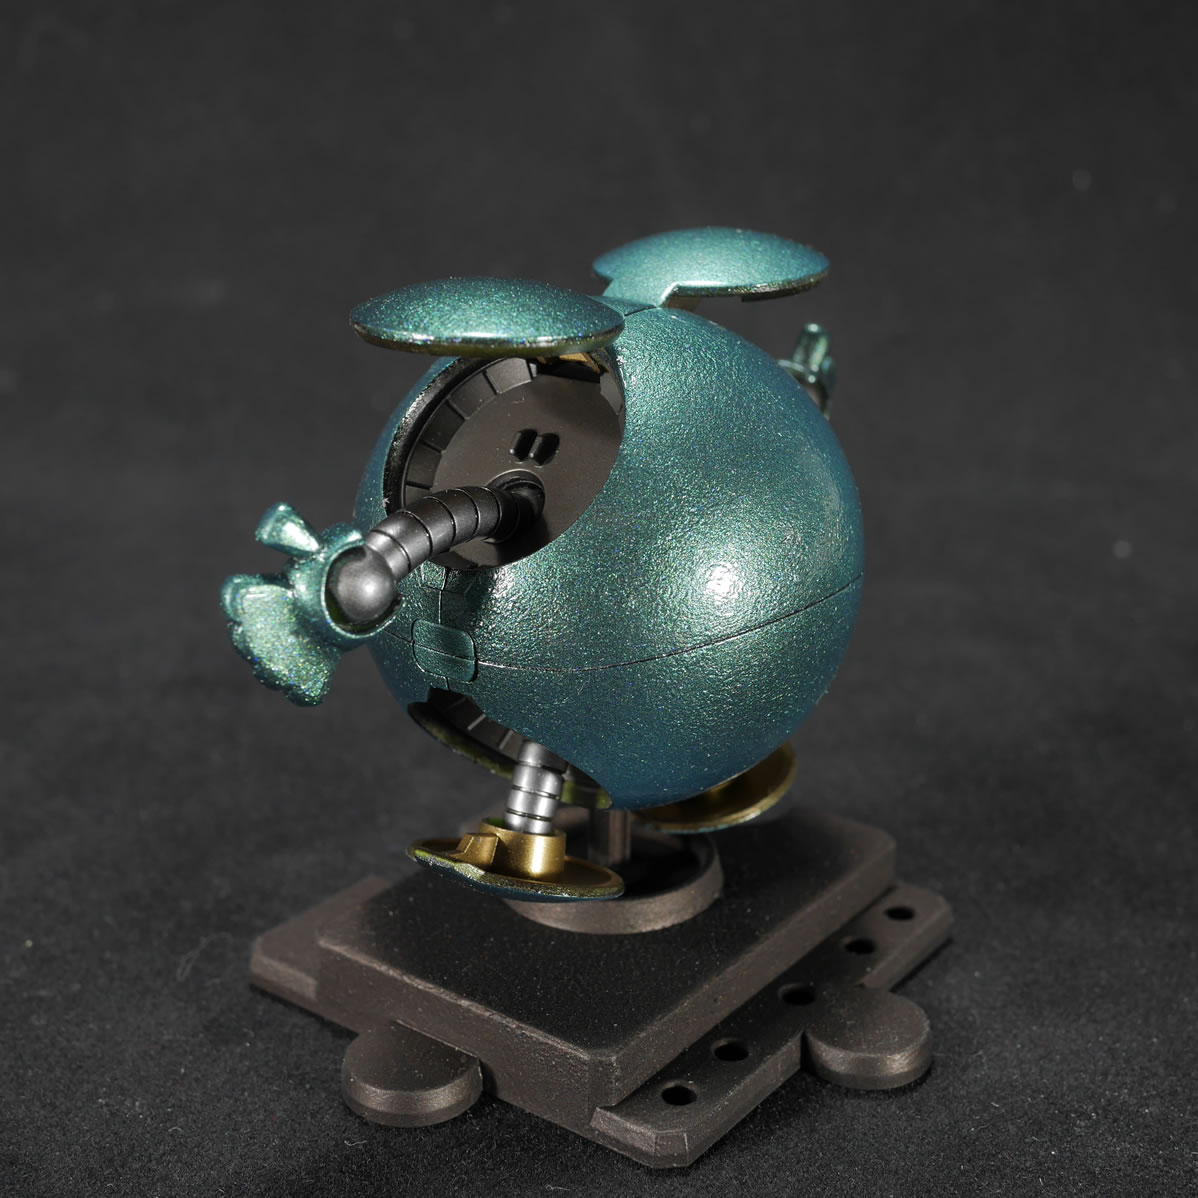
Again, as stated earlier, Orangecon was this past weekend so our tgg staff group discussions brought up the need to have a bunch of haros painted up. So I cracked open a box Friday afternoon and got to work. Due to time constraints, I have absolutely no progress pictures. The only modification I did was to the surface with styrene glue and a toothbrush to give the surface a texture. The dehydrator was in constant use to quick dry/cure each layer. This was the key to successfully building and painting the little sucker. I used Modo gloss black over mr surfacer 1000 primer. Over the black, I used alclad prismatic scarab (green to blue). The internals were painted with steel, polished brass, and stainless steel. The eyes were done with clear yellow over white. 4 layers of clear gloss was applied to the kit as well. I think it came out decently.
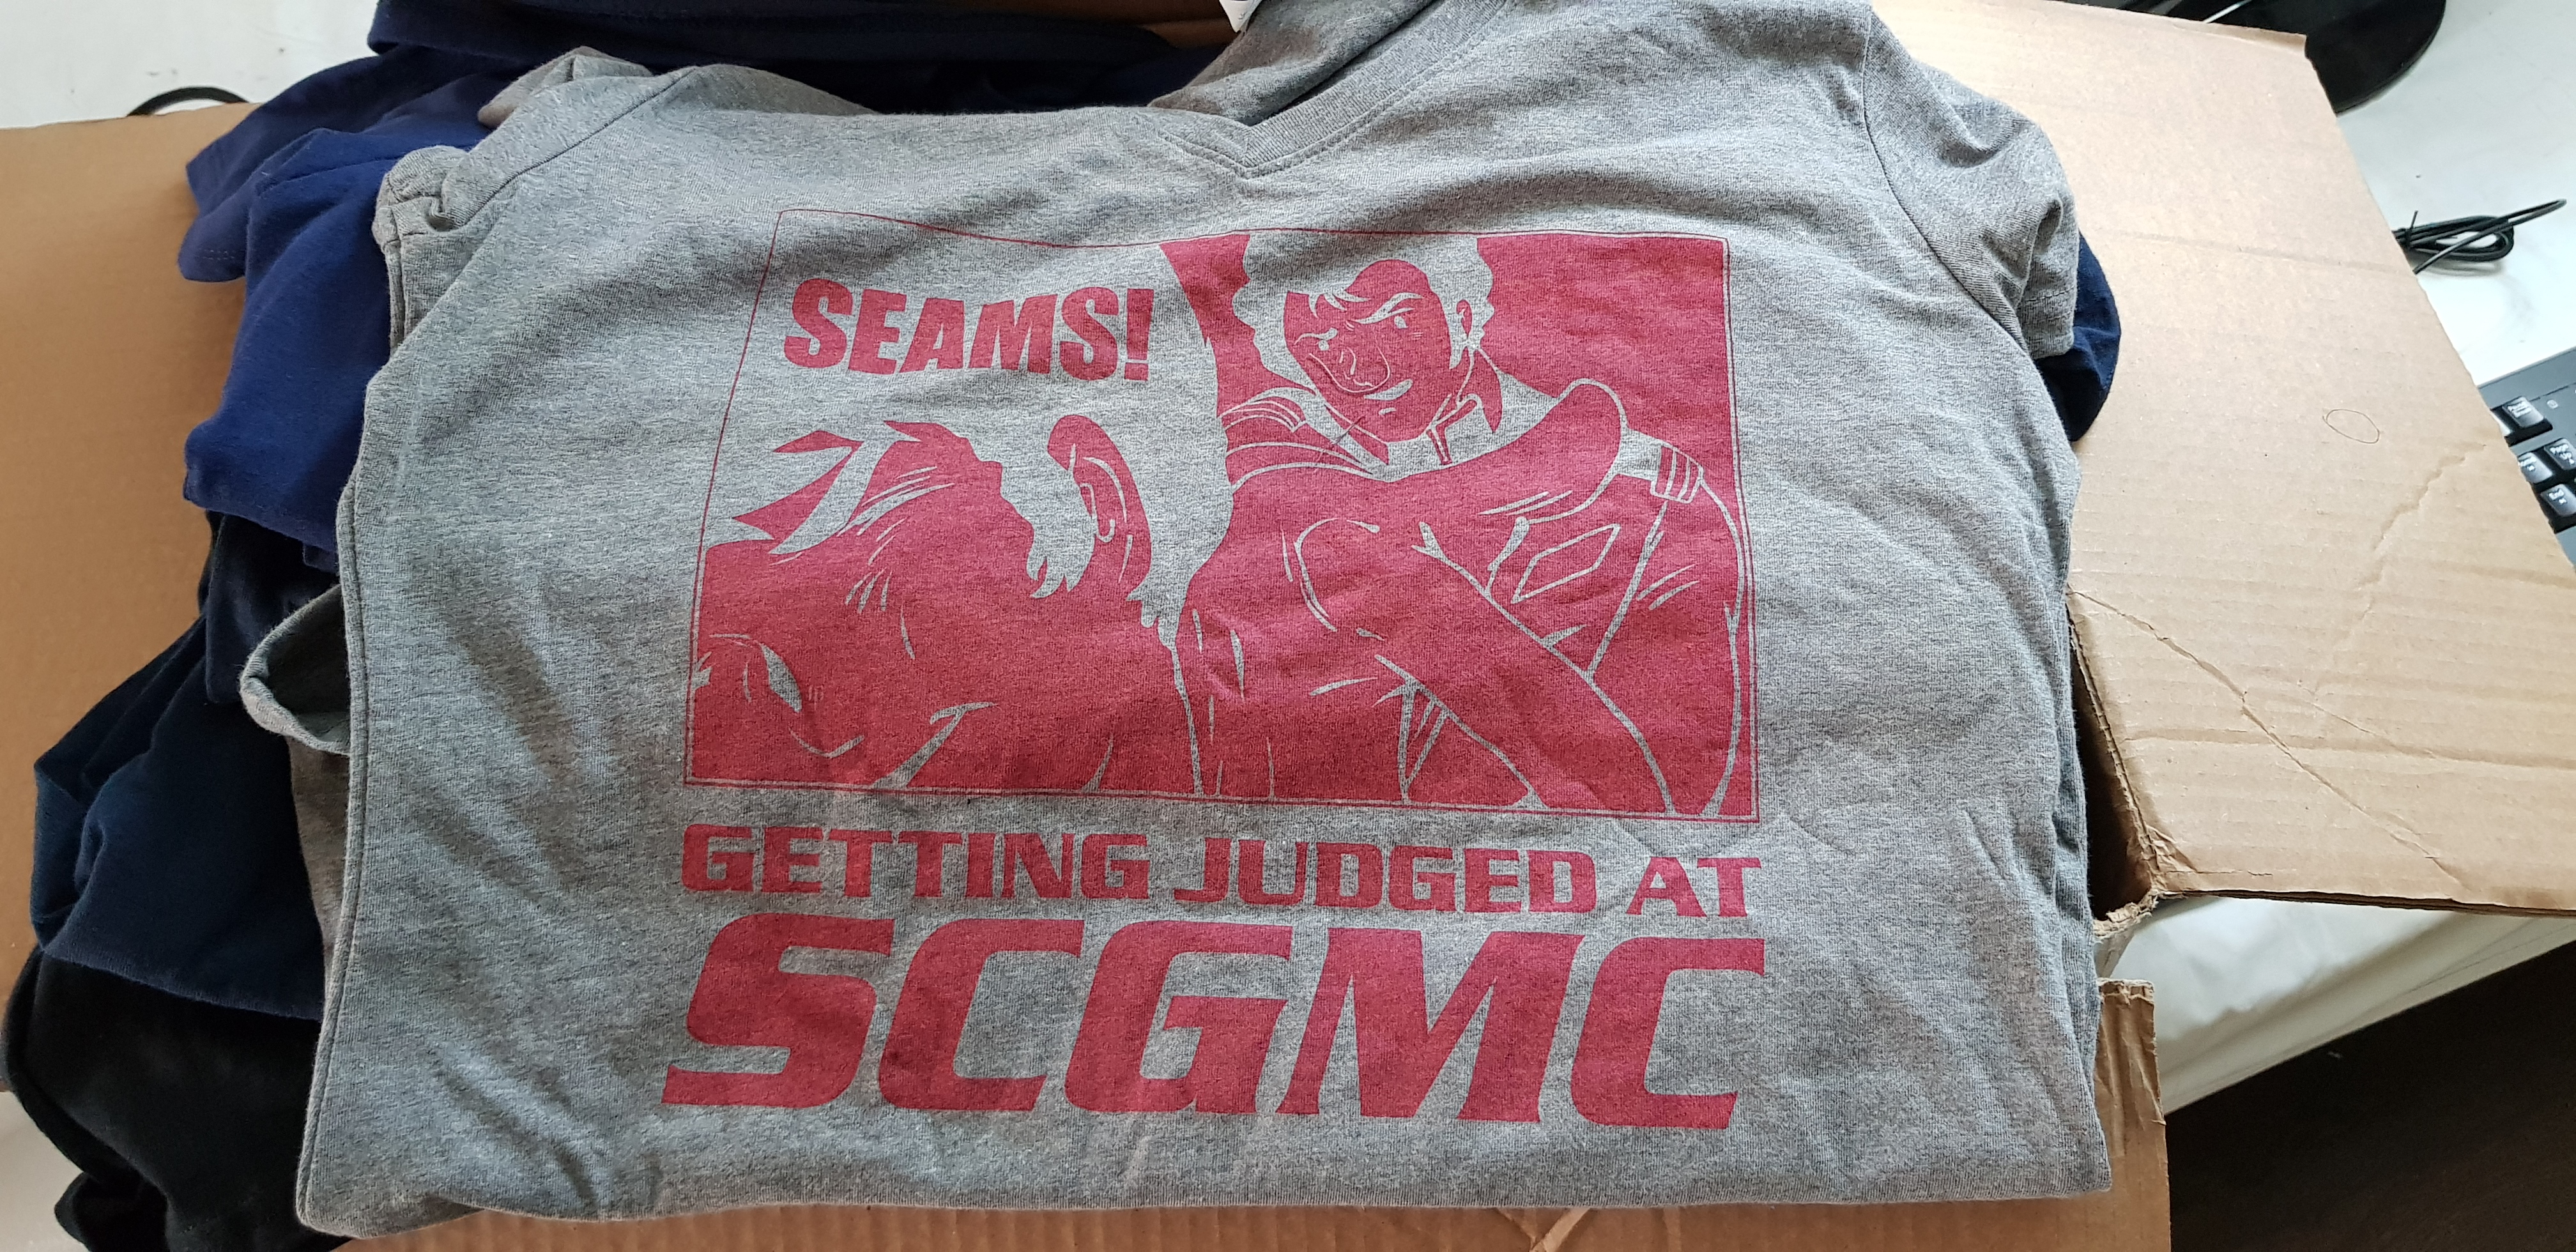
During a break at Orangecon, we headed over to our tshirt guy and picked up our judges shirts:
SCGMC is only 4 weeks away now! Get those kits done and we’ll see you there!