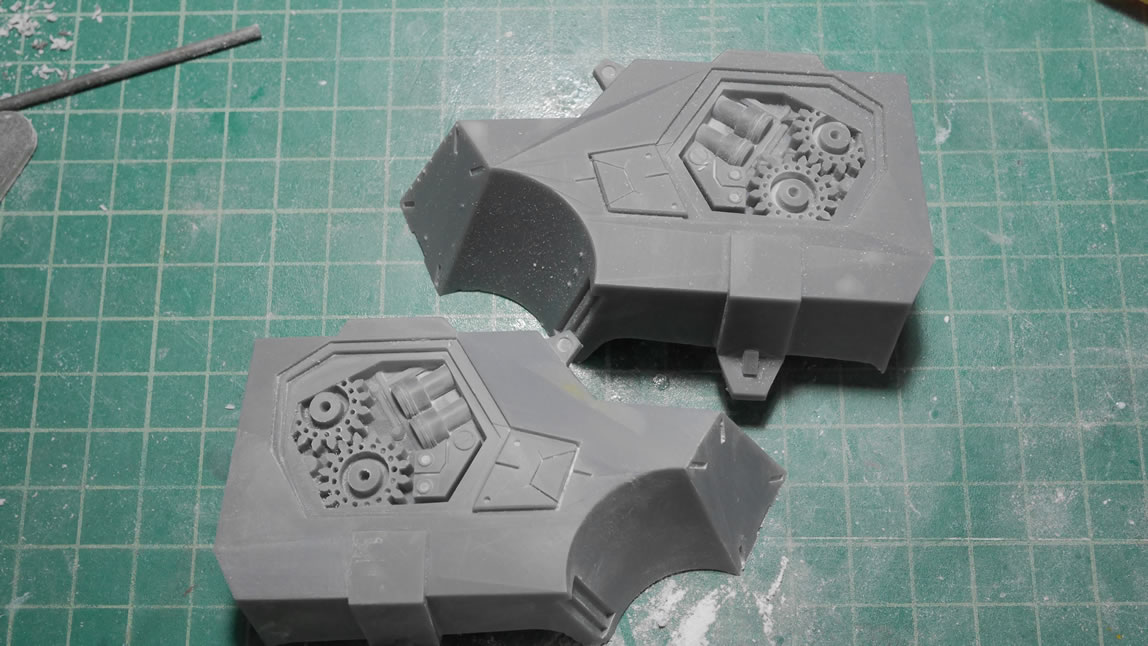
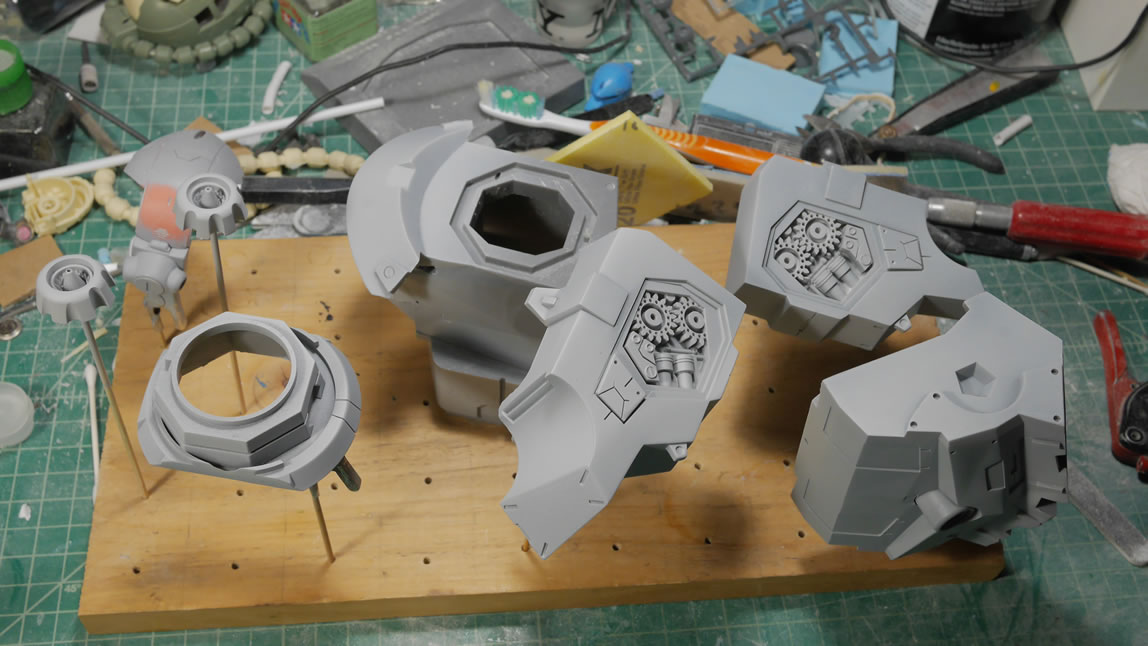
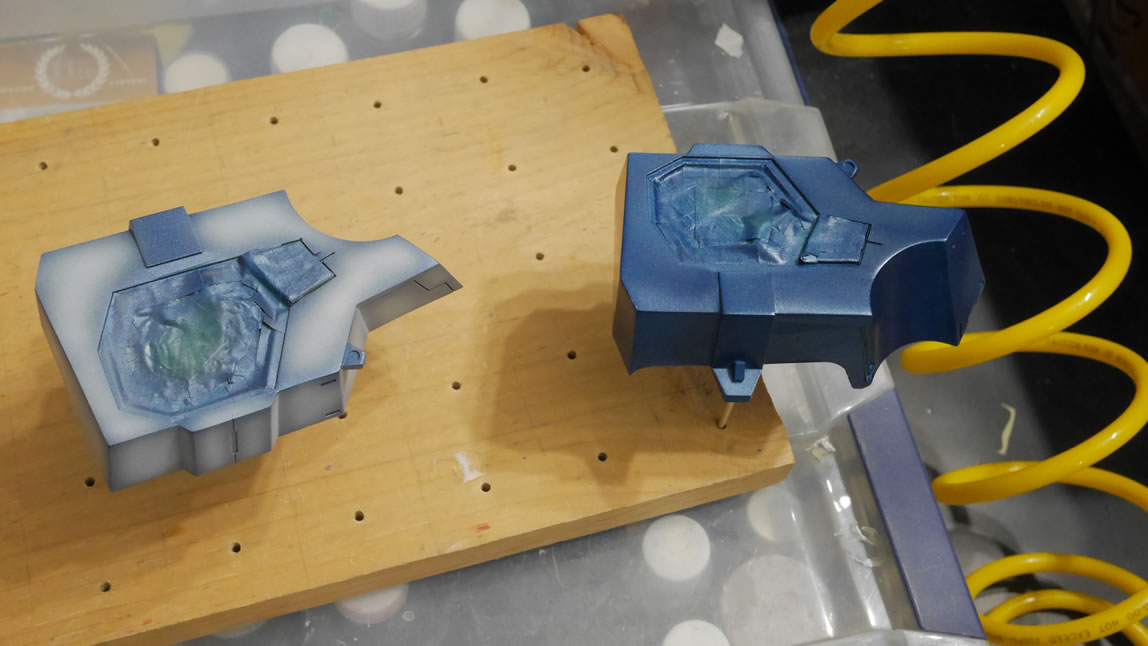
Now that I’m done pulling a bunch of casts, time to actually build the the damn thing. The difference is that I’m building and painting up the first 3D printed bust piece which is the bigger bust in 4 major pieces. Since the original 3D Design isn’t the best designed part, when it was printed, those mistakes in the design are also printed out so those will need to be addressed.
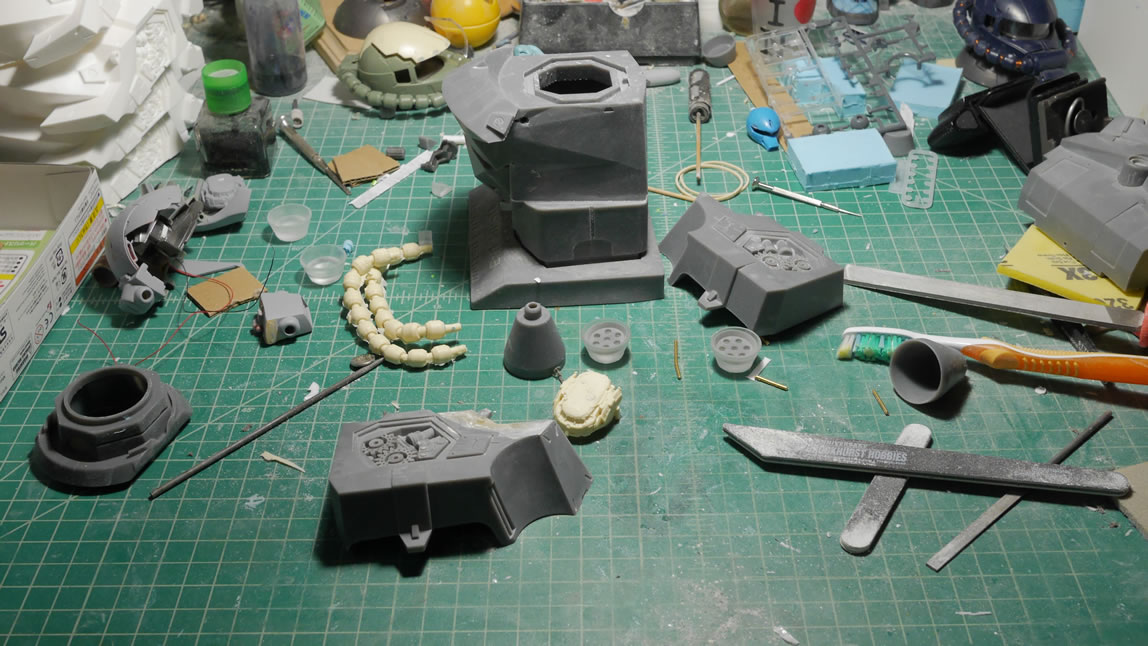
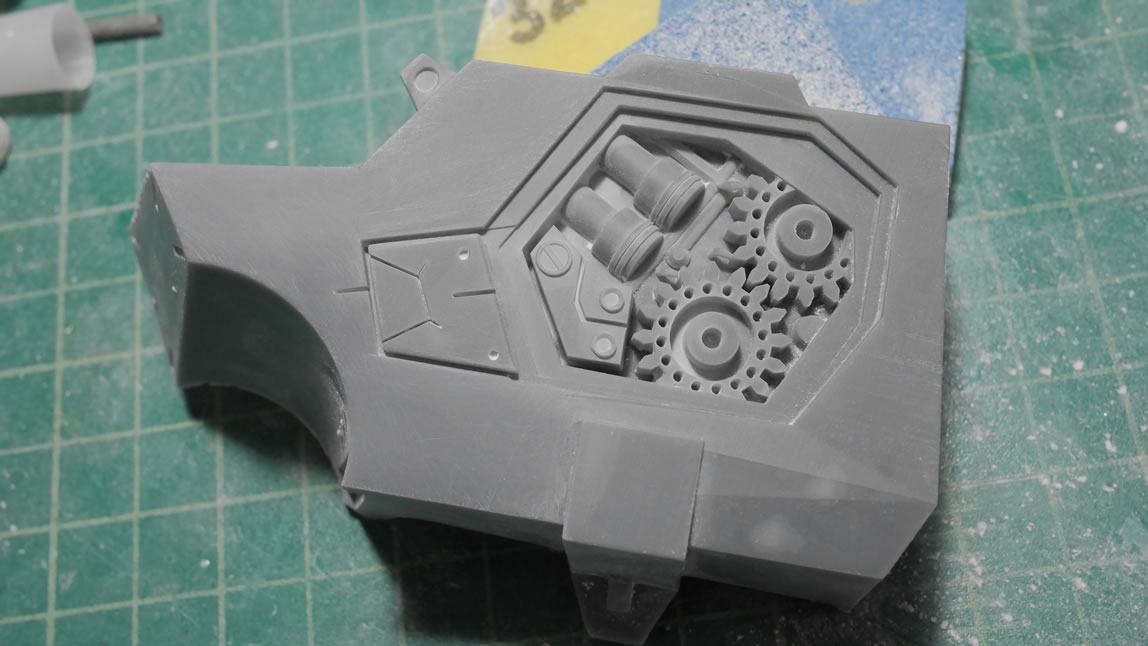
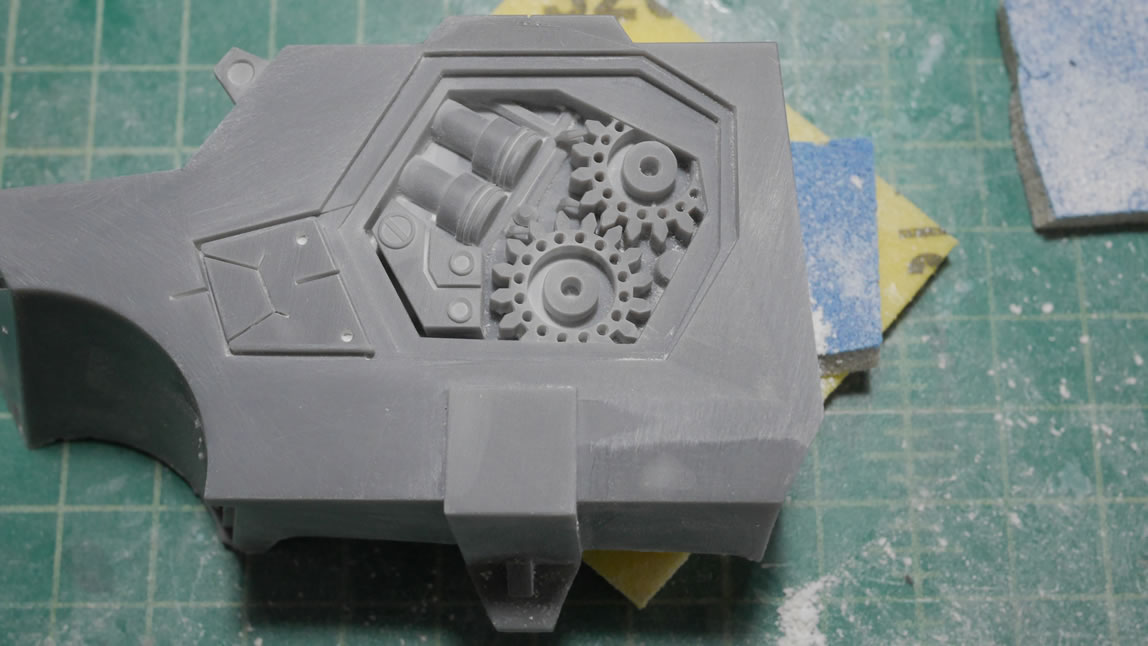
Jumping right in, the pictures belowed show the printed flaws that need to be sanded and/or filled. There is a lot of sanding and some light curing putty to level things off along some of the flat surfaces that didn’t get printed perfectly.
More about the build after the jump.
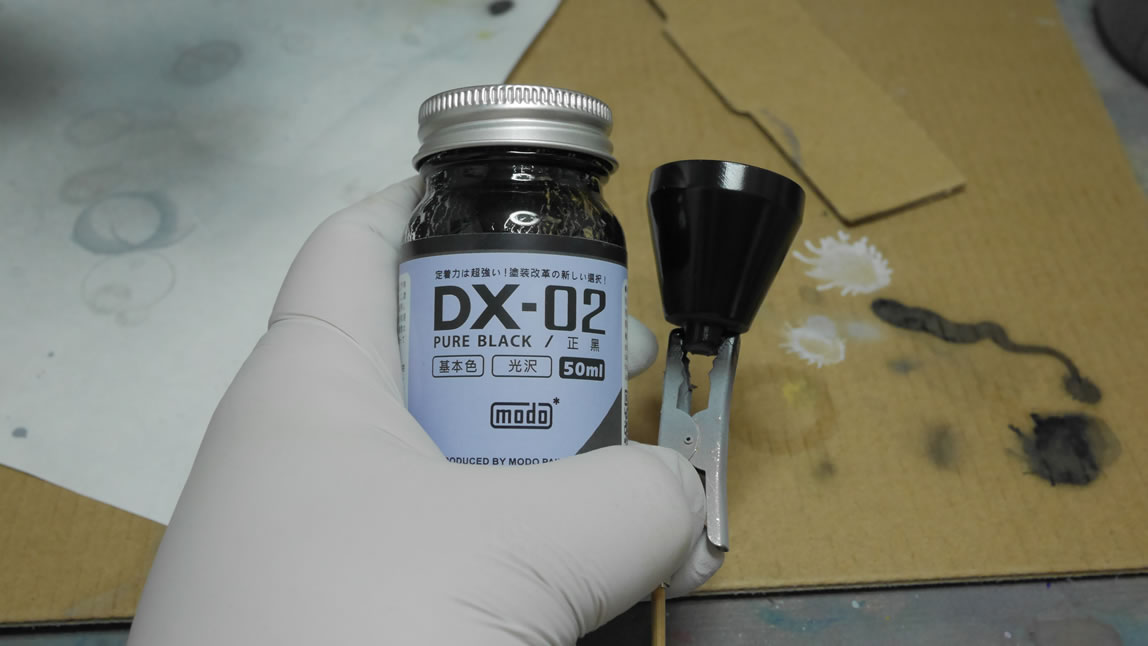
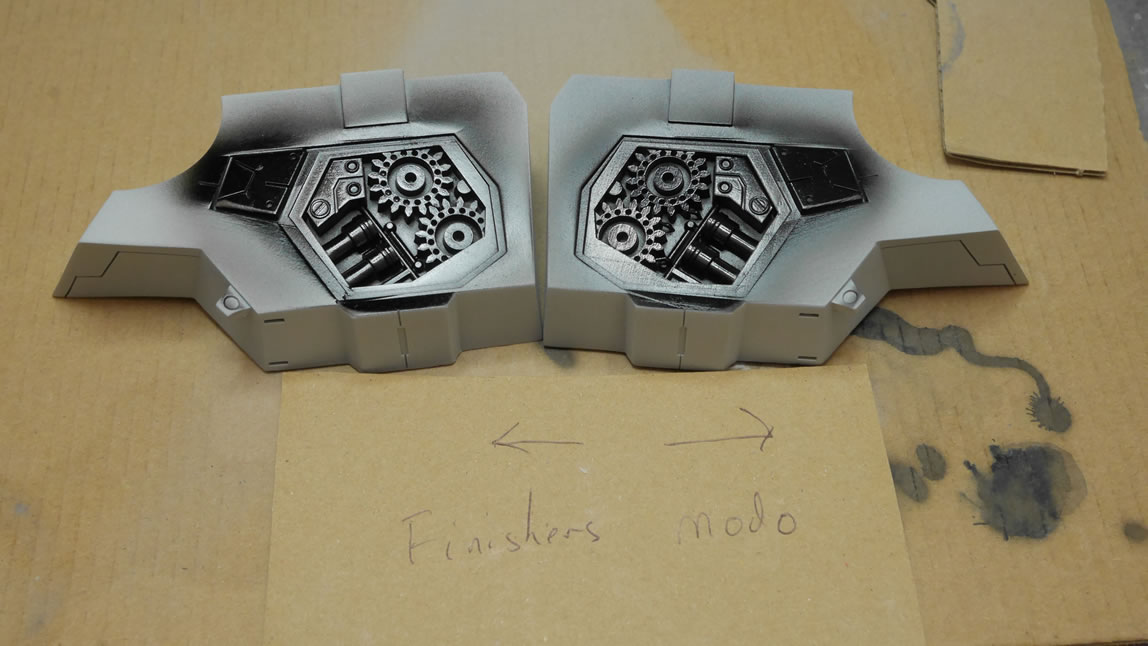
My wife went to Hong Kong back in August and she had a day to do some model supply shopping for me so I had her pick up some Modo Color paints. So here’s the gloss black used as a base. It looks pretty good and goes on as well as Finisher’s that I’ve been mostly using. Smell is slightly different, I think the Finisher’s has a stronger smell. Once the paint was cured, I sprayed a layer of alclad stainless steel.
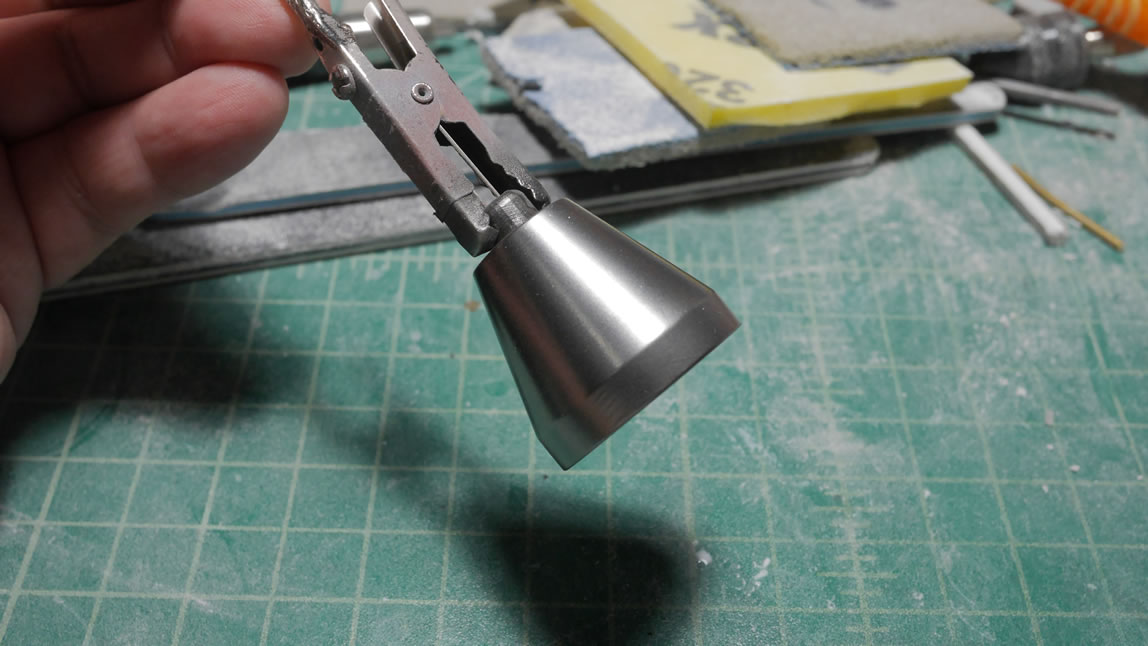
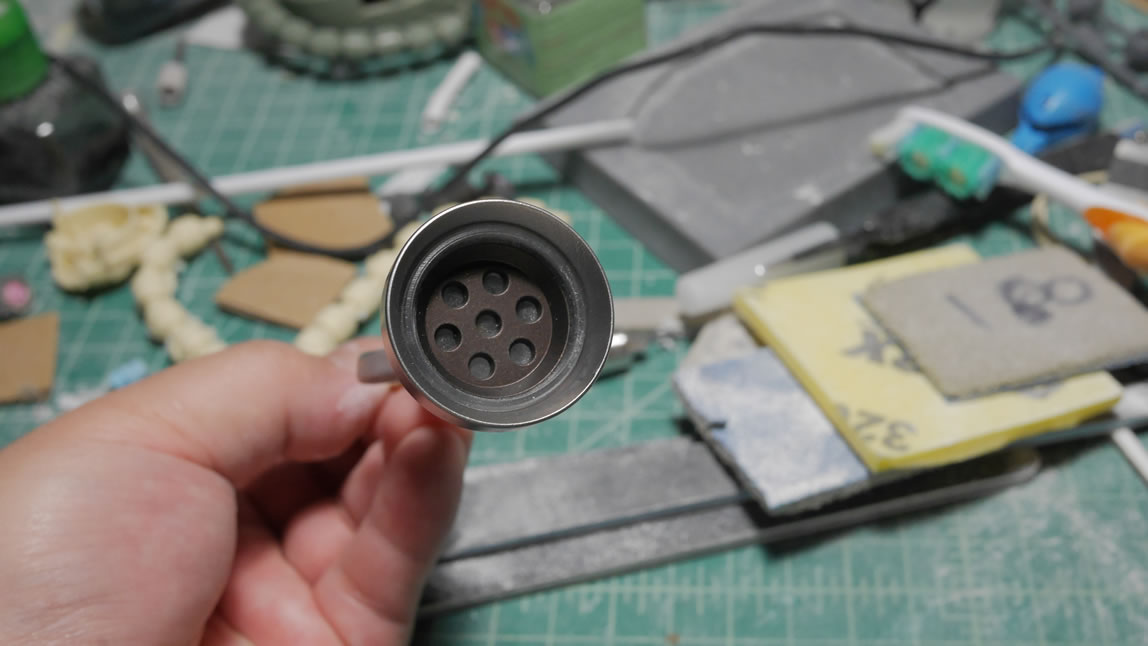
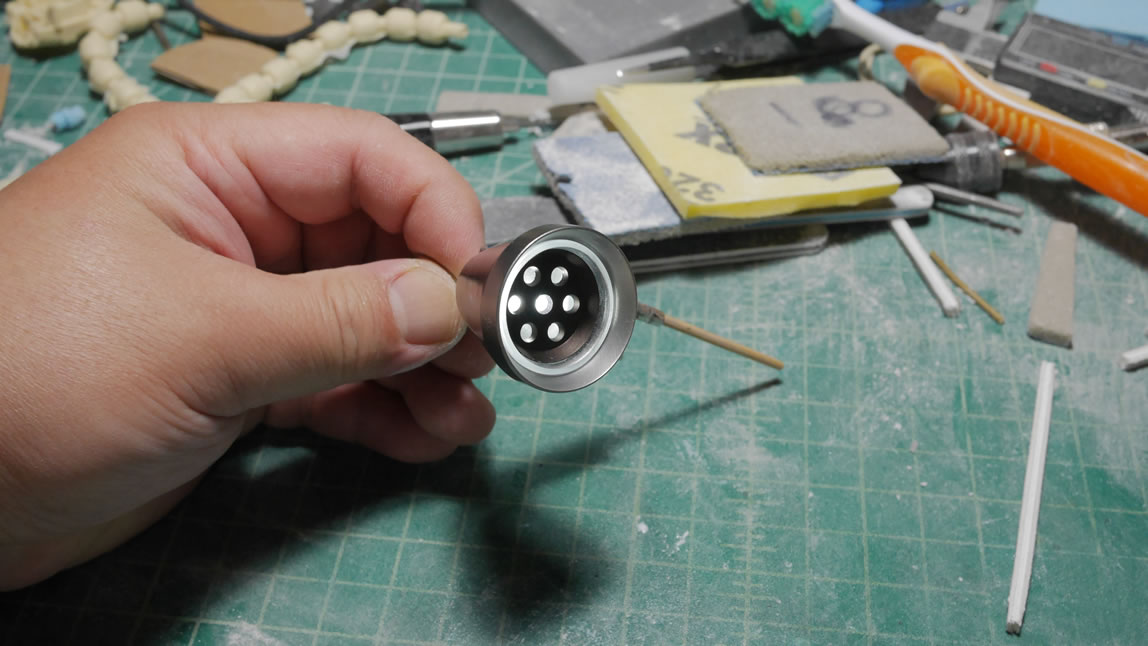
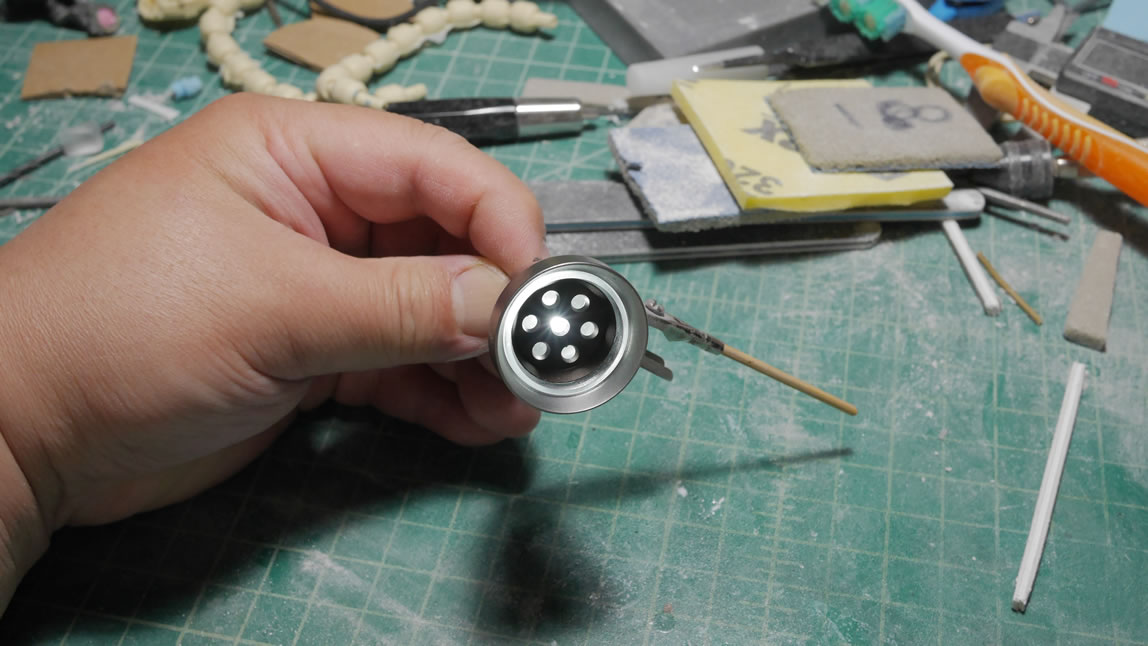
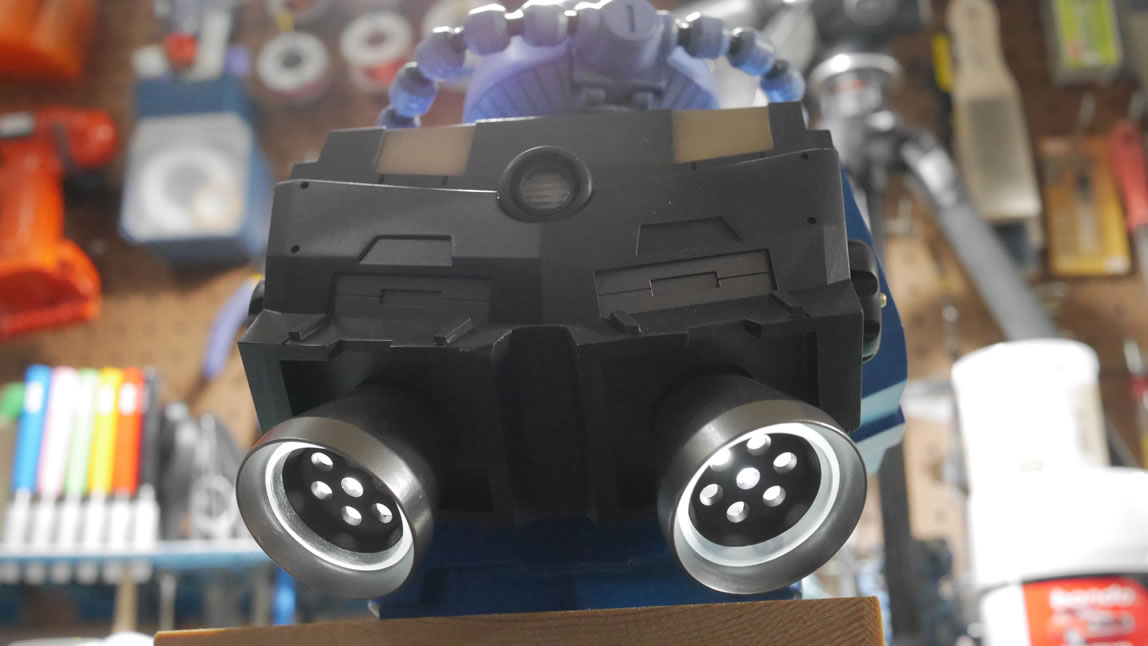
The thrusters are easily finished up and the internals were painted with alclad burnt metal. Assembled with the LED inside and the clear middle piece, the whole thing is glued together using white glue and fully assembled the whole thruster bell. A quick test with a battery and the light comes through and the bells look pretty cool.
The rest of the bust is primed after all the sanding fixes to check for more surface issues. There were a few, so once those were fixed, I moved on to actual paint. The next picture is a direct comparison of the gloss black from Finisher’s and from Modo. I don’t see a difference. Pictures may be difficult to completely discern, but I really did not see a difference in the cured paints. They sprayed on the same and the performacne is identical.
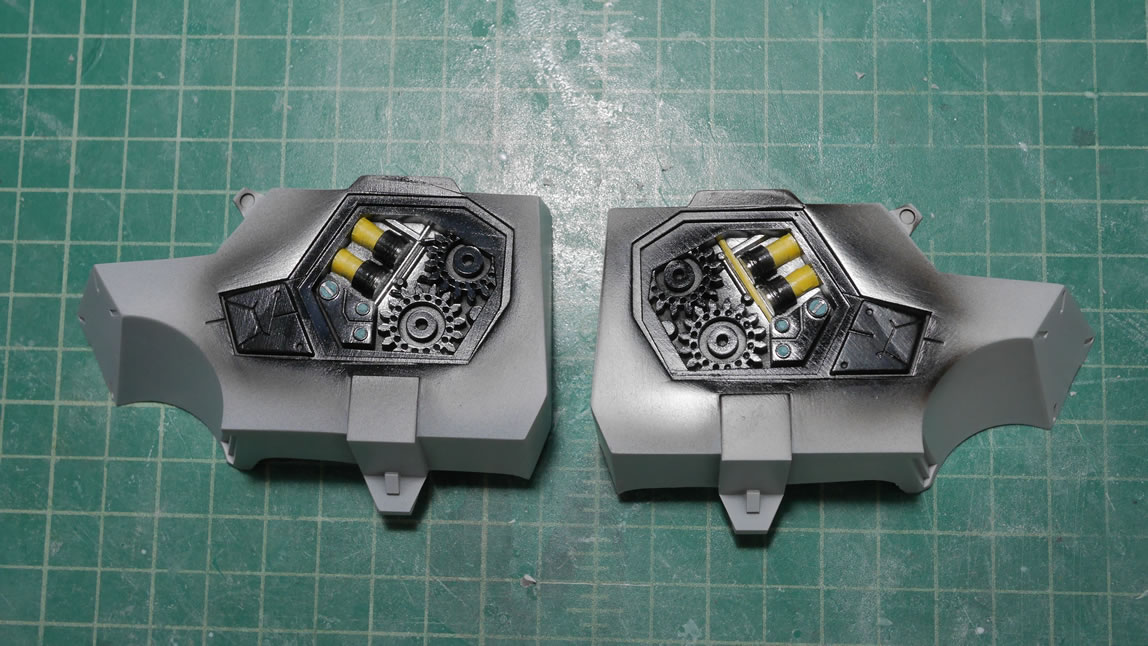
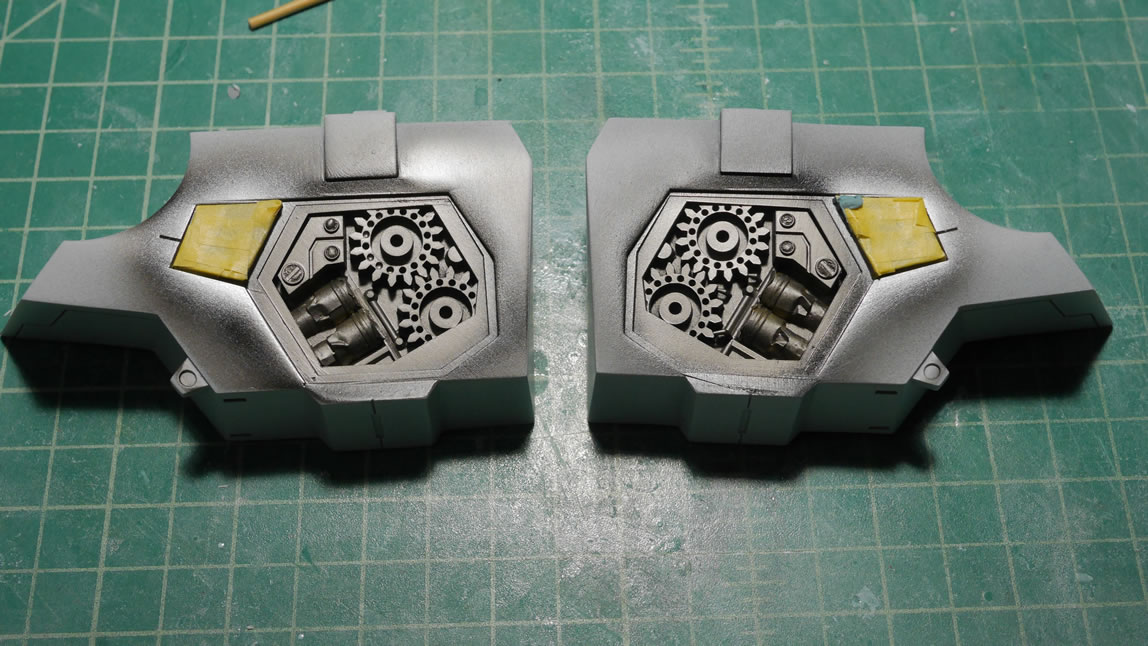
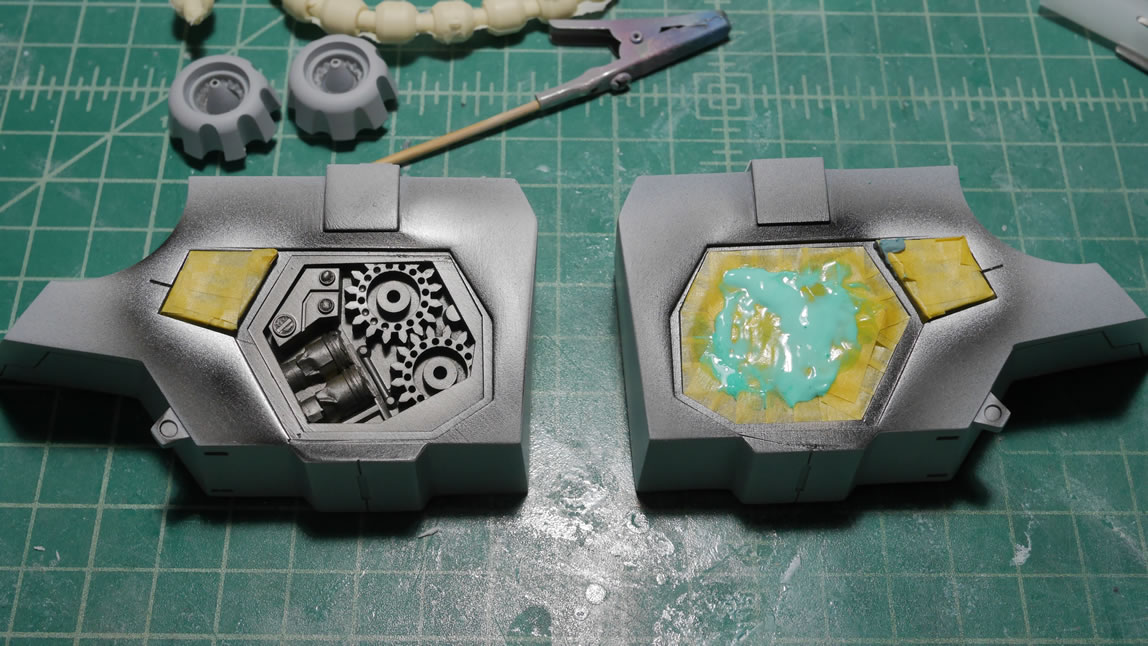
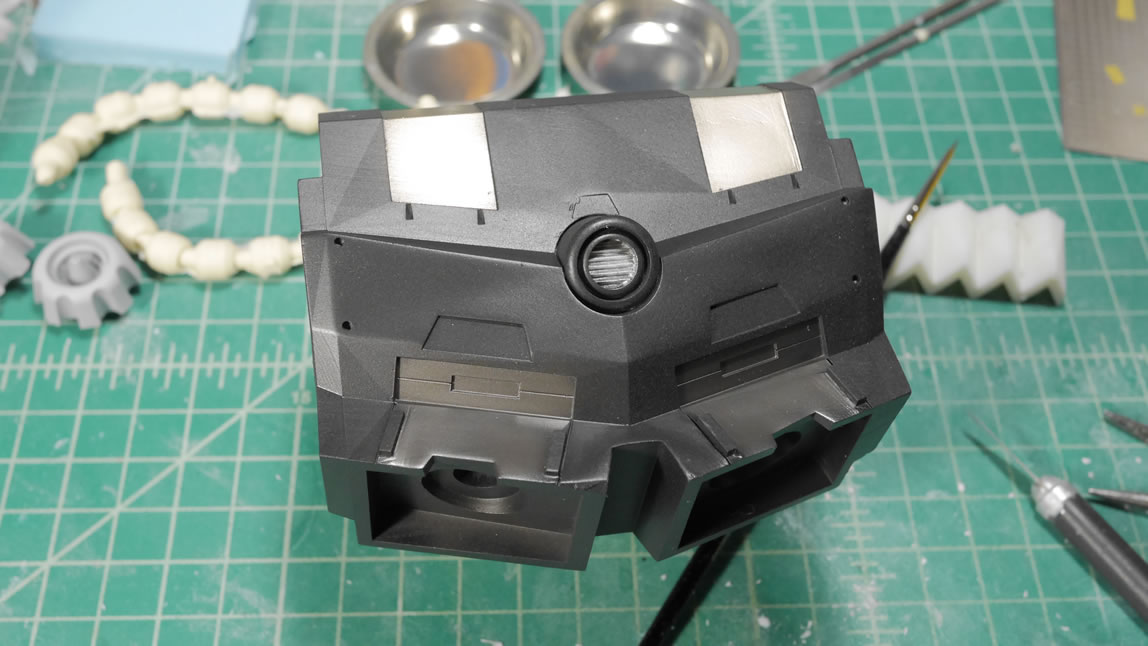
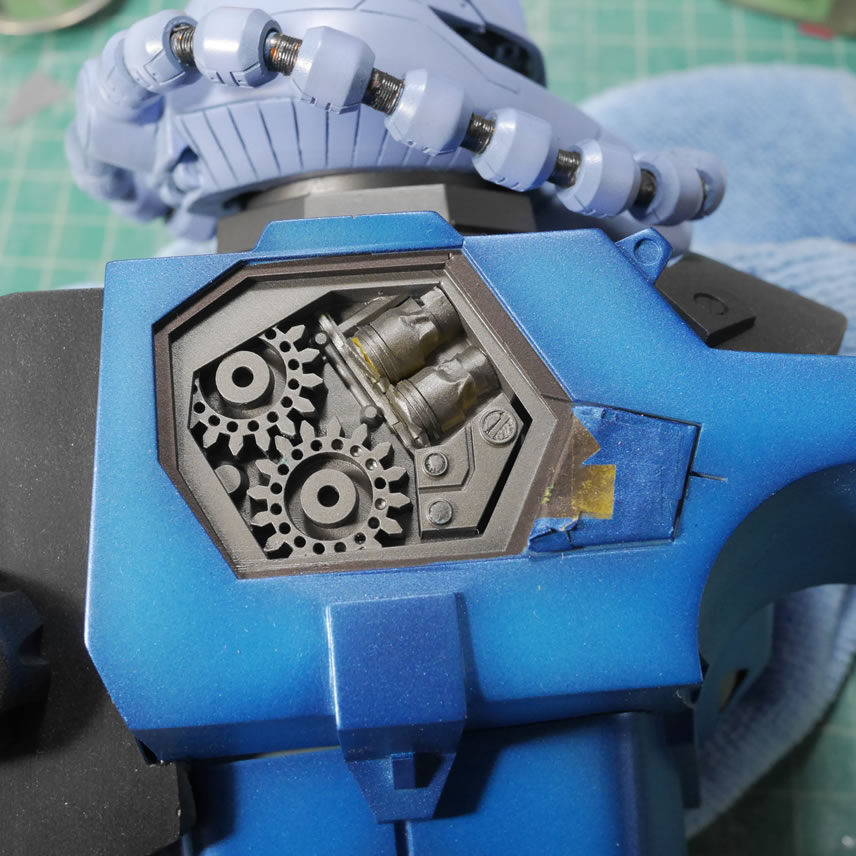
Once the black is cured, I can get on with detail metallics. The process is simple, spray the lowest level of detail first. So the pipes were painted in alclad polished aluminum. That area is masked. Then polish brass is sprayed. That is masked, then alclad steel. Masked, then burnt metal for the side extruding piece. Masked, then alclad exhaust manifold, then masked again. Some of the bigger areas get a layer of liquid mask as a catch all mask so that I don’t have any missed overlapps in the tape.
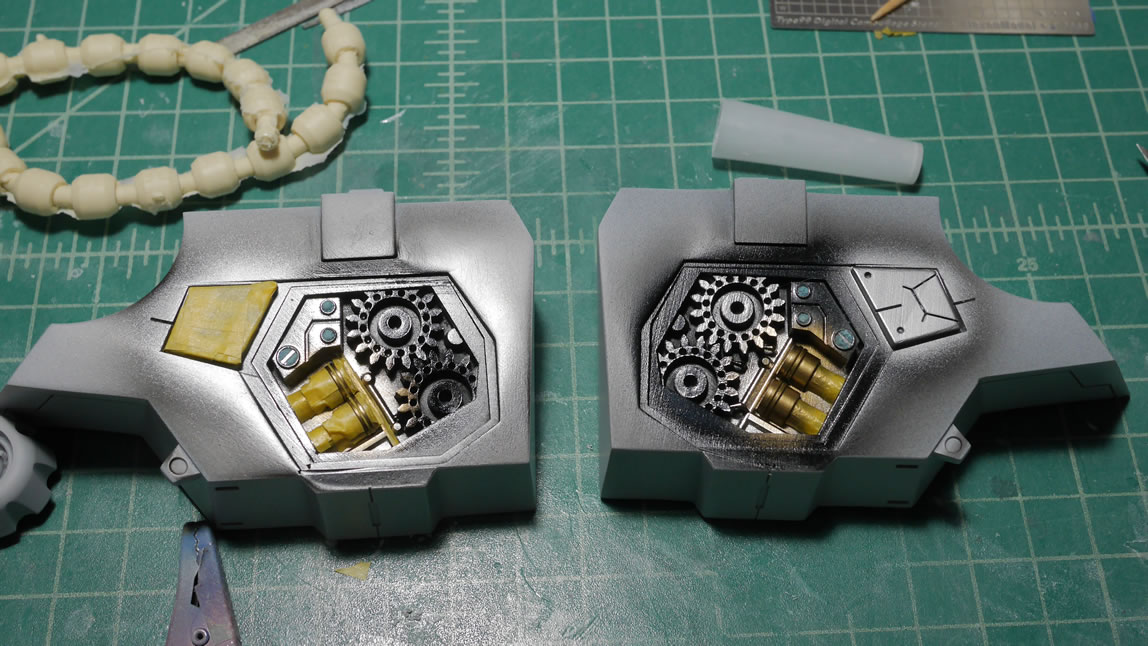
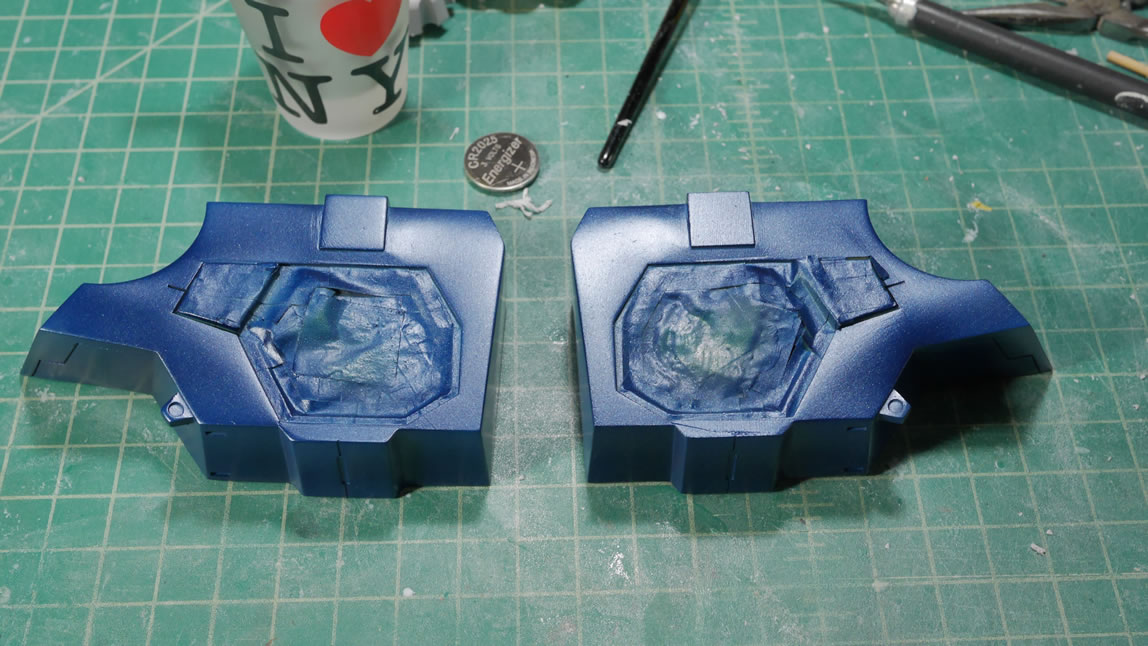
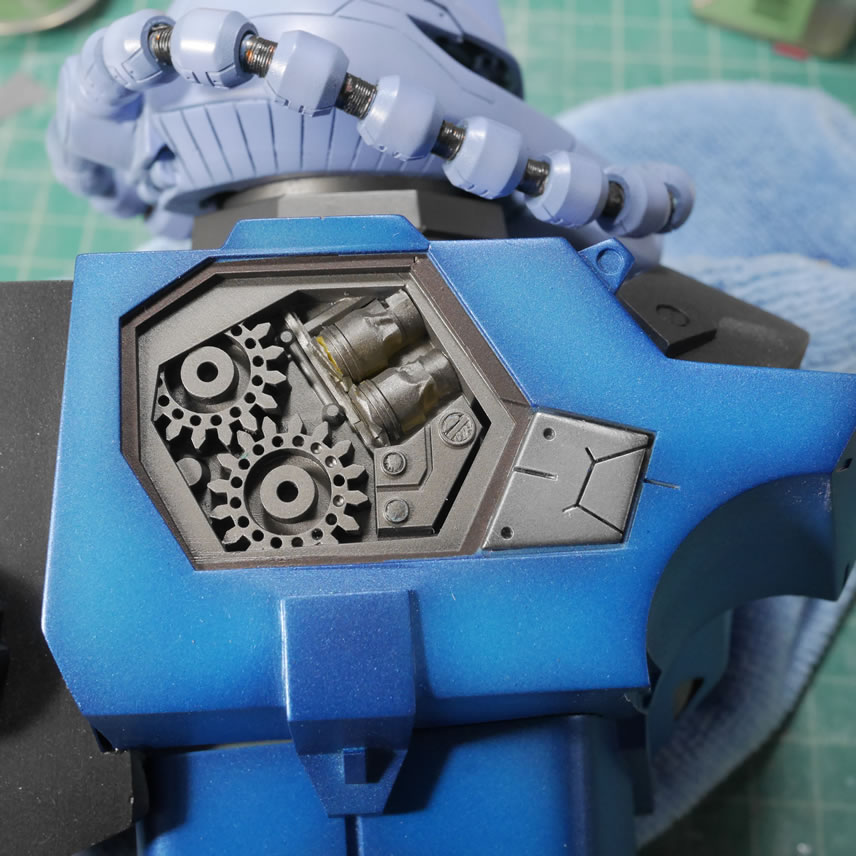
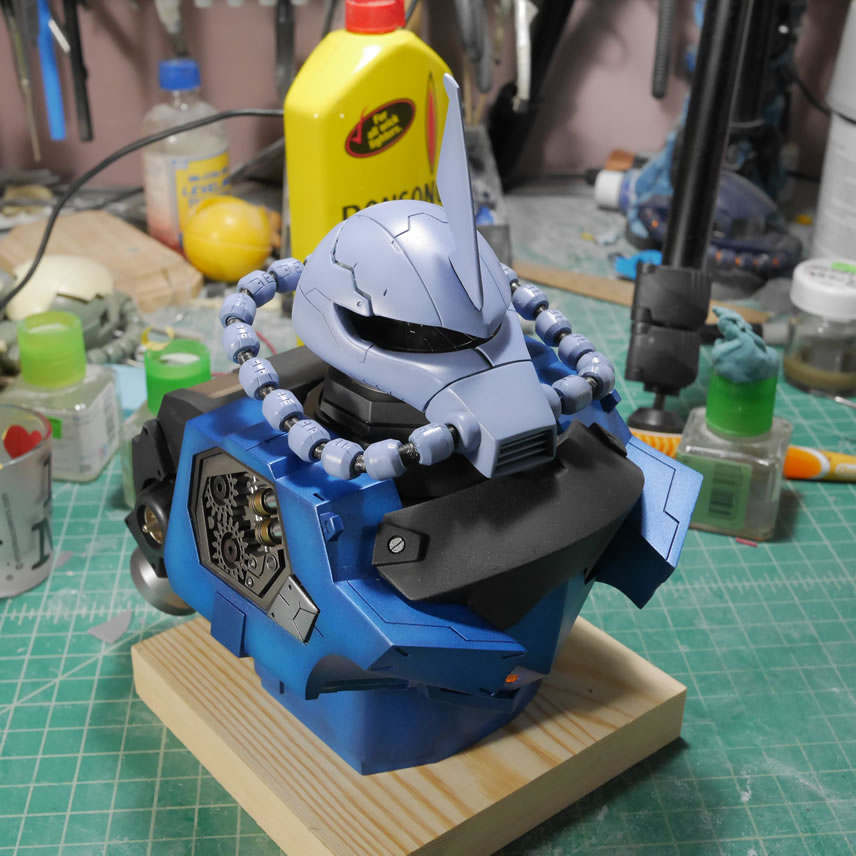
Once the metallic details are masked off I can spray on the base color. For this, I used Finisher’s metallic indigo. Seems kind of a waste, but I like using a darker tone from the final color as a shading element. The side chest pieces are painted first and the head is put away for the time being. Over the cured metallic indigo, I use mr white base and create a heavily shaded effect. I like a very lightly shaded effect, but this is an intermediate color lift, so this is fine for now.
While that is curing, I got the backpack painted. Some details are painted with alclad burnt metal, alclad steel, and alcald polished aluminum. Same technique as earlier, lowest layers get painted first, then masked. The final color is alclad burnt iron which is a flat finish paint.
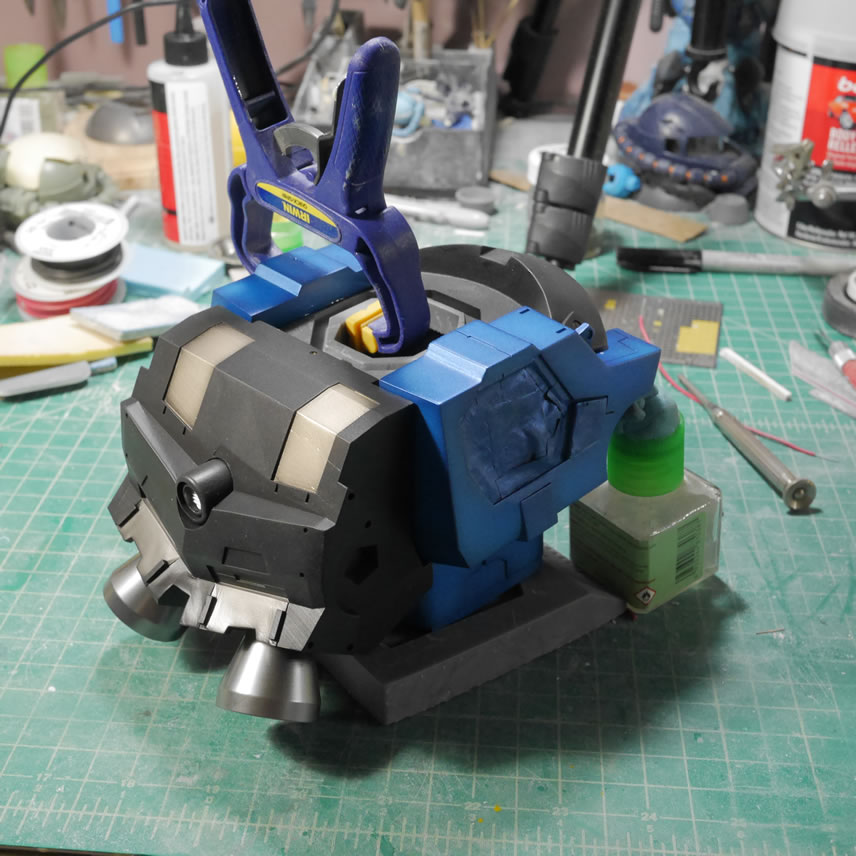
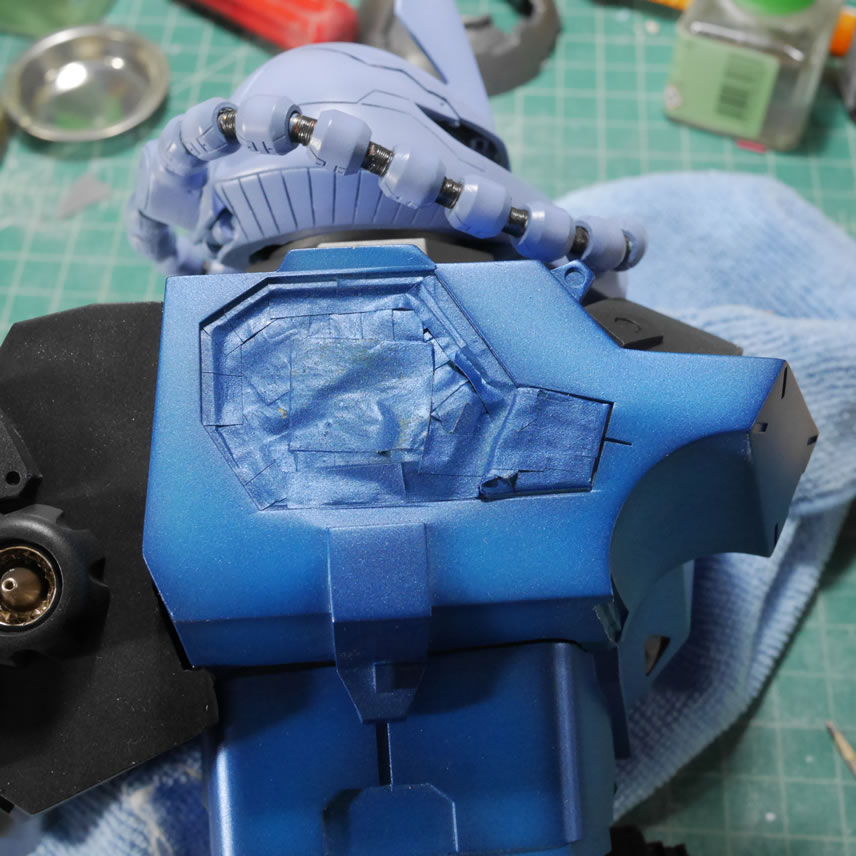
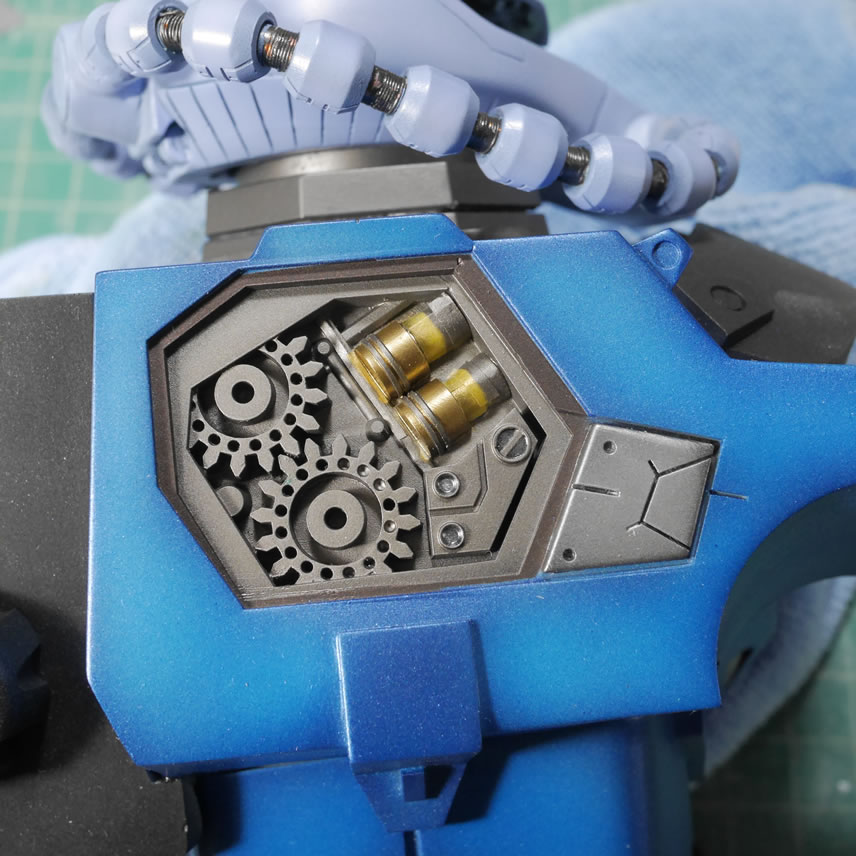
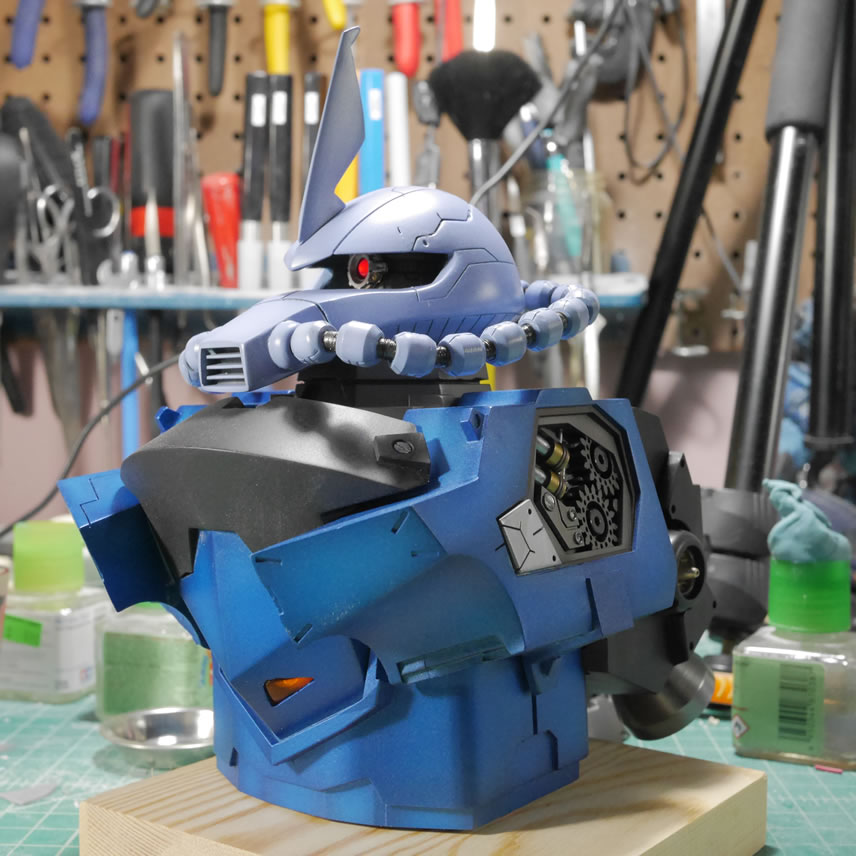
The main chest block is painted and the side chest pieces are painted with leftover touchup paint from my ’11 WRX. World Rally Blue. It has got a little metallic in it and worked very well thinned with mr color thinner. I did a quick little live stream when I painted up the chest and side pieces. It is a quick 20 minute long video and does some quick explanation of basic airbrushing technique, you can check that out here:
The backpack is painted. Time to glue everything together. The clamps are helping to keep the parts in place while the glue cures. I used a 5 minute epoxy for the glue. Notice that there is a hole in the top of the backpack. I drilled in a hole through this piece and into the chest piece so I can drop in a pin to help hold the pieces together while the glue sets. This also helped when I was test fitting and temporarily holding the parts together.
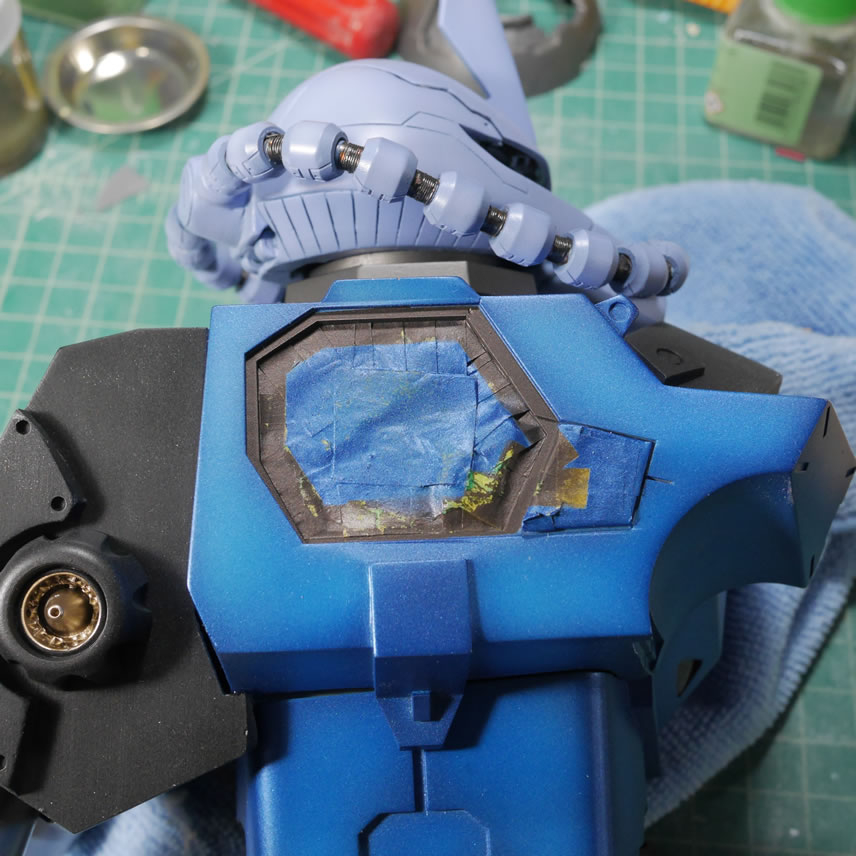
This may be a bit counter intuitive since I already spent the time painting the whole backpack. Once the glue set, the areas surrounding the hole are masked off so I could fill the hole with some putty, sand, prime, base coat, and repaint that area. I do this because painting the backpack piece by itself is much easier than painting the whole piece once it is glued together. In hindsight, I could have used magnets as the contact points, but it sorta wastes the magnets as the parts won’t be coming apart once glued. I do this kind of thing alot with resin figures. I paint the part, glue, then fix the seam, then repaint. This is an order of operations thing.
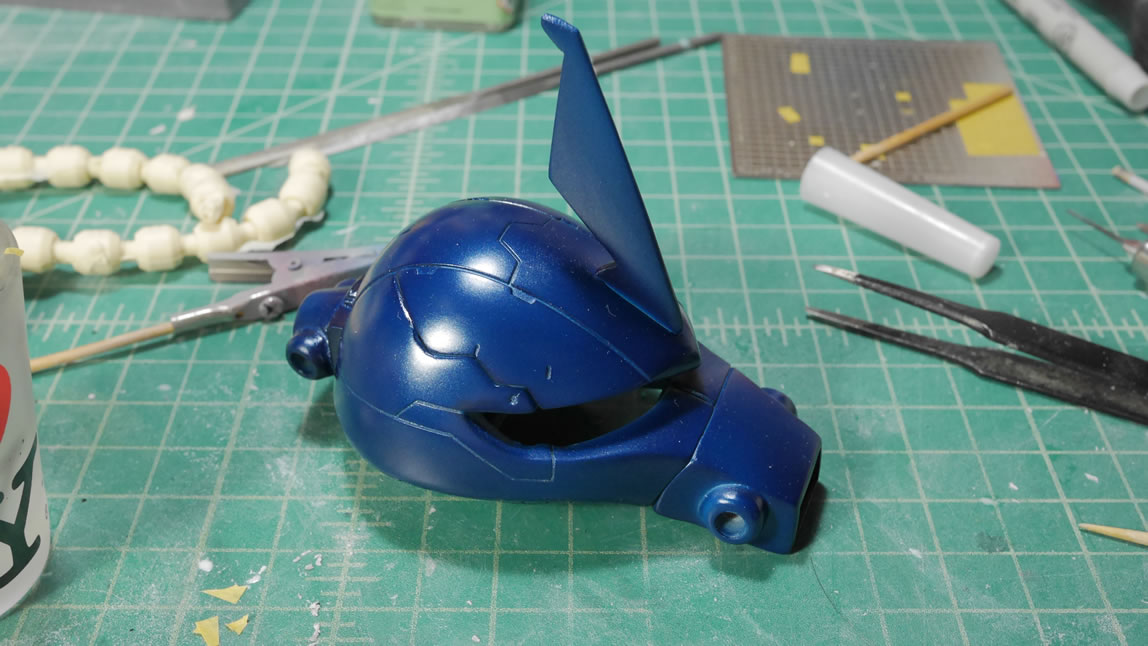
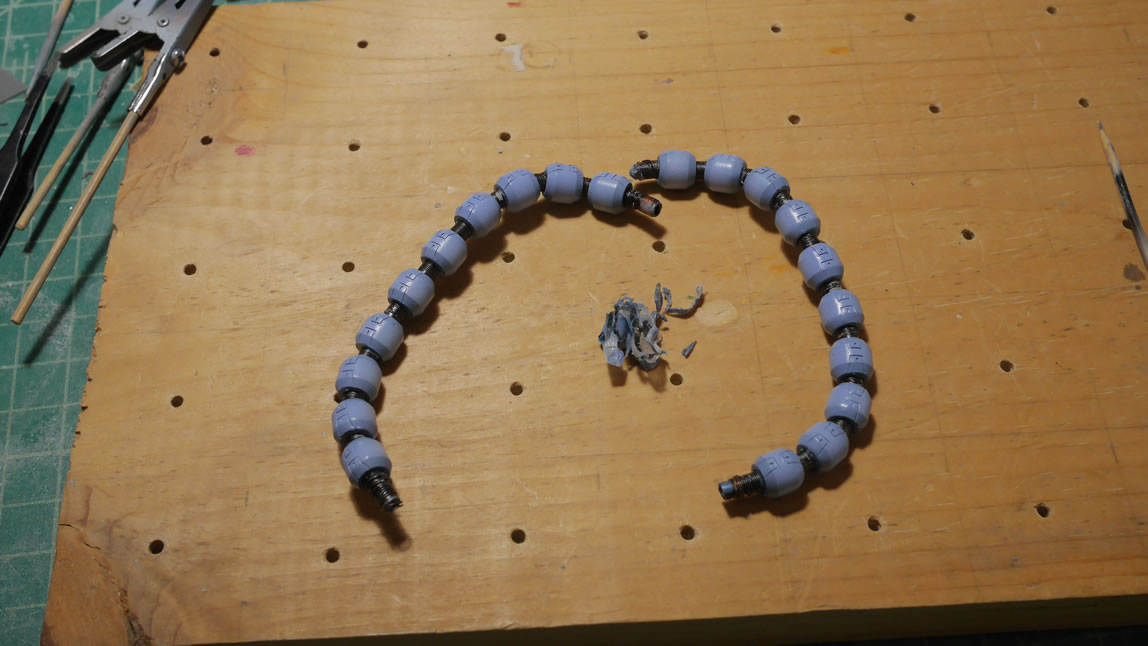
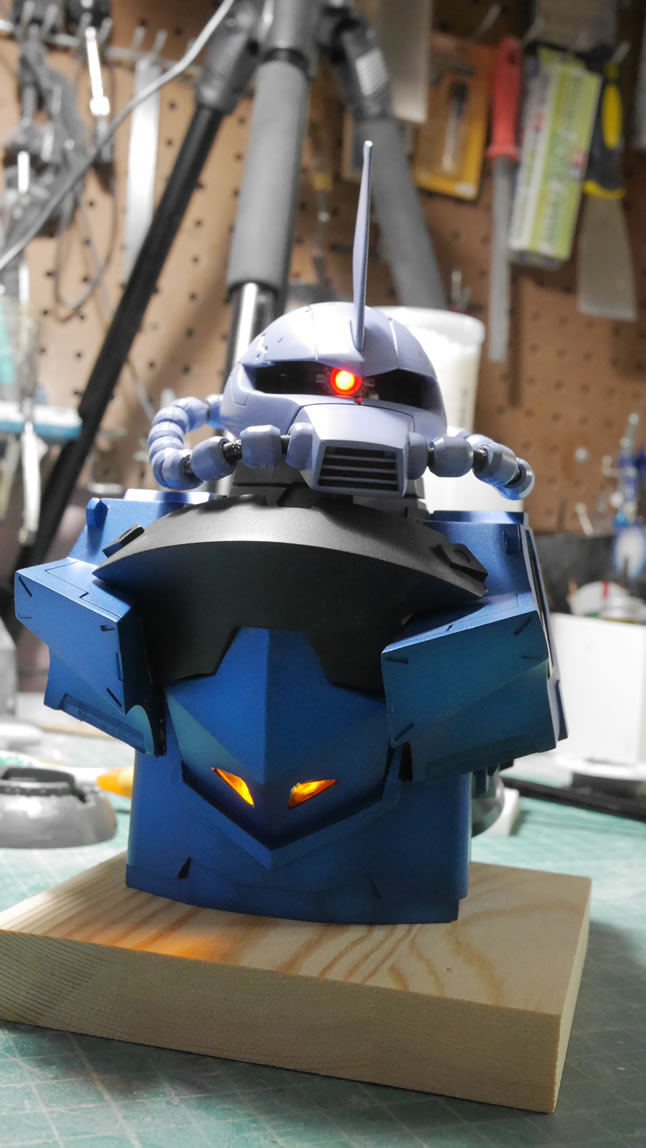
I set the head peiece aside for a while since it is being painted a different blue tone than the chest sides. Also, I didn’t finish cleaning up and painting the cables so if I painted up the head piece first, it increases the chance for tonal variance between the head and the cables. I want the color tones to be as uniform as possible. The wiring between the cable joints are painted with alclad steel. Those areas are masked off with parafilm then primed and based coated with the metallic indigo. Once that was done, the same mr white base is sprayed as a heavily shaded effect.
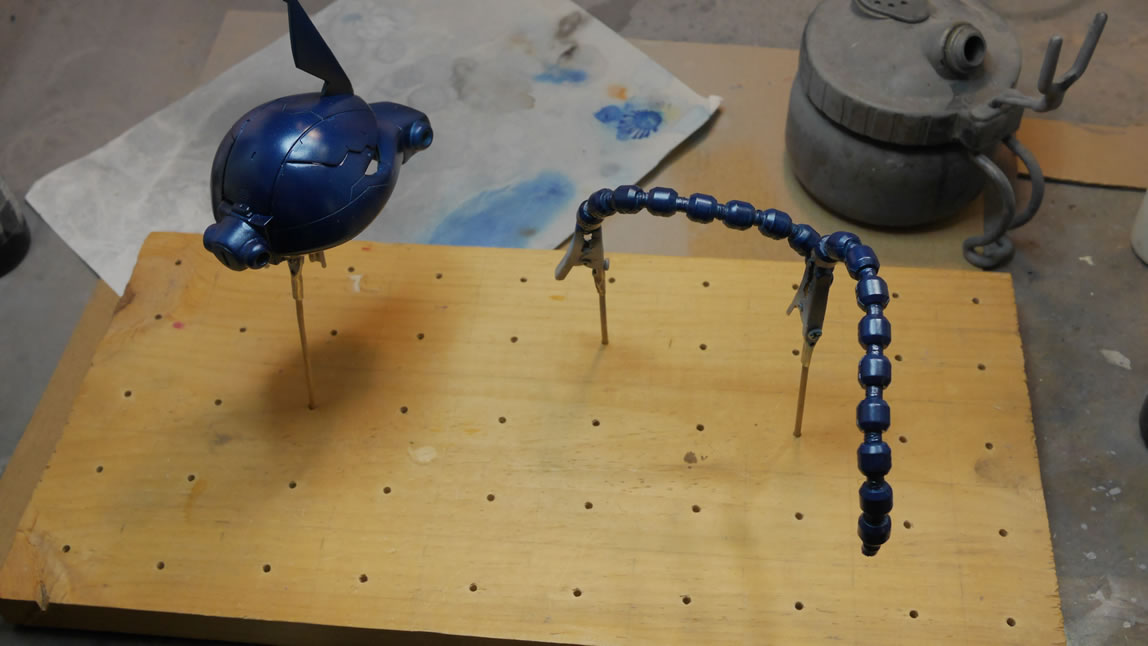
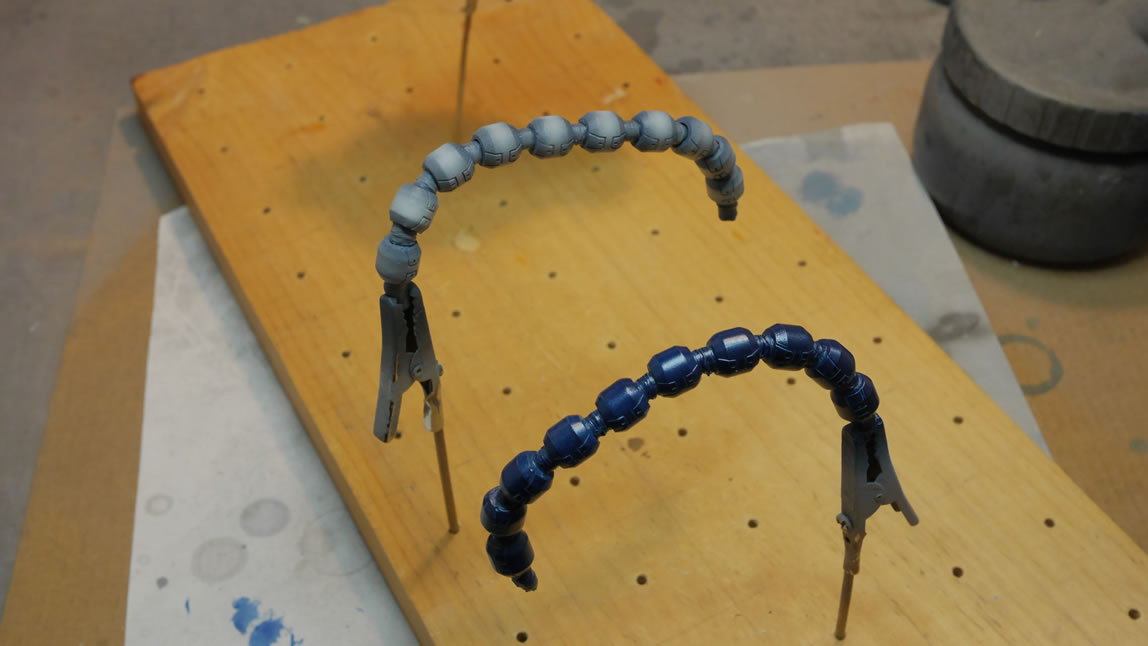
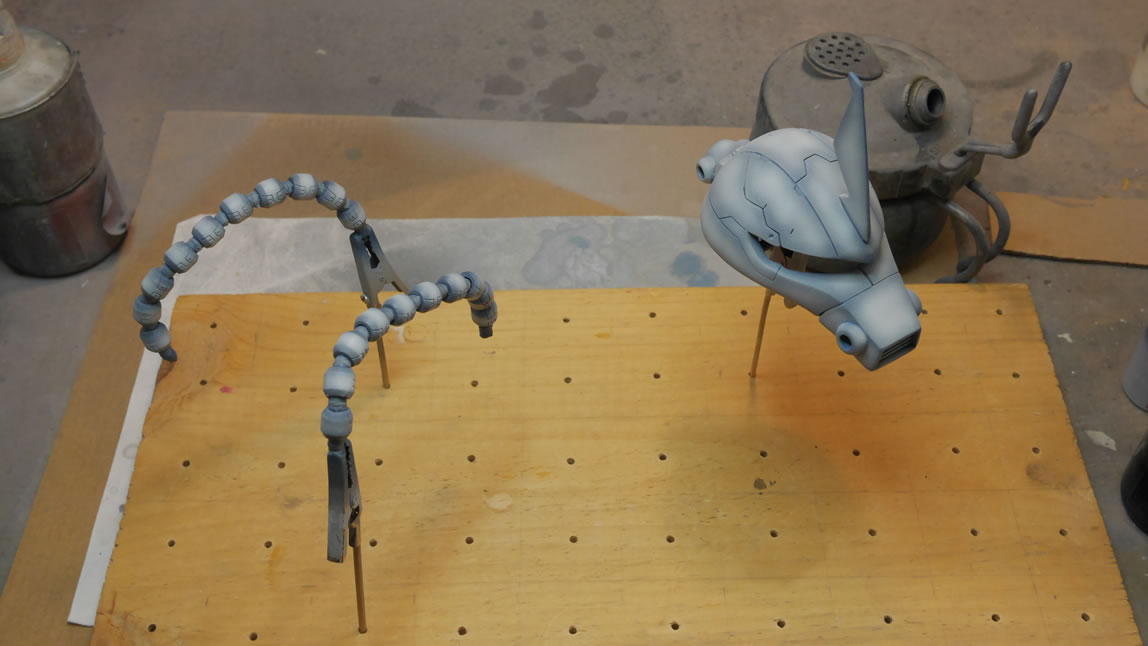
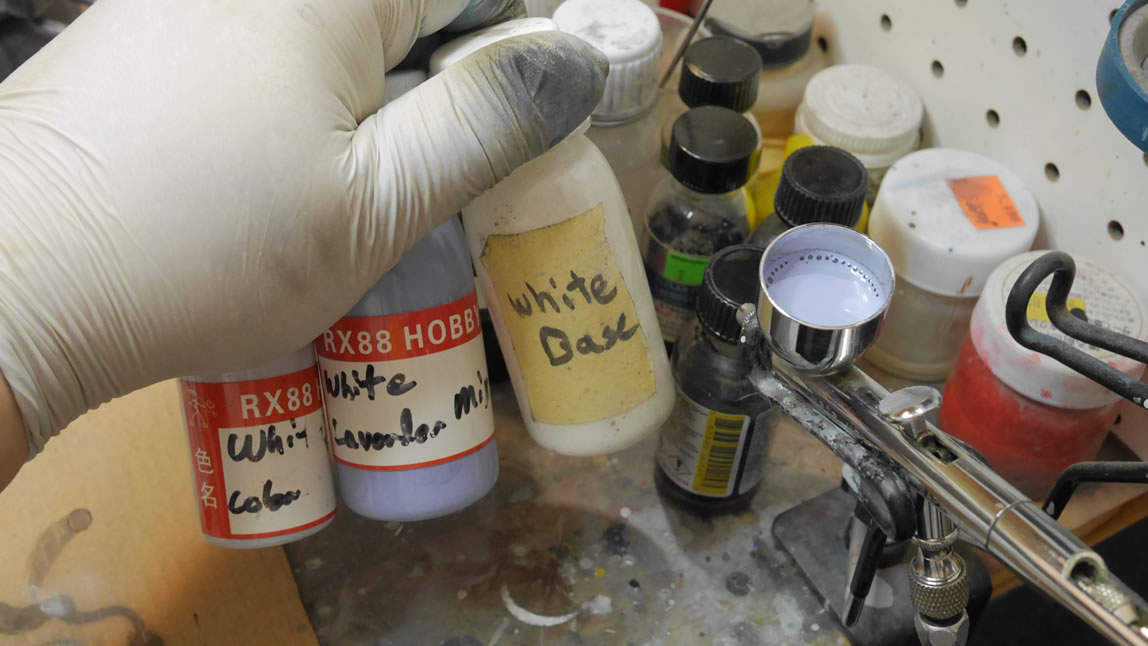
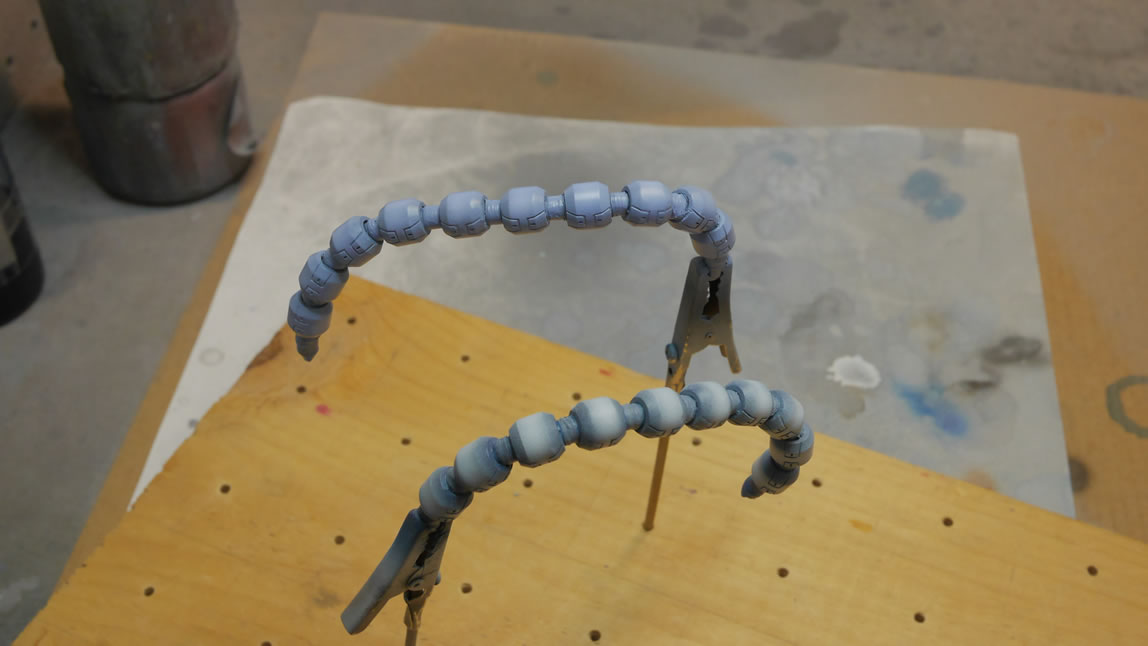
I found some leftover premixed colors that were close to what I wanted but not quite, so I combined those colors a bit to create the final color for the Gouf’s head and cables. The light blueish lavendar is sprayed over the parts and effectively blends in all the shaded areas. The whole thing is thrown into the dehydrator and cured for a couple of hours.
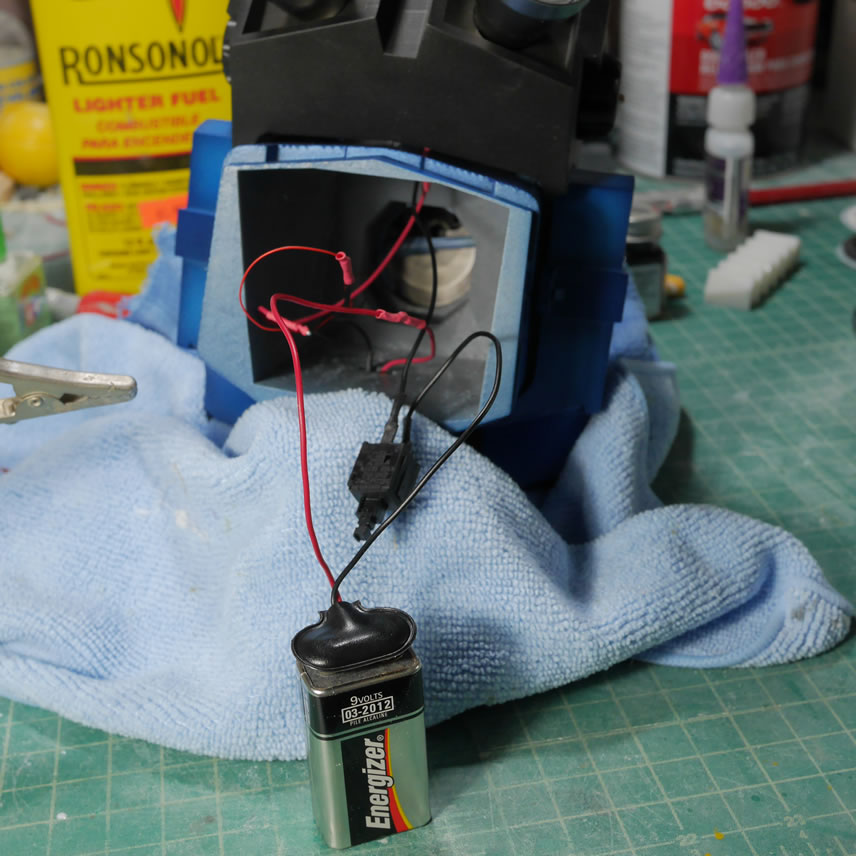
Lights. There are LEDs in the thrusters that run through the backpack and connect to one another in parallel. There are two white LEDs and once connected in parallel, I have one set of wires running from the backpack through the chest block and down the big empty space in the middle of the body. The front of the chest I have the same white LEDs poking out from behind the clear orange details also connected in parallel then factored down to one pair also in the chest. With the head done, I combined the internals for the head and dropped the wires connected to a red LED for the mono eye.
If I had used the same white LED for the mono eye, I could have just wired everything up in parallel and be done with a single 3V battery power source. But since I have different color LEDs, I need to wired this up differently. The three sets; backpack, front chest, and monoeye need to be wired in series with the switch and battery source. Since they are being wired in series, I can use a larger power source so I use a 9V battery. In parallel, the same leads are wired together (positive with positive and negative with the negative). In series, we are creating a chain os sorts. Think of it as a loop. We start with one positive and connect that to the next device’s negative end. That next device’s positive end is then connected to the 3rd device’s negative end, and so on. For the switch, the negative end from the last device is connect to one lead on the switch. The other lead on the switch is connected to the negative end of the power source wire. The positive lead from the power source is connected directly to the negative leade of the first device. I have a ring instead of parallel lines. This works to power all the lights as the individual power requirements for each bulb is added up and the whole ring is powered.
If I tried to wire this in parallel and run a single 3V power source, only the white LEDs (or the LEDs that consume the most power) will be lit. This is something to keep in mind when you string together LEDs of different siez, types, and colors.
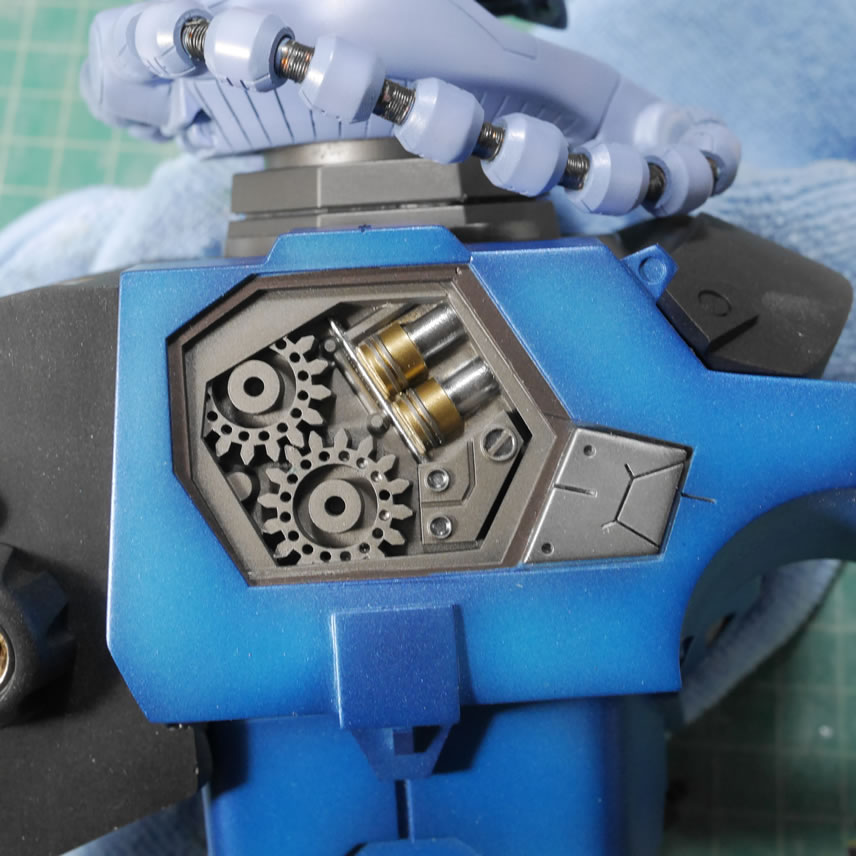
Eveything is soldered together and heat shrink wrapped to isolate everything. Time to recusively unmask the side chest internal details. Layer by layer, the mask is removed revealing the next lower layer until everything is unmasked.
It is quite satisfying to remove the mask and now have any paint lift.
The lighting is tested and everything works and all the wires, switch, and power source is hidden inside the body.

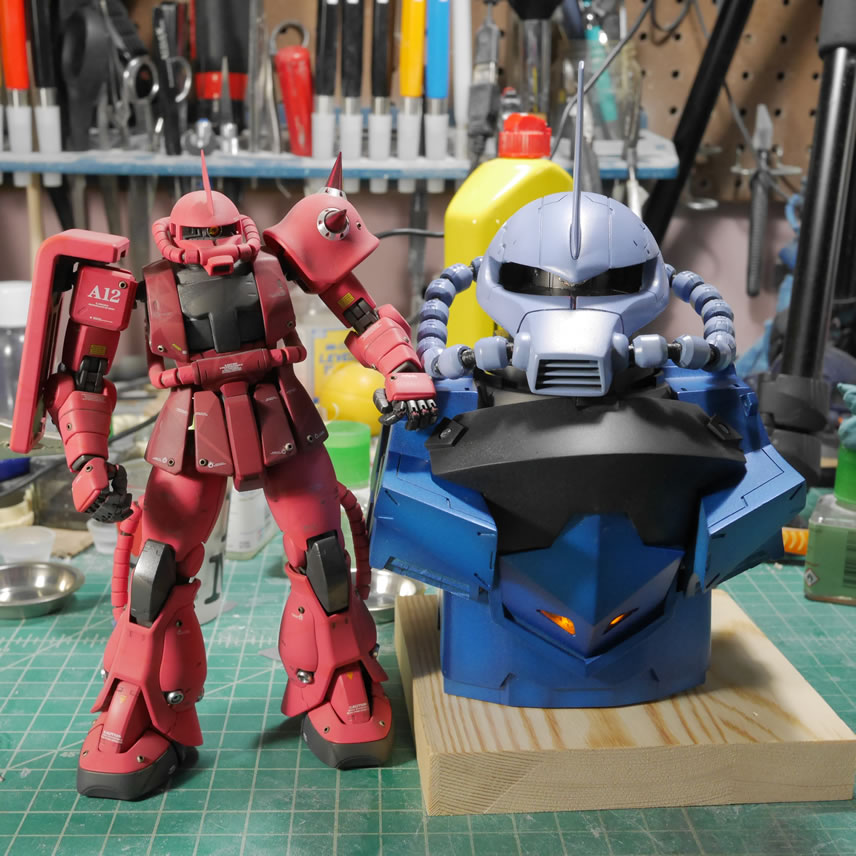
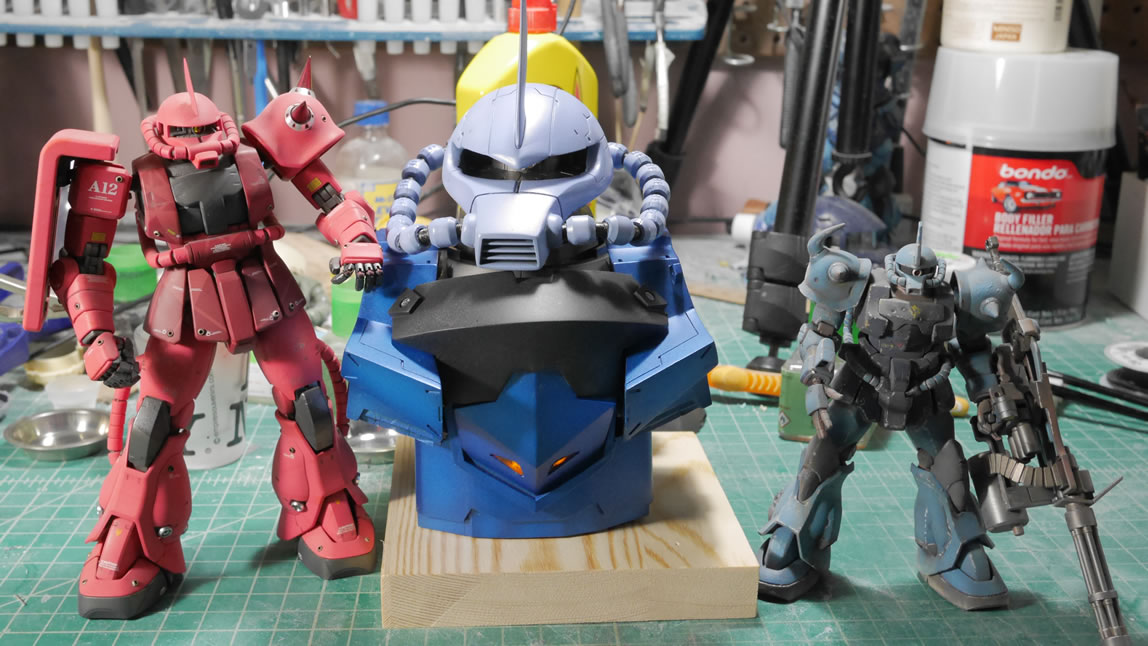
And here we have the size comparison with a 1/100 MG Zaku II and the 1/144 Gouf Custom. This damn thing is sizeable.
Next up will be the clear coats, some decals, panel lines, and final clear coat. Come to SCGMC in 2 weeks to check it out in person!
If you are intersted in picking up the half bust with the Gouf Head conversion kit for the Zaku Exceed head or just want to pick up the Gouf Custom Head conversion kit, click here: