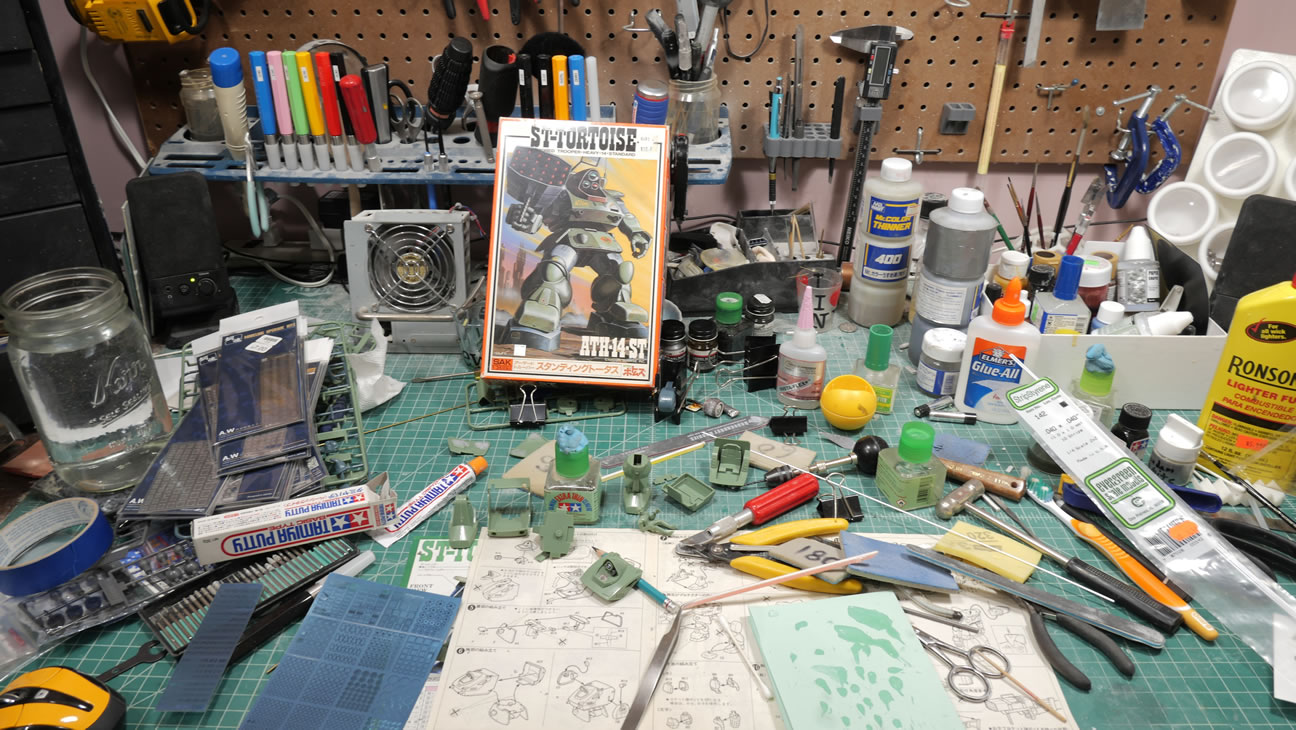
I;ve had these 80’s Votom kits for a while and I haven’t built one ever. I’ve seen other modelers build some Votoms stuff and I like some of the styling. I just never got around to doing it. Sometime in August, I cracked open the box which was still originally tape sealed and just started. Oh how I do not miss kits from the 80’s. I’m not even sure if the glue in the box is still good. The last time I build on 80’s kit was a 1/144 Shiki that also had a small tube of glue. I think I was 10, and the kit was actually new *sigh* circa 1985 or so….I like to think that my skills have improved somewhat since, so away we go.
Complete start to finish as well as completed pictures after the jump.
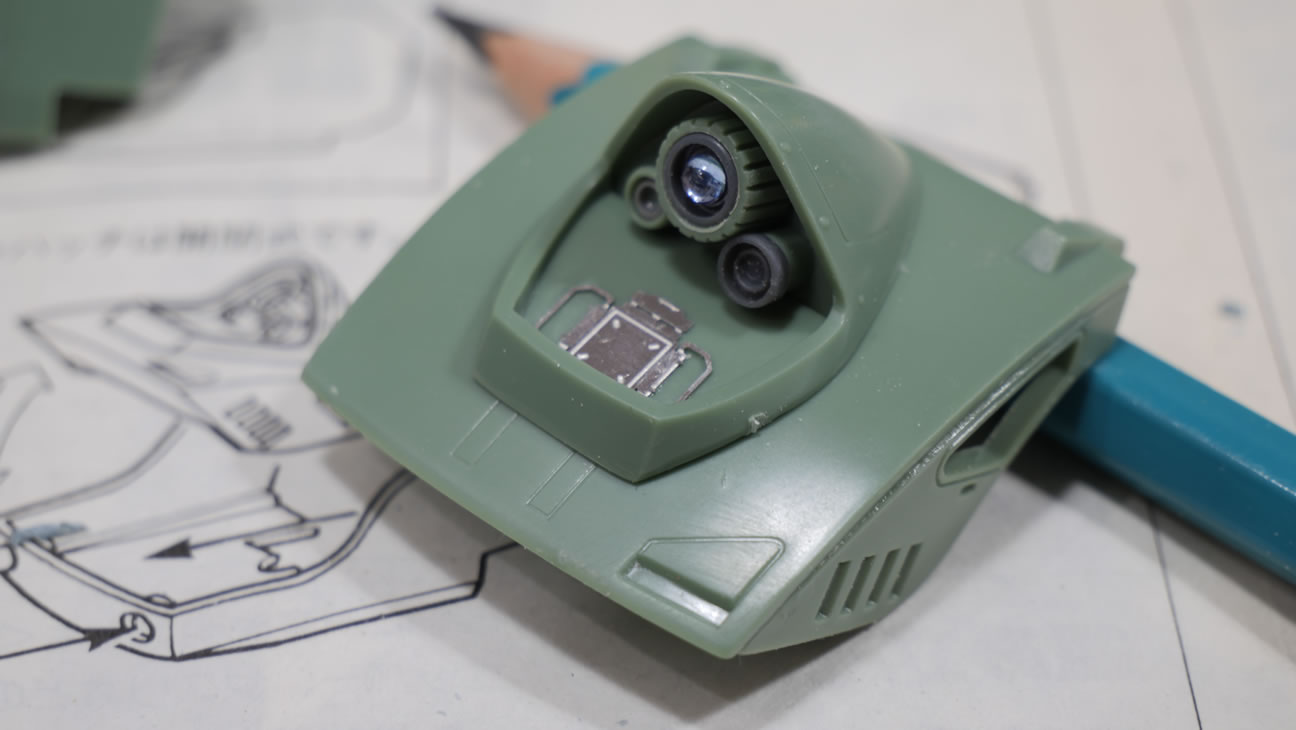
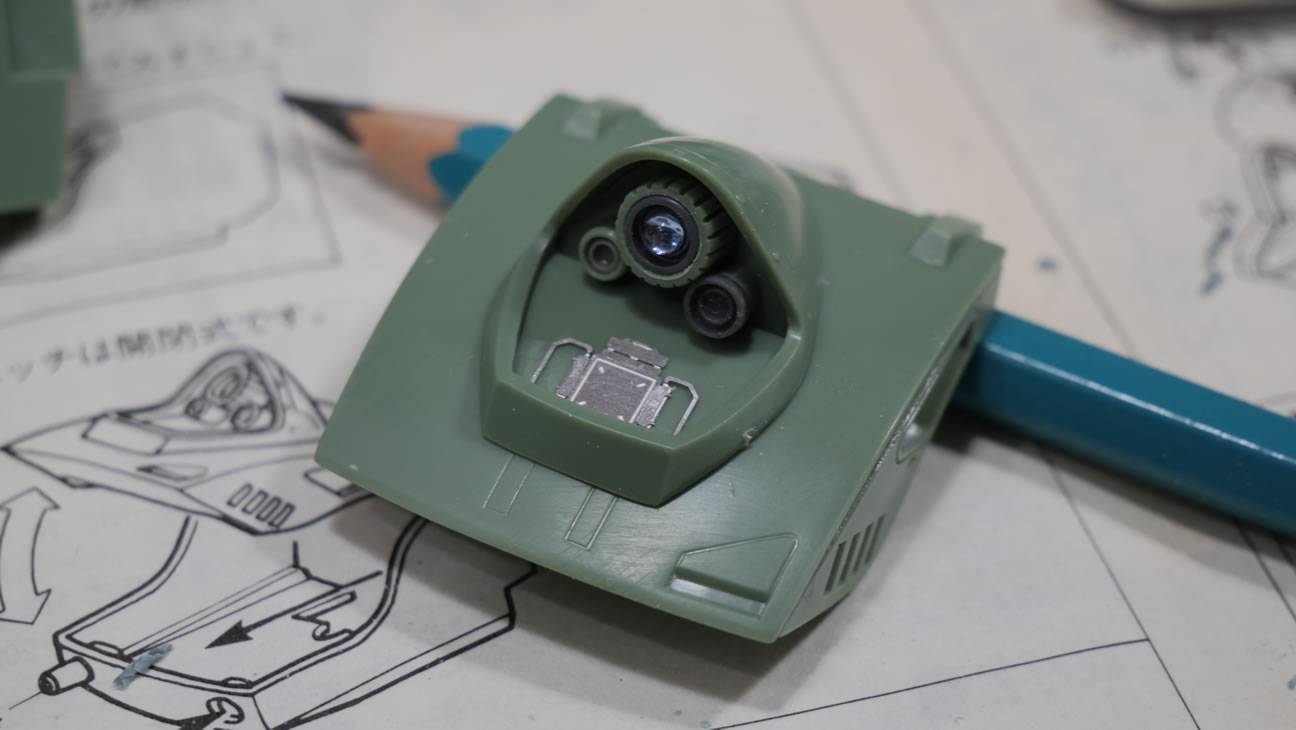
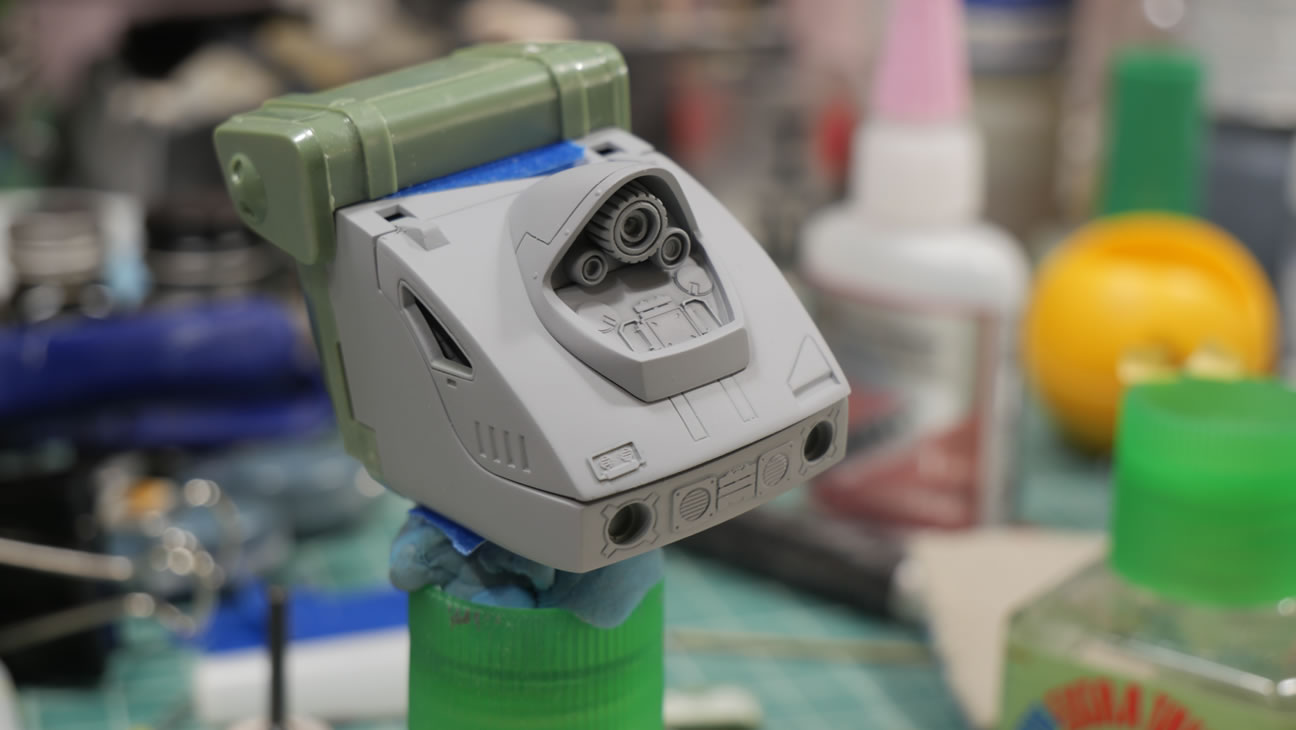
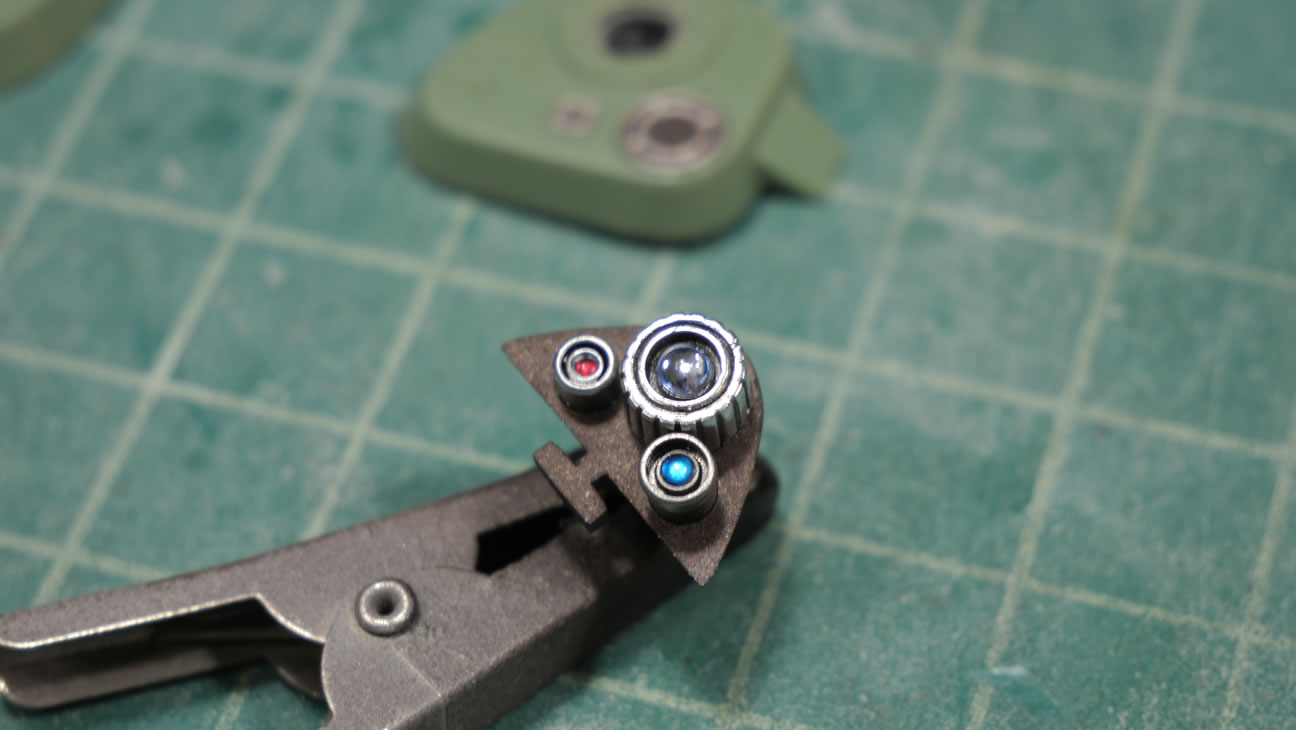
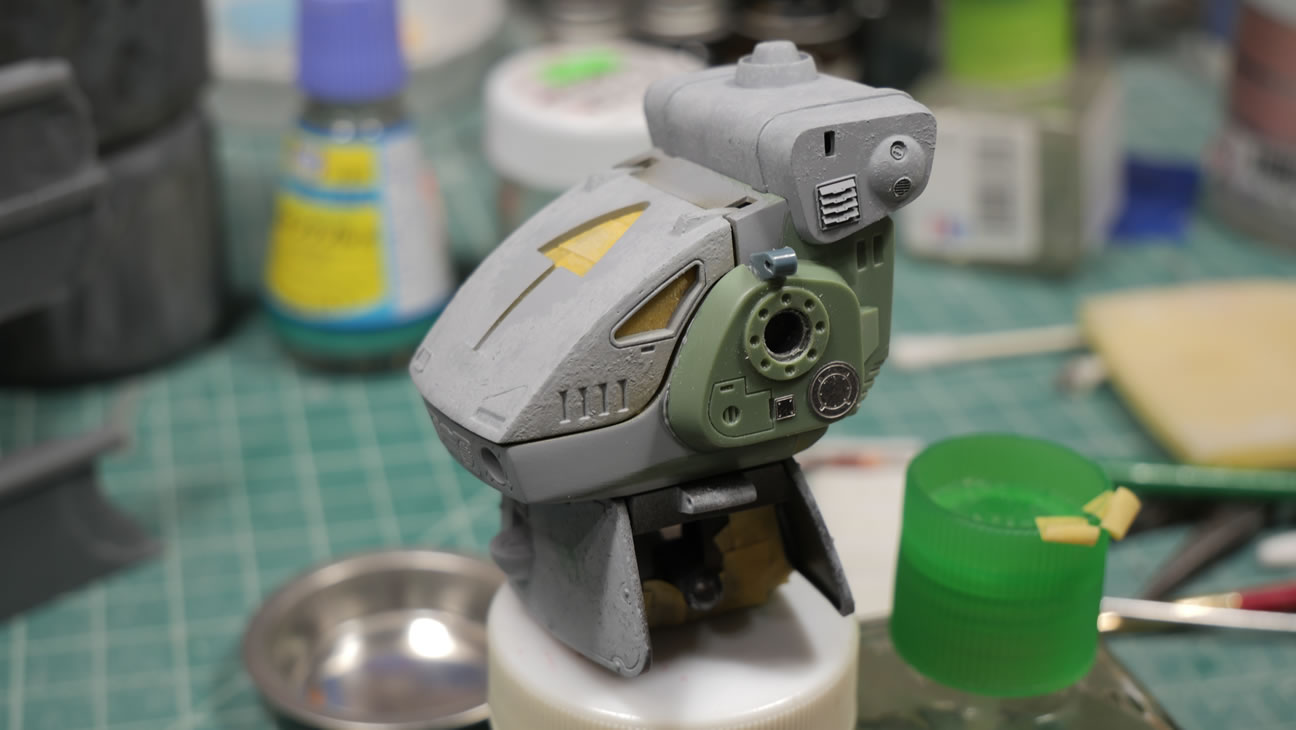
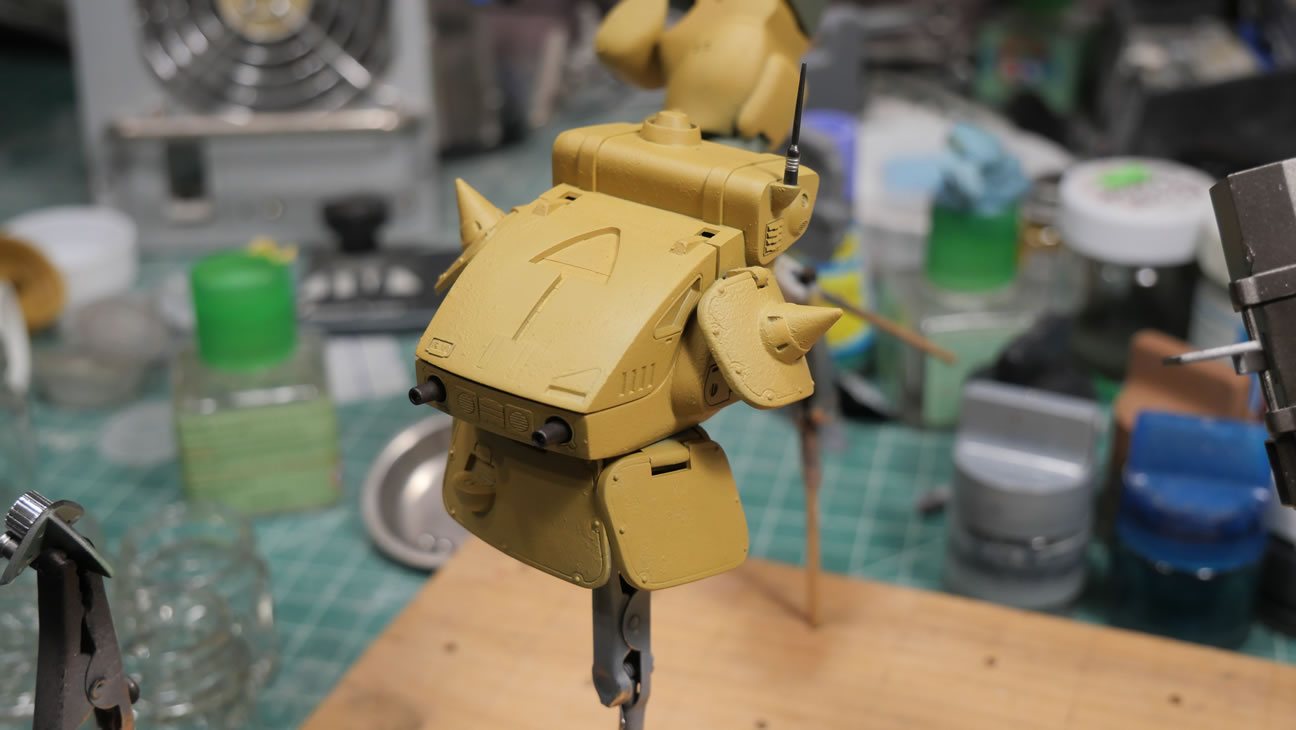
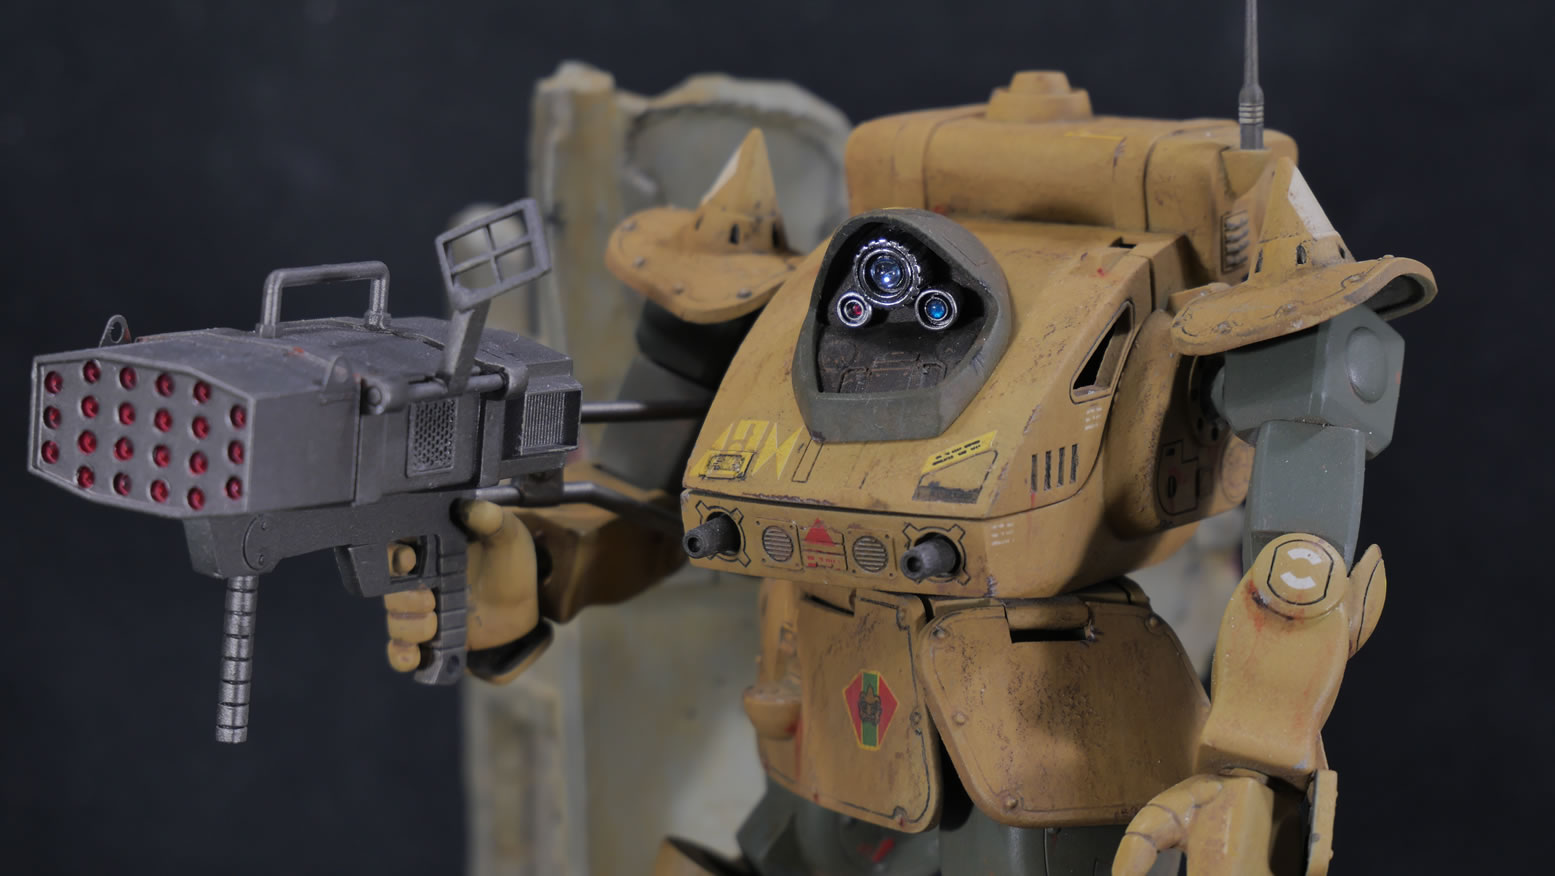
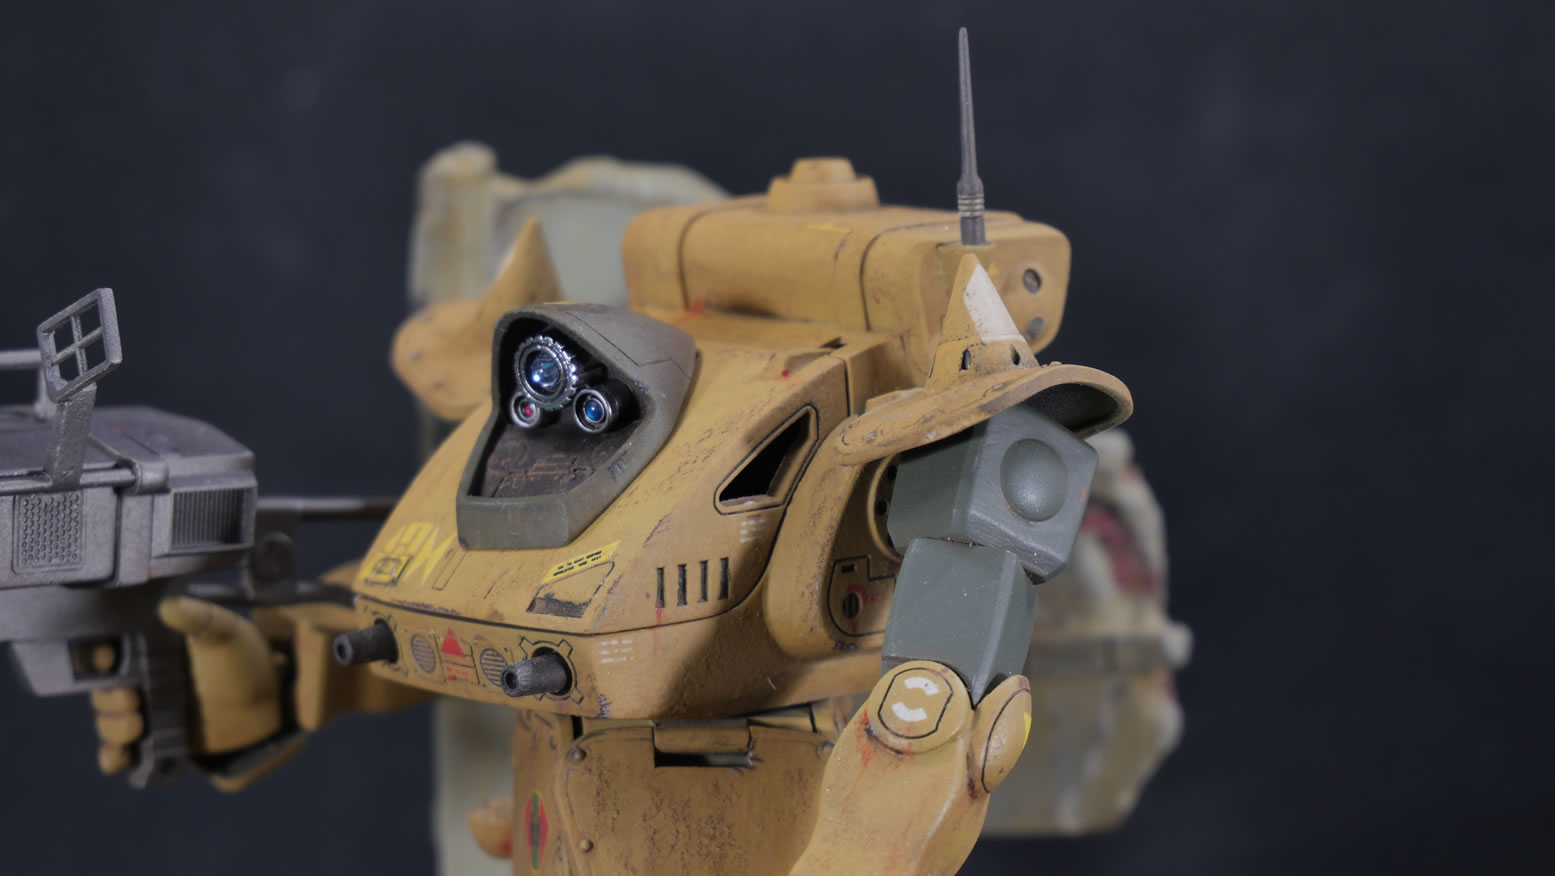
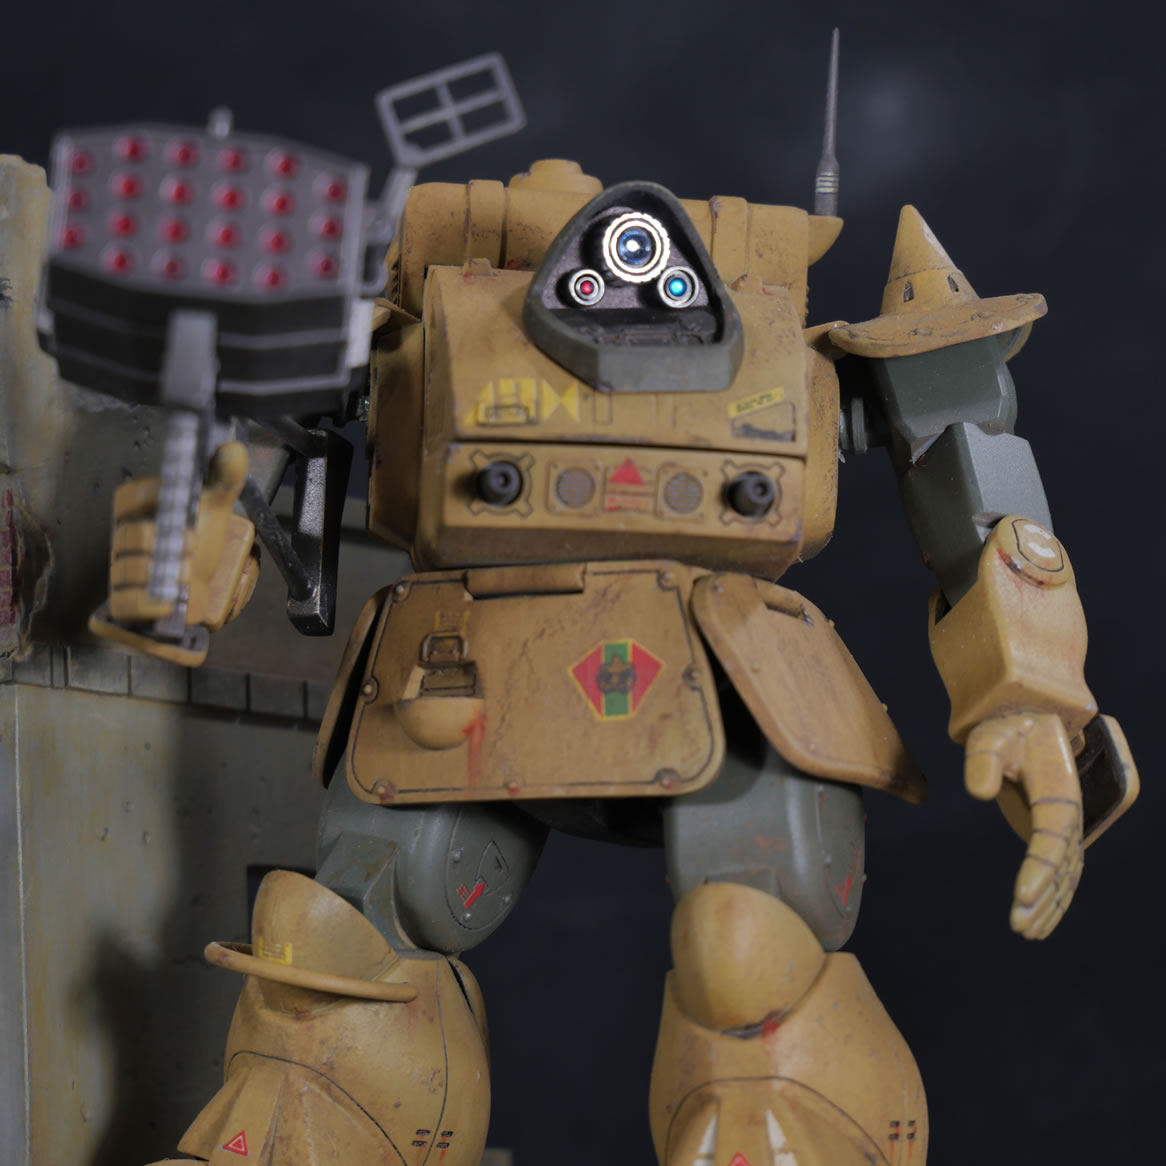
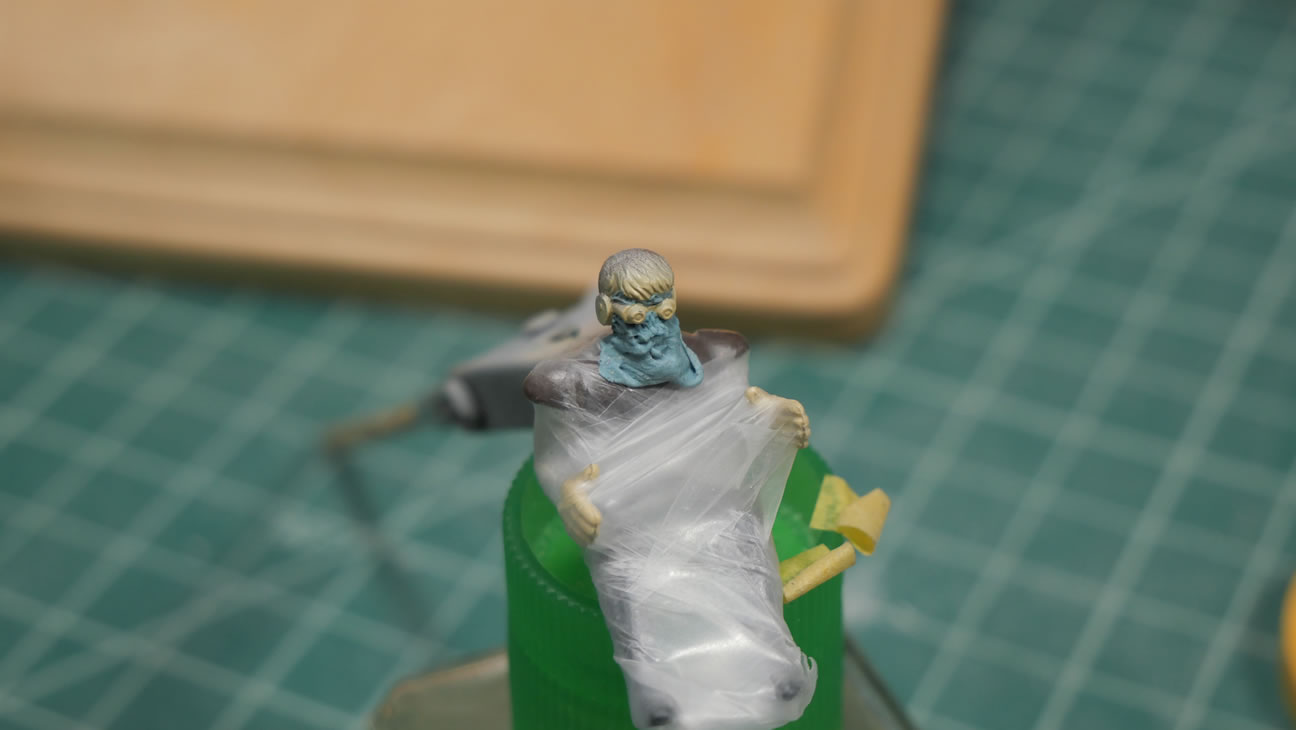
There is a huge potential in adding details. Even easier with these photoetch detail bits. I start off with the head to modify the eyes with more details using koto round detail bits and some jeweled beads I bought ages ago for use in mono eyes. Photoetch details are glued to the neck area for added details. Once primed the details blend in very nicely. Once painted up and beads glued to the tri-eyes, everything there looks pretty good too.
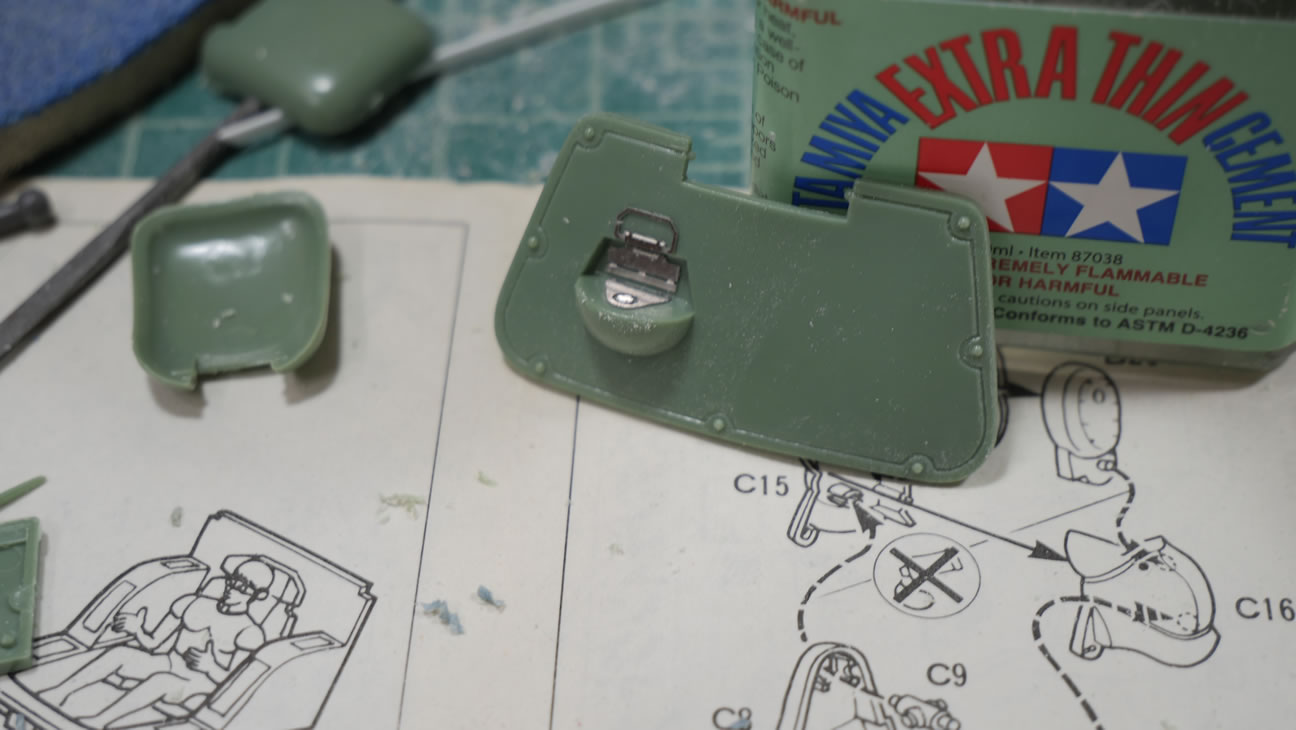
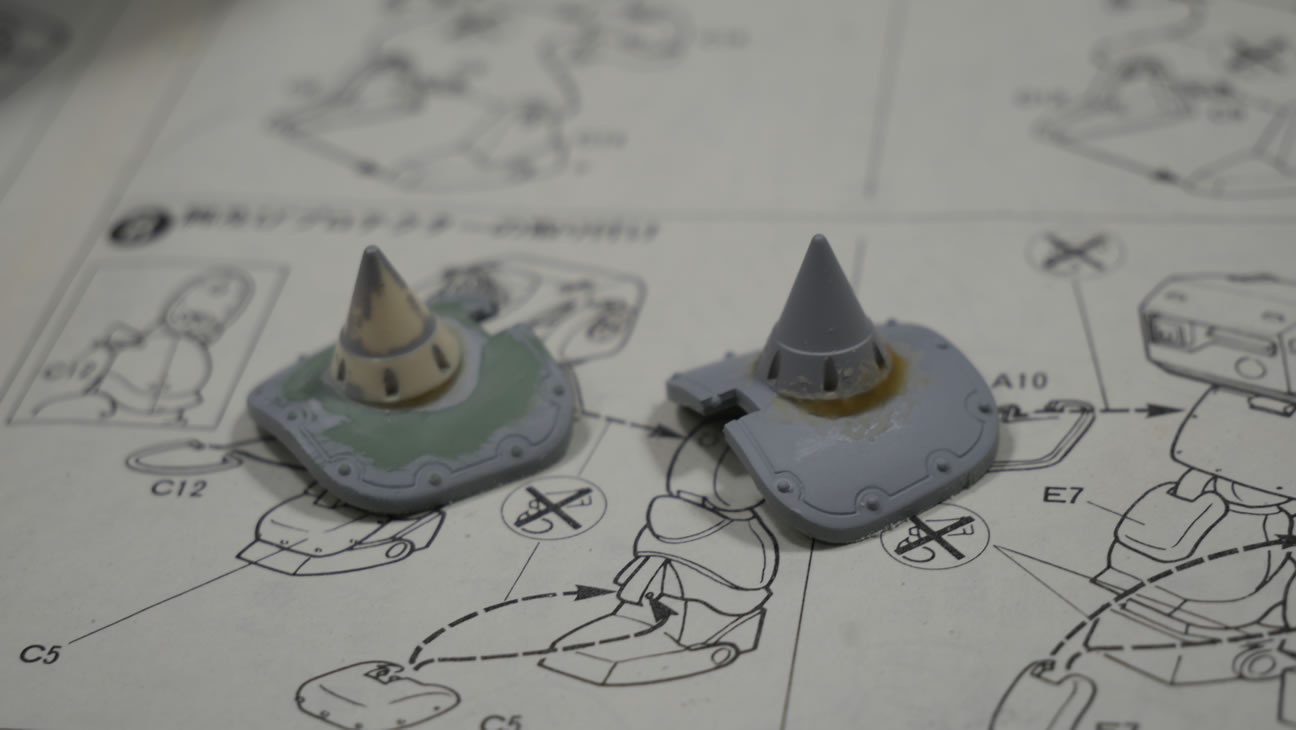
PE details added to the front skirt. The back side needed some attention as there are mold ejector pin marks. Gaps between glued areas needed some putty love too.
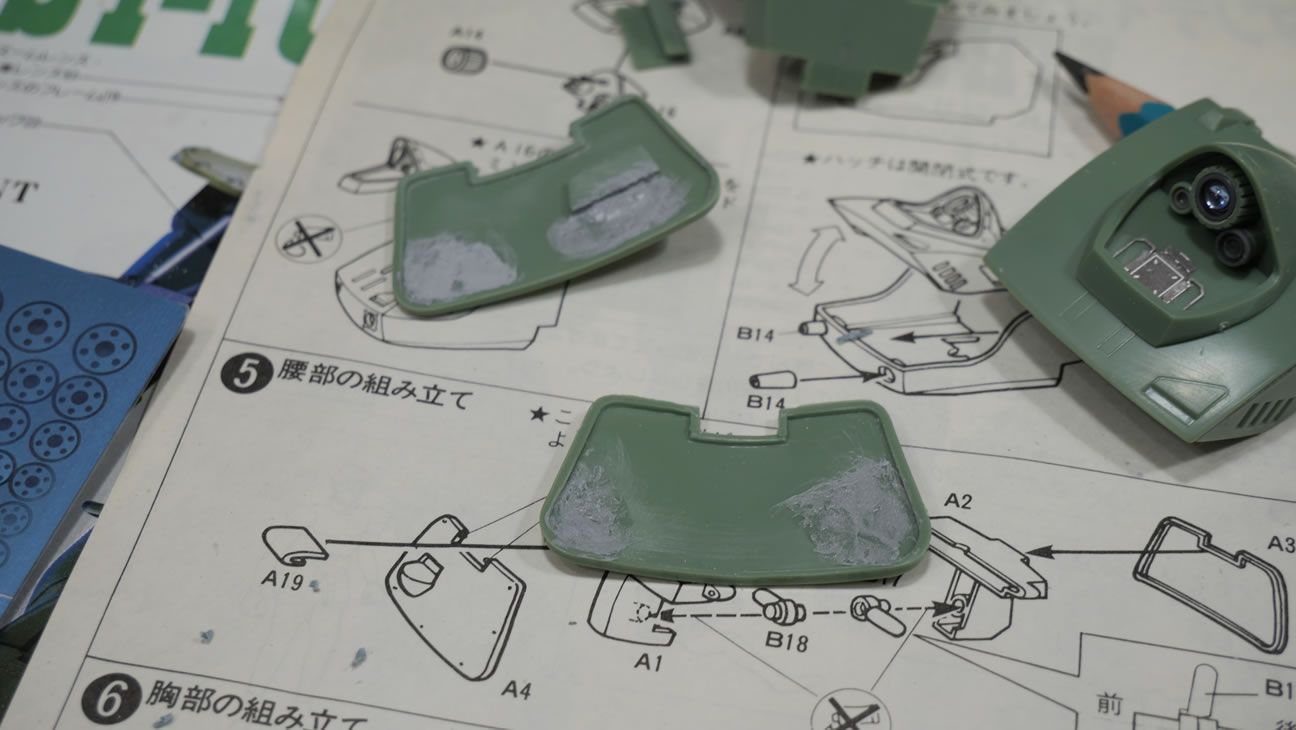

Seams are everywhere. Just the engineering of the time. Boy have I been spoiled by bandai. This is only the beginning of what felt like endless seam work.
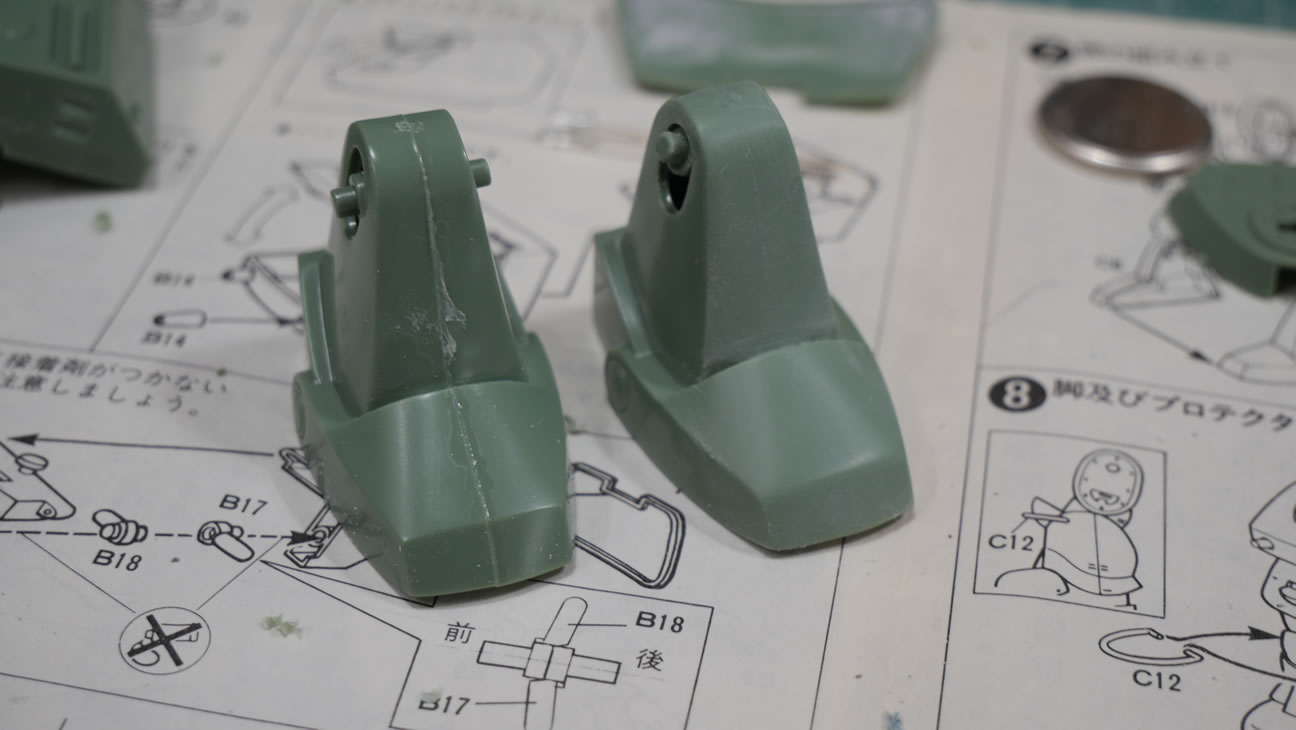
Plastic cement for the first step; followed by putty to fill in missed spots.
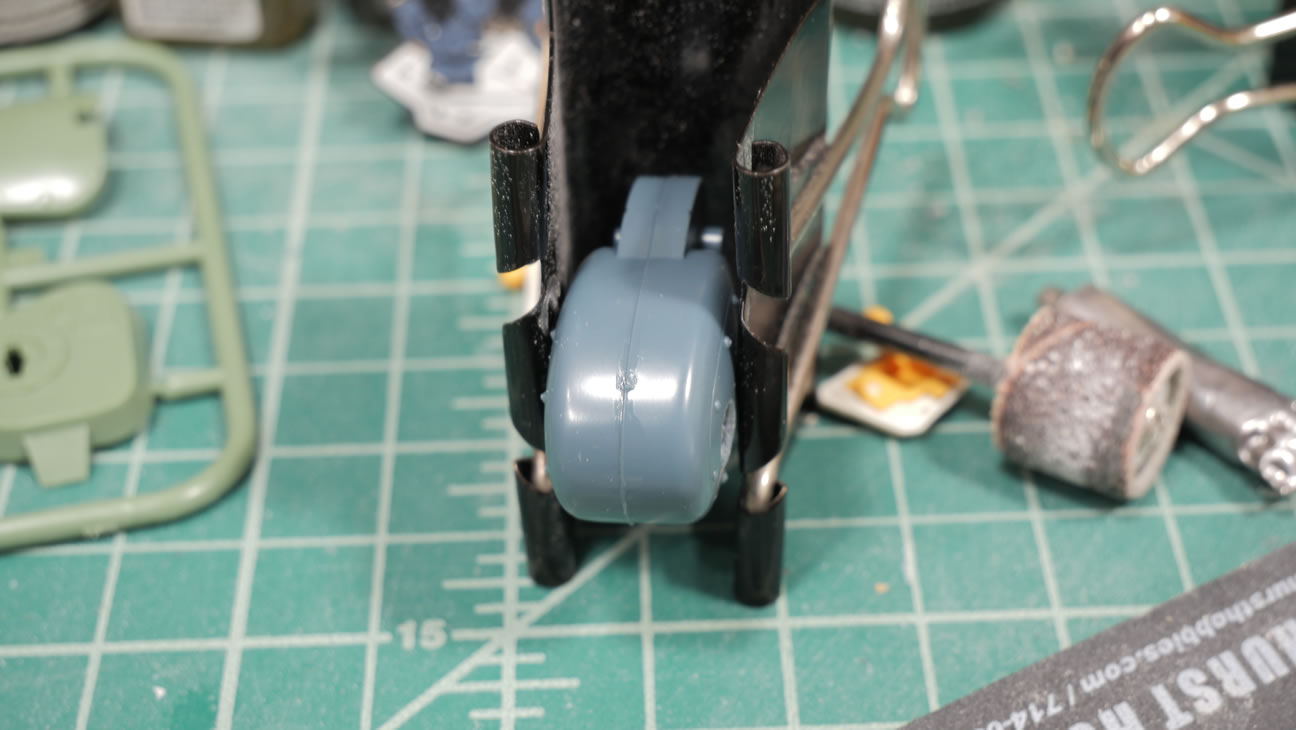
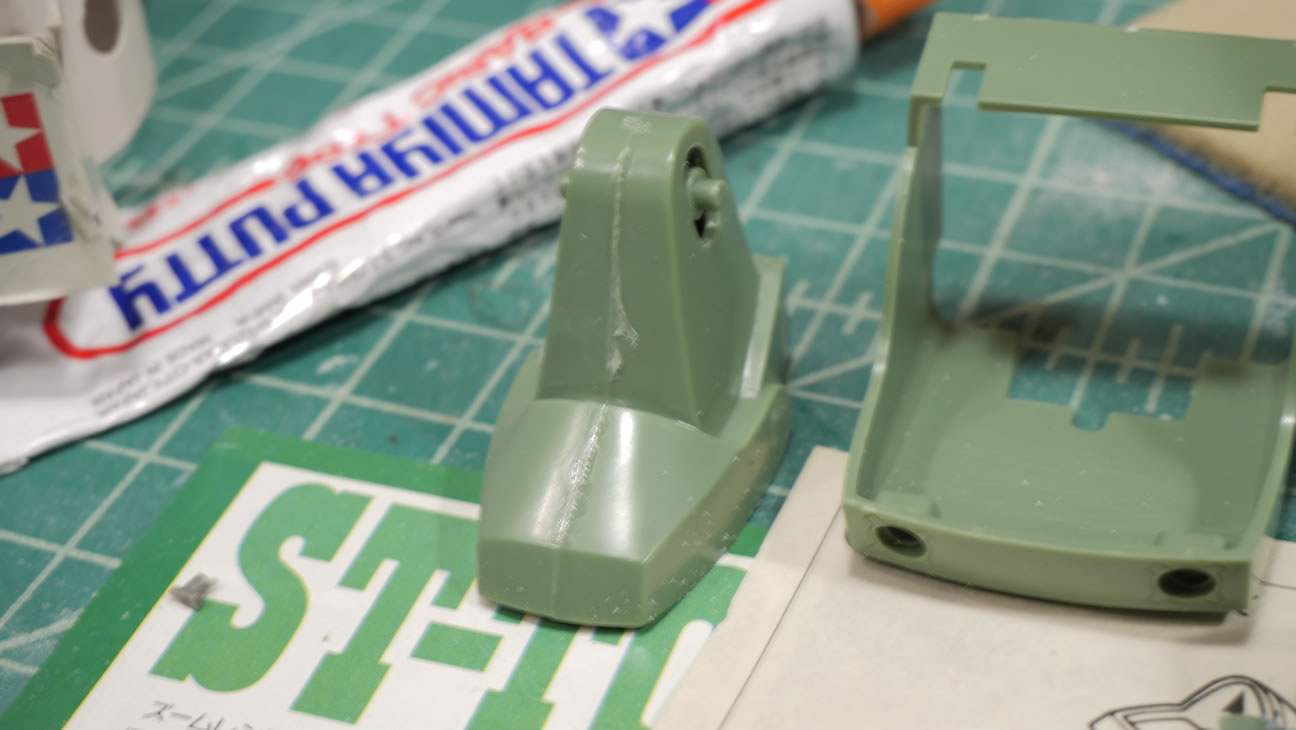
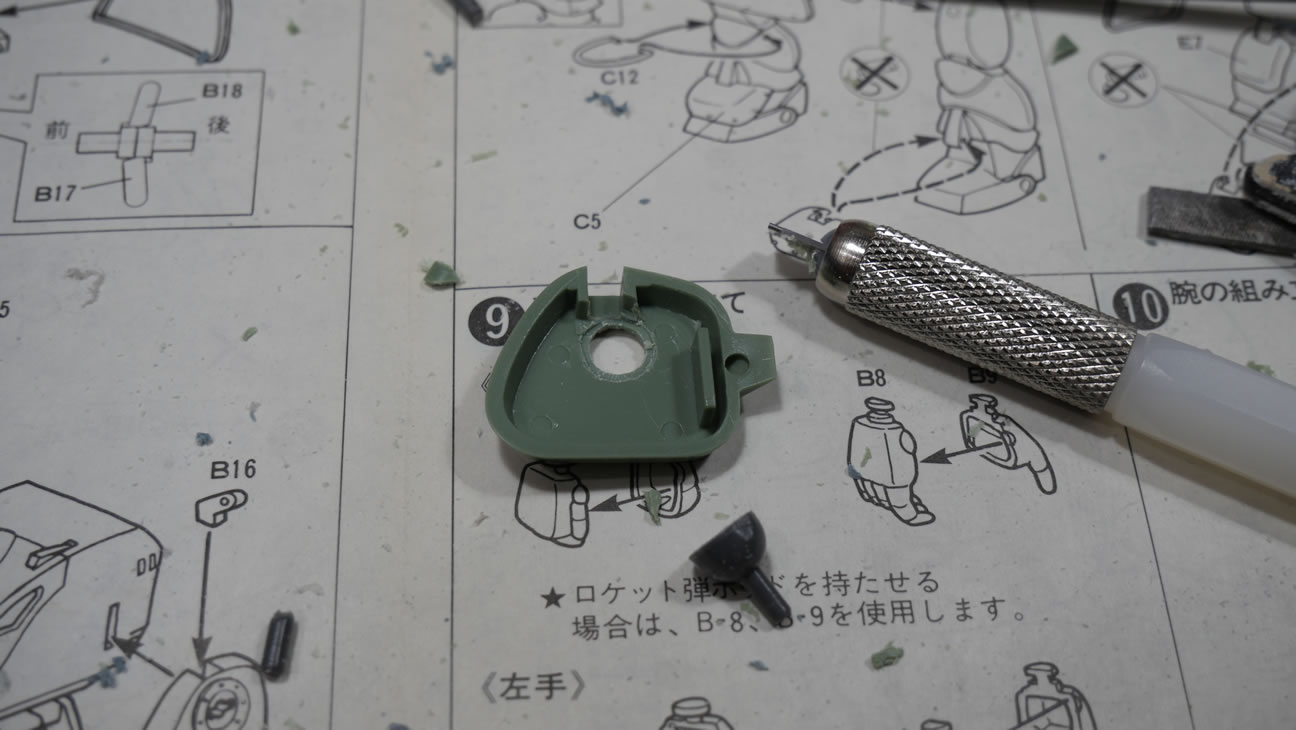
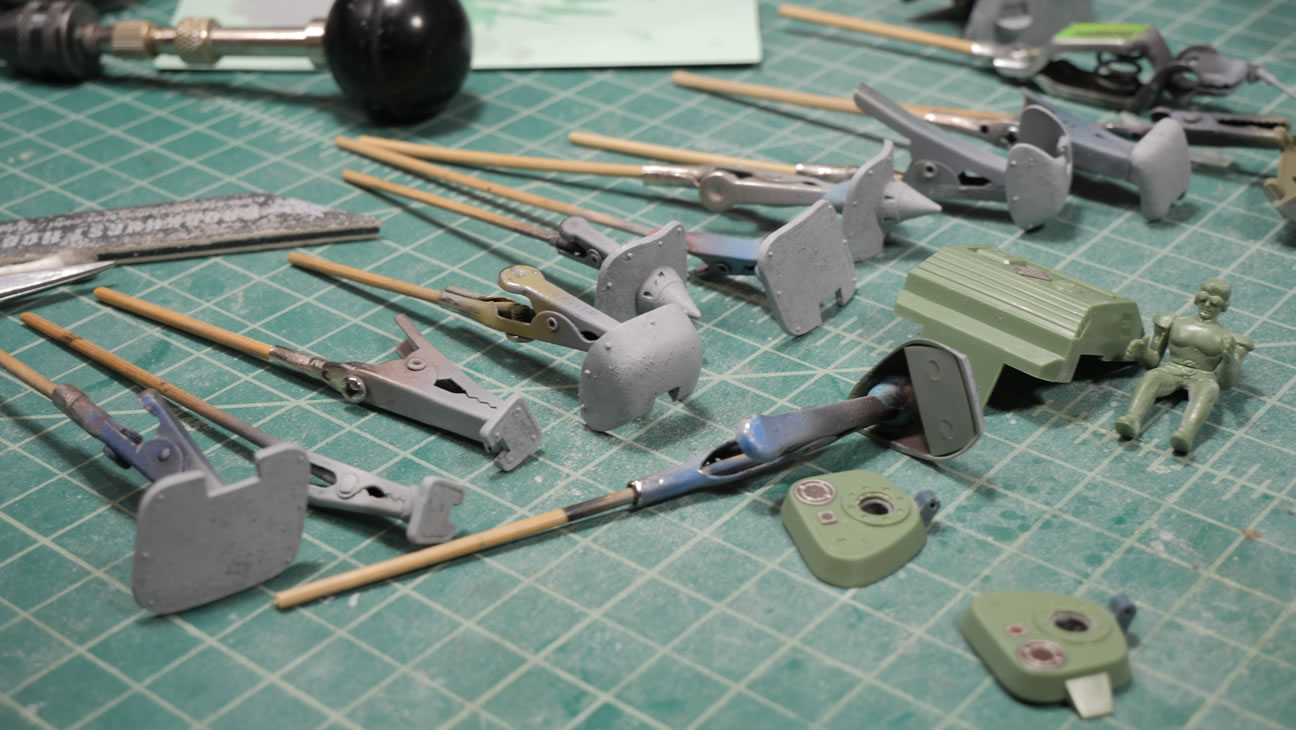
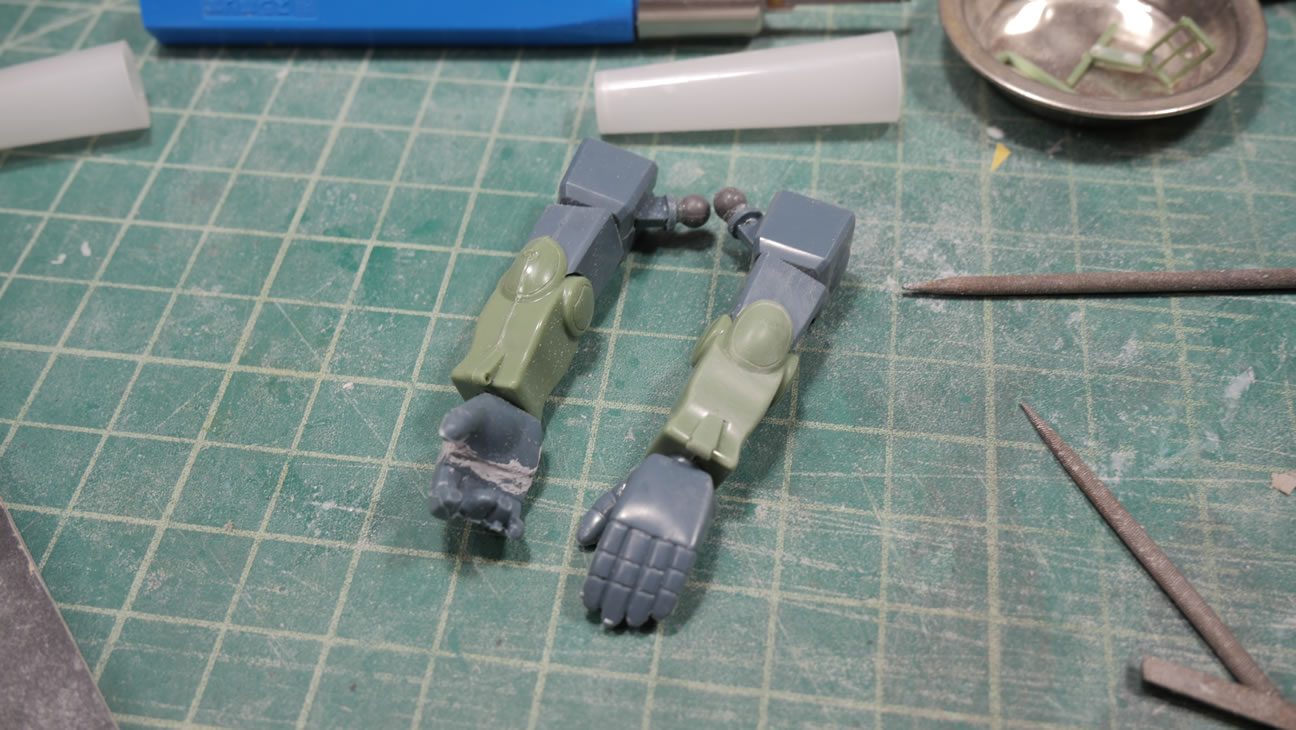
Before the discovery of the polycap joint system, the 80’s kits were plagued with plastic on plastic joints. Here is my attempt at making things a little more pose-able by cutting away the plastic joints and adding a polycap system.
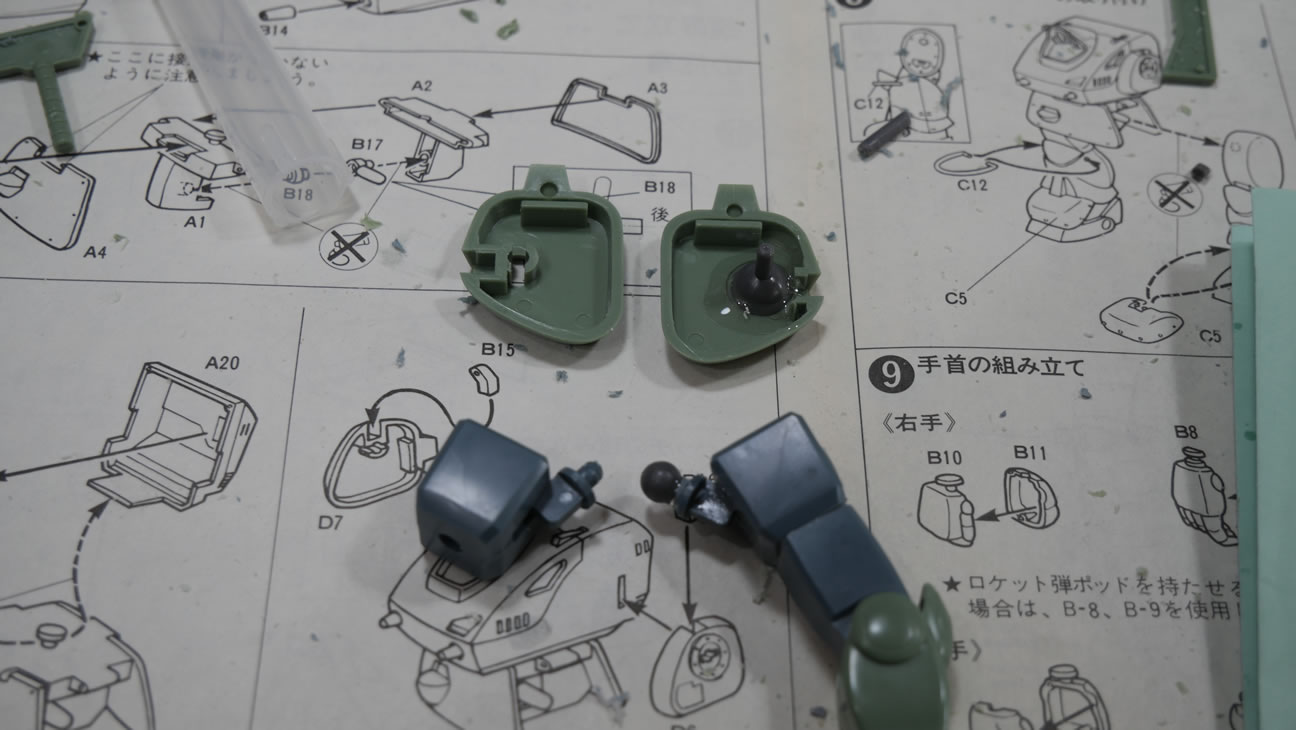
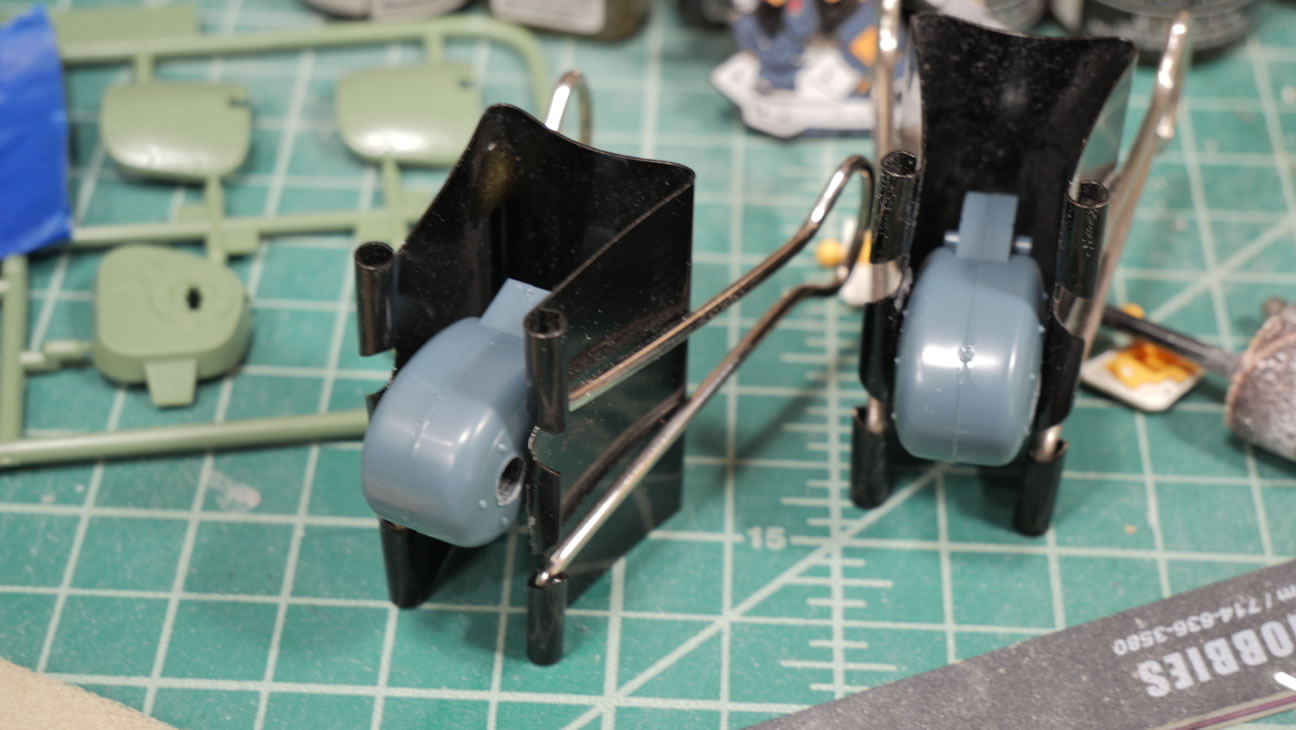
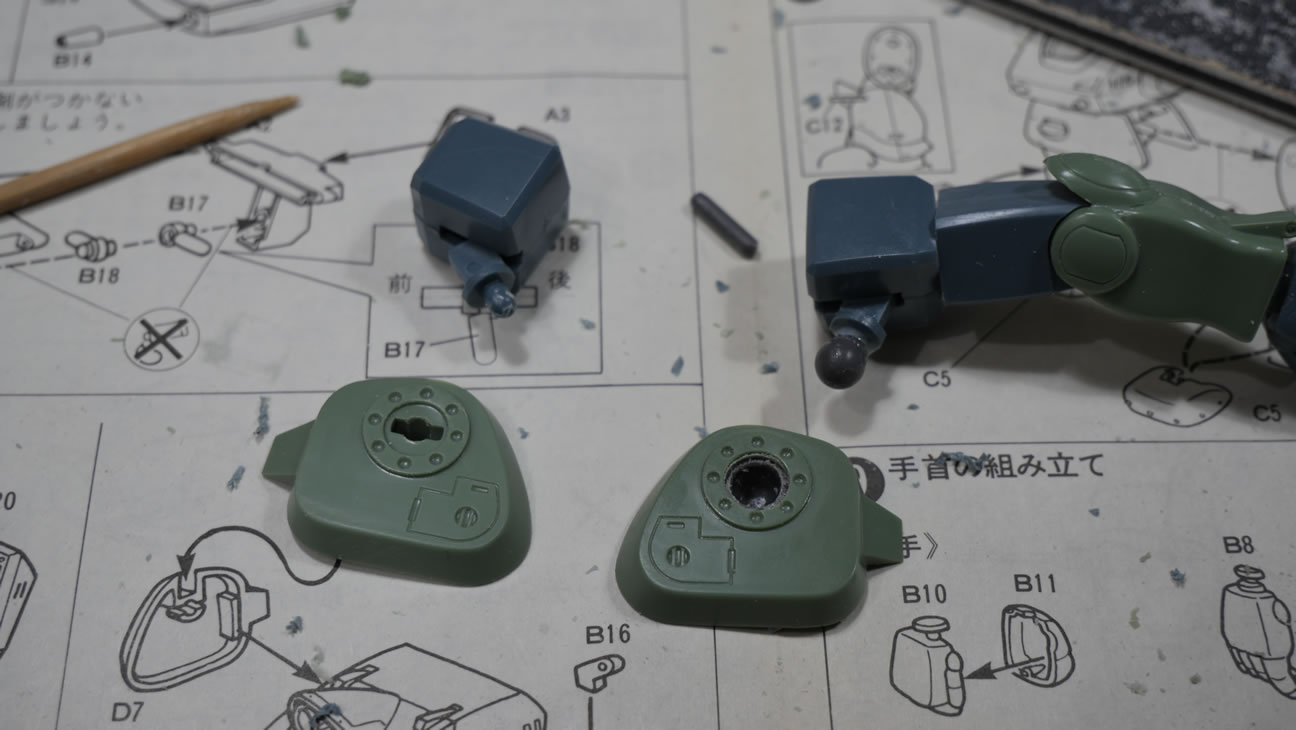
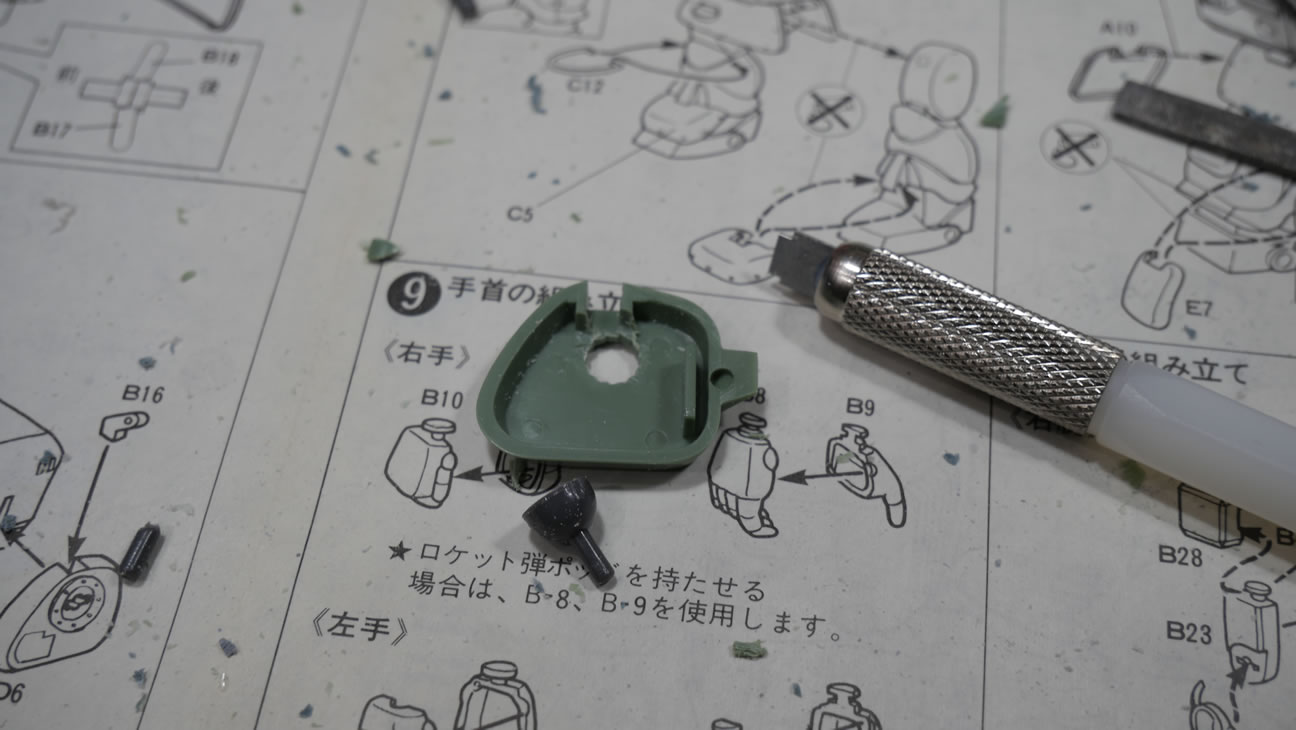
Holes are drilled, and the polycaps are fitted. Some creativity is needed to make sure the parts all fit after the modification. The BMC side scriber tool comes in very hand to hollow out a channel for the polycap. For added strength, I used epoxy glues to attach the polycaps to the plastic surface.
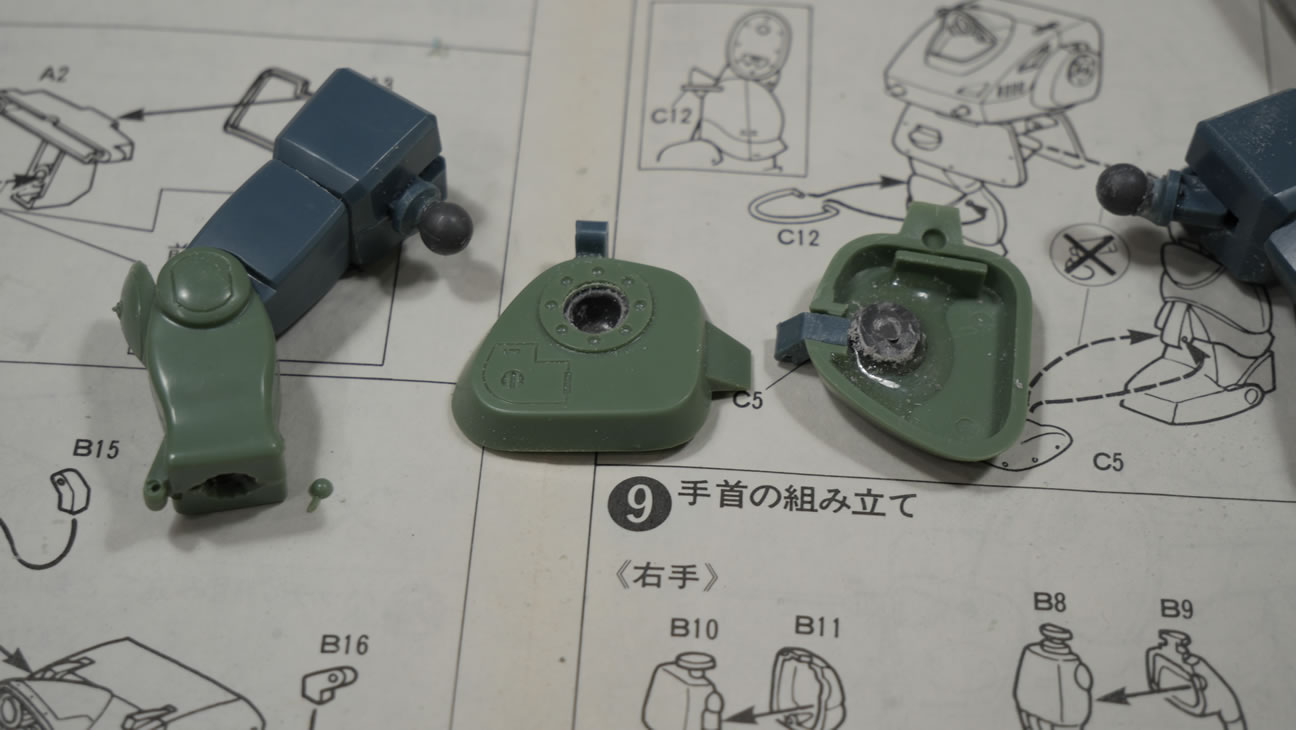
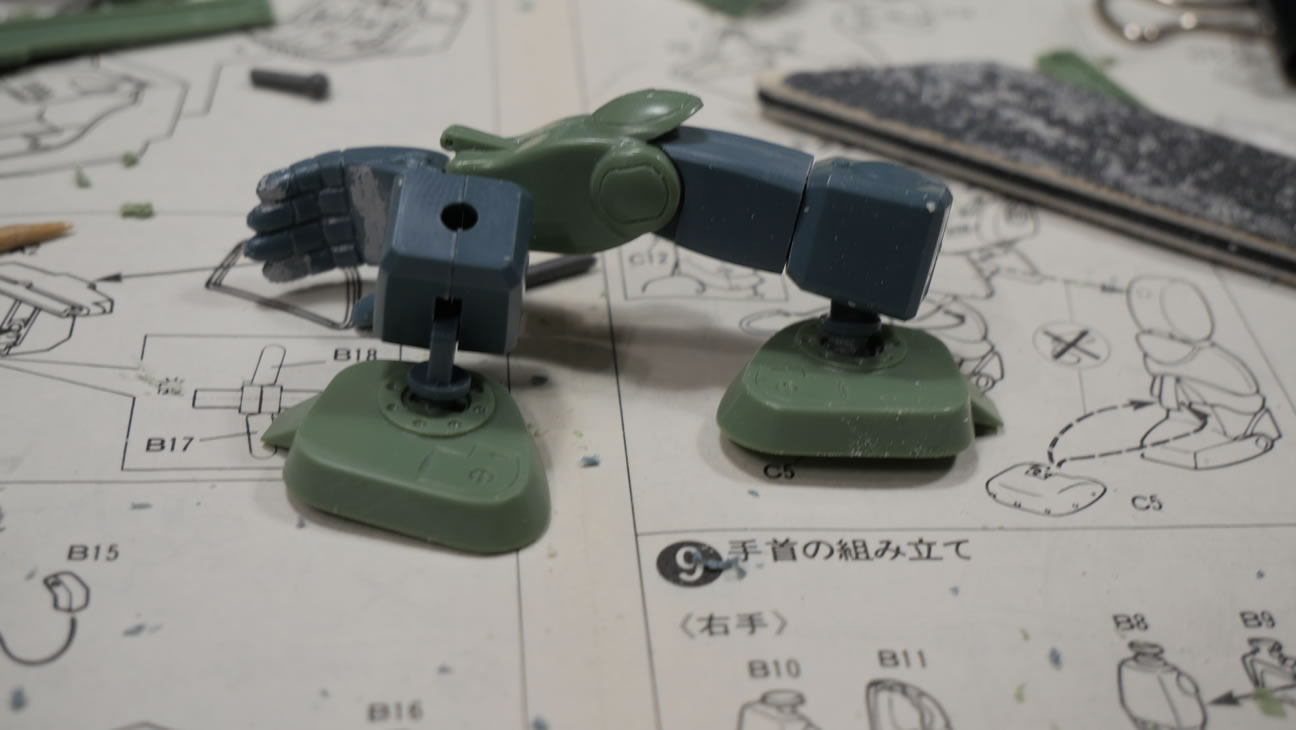
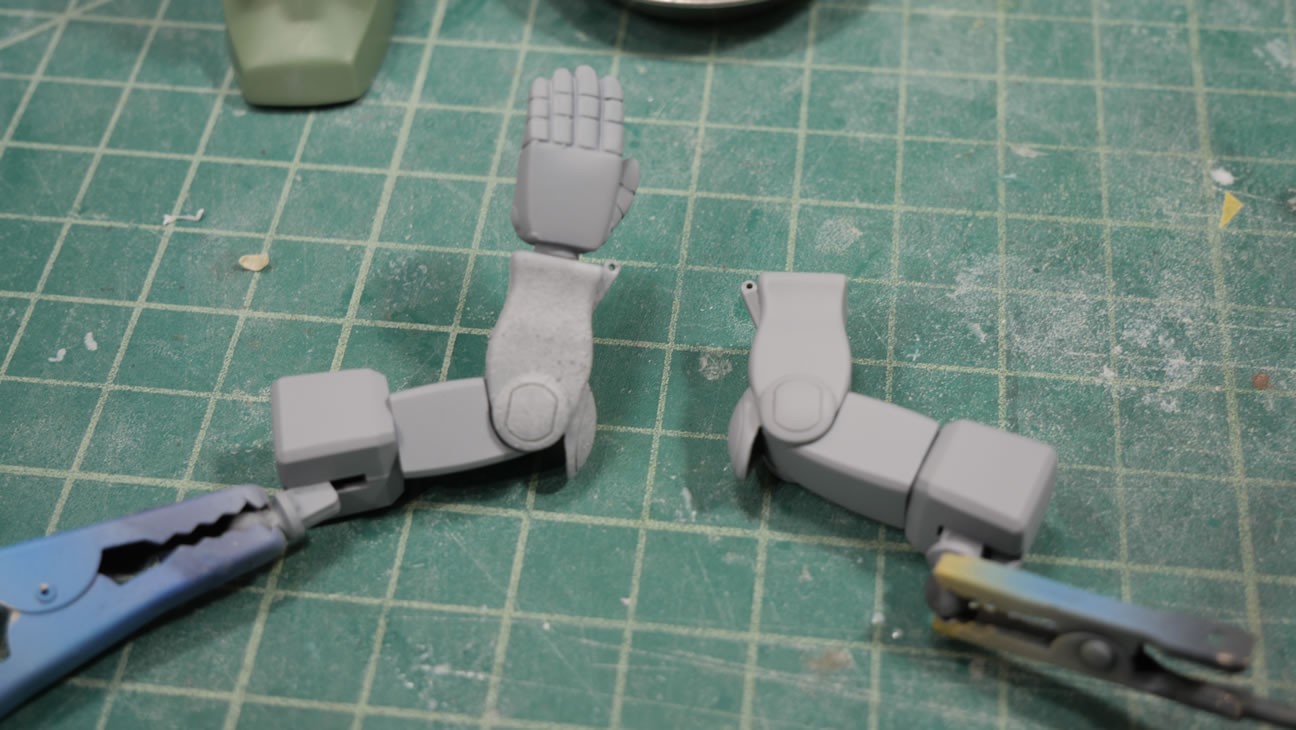
Always test fit. And once this works, time to duplicate this on the other side.
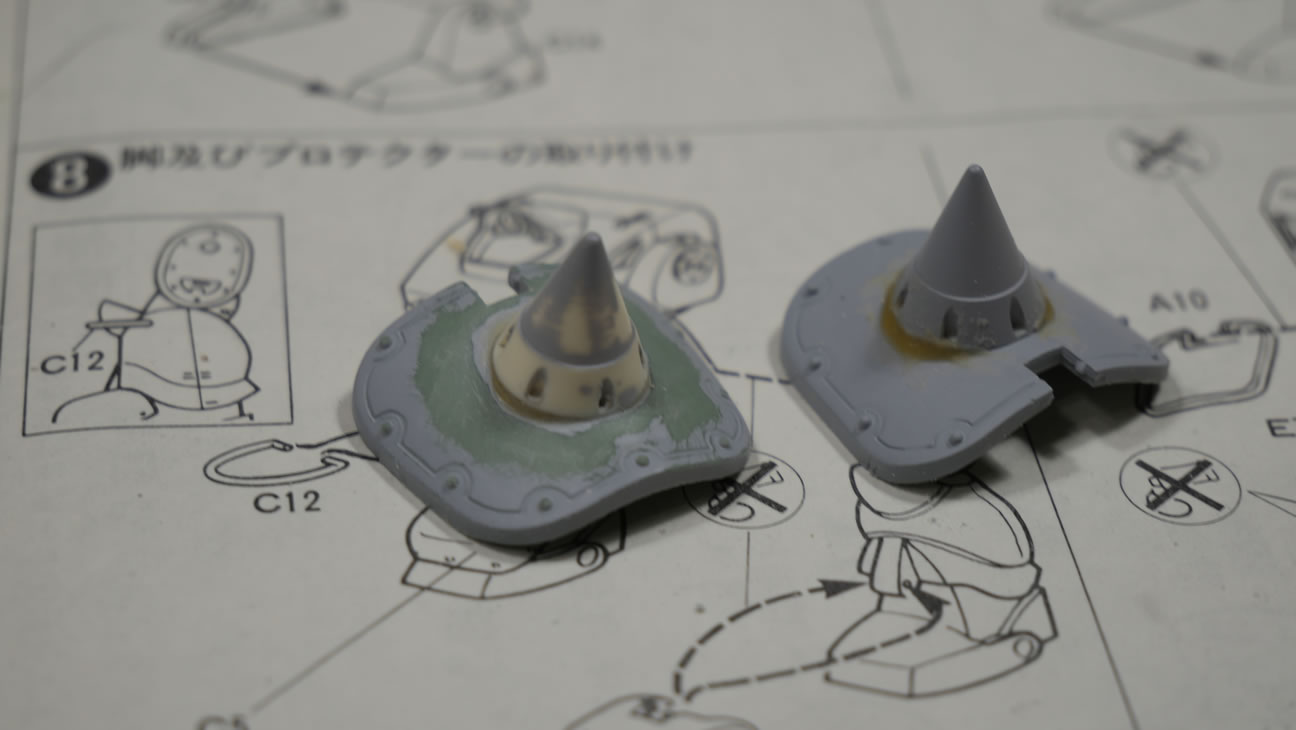
The shoulders needed some toughness, so I molded and cast a copy of a metal shoulder spike detail and glued those resin bits to the shoulder armor. Feeling my inner Zaku reach out here.
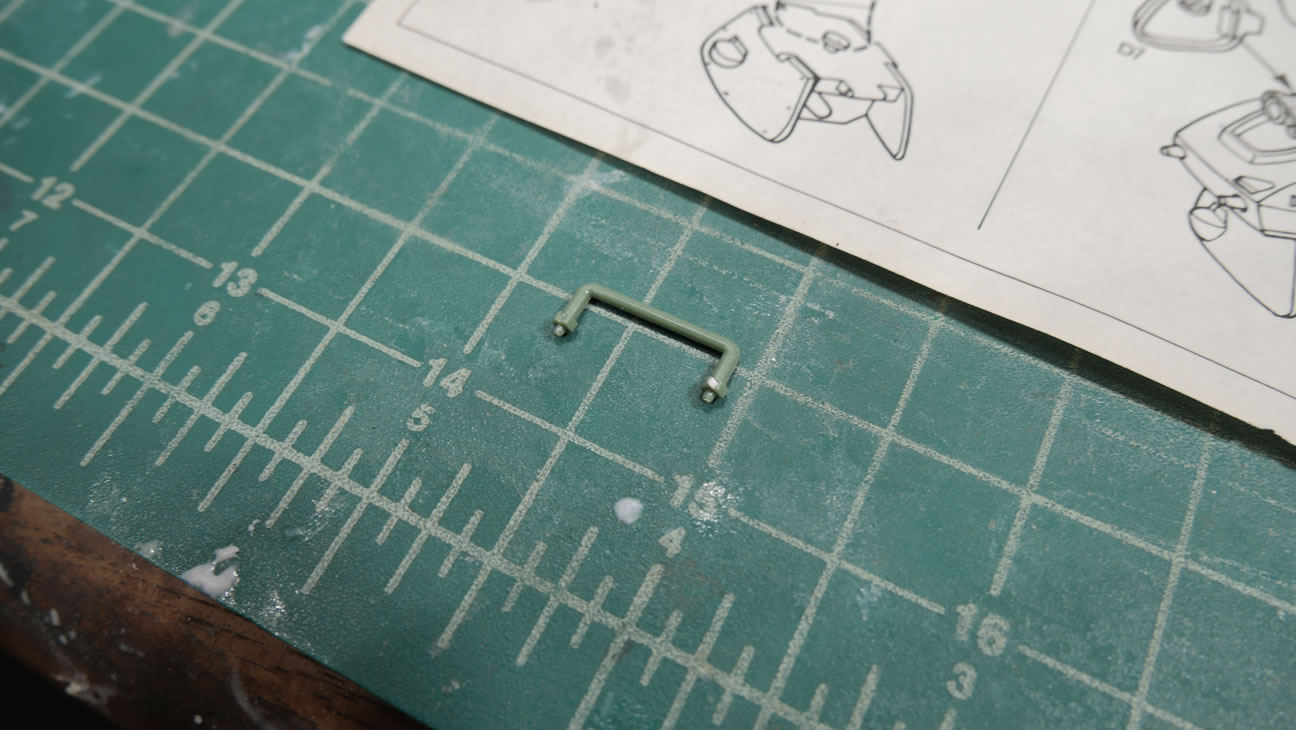
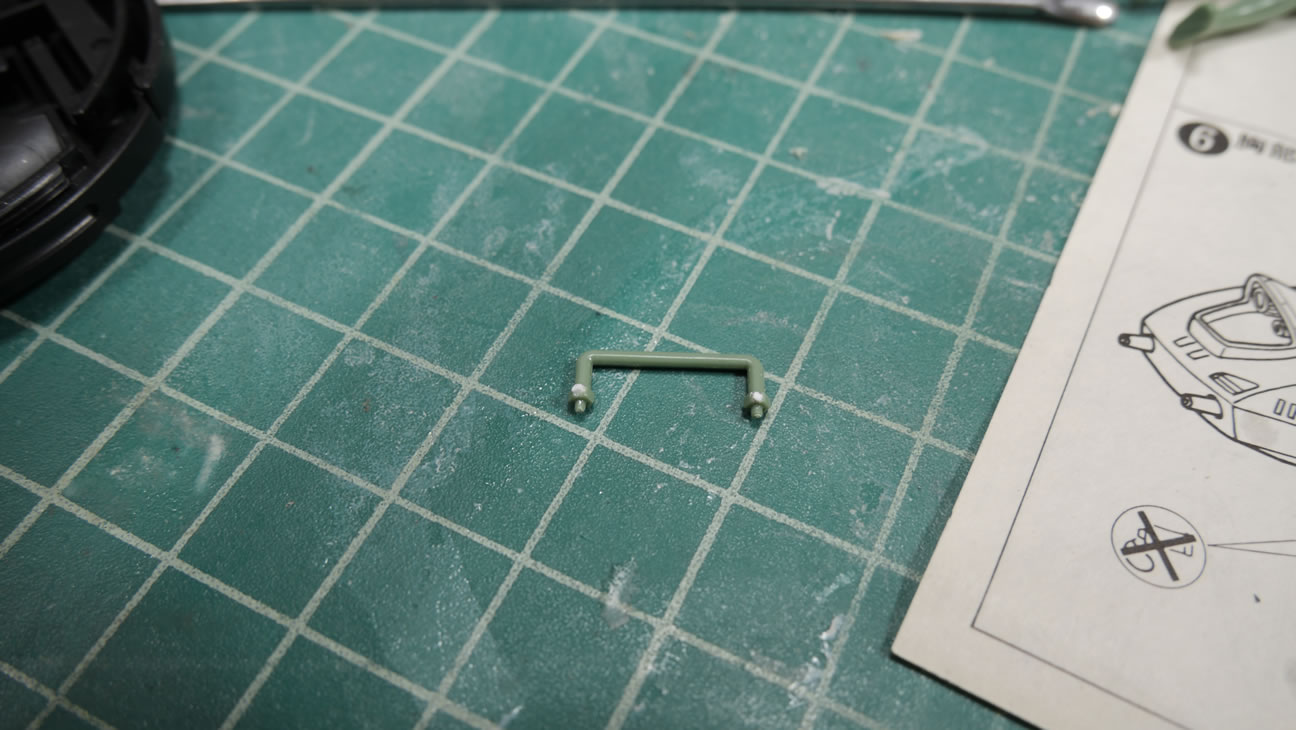
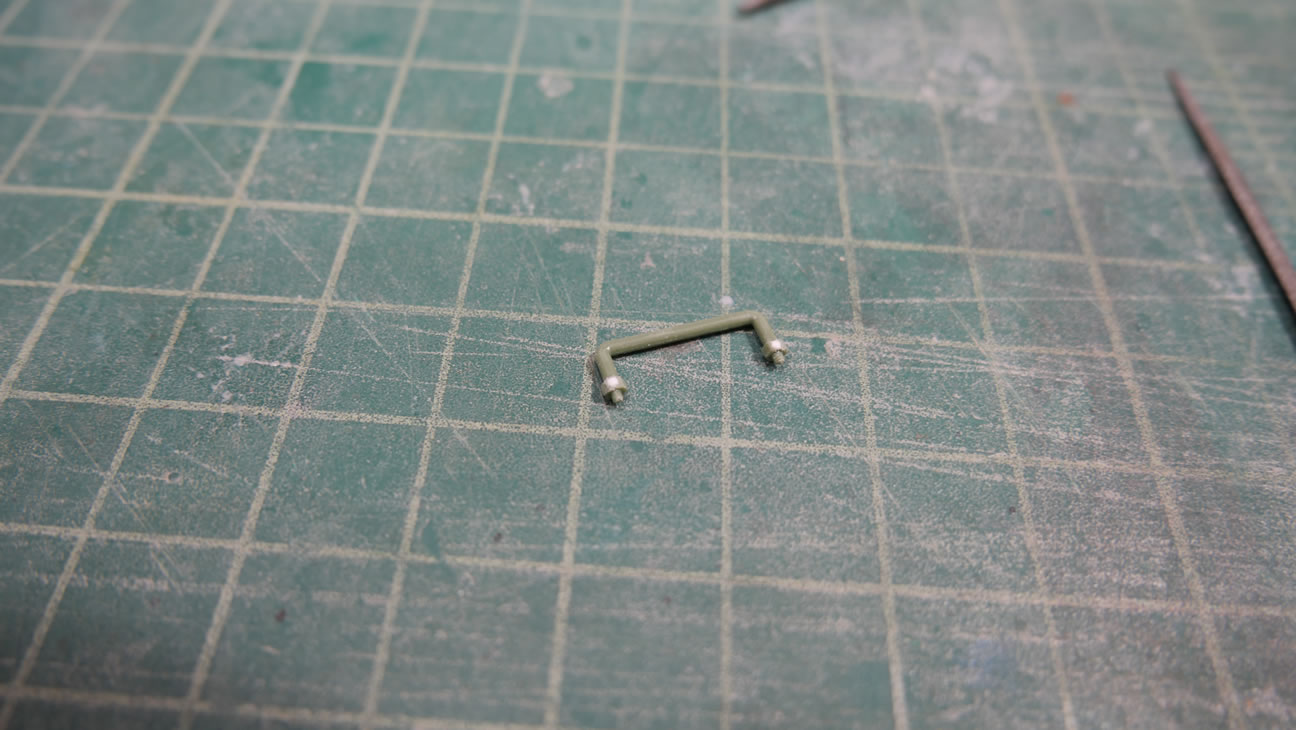
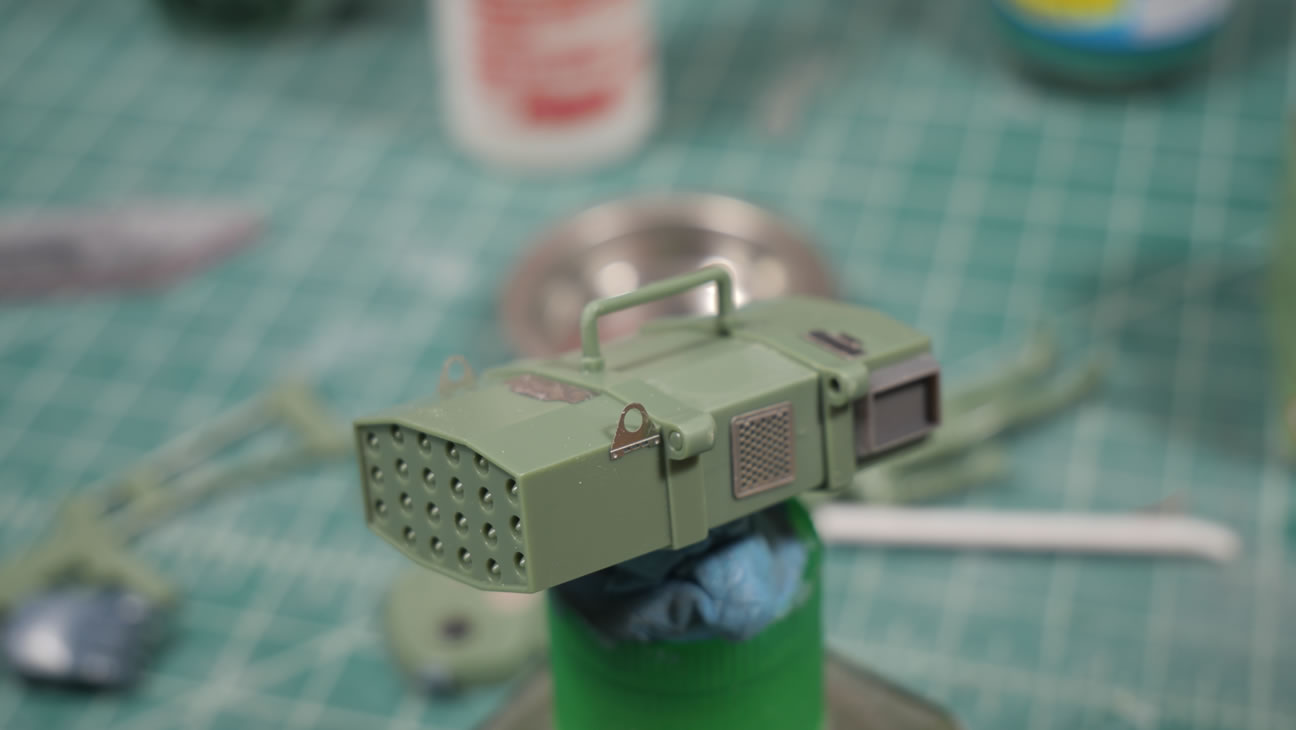
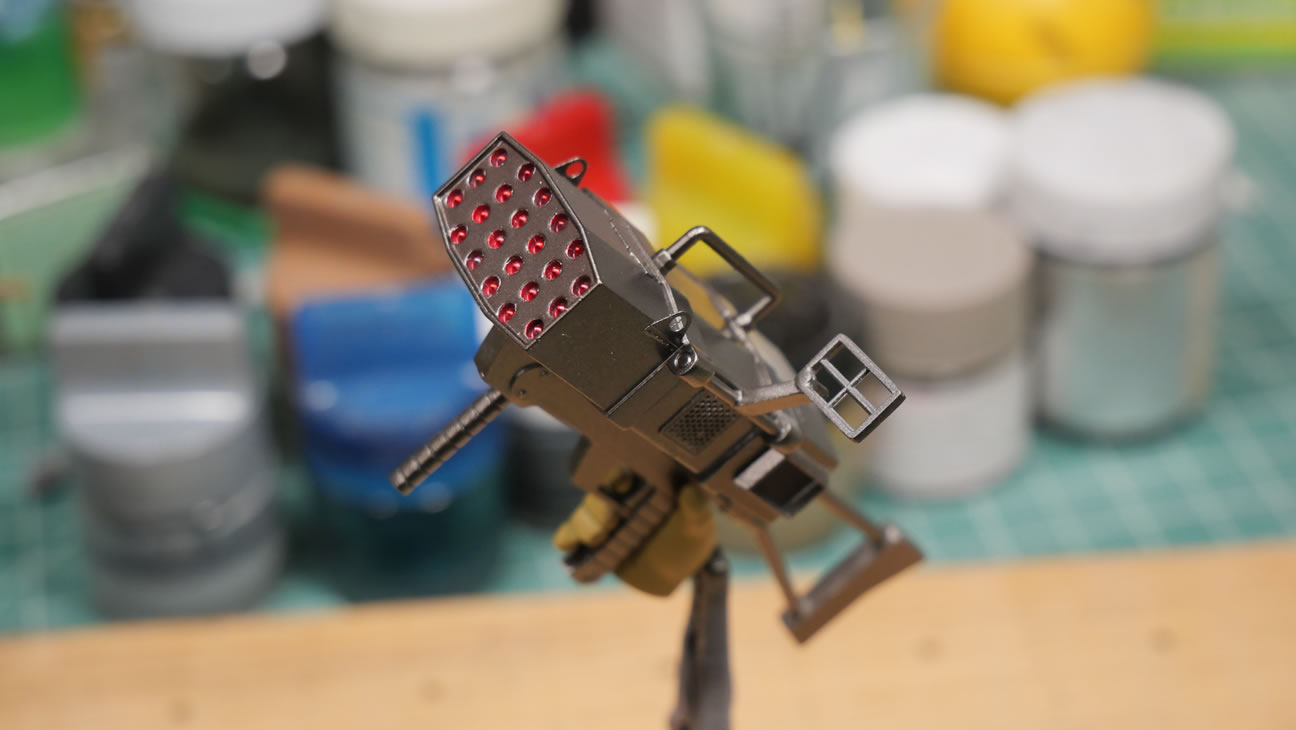
More pot hole fixes for the rocket launcher handle. And more PE details. Wave option vents are added here too.
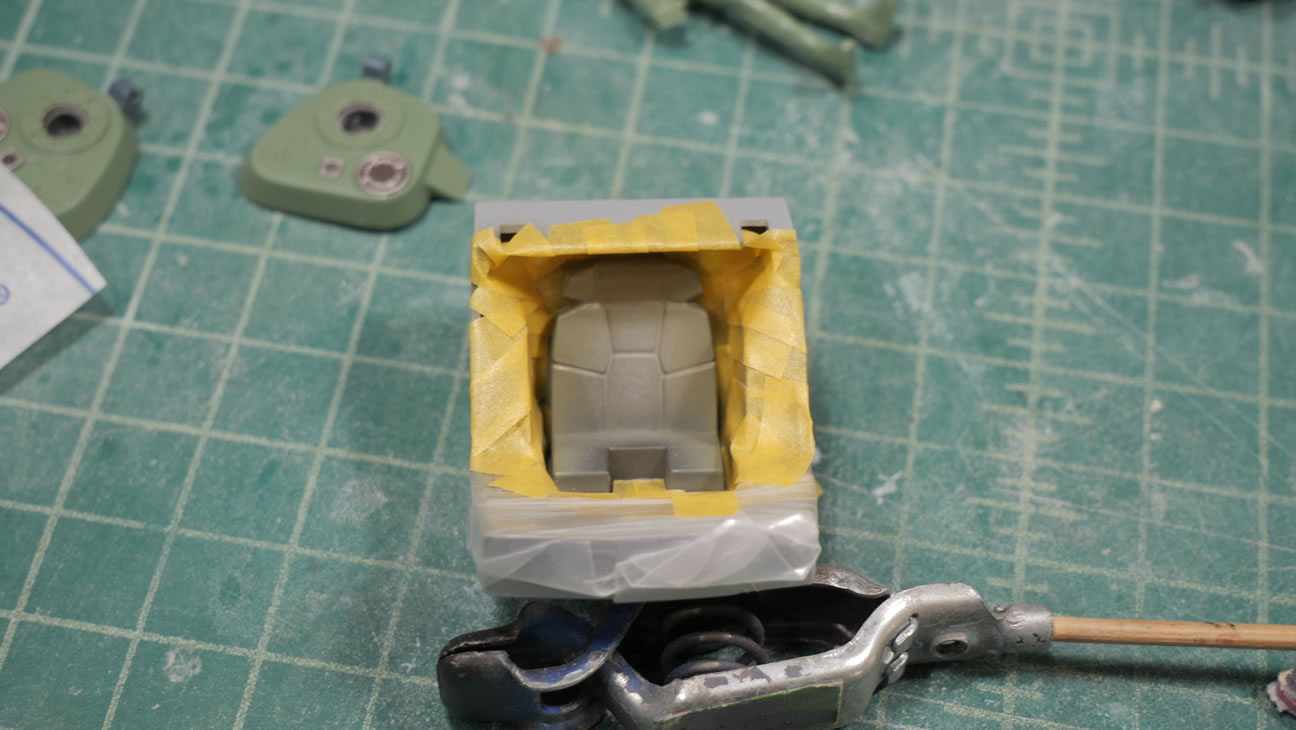
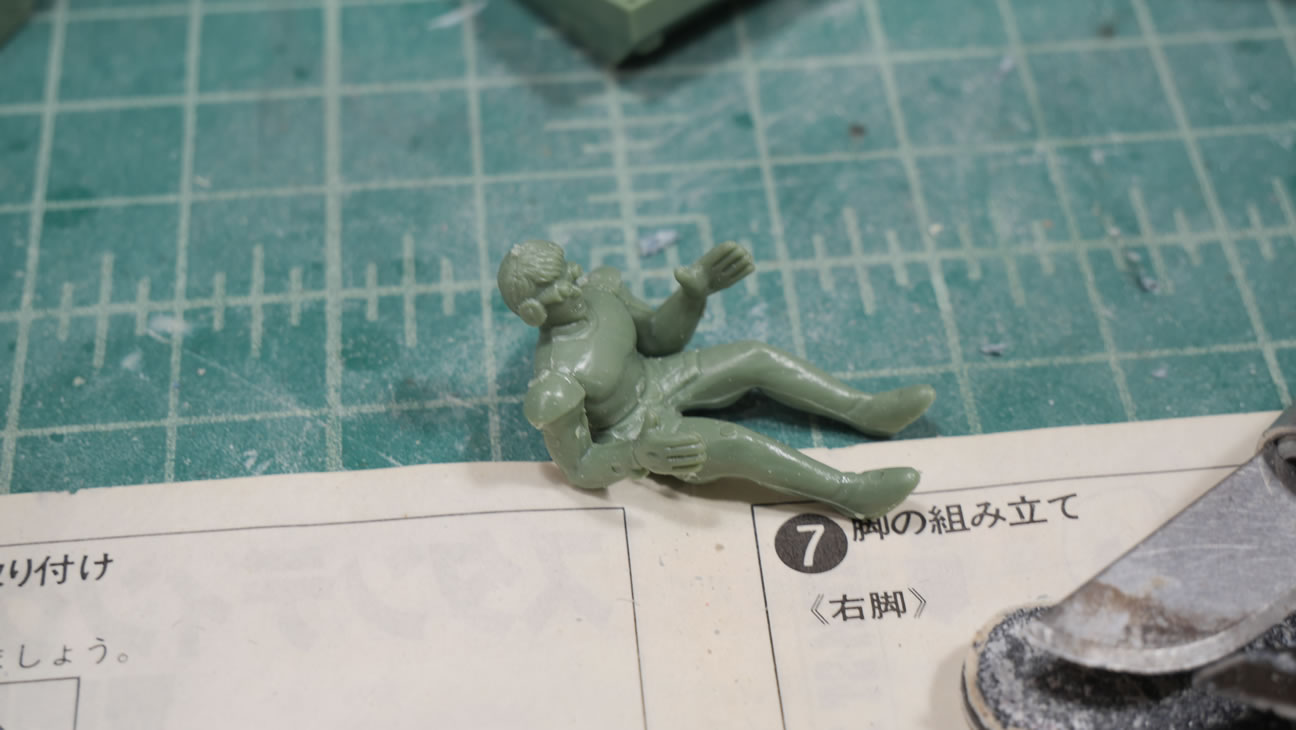
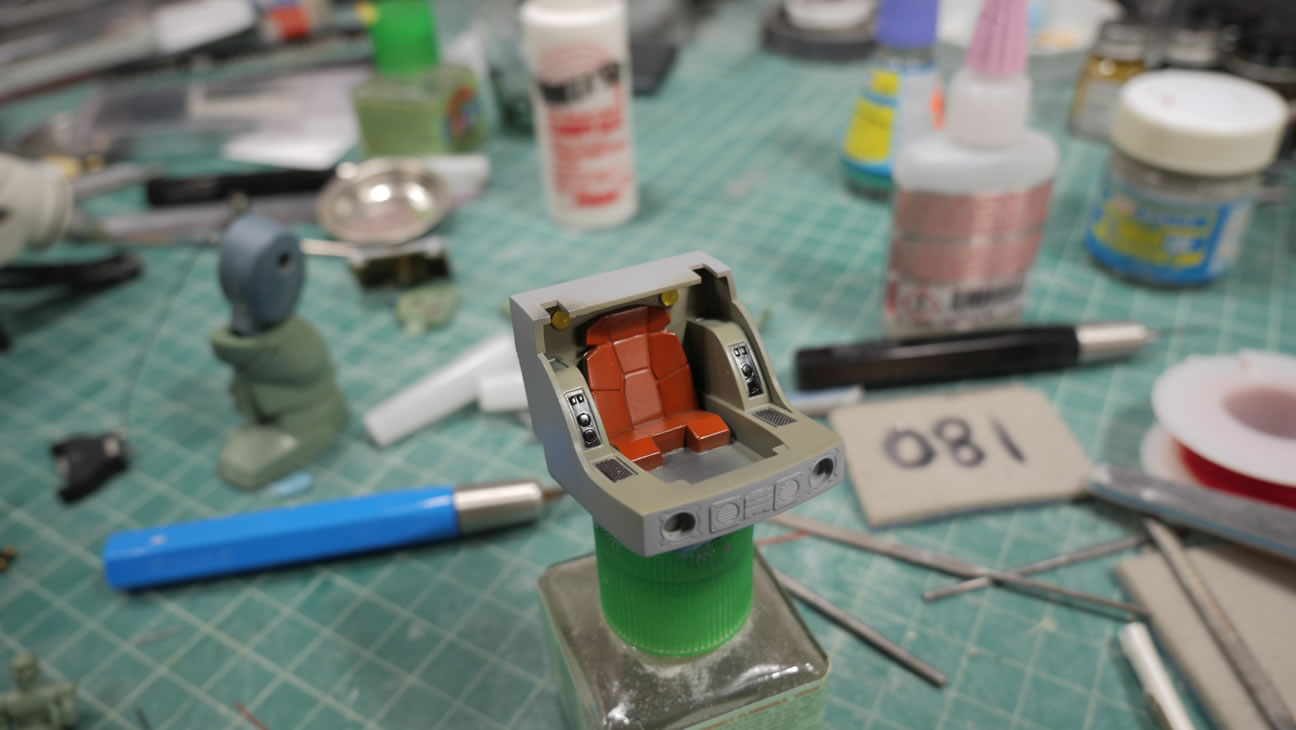
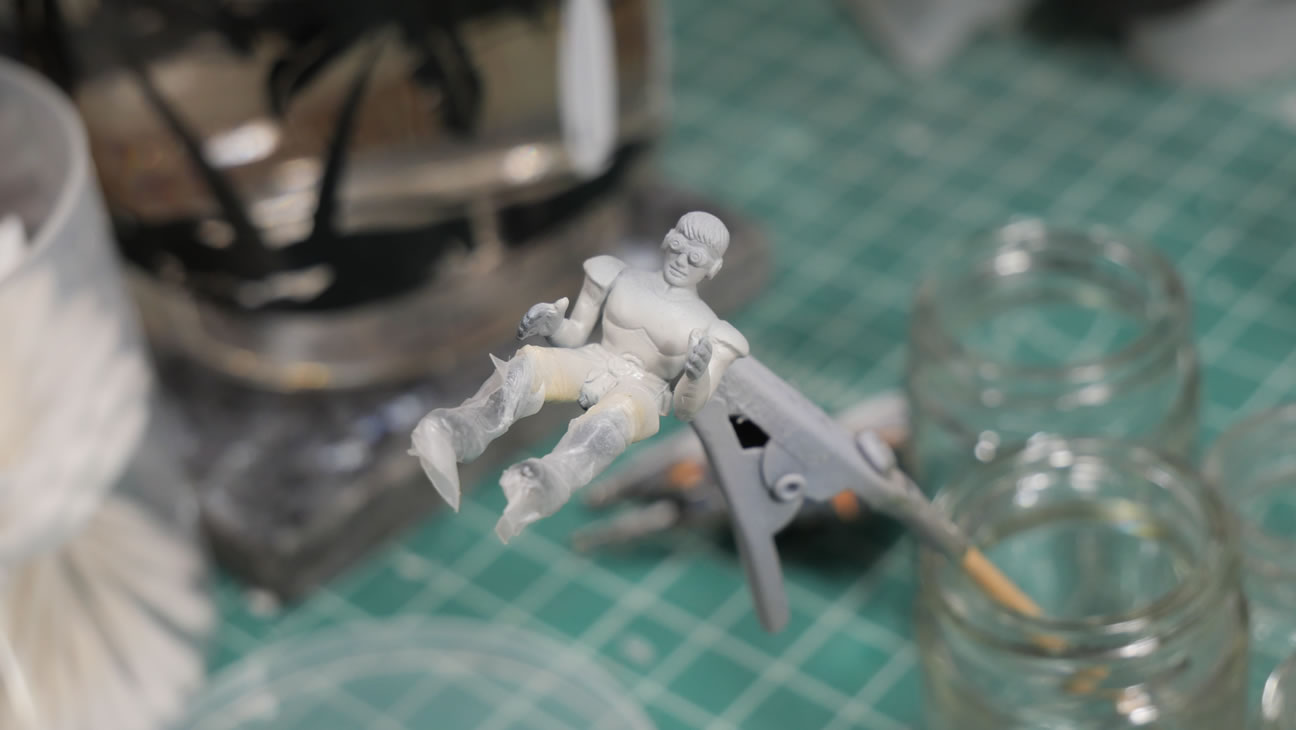
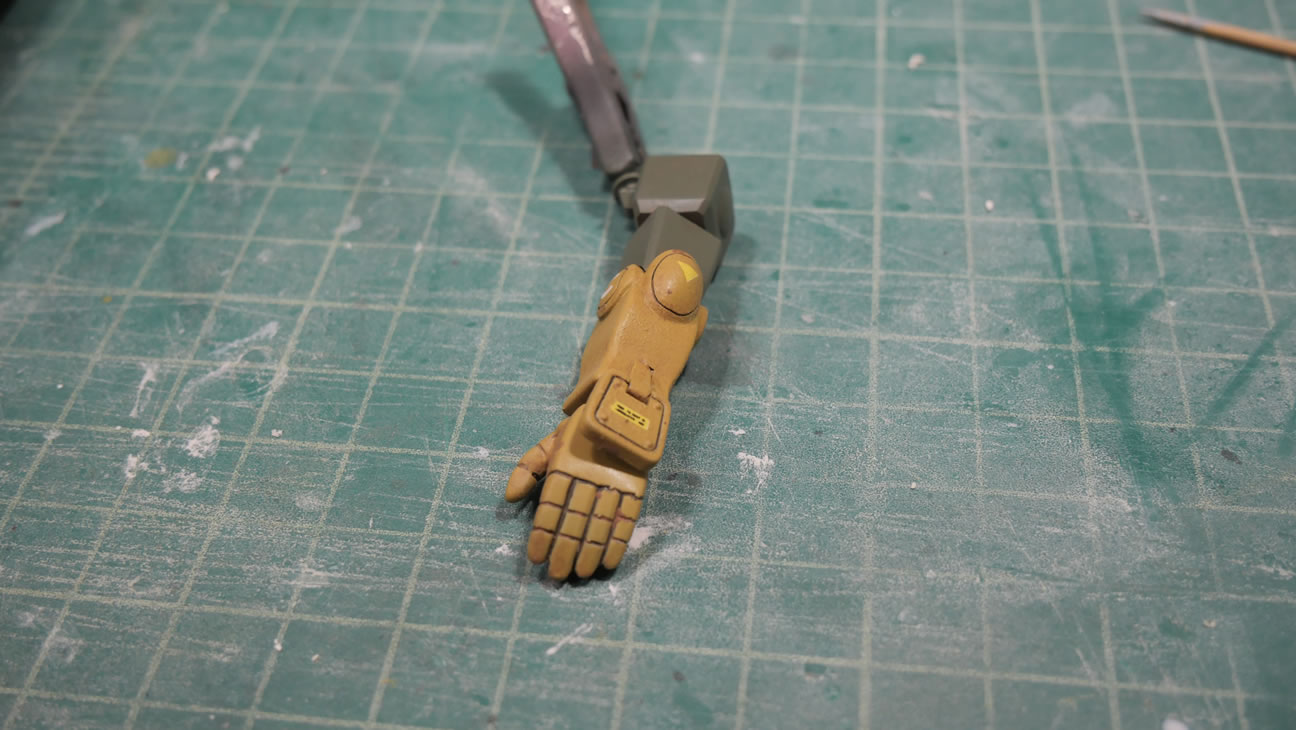
In hindsight, I should have just painted the cockpit pieces separately and glued them after painting. I could have completely skipped out on a few masking steps. The little figure has some gigantic hands, yet small feet.

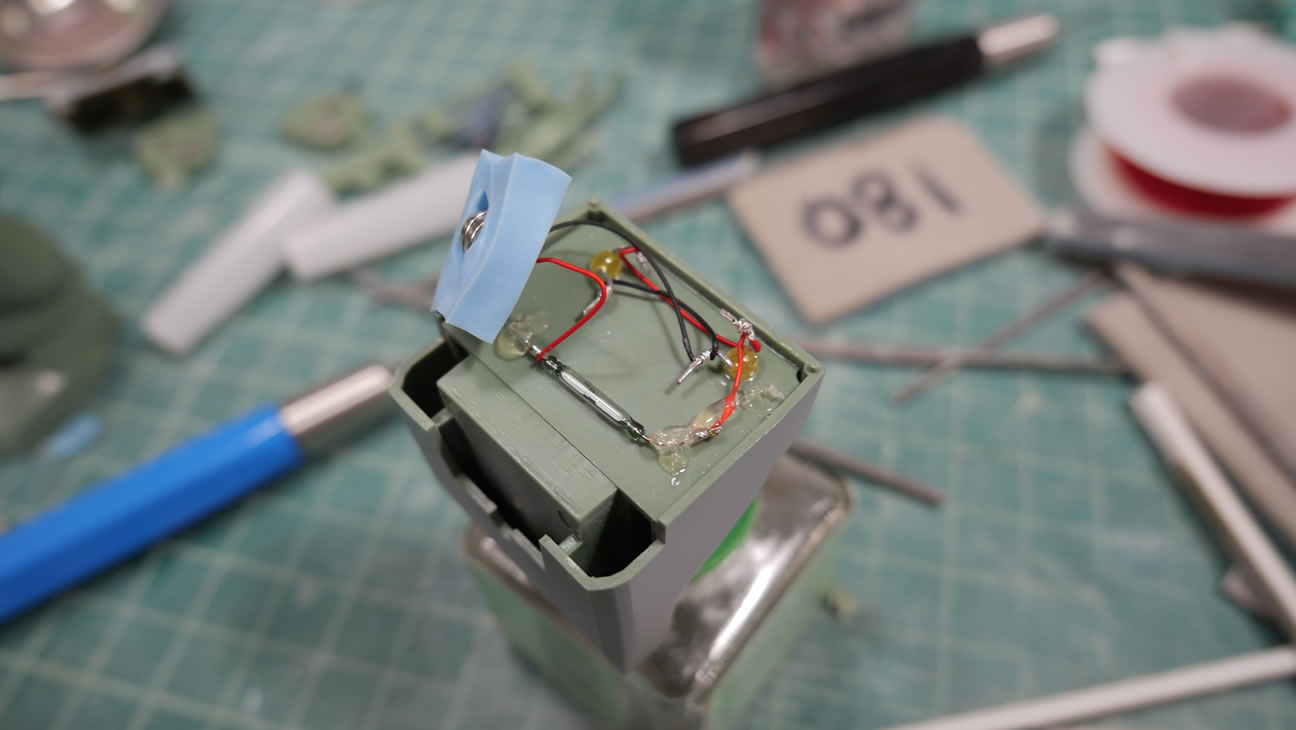
While building and figuring out what I wanted; I noticed that the cockpit hatch had windows. To help illuminate the cockpit area, I added some LEDs to the back of the cockpit. Two yellow LEDs, powered by a battery attached to a reed switch. Everything glued into position and the back half of the main body fitting over perfectly, that was glued and sealed up. A magnet is glued into the back of the pilot after drilling out a small cavity.
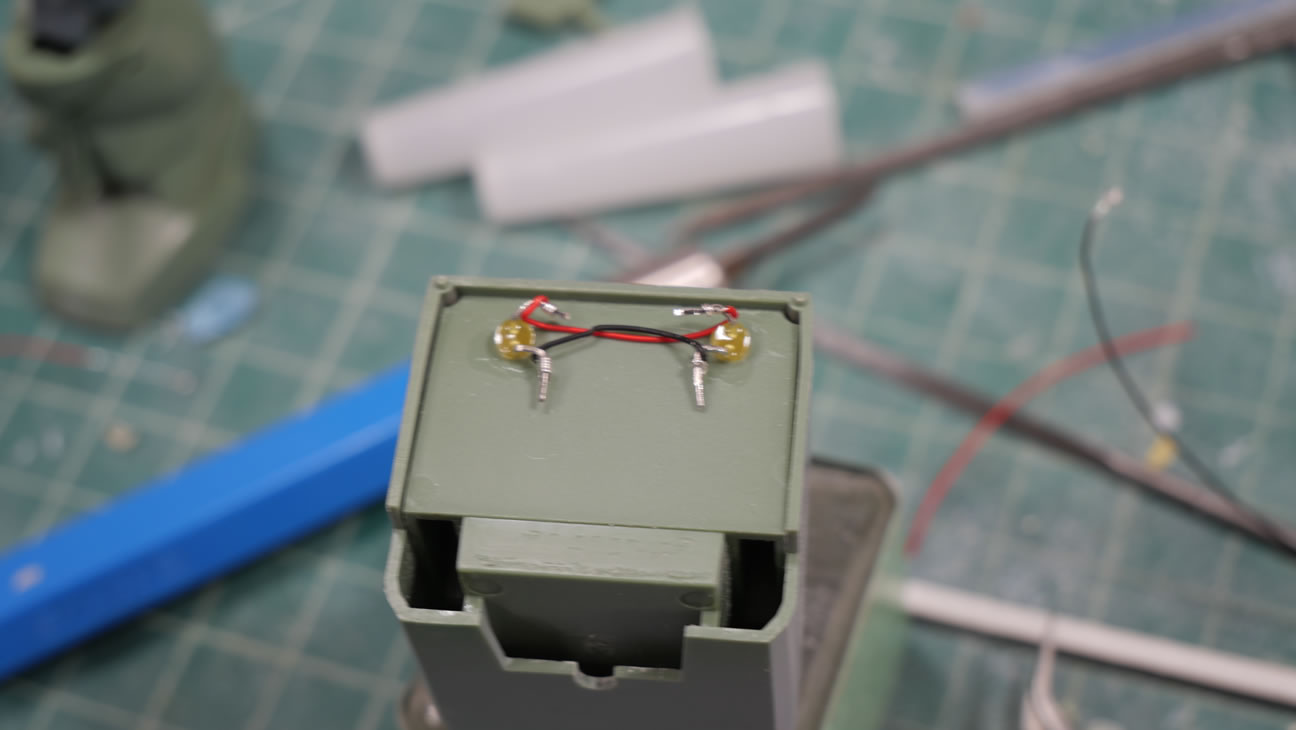
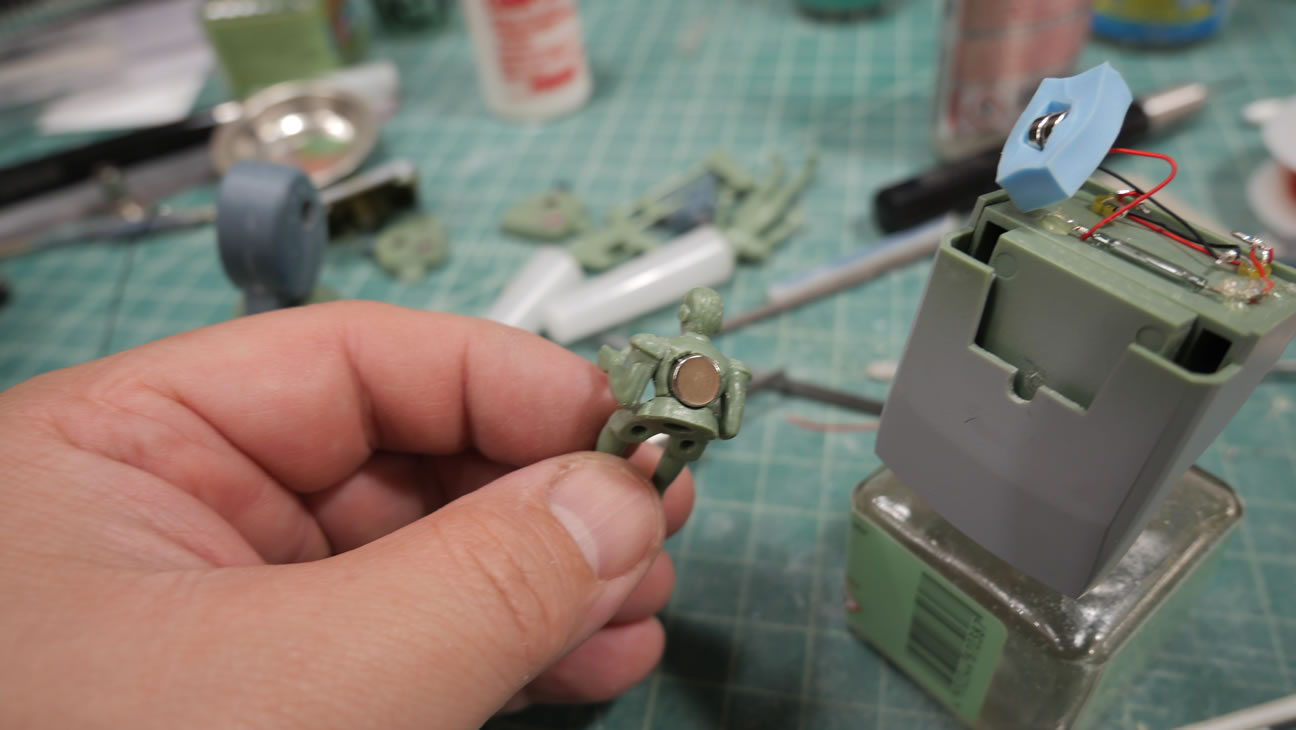
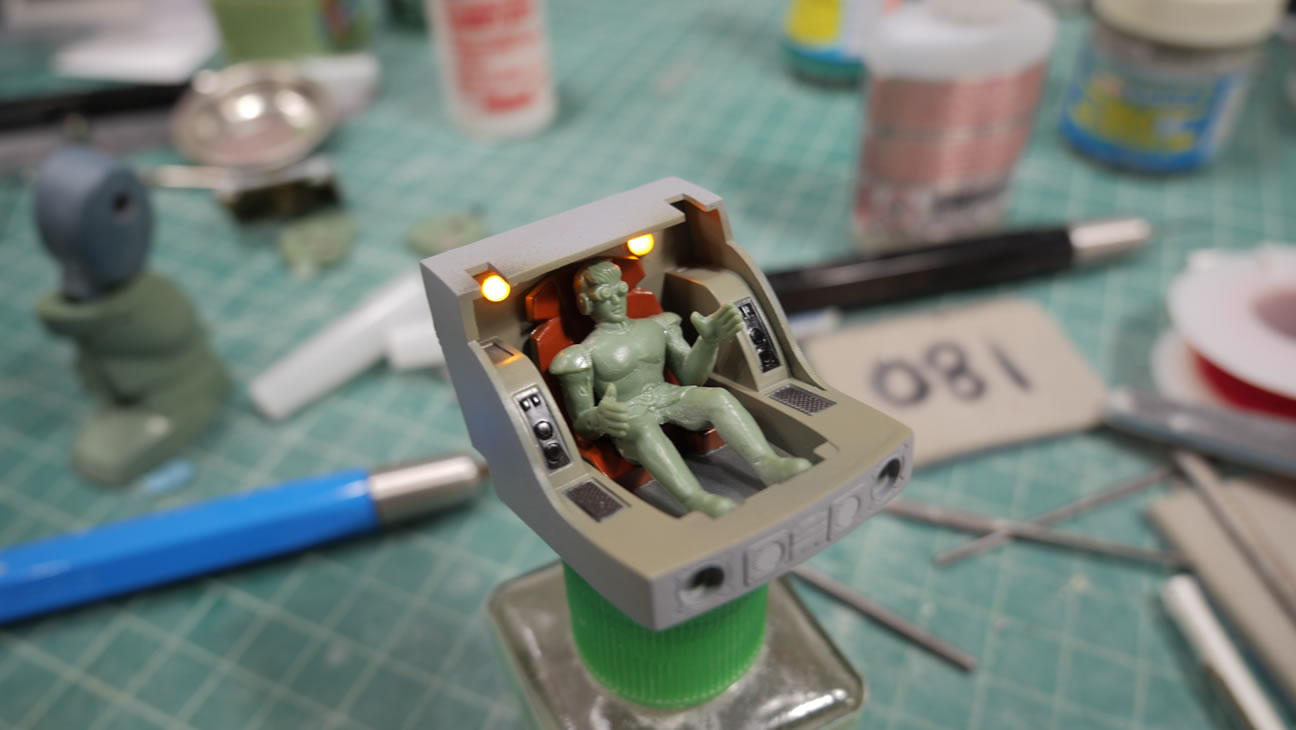
Placing the pilot into the cockpit activates the reed switch.
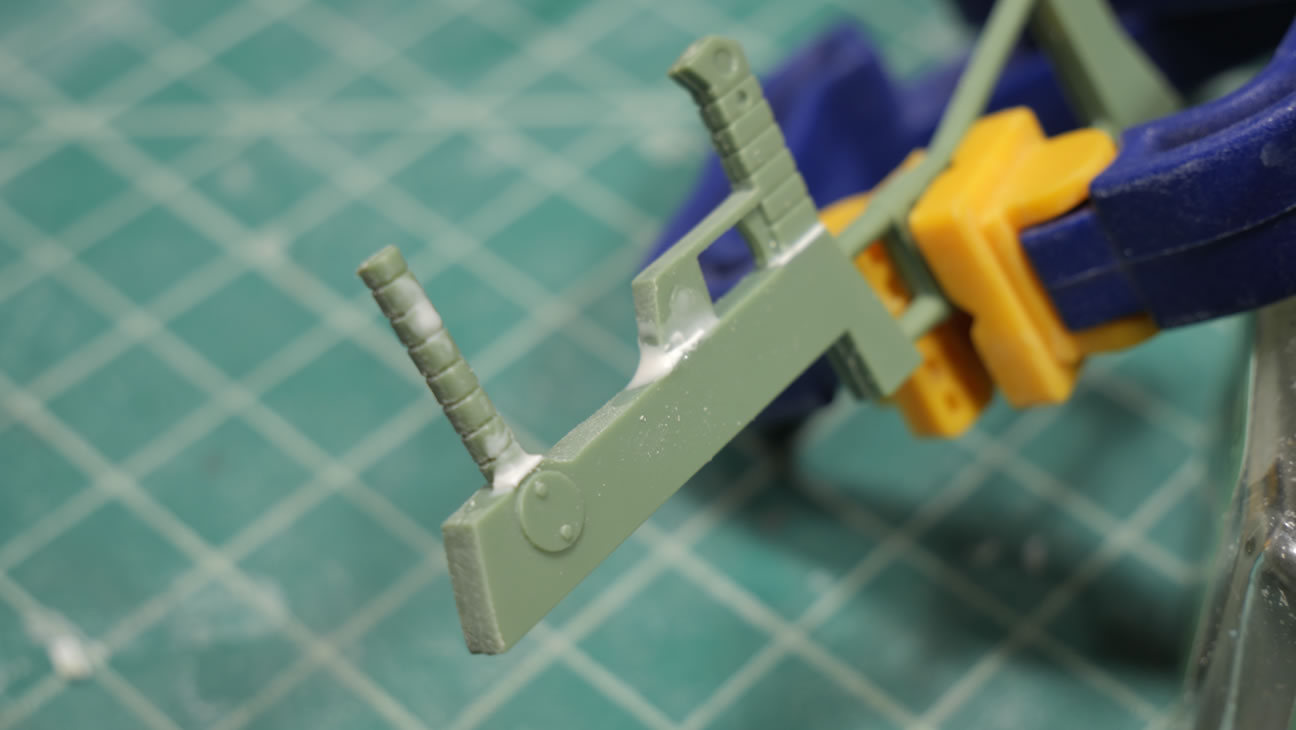
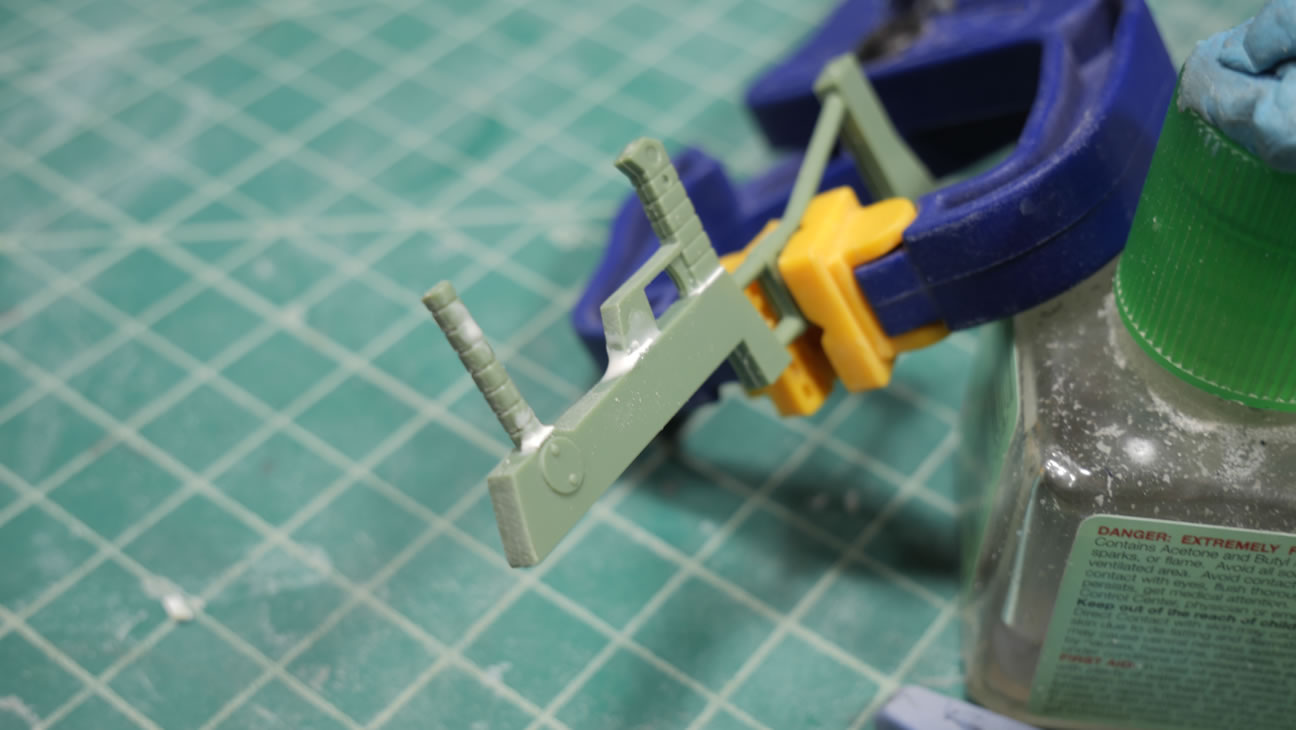
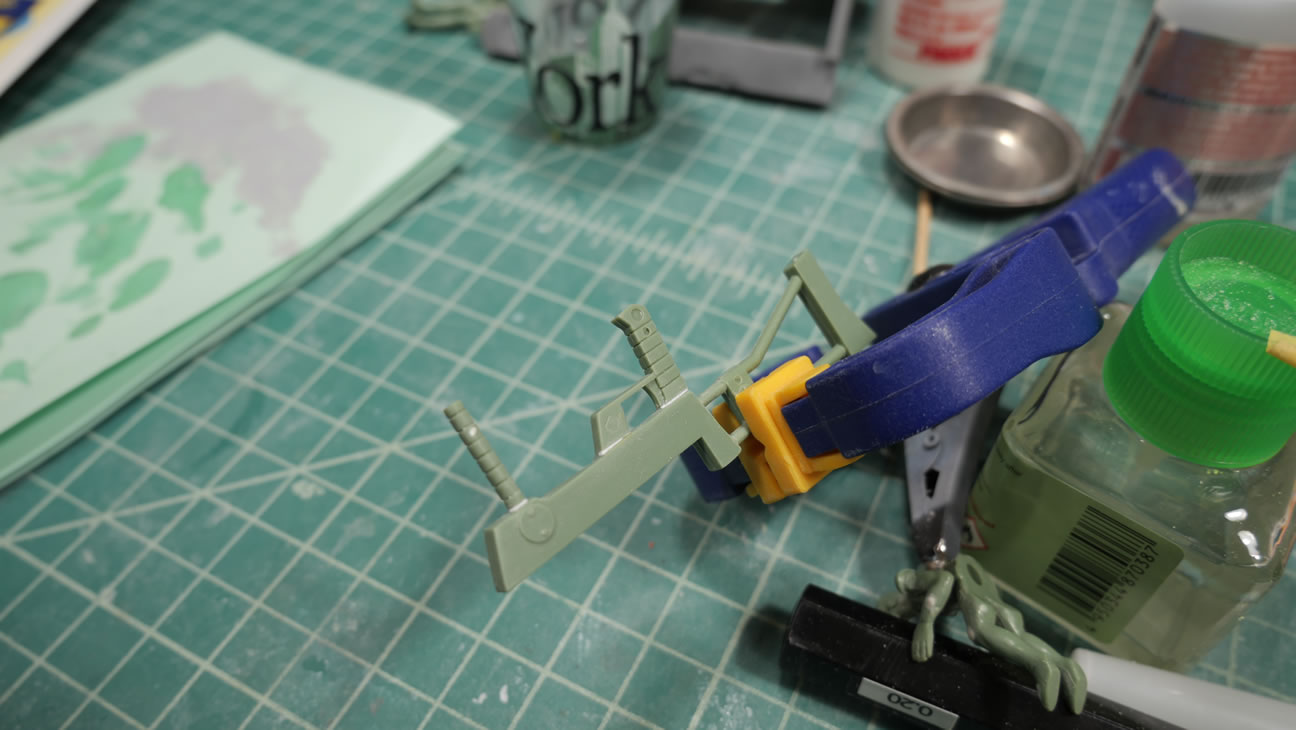
More gap fixing for parts that glue together. Here there is a rather large gap in the gun handle. I glued some styrene in first then added putty to fill in any small gaps.

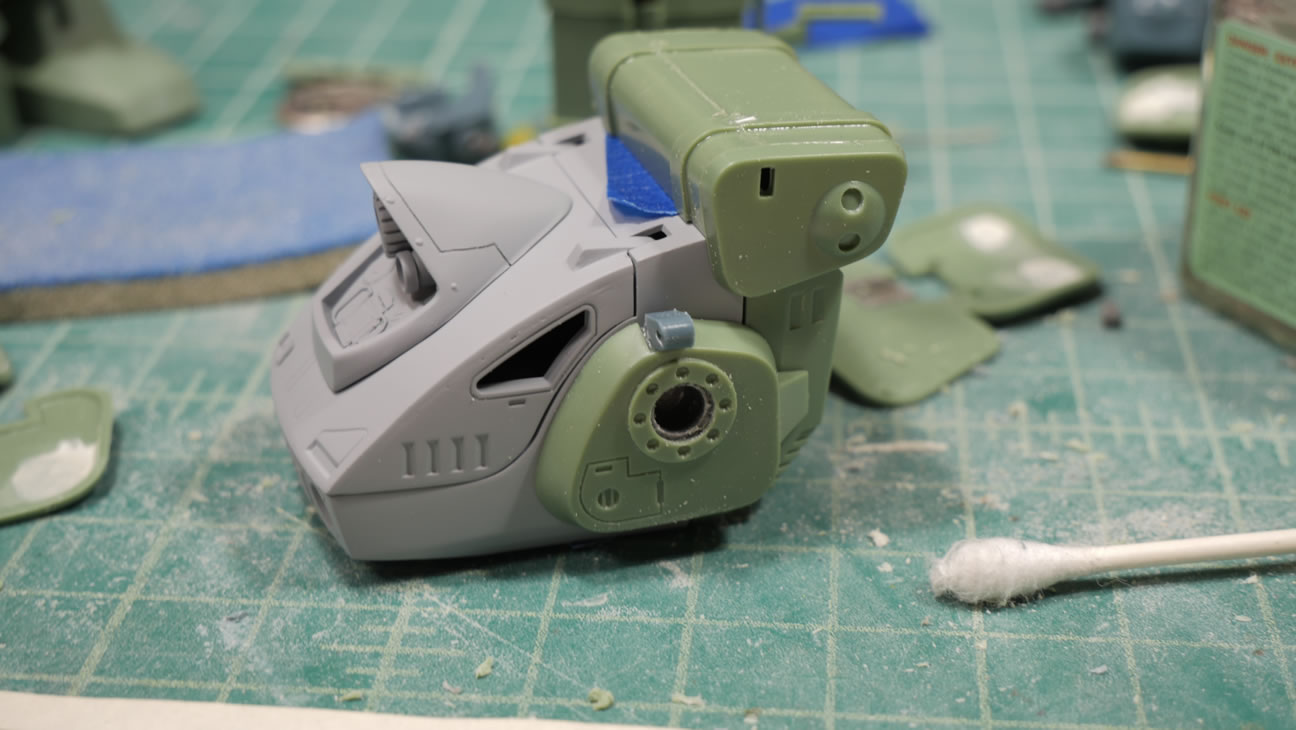
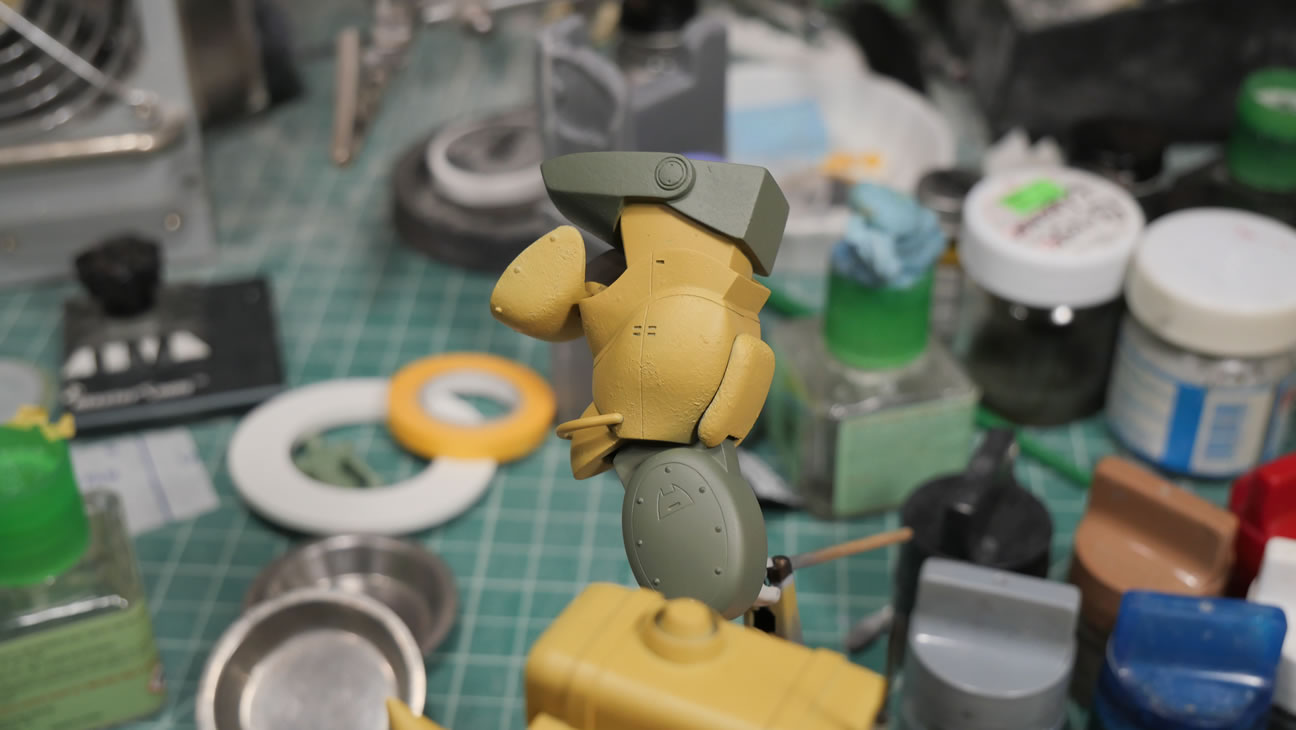
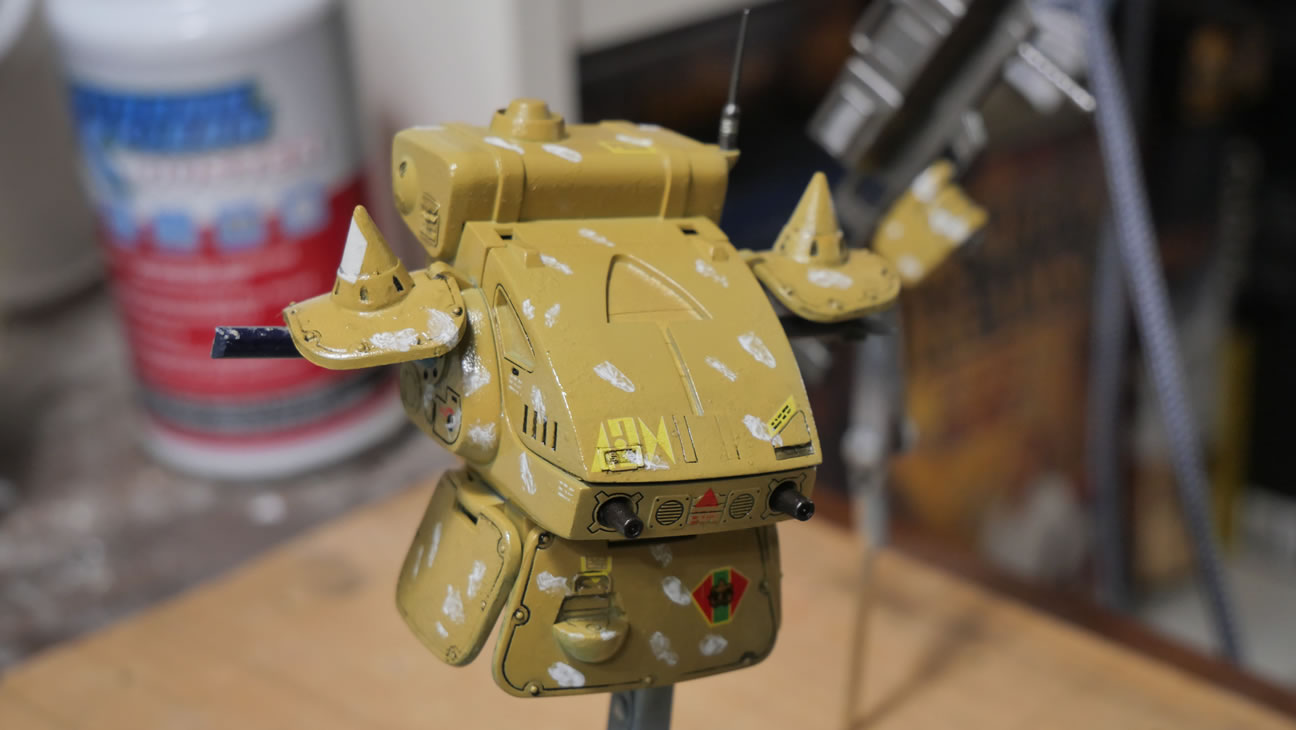
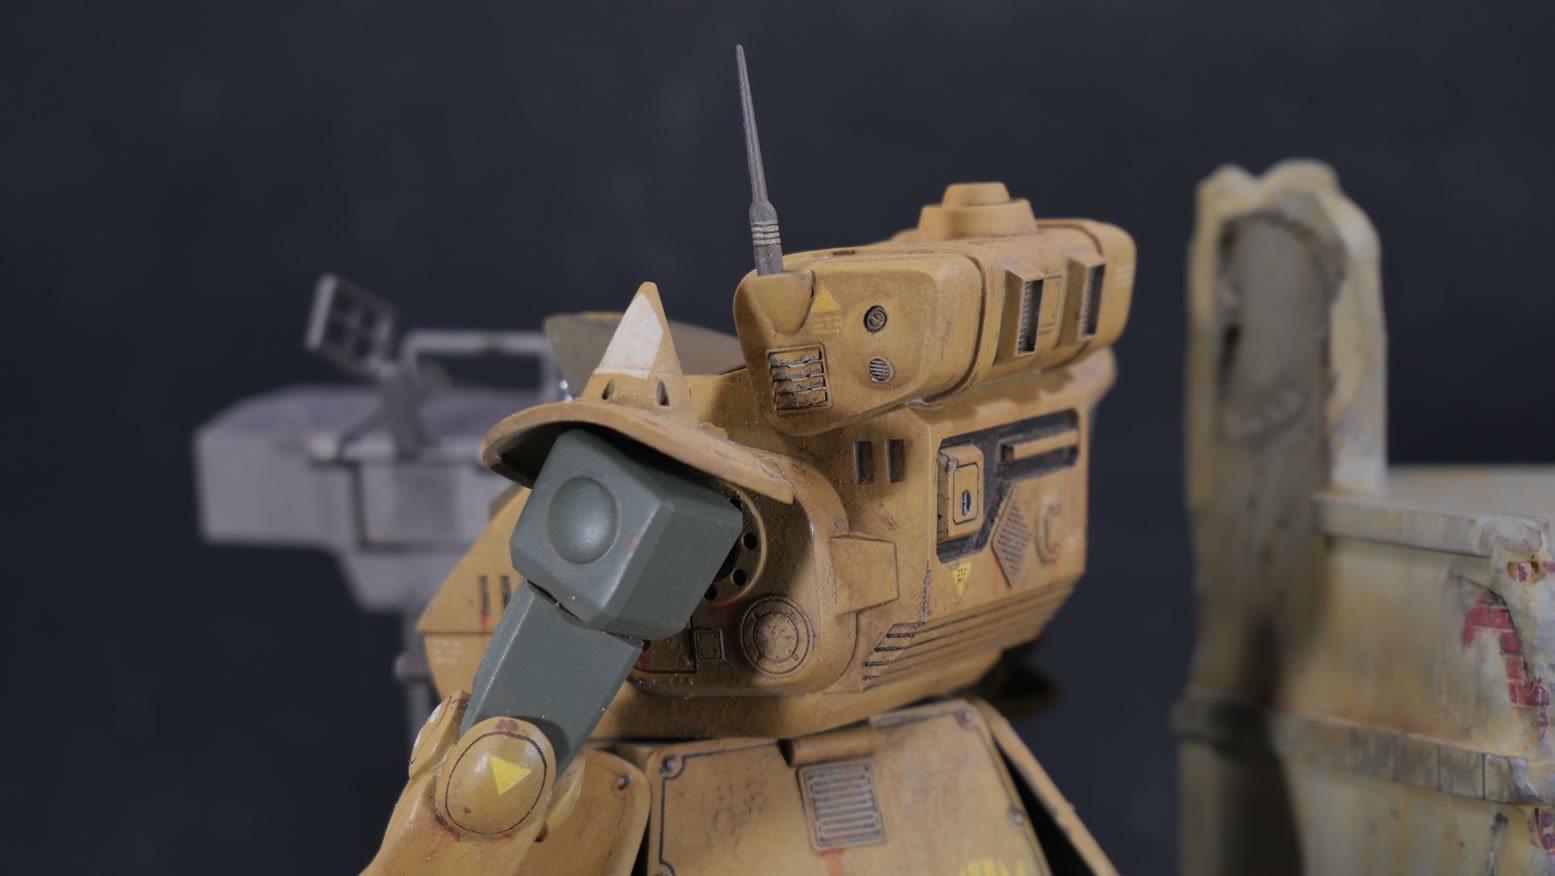
I wanted a cast iron look to the armor, so I used a ratty brush and some Mr Surfacer 500 and just stippled the thick surfacer over the primed armor pieces. Once dry, some light sanding to balance out the higher profile and rough areas. The rest of the cockpit is coming together. The backpack of sorts got a load of added PE and wave option part detailing.
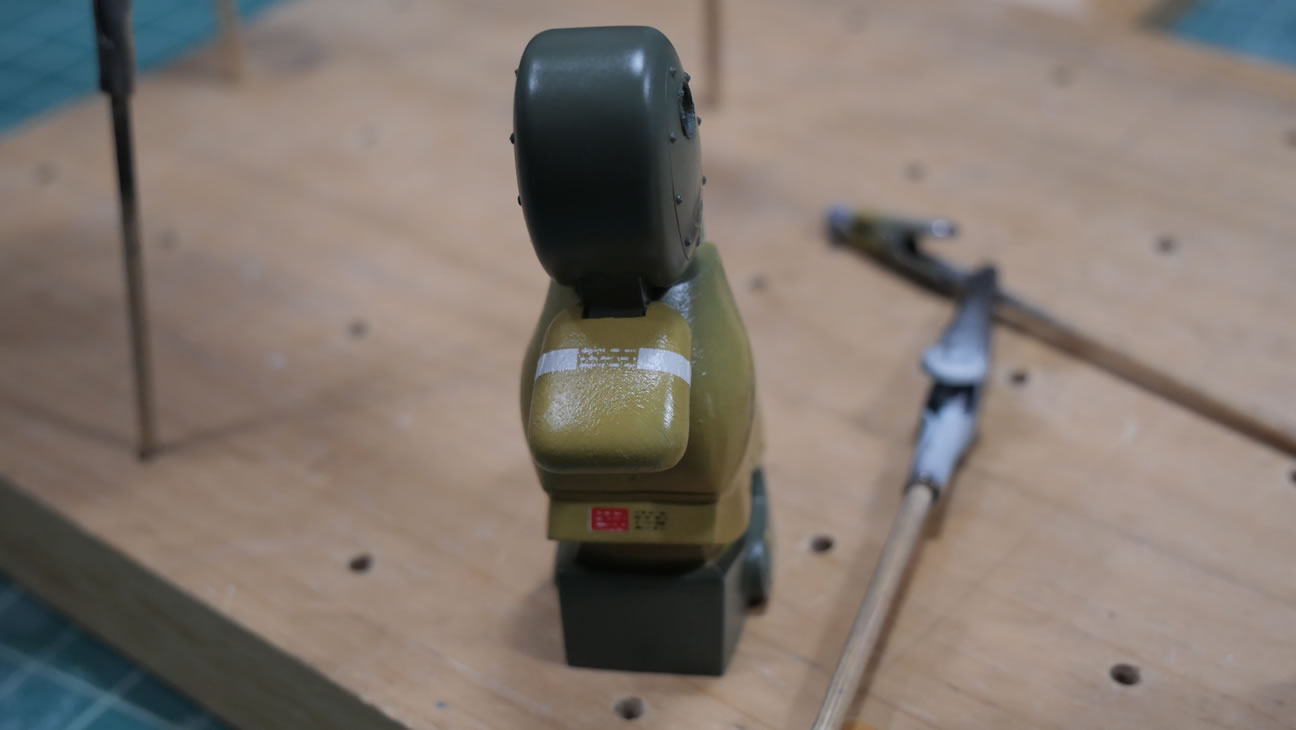
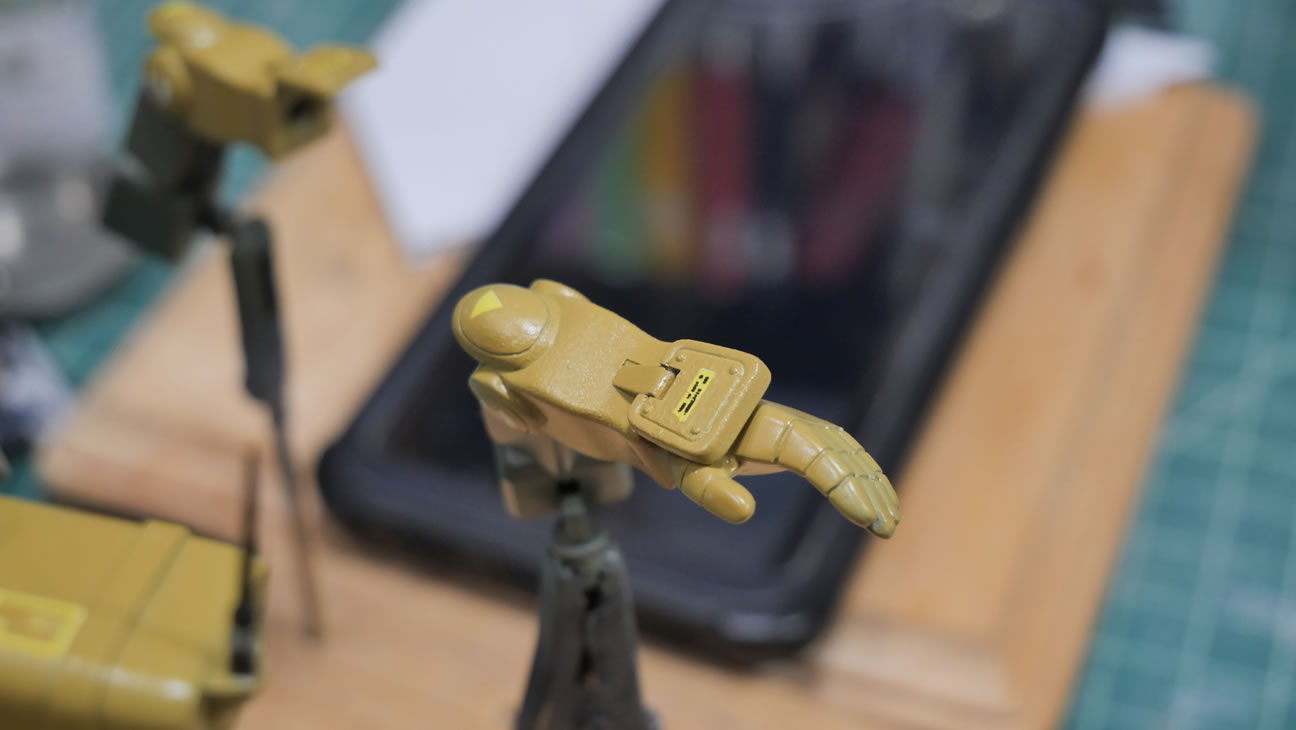
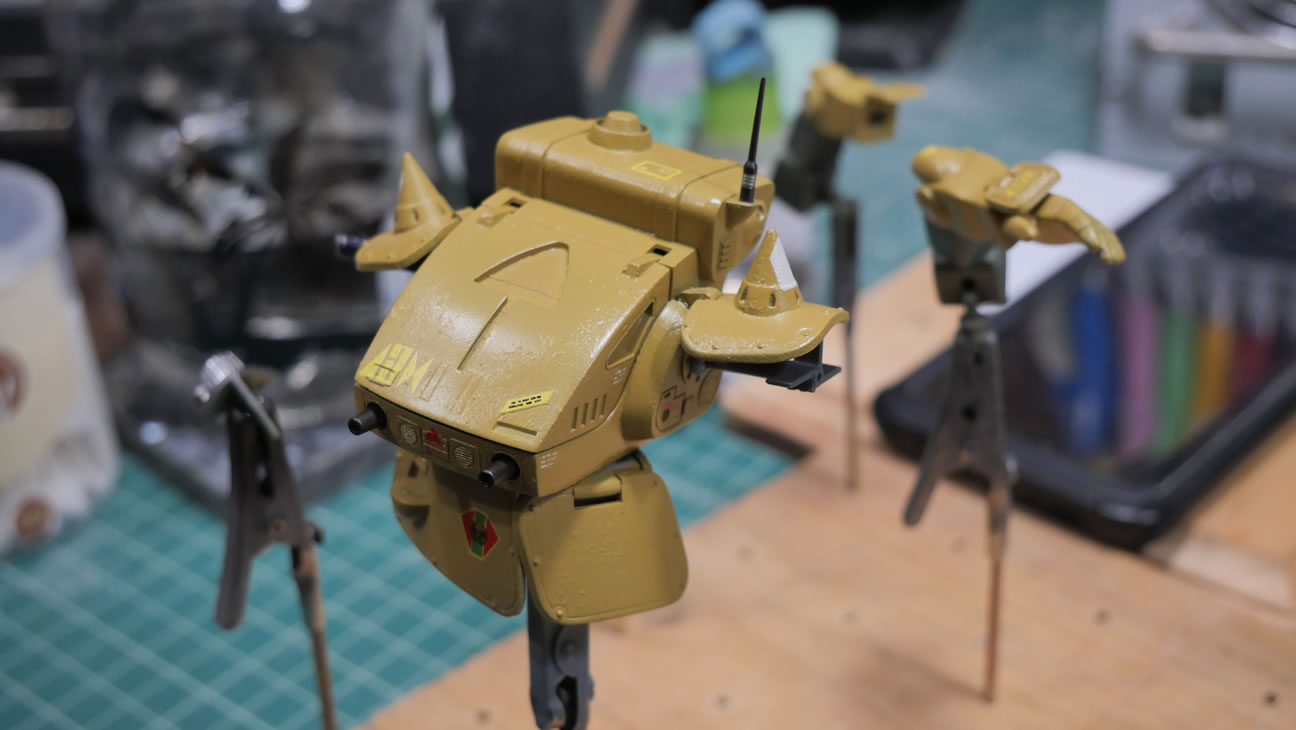
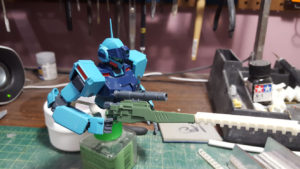
I sorted through my paints and found that I had 5 bottles of sand yellow. Guess what paint I decided to use for the main body? Since lots of pieces needed to be glued, there was a decent amount of paint – mask – paint for everything.
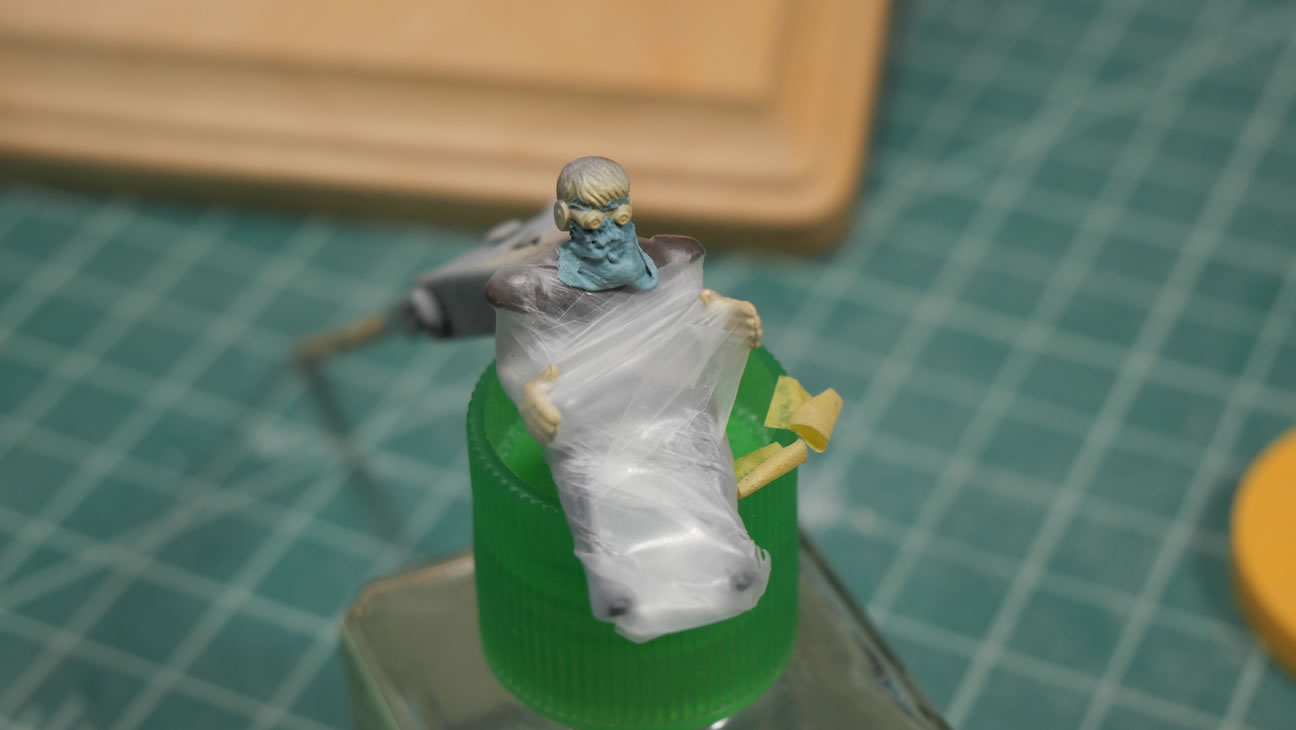
The figure was all airbrush/mask/airbrush and repeat. Only the eye lenses and touch ups were hand painted.
The decals were another exercise in patience. I was used to soaking my decals for a second and then having them slide off the paper in 30 seconds to a minute. These were not sliding off. To the point I checked if they were peel and stick. They were not. I just needed to soak the decals for a full 3-5 minutes and they still did not slide off the paper. They needed to be peeled up. I only tore 2 decals, so not too shabby. I made sure I applied lots of decal setter before adding the decal softer. For 30+ year old decals, they held up fairly well. Then again, the box has been sealed and those decals in plastic wrap for 30+ years. The gloss coat really helps the decals stick to the roughed up cast iron surface.
Decal softening solution helped the decals sit and conform over the raised PE details too.
A clear gloss is sprayed over the dried decals and then panel line work and then another layer of clear gloss. I want to protect everything before I start the weathering process.
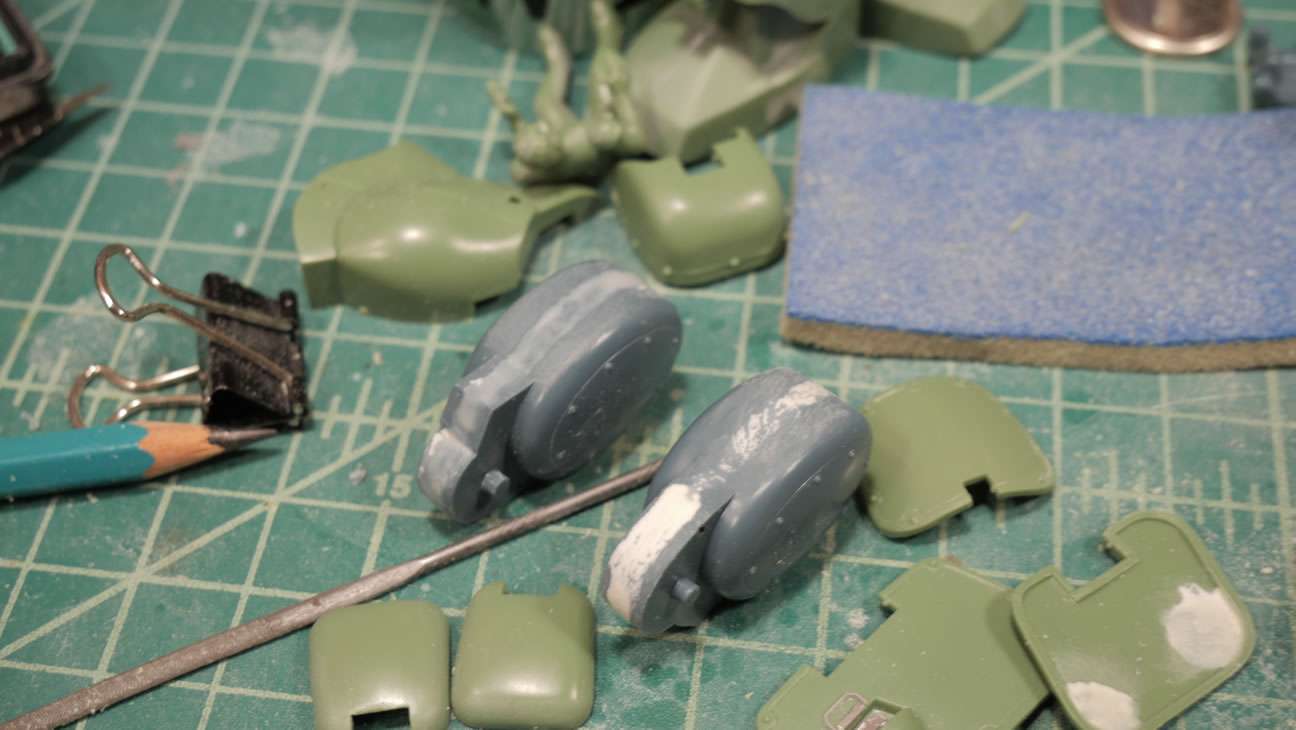
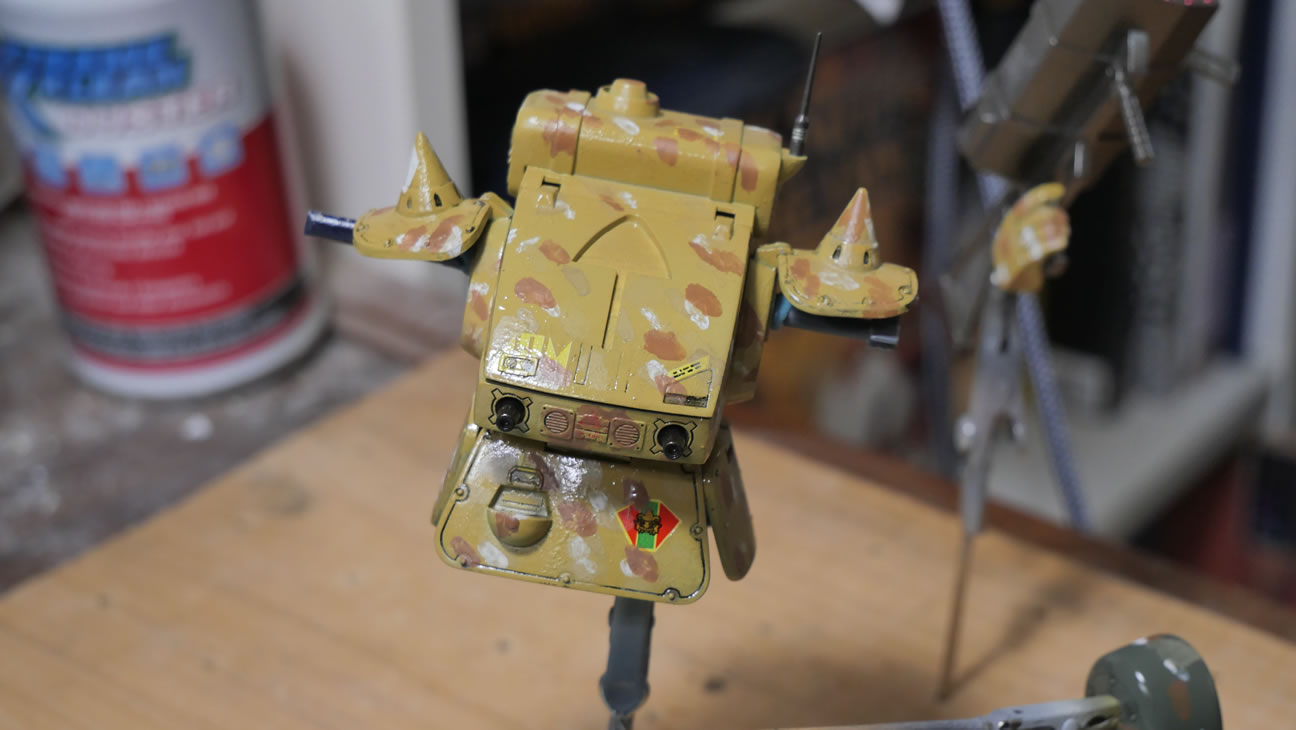
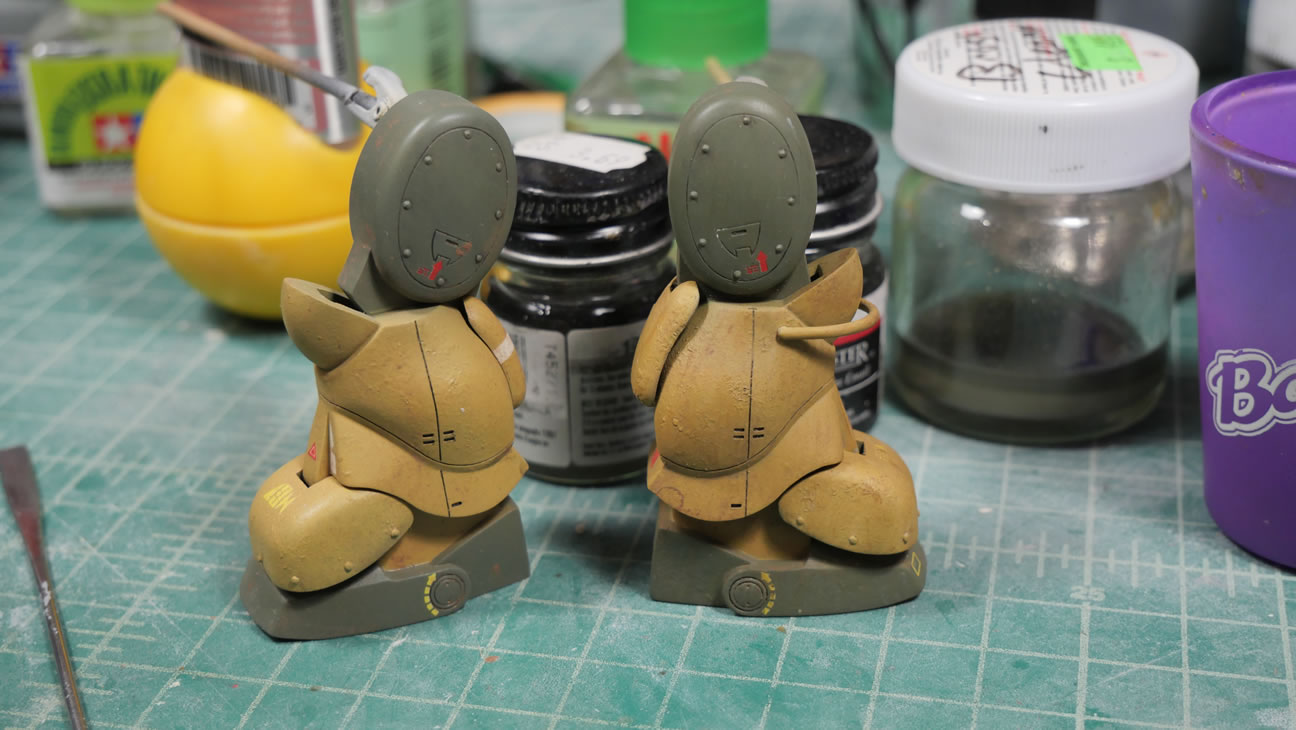
First step in weathering is the enamel filter. Dots of enamel paints are applied to the kit surface then wiped away using lighter fluid and a ratty brush. This gives the surface some tonal variations and some weather streaks.
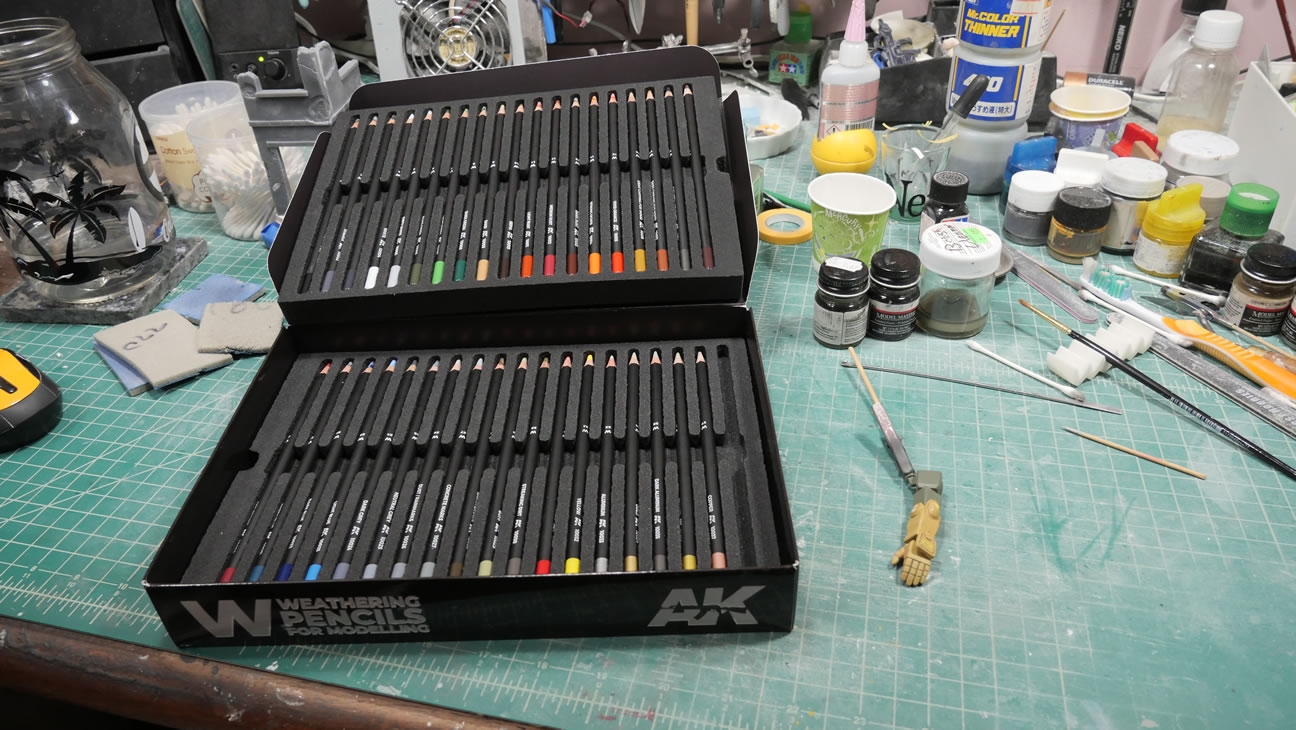
Once that is dry, a clear flat is sprayed over everything and allowed to dry before attempting the next step. Pastels. In this case, AK weathering pencils. This is the first time using these pencils. I’m pretty impressed. You can get some very fine details and effects using them in various ways. Dipped in water, wiped by a wet brush, wiped by a dry brush, etc. Some very cool things with these pencils.

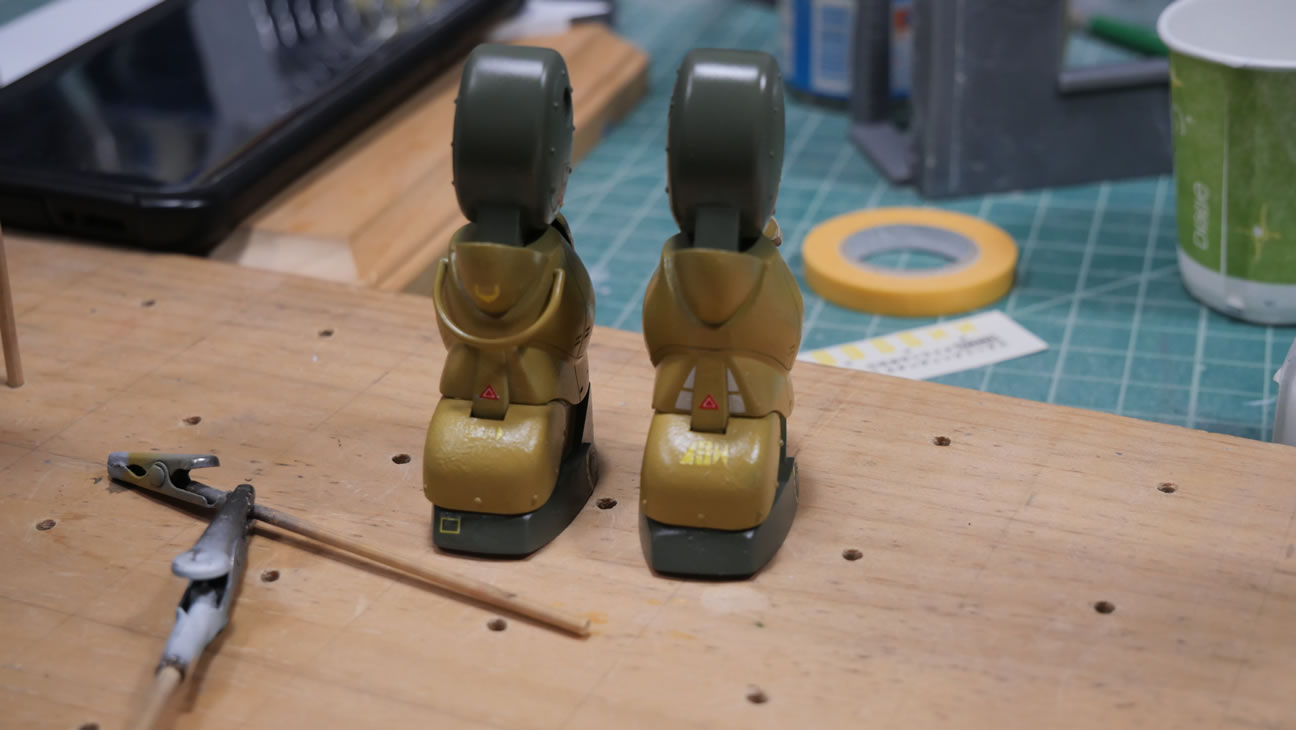
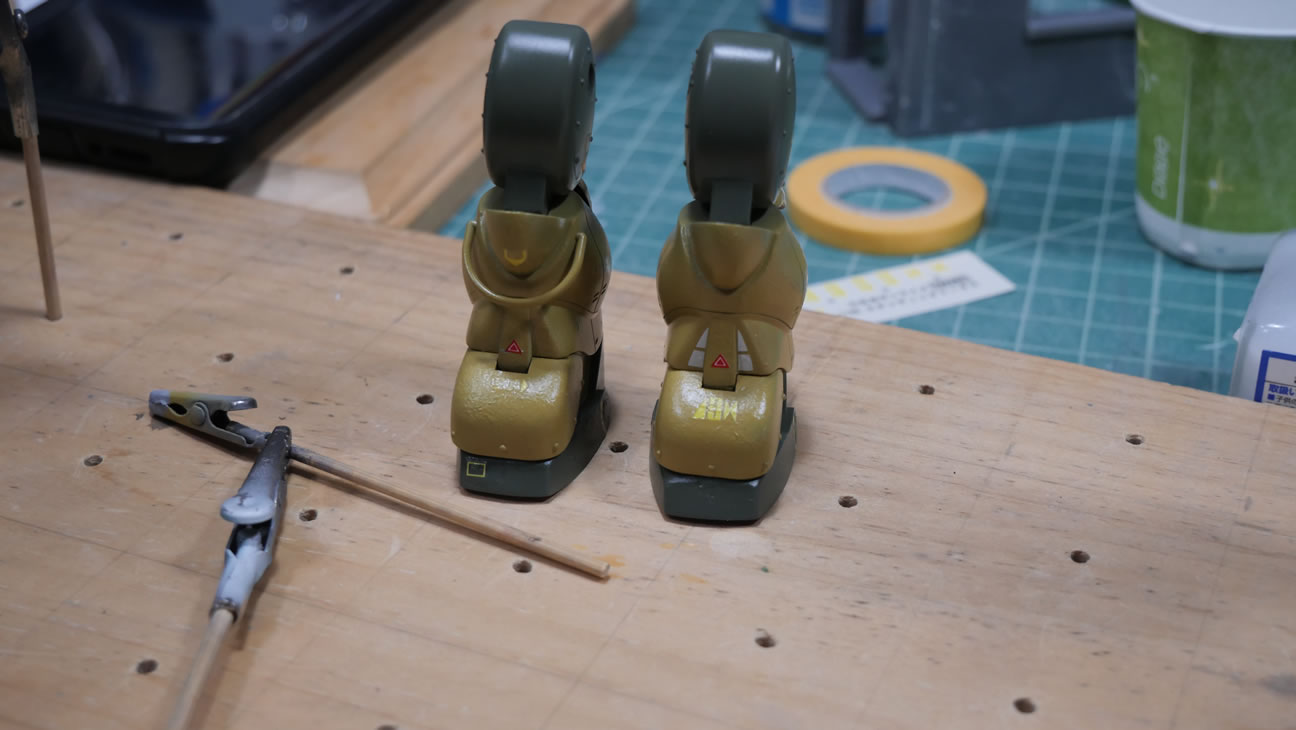
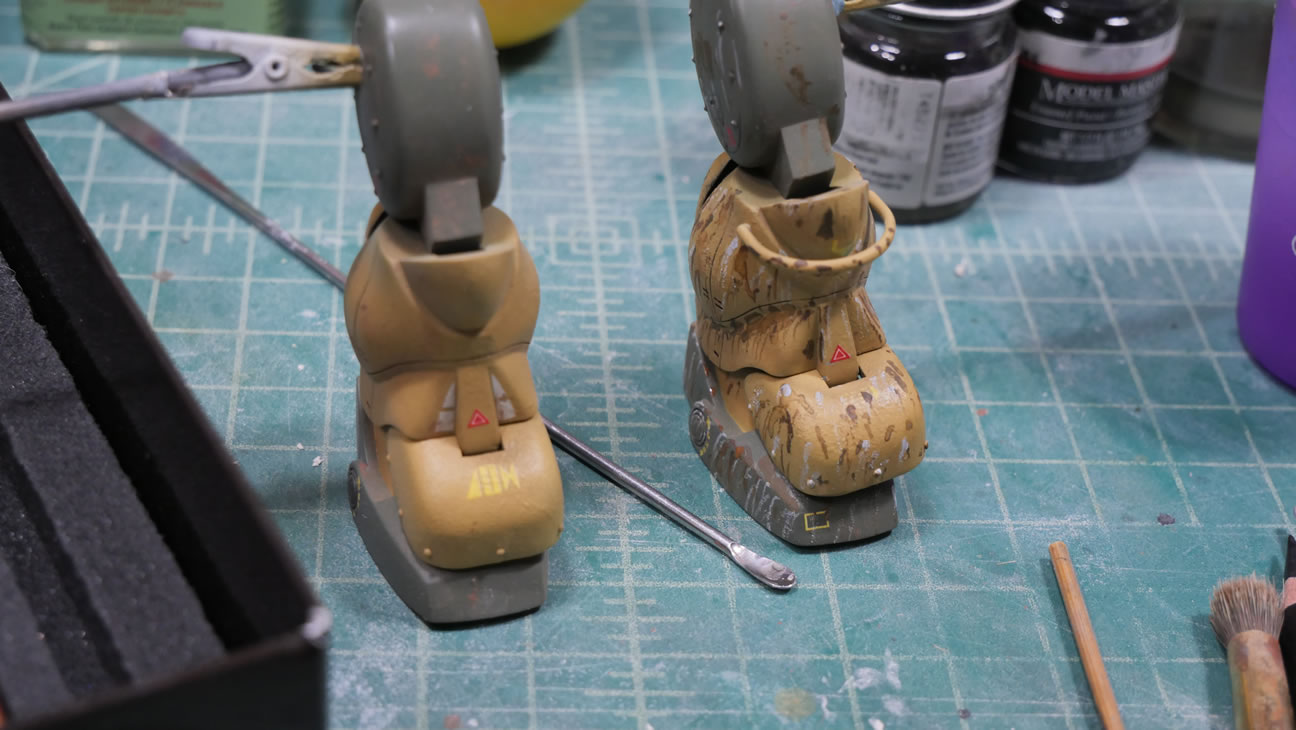
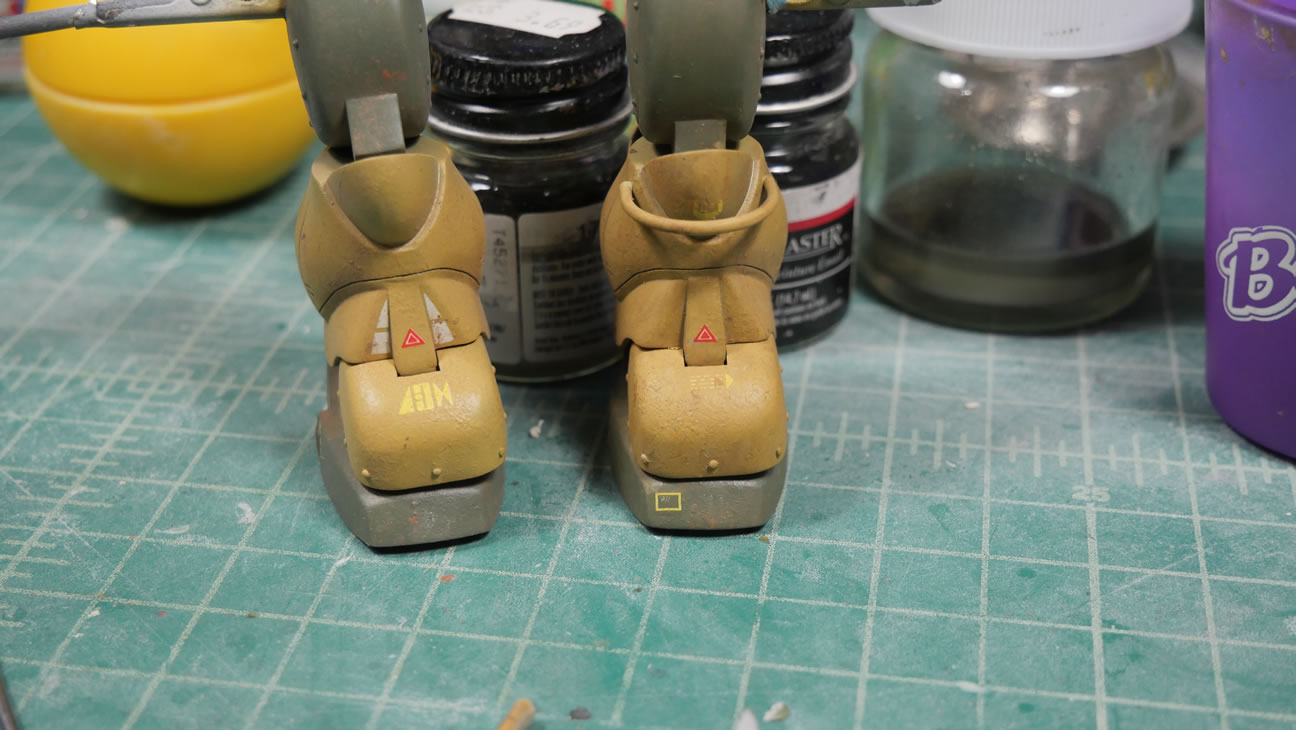
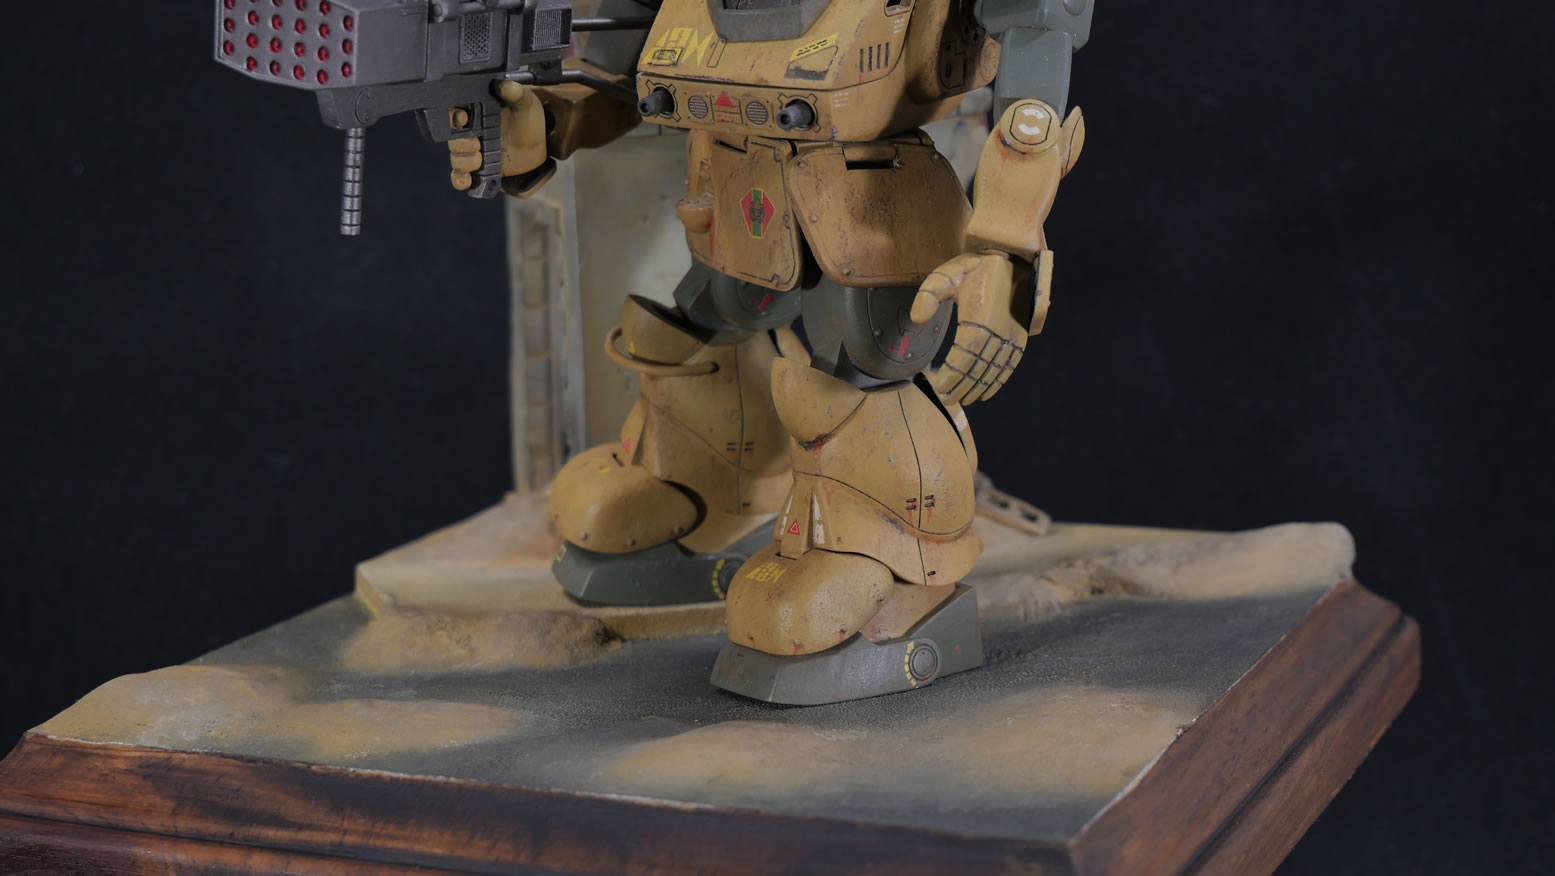
Foot comparison of some minute weathering details done to one foot compared with the filtered foot from the first weathering step.
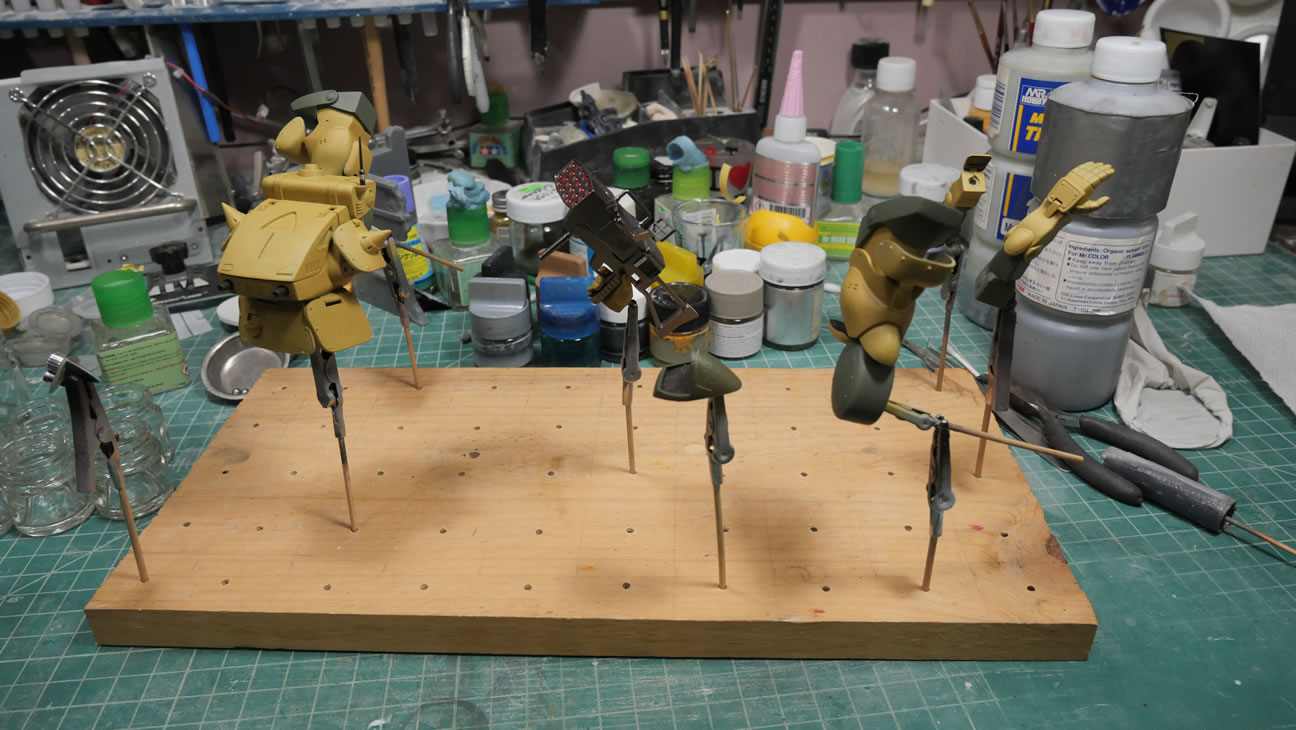
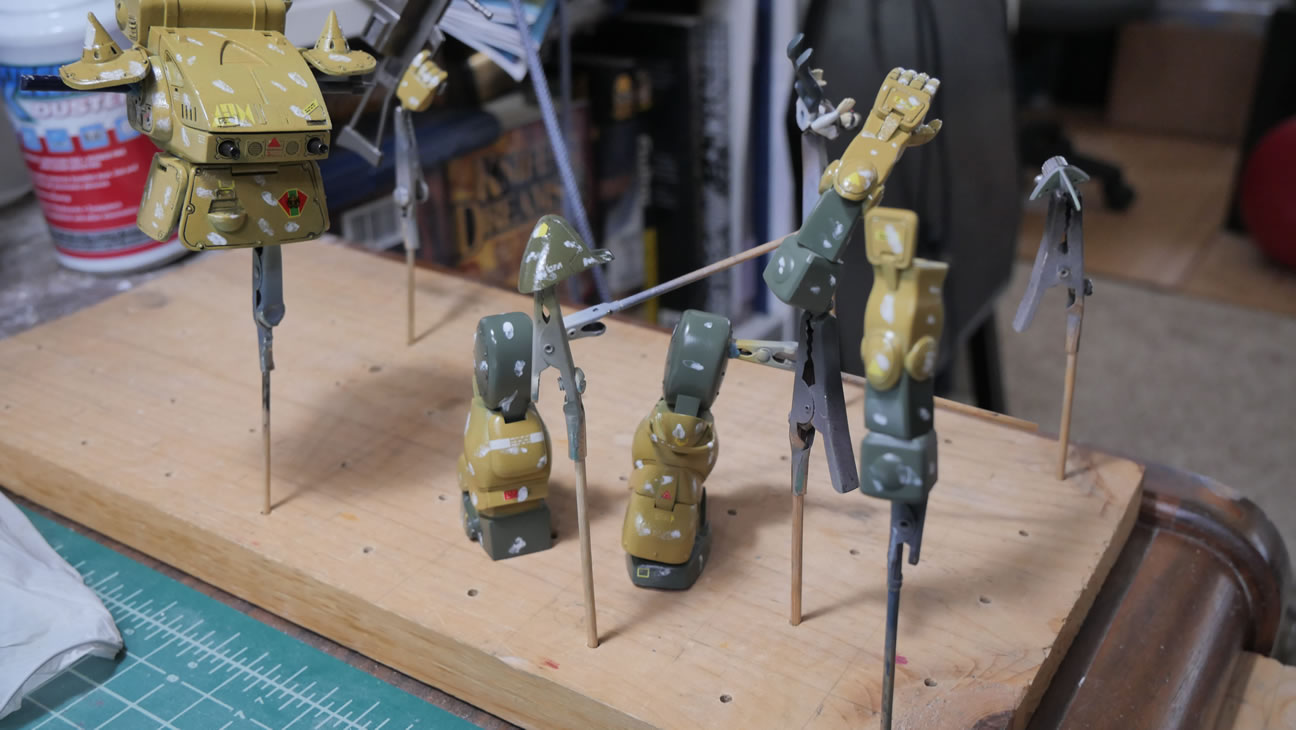
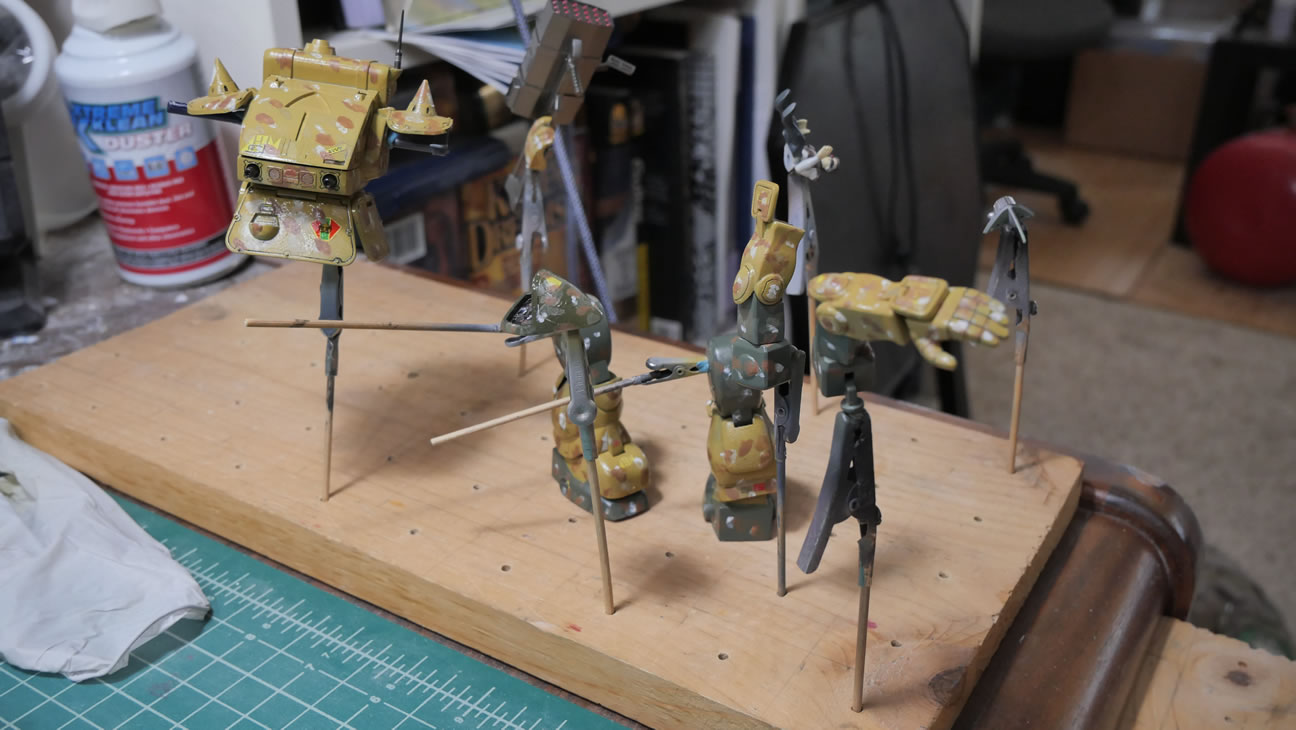
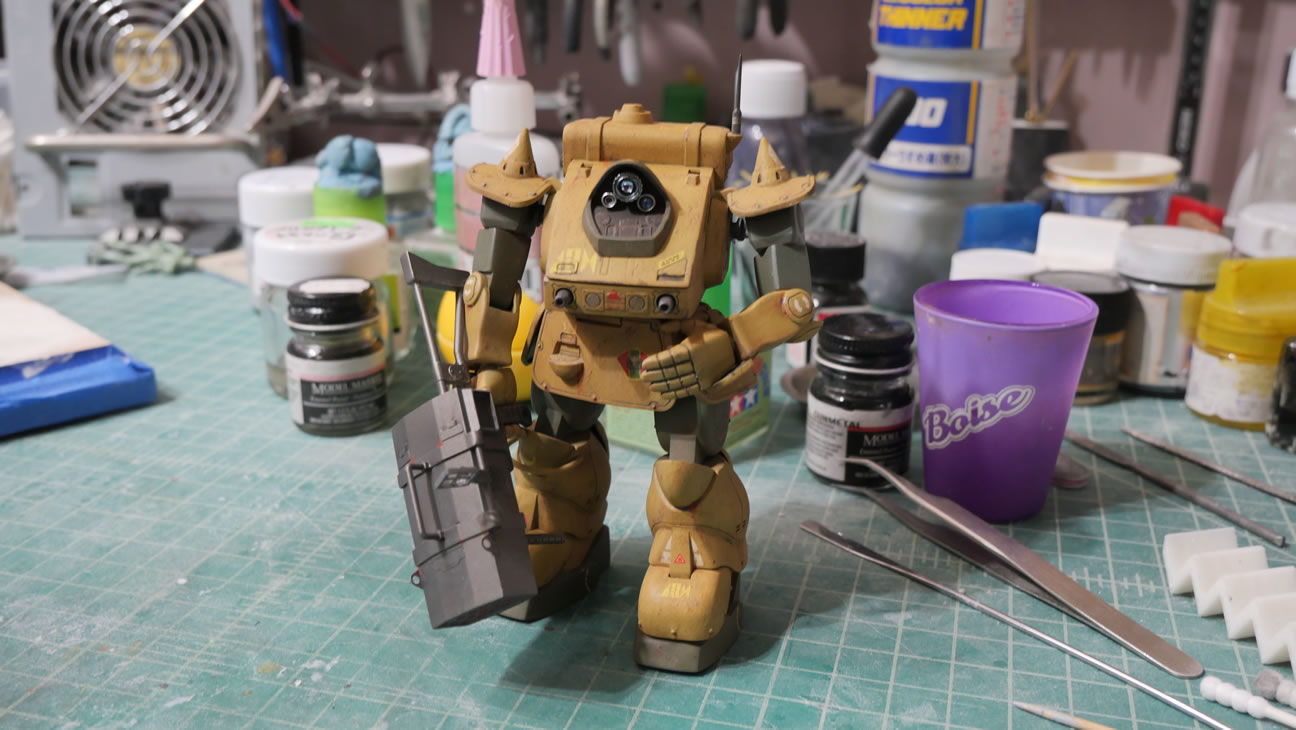
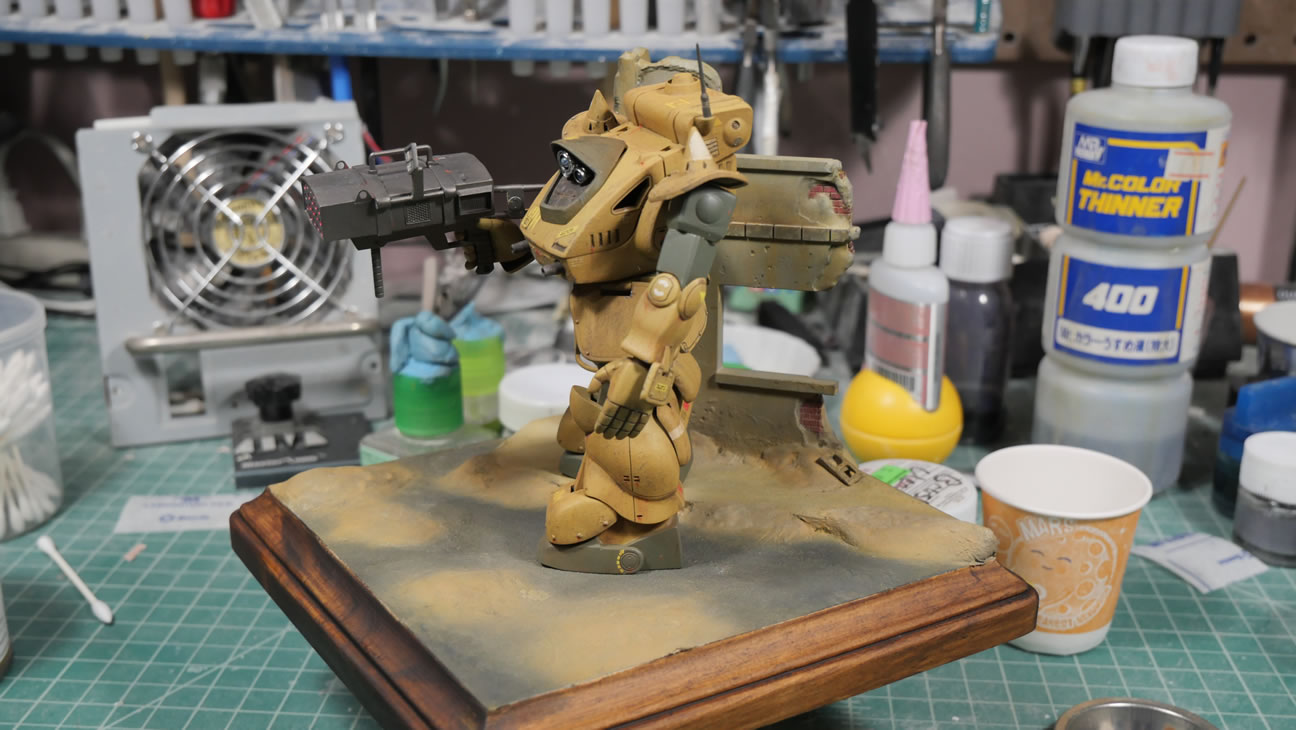
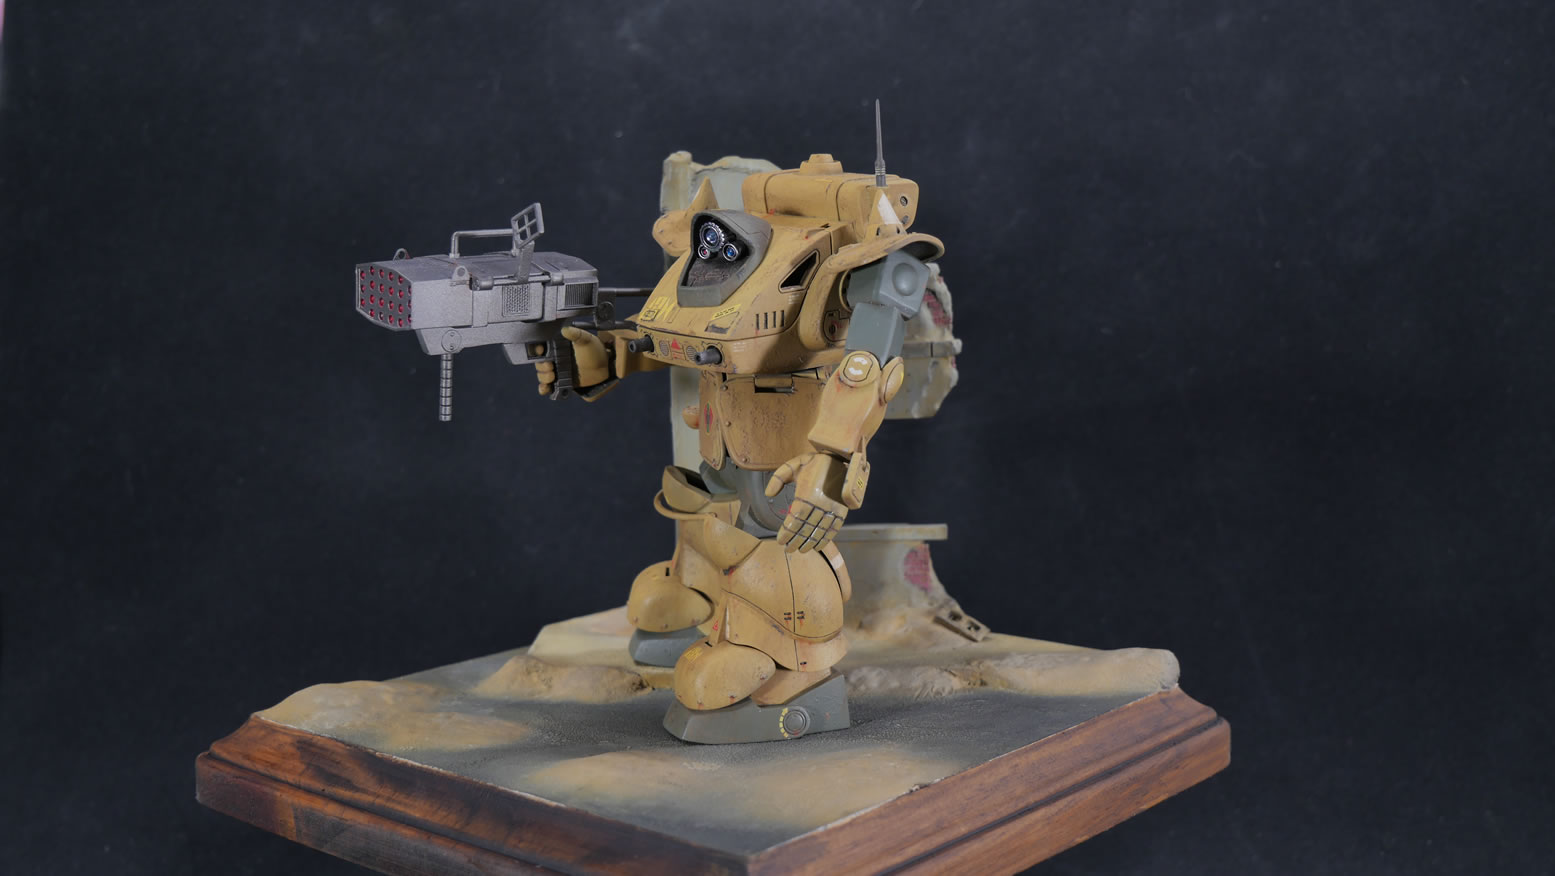
All weathered and assembled and standing awkwardly because of the limited pose and not so great polycap jointing mods. Then off to the corner while I work on a display base.
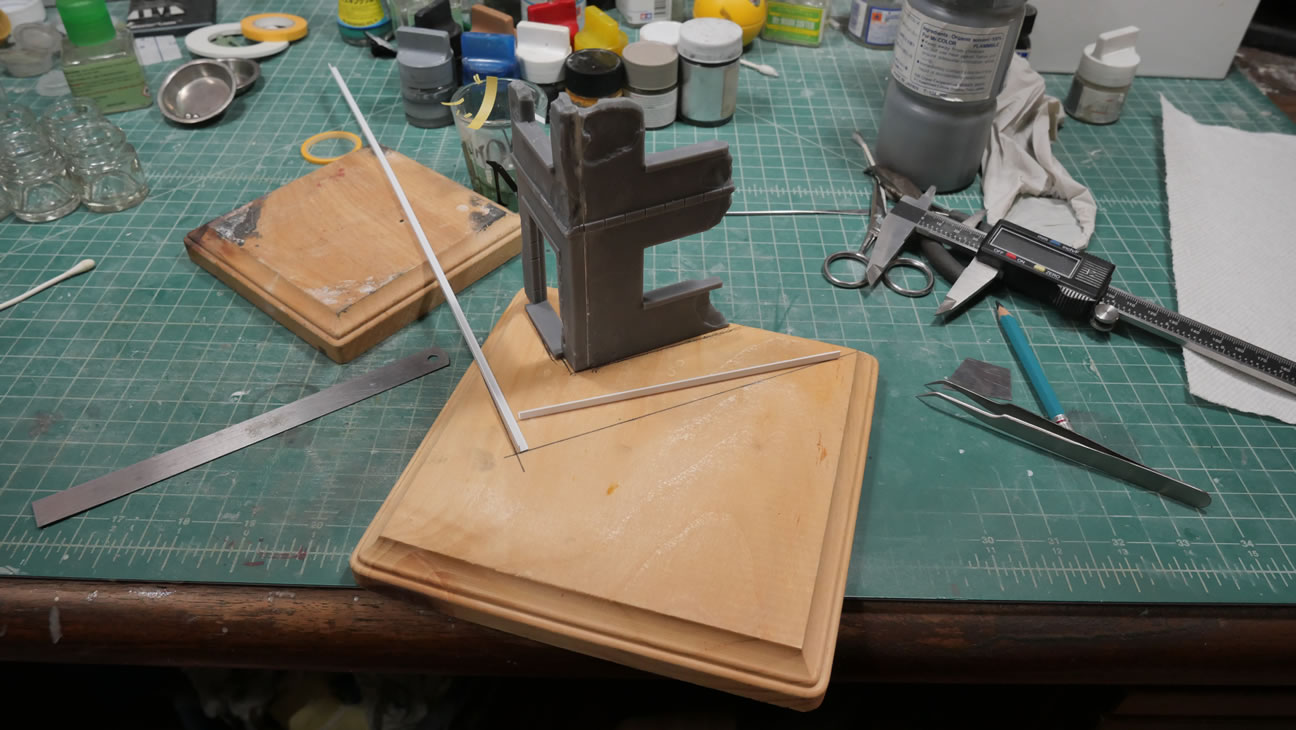
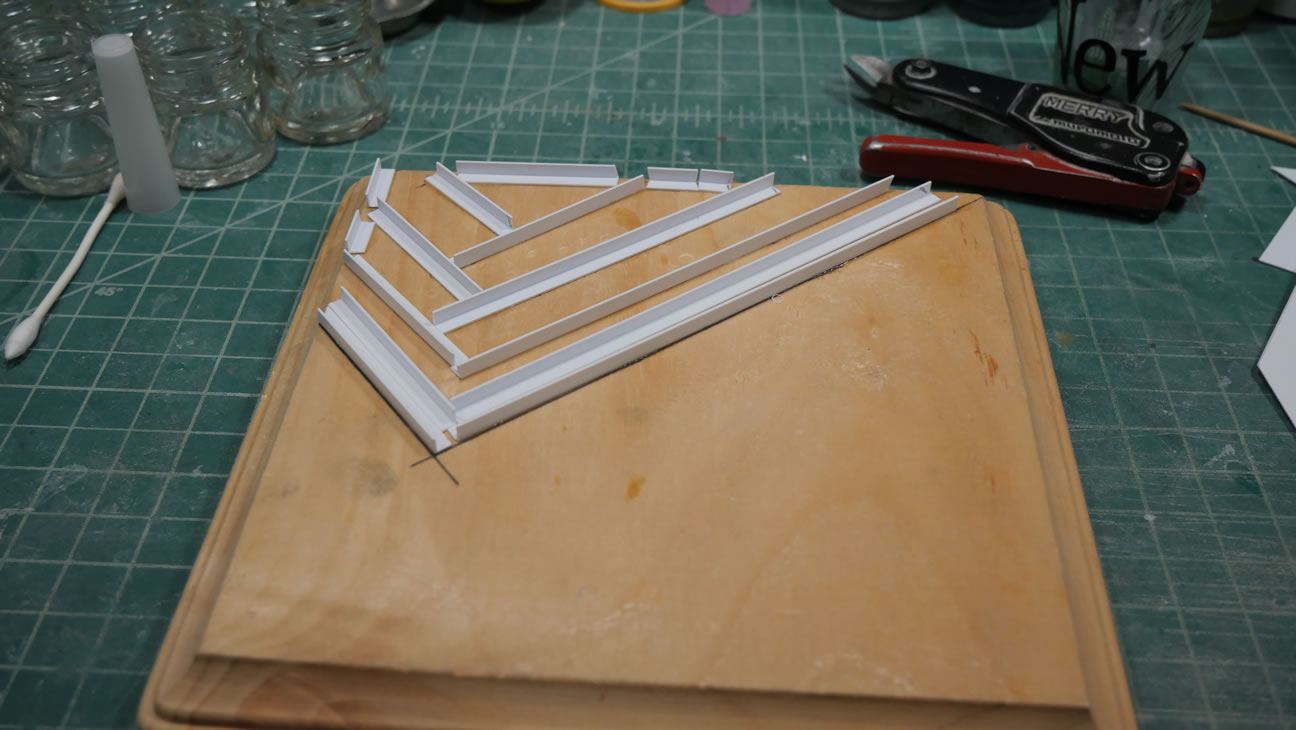
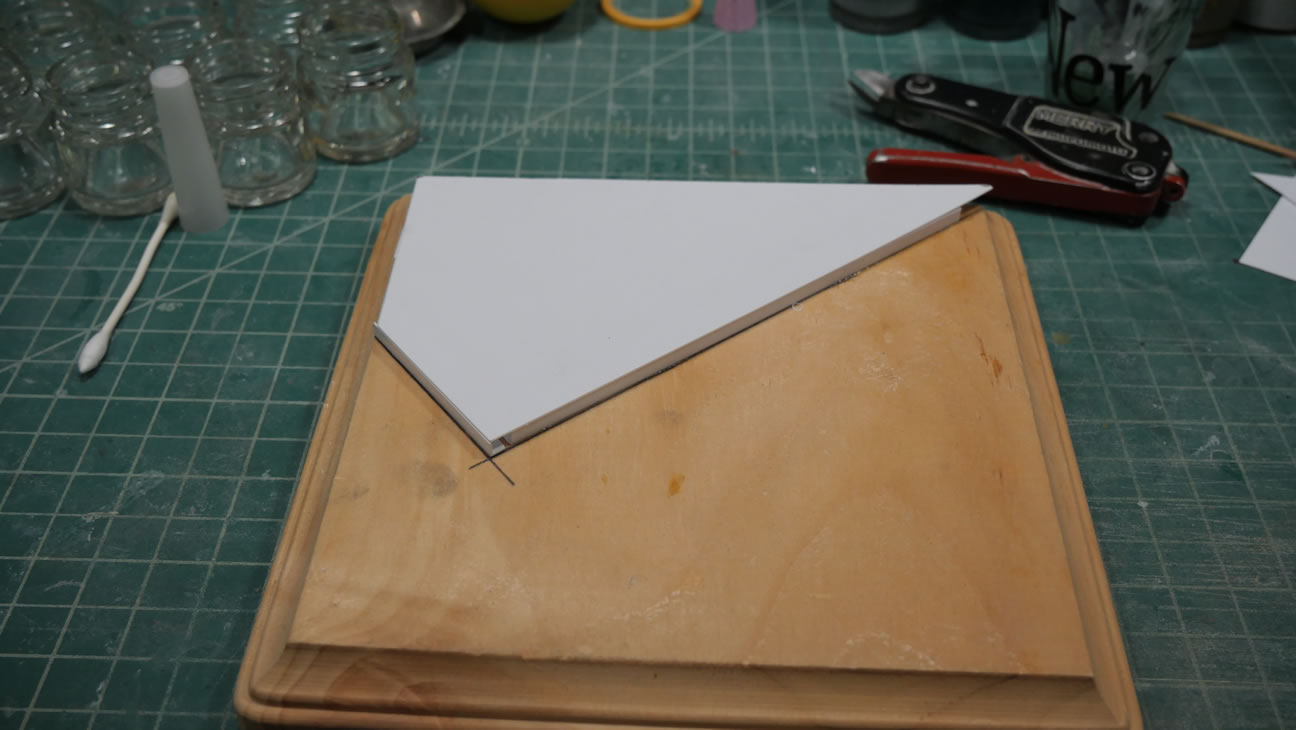
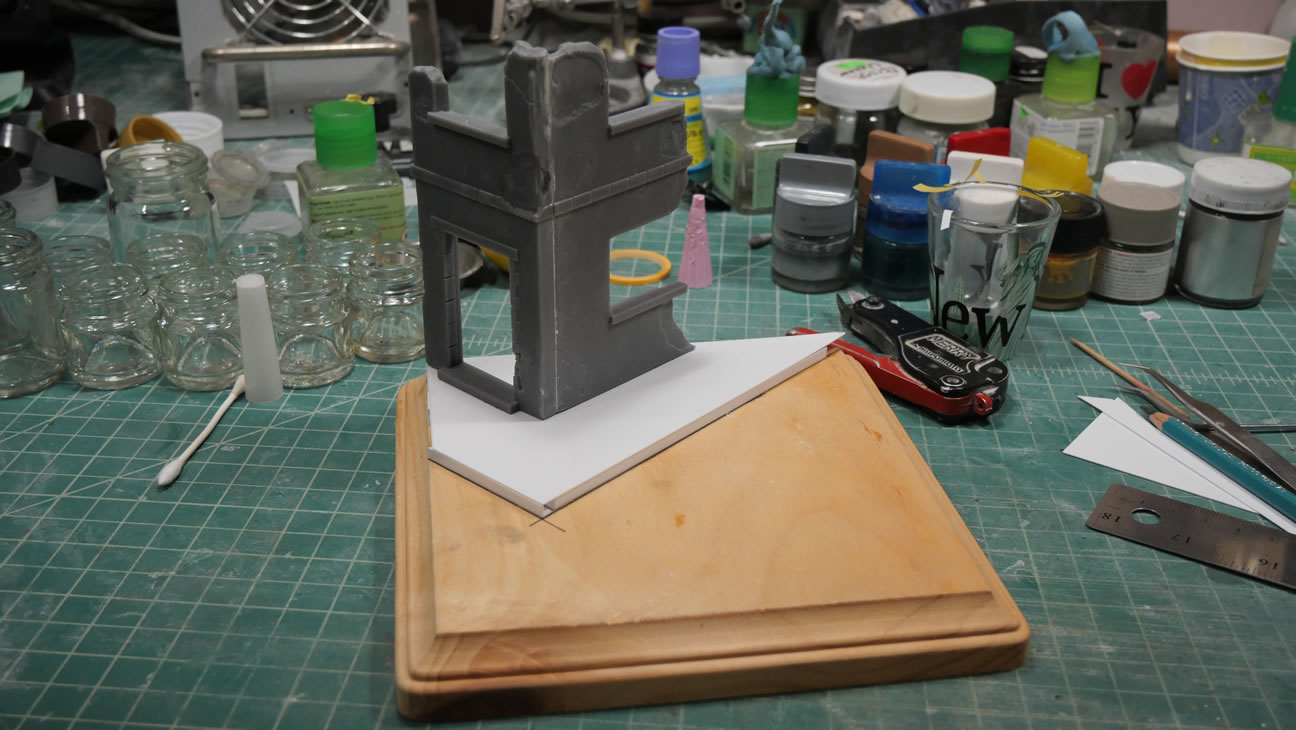
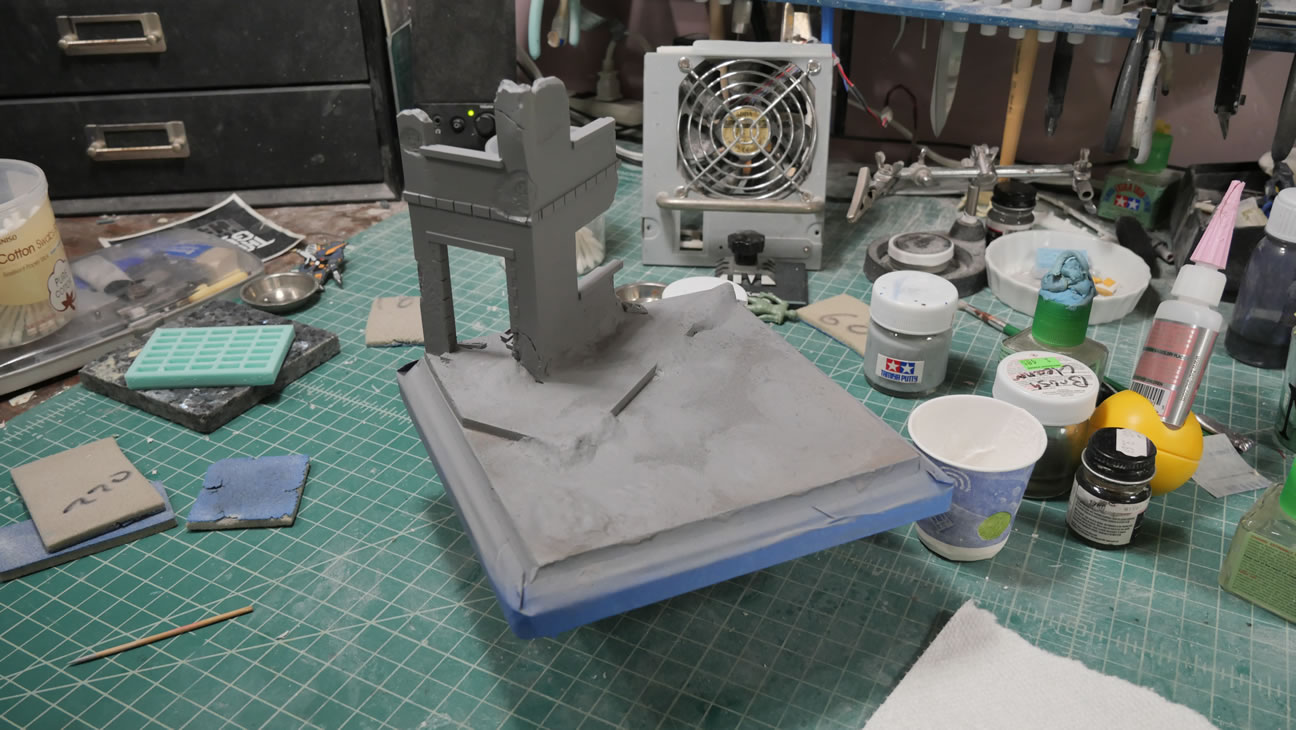
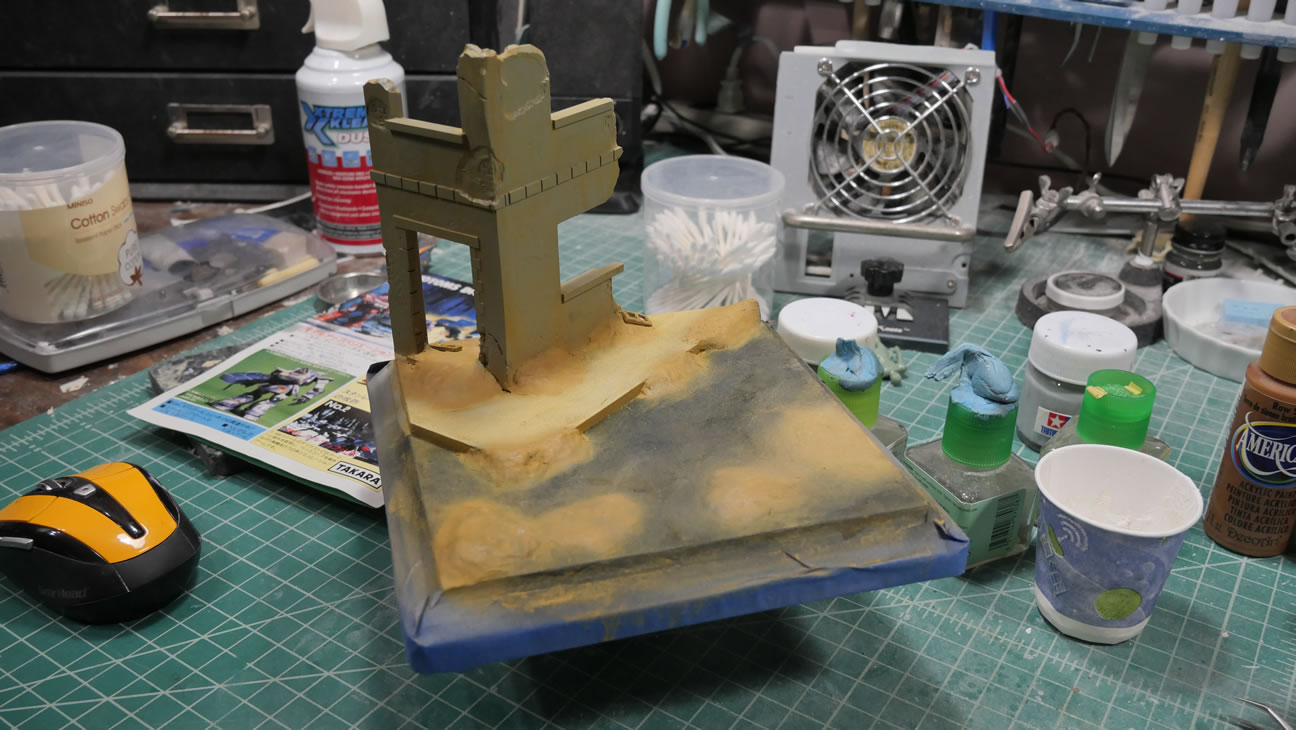
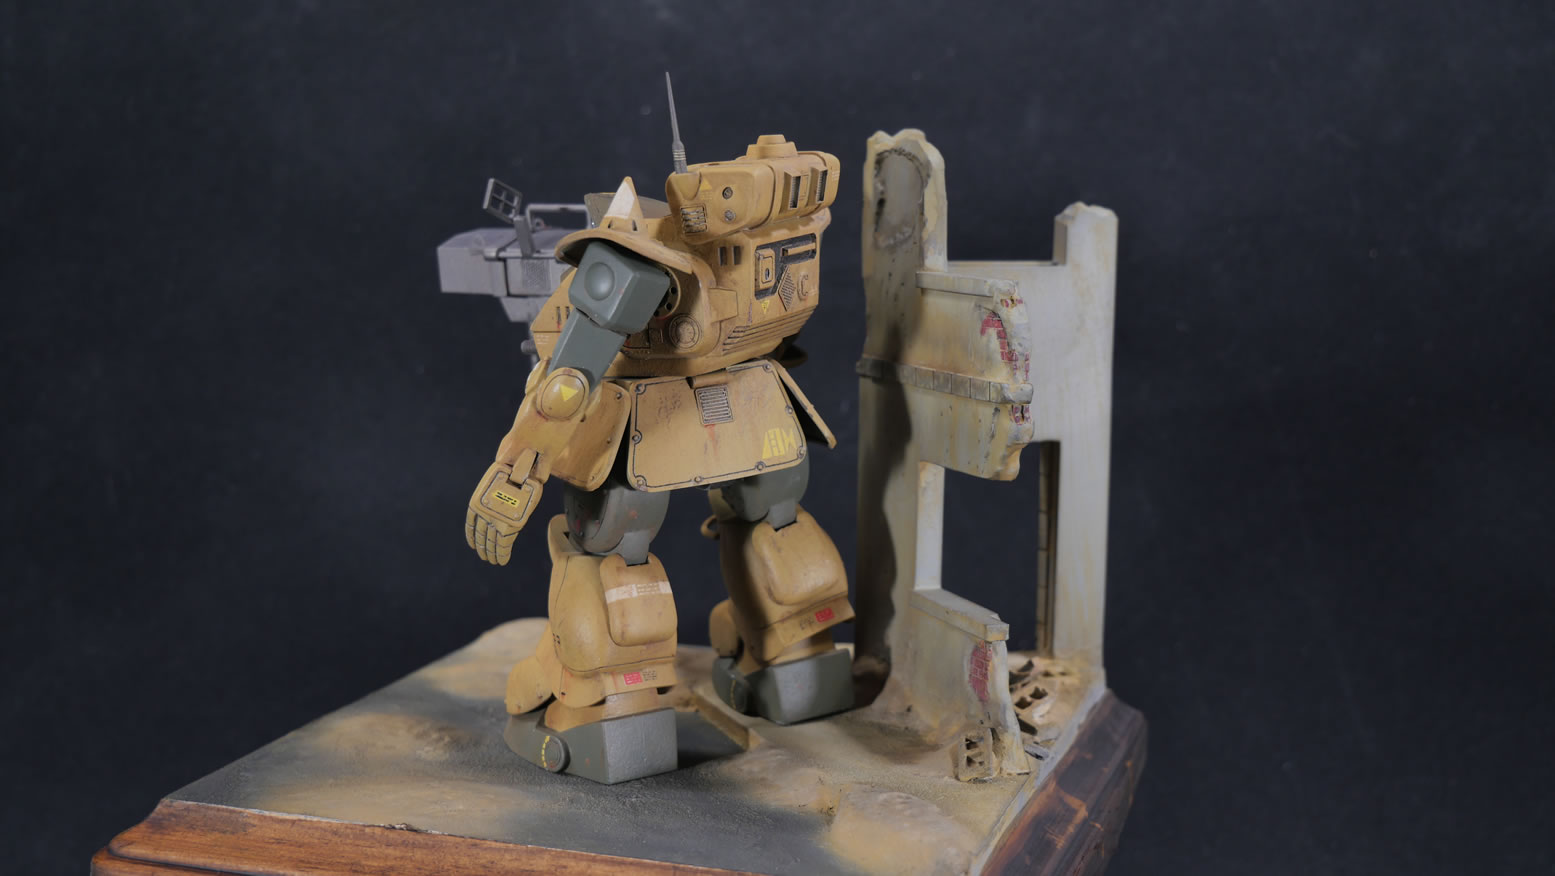
I had 3D printed a destroyed corner wall and scaled it up to about 1/35. I still think I’m just slightly too small, but this is just background noise, so I’m not too worried. And I didn’t want to spend another 20 hours printing a slightly larger piece. A wood base will be the bottom layer. I measured out a sidewalk from the building walls. Then created a raised section with styrene. Test fit, test fit, test fit.
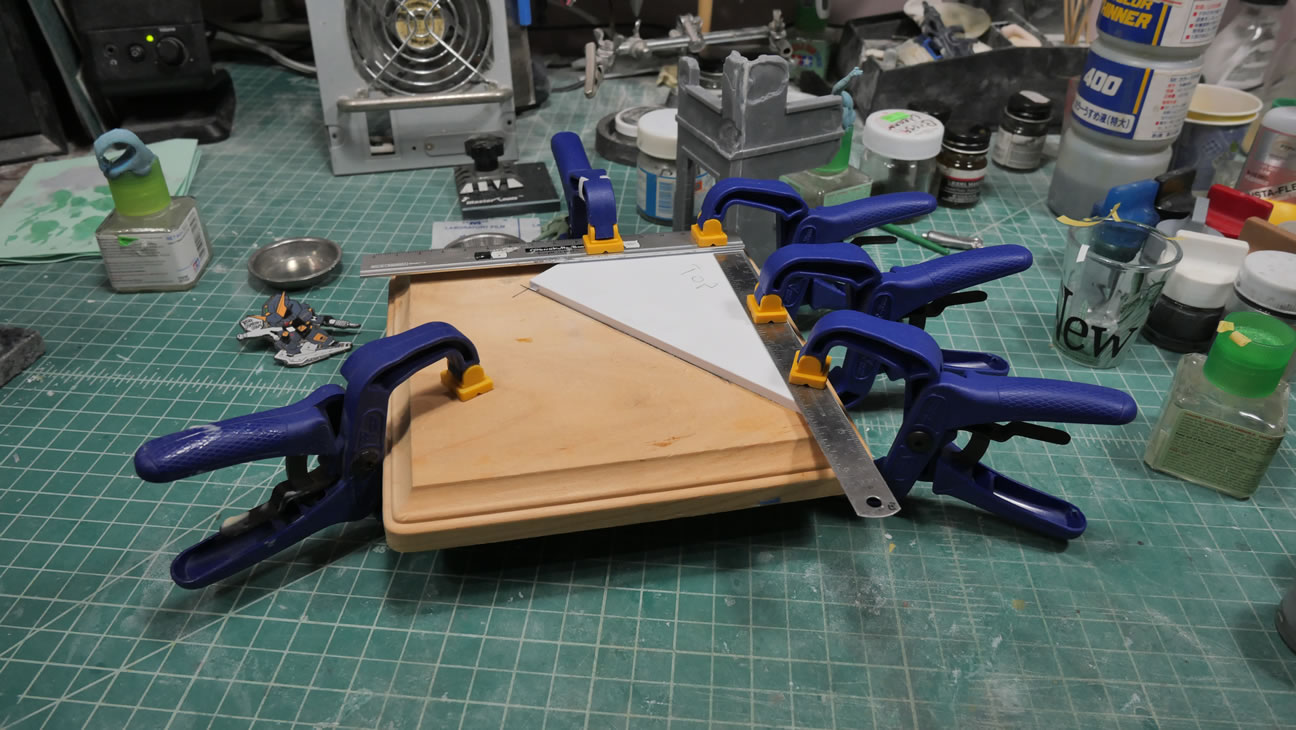
Once everything fit correctly, things are glued down. Clamps help keep parts pressured while the glue sets. I used some polyester putty to fill in some of the gaps in the sidewalk. And sanded that smooth.
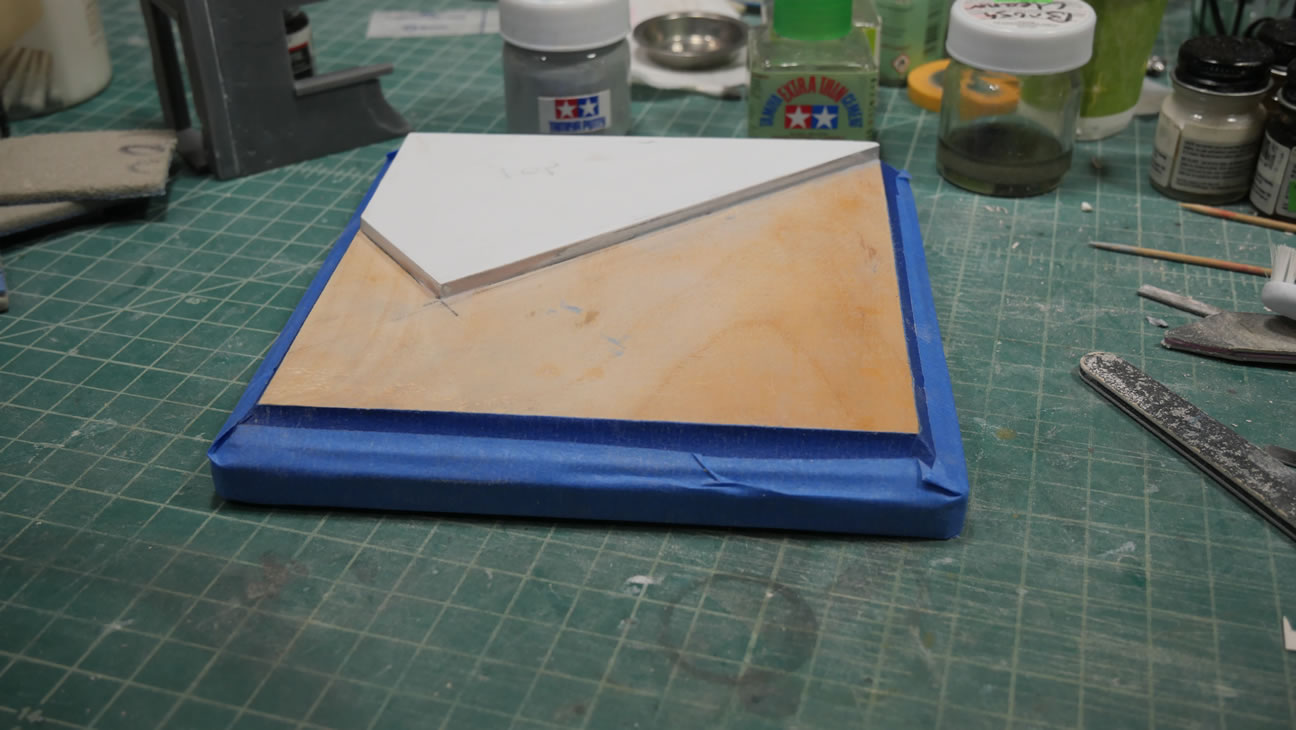
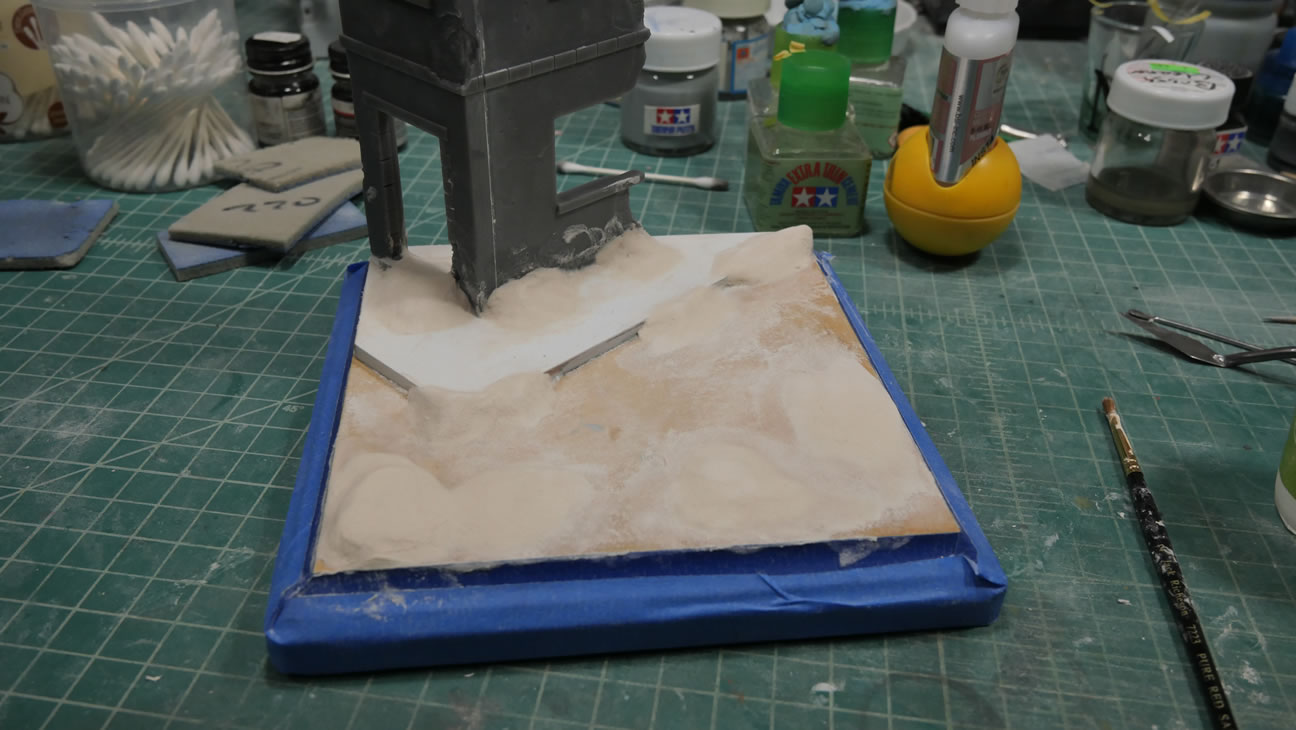
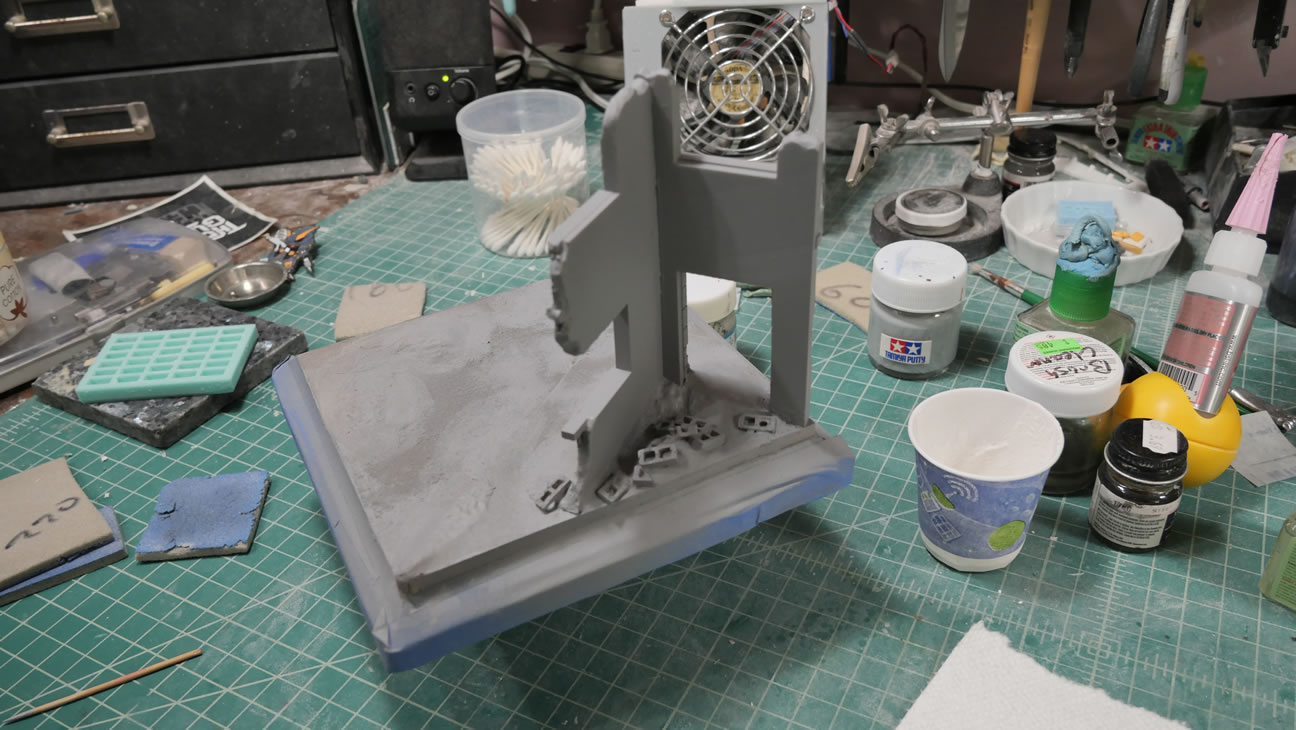
The walls are glued to the base styrene. Once set, I used acrylic clear medium and baking soda to create a concrete/pavement like surface for the road and the sidewalk. Once that is dry, the baking soda is brushed off and the surface lightly sanded to even out the texture. Paper clay is added to create sand hills and collected sand against the edges of the walls.


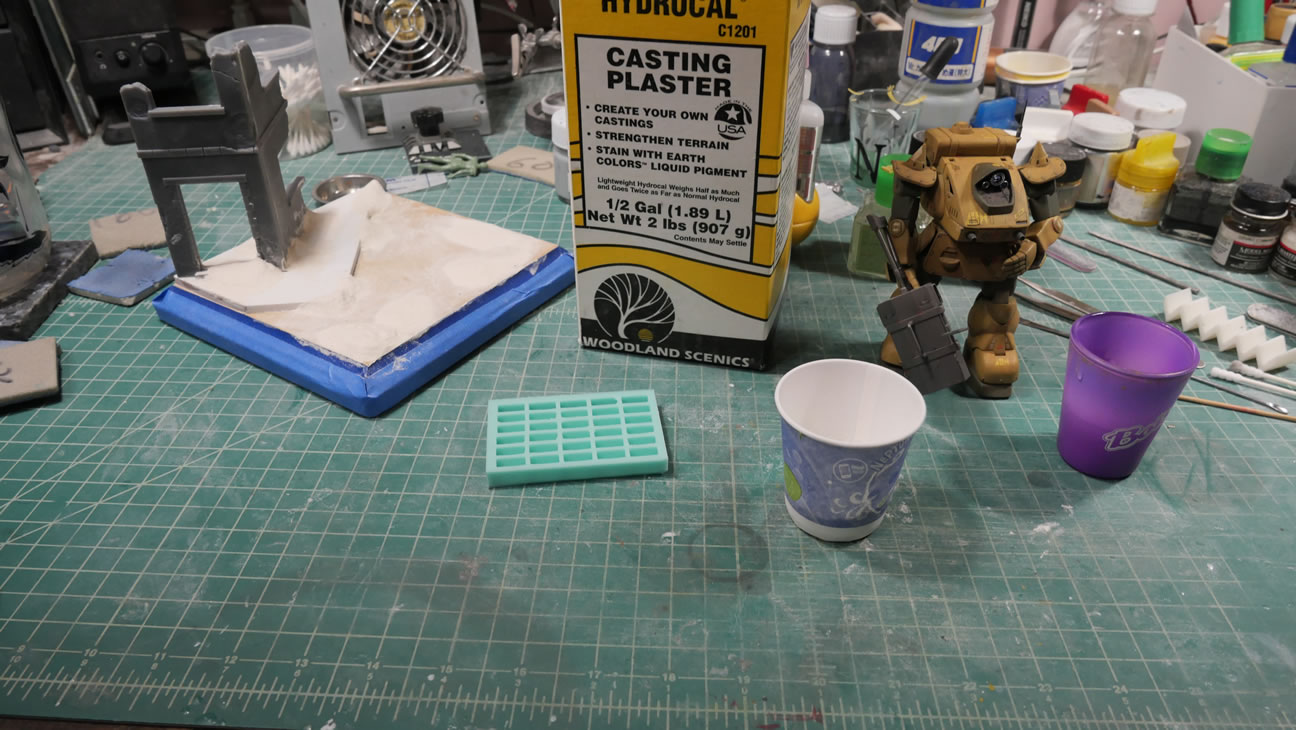
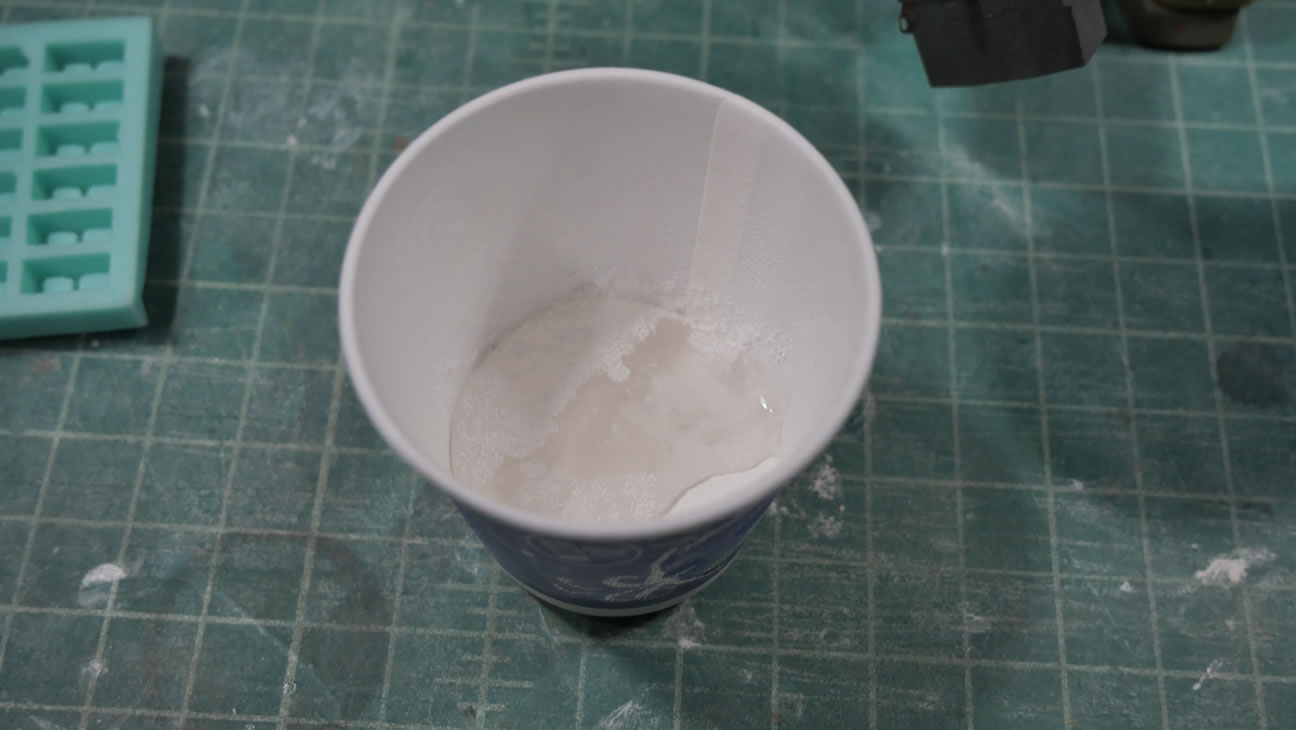
I picked up a 1/35 scale cinder block mold and cast some cinder blocks with hydrocal plaster to create some debris.
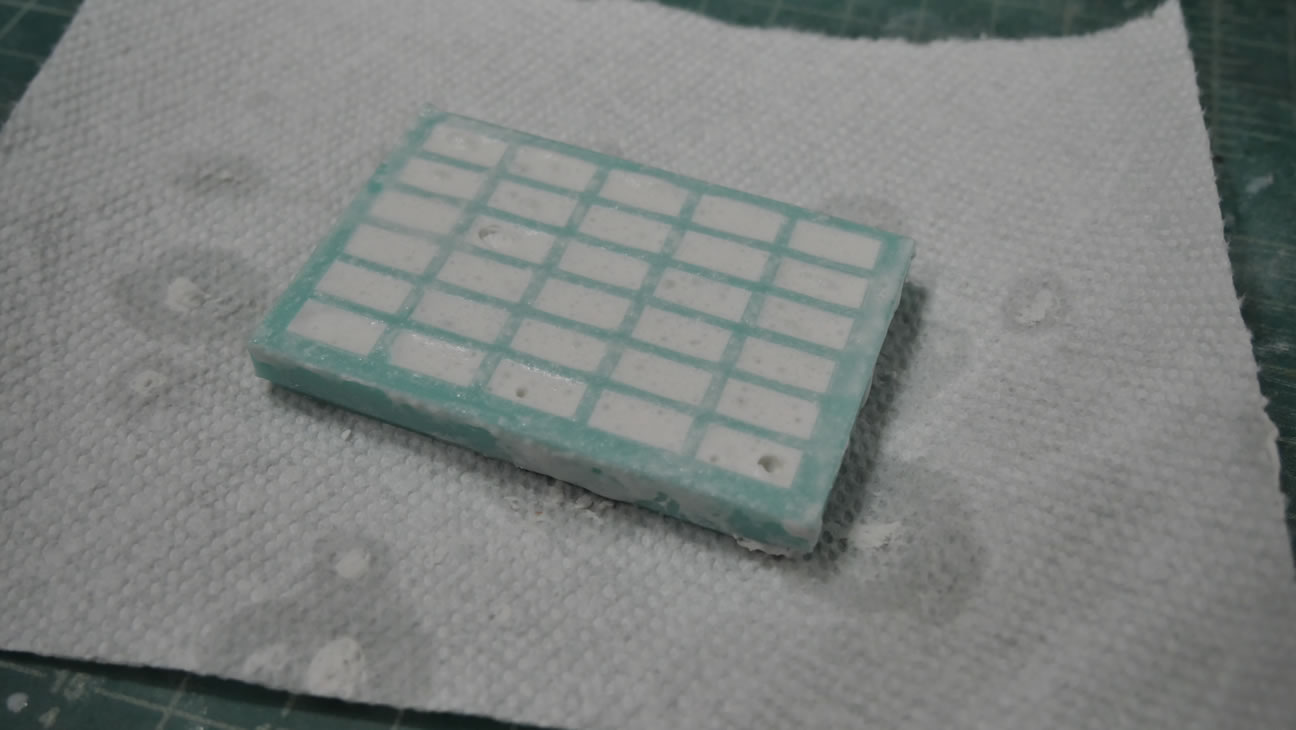
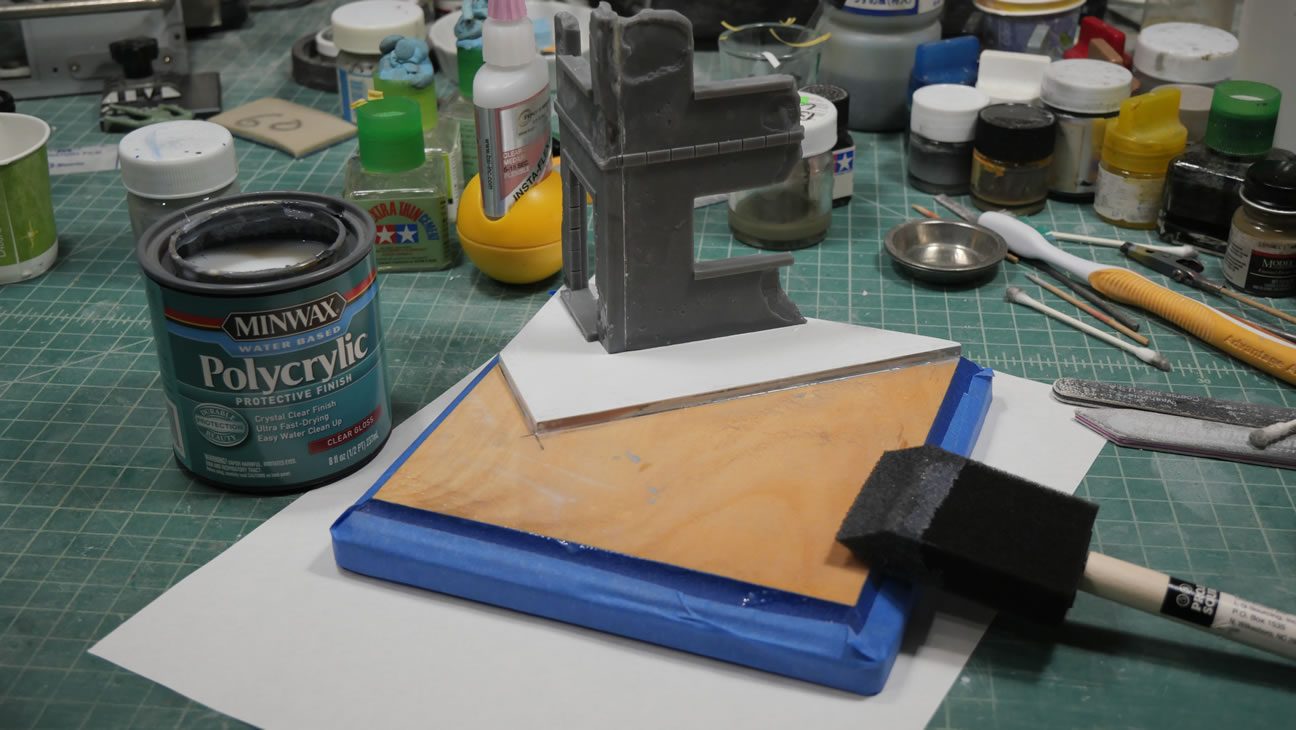
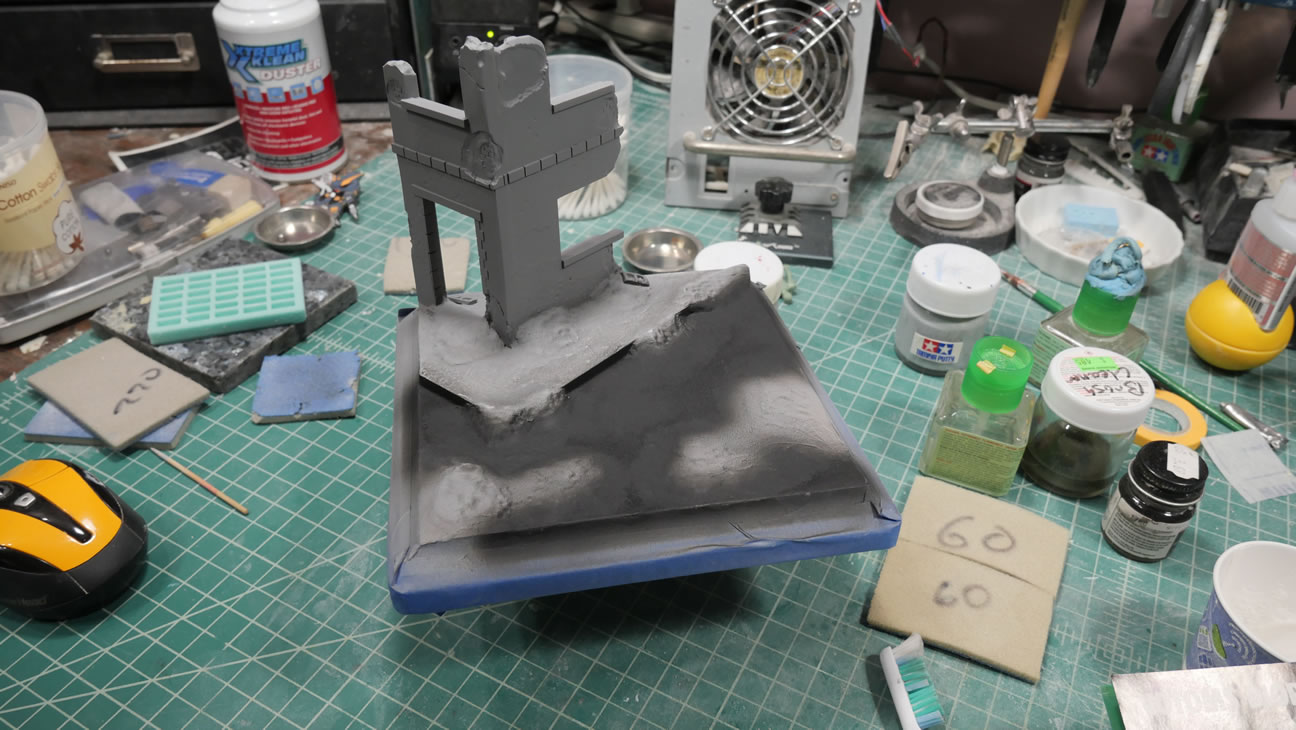
Demolded cinder blocked were glued to the base and everything is primed. Painting started at the lowest level with a carbon black color. This was masked and the sidewalk was painted with a very light grey. The contact edges to the building were masked off and the building was painted in a bluish grey. The sand mounds were freehand airbrushed with sand brown.
Once dry, everything is sprayed with a clear gloss to seal in the colors. An enamel filter is applied as the first weathering step.
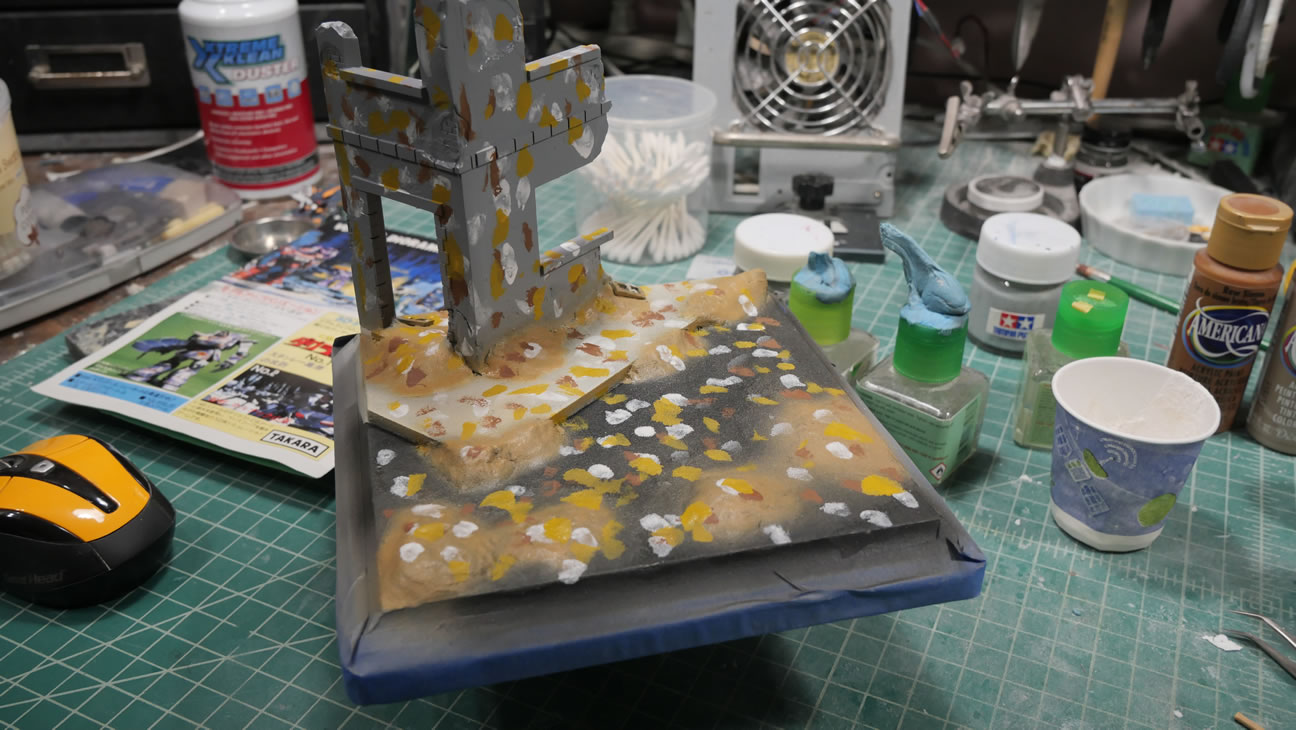
I did an additional acrylic weathering filter step and finished off with the weathering pencils to add minute weathering details. The masking around the wood base is removed and a dark stain is brushed onto the wood.
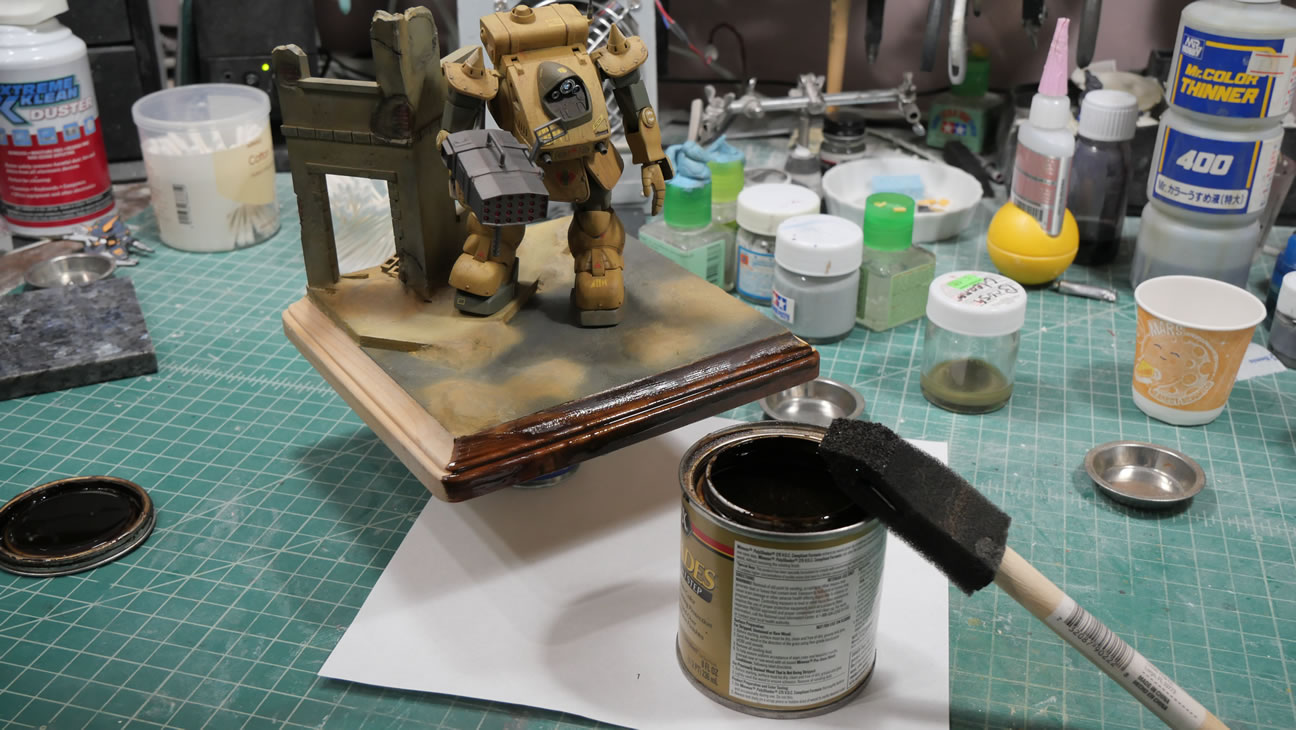
The kit is glued to the base and I’m still waiting for the stain to fully dry so I can lightly steel wool it and apply a few more coats of the stain.
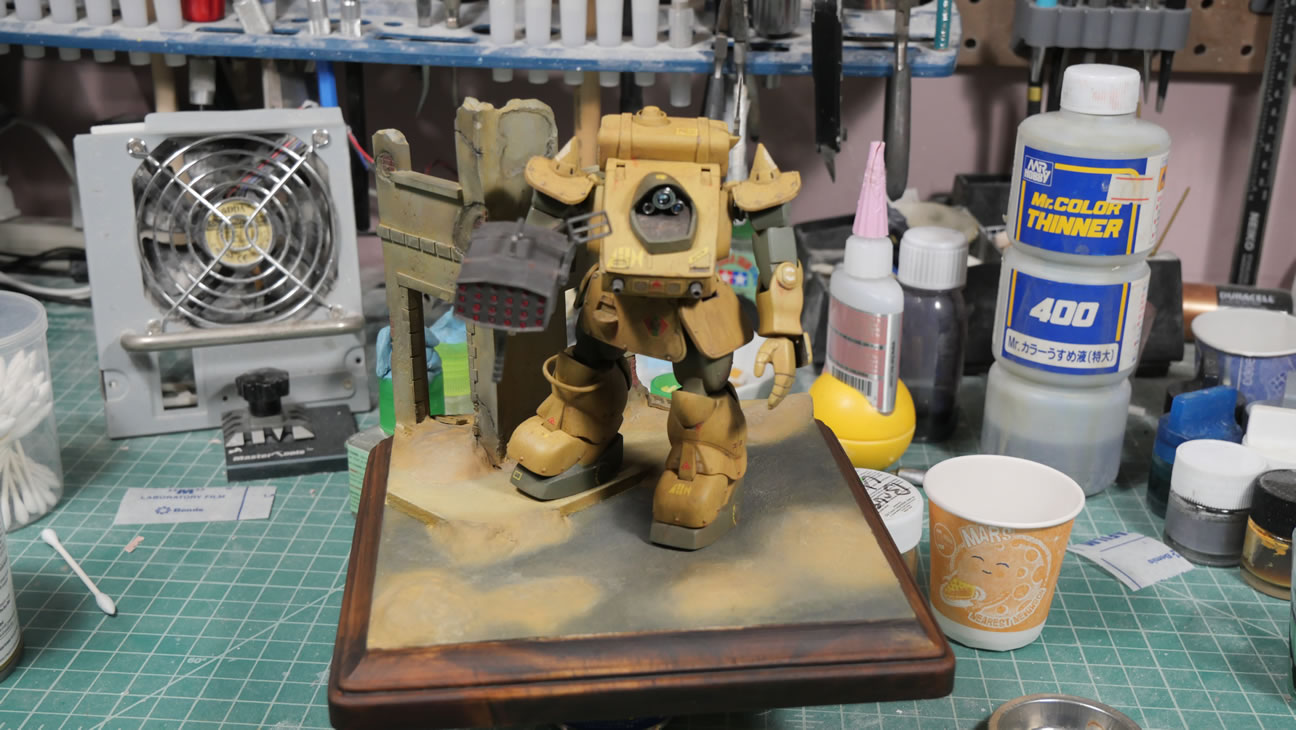
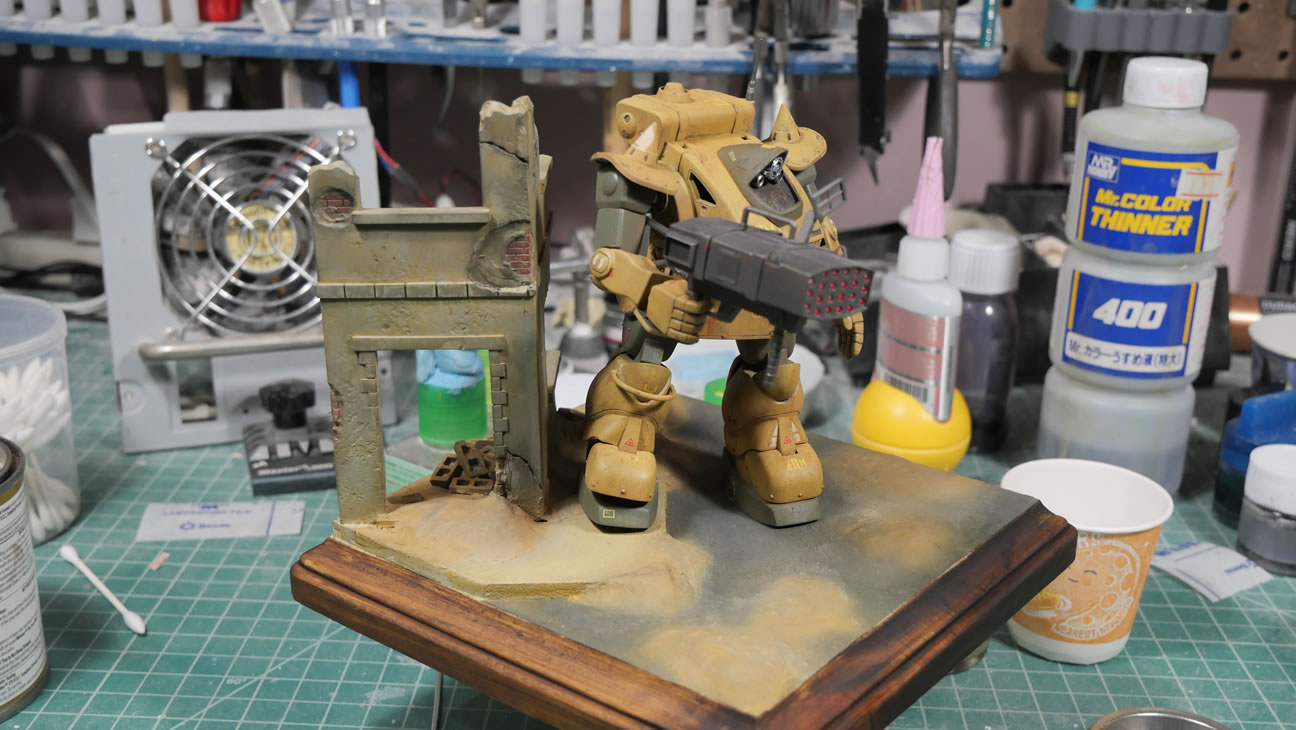
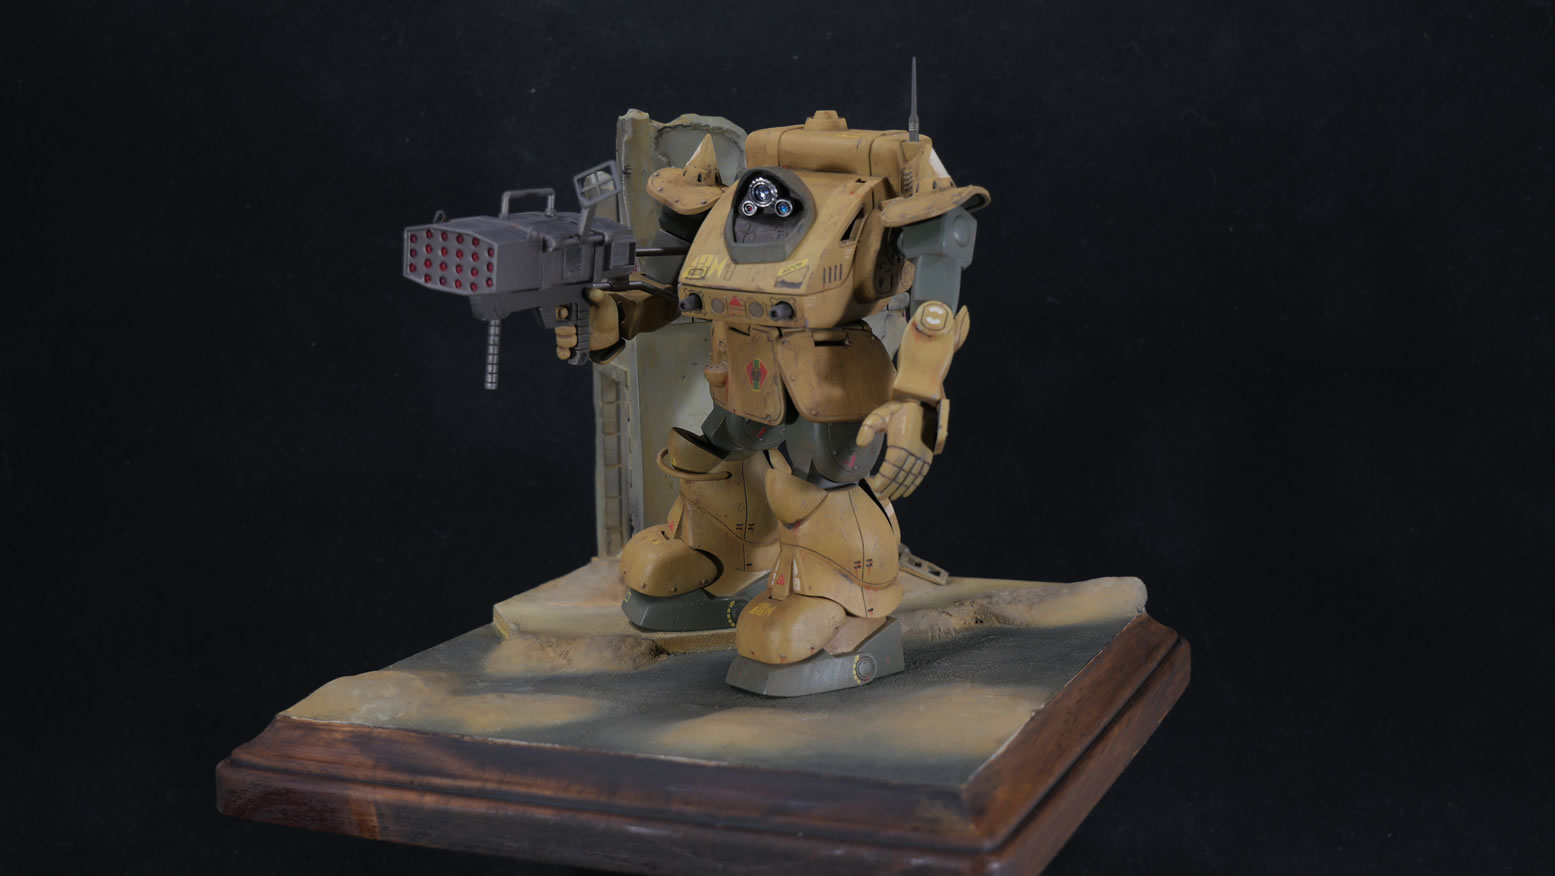
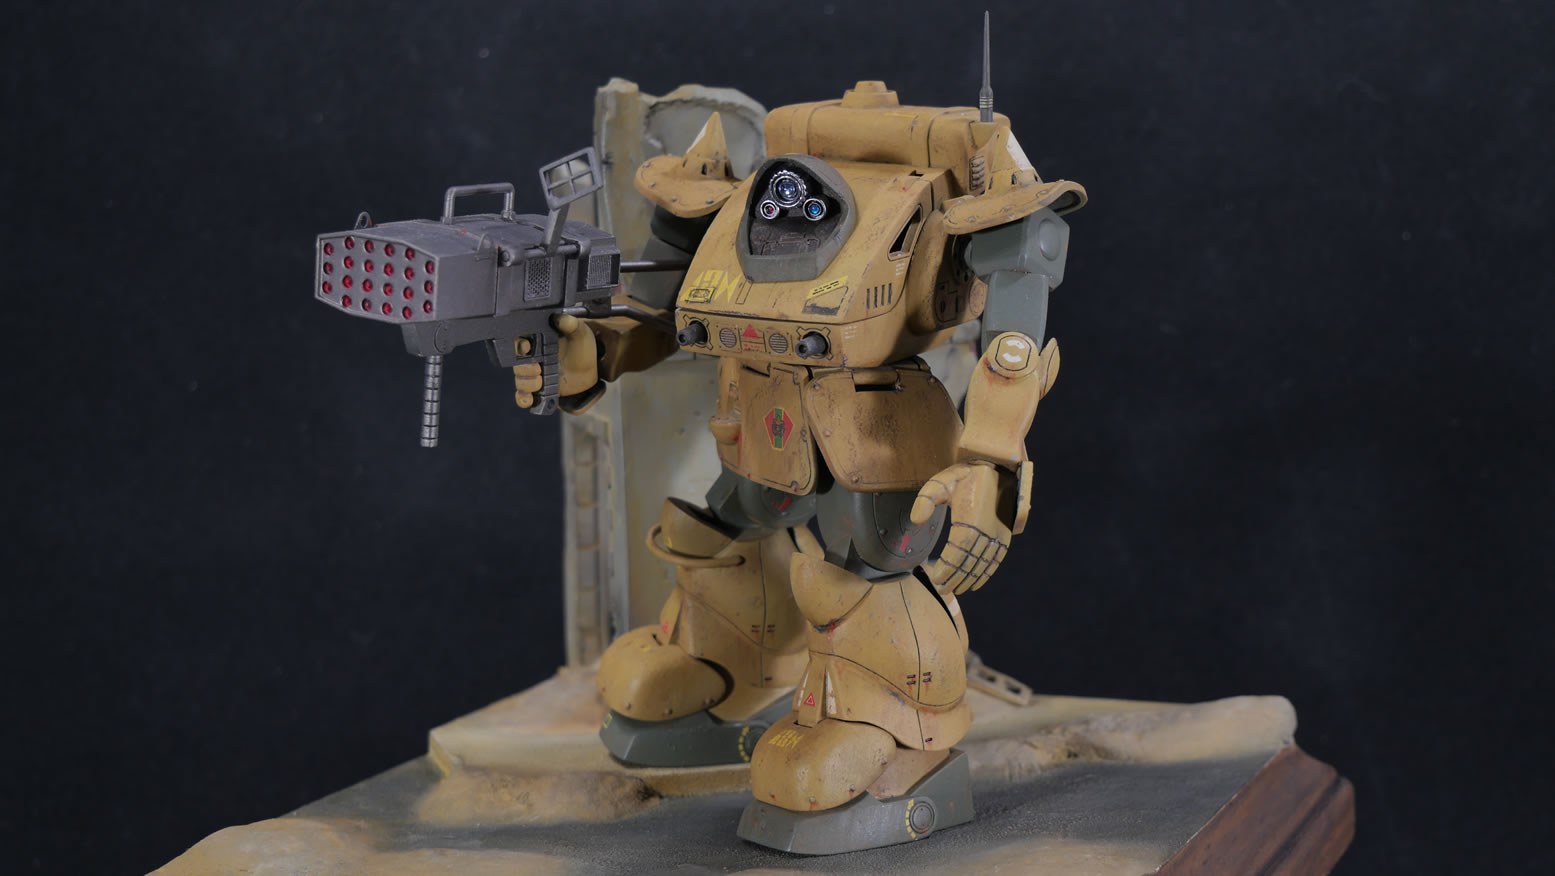
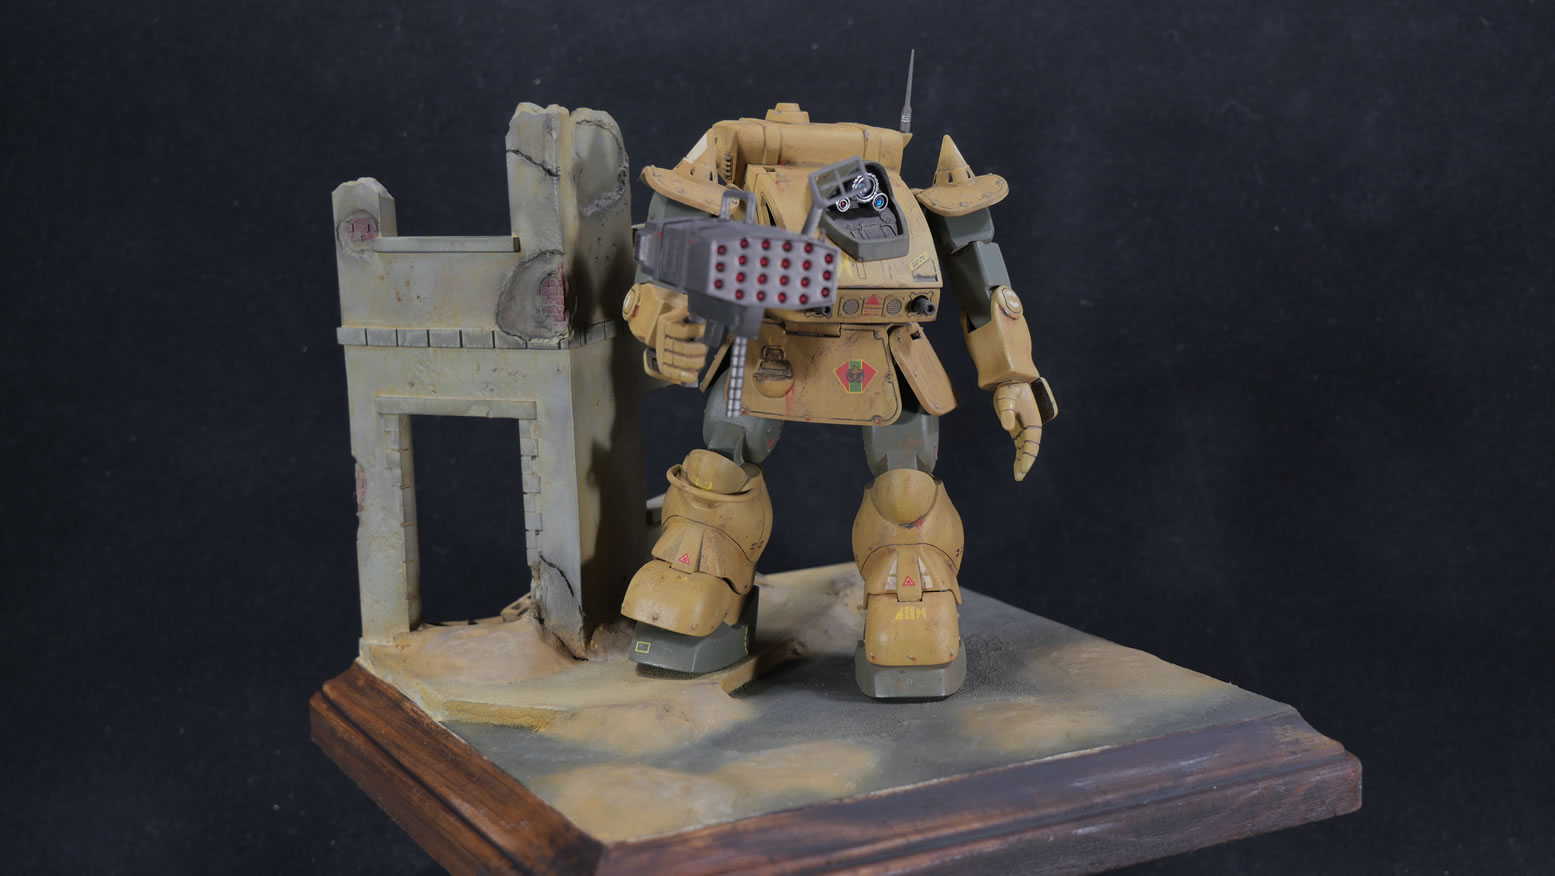
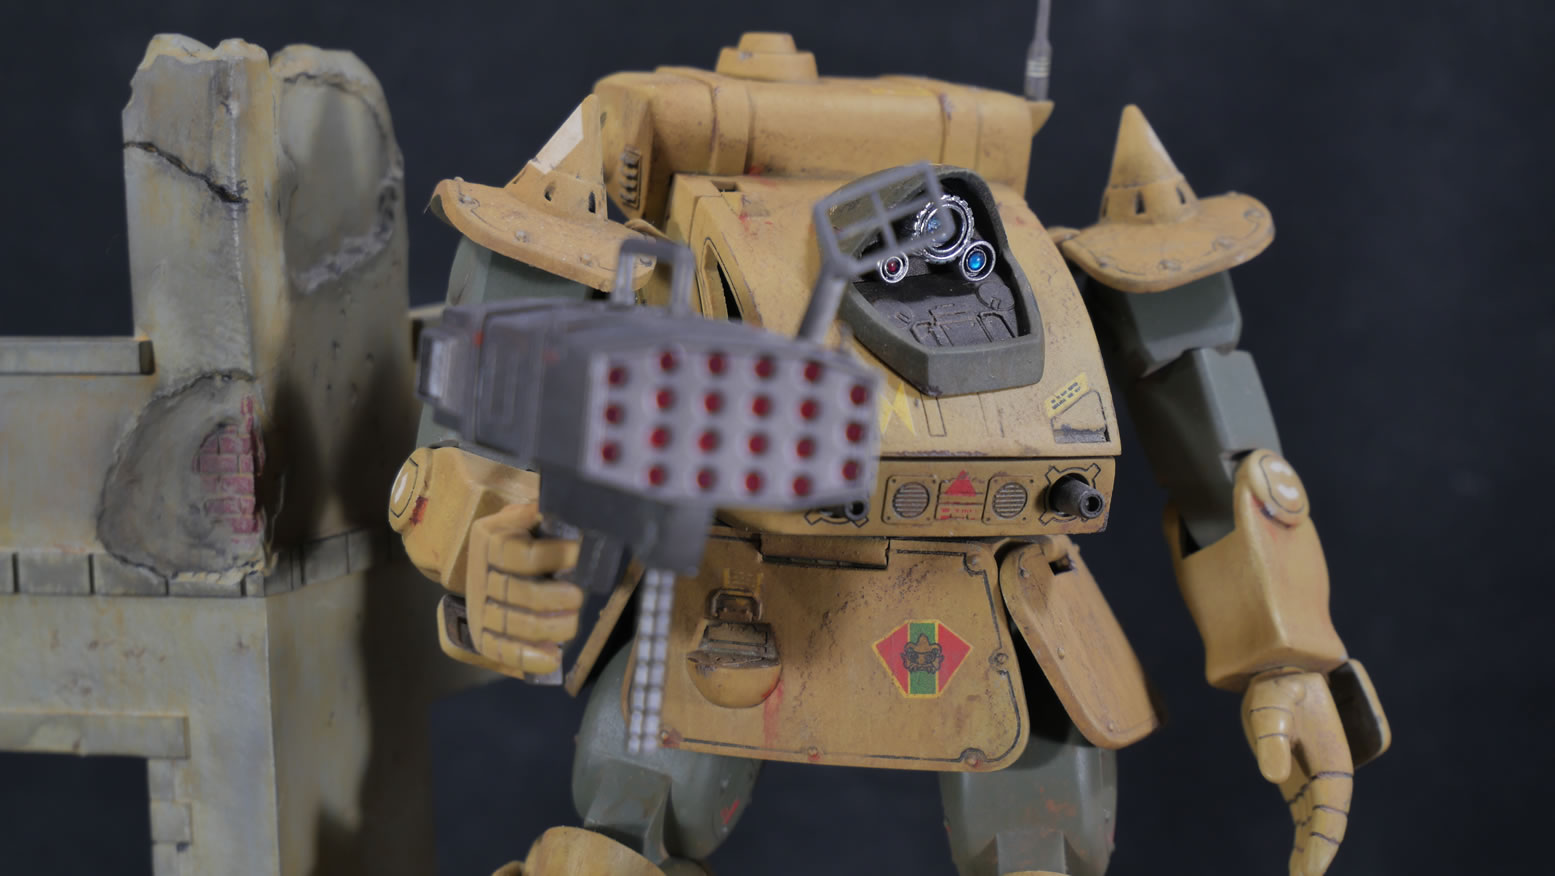
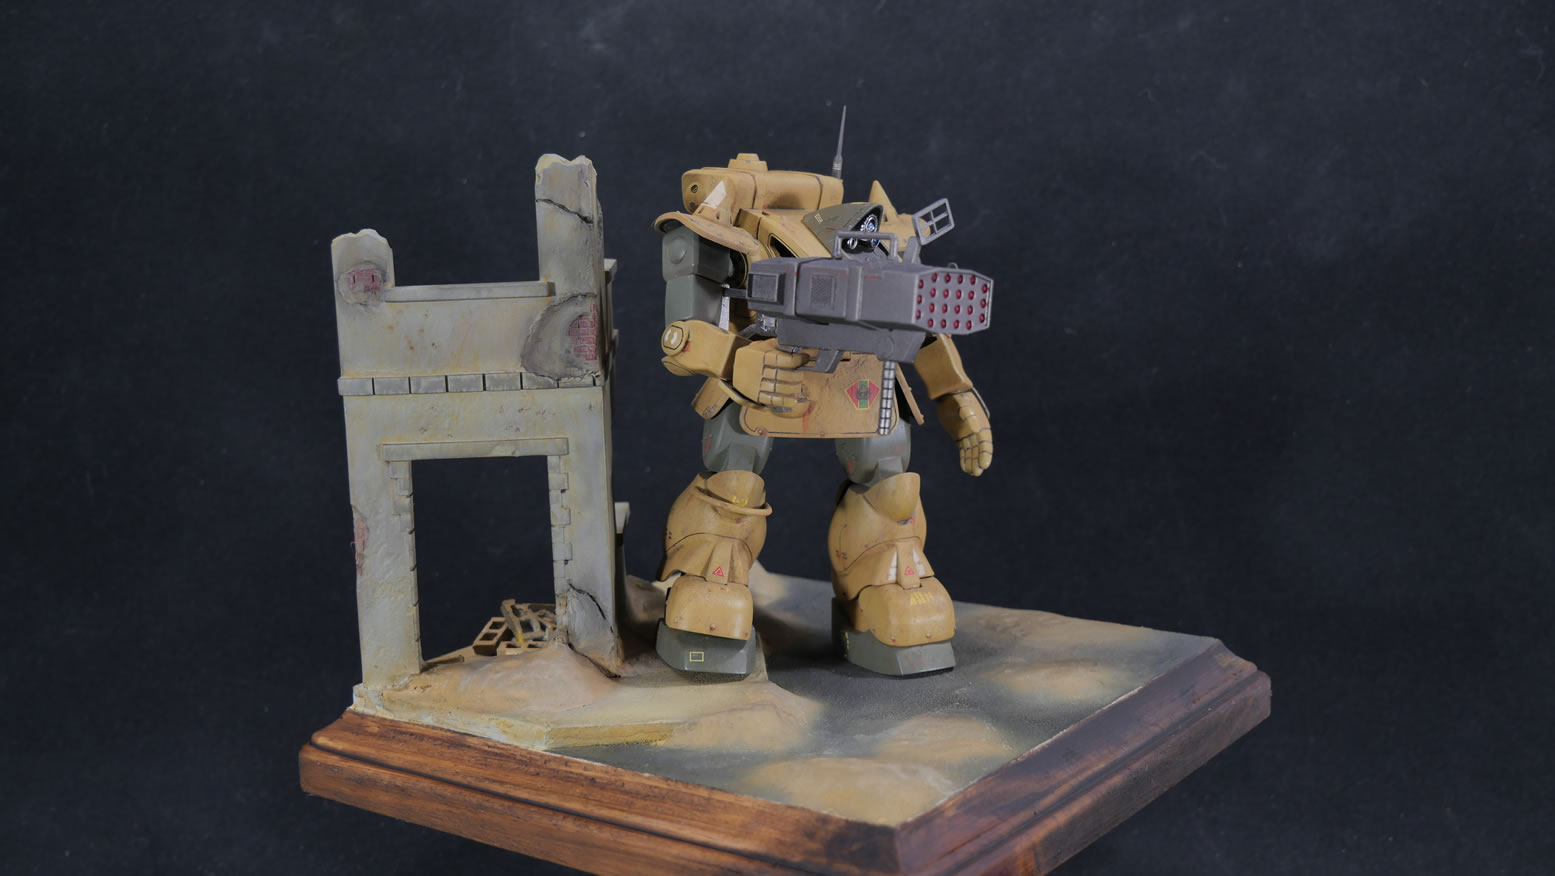
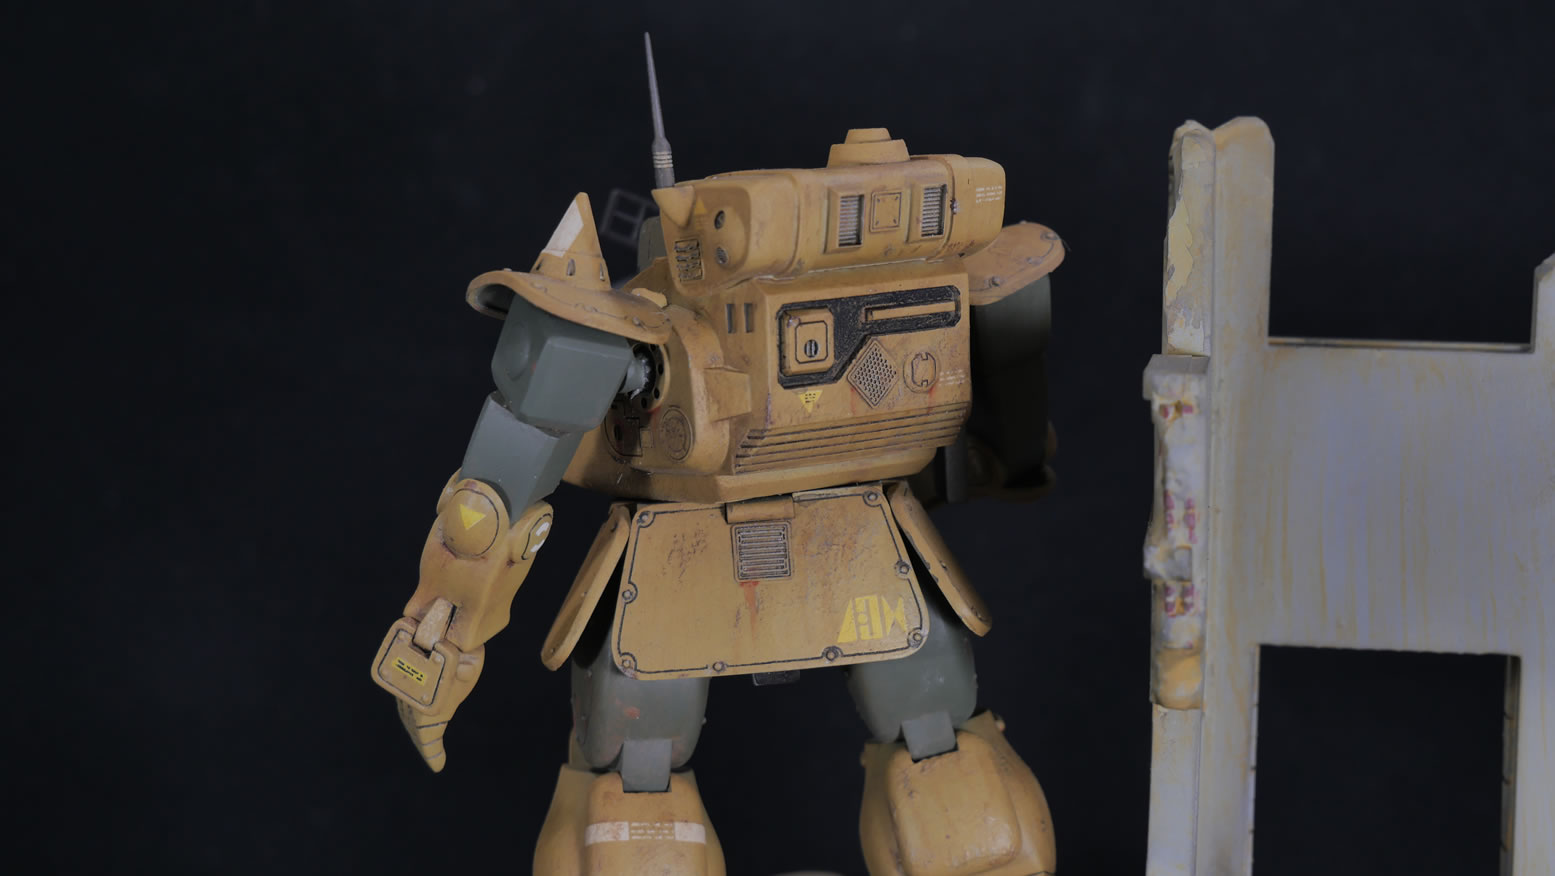
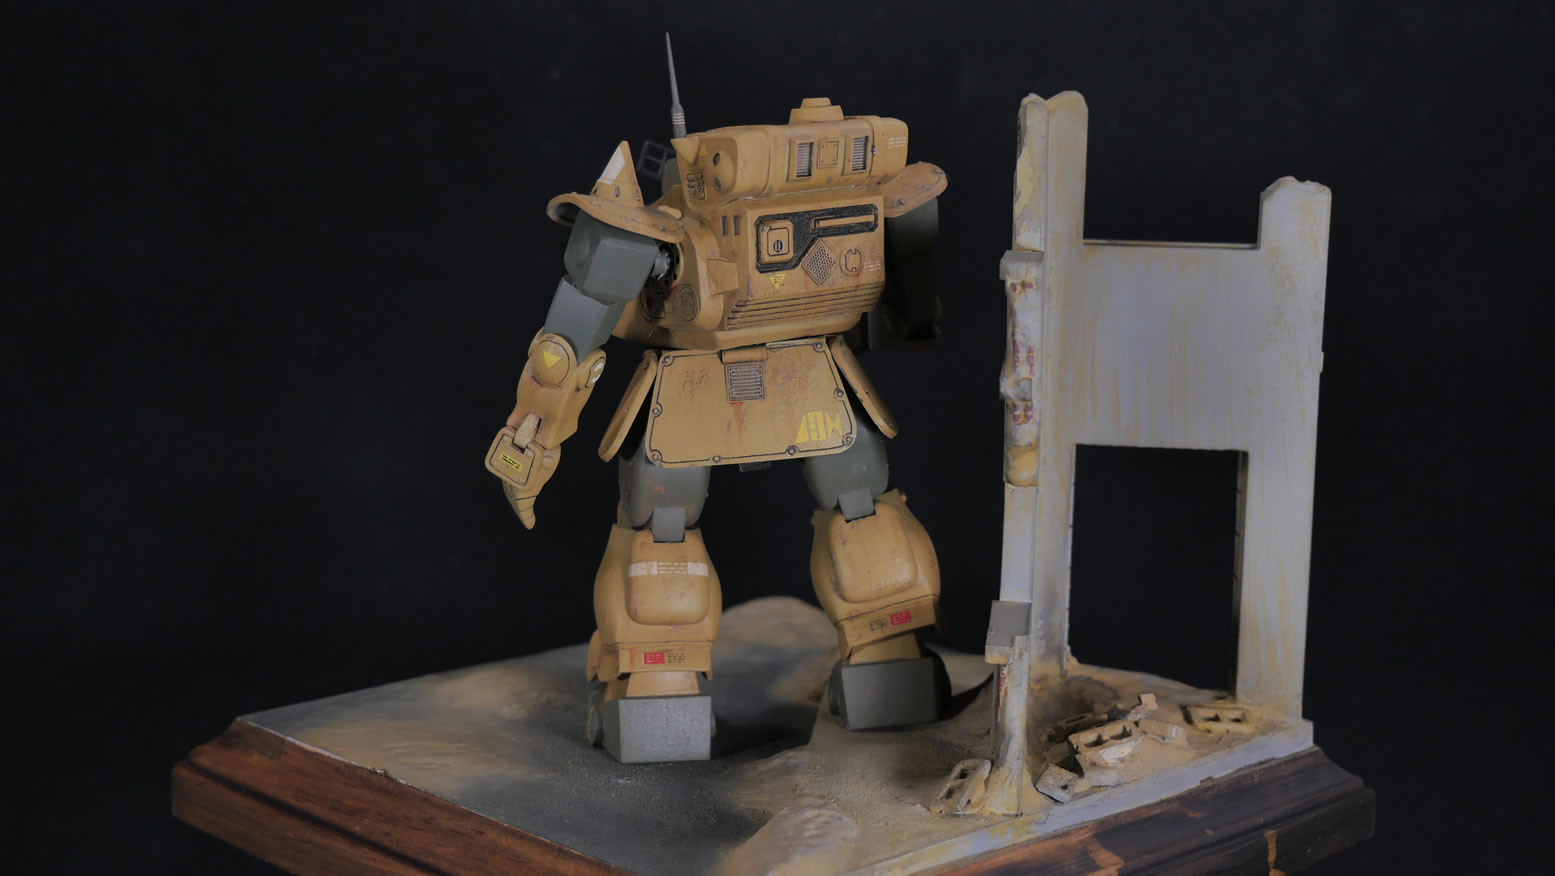
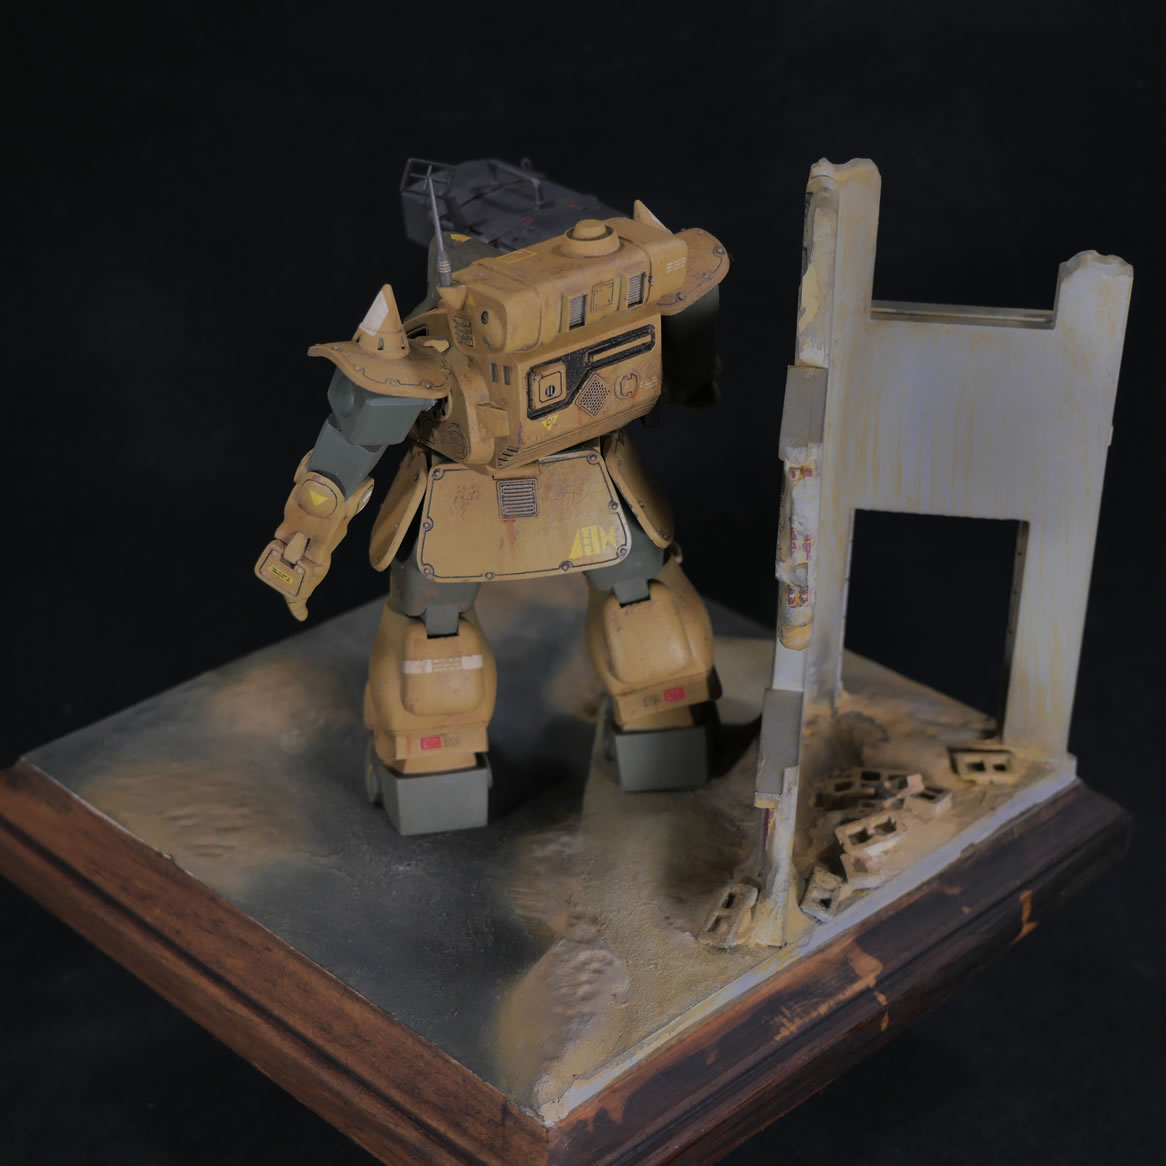
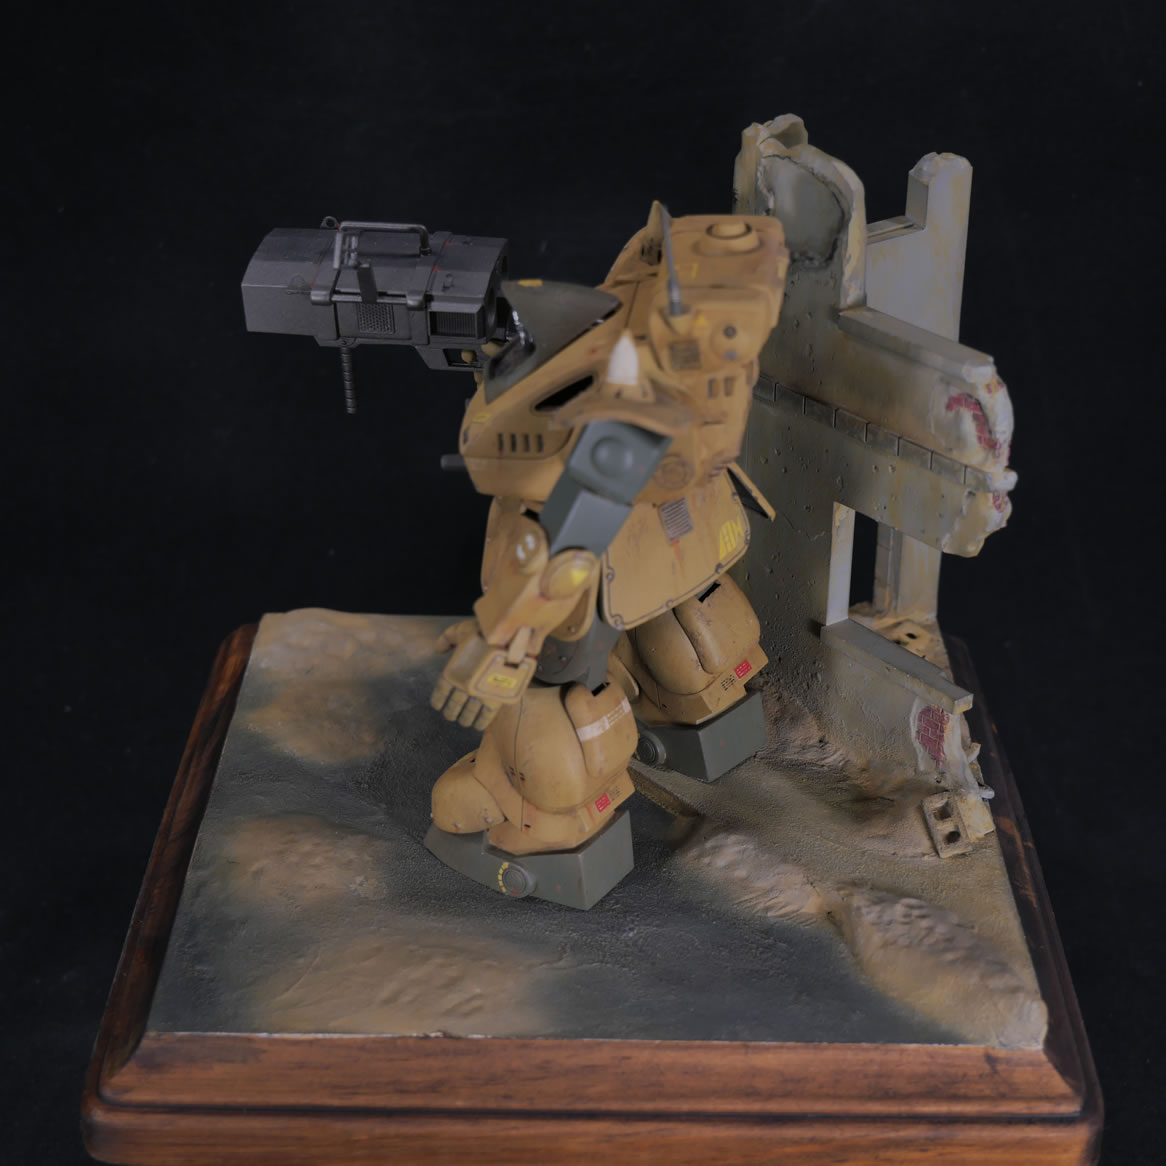
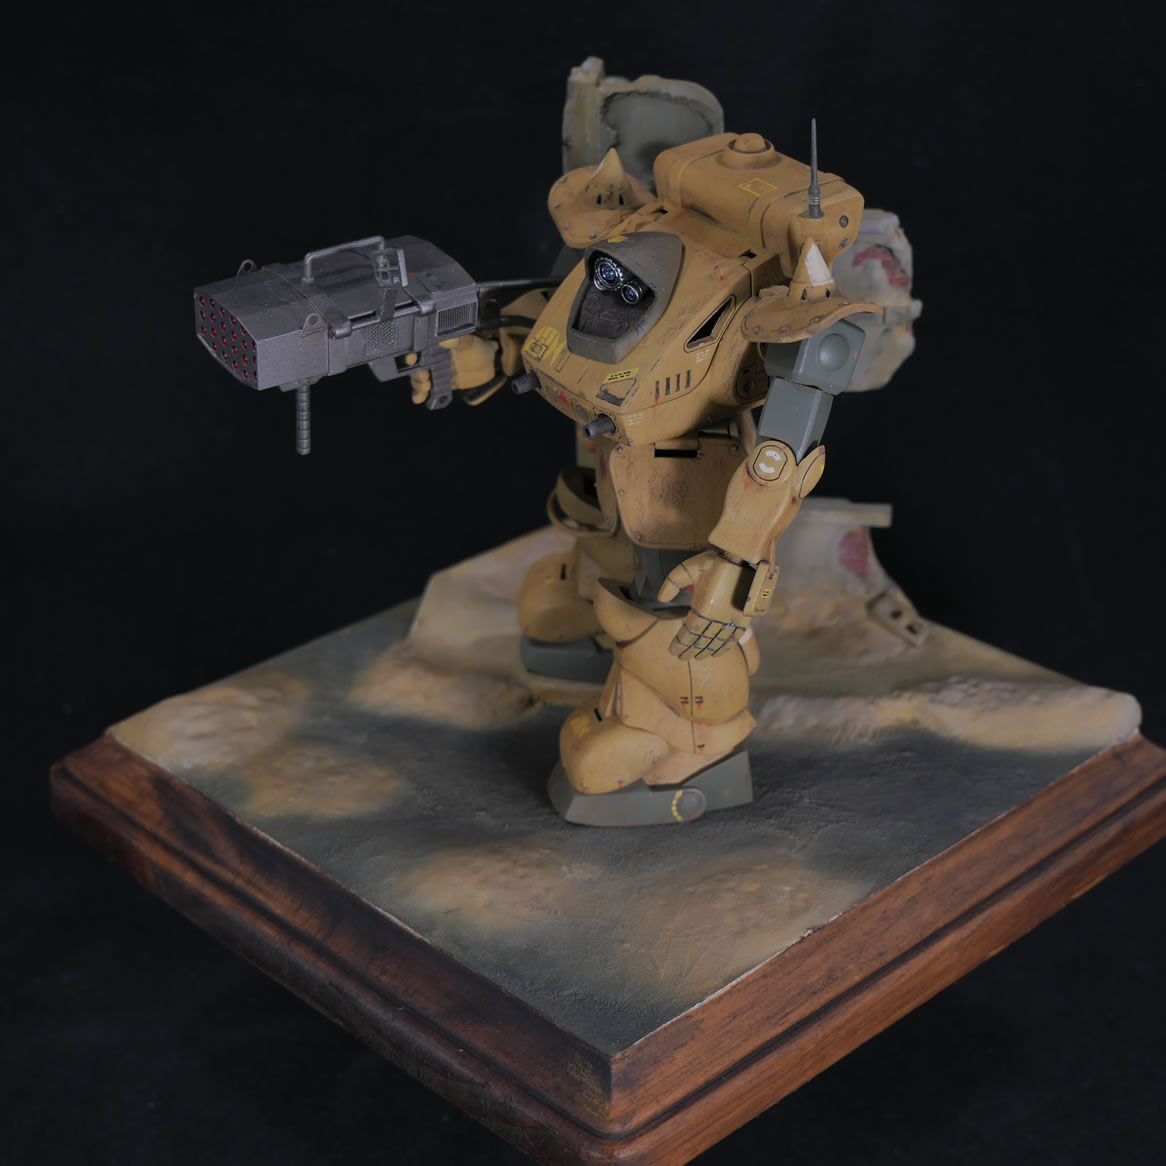
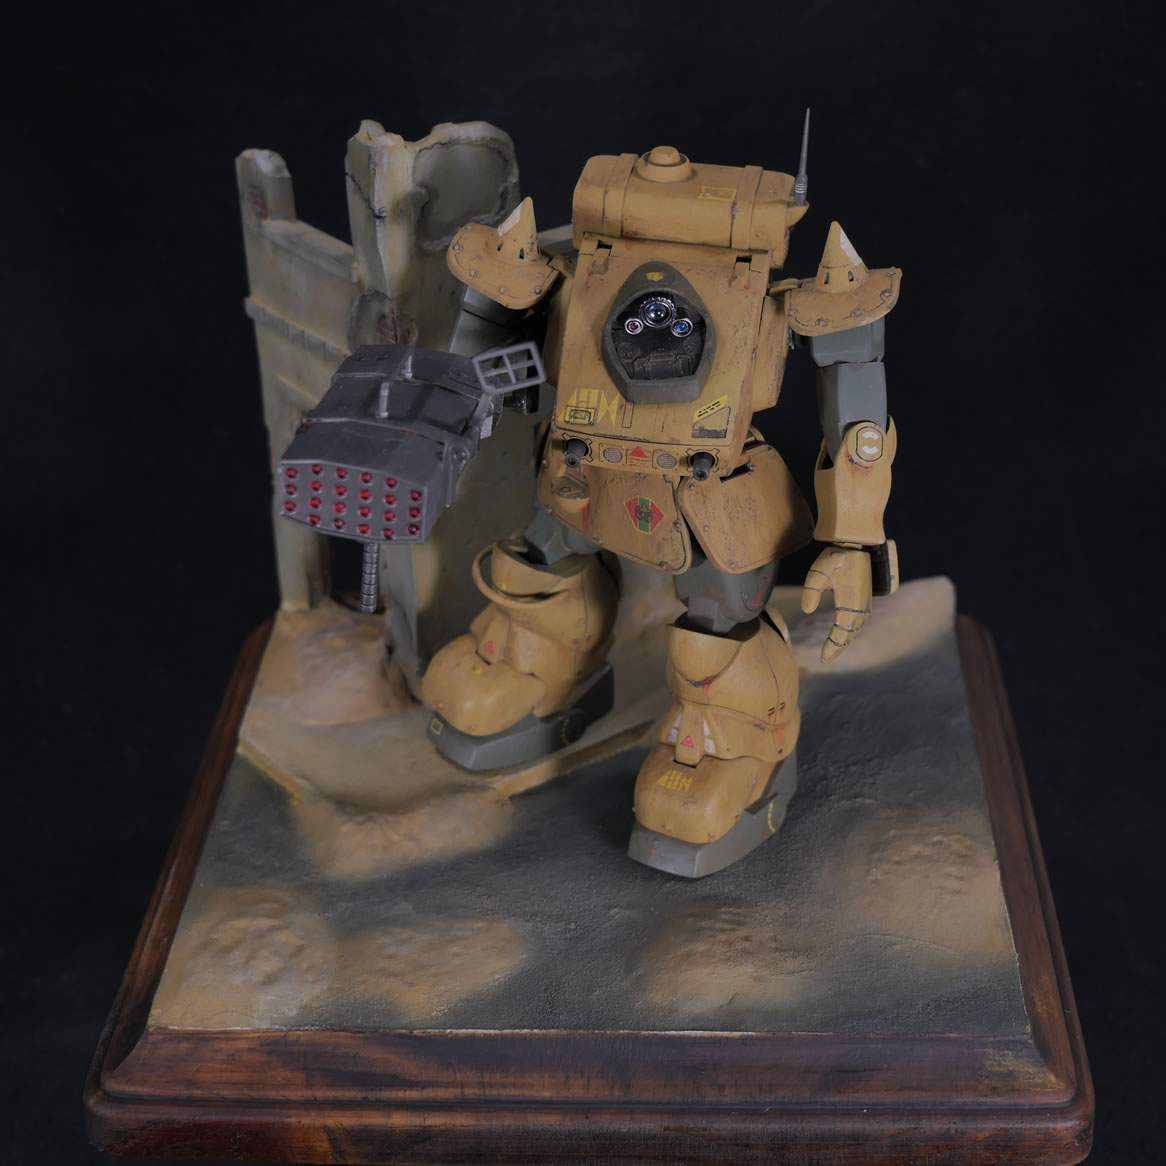
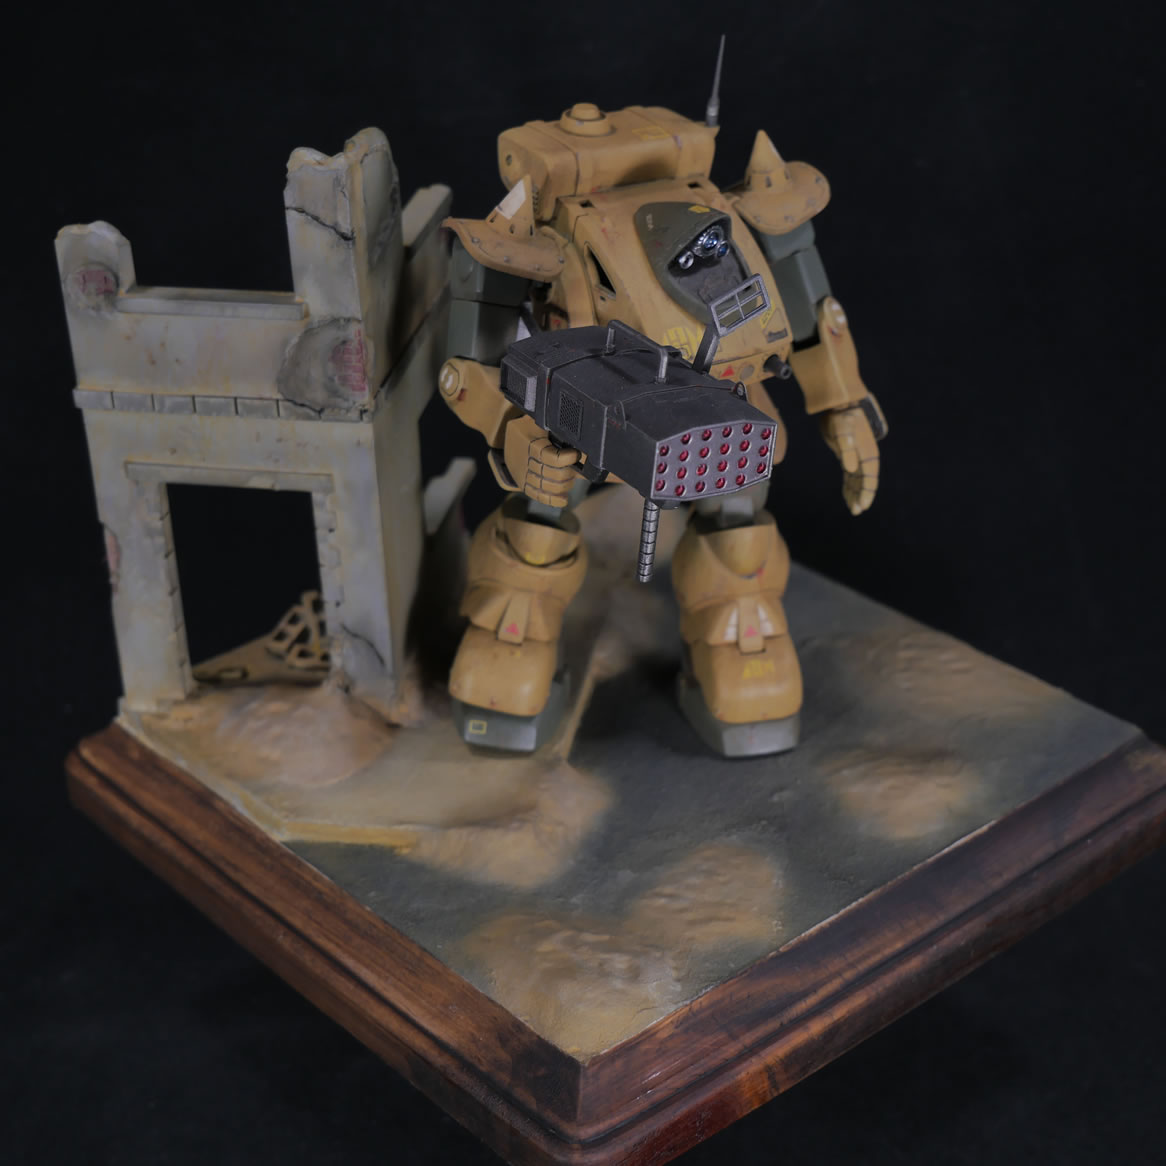
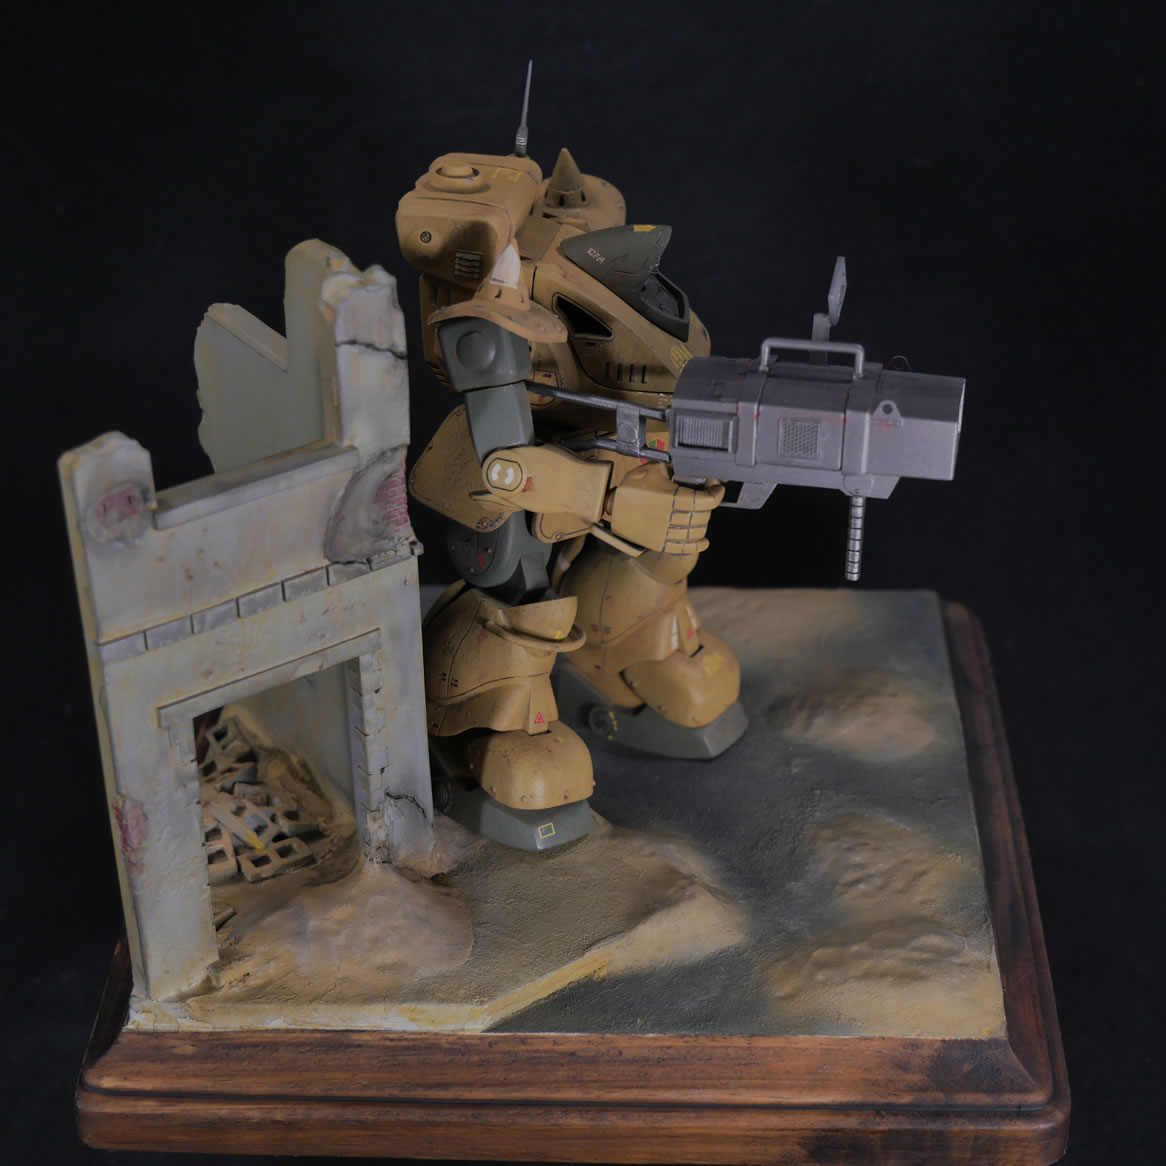
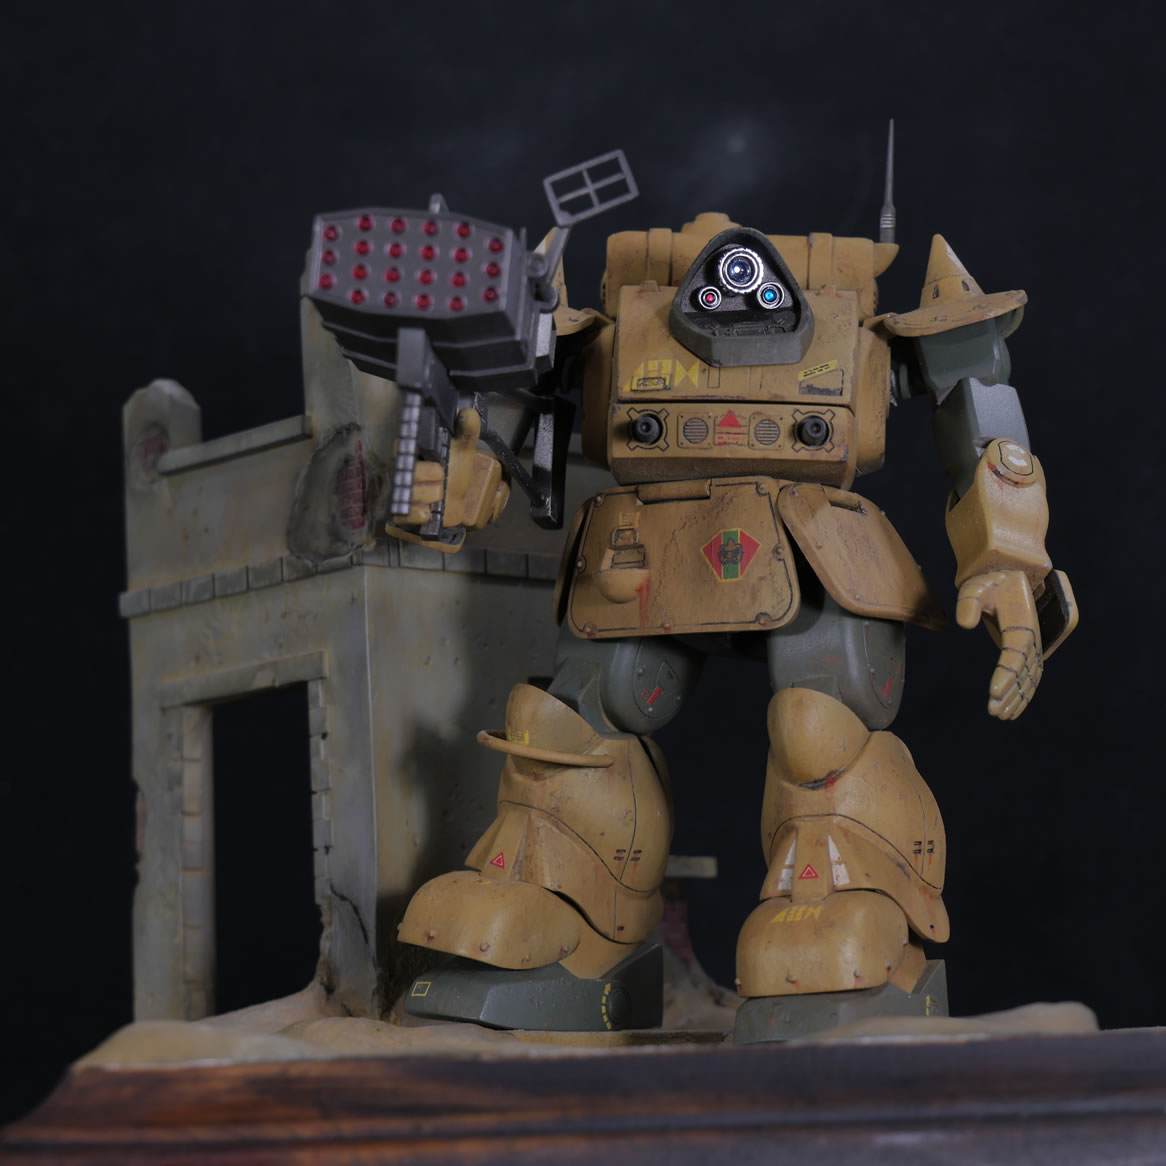
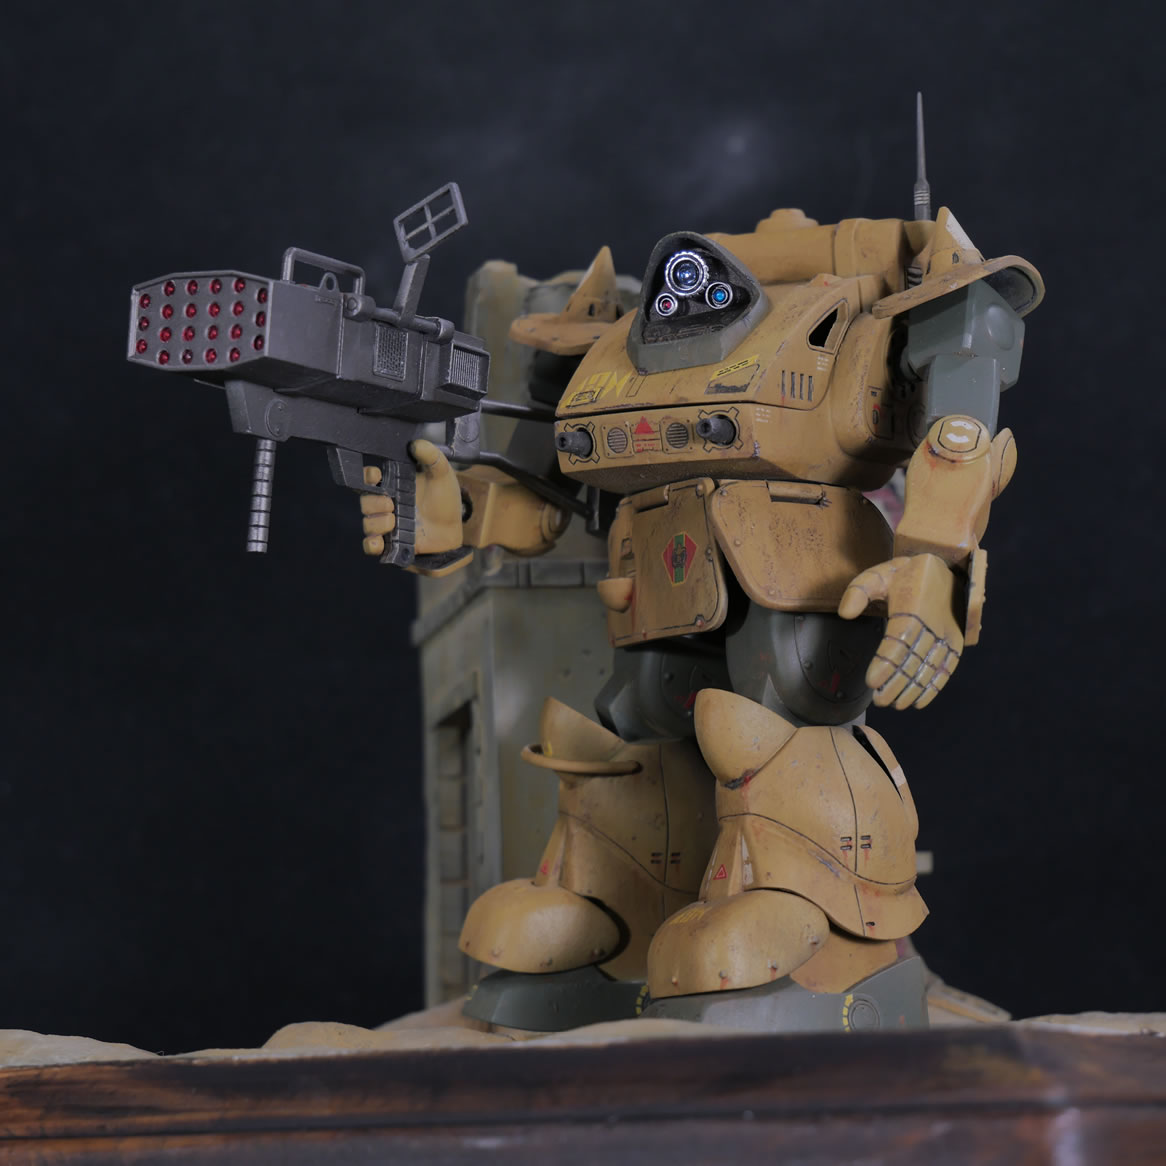
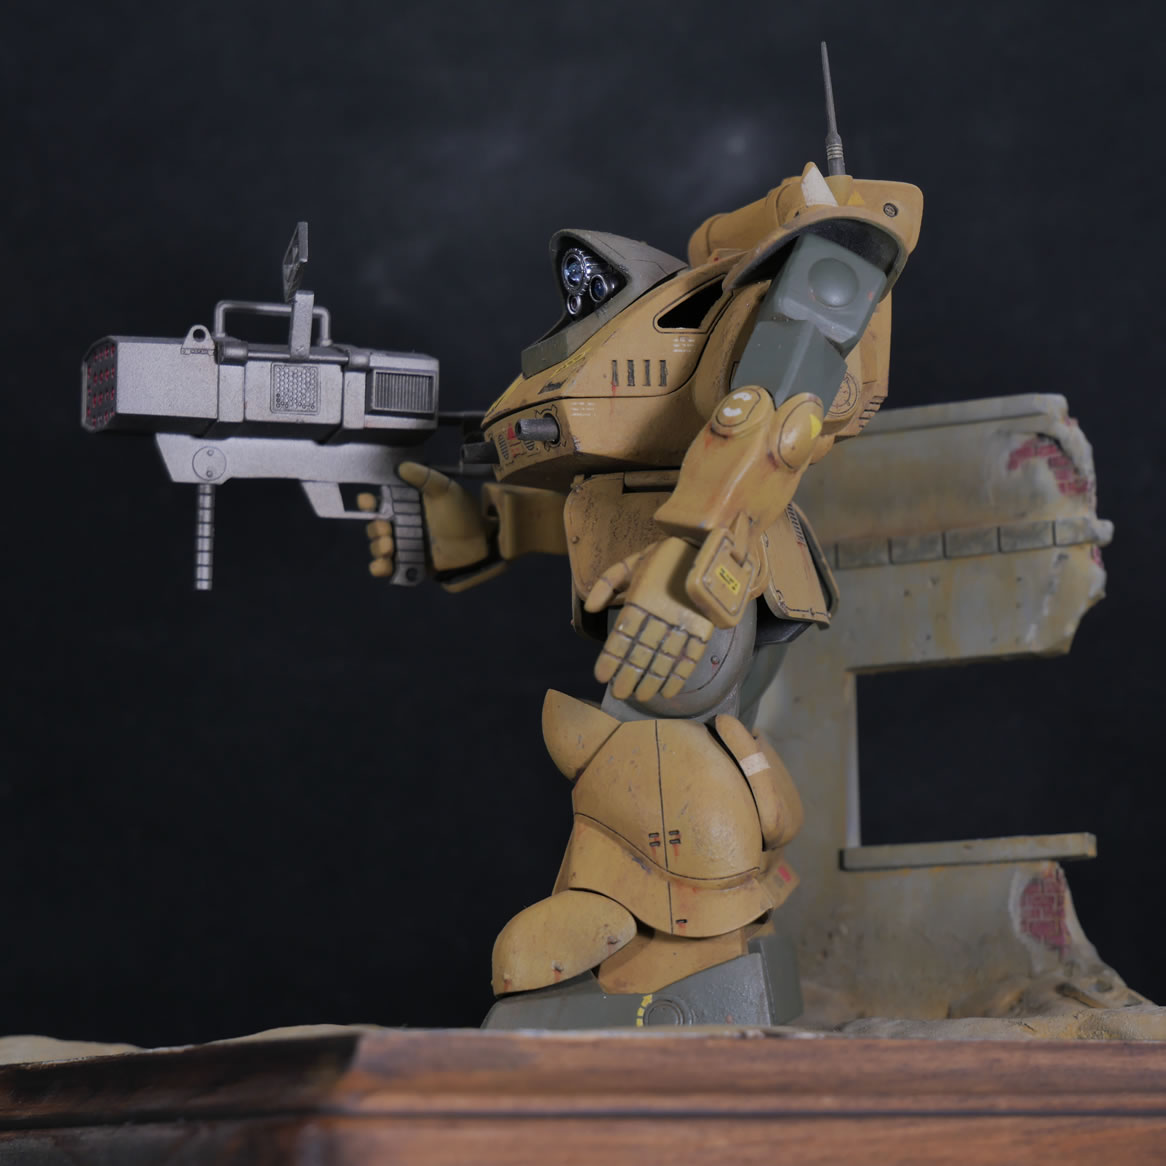
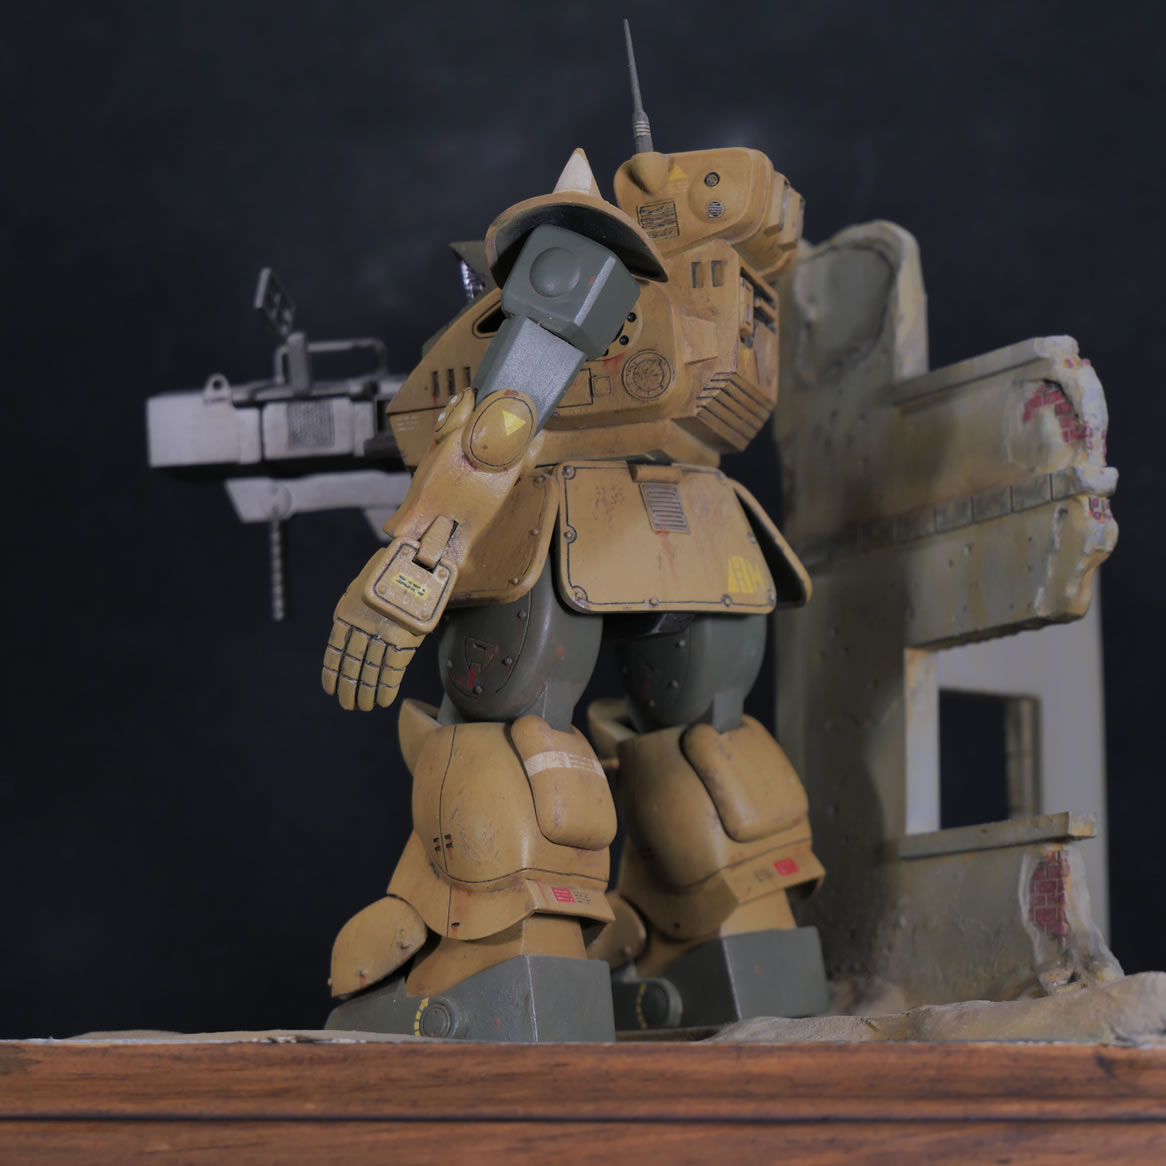
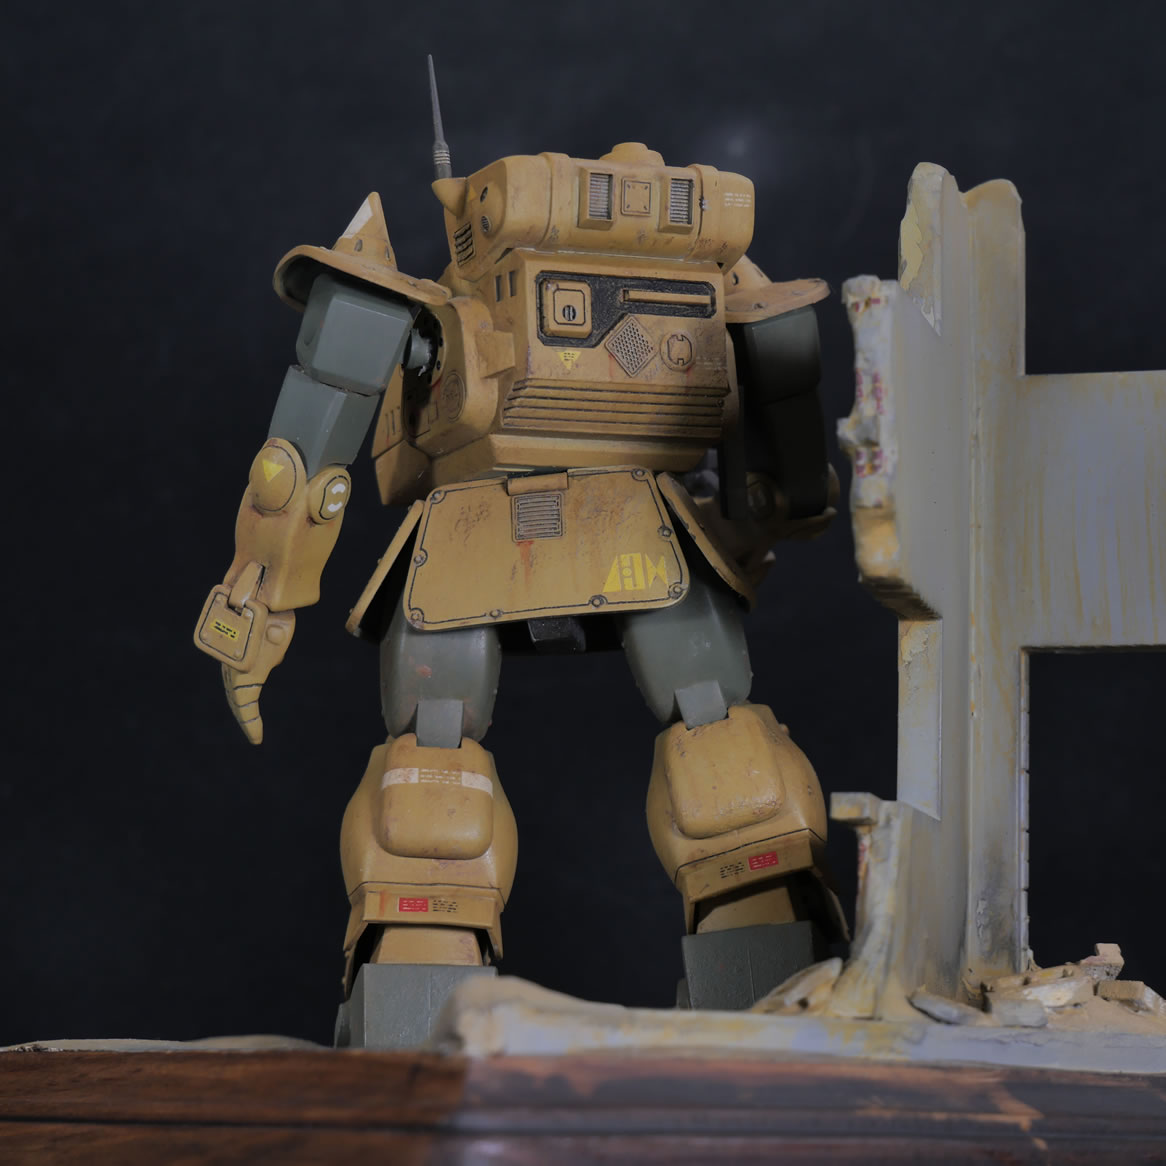
Otherwise, the deadline I sent for this project as part of the #scopedogsofsummer project (yes, this is a Standing Turtle and not a Scopedog; but Dogs of Summer umbrella works for all Votoms kits I guess) for the last day of summer; Today, September 22, 2020 is met! Here are the completed pictures:
|
|
|
|
|
|
|
|
|
|
|
|
|
|
|
|
|
|
|
|
|
|
|
|
|
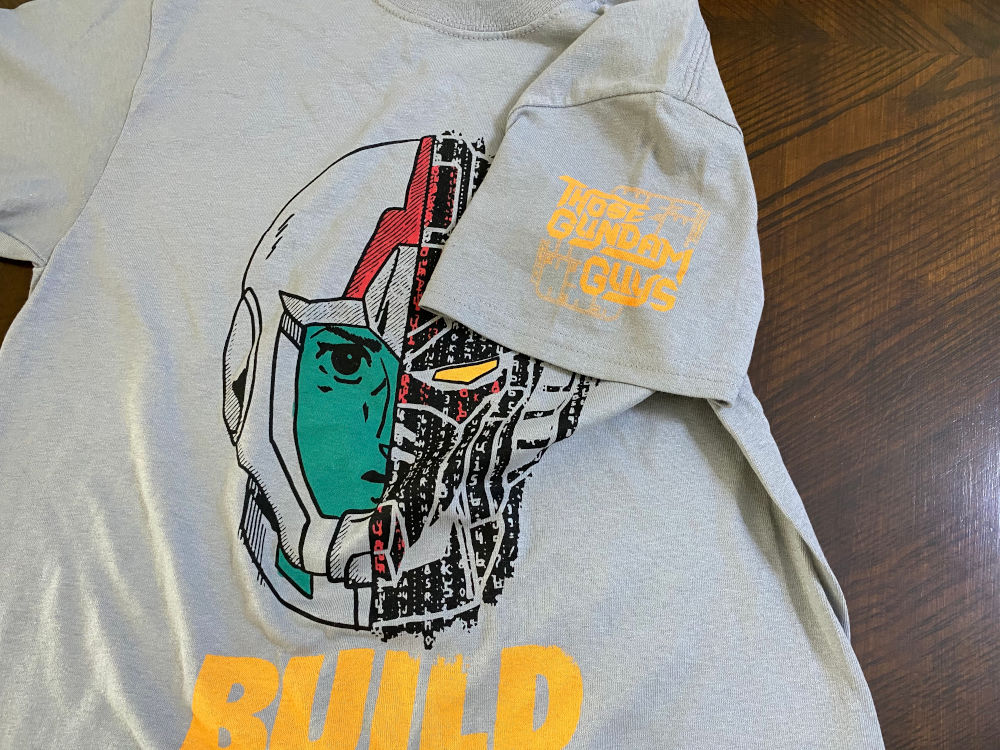
**SHAMELESS PLUG*** Remember to buy your Ver Covid 2020 SCGMC shirt!
