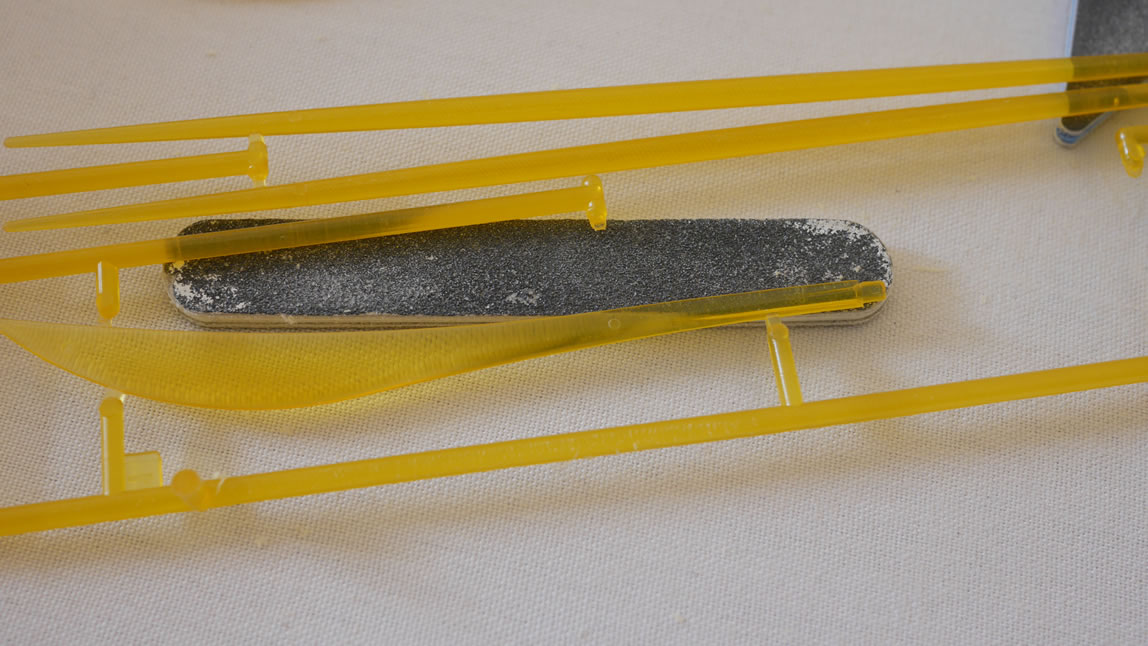
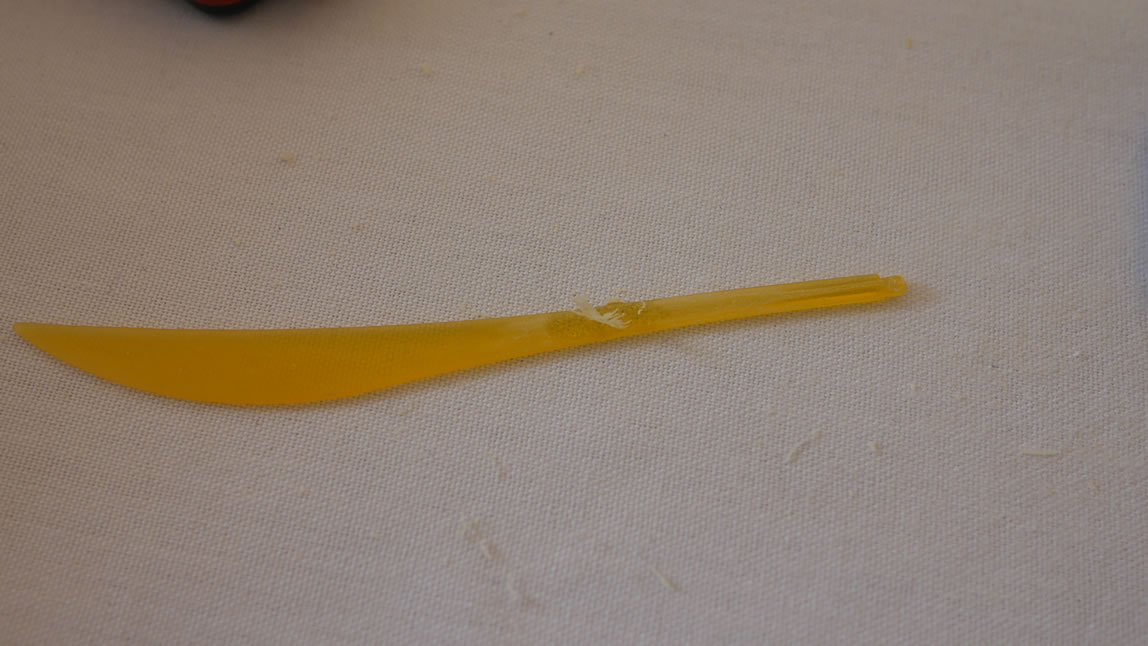
This is a quick little discussion about clear parts. Beam sabers, lenses, etc. They come on runners and when clipped, they still have nubs and mold lines; and some even have horrible mold marks. The MG Gouf 2.0 sword has circular mold marks in the clear yellow blade. First we’ll discuss the mold lines and nub marks. When these are sanded to remove them, the clear part becomes cloudy. The sanding process puts tiny scratches into the clear part which end up refracting light causing the part to look cloudy.
The fix for this is to continue sanding. Starting at a low grit the clear the mold line or nub. Then continue with higher and higher grits to effectively polish the part. I usually go up to about 600 grit with the polishing and the surface feels smooth to the touch. Meaning, when I run a fingernail across, I don’t feel the small scratches that are still in the surface of the parts. The part will look less cloudy with the higher grit polishing; but not completely clear. To get the part completely clear, a clear gloss is sprayed. The clear gloss works like a primer, the clear paint fills in the tiny scratches and makes the part completely clear. If the part is still cloudy, let the part cure, then polish again with higher grit and spray another gloss layer.
Nubs and mold lines are easy as those are just removed with sanding. It’s the mold marks and holes in the clear pieces that can be a little more perplexing to fix. But hopefully this tutorial breaks that down and the process isn’t really that difficult; it just take a little time.
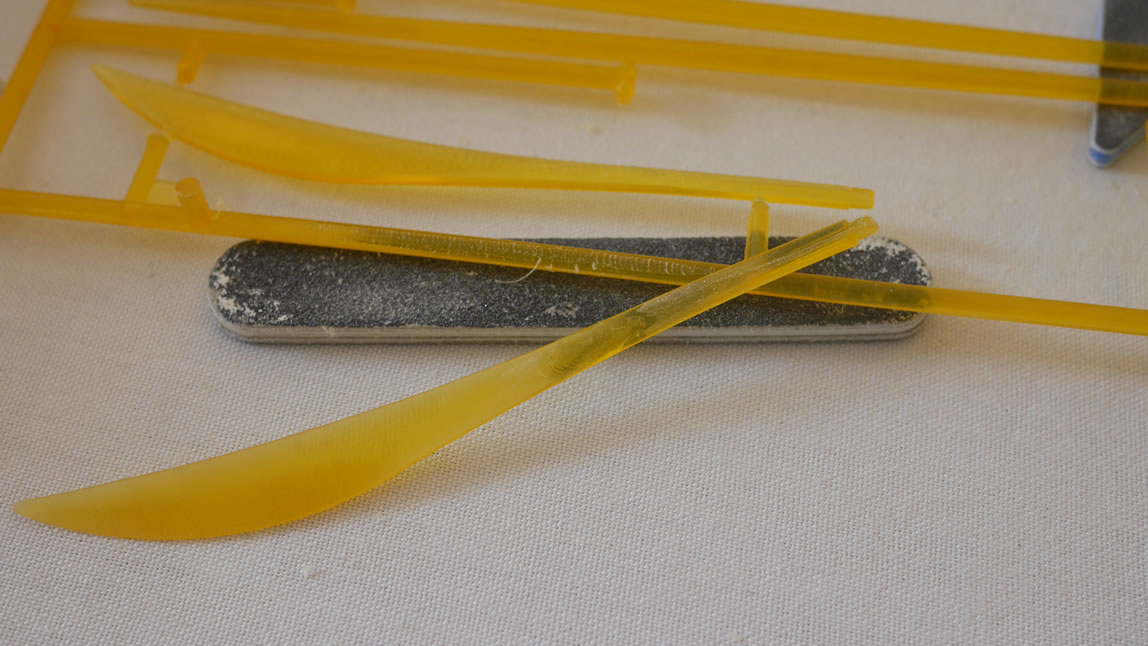
Starting with the Gouf saber, there are mold marks in the damn thing. Granted, I can sand everything around the mold mark to effectively get rid of it, but then the entire saber becomes that much thinner. It would be better to fill the hole then sand away some excess.
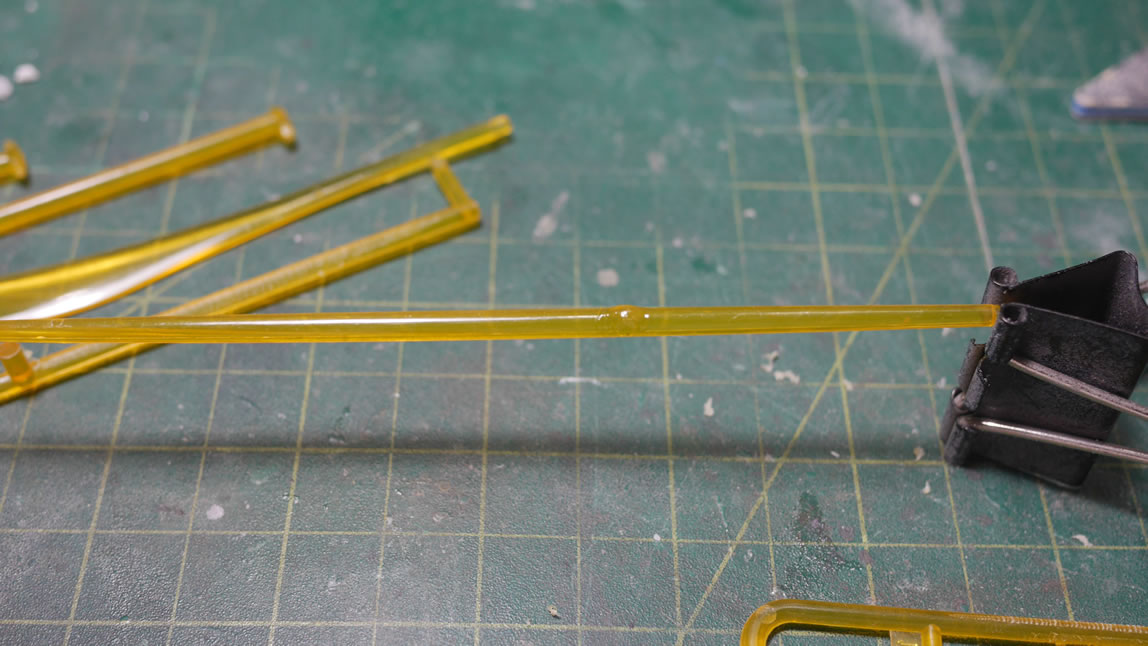
The process is very similar to applying putty. But since there’s no specific colored clear putty for our beam sabers; we have to be a little more creative. For this, we look to the extra sprue. I use a hobby knife to scrape the clear sprue to get shavings. The shavings are cloudy, but we don’t need to worry about that yet. Once we scrape enough shavings, glue is added to the hole area, the the shavings are placed on top. More glue is applied to the shavings and this will melt the shavings into the part.

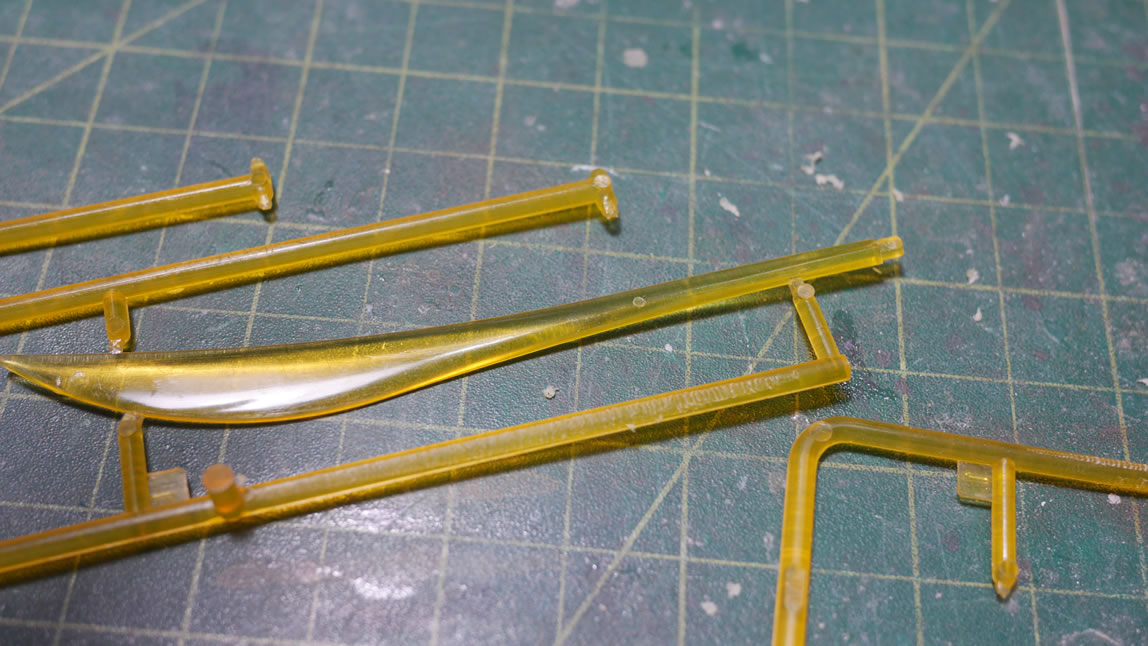
Once the hole is filled, the part needs time for the glue to cure up before going back and sanding the blade. I usually let the part sit for a full day before sanding down the excess and then spraying clear gloss.
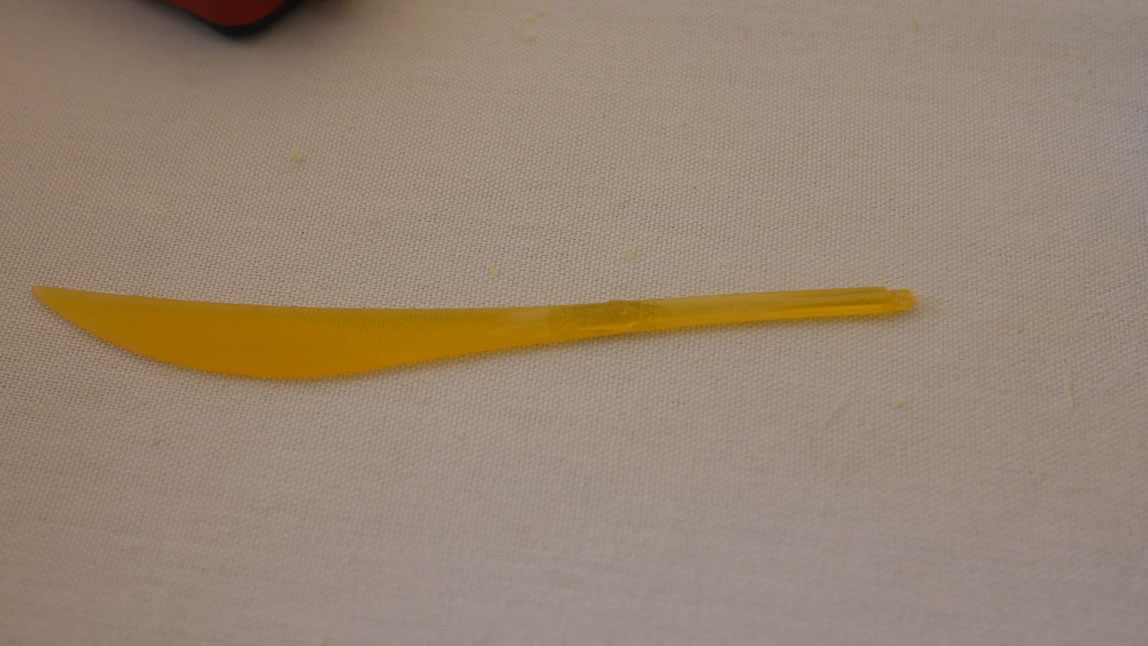
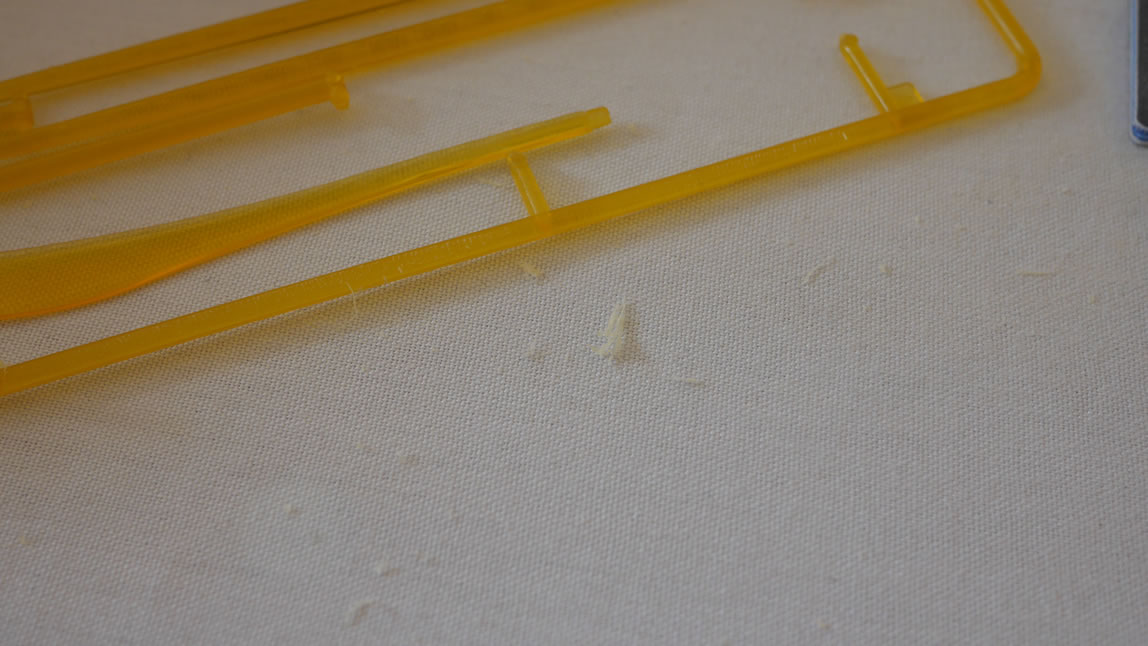
Once cured, the parts are sanded and gloss coated to check for the fix. If the hole is still visible or there are still scratches and the part isn’t completely clear; just repeat the process adding clear tree shavings, the glue, the cure times, then sand. This is identical to using putty, but using glue and left over sprue to create your own custom putty that is the same color as the part.
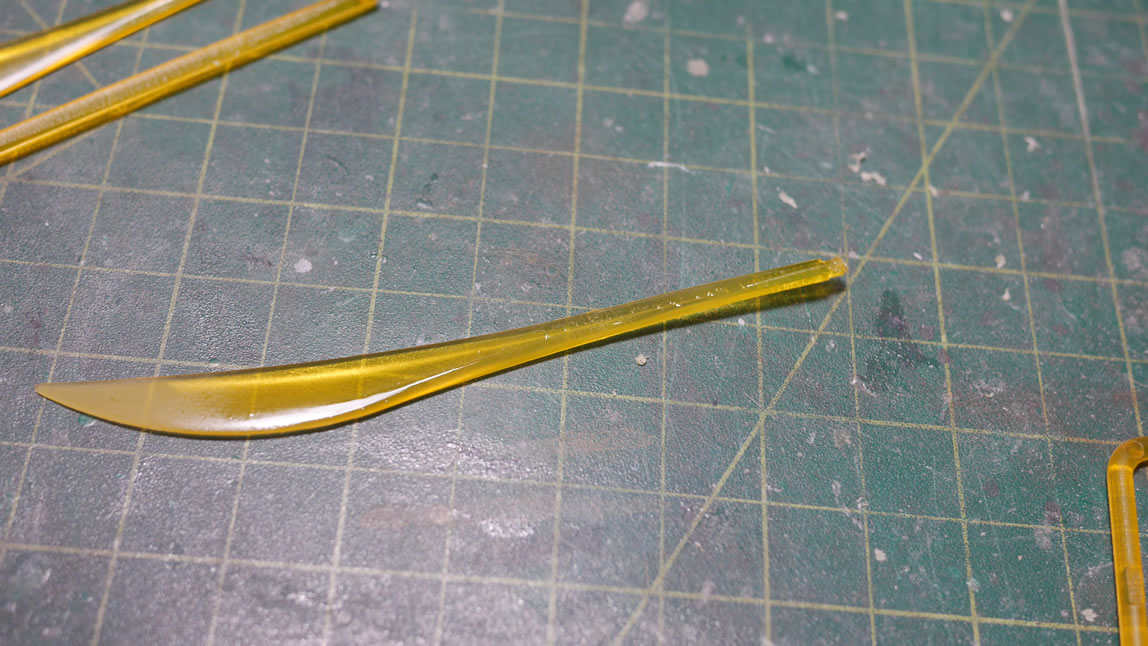
This same technique can be applied to any plastic color for those that don’t want to paint actual colors, but are willing to spray clear gloss/clear flat to fill in small scratches.
In addition to the above, I created a quick little 11 minute video of the process.
what kind of glue?
Any styrene glue. I’m using tamiya extra thin cement in the video.
Thanks for the tips!
So would you suggest sanding is enough to remove visiblilty of nub marks?
I’m trying to build a RG 00 Raiser clear ver.
Sanding will remove the nubs, BUT even with the finest layer of sanding, you’ll still have a cloudy part because of the nature of sanding in general. But a layer of clear gloss will fix that and your part will be clear.
The other method that some friends of mine use is to have a VERY sharp hobby knife and slide the clear part’s nubs. I personally don’t like this method, but everyone works differently!
Have you ever tried to dip the clear parts in Future floor wax or similar solution? I do on model car windshields all the time and it convincingly removes those minute scratches.
Yep, same idea – using a clear medium to fill in the small scratches. I just prefer using a lacquer based clear over future floor wax… personal preference.