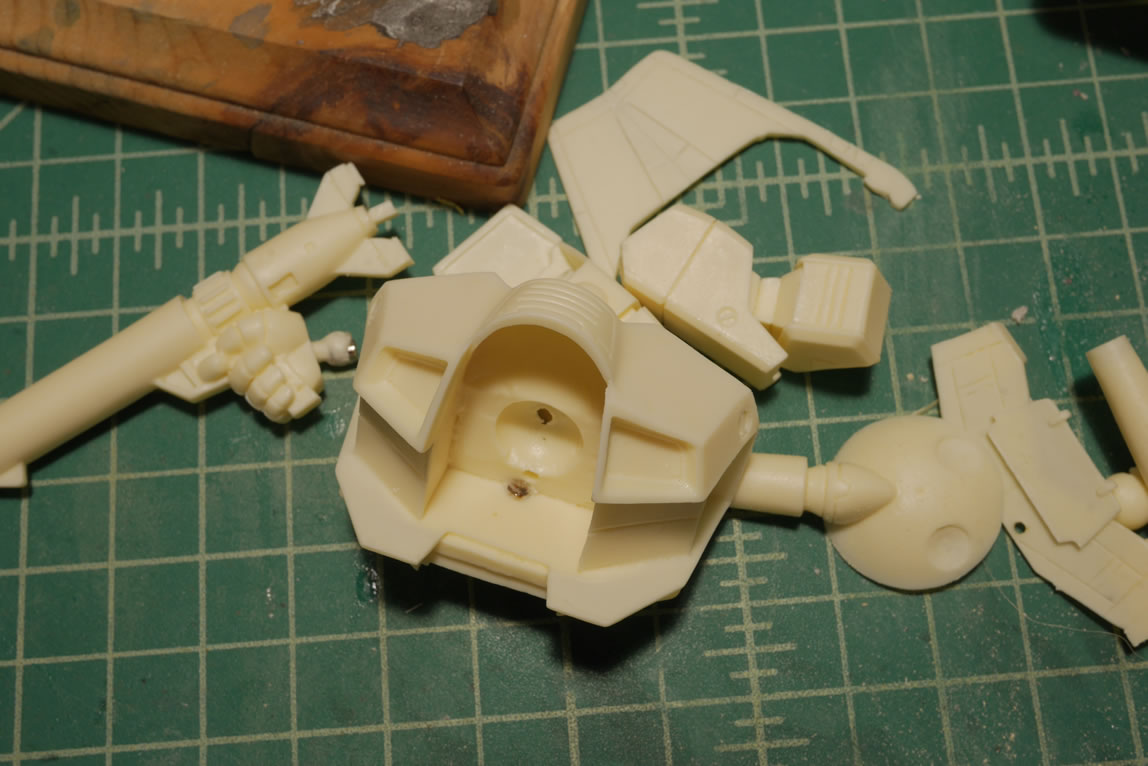
Going to go back a month and some change to just after SCGMC 2018. At least, that’s when I dropped the photos from my camera to the computer. I had been steadily working on the little project in hopes that I would actually have it done for SCGMC. That didn’t pan out. I kept making little modifications here and there. Here’s the last bit of mods I did for the kit. Below is a picture of the original chest block; an empty space. Since I did some details to the head, I figured I could use more practice with the circut cutting machine I have and add some details here too.
As a quick little teaser, I also finished this kit about a week ago. More details of the final mod and finishing the kit after the jump!
_JPG.jpg)
_JPG.jpg)
_JPG.jpg)
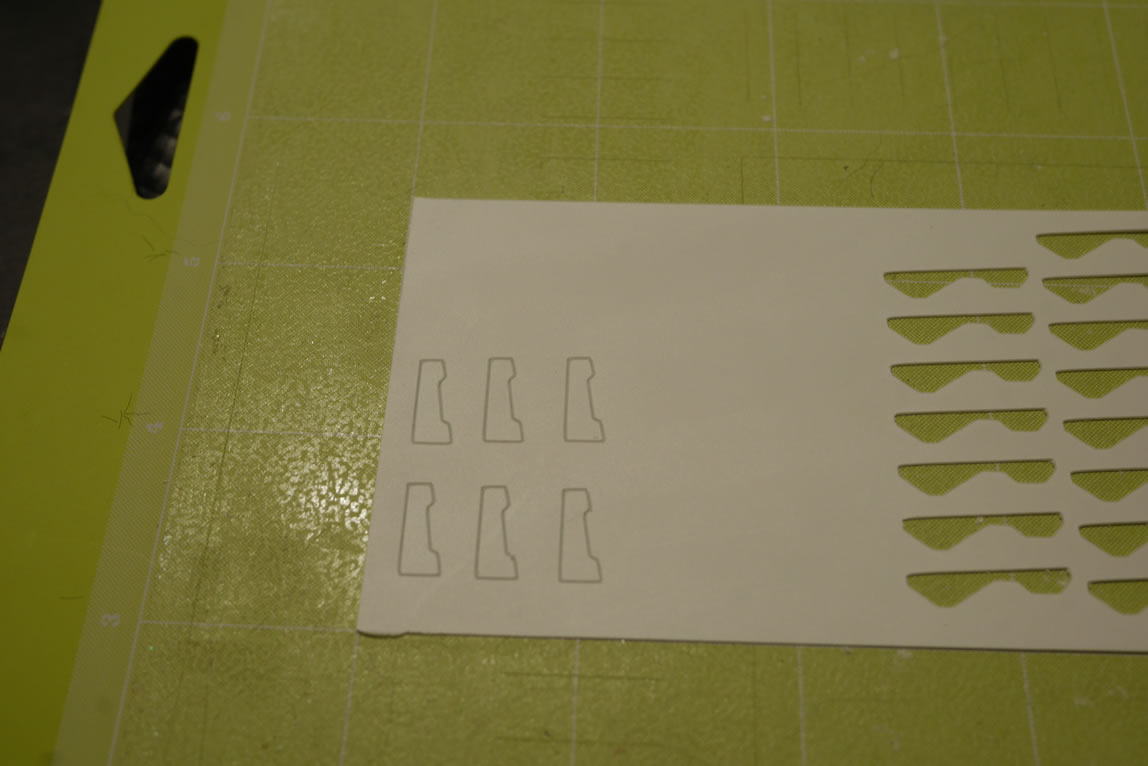
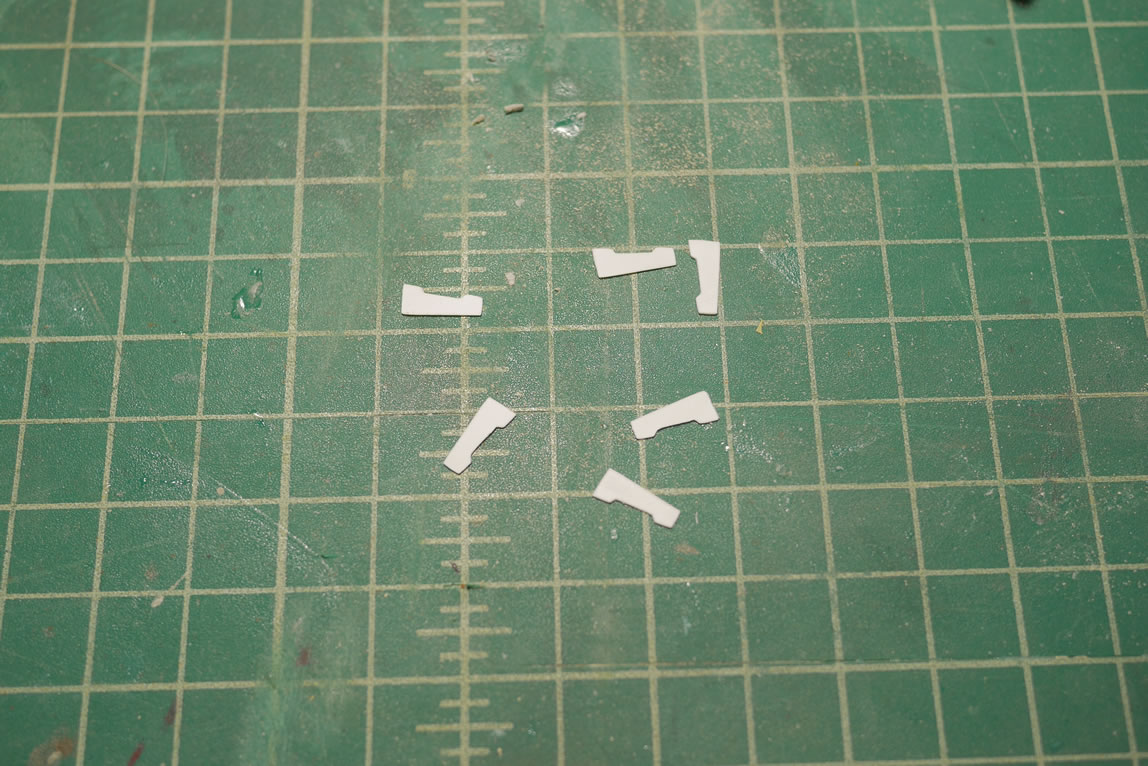
I did a quick little vent design using Cricut’s online design software and set the machine to cut out the parts on .35mm thick styrene sheet. Then just popped them out of the sheet once cut.
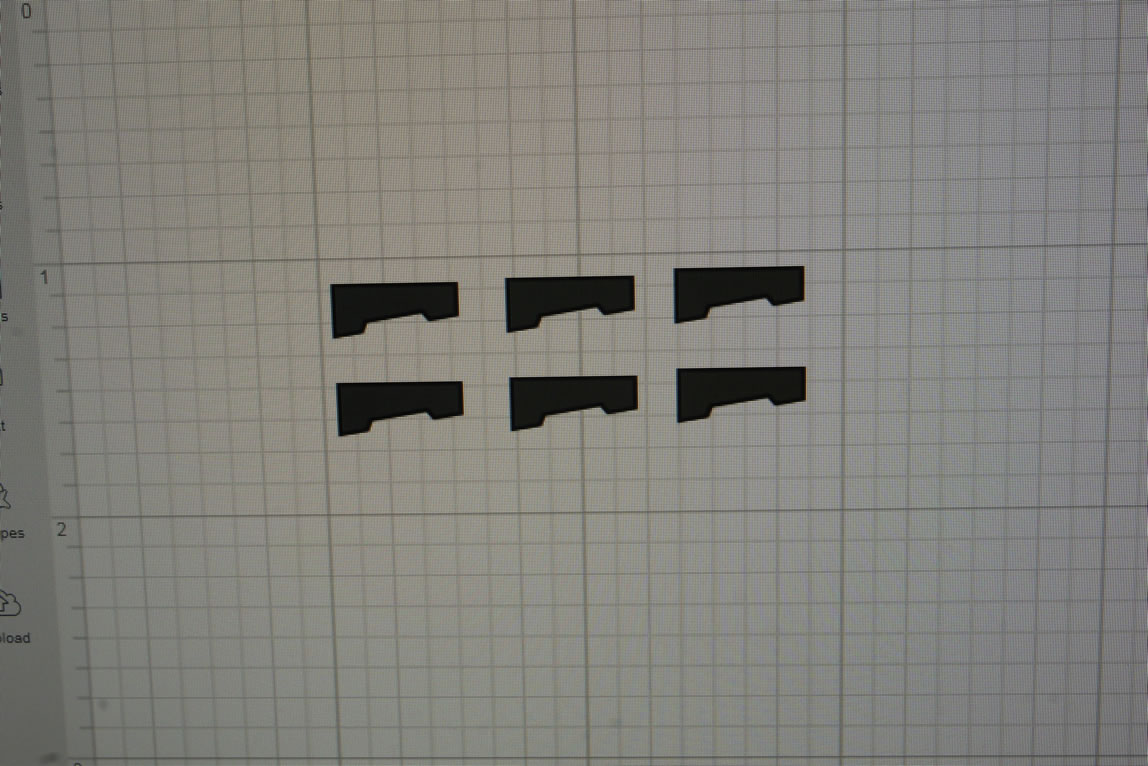
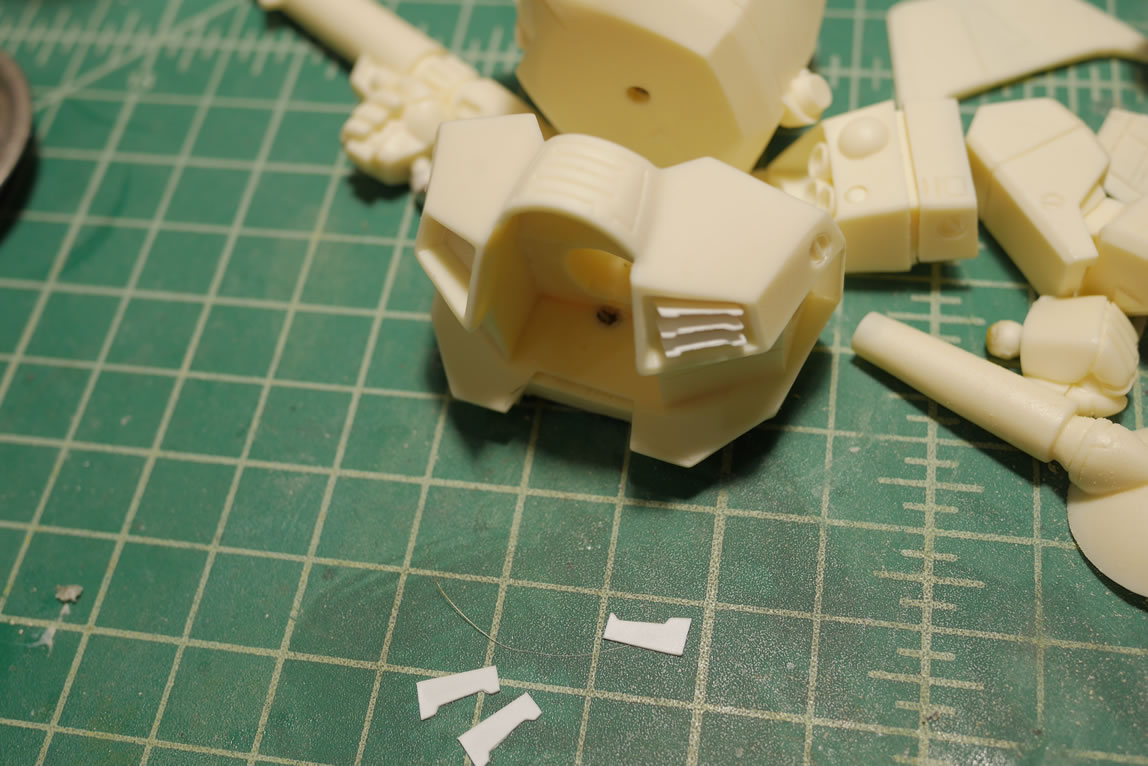
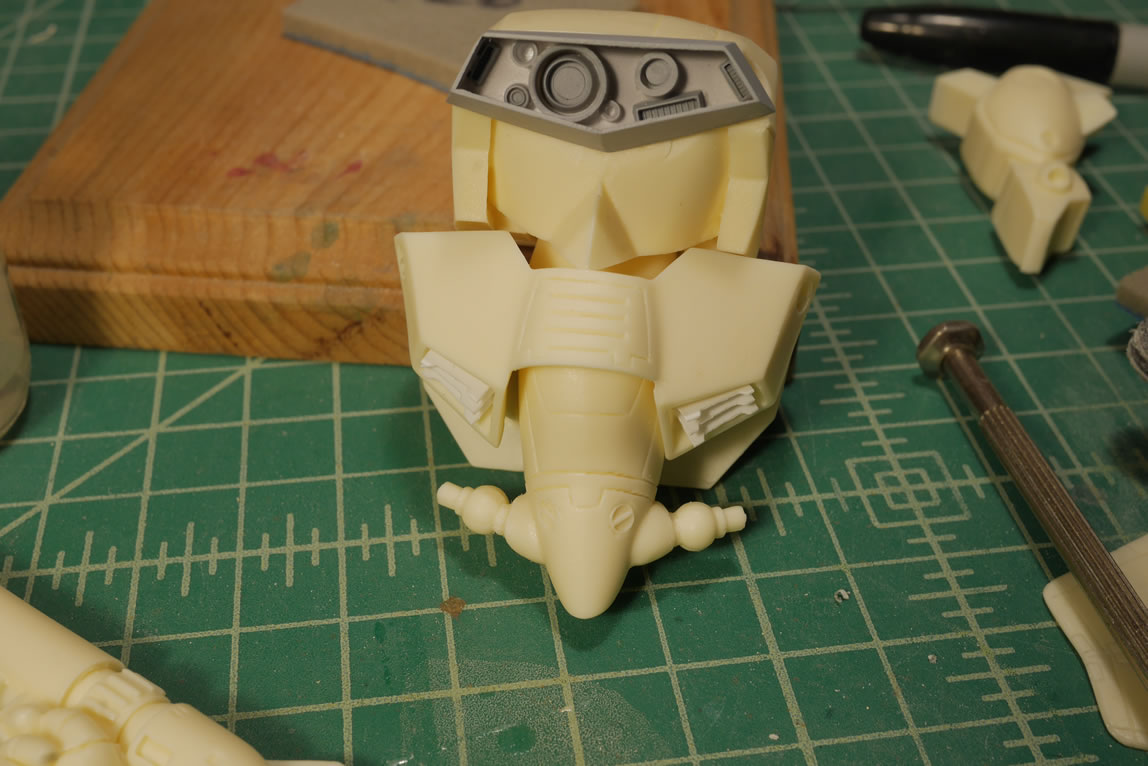
Then I just glued the pieces to the empty space in the chest vent and done. Pretty simple process.
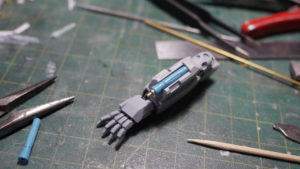
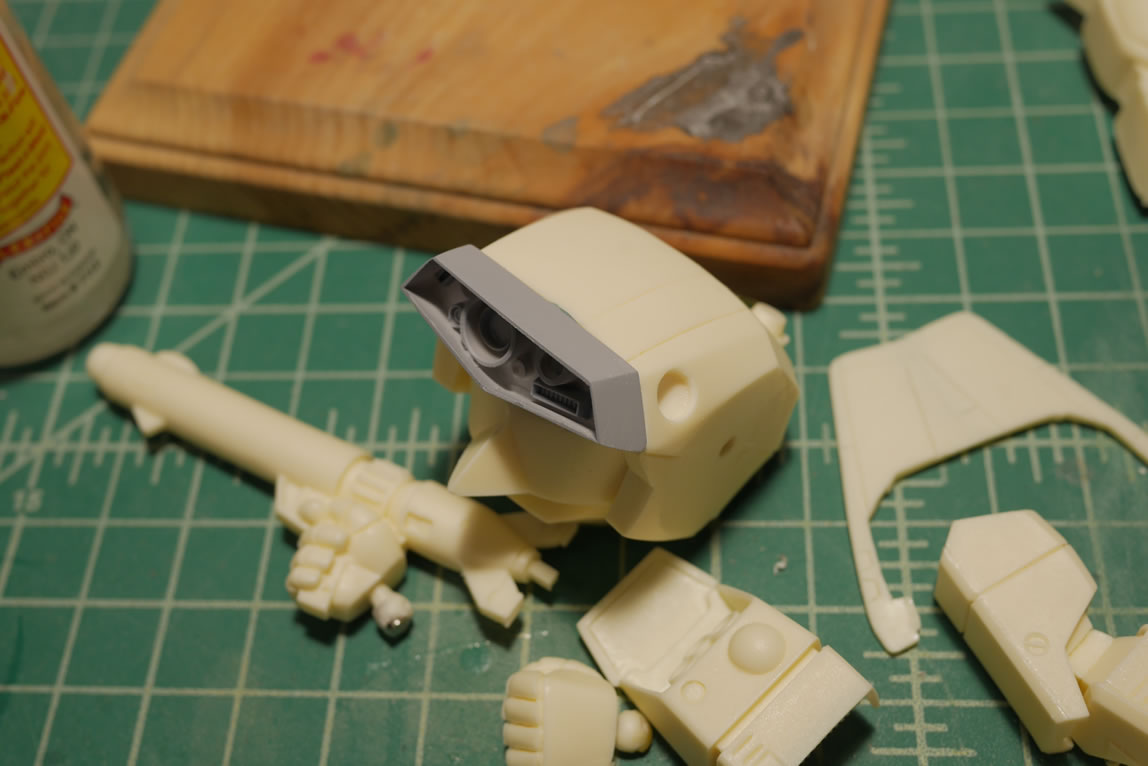
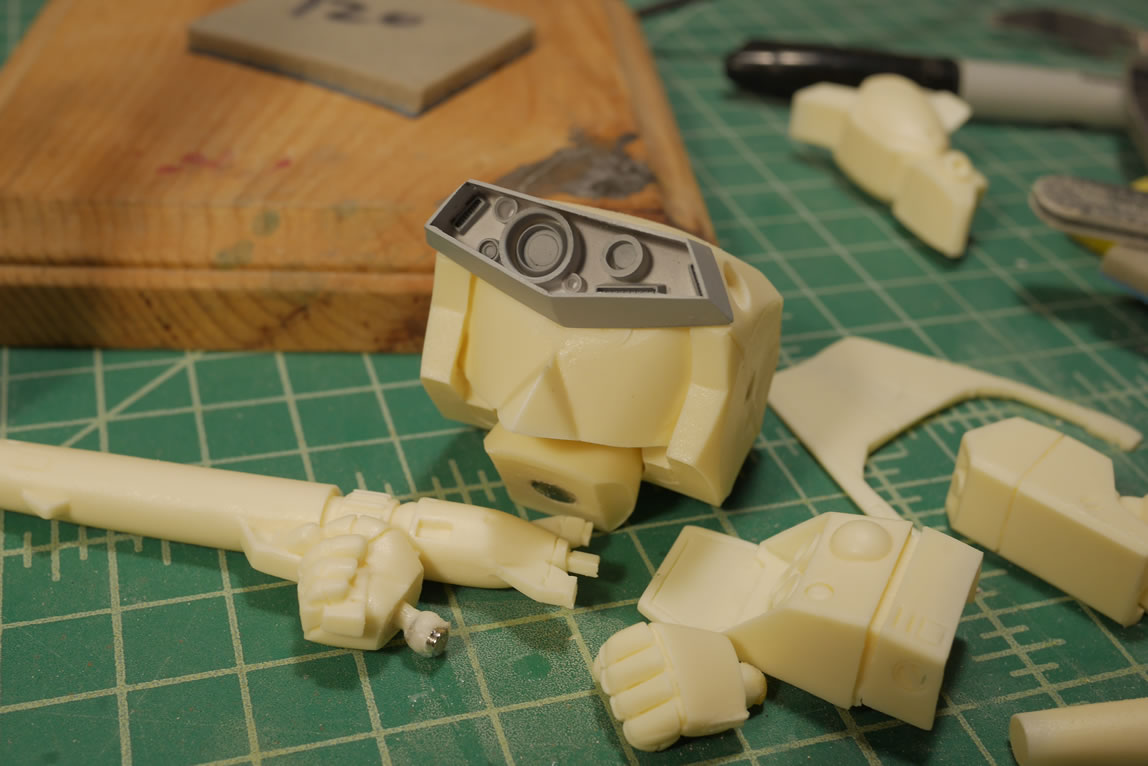
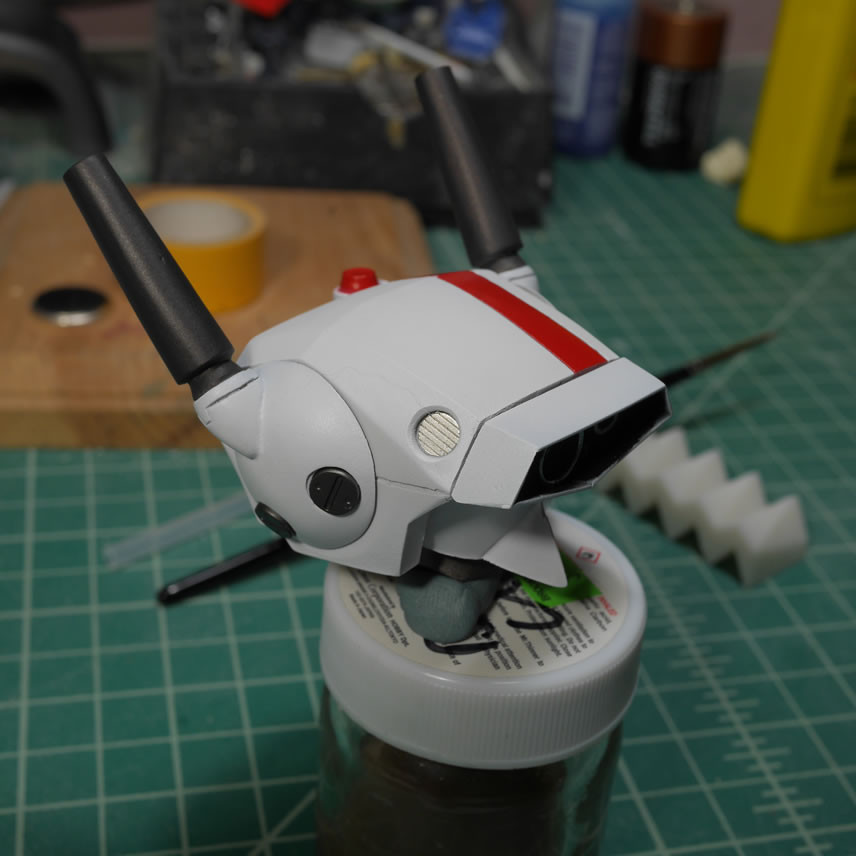
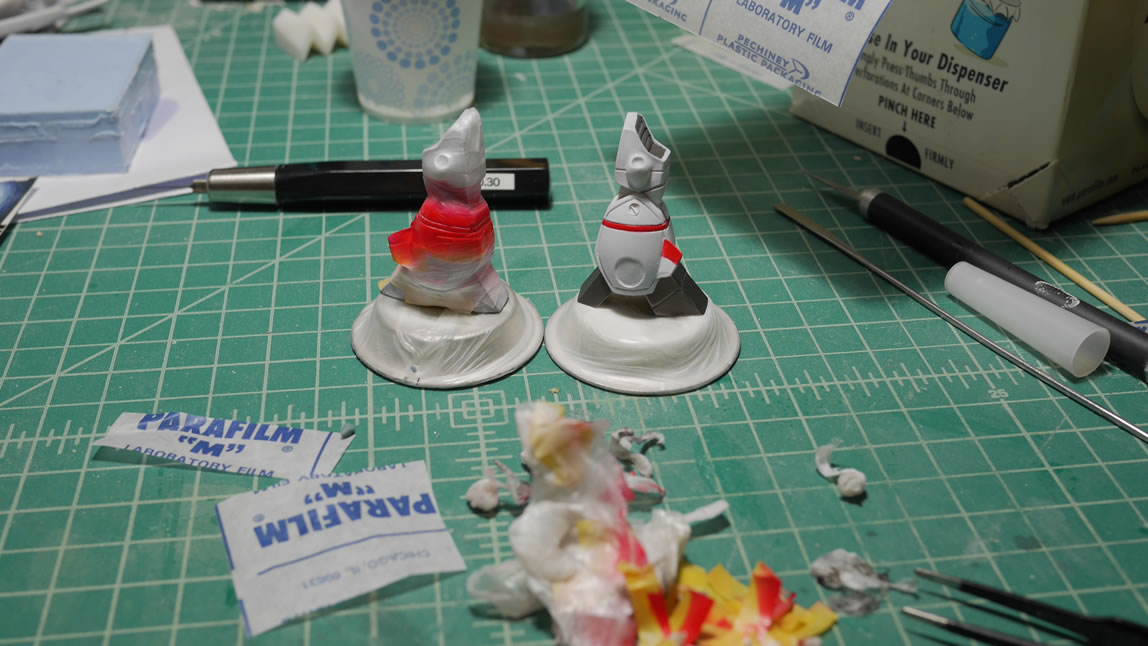
The visor was primed and I did a quick little test fit against the head to make sure it looked fairly correct before continuing to prime the rest of the kit.
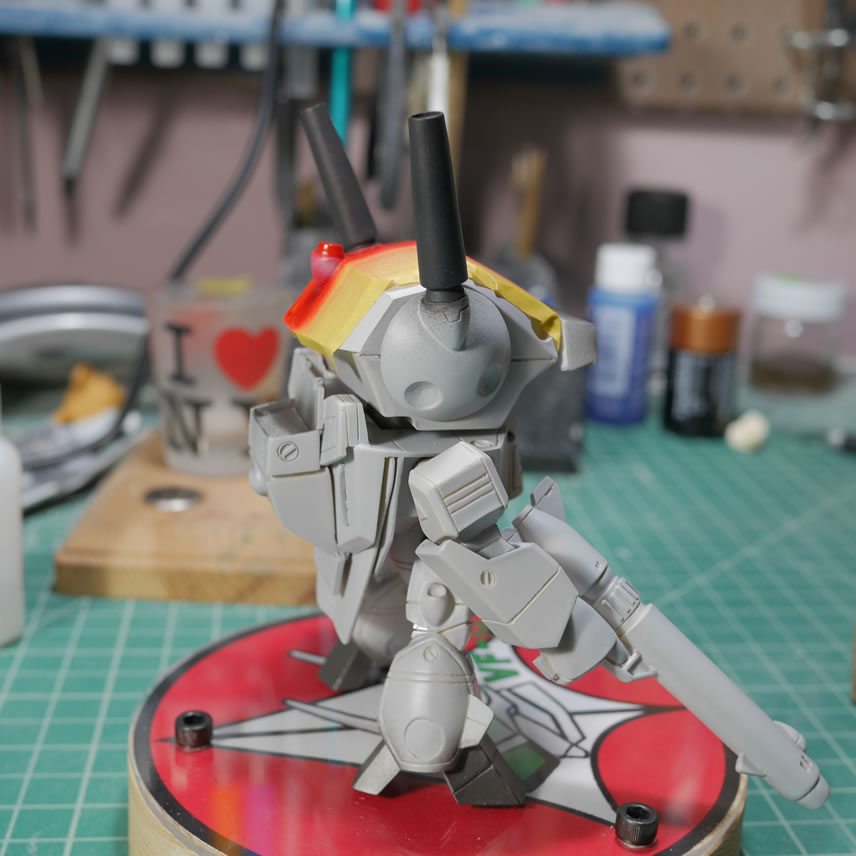
The white is painted and I had temporarily attached the visor piece to the head to paint the while so that I would get an even tone between the two parts when they’re finally glued together.
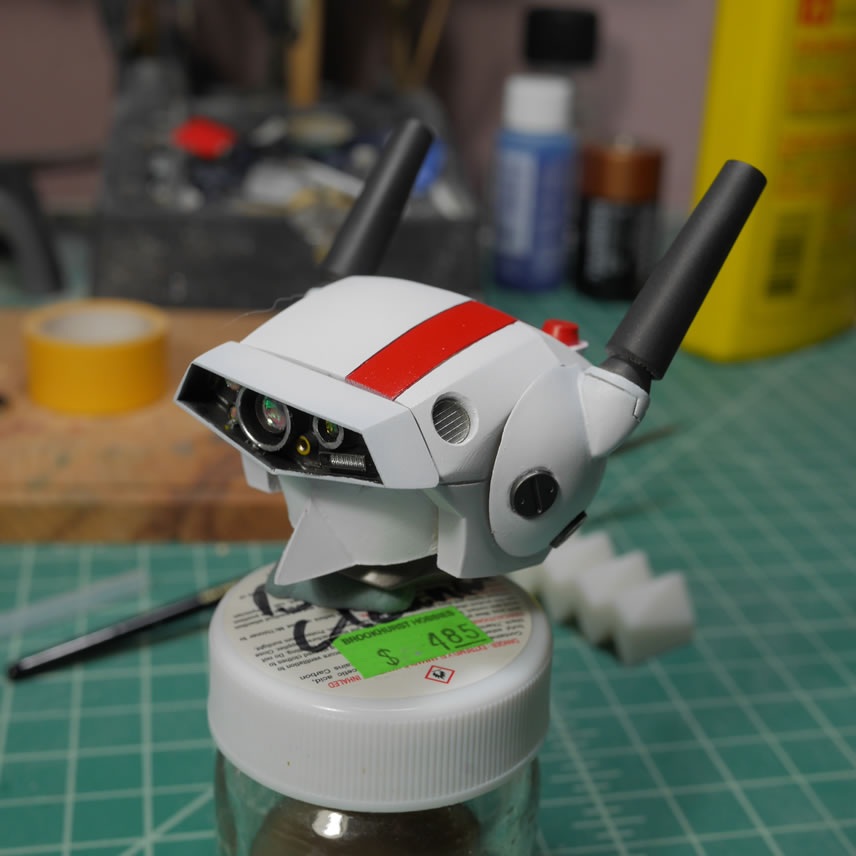
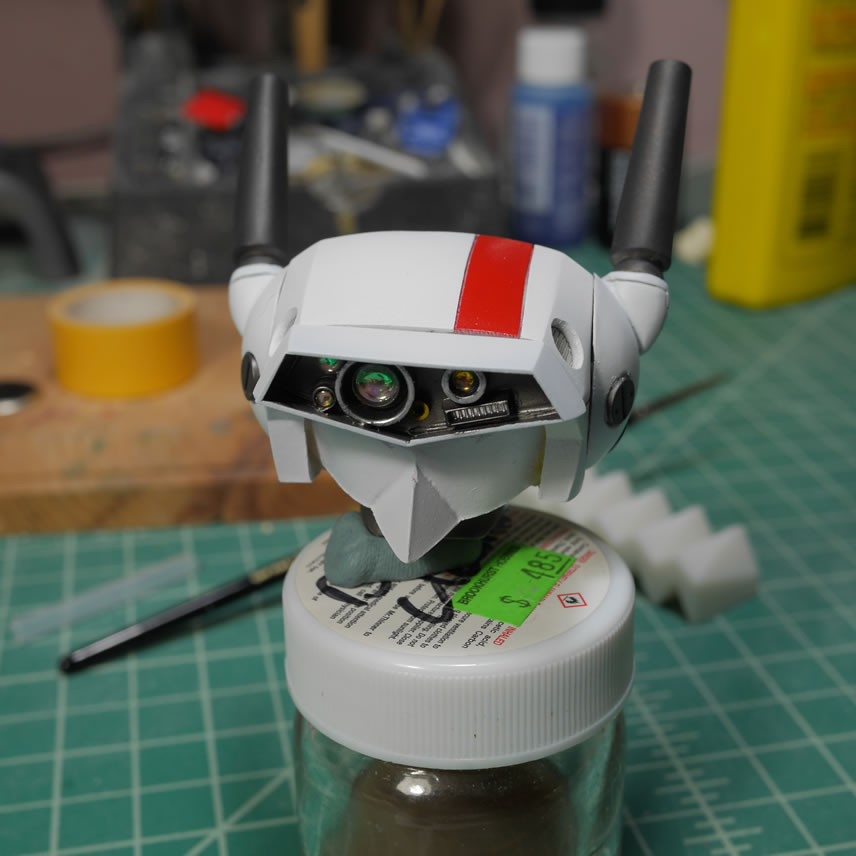
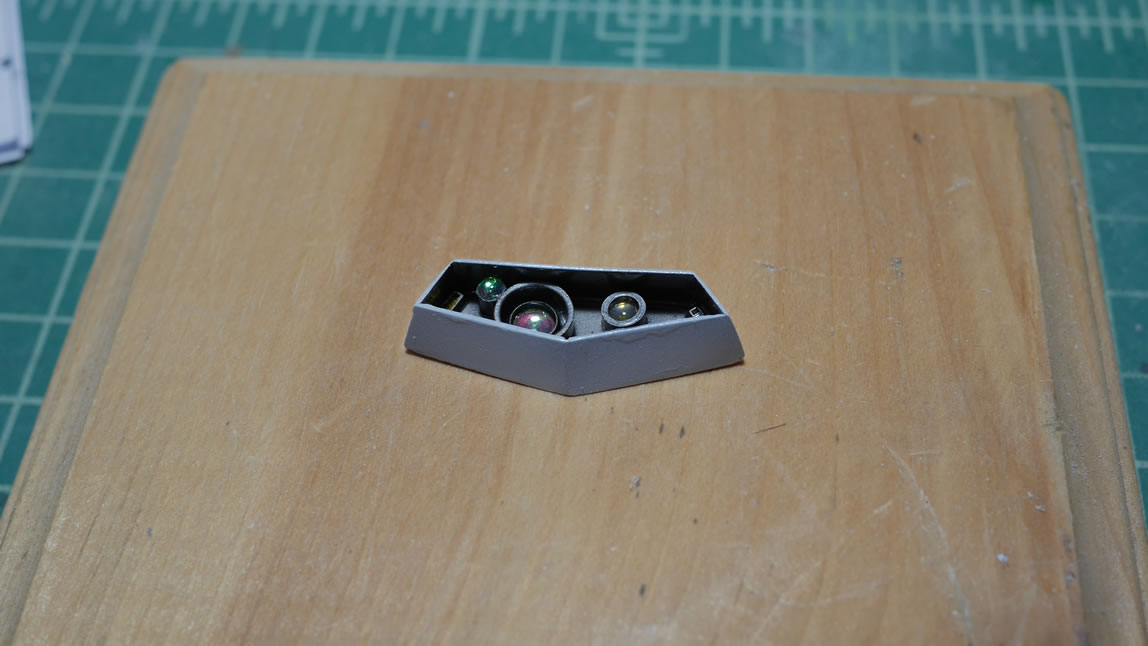
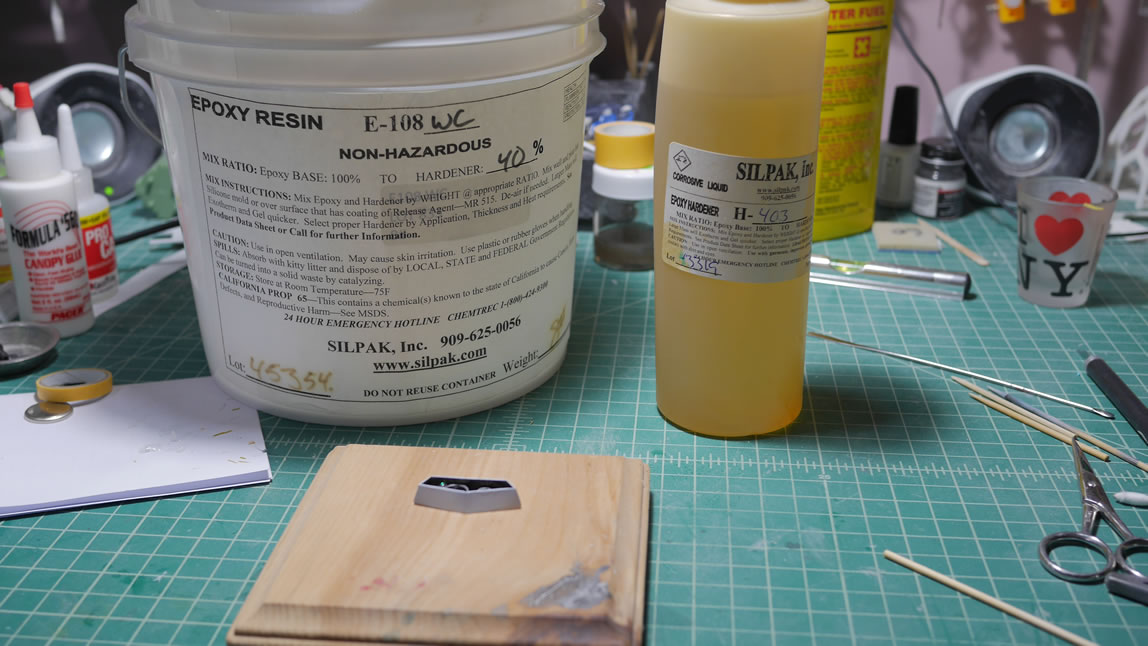
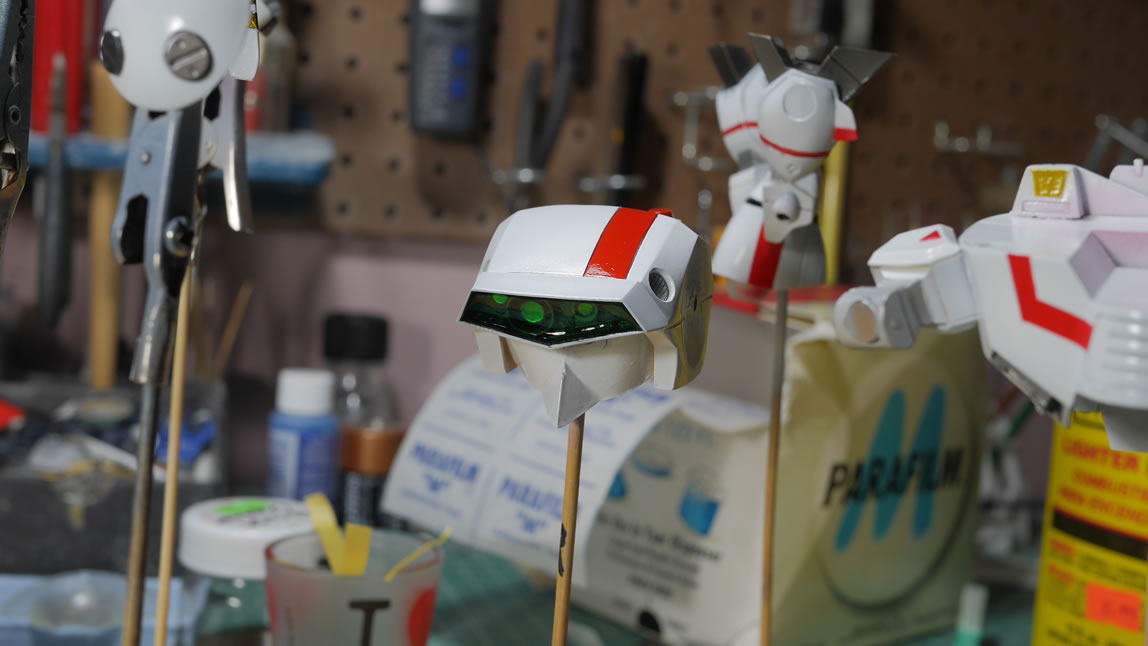
Once the paint has cured for the internals of the eye, I glued in some aurora film rounds that are color shifting depending on the angle of light. Once that is all set, I mixed some clear epoxy resin which is a very slow cure (3 day long cure time) to fill in the visor. I wanted to create a visor over the internals and /u/holocause from reddit gave me the suggestion to do just this. My other idea was far too complex and this sounded like an easy way to do this. So the internal area is filled and the visor is left to sit for 3 days.
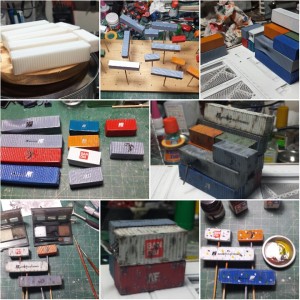
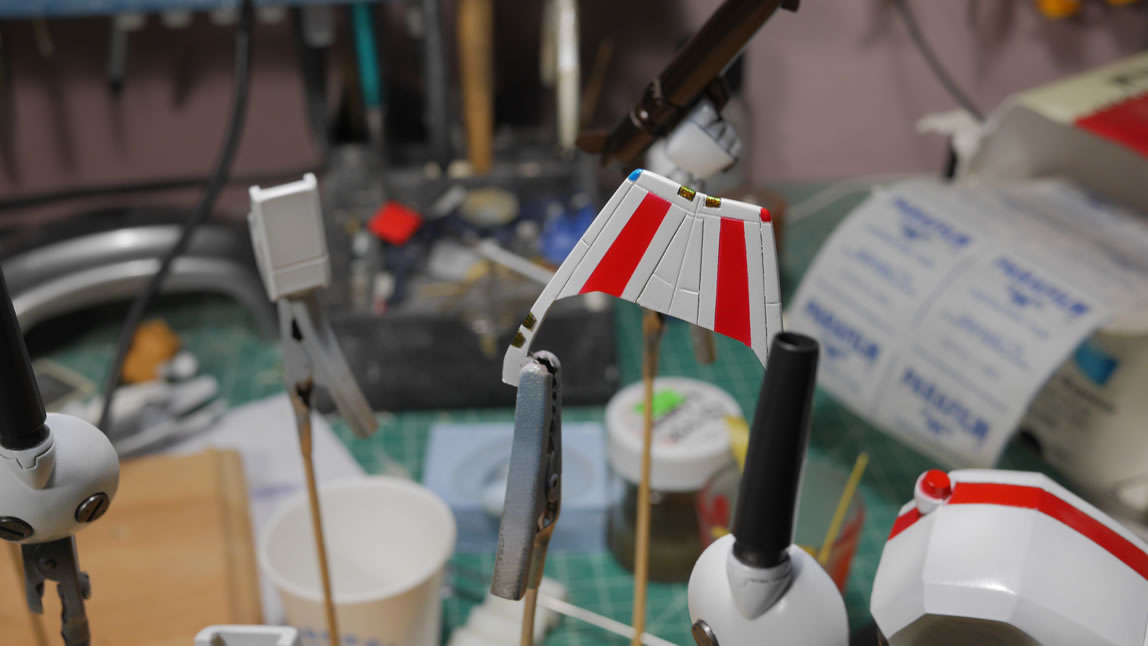
Masking and painting continue on the kit. Some hand brushing with enamels are done for smaller details. It is a pretty quick process that I slowly did over the last several weeks.

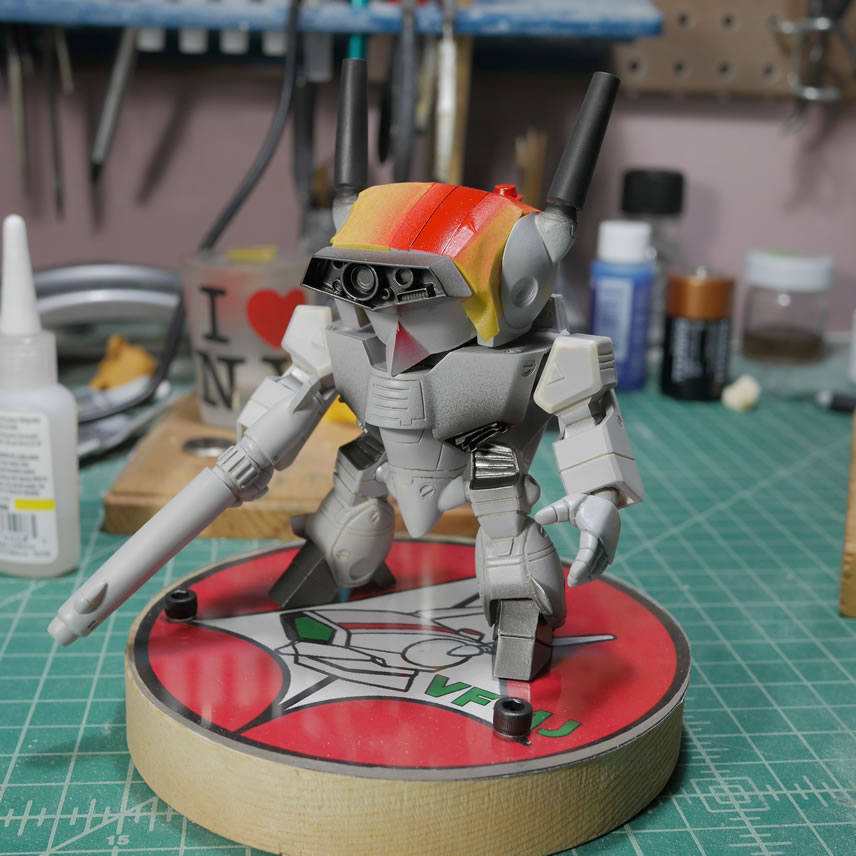
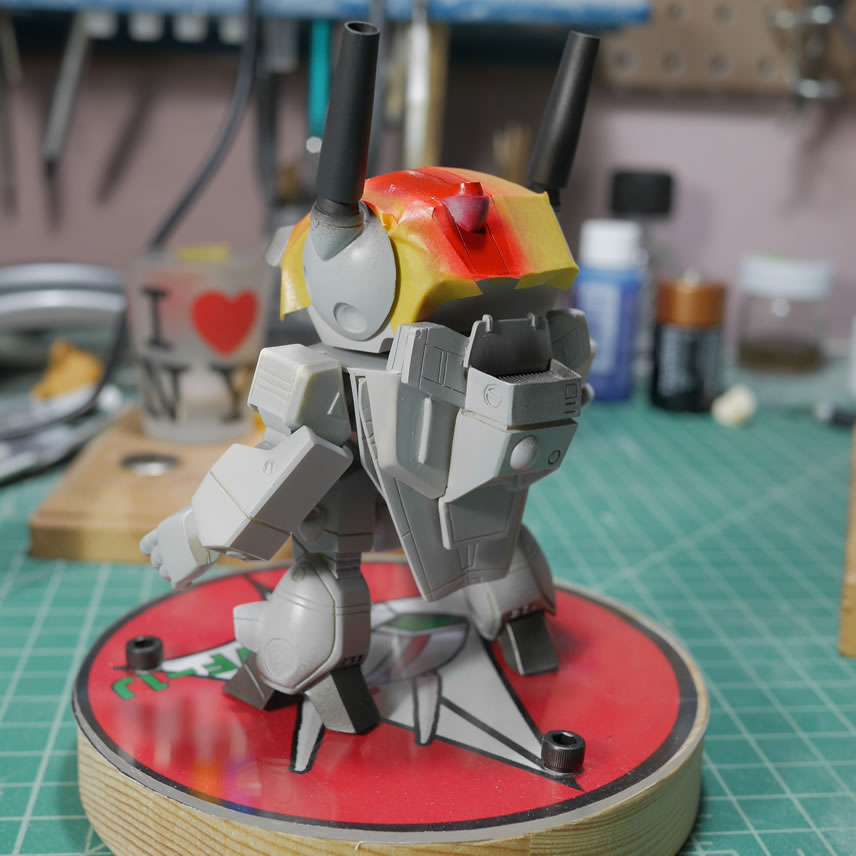
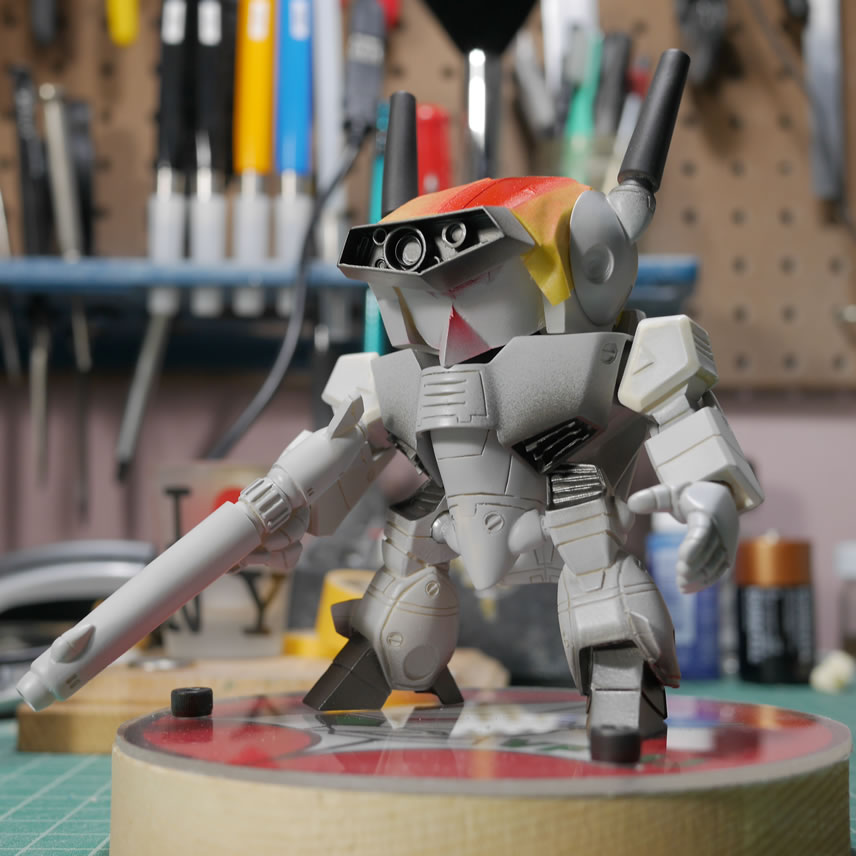
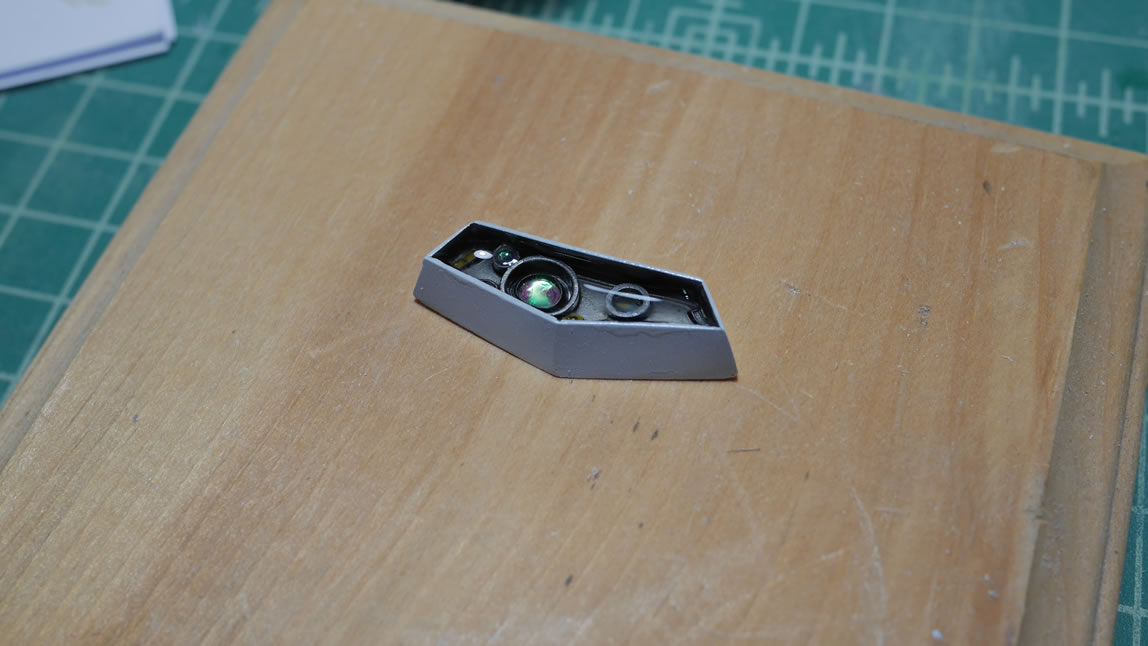
Once the resin cured for the visor, I sprayed clear green to tint the visor. This completely removed the color shifting properties but the internals can still be seen. I wanted to stay true to the green tinted visor of the VF-1J. A clear coat over all the parts got the kit ready for some decals and panel lines. And the last picture is a quick mock up after spraying the flat coat.
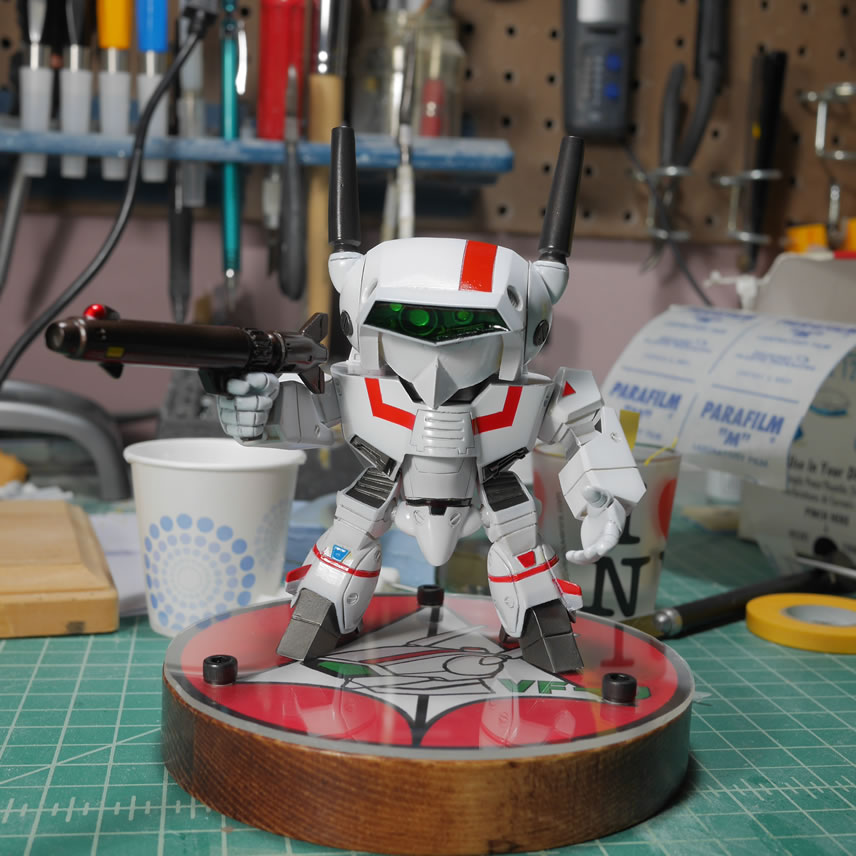
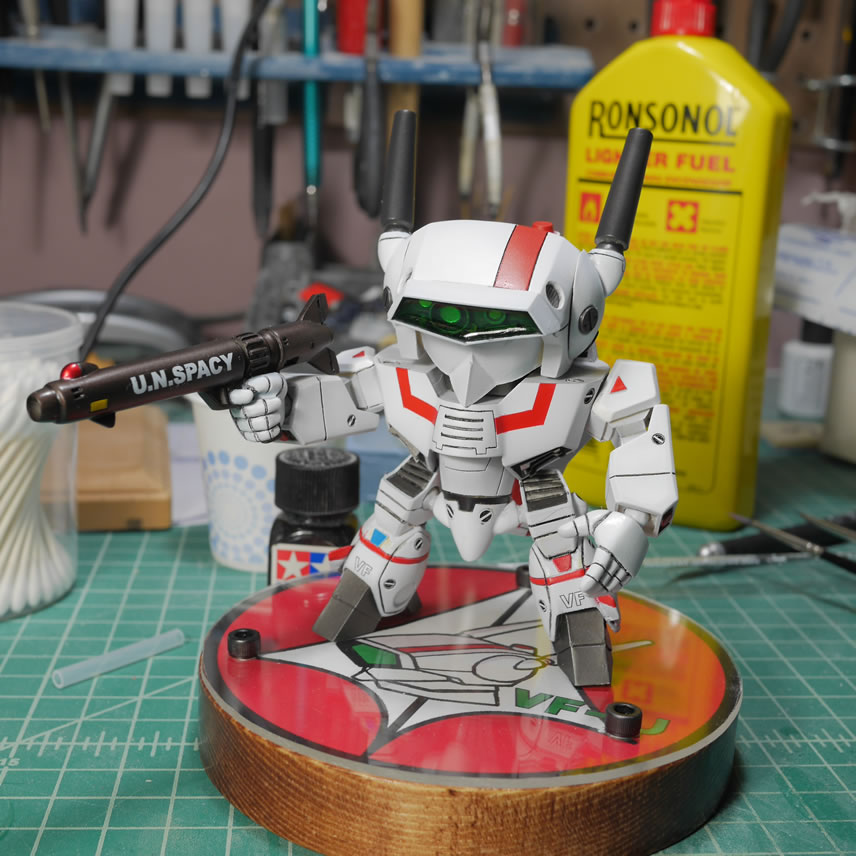
And after curing for a few days, I snapped some completed pictures and the kit is completed. So here’s the last kit for the year. I think I only got around to building 3, maybe 4 kits this year. Hopefully I’ll get at least this many kits done next year!
_JPG.jpg)
|
_JPG.jpg)
|
_JPG.jpg)
|
_JPG.jpg)
|
_JPG.jpg)
|
_JPG.jpg)
|
_JPG.jpg)
|
_JPG.jpg)
|
_JPG.jpg)
|
_JPG.jpg)
|
_JPG.jpg)
|
_JPG.jpg)
|
_JPG.jpg)
|
_JPG.jpg)
|
_JPG.jpg)
|
_JPG.jpg)
|
_JPG.jpg)
|
_JPG.jpg)
|
_JPG.jpg)
|
_JPG.jpg)
|
_JPG.jpg)
|
_JPG.jpg)
|