Towards the end of the Mercedes build, this kit arrived. The sculptor calls her æ»ç¥žã®ãƒ‡ã‚¹ä»£ or just “Death/God of Death”, I prefer the less final name of Grim Reaper. I picked her up off yahoo!japan auctions right after Winter Wonfest 2018. Unknown to me was that the sculptor: https://twitter.com/chilmirumirumi was already planning on releasing the kit to folks outside Japan through her webshop: http://artfiguegk.theshop.jp/. Yesterday there was a twitter update with two release times: March 17 @ 22:00 Japan time and March 18, 2018 @ 15:00 Japan Time. So for those interested in this kit, keep a watch on her webstore at these times to get it. Her kits sell out, and I don’t think she does multiple runs; so if you want it, get it now. Build her later if you want. I wanted to build her now, so I started a few weeks ago.
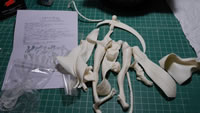
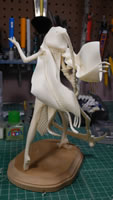
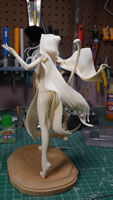
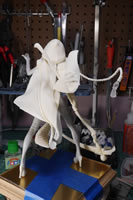
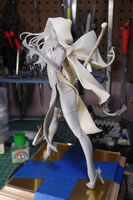
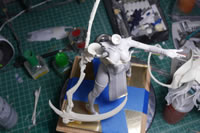
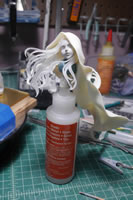
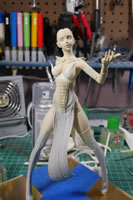
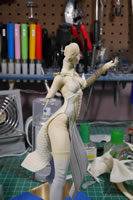
The nice thing about resin figure kits are the parts count. The down side to a low parts count is a decent amount of masking when getting around to the painting. The cleanup work is also a sizeable chunk of work. The first thing I usually do is pin together the major parts. The smaller bits are left off so I can get a general idea of what the kit looks like and what I need to do to approach the build. A visual really helps. Plus, pinning is one of the fun things about resin kits, you get a sneak peek into the end of the project.
Turnarounds done, the real work starts after the jump.
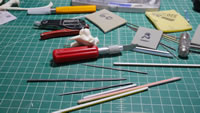
The first steps after pinning is the clean up. There will be mold lines to fix. There will be pinholes to fix. Its just part of working with resin. Time to bring out the sanding pads, files, and hobby knife. Surface prep is the most important thing for any kit building. Everything else is stacked upon this foundation, so if you have a shitty foundation, you’ll have shitty paint, decals, etc because all those things are built on top of the bare kit surface.
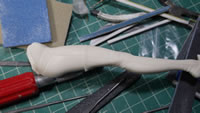
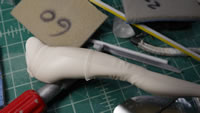
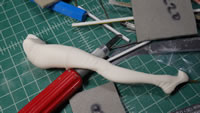
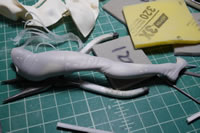
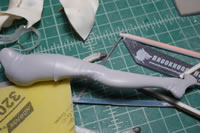
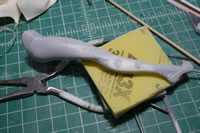
One of the rough things about figure kits is a mold line that runs through details. Small details and fabric folds can be difficult. Slow down and take small areas by small areas and eventually, you’ll get a smooth surface without mold lines or pinholes. The pinhole issue will come about later. First, we tackle the mold line down the folds of this leg. I used some small metal files here to slowly sand down and basically resculpt the areas where the mold line runs. I finish sanding out one area and then move on to the next section. I find that this breaks up the detail filing work a bit so that it is much more manageable. Eventually, this leg part is ready for the next step, a bath.
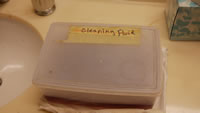
Once the parts have been sanded, they go into an industrial strength cleaner bath. The parts will sit here for at least 24 hours. This removes any degreaser or mold release agents that may still be on the surface of the resin. Mold release will keep anything from sticking to the surface of the resin, so it absolutely needs to be removed.
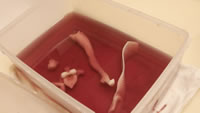
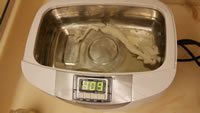
24 hours later, the parts are pulled from the industrial strength cleaner bath – USE GLOVES, unless you enjoy having your skin peel off your hands. The parts are first rinsed in clean water then placed into an ultrasonic cleaner with water. This process further scrubs the parts to ensure a very clean and oil free surface. The parts are then pulled out and left on a paper towel to dry completely before getting primer sprayed. For those that do not own an ultrasonic cleaner; a toothbrush, warm water, and dish soap does the same thing here.
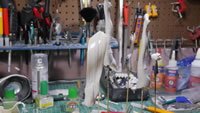
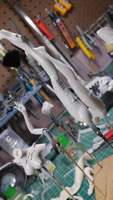
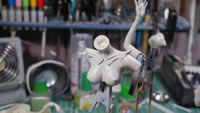
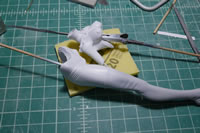
The dry parts are placed on skewers or held with alligator clip skewers and primed. In the below pictures you can see that some of the primer looks almost wet. This is airbrush technique 101. First spray a light mist to get some small dots of paint onto the surface. Then start spraying evenly to cover the parts, and finally spray heavier to get a wet finish and stop spraying. The first mist layers will act as an intermediate between the dry surface of the part and the paint. This helps paint adhesion and avoids paint pooling. Once the primer dries, it will be a flat finish. The parts are left to cure for 24 hours.
While the “skin” pieces just primed are curing; I can focus on cleaning up other parts. This separation in build process helps keep me away from the recently primed parts so I don’t screw something up because the primer hasn’t had enough time to cure.
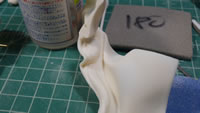
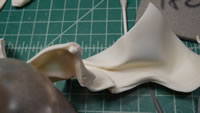
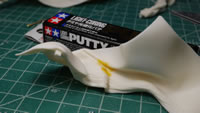
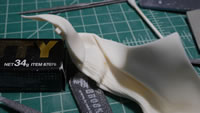
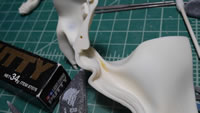
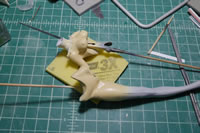
Sanding the hood piece, I run into a mold line that is considerably more significant than the mold lines on her torso and legs. The part is rather large and from the looks of thing, it seems that the mold shifted a bit more here so that the moldline more pronounced in some of the fabric folds. I don’t want to spend so much time sanding the mold line because it is in a fairly difficult location. Light curing putty comes to the rescue. I’ve yet to soak this part in the industrial cleaner, so I take a cotton q-tip and dip it in some Mr. Color Thinner and cleaned the mold line area. This cleans the area so that the putty has an oil free/mold release free surface for adhesion. Here are some pictures of the hood part from different angles to show the mold line problem.
Light curing putty lets me work much faster than traditional epoxy putties. The stuff cures under the work lights in under 2 minutes. The only issue is that the putty may need application in layers as light needs to penetrate the putty completely to cure it. The putty is applied and roughly shaped before the part is placed directly under the lights. About a minute or so later, the putty can be sanded and works to fill the cliff created by the mold line.
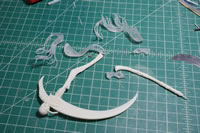
A day passes and the primed skin parts are cured. Time for a quick assembly to look at how things are coming from a wider scope. I also take this time to finish pinning all the other small bits such as the heels, the detail bits at the end of the ropes, the rope piece for one side of the cape, and the rest of the hair pieces. The handle ends of the scythe are also pinned.
The engineering thought that went into the character sculpt and design is amazing. I have a picture of the torso where the base of the head’s neck piece contacts the body. The sculptor is just amazing with the head design. The head attaches to the hair pieces which then attach to the two hood pieces. The entire assembly is so well balanced that the whole head assembly with hood sits perfectly in the torso neck piece with only magnets holding the two pieces together. Aligning these two pieces to get a precise pin was a little difficult, so I opted for magnets. This was before I realized that the entire hood piece rests on the head. To my surprise, the magnets work perfectly to hold the two subassemblies together. Granted I will glue the head piece to the body at the end of the build, but in the interim, for test fits and such, I’m still amazed.
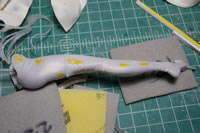
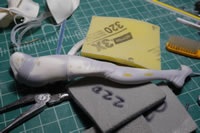
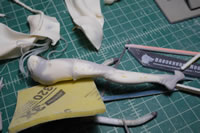
Test fitting done, time to take things apart and really examine the primed pieces. The first layer of primer is always just a stepping stone to more surface preparation. All the missed sanding spots, rough sanding spots and pin holes are clearly seen with the primer than on the bare cream colored resin. Pin holes are opened up so that the putty has more surface area adhesion. And just as before, putty –> cure –> sand.
Once sanded, the parts are primed again and left to cure for another 24 hours. Looking at the primed leg, most of the areas are fixed, but light still catches in some areas we need another putty/sand/prime session.
The surface prep is done after a few steps. Now for the first layers of paint. For skin areas, I need to white out the grey tones first. Mr. White base is sprayed on the skin areas. Bleeding from the previous layers happens because airbrush layers are so thin and certain colors are more susceptible to this issue based on pigment concentration. The skin will take on a grey tone if sprayed directly over the primer. Granted, this is Death we’re working with here, so that may be a good effect, but I don’t want that, so white base is sprayed. I do want a lighter skin finish, so I went with my medium skin tone over the darker base skin tone I have. This medium tone is used as the base skin color. Below are pictures of the parts in white and the medium base skin tone.
I don’t need to worry about letting the paint layers fully cure before moving on, so I allow them to dry for a few hours before spraying the next layer. I mixed a very light skin tone to shade and get the final blend to finish the figure’s skin color. Another quick assembly of these parts to get a quick visual. I find this necessary to check for tonal differences. Tonal difference is a huge issue especially with airbrush preshading techniques. It is VERY easy to get different shading tones on each part. Putting the kit together give a really good visual on if tones need to be balanced. From this quick assembly, I found that the two leg pieces are mismatched so I needed to spray a little more of the light tone for one leg to balance out the skin color. Had I skipped this, I would have a rather odd looking tanline.
I have the hood, heels, and small pieces that are part of the hood assembly sanded and soaking in the industrial strength cleaner. The hair piece and scythe parts are up next for initial sanding.
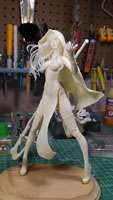
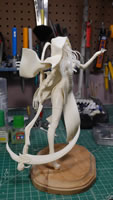
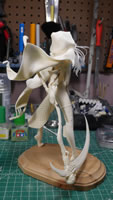
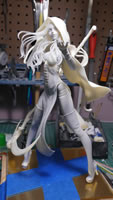
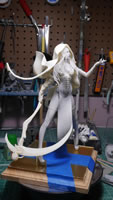
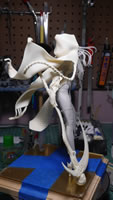
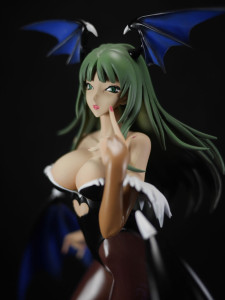
The more I keep seeing this kit, the more I want it, lol. I really love the overall look this kit has.