Model building ADD strikes again. I sorta hit a wall with the Zaku/Guntank diorama. I’ll eventually return to it like most projects. But this sucker came in a sometime last month and I’ve been itching to build it. I recently finished the 1/144 version, so I was curious to what I could do with the 1/100. The first thought was to just Out of Box the damn thing. But as I snapped and built this week and during our bi-weekly live broadcast, ideas started swirling and the past two days has seen a bit cutting fiddling. The following picture won’t last too long…
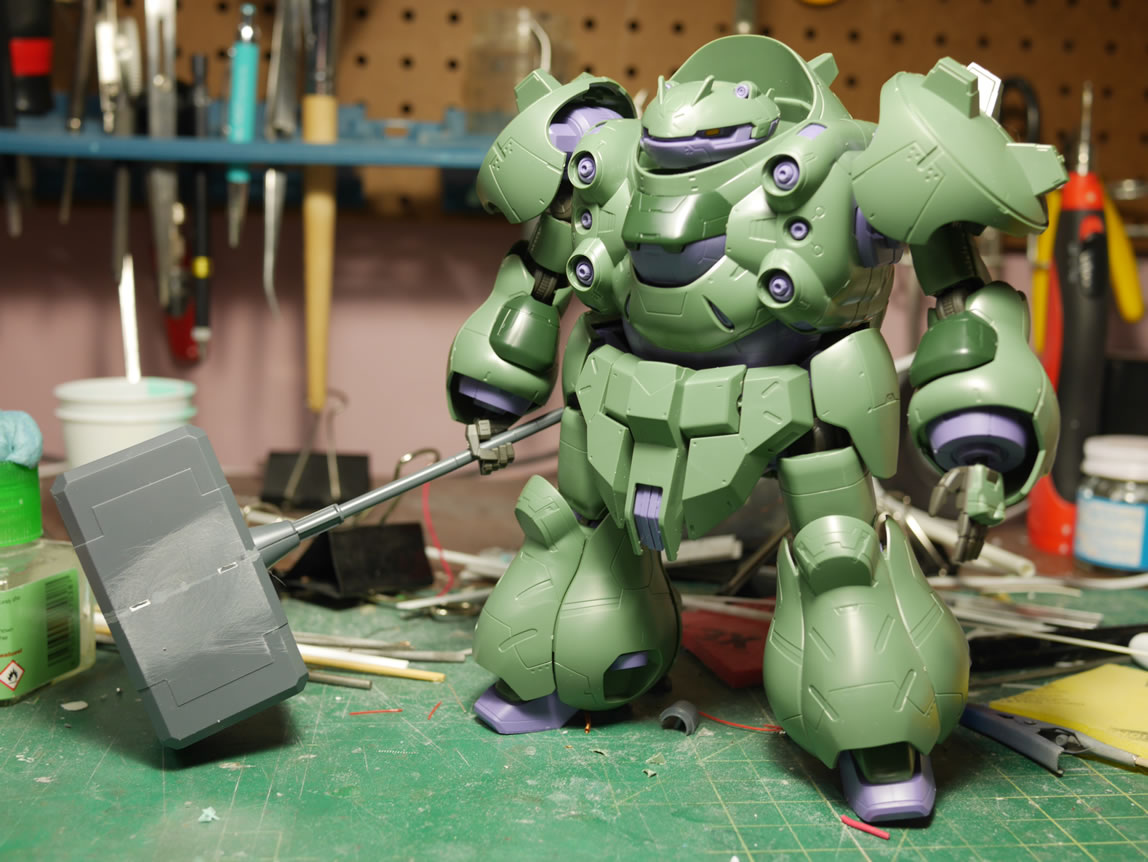
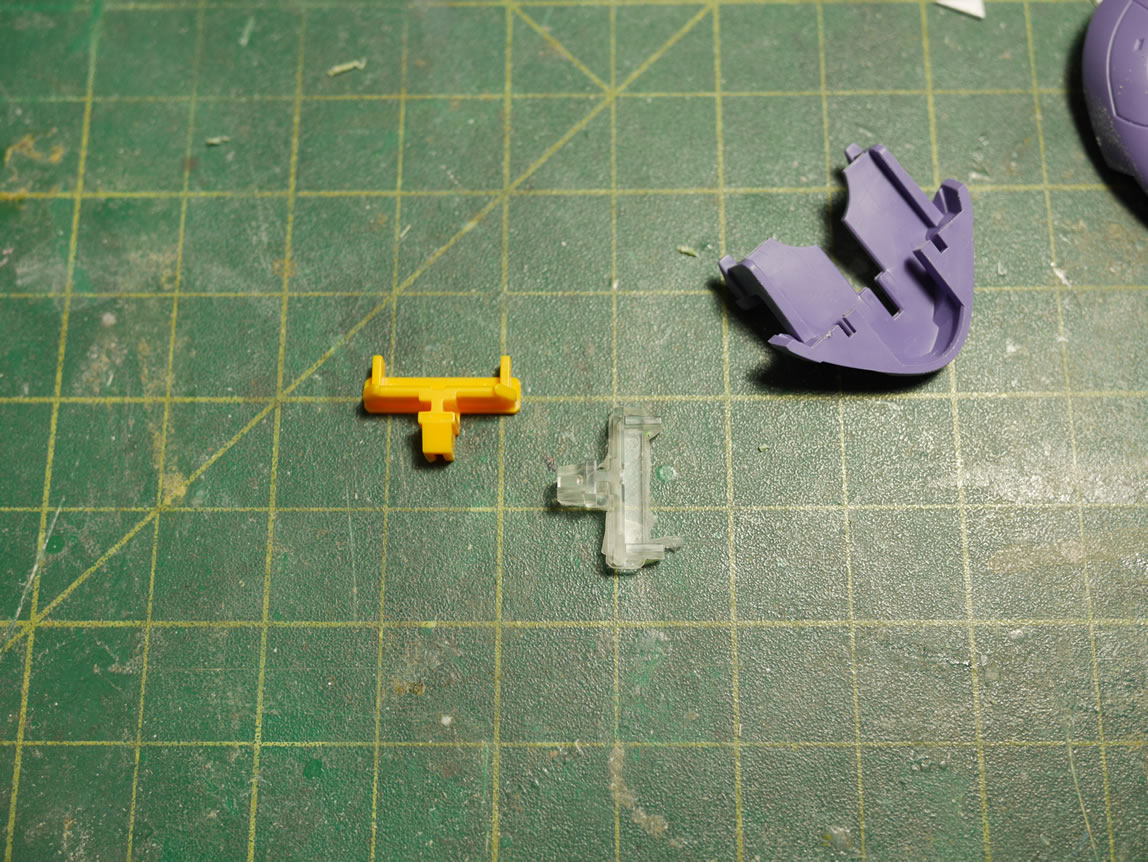
I cracked open the box this Monday and started the snapping, actually sanding the stupid inner frame, for which is COMPLETELY hidden, with very few exceptions. I got the sucker snapped together by the end of this week’s live broadcast on Tuesday. Going back to Monday for a bit, I started work to mold the Gusion Head’s yellow part (its eyes). I made the second part of the mold on Tuesday.
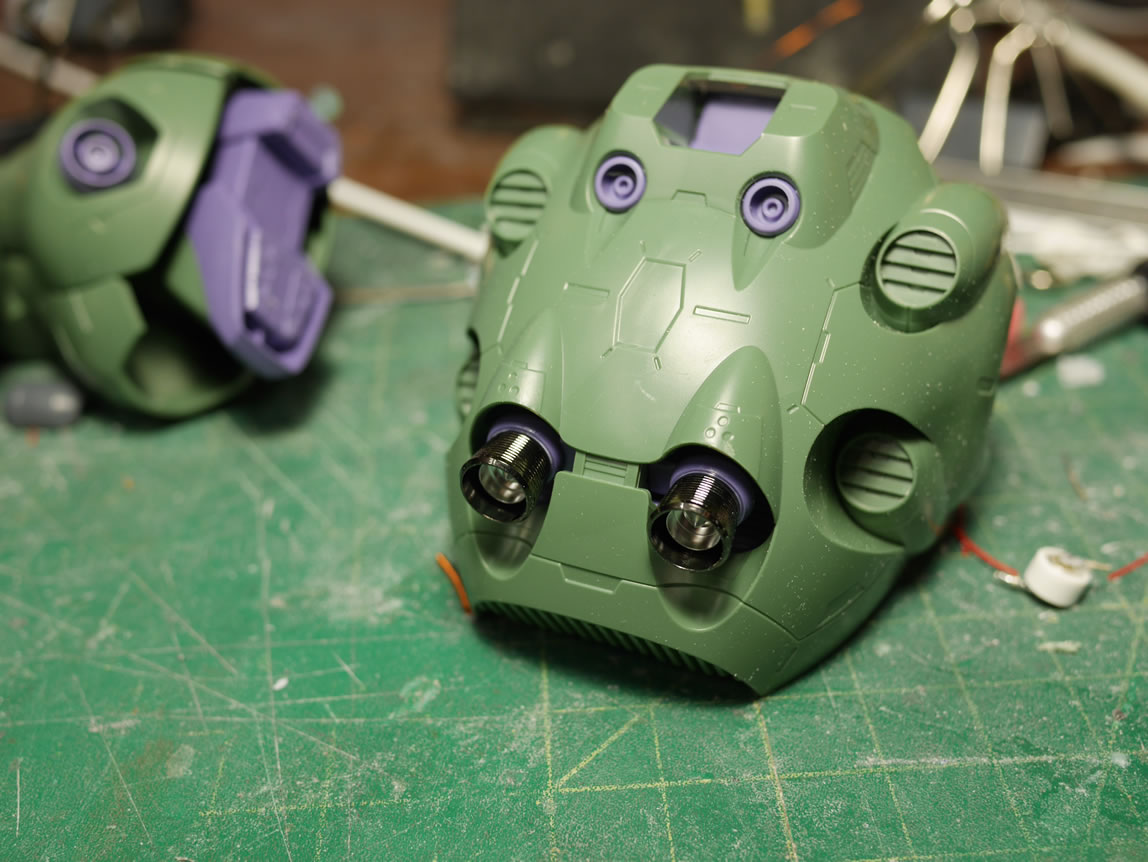
The first mod was very simple, I just glued some metal thrusters to the rear thruster. Gives the thing a little more detail in that realm. Next up, I cut apart the shoulder details. I have some ideas but first, I need to clear the area for more workable real estate. Some plastic strips fill in the hole as well as some basic putty to help fill small gaps and such.


Next, I sanded down the front antennas slightly so that I had a flat surface to work with then glued some styrene strips to the flattened antenna. I’m going to extend the antenna slightly. So once glued, this was placed off to the side. Next up, we have the mold made from the yellow head part. I made a mold so I could cast a clear resin replica.
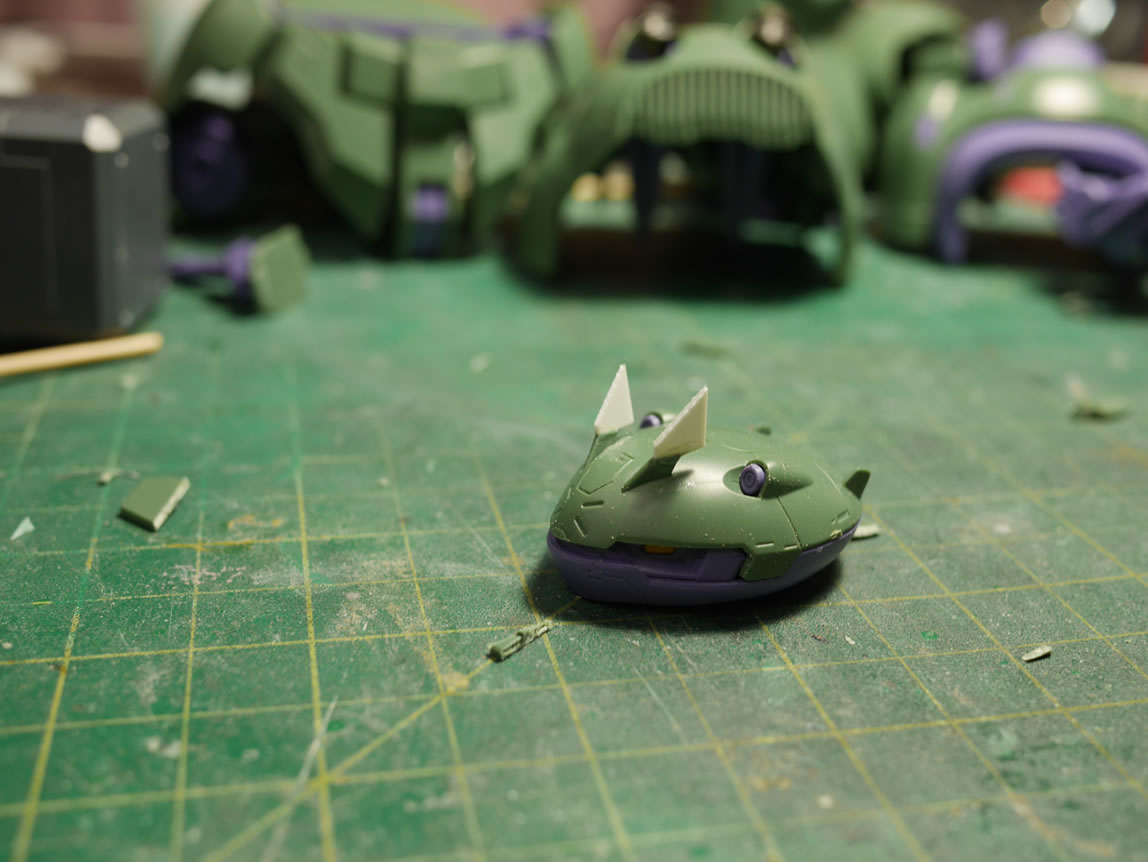
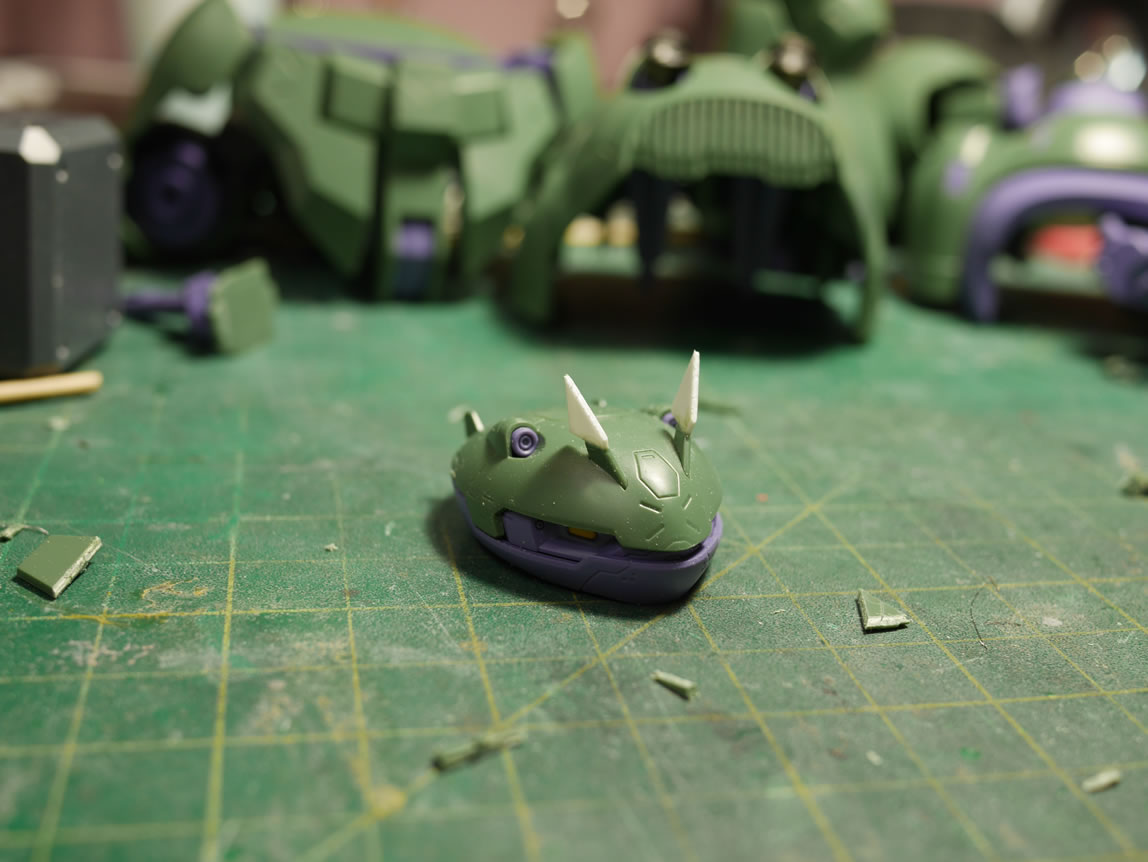

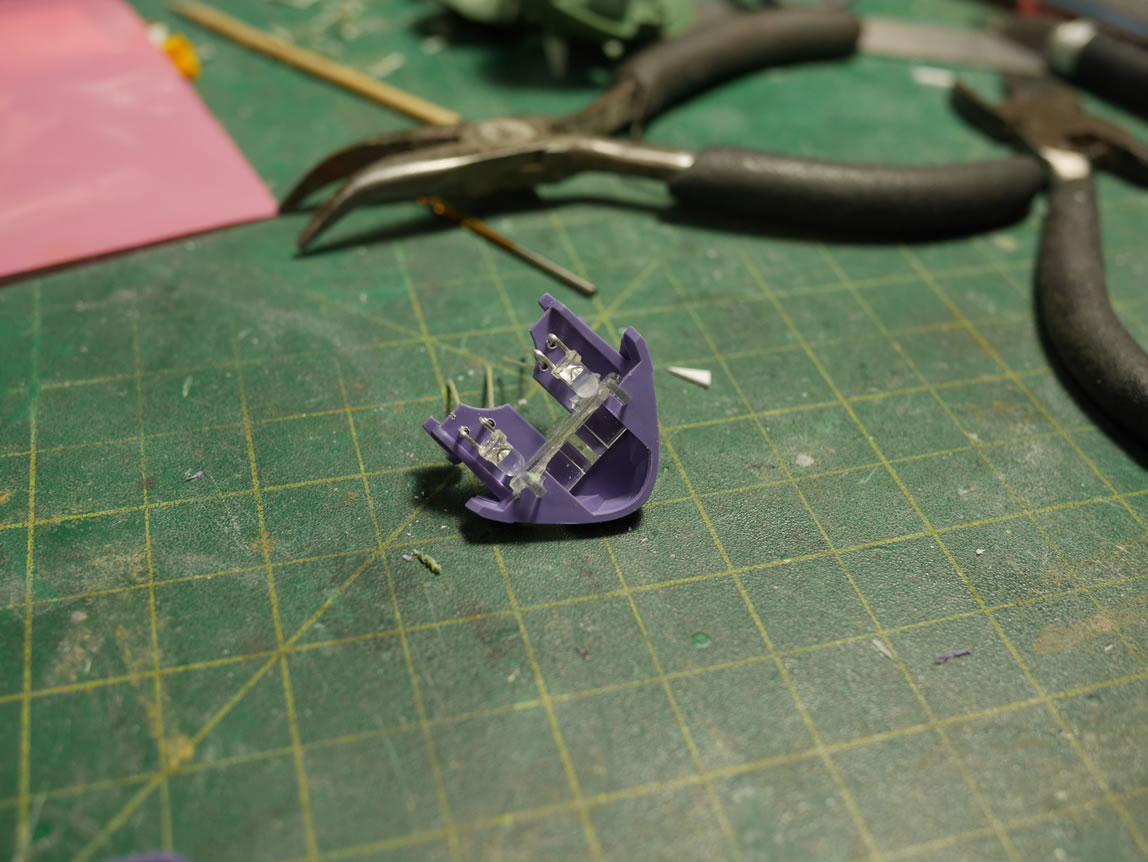
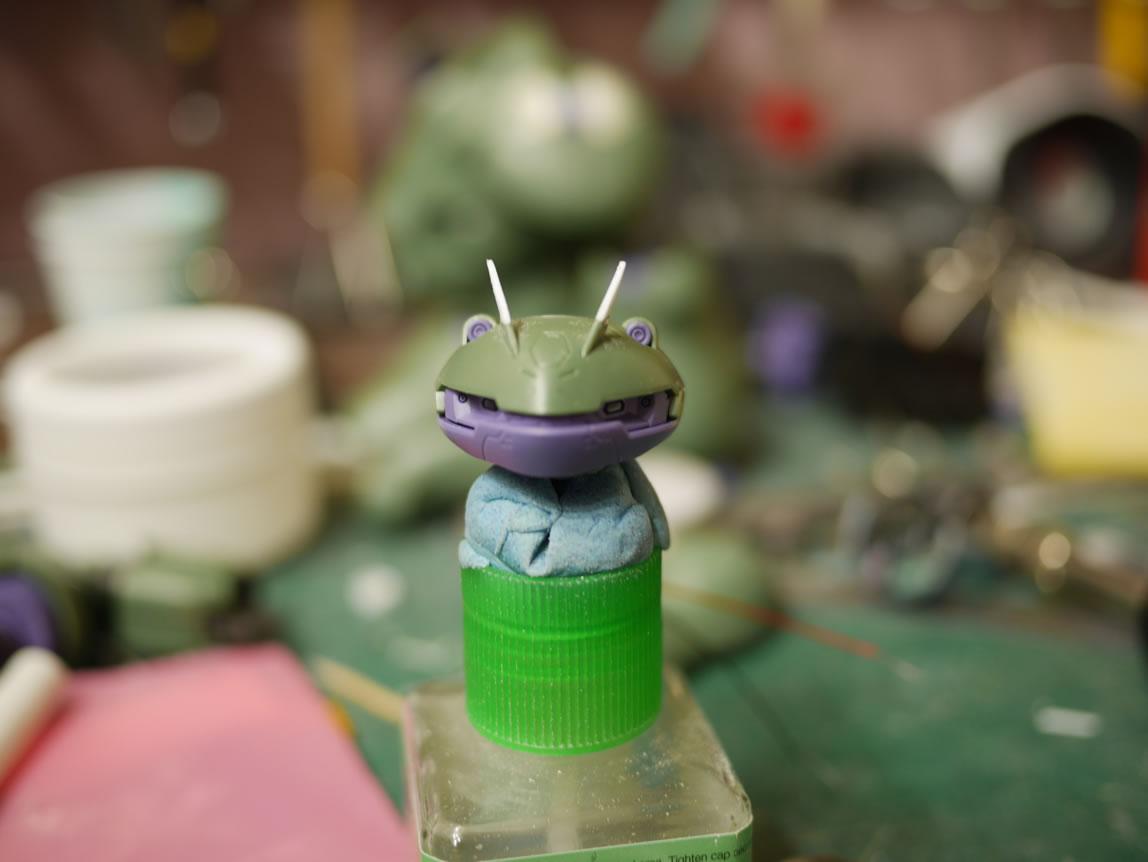
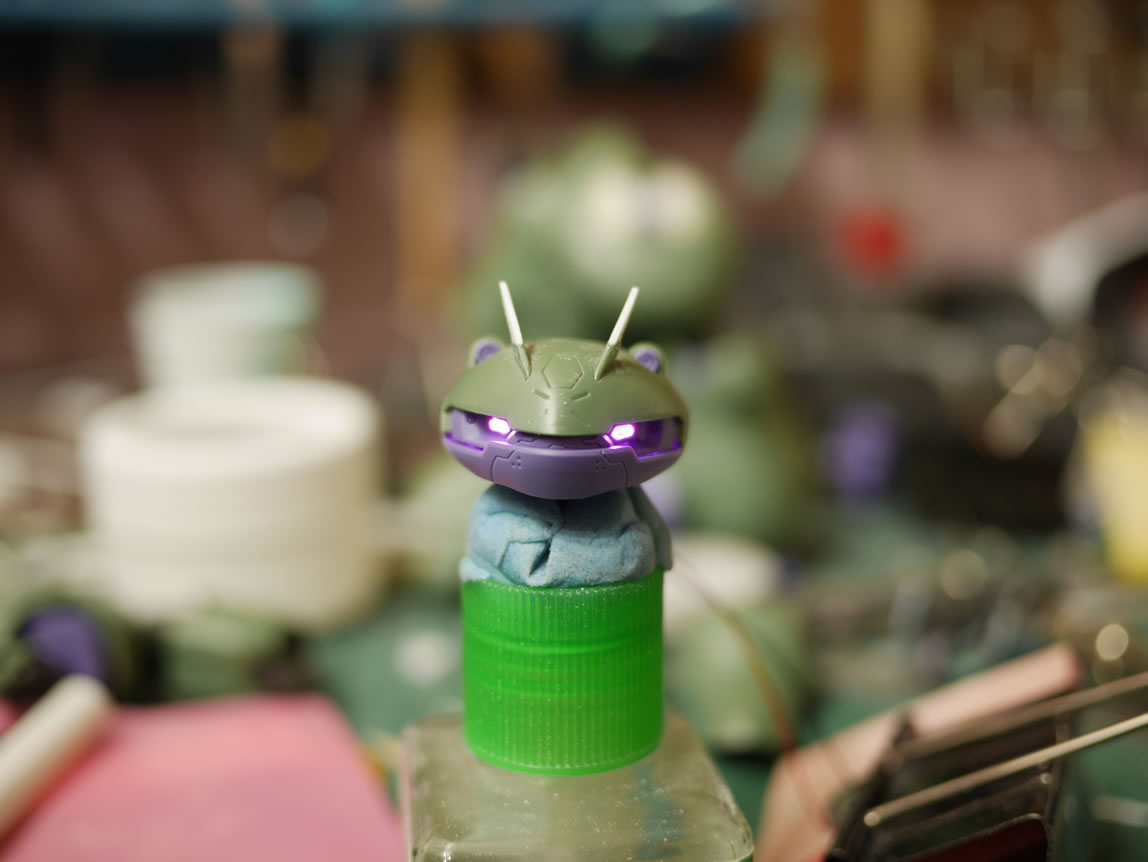
With a clear resin replica in place, I added in some LEDs, assembled the head, snapped a quick picture, then attached a power source and snapped another picture. I went from yellow to pink!
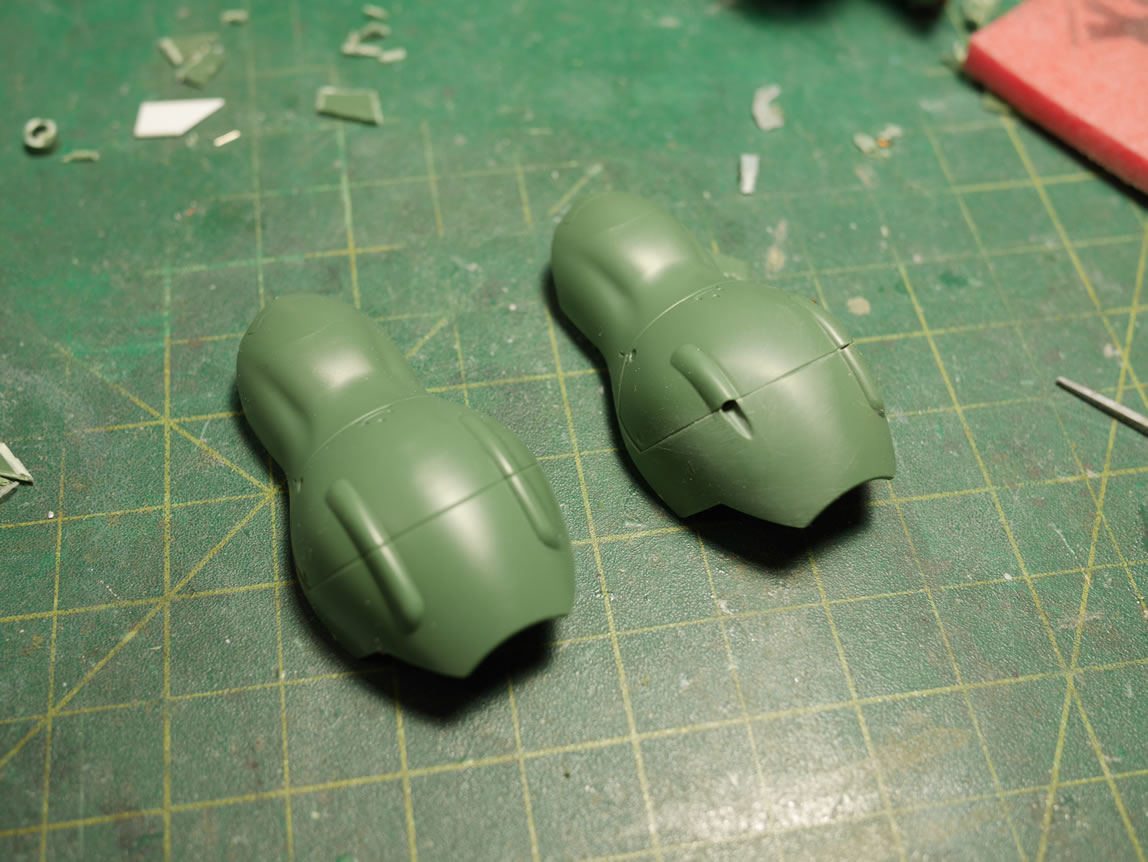
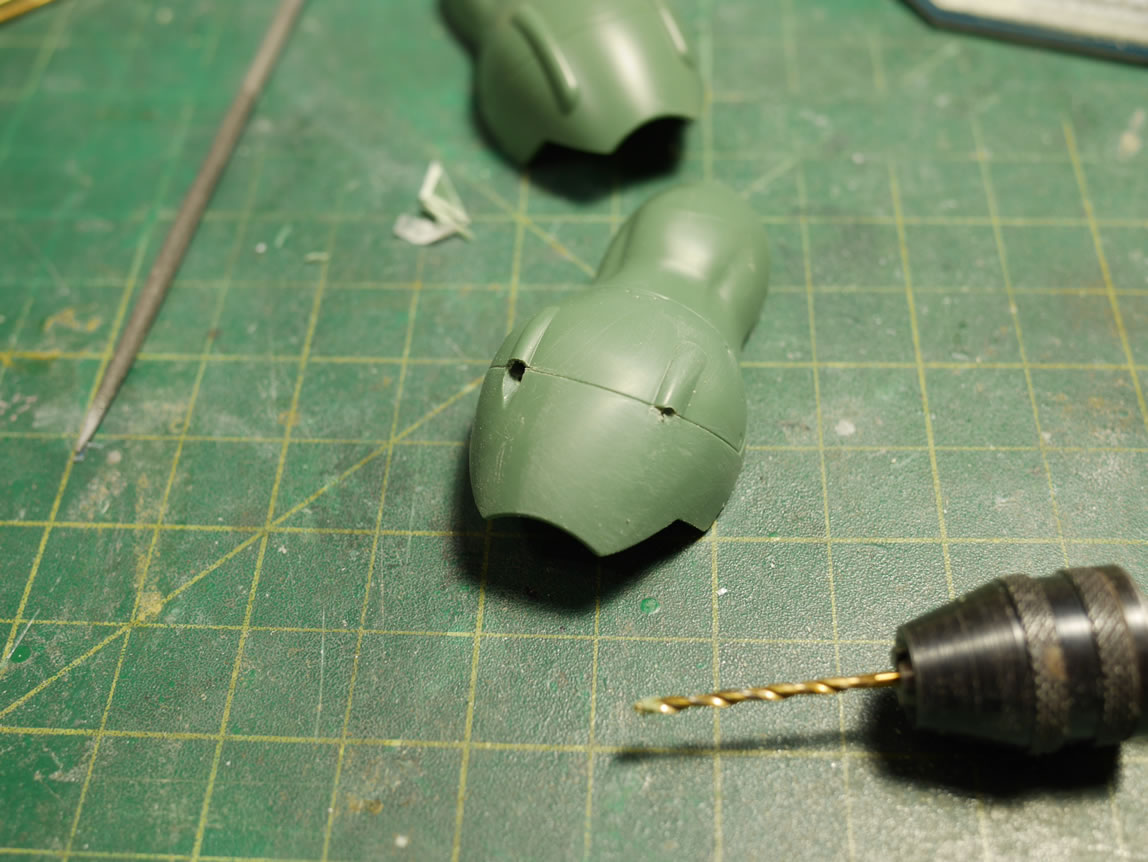
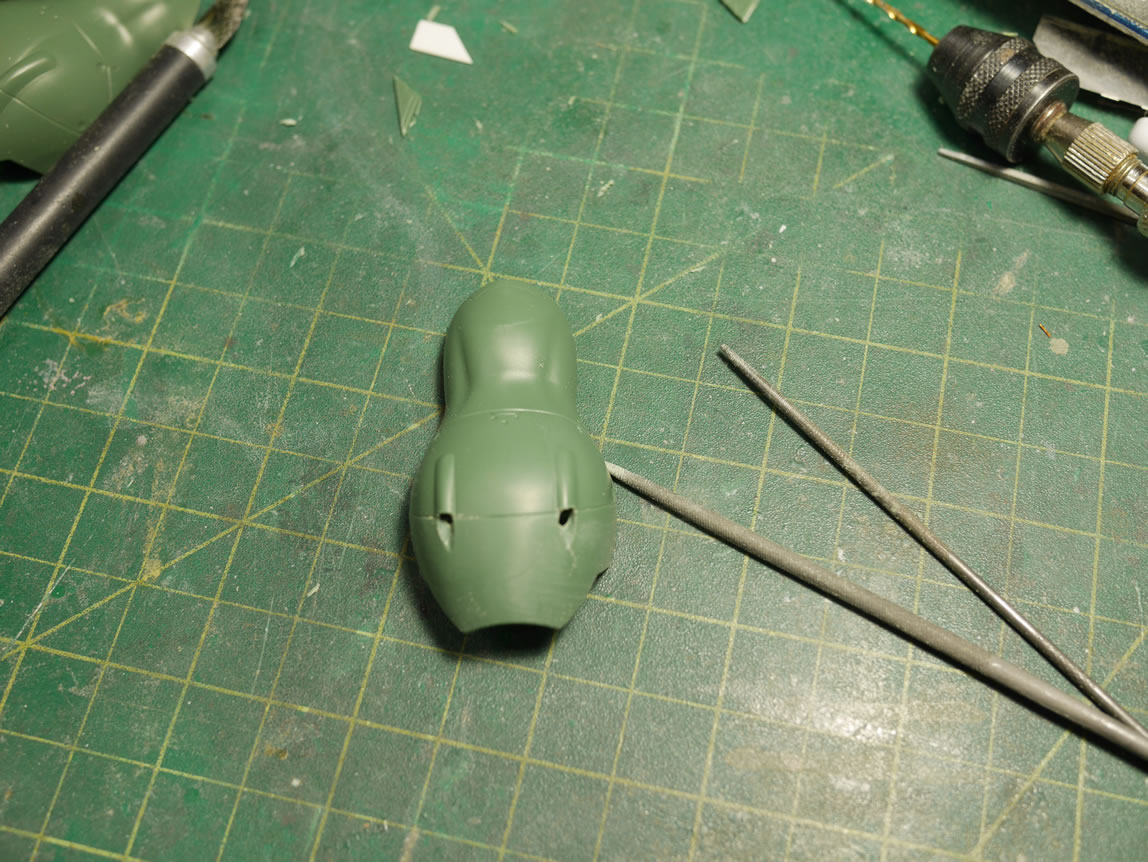
Looking at the forearms, That front bump detail just screamed to but cut out. So I took a thin hobby saw and traced along the panel line to cut down the bump. I then sanded the lower part of the bump away. Drilled into the area where the lower bump used to be as well as into the still existing upper bump.
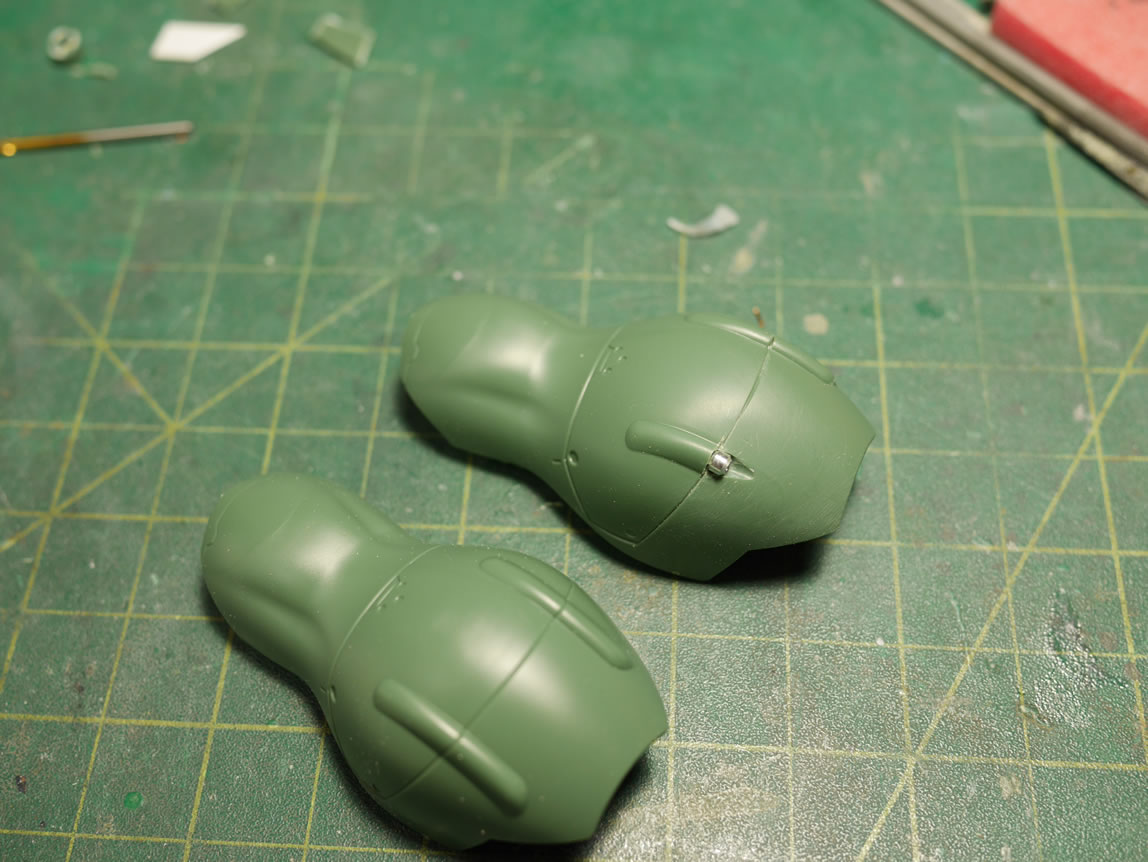
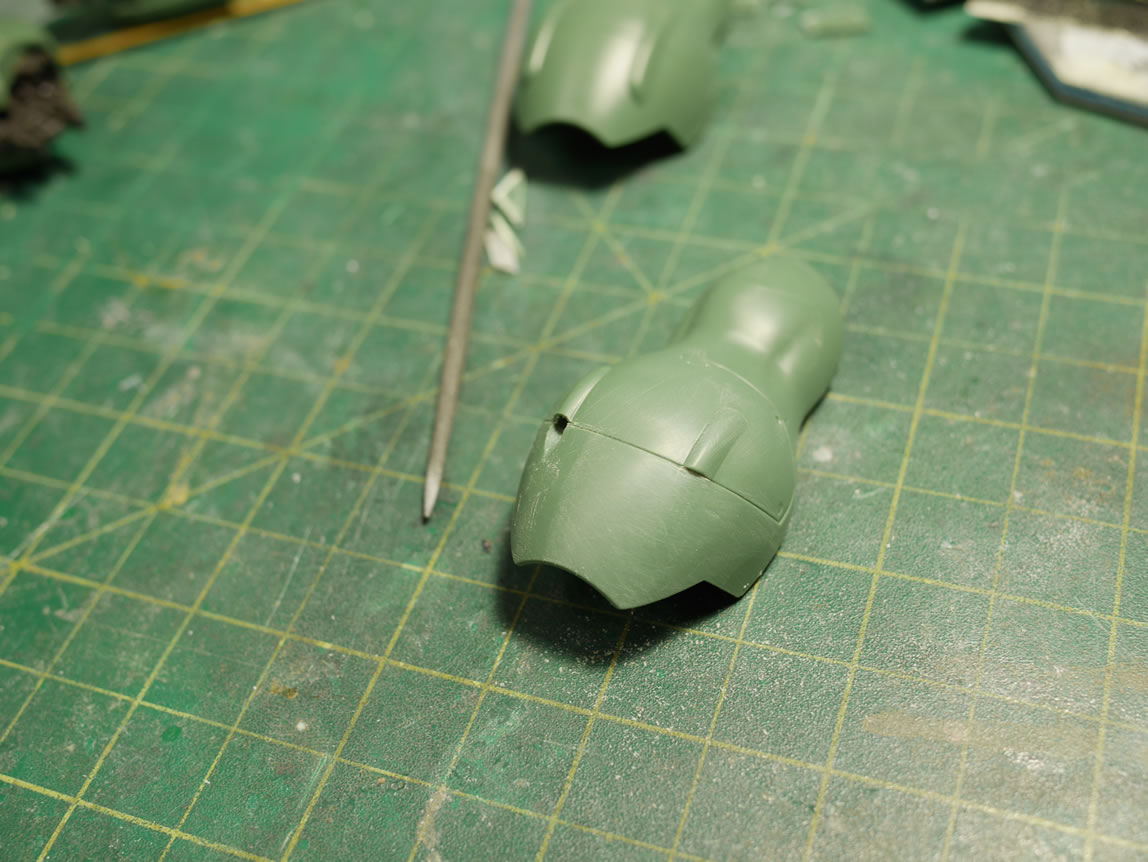
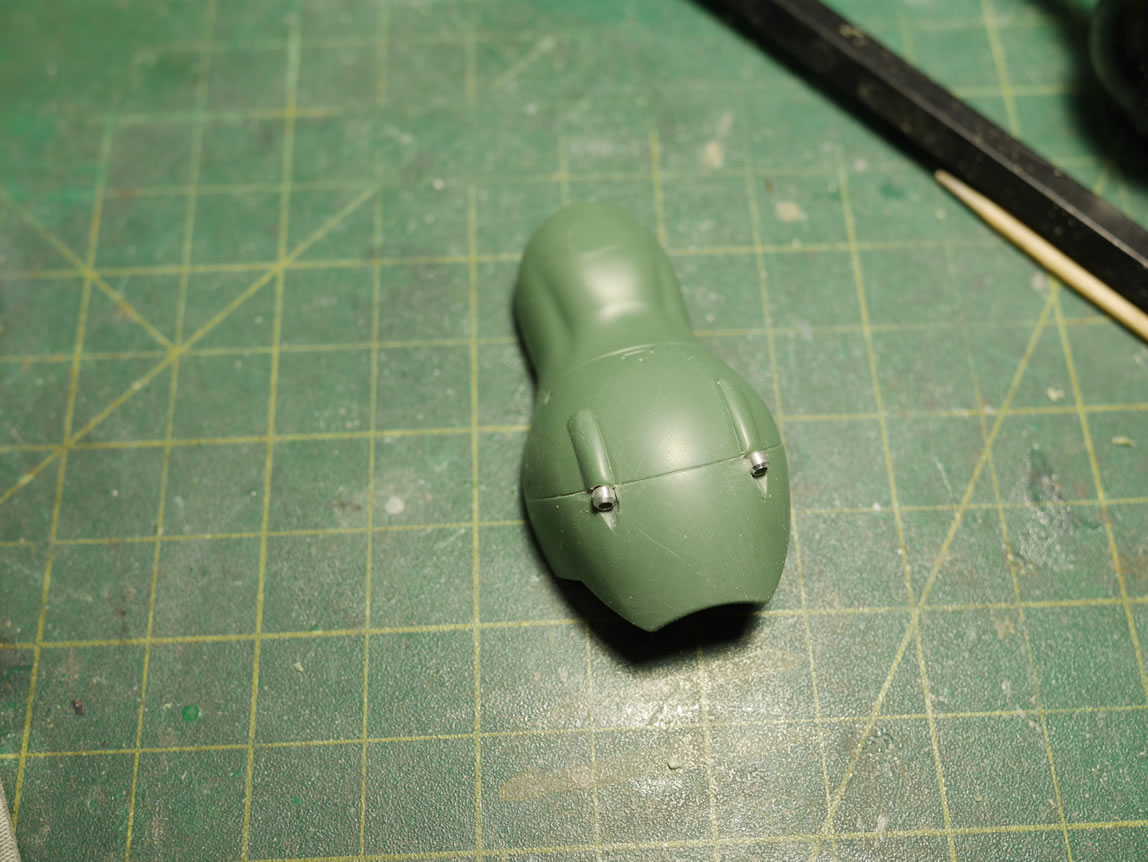
With a small pilot hole drilled, I went in with some files and slowly shaped out a spot for some forearm weaponry or metal bead details.
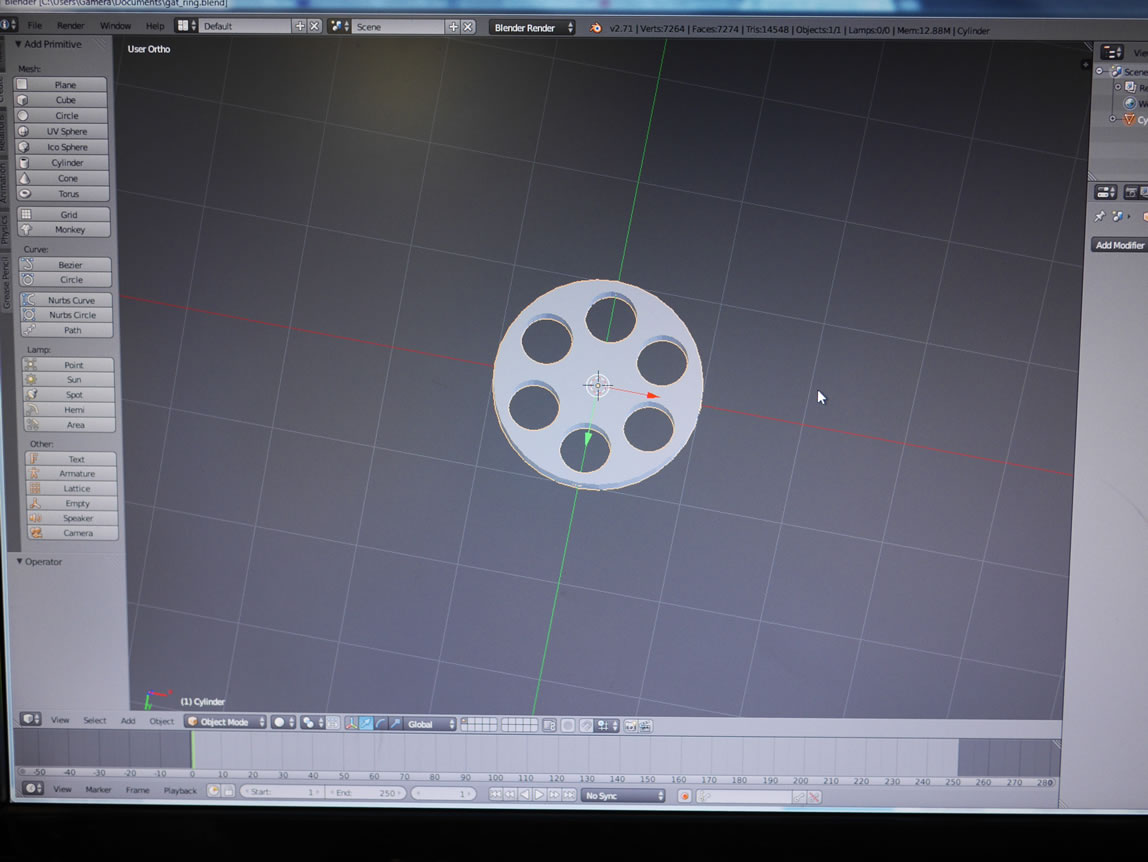
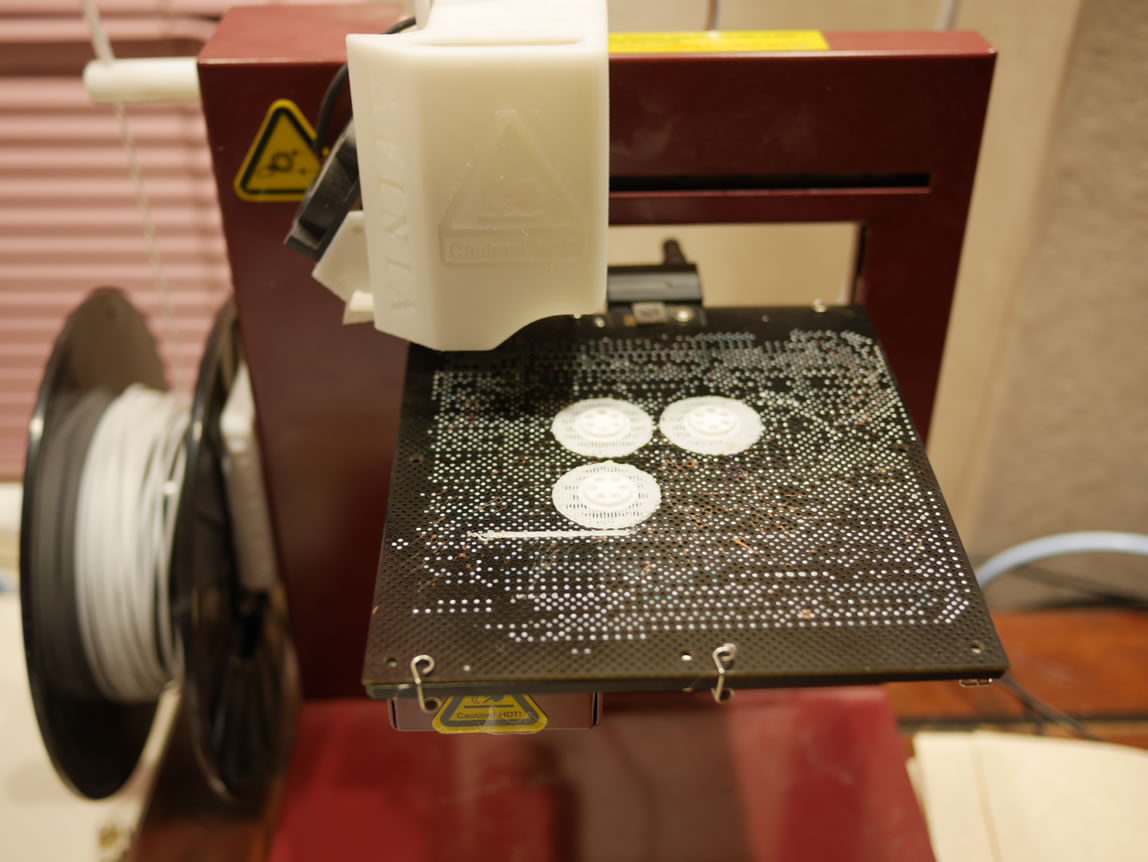
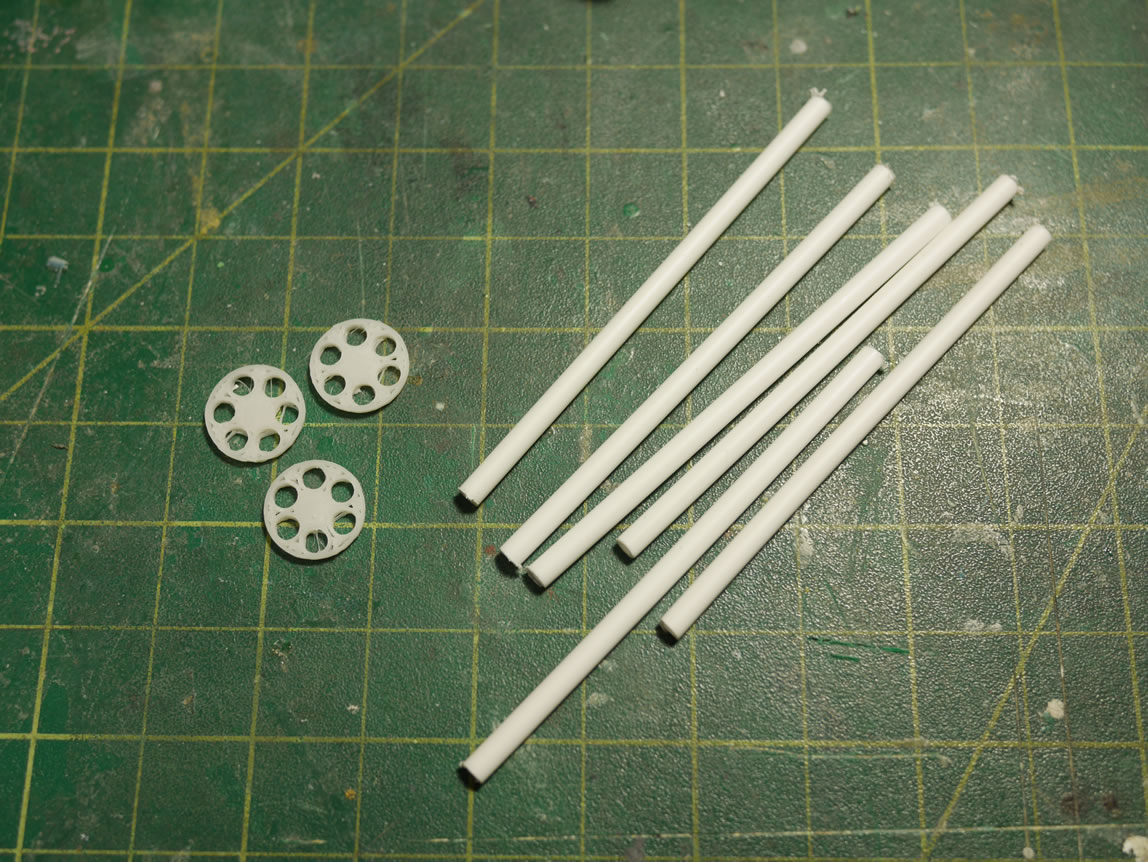
I want to build a gatling gun for the sucker. I’m entirely too lazy to measure and draw out the raw frame pieces for a 6 barrel gatling gun. So I drew one in blender, then sized it on my 3D printer, and printed out some frame pieces. I cut some styrene tubes to length and I’m ready to assemble the gatling gun.
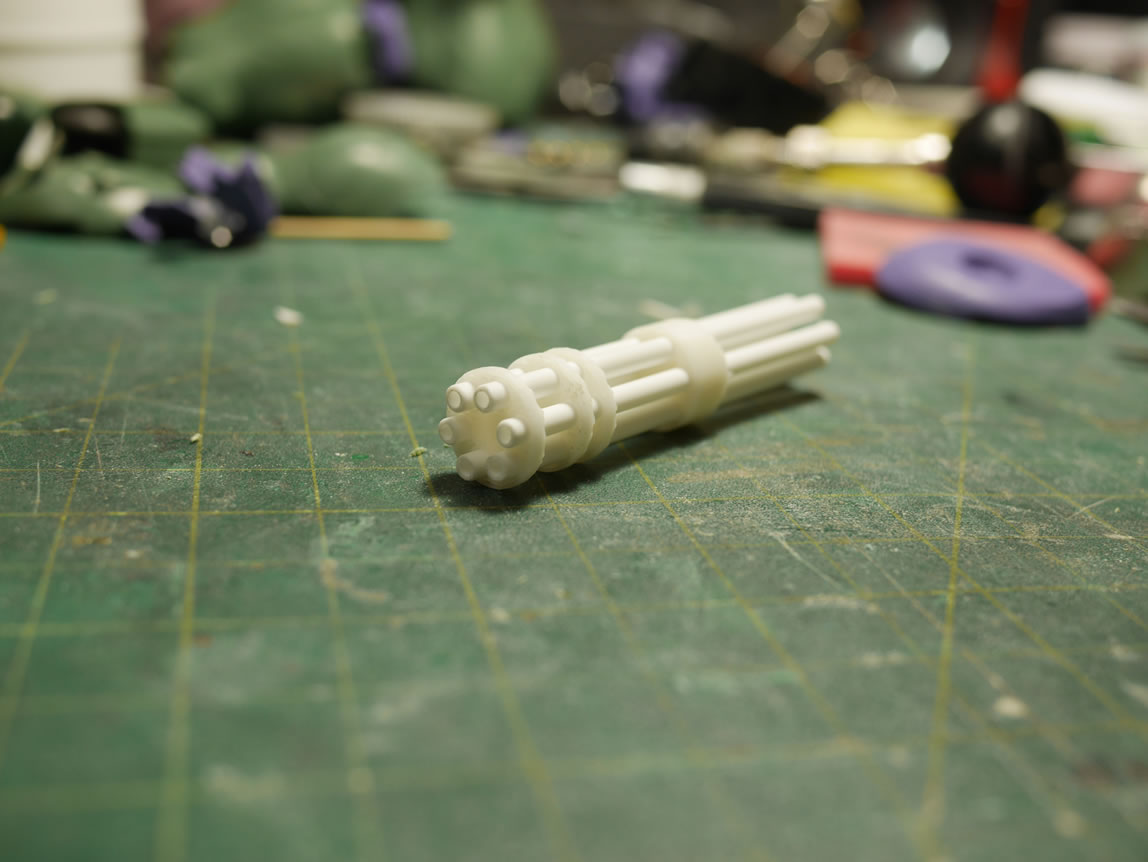
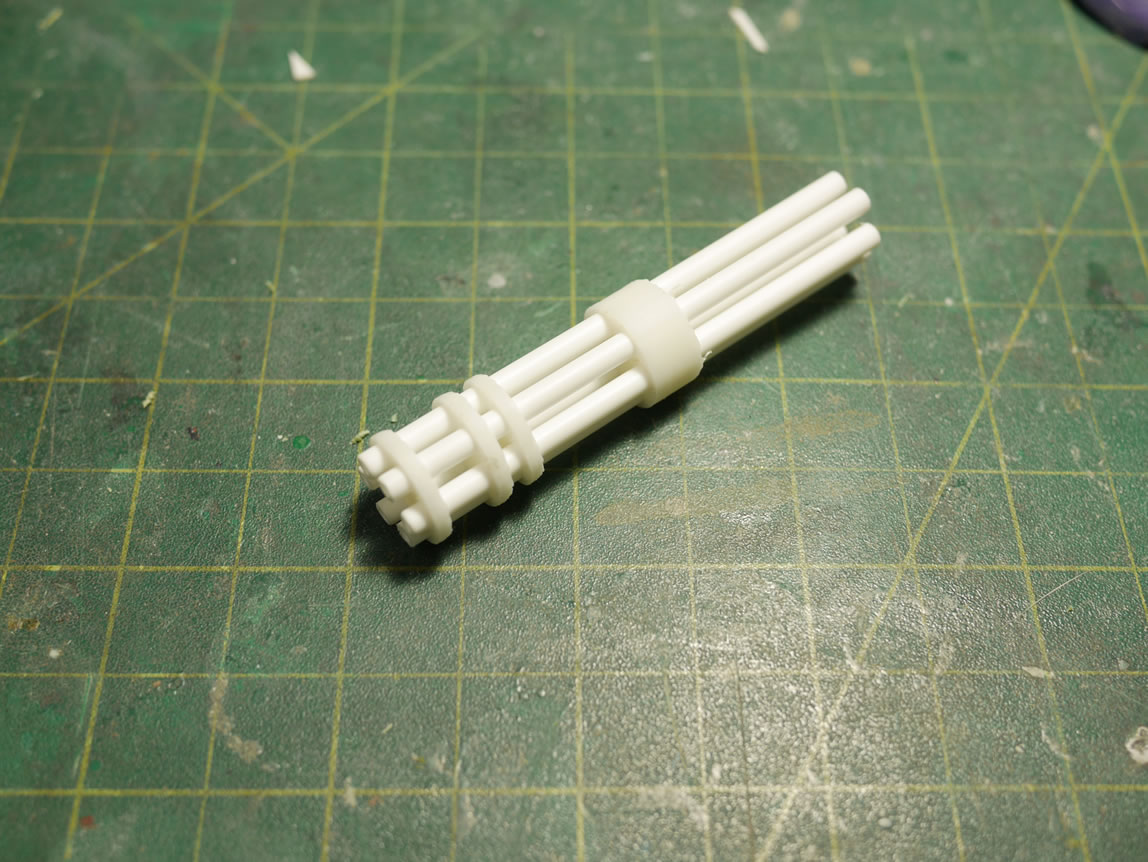
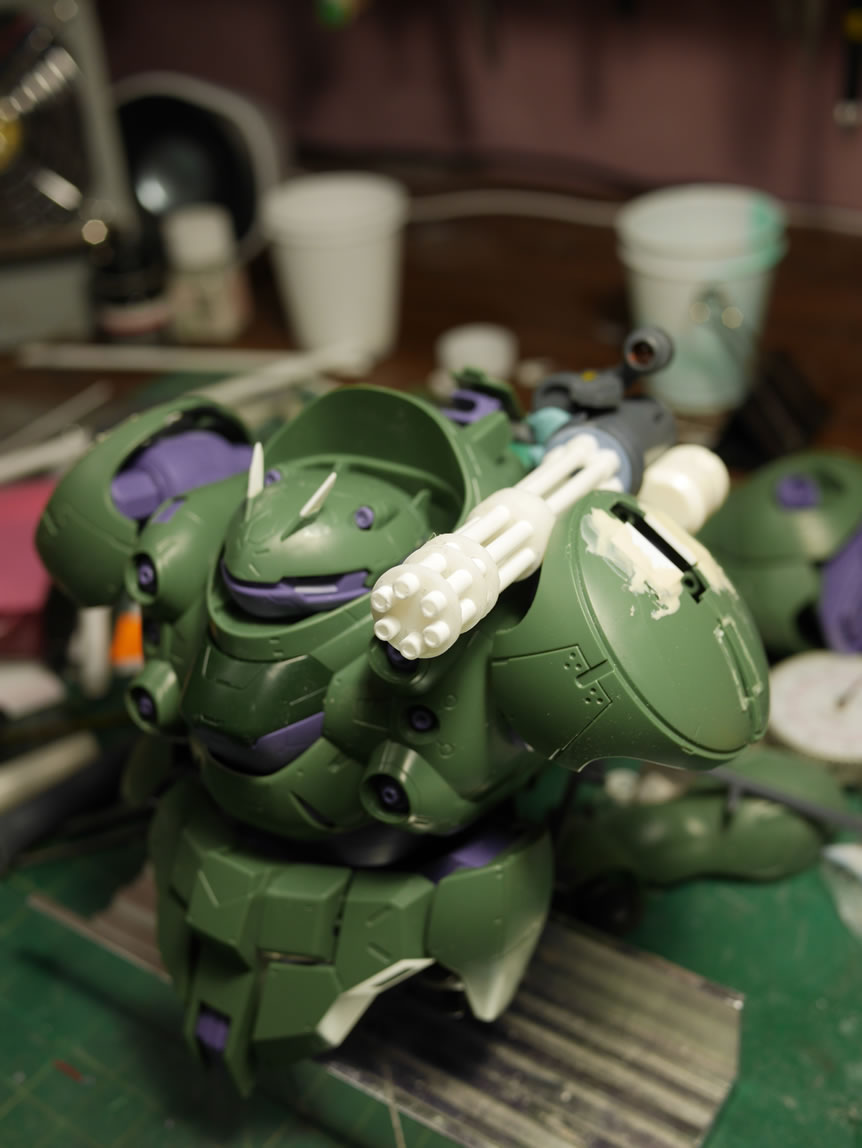
The main barrel of the gatling gun is assembled. I printed off another piece of the frame part extending it to mimic pictures of real live gatling guns. The last picture is a quick tack weld of bits and pieces from my parts bin. I used the MG Gouf Custom’s hand cannon parts; the MG Dom’s Giant Bazooka’s front barrel for the main body of the gatling gun, and quickly made a resin cast of the ore gun cylindrical piece; and just sorta slapped this all together. There is still a great deal of work, but the general idea is there.
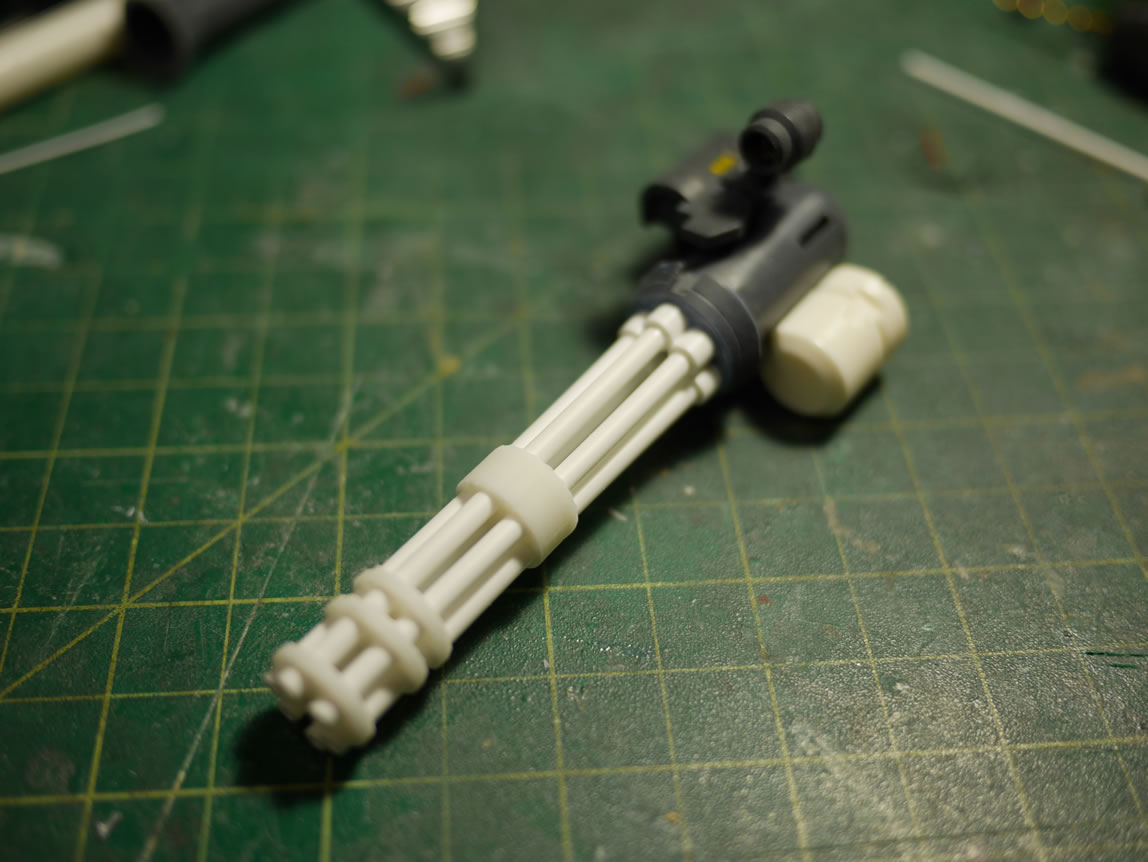
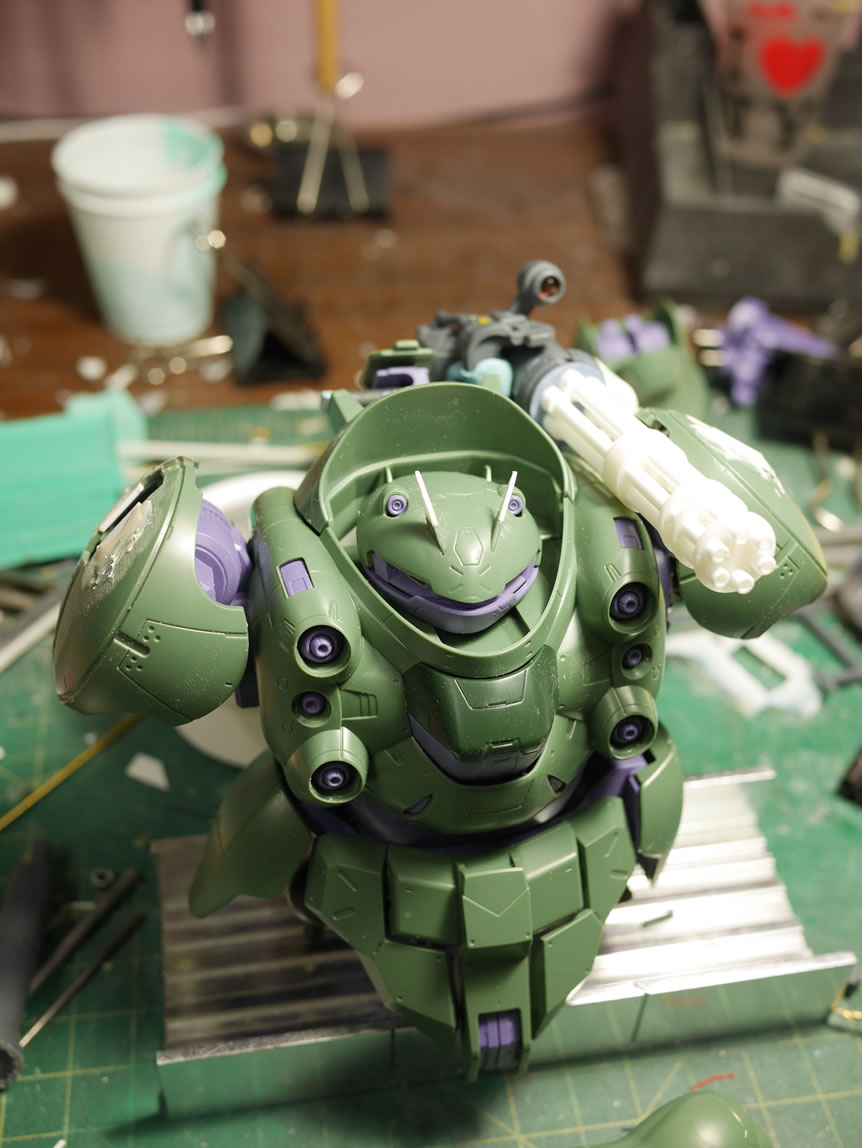
The last bit of work was to do a test fitting on the Gusion to make sure everything looked ok and fit in the position I wanted. I will still need to build the attachment assembly. The Gusion’s Hammer holding piece will work very nicely as the hard point for the gatling gun attachment.
Man, clear resin casting, 3D printing… It’s like a modeller wet dream !