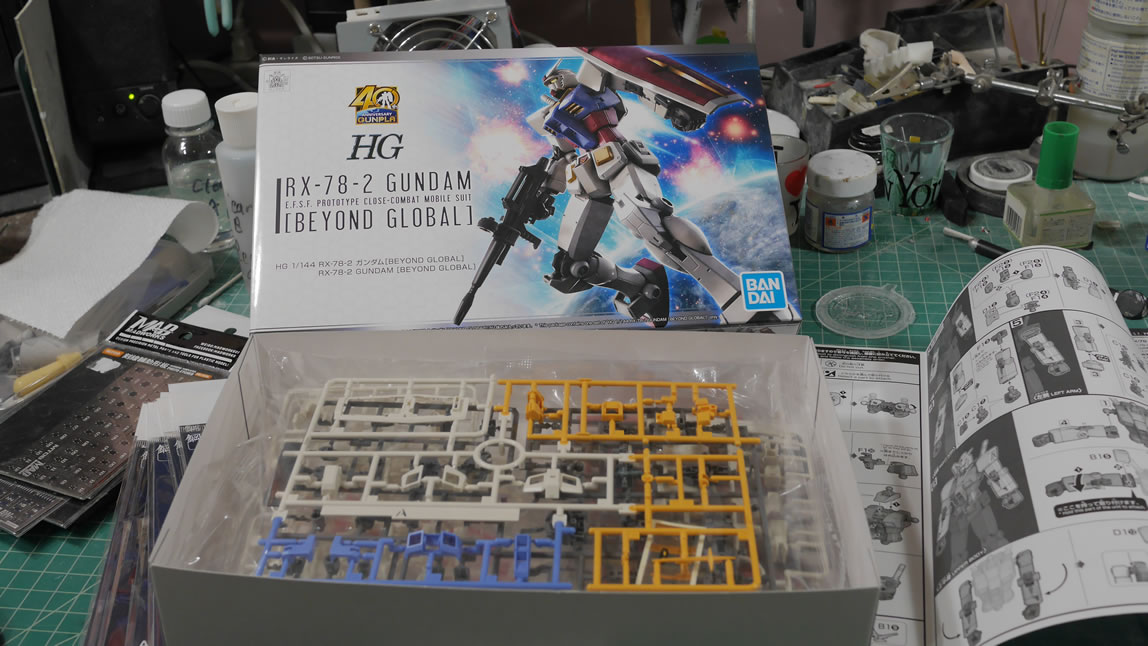
A group of builder and toy collector friends wanted to do a timed group build, so they picked this kit for being new and fairly easy for anyone to grab and assemble. The goal is to just build it within the 2 week span of Aug 1 – Aug 15 2020. That’s it. No requirements for paint, mods, etc. Like the Nike ads say, just do it – or in our case, just build it!
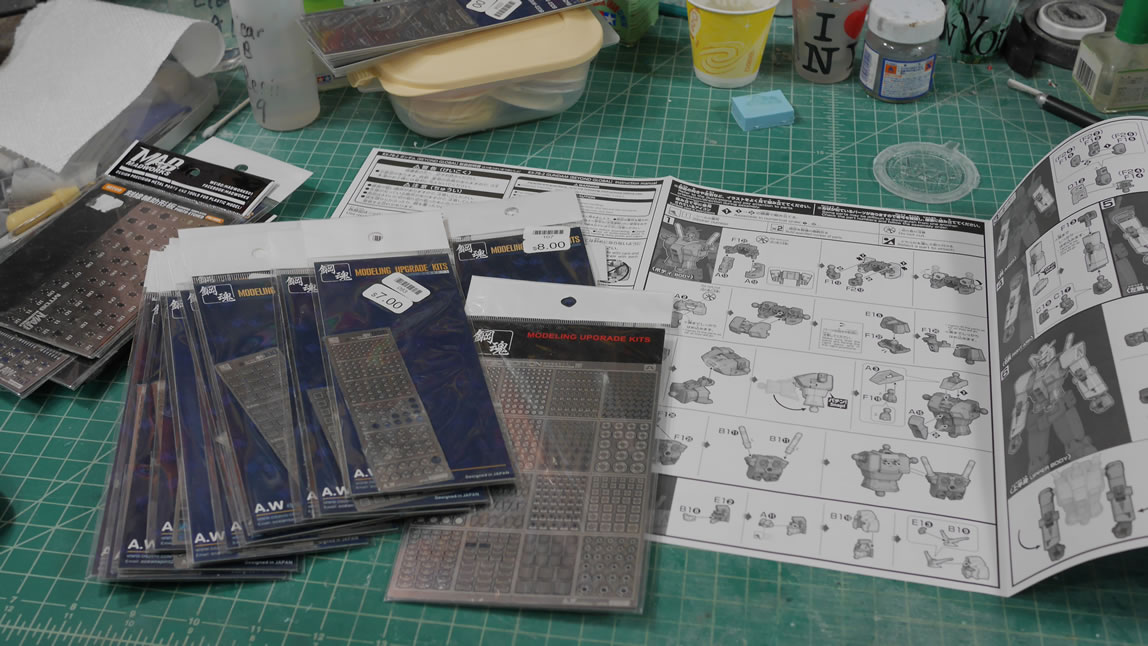
The Gundam Beyond Global kit was picked for being new, easy to build, and most importantly, pose-ability. We are talking a group of toy collectors that generally like to pay with the figures. The kits arrived and at midnight Aug 1st, we kicked off the build. In preparation for the build, I grabbed a bunch of tools and detail parts I had only slightly used in my more recent builds to see about incorporating them more into this project.
Today is Aug 14, 2020, and I pretty much finished the kit last night and snapped final pictures. Complete details of this build after the jump.
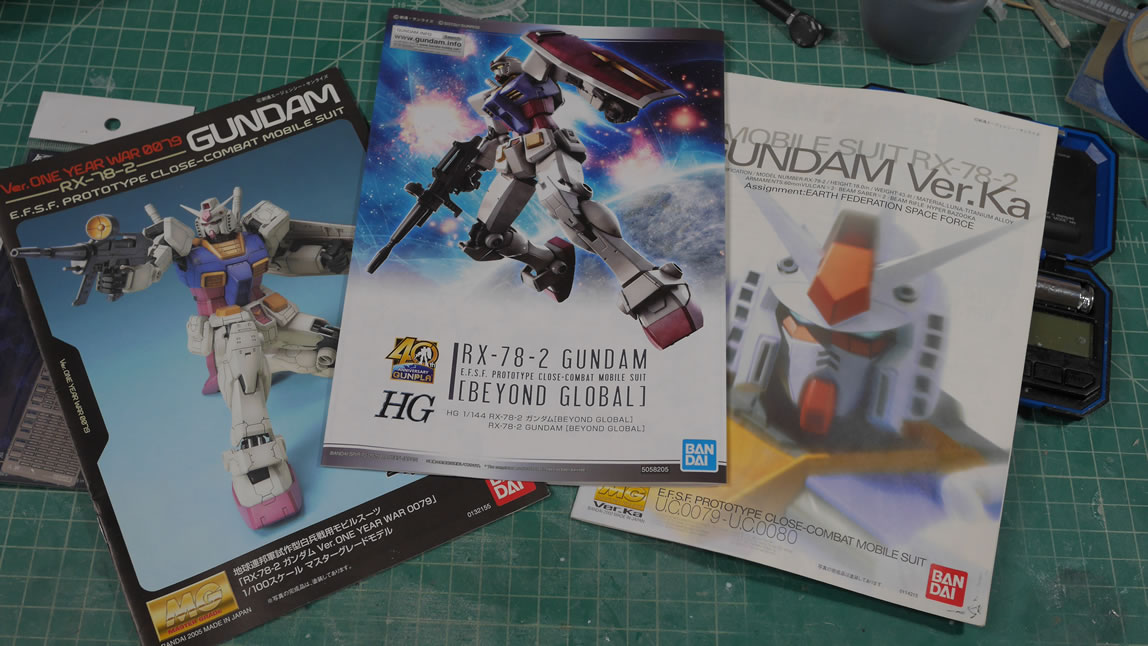
I have a stack of photo etch detail parts, and as a quick way to add details to the kit, I’m going to shoehorn as many details as possible. And hopefully not come out looking gaudy. The other side of things are some MG manuals of past ’78 builds, the Ver Ka and the OYW. I”m using these for reference in panel lines as well as for decal placement. When I finally get to decal placement, I actually used an after market waterslide sheet for the RG ’78 and use the placement from the RG manual.
This was a quick build so I didn’t take time to snap many progress pictures with my camera. I ended up snapping pictures with my phone as I was updating the group with progress. So this post will have a collection of pictures from the camera and phone.
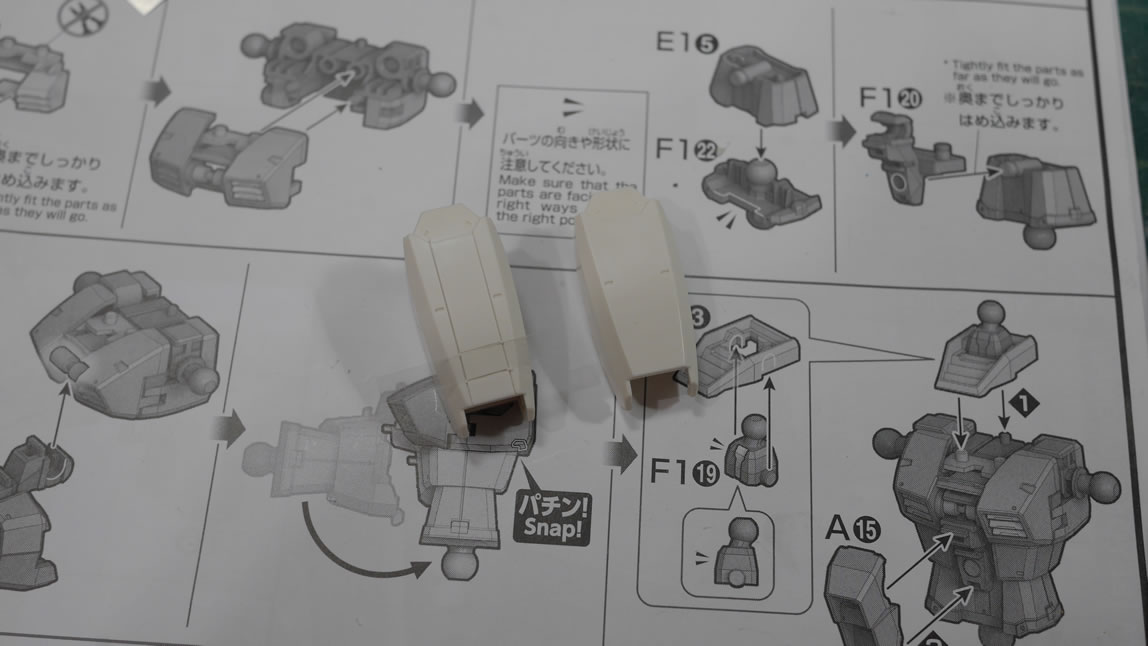
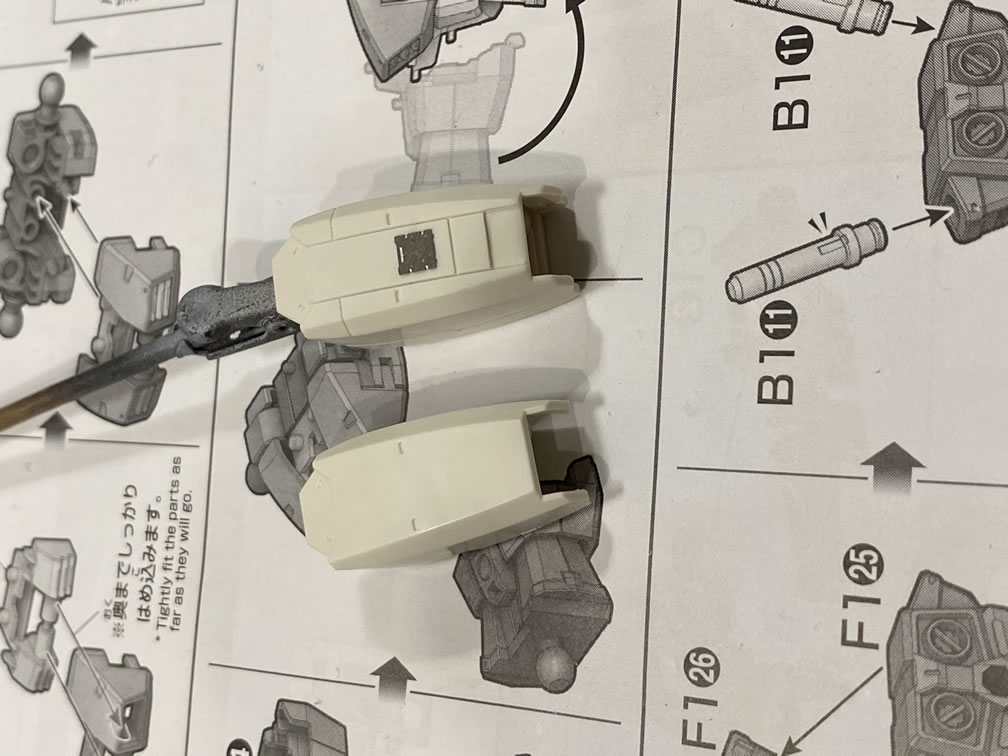
The kit has some really tight fittings and some parts (as I learned from the other builders that snap fit to test) will snap in and be near impossible to separate without breaking something. So I pretty much skipped the test snap phase of the build and just started clipping nubs and adding details with each step in the manual. Starting off with the chest, I added photo etch to the vent areas. The kit is small, so these little photo etch details are perfect. The collar piece also got some photo etch added. These parts were glued in using Elmer’s white glue thinned down with a little water. There are mold lines everywhere on this kit! Only 1 seam line to take care of on the gun’s barrel, but just about every piece has mold lines or mold marks that need to be sanded/filled.
Next the shoulders got some styrene pieces added and more photo etch details glued between the strips of styrene.
I laid down some 1 mm aizu tape to start drawing out panel lines on the shoulders but the line placement didn’t look good enough, so I ended up using a thinner piece of aizu tape to draw the actual lines I scribed. I used the MG OYW kit’s shoulder lines as a reference and just tried to copy that detail. I think it worked out nicely.
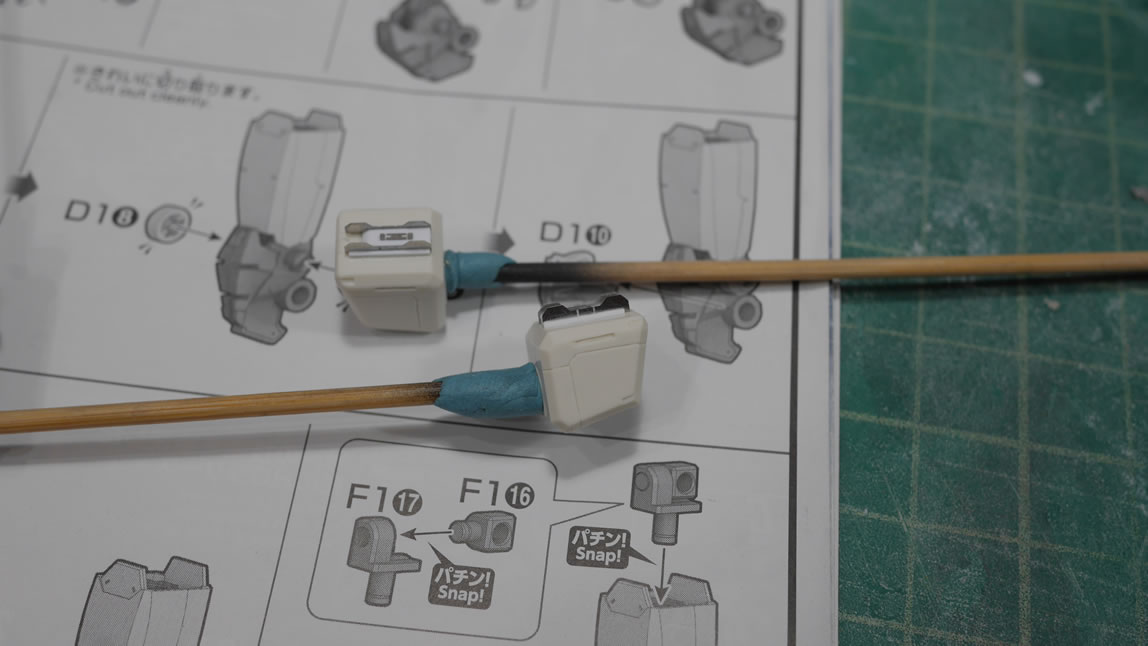
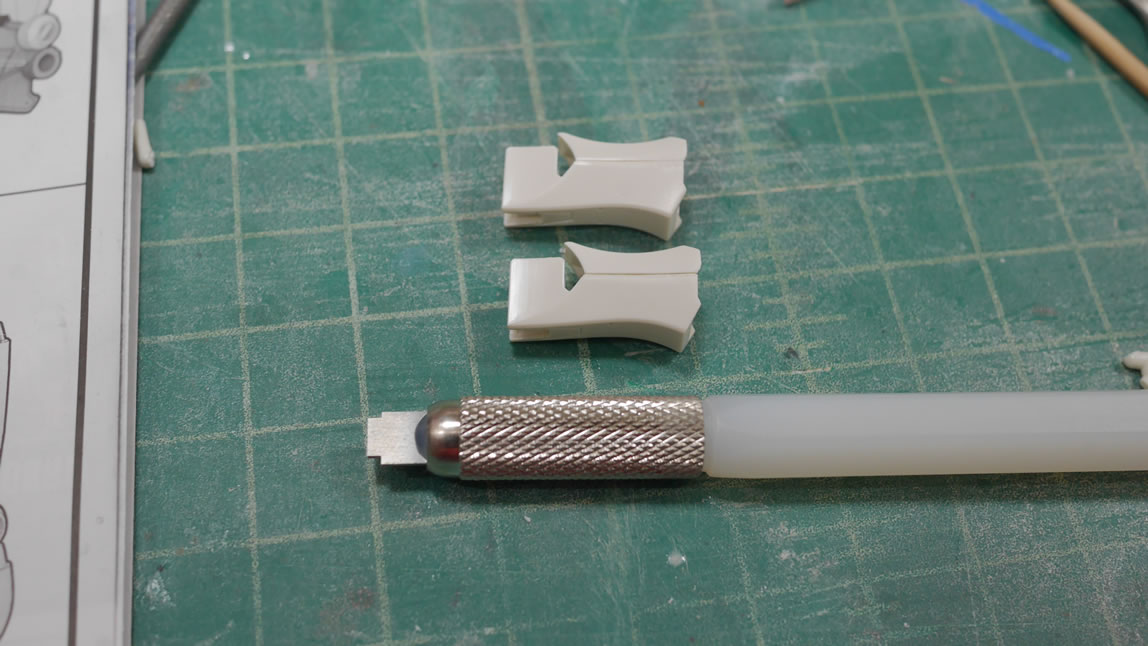
I didn’t want to go all out and redesign the feet, so a little bit of scribing here to add details. I added a few more photo etch details to the top of the foot as well as the front face of the ankle guards. Skirts got a little drilling and beveling for very small photo etch minus mold details.
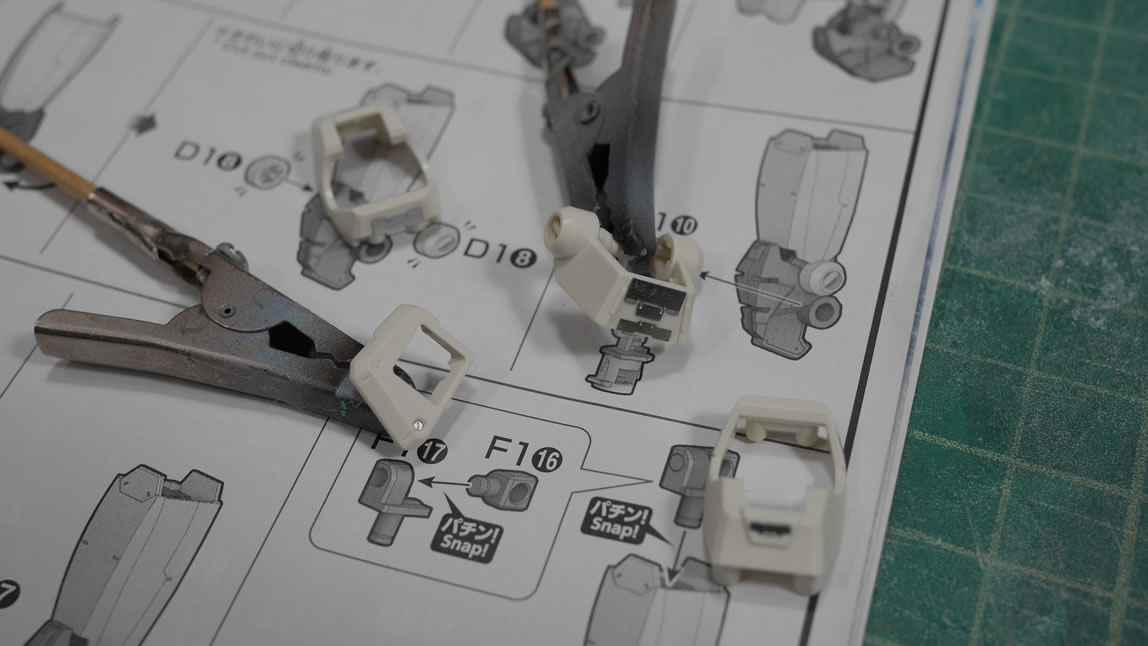
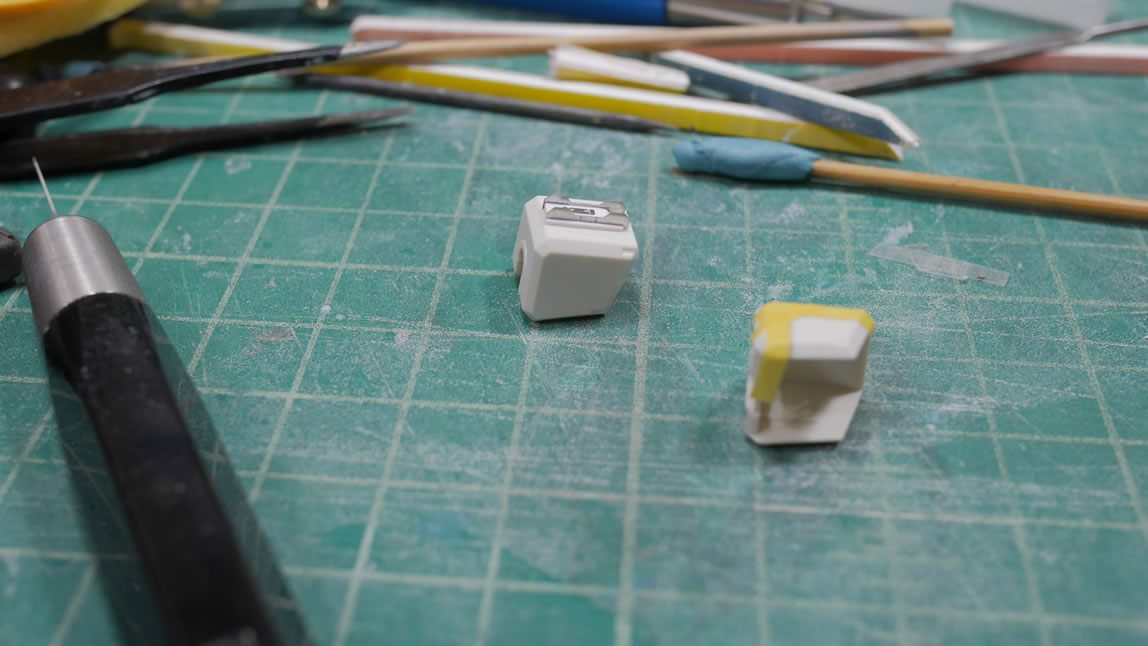
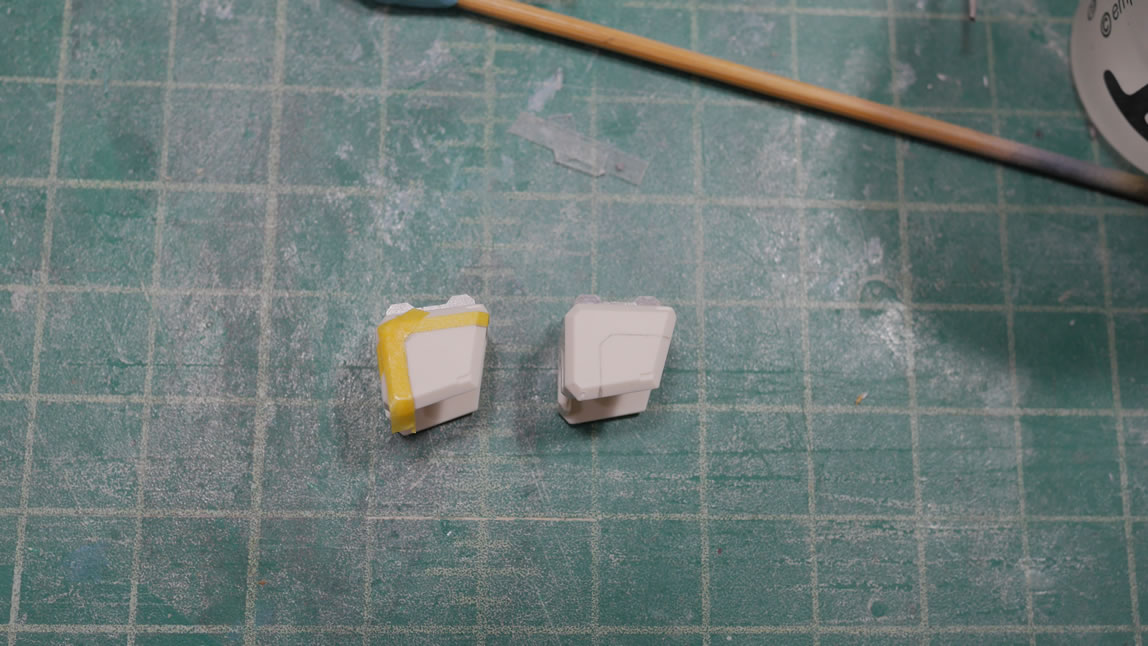
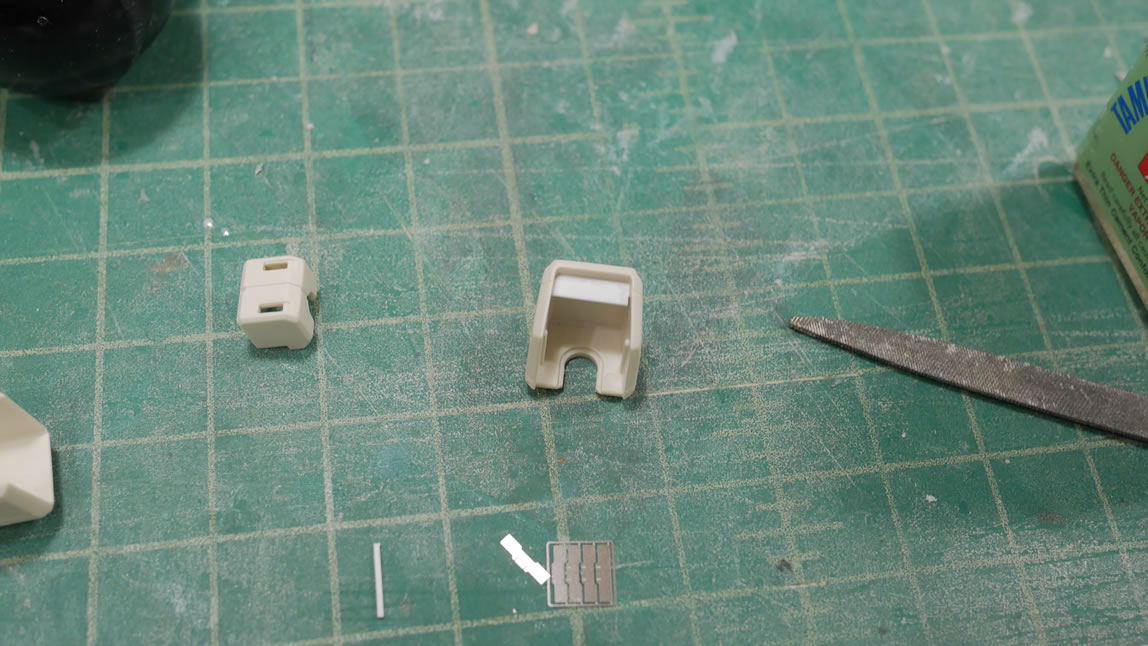
Moving onto the shoulders, they looked a little bare and other kits have a small vent detail at the edge of the shoulders. More photo etch to the rescue. But first, I need to build a styrene frame. I used a thin piece of styrene trimmed to fit inside the shoulder at a slight angle and started building sides of the detail with very thin strips of styrene. I tried out a few different vent pieces before settling on a folding piece that worked best.
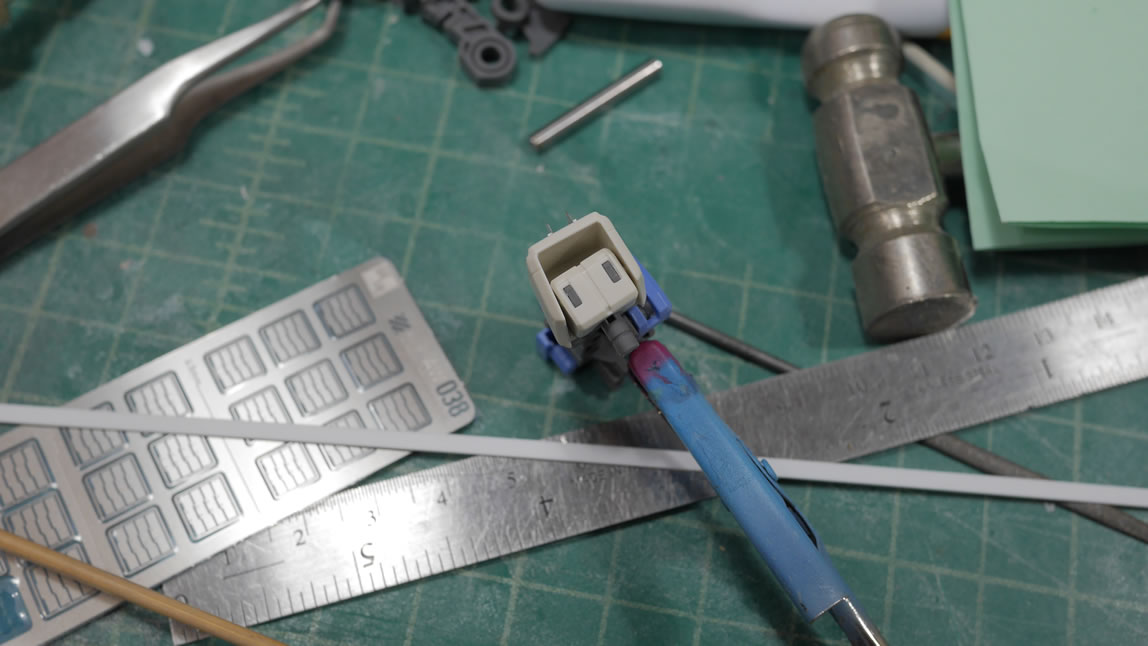
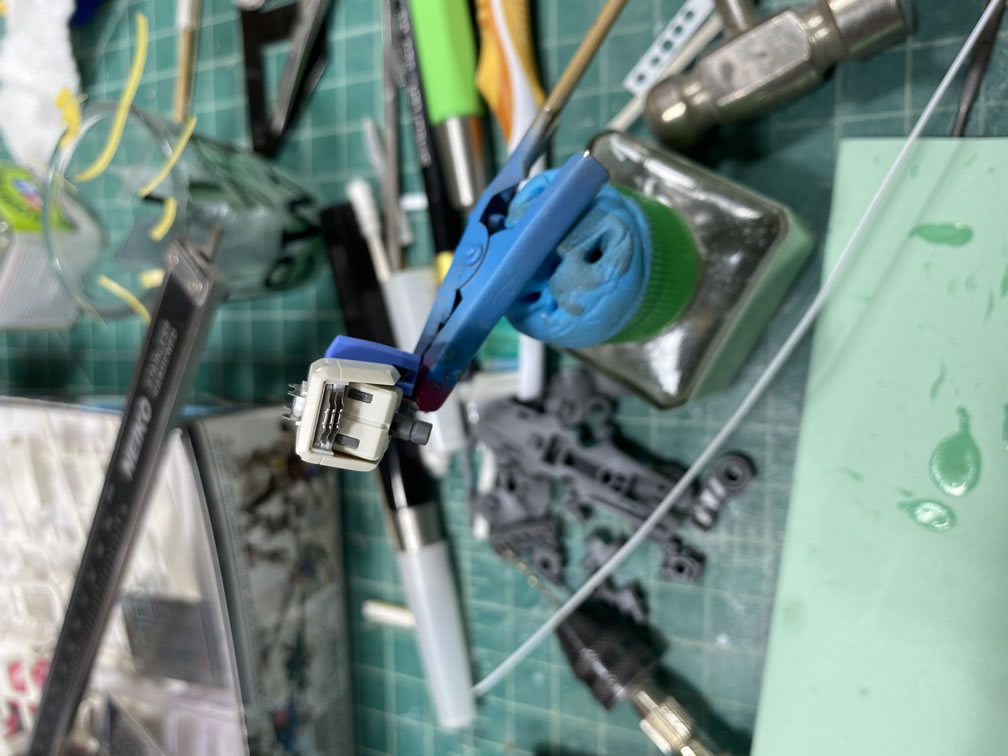
Here’s what the shoulders look like at different angles with the selected photo etch vent detail.
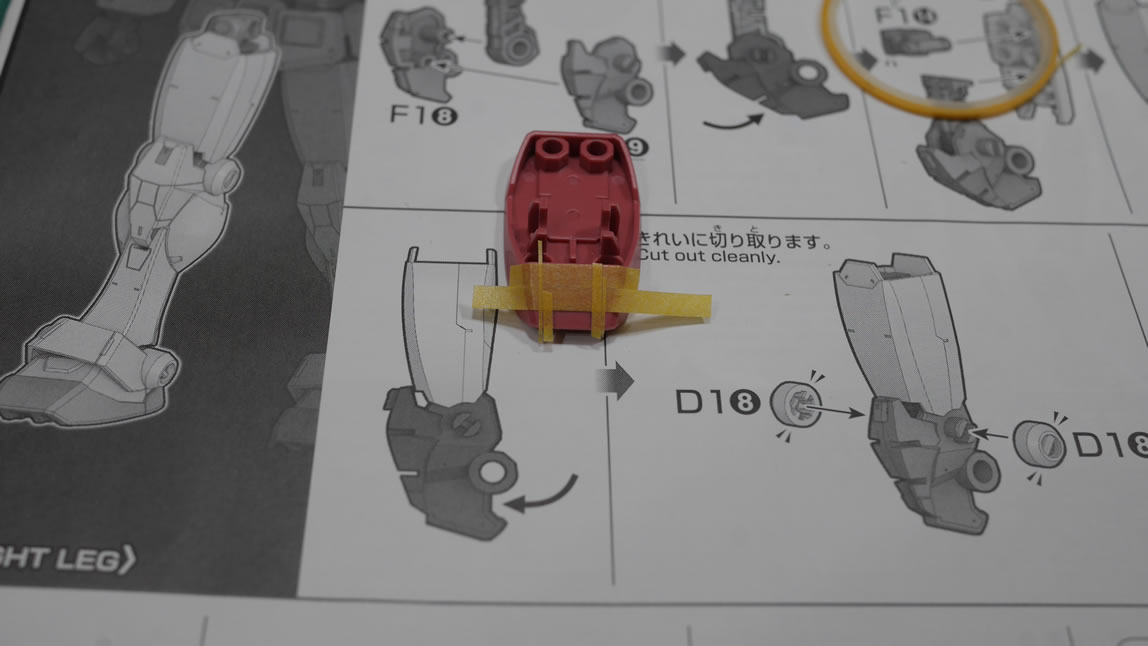
Moving onto the legs, the lower legs got a little bit of panel line widening using the BMC side scriber tool. The Ver Ka and OYW didn’t have any details for the thighs, so a little online searching found the Gundam Base MG kit and I used that as a reference for scribing in the details on the thighs. A fat scriber is used to cut out an inset at the lower part of the thighs.
A piece if photo etch is glued to the middle of the thigh piece to give the surface a little bit of raised details to finish the thigh detailing.
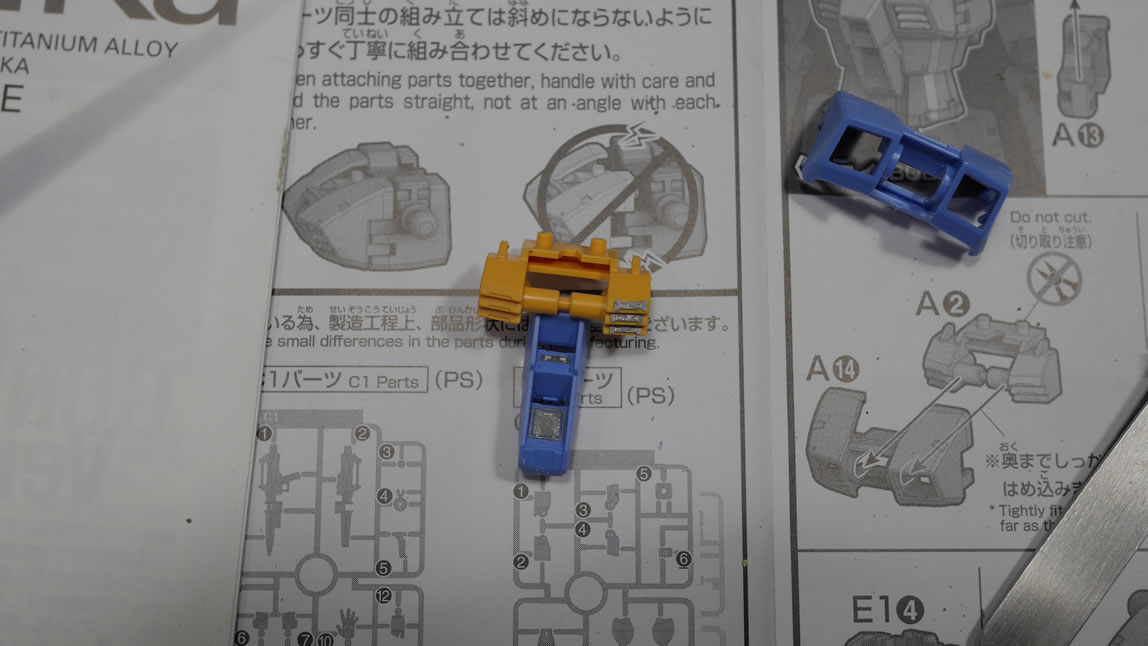
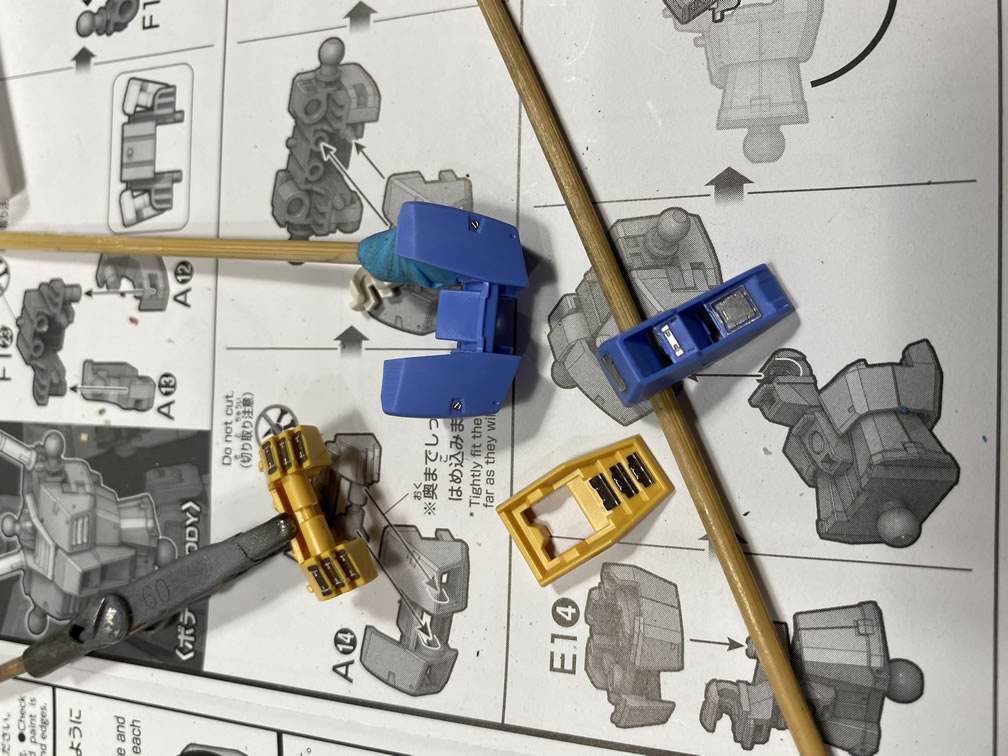
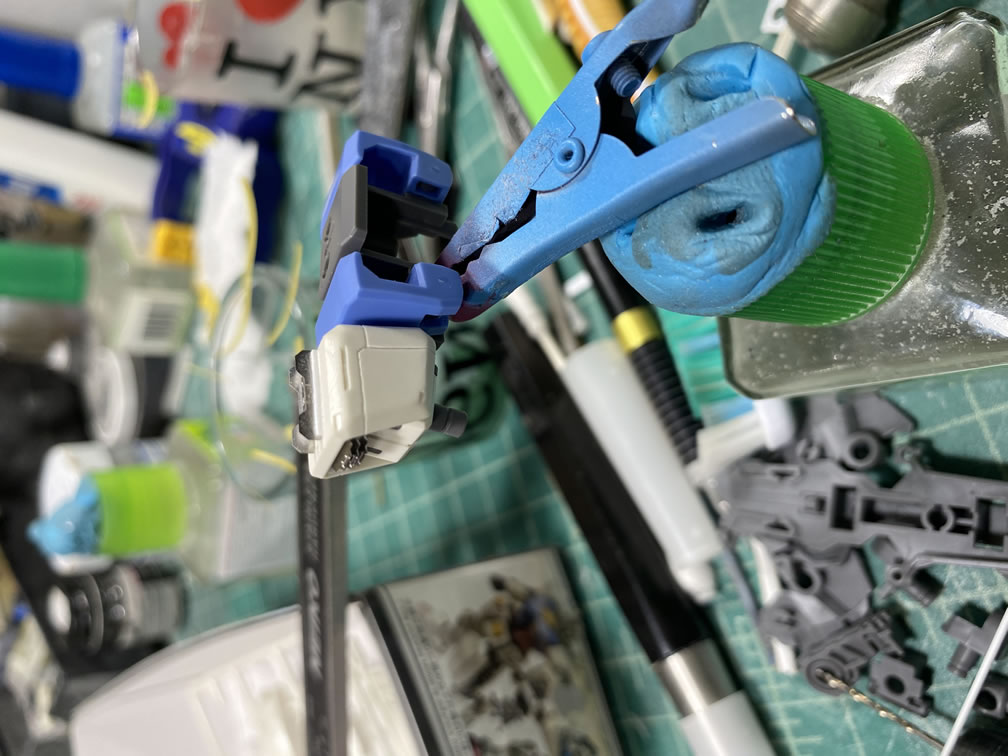
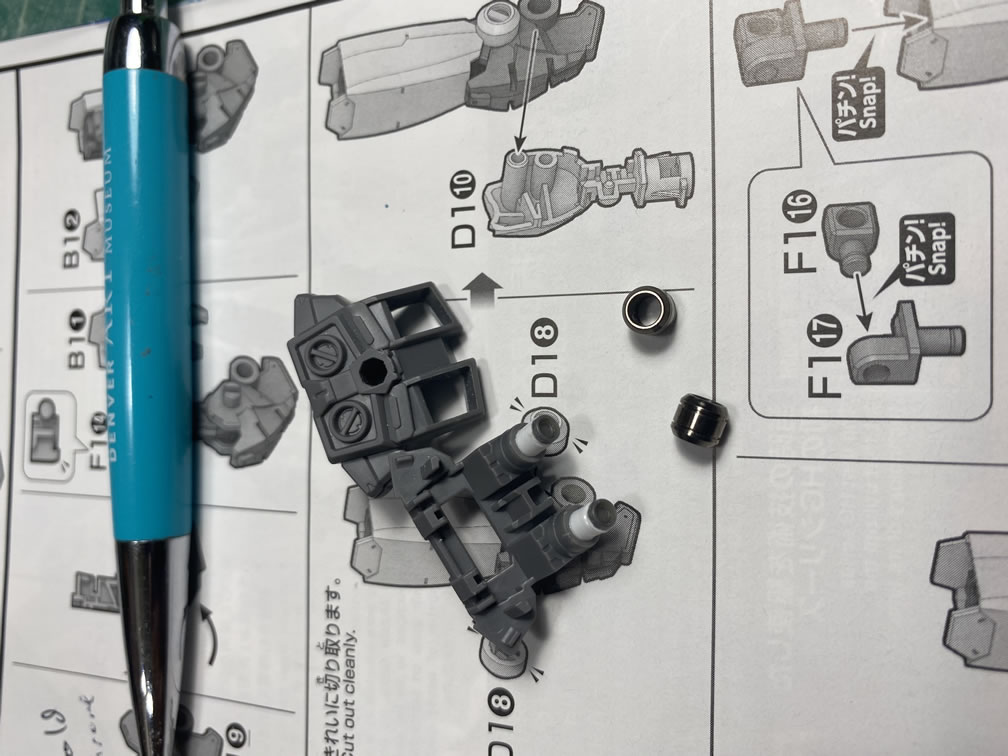
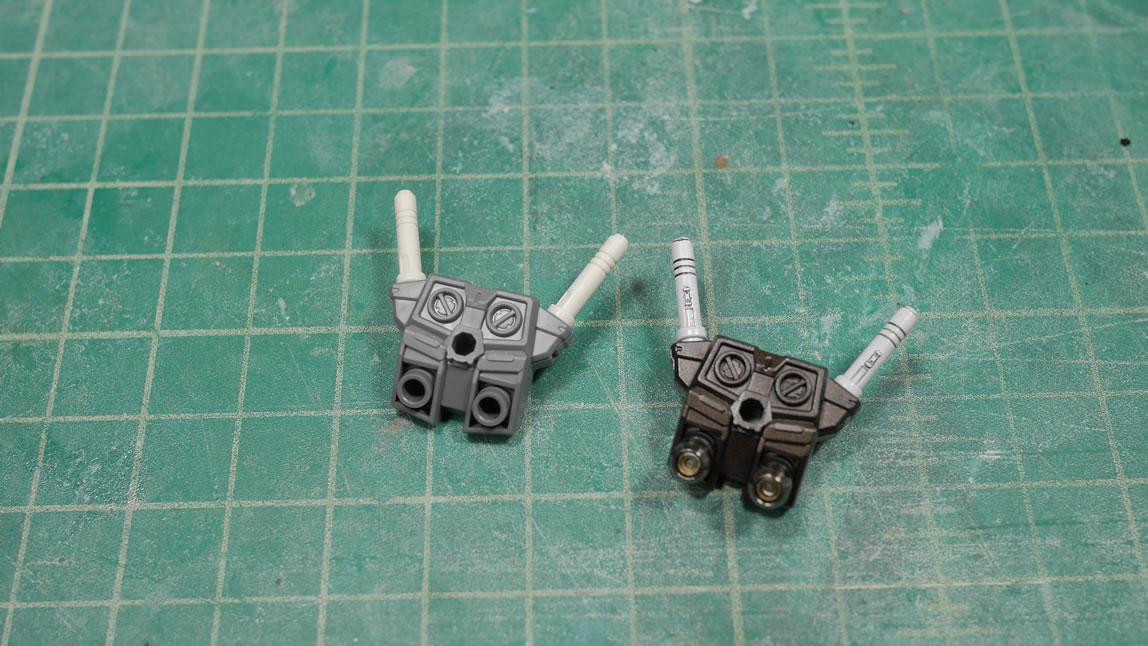
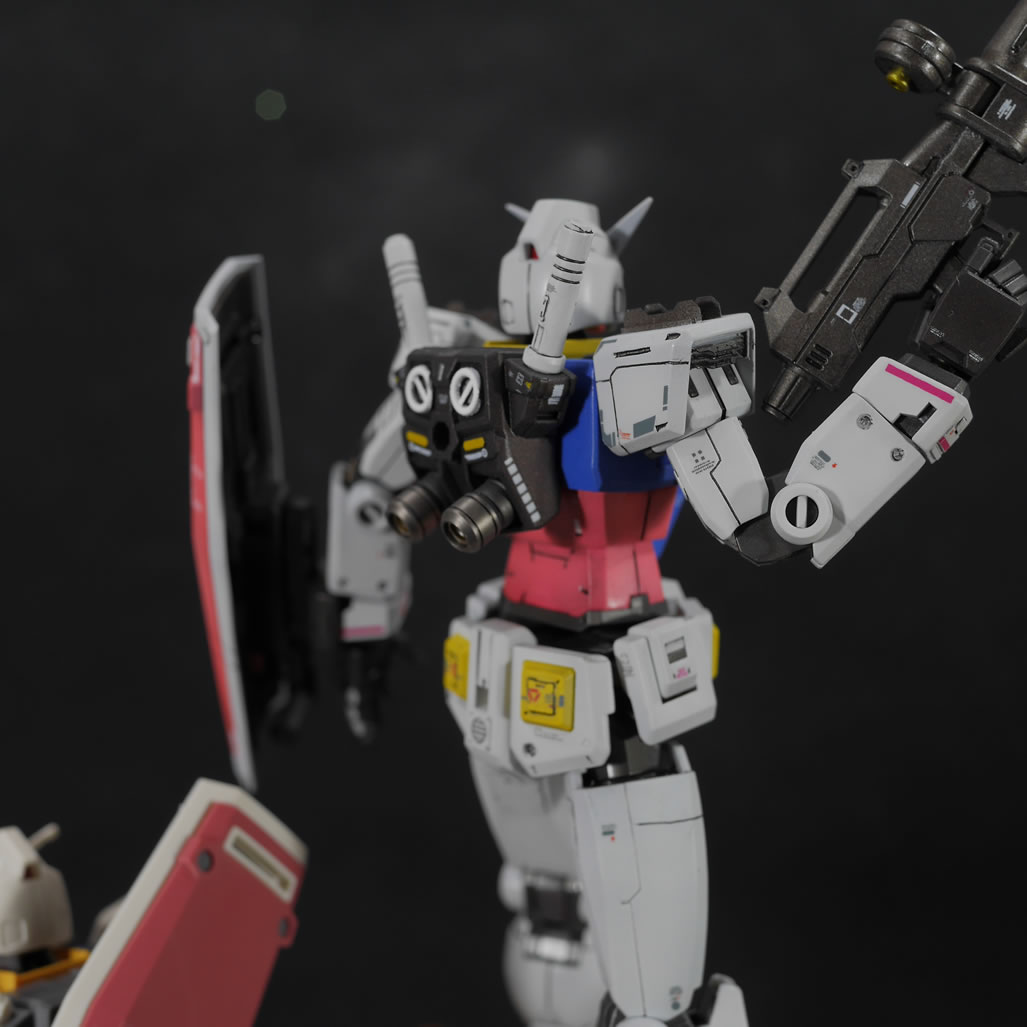
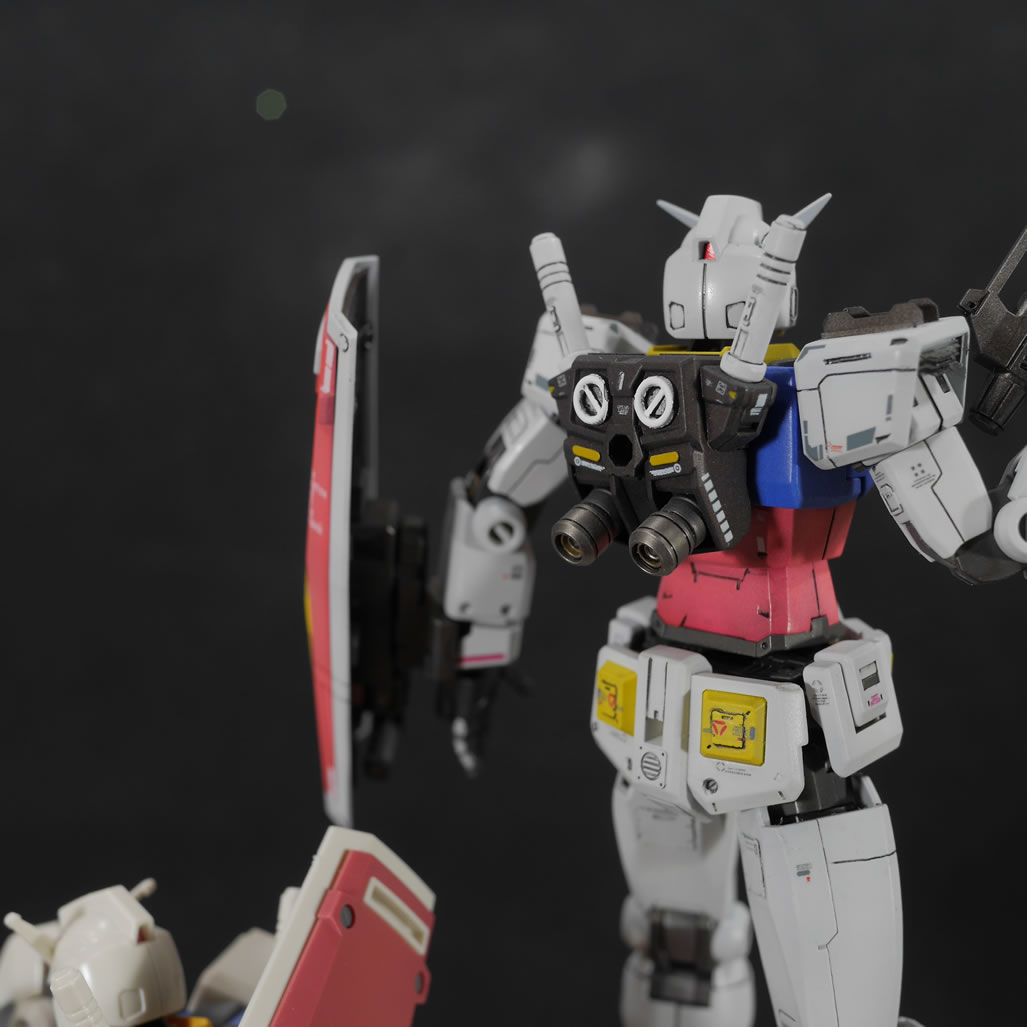
Backpack details added some beefier thruster bells. The bells are a metal collar piece. For the internals I glued in a small length of styrene tube to the existing bells. Then on top of the styrene tube, I glued in a small punched circle of styrene over the tube and capped that with a thruster detail from kotobukiya option parts.
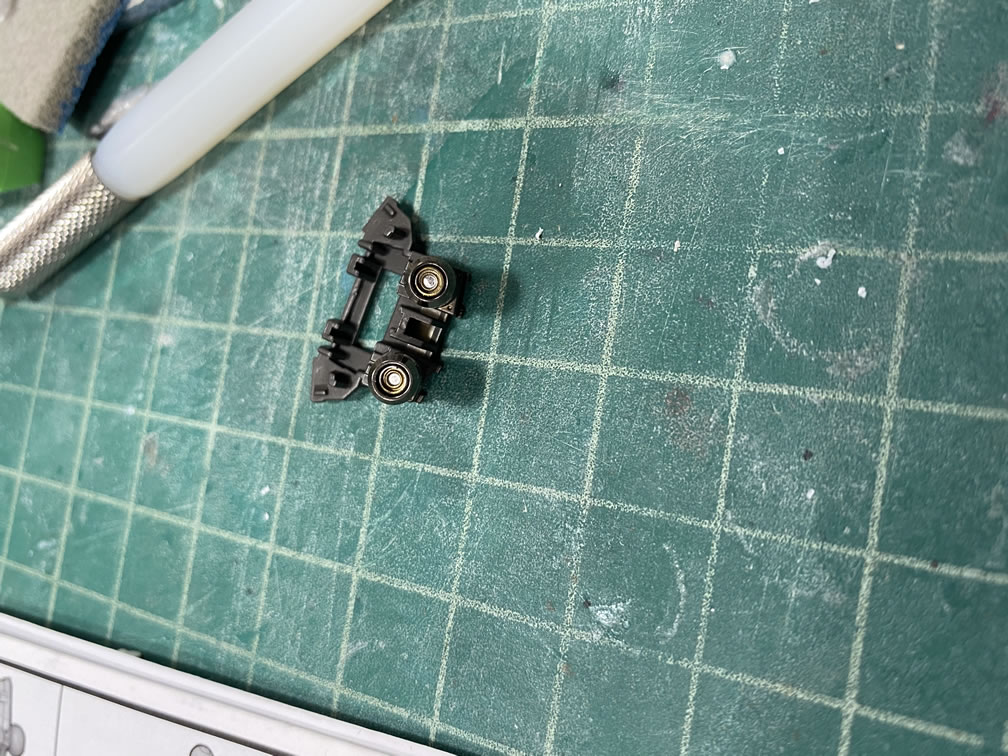
Here’s the exploded view and then a painted view to see the details of the inner thruster bell better.

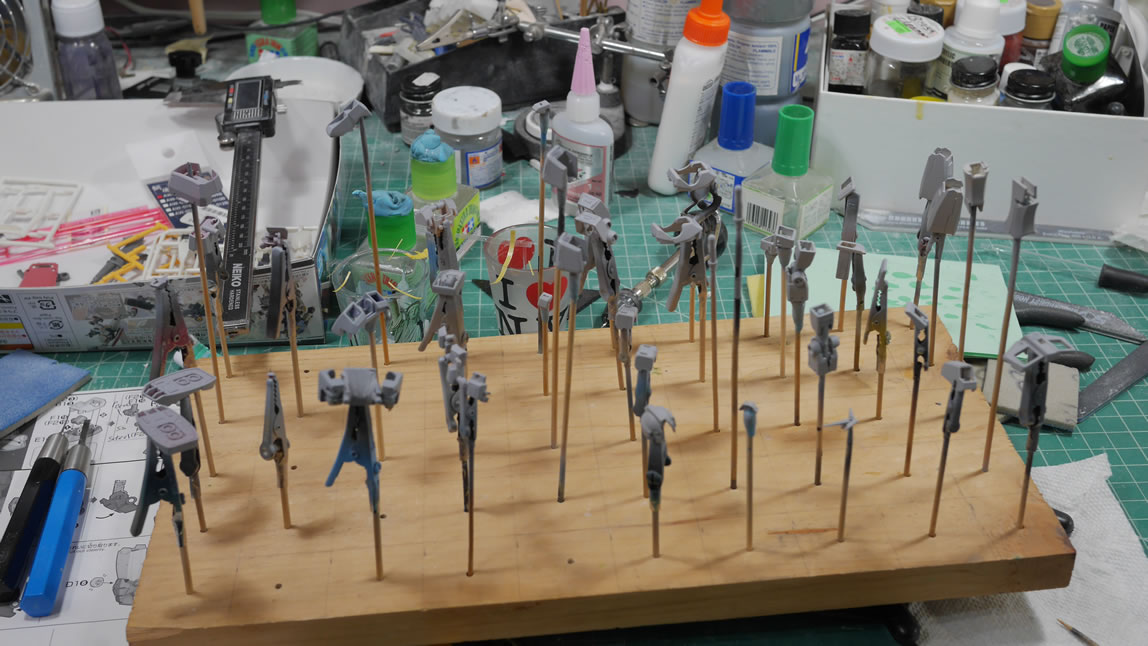
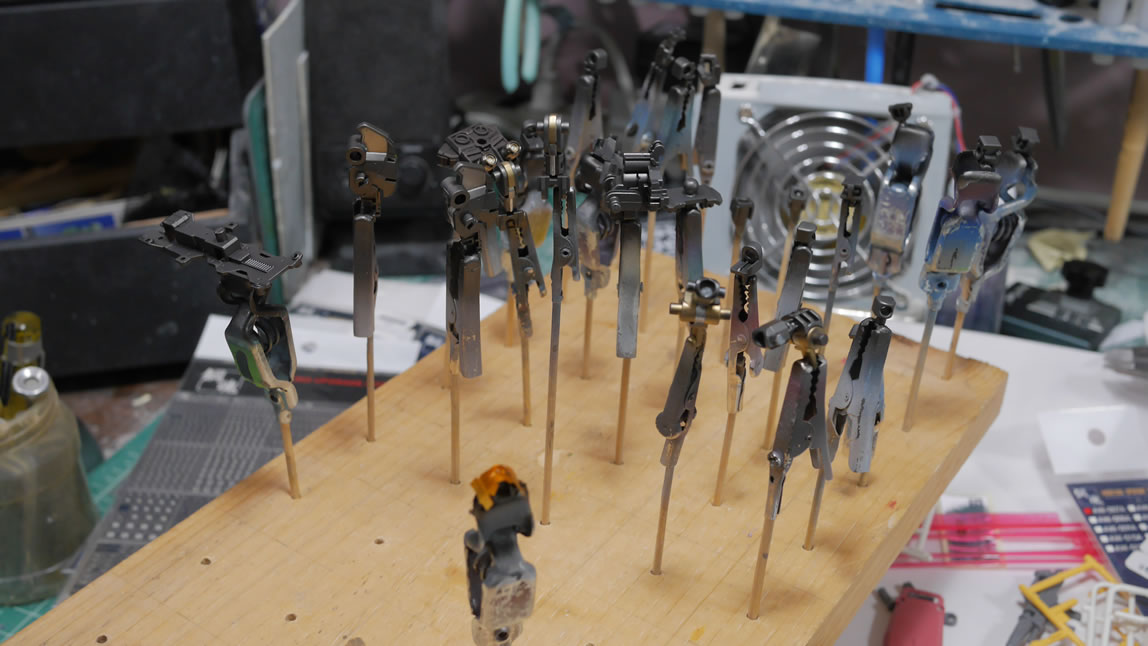
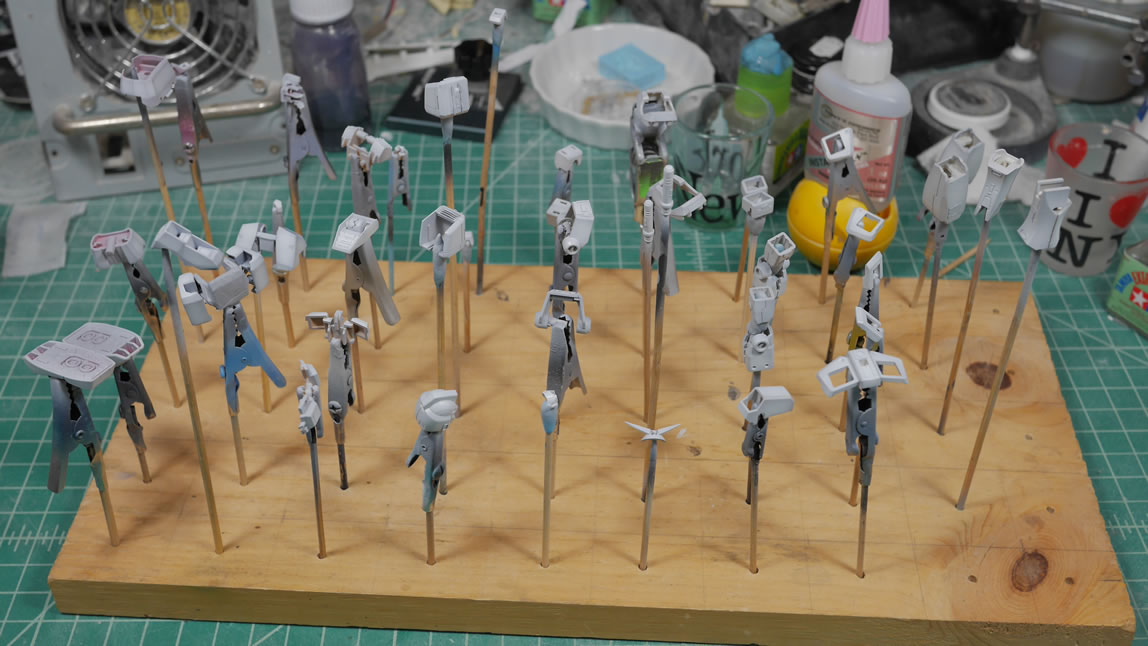
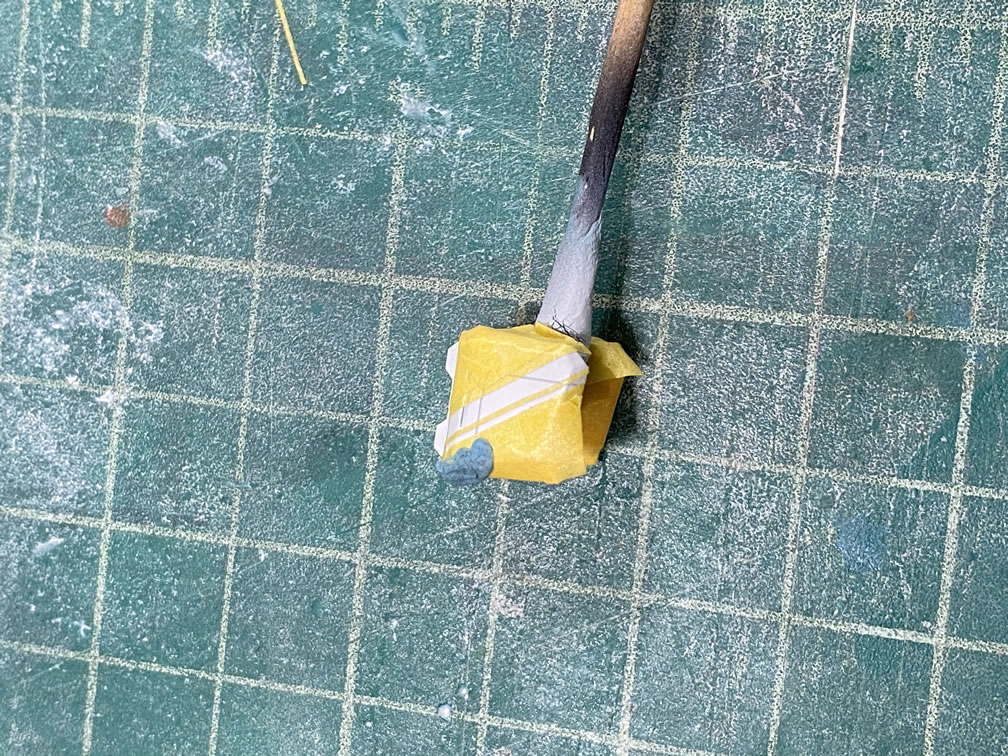
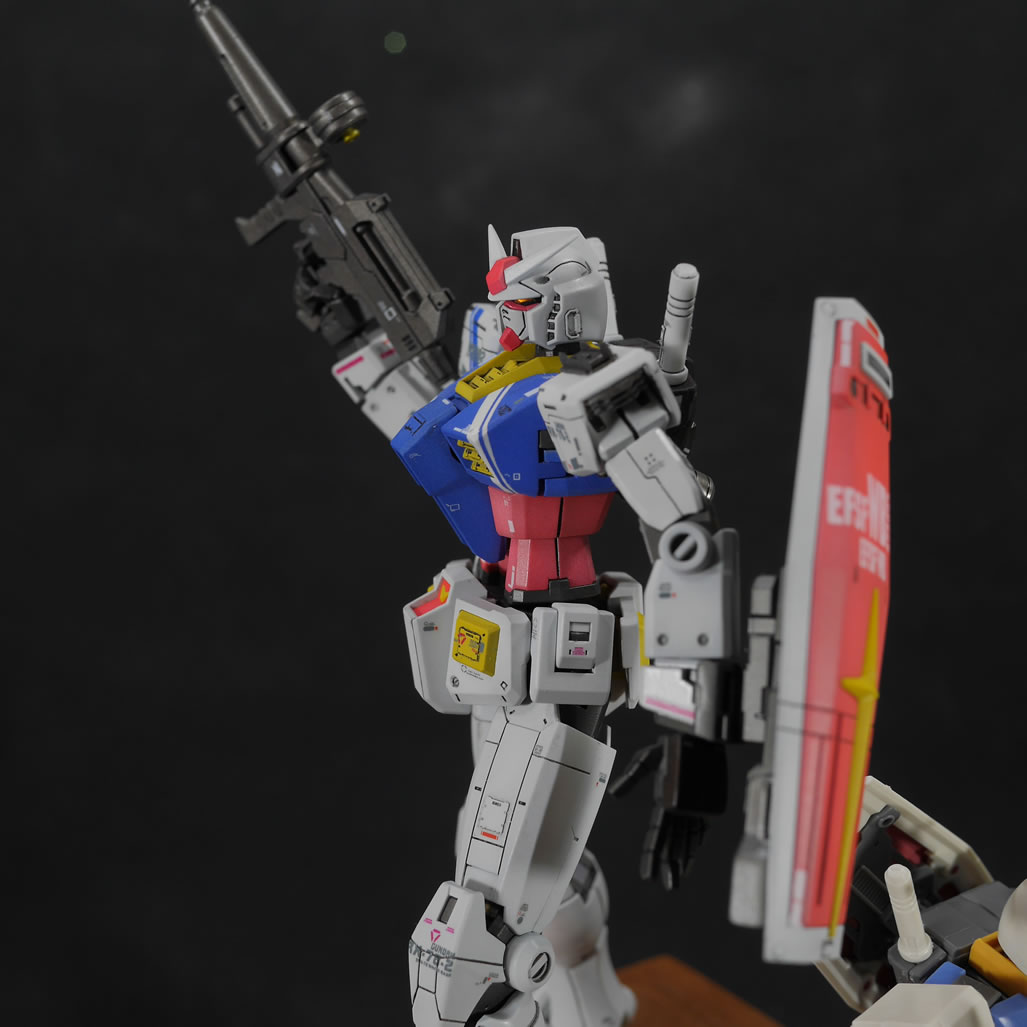
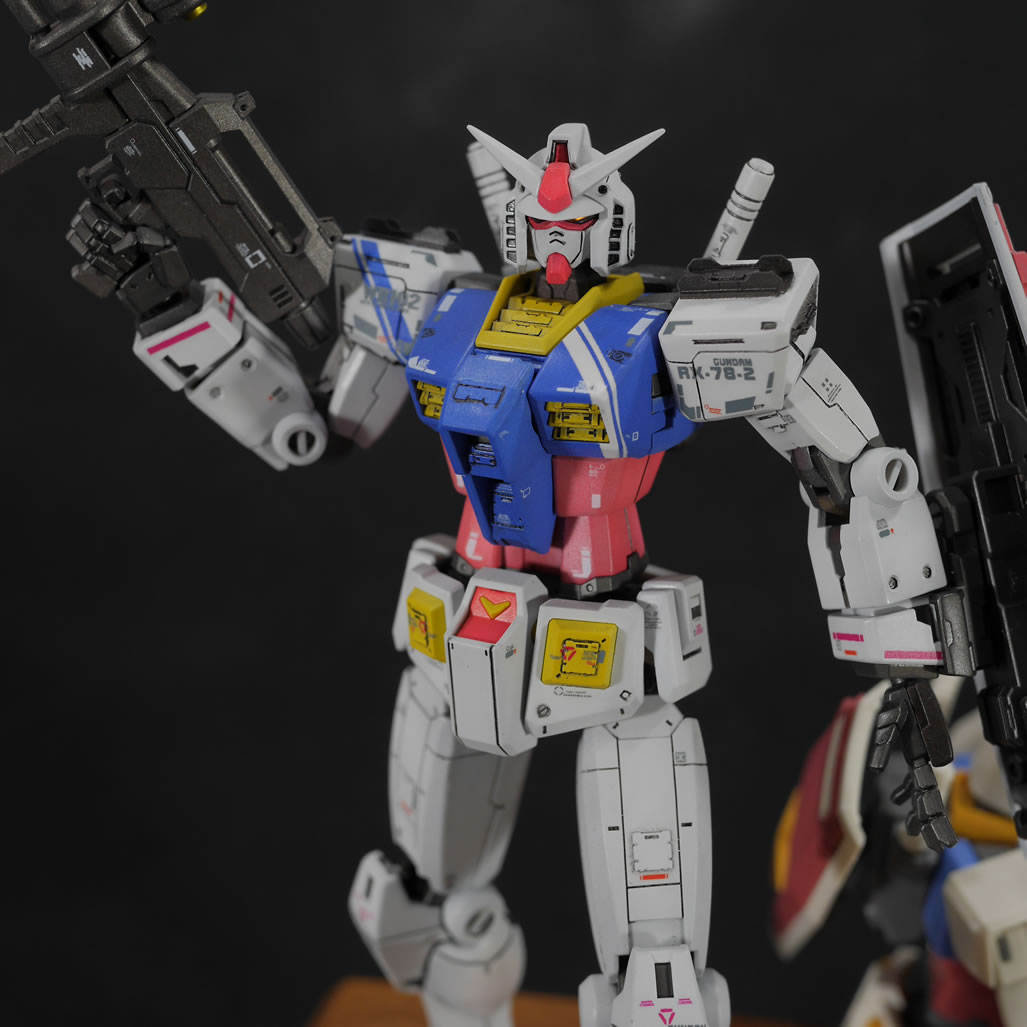
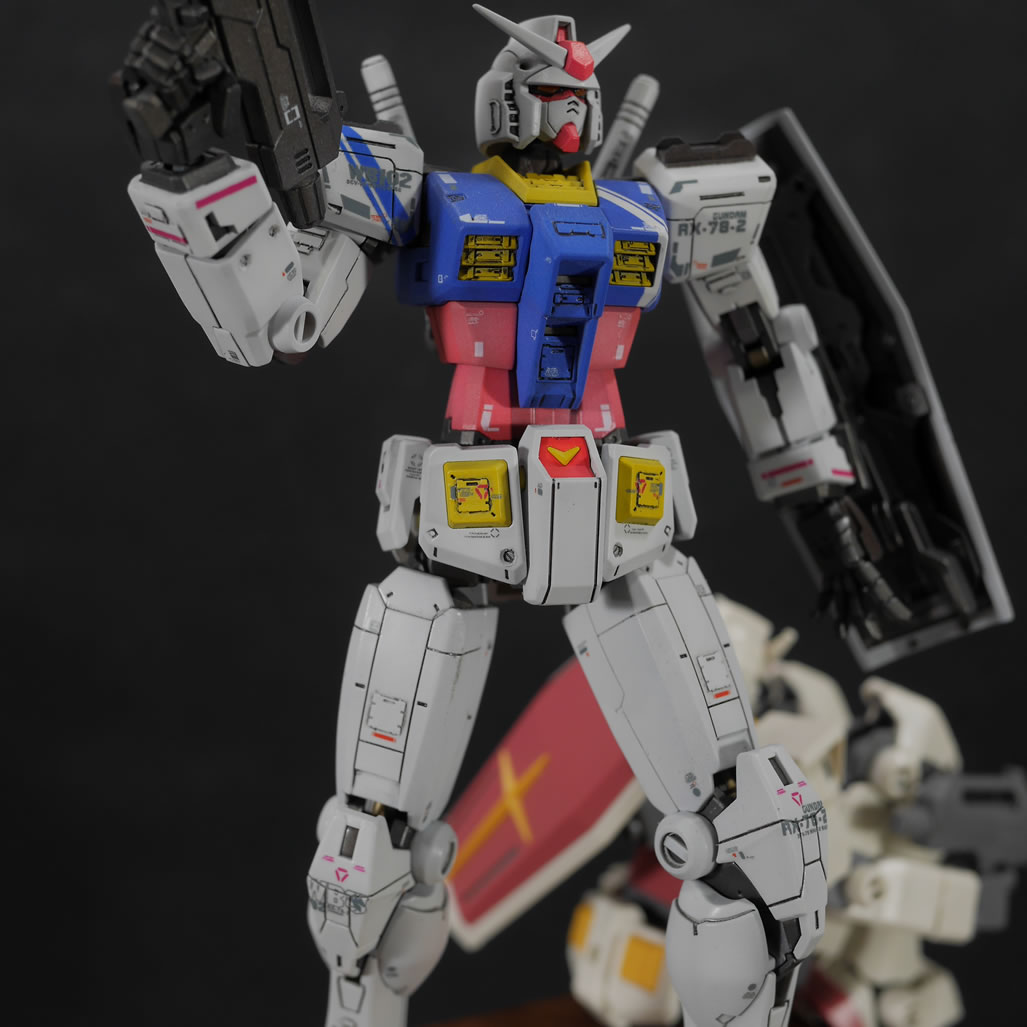
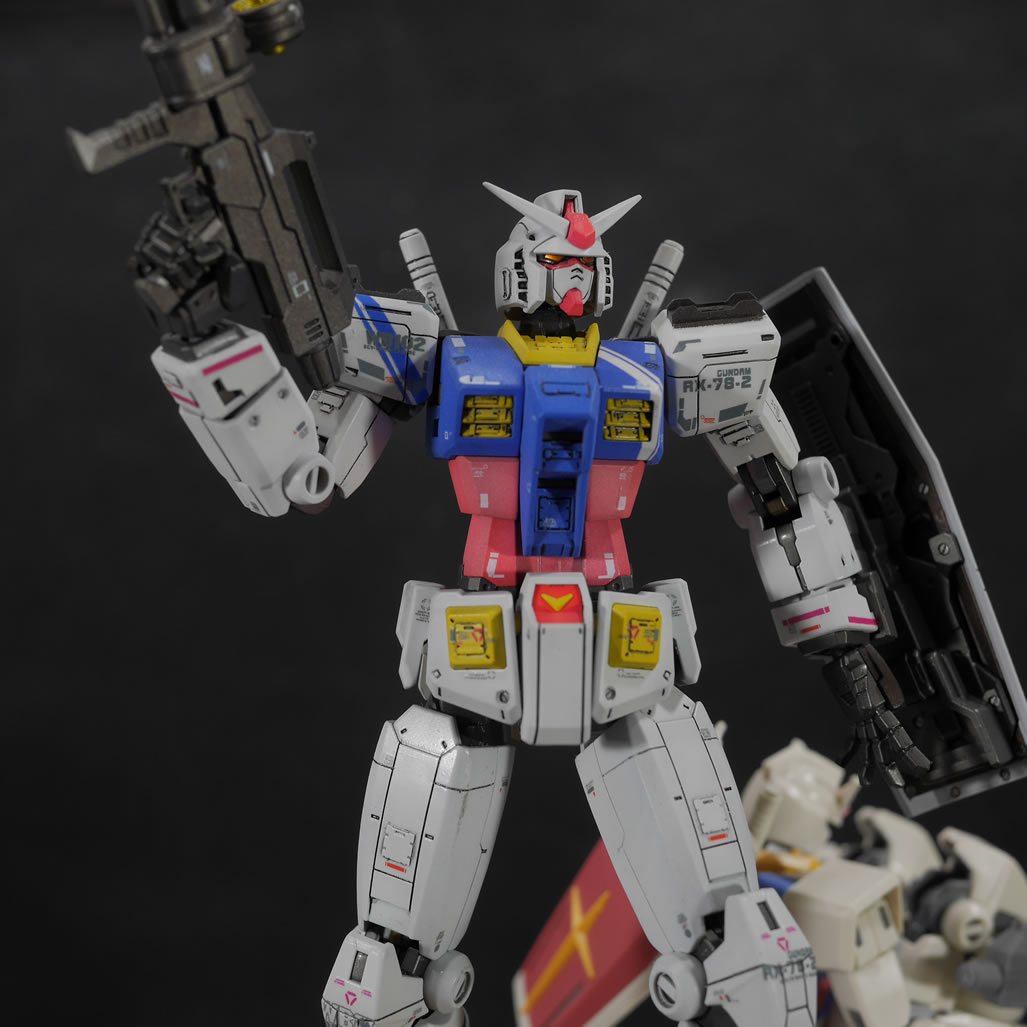
All the parts are clipped and sanded, I can get to painting. Primer first, followed by white shading using Mr color character white over all the parts. Once all the parts were shaded, I sprayed the colors of a premixed pink I used for the Char’s Zaku I had in my paint collection; finisher’s deep yellow, and finisher’s super fine cobalt for the blues. The whites were sprayed with a mix of Mr white base and Mr Color Sail for a slight off white covering. The top color layers inherit from the shaded base layers to create a subtle shaded color layer. A truncated color lift technique.
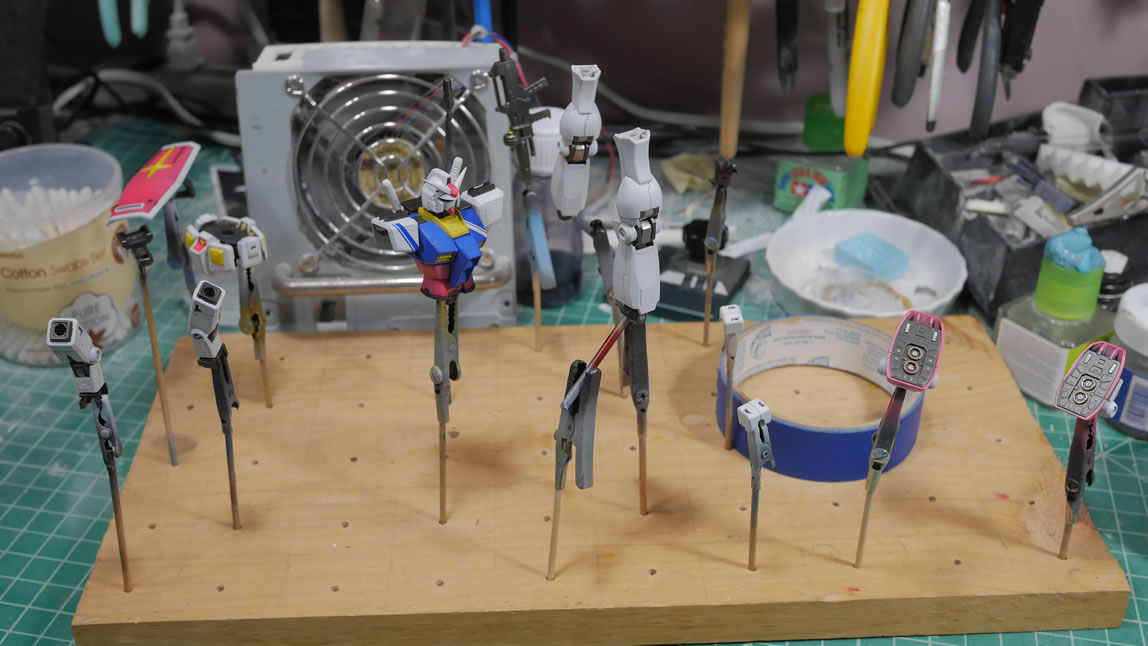
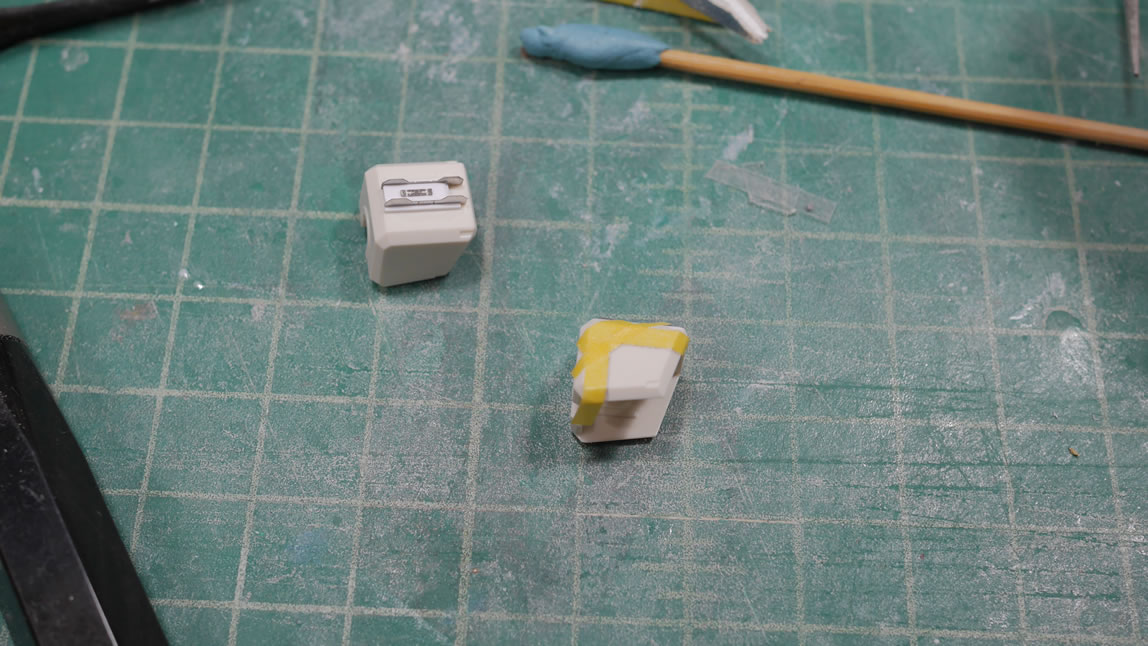
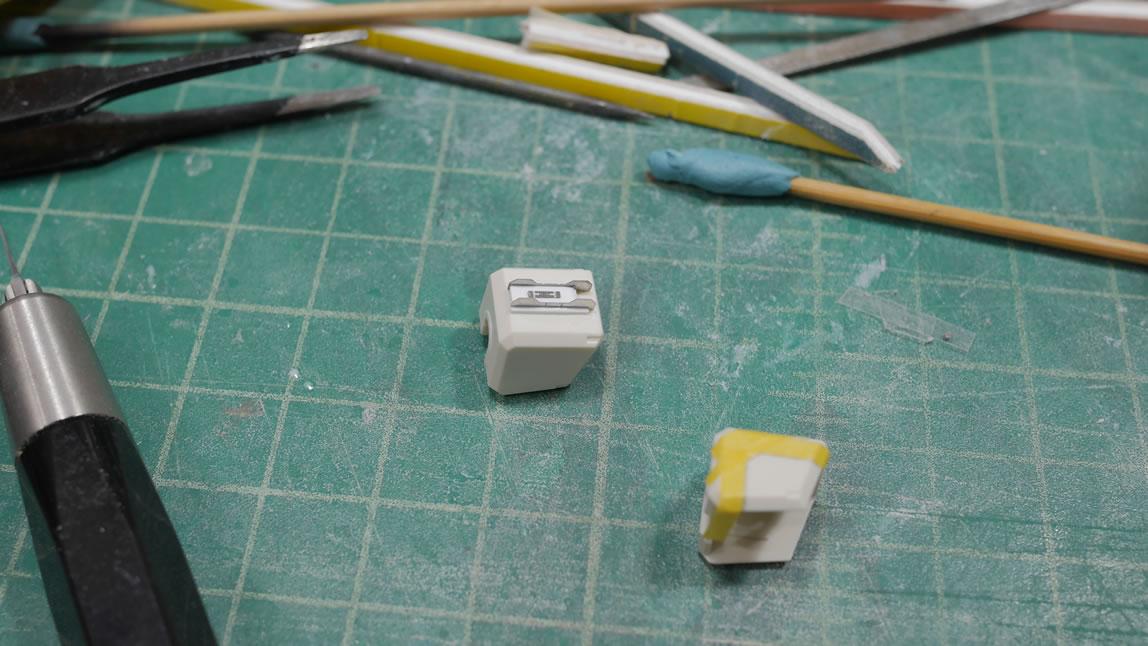
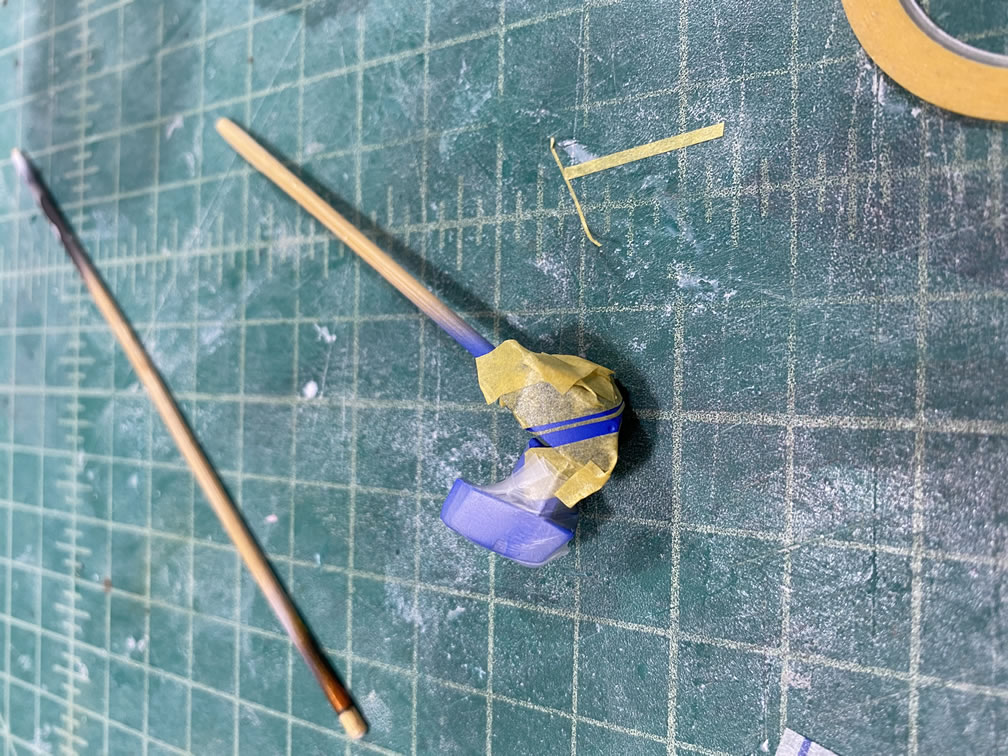
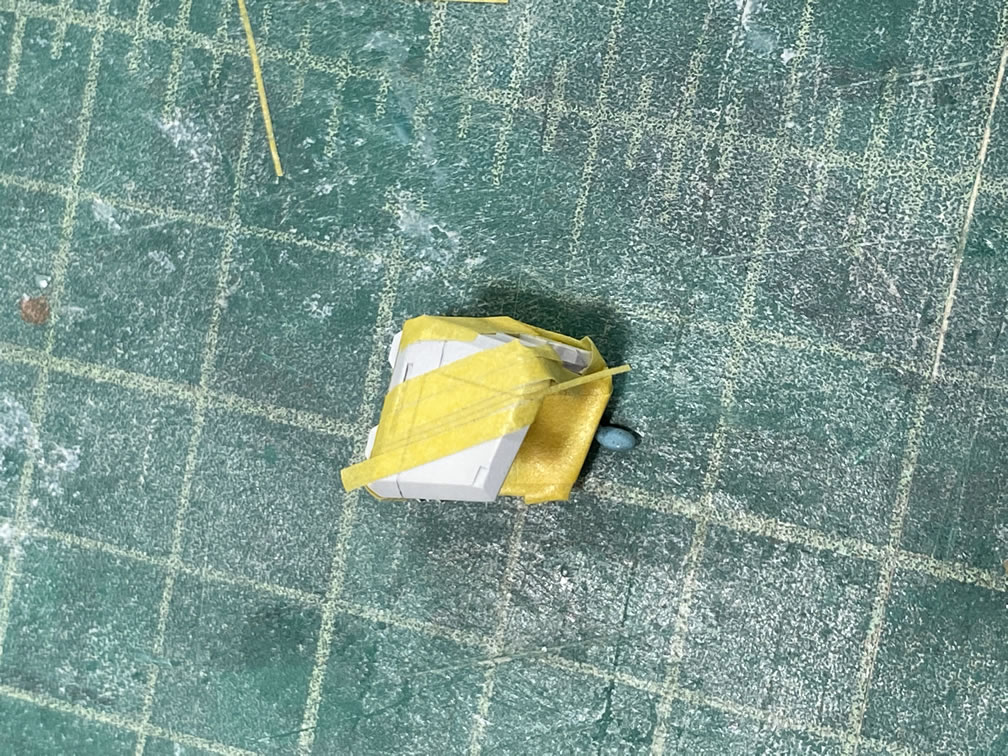
Details are masked and I used the different aizu masking tapes to create some racing stripes down the chest and left shoulder.
I hit up my local hobby shop (robot4less) to pick up an order for one the the group build guys and ended up picking up some supplies myself. As well as another Beyond Global kit. I figured I could snap the sucker together and have a good comparison between an un-sanded and only nub clipped build vs the work put in from above. I wanted to highlight all the mold lines and such that needed attention as well. I was also looking for decals for the kit and didn’t find any, so I searched online and found some at USAGundam. Ordering from them put the arrival by the 12th, so that still gave me enough time to finish by the 15th deadline.
By this time, the kit was gloss coated last Friday, so I needed something to keep me busy. The extra beyond global kit came into play for some comparison photos as well as a vlog for the build progress. I made a 30 minute video of the build process up to this point.
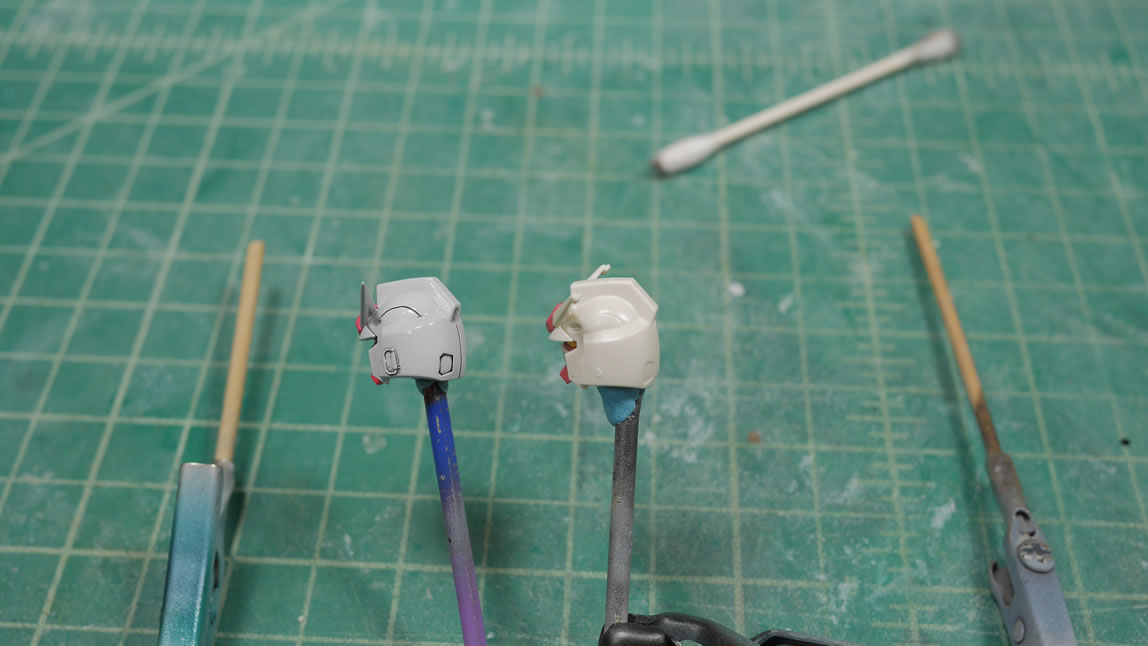
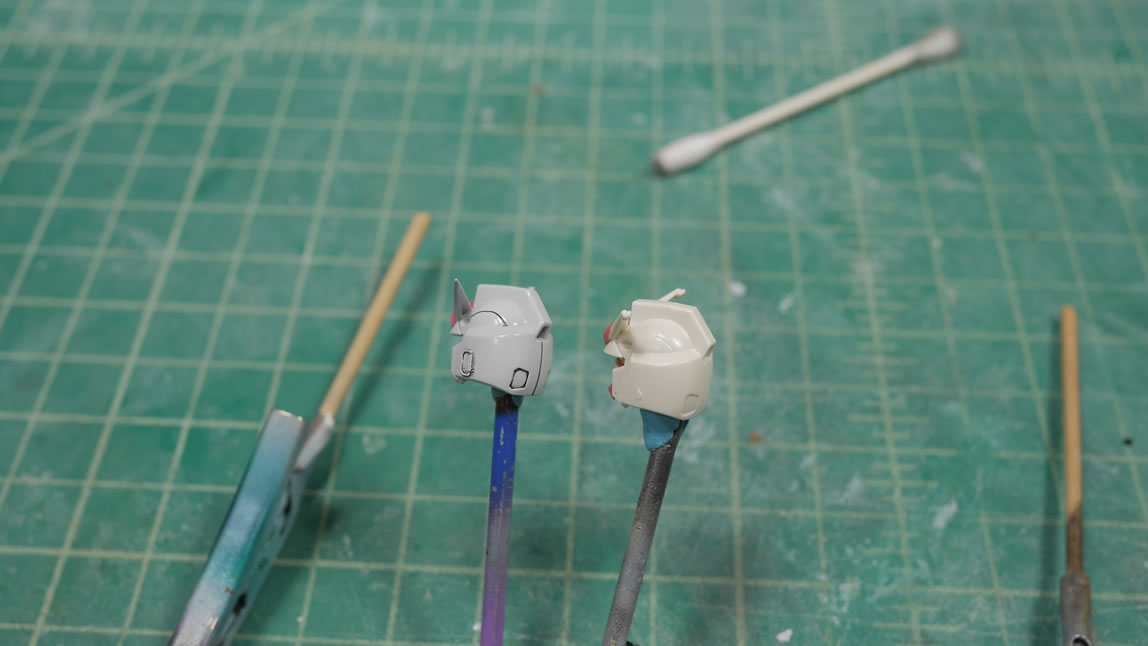
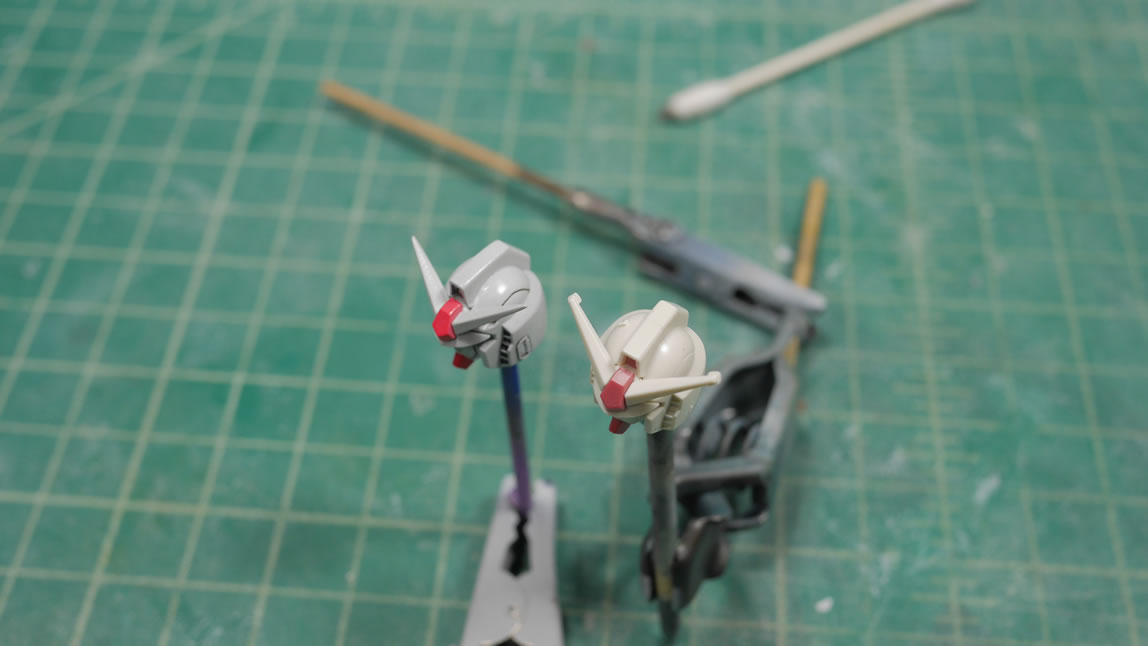
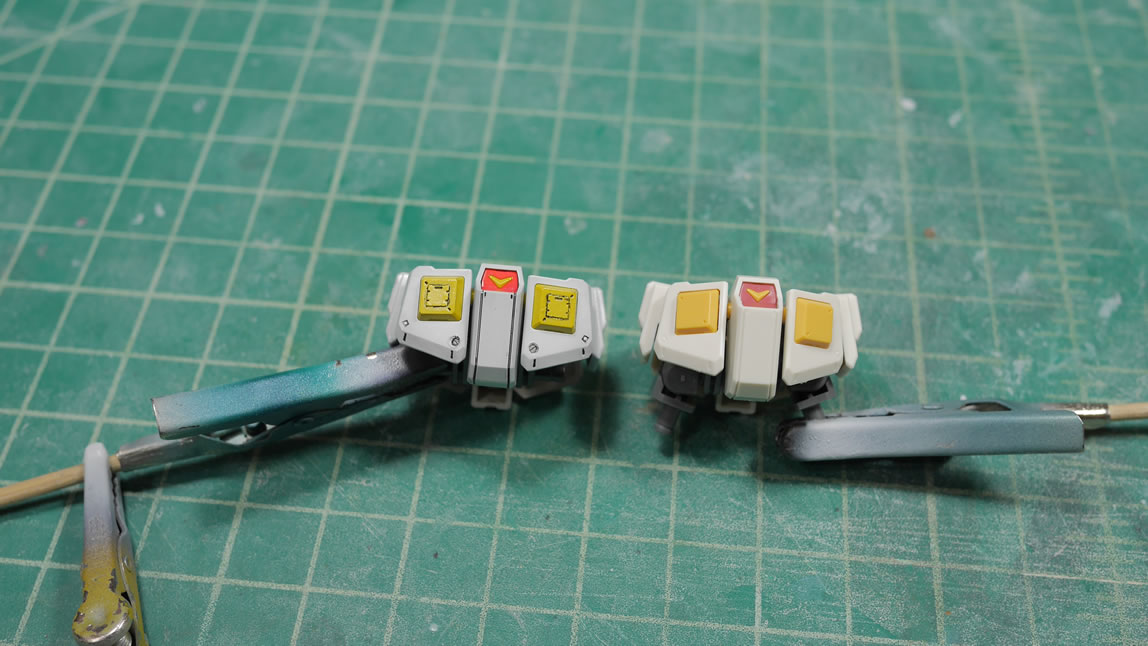
Below are pictures I snapped to add into the video above. Head comparison and tilts to see the mold lines that riddled the kit.
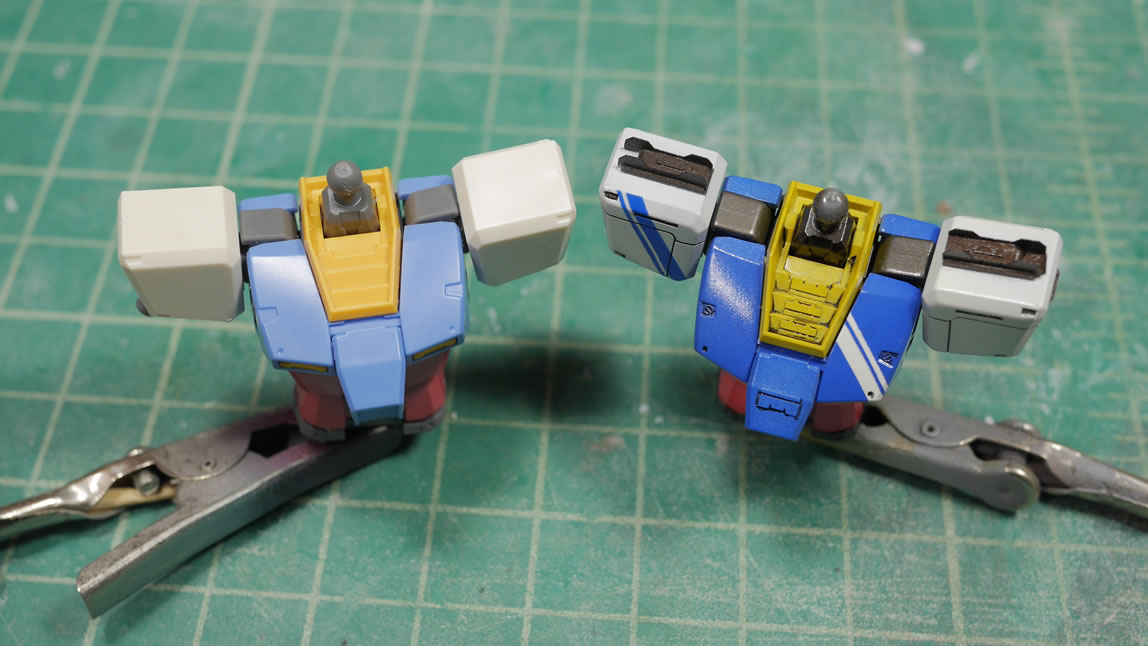
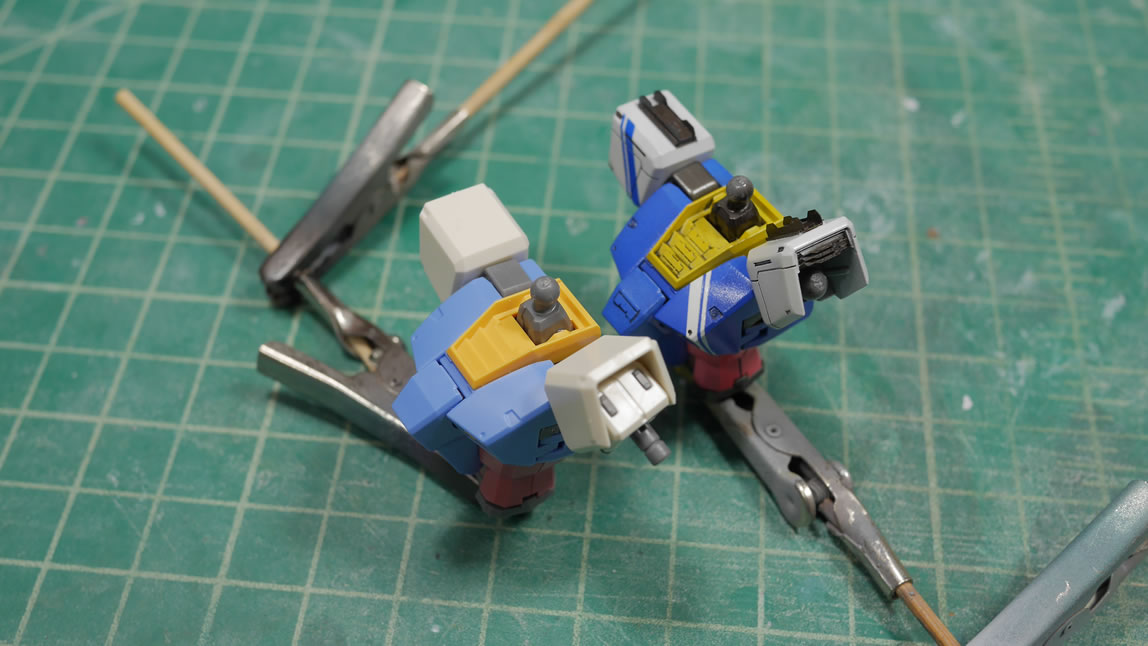
Chest comparison.
Waist comparison.
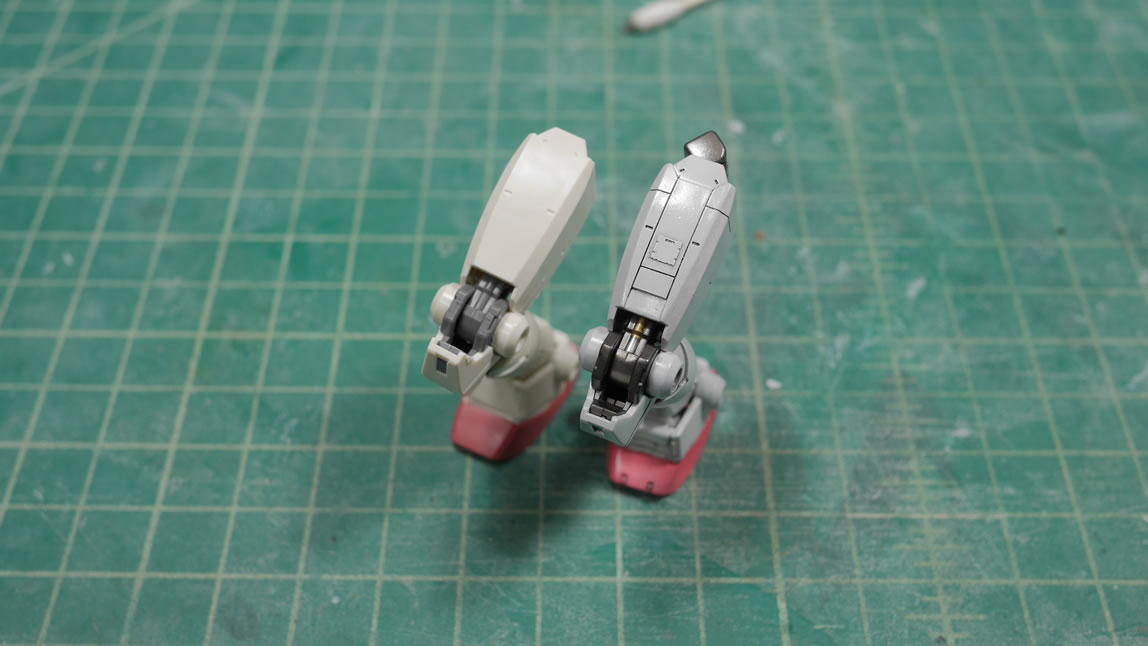
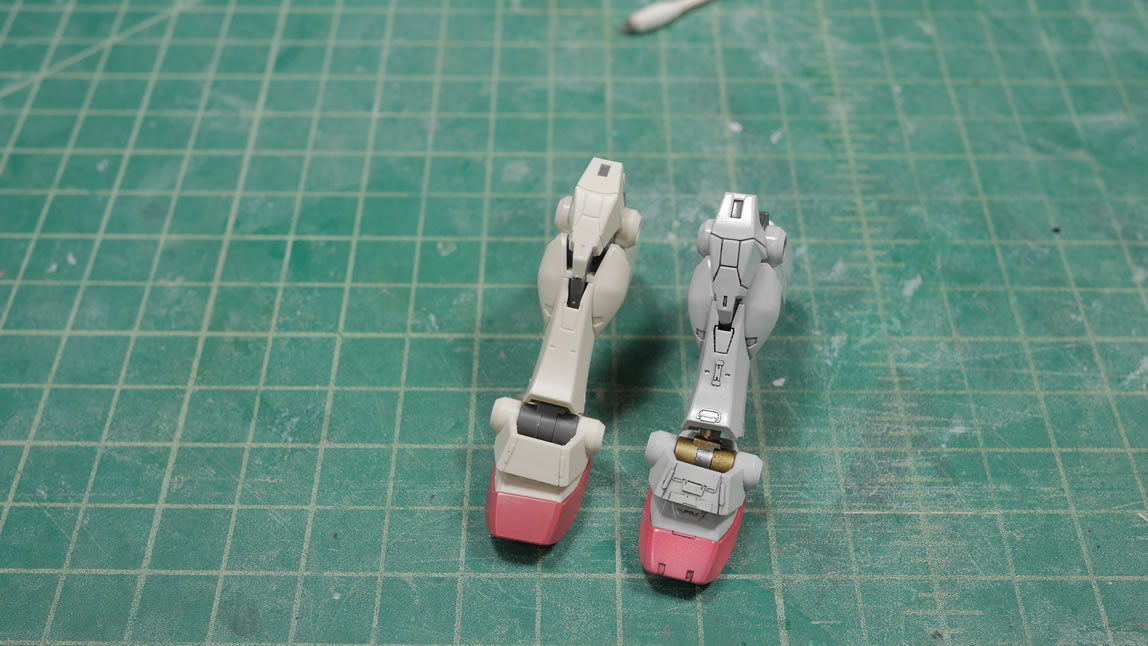
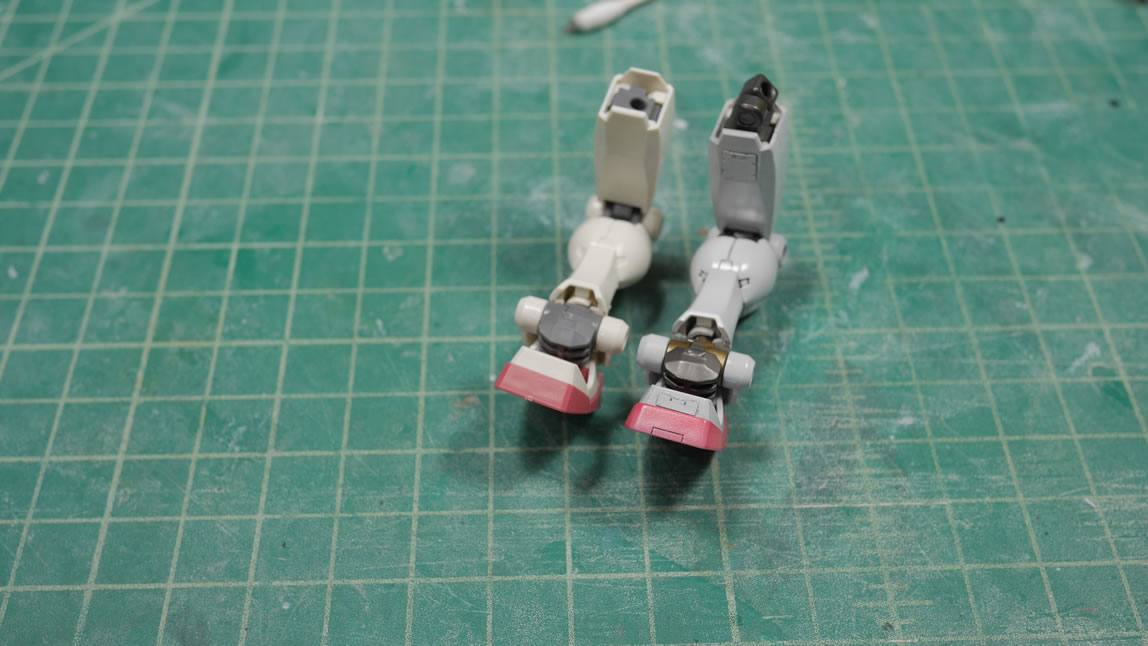
Legs.
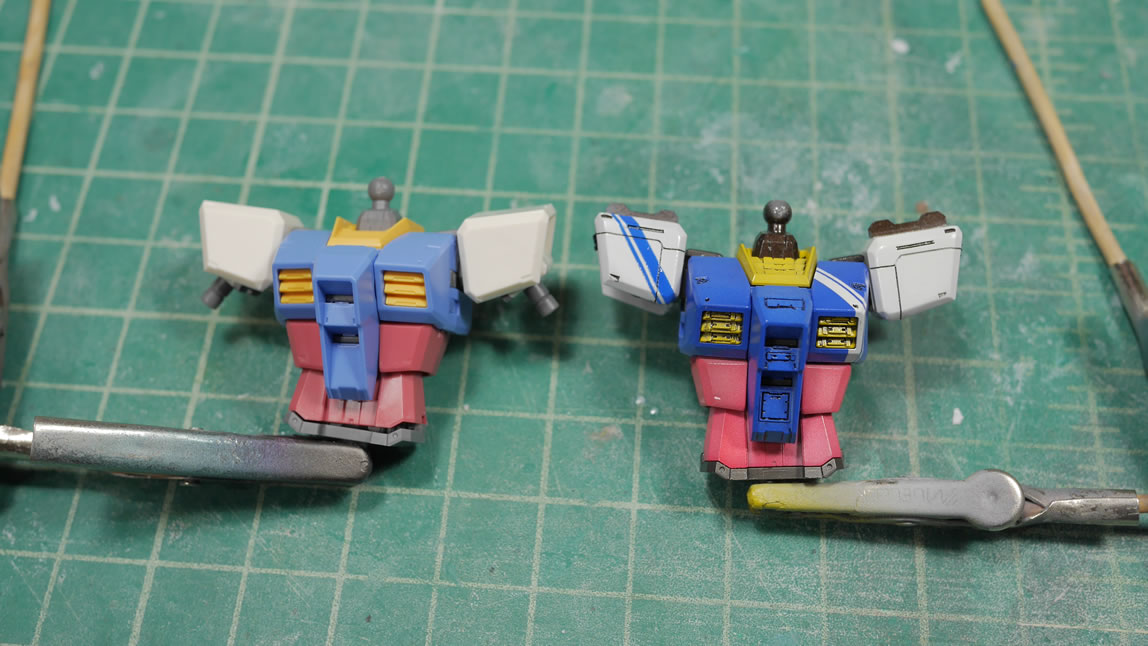
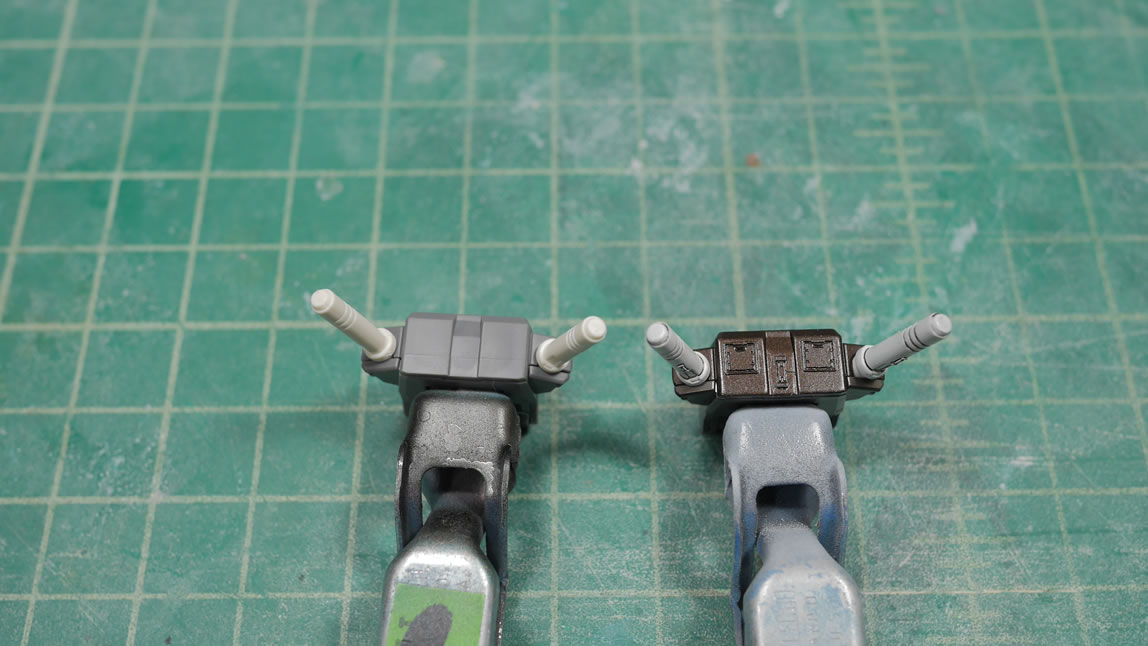
Backpack.
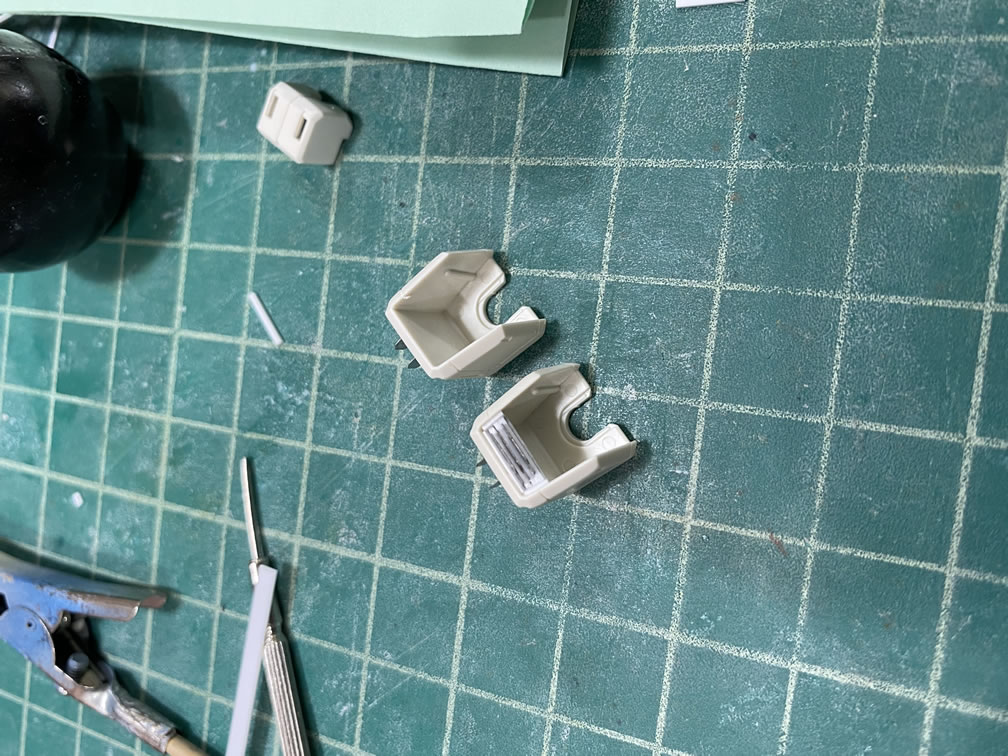
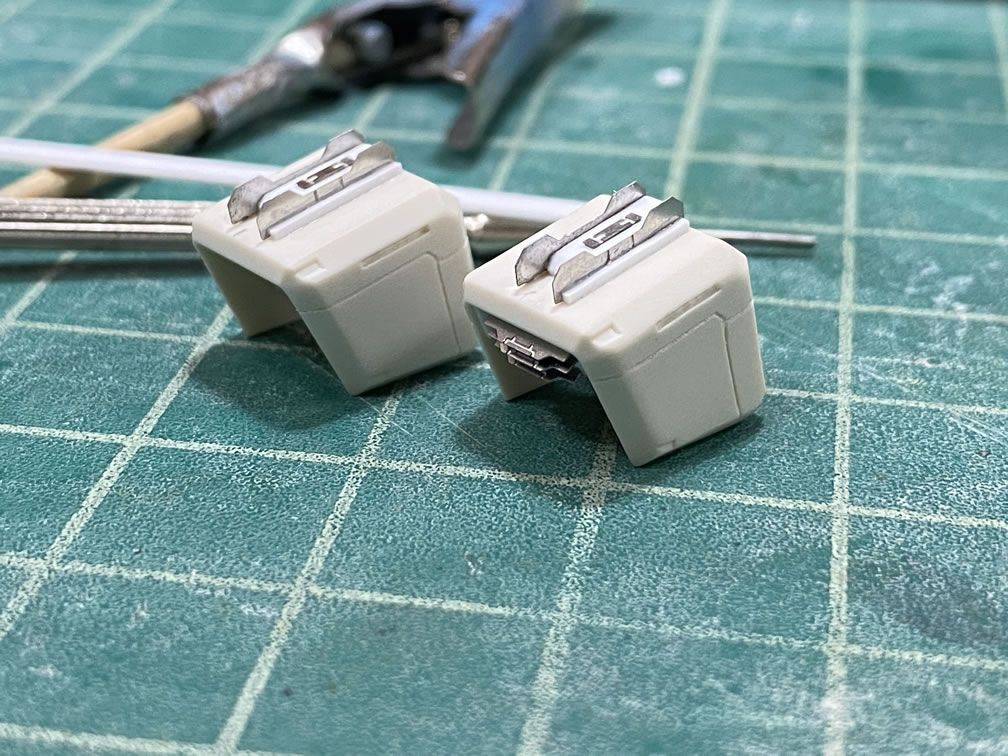
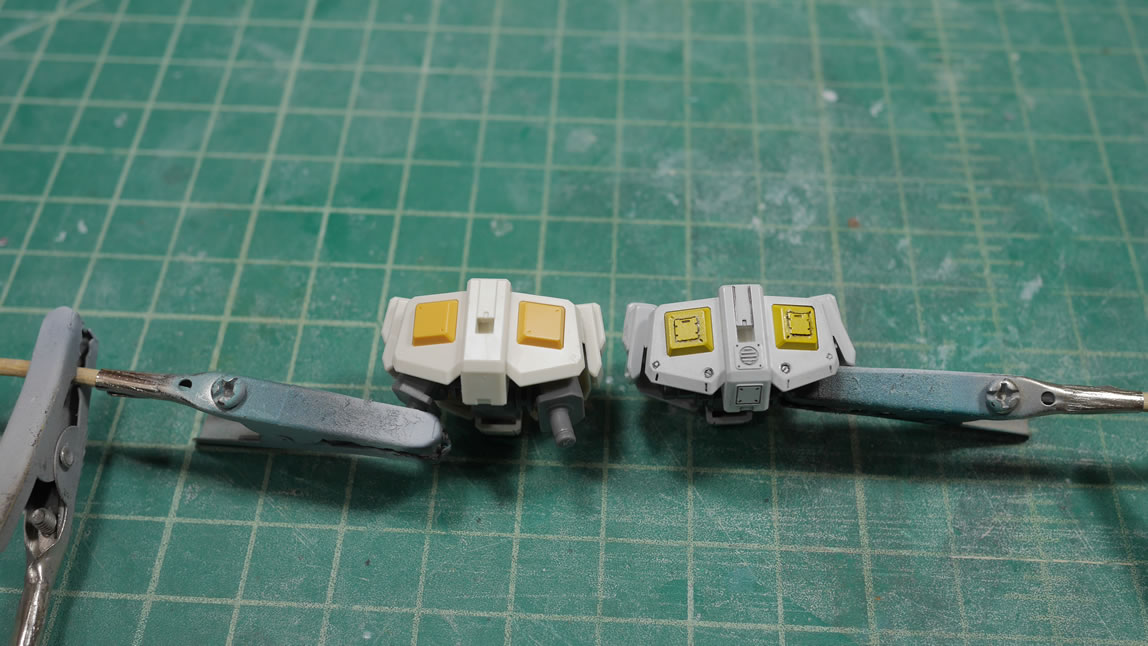
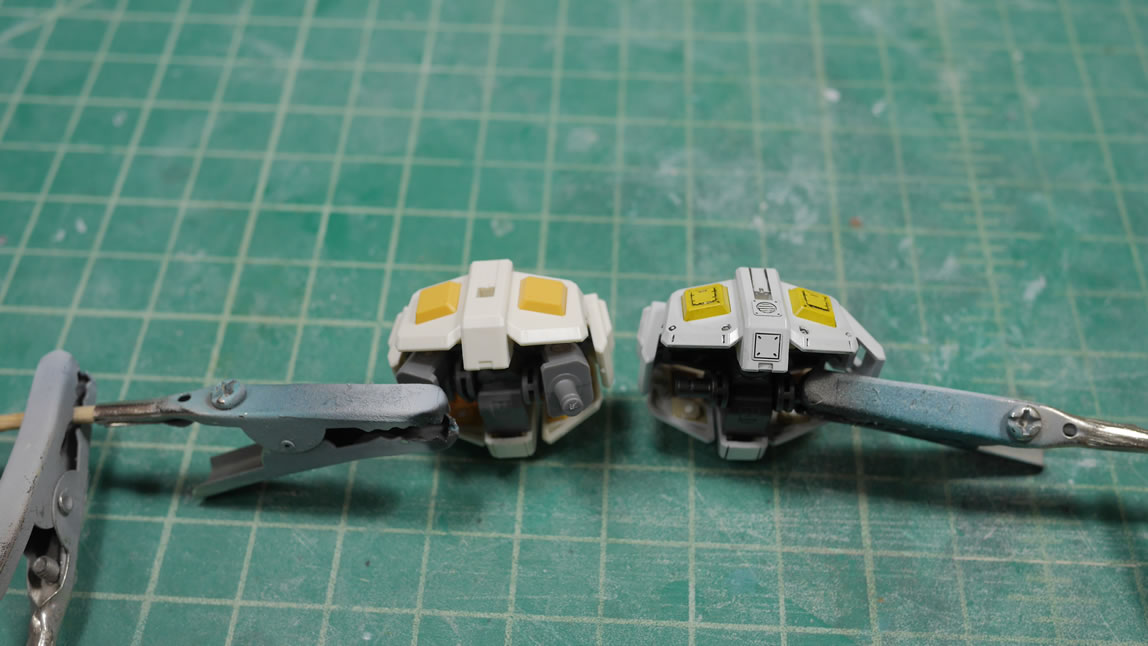
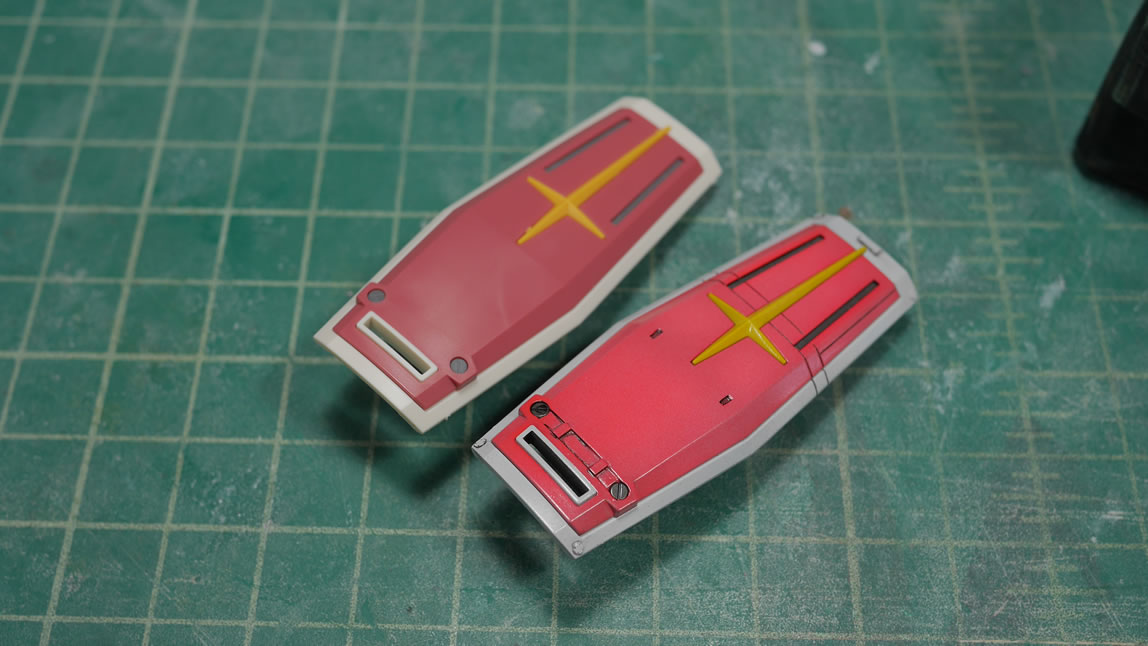
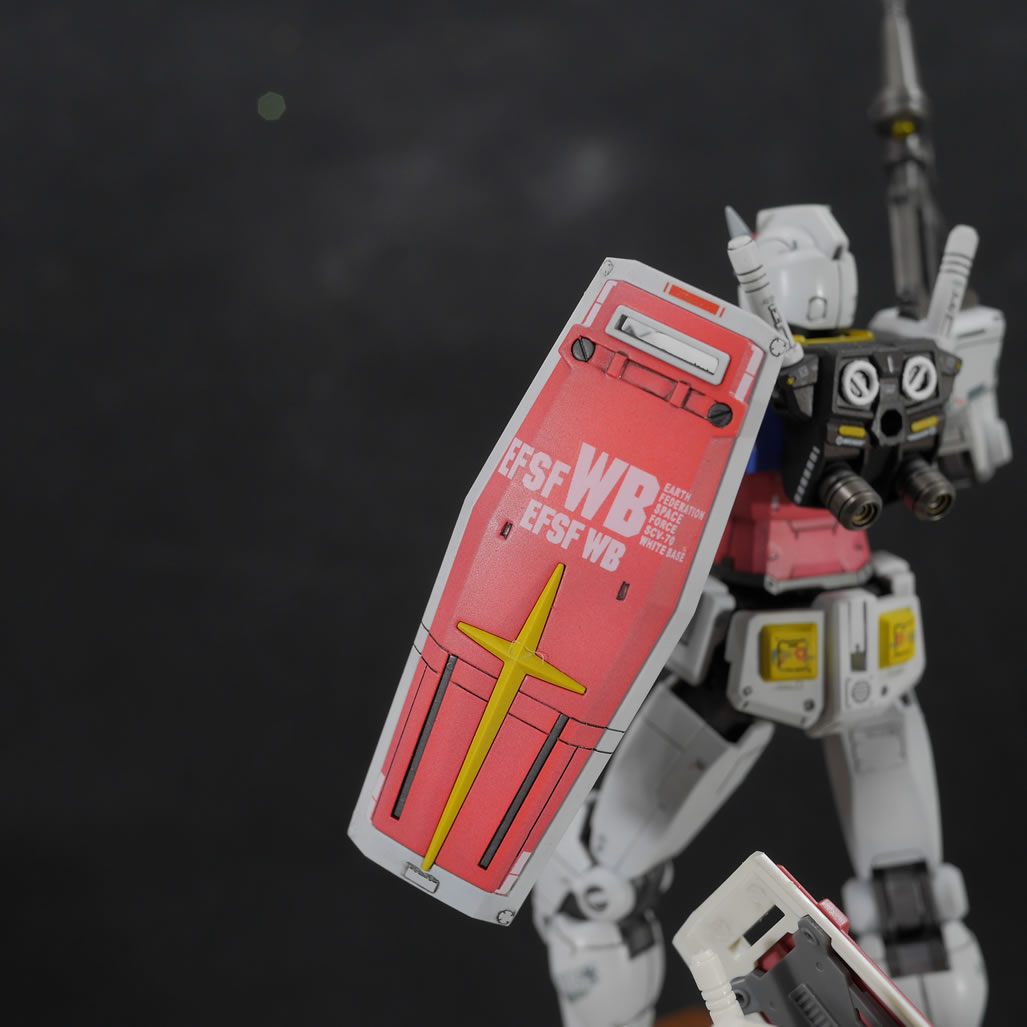
Shield internals. Note the round mold marks on the bare kit.
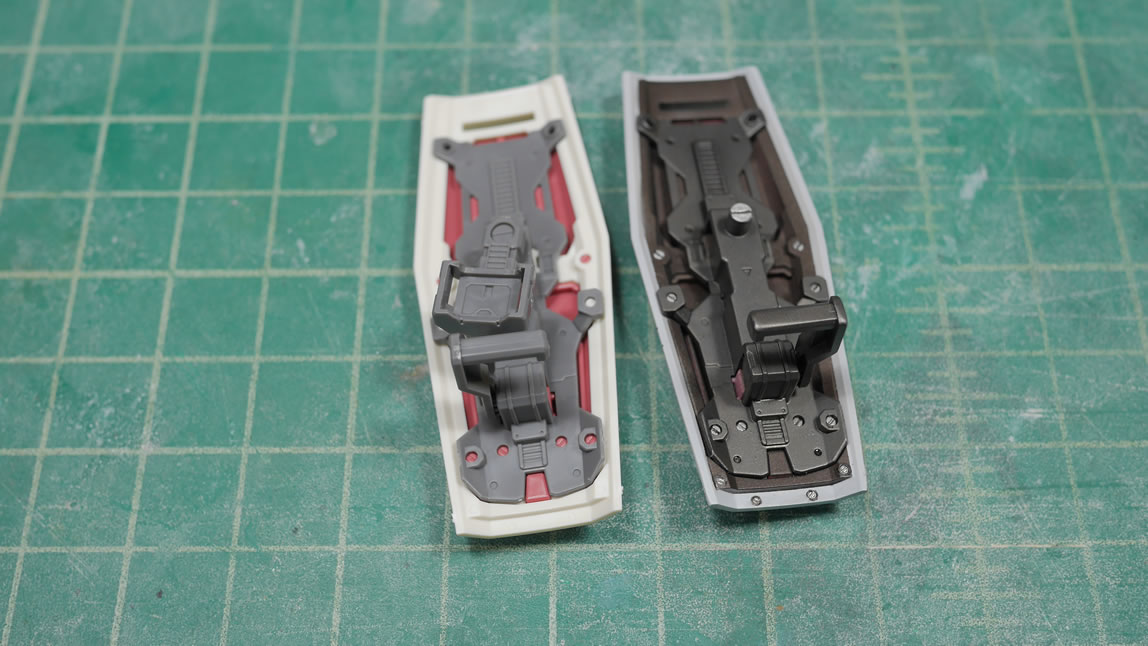
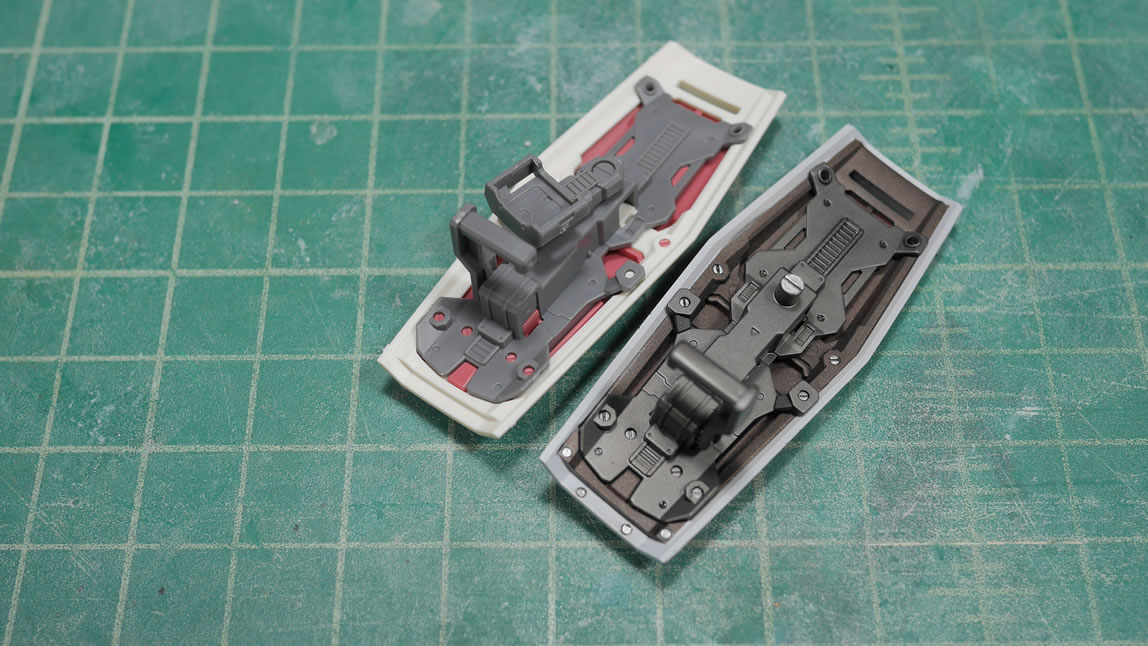
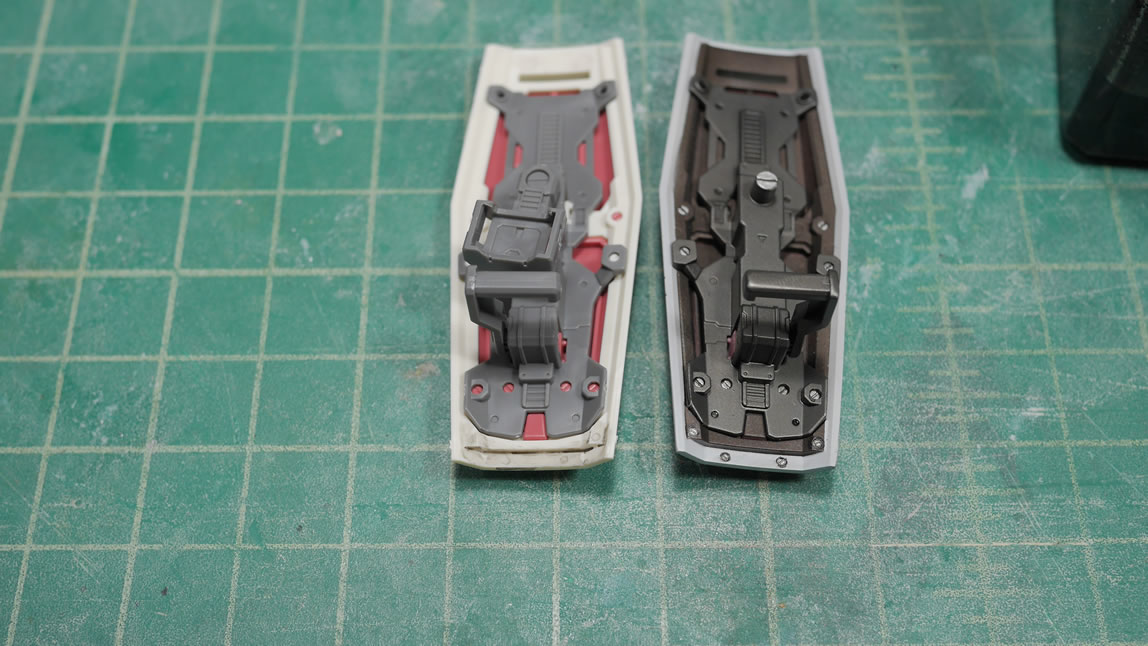
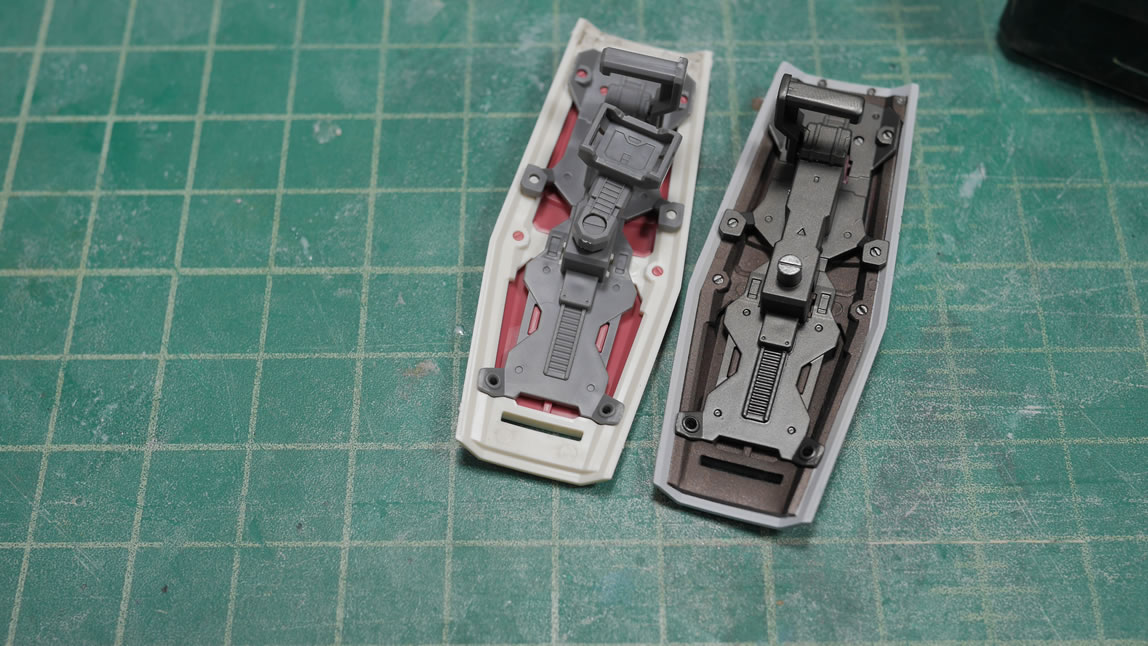
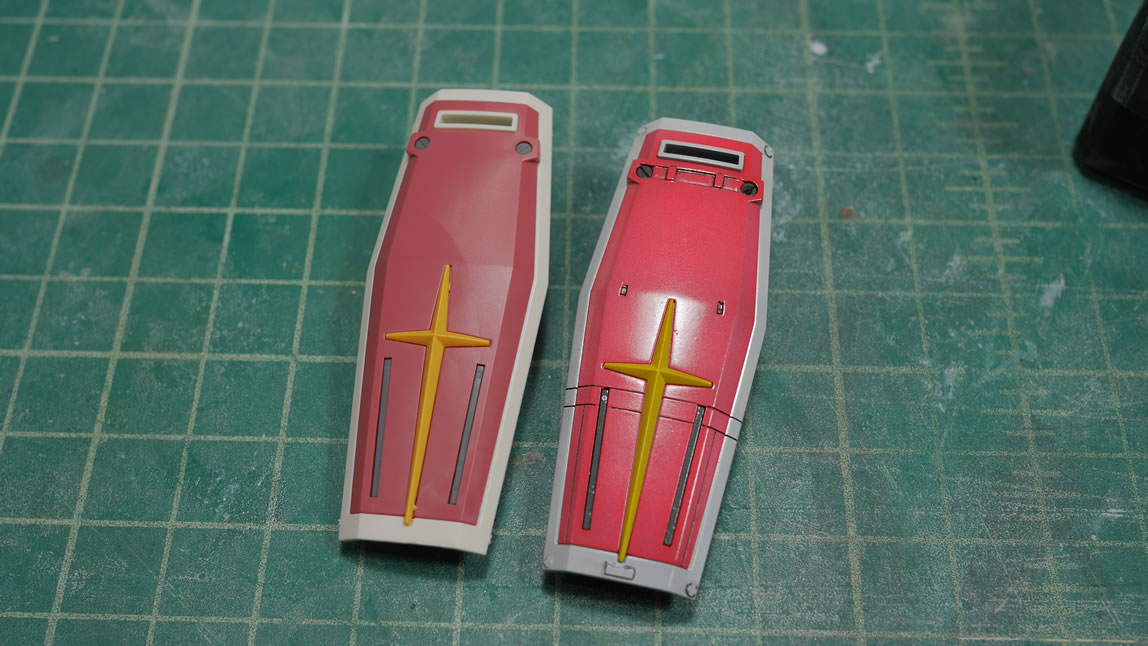
Shield work with scribed in details and added in photo etch details.
The decals arrived a day earlier, on Aug 11, so two days were actually spend applying the tiny decals to the kit and adding in the Ver Ka reference, more decals were added over the ultra gloss surface. After a day of curing, the parts were sprayed with another layer of clear gloss to seal in the decals as well as level off any decal edges by sandwiching them to the surface. Another day to fully cure and yesterday morning I sprayed the final flat coat over all the parts. Friday night I snapped sub assemblies together, carefully, so not to break things, but I did see a crack develop at one of the leg joints. I should have sanded down some of the internals. Without paint, the kit was very snug, so adding in paint just made things that much more tighter.
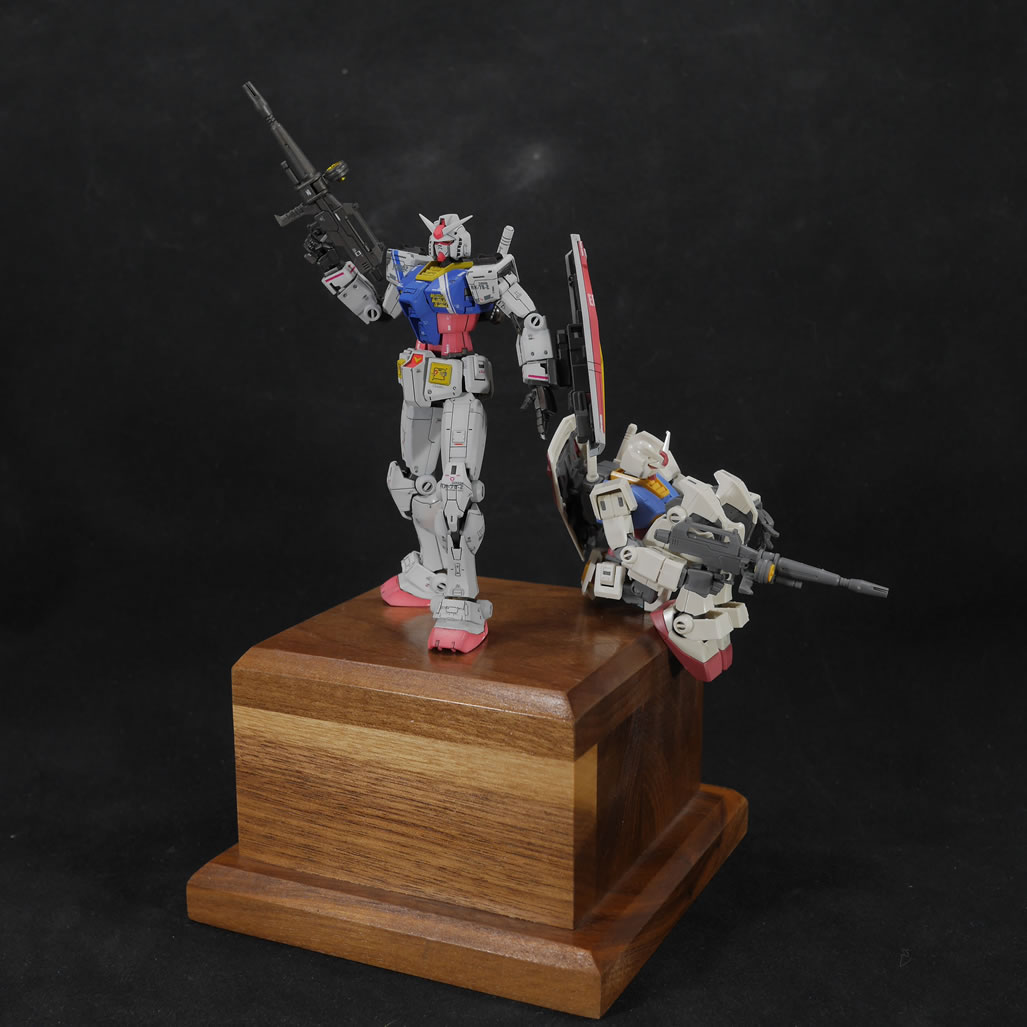
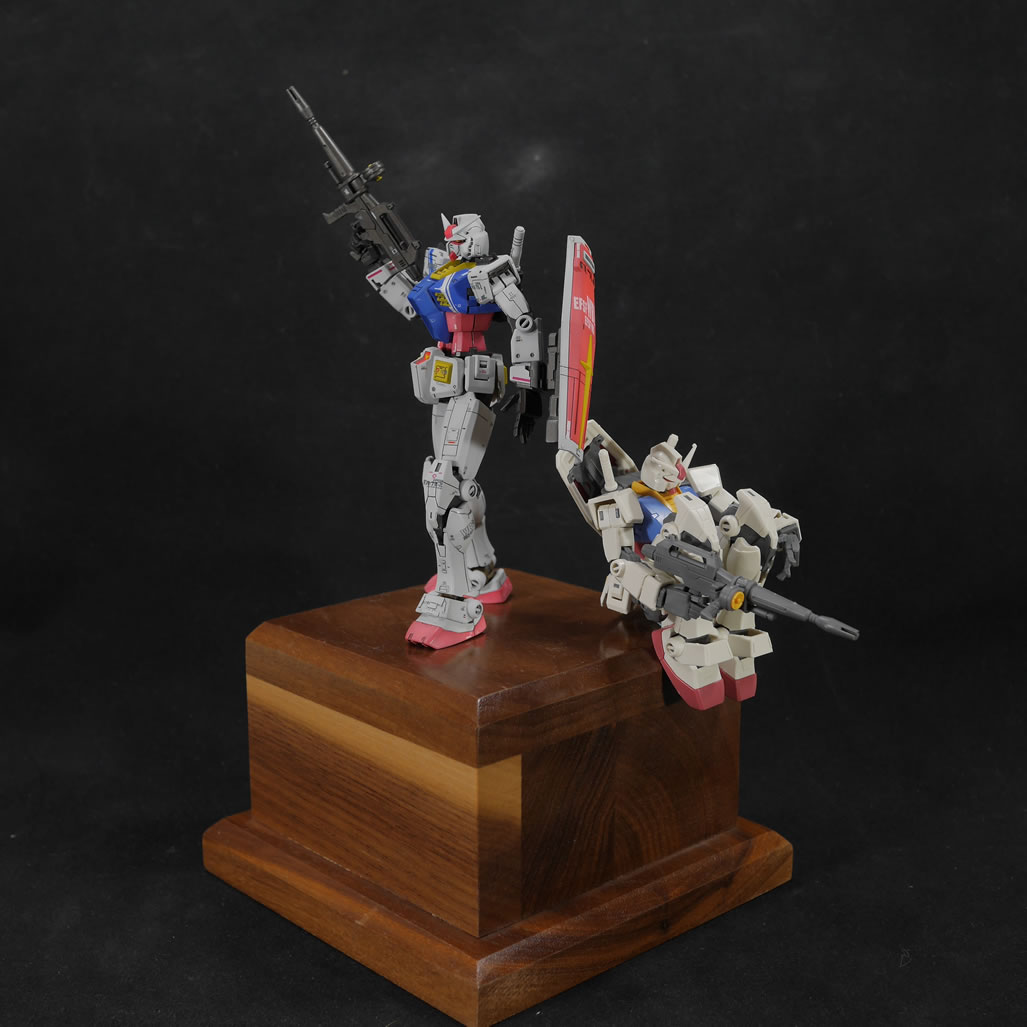
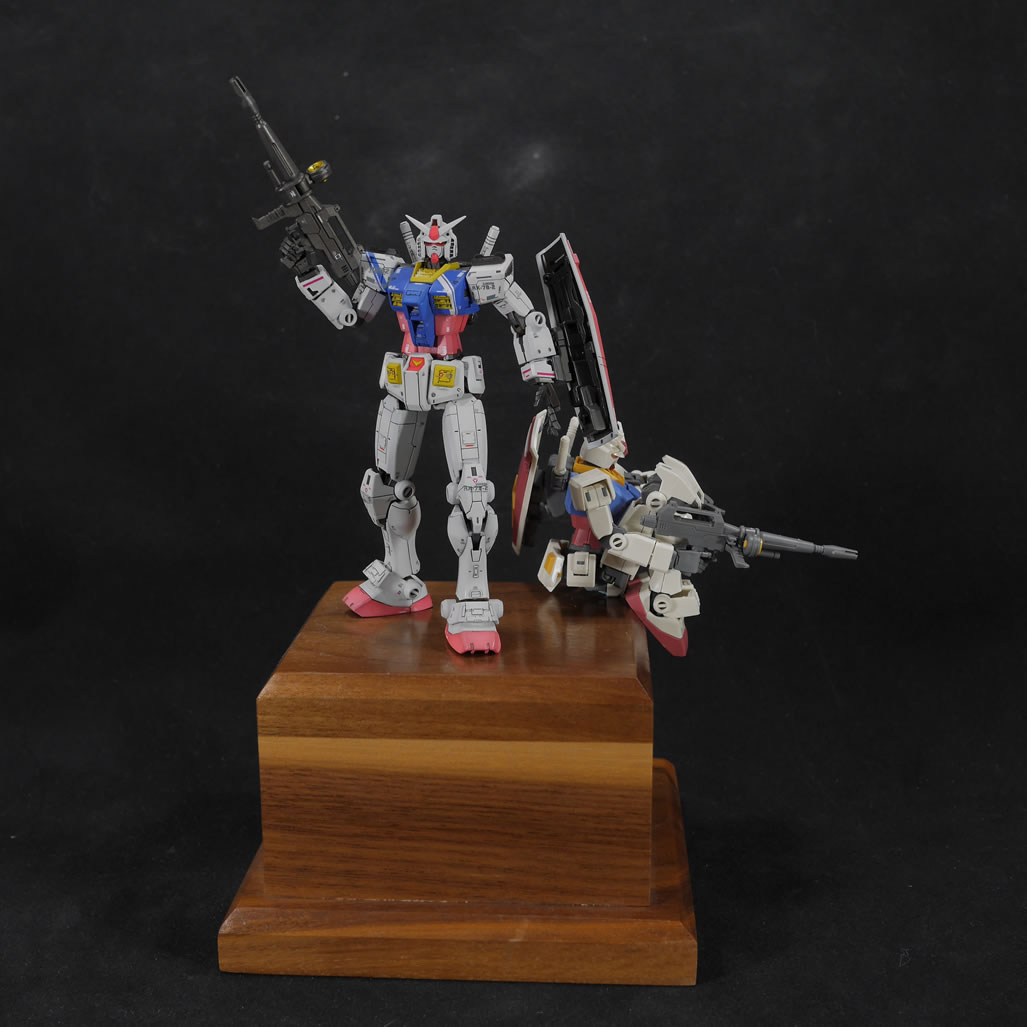
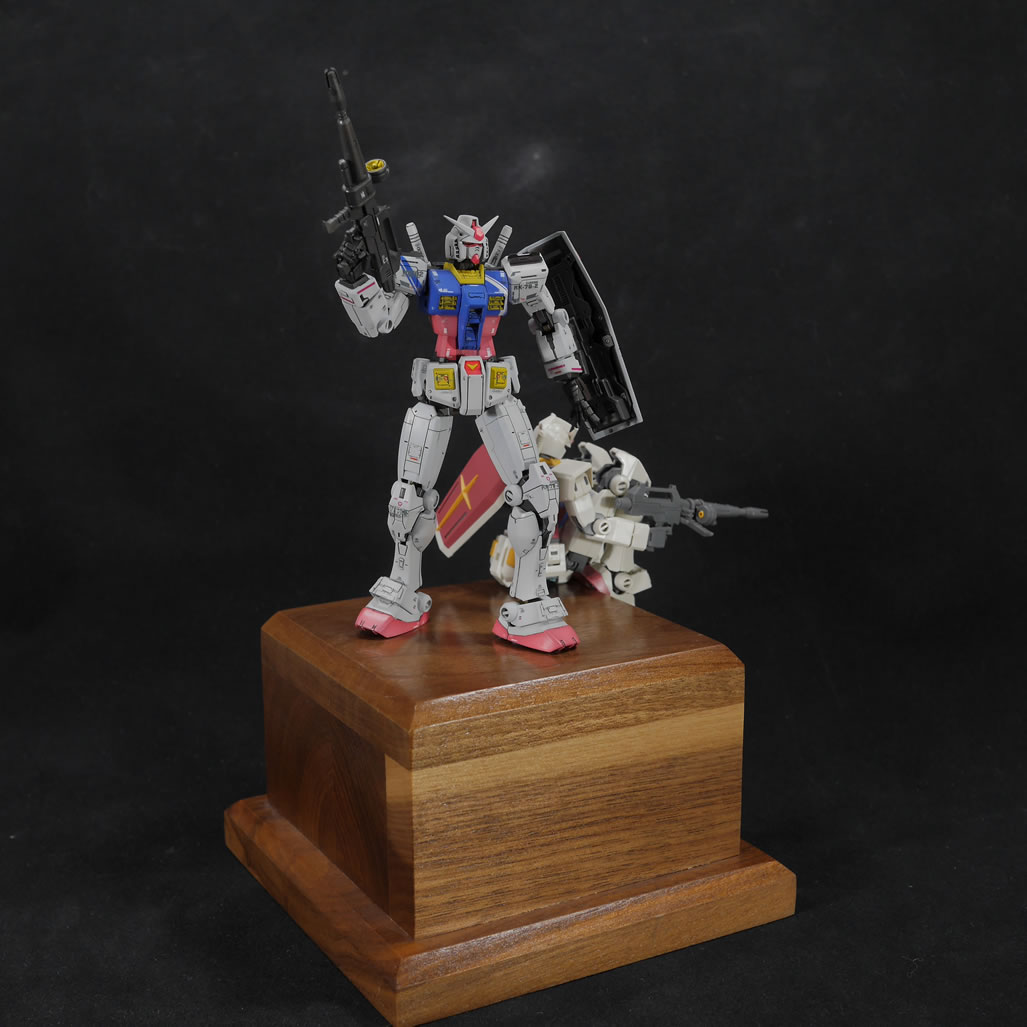
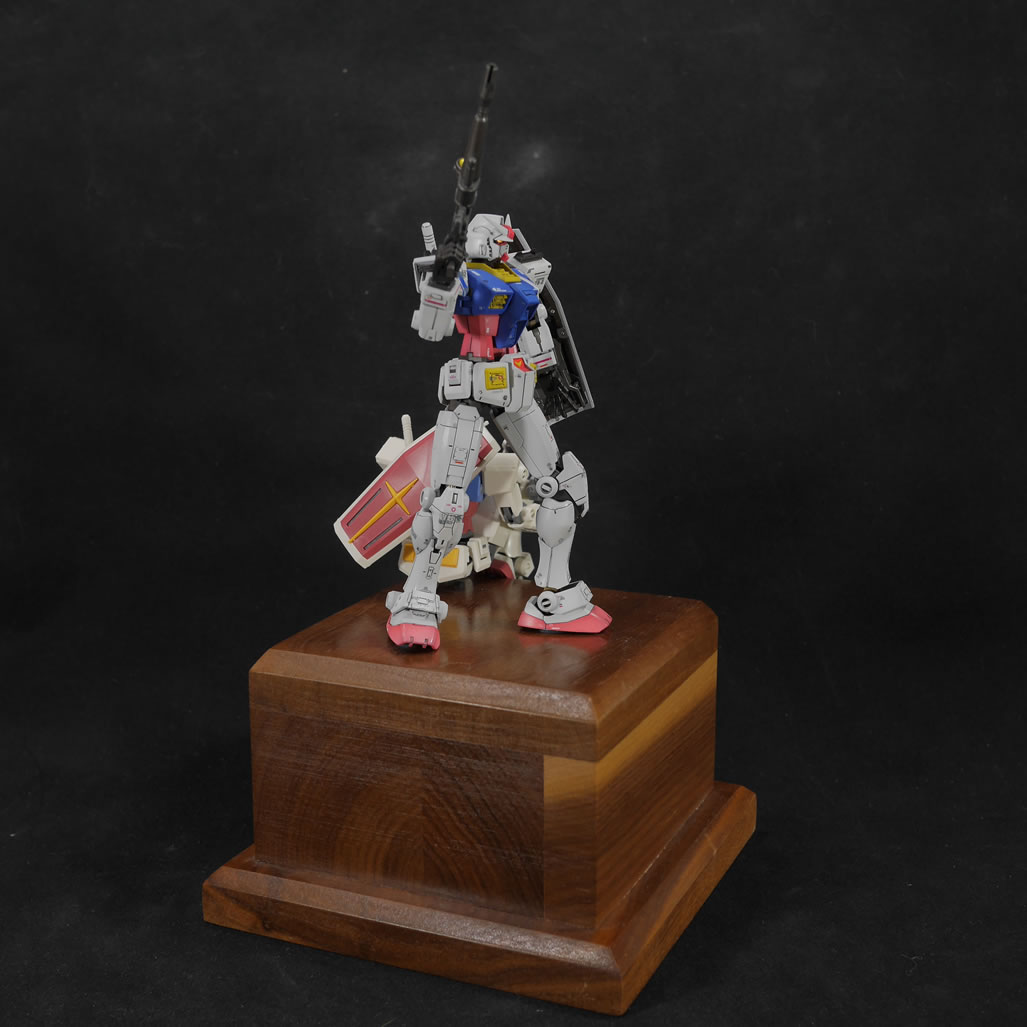
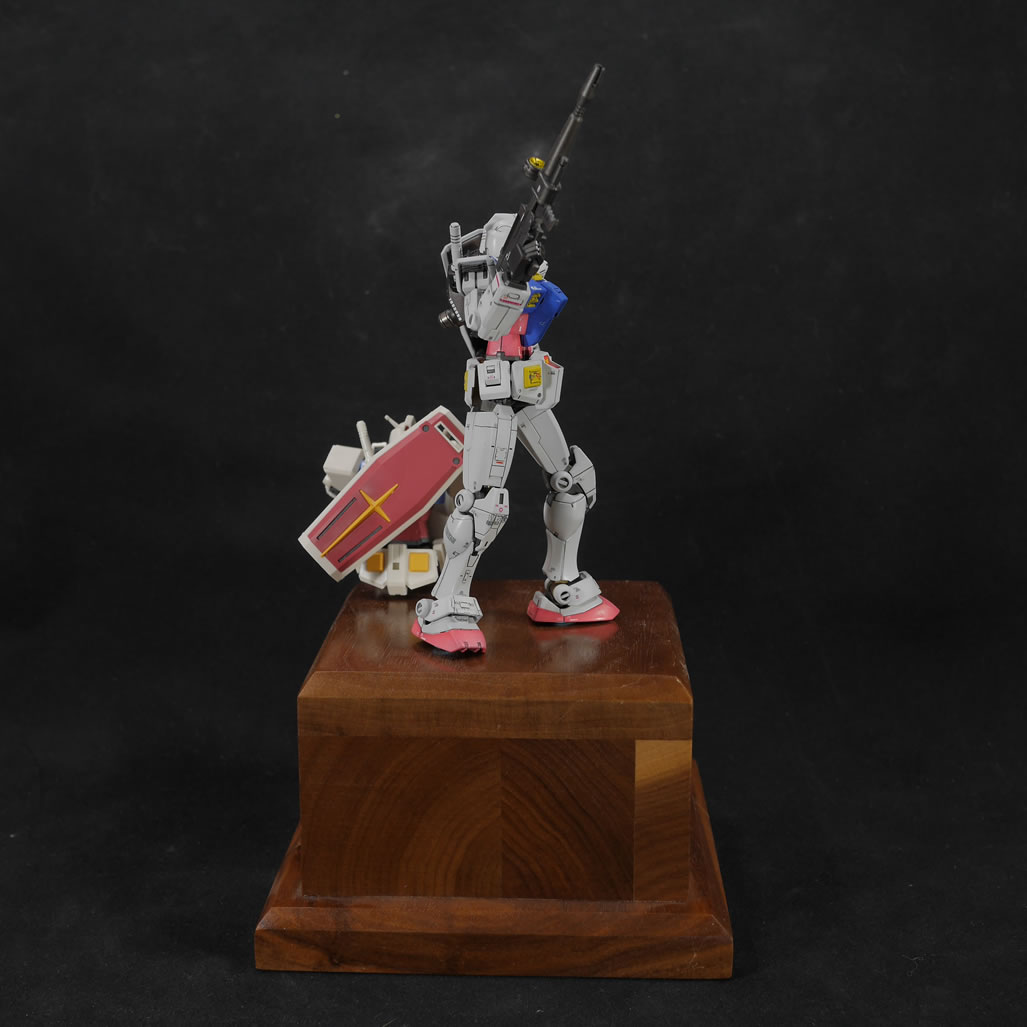
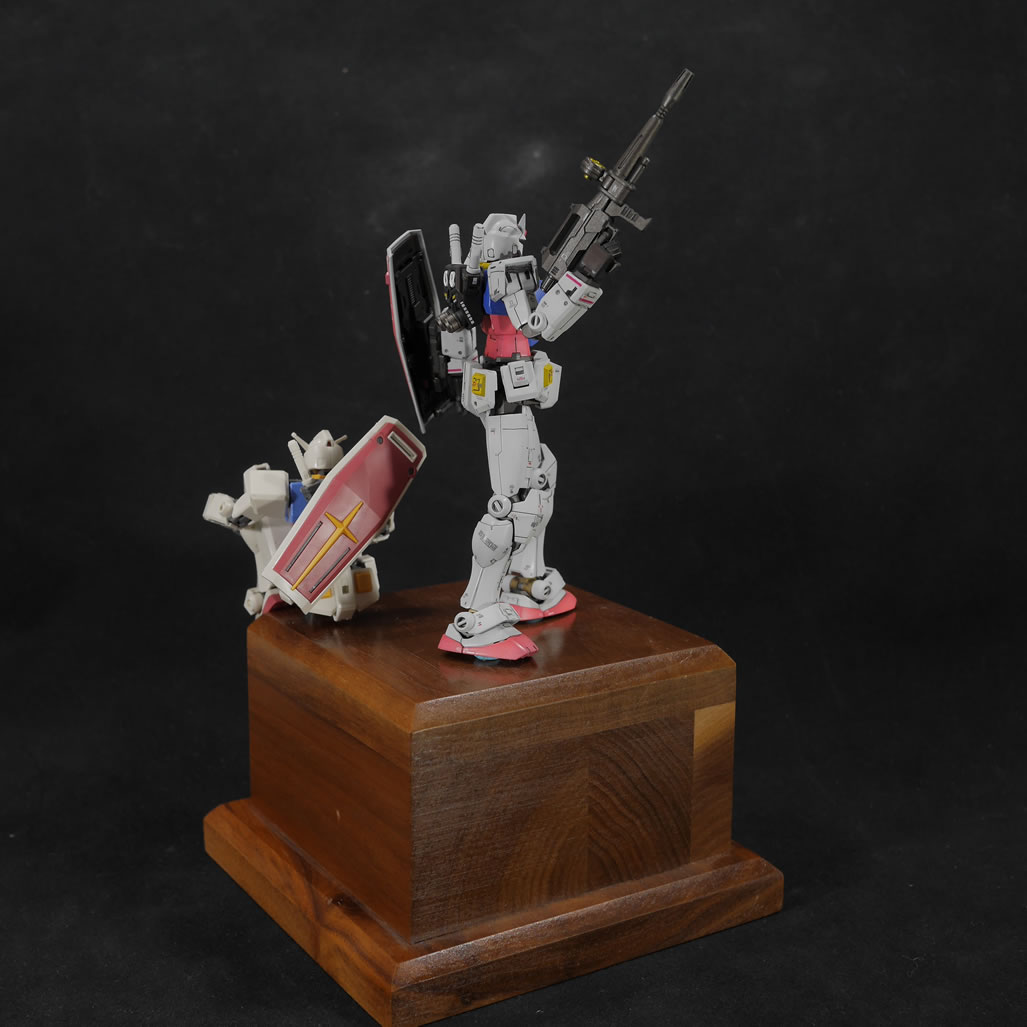
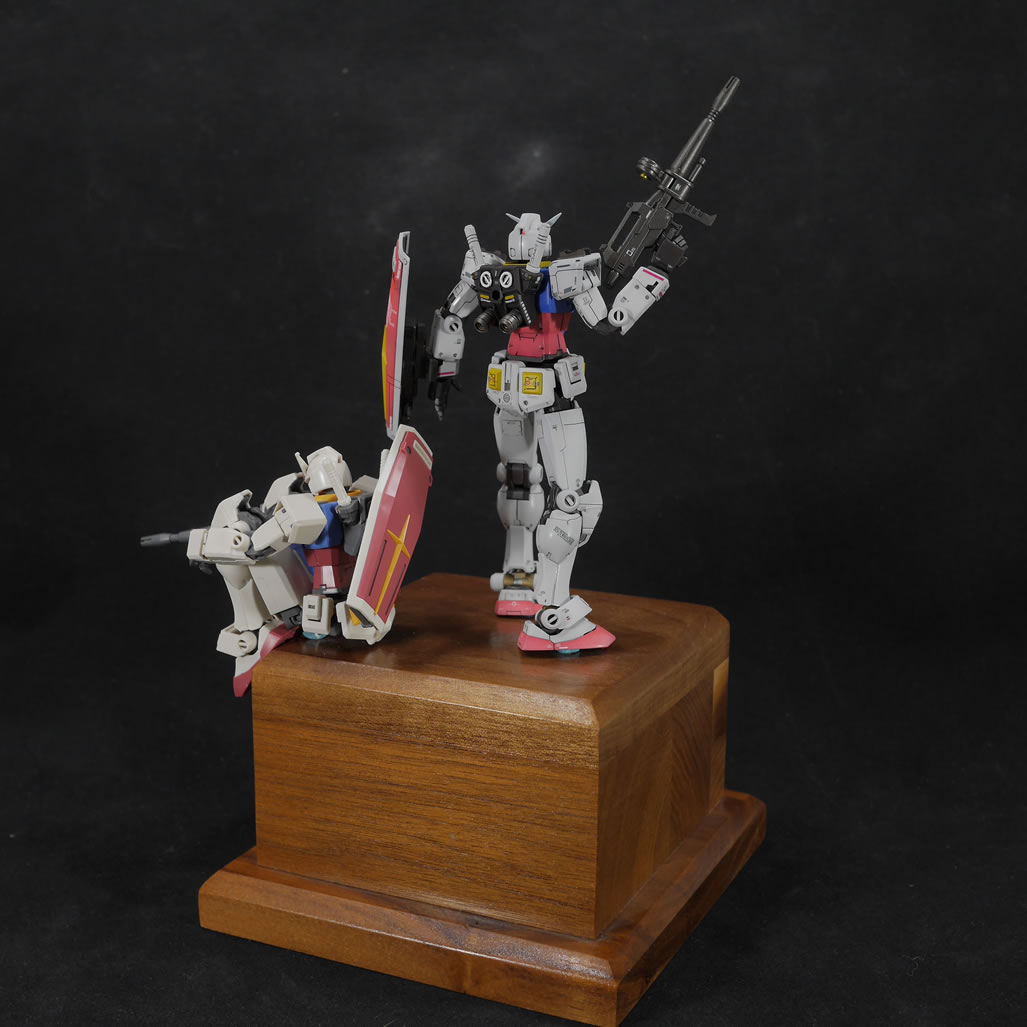
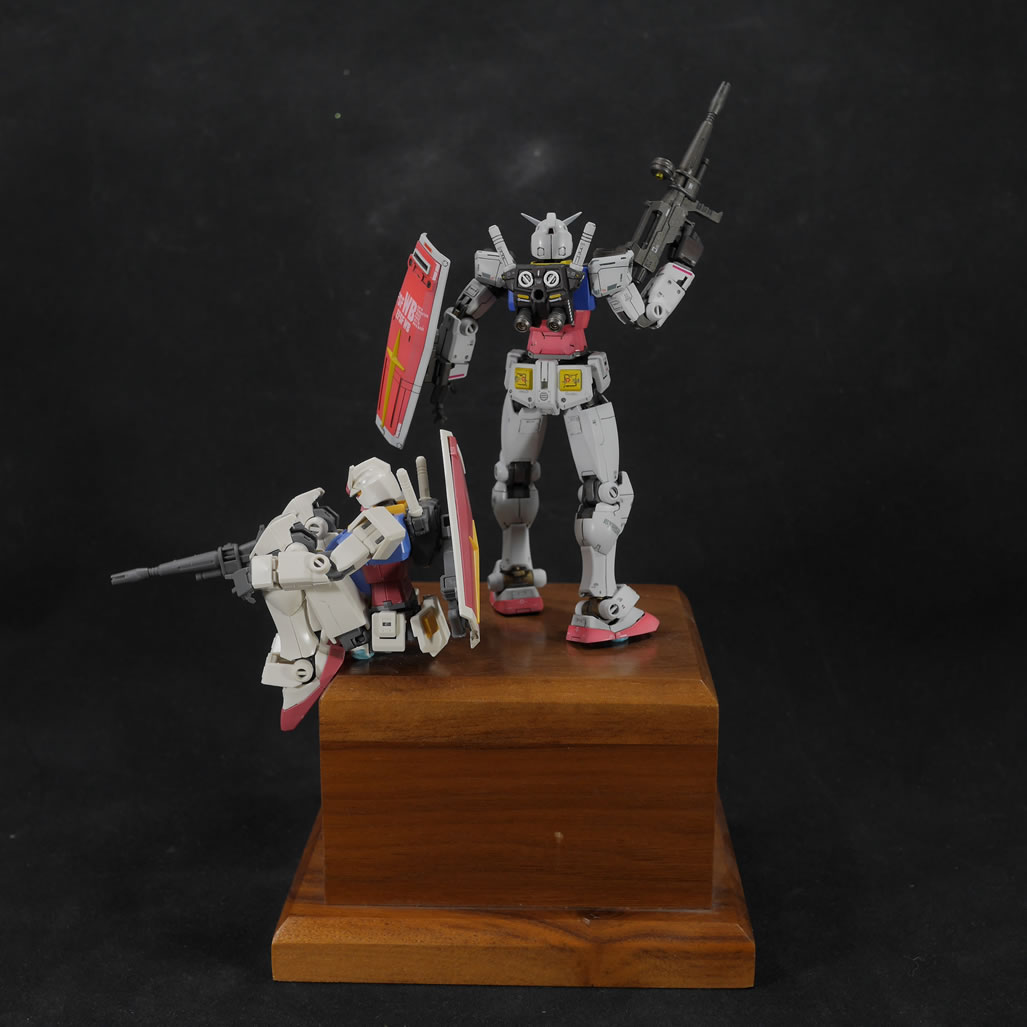
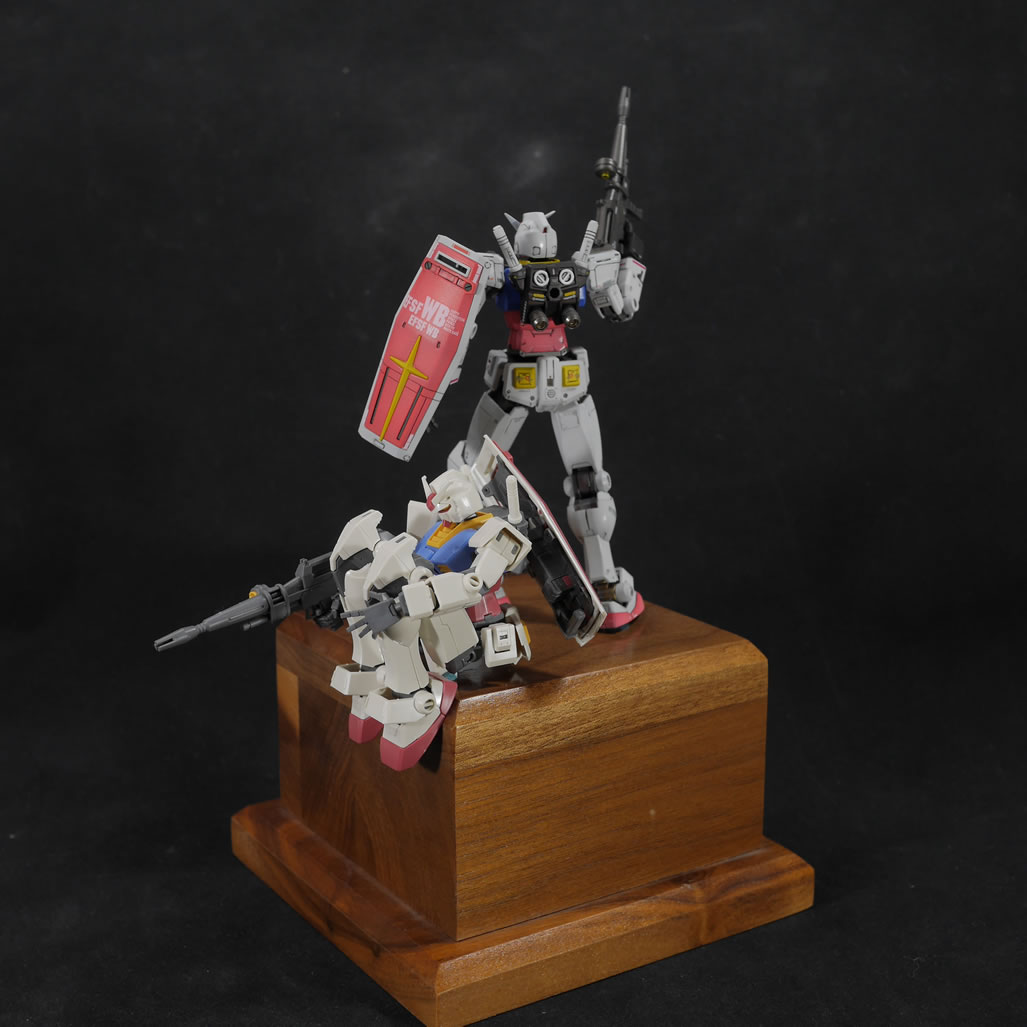
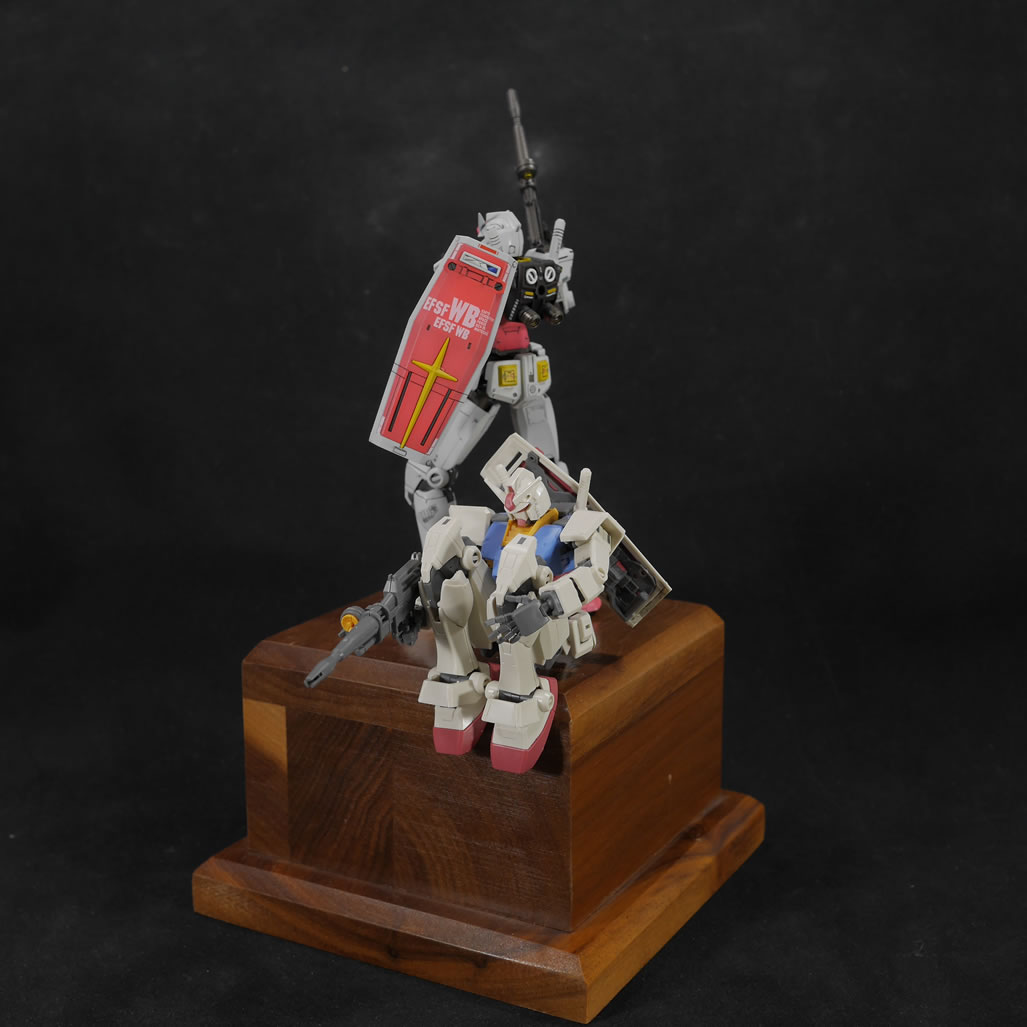
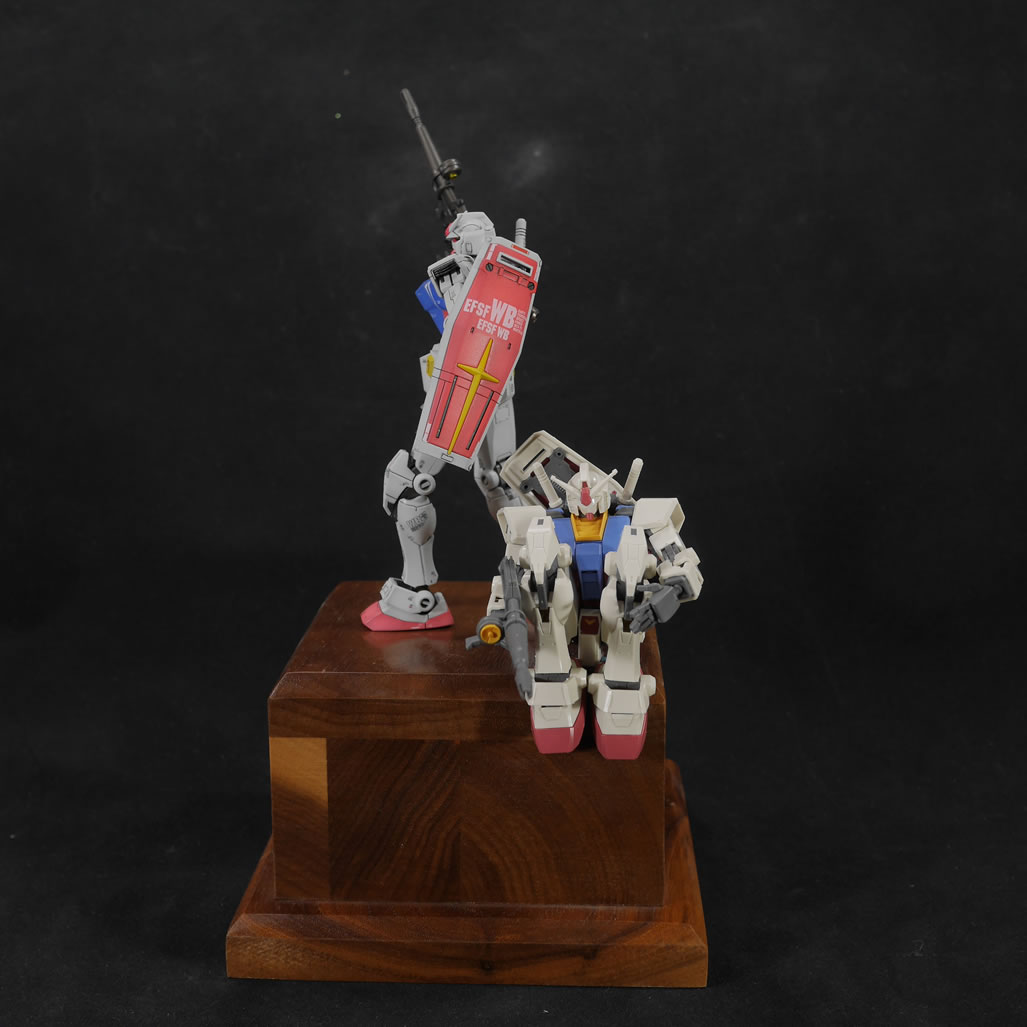
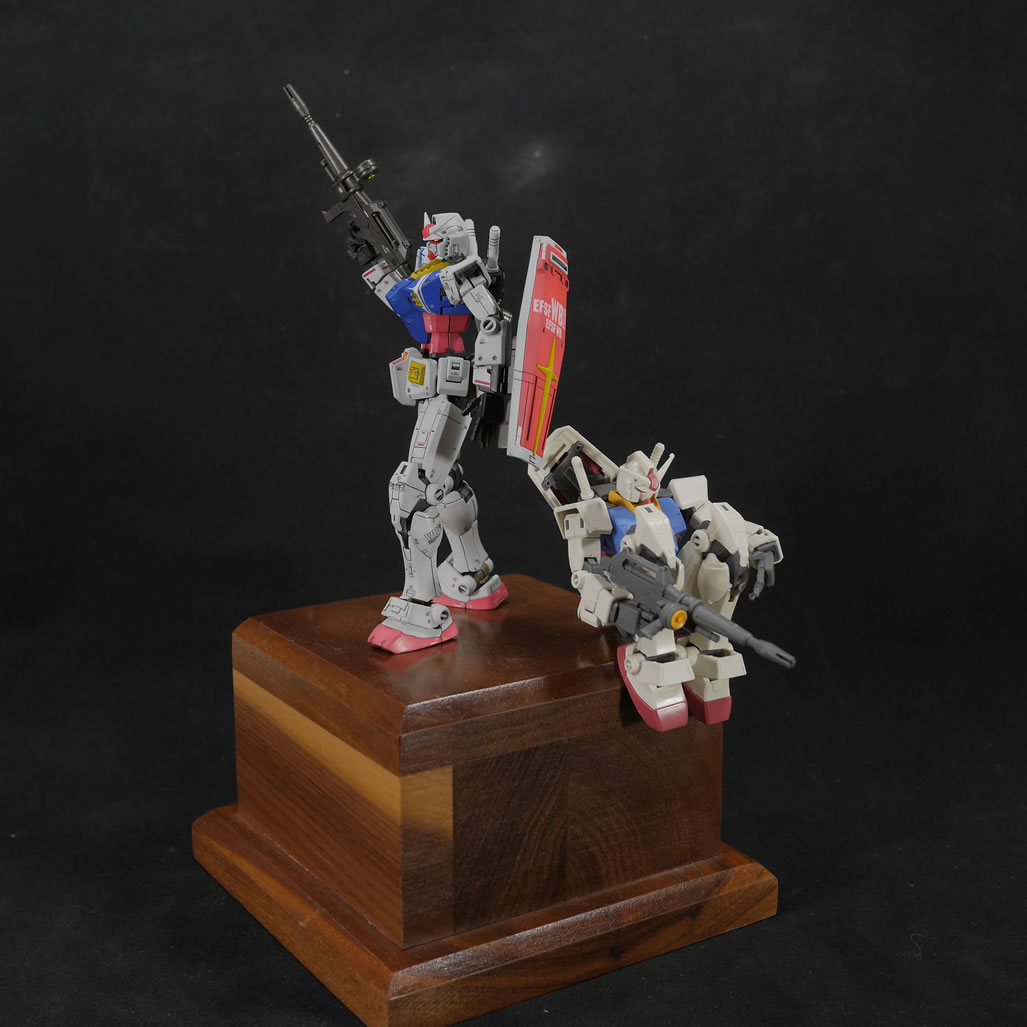
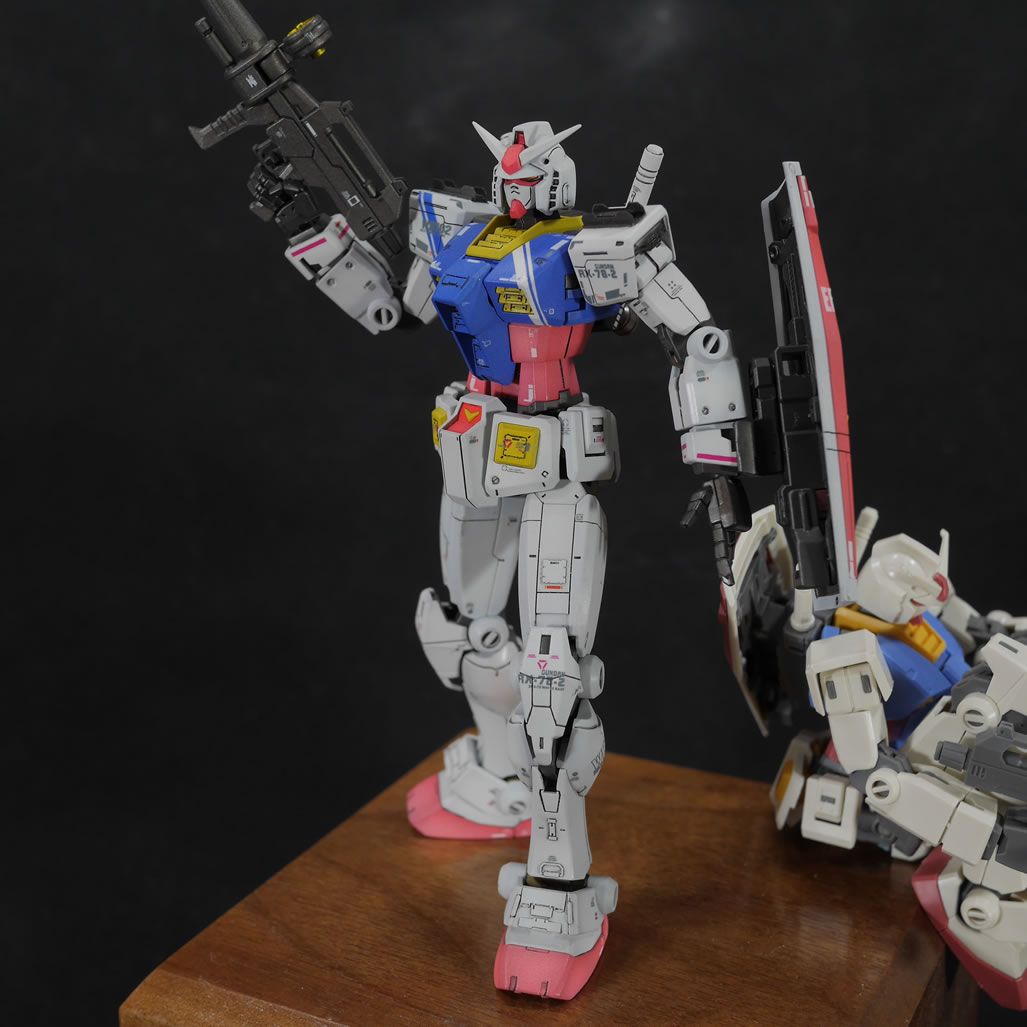
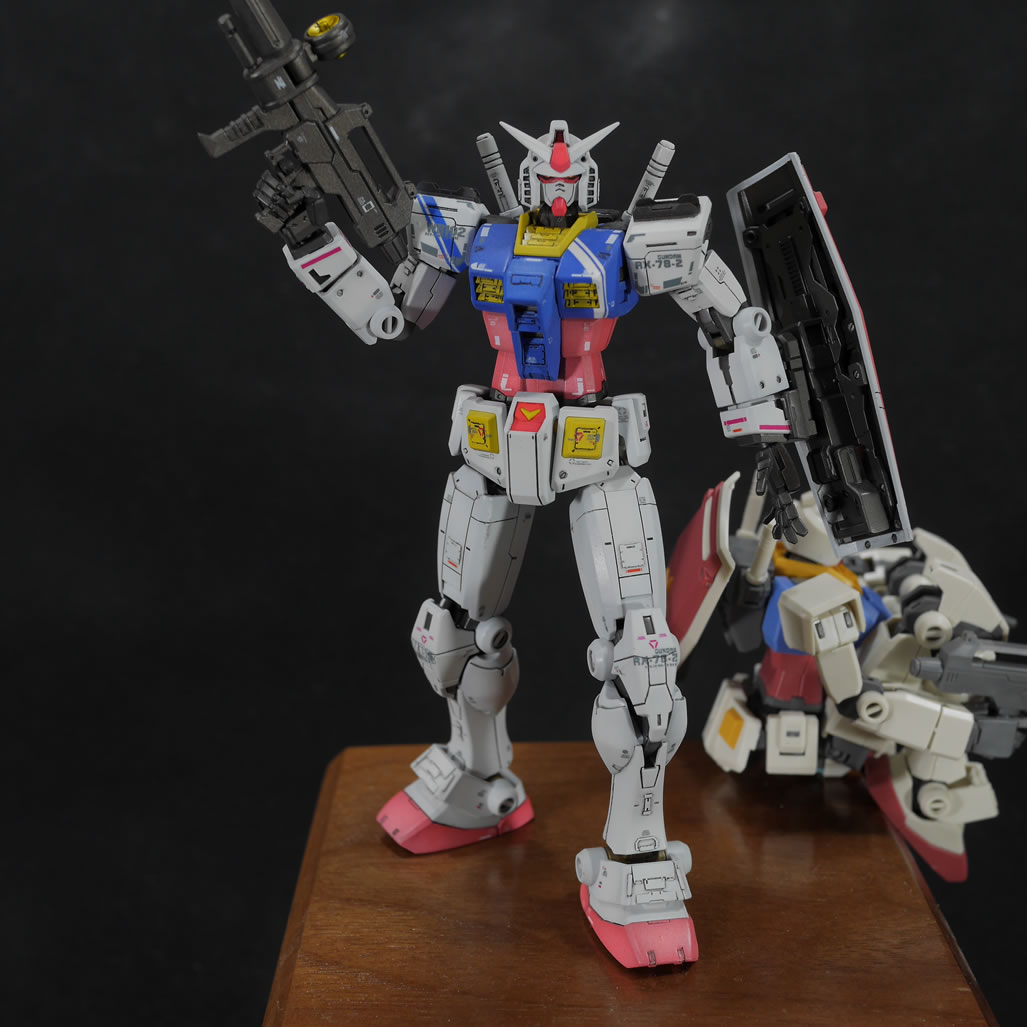
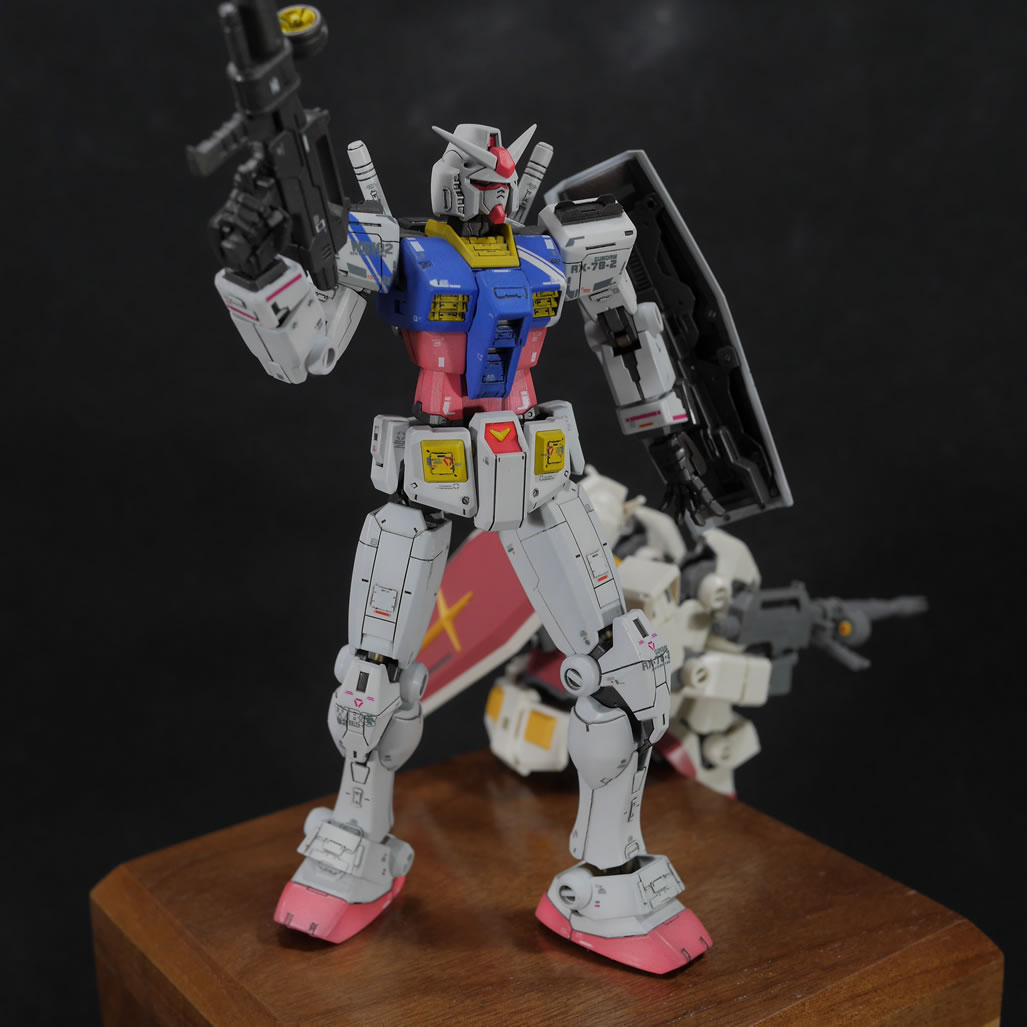
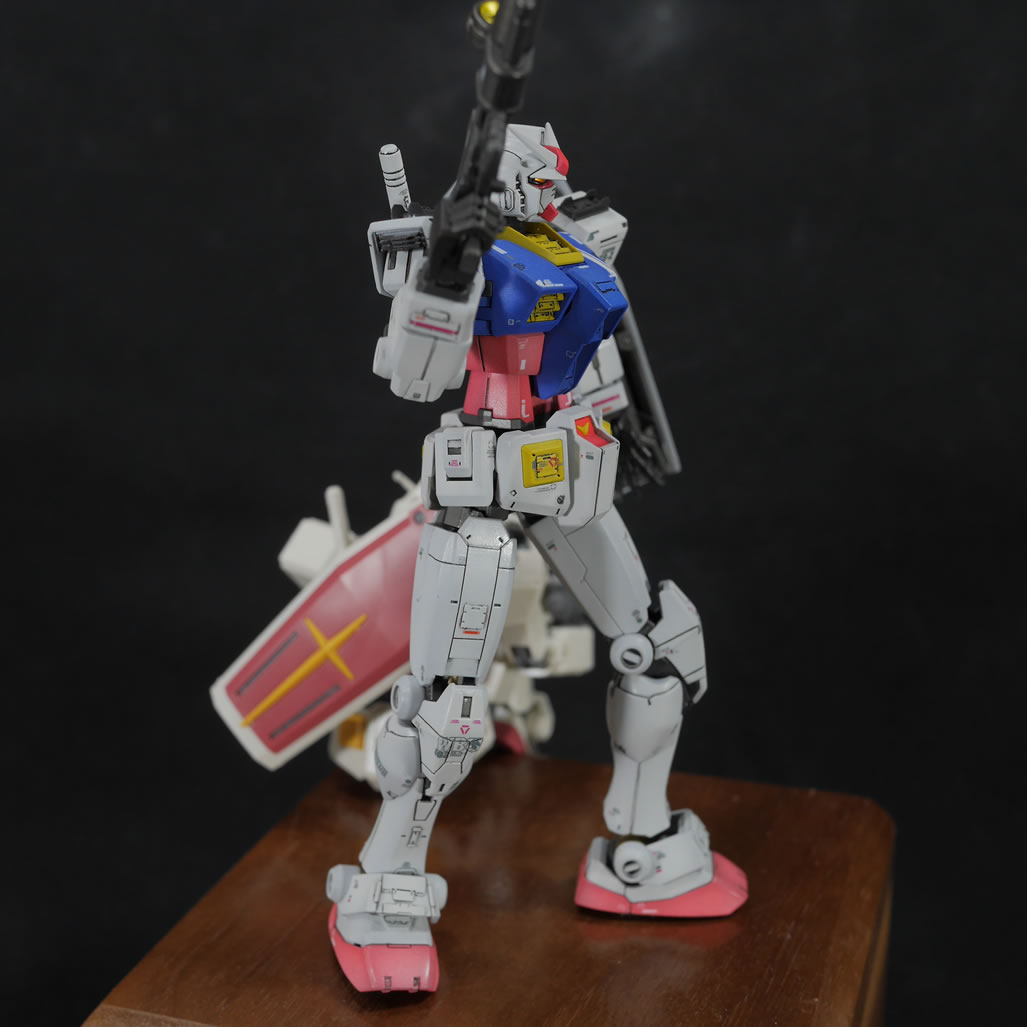
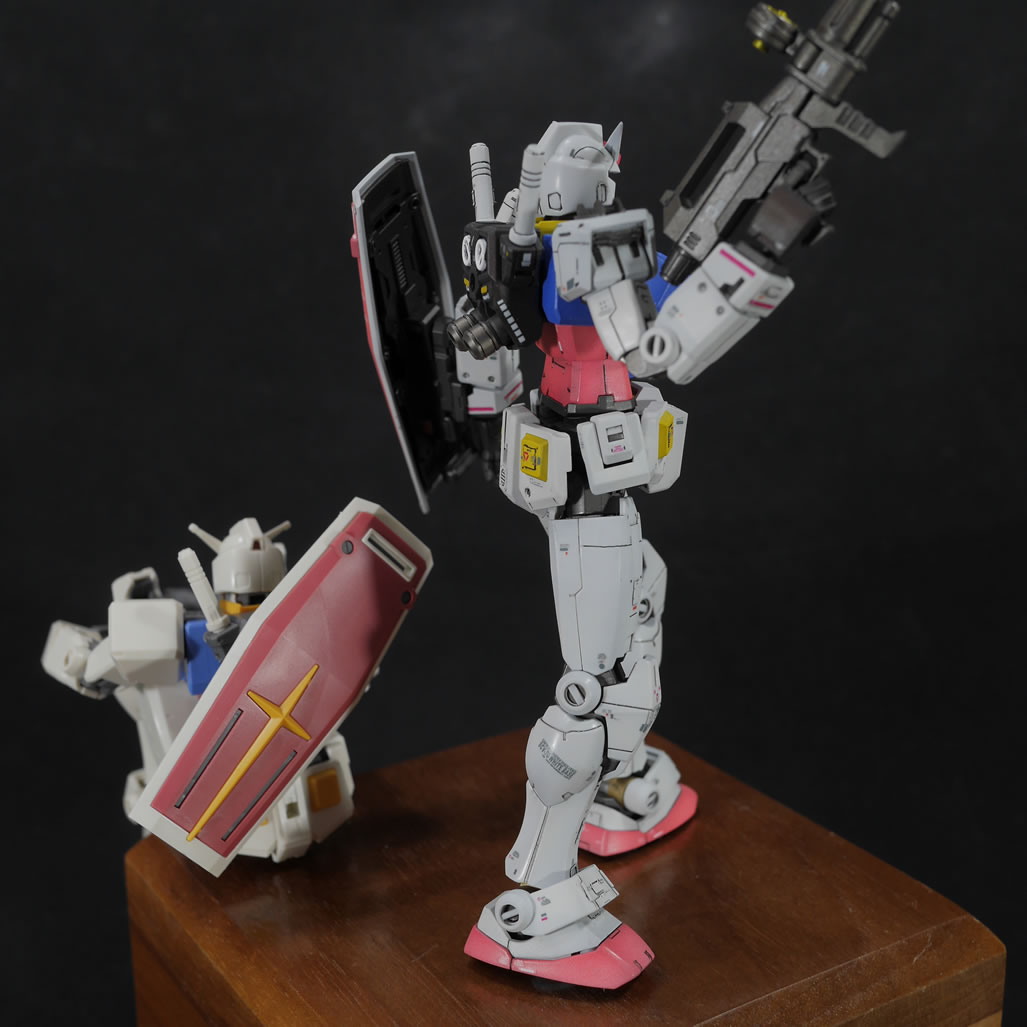
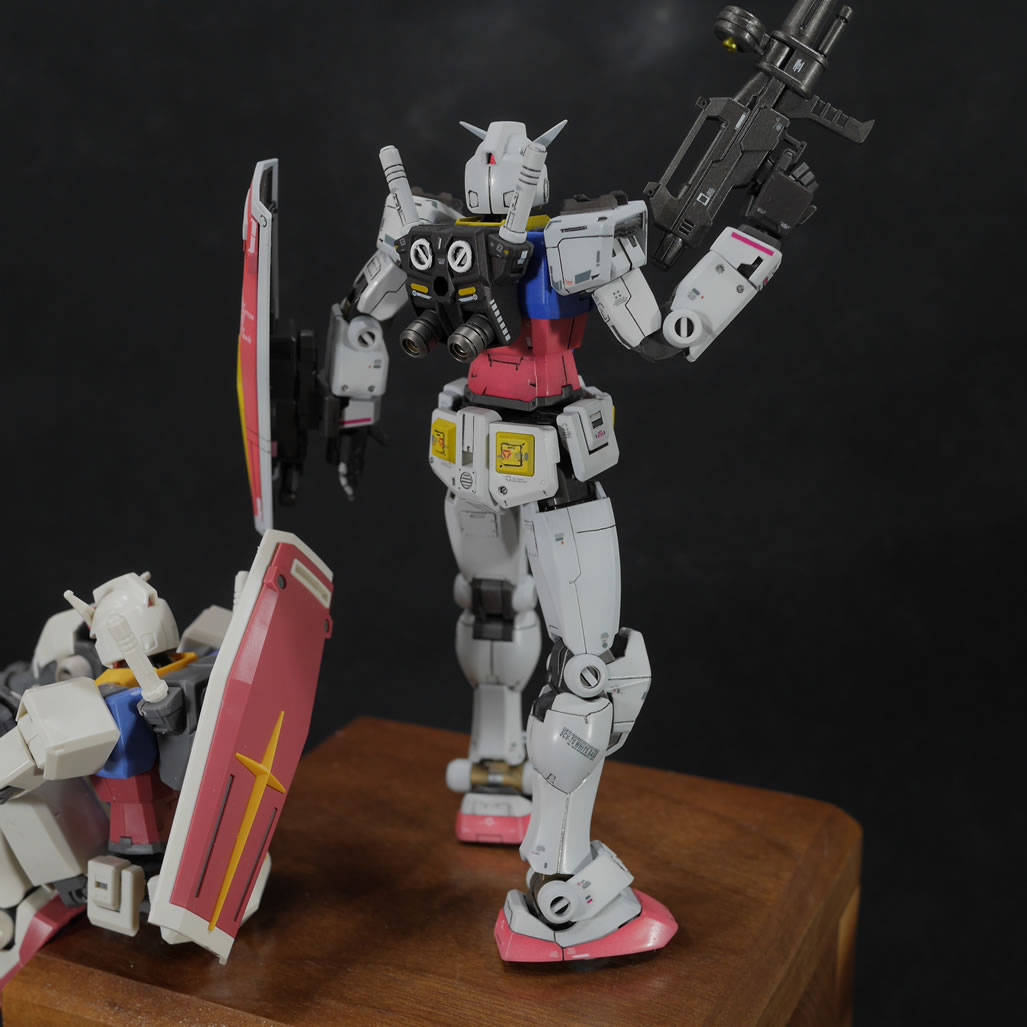
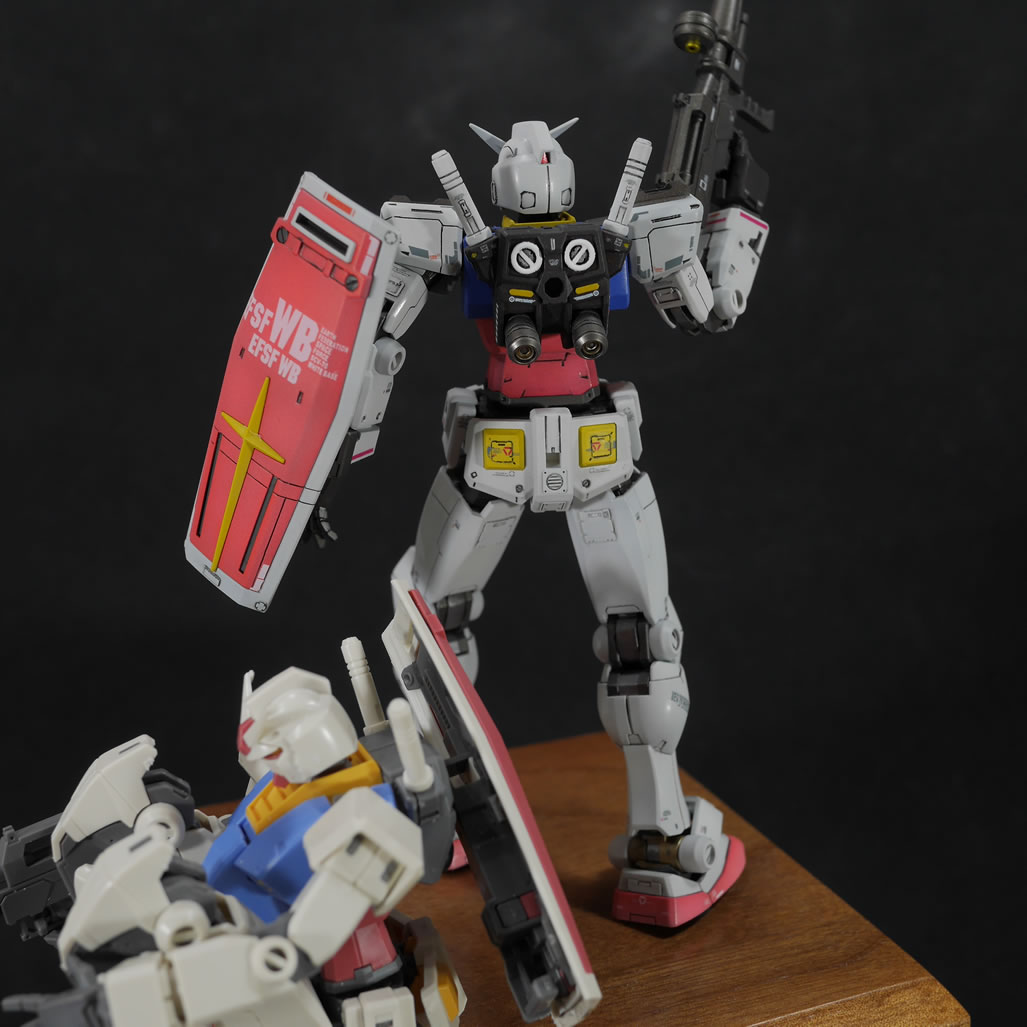
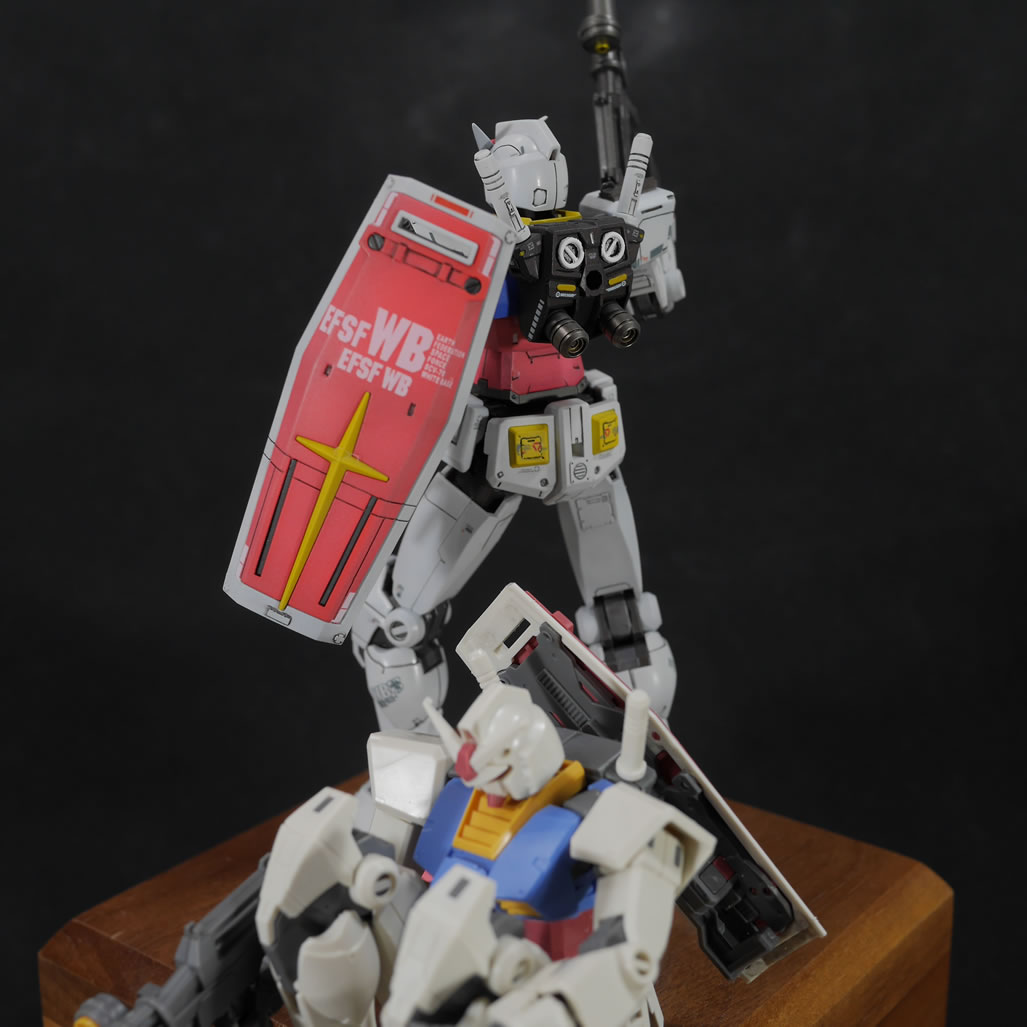
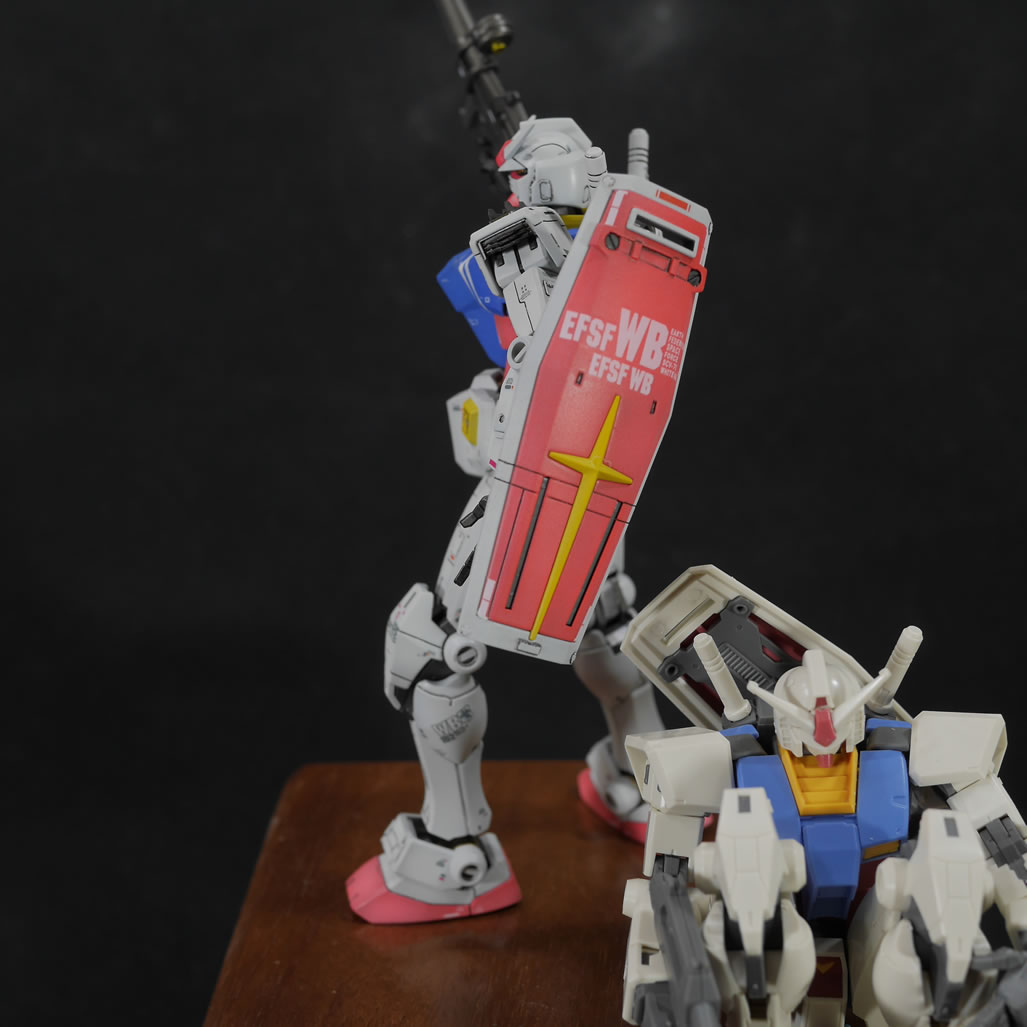
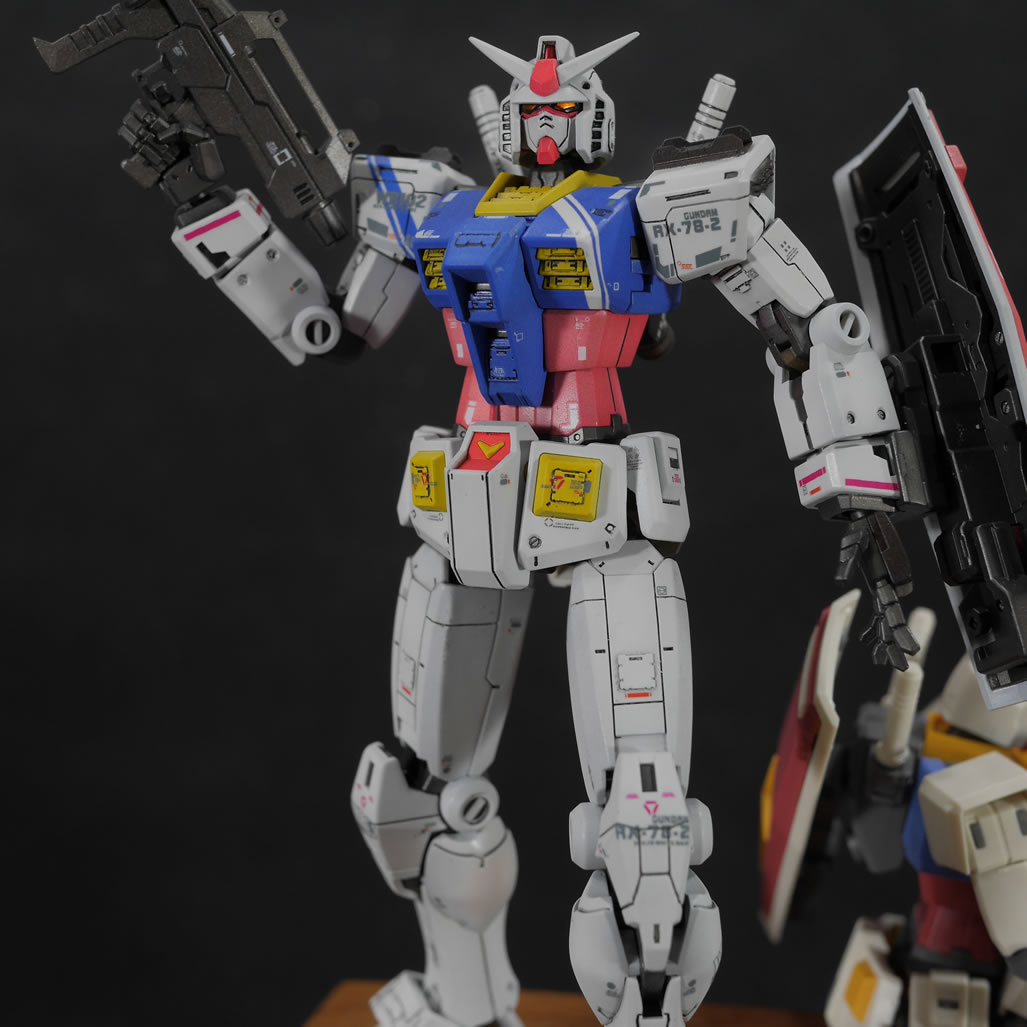
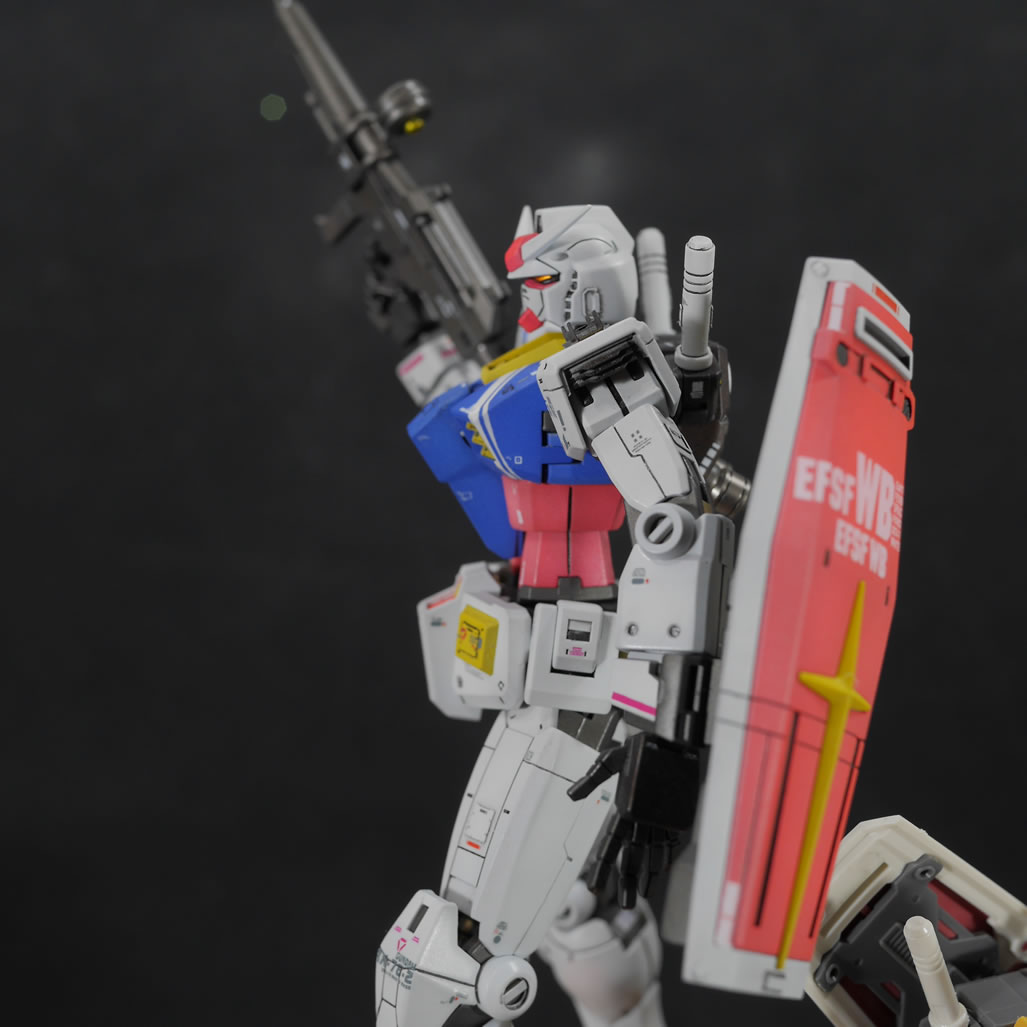
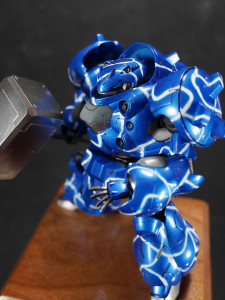
I saw a few posts about posing the beyond global kit and found the sad gunpla curl up in a ball pose hilarious. You will need to remove the front skirts to get this pose, but it looks pretty good. The kit has been sitting in that position while I worked on finishing the painted one. Posing the finished kit on a simple wood pedestal base gave me an idea to add in the balled up ’78 sitting in the corner.
A juxtaposition of the confidently built and detailed standing next to the just clipped and snapped version makes for a cool commentary on how some of us feel when even considering customizing or just even painting a snapped kit. These are HUGE steps in a builder’s growth and once mastered, a giant leap in confidence. So I think the story here is my choice as a builder to have the confidence to try new things over just clipping and snapping. Just moving to sanding the kit or moving to painting are big steps. From there, I moved to detail mods like scribing and photo etch details. Using waterslide decals, using the clear coats, panel lining. This is a story of my growth as a gunpla builder, conquering each step and standing taller with each build and new technique learned and mastered. And with that said, here’s my completed story to date.
|
|
|
|
|
|
|
|
|
|
|
|
|

|
|
|
|
|
|
|
|
|
|
|
|
|
|
|
|
|
|
|

|

|
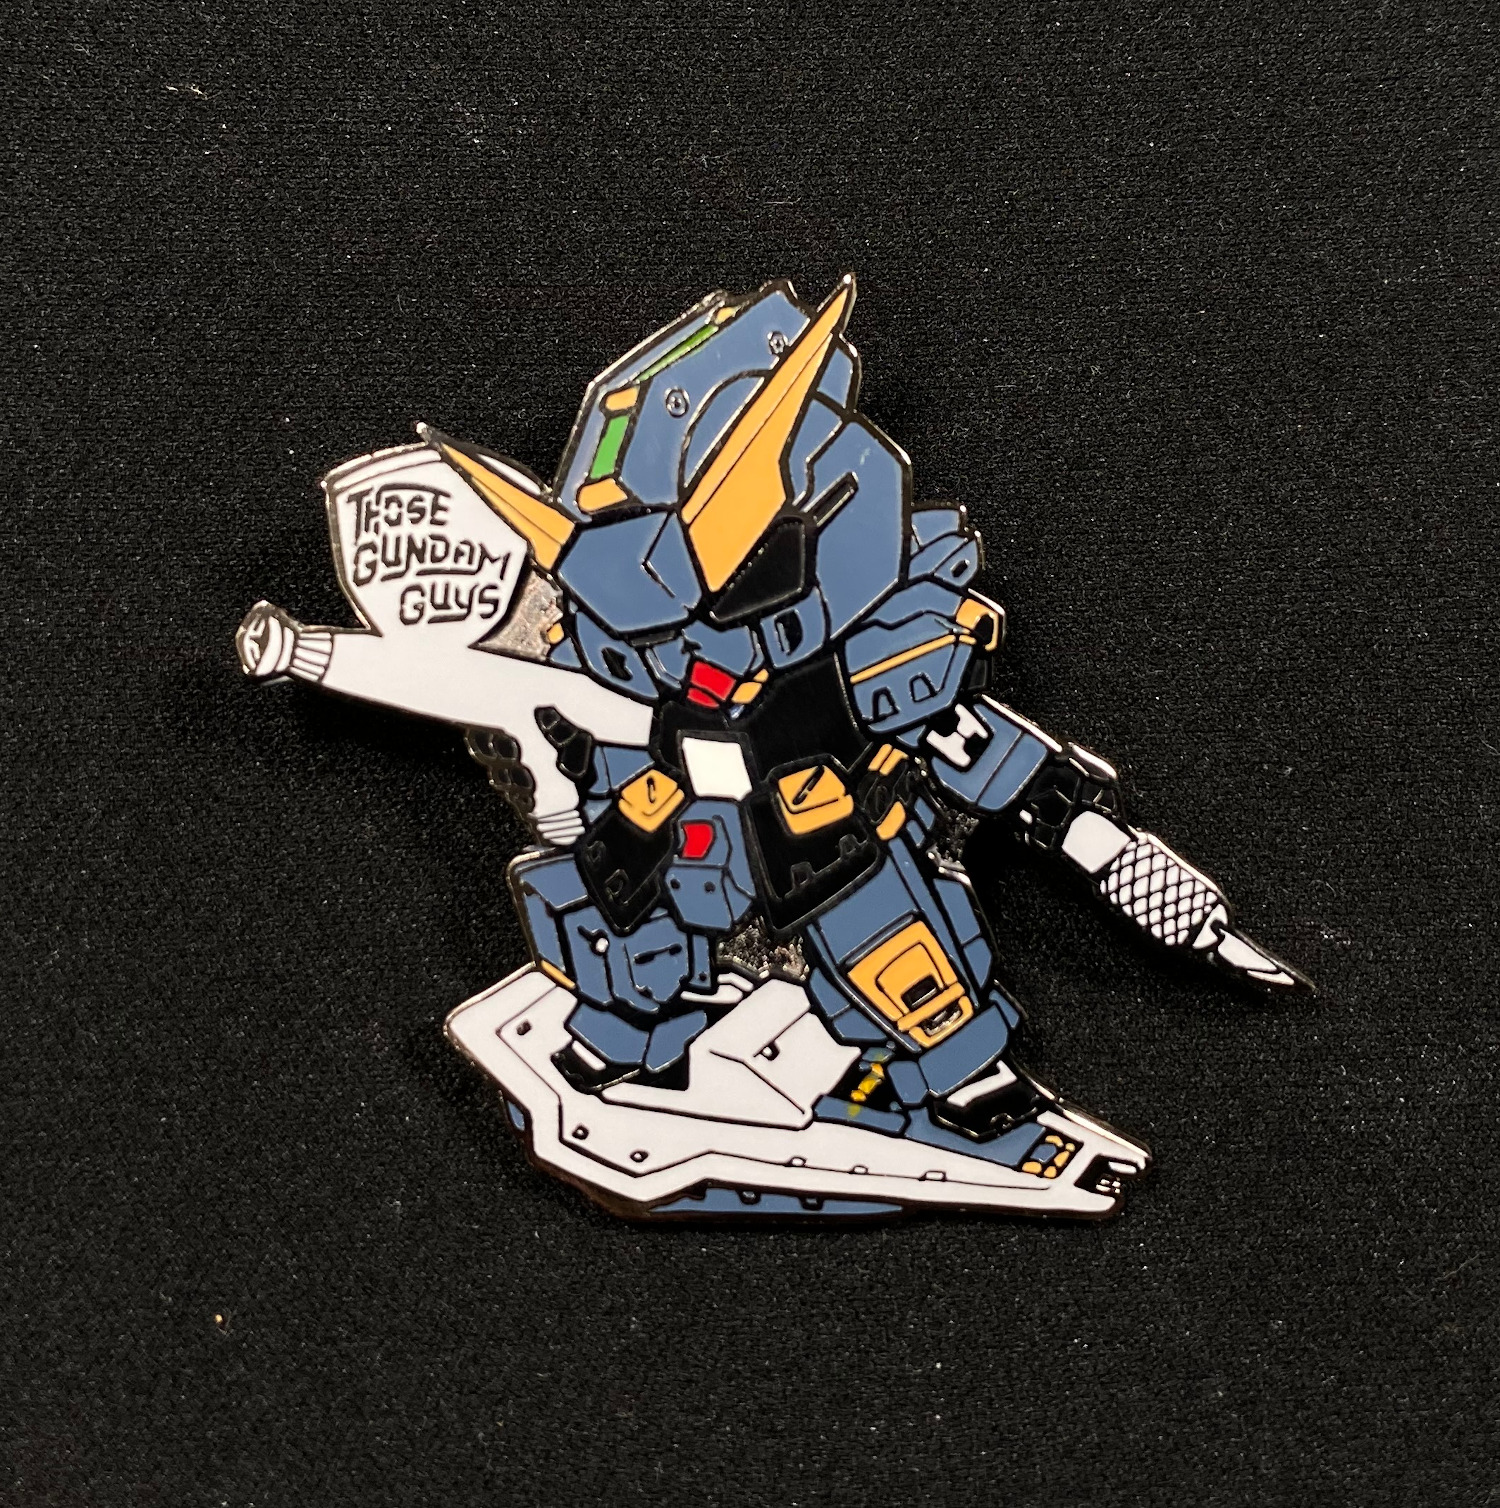
And if you’ve reached the end of this post and want more! We have SCGMC Mascot pins for sale:
We also have a brand new SCGMC T-Shirt up for sale too!
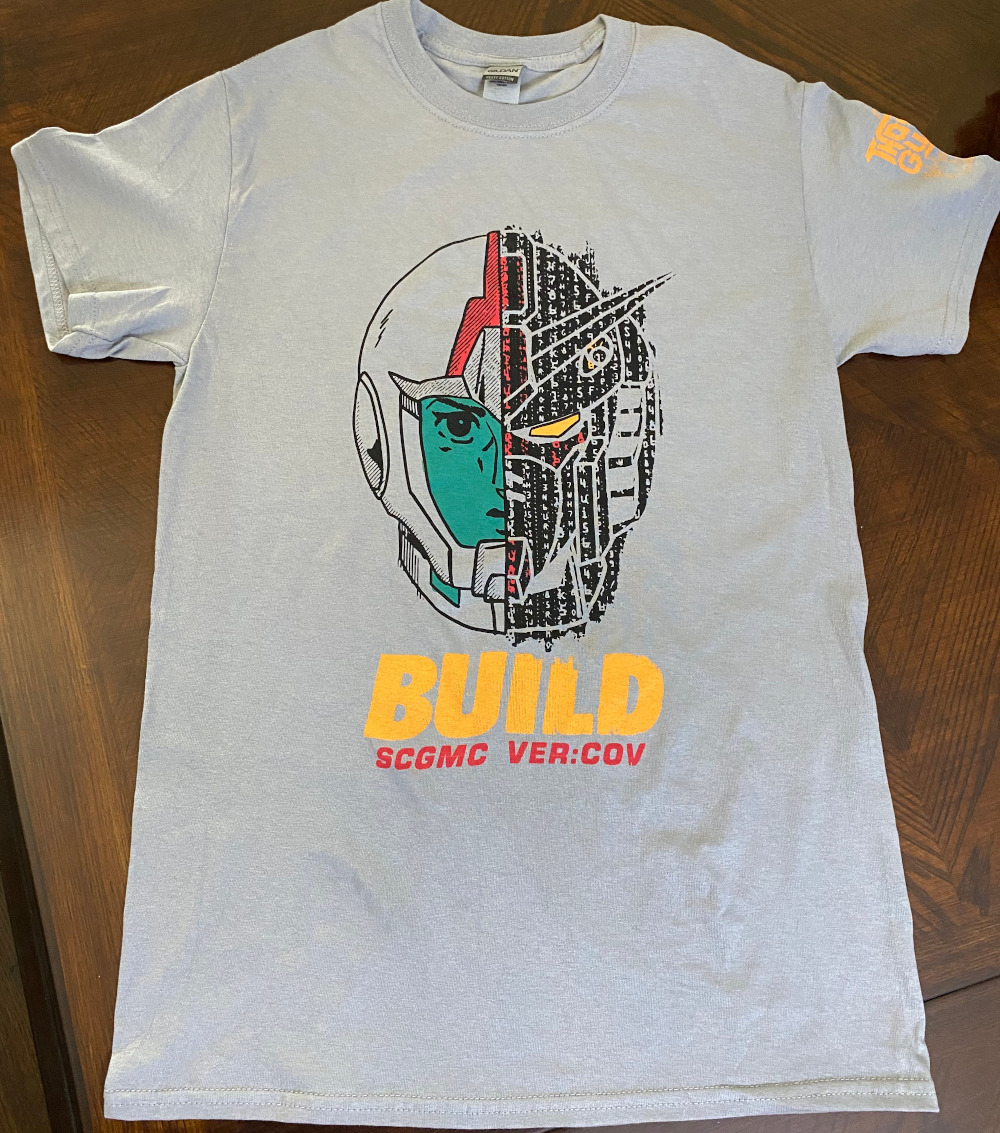
These are all in the store, so click above. If there are shipping issues, please email us at tgg@thosegundamguys.org and we’ll get any shipping issues sorted.
