Time to kick off the new year with a project. Not necessarily a new project, but something that has been shelved for almost 7 years. I had to dig through my harddrive to find this next set of pictures. Last date from the pictures in this set is April 14, 2012. I originally stopped working on this project because the then girlfriend and I started a project to remodel our house. And since the remodel, the damn thing has stayed on the shelf. This part of the original project was about 85-90 percent completed. I had just about finished painting everything. What better way to get a quick finished kit than pull something that is almost done and just finish the damn thing up.
This is what the kit looks like now, as in after spending the past couple of days relearning where I had left off and what I was doing with the thing. ALl of this was painted but not assembled. I spent some time gluing pieces and doing more complete subassemblies.


After the jump, we’ll go back 6 years and 9 months and do a little catching up.
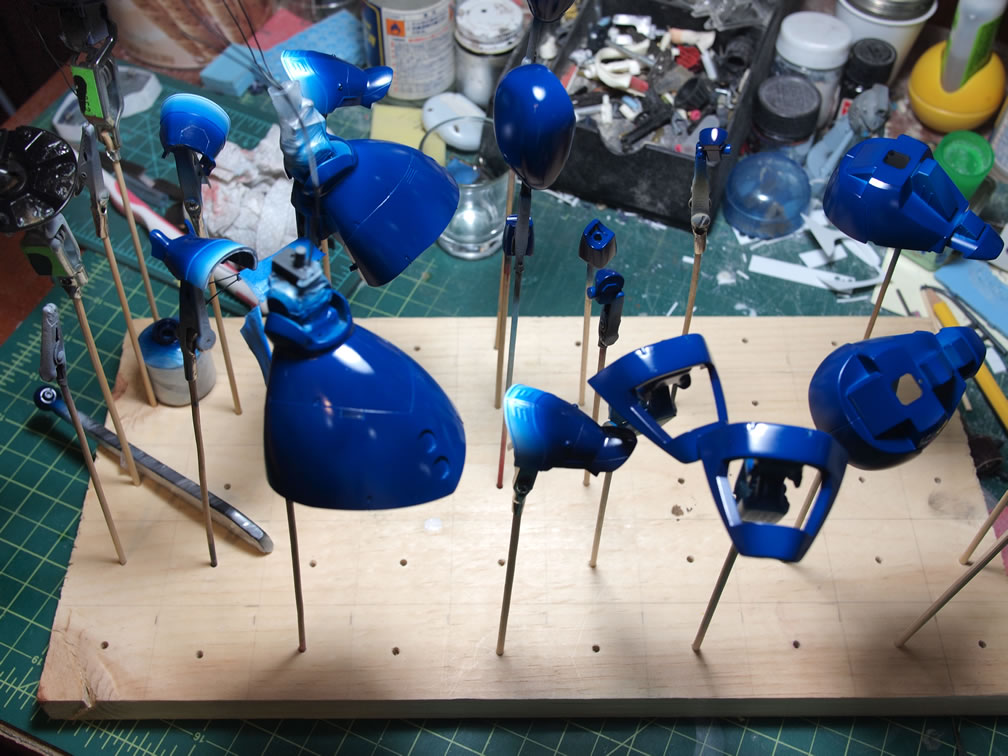
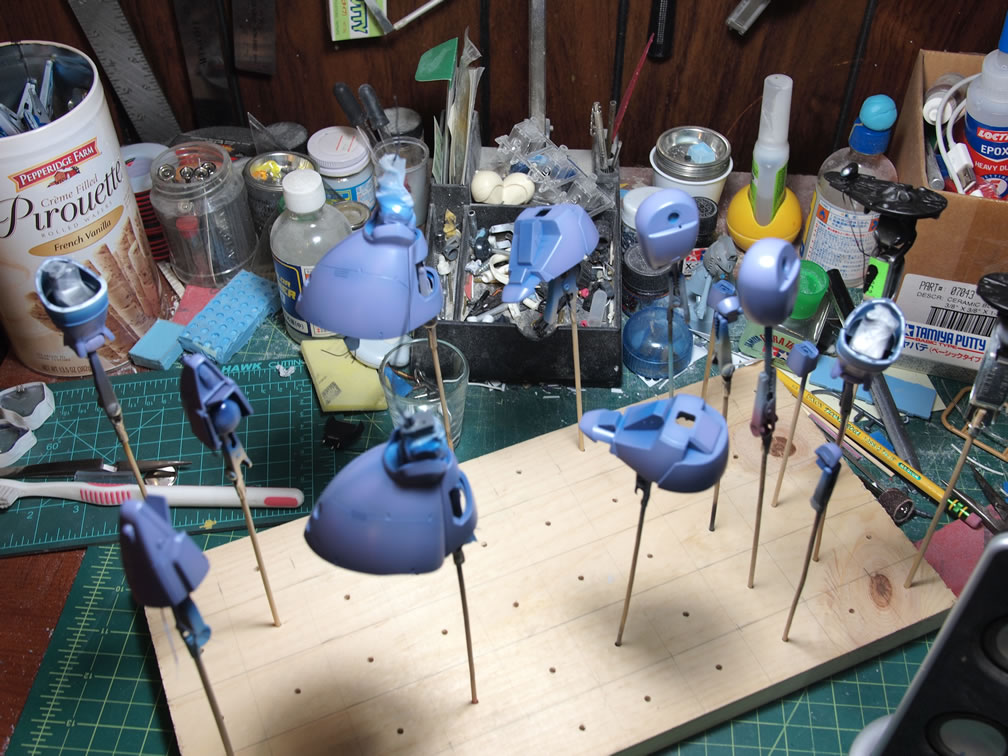
One of the first things I did when I started back on this project was search my website to see what the latest posted progress was, and I found it here: HGUC Dreissen that was part of a bigger UC diorama Now that we’re caught up from that page, we can continue with the work. Painting continued with mask, paint, unmask.
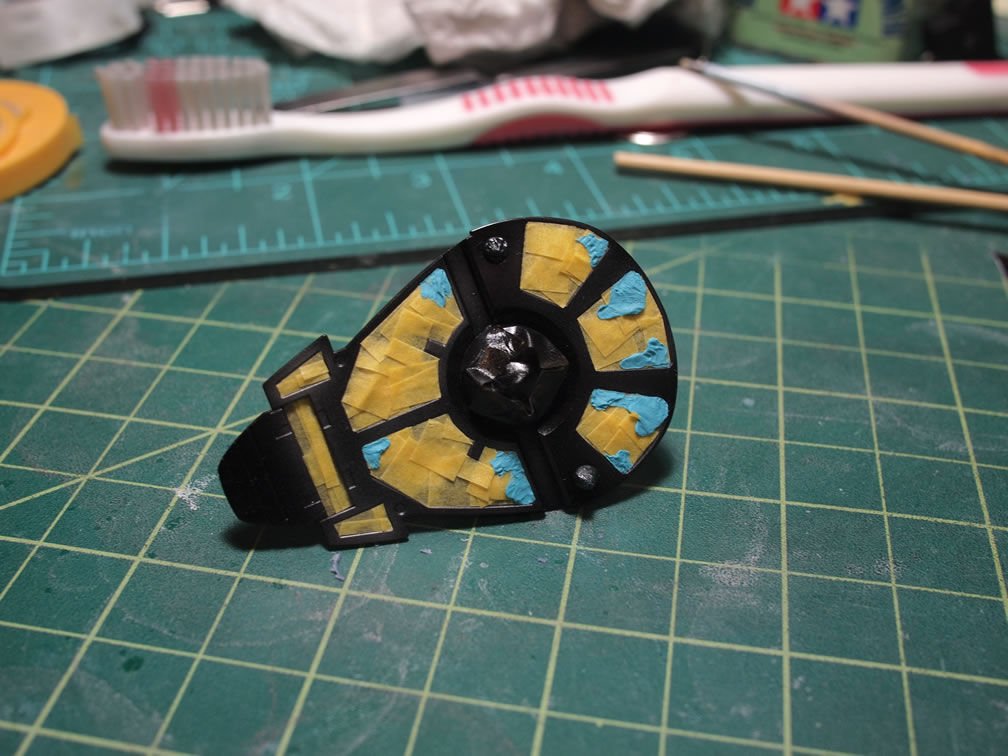
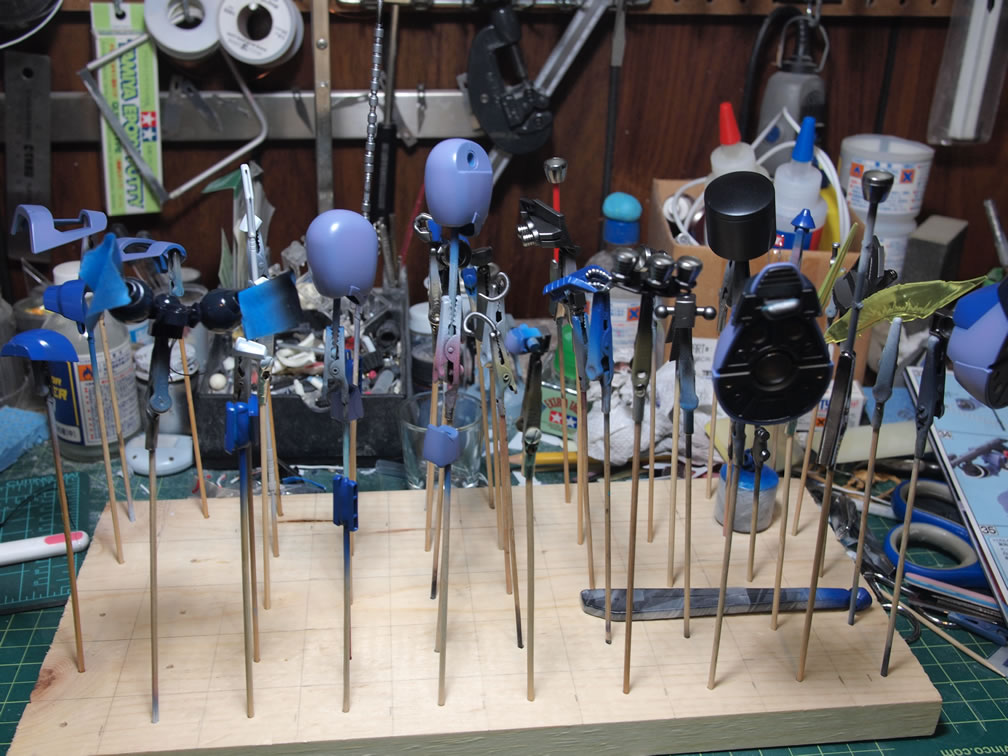
Parts were shaded and painted.
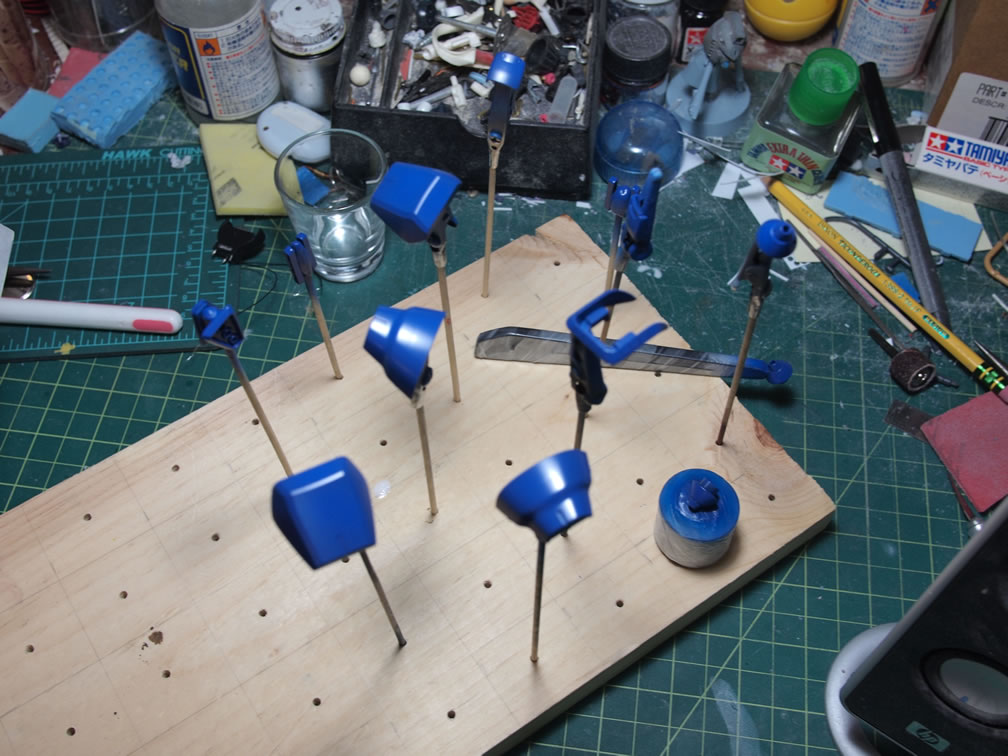
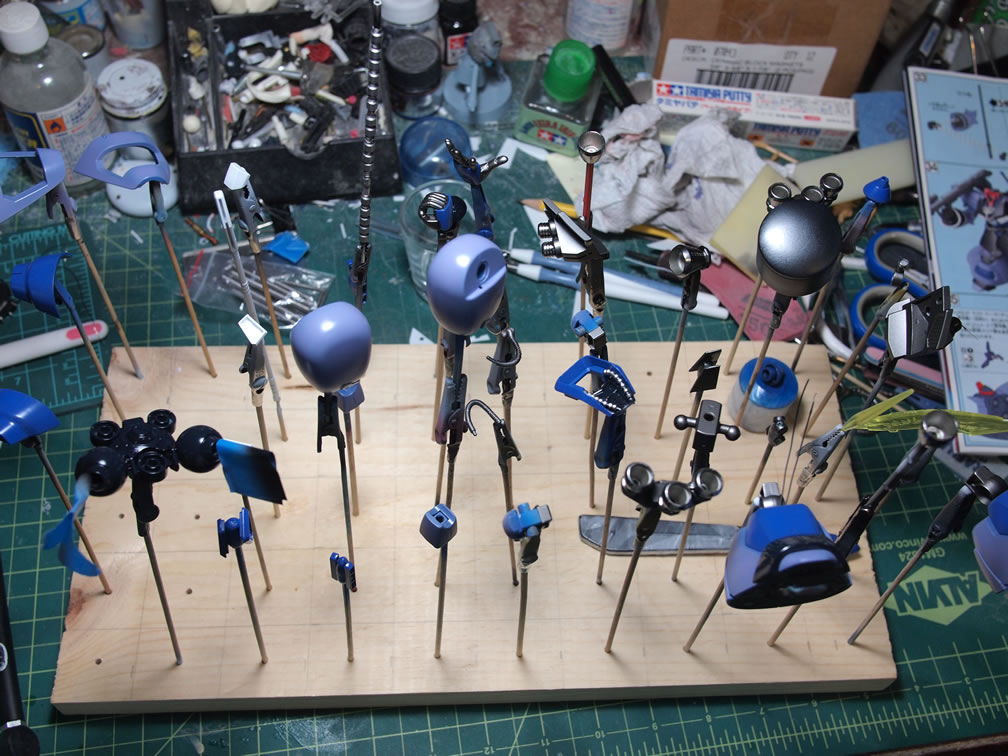
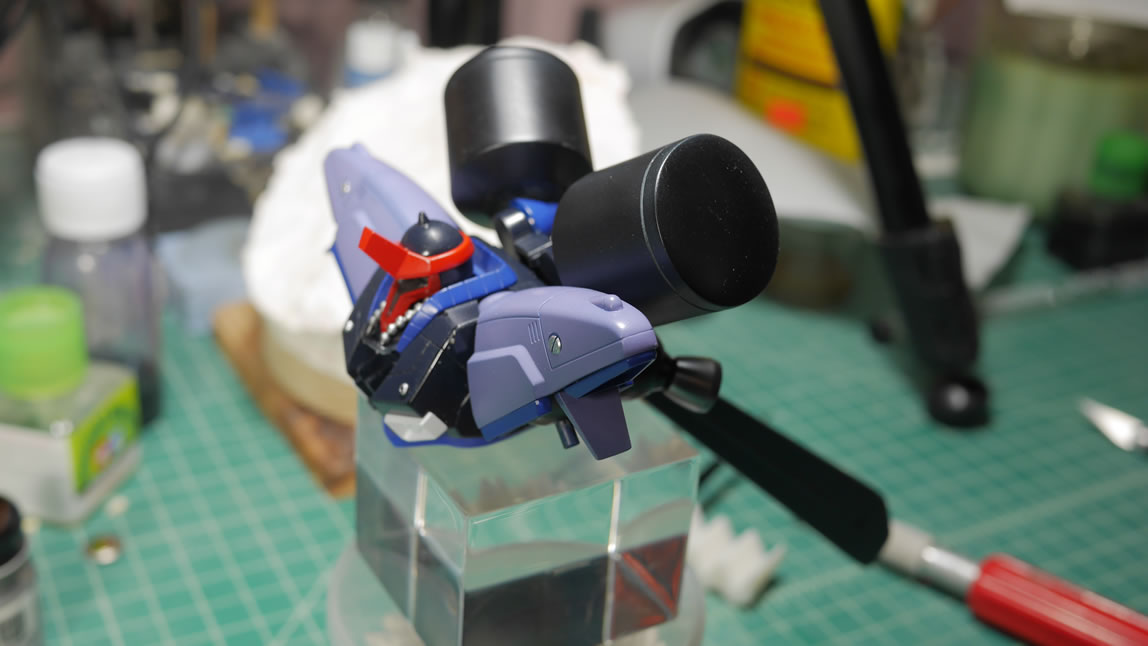
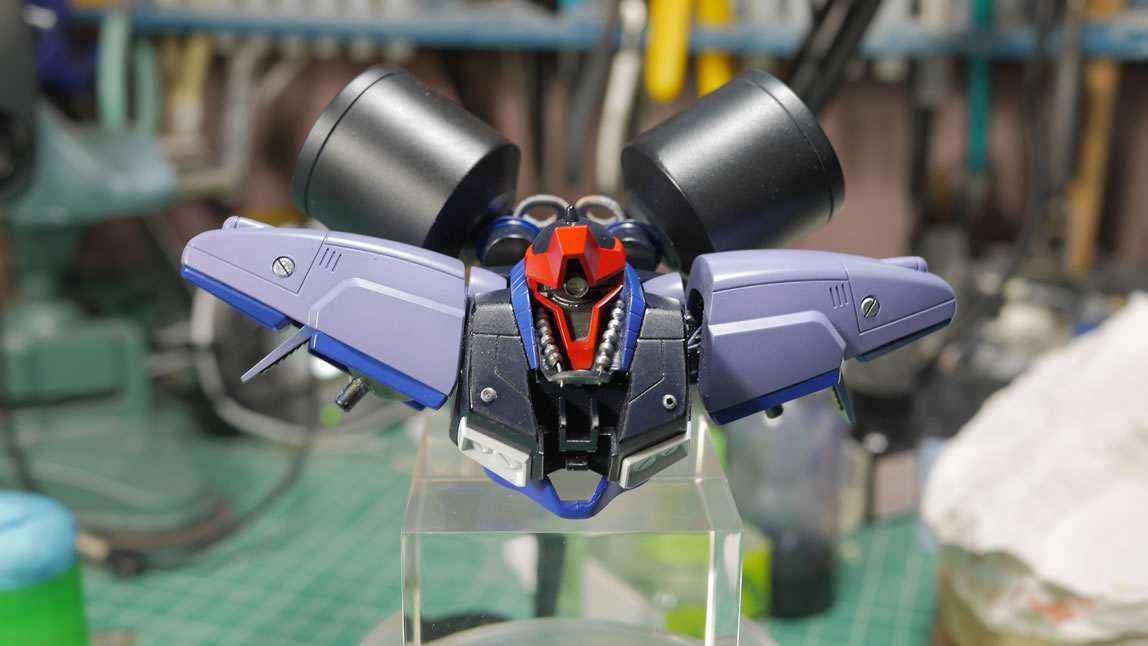
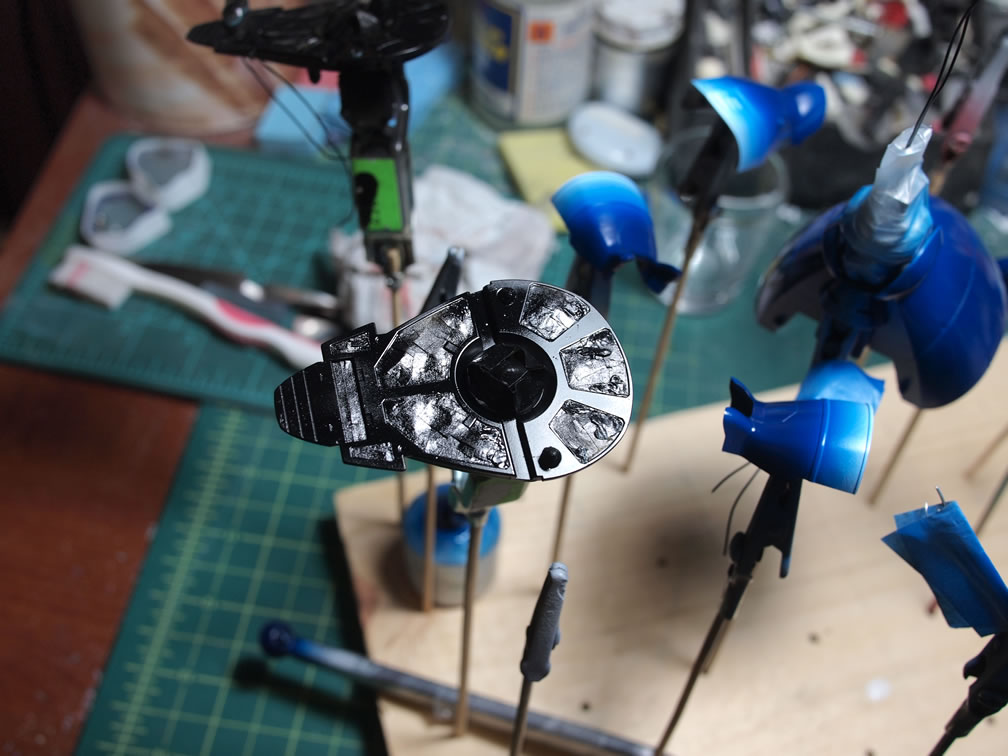
Internal details are painted most of the bits and pieces for the kit are assembled.
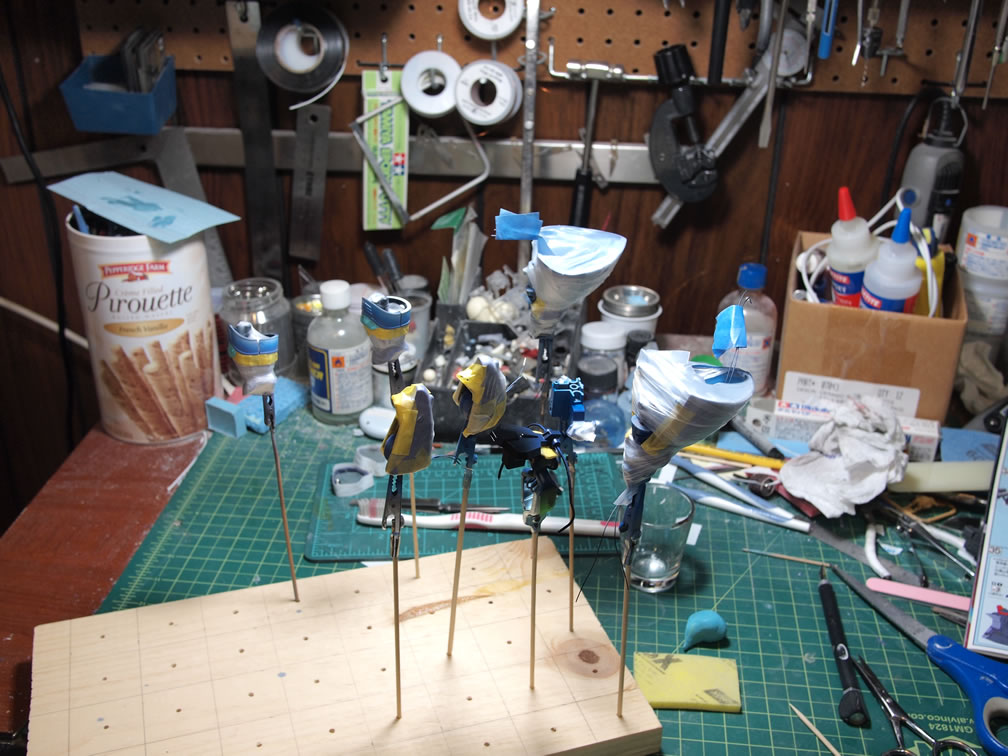
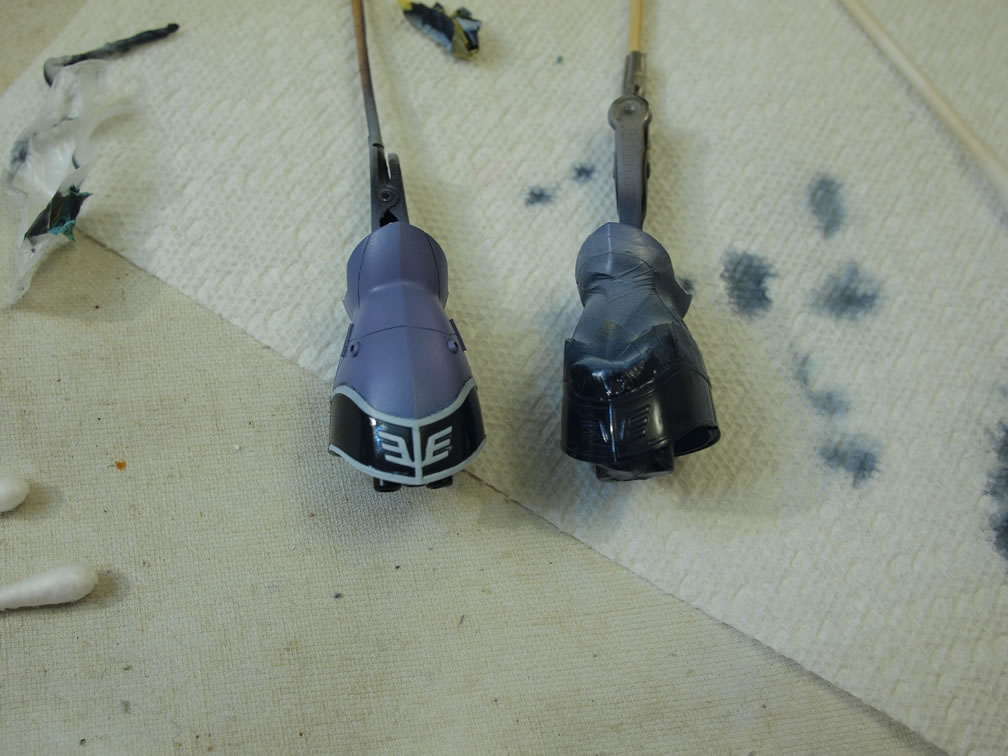
The sleeves for the kit are raised details and perfect for a reverse wash. Lacquer white is sprayed followed by enamel dark purple. Once this dried well enough, a q-tip dipped in lighter fluid easily removes the enamel dark purple revealing the raised white areas. This is where the project stopped. And I didn’t actually finish cleaning all the raised details. The upper torso raised details were still painted with the enamel dark purple and has been sitting like that for almost 7 years. A q-tip and lighter fluid and slowly rubbing the raised details removed the enamel. The reverse wash technique is still viable even after the enamel paint has been cured for 7 years.
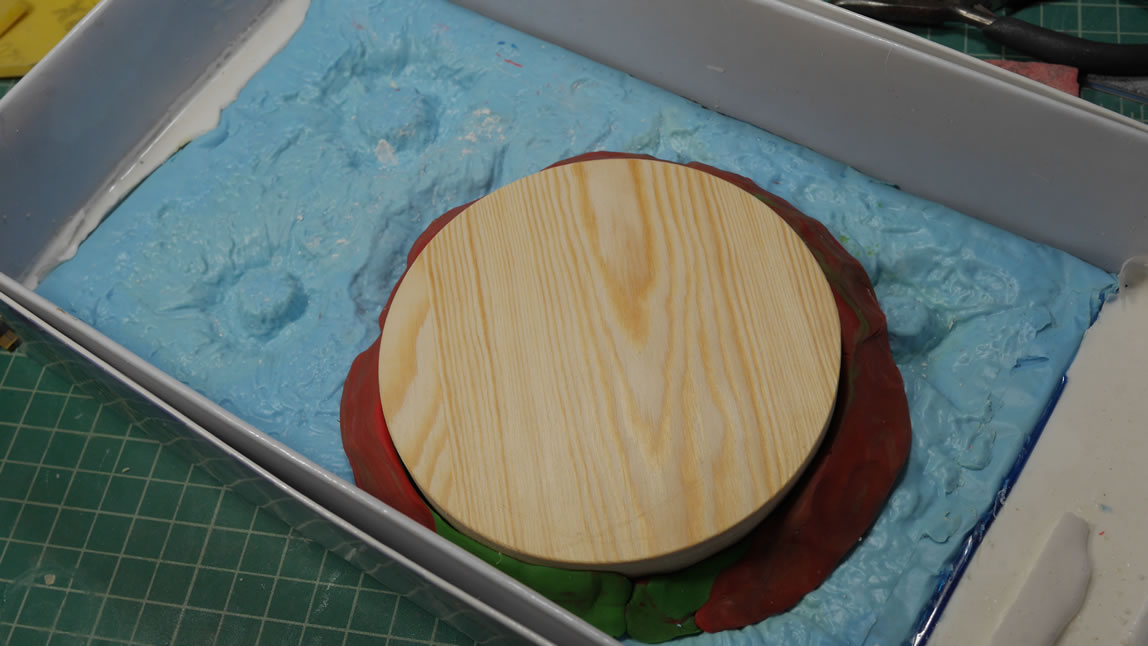
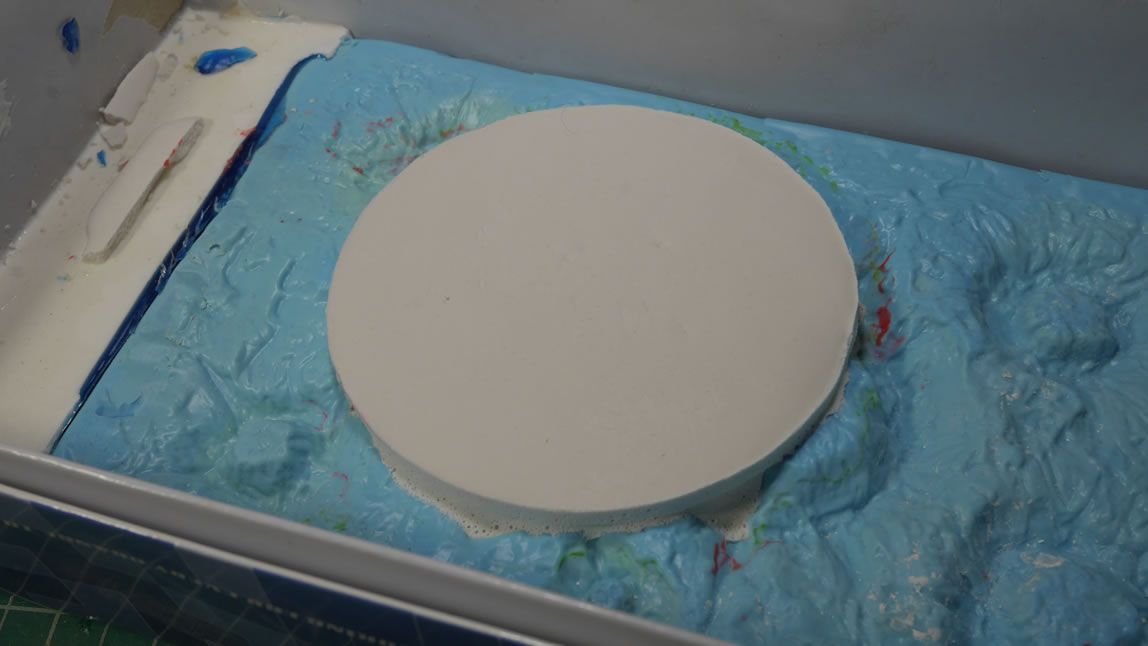
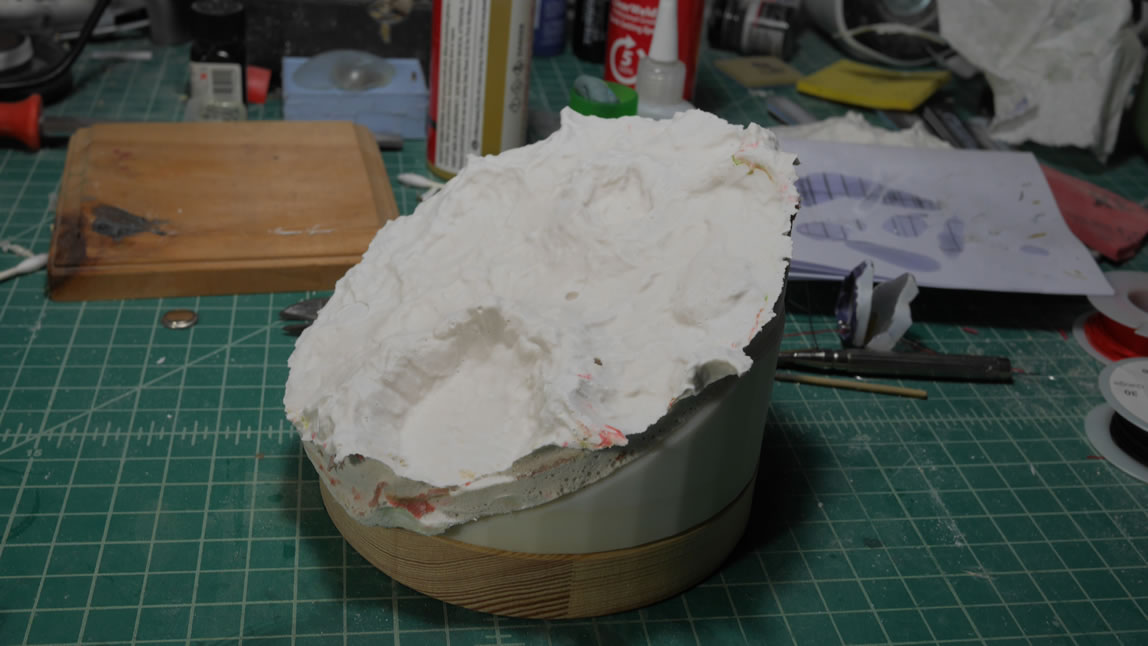
Fast forward to earlier this week, Jan 14, 2019; I start back up on the project. Ditching the original diorama idea, for now; I just want to finish this project as a little vignette. I grabbed a wood base and used it as a template with some playdough on my silicon asteroid terrain. Removed the wood base and mixed some hydrocal and poured the stuff into the playdough pool.
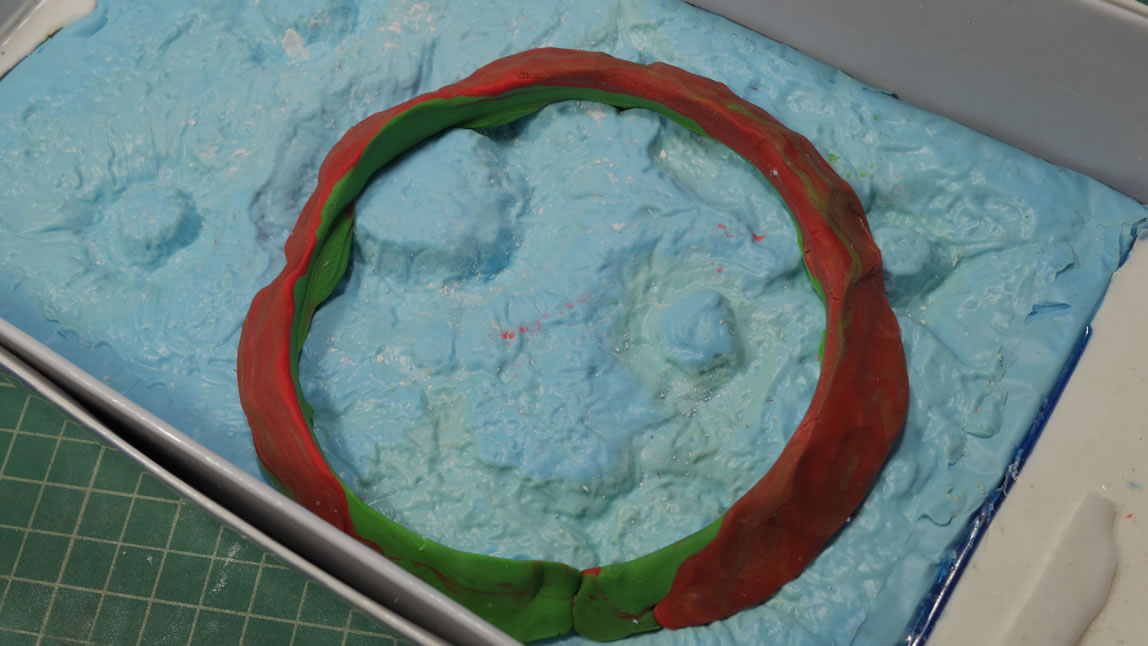
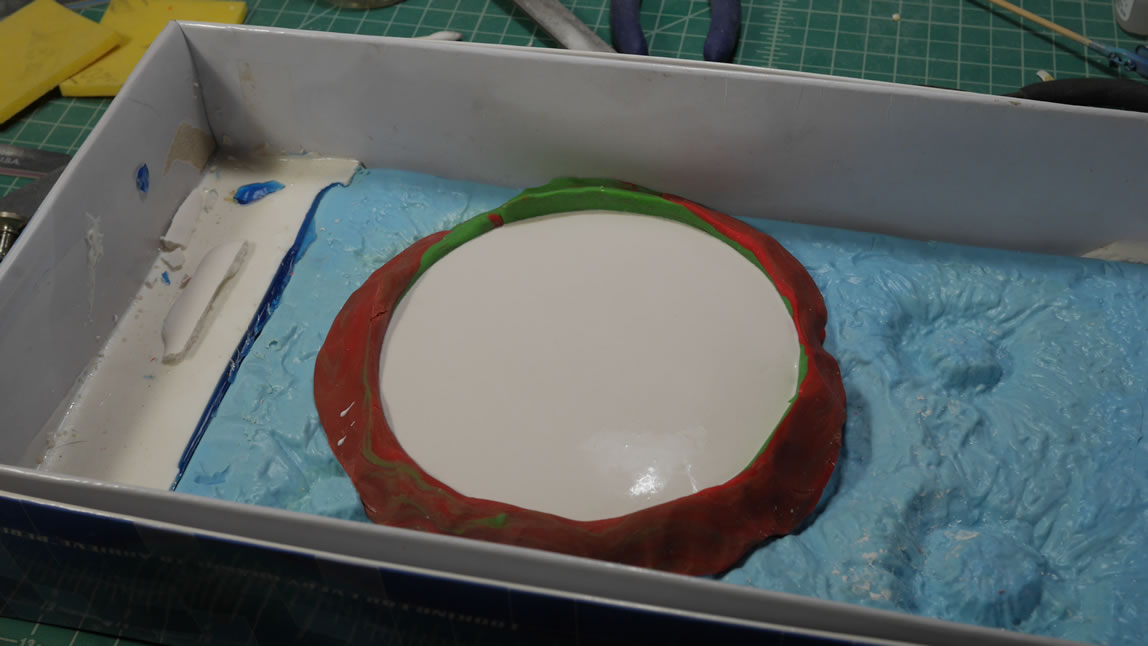
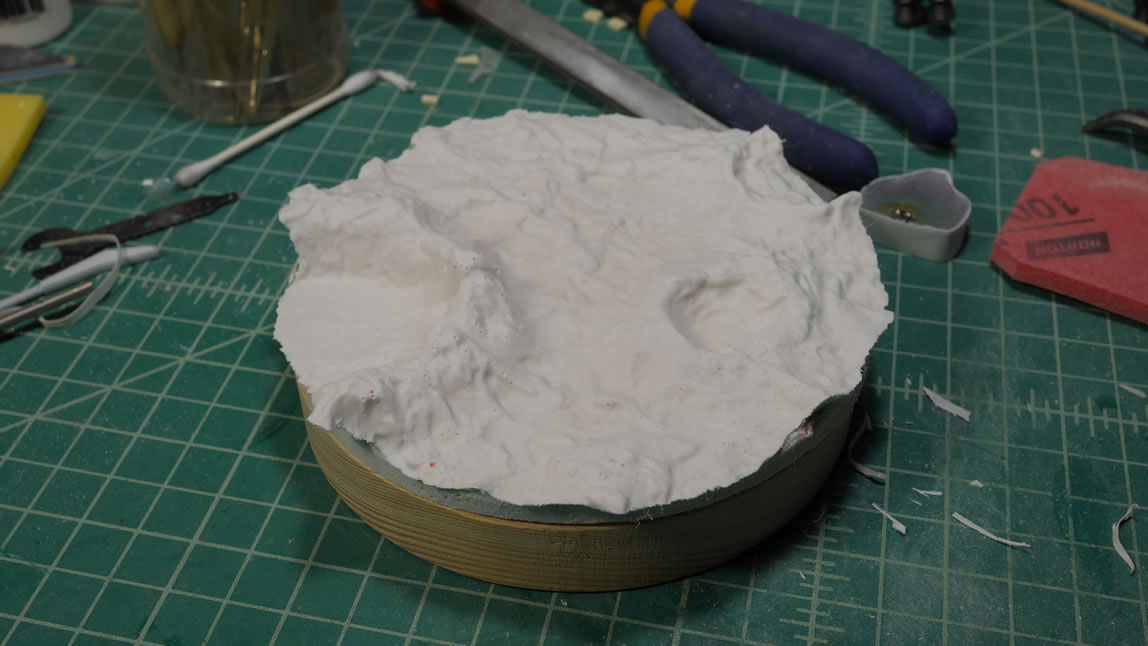
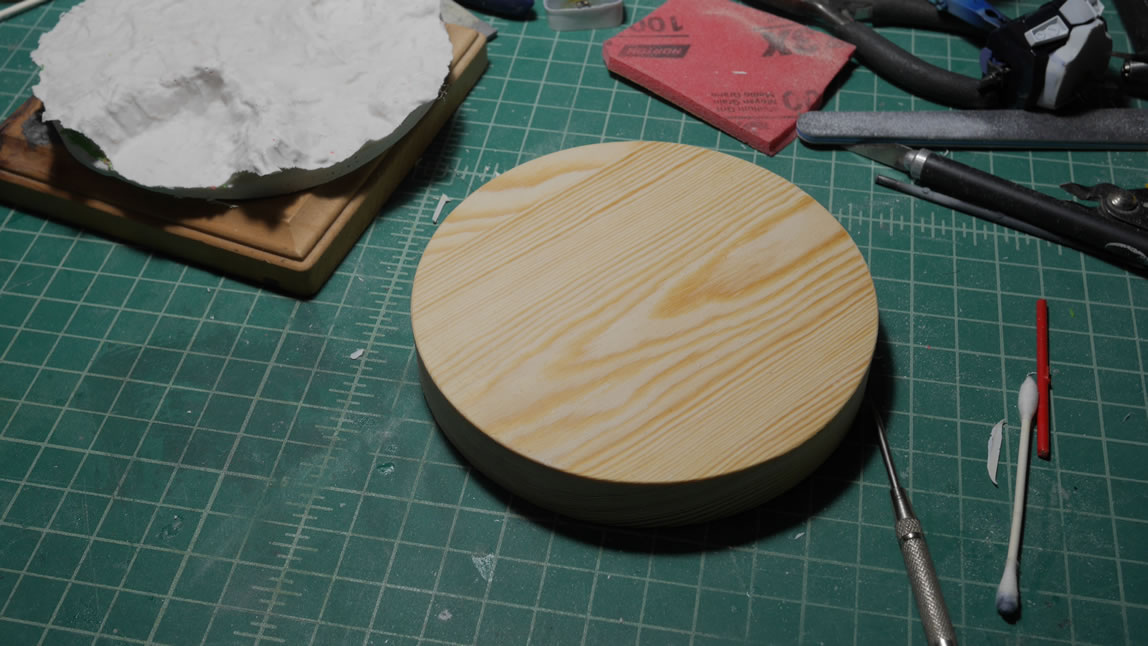
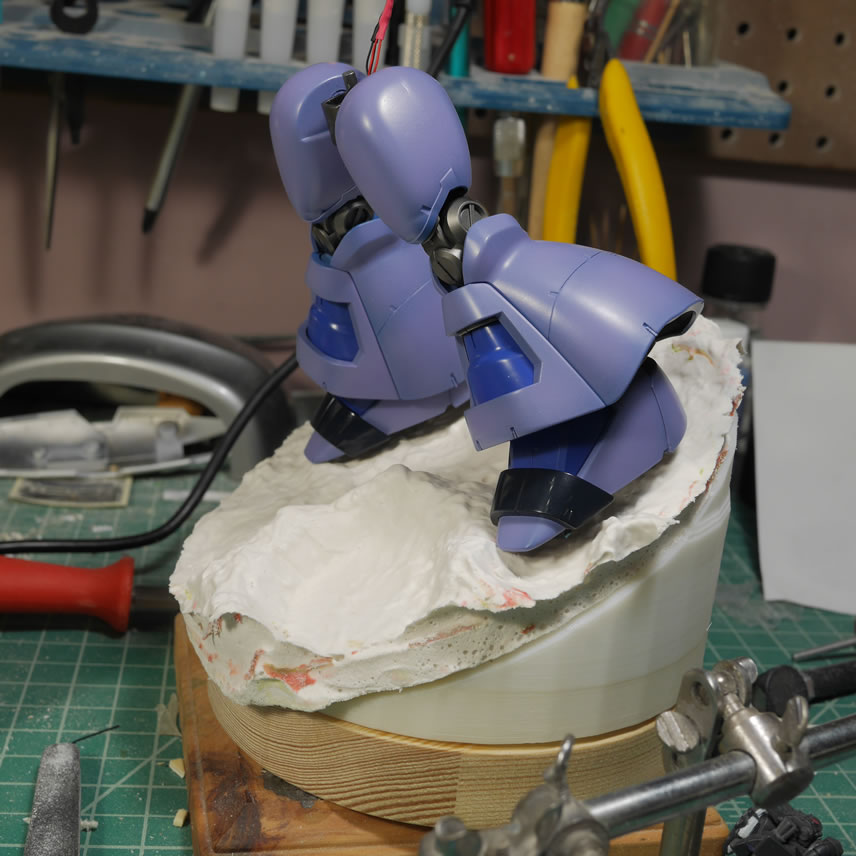
An hour later, the playdough is removed and I have my asteroid disk. But then another idea for display comes into my little brain and I do a quick 3D design for a raised column that is about 30 degrees in angle. Which means the original disk I made is now too small, so once the support structure is printed, I use it as a template to create a slightly oblong asteroid disk and I have the start of my display base.
The ideas is that the Dreissen will be standing on top of the disk. The reasons for the angle will make sense in my next post when I get closer to finishing the project. Or, if you’ve read the link above, you can make a pretty good guess as to why I’m angling the lower half of the body.
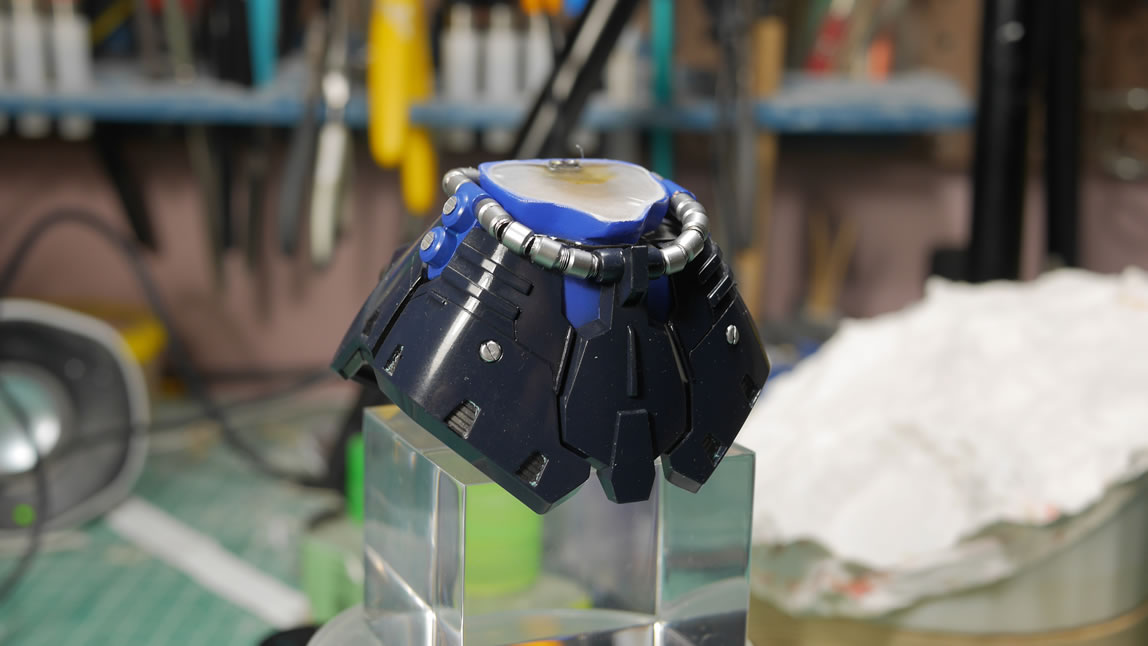
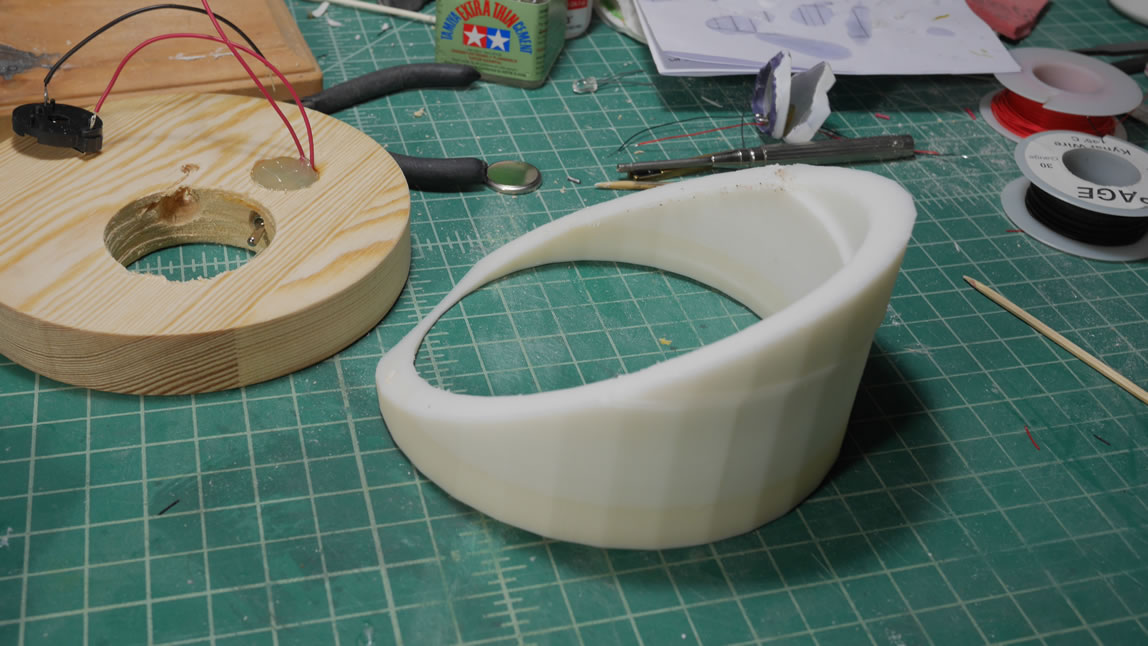
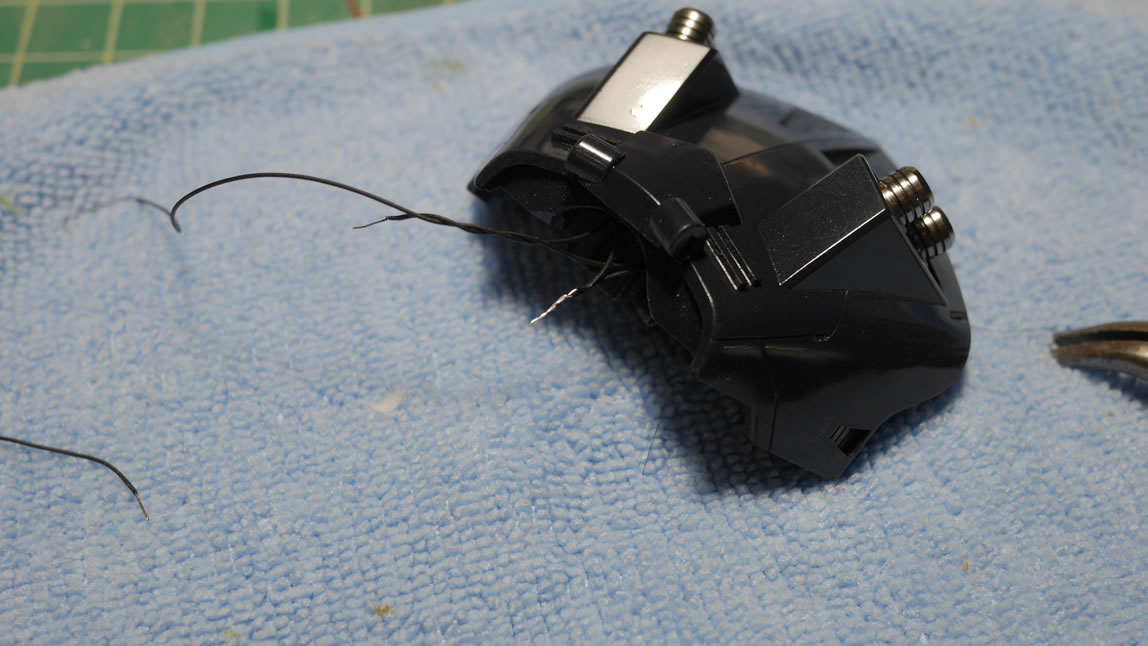
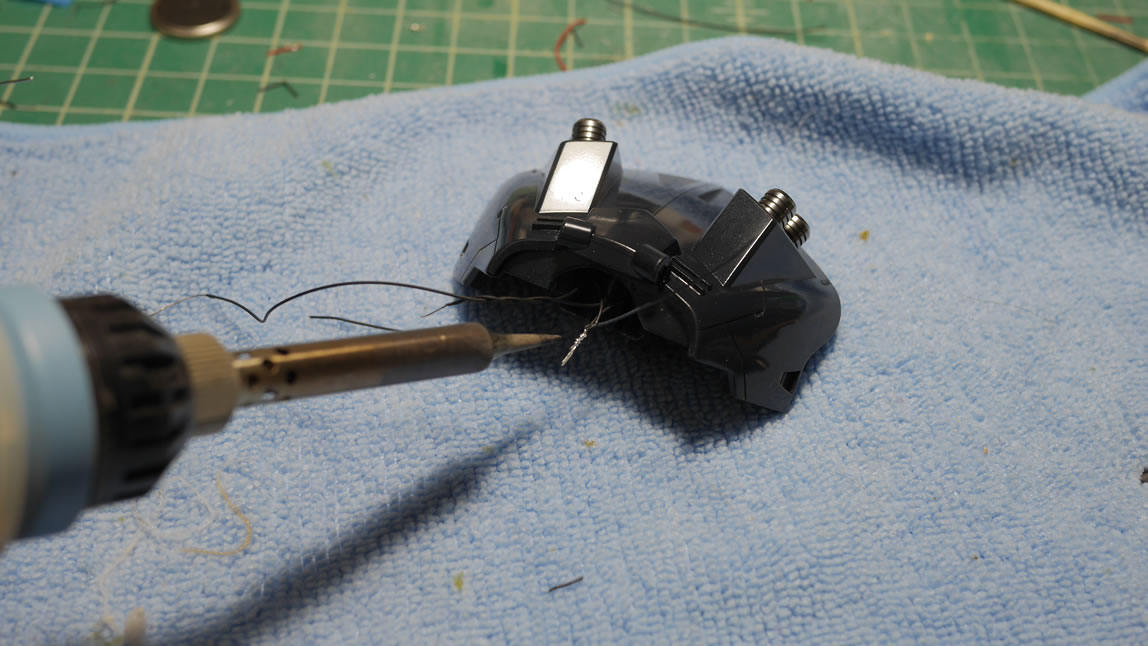
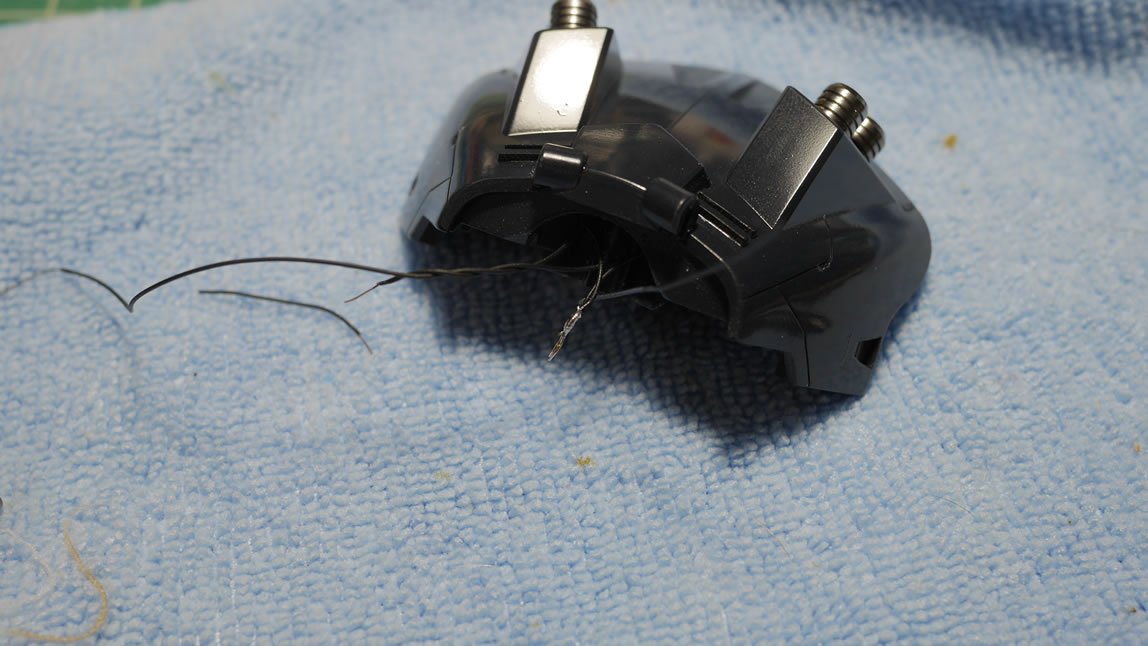
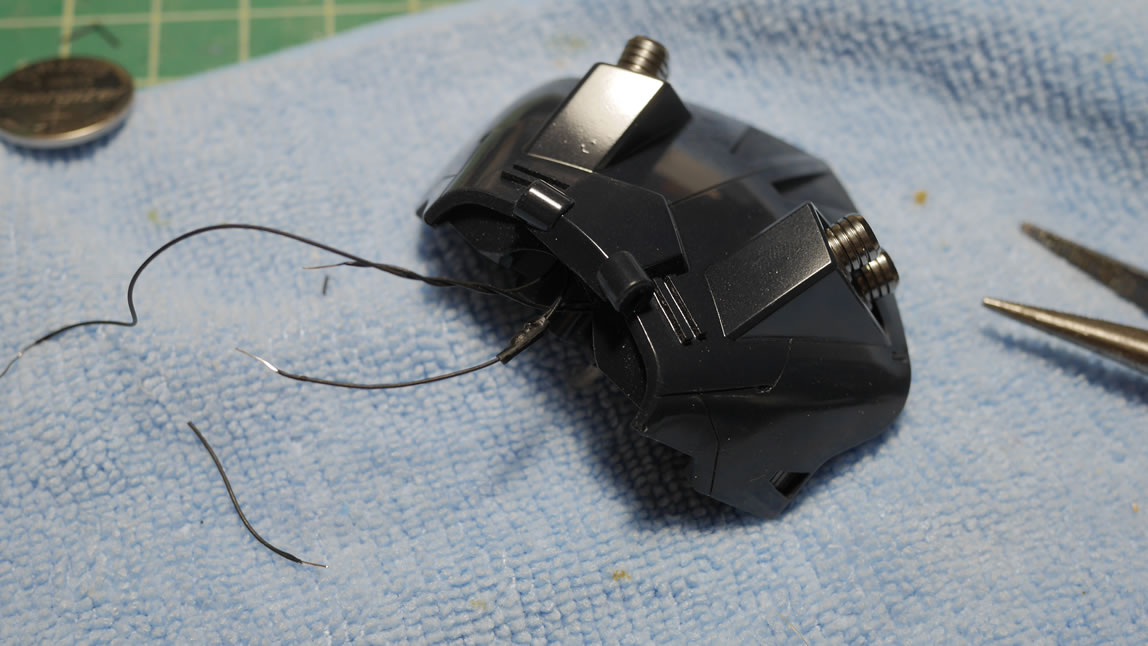
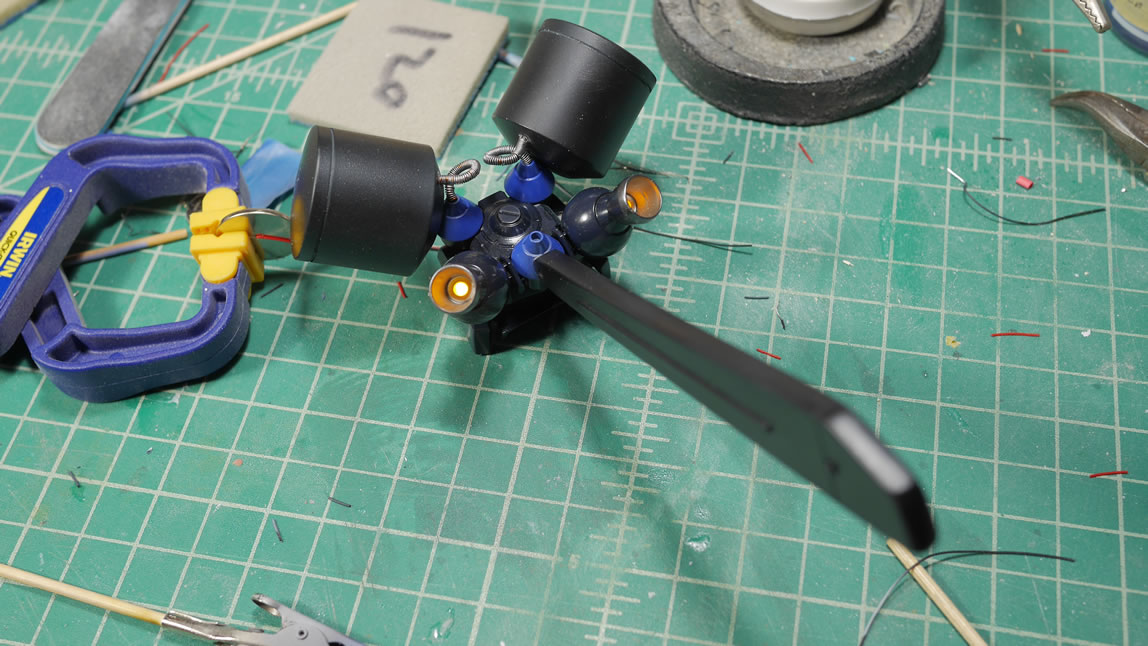
One of the first things I needed to do was to check the lighting and start assembling the kit into major subsections. The immediate problem was my wiring. I had used black wires for EVERYTHING. So, I needed a battery on hand to test the polarity for every connection pair. The first task was to wire up some of the major parts and make everything in parallel. This gave me the chance to fix the wiring a bit and add in some red wires to mark the positive leads. The wires are soldered and shrink wrapped. Once I start bunching up the wires, they will inevitably rub against one another which will cause shorts, so wire wrapping ensures that everything is isolated.
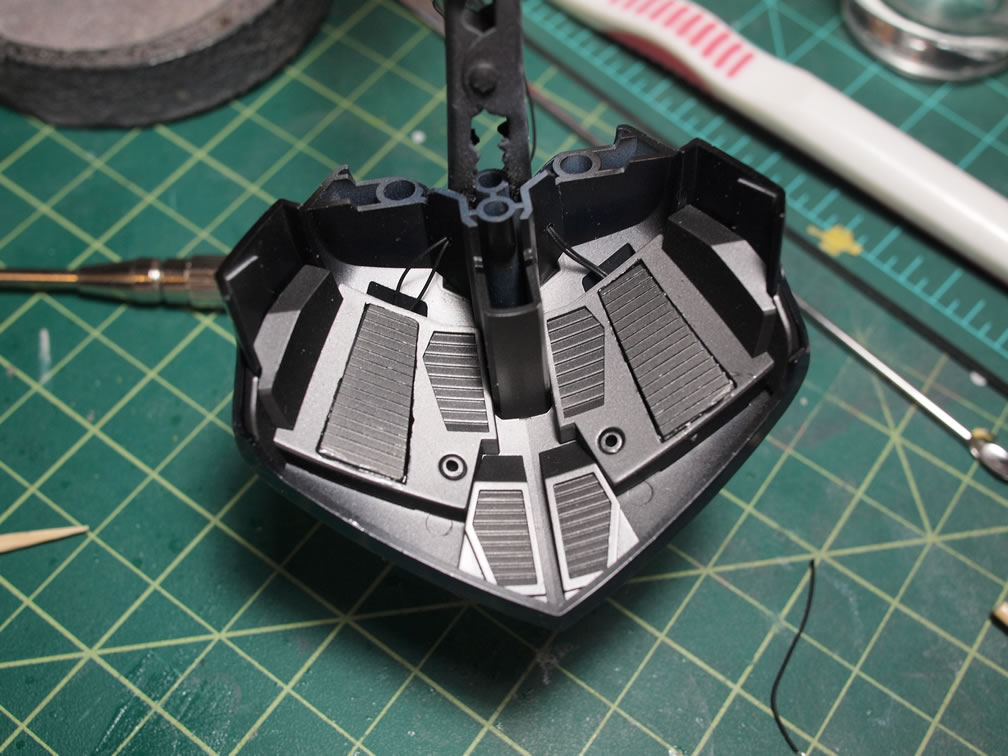
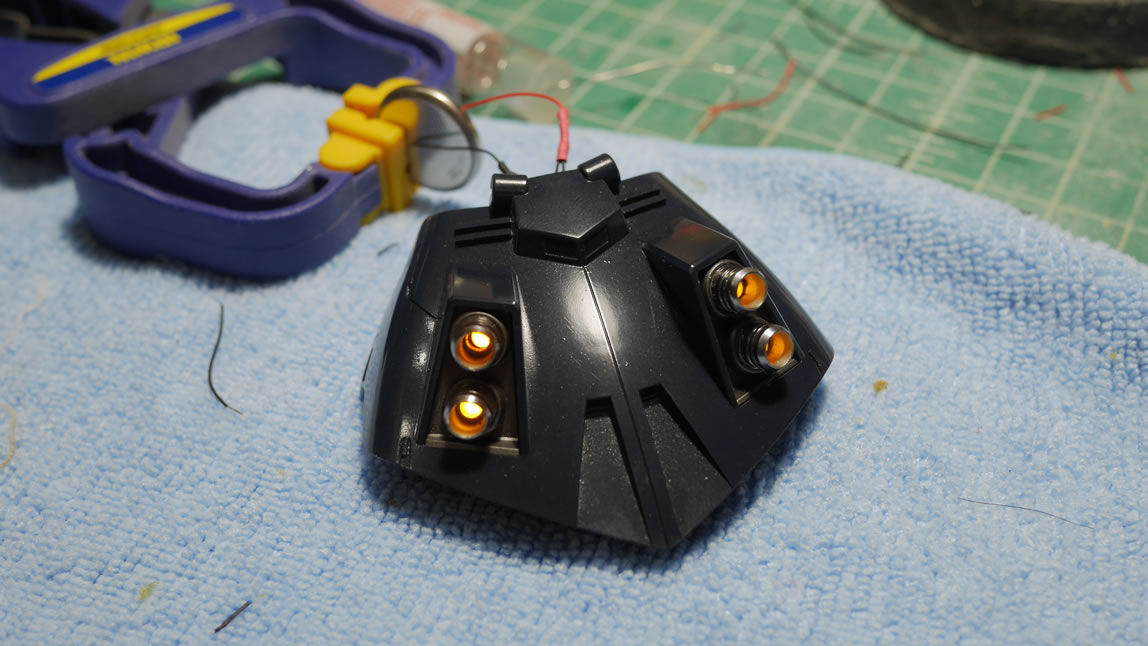
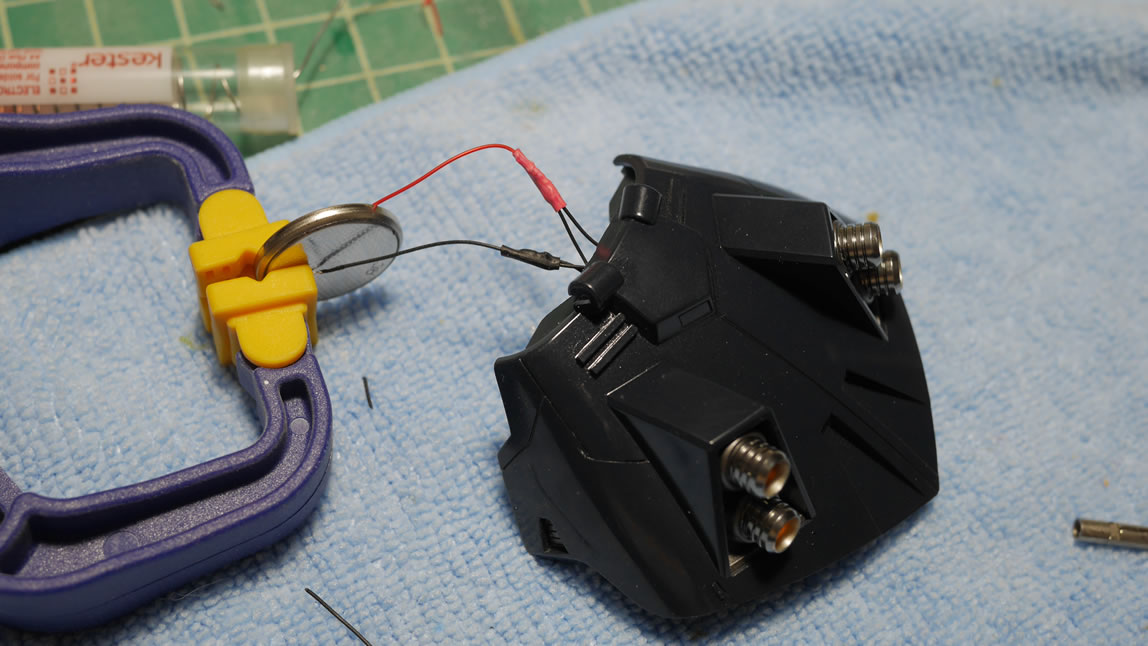
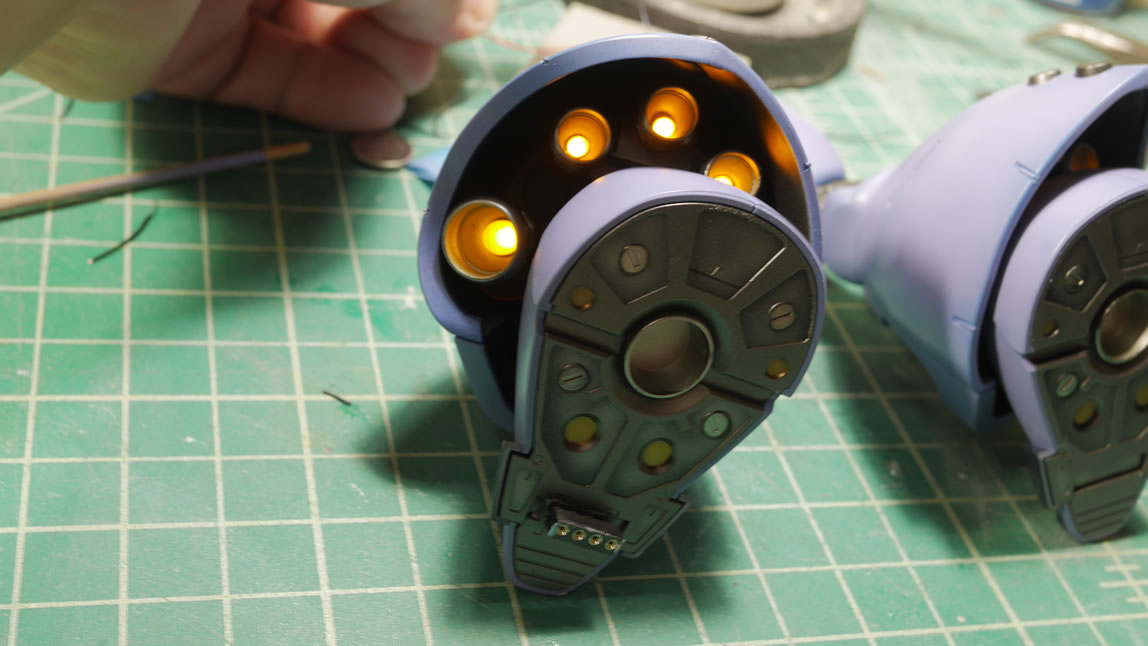
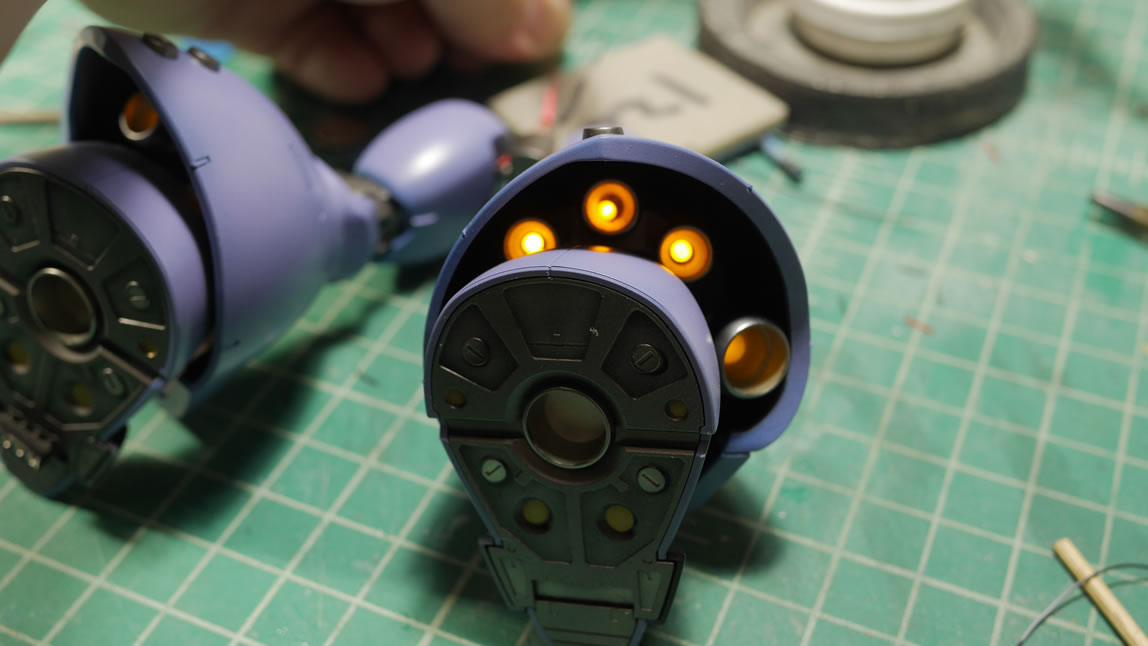
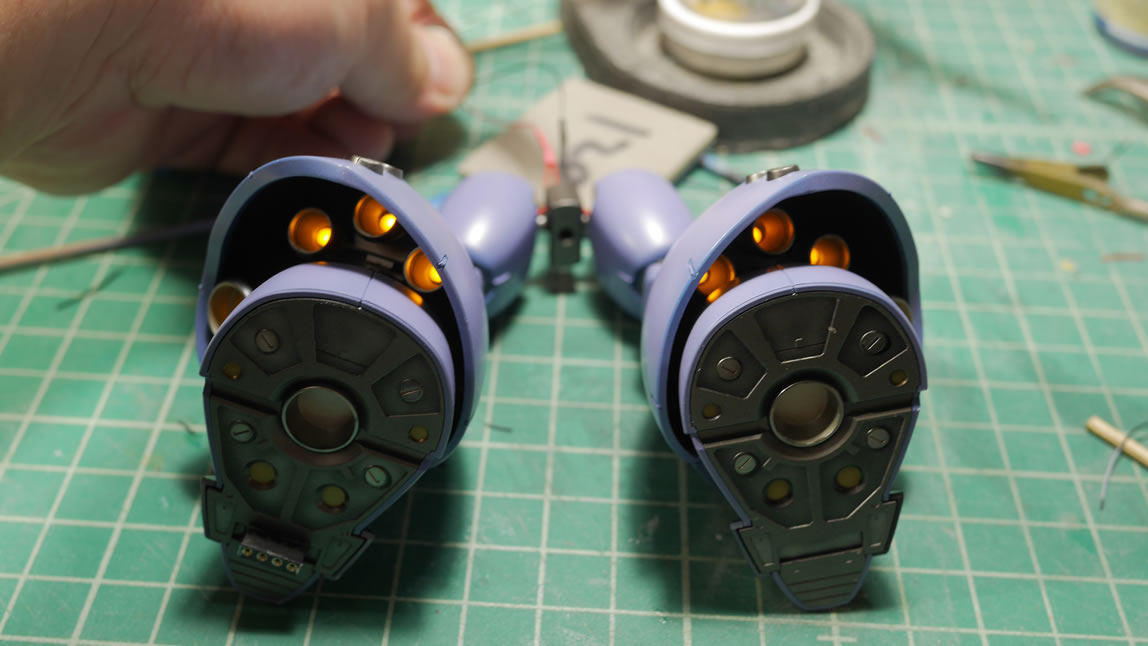
A quick test with the battery shows that the rear skirt thruster lights all work together.
The same is done with the leg thrusters. Test, test, and continue testing while everything is slowly assembled and reconfigured.
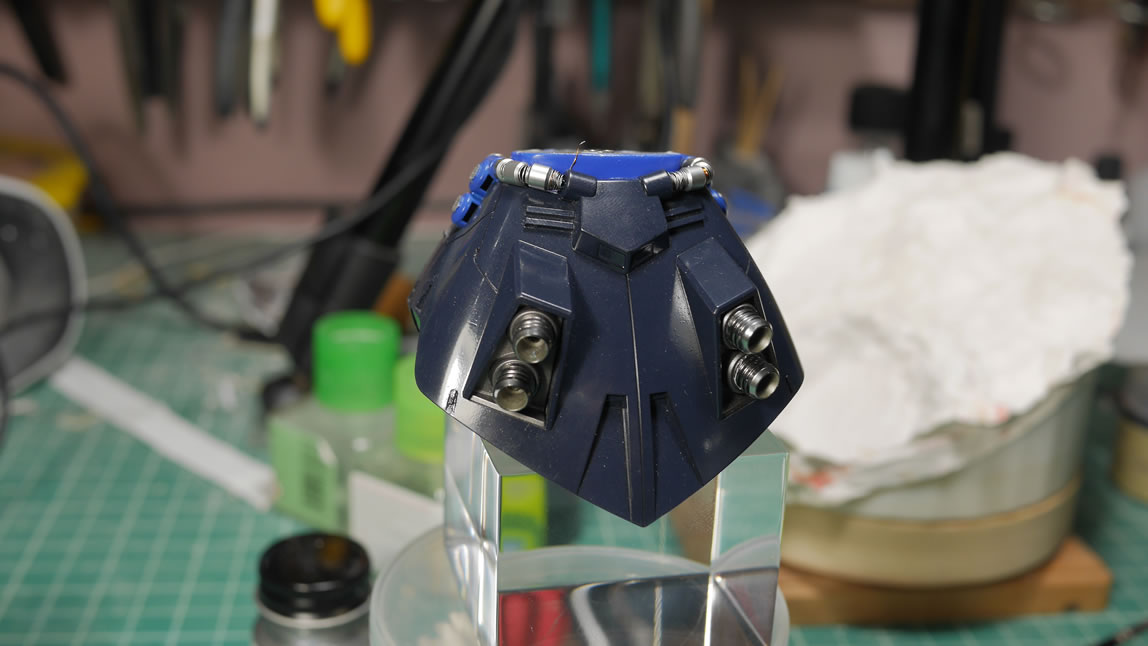
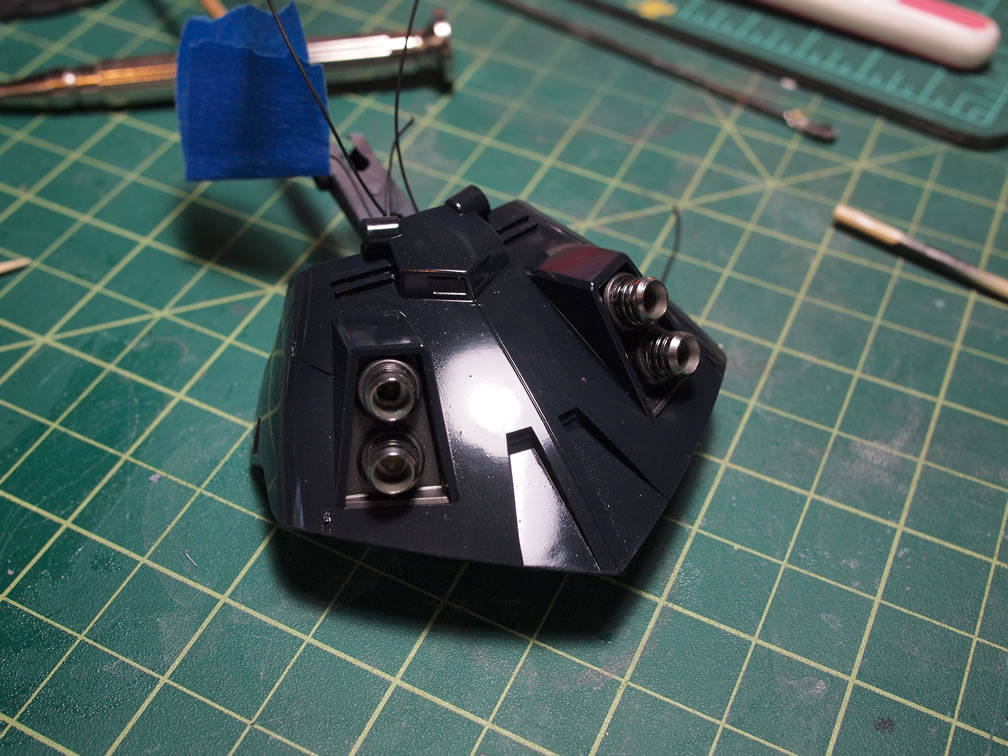
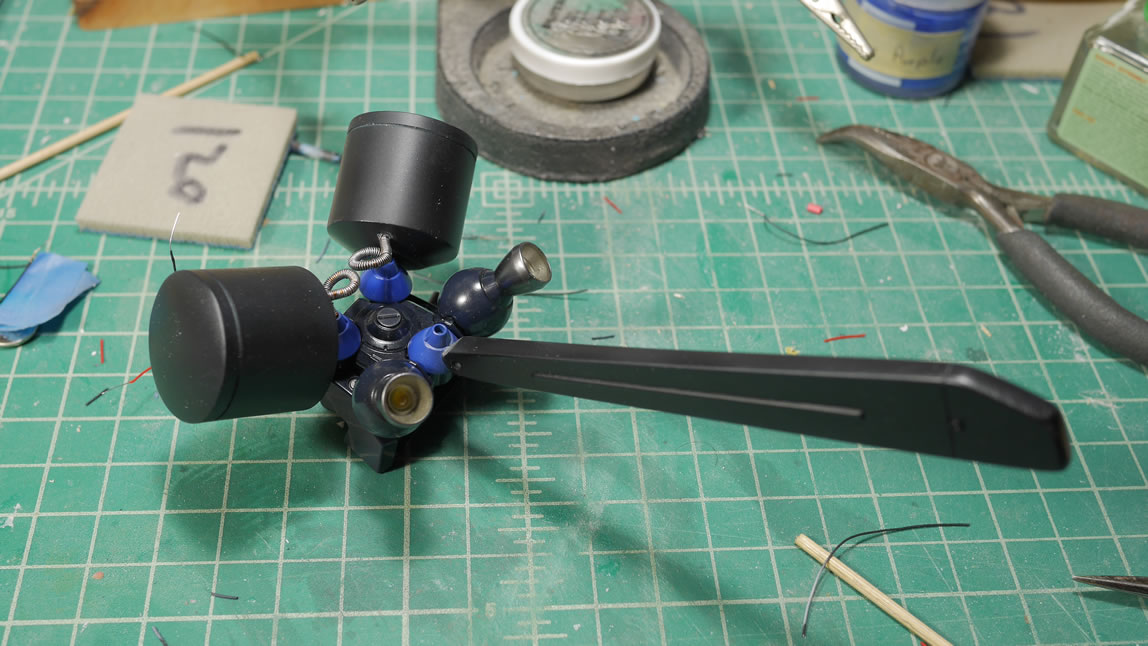
The modified backpack is glued together and rewired finished off with a quick test for the thruster lighting.
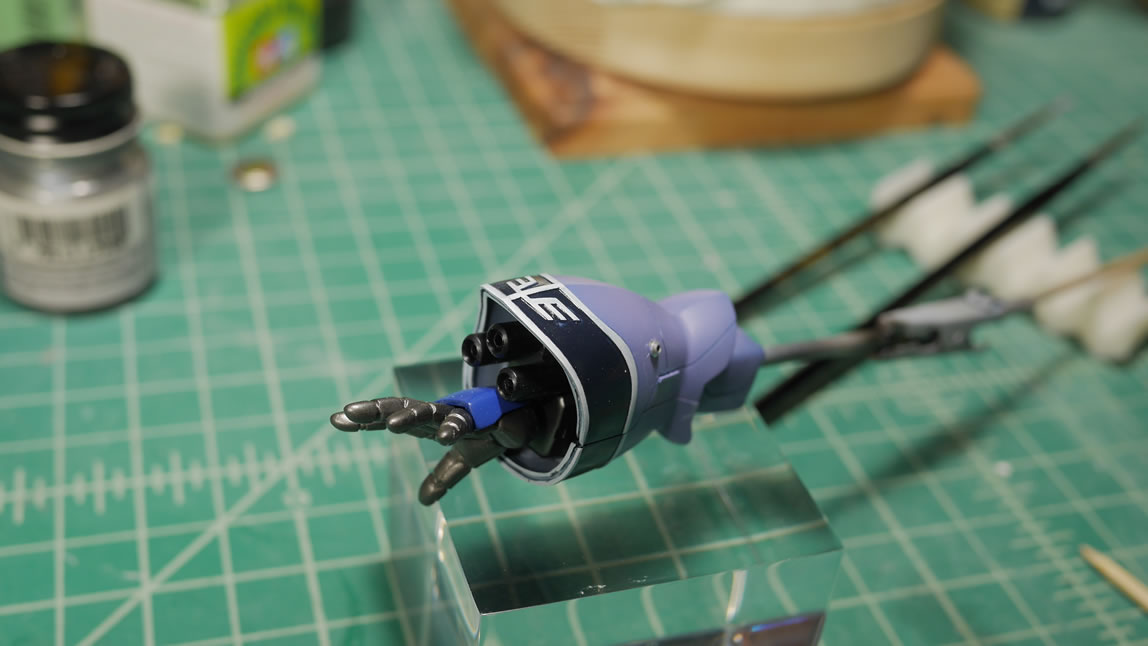
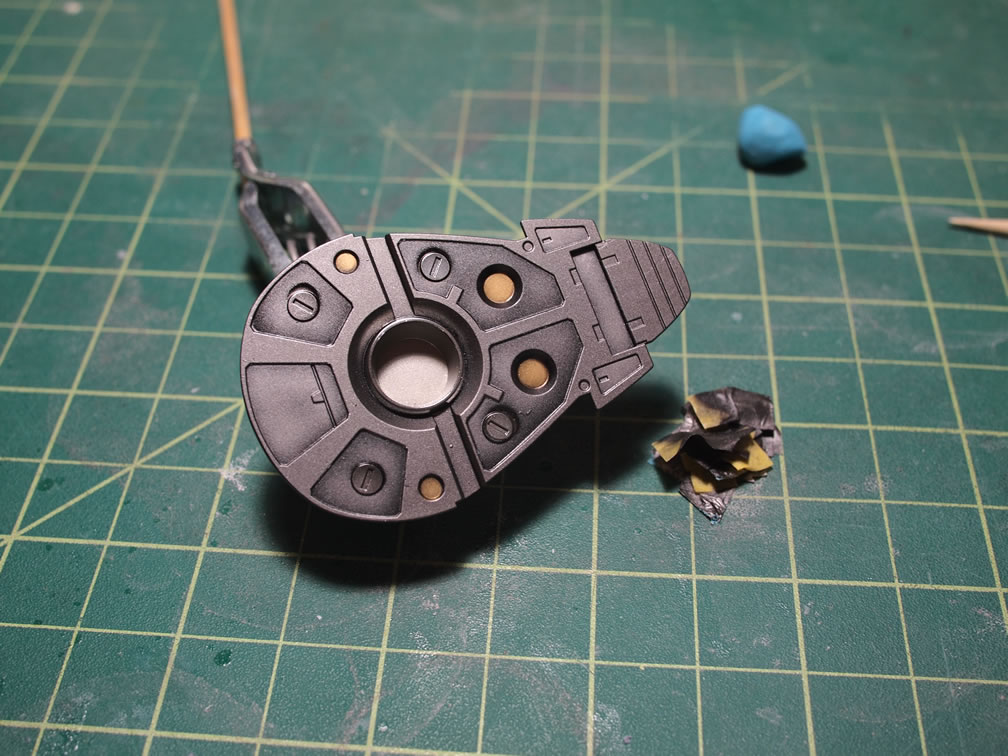
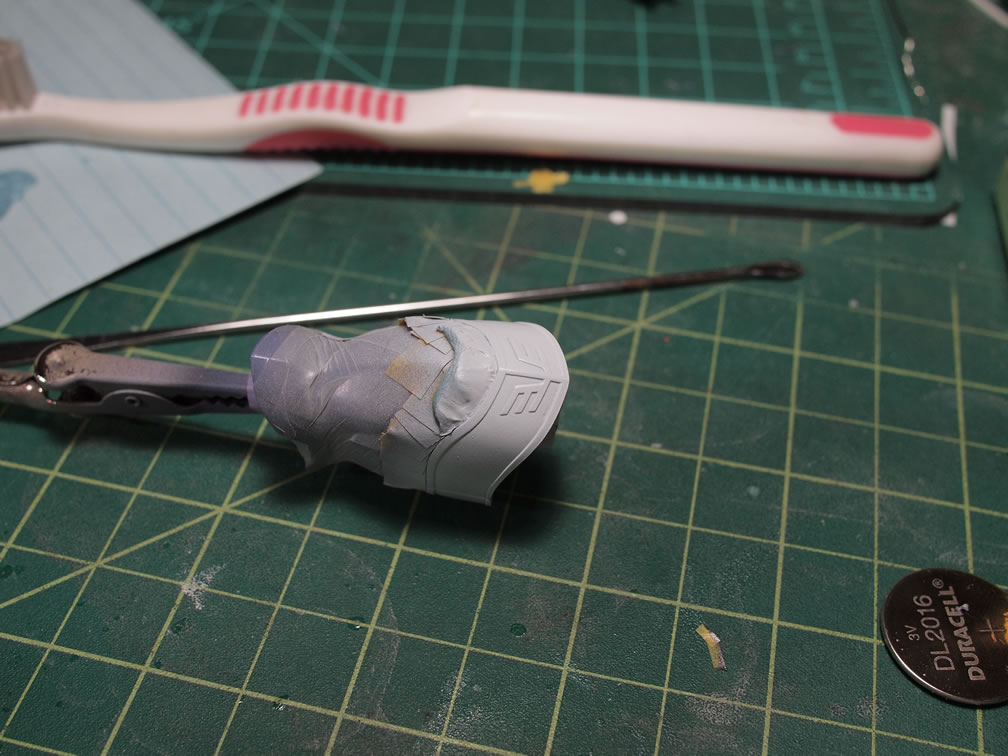
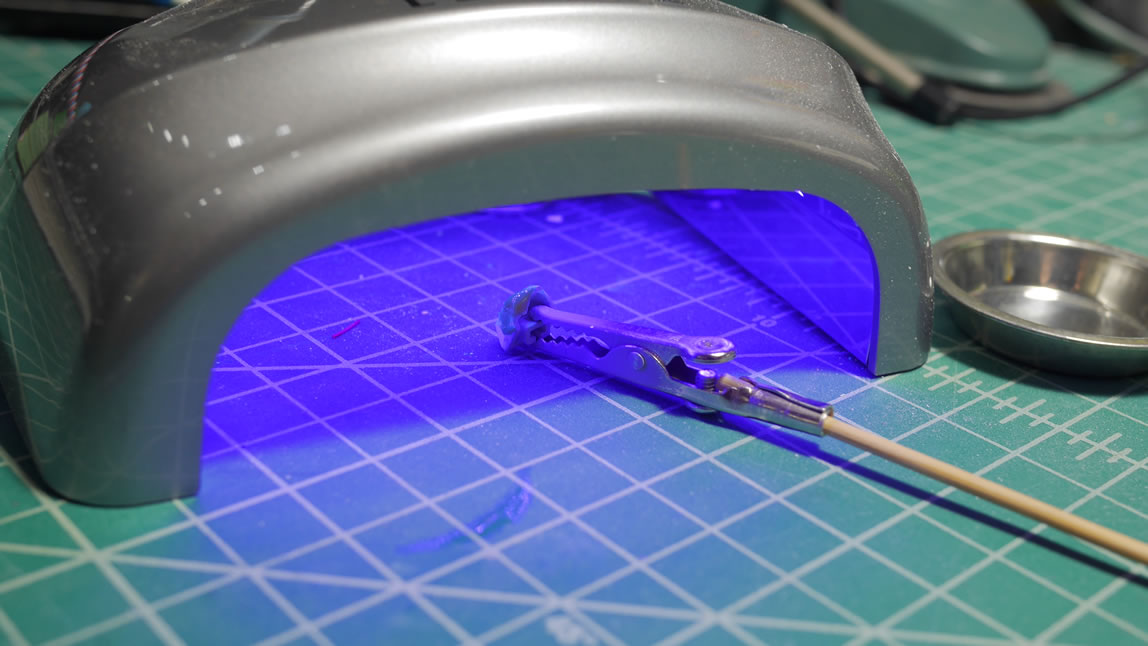
One of the pitfalls of soldering while really close to the damn plastic is that this can happen. I f-ing melted the damn chest piece.
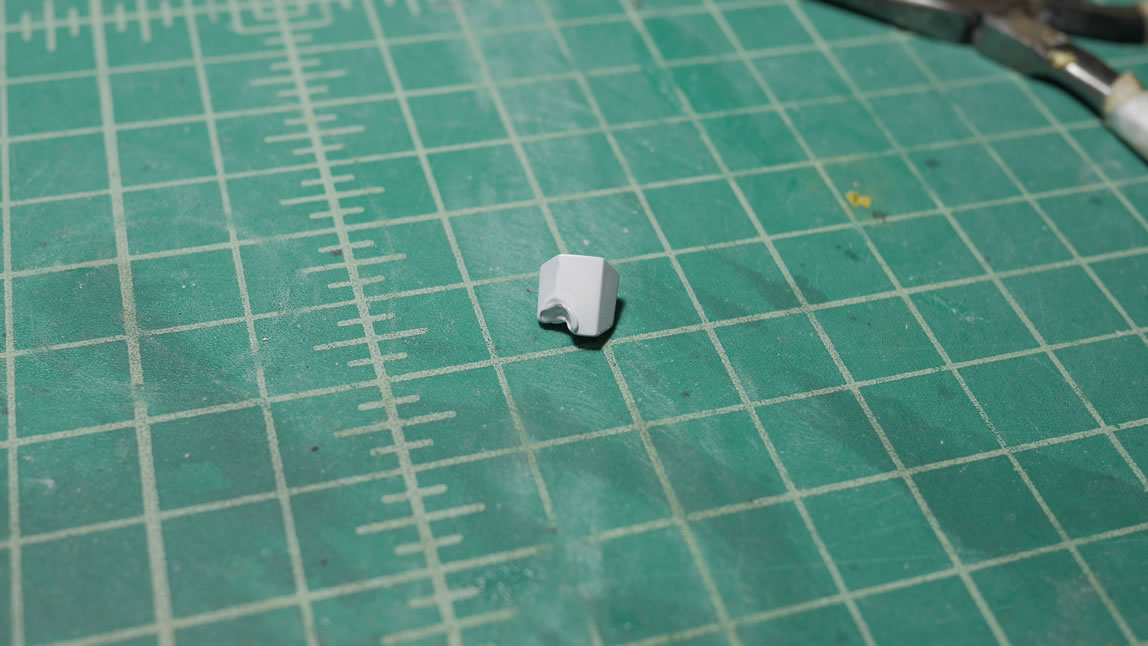
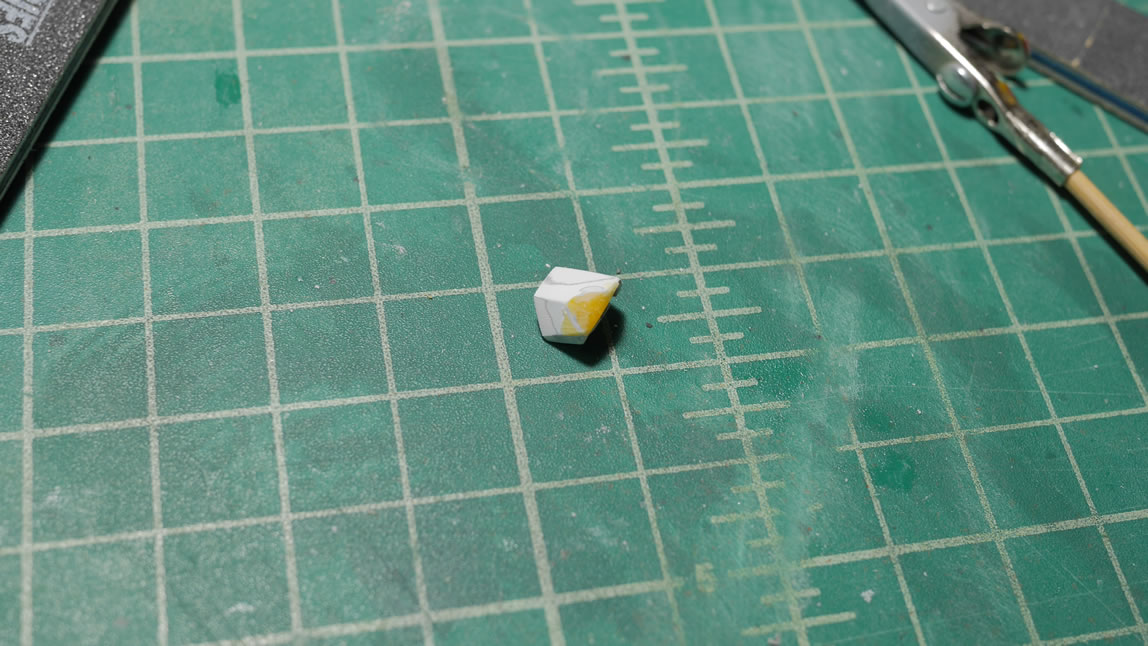
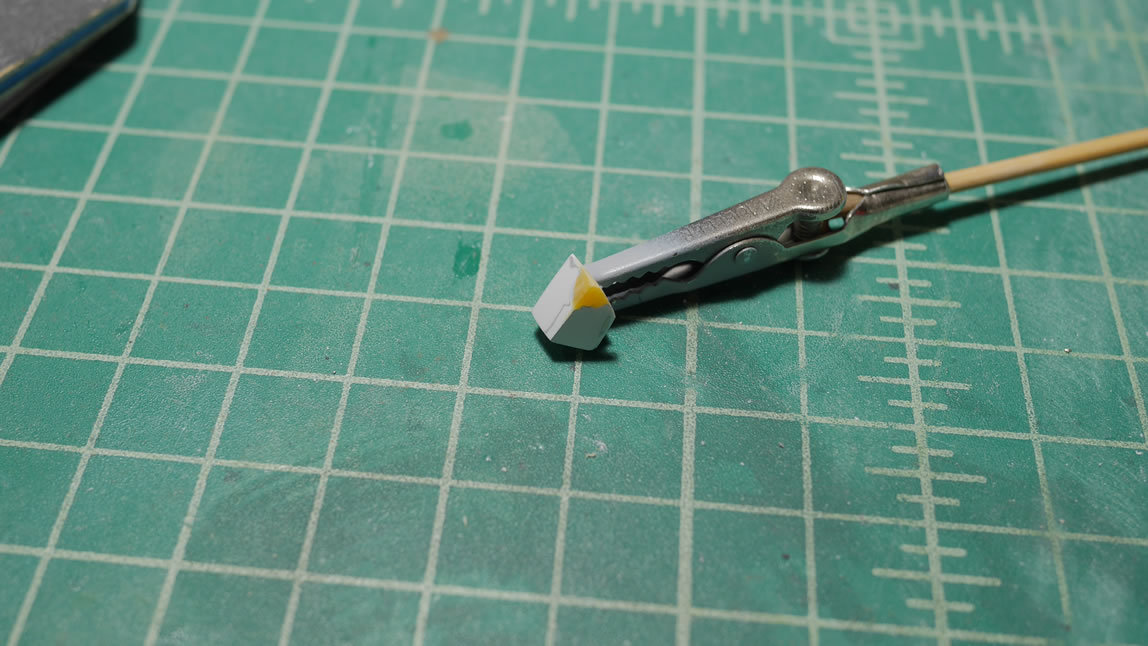
My first thought was to get another HGUC Dreissen kit. Then I came to my senses and realised it’s only plastic. And this is a very simple piece with precise angles. This is an easy fix. And relatively quick with the tools I have. Light curing putty. The first step is to actually rough up the indented melted area so that the putty have more surface area to grip. I applied two layers of putty. First layer went down and once cured under the UV light, a quick sanding to get a rough shape. Second layer of putty makes sure the whole part is completely patched.
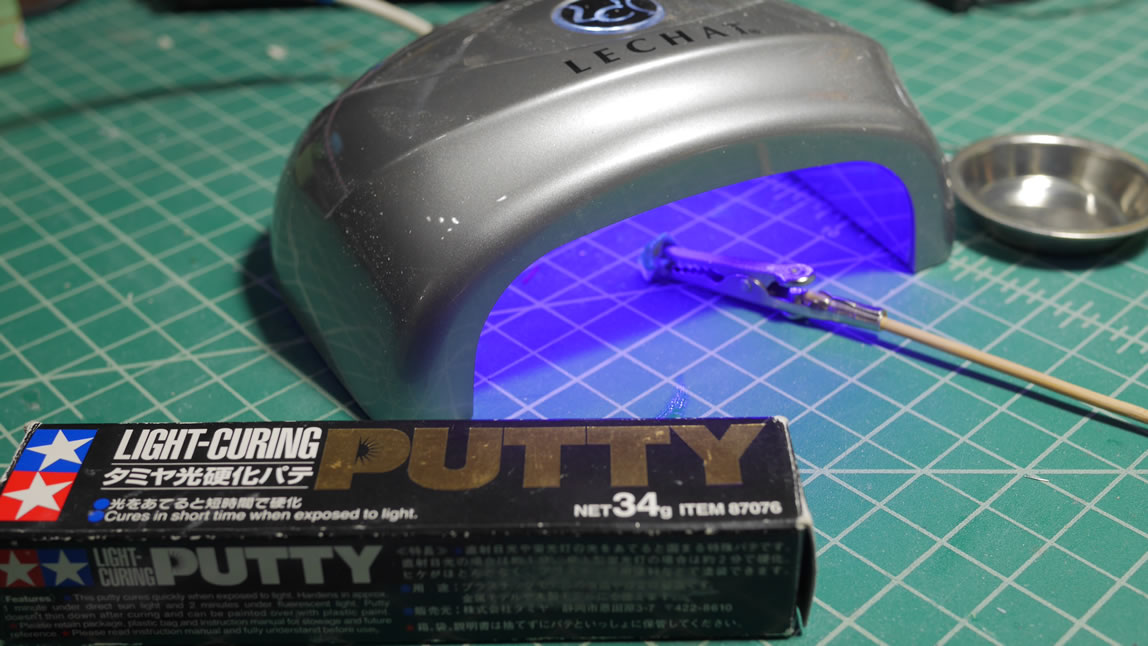
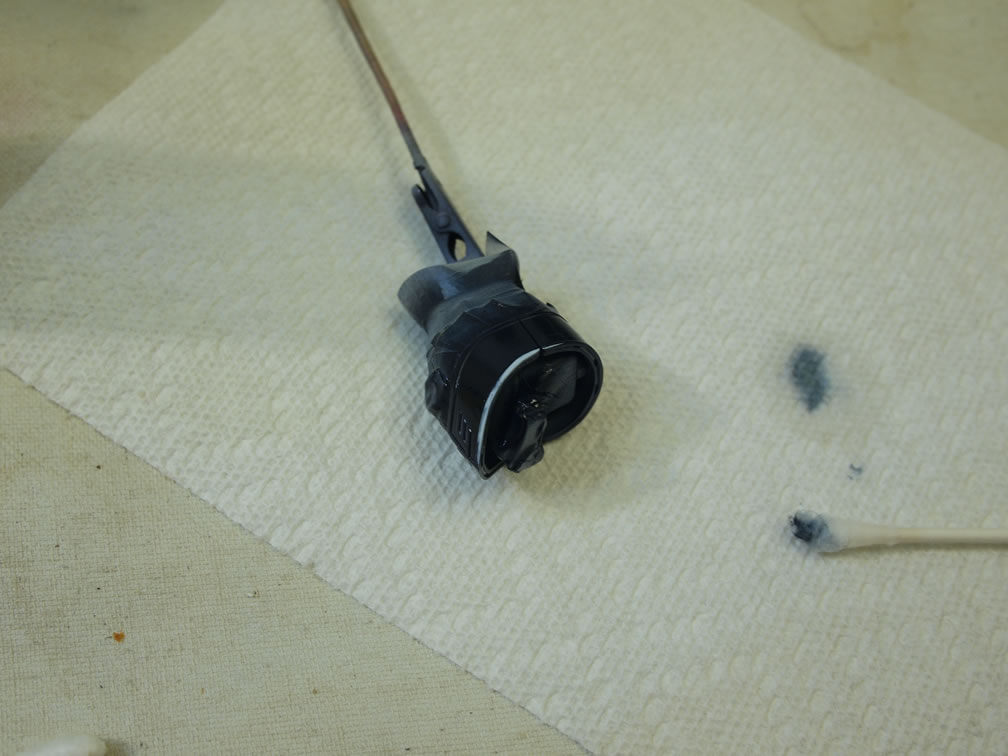
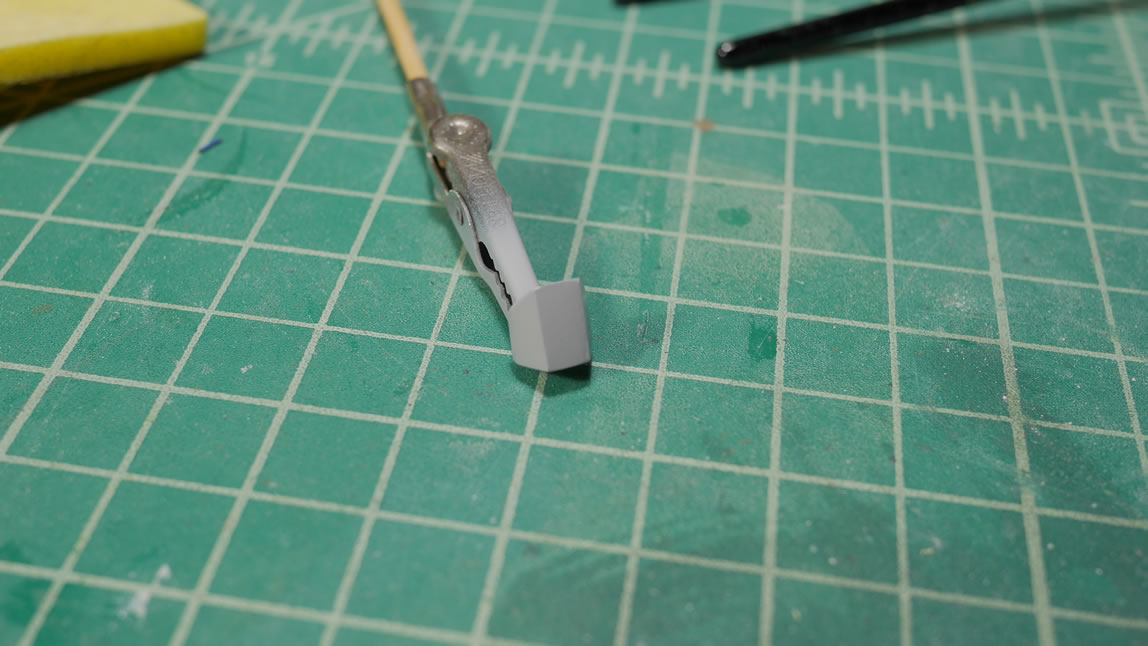
Once I finished sanding, the part is primed to check for mistakes. Lucky this was a relatively simple piece and I got it in one shot. Once the primer is cured, I’ll paint back the white and no one will be the wiser.
This little project shouldn’t take too many more updates to finish. So another few weeks and I should have this one buttoned up.